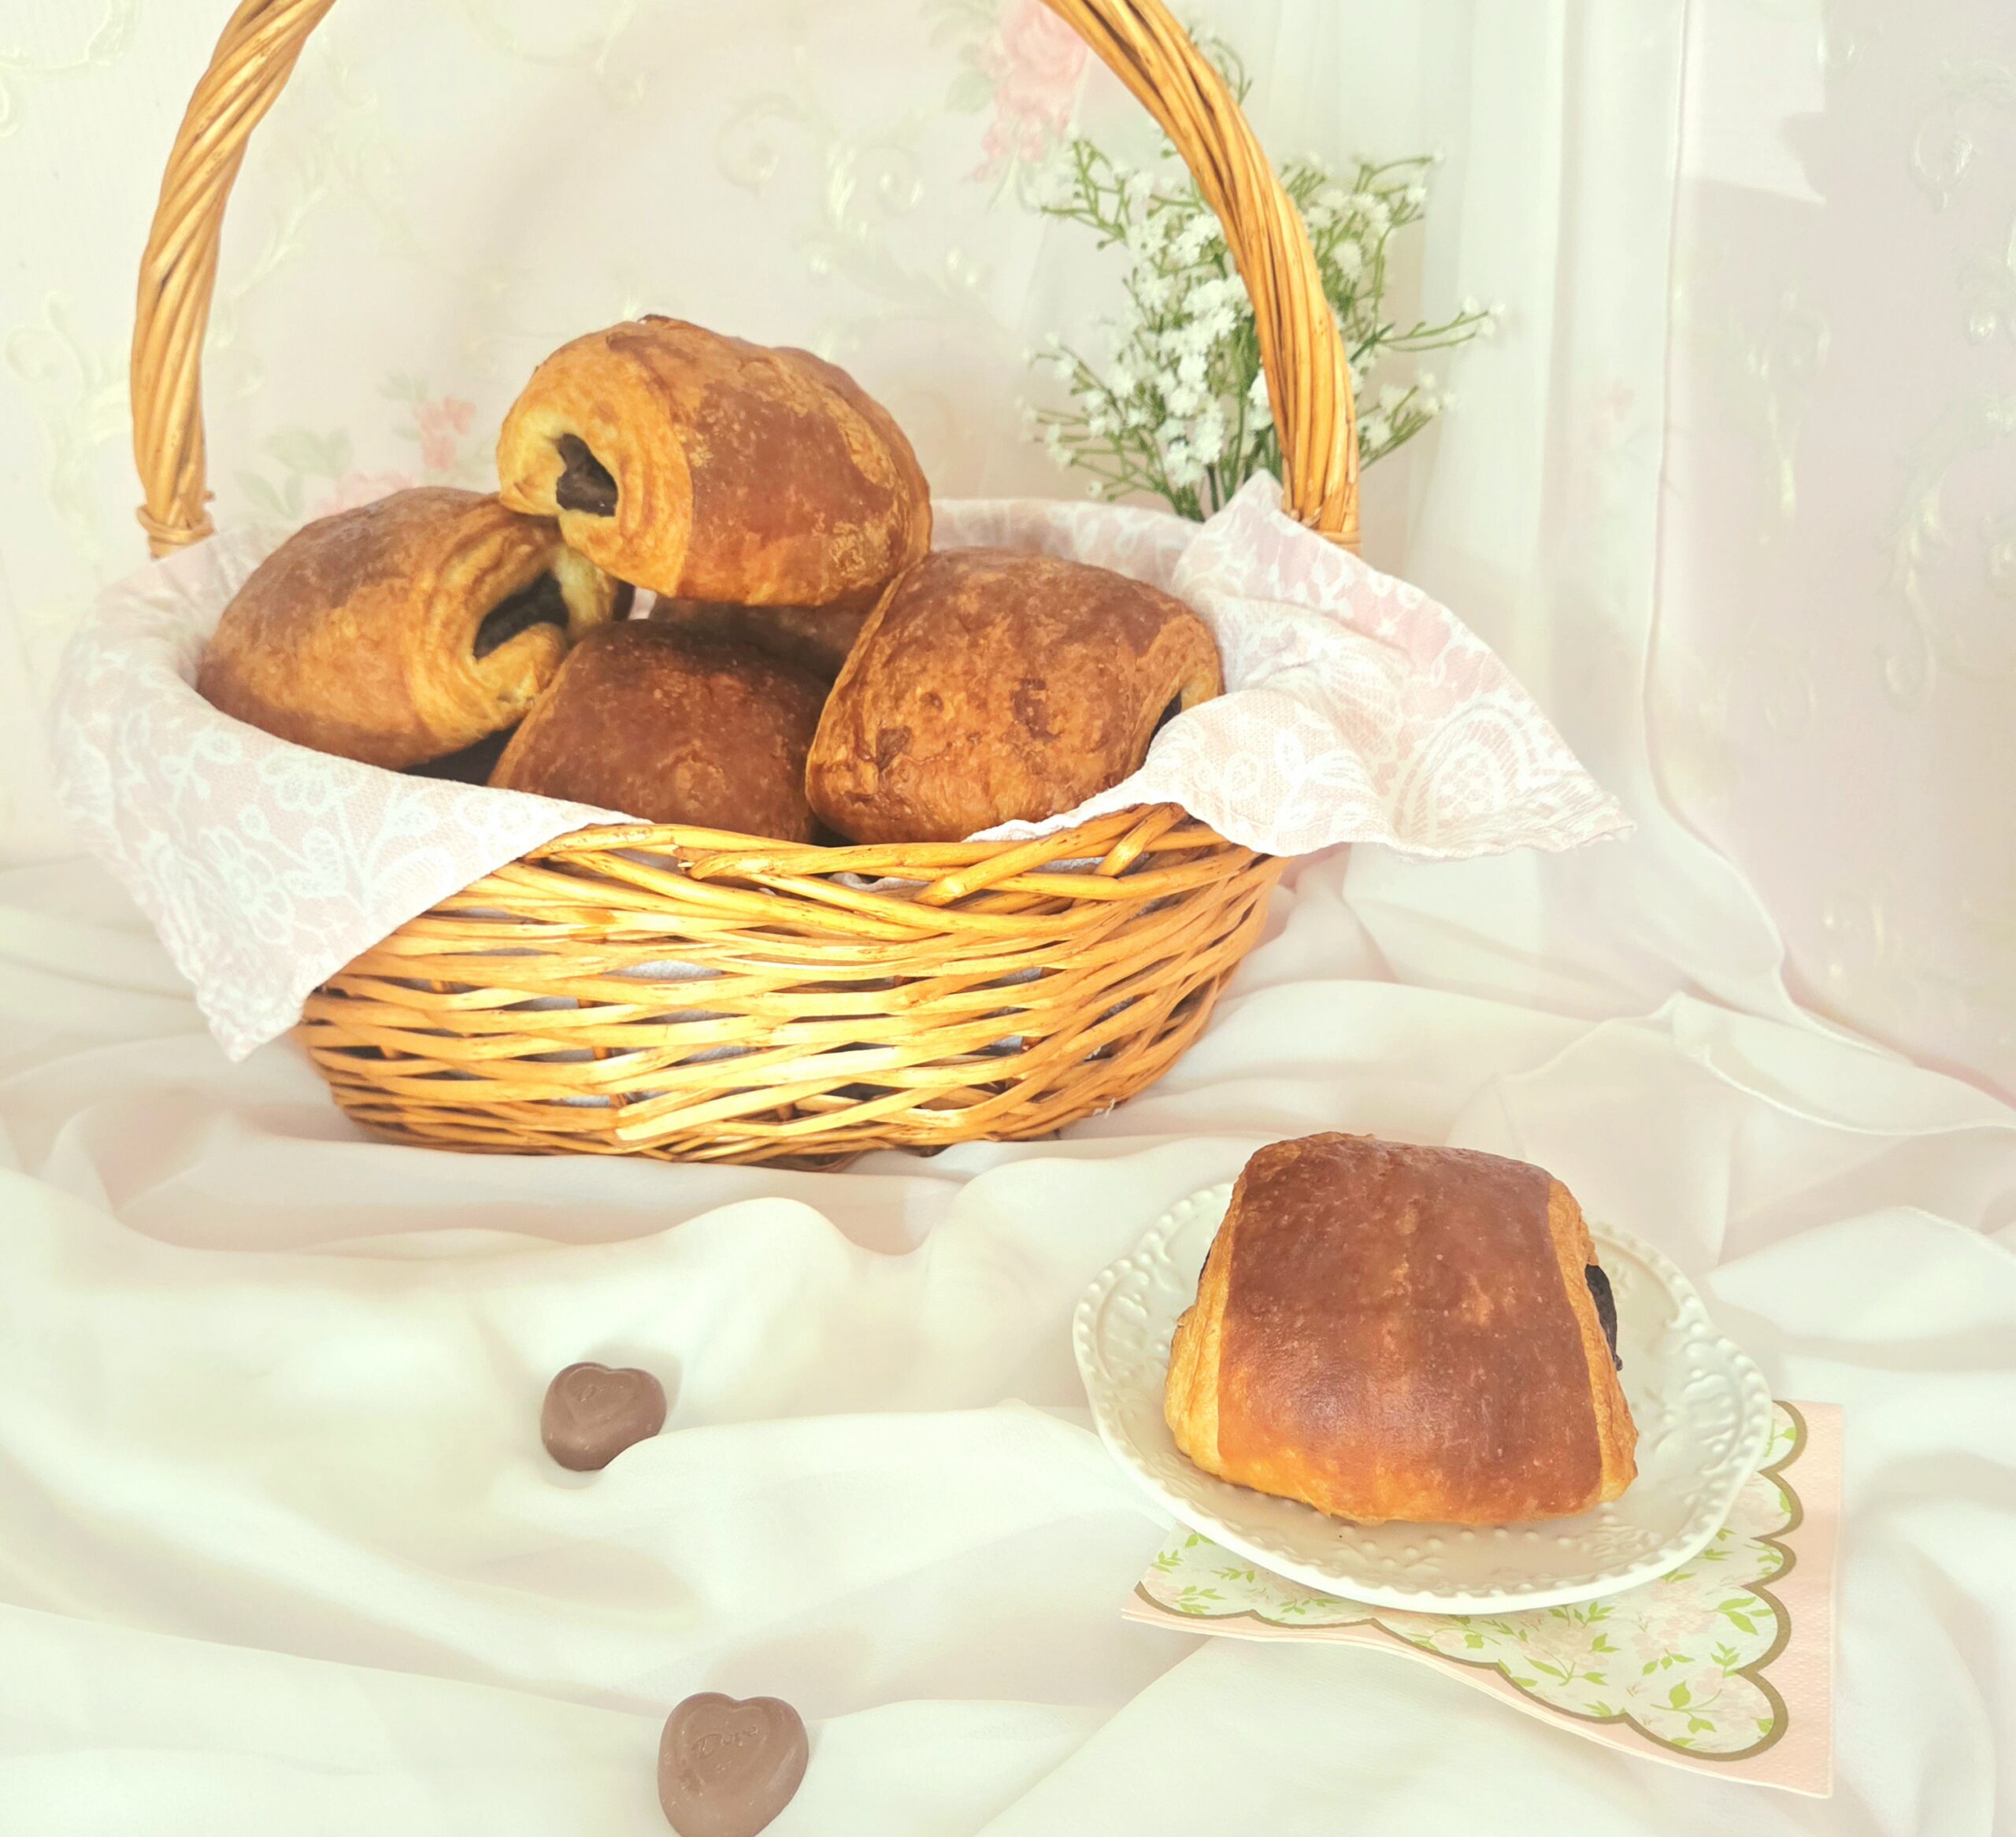

There’s a reason the French are credited with being the kings of pastry. Macarons, croquembouche, tarts, pithiviers, jalousies, eclairs, mille-feuilles, paris-brest, I haven’t even scratched the surface. Probably the most famous, though? The croissant. Classic plain croissants, almond croissants, ham and cheese croissants, and my personal favorite, pain au chocolat aka the chocolate croissant.
Now, was the croissant a strictly French innovation? In my eyes, not exactly. They were inspired by an Austrian crescent shaped roll, kipferl. But like many great dishes, the French took someone else’s creation, tweaked it, and made it their own thing. Maybe not the most ethical roots, but either way, the French are who get the credit for the pastry today.
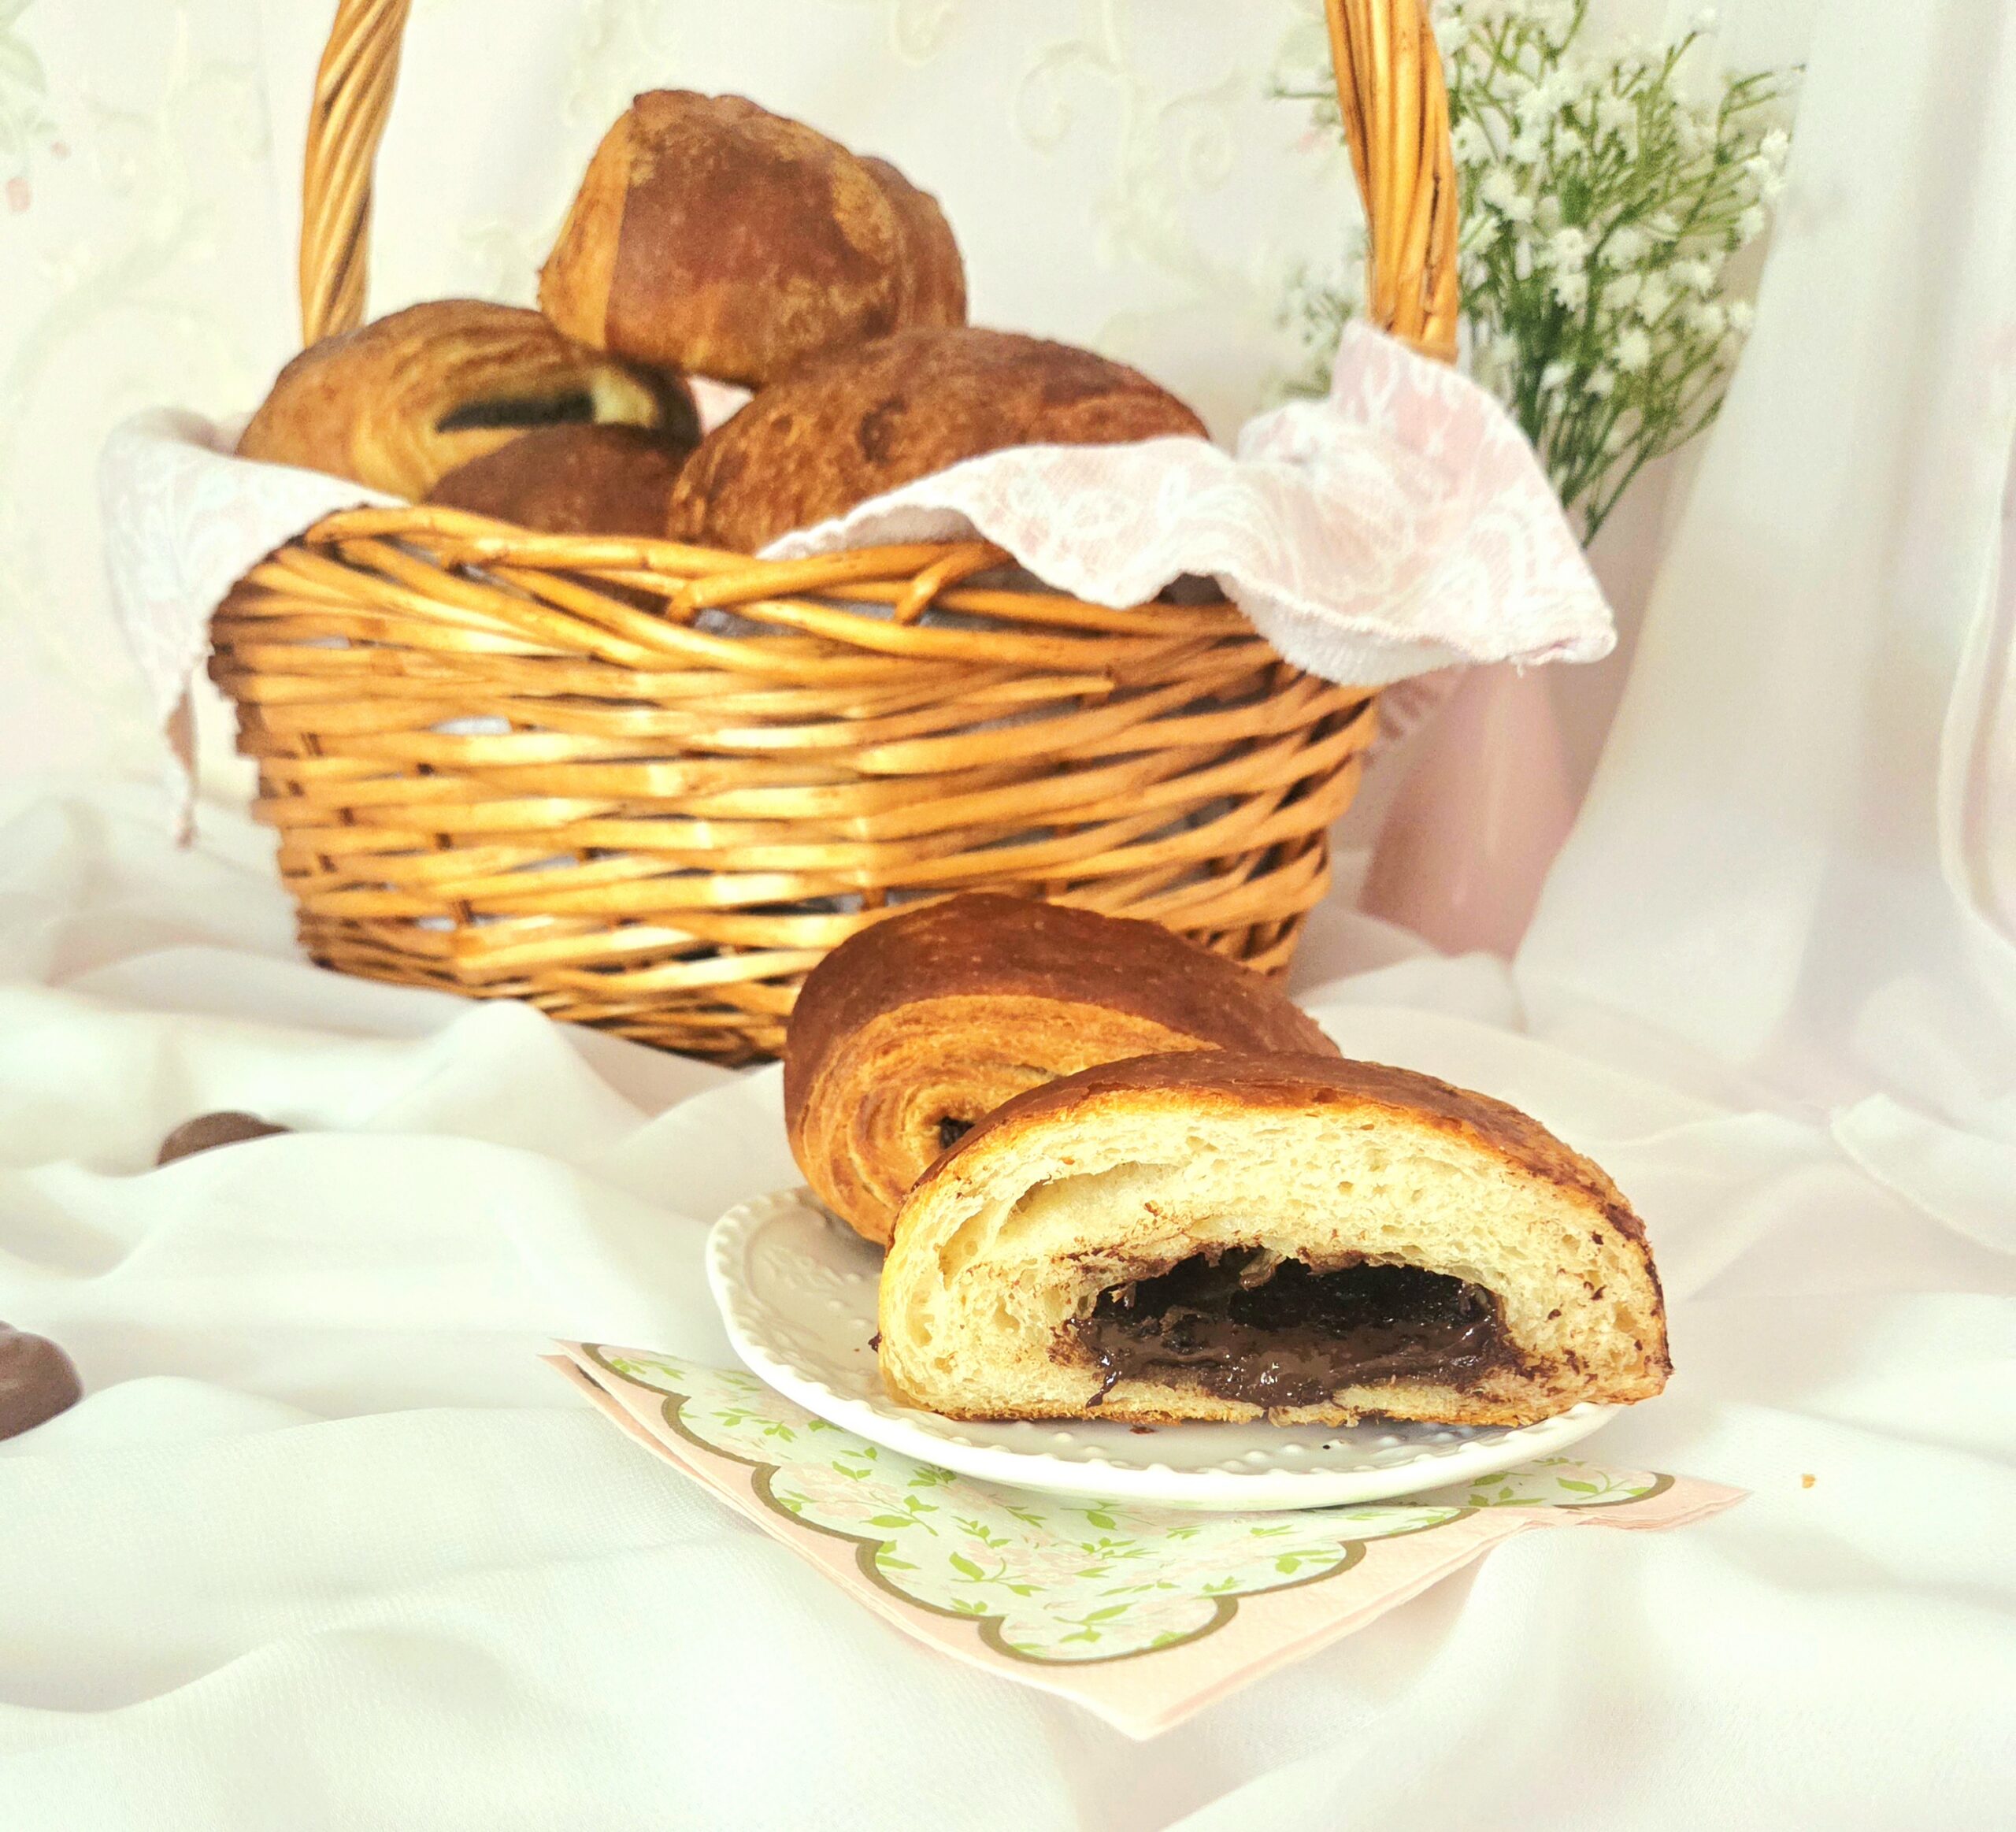
All that being said, my pain au chocolat lives up to the hype. I know, I know, making your own croissant dough from scratch is laborious. Most people don’t bother making their own dough from scratch, instead opting for a crescent roll dough or puff pastry from the store. And I get it, they’re very convenient! But they won’t produce a true croissant. It’s worth making them yourself, even just once for the pride of knowing you’ve done it. Tons of flaky, buttery layers, that distinct croissant flavor, and a punch of dark chocolate. The perfect baking project for a lazy weekend at home.
FAQs and Science
Do I really have to make my own croissant dough from scratch?
If you want them to taste like they came out of a bakery, yes. Puff pastry and crescent roll dough are both tempting, convenient options, but they’ll never measure up. I know it sounds scary, but you can do this. Just take your time and pay attention to the directions!
This seems like a lot of chocolate, should there be this much?
Traditionally, no, there isn’t this much chocolate in pain au chocolat. You would use two chocolate batons. Not exactly the easiest ingredient to come by for a home baker. Plus, as a chocolate girl myself, I’m never going to be mad about more chocolate. However, if you don’t want this much chocolate, you’re free to cut a chocolate bar into thinner strips, about a centimeter thick. Place two spaced about an inch apart in the center of the dough, then fold the top and bottom flaps down as described in the recipe.
The dough keeps shrinking back into place whenever I try to roll it past a certain point, what should I do?
When the gluten in dough is stressed and stretched to its limit, it will outright refuse to cooperate and go any further. This is completely normal, and nothing to panic over. Simply cover the dough with either a towel or plastic and let it sit for 10 minutes or so to relax again. Once relaxed, the dough can be rolled thinner again with ease.
The butter in the dough is melting while I’m rolling it out, what should I do?
Place it on a baking sheet, cover it with plastic, and stick it in the fridge to cool and firm up again. Such is the way of baking in a hot kitchen.
What do you mean by turned-off oven? What does it do?
A turned-off oven in this context is essentially a makeshift proofing box. It comes particularly in handy during the colder season, when there’s a slim chance of yeasted doughs rising on the counter. Turn the oven on to the lowest temperature it will go to, then turn it off again when the pastries or dough that need to proof are ready. The heat will be enough to make the yeast happy and grow, but not so warm that anything will start to bake.
What You’ll Need
- 3 baking sheets
- Parchment paper or silicone baking mats
- Plastic wrap
- Small dish
- Fork
- Ruler
- Rolling pin
- Chef’s knife
- Cutting board
- Bench scraper
- Spatula
- Cooling rack
The Process
Prepare a batch of croissant dough in full, either my recipe or whichever your favorite is. It needs to be complete and ready to use before you begin. Grab 3 baking sheets and line them with either parchment paper or silicone baking mats, then put them to the side. Turn on the oven to the lowest setting it will go to. You’re essentially setting it up to become a proofing box for the pastries.
In a small dish, prepare the egg wash. Beat a large egg, a pinch of salt, and a splash of water together using a fork. Though it’s often used as the glue of the baking world, for the pain au chocolat, egg wash is to add color and shine to the pastries.

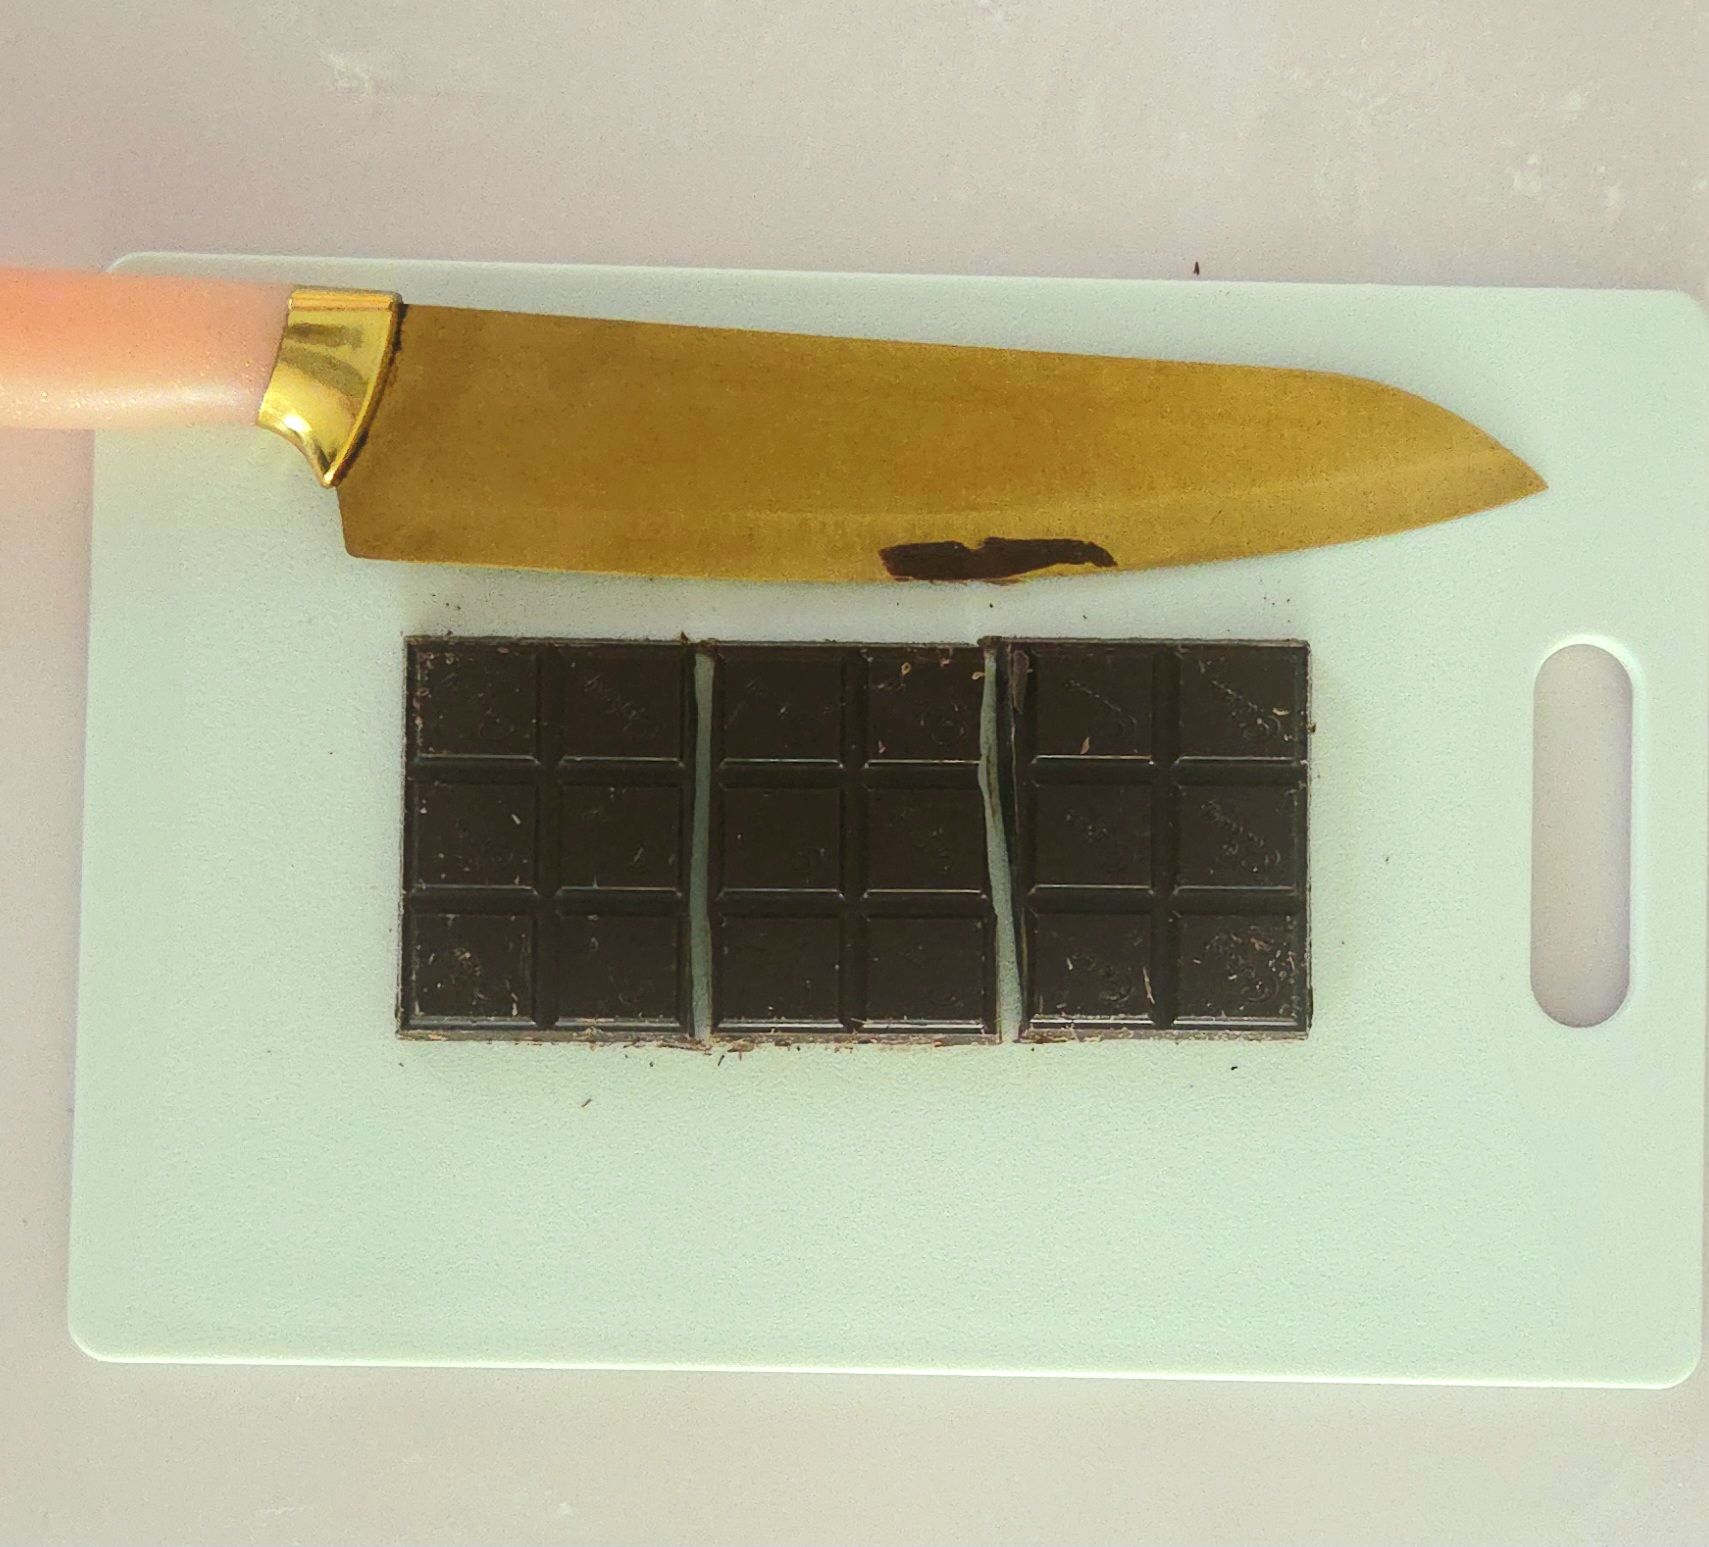
Get the chocolate ready. Cut 4 dark chocolate bars into 3 equal sections. Place the sections into a bowl and set them aside until the pastries are ready for assembly.
Now to roll out the dough! Dust a clean counter with flour and place the finished croissant dough onto it. Sprinkle more flour on top, then roll it out to a rectangle measuring about 12×18 inches. If the dough is giving you a hard time, see the FAQs and Science section for some suggestions.
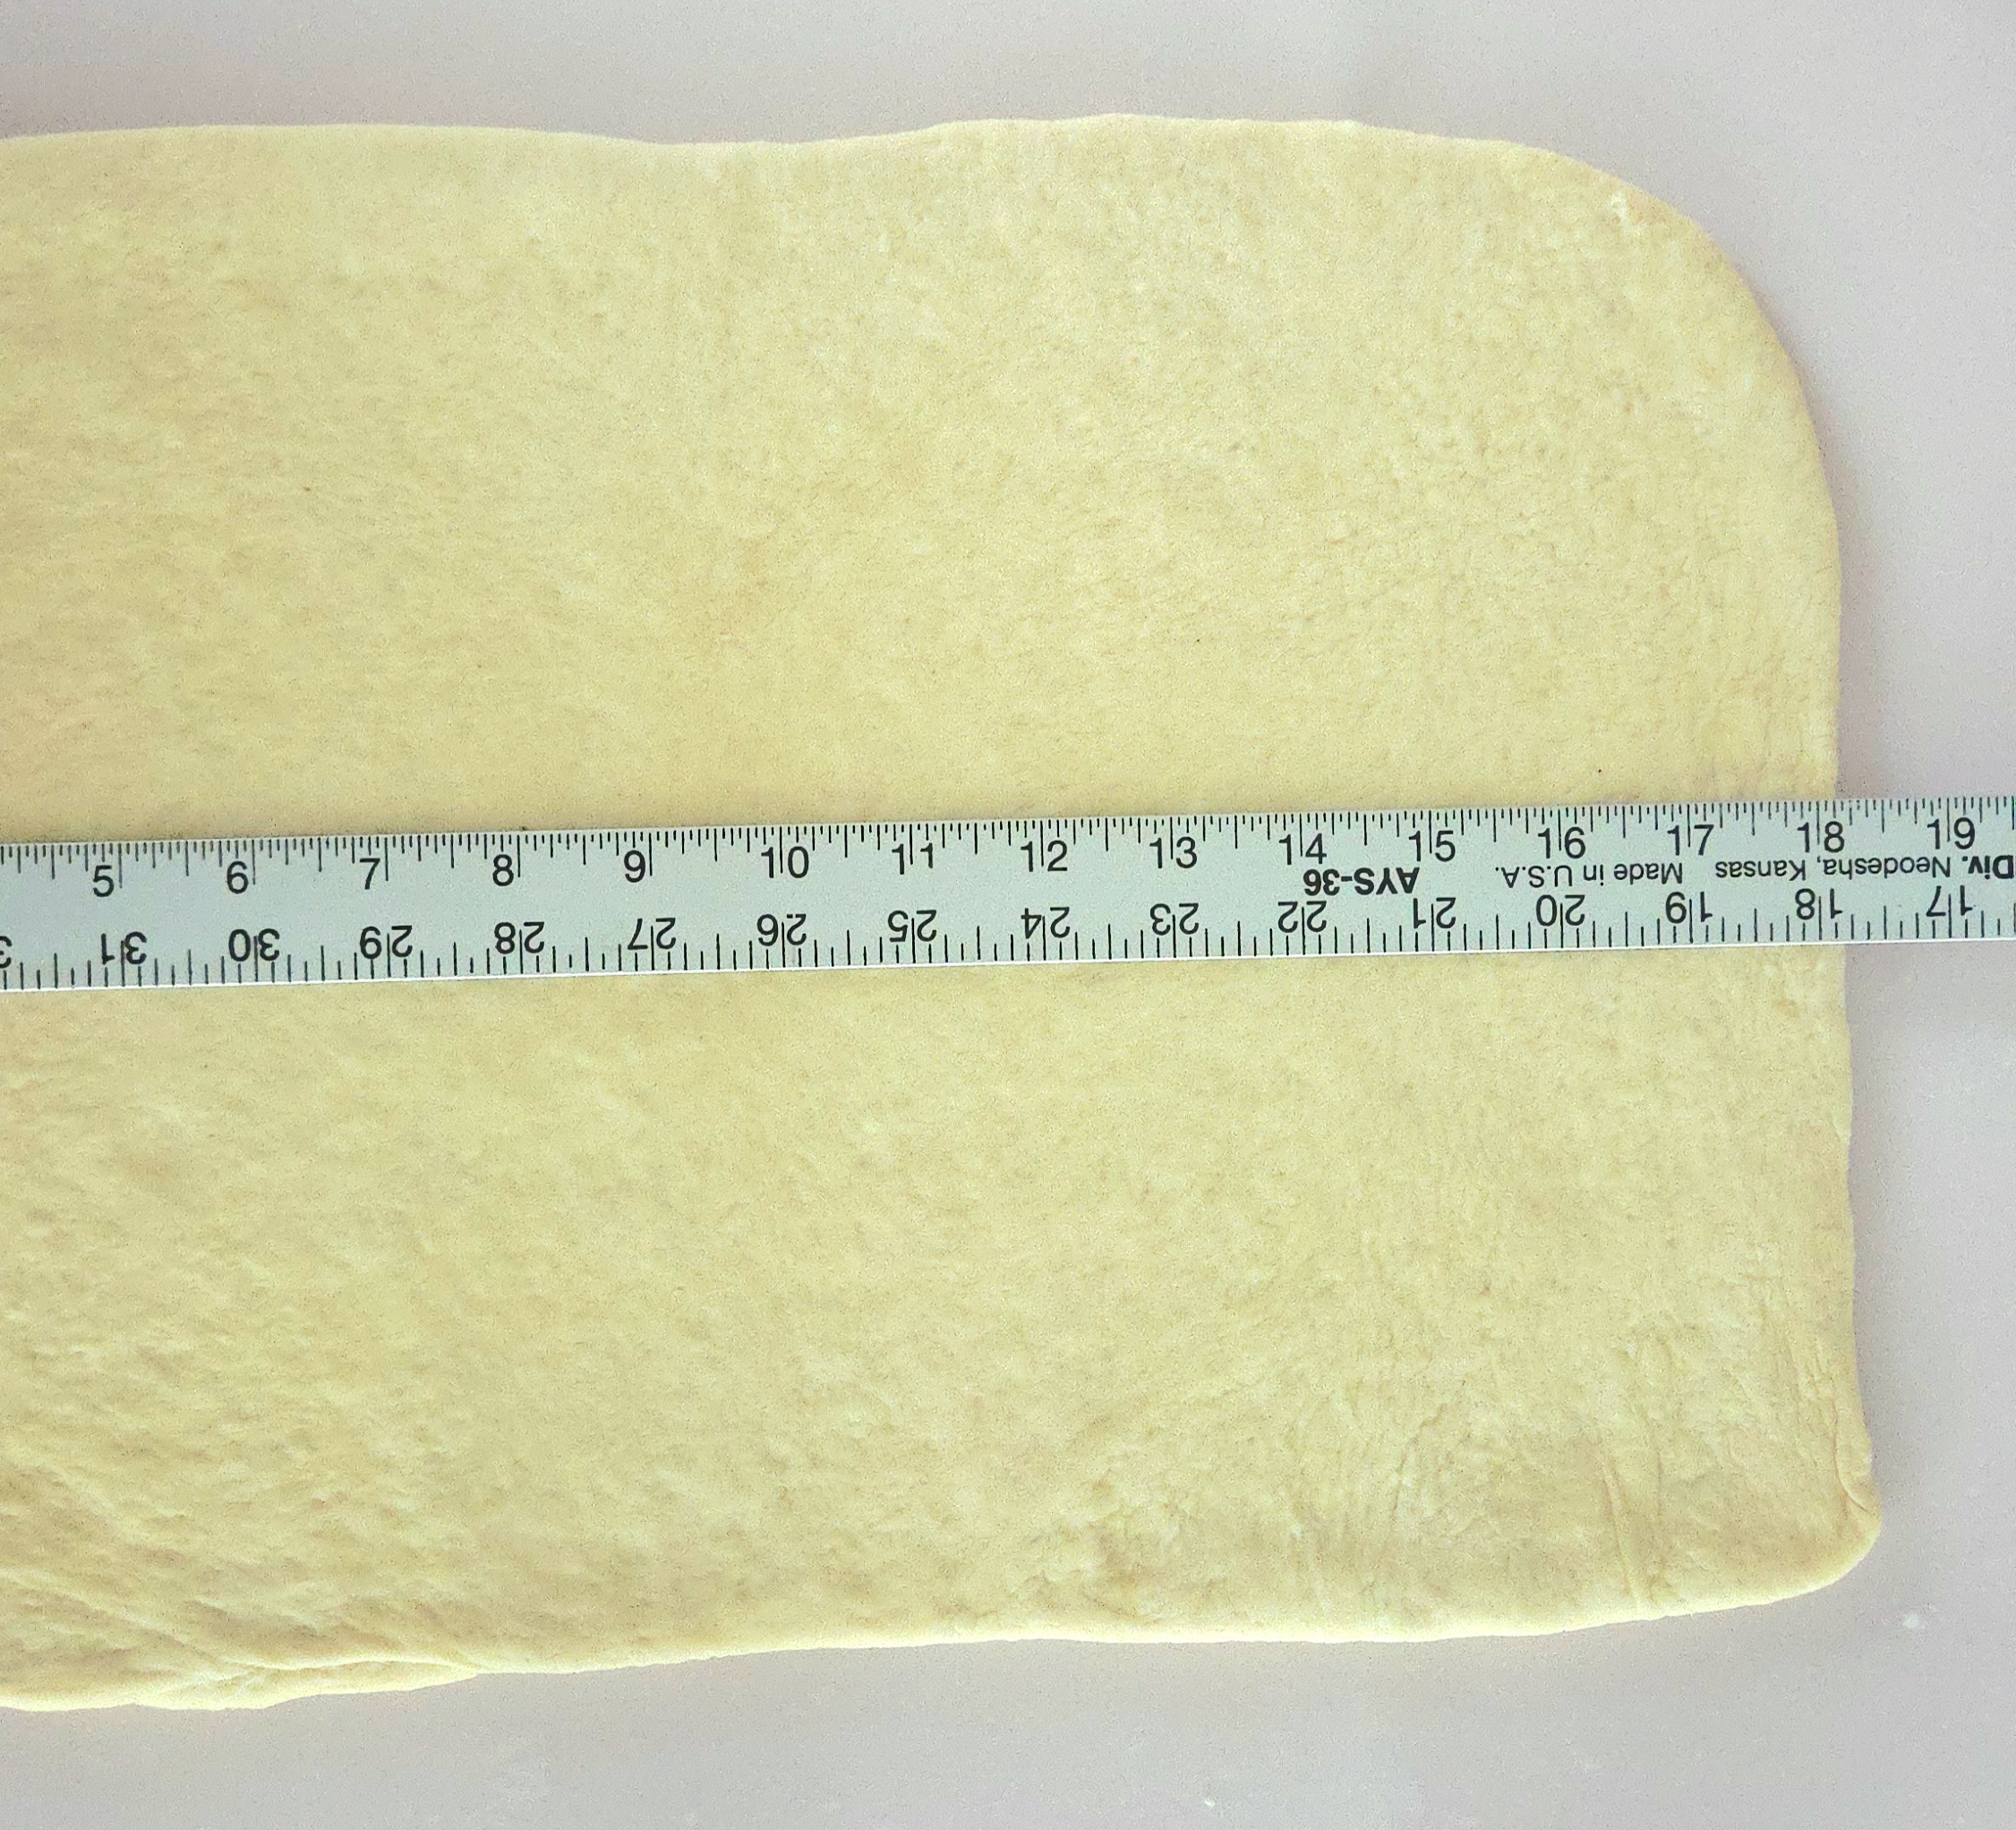
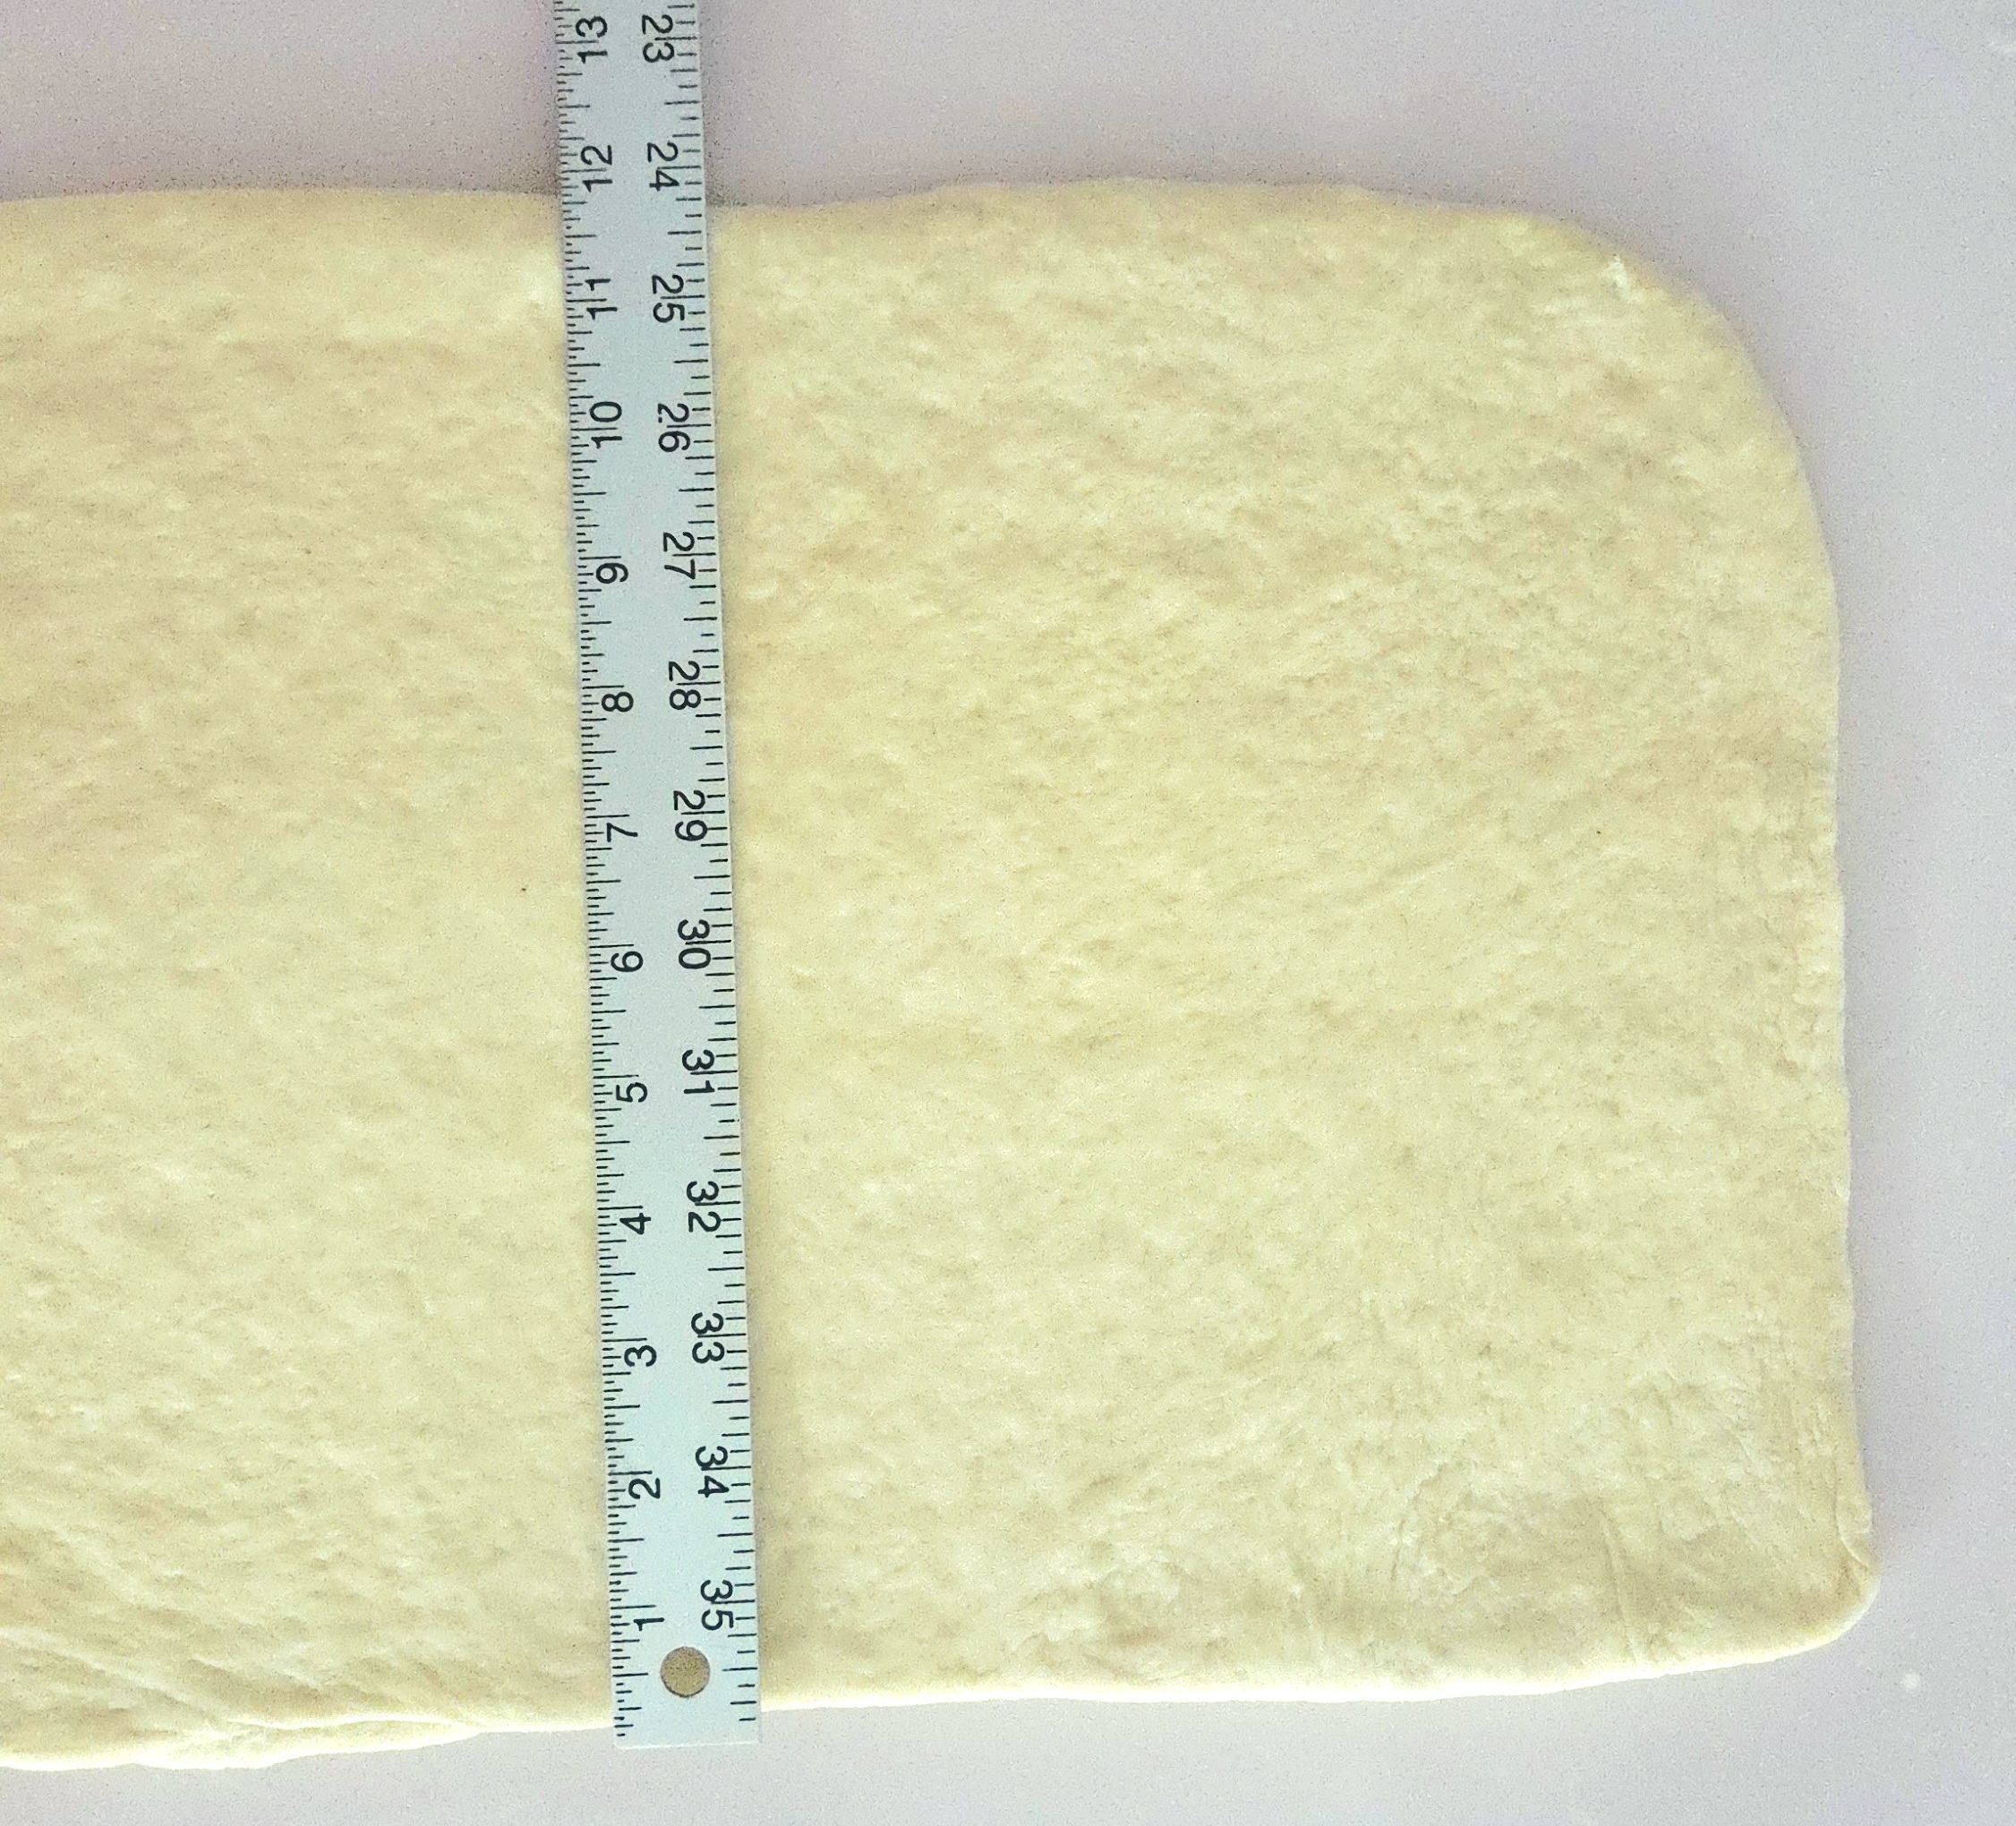
Portion out the dough. Cut it in half along the 12 inch side, then cut the 18 inch side into 6 pieces. I like to do this by starting in half, then cutting each of those halves into thirds. Or, if you want to get more specific with your measurements, you can use a ruler to tick off every 3 inches. Make sure you’re cutting bluntly into the dough using either a knife or bench scraper, not dragging it. Each piece should measure approximately 6×3 inches.
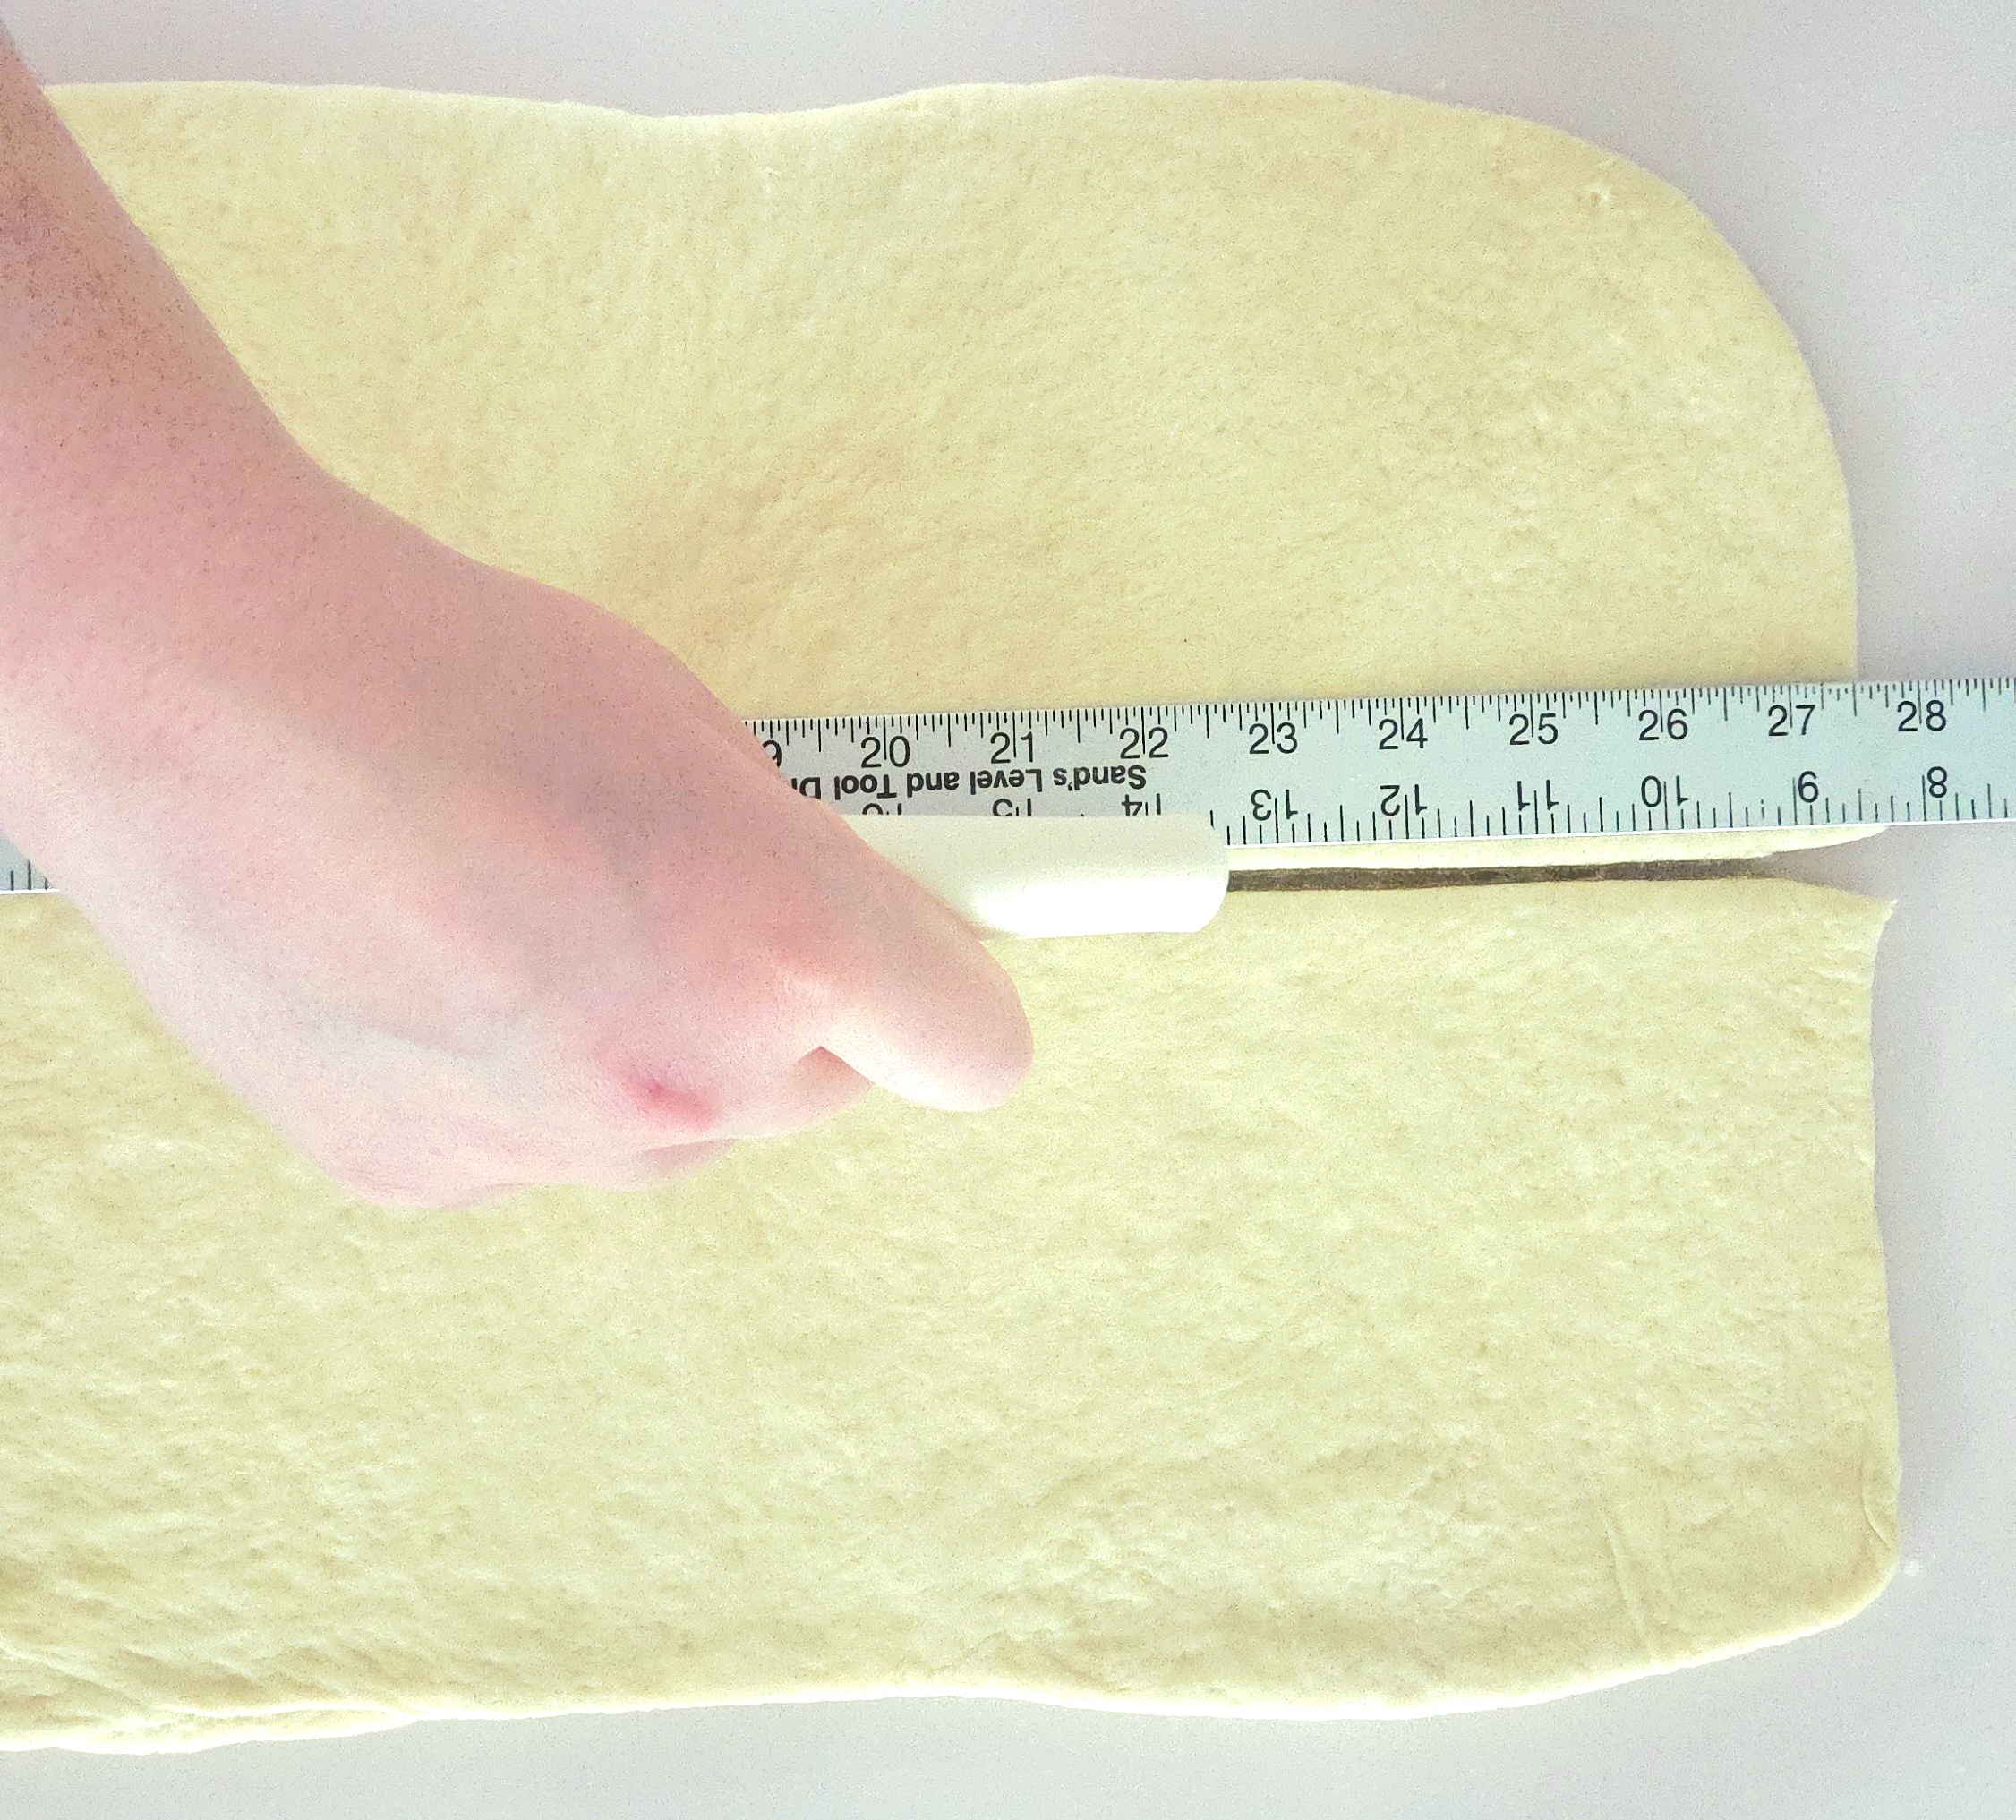
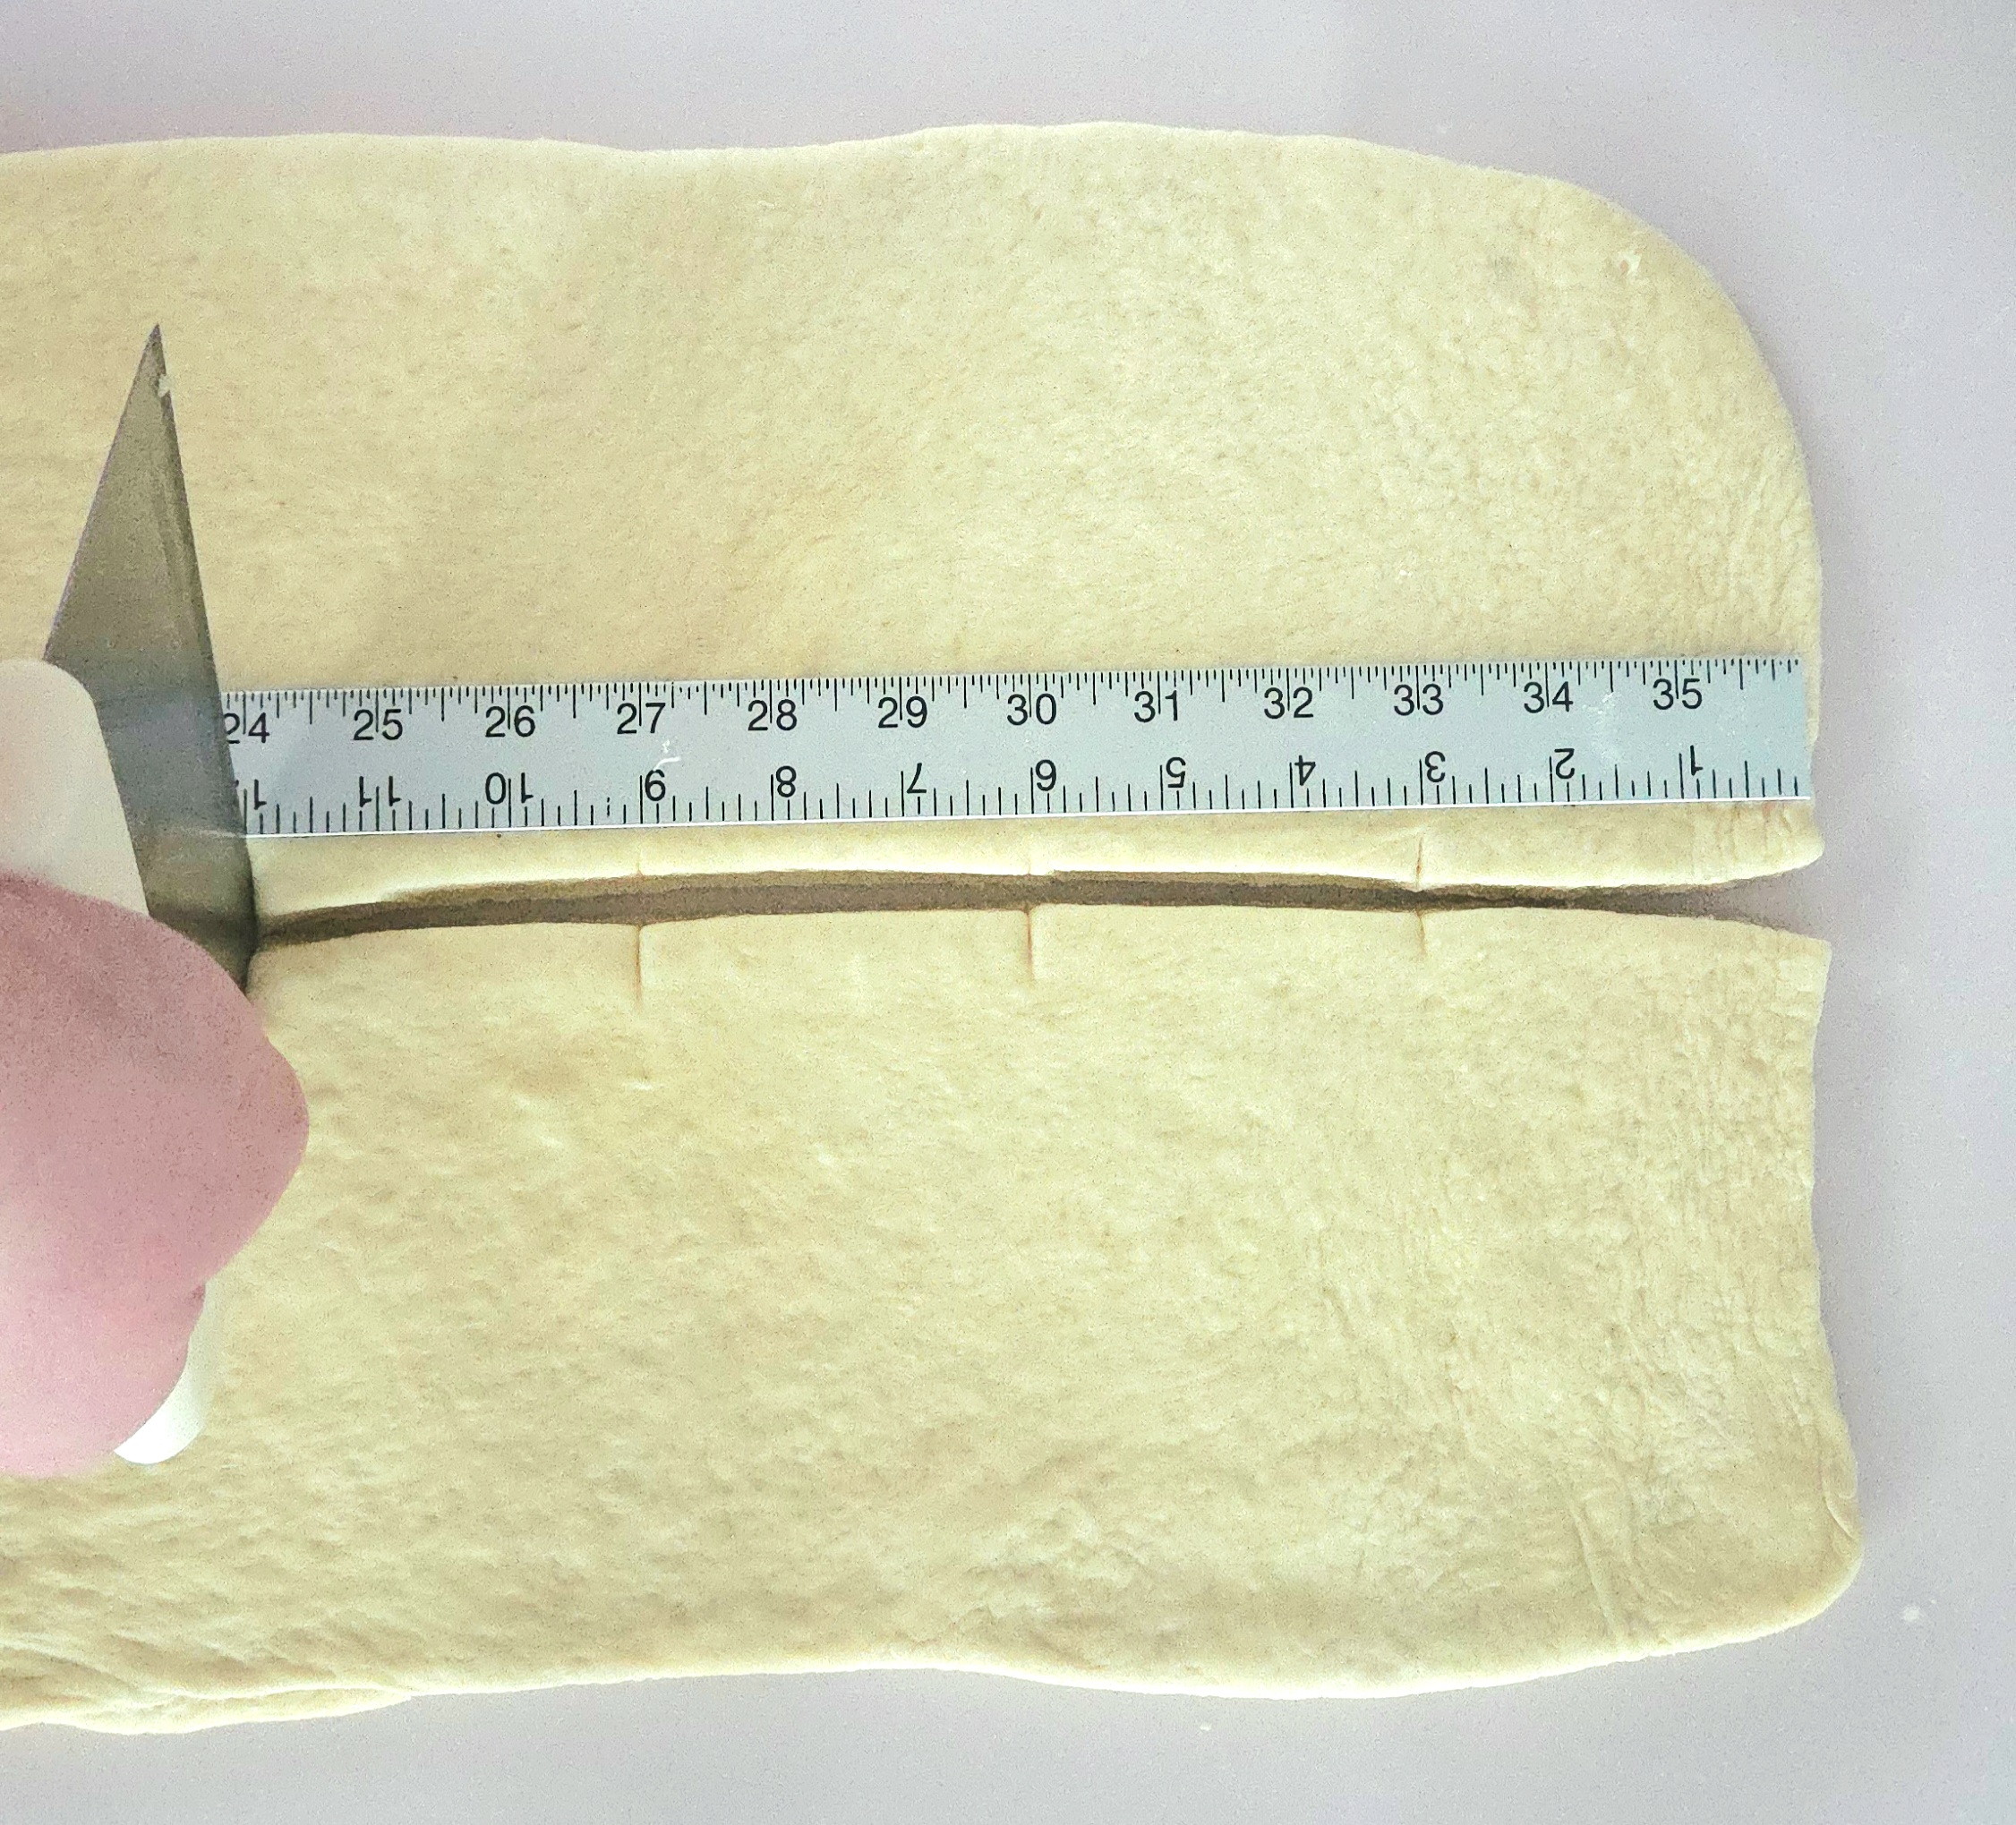
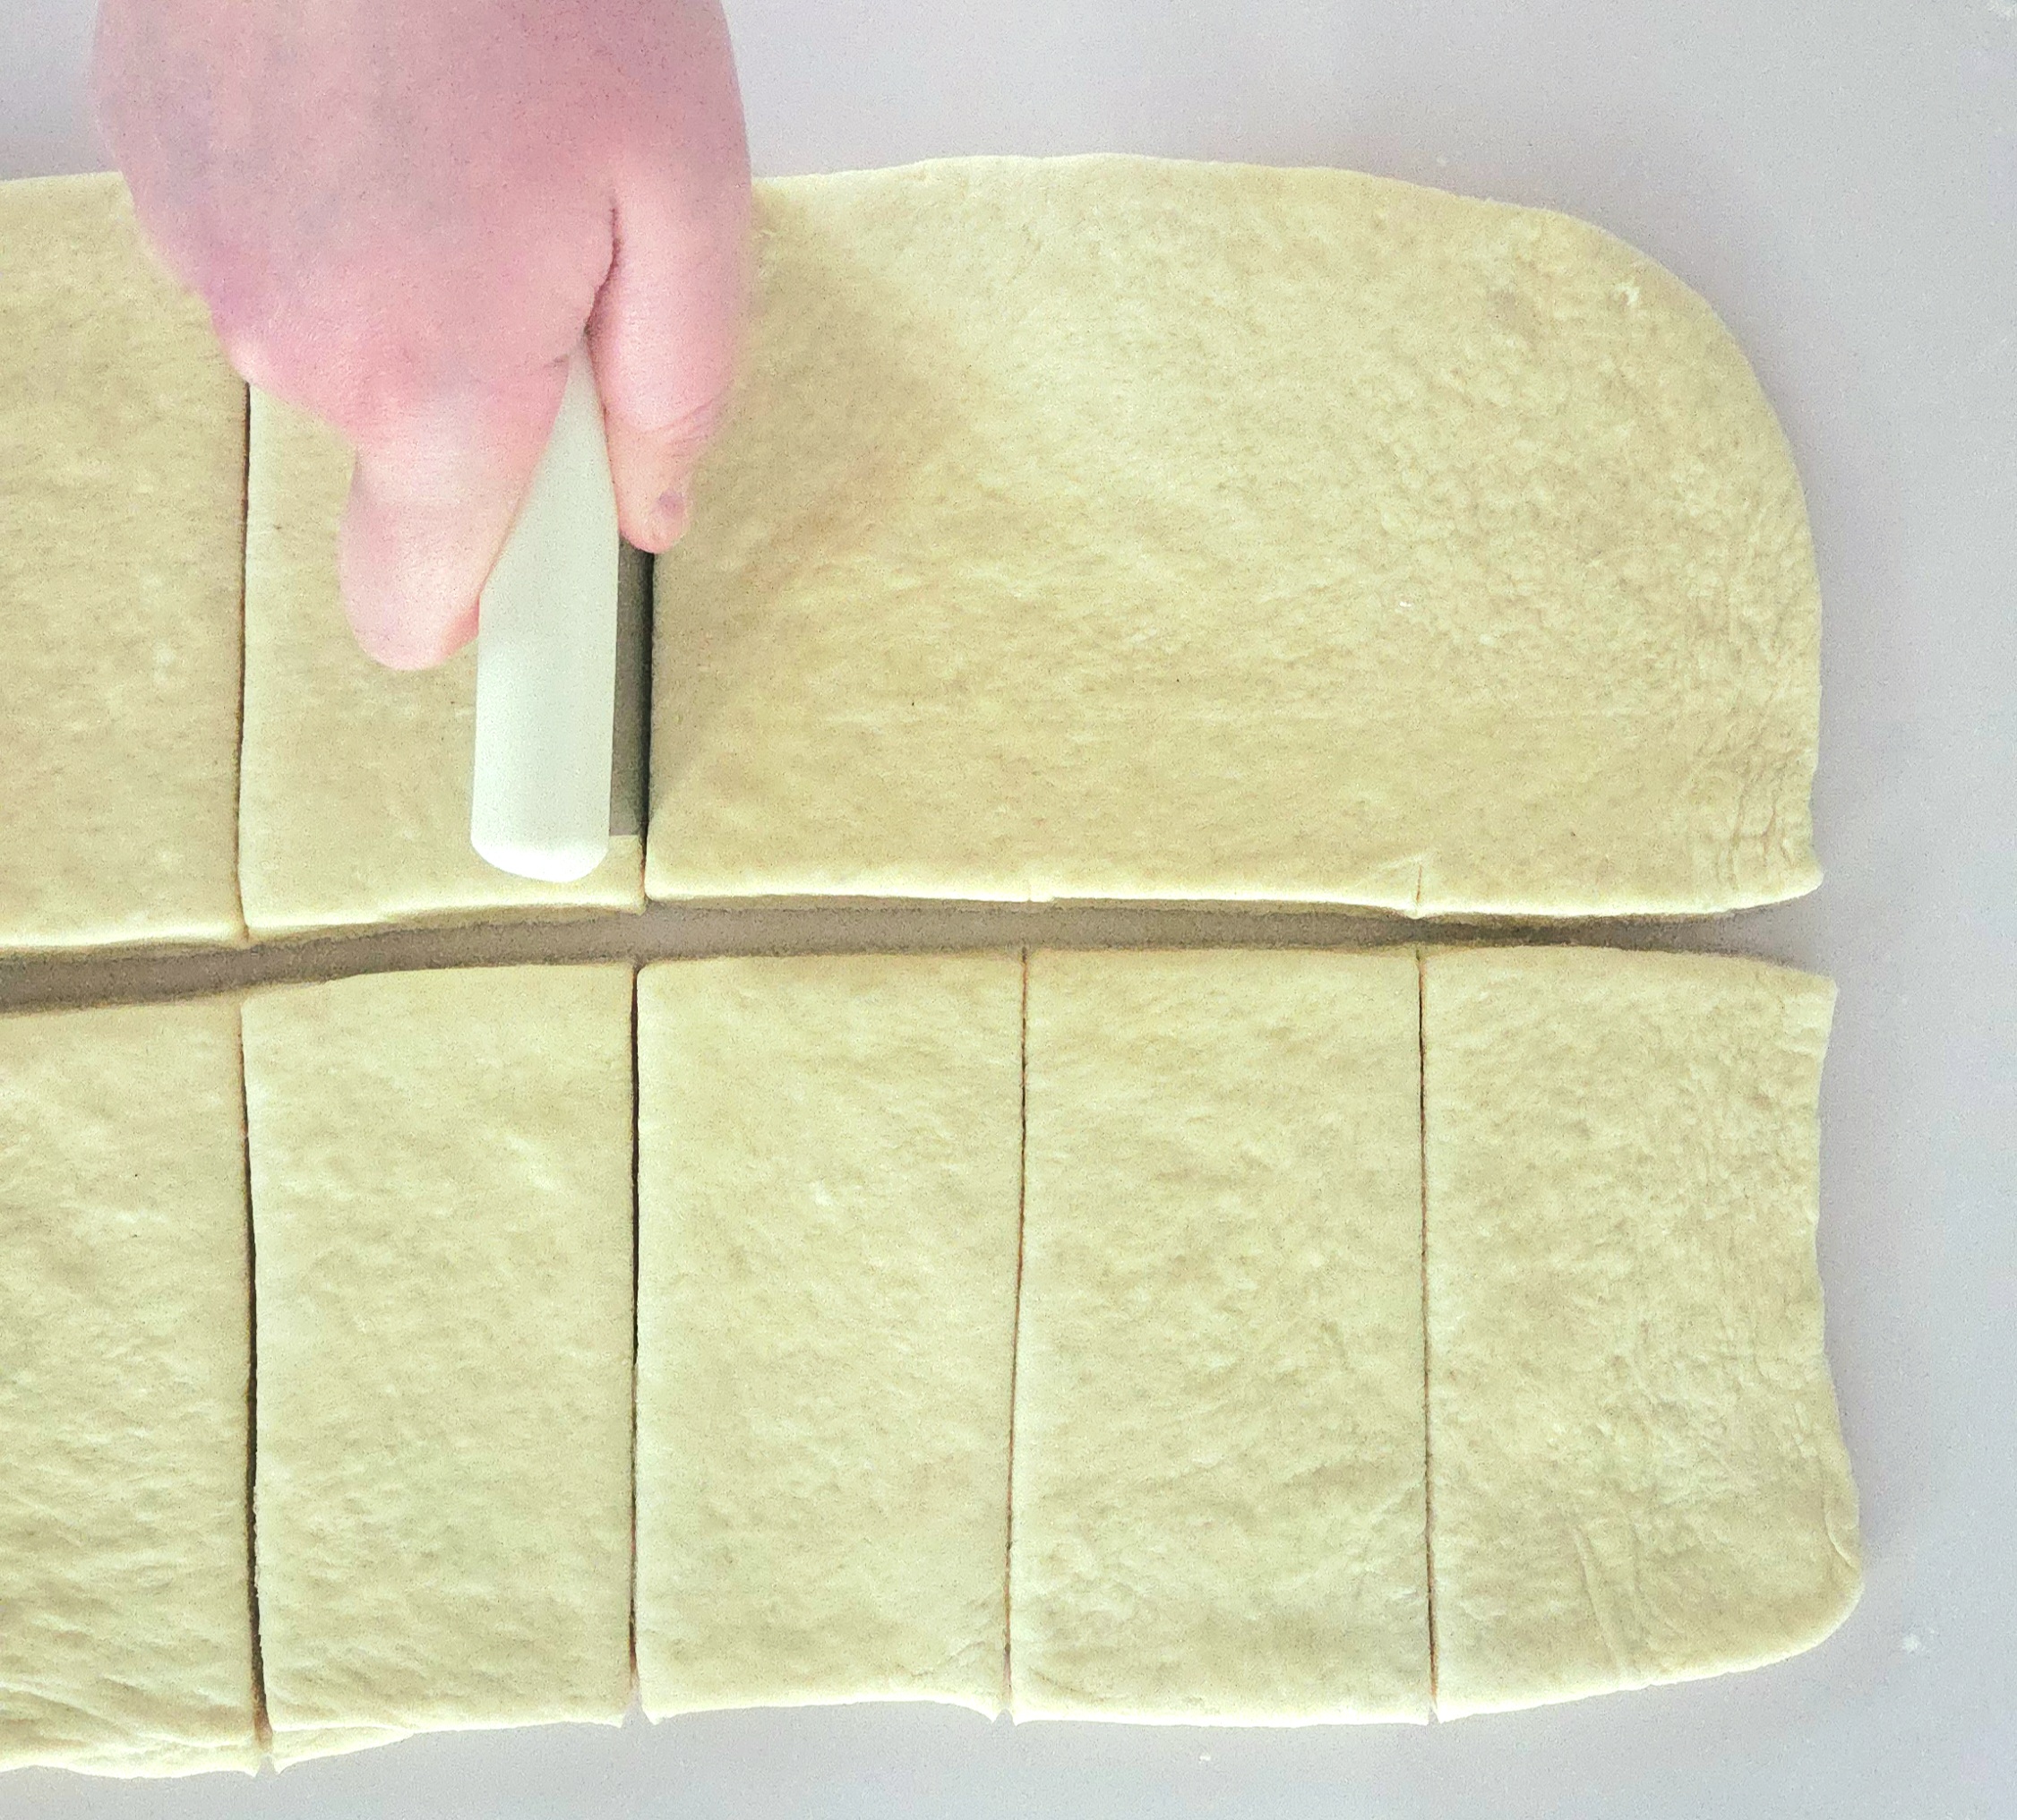
If the dough has gotten a bit warm at this point, place all of the pieces onto one of the baking sheets. Cover them with plastic and place them in the fridge for 30 minutes or so. Otherwise, take a section of the chocolate you cut earlier and place it in the center of one of the portions of dough. Fold the bottom flap of dough onto the chocolate, then the top half. Flip it over, so the croissant is seam side down.
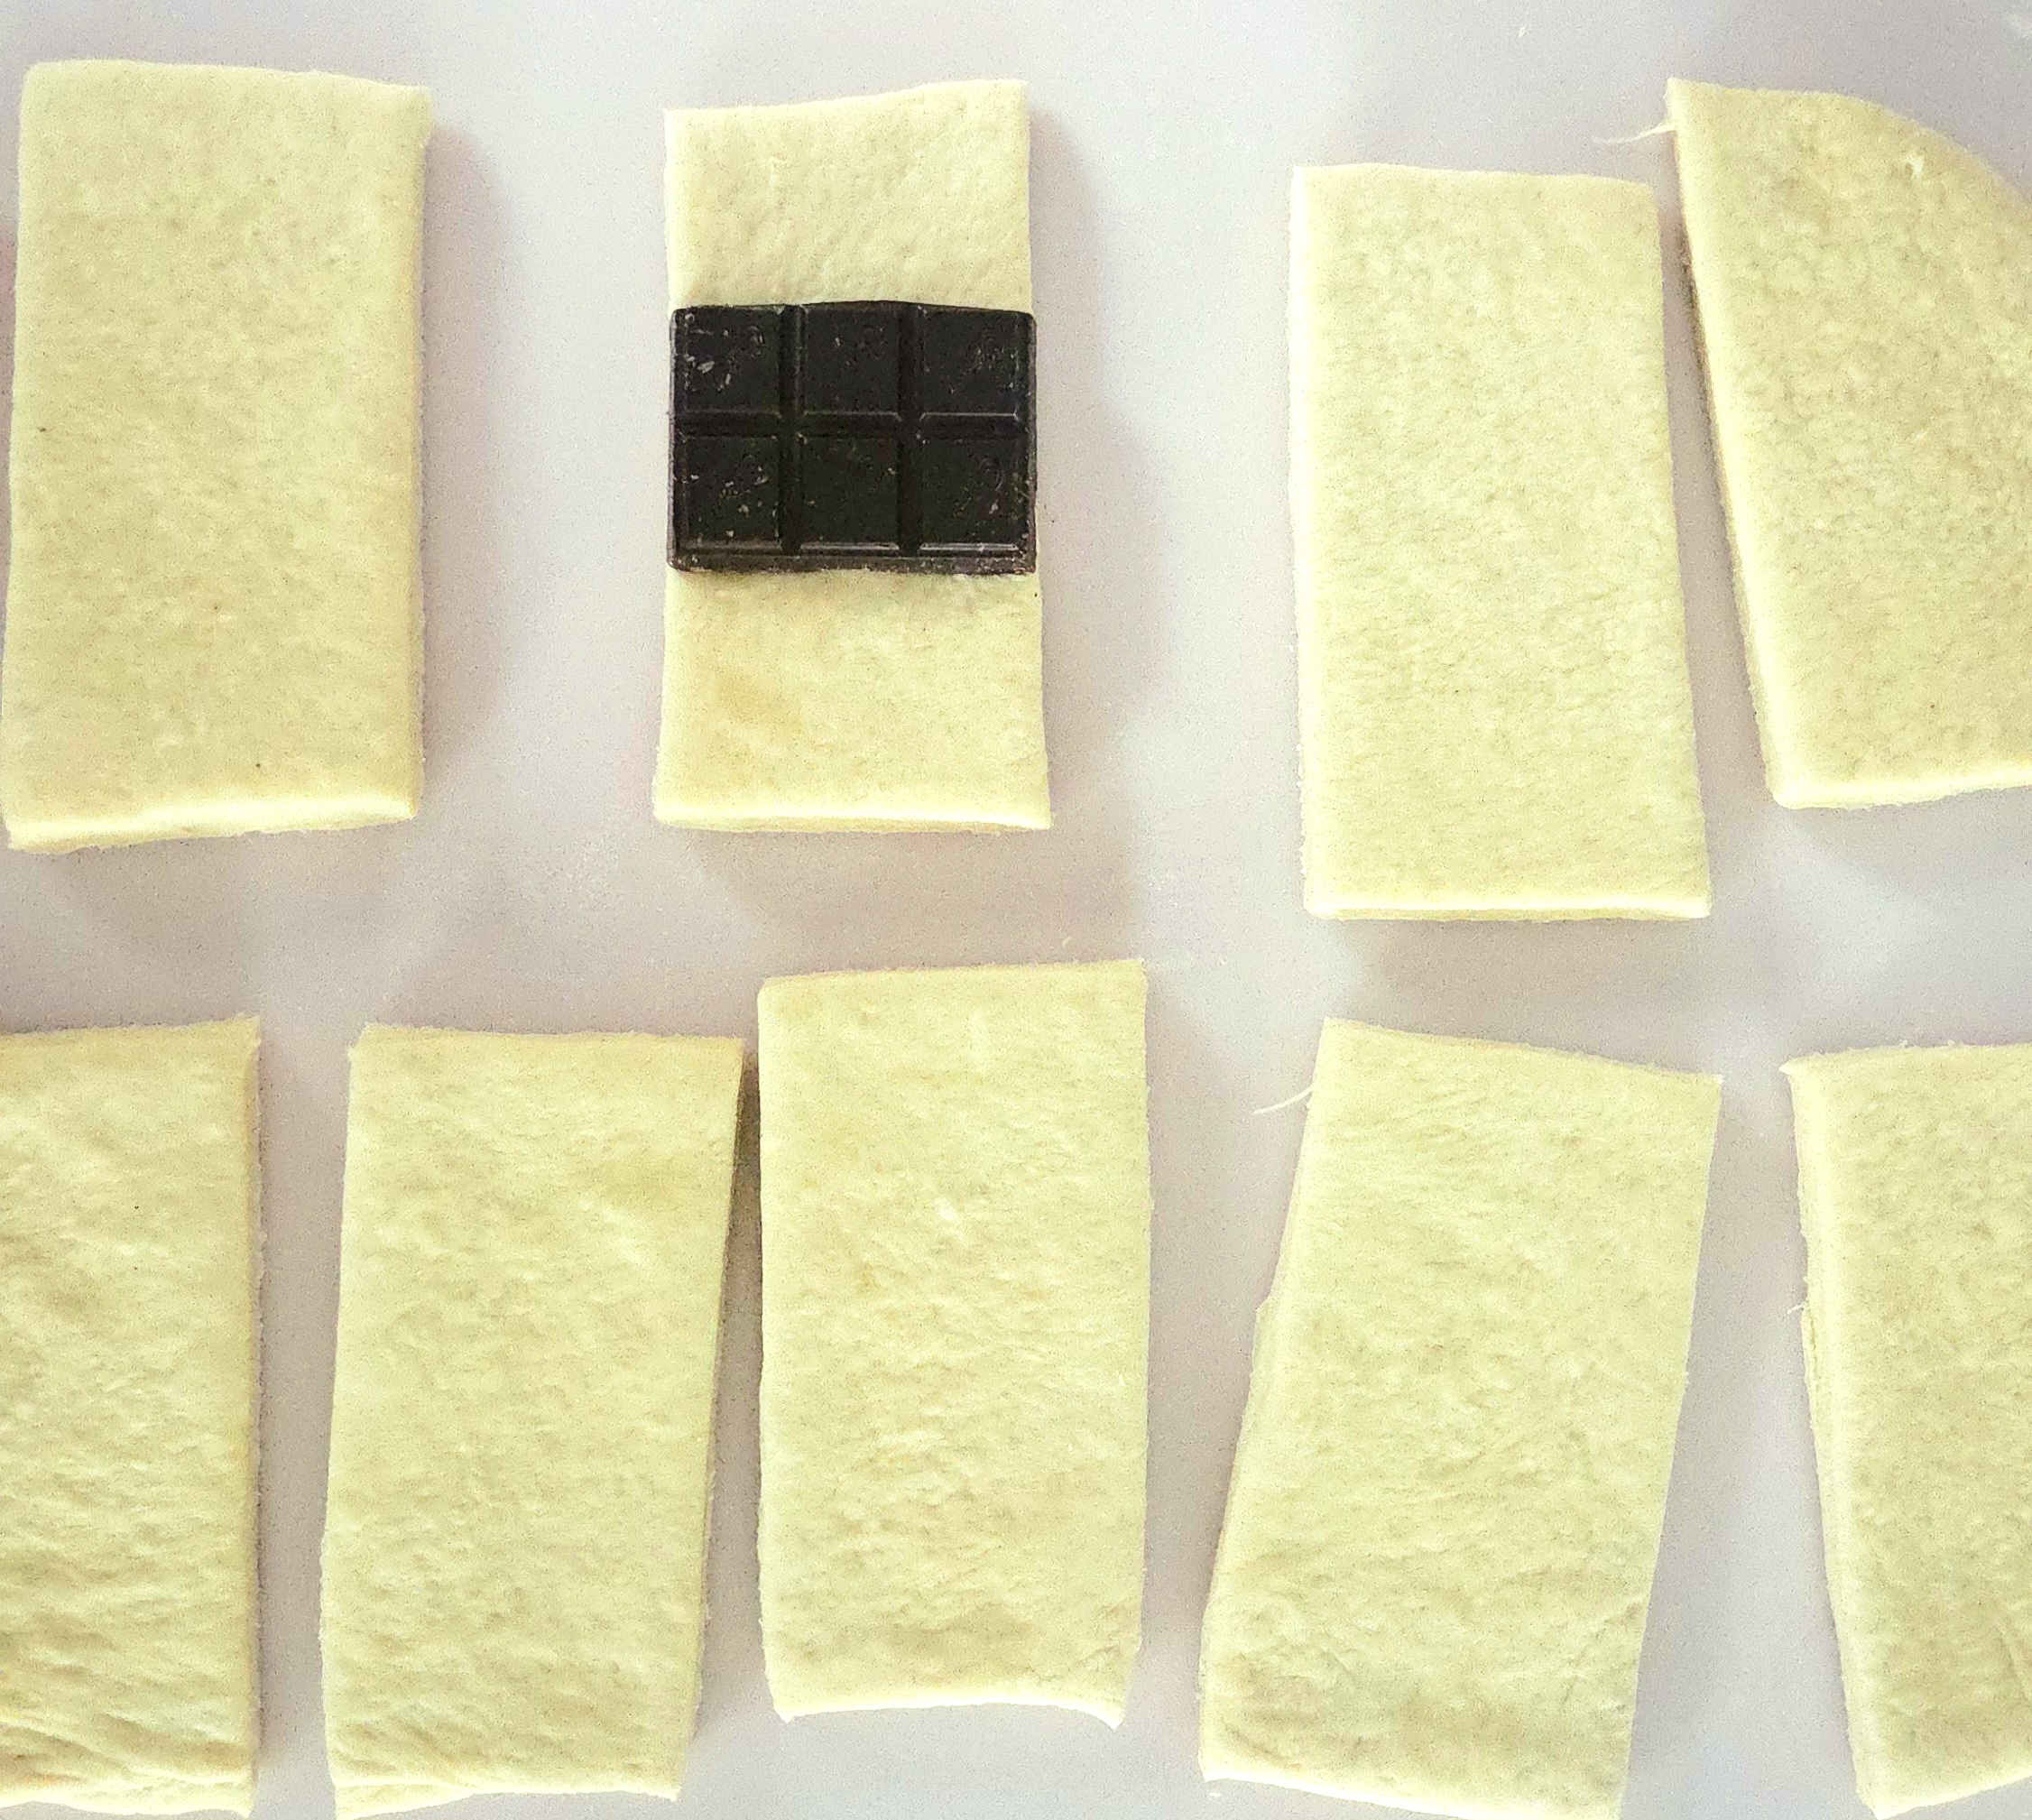
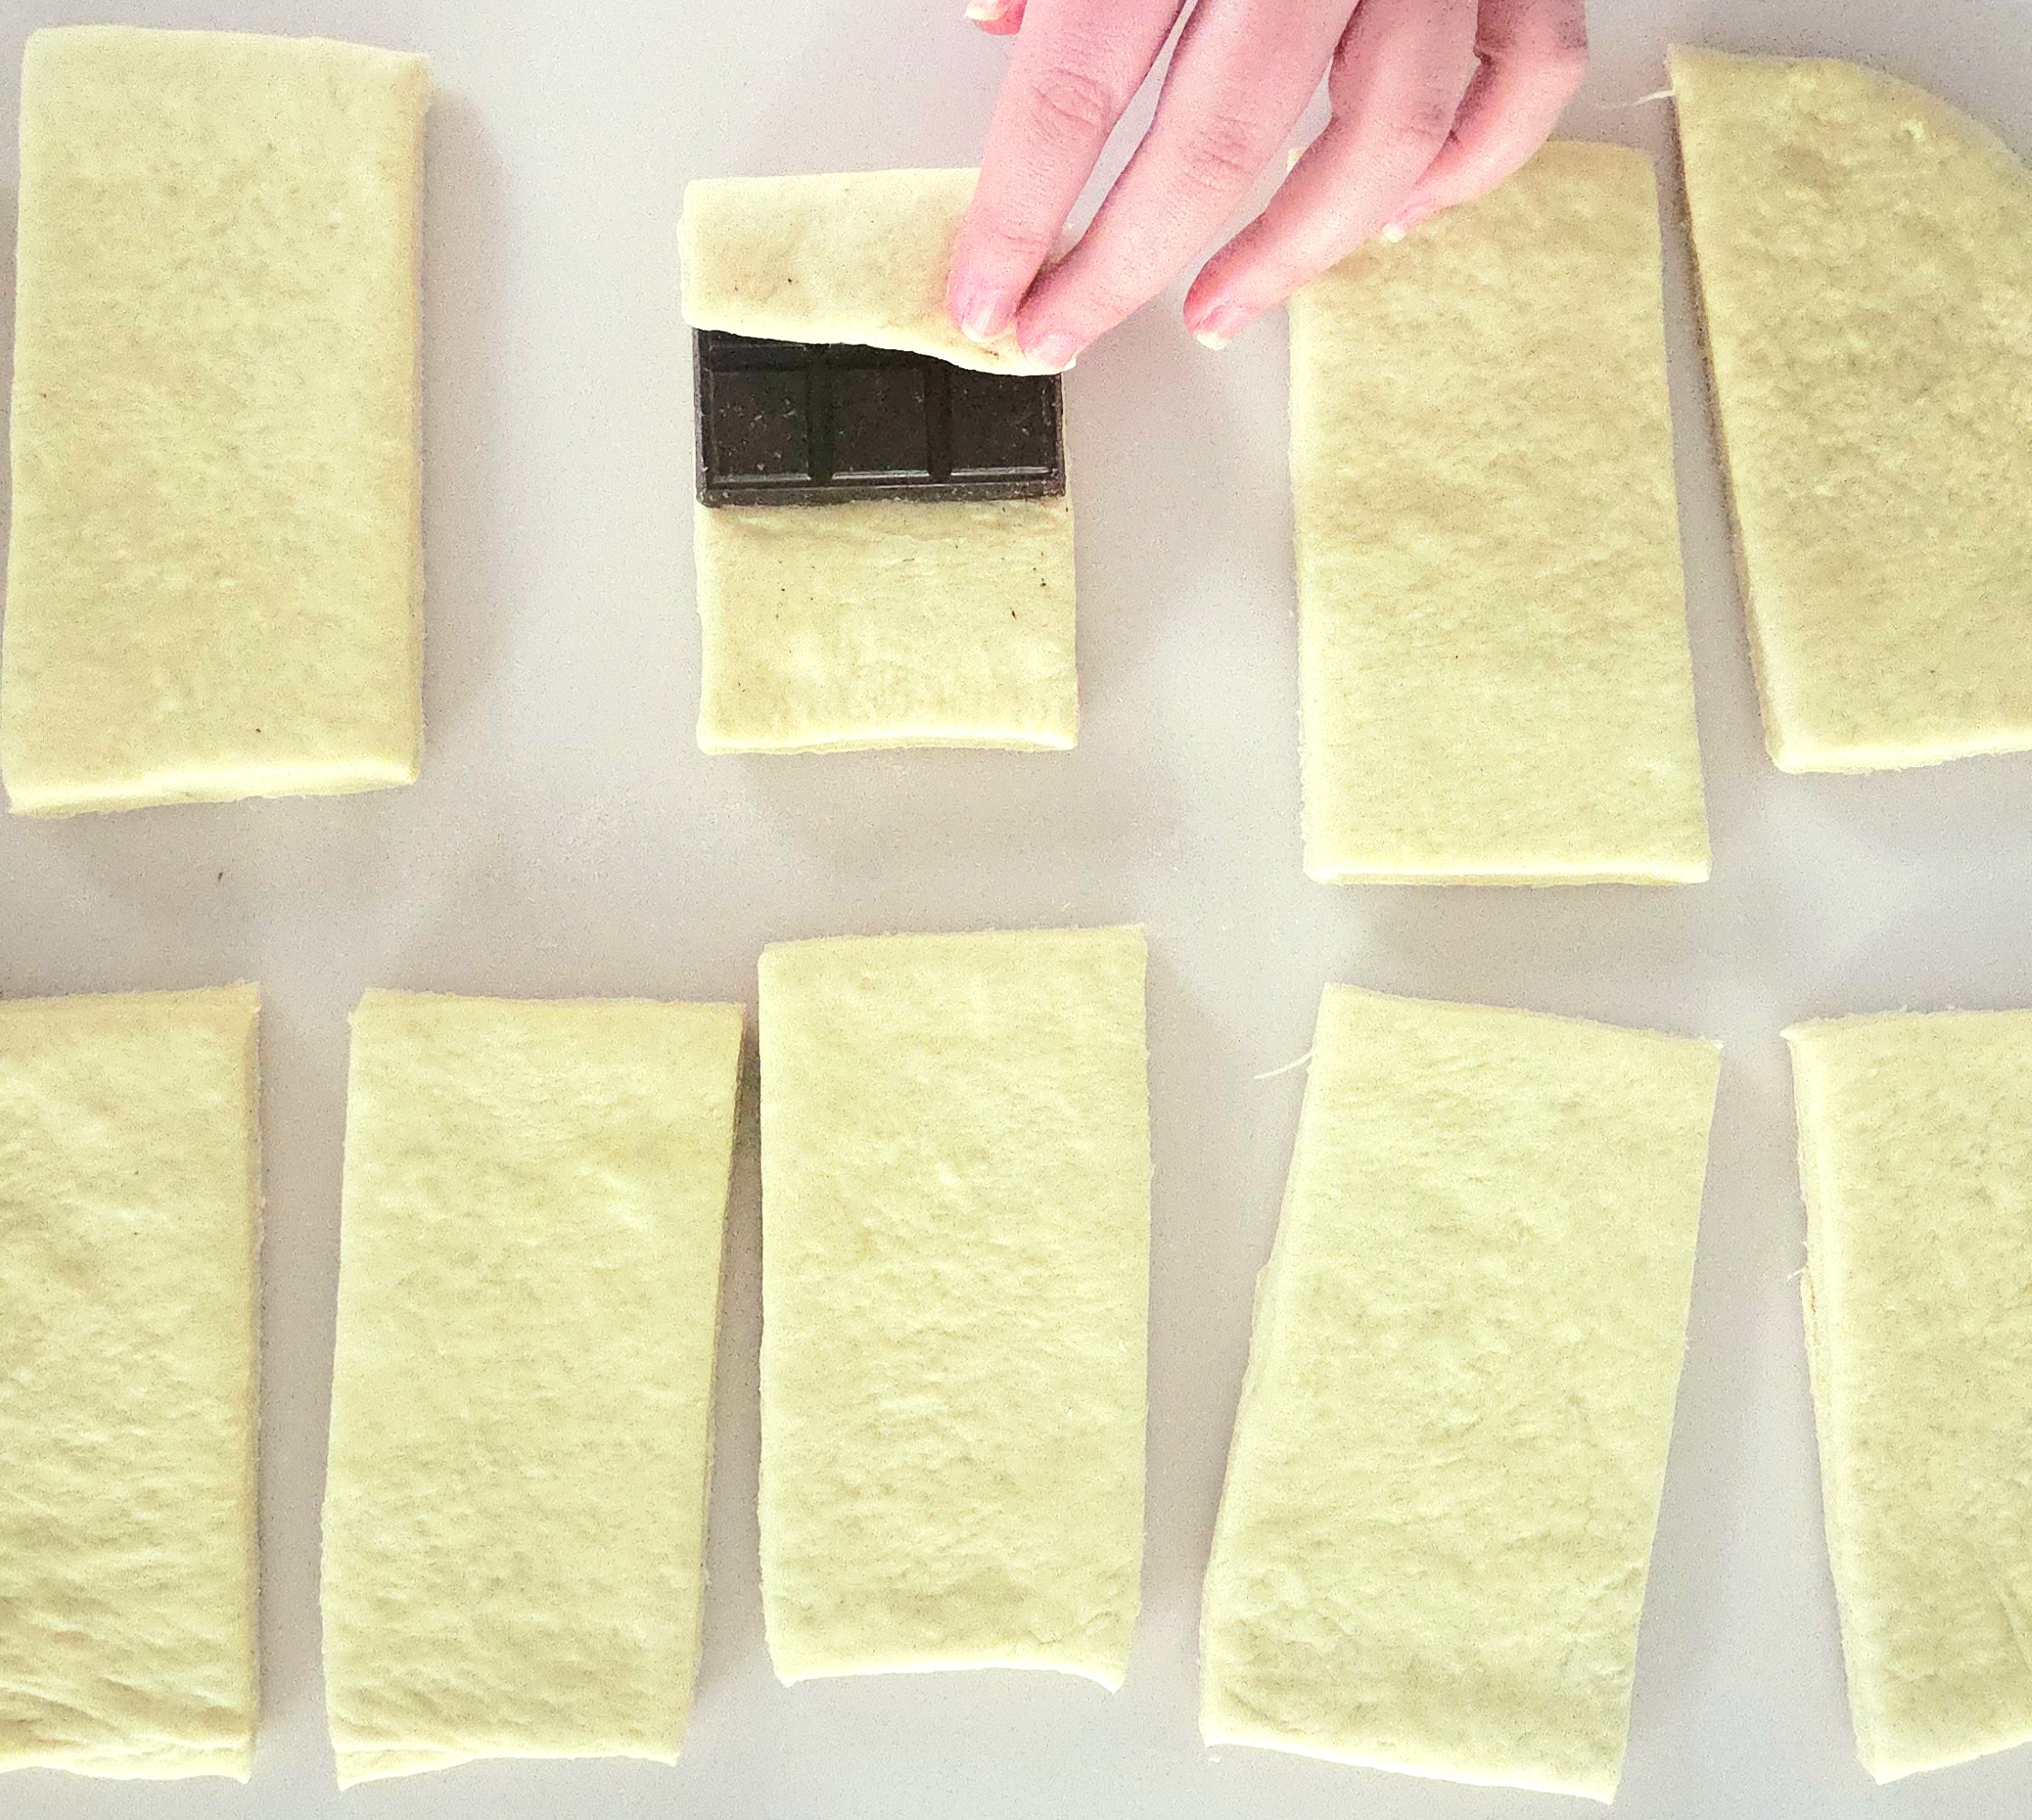
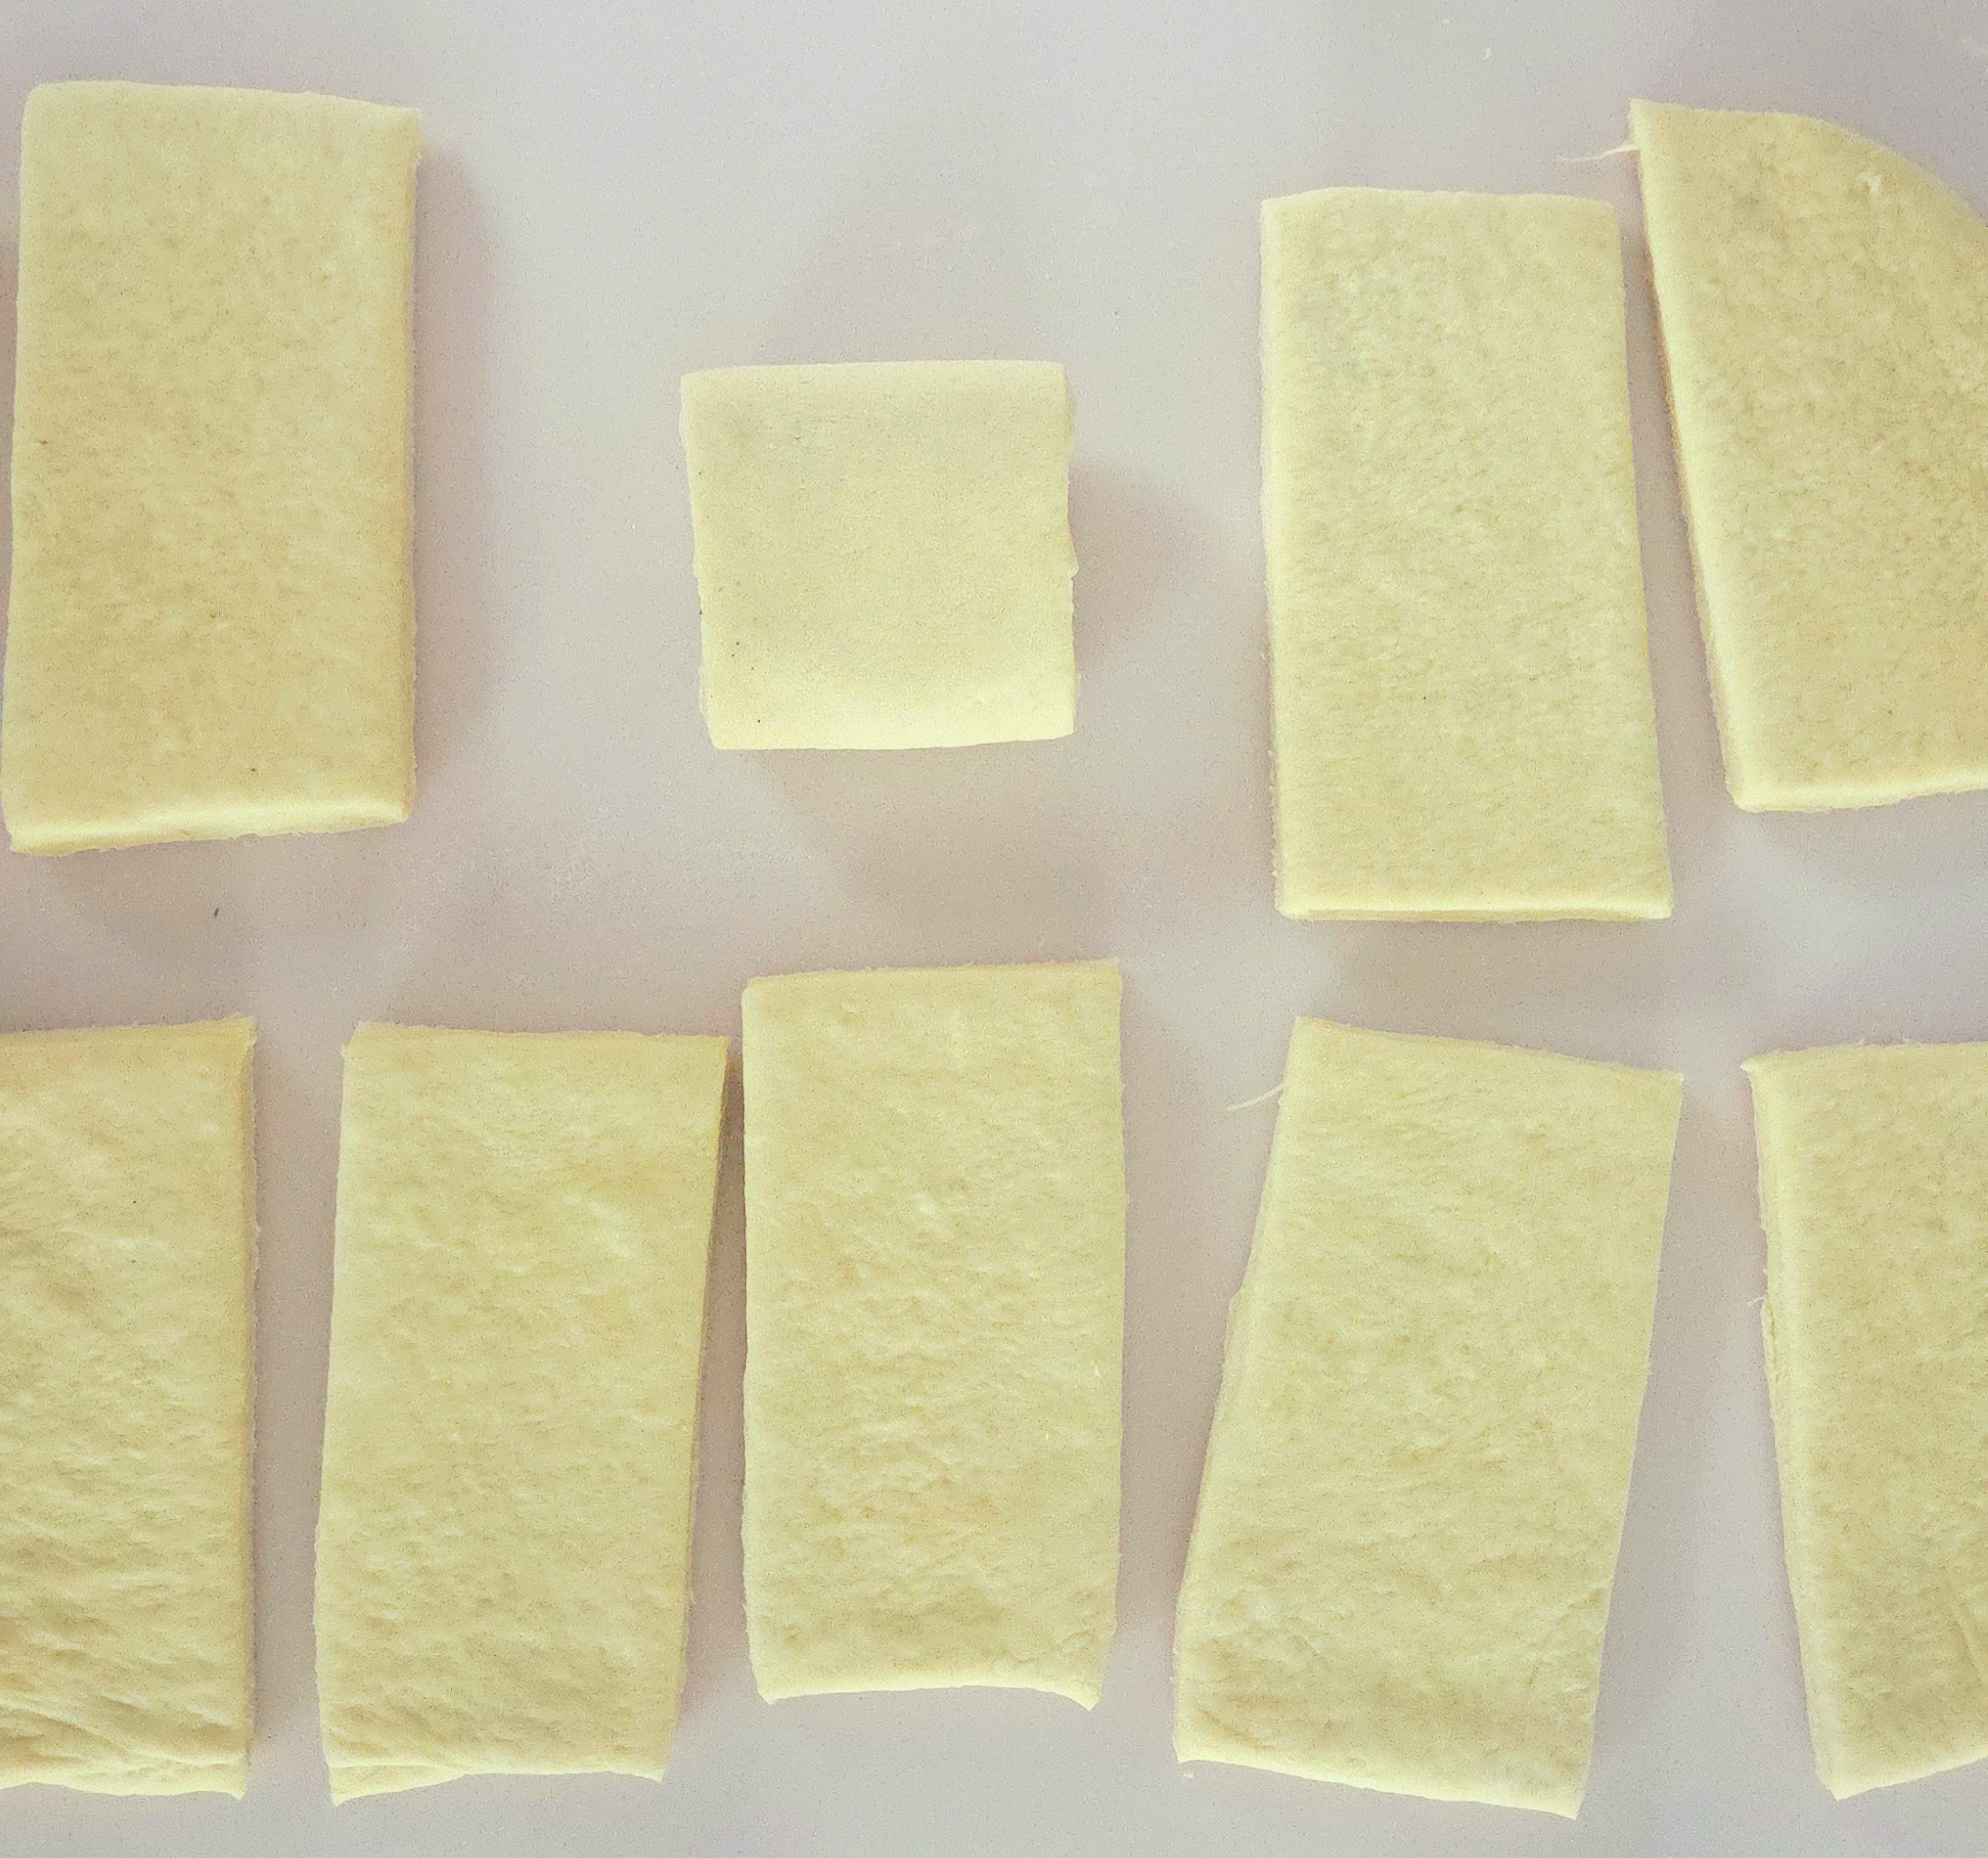
Repeat this process with the remaining croissants. Turn the warm oven off. Place 4 assembled pastries on each baking sheet, brush them with egg wash, then cover them with plastic wrap. Stick the pans into the warmed oven and let the pain au chocolat proof for 1-2 hours, until they’ve just about doubled in size.
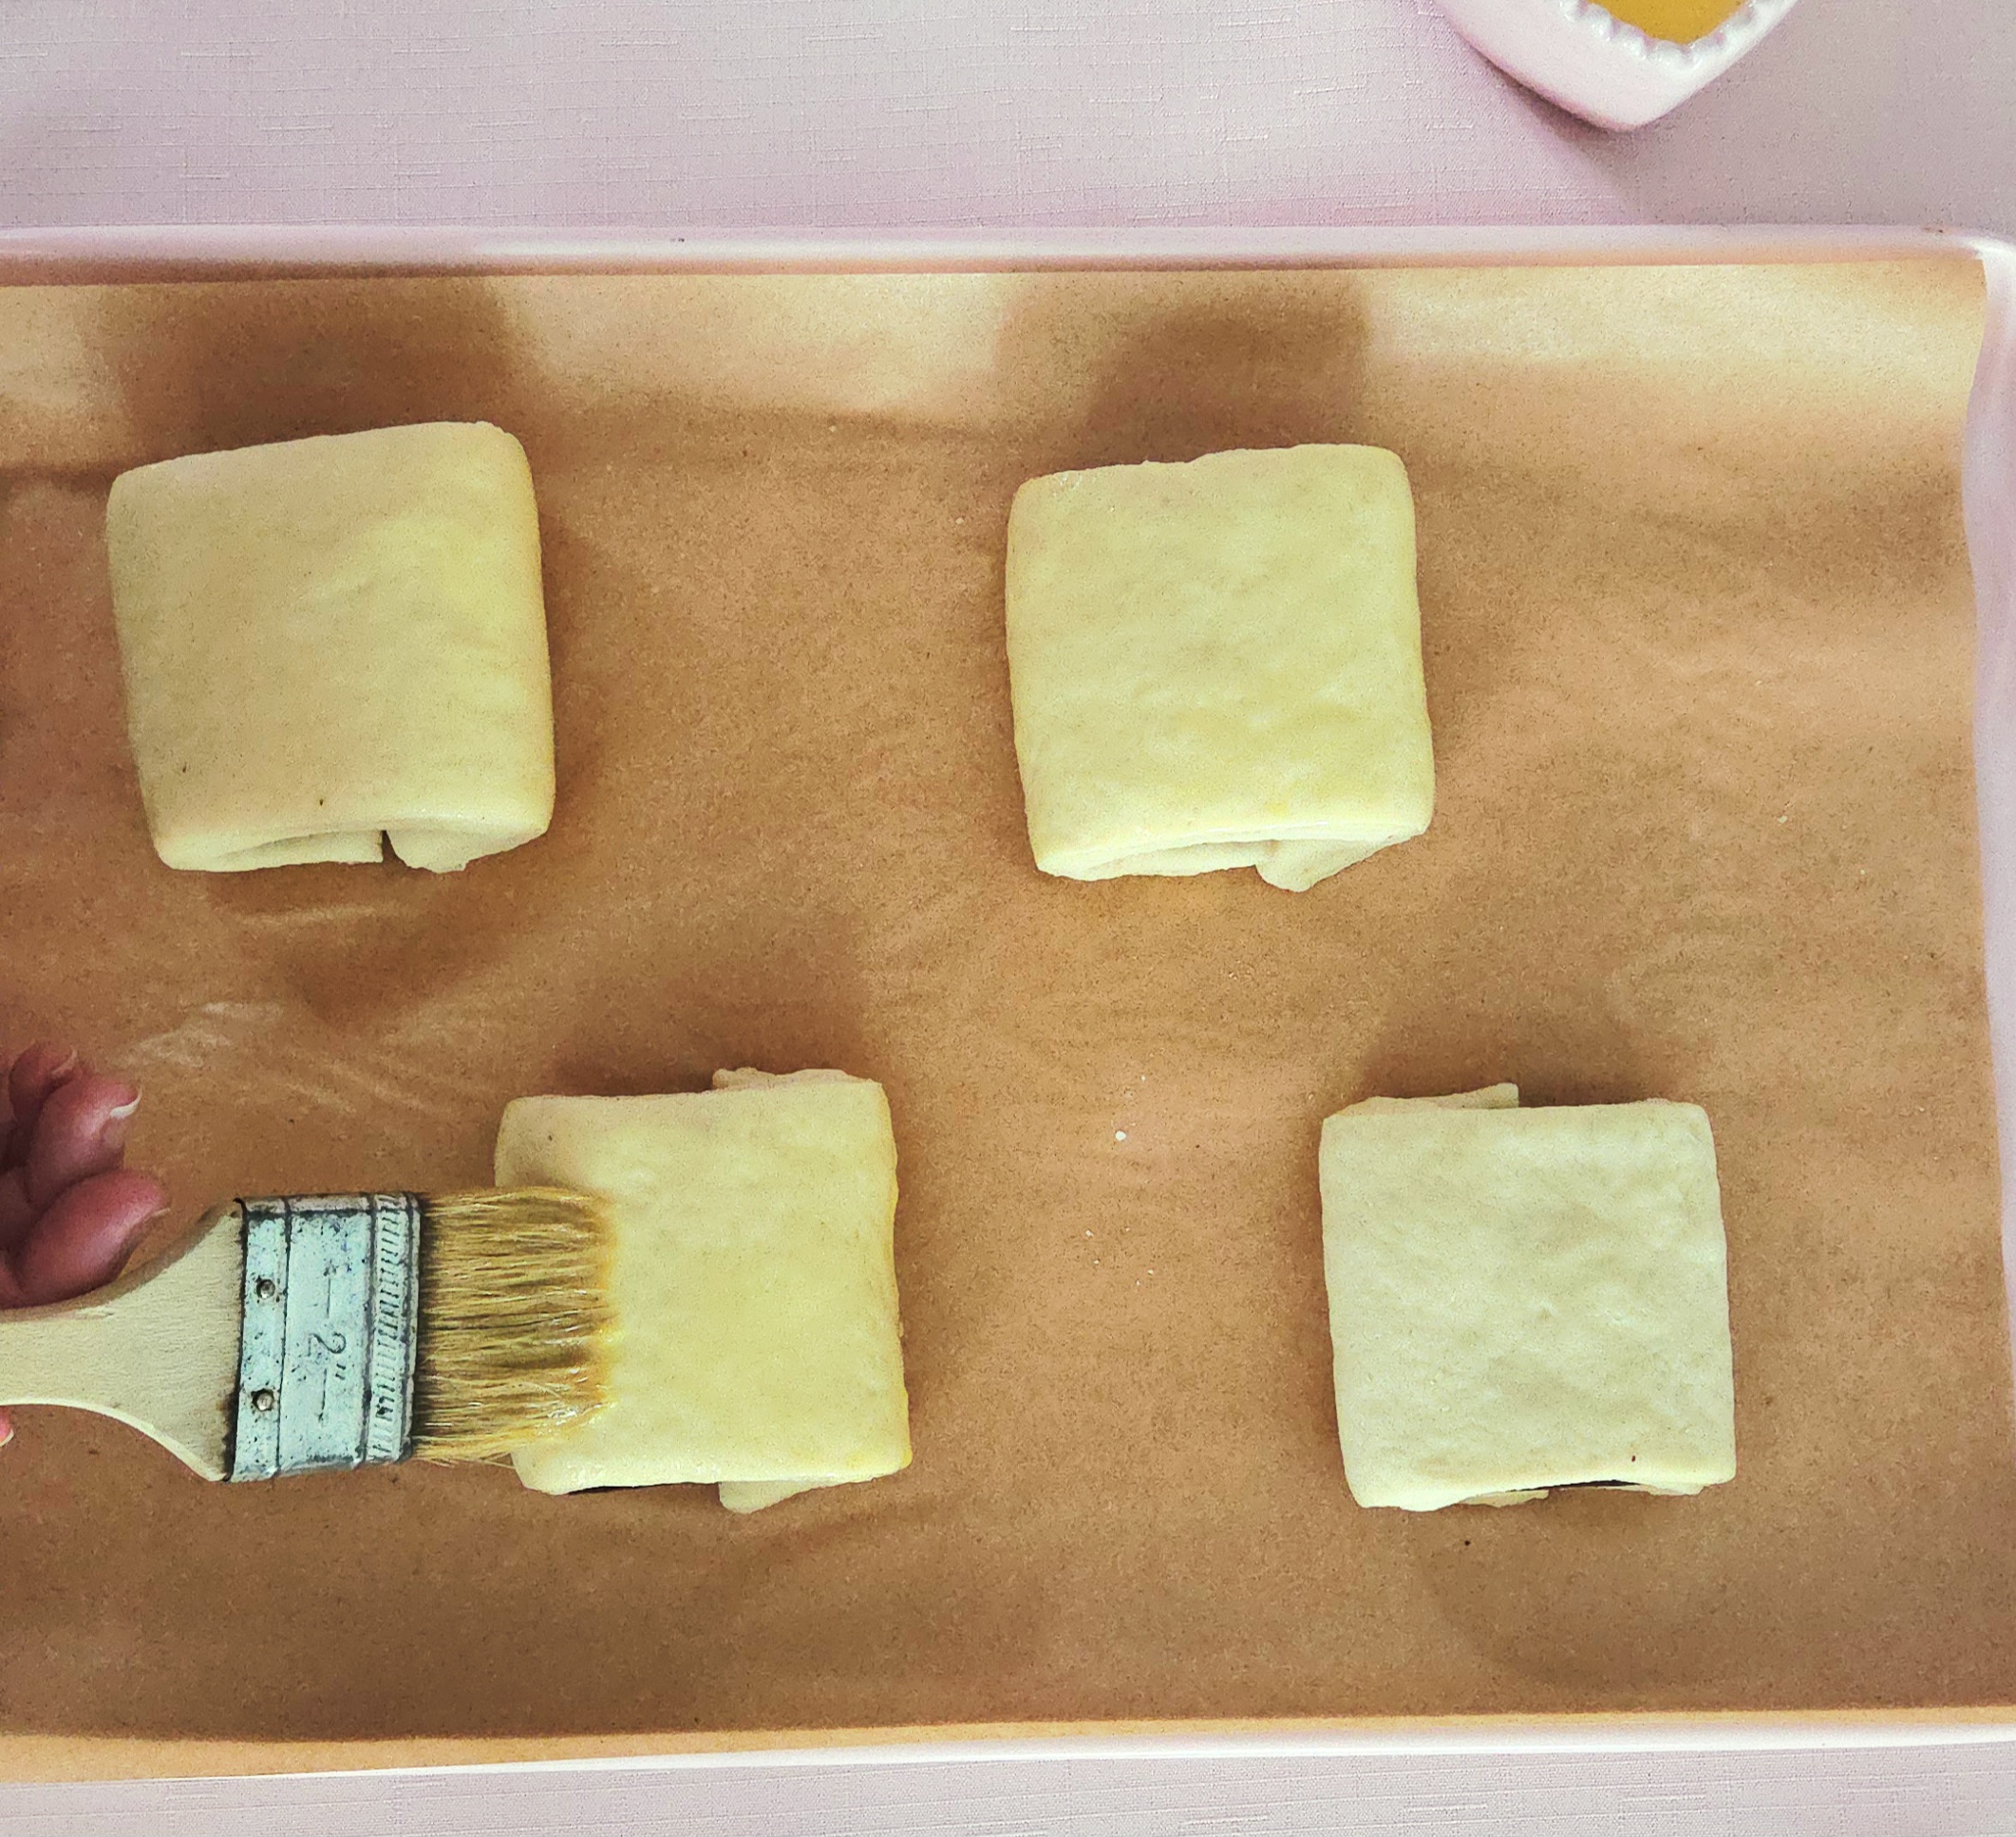
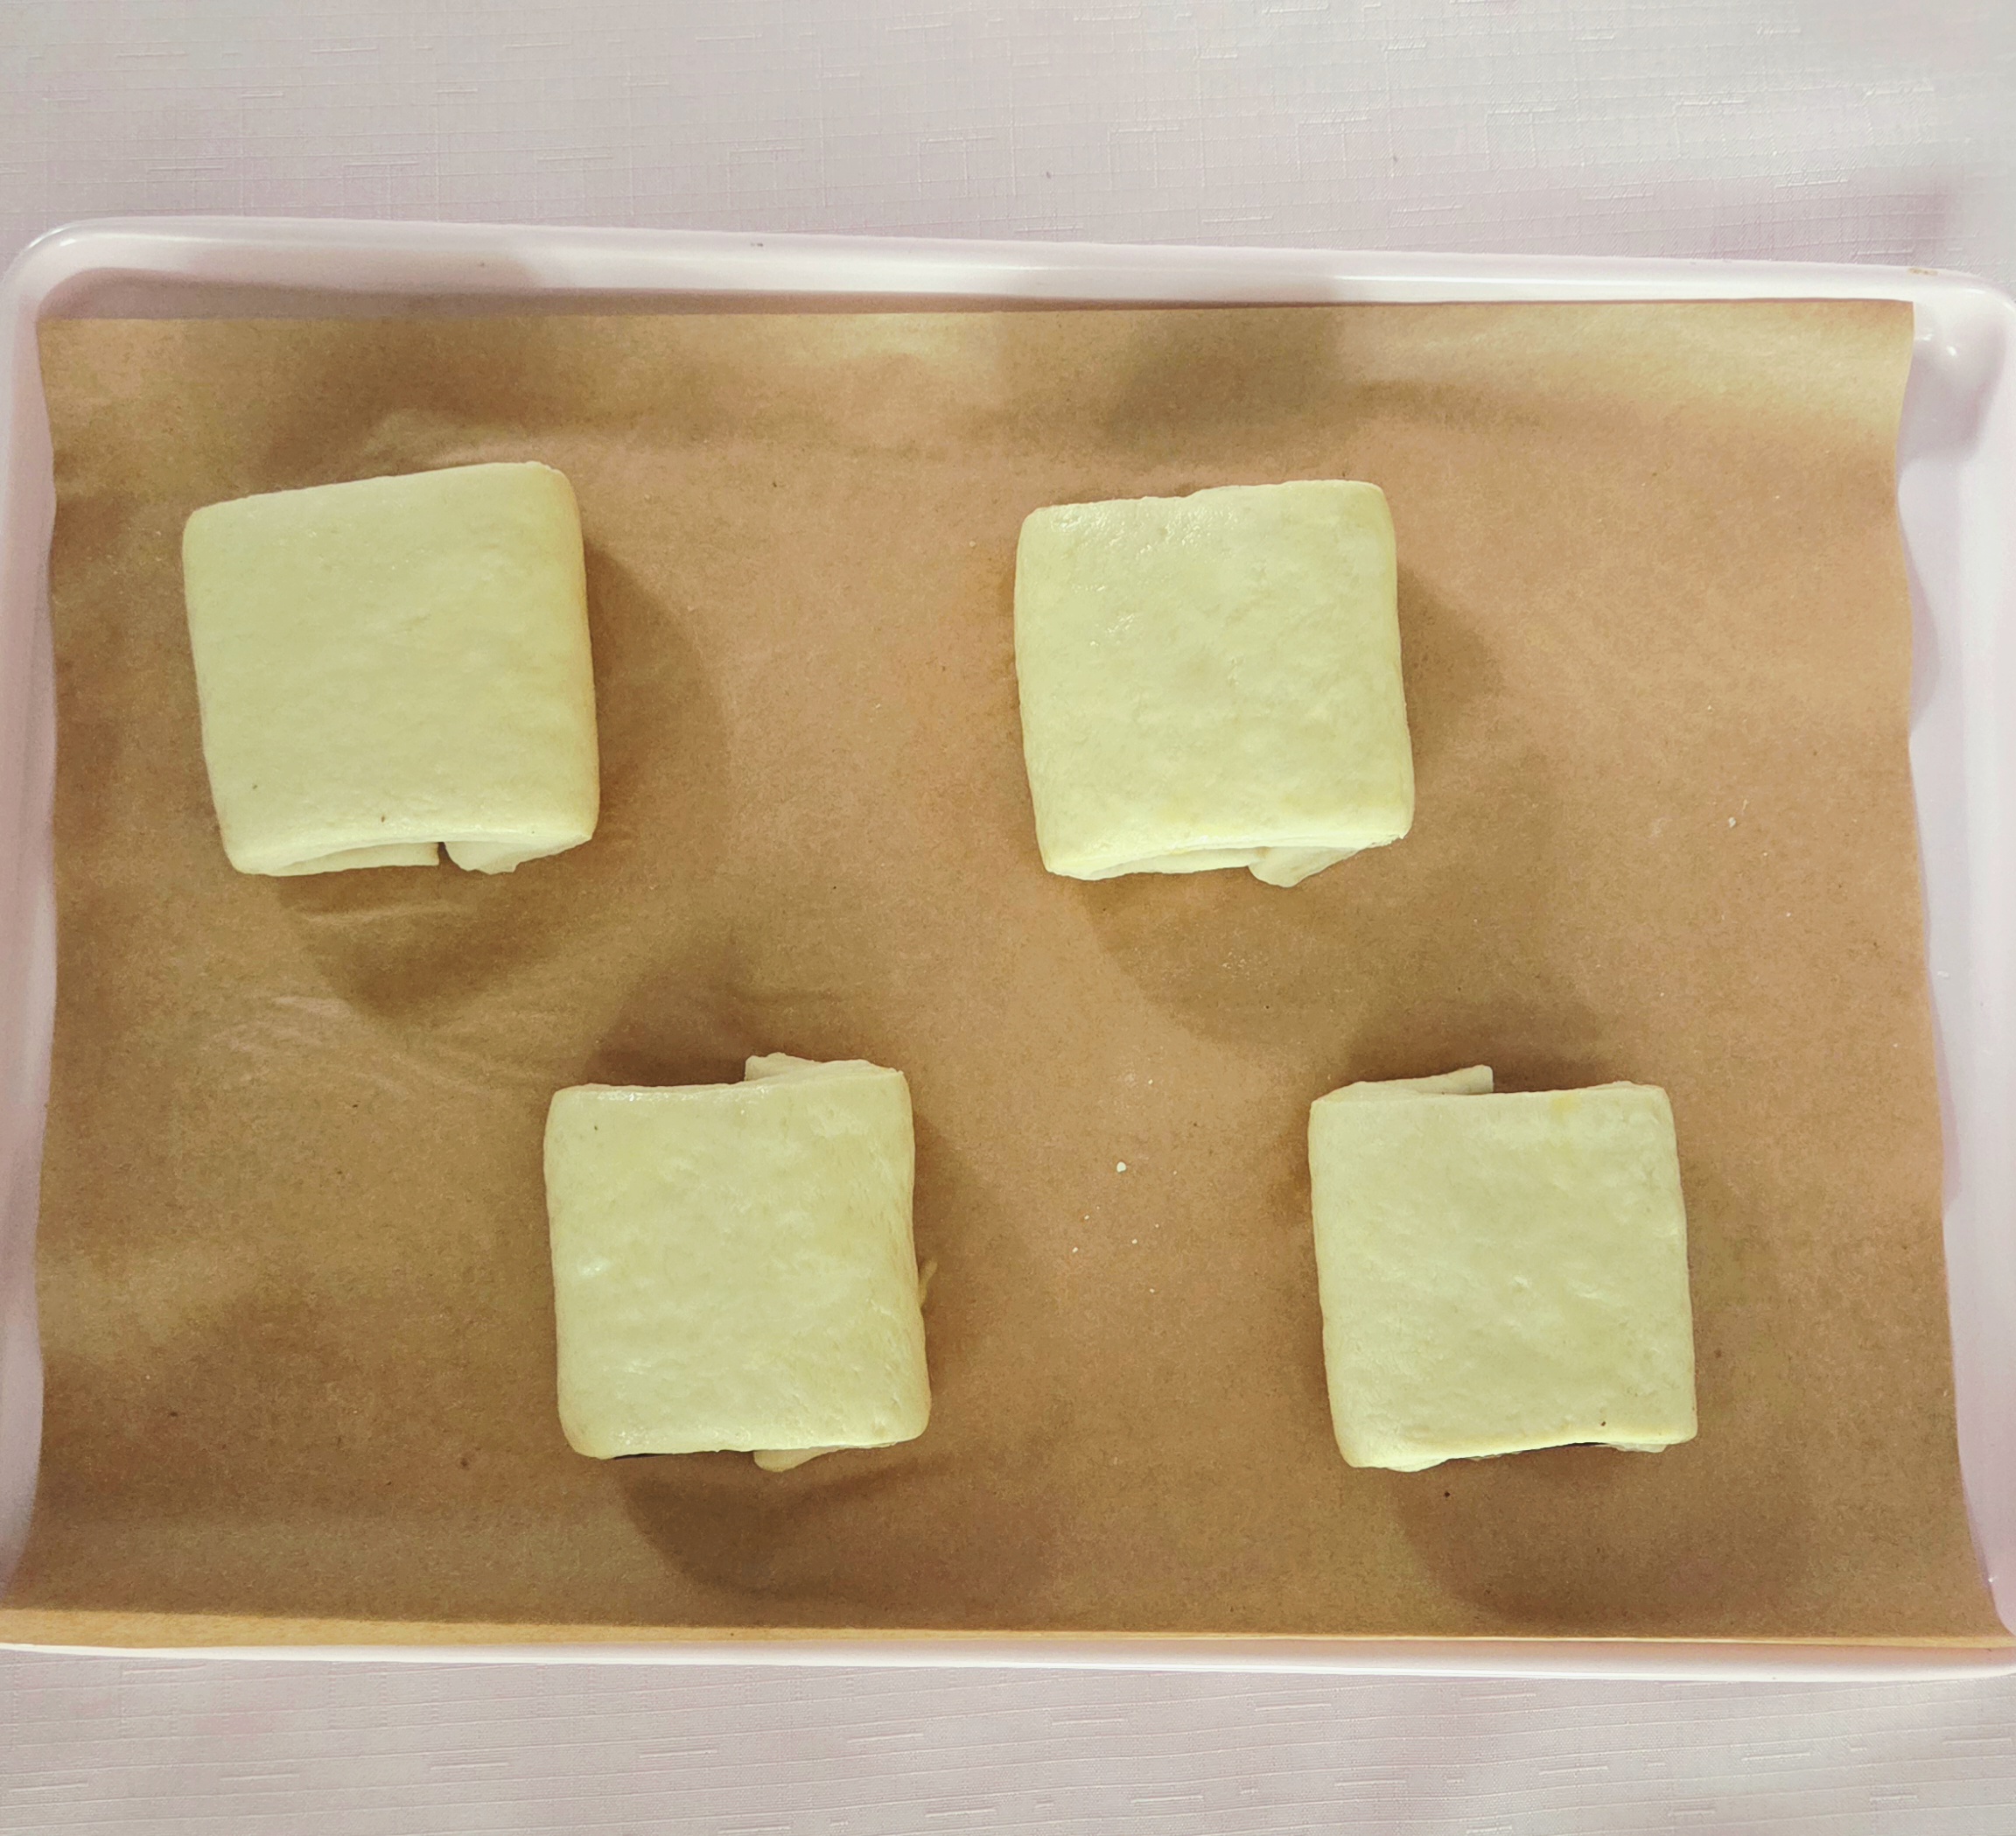
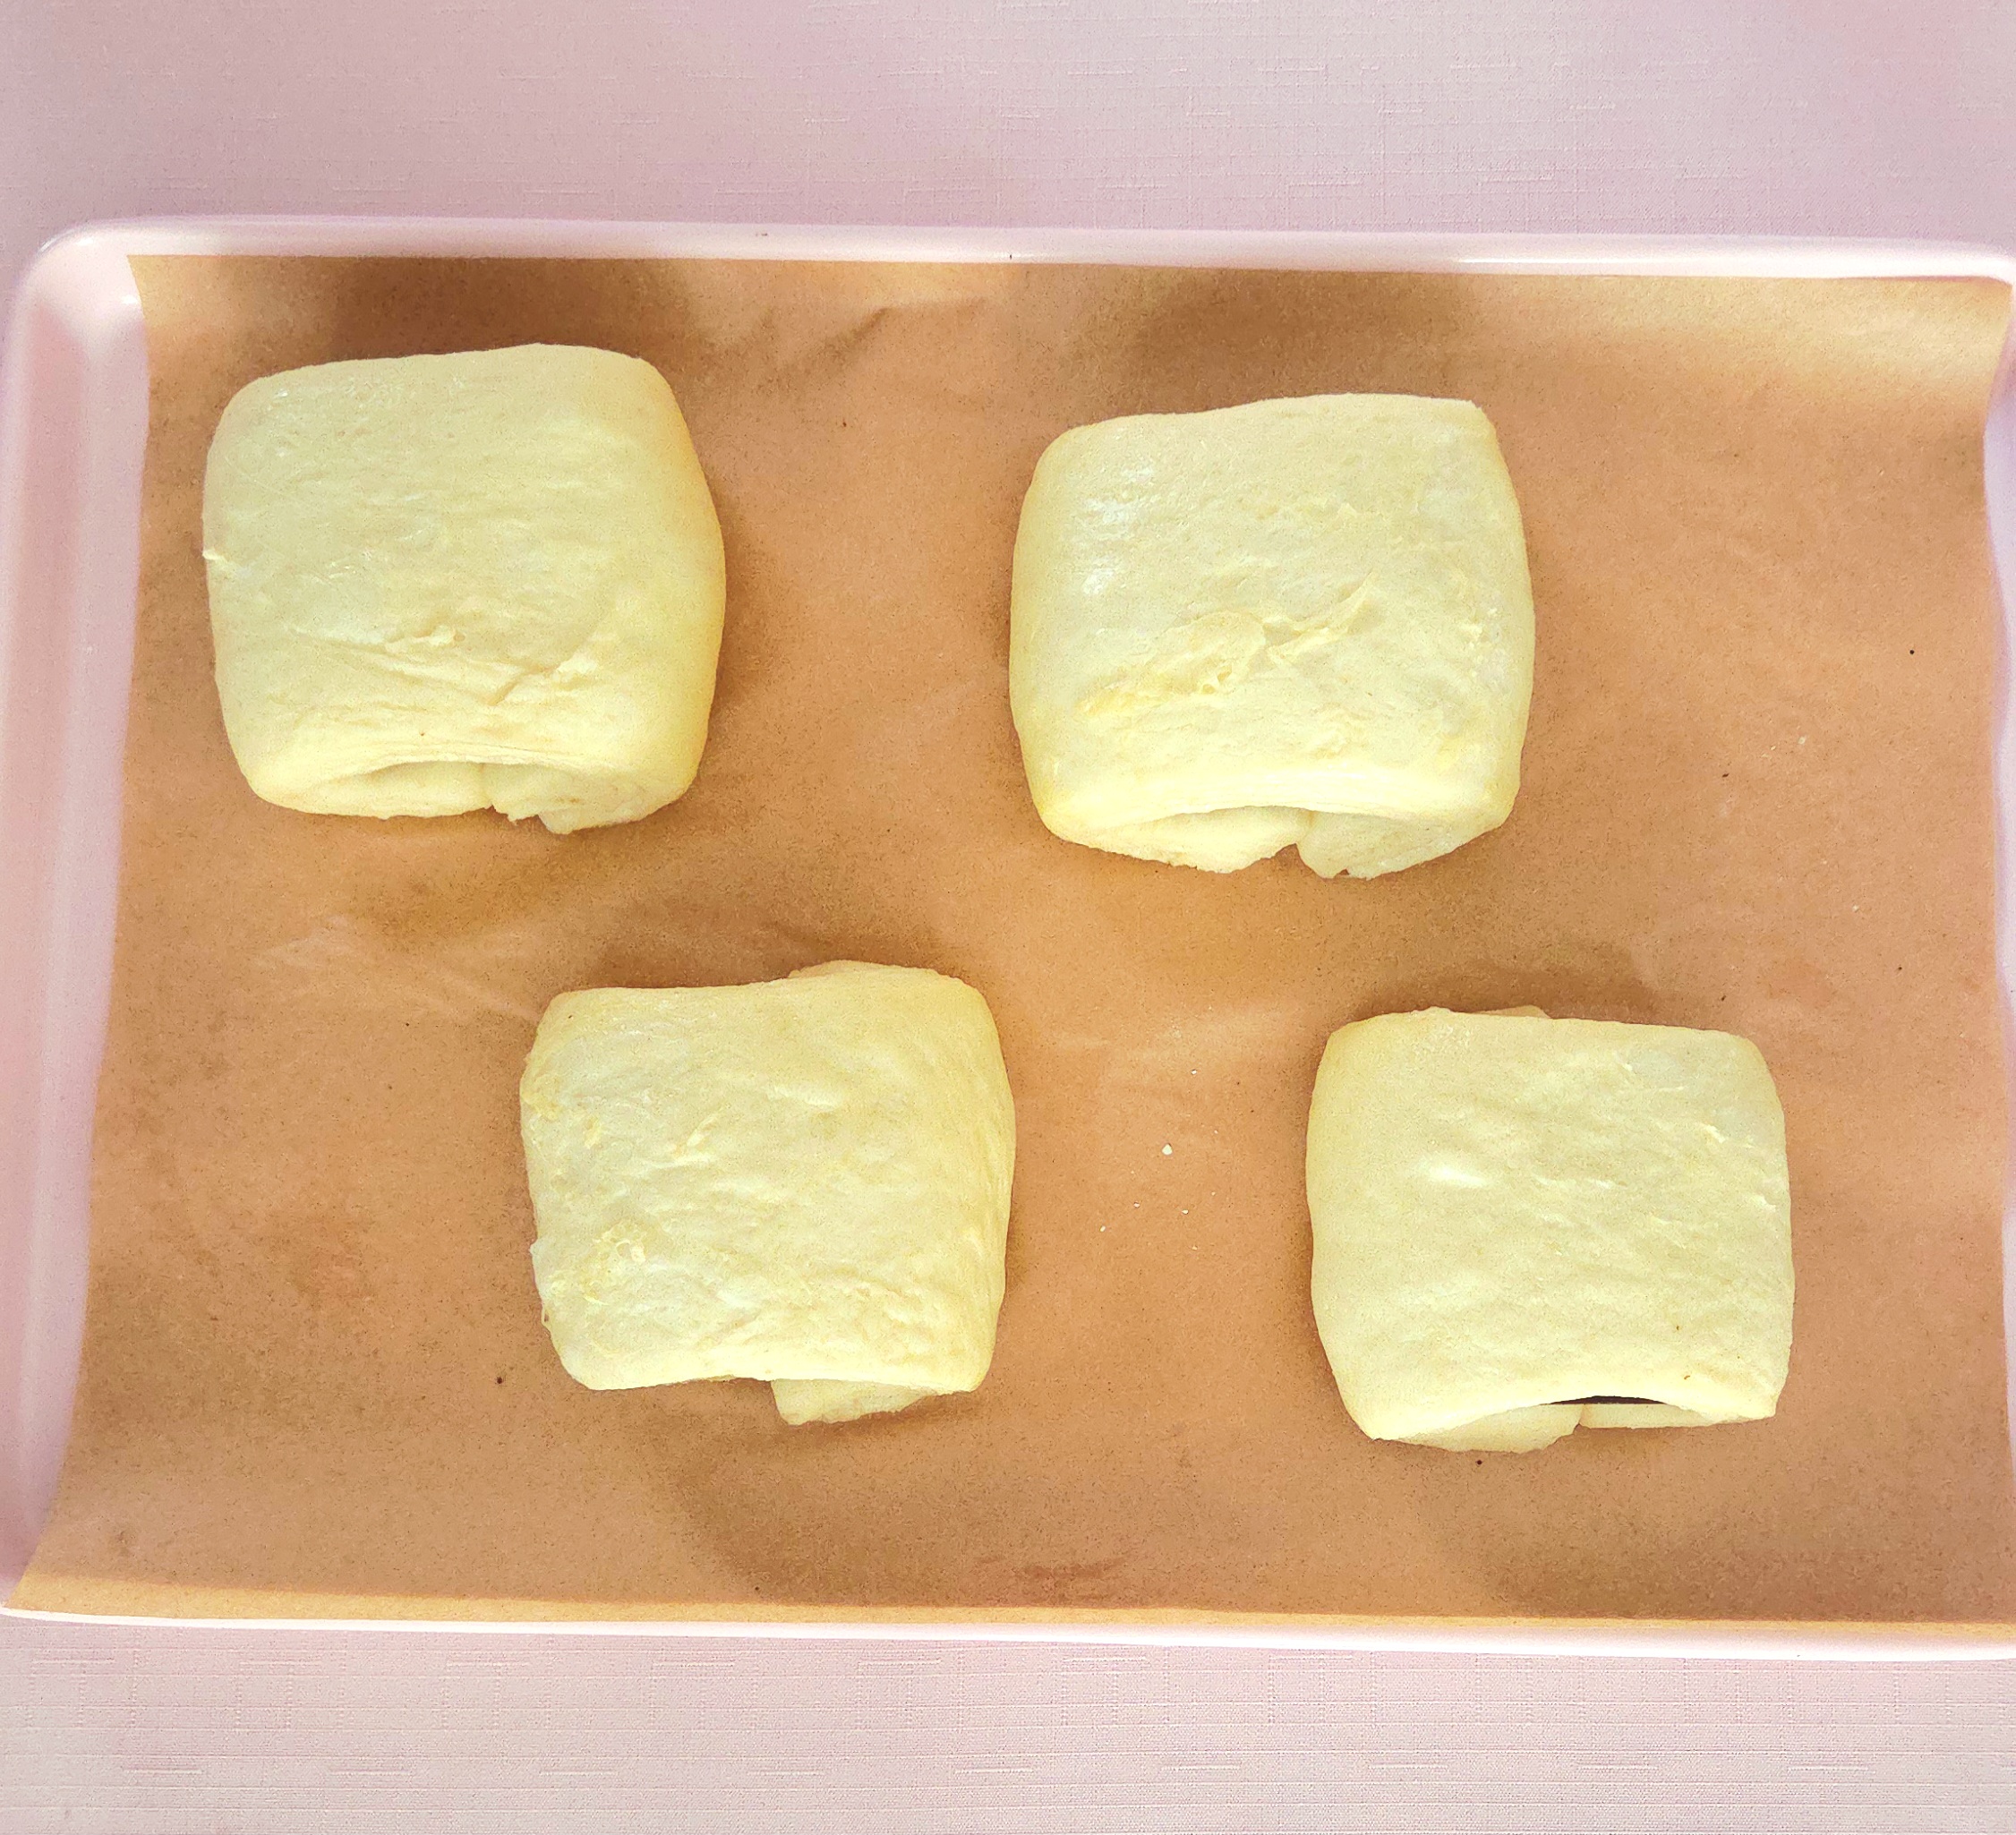
Remove the pans from the oven and turn it to 400F. Take off the plastic wrap and give each croissant a second light brushing of egg wash. When the oven is done heating, bake one pan of pain au chocolat at a time. Place it on the center rack of the oven, and bake it for 16-18 minutes. Flip the pan halfway through. As soon as it’s finished, switch it out for the next pan and repeat.
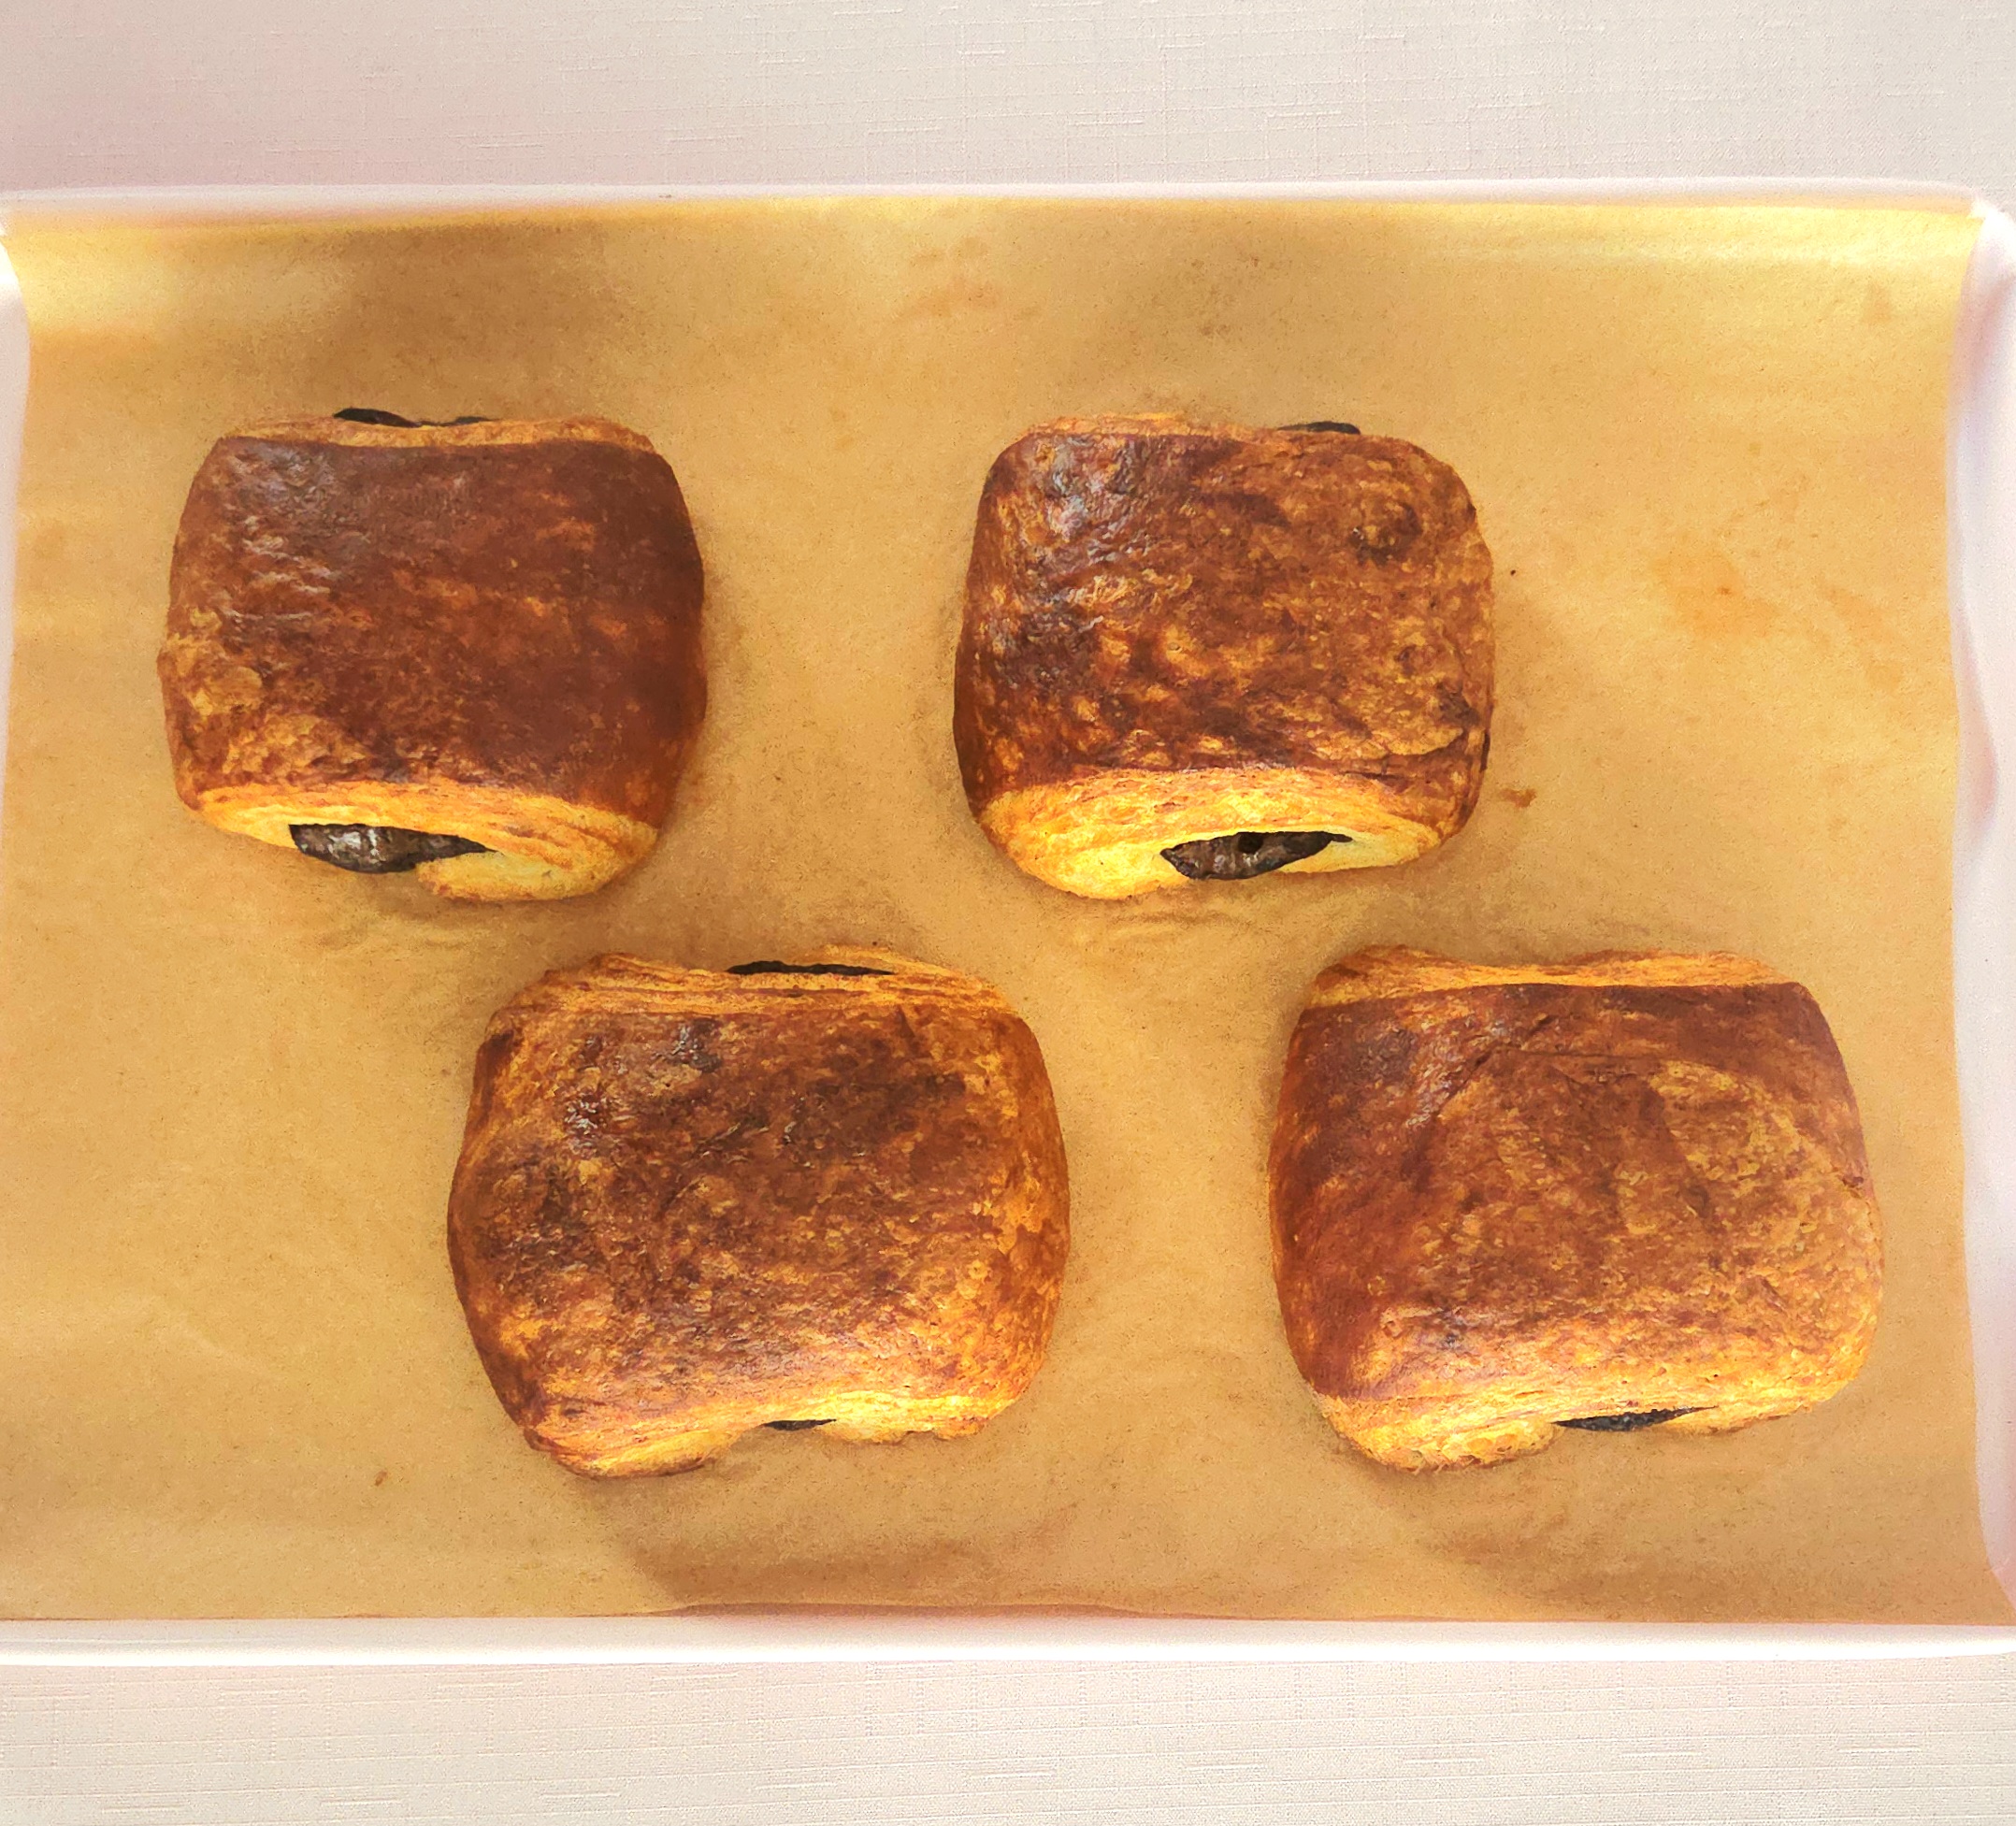
Allow the pastries to rest on the hot pan for a minute or two. If you try to move them too quickly, you could compromise the structural integrity. Transfer the pain au chocolat to a cooling rack.
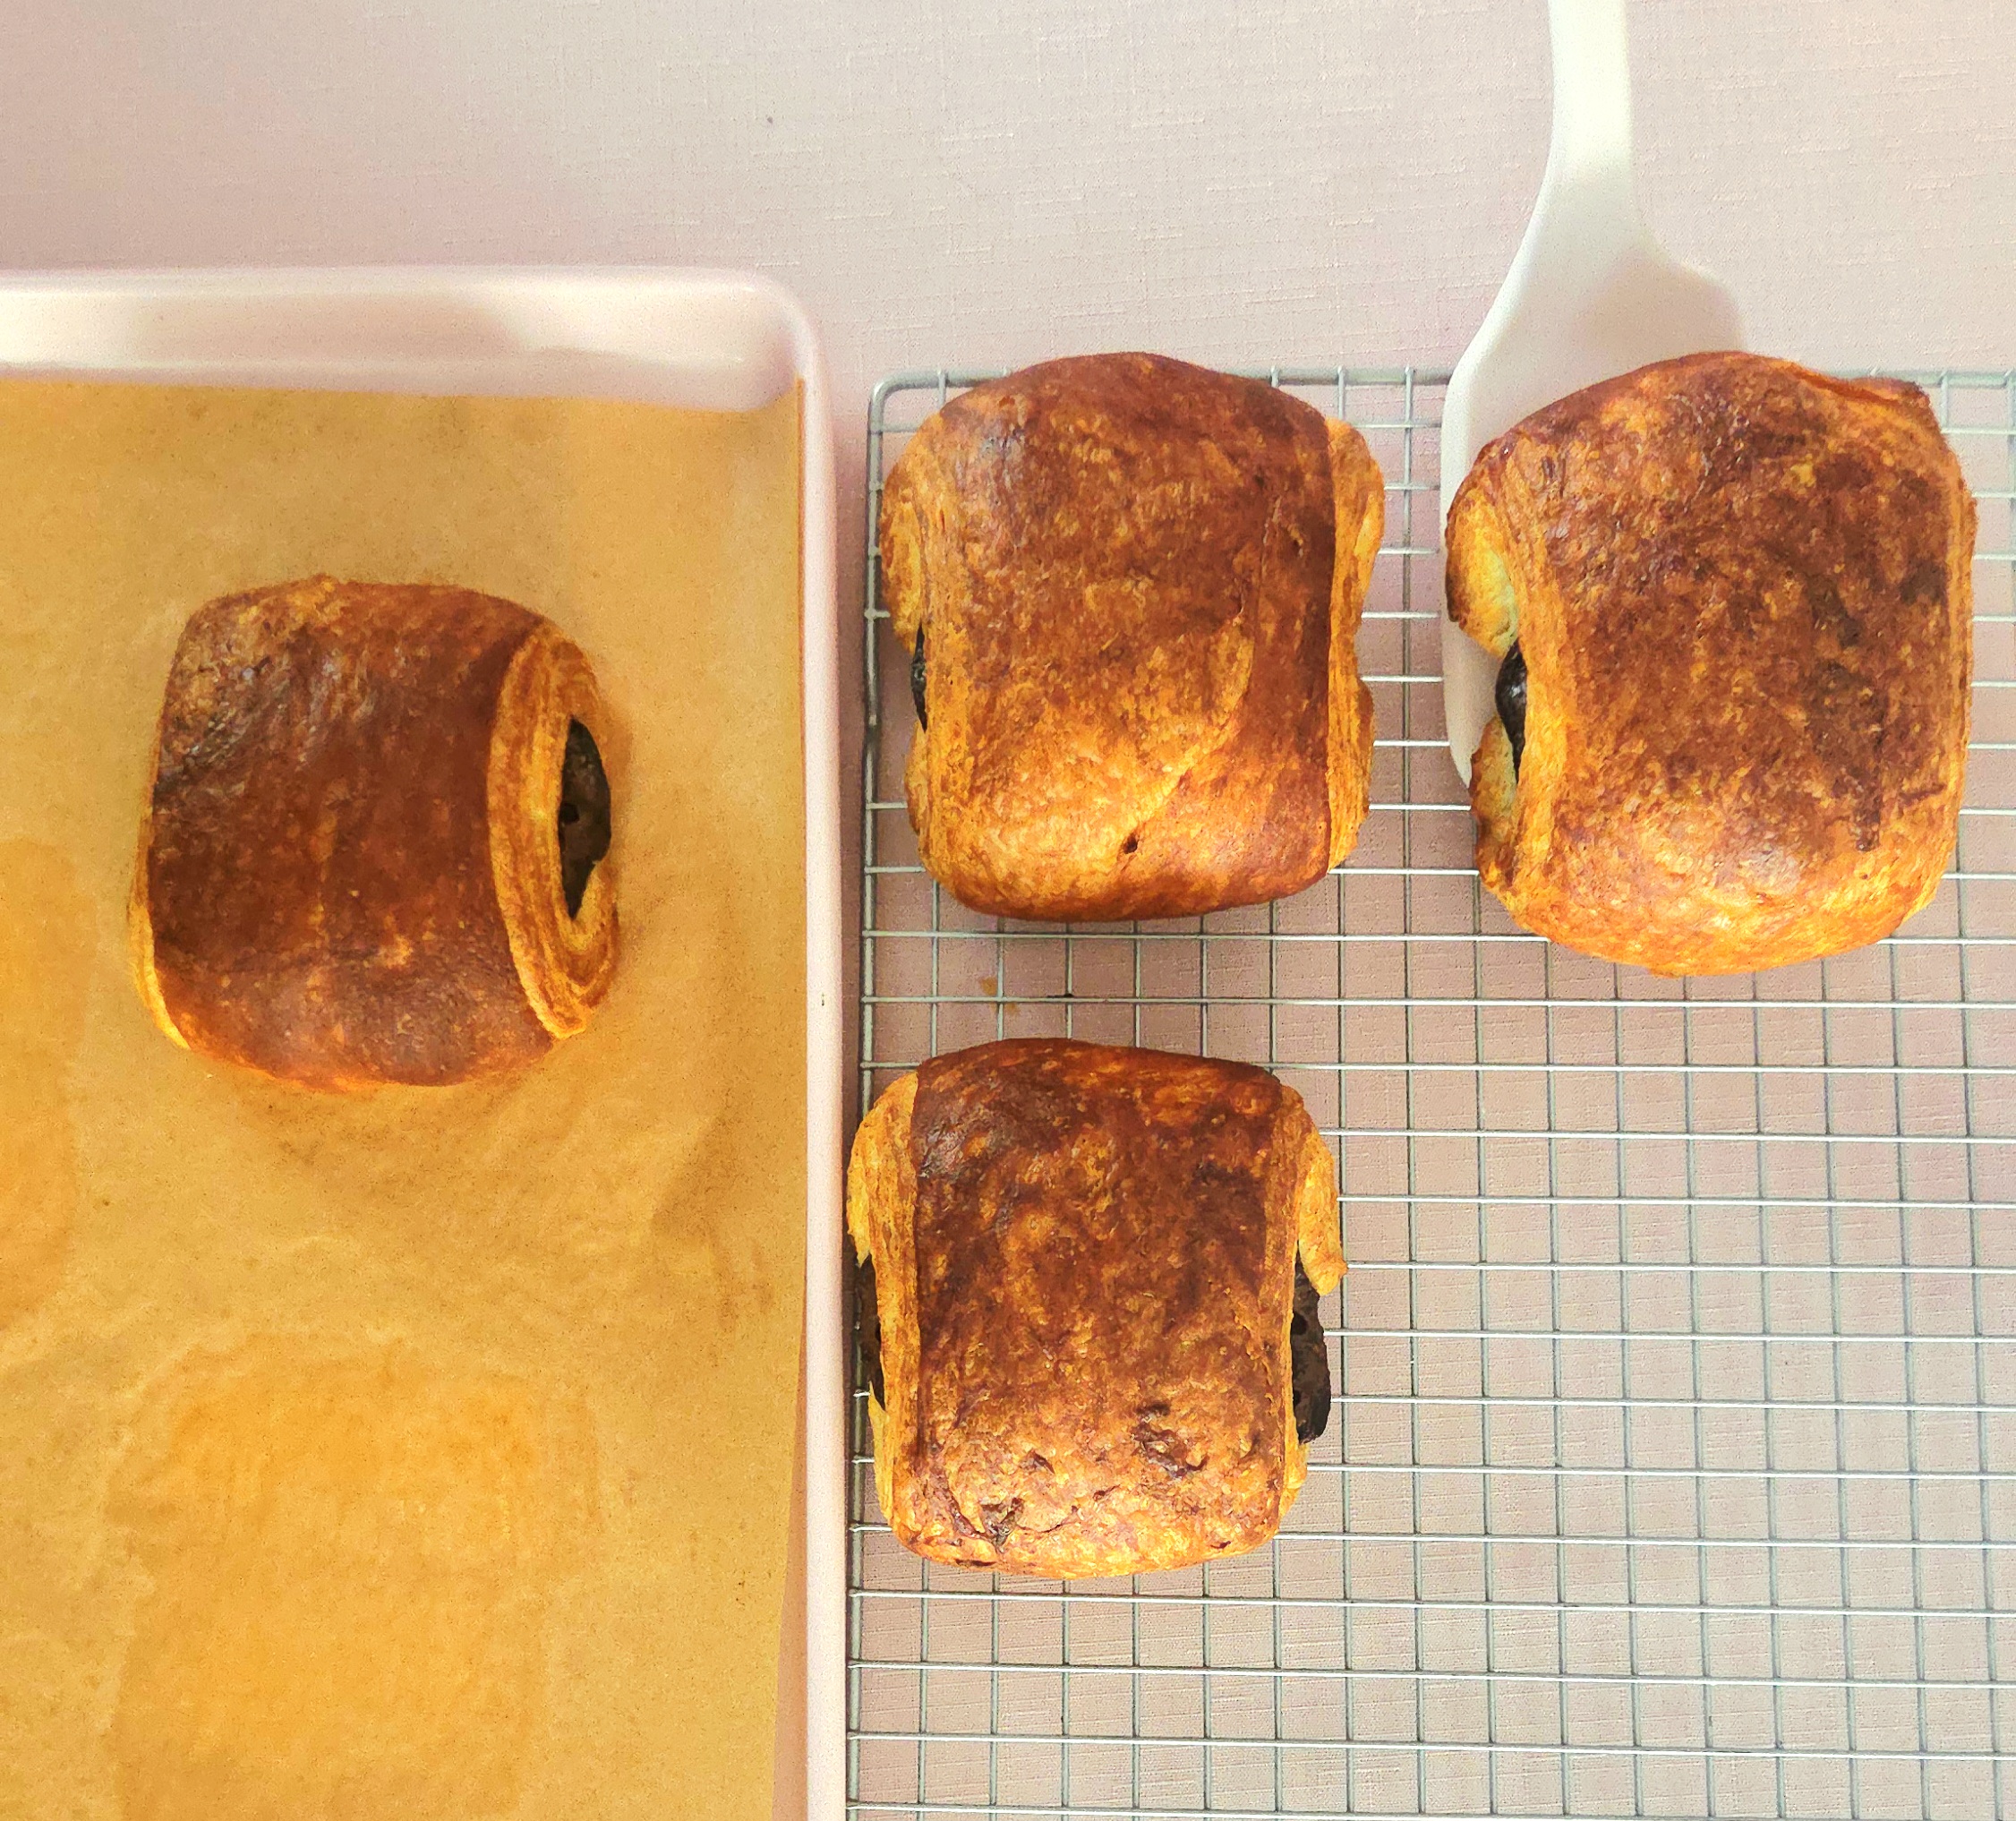
Once they’ve come at least close to room temperature (I know, it’s hard having the patience to wait for something as good as a fresh chocolate croissant), serve one up with a cup of tea or coffee and enjoy! Save any leftovers in an airtight container on the counter for up to 1 day.


Pain au Chocolat (Chocolate Croissants)
Bake Time: 400F for 16-18 minutes
Servings: 12 pastries
Total Time: 3 hour 15 minutes
Prep Time: 45 Minutes
Ingredients
- 1 batch Croissant Dough
- 4 dark chocolate bars
- 1 egg
- Pinch salt
Directions
- Make sure the Croissant Dough is completely ready to use. Line 3 baking sheets with parchment paper or silicone baking mats, set them aside. Prepare a turned off oven by heating it to the lowest setting your oven will go to.
- Beat an egg along with a pinch of salt and splash of water in a small dish using a fork to make the egg wash. Set the egg wash aside.
- Cut each chocolate bar into thirds using a sharp chef’s knife. Place the chocolate aside until it’s needed.
- On a clean counter dusted with flour, roll the dough out to a 12×18 inch rectangle. Bluntly cut the short side in half, then the long side into six pieces using either a chef’s knife or bench scraper. You should have six 6×3 inch rectangles.
- Place one portion of the chocolate you cut into the center of one dough rectangle. Fold the bottom half of the dough over the chocolate, then the top. Flip the croissant over, so it’s now seam side down, and place it onto one of the lined baking sheets. Repeat this process with the rest of the portioned out dough and chocolate, placing 4 croissants on each baking sheet.
- Turn the oven off. Brush the croissants with a light layer of the egg wash. Cover the croissants with plastic wrap and place all 3 pans into the turned off oven to proof. Proof the croissants for 1-2 hours, until they’re almost doubled in size. Take them back out of the oven and turn it to 400F.
- Remove the plastic wrap covering the croissants. Brush the tops of them with a second light layer of egg wash. When the oven has heated, place the first pan of croissants on the center rack. Bake them for 16-18 minutes, flipping halfway through, until they’re puffed up and a beautiful golden brown color. Repeat with the next two pans.
- Let the croissants rest on the hot baking sheet for a minute or two, then transfer them over to a wire rack to cool completely. Serve them up with a cup of coffee or tea, and store any leftover croissants in an airtight container for up to one day.
Tips
- Fully assembled, unbaked pain au chocolat can be frozen to pull, proof, and bake at your own discretion! Follow the recipe as written through step 5, skipping over warming the oven, and place all of the croissants on one lined baking sheet. Cover them with plastic wrap, then place the pan into the freezer until the pastries are frozen solid. Transfer them to a freezer safe bag for up to 3 months. To proof and bake, prepare the turned-off oven and place as many croissants as you desire onto a lined baking sheet. Proof them for 2-3 hours, egg wash them, then bake them for 16-18 minutes at 400F.
- Baked croissants can also be frozen to thaw and enjoy as you’d like one! Place the fully baked and cooled croissants into a freezer safe bag for up to 3 months. Thaw them out on the counter or in a warm oven.
- Assembled, unbaked croissants can also be prepared and ready to go the day before you need them. Follow the recipe through step 5, just like with freezing the dough, and place them all on a lined baking sheet. Cover with plastic wrap and stick them in the fridge. The next morning, separate the pain au chocolat so there are 4 on each baking sheet and continue the recipe in full as written.



0 Comments