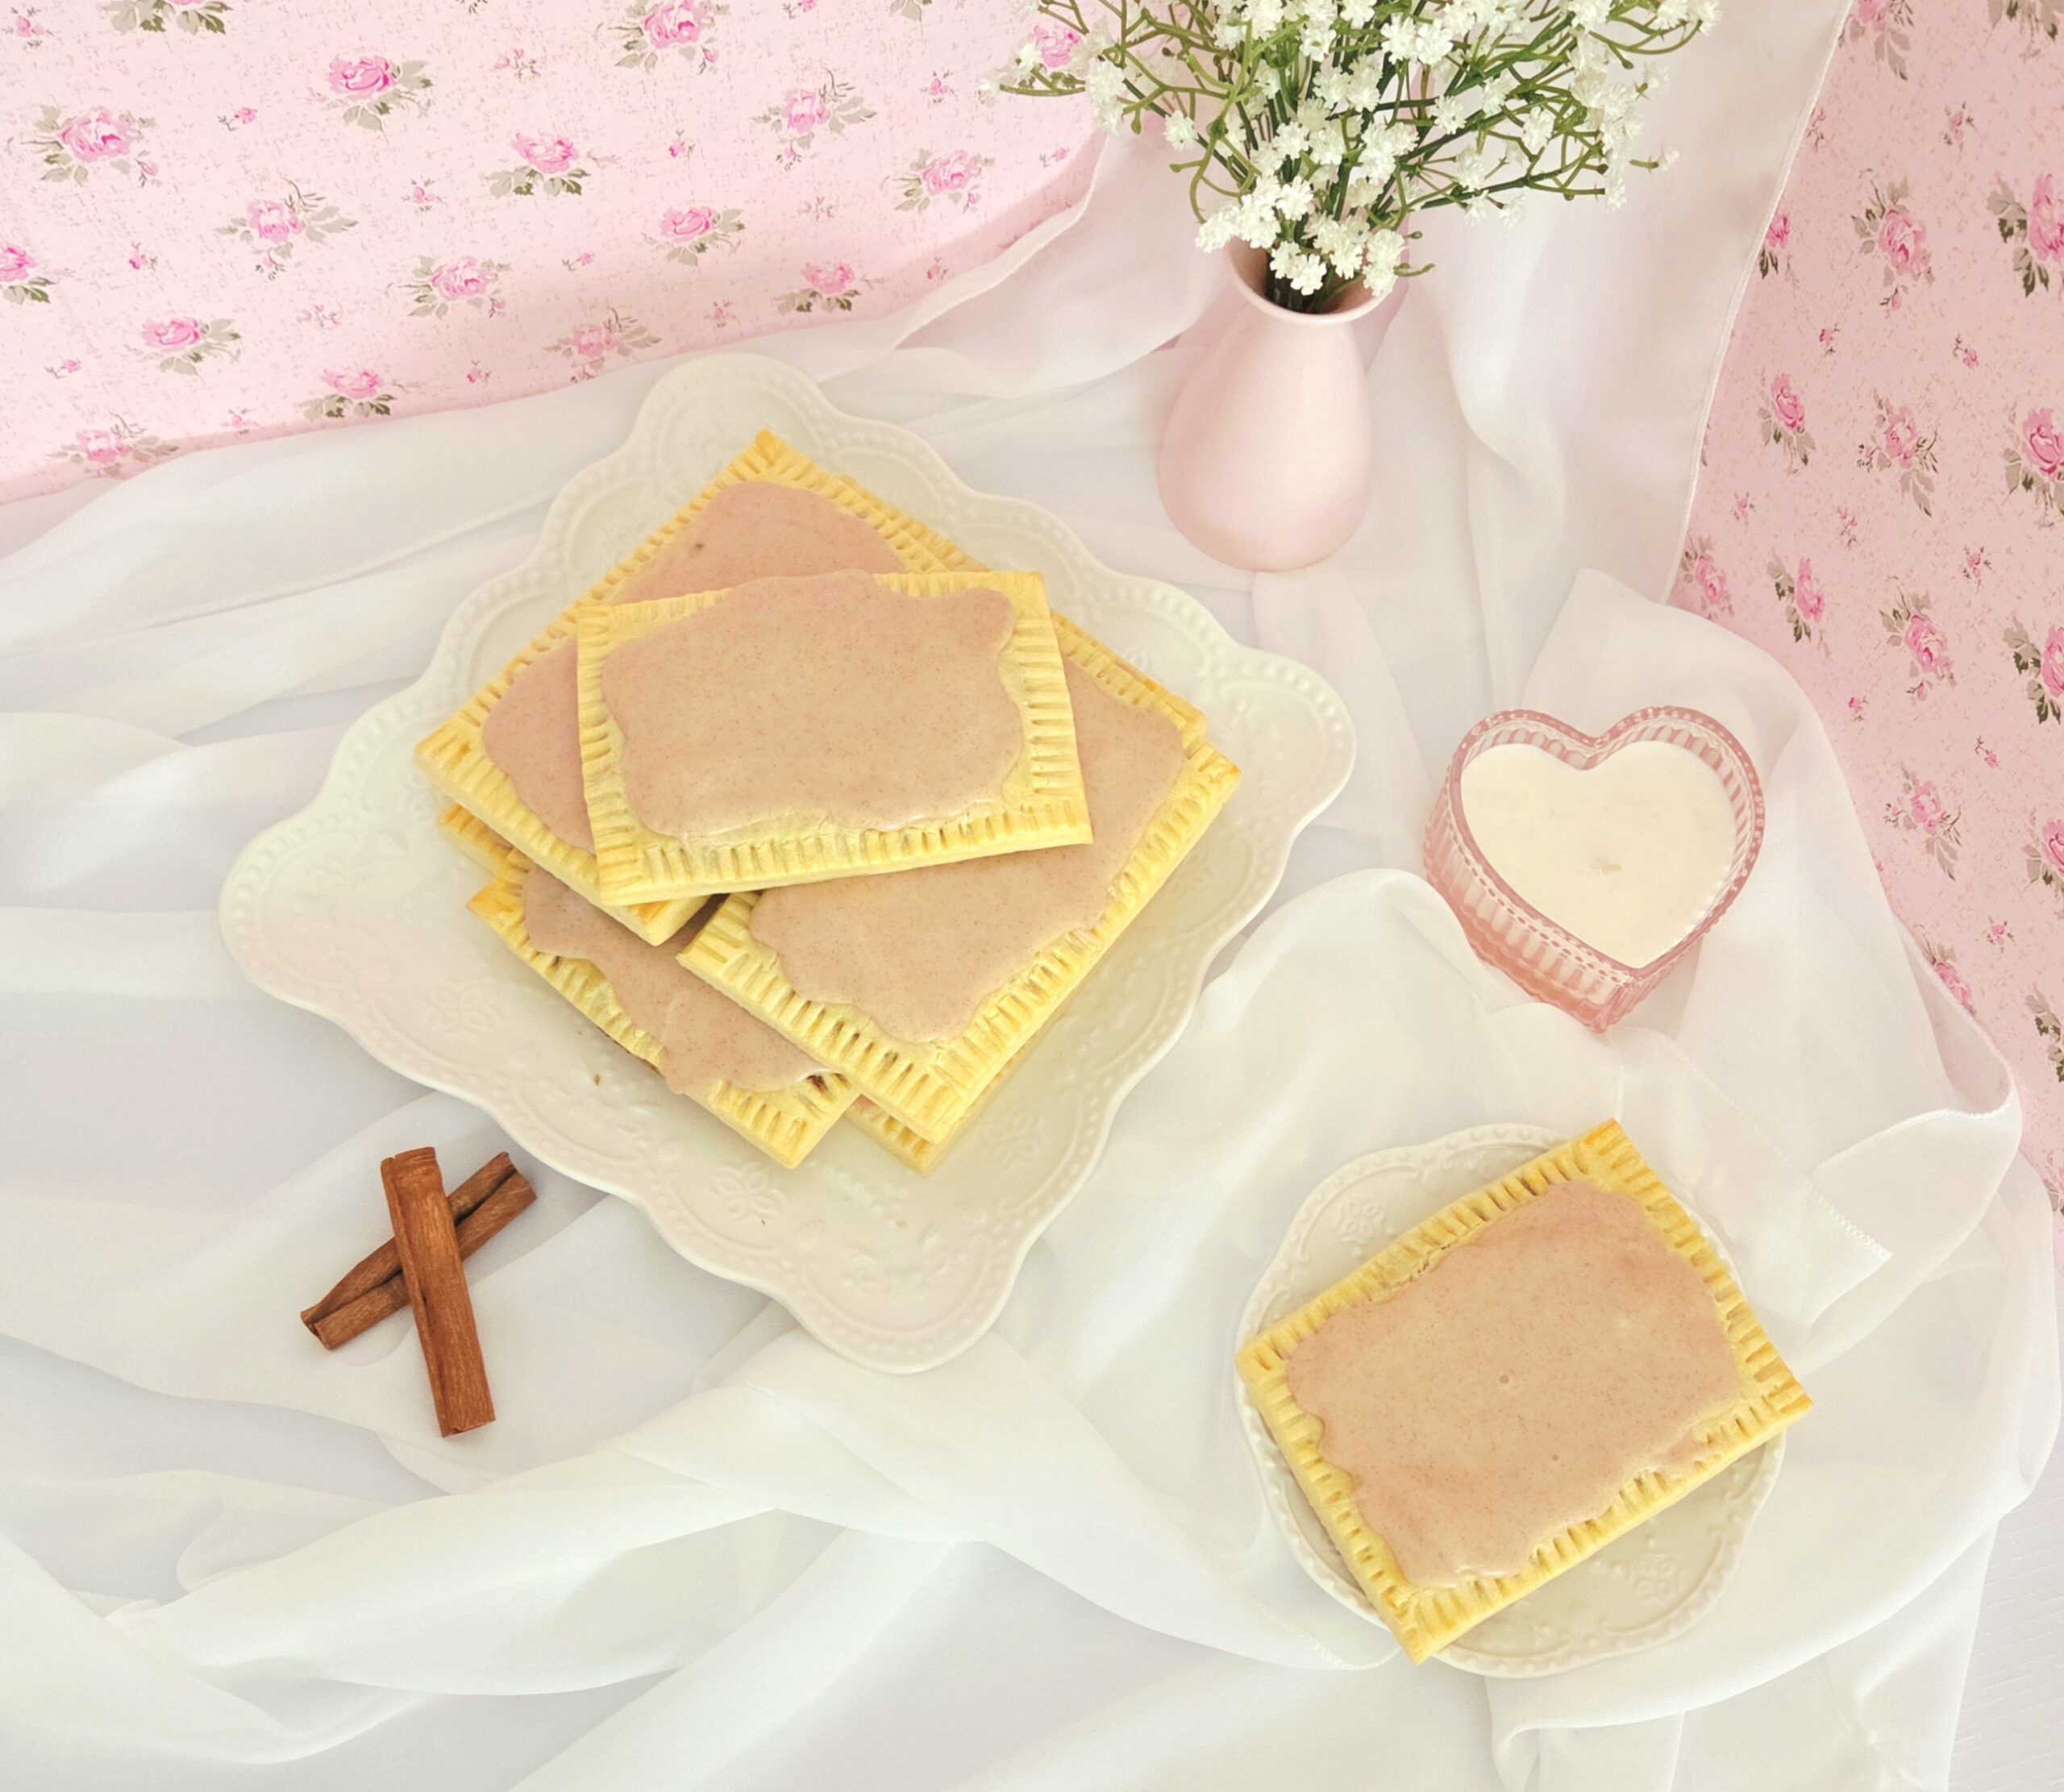

As a millennial born in 1993, there was a period of time I was made up of approximately 30% Pop Tart. They were absolutely coveted in my house. One of my core memories with my oldest brother is actually yelling at him when I was around 6 and he was 14, because he had eaten MY Pop Tarts. The travesty, the disrespect, the cavalier attitude he held about the whole thing. I was truly beyond pissed off, and I wish I could tell you what the resolution my parents came up with was. But today, it’s just a fun memory I can look back on to remember him by.
Also today, I’m not eating a lot of Pop Tarts. As a lady in her 30s, I have to actually care about the ingredients in my everyday food. Yes, sugar is still sugar, but I’d rather my sugar not be accompanied by 45 other ingredients where it can be helped. And since I’m a professional, classically trained baker, I have the skill set to recreate whatever sweet treat I want! I already did this with my favorite flavor, the Chocolate Fudge Pop Tart, so here we are with one of the next most popular flavors: Cinnamon Brown Sugar.
These dupes for Cinnamon Brown Sugar Pop Tarts are very spot on, if I do say so myself. With a warm, aromatic flavor, the perfect texture, and a smell of nostalgia, you won’t regret putting in the effort it’ll take. Even if it’s just for the novelty of saying, you made your own Pop Tarts from scratch that one time.
FAQs and Science
Do I really have to make the dough from scratch, rather than buying a pre-made pie crust or puff pastry?
If you want them to actually resemble the mass produced, name brand Pop Tarts, then yes. The texture of Pop Tarts is crumbly, not flaky. Because of that, the flakiness inherently found in pie crust or puff pastry makes them the completely wrong choice. So yes, I know it’s extra work preparing the dough yourself, but it’s worth the effort in the end.
These seem huge, could I make them smaller?
Sure, they’re your pastries! The dough for smaller tarts should be rolled out a bit thinner, and the bake time should be adjusted, but you’re the captain of your kitchen.
What is “docking” the dough? Why do it?
Docking the dough is when you poke holes in it. This helps to ensure an even bake of the dough, and gives steam from the filling a place to easily escape. If you don’t dock the dough and give it an escape route, that steam still needs an exit plan. It’s going to burst through on its own path without your guidance, potentially forming a leak out the side.
Can I toast these, like regular Pop Tarts?
You can! However, I suggest only using a toaster oven rather than a slotted toaster, given how much heavier these are than the mass produced name brand Pop Tarts.
What You’ll Need
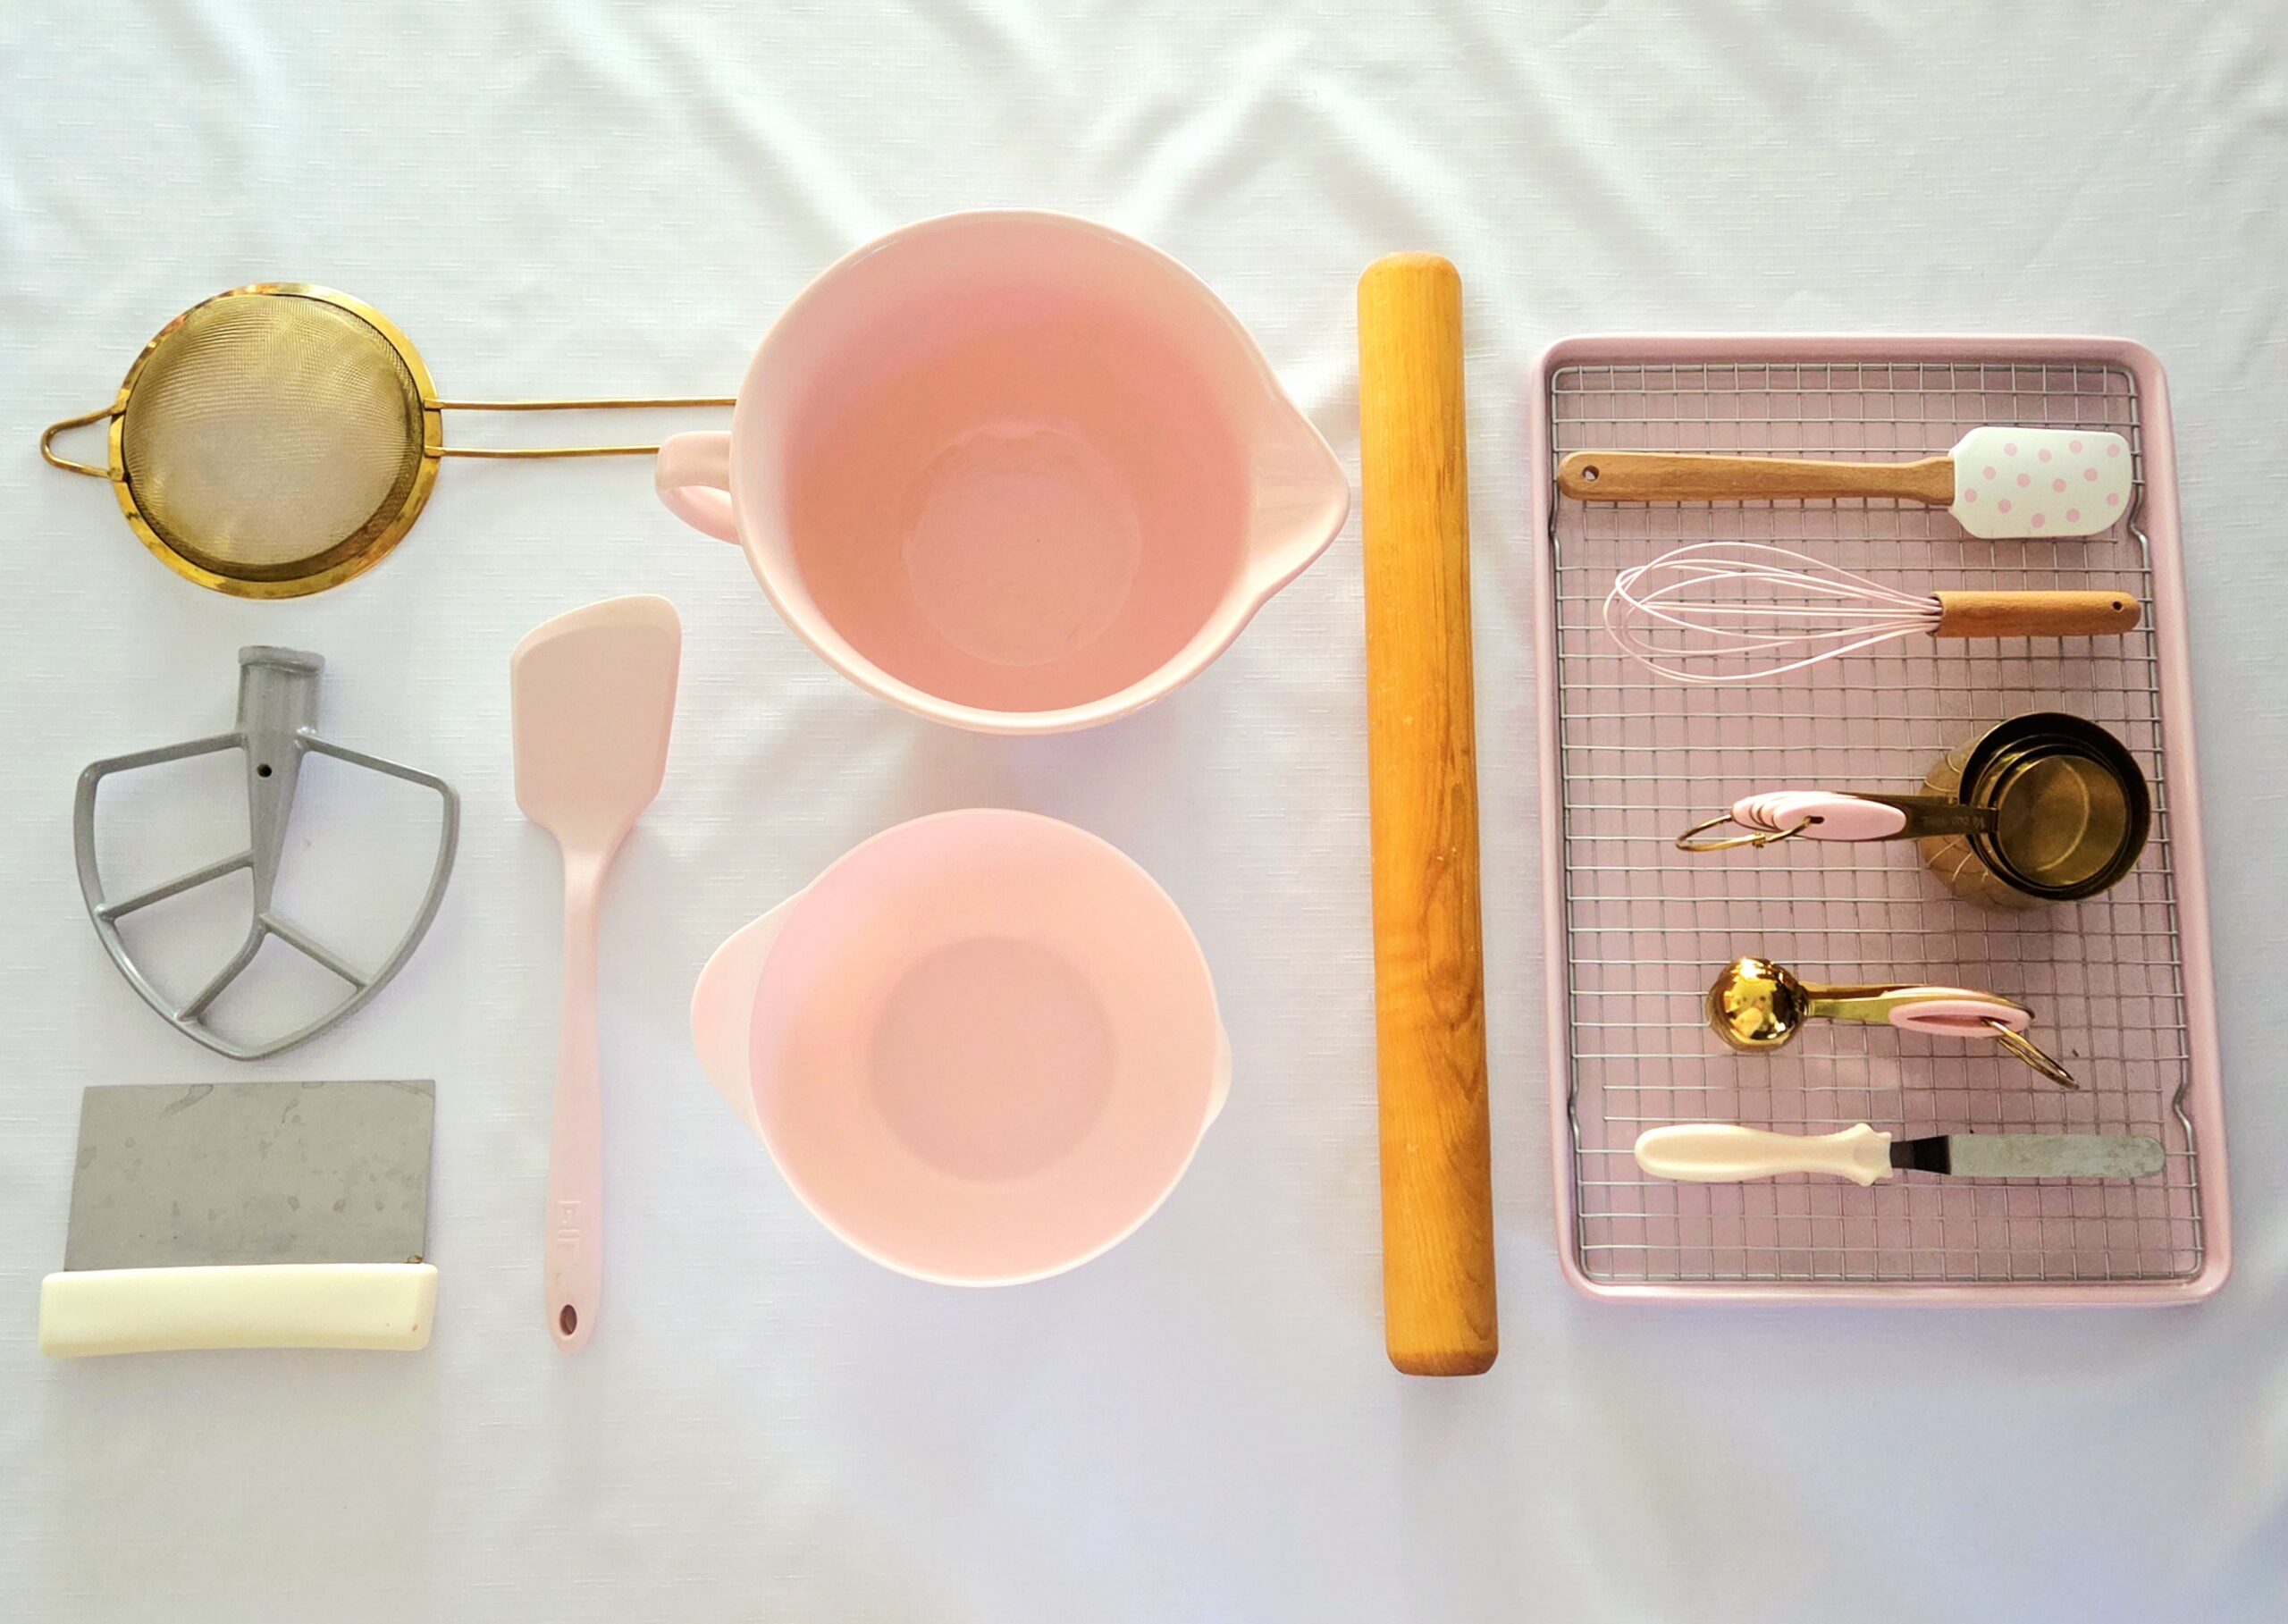
- 2 rimmed baking sheets
- Parchment paper
- Stand mixer fitted with paddle attachment
- Medium mixing bowl
- Small bowl
- Dry measuring cups
- Measuring spoons
- Whisk
- Fork
- Pastry brush
- Large table spoon
- Rubber spatula
- Offset spatula (optional)
- Rolling pin
- Sieve or sifter
- Bench scraper or chef’s knife
- Spatula
- Cooling rack
The Process
Before you move forward with preparing the filling, make sure the dough is ready to use. I recommend my recipe for pâte sucrée, but you could use your own favorite tart dough. So long as it’s actually tart dough, not pie crust or puff pastry, it will work just fine. Arrange the ovens so the rack is placed in the center. Preheat it to 350F, line two rimmed baking sheets with parchment paper. Set them aside.
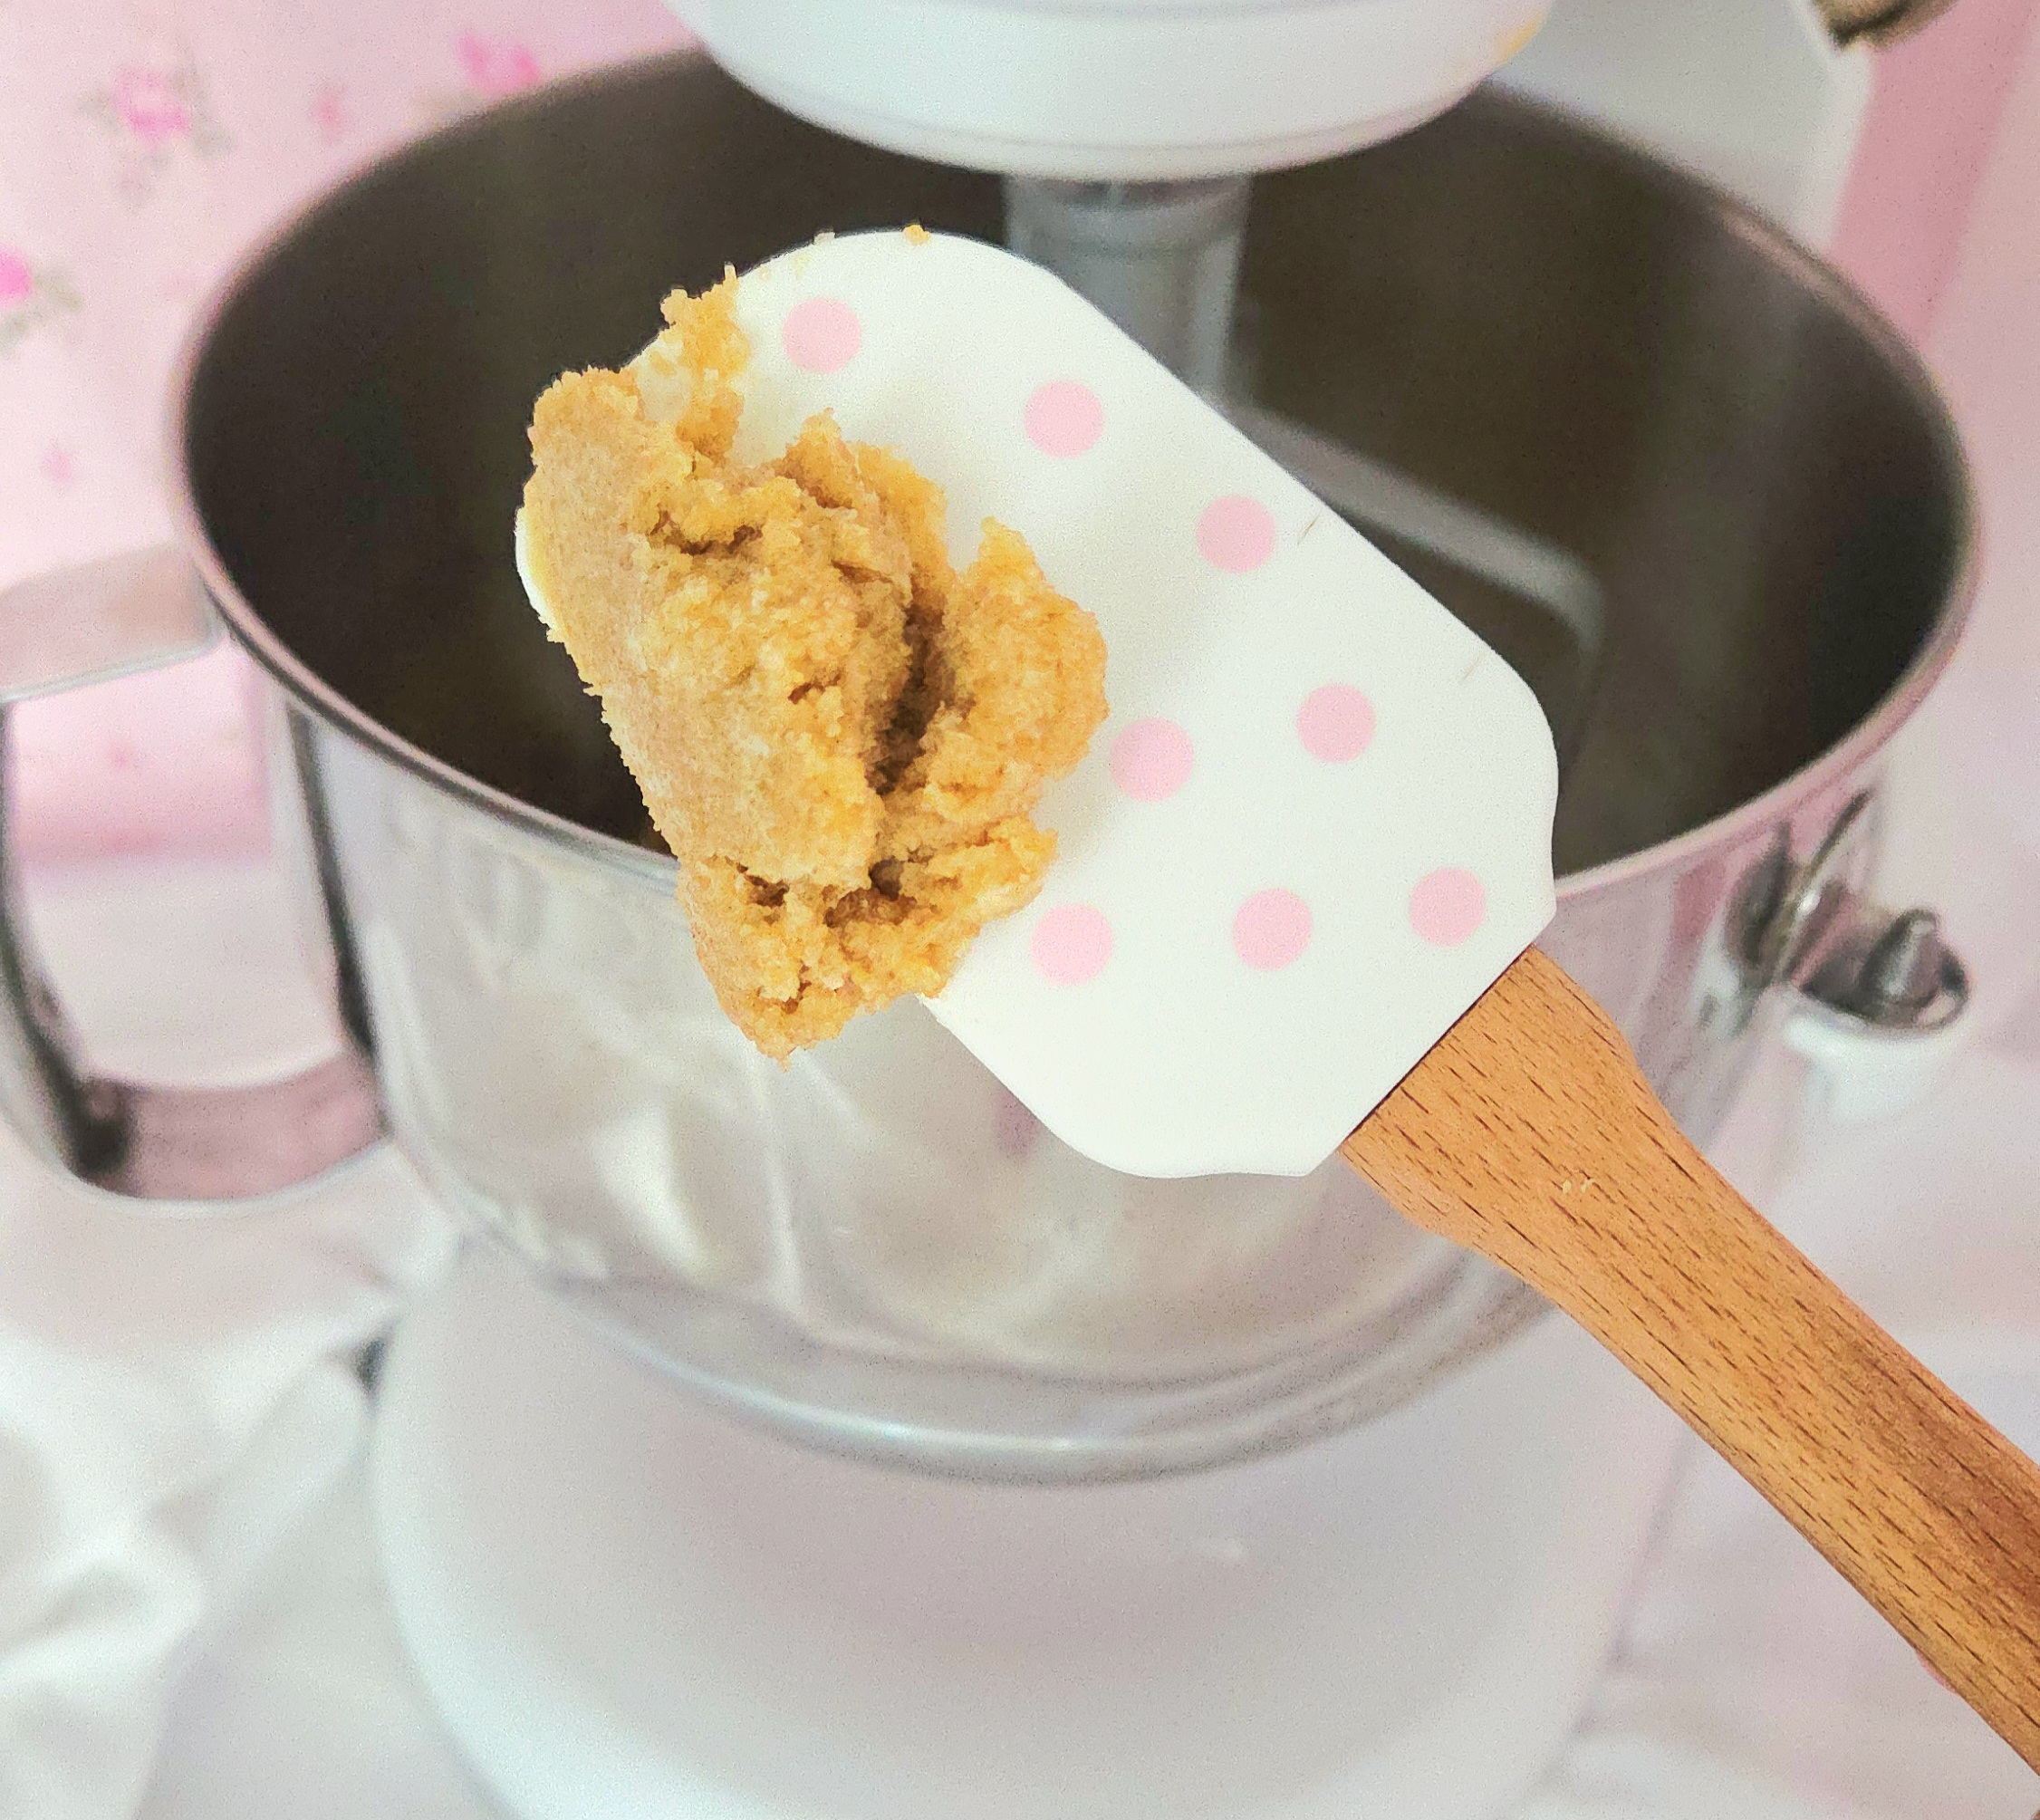
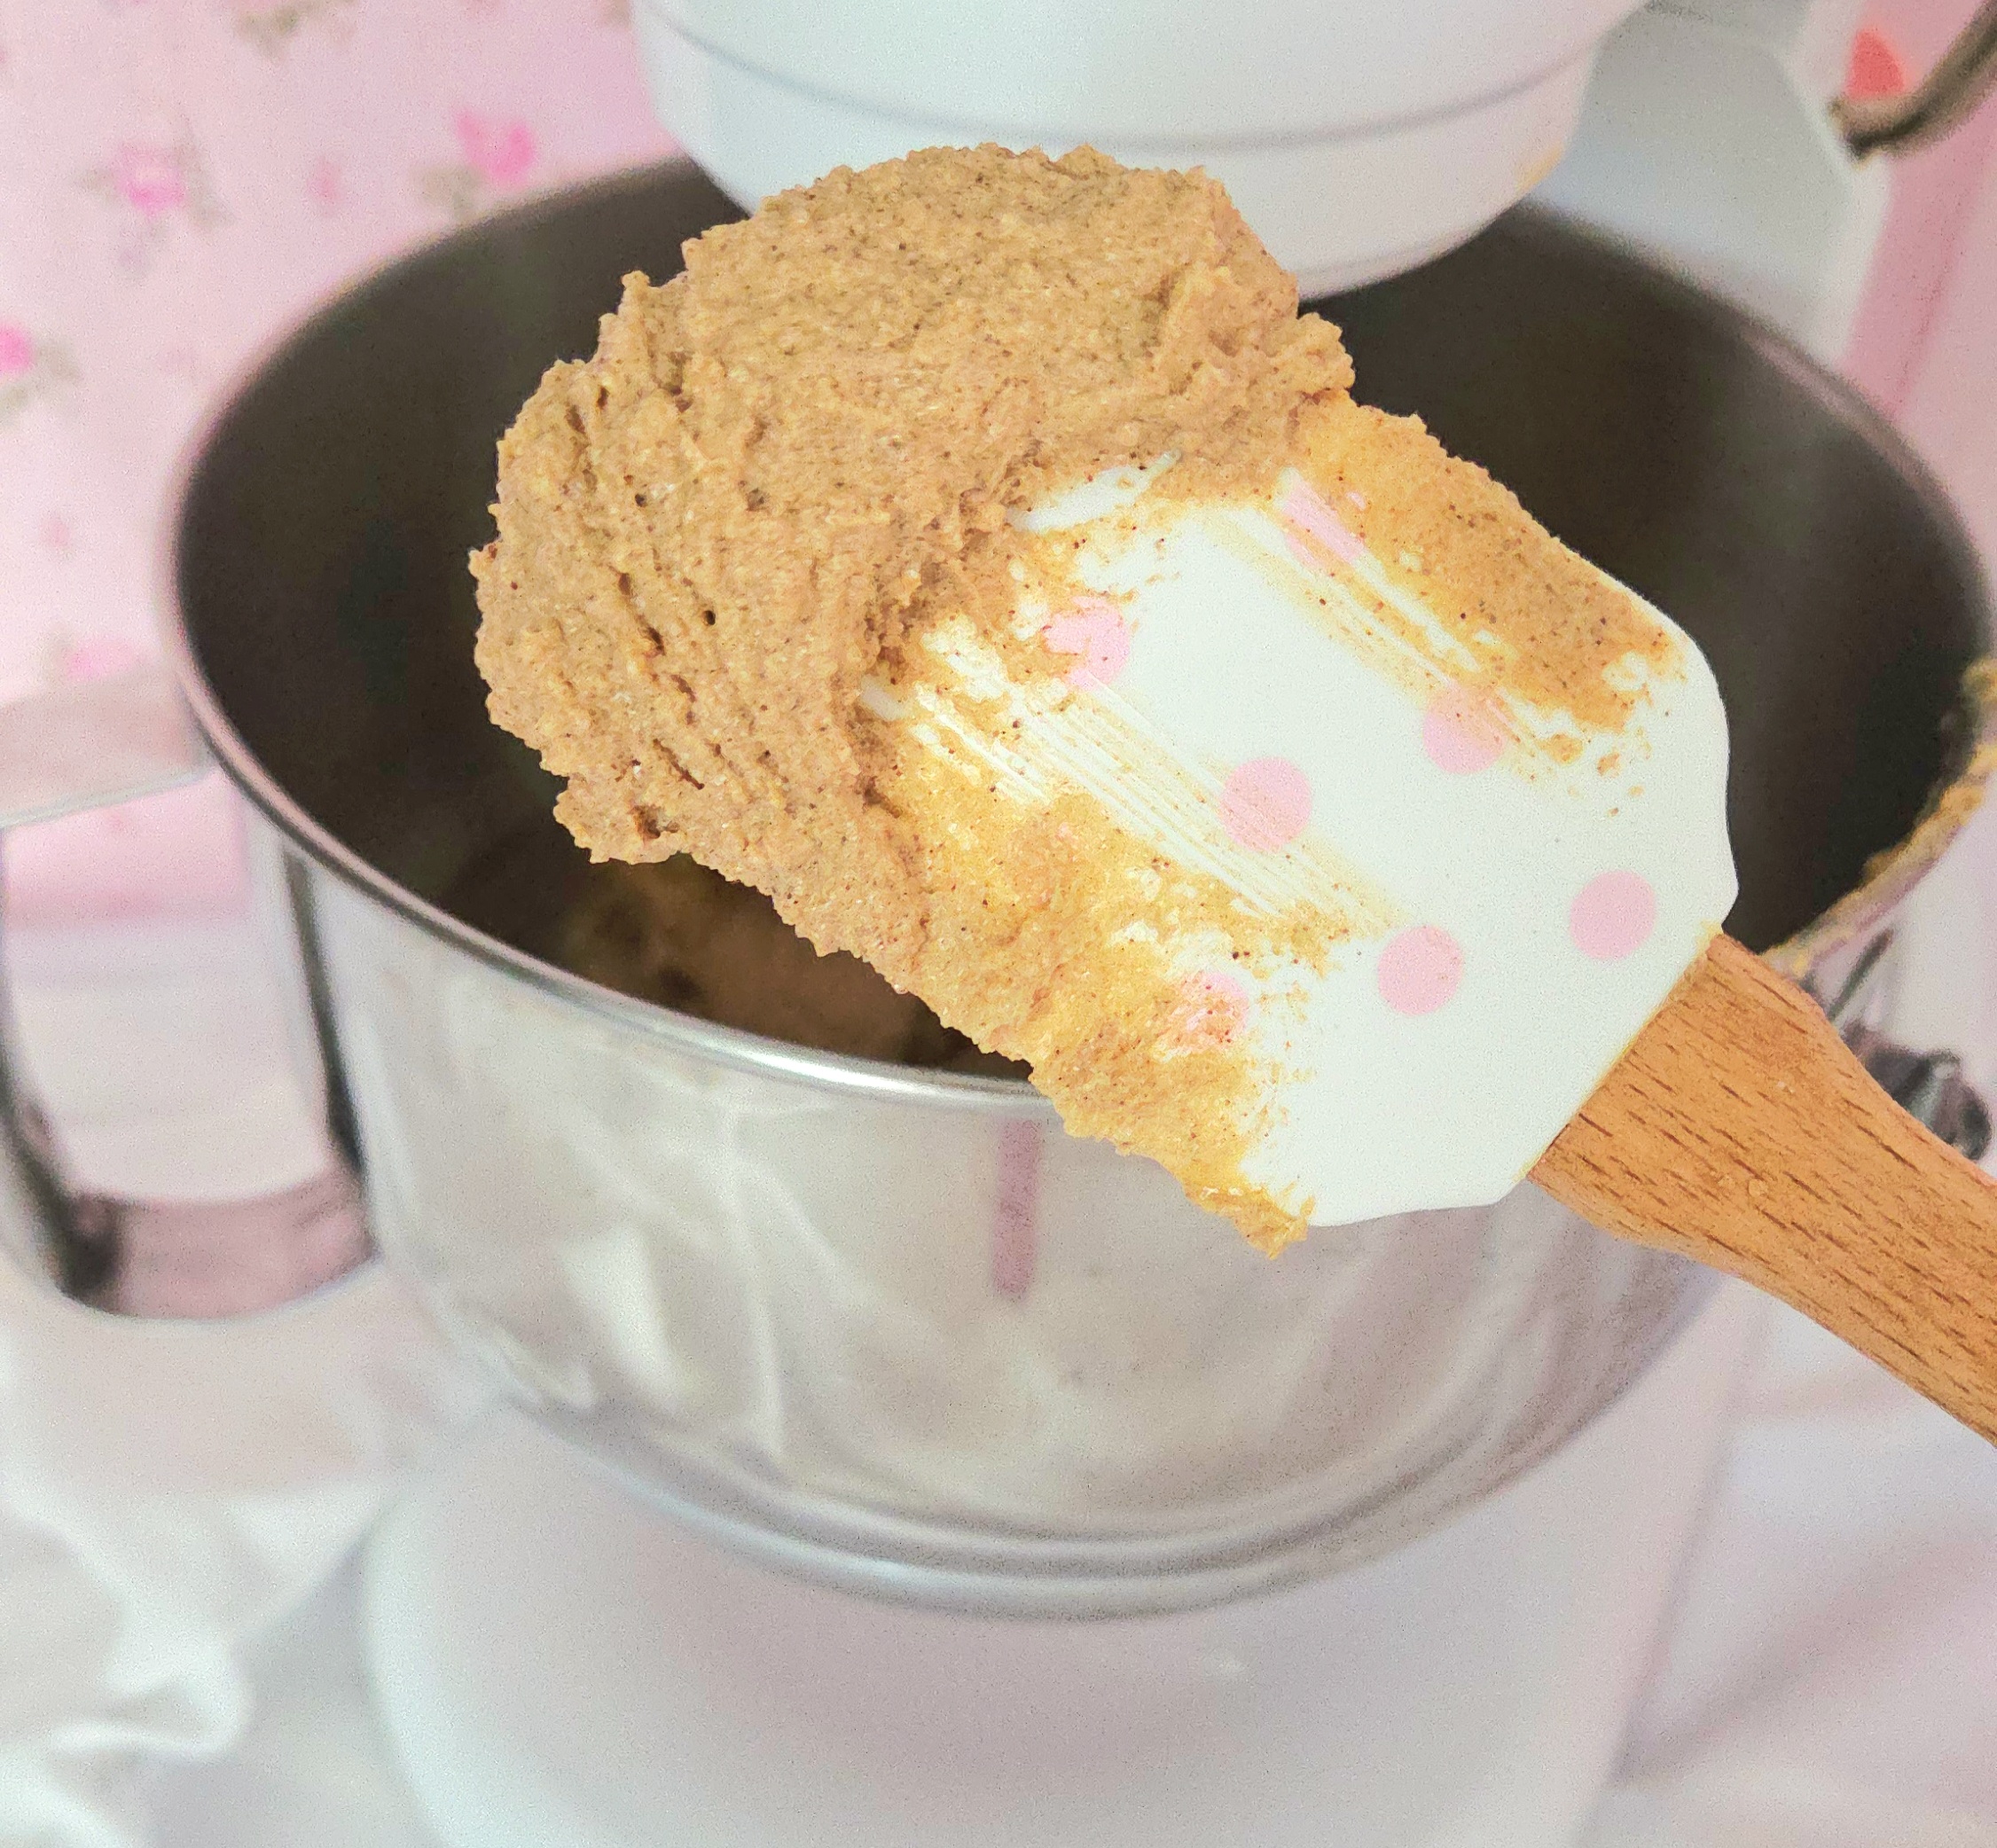
Prepare the filling. In a stand mixer, using the paddle attachment, beat the butter, sugar, cinnamon, and salt on level 3 or 4 for 5 minutes or so. It will go from a dense dark brown to a light and fluffy medium beige. Set the filling aside.
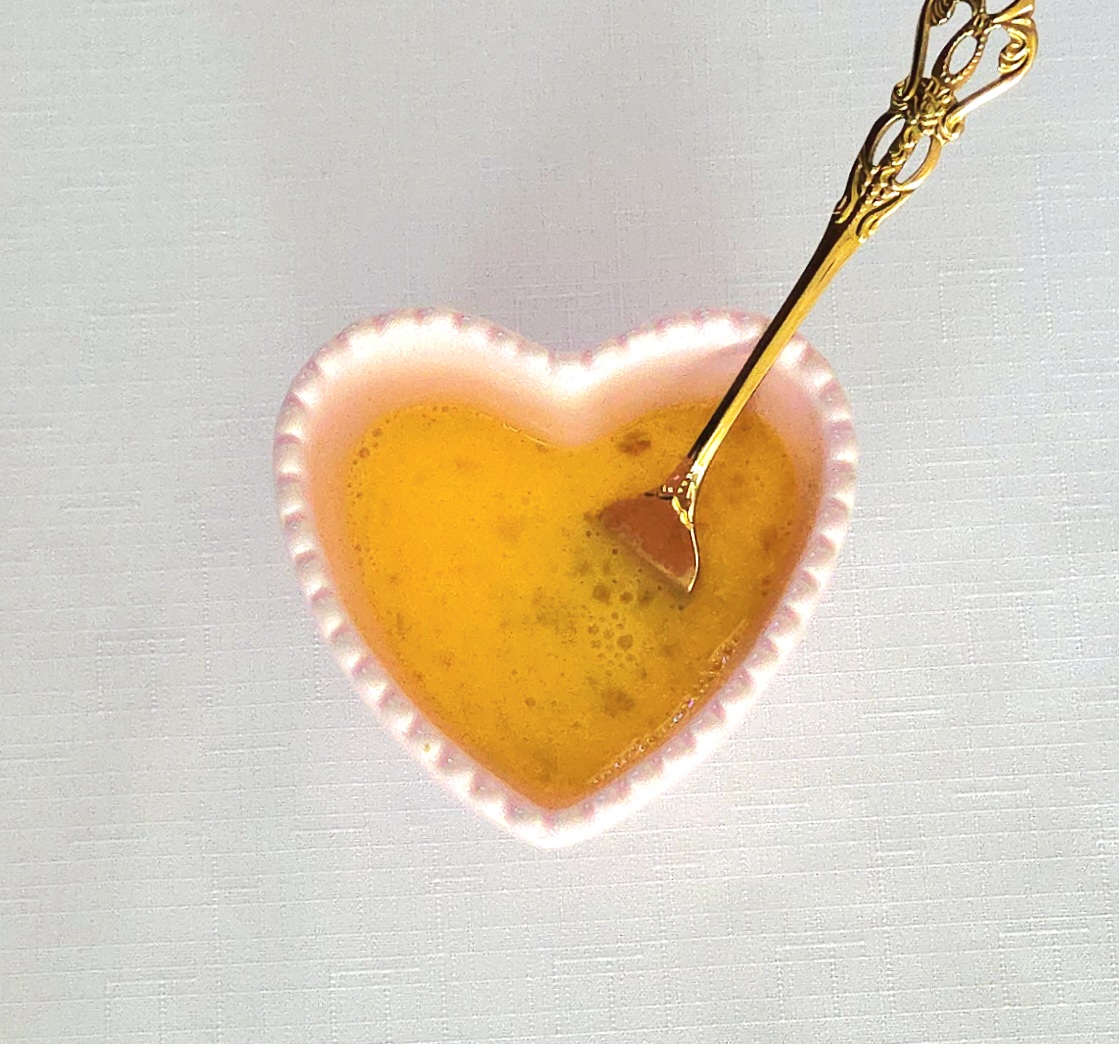
Crack an egg into a small dish. Throw in a pinch of salt and a splash of water, then whisk them together using a fork. This is your egg wash, aka the glue of the baking world. Set the egg wash aside until it’s needed.
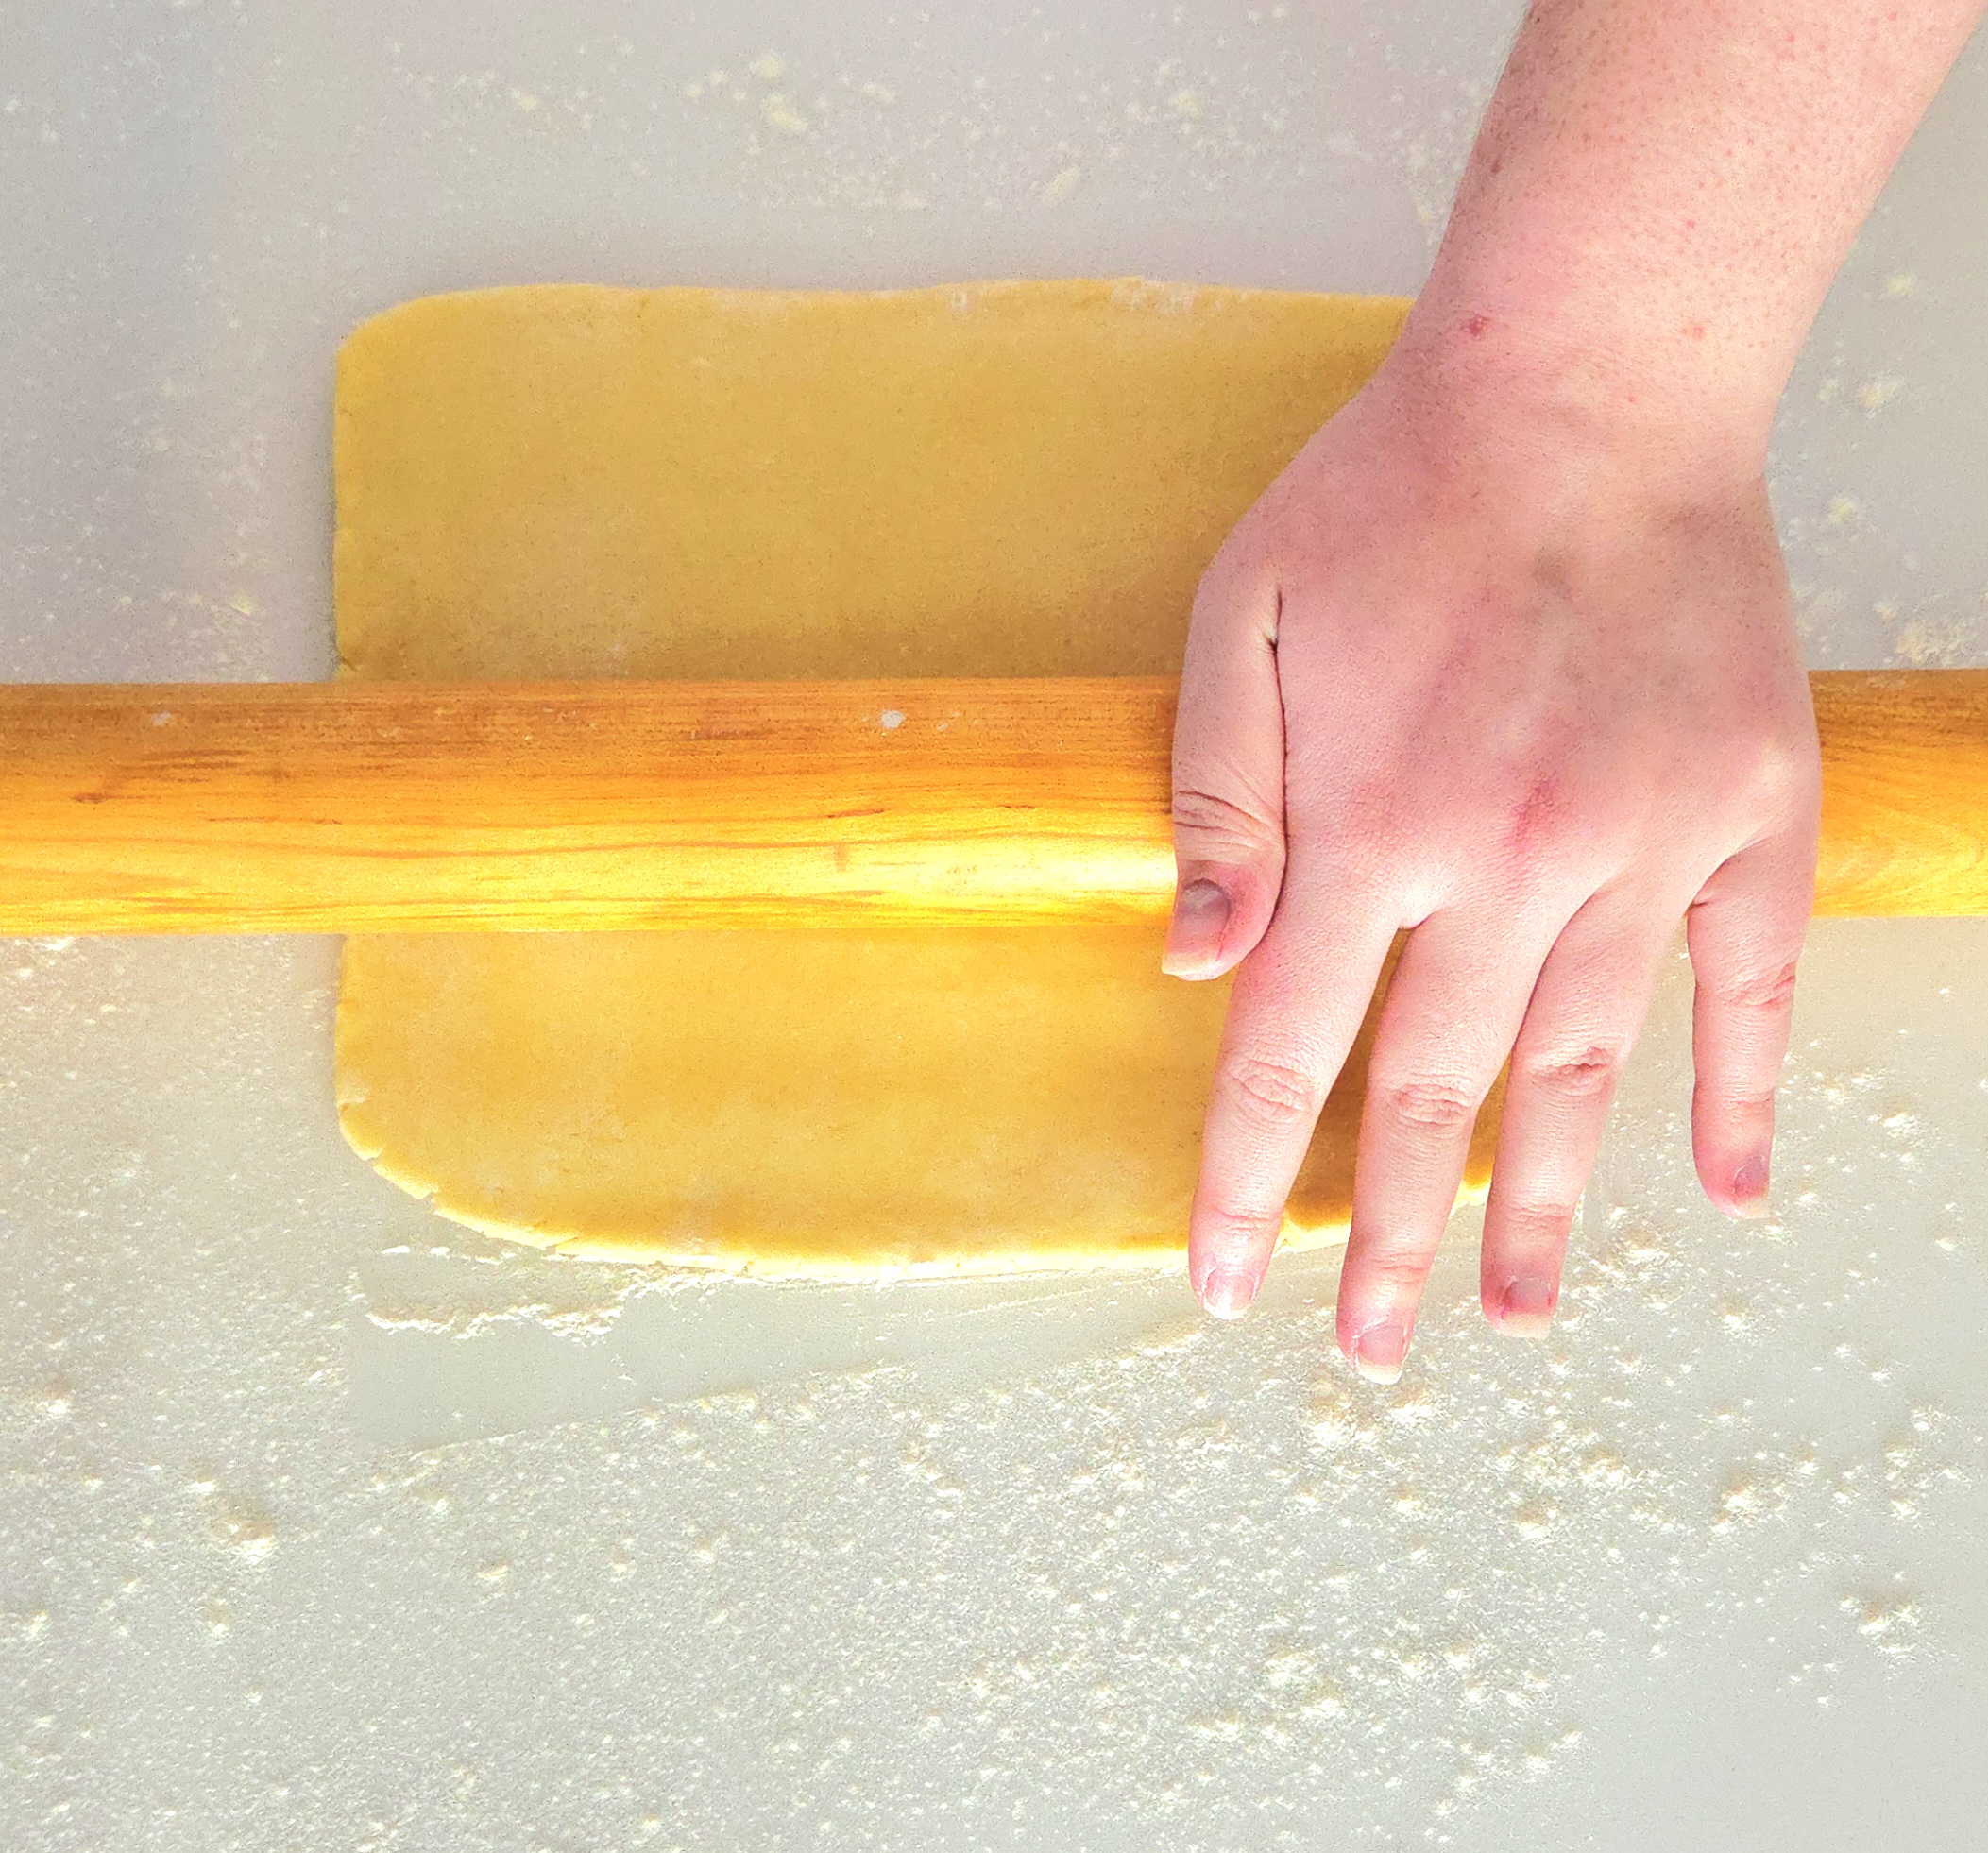
On a clean counter, sprinkle a light dusting of flour. Take the pâte sucrée from the fridge, unwrap it, and cut it in half using either a bench scraper or chef’s knife. Place one half onto the flour, then re-wrap the second half to return to the fridge. Sprinkle more flour on top of the dough and roll it out to a 12×16 inch rectangle.
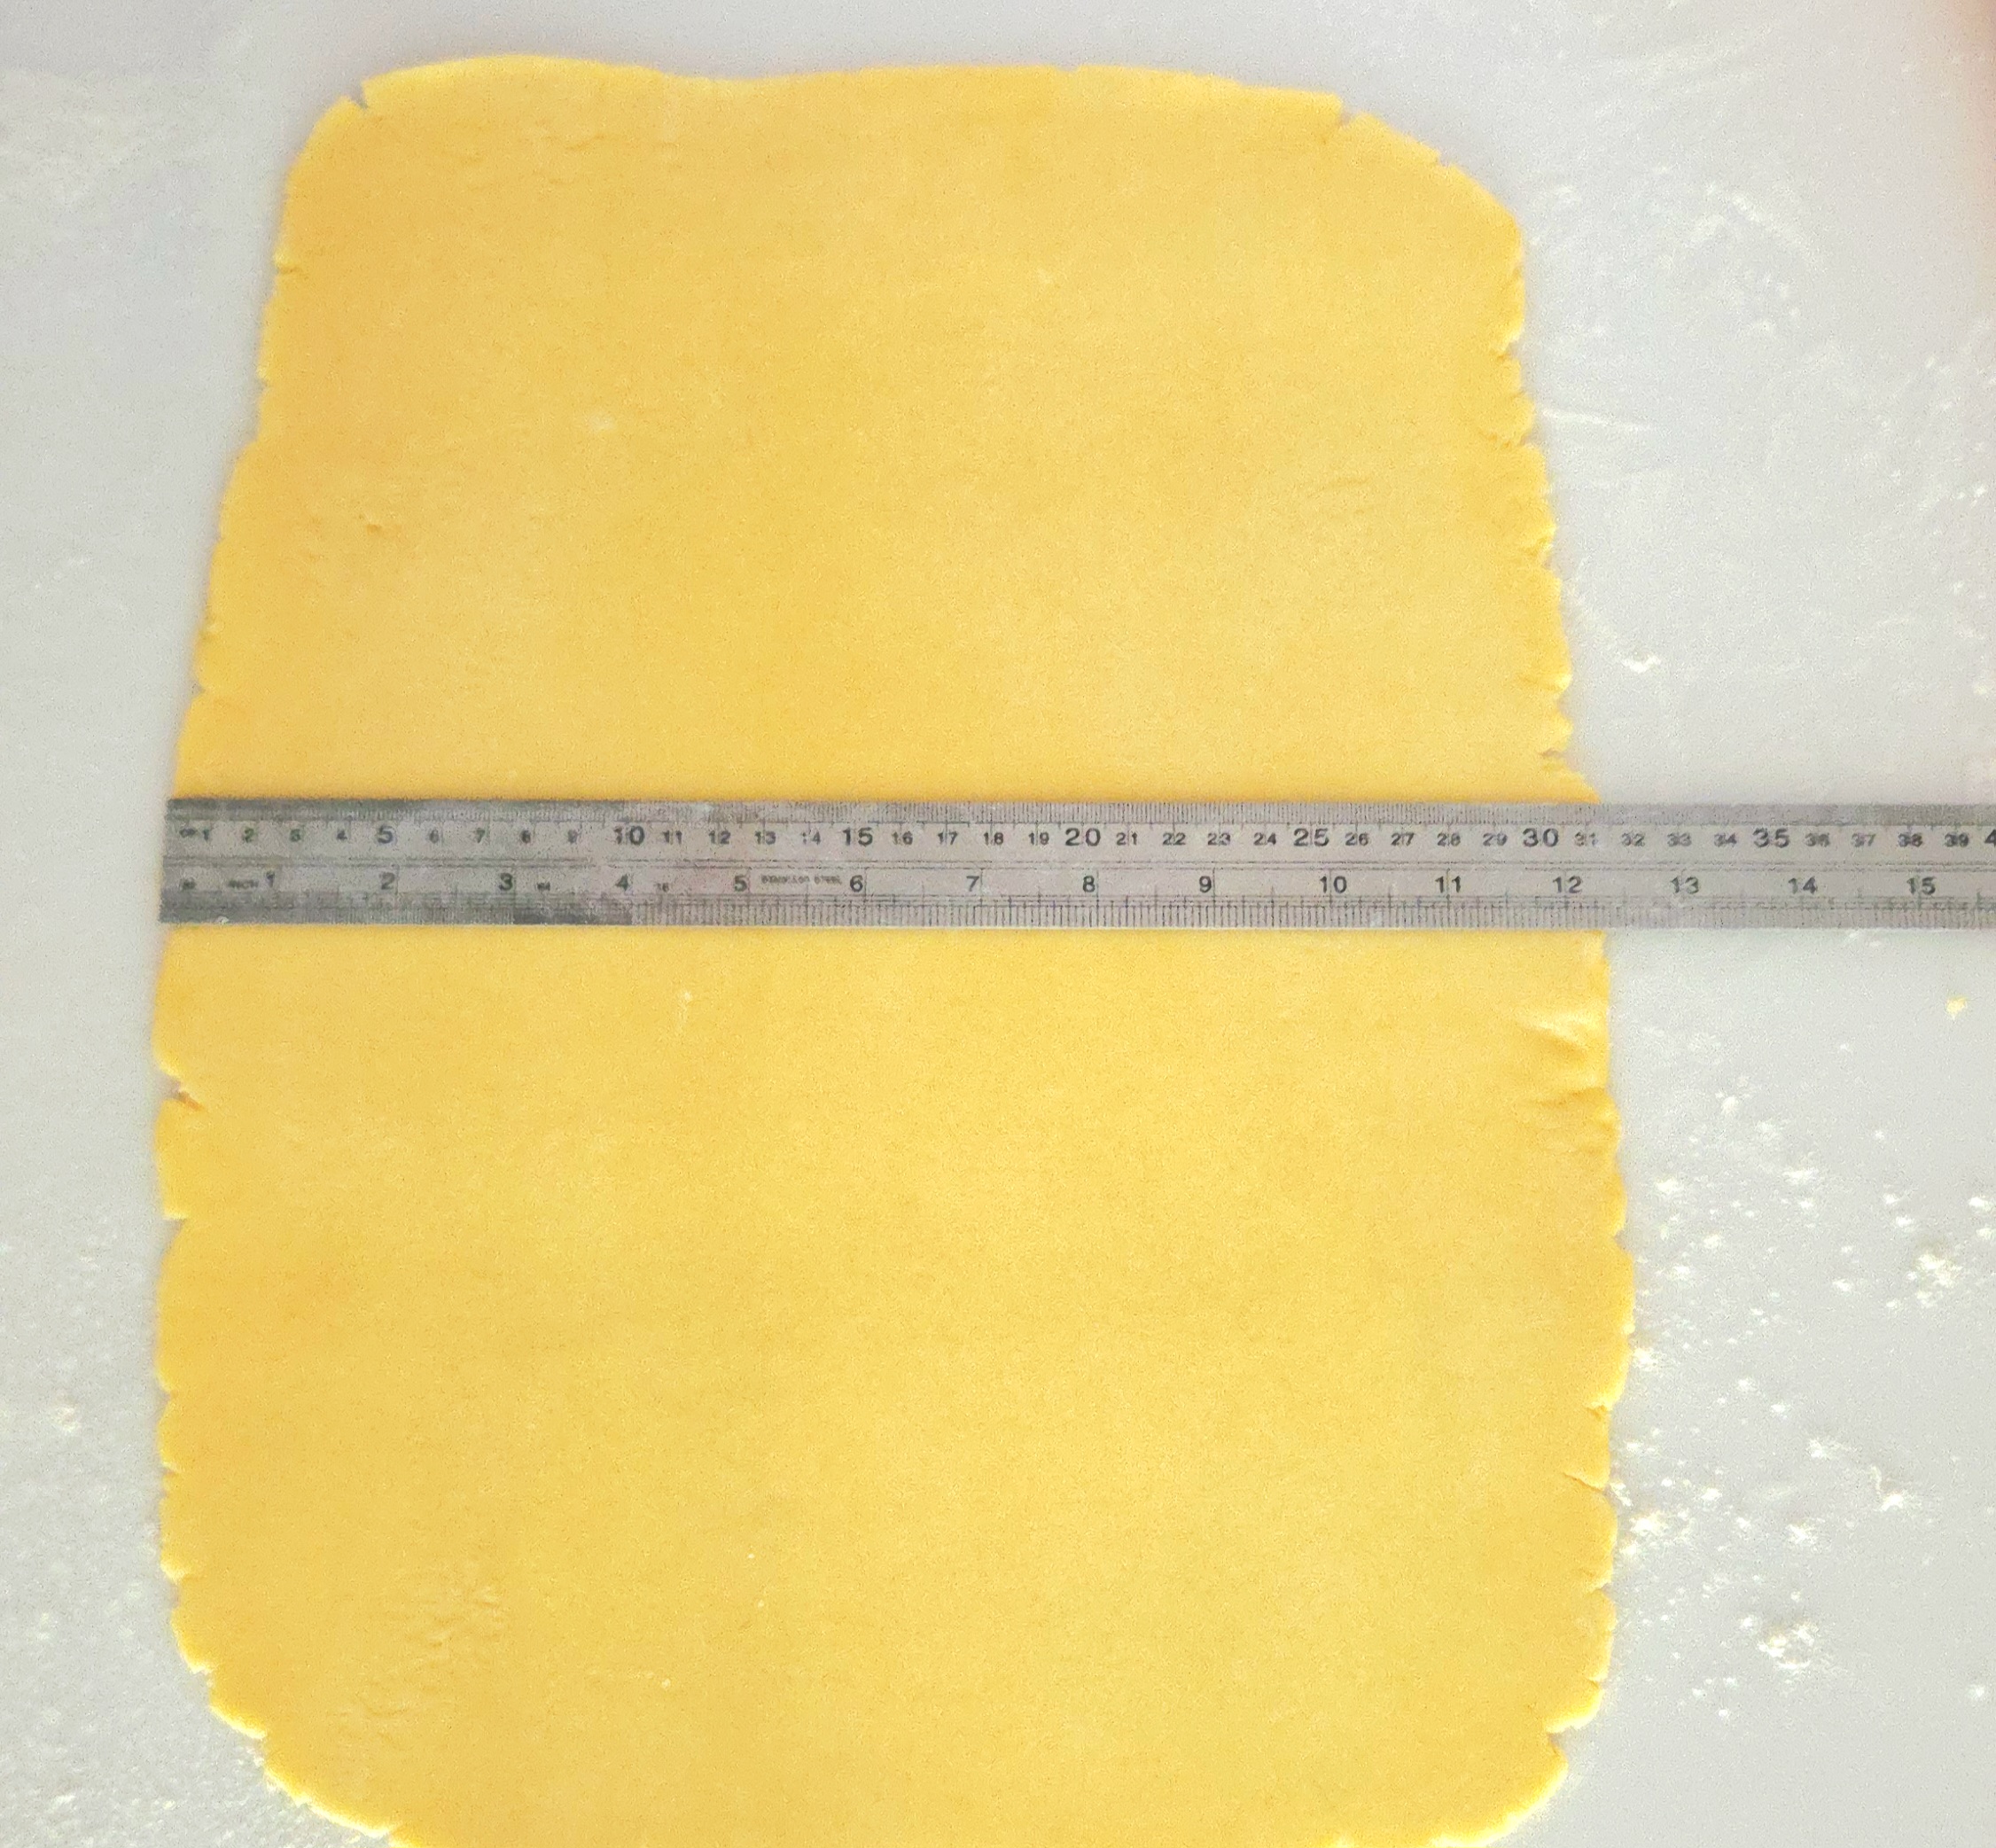
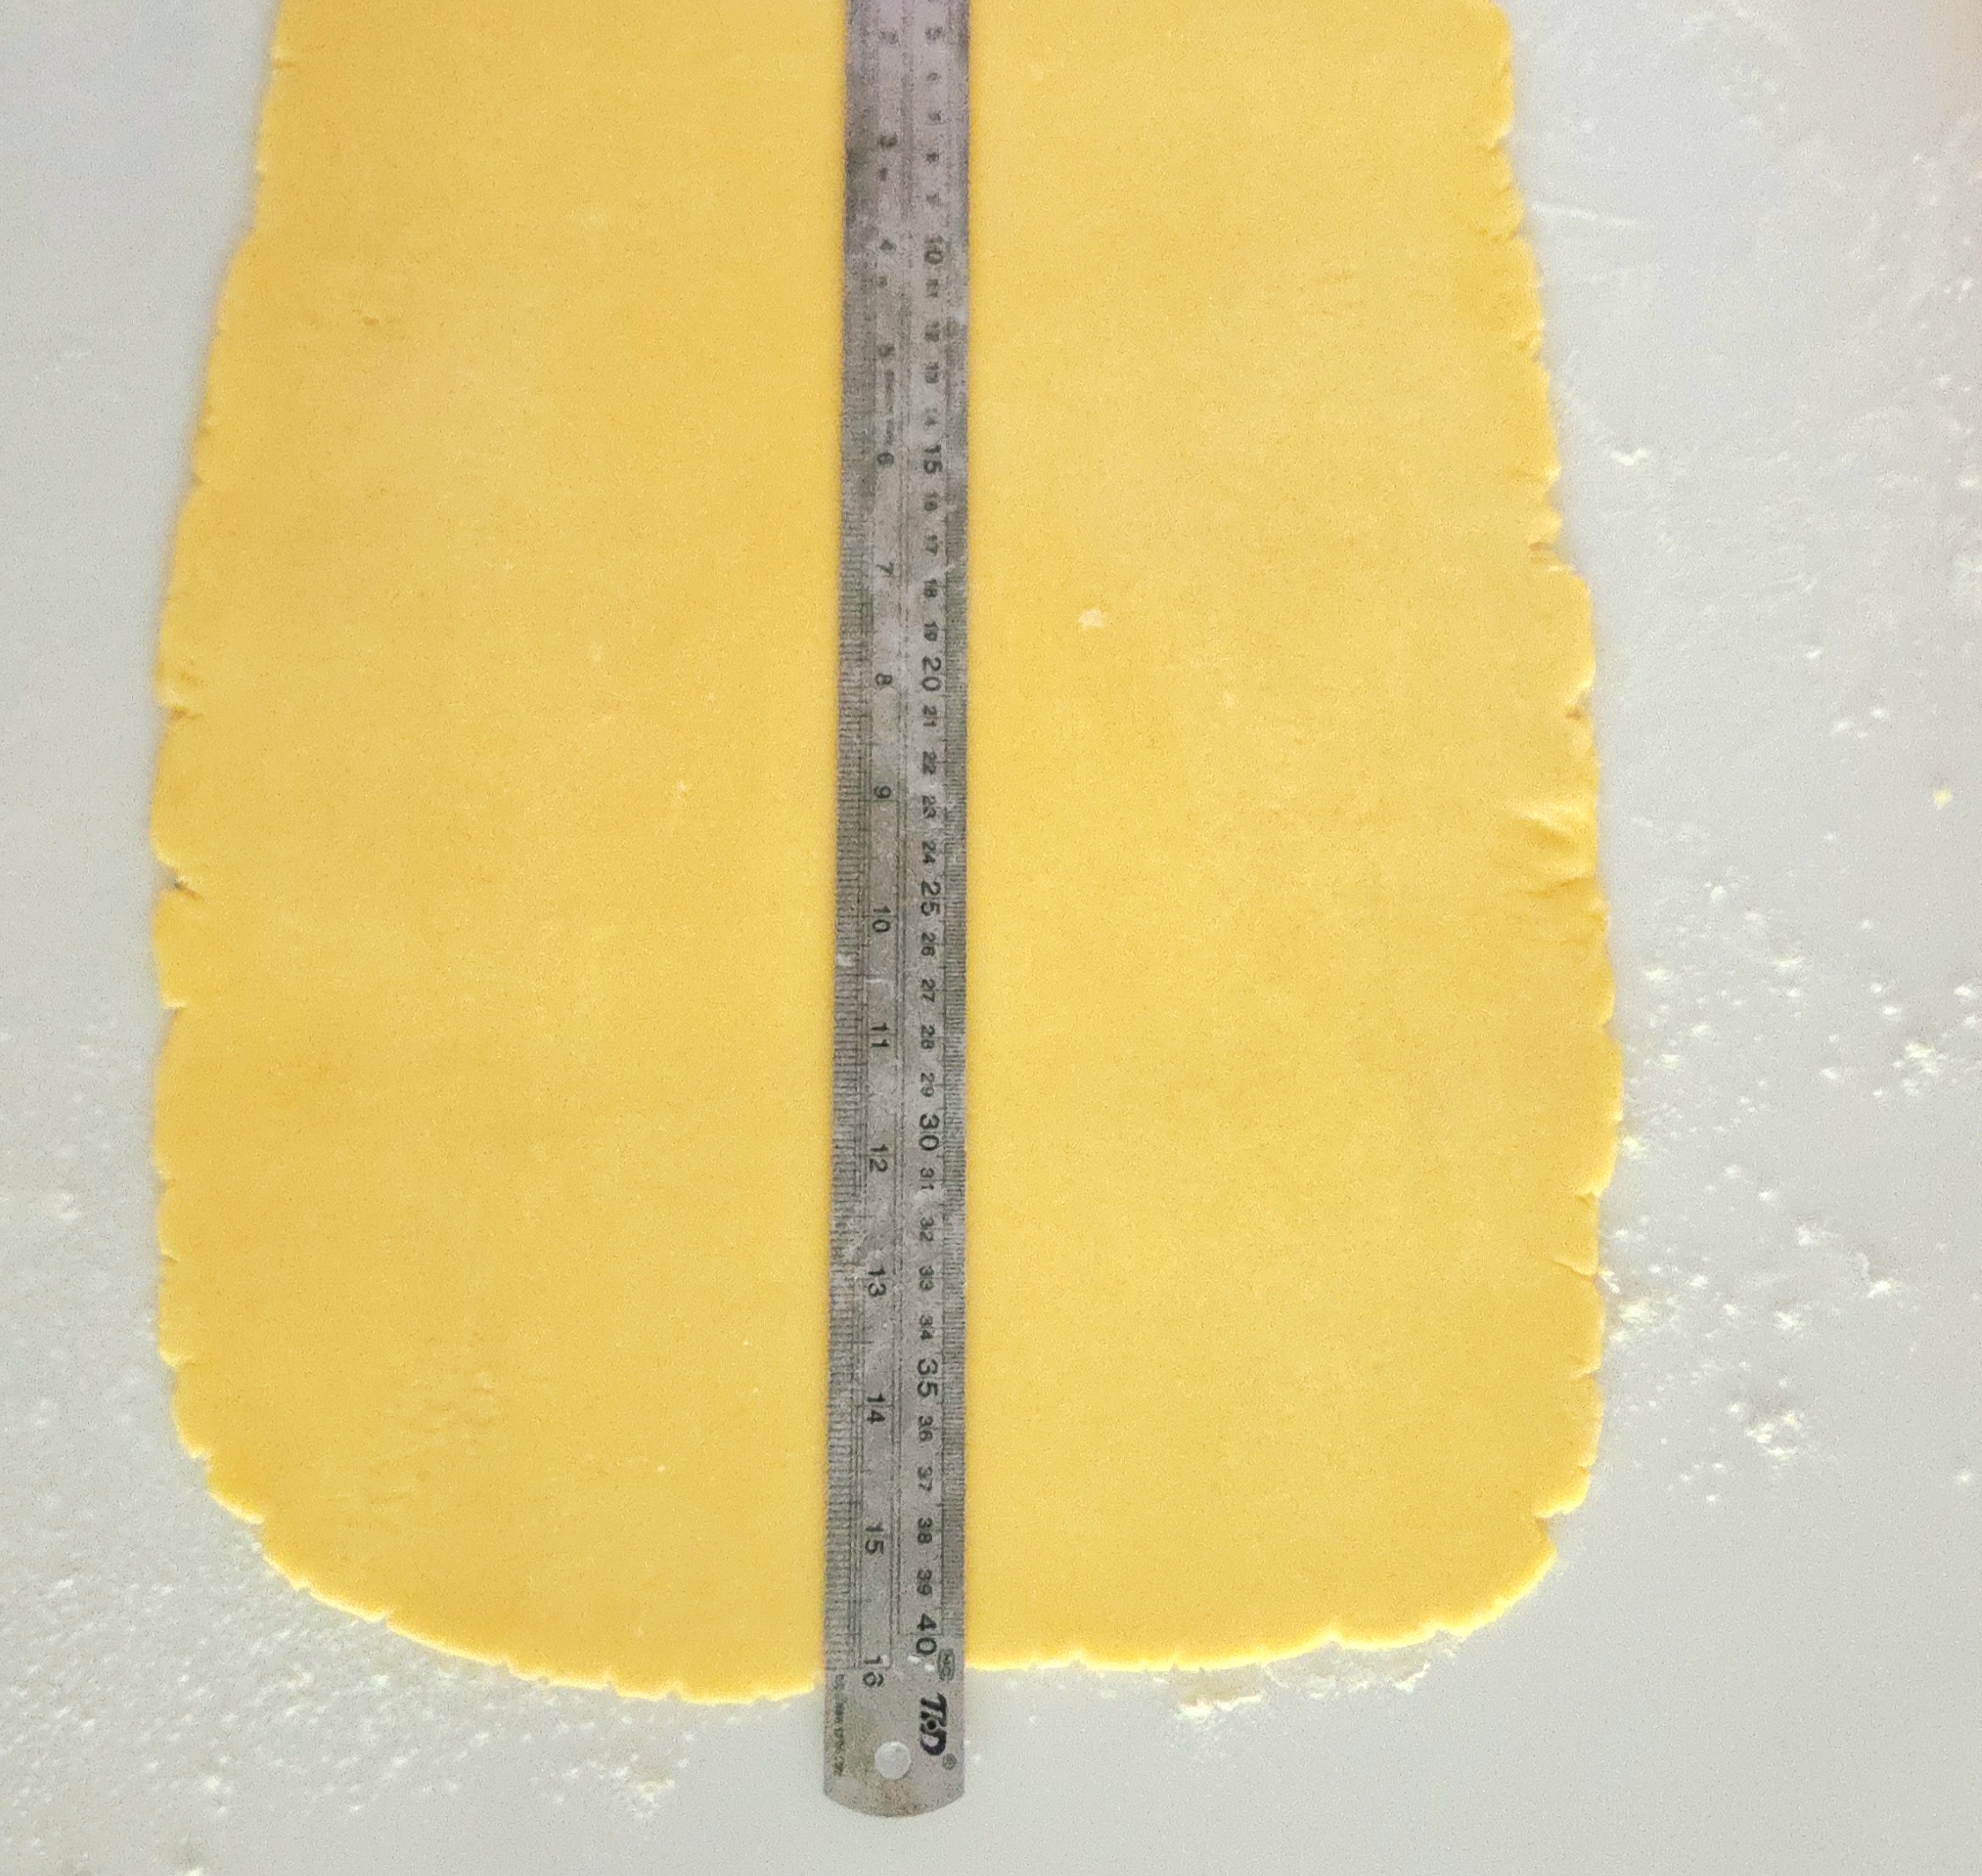
If your kitchen is warm and the dough starts to get floppy and greasy, don’t panic! Just place it onto one of the lined baking sheets, cover it with plastic wrap, and place it in the fridge for a few minutes so it can firm up again.
Cut the 12×16 inch rectangle into 8 relatively equal pieces. Start by cutting it in half, using the bench scraper, on the 12-inch side. Then, cut the 16 inch side in half, then each of those halves in half once more. That’s the easiest way to eyeball a 2×4 grid. Each piece should measure approximately 6×4 inches.
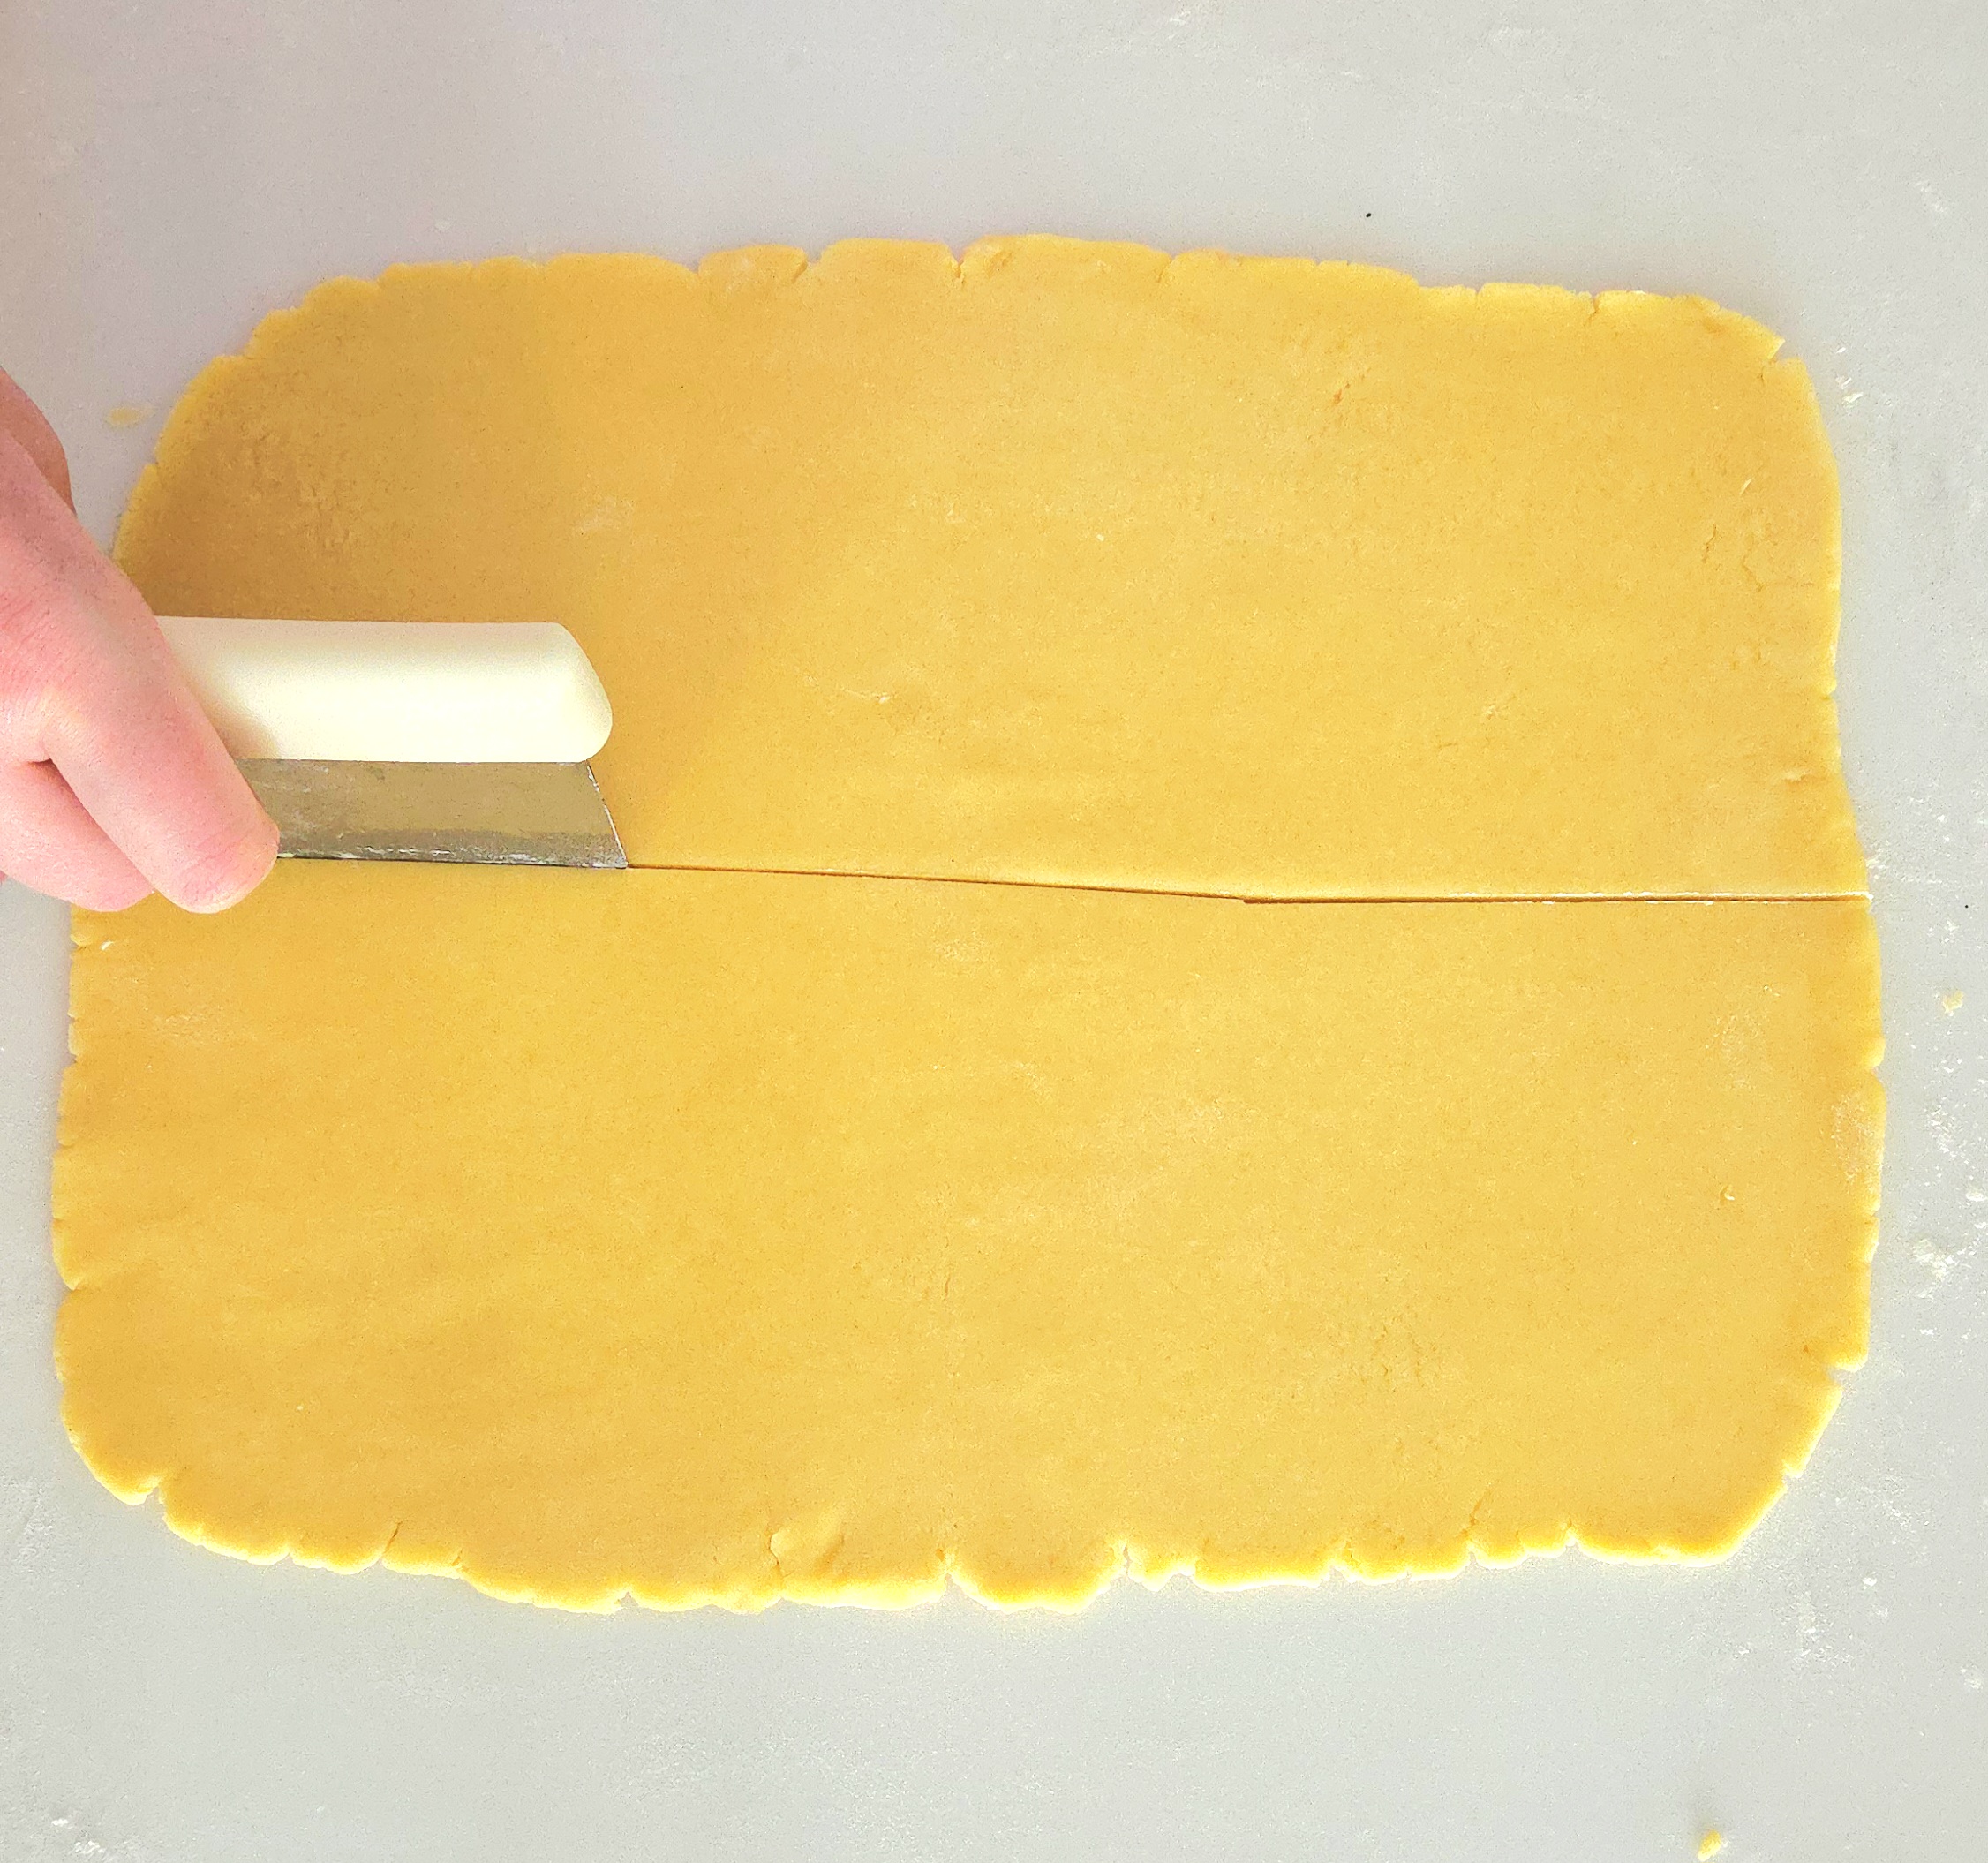
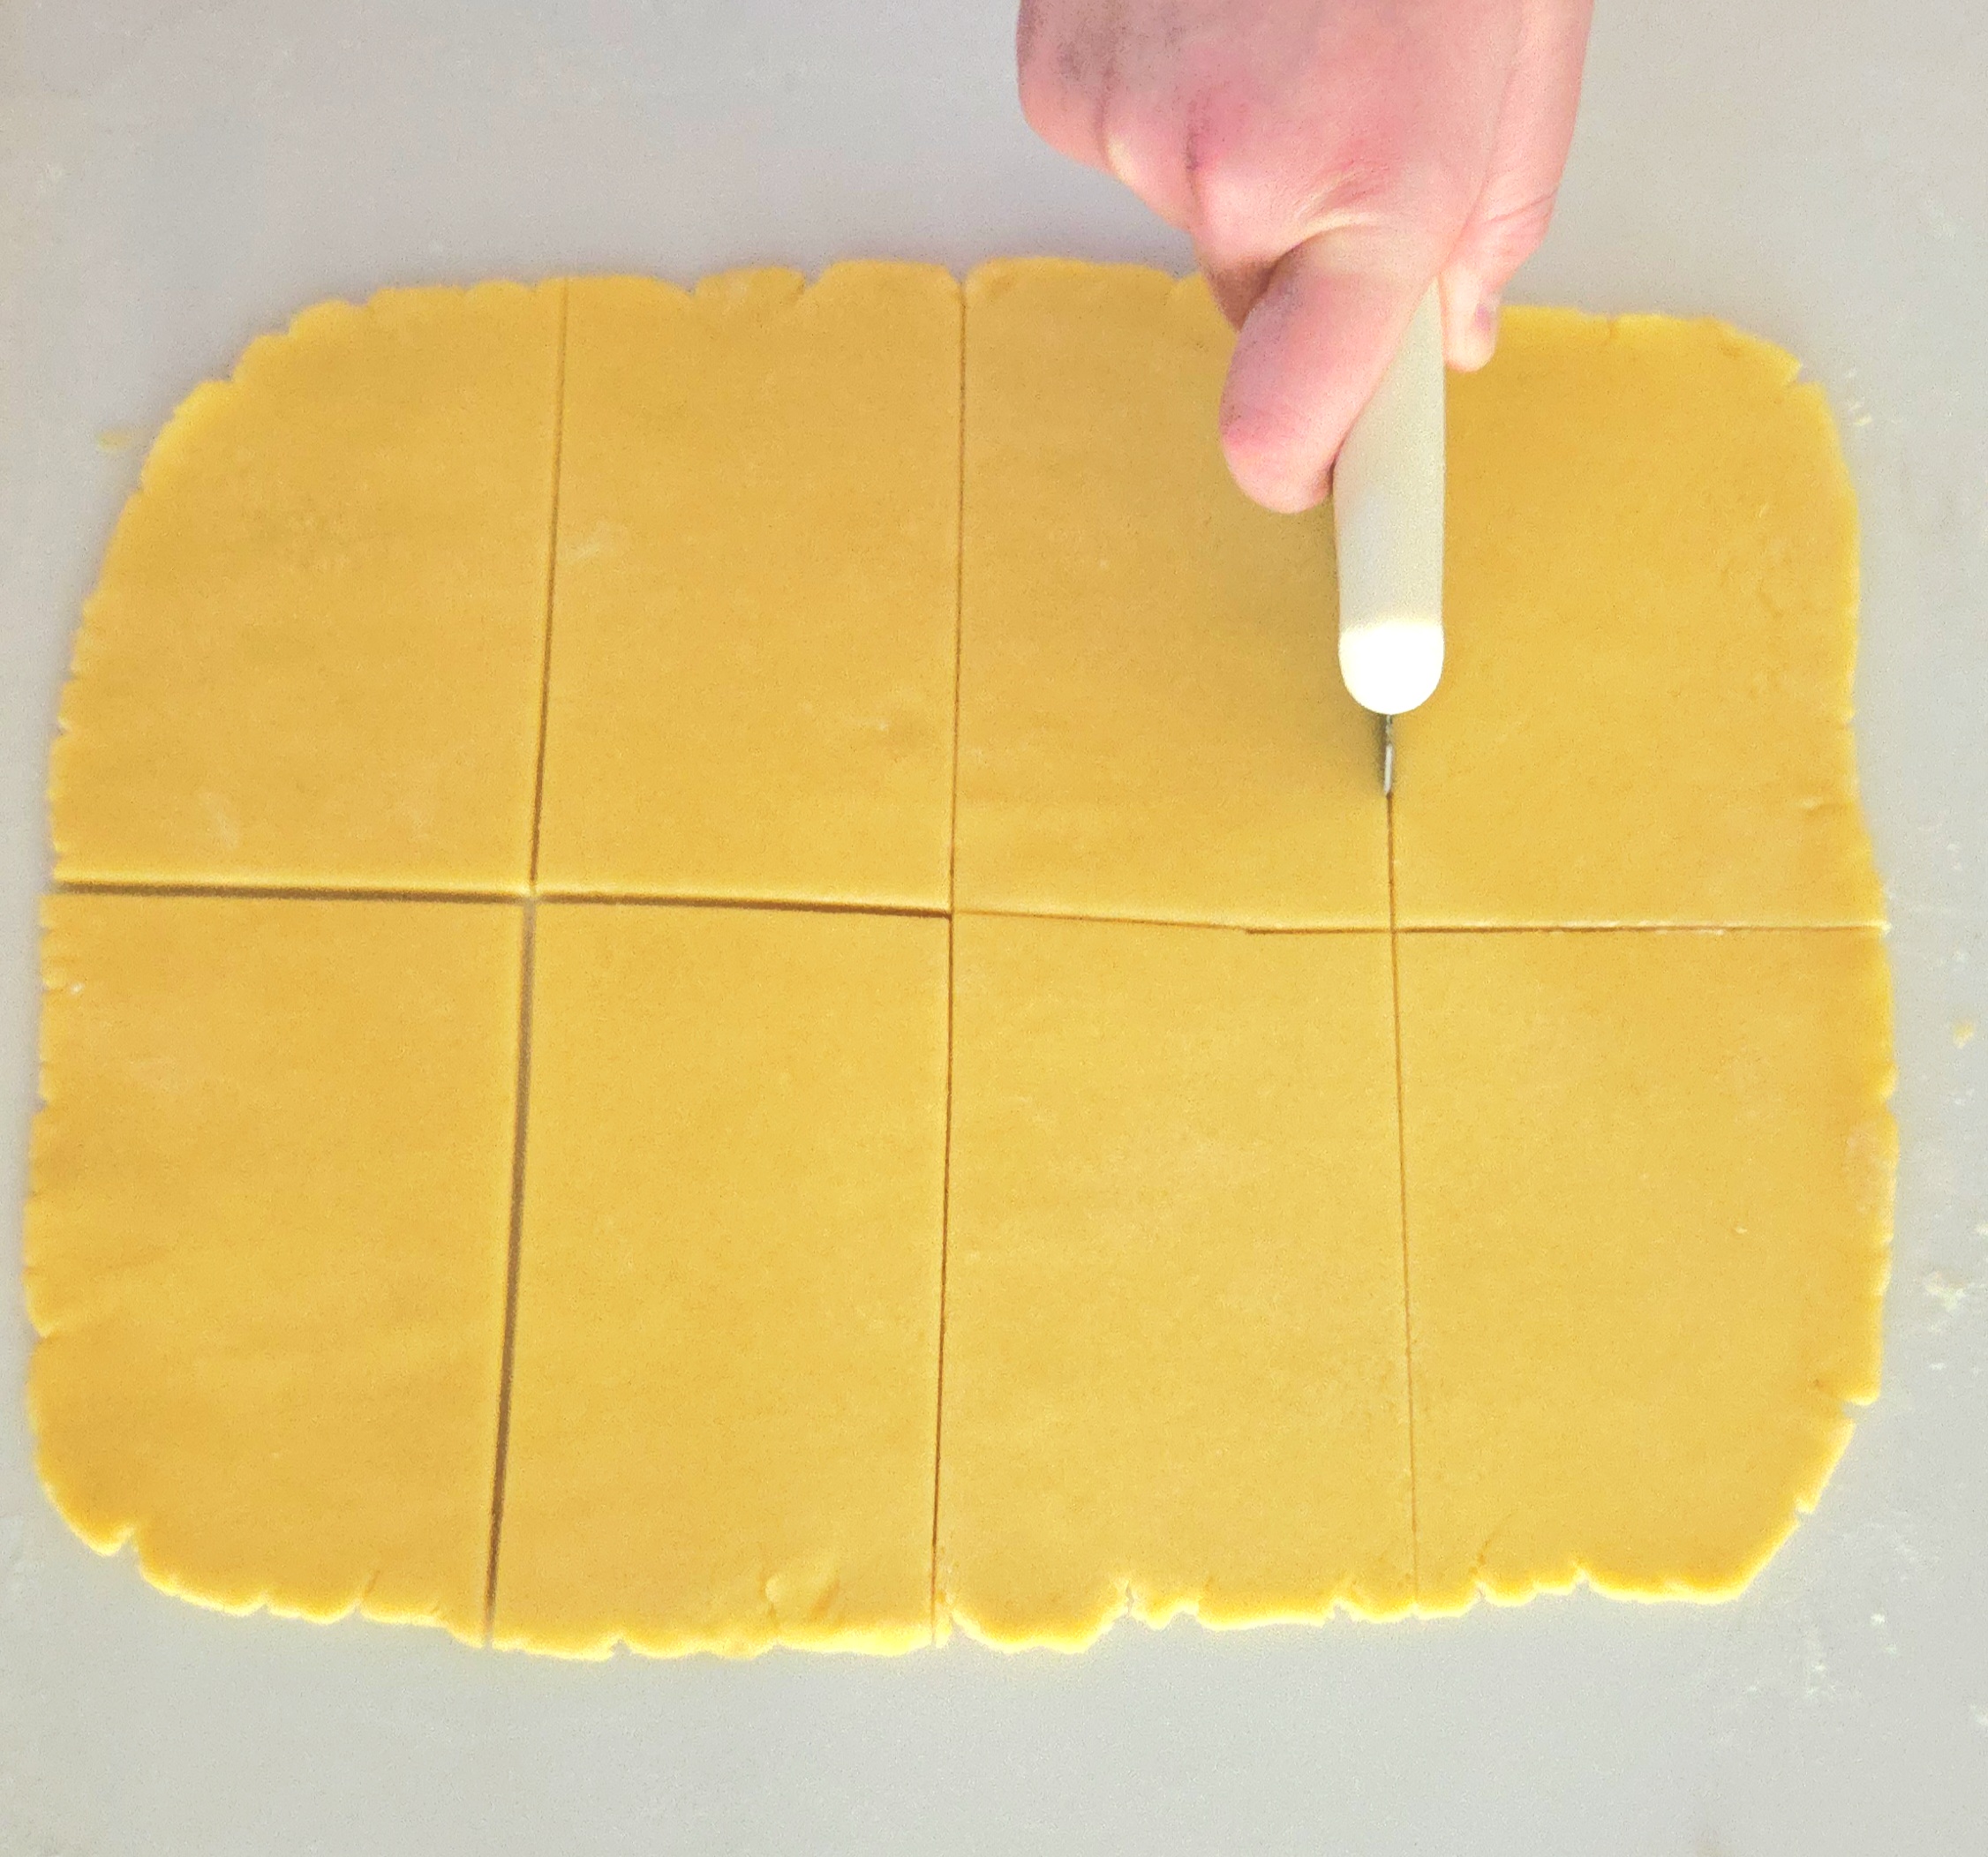
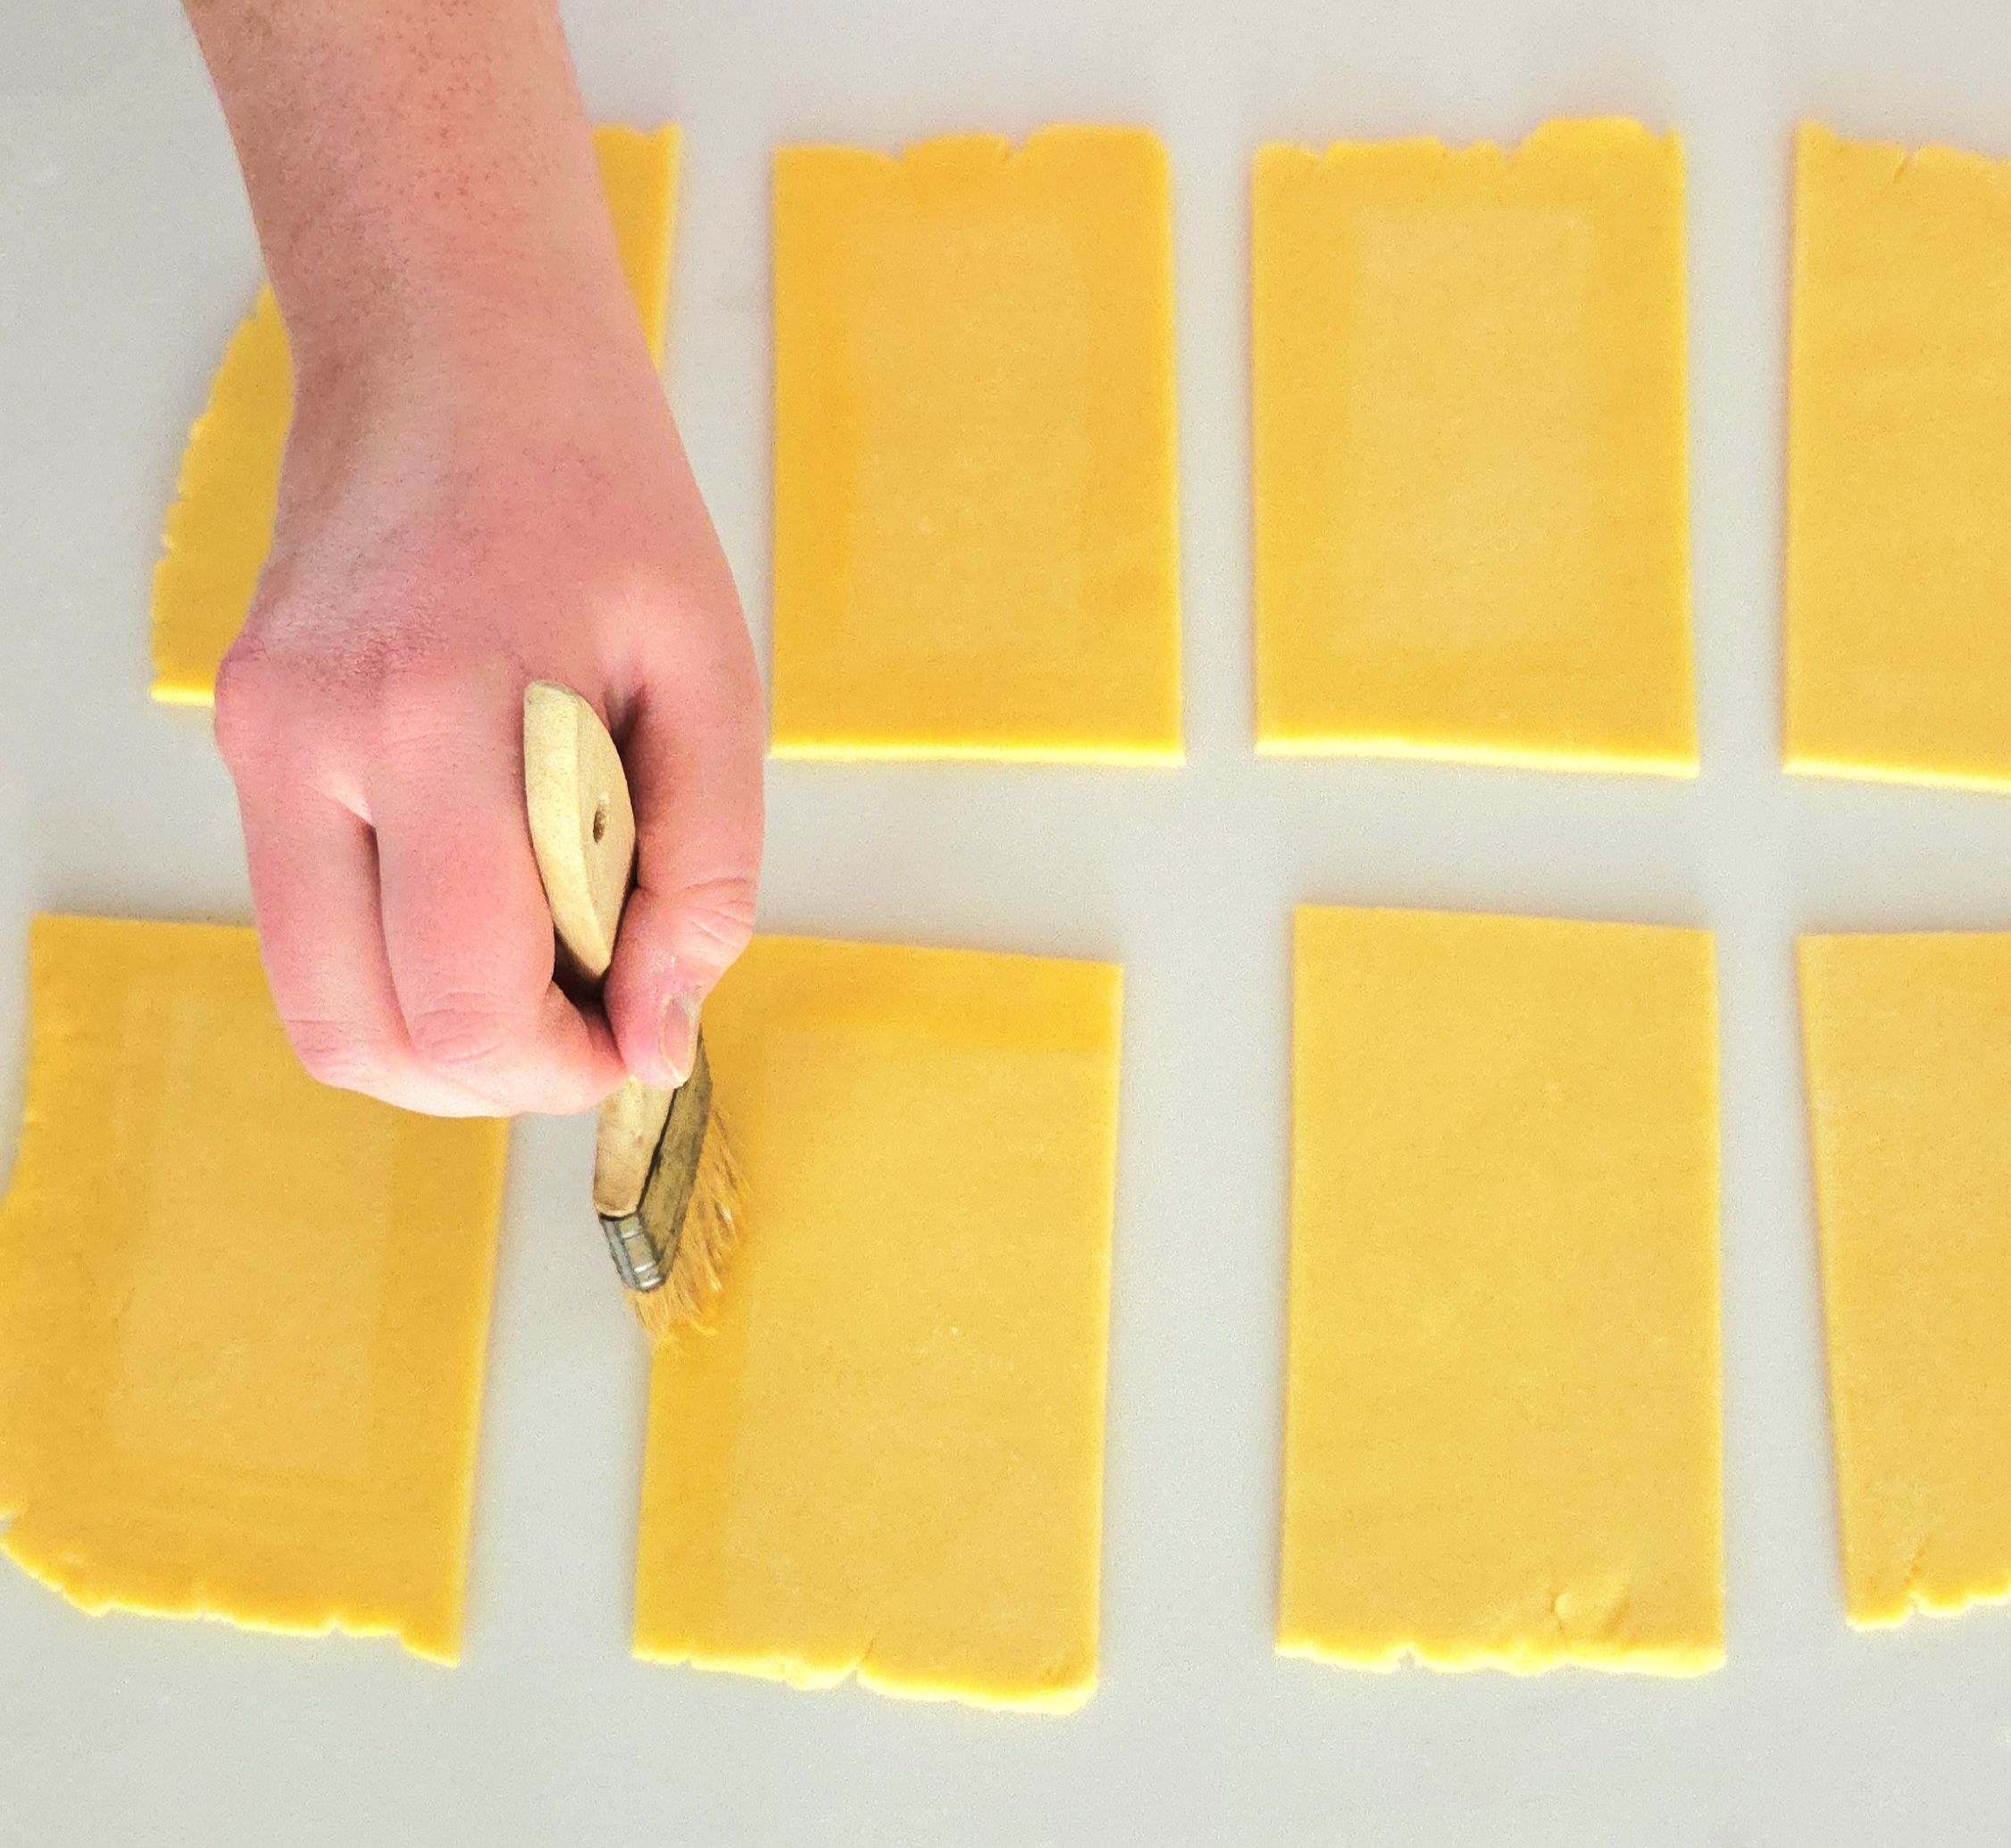
Place the pieces of dough onto one of the baking sheets, then cover them with plastic wrap. Place the sheet in the fridge. Grab the second half of dough, then roll it out and divide it the same way you did with the first half. Trade the second sheet of portioned dough for the first sheet in the fridge and place the pieces on the counter again. Brush a ¼-½ inch border with egg wash along the edges of each one.
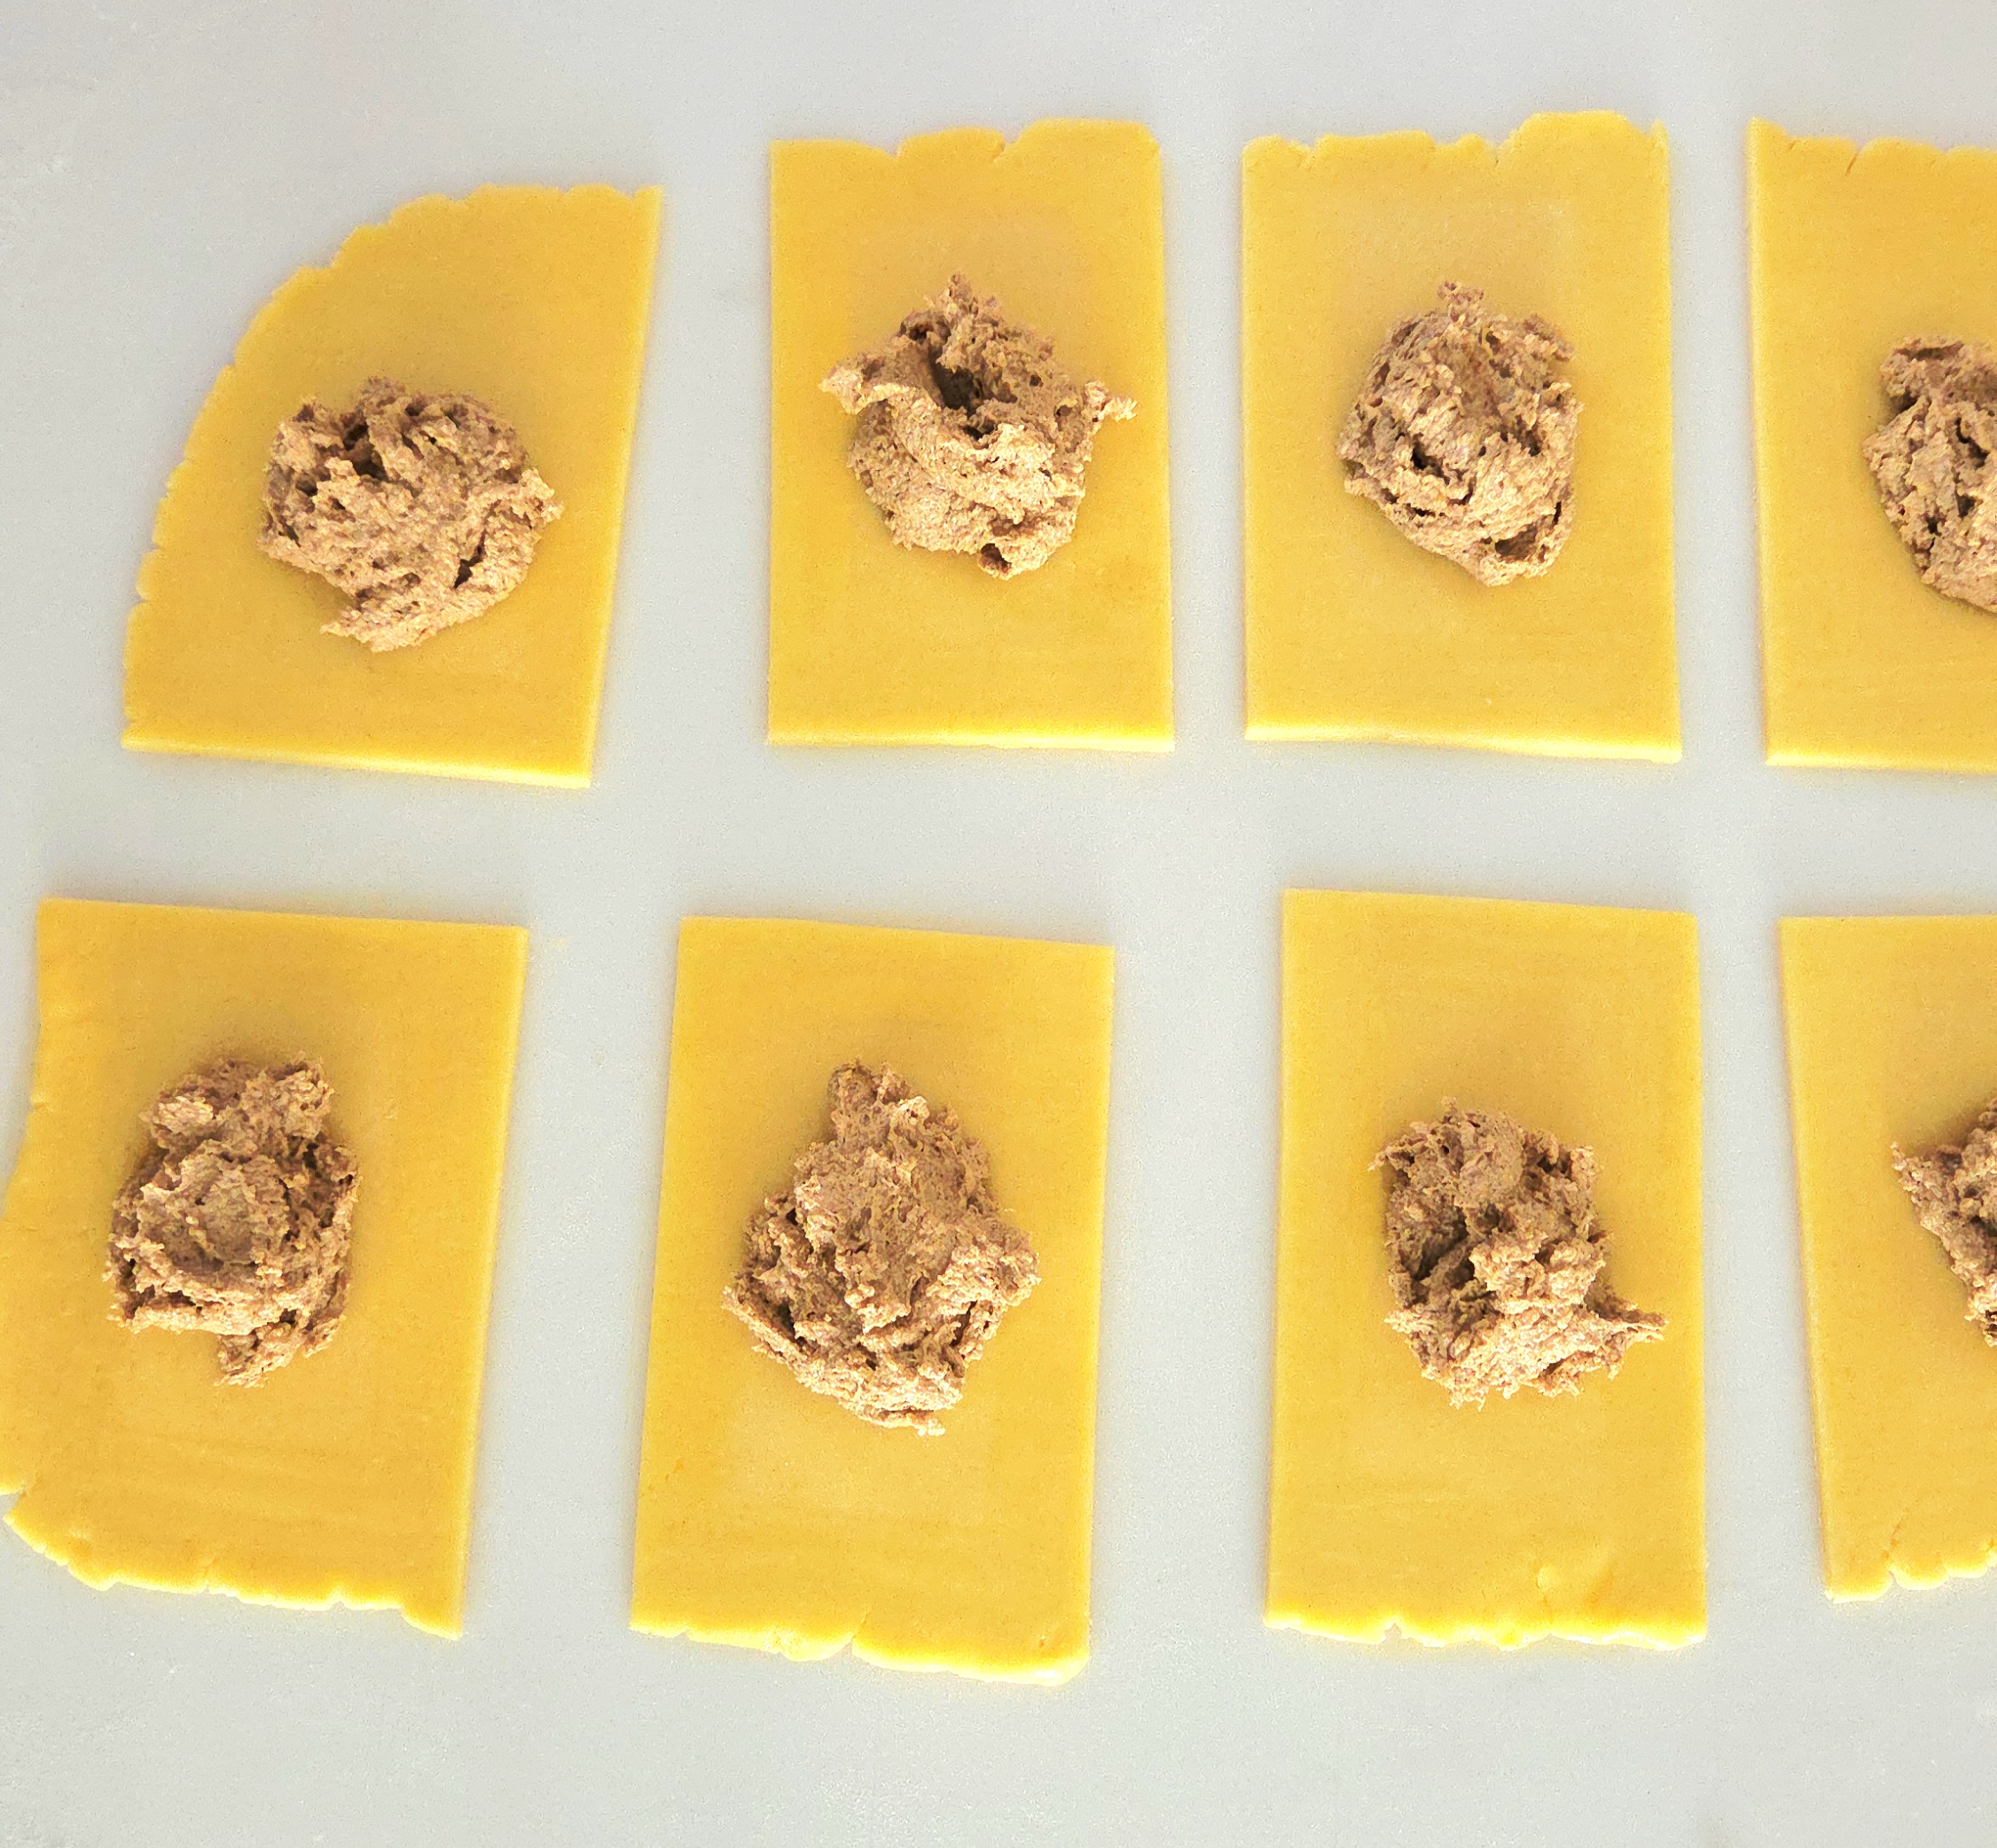
Dollop 2-3 Tablespoons worth of filling onto the center of each rectangle that’s been brushed with the egg wash border. Using an offset spatula or butter knife, spread the filling so it goes right up to the egg wash.
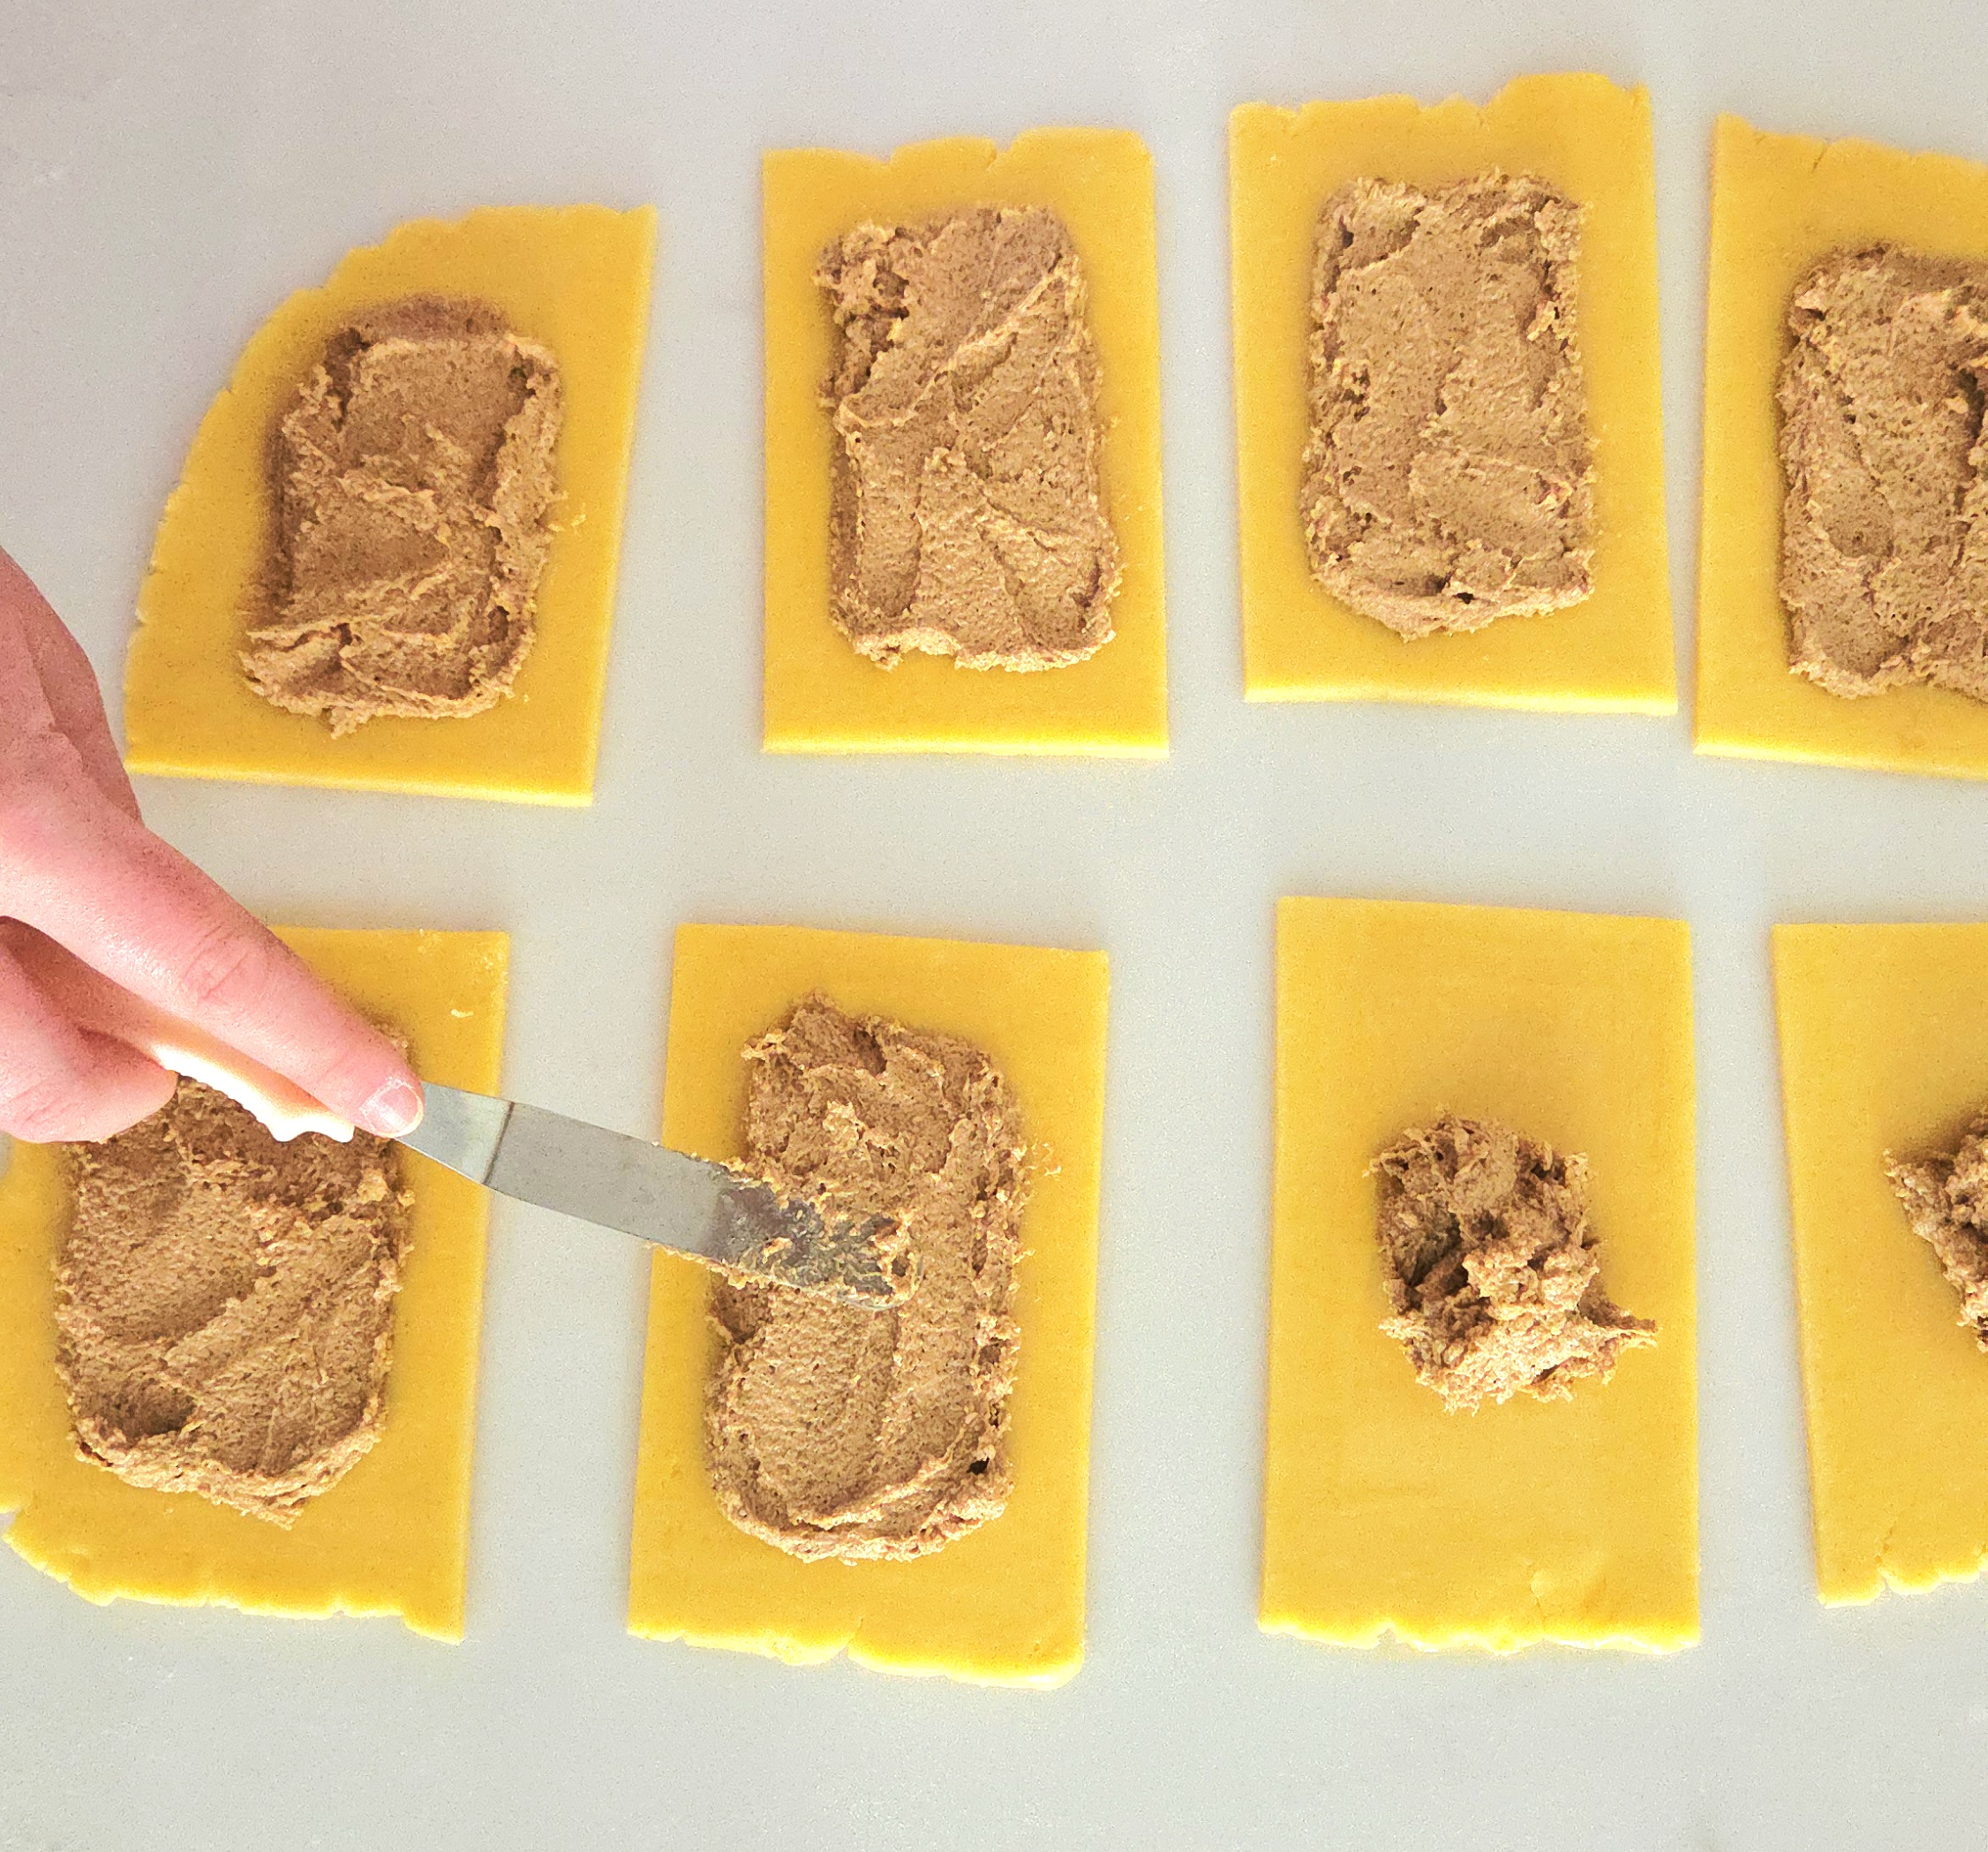
Get the second sheet of portioned dough from the fridge. Match the pieces up with whichever filled rectangle it fits best with, then place them on top. Use your fingers to seal the filling inside, by gently pressing all around the border where the egg wash is.
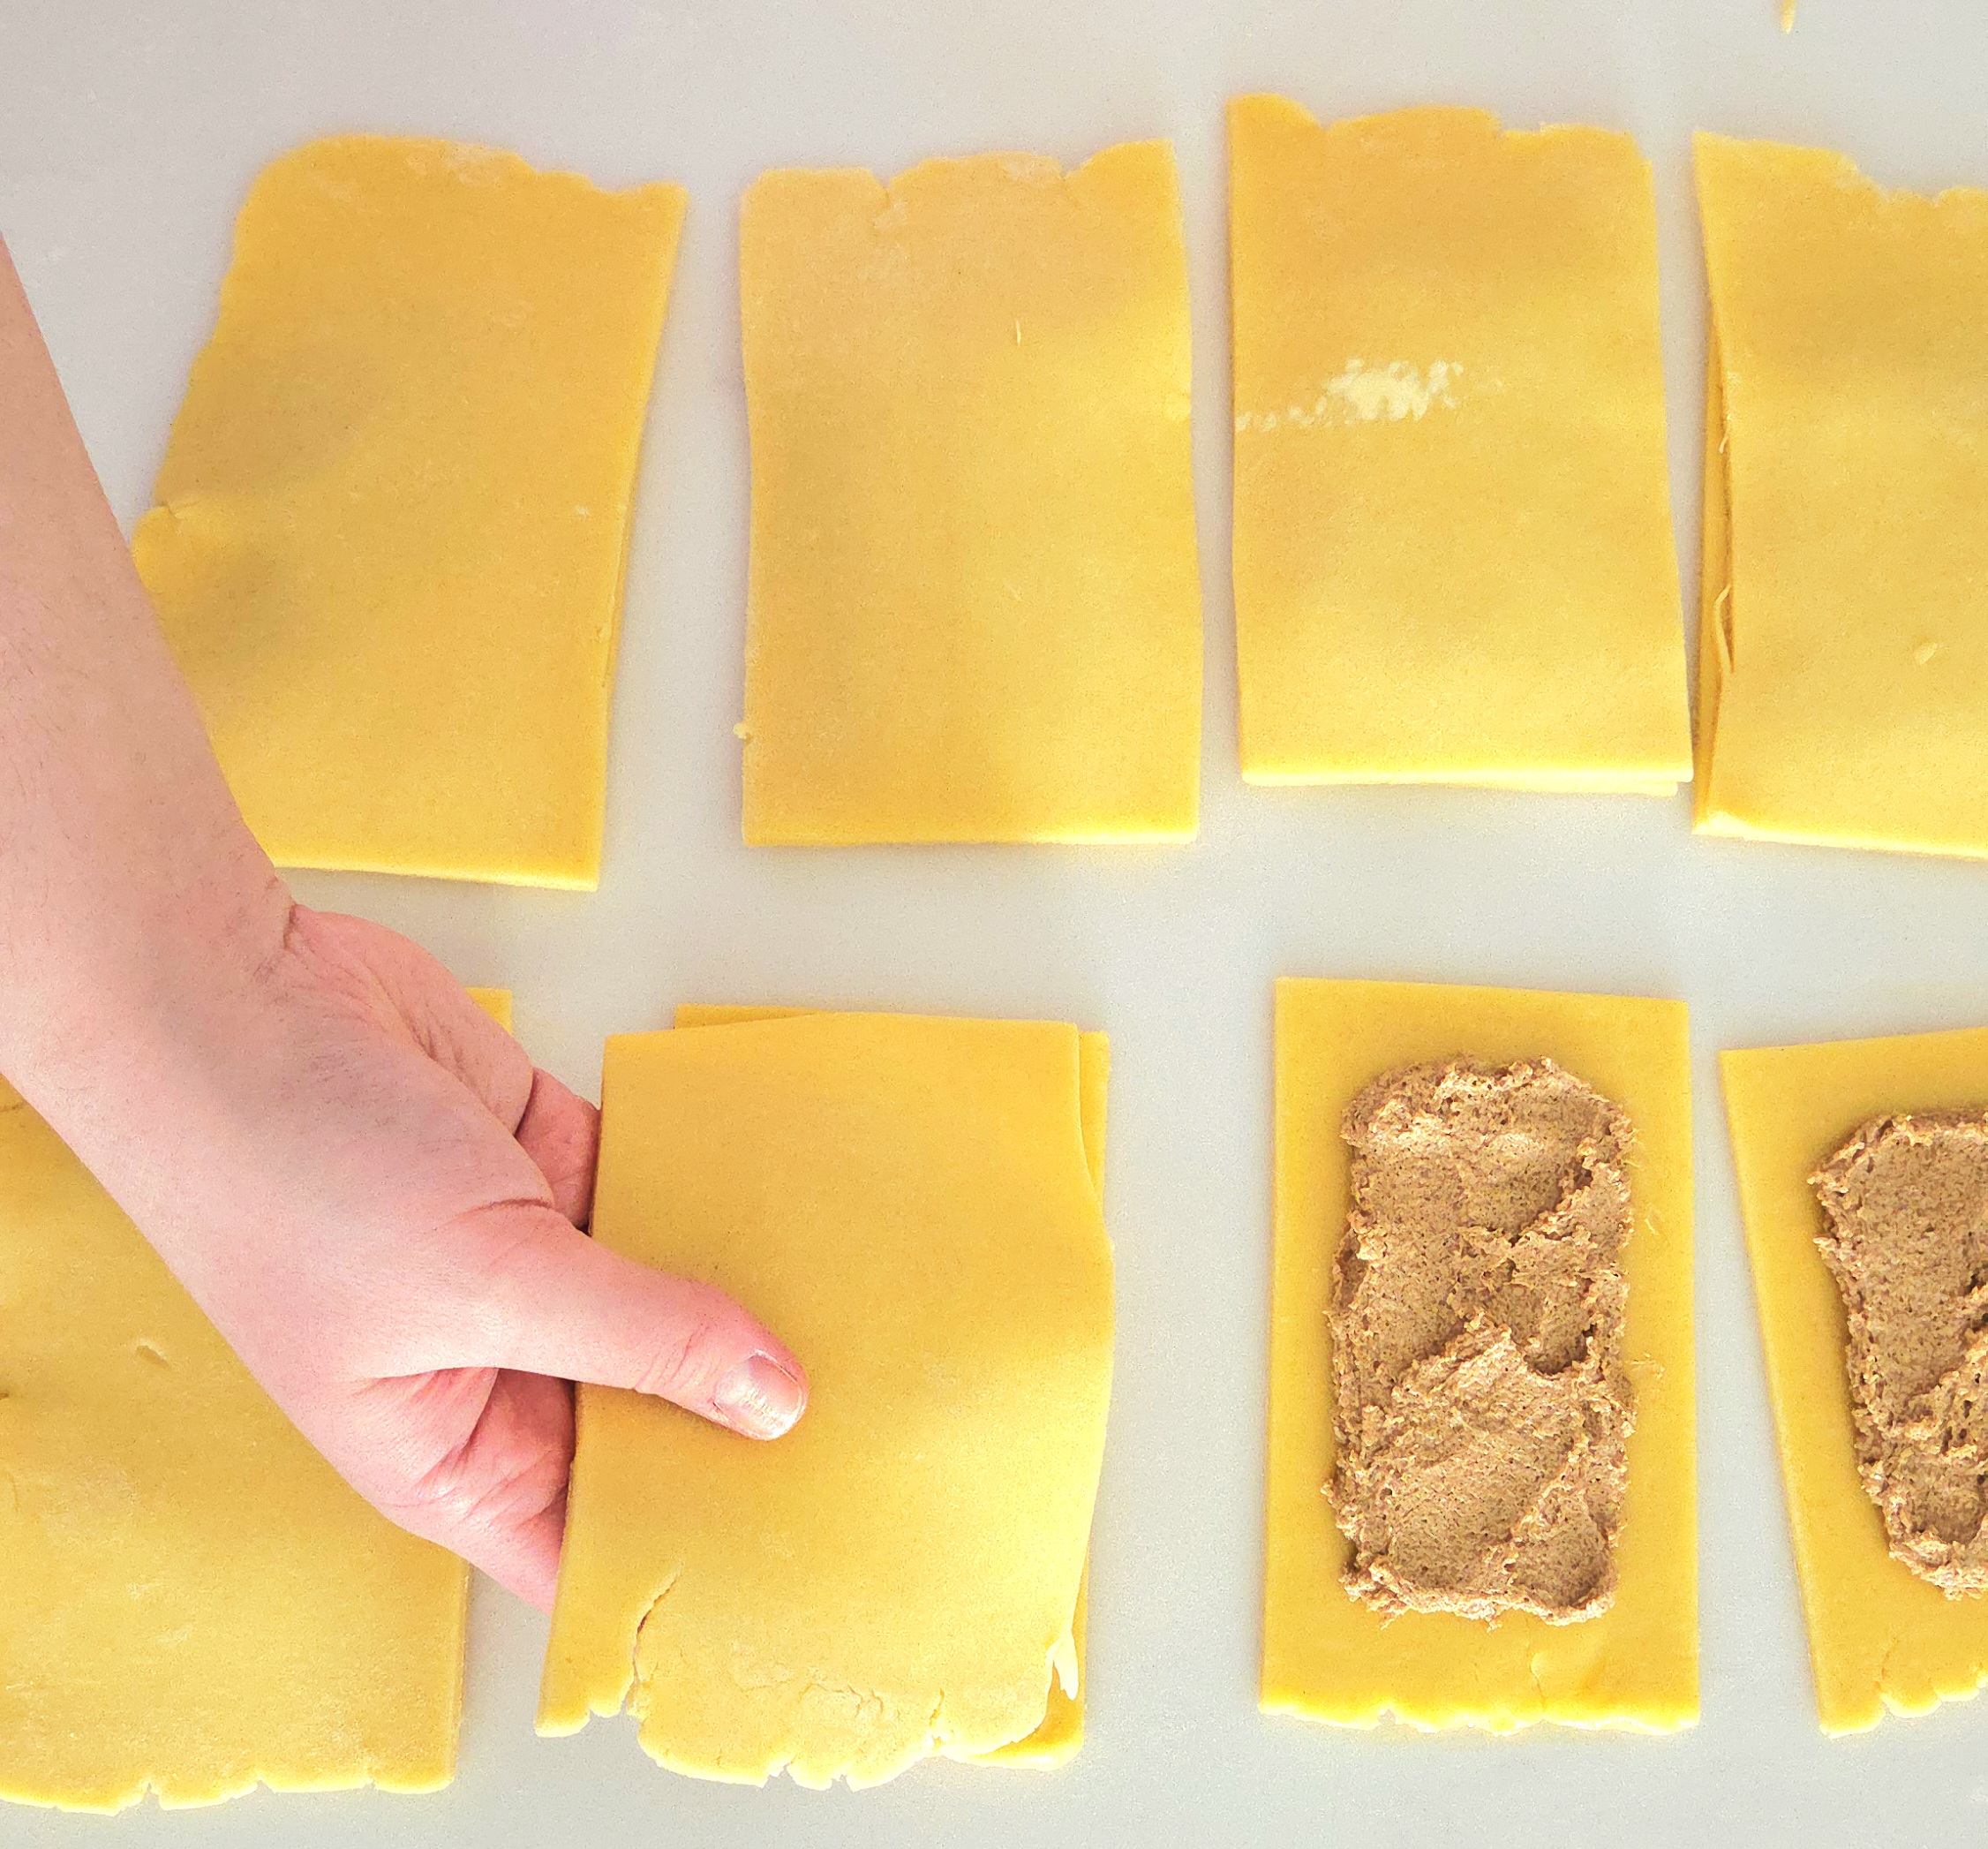
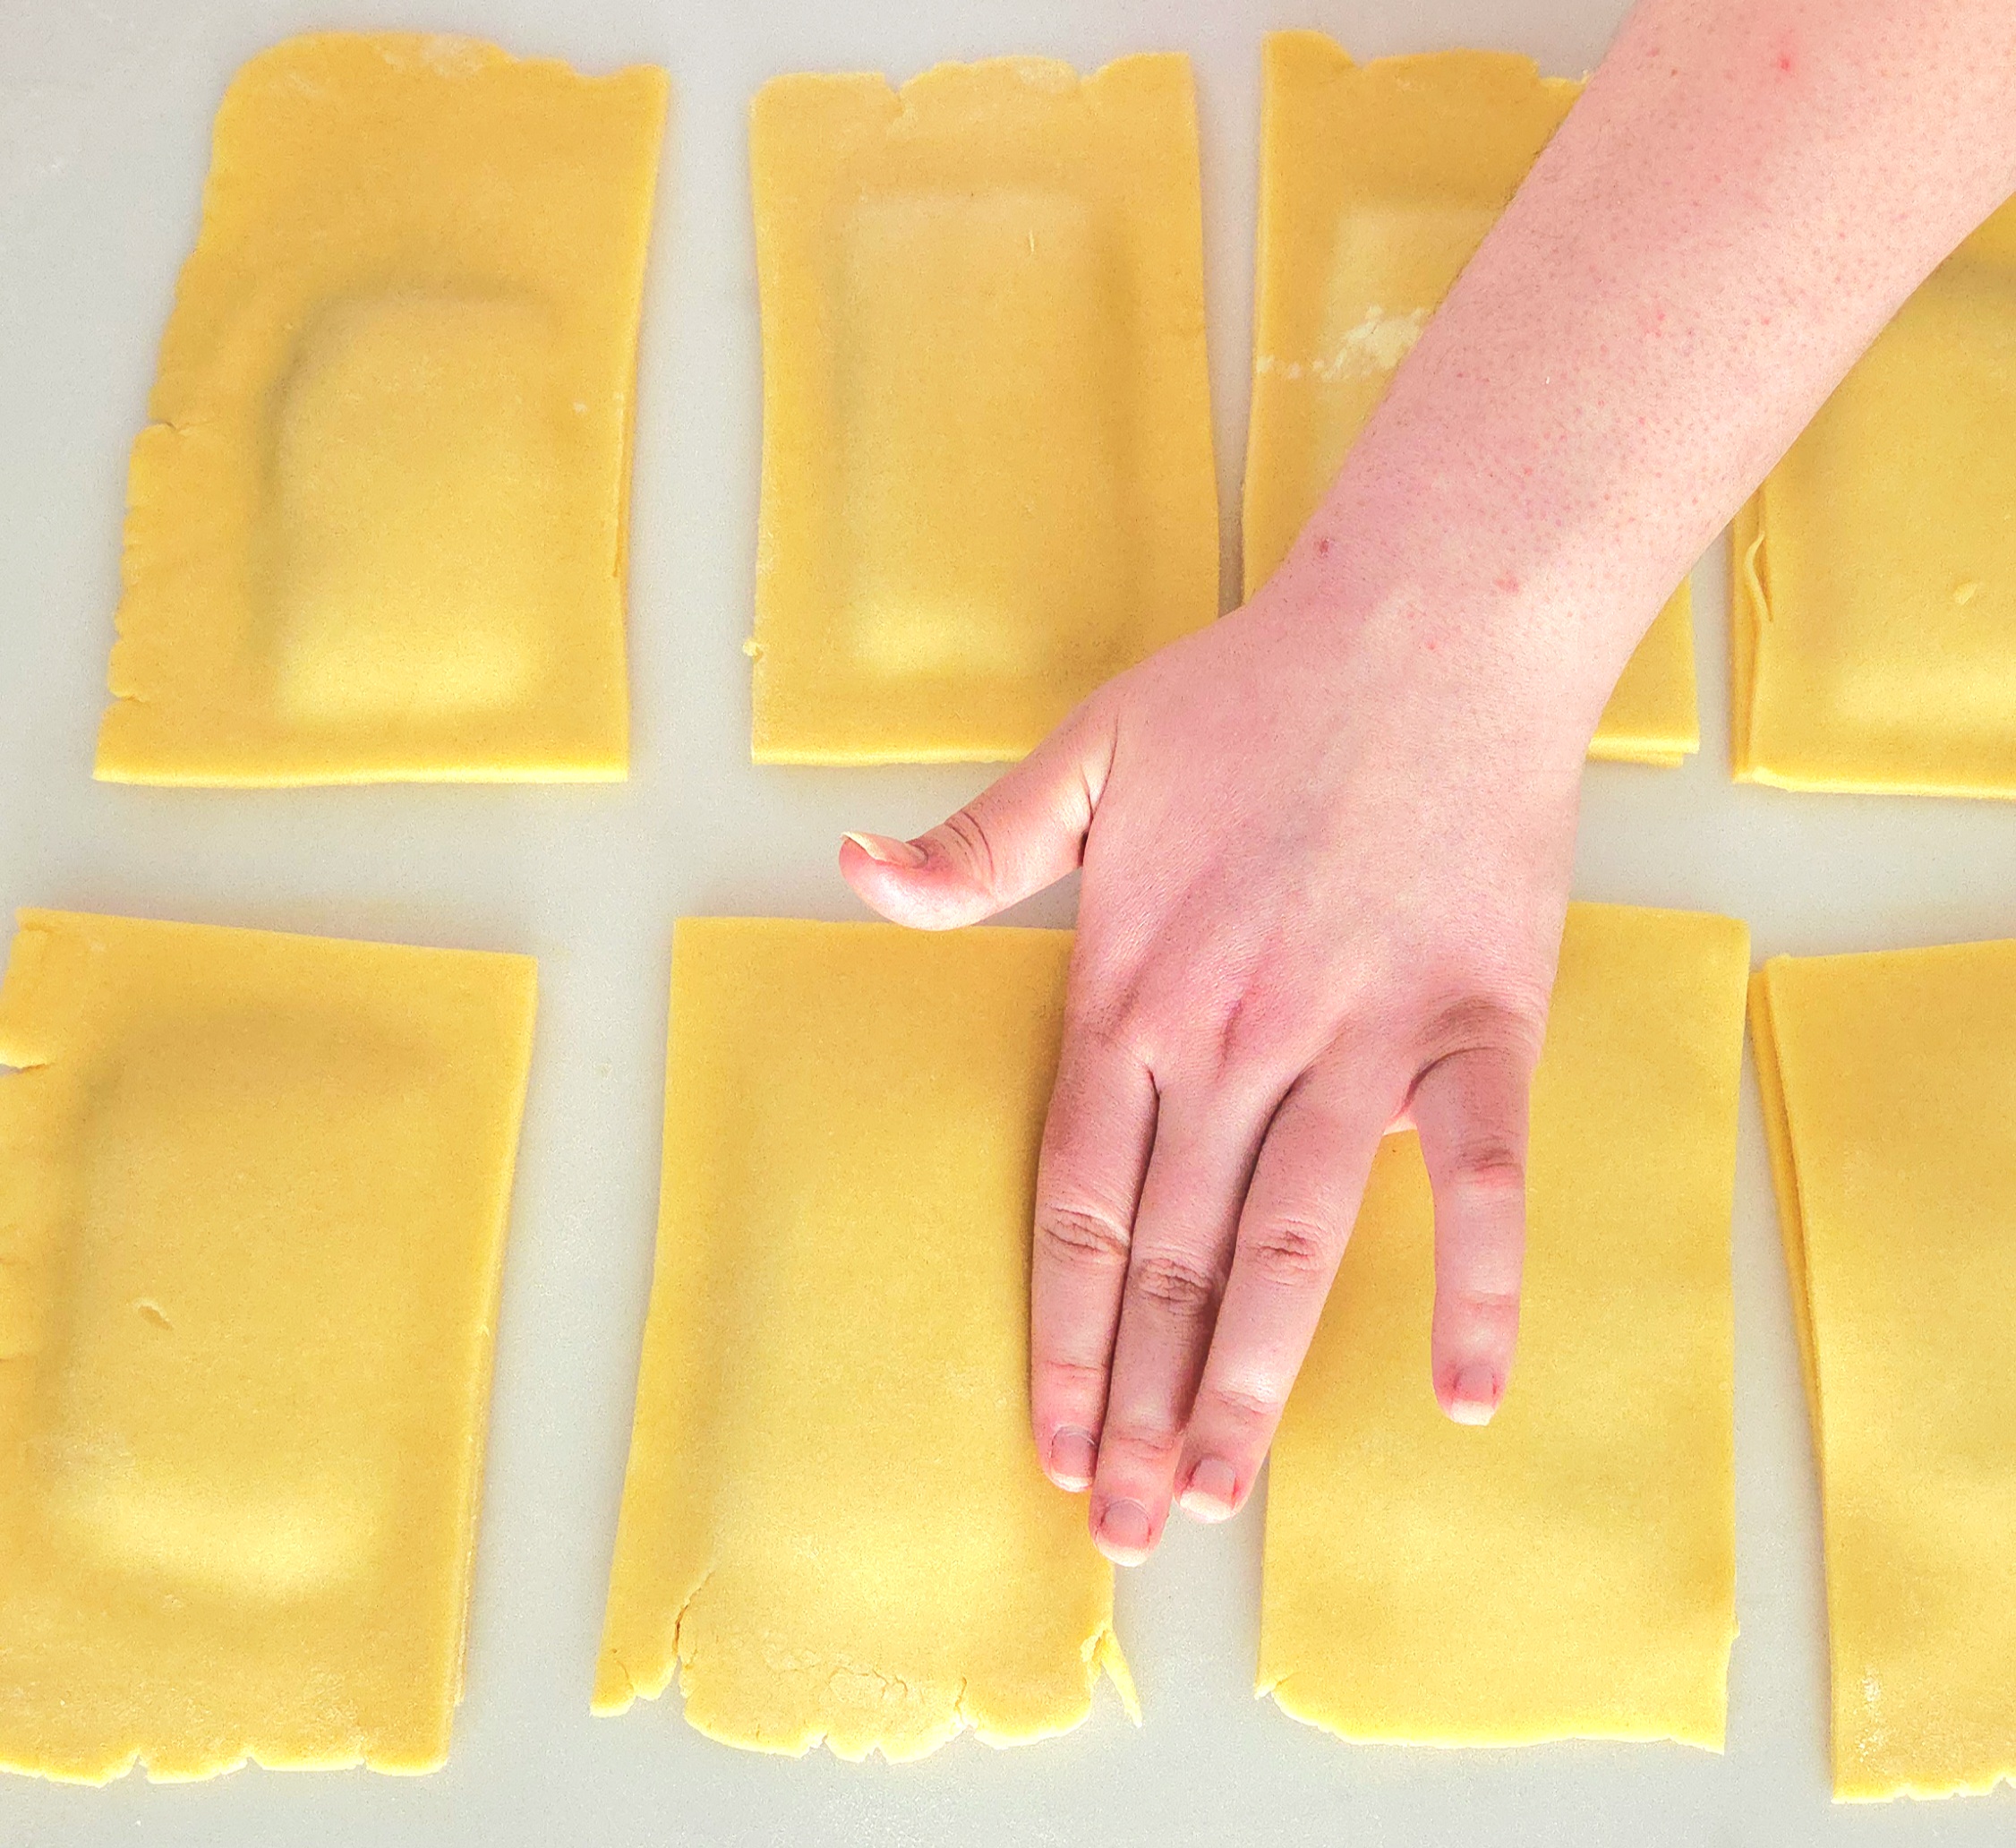
Crimp around the edges of each pastry using a fork. To keep it even, line the fork up with the line of the last impression made before making the next one.
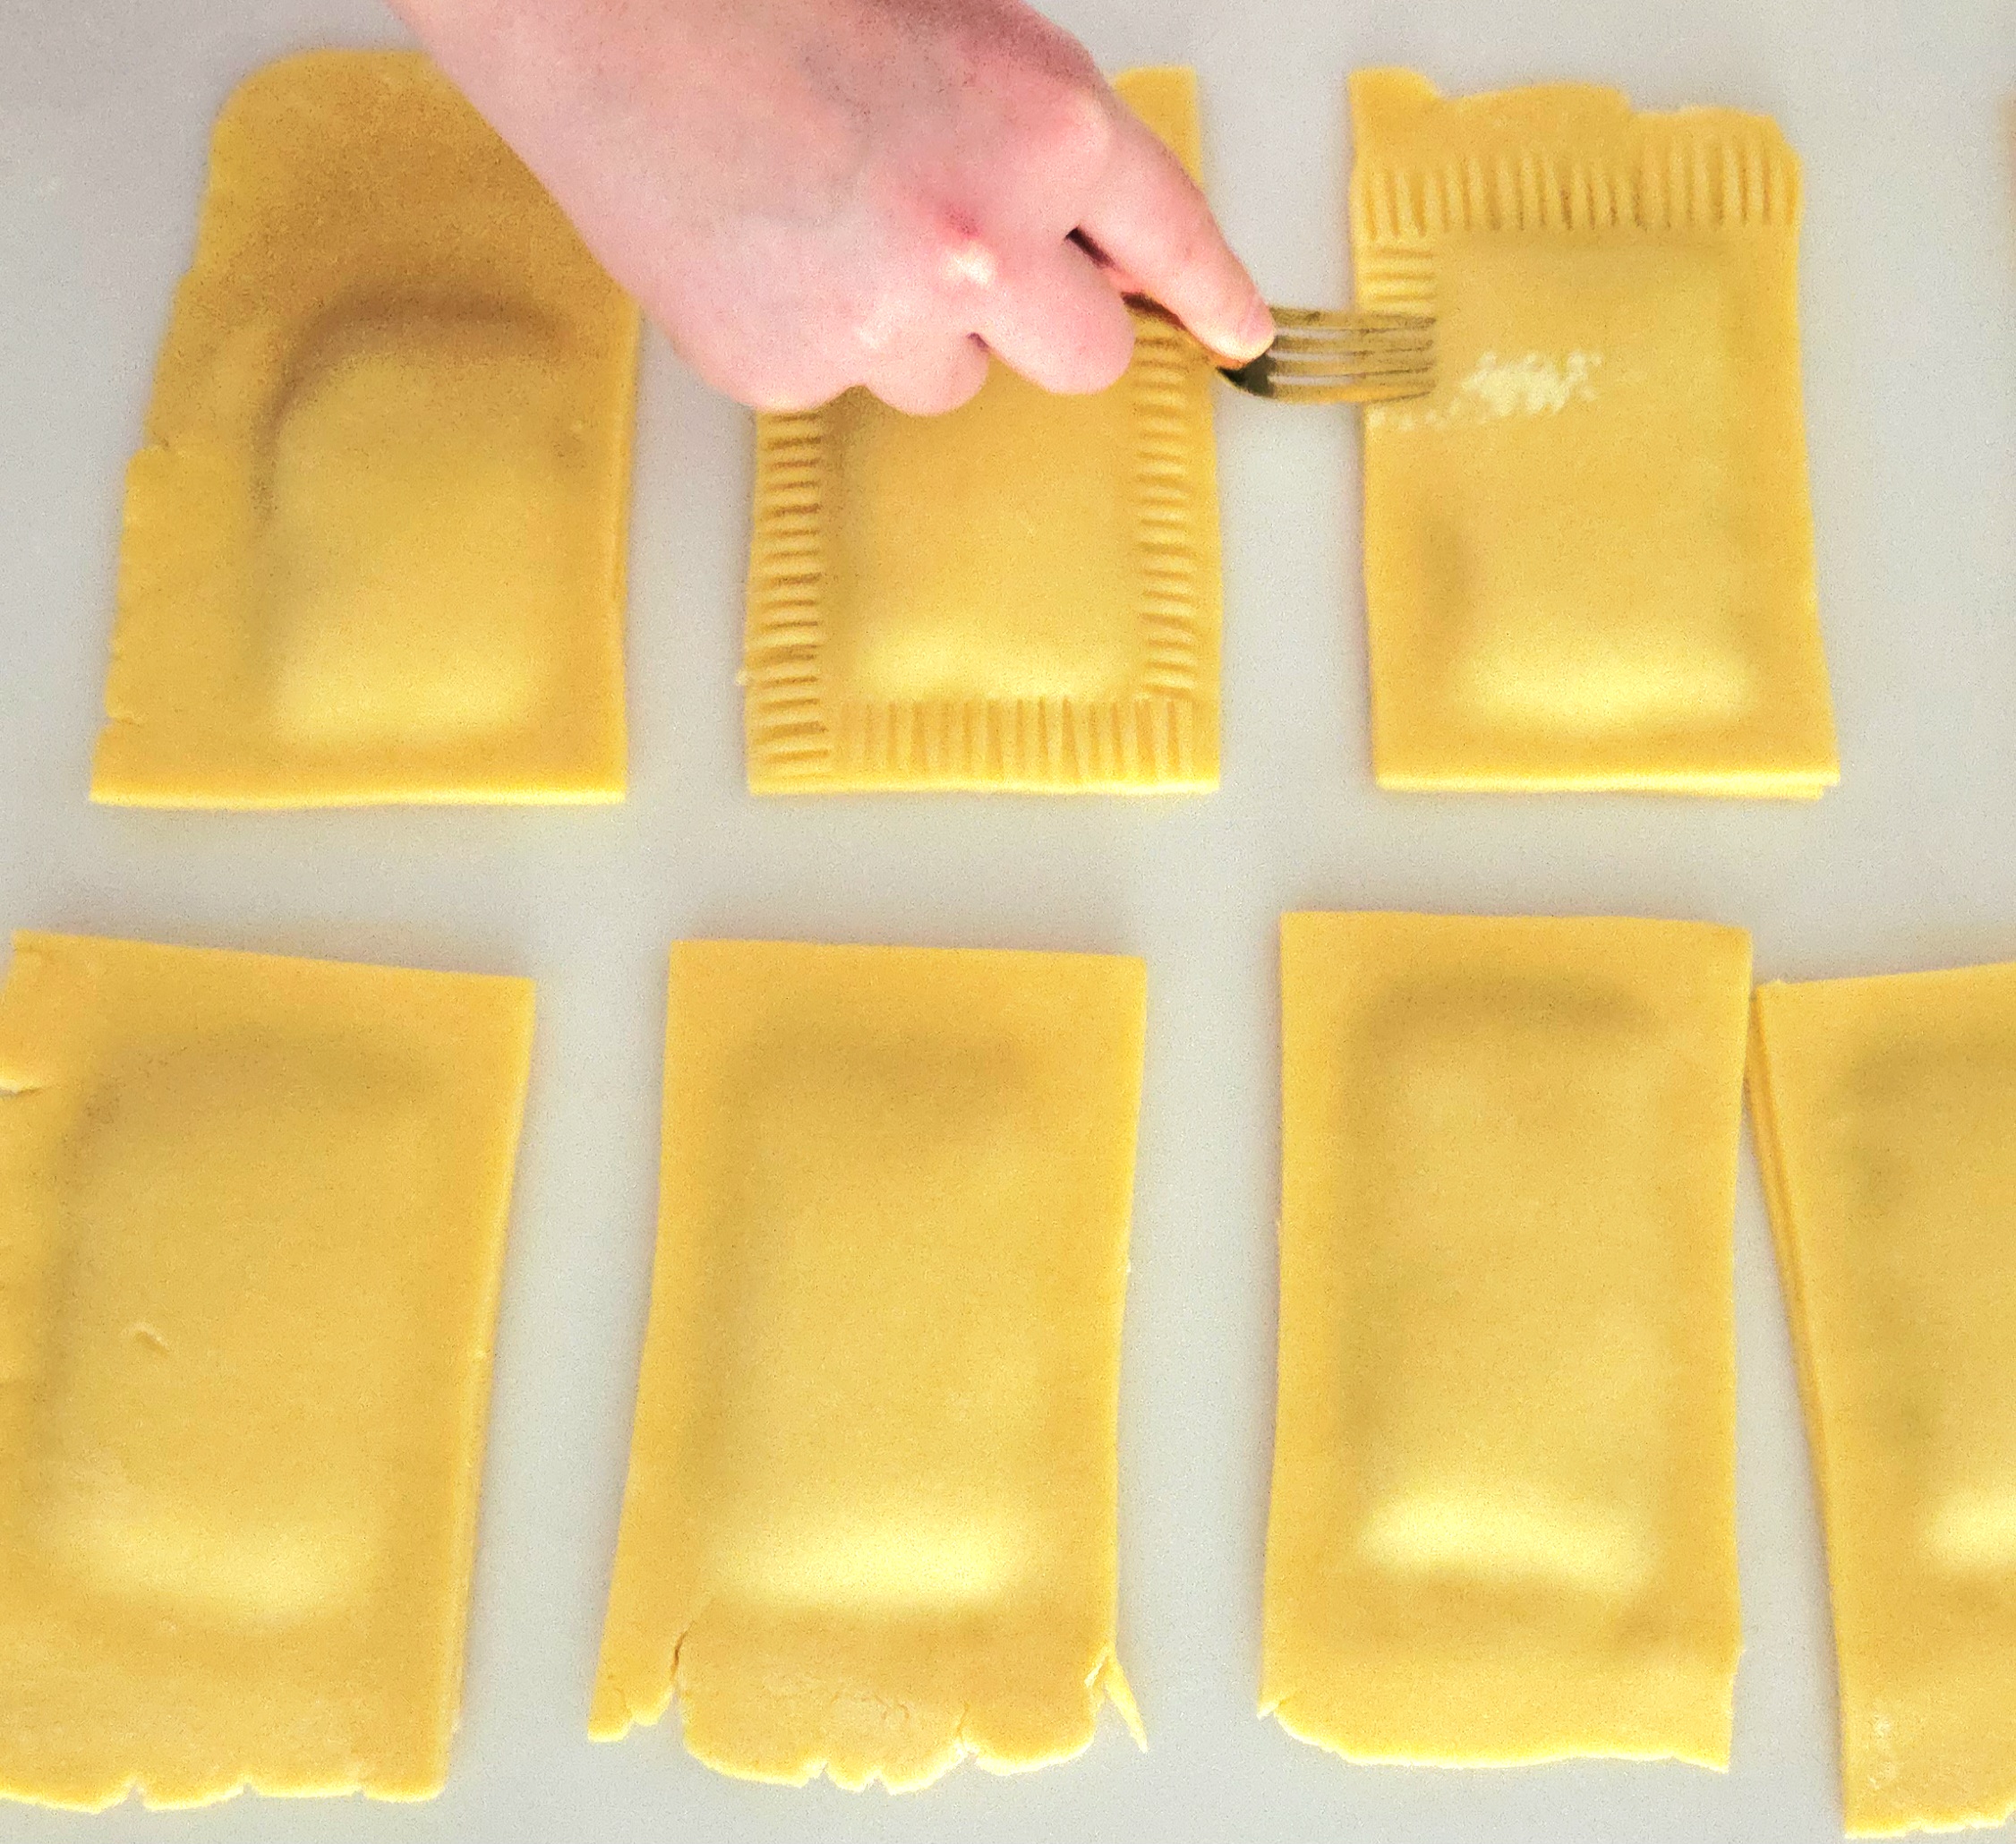
Bluntly cut off the outer edge of each pastry, making sure to leave at least a ¼ inch of unfilled dough around the border. This cut both helps to seal the filling inside, and makes for prettier pastries in the end.
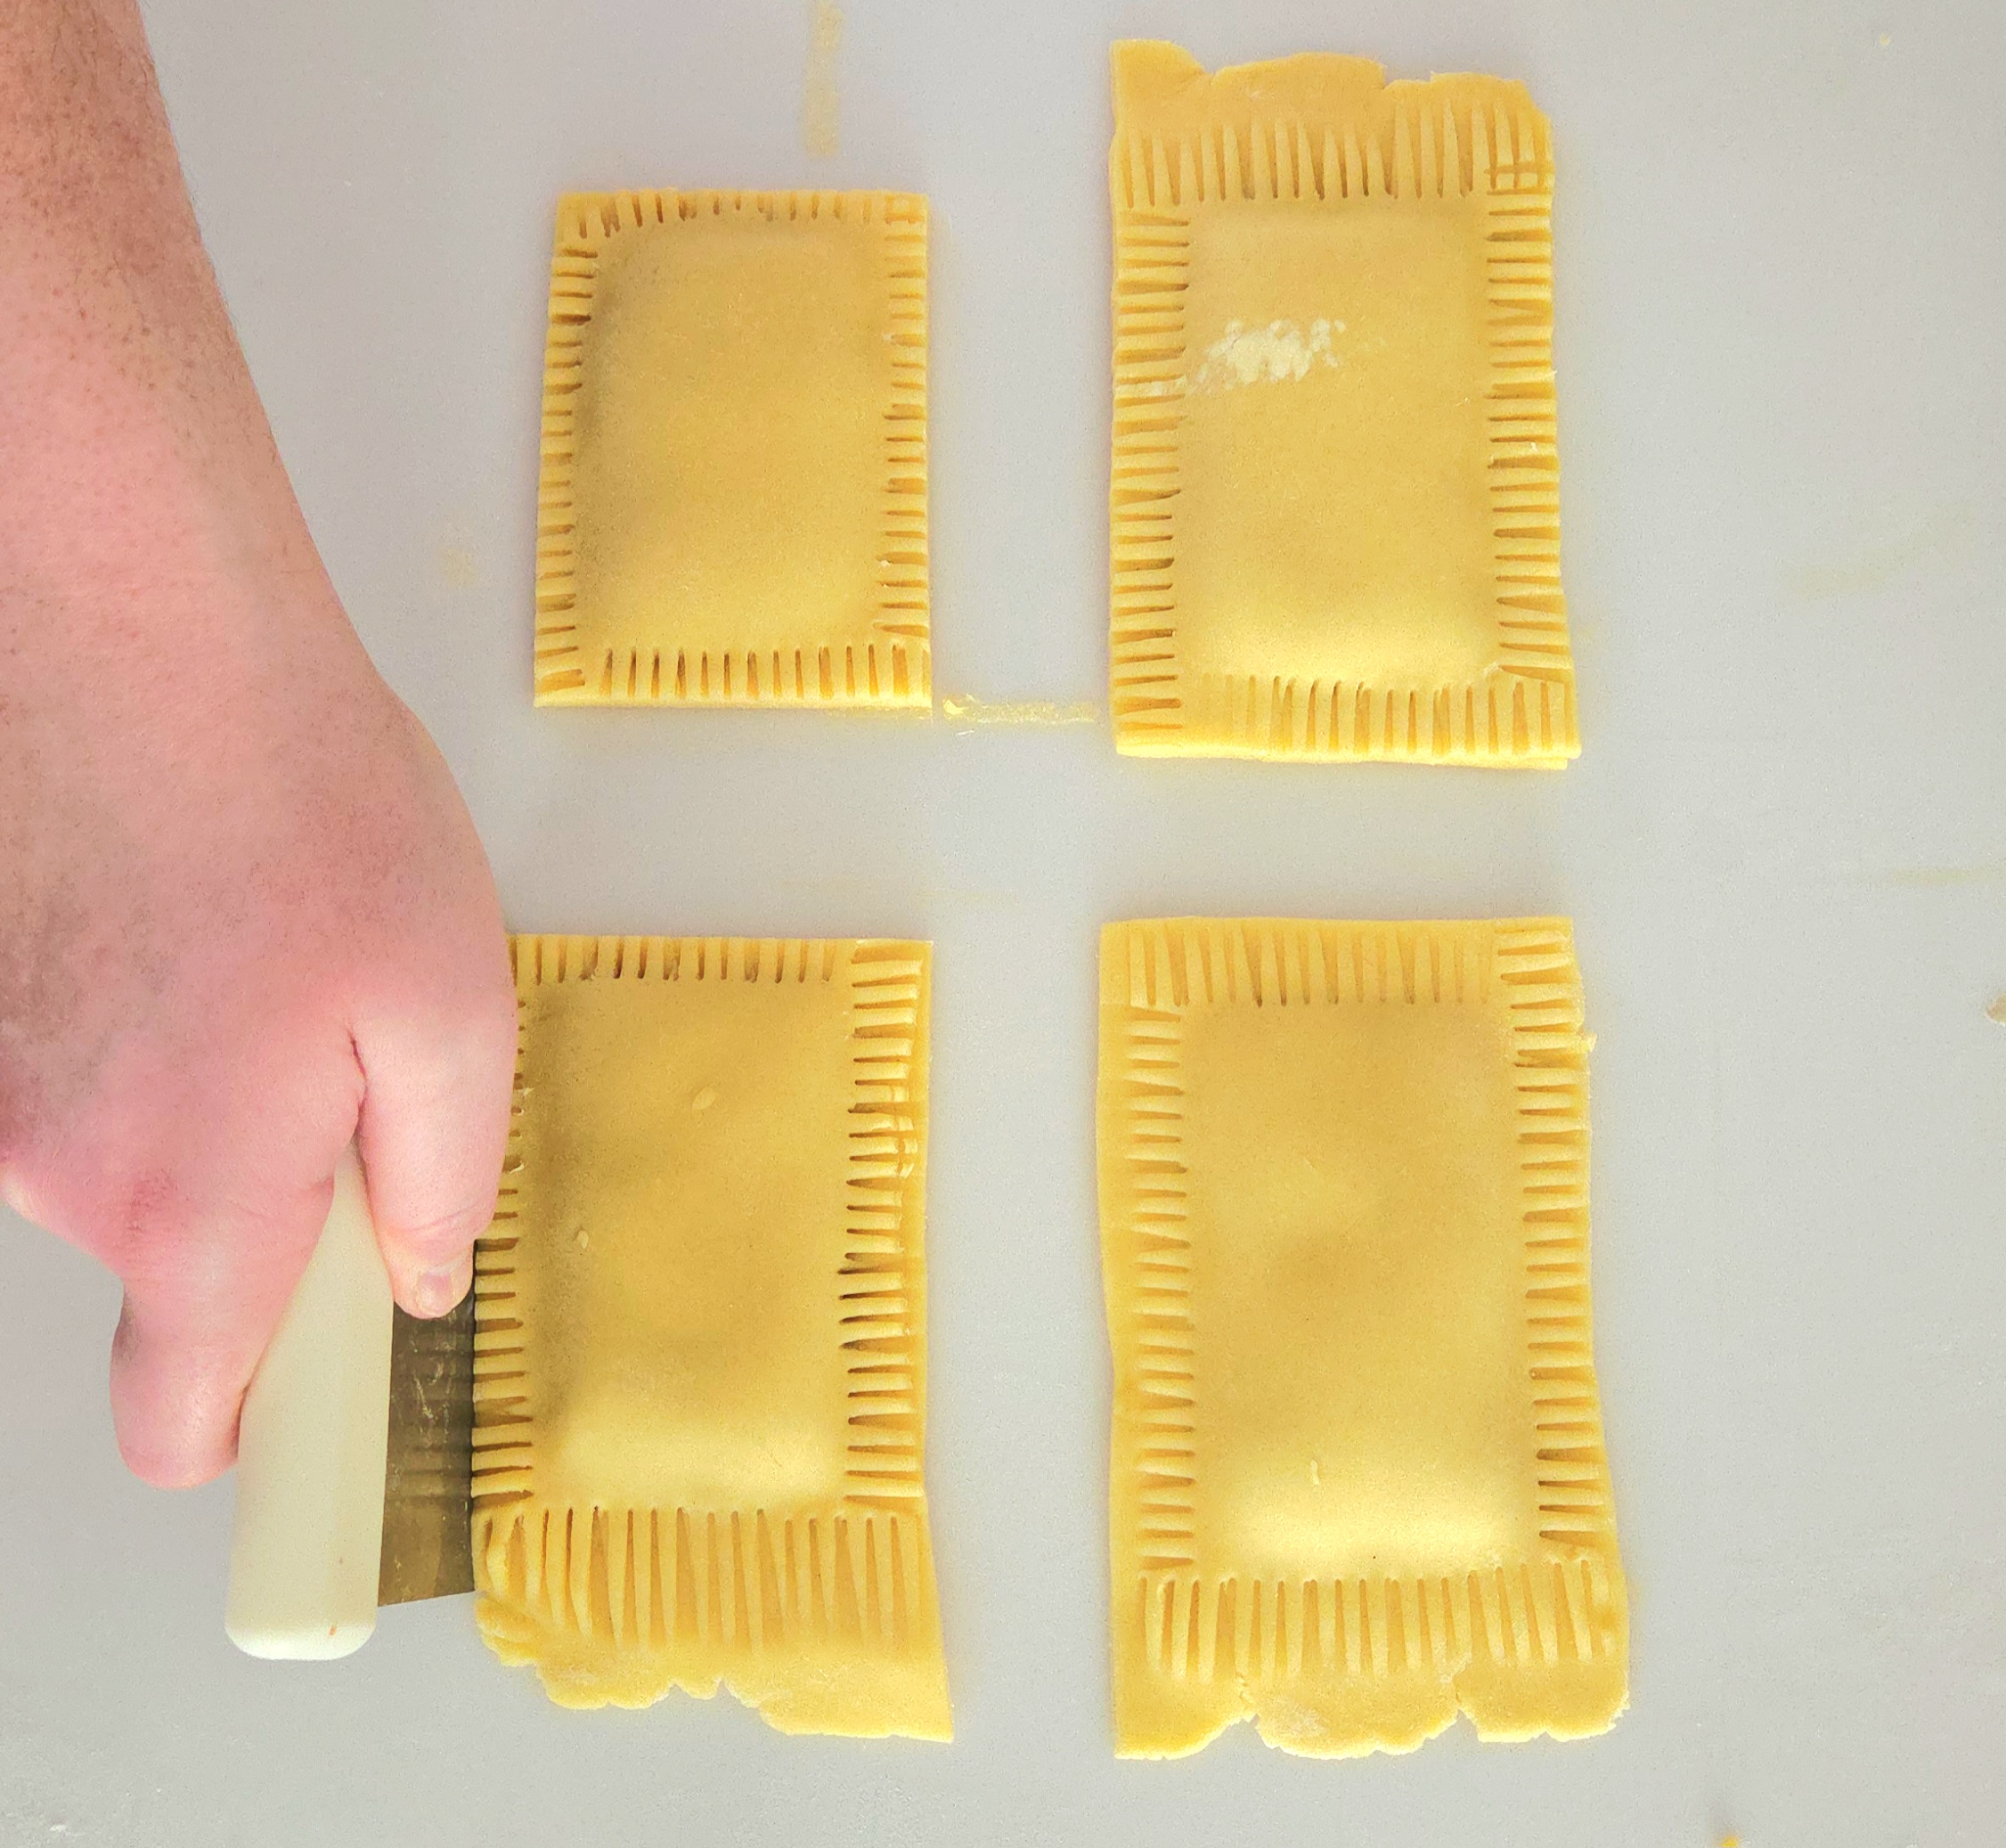
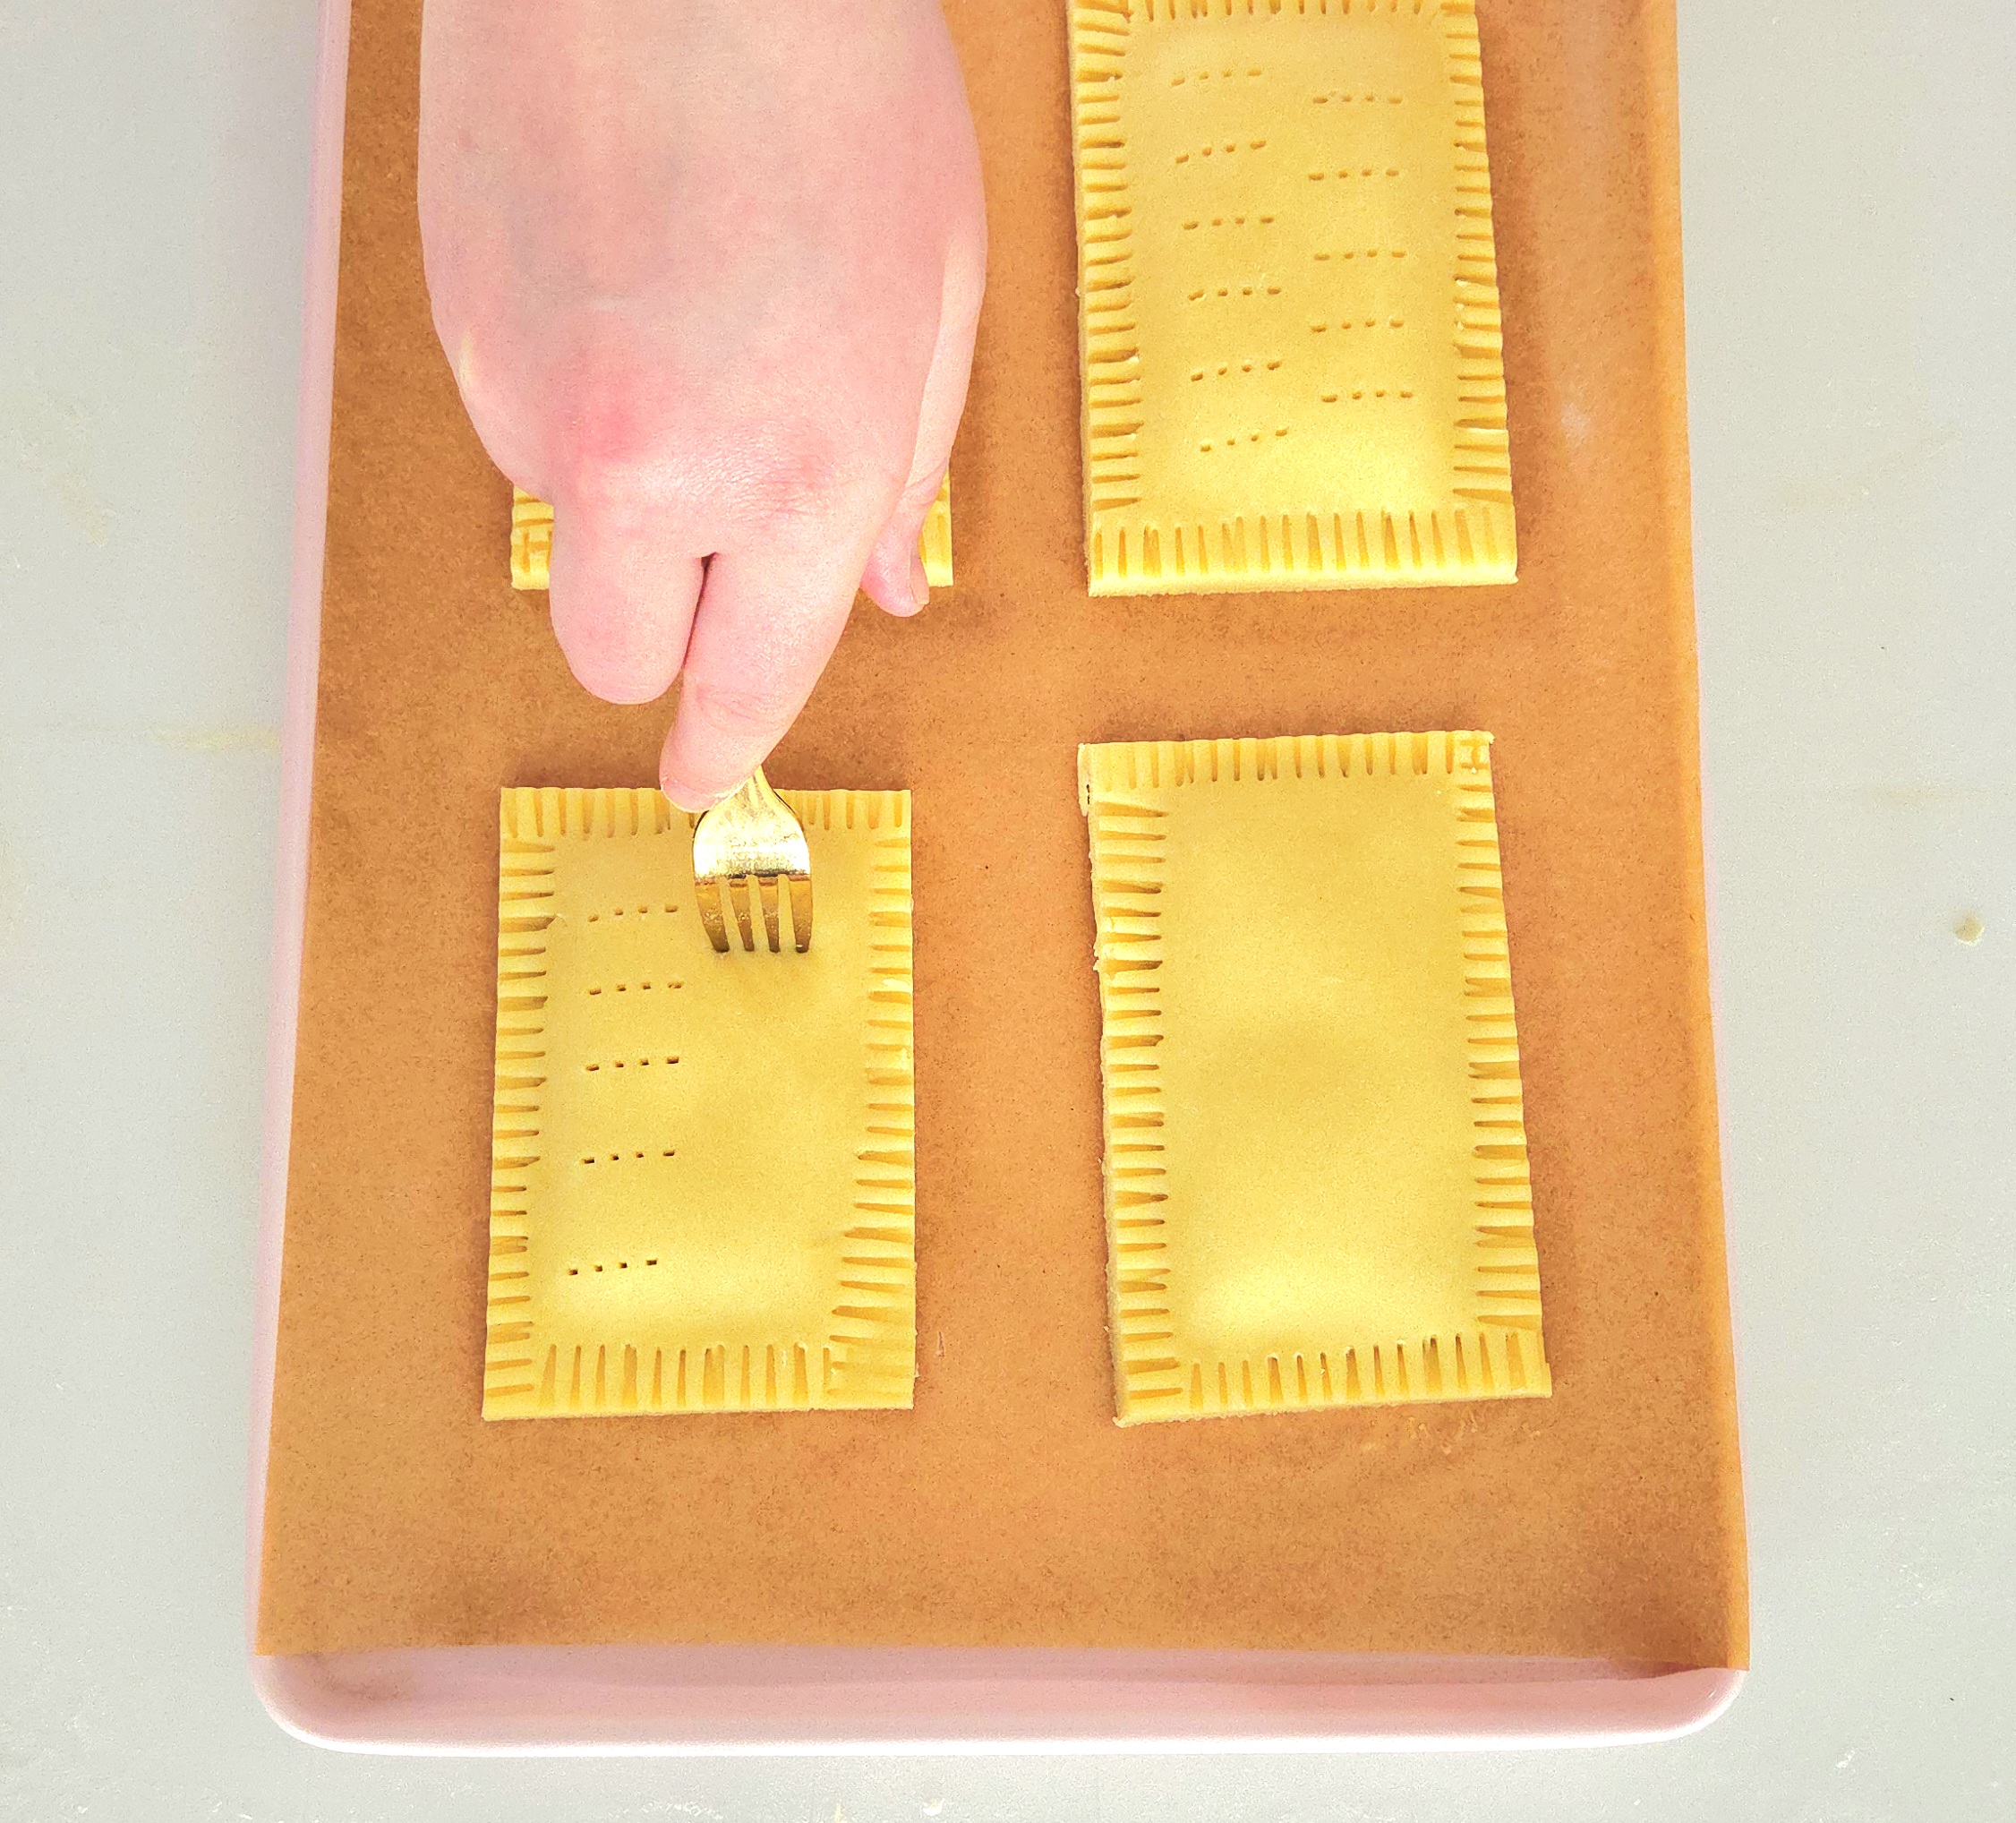
Take a fork and poke holes in the top of each pastry, going down to the filling but not through the bottom sheet of dough. This is what’s known as docking the dough, it gives any steam from the filling a place to escape through.
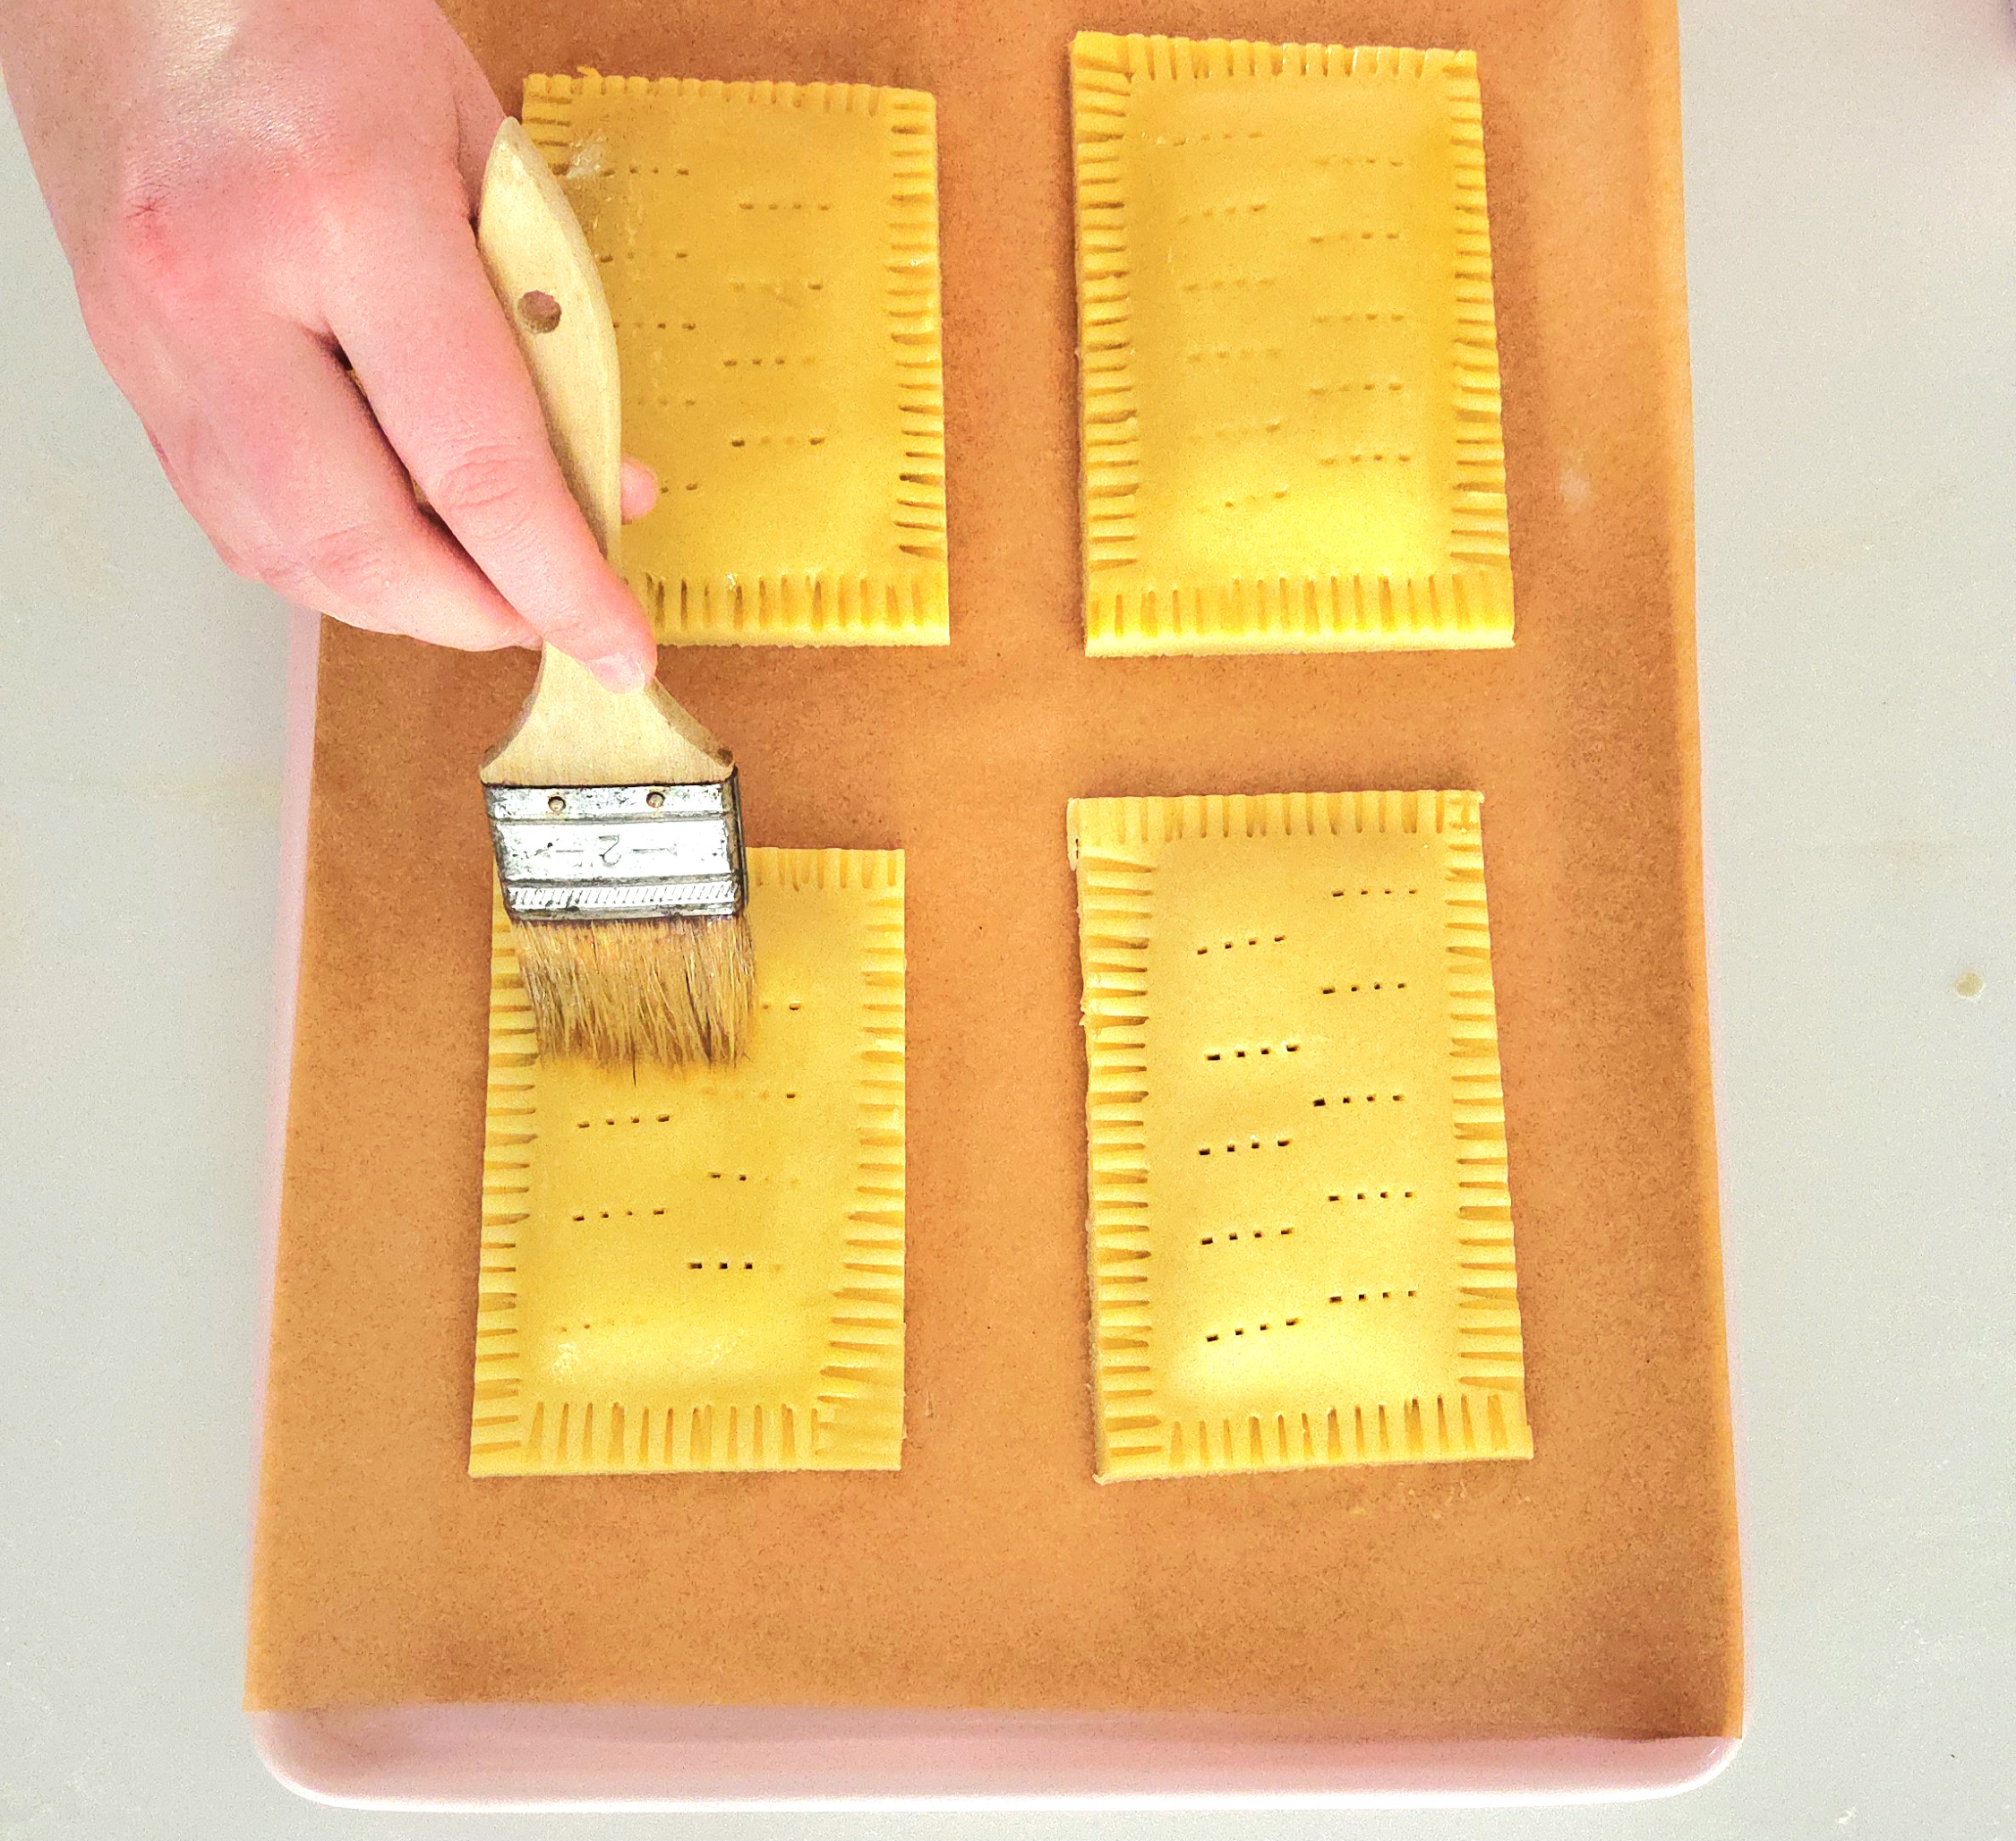
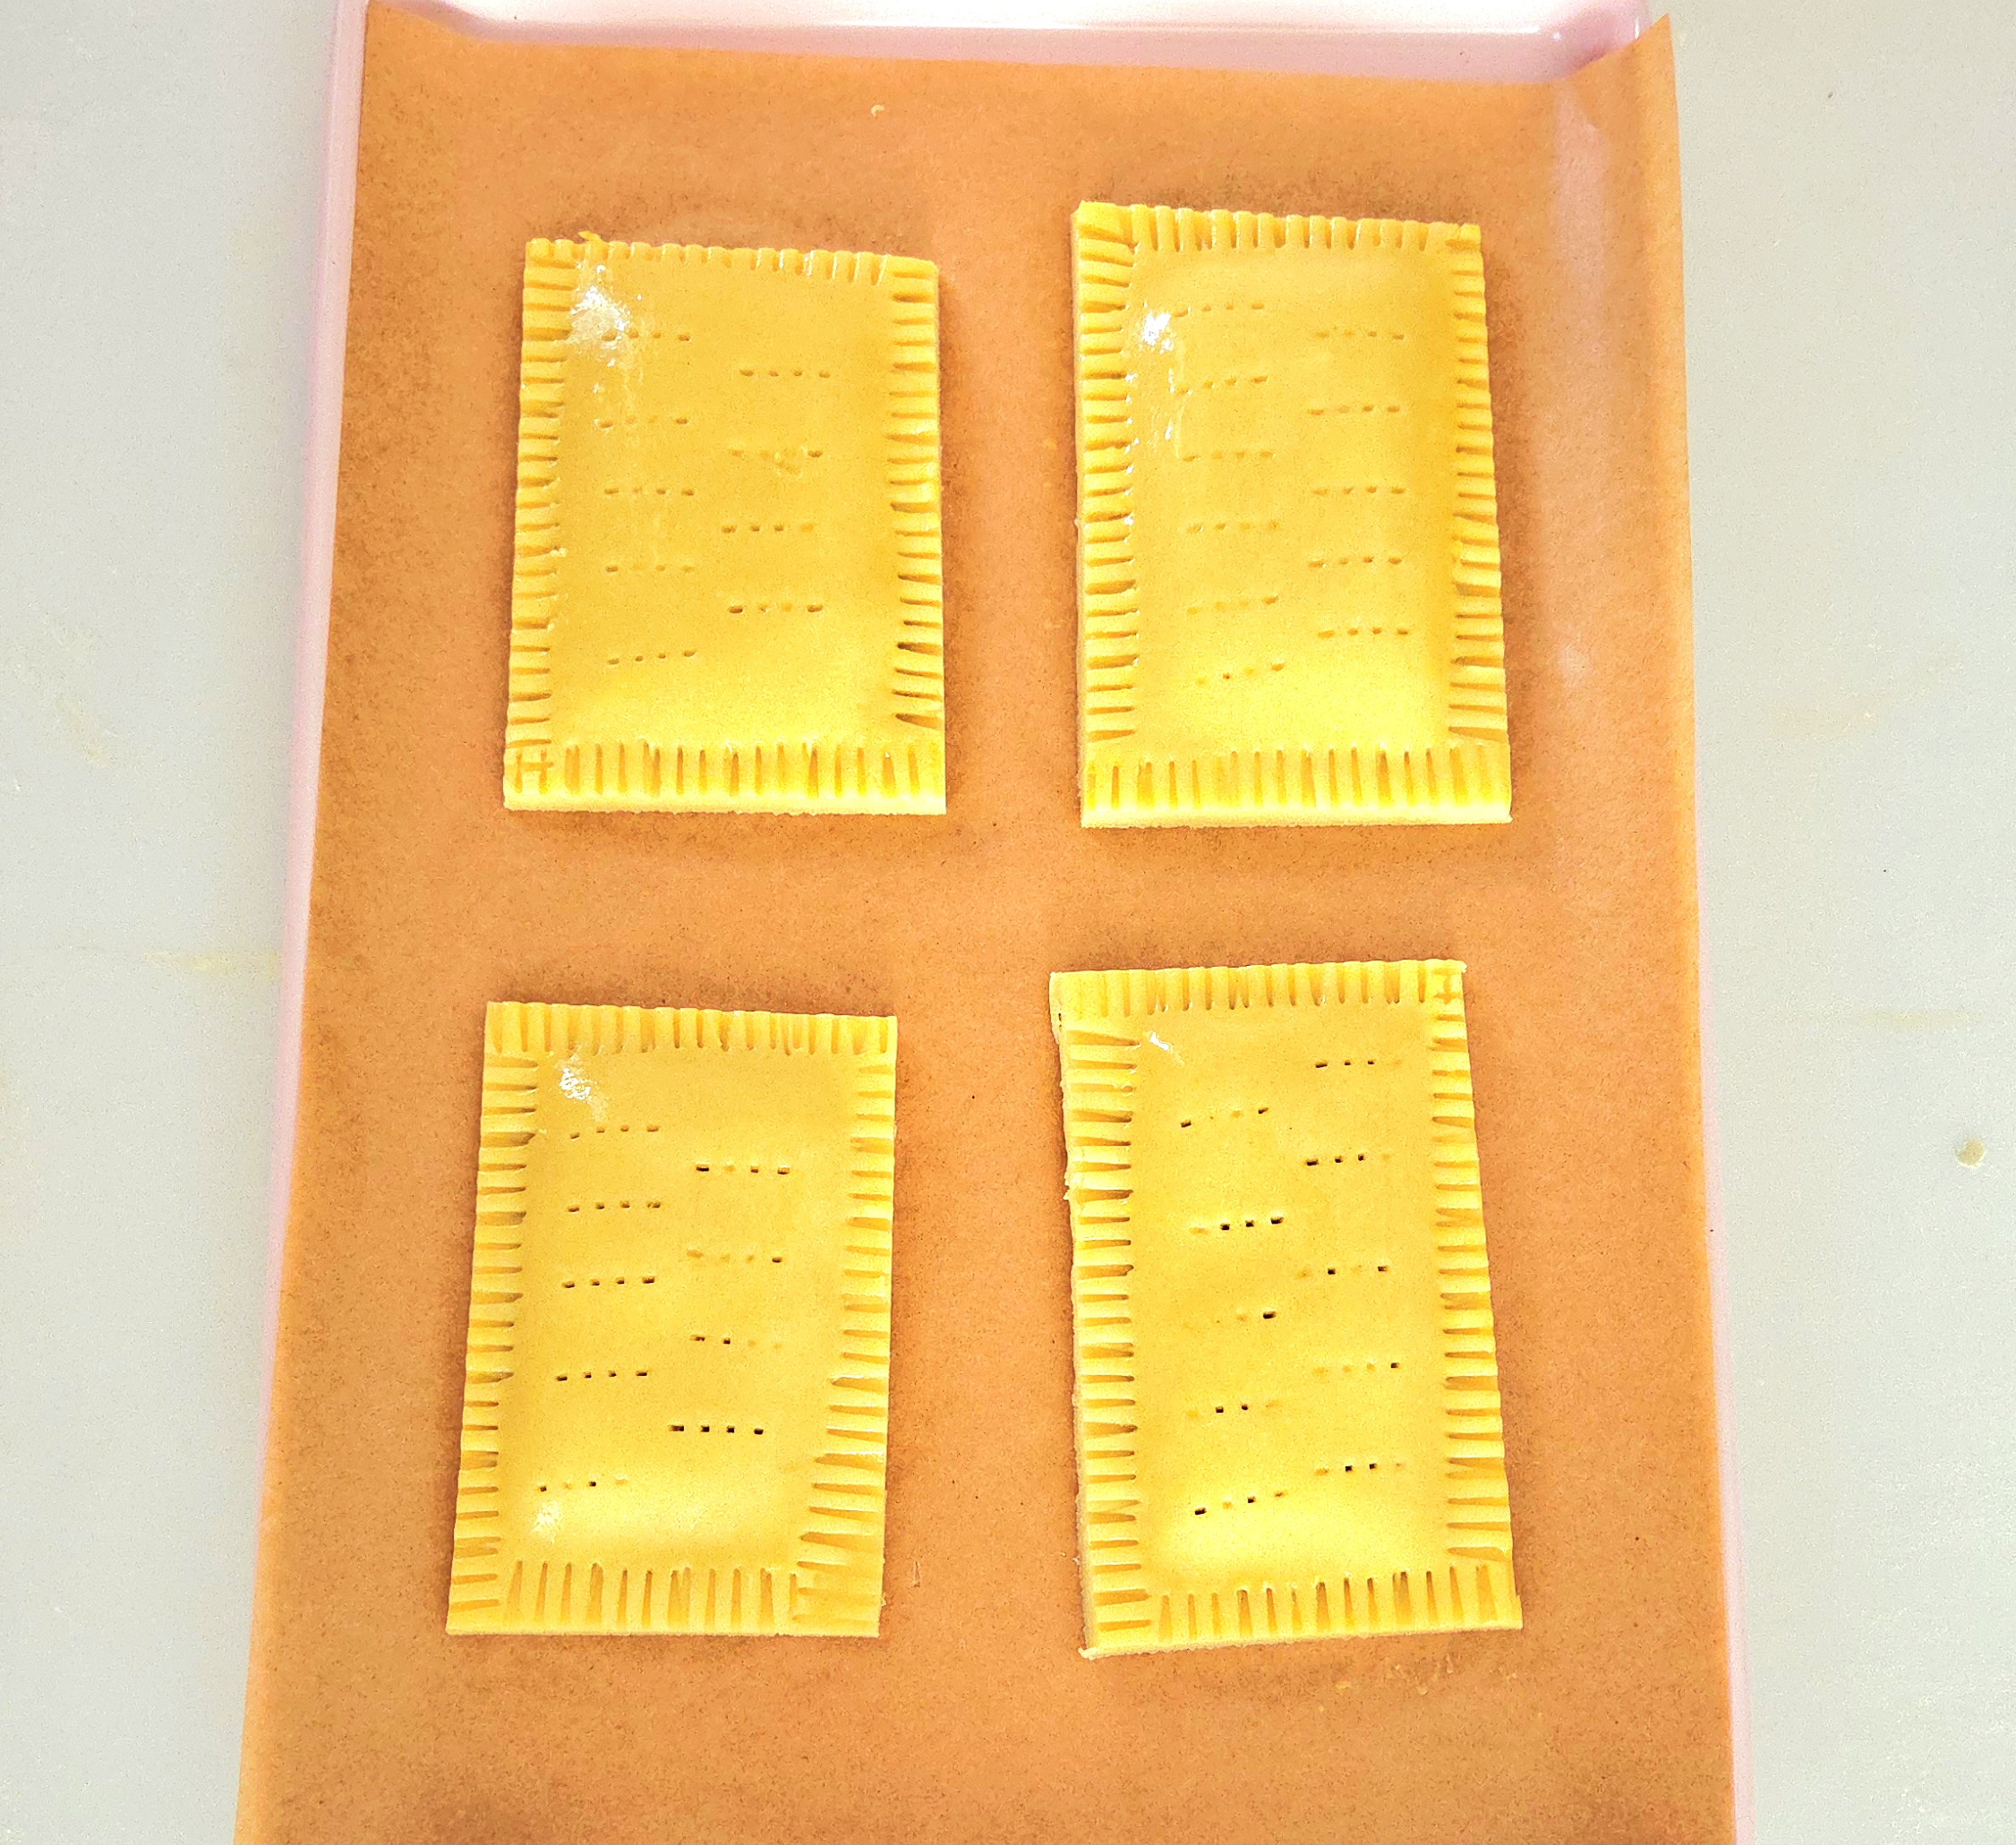
Place 4 pastries on each parchment lined baking sheet, spaced out evenly. Brush the tops of each with egg wash, to help with the coloring as they bake.
Cover one sheet of tarts with plastic and place it into the fridge while the first sheet bakes. Bake the tarts for 15 minutes, on the center rack of the oven, or until the dough is a light golden brown. Flip the pastries around halfway through baking, to help ensure an even bake. Repeat with the second sheet of pastries.
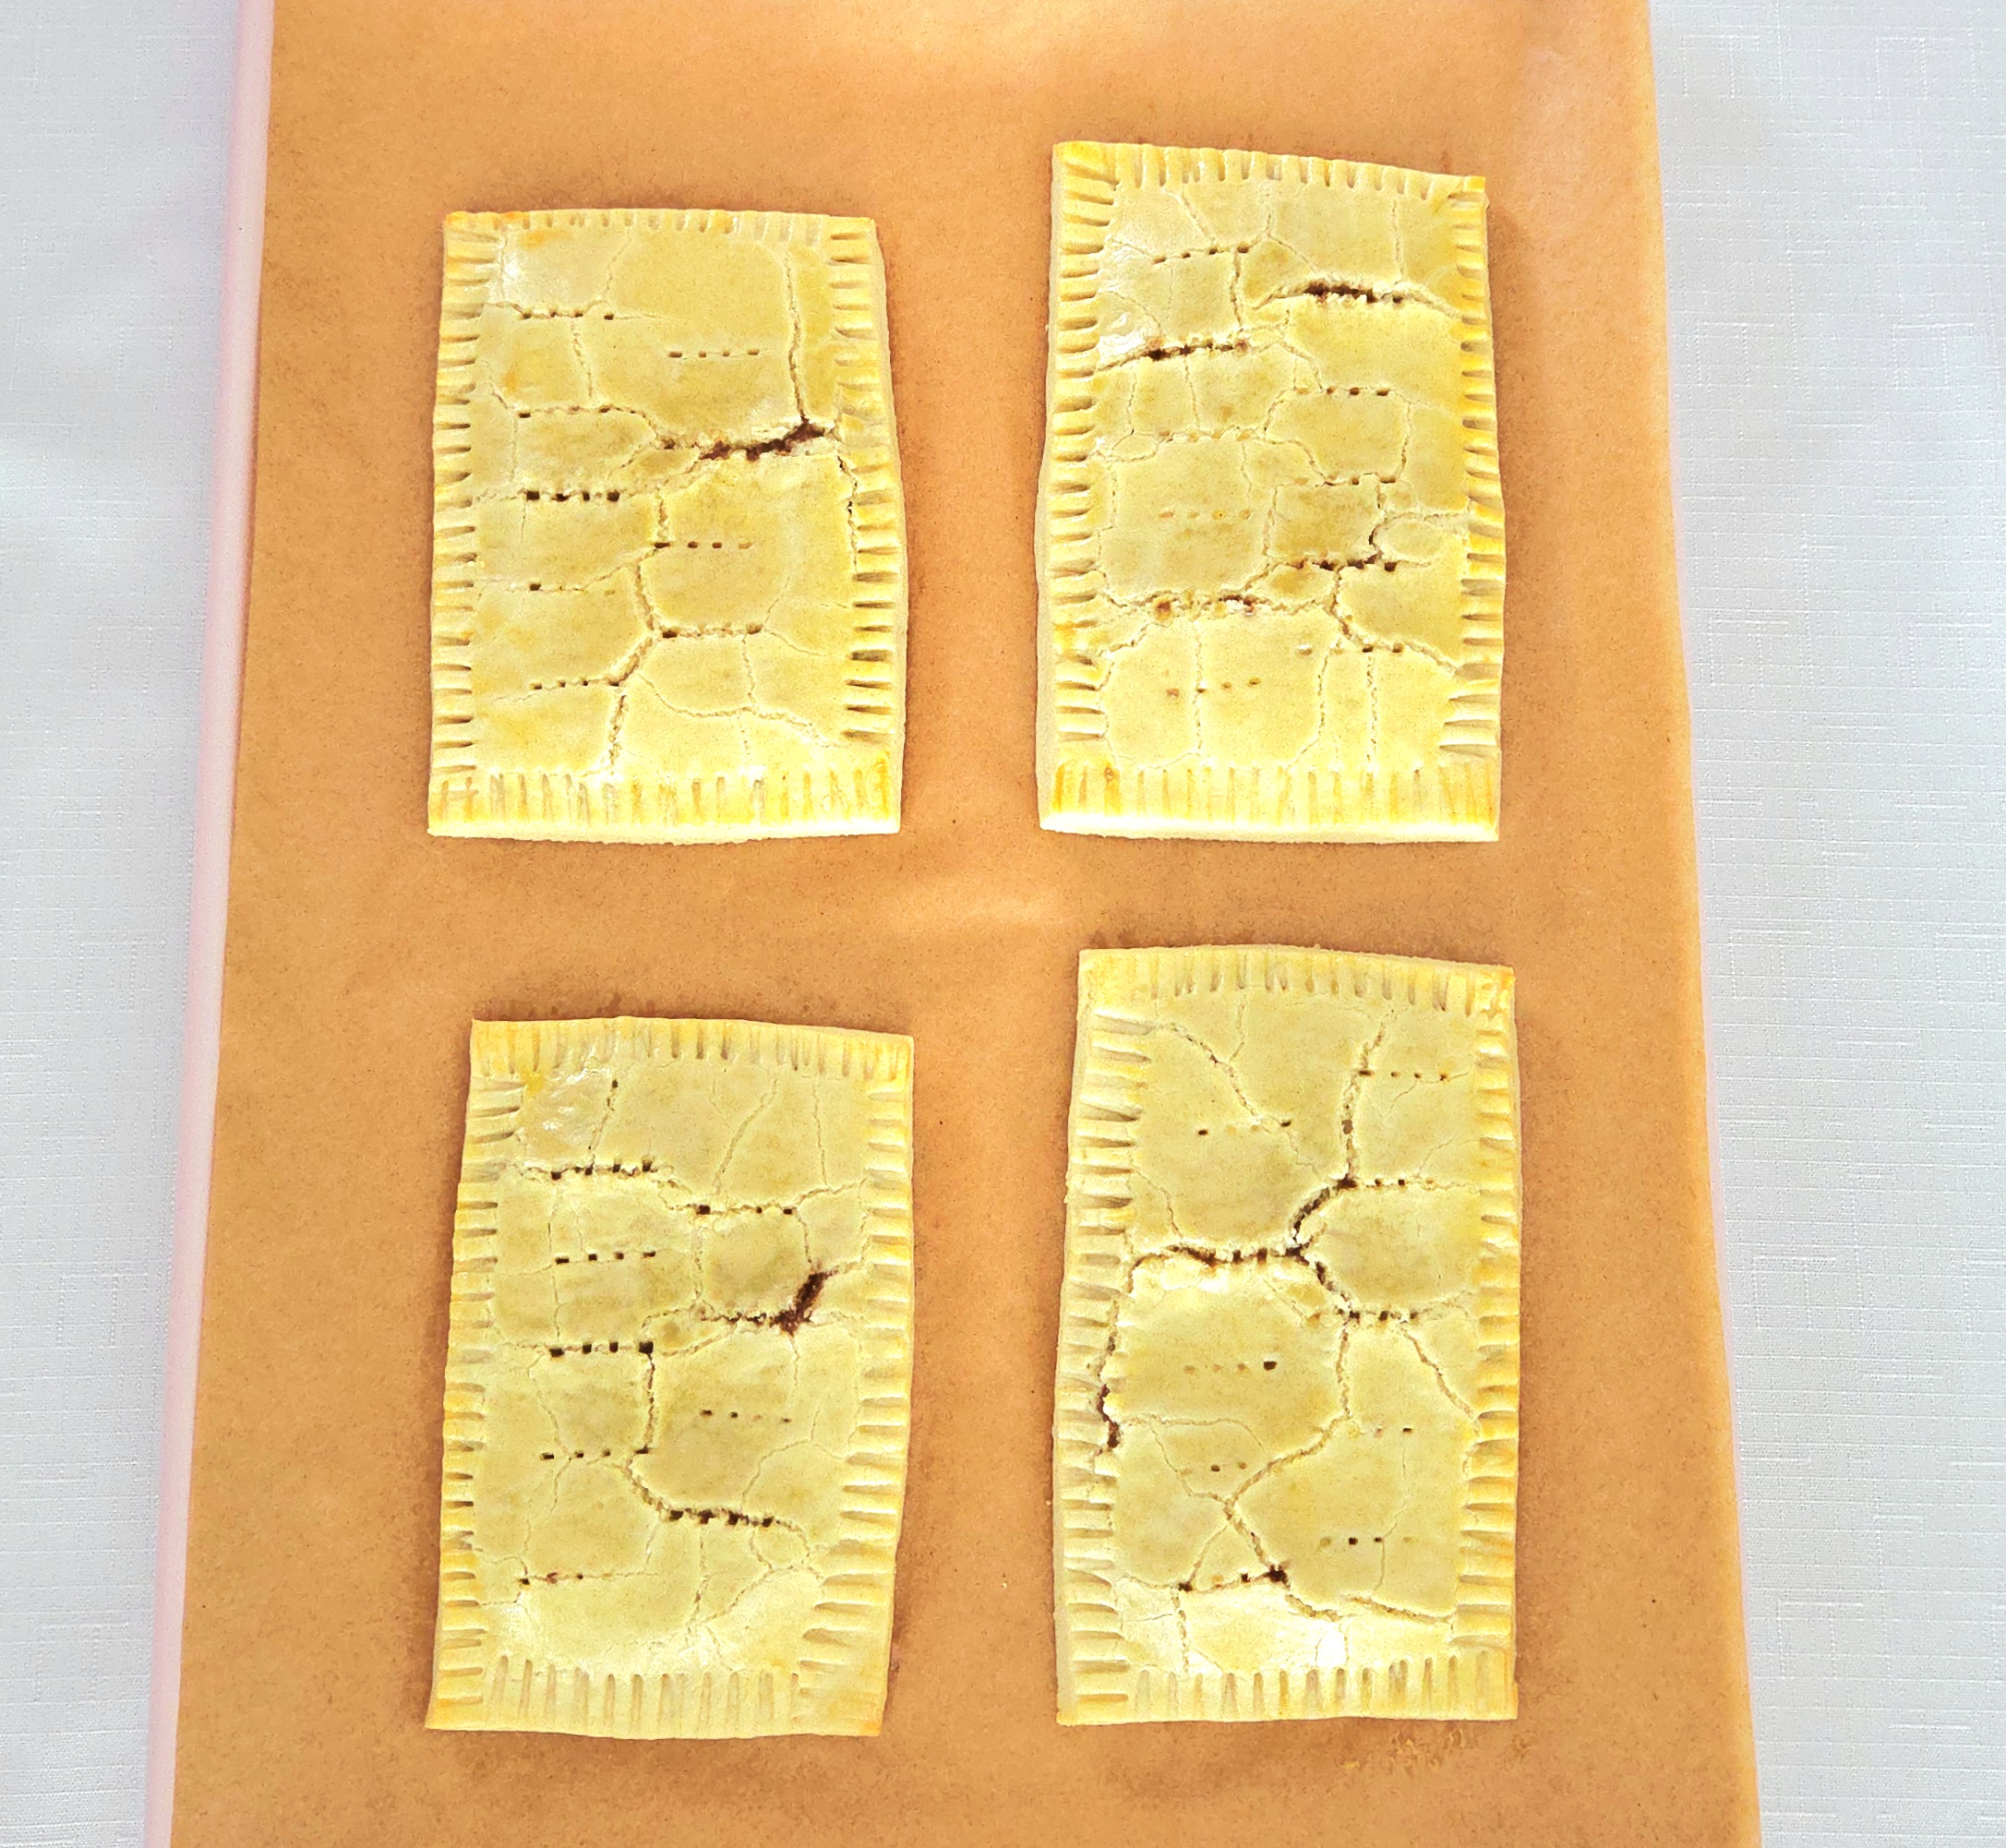
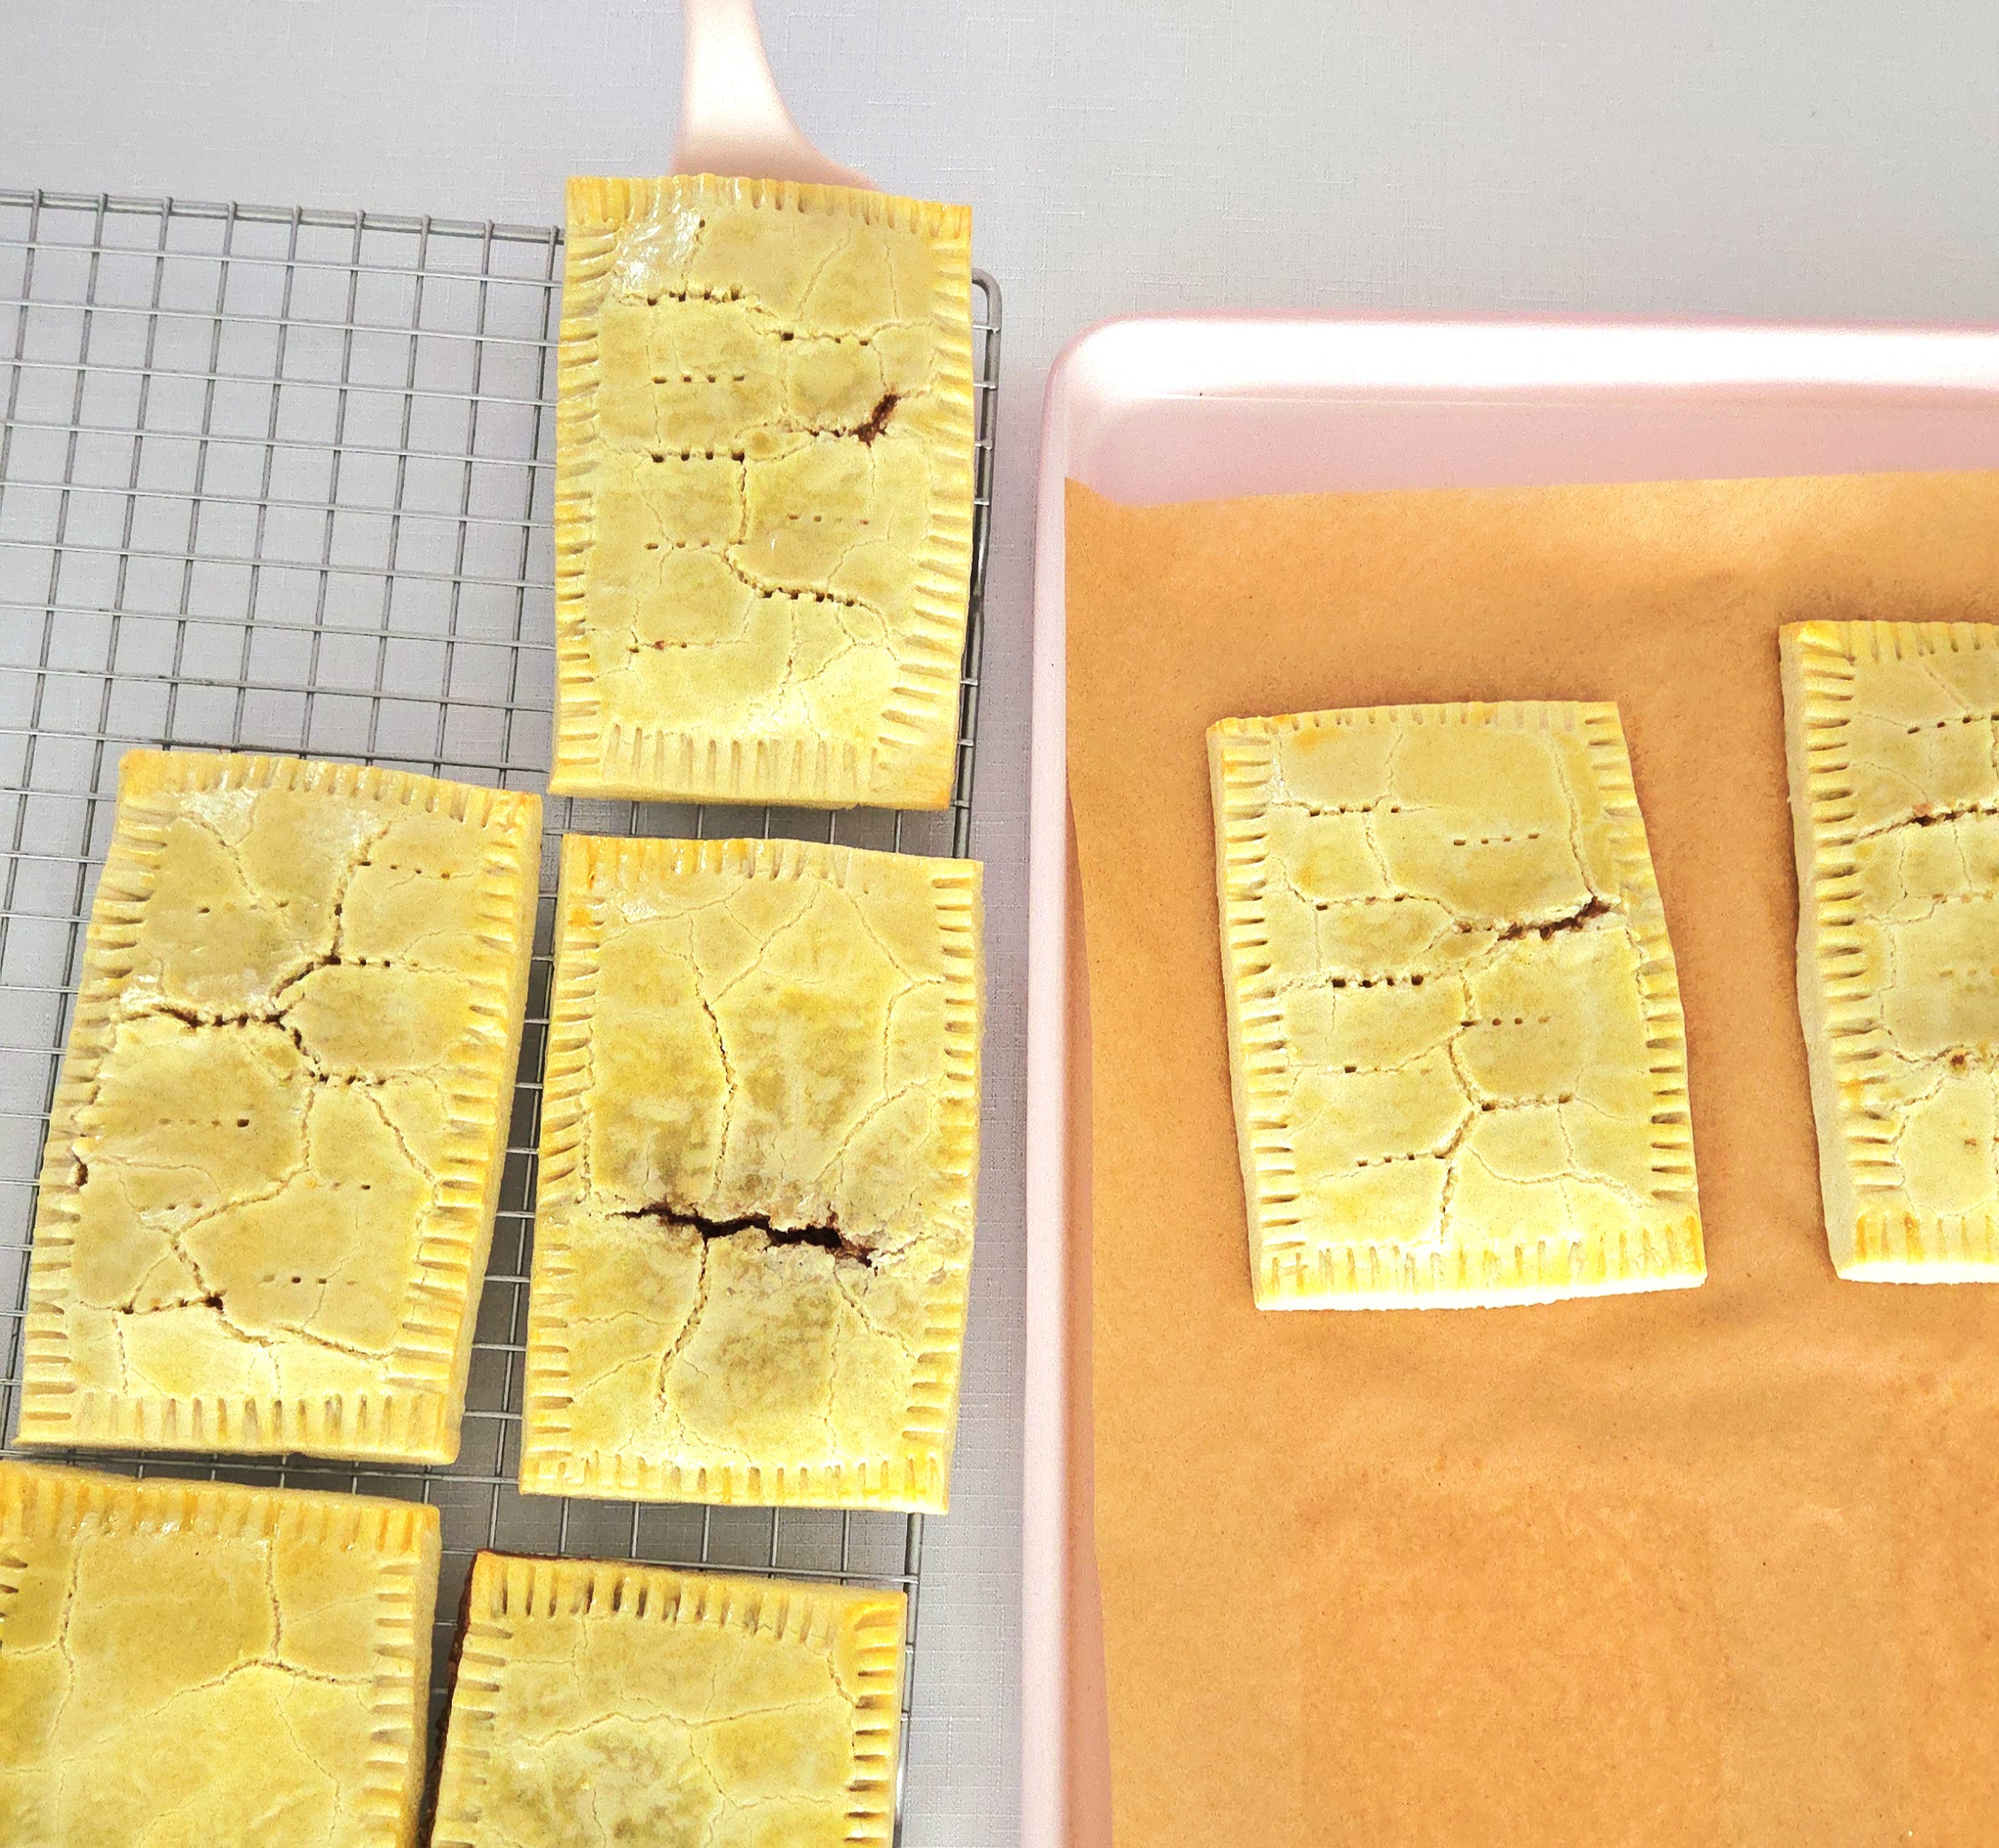
Give the tarts a few minutes to rest on the hot pan once they come out of the oven. This allows for better structural integrity, so they don’t fall apart as they’re moved. Transfer the pastries over to a cooling rack to come completely down to room temperature, before moving on to the icing. If you prepare the icing ahead of time, it will crust over before the tarts are ready for it. If you cover the pastries with icing before they’re completely cool, it will run everywhere rather than sticking. Patience is your friend at this moment.
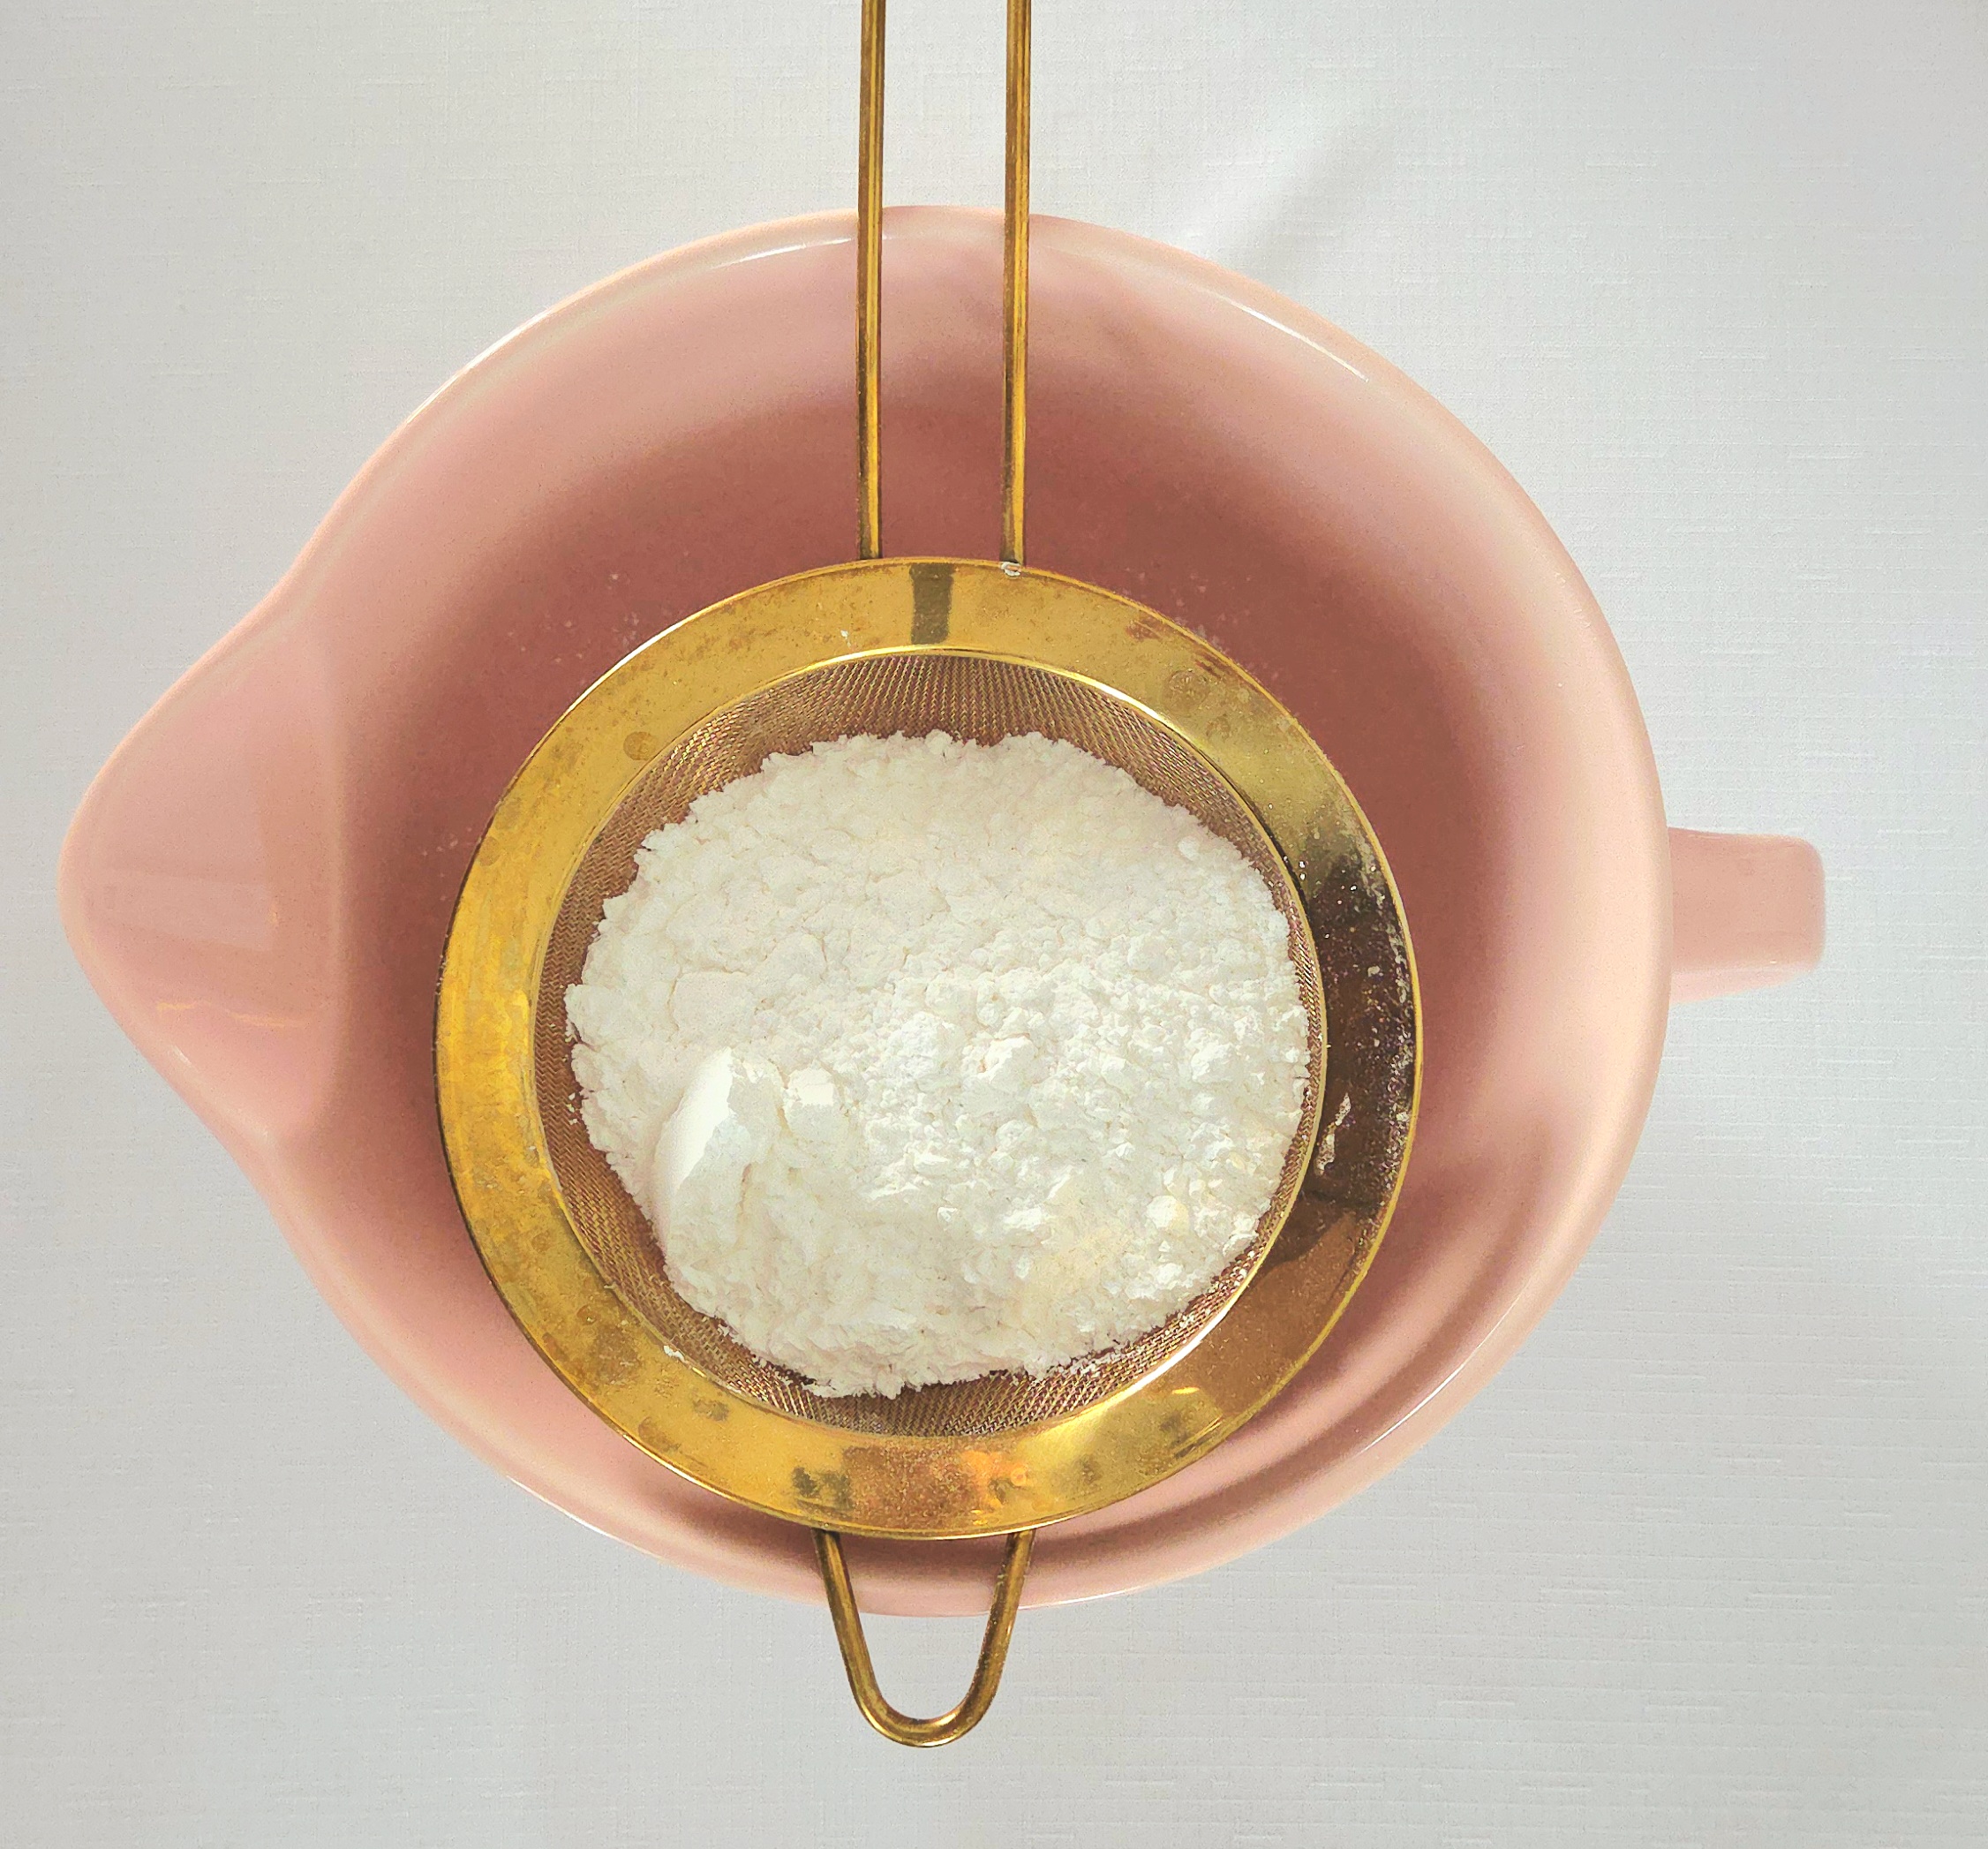
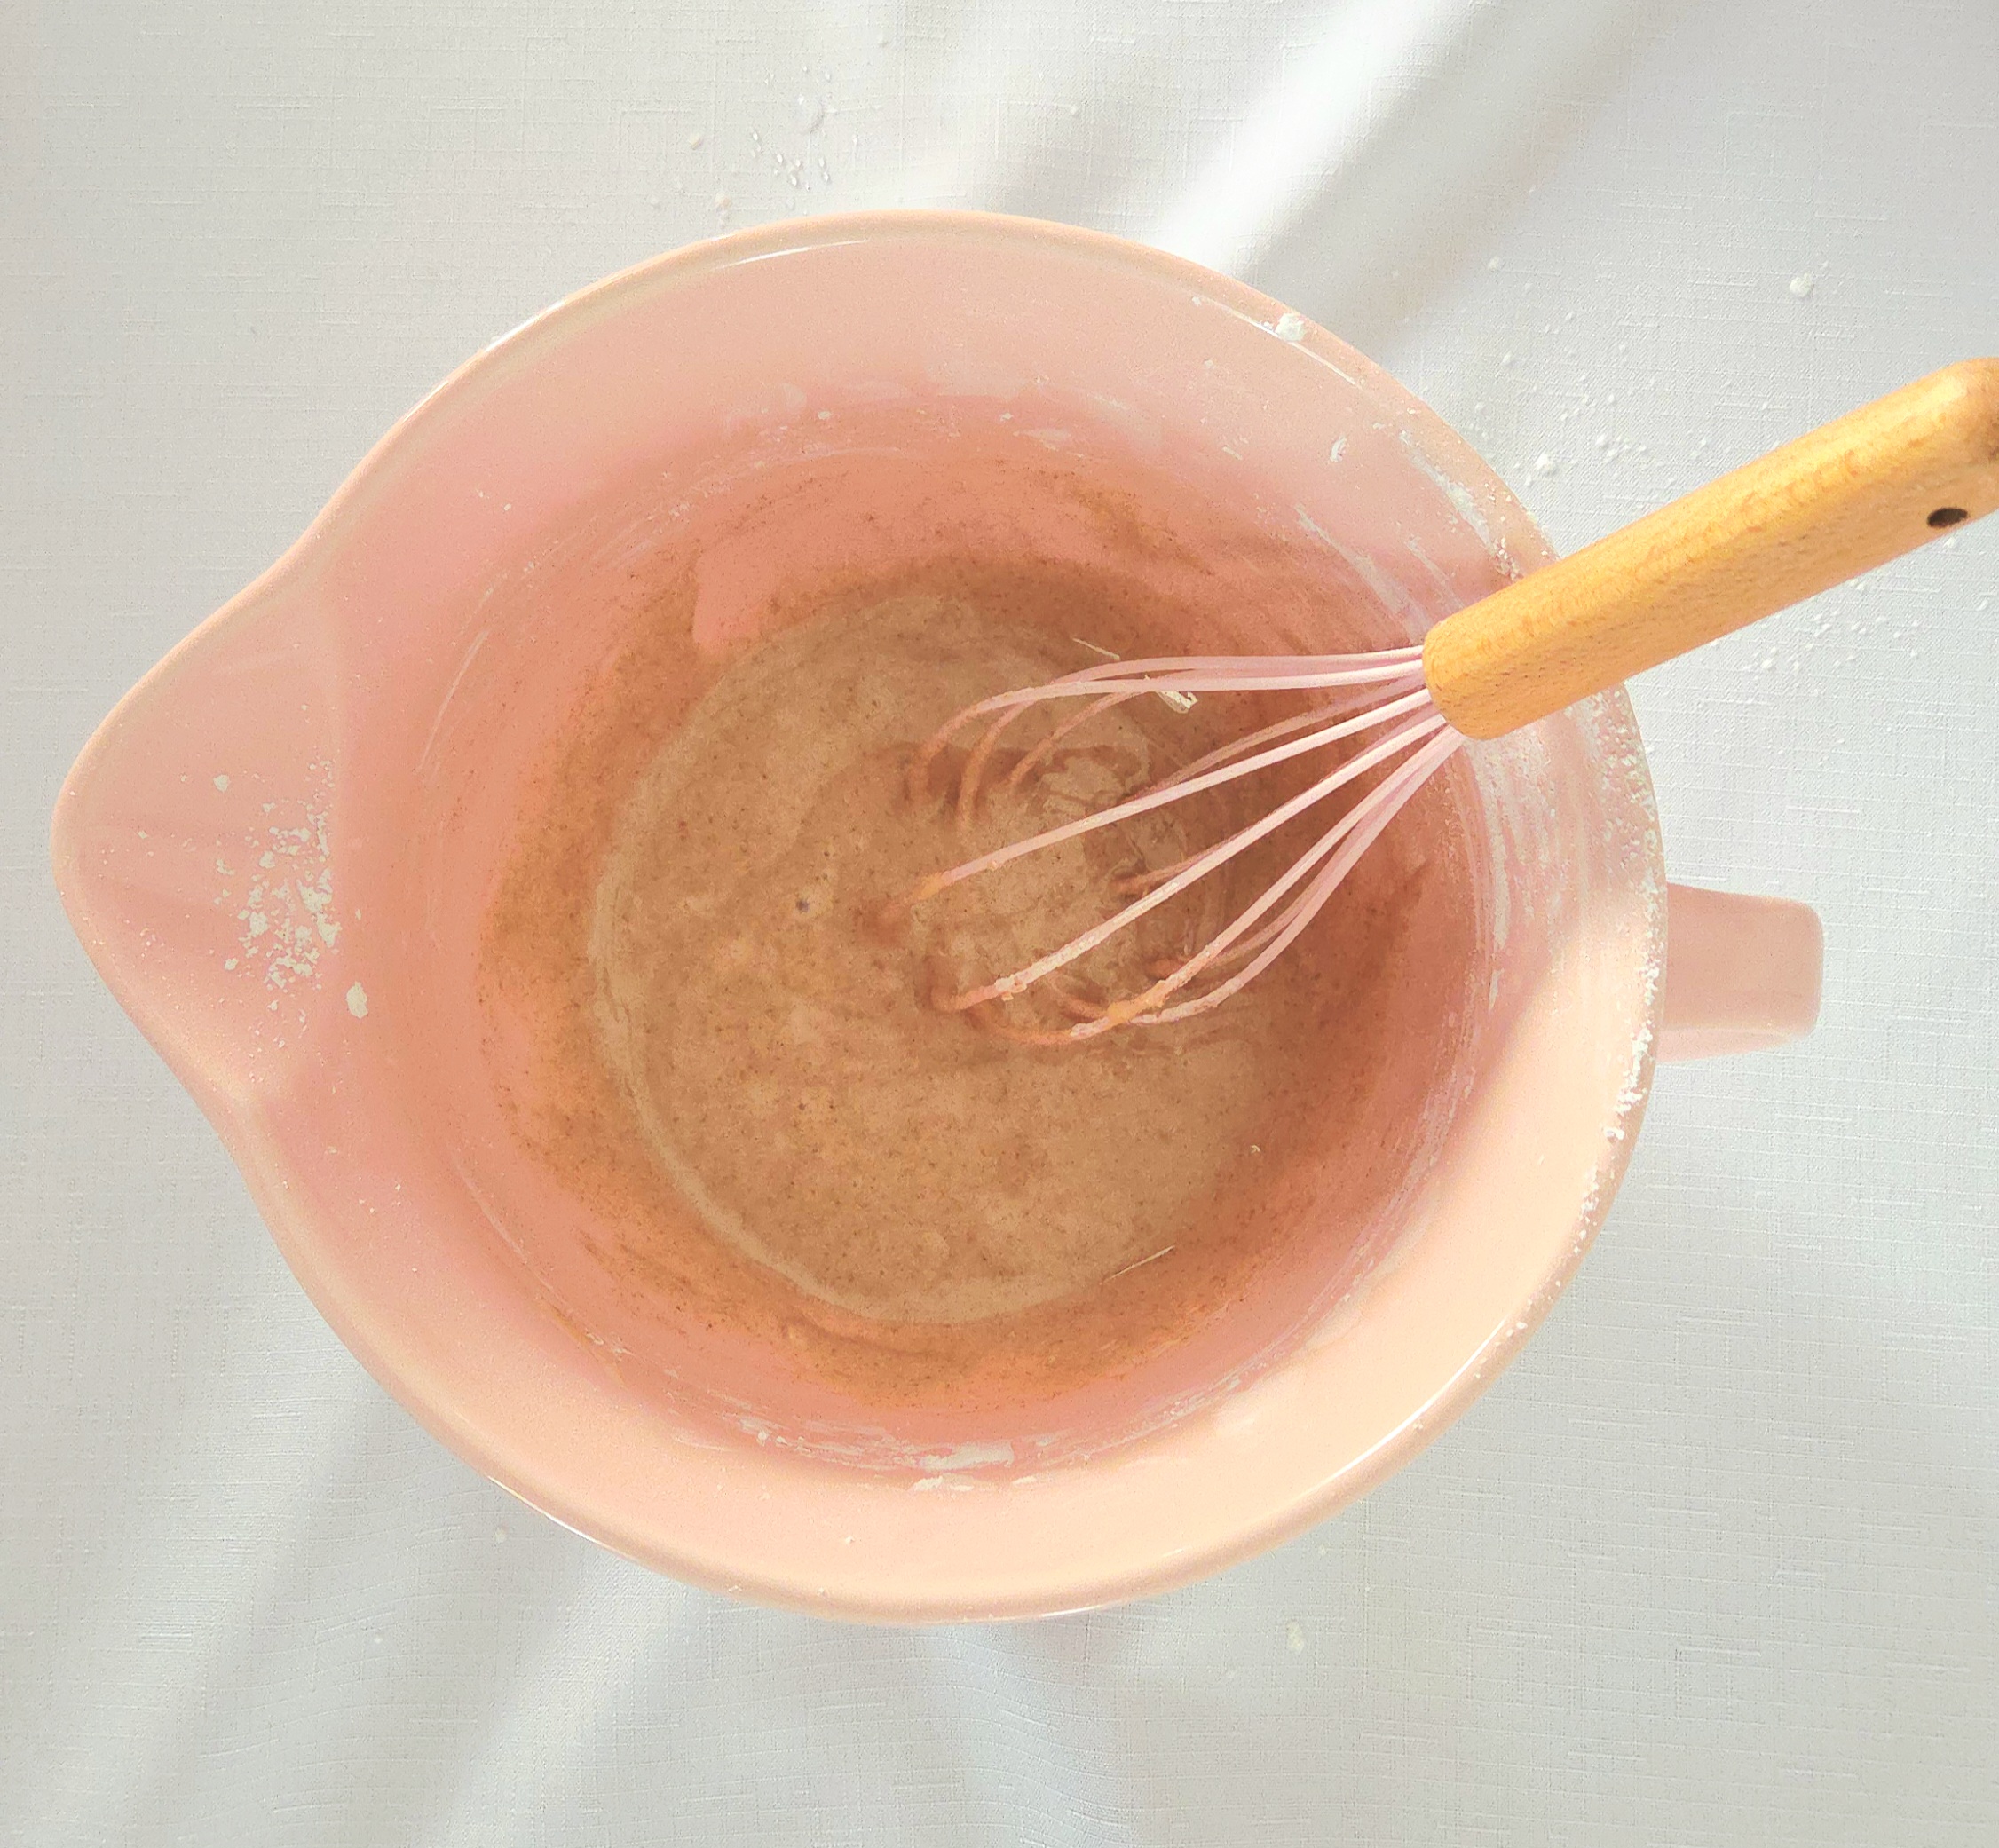
When the pastries are cool to the touch, make the glaze. Sift the powdered sugar, cinnamon, and salt into a medium size mixing bowl. Give it a quick whisk.
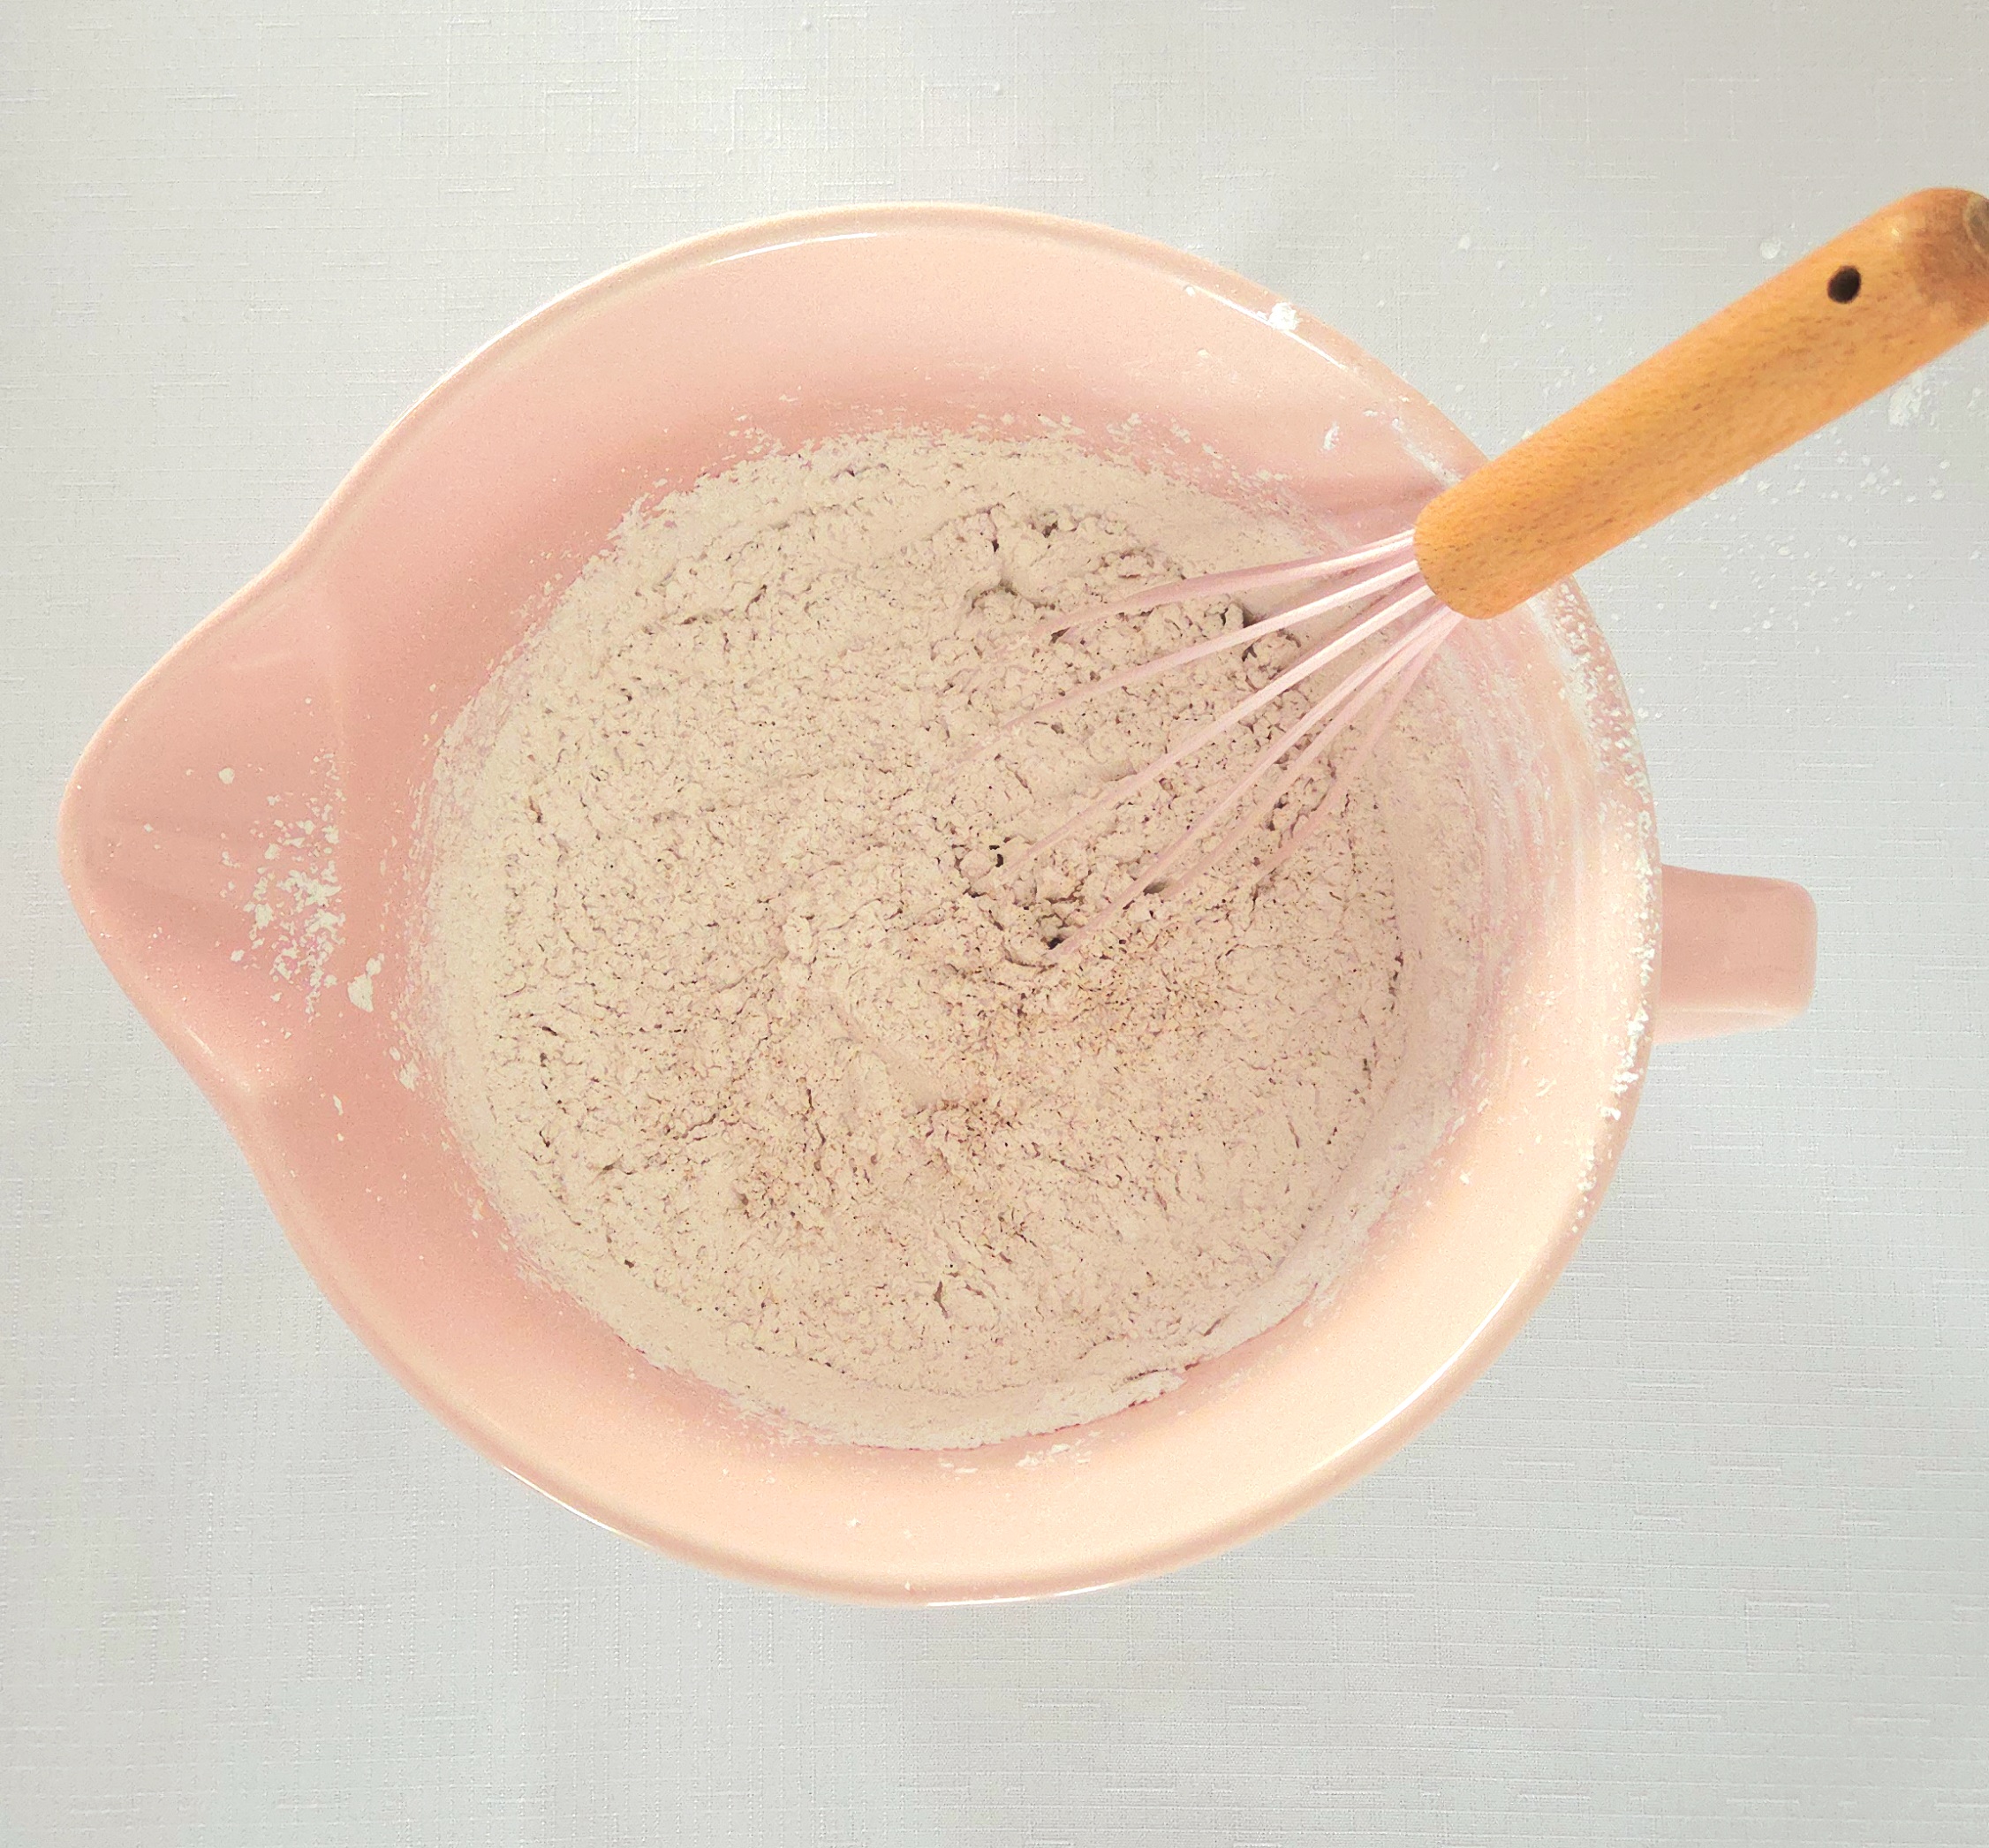
Add in the water. Start with 3 Tablespoons of cold water, whisk it together. It should be thick, but still run when the whisk is lifted out of the bowl. If it’s too thick, add in another Tablespoon of water.
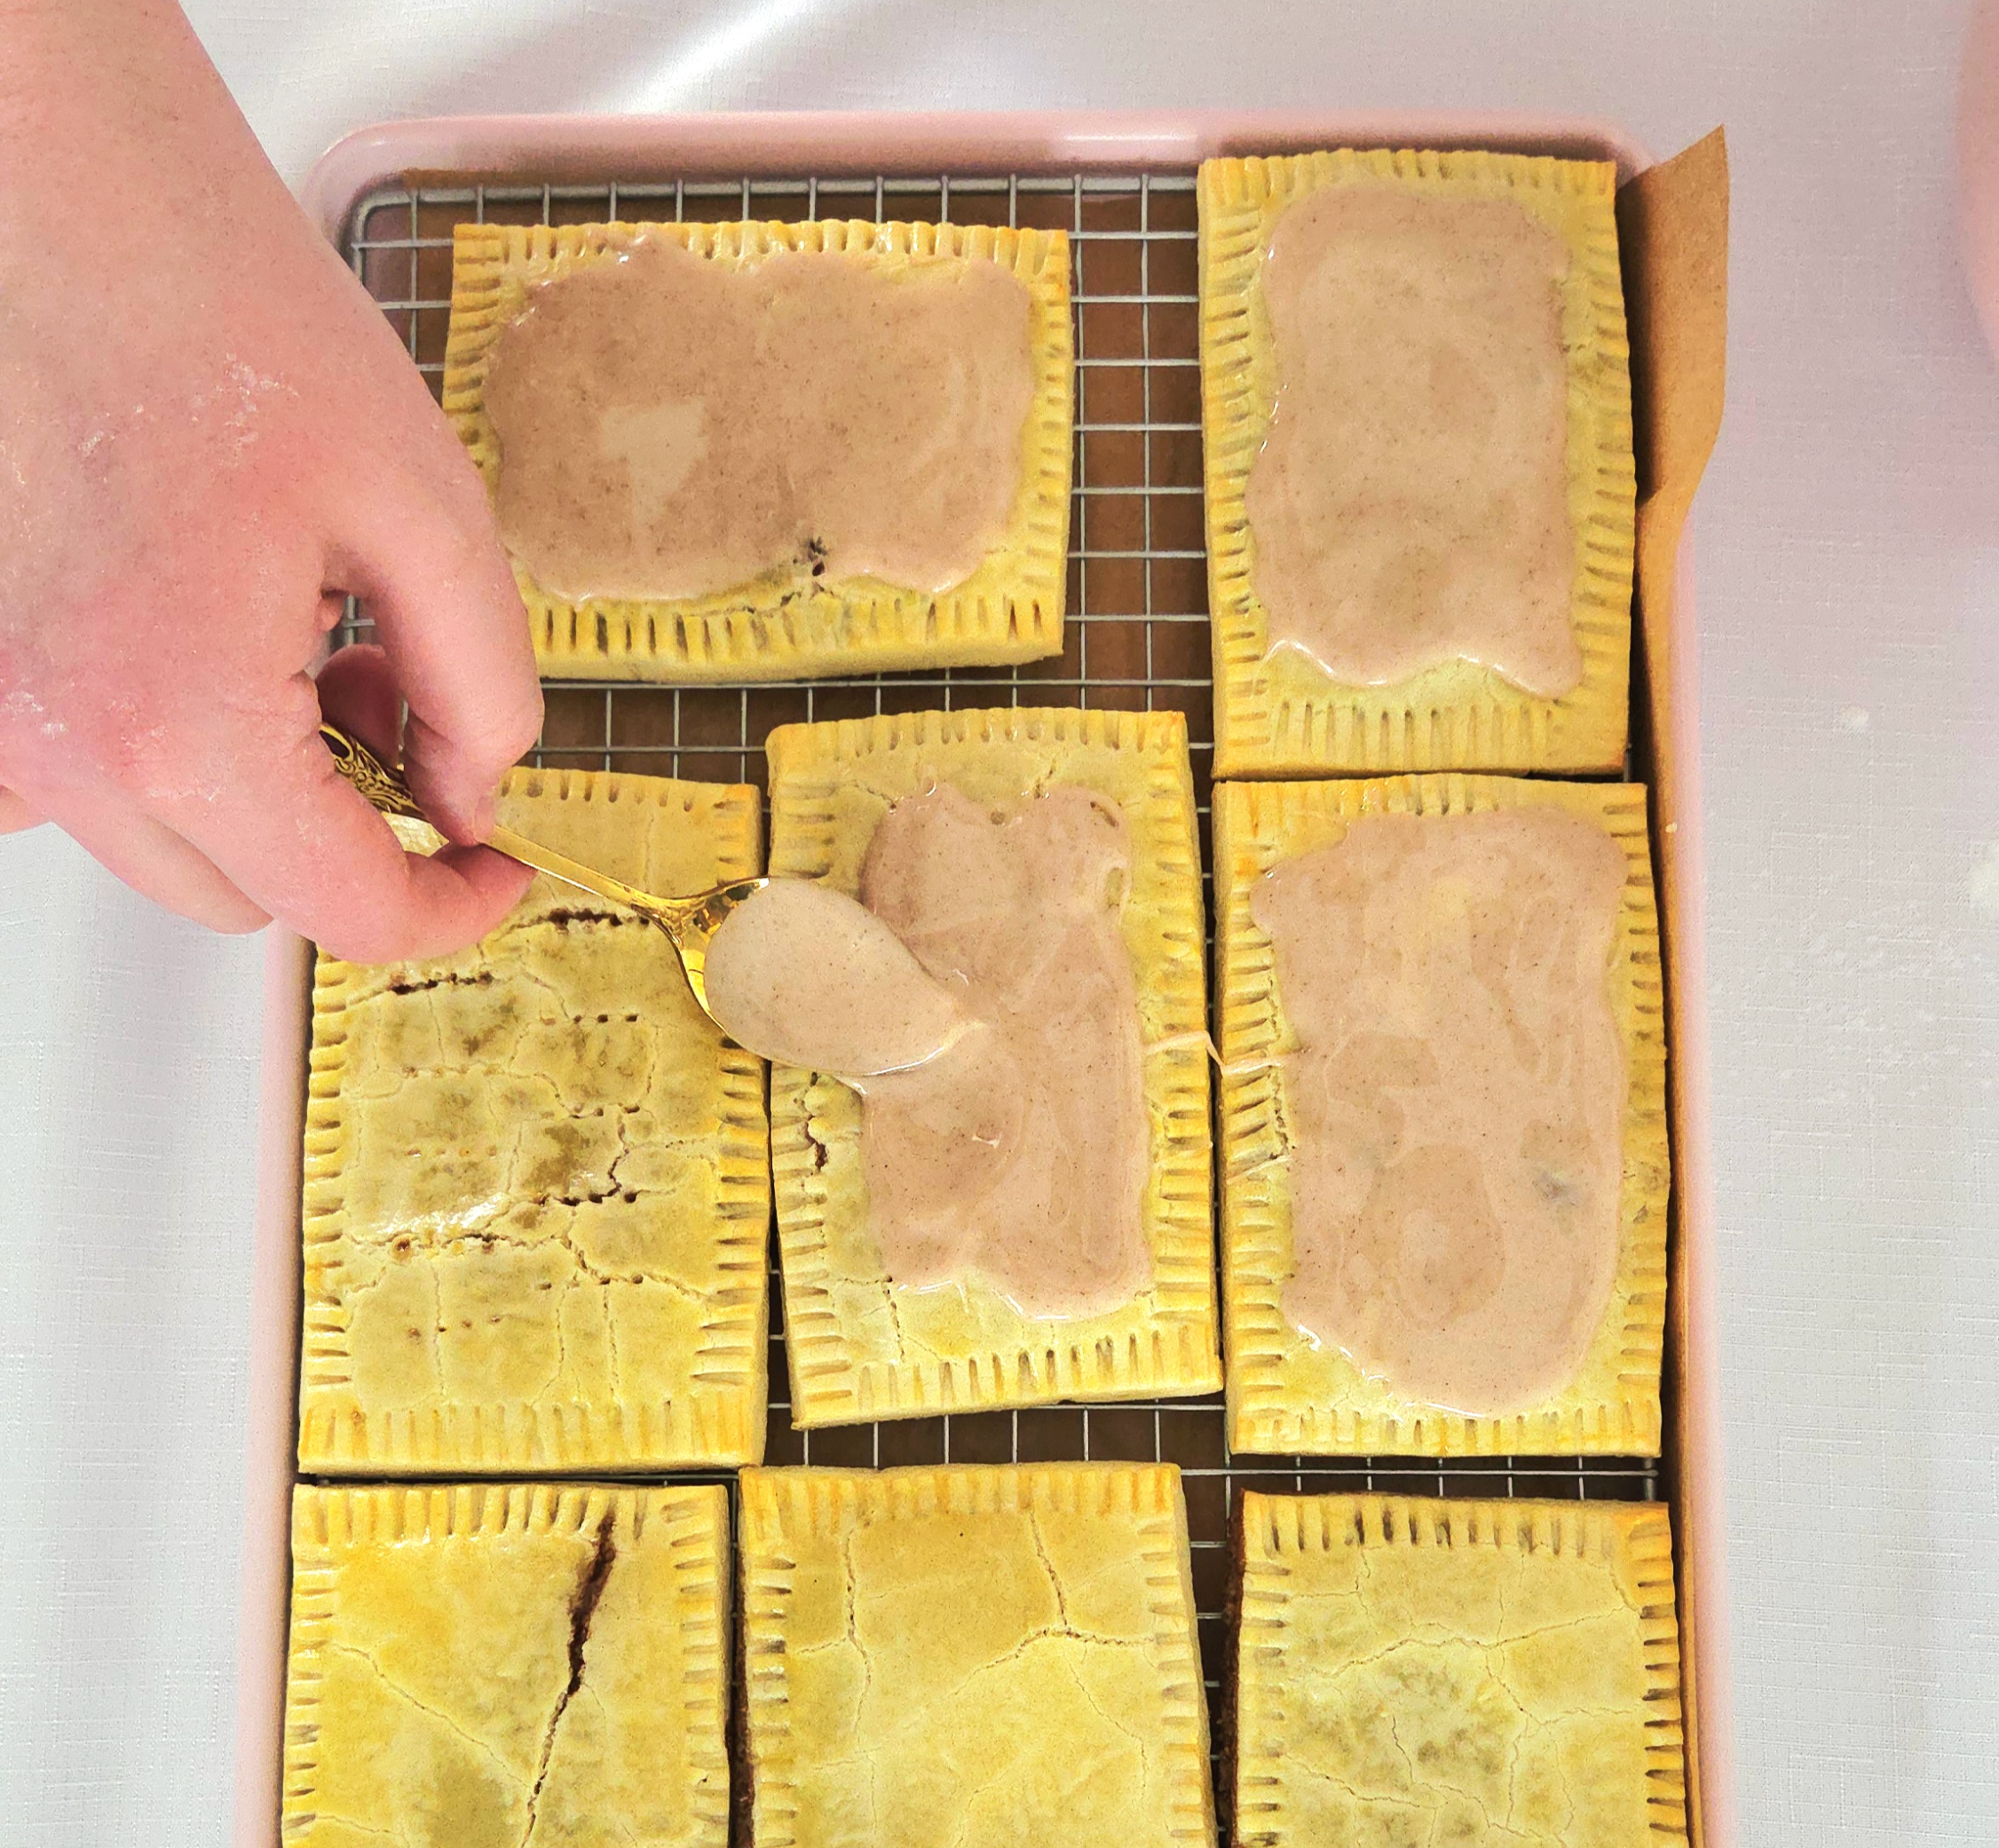
Immediately after the glaze is finished, top off each pastry with a few Tablespoons of it. Use the back of the spoon to spread it out. If you’d like to add a touch of whimsy, now is the time for sprinkles. But be warned, unless you add them the second you finish spreading the icing, any sprinkles are pretty much guaranteed not to stick.
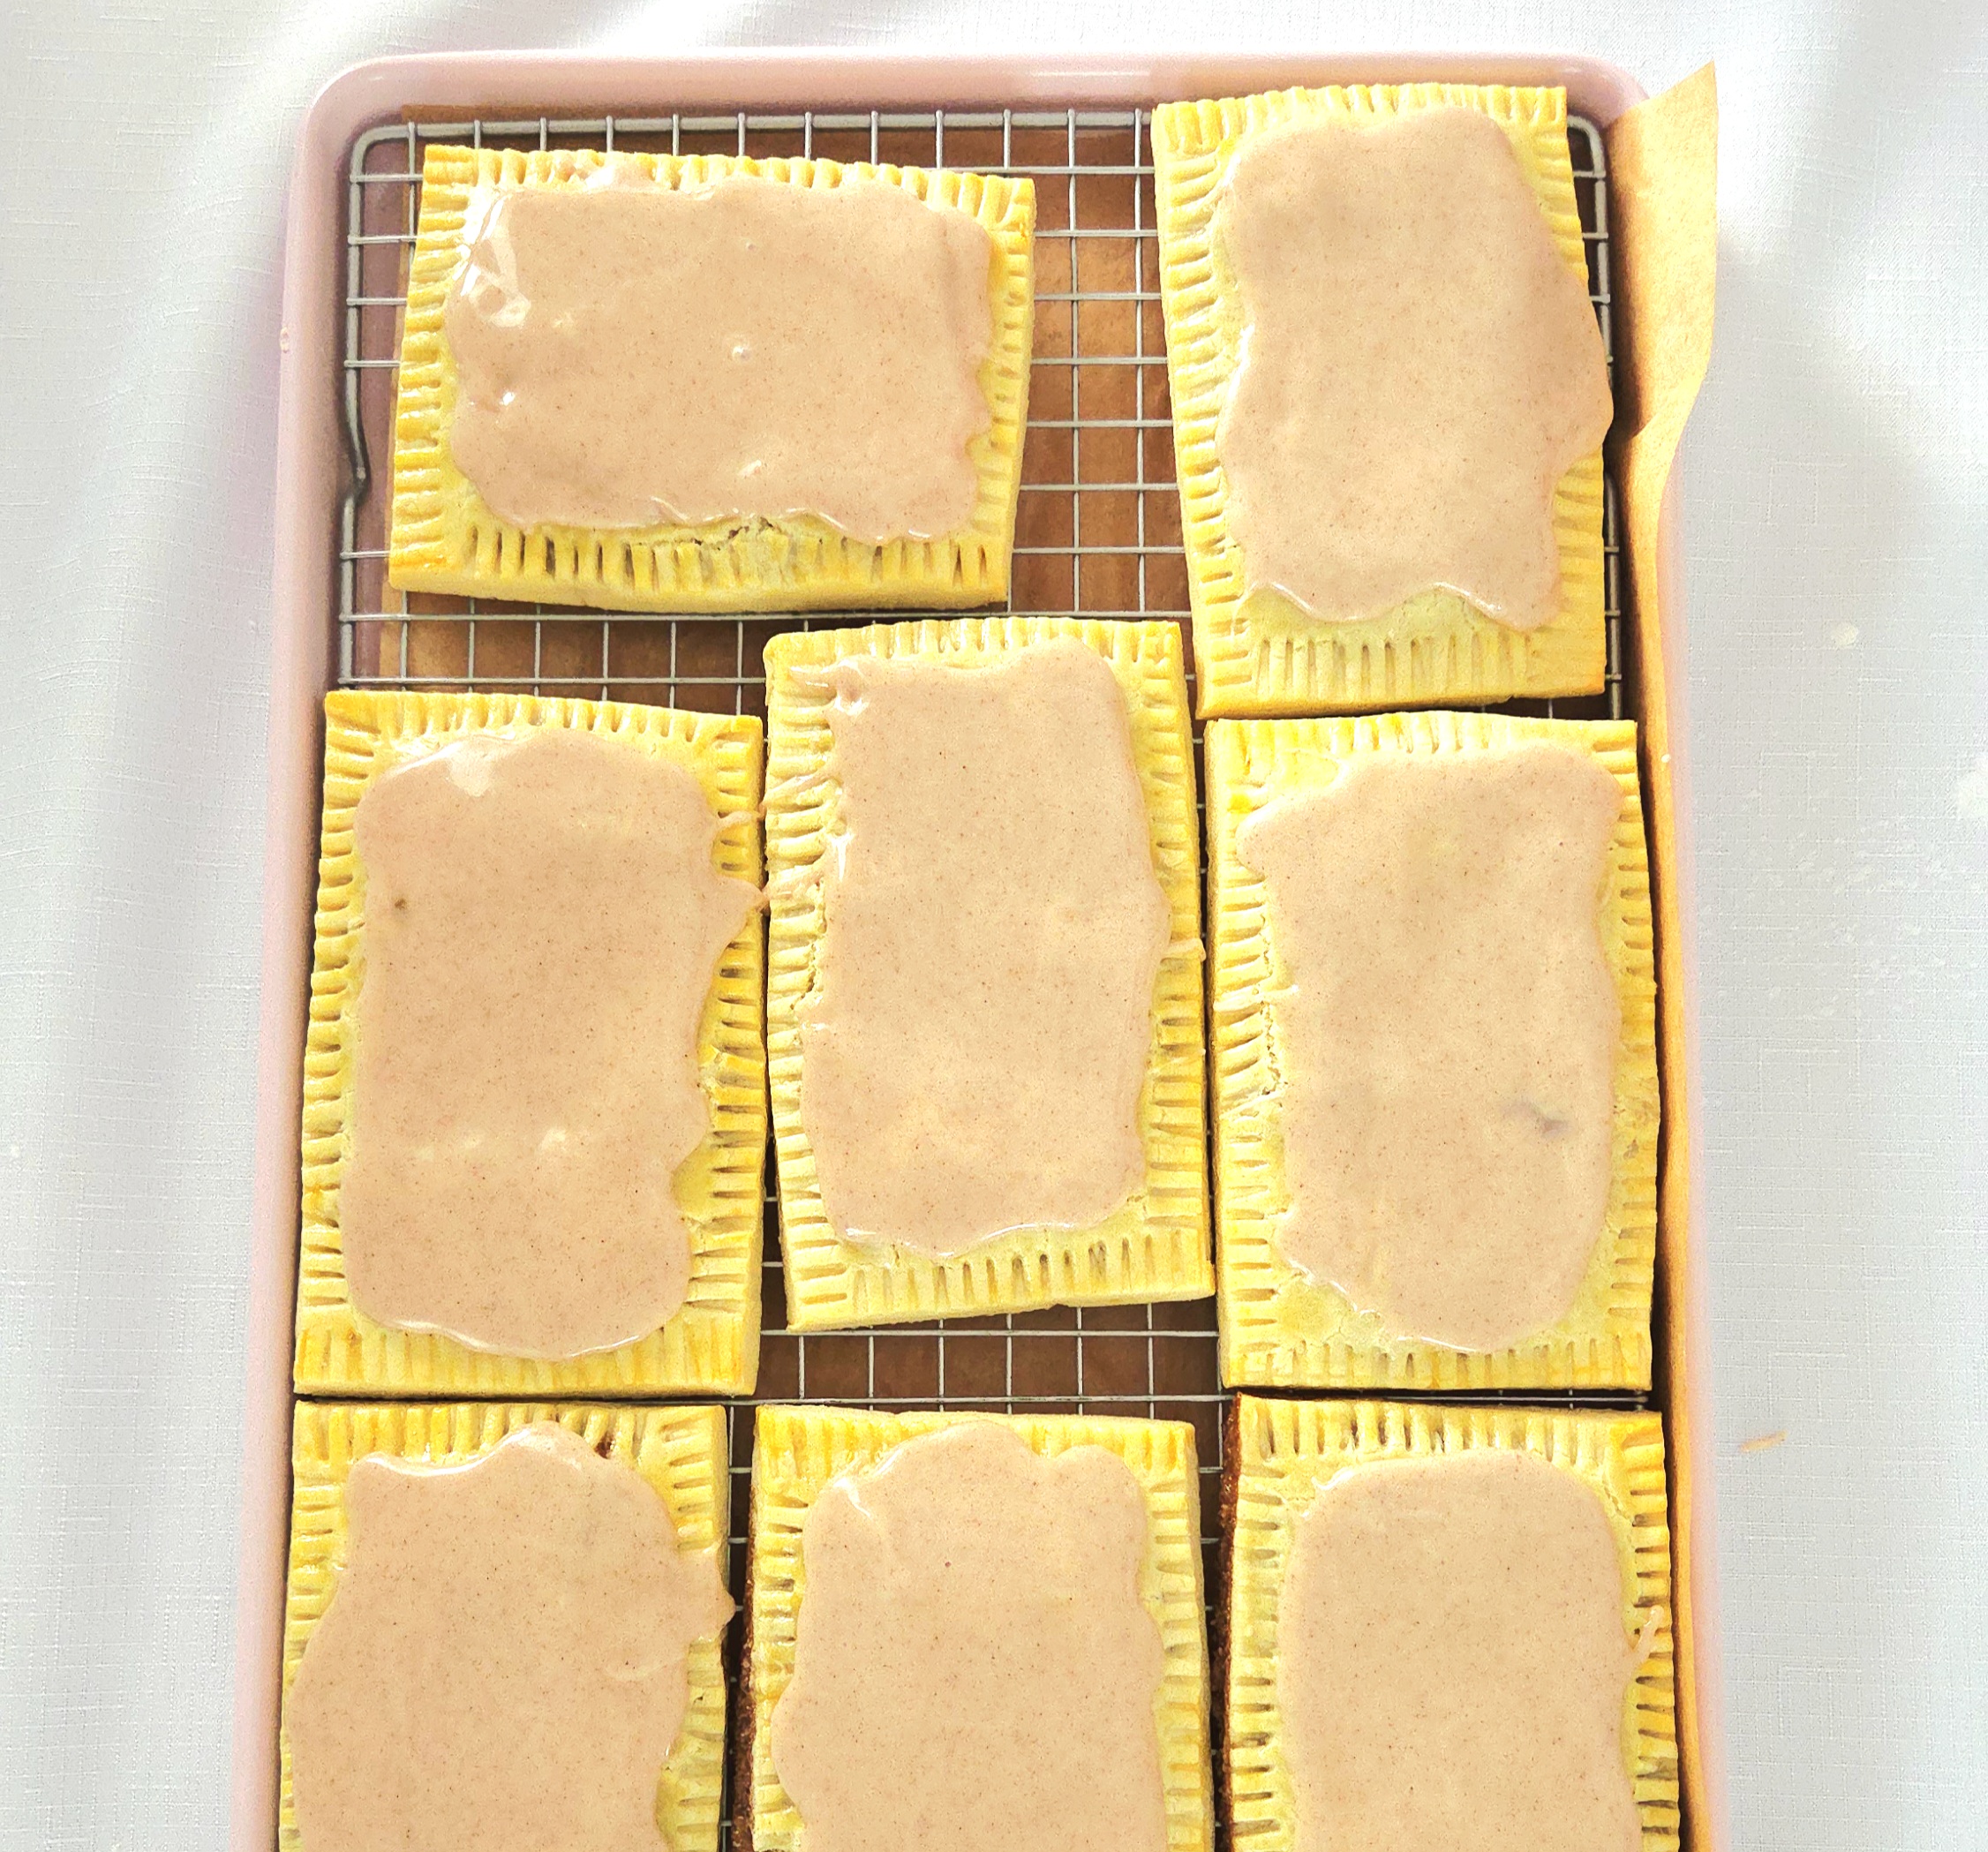
I know it’s hard to stay patient after all that work, but the glaze needs time to set now. Give them at least another hour before digging in and enjoying one! Store any leftover pastries in an airtight container on the counter for up to two days.
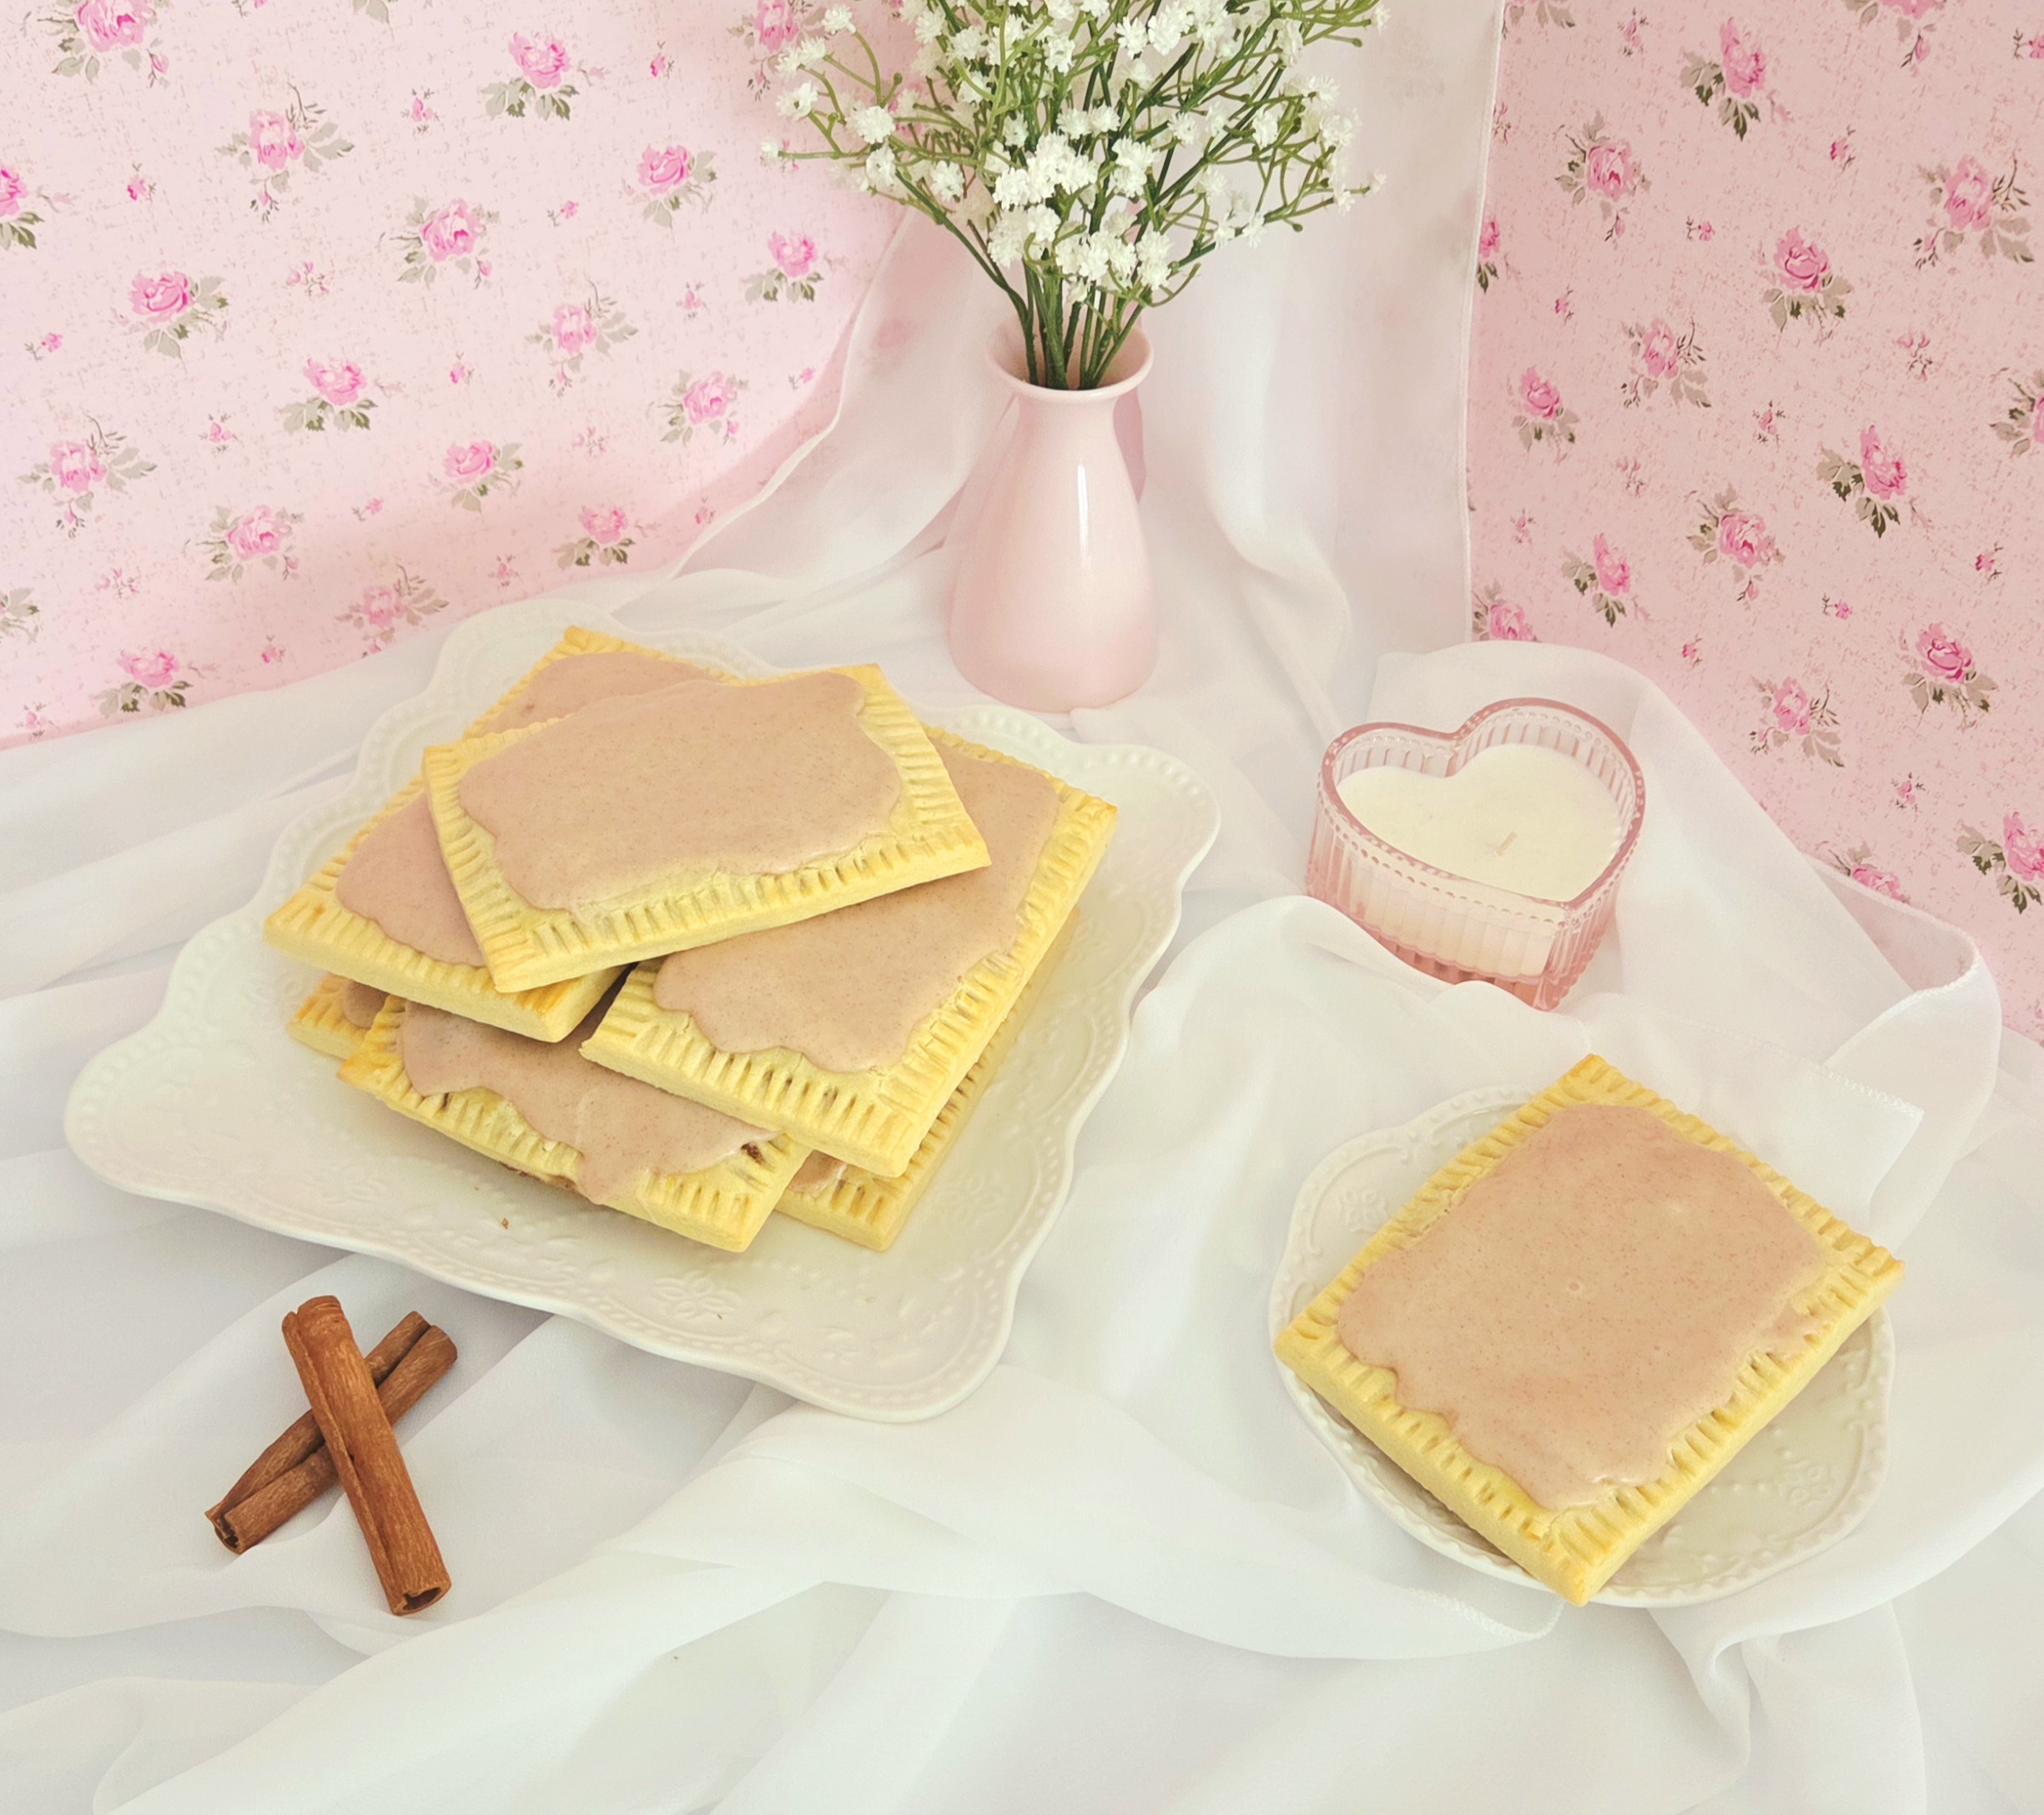
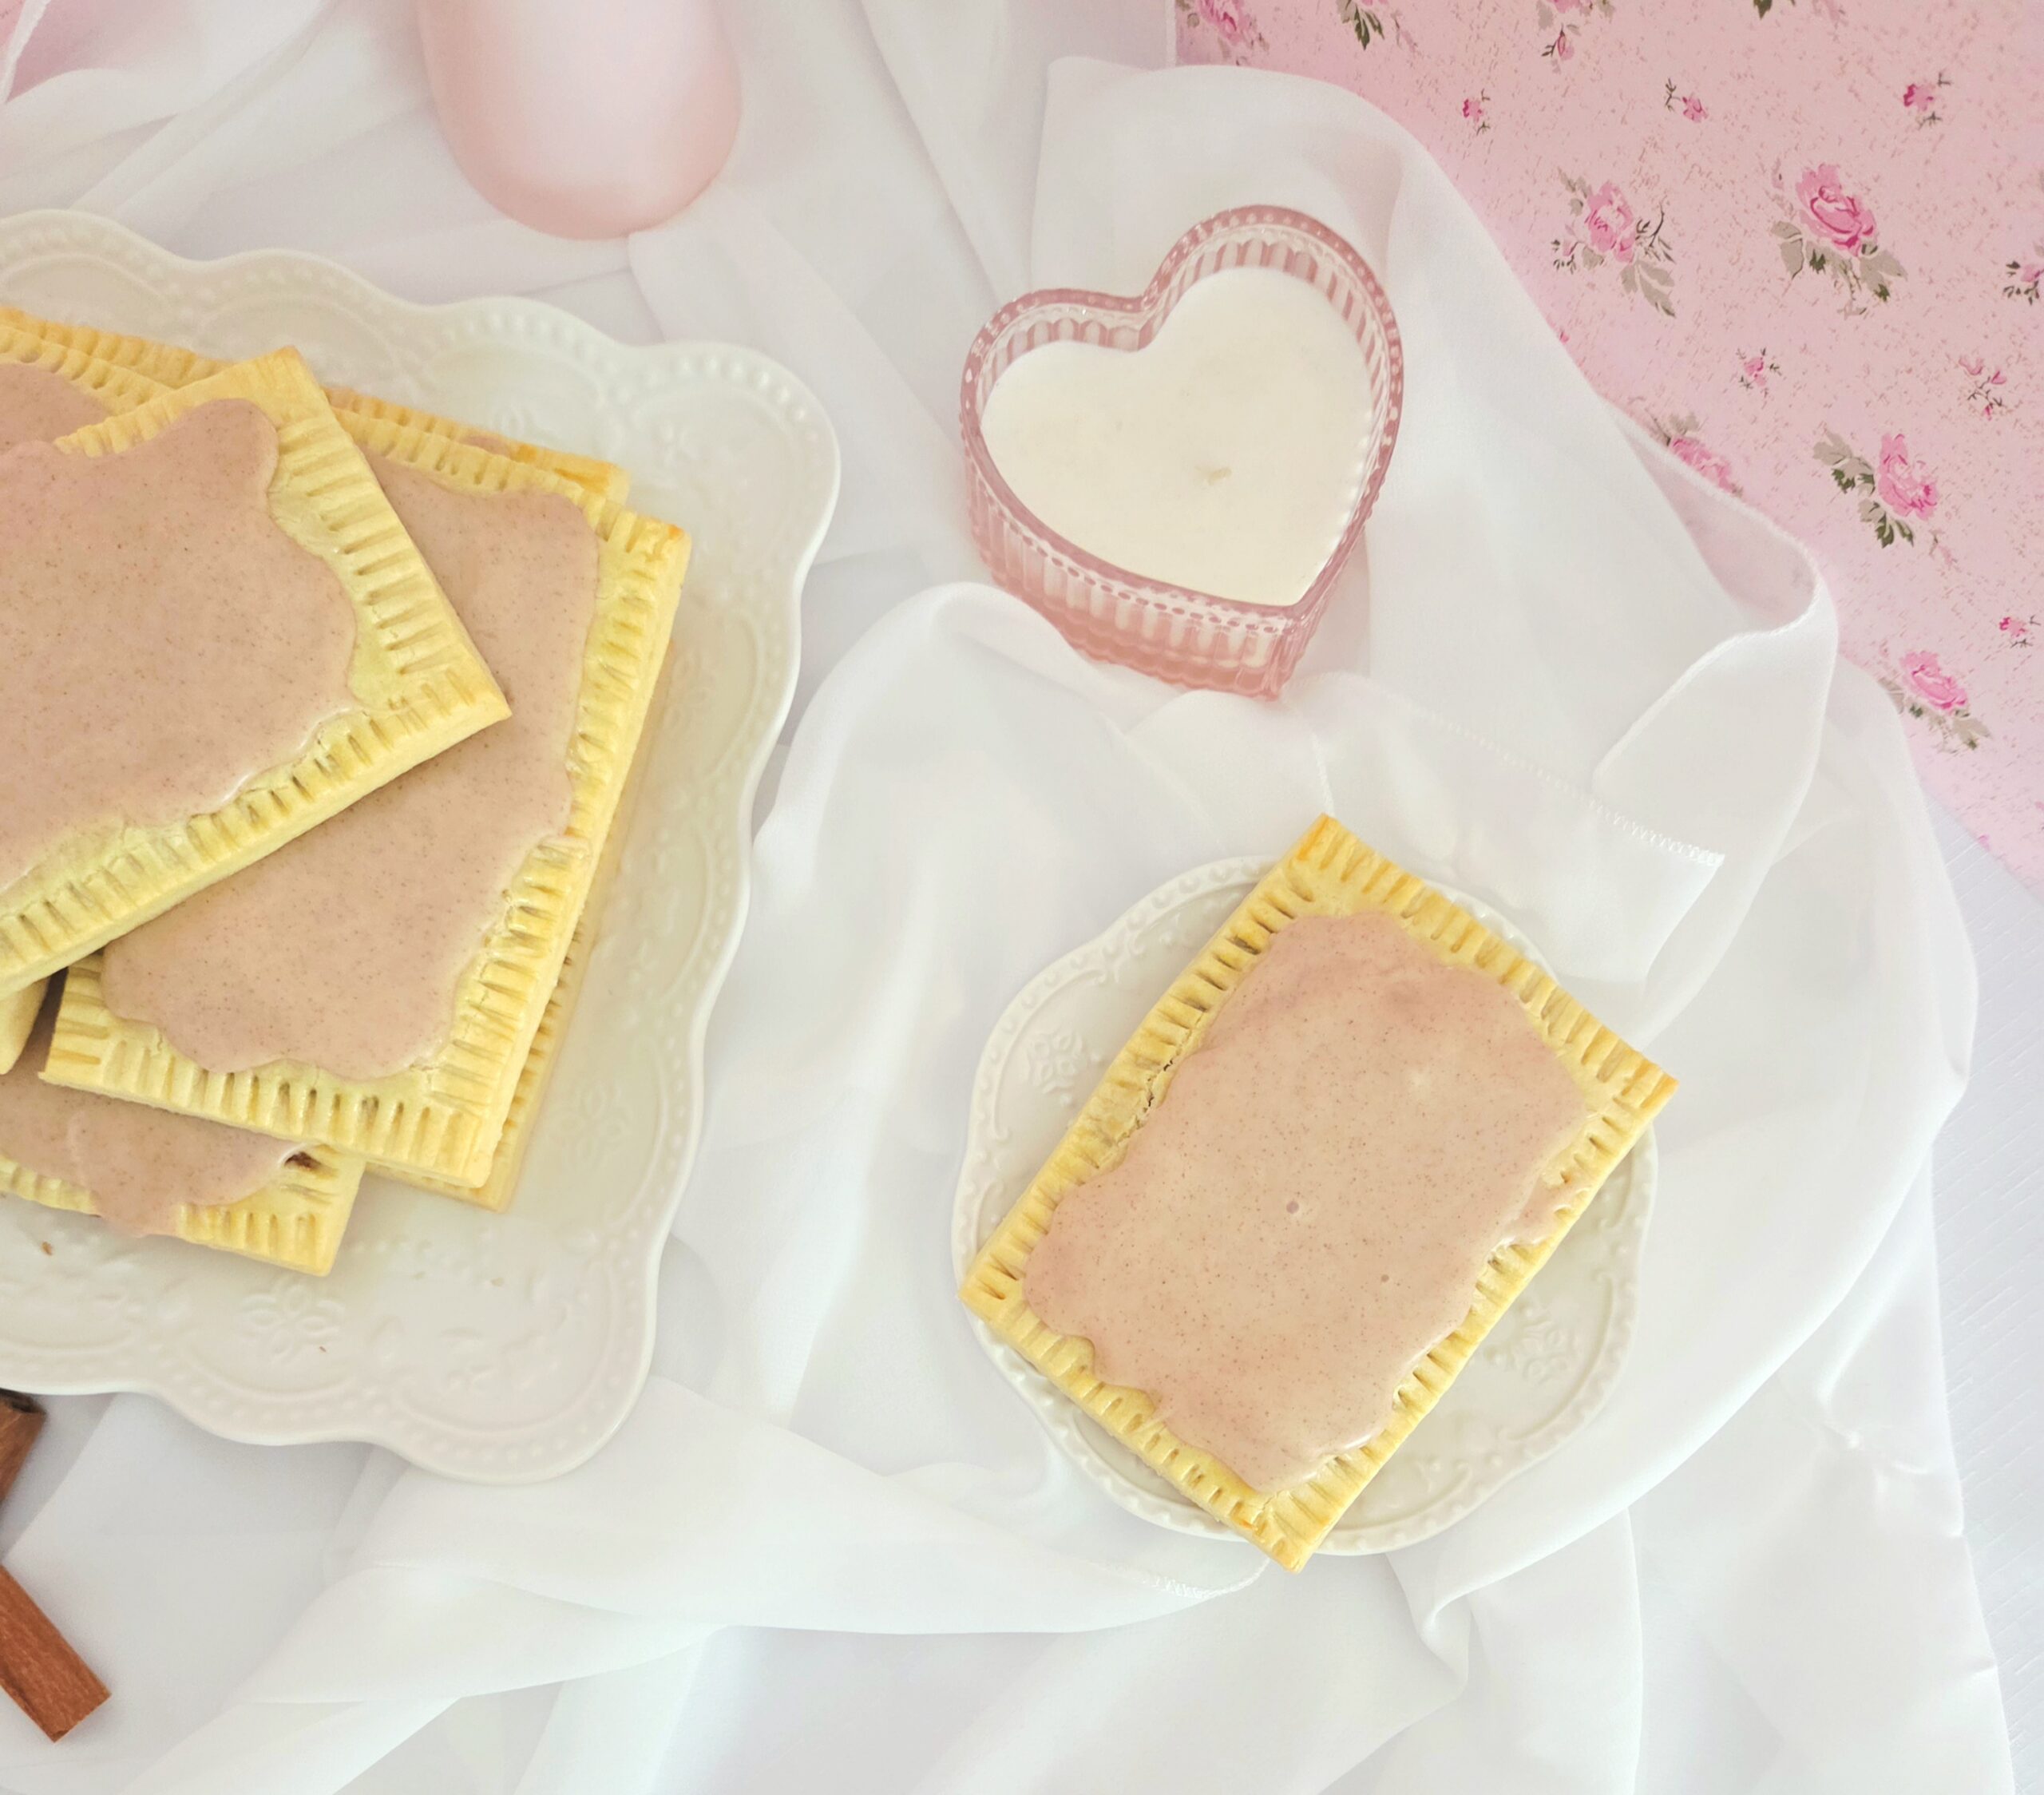
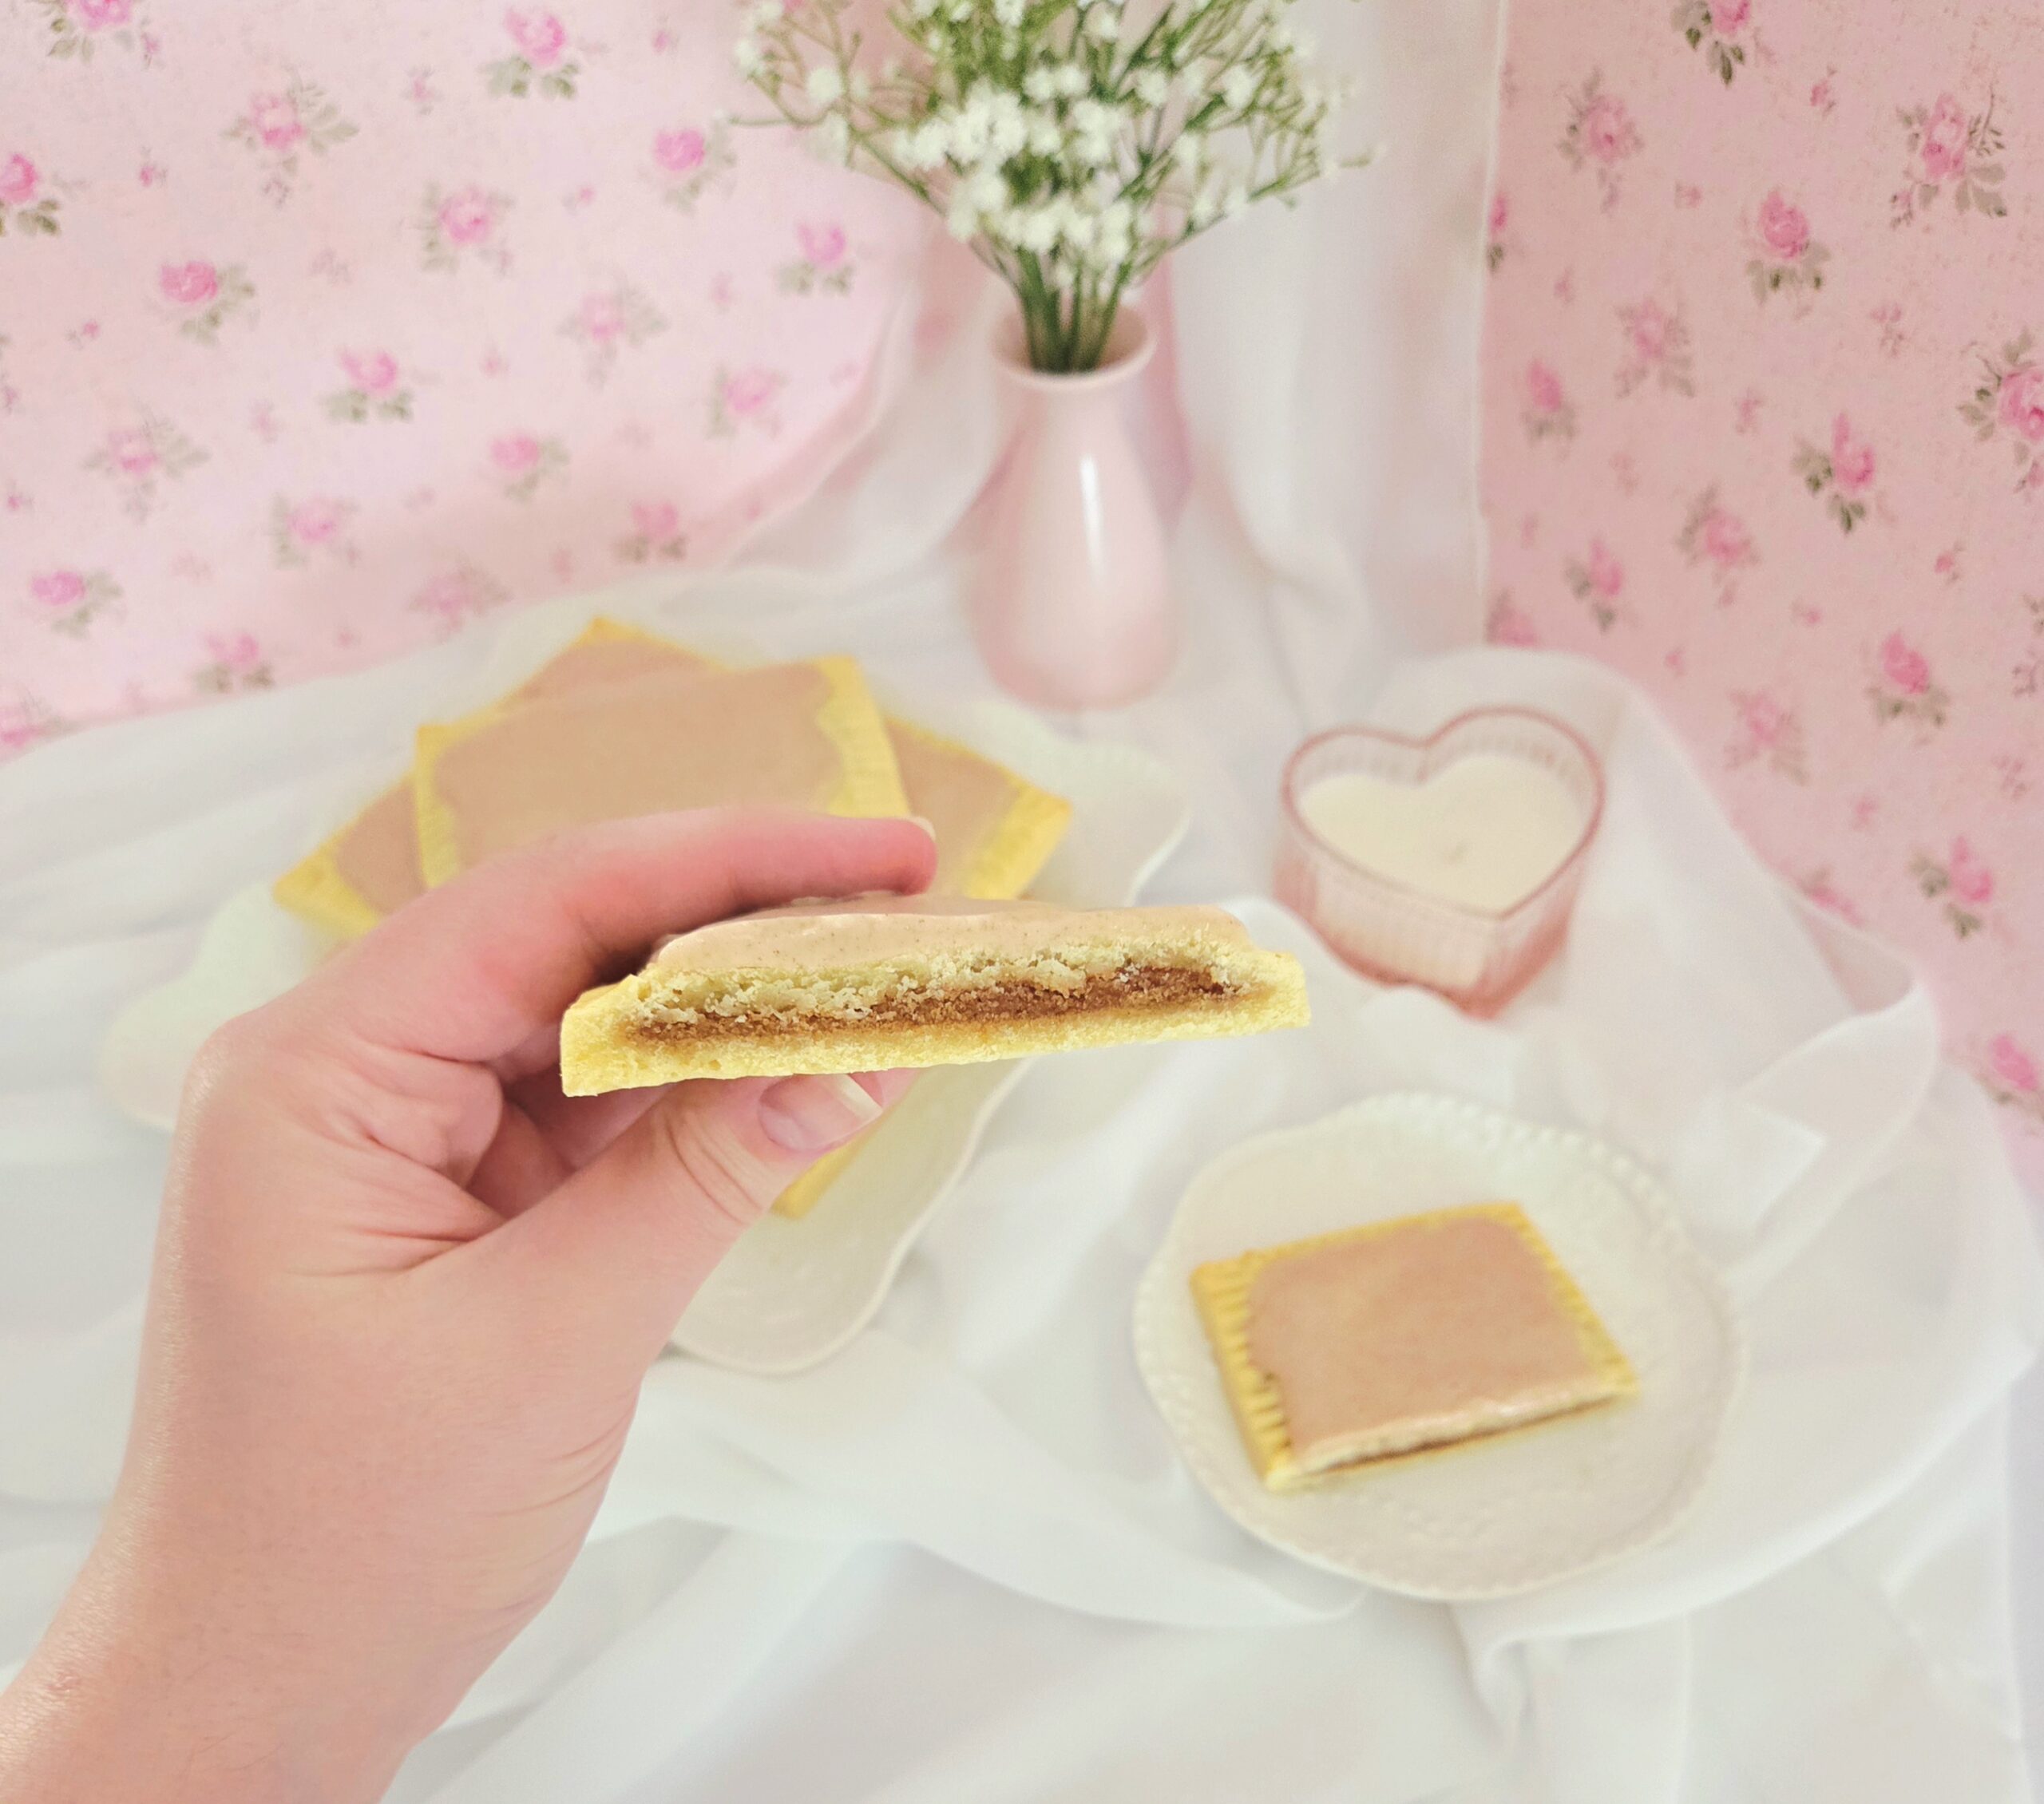
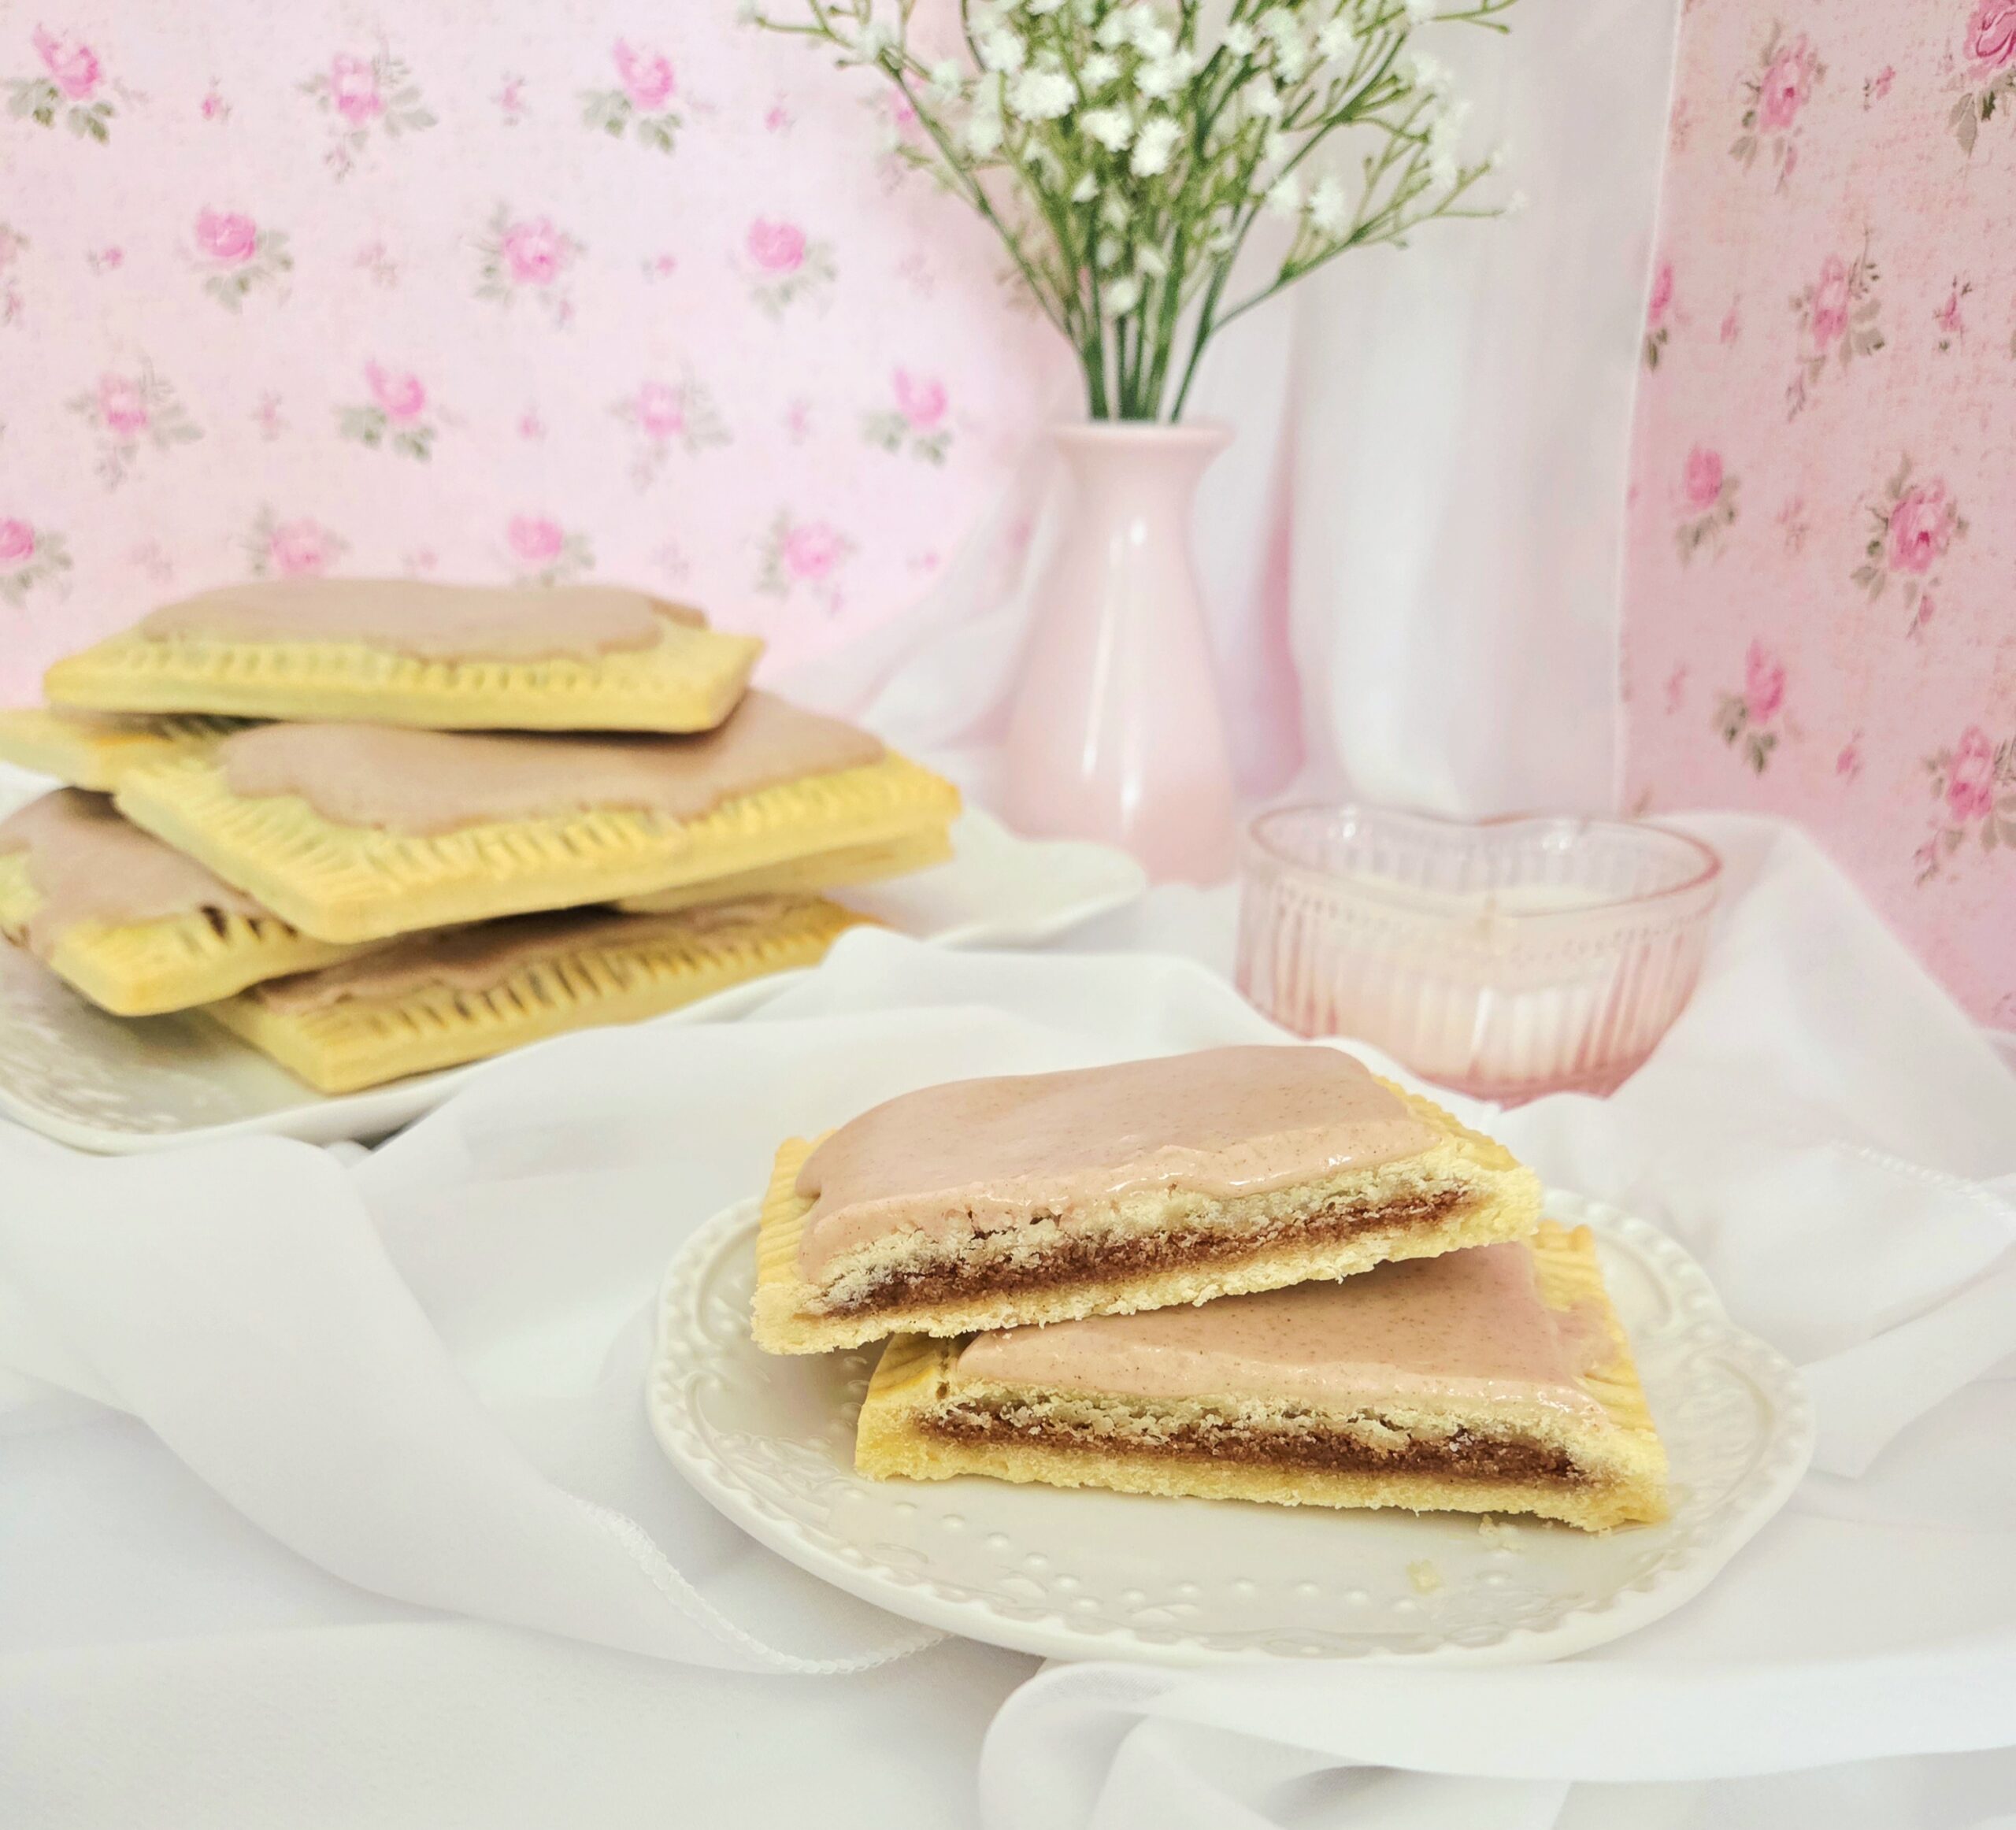
Cinnamon Brown Sugar Pop Tarts Dupe
Bake Time: 350F for 15 minutes
Servings: 8 Tarts
Total Time: 2 hours
Prep Time: 1 hour
Ingredients:
Filling:
- 8 Tablespoons unsalted butter
- 1 cup light brown sugar
- 1 Tablespoon ground cinnamon
- ½ teaspoon salt
Glaze:
- 2 cups powdered sugar
- 1 teaspoon ground cinnamon
- ½ teaspoon salt
- 3-4 Tablespoons cold water
Egg Wash:
- 1 large egg
- Pinch salt
Directions:
The Pastries
- Before anything else, prepare a batch of my pâte sucrée dough. Preheat the oven to 350F, on the convection setting if possible, and place the rack in the center of the oven. Line two baking sheets with parchment paper, set them aside.
- In a stand mixer, cream together the butter, brown sugar, cinnamon, and salt. It should take a few minutes on level 3 or 4 to completely cream them together, so the texture is light and fluffy rather than dense. Set the filling aside.
- In a small dish, whisk together a large egg, a pinch of salt, and a splash of water using a fork. This is the egg wash, set it aside.
- Dust a clean counter with flour. Grab the pâte sucrée from the fridge, cut the slab in half. Place one half onto the floured counter and wrap the other half back up to return it to the fridge. Dust the top of the dough on the counter with more flour and roll it out to a 12×16 inch rectangle.
- Cut the rectangle in half on the shorter side, then into 4 equal sections along the longer edge. You should have 8 relatively equal rectangles, measuring approximately 6×4 inches each. Place them onto a clean baking sheet, cover them with plastic wrap, and place them in the fridge. Grab the second half of dough and repeat steps 4 and 5 with it.
- Take the first sheet of cut dough back out and place them on the counter again. Brush a line of egg wash around the entire border, about ¼-½ an inch wide. Place 2-3 Tablespoons of filling in the center of each rectangle. Using an offset spatula or butter knife, spread the filling out, right up to the edge of the egg wash border.
- Get the second sheet of cut up dough from the fridge. Place the best matching rectangle on top of the filled dough, using your fingers to gently seal the two pieces together along the border. Take a fork and crimp all around the edges.
- Using either a chef’s knife or bench scraper, bluntly cut off the edges of each pastry, leaving at least ¼ inch of unfilled dough along the border.
- Dock the top of each pastry by poking holes all the way through to the filling with a fork. Place 4 tarts on each lined baking sheet, then brush the tops of each one with a light layer of egg wash. Bake them for 15 minutes on the center rack of the oven, or until the crust is golden brown, flipping halfway through.
- Allow the tarts to rest on the pan for a few minutes, then transfer them over to a cooling rack. When the pastries have completely cooled down to room temperature, prepare the glaze.
Glaze and Assembly
- Once the pop tarts have fully cooled down, make the glaze. In a medium mixing bowl, sift the powdered sugar. Whisk in the cinnamon and salt.
- Add 3 Tablespoons of cold water to the dry mixture to start with and whisk them together. If the glaze feels a bit thick, add another Tablespoon of water.
- Using a table spoon, scoop a few Tablespoons of glaze onto each pastry then spread it immediately. If you’re decorating with sprinkles, do so the second you finish spreading the glaze. Allow the glaze to fully set, at least an hour or so, before digging in. Save any leftover pop tarts in an airtight container on the counter for up to 2 days and enjoy!
Tips
- Fully assembled, unbaked pop tarts can be frozen! Follow the recipe through step 7, then after you dock the tops of each one, place them onto a baking sheet. Cover and place them into the freezer for a few hours, until they’re frozen solid. Transfer them to a freezer safe bag to pull and bake at your discretion. When you’re ready to bake, place the desired amount onto a parchment lined baking sheet. Brush the tops with egg wash and bake them at 350F for 18 minutes or so, until the tops are golden brown. Follow the rest of the directions as written.
- If the dough starts to get too warm and difficult to work with, place it on a baking sheet, cover it, and stick it in the fridge for 15-20 minutes. The cold will firm the butter in the dough and make it easier to work with again.


0 Comments