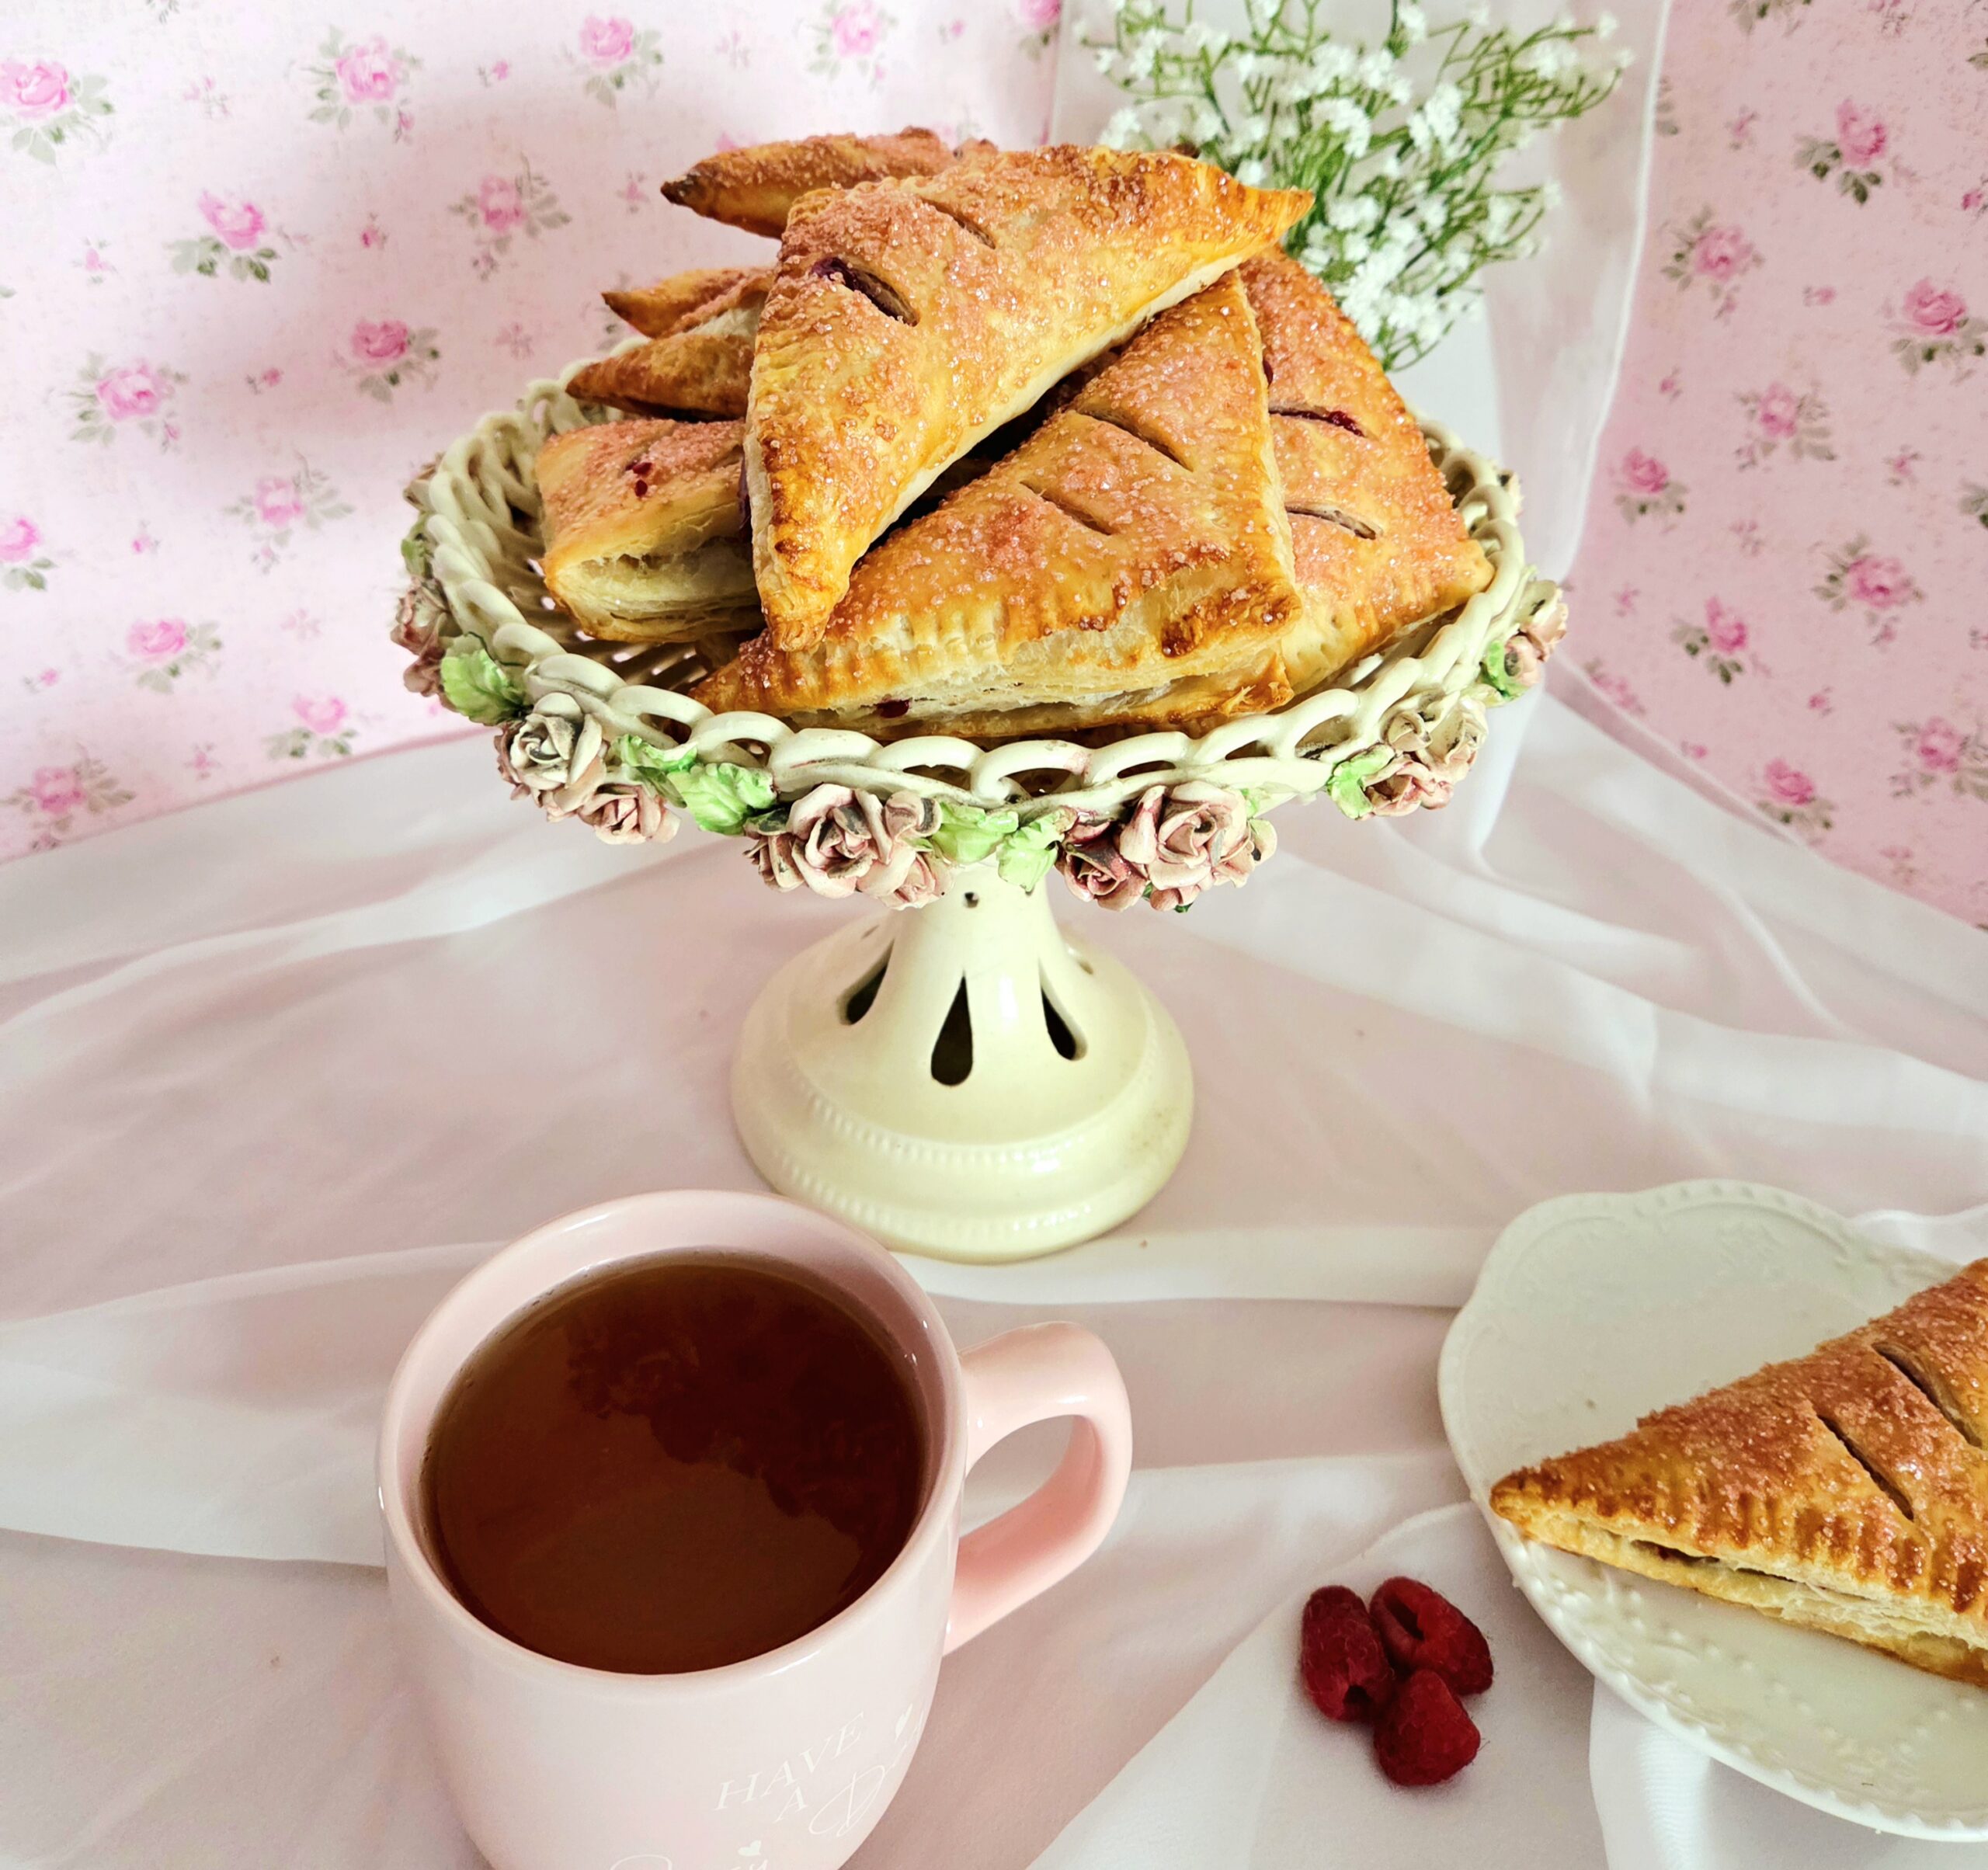

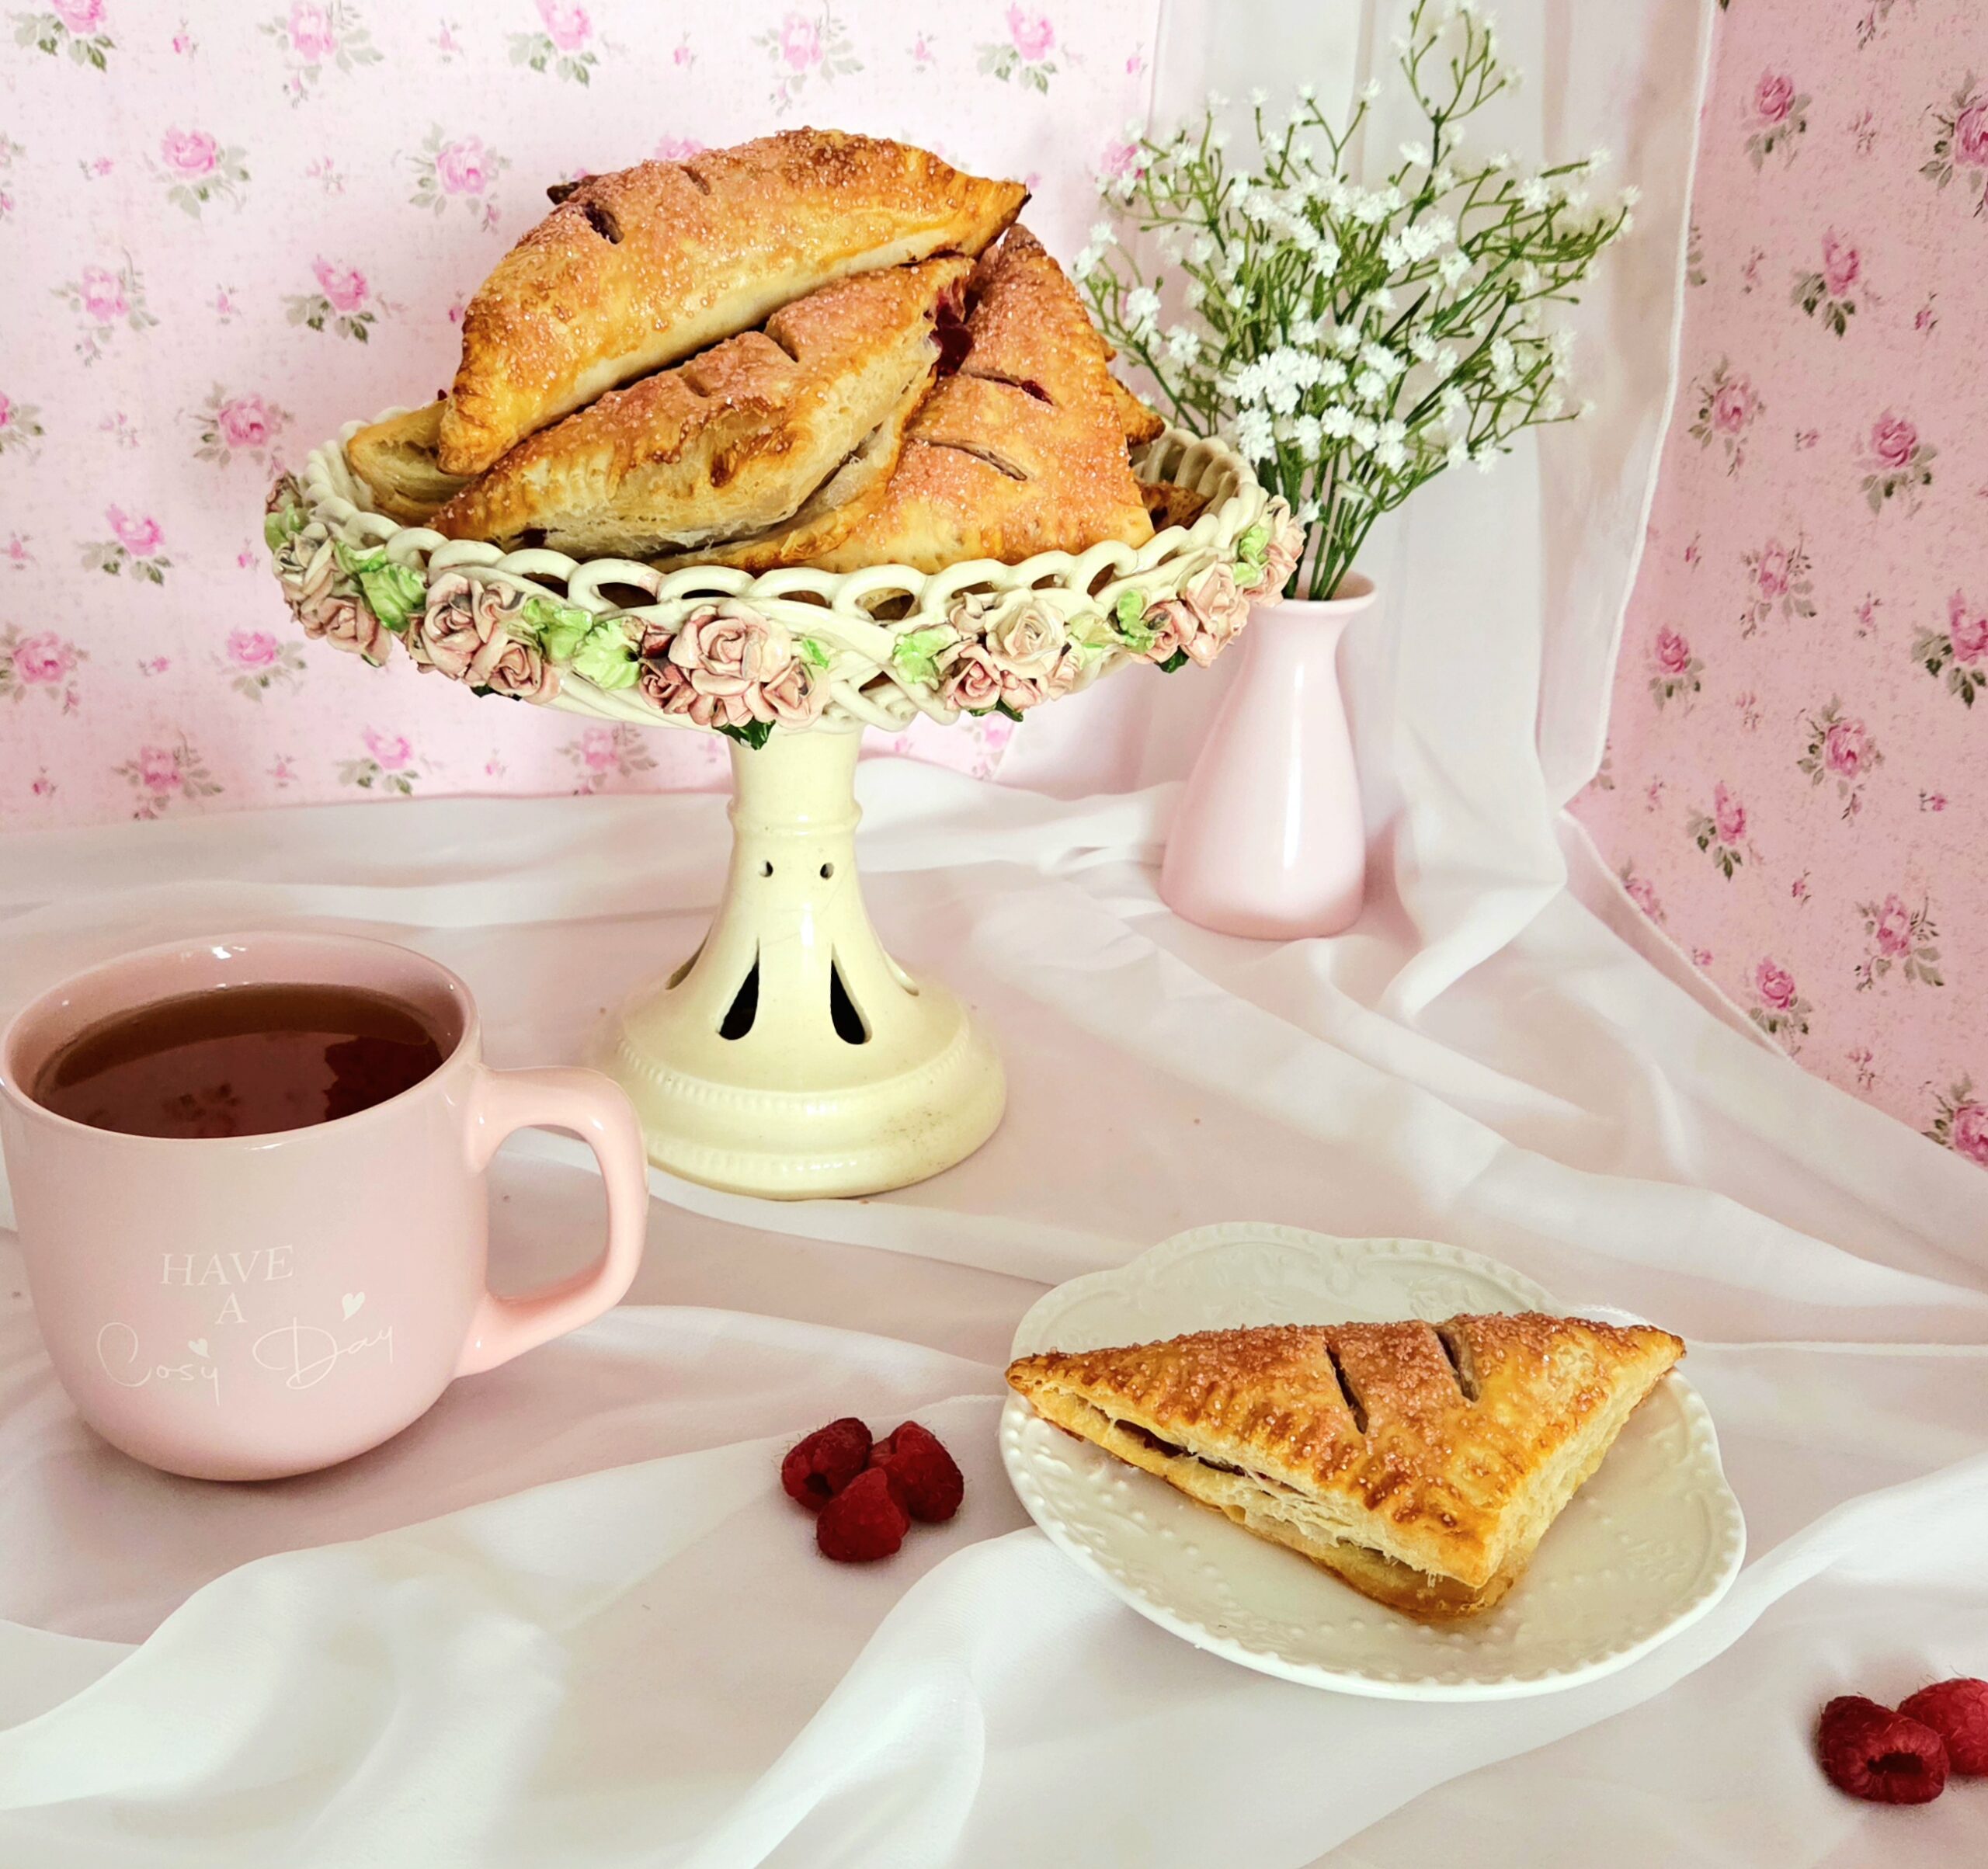
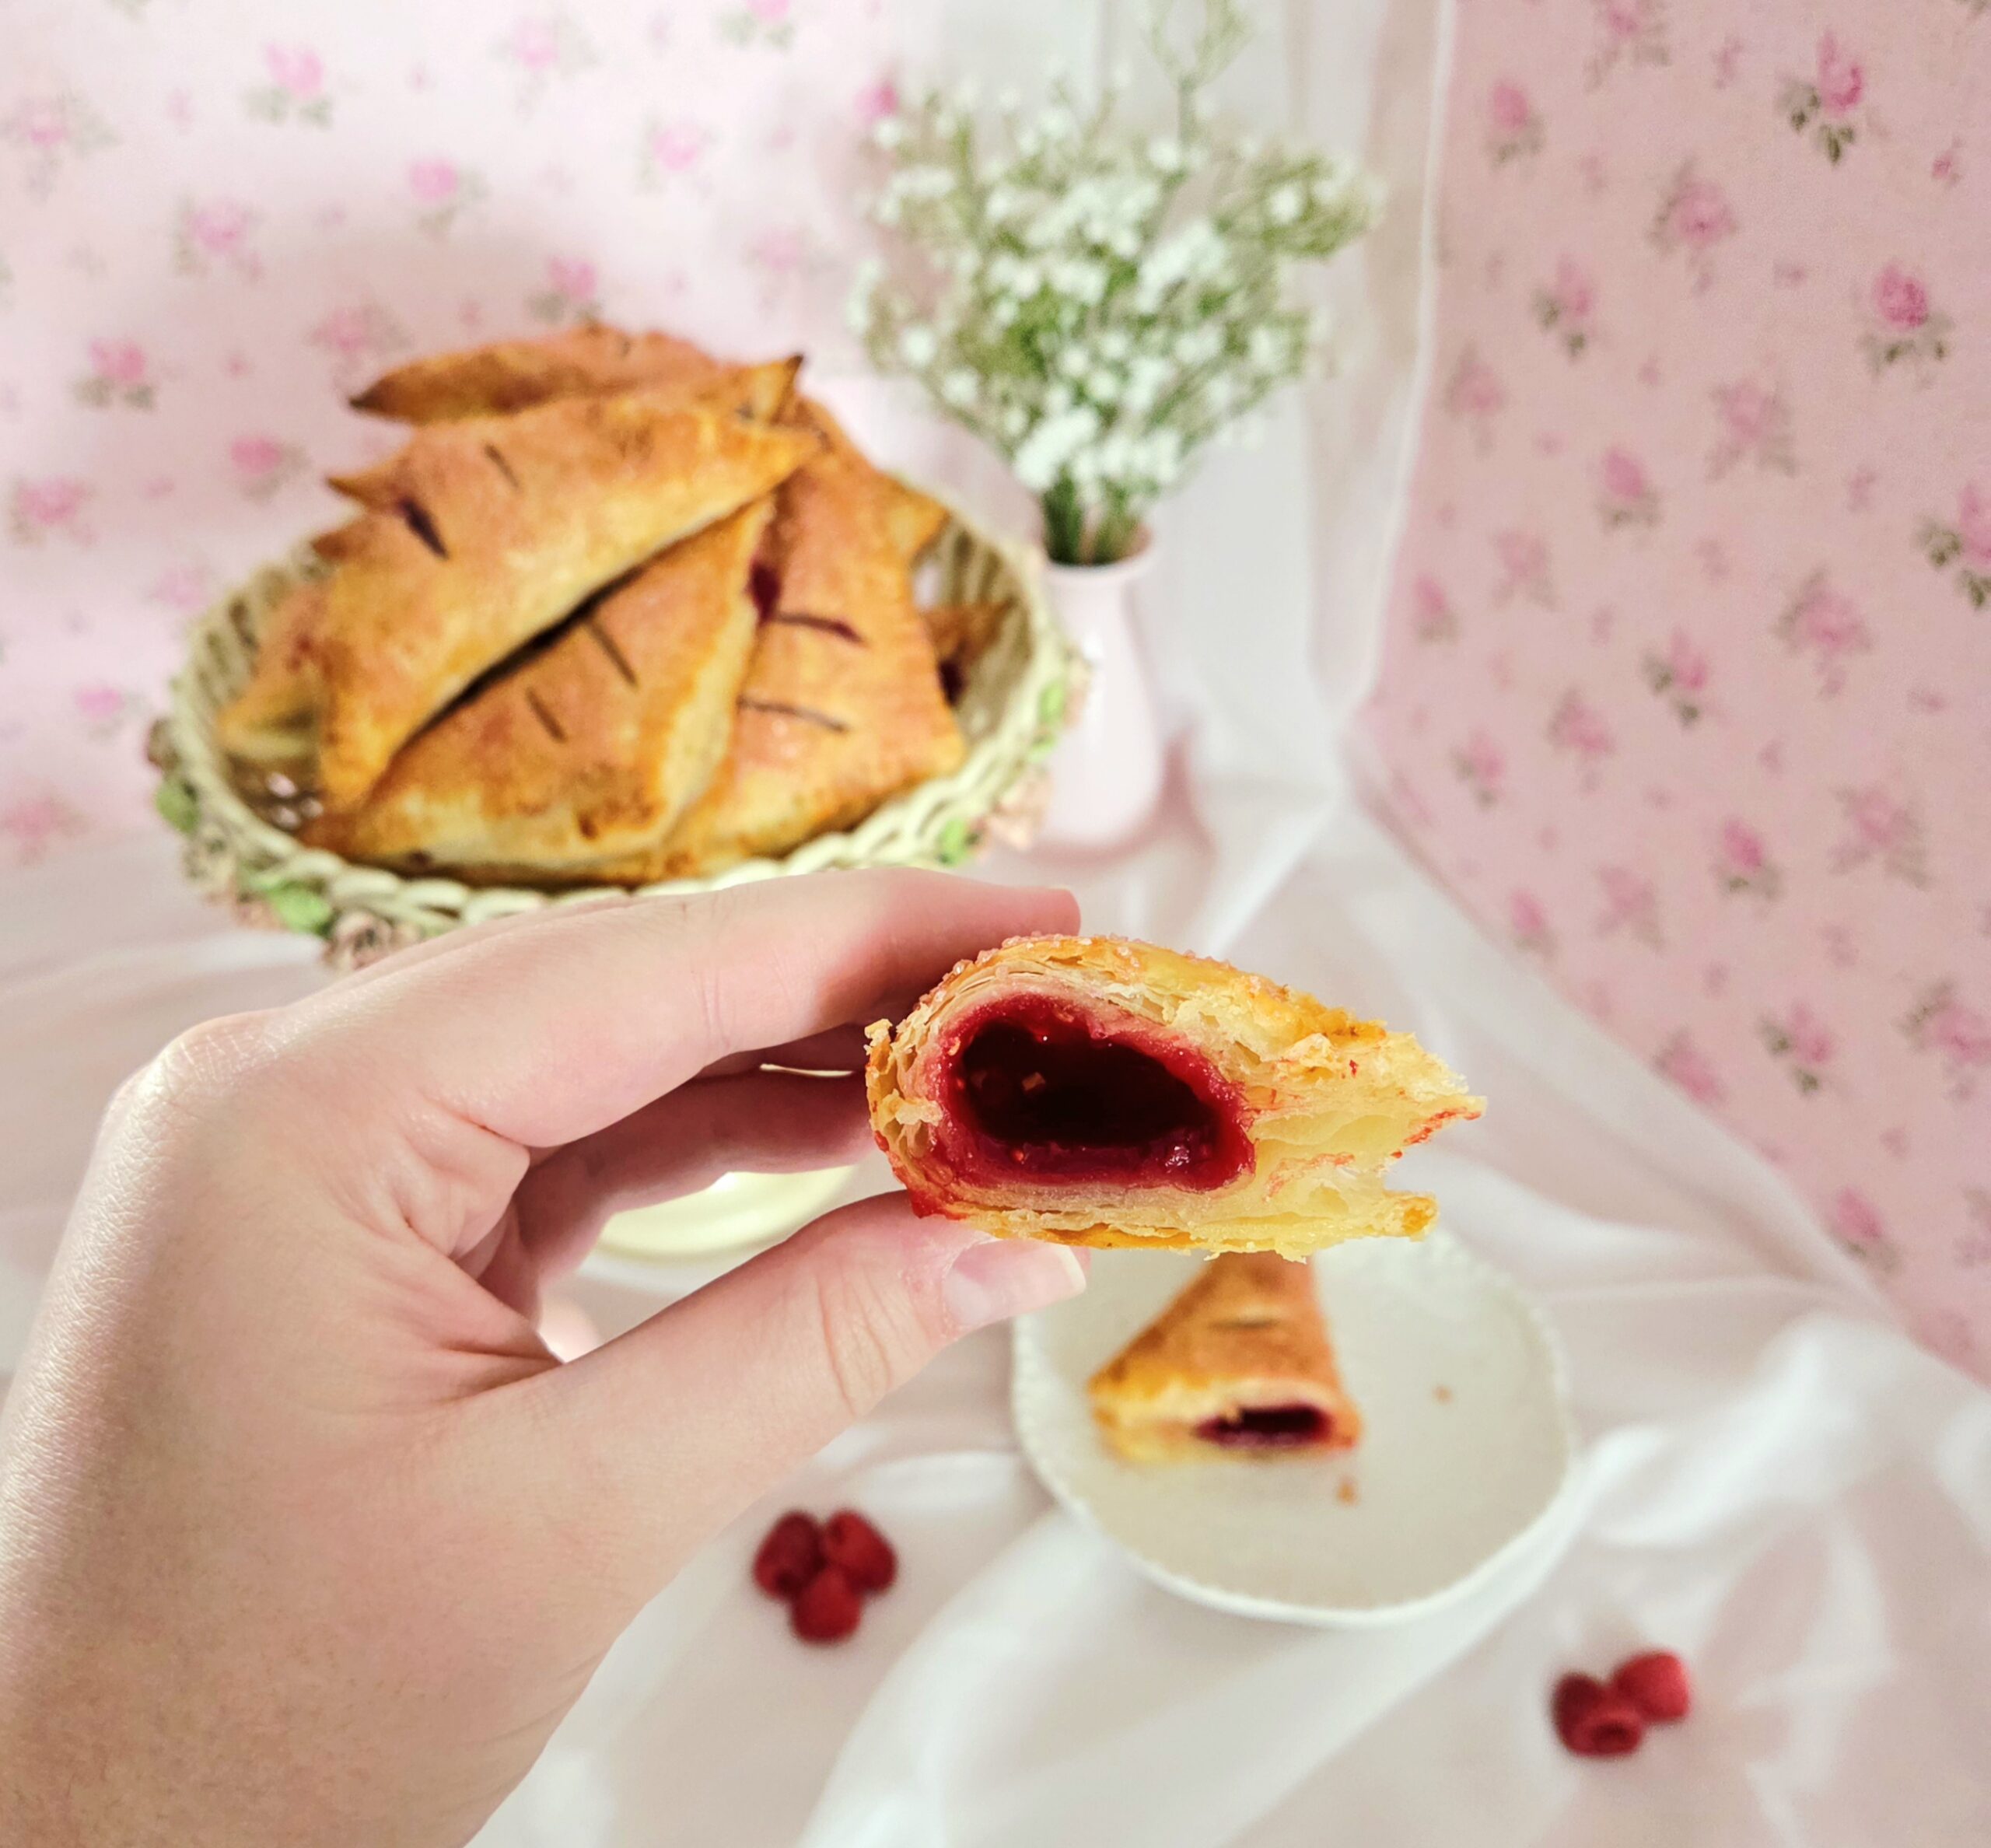
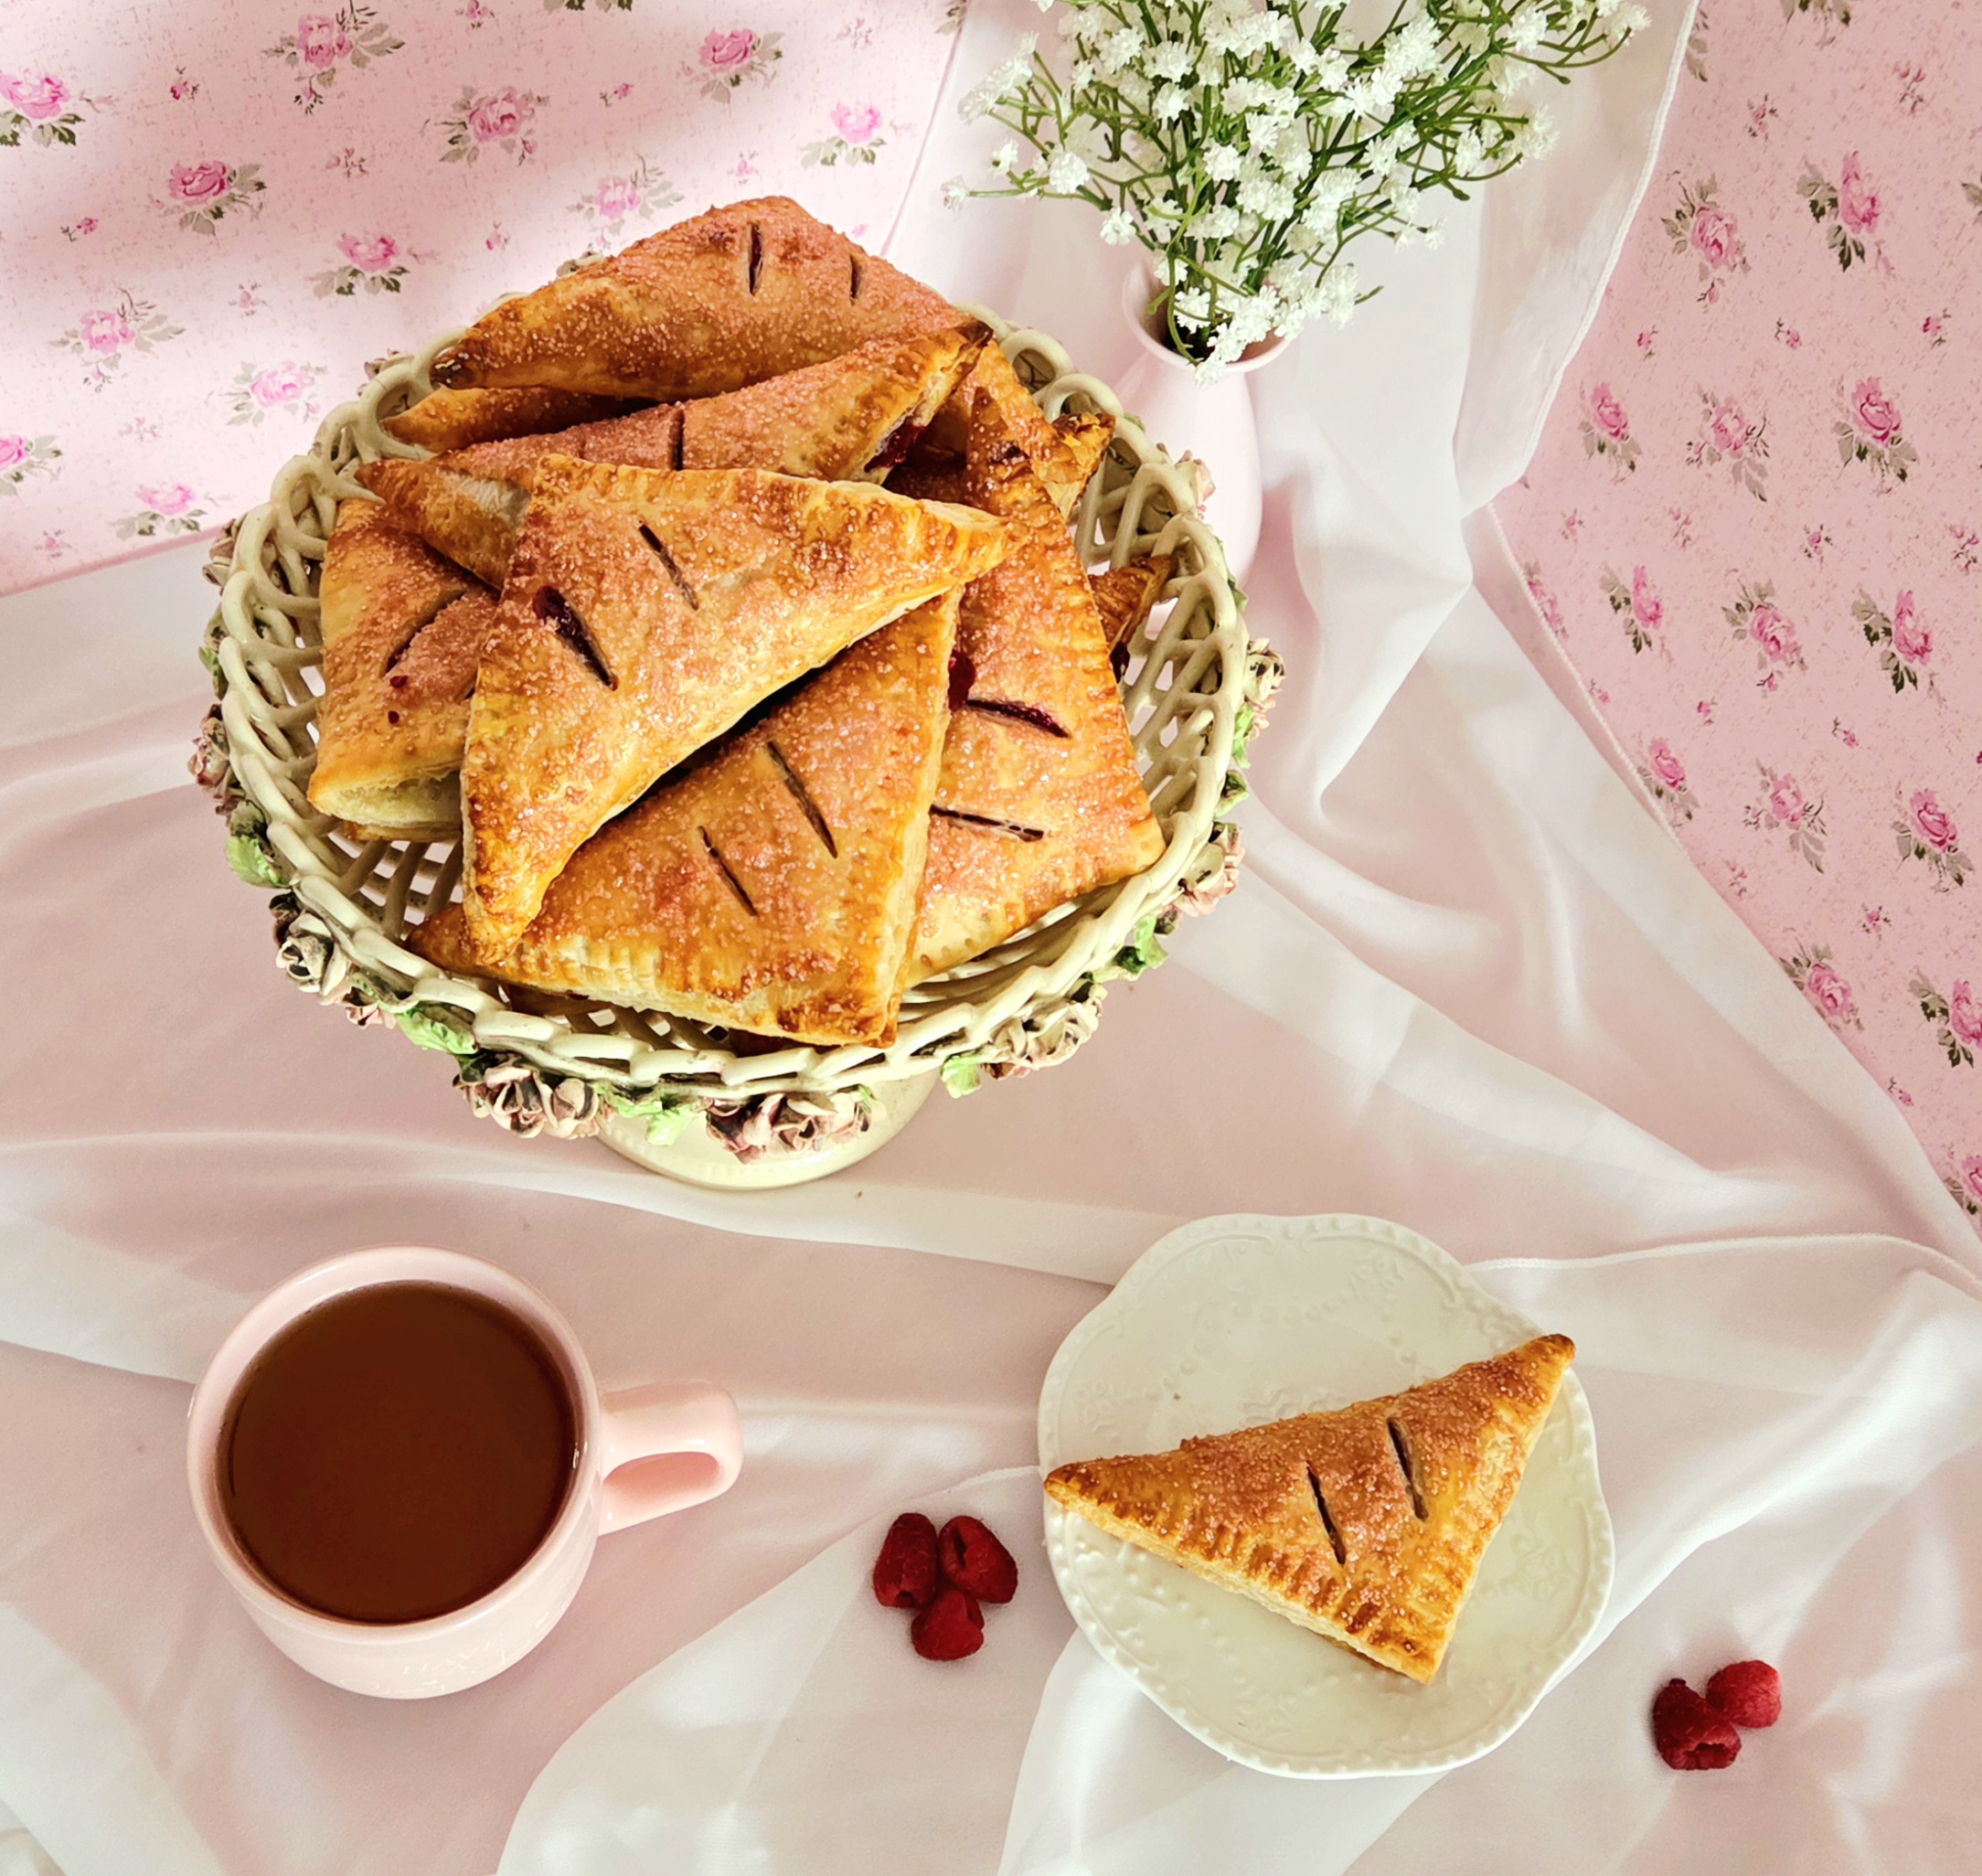
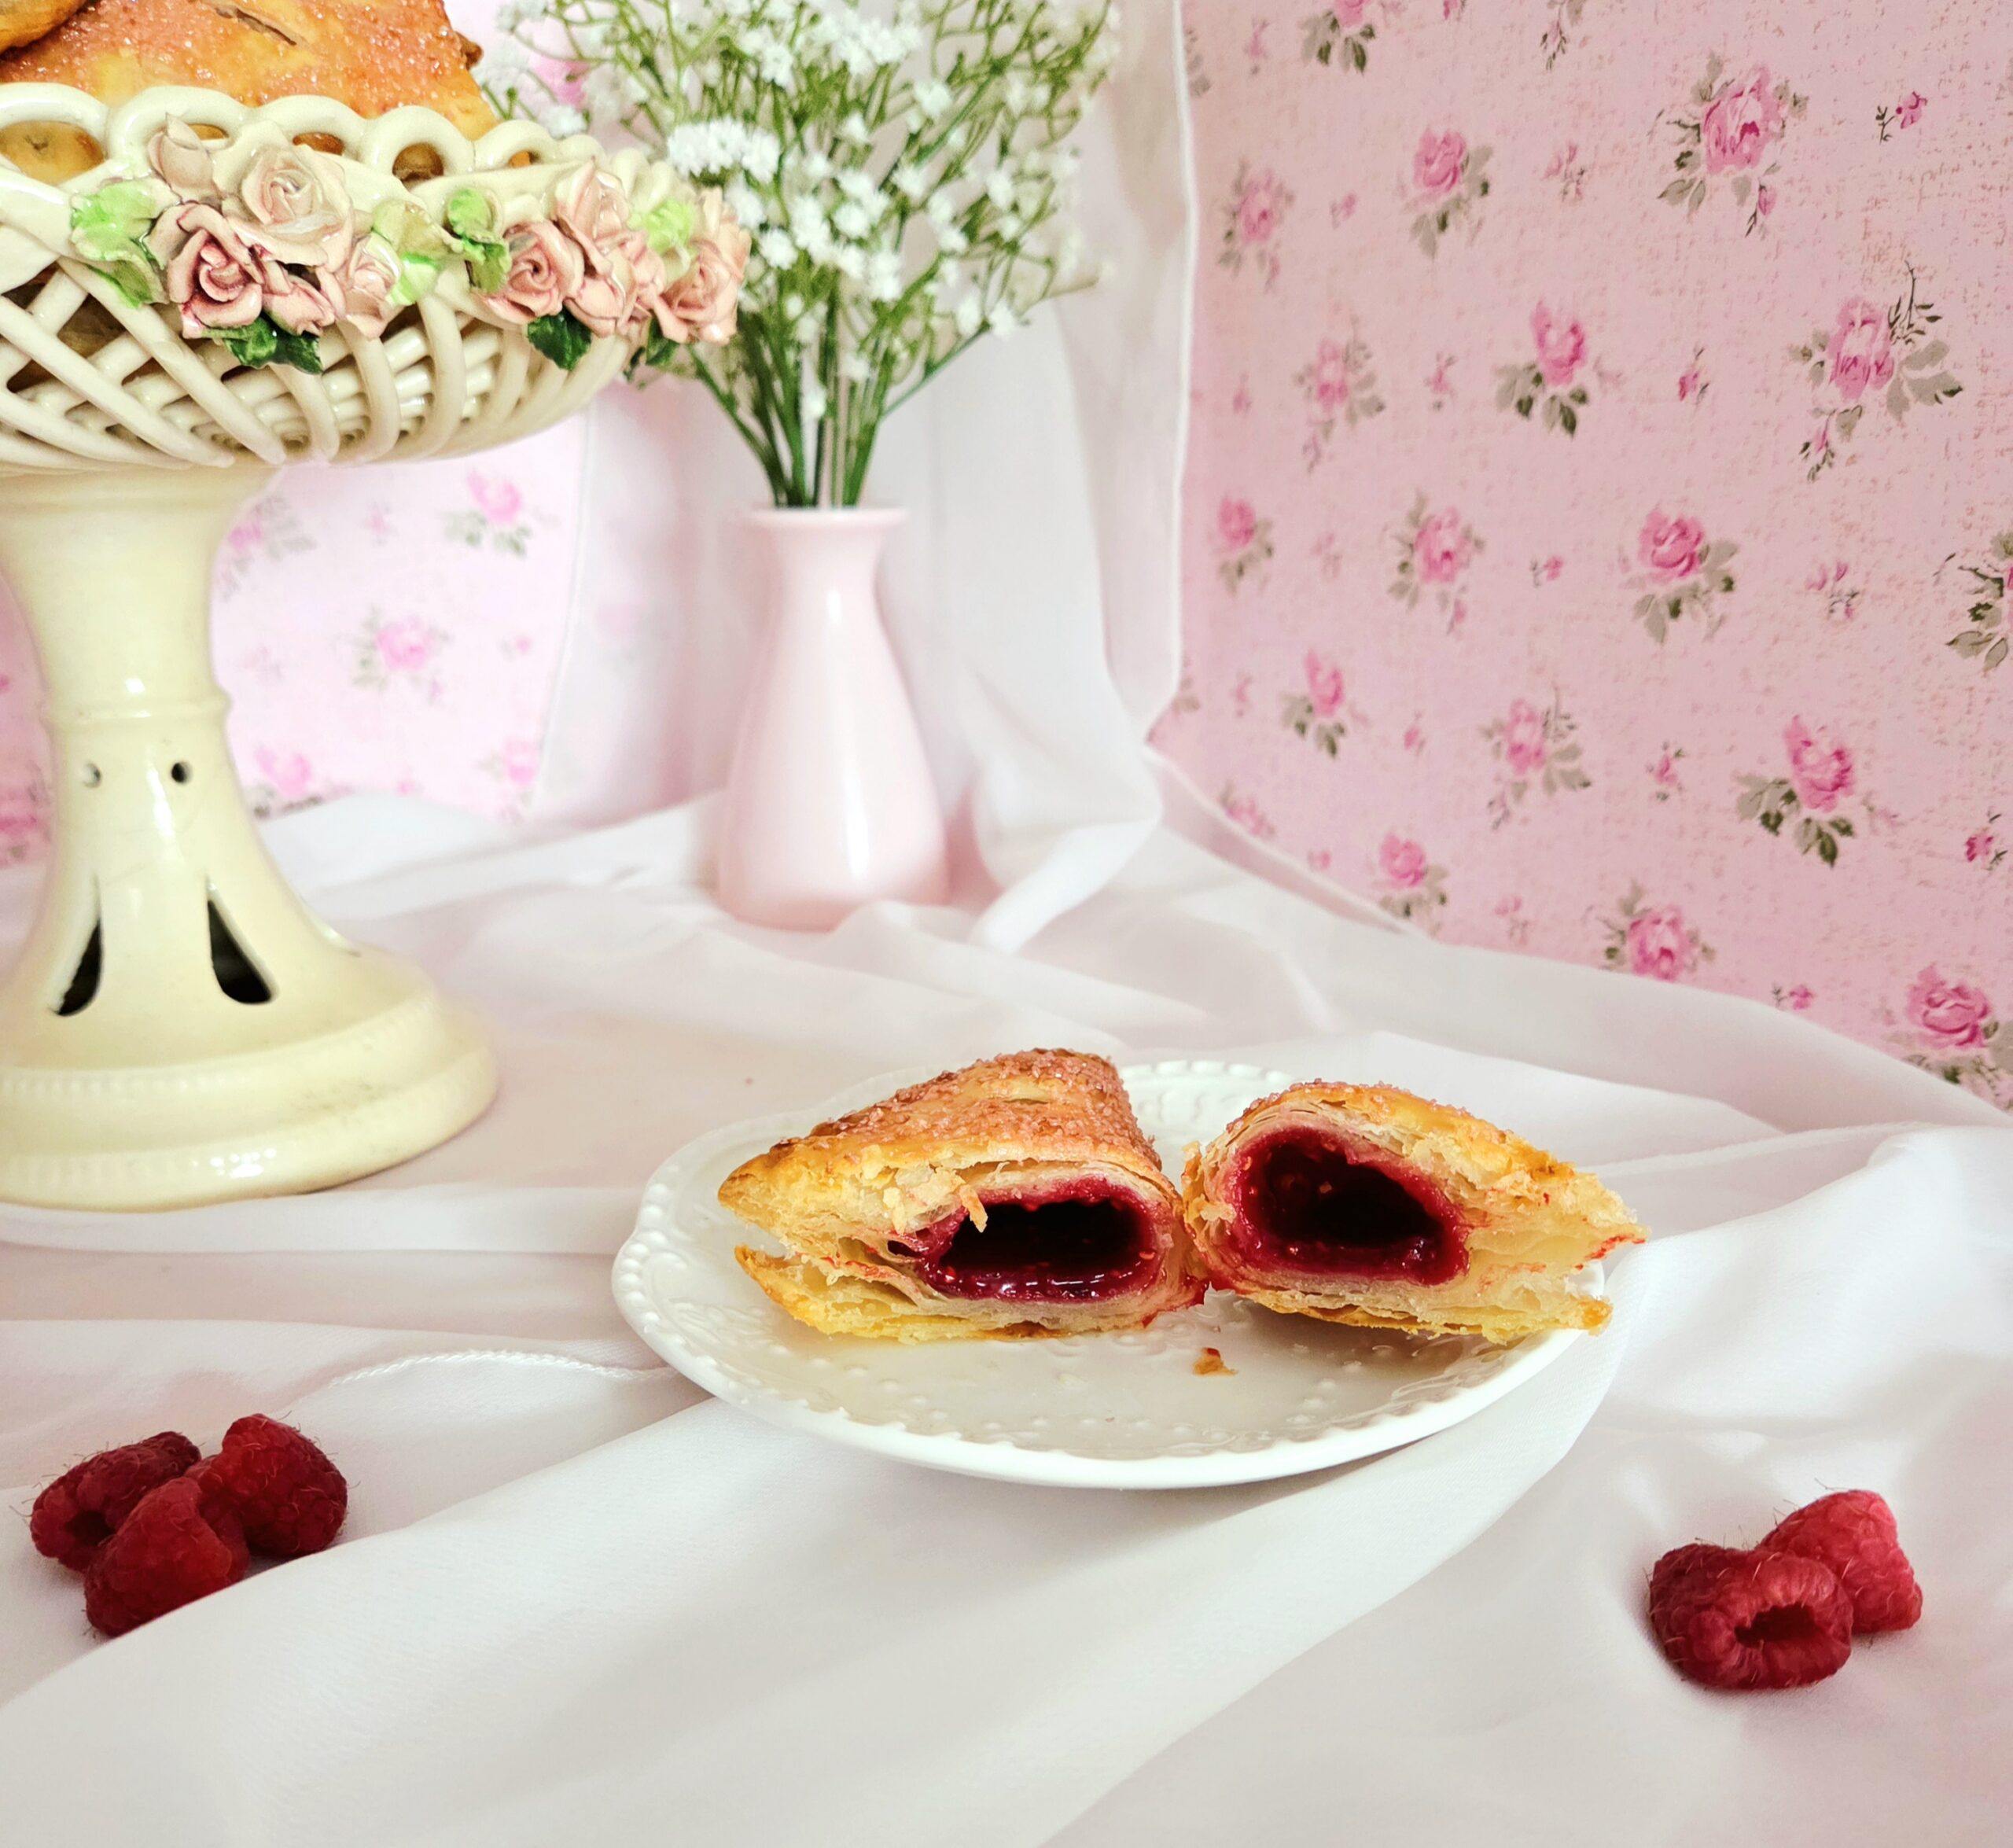
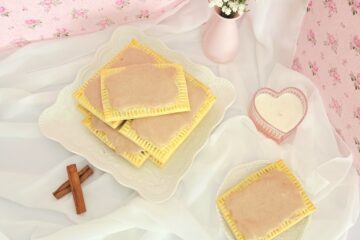
I think I’ve been unfairly overlooking turnovers for years, because let me tell you: these are delicious. Crispy, flaky, sweet and tangy from the raspberry, with that hard sugar crunch from the sparkling sugar on top. The perfect simple bite. Having them primarily from the grocery store before had to be what had killed it for me before. What’s more underwhelming than a floppy pastry filled with sugary goop? Which is why I decided long ago that if I can make it myself, I’m going to. And I’m so glad raspberry turnovers had briefly caught my eye at the store, since that’s what inspired the creation of these today.
Now, I know, many of you are going to fall to the temptation of using a store bought puff pastry dough for these. Making your own from scratch feels intimidating, and who can beat the convenience of the freezer section? But if you can push past the baking anxiety on that Sunday when you have nothing better to do anyways, you will open your baking world up to a level you thought only bakeries could achieve. Between the pride of making it yourself from scratch, and the unbeatable flaky, delicious bite of scratch made puff, you’ll be happy you tried it.
Bake these turnovers for your next brunch, a warm picnic, a rainy day inside. Substitute the raspberries for your favorite berry, if they aren’t your thing. Share them with a friend, or hoard them all to yourself (no judgments from this kitchen). Baking is meant to be fun at the end of the day, and fun doesn’t have to mean complicated!
FAQs and Science
Could fresh raspberries be substituted for frozen?
I don’t see why not, though I haven’t tested the recipe using fresh ones. I can’t vouch for how it will turn out, but it should work fine!
Can I use a different berry for the filling?
Absolutely! Raspberries, blackberries, blueberries, strawberries, some combination of berries, it doesn’t really matter. As long as the weight is the same, the berries can be substituted for your favorite kind.
Making my own puff pastry seems difficult, can’t I just use the stuff from the store?
Look, I understand the siren call of a pre-made dough. I won’t lie and say I’ve never fallen prey to it. So yes, if you’d rather use the store bought puff pastry, I won’t stop you. But I do strongly encourage you to maybe break out of your baking comfort zone a bit and give making your own puff pastry a try! I promise, it’s not as scary as it seems.
Is the lemon juice going to make the filling taste like lemon?
Not at all, the citrus just gives the filling some needed acidity for brightness.
What should I do if the dough starts getting warm and difficult to work with?
Put it on a baking sheet, cover it with plastic, and throw it into the fridge for a while! It will firm up and become easy to work with again.
What You’ll Need
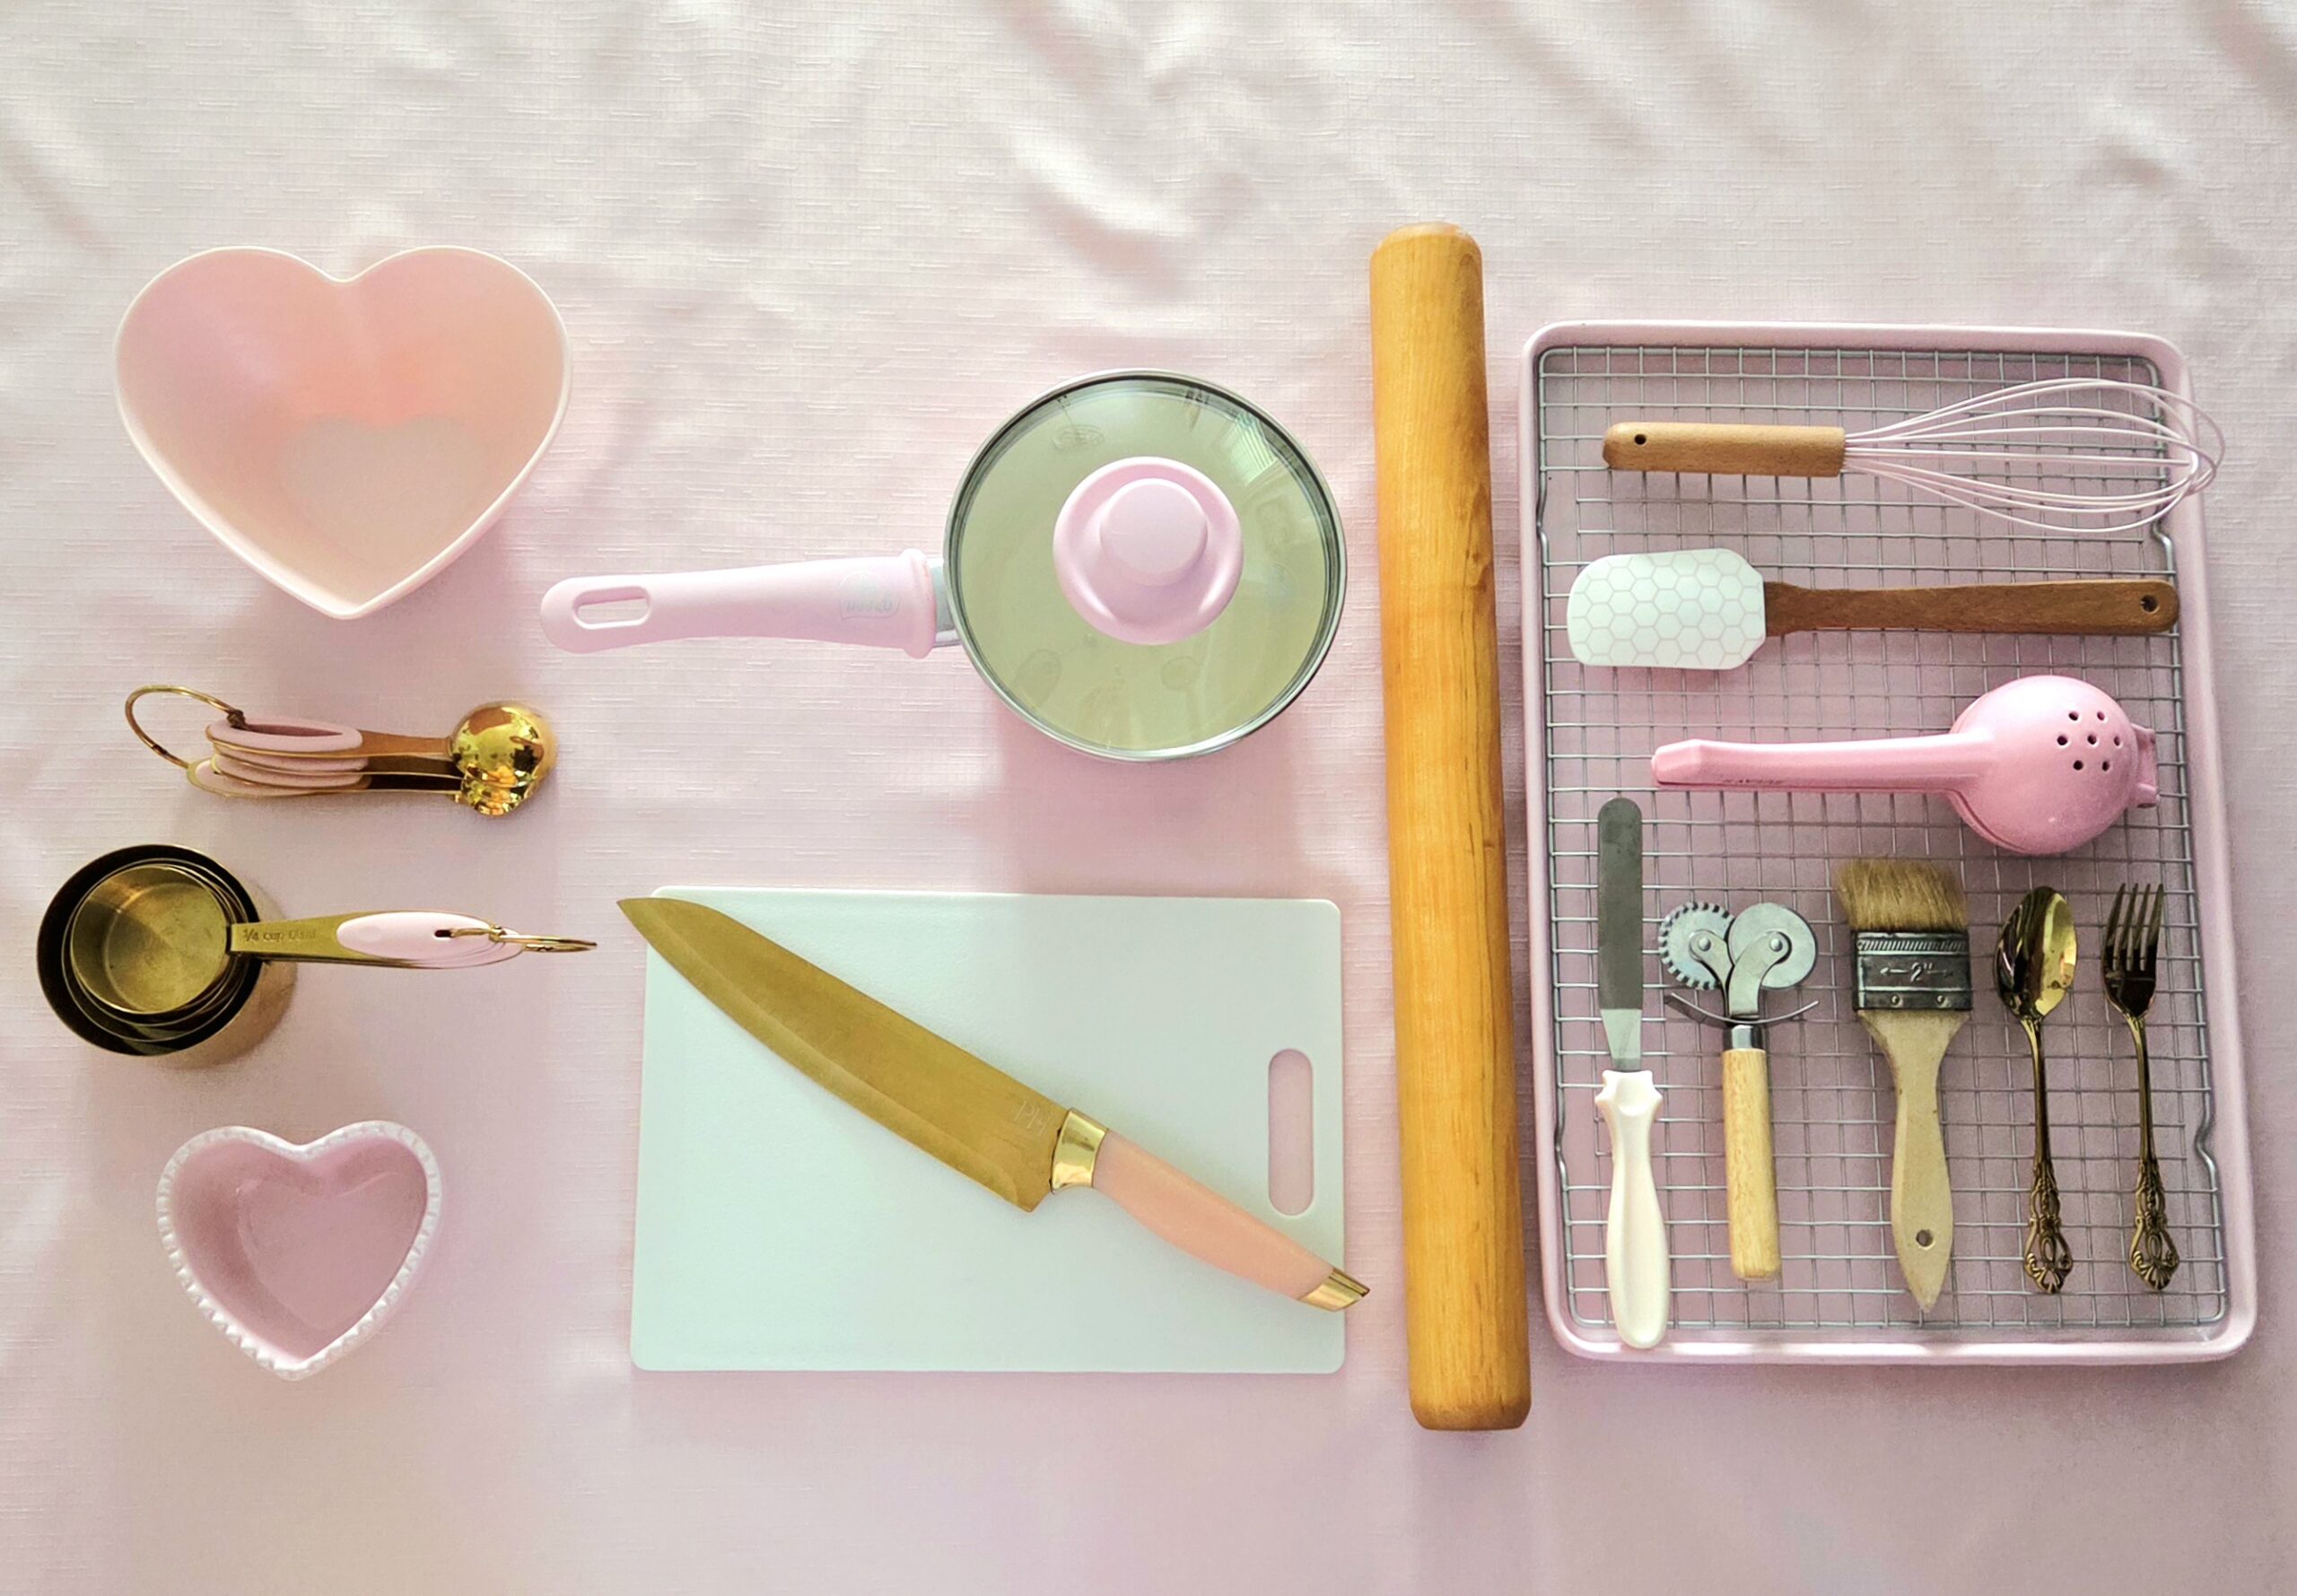
- 3 baking sheets
- Parchment paper
- Plastic wrap
- 2 qt saucepan
- Small mixing bowl
- Small dish
- Dry measuring cups
- Measuring spoons
- Citrus reamer or press
- Rolling pin
- Heat safe rubber spatula
- Bench scraper
- Chef’s knife
- Cutting board
- Pastry brush
- Pastry wheel (optional)
- Fork
- Spatula
- Cooling rack
The Process
Make the Filling
Whether you’re making your own puff pastry (which I highly recommend), like my recipe for Quick Puff Pastry, or using a frozen one from the grocery store, it has to be ready to use before you start anything else. So scratch made puff should be completed, and grocery store puff should be thawed out in the fridge. Once it’s ready, preheat the oven to 400F, on the convection setting if you can. Position the rack in the center of the oven, then line two baking sheets with parchment. Set them aside.
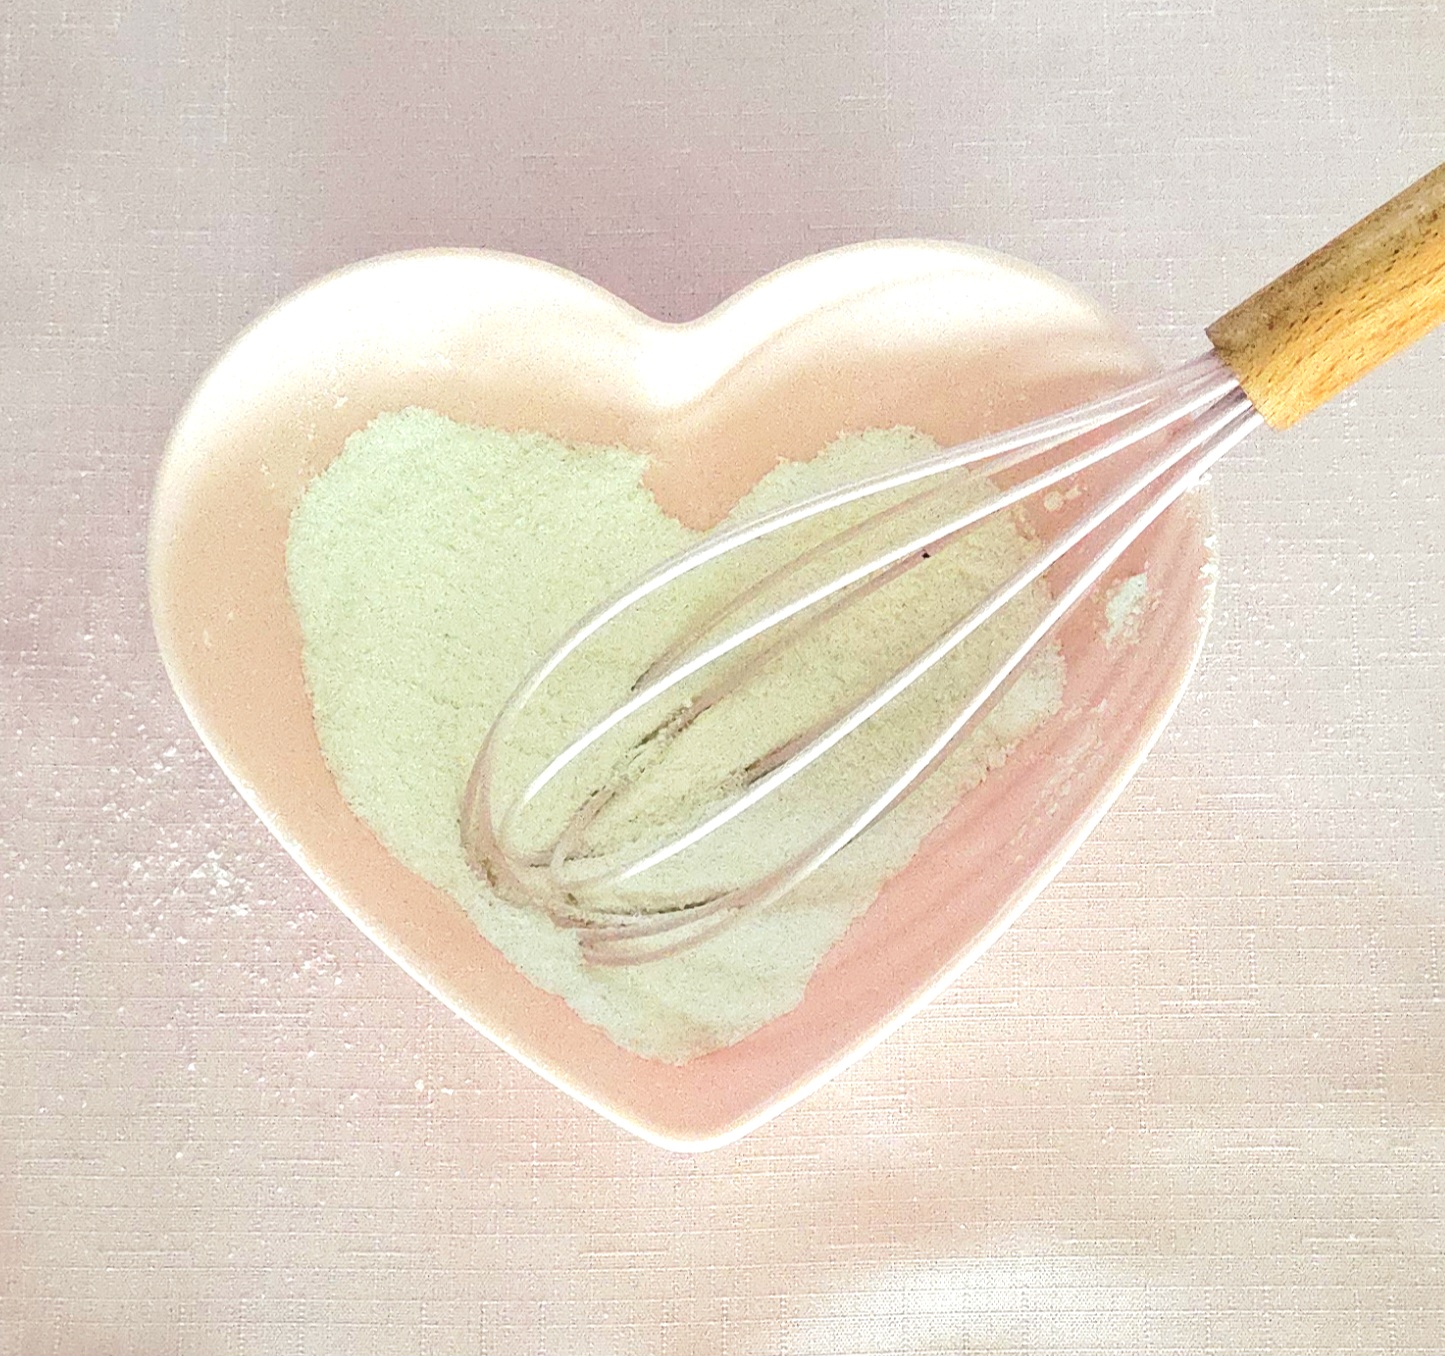
Inside a small mixing bowl, whisk together the flour, cornstarch, sugar, and salt. The sugar and salt crystals will help to break up any lumps and clumps in the cornstarch or flour, so it’s very important that you not skip this step. Set the dry goods aside, and grab a third rimmed baking sheet for the filling to be poured onto when it’s finished.
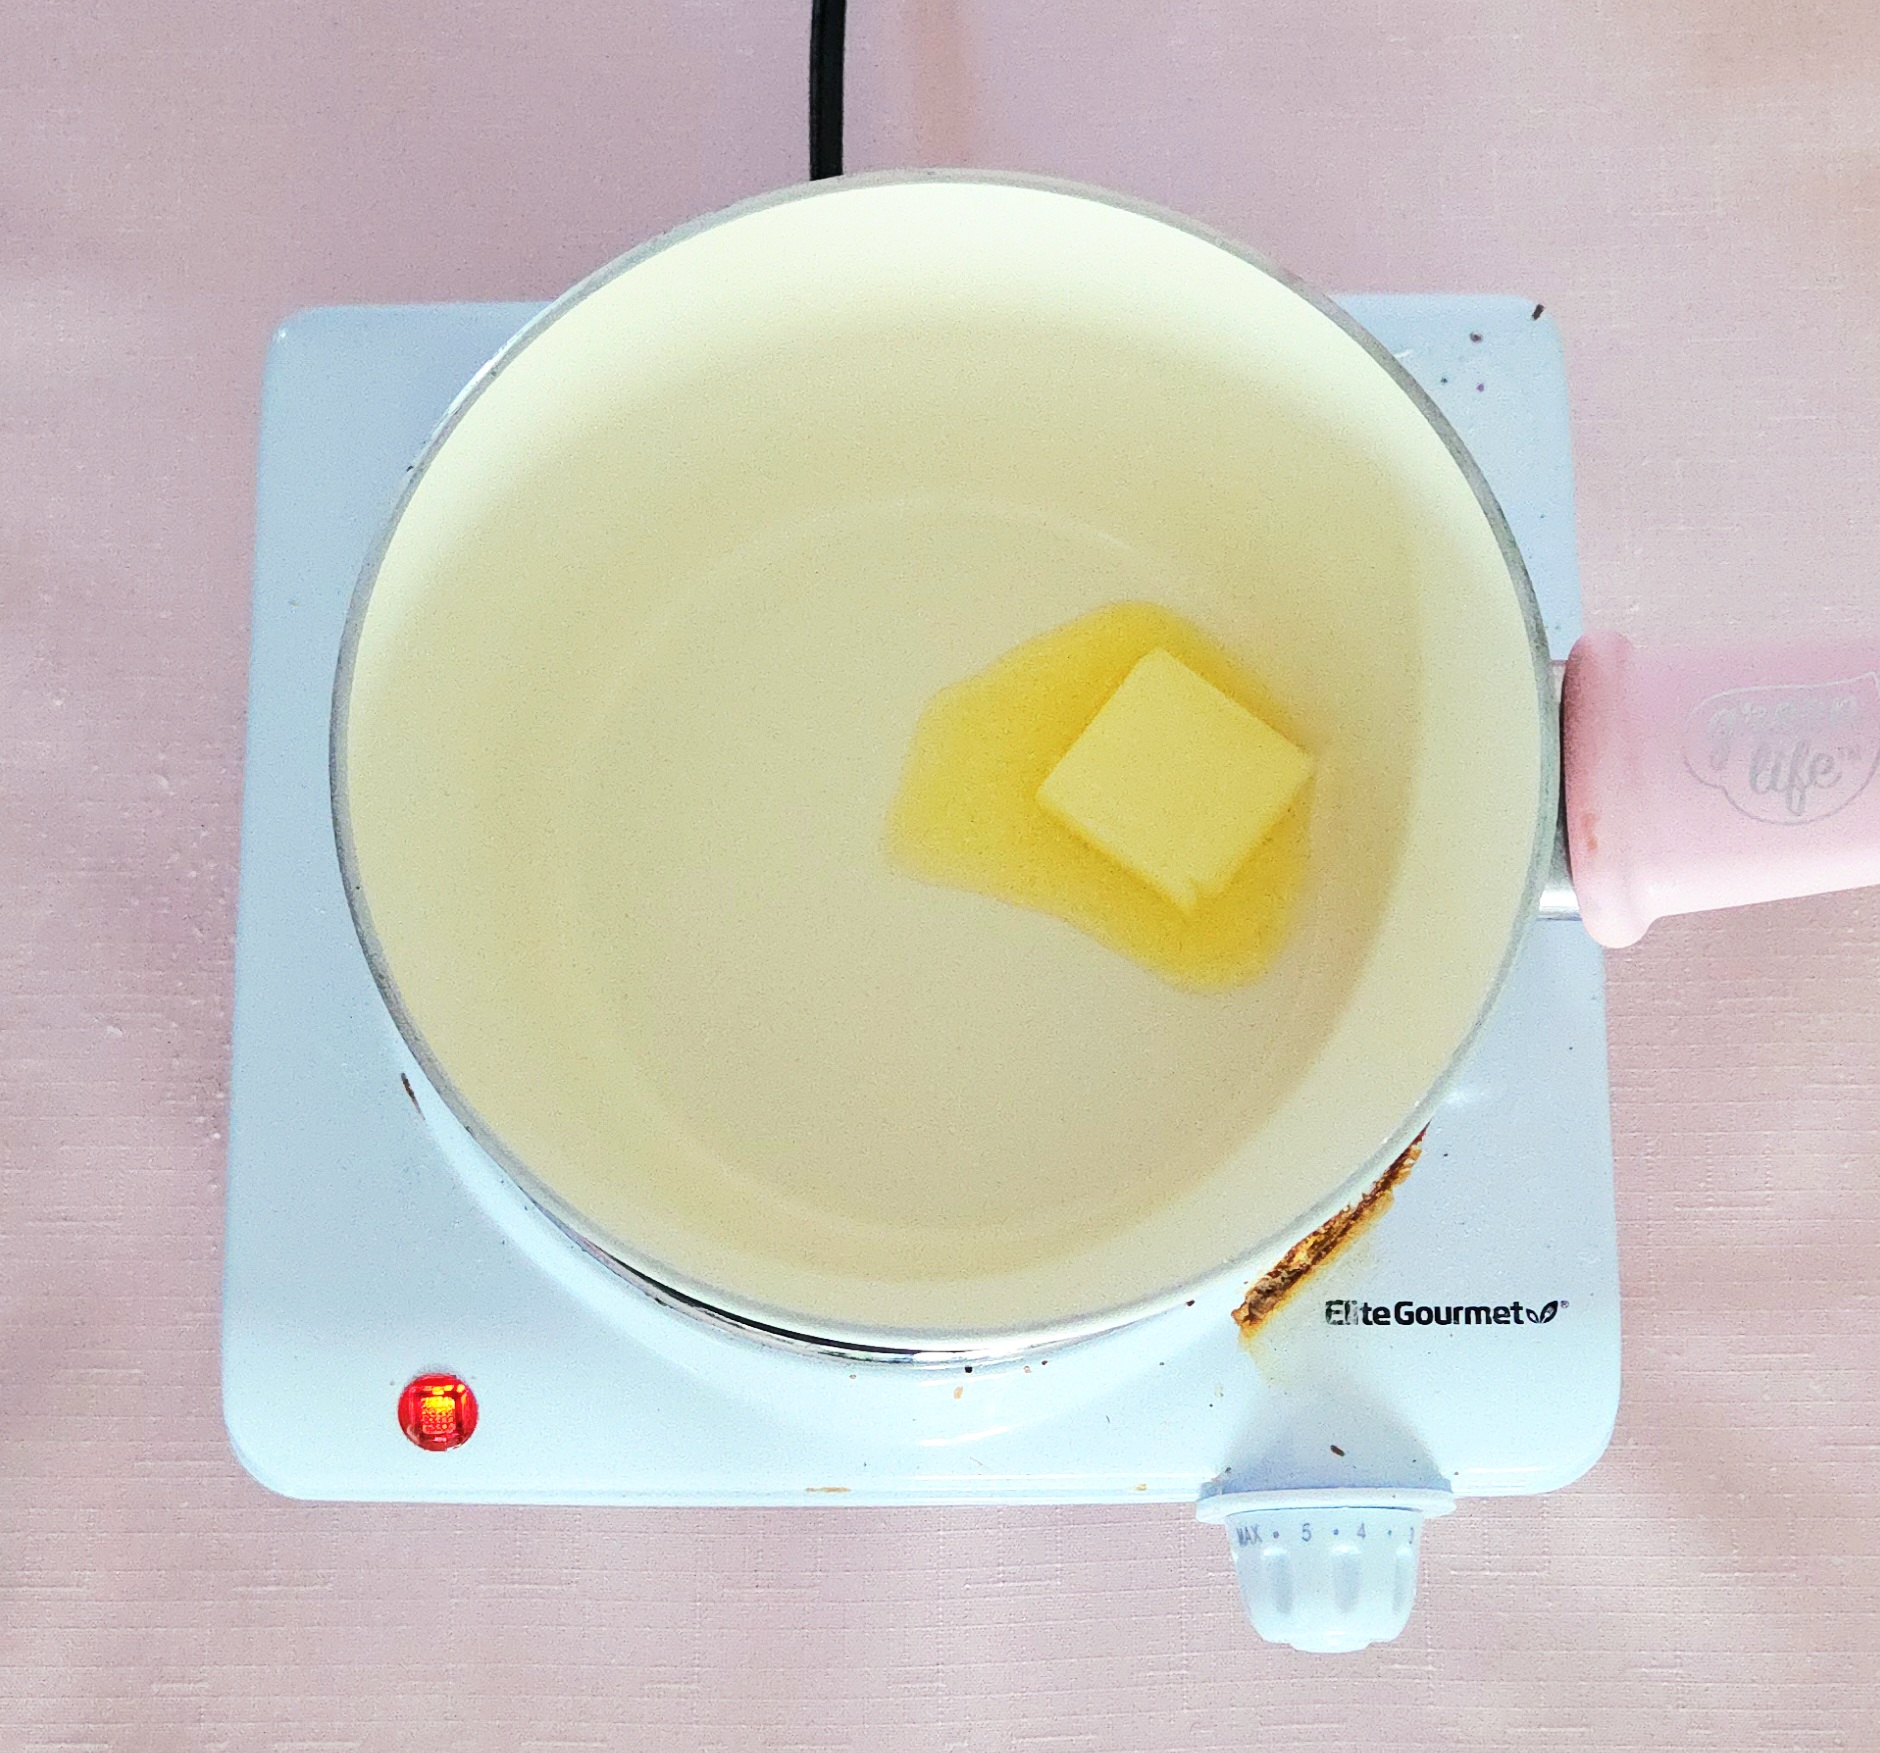
Place a 2 qt saucepan over medium heat and melt the butter. Once it’s melted, add in the frozen raspberries and squeeze in the juice of one lemon. Give the berries a quick stir, using a heat safe rubber spatula.
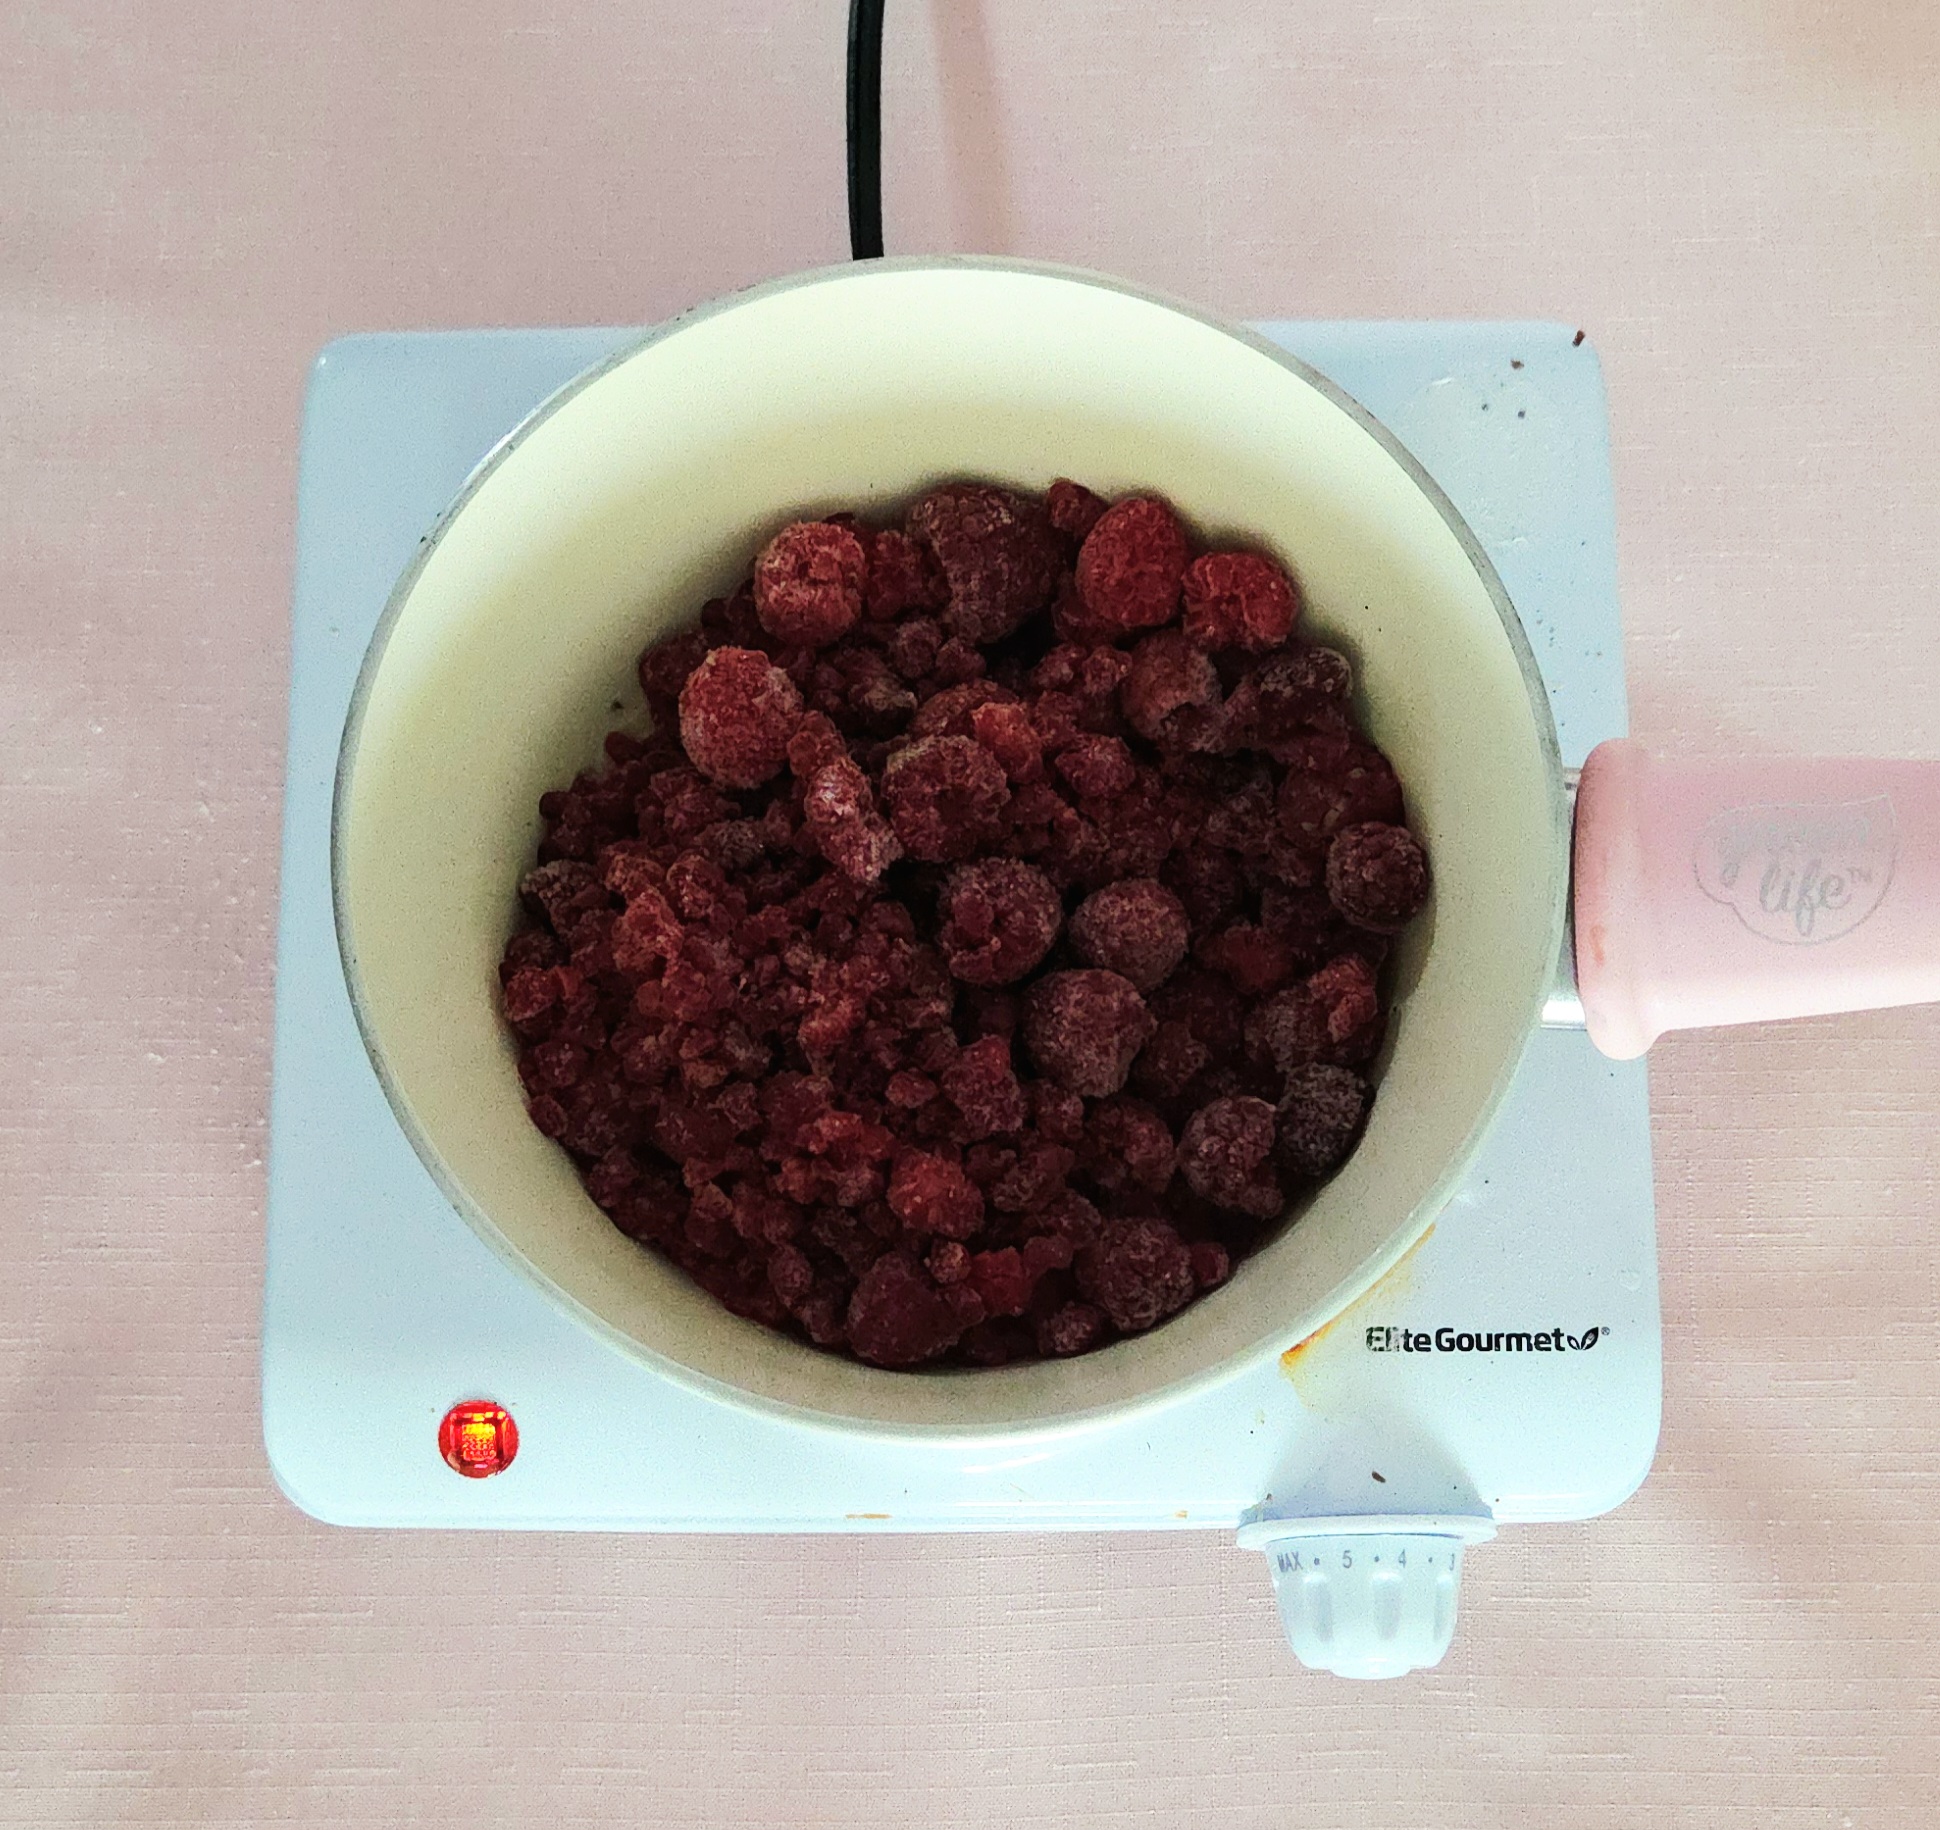
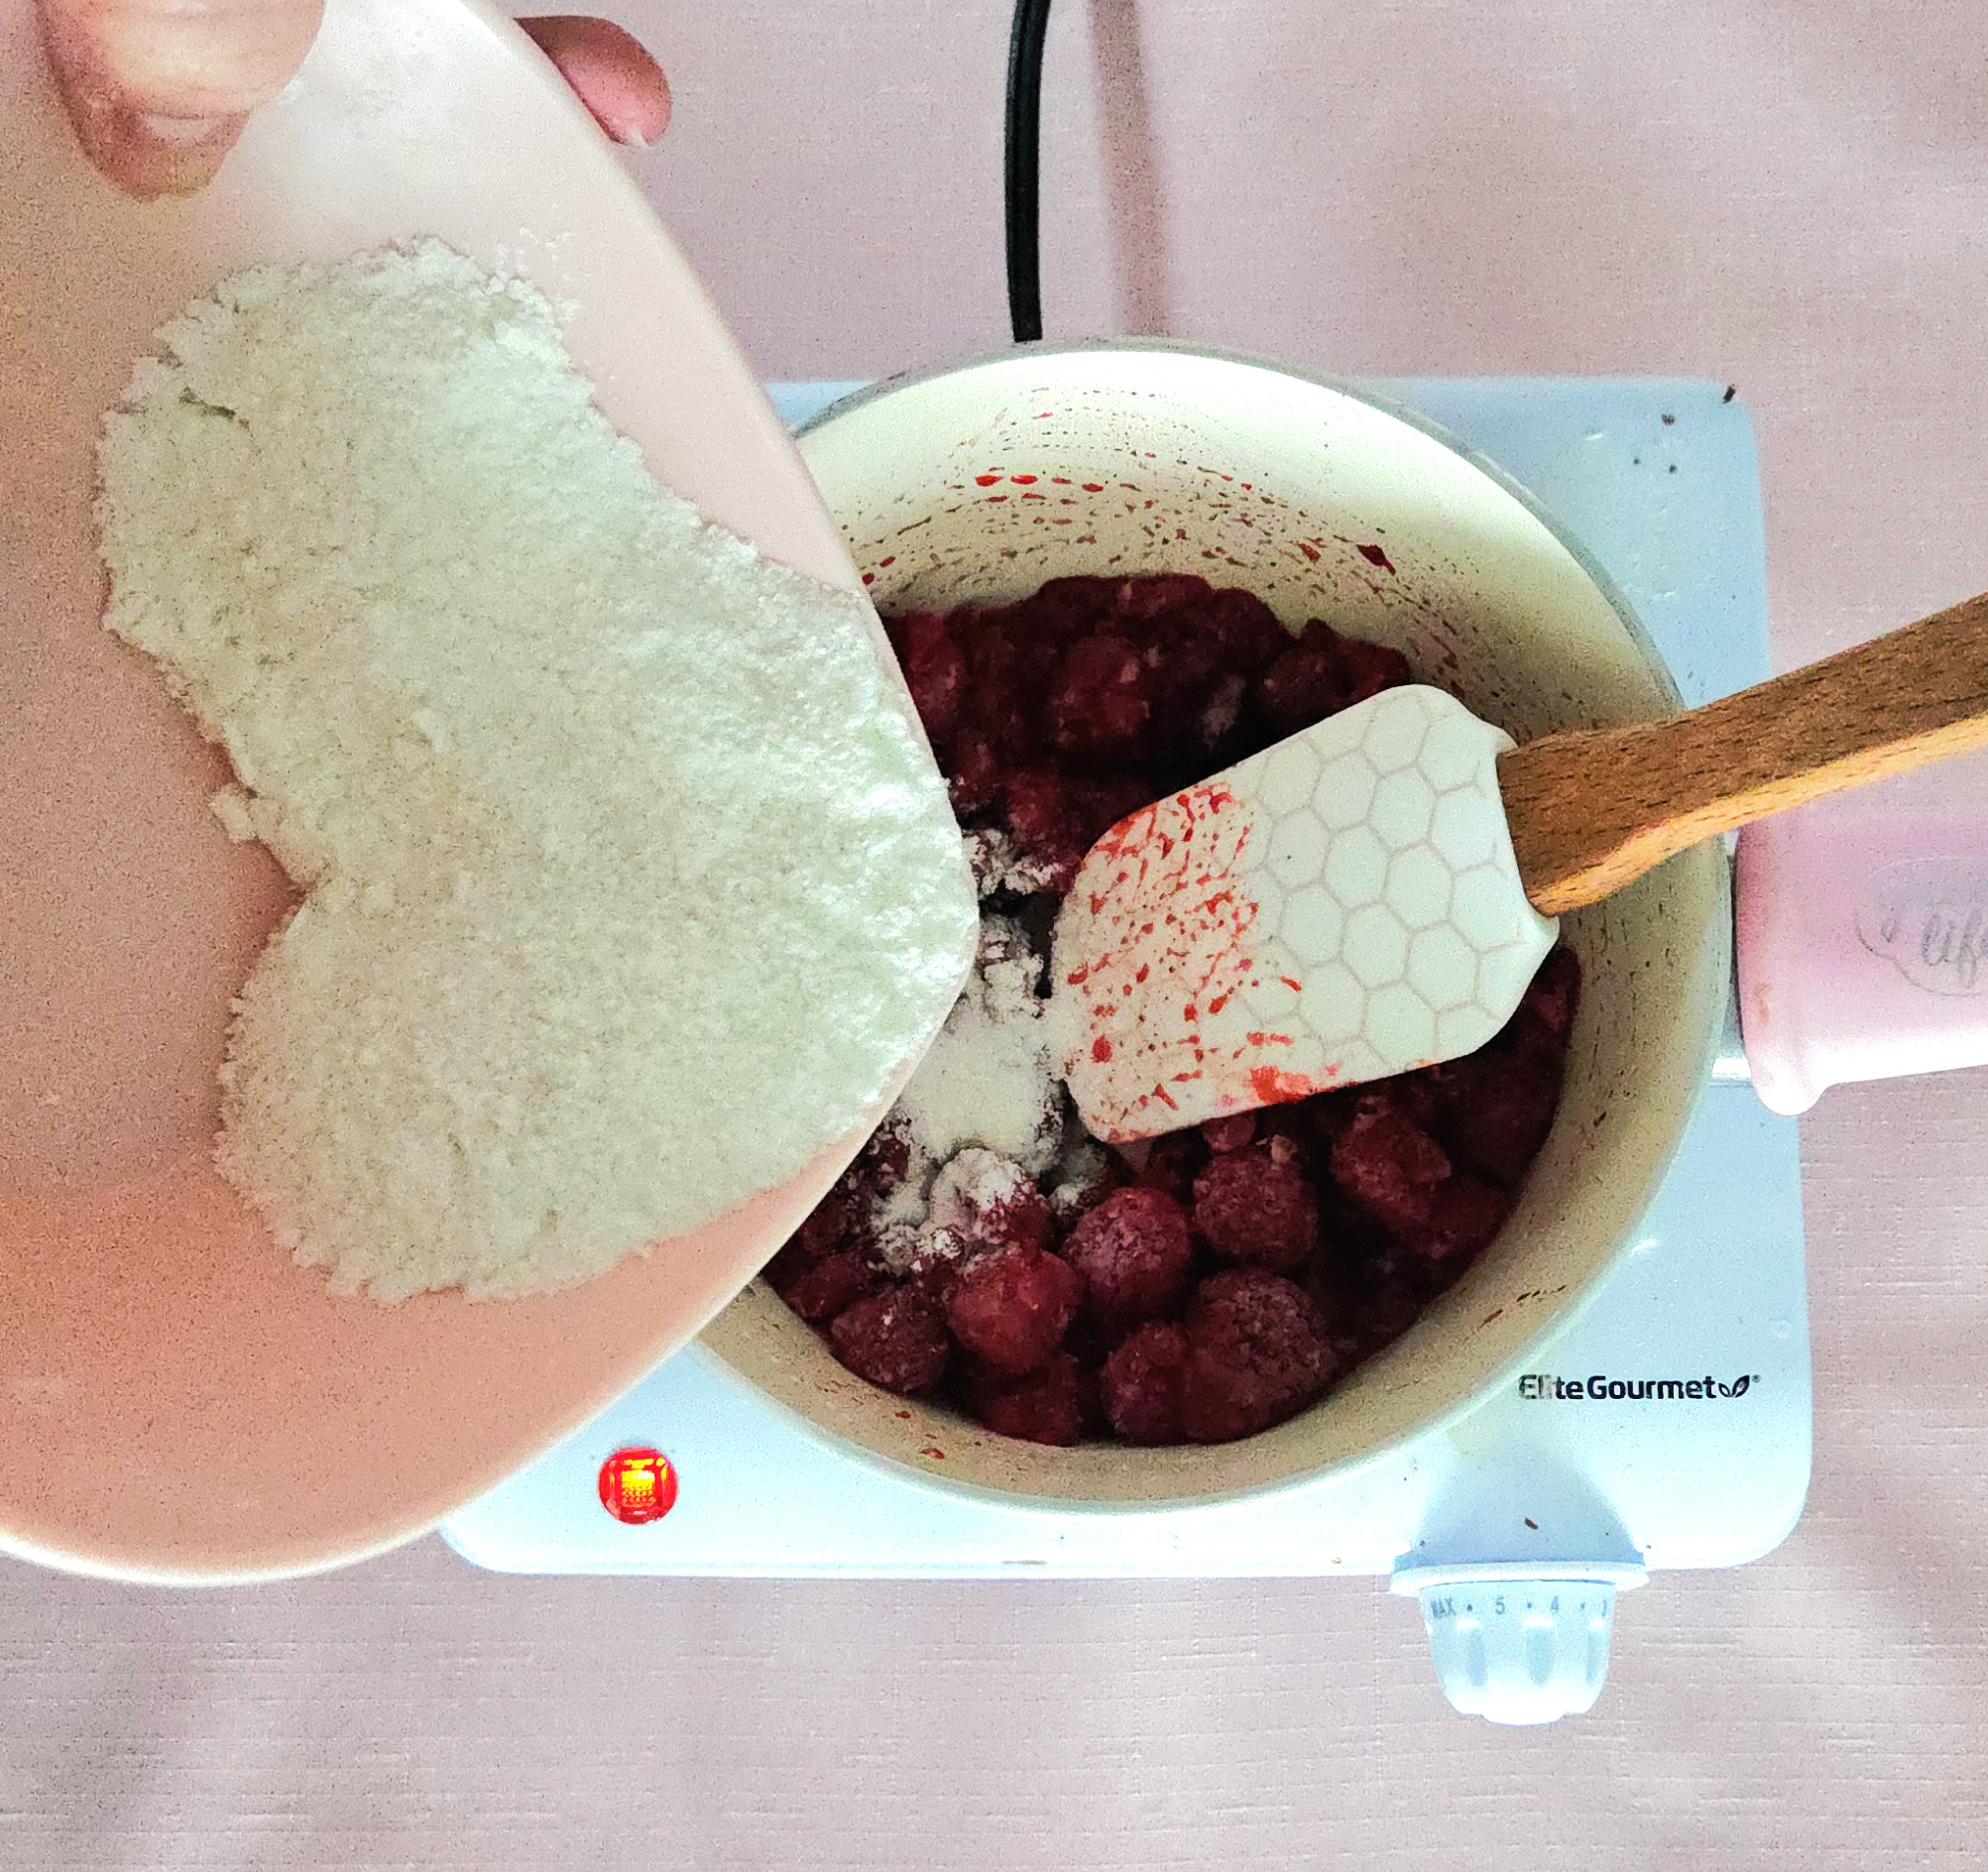
Keep stirring while the berries warm up and release their juices. Once juicy, dump the dry goods over the raspberries.
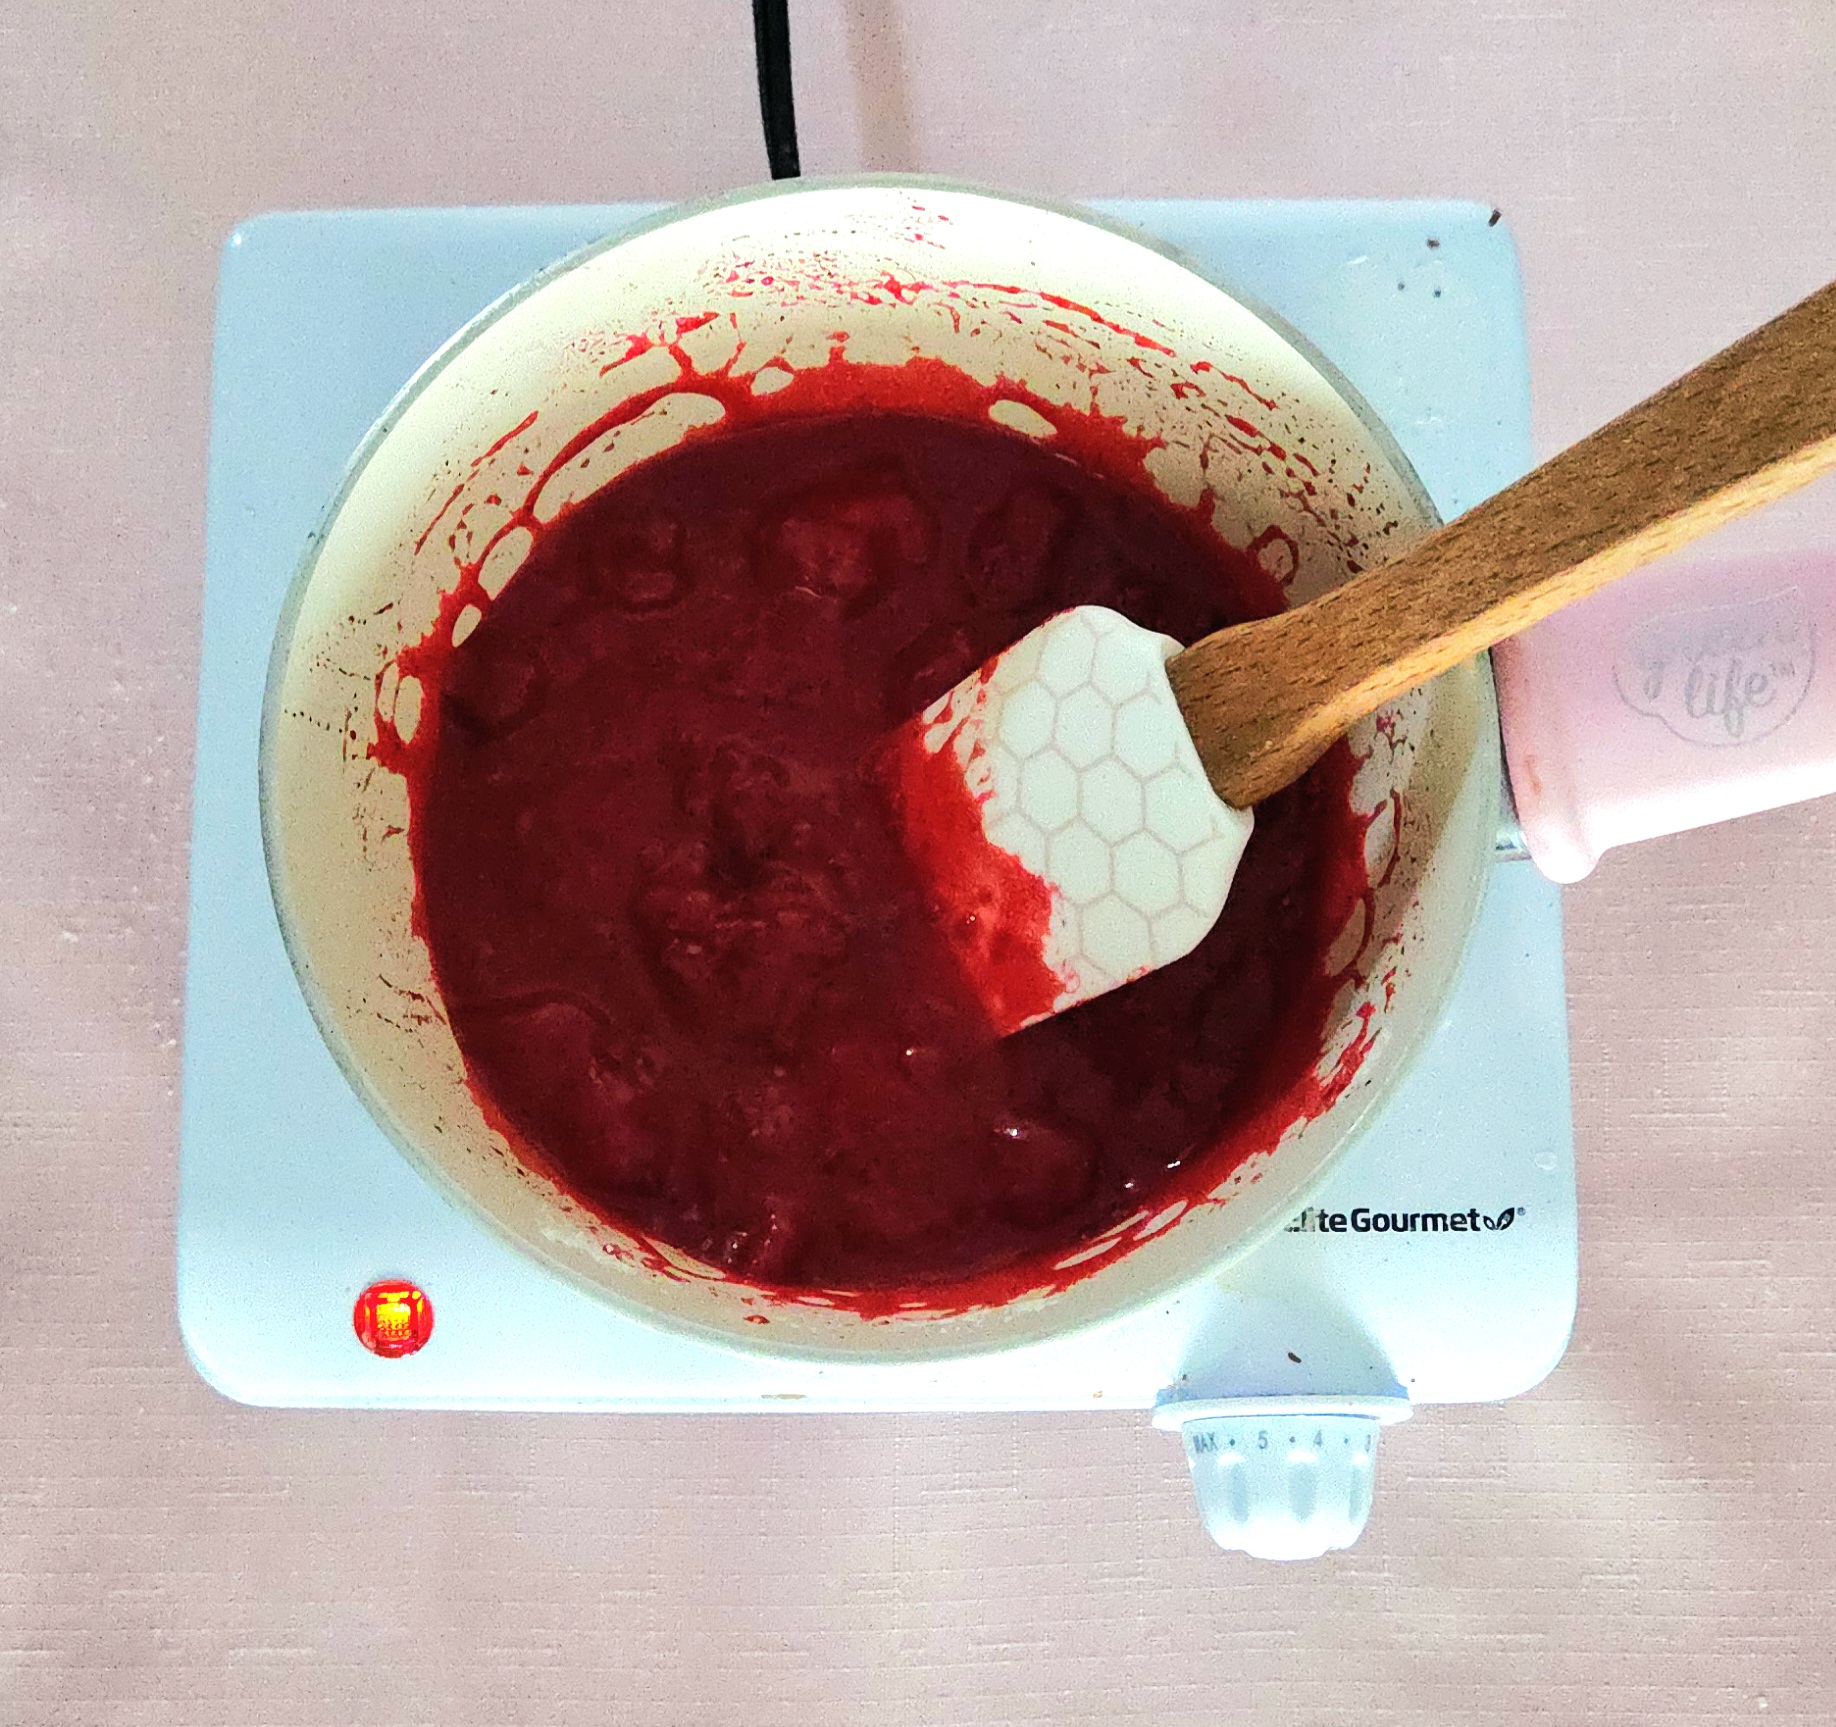
Continuously stir the filling as it cooks, making sure the spatula is touching the bottom. This will prevent the filling from sticking to the bottom and burning. It should take 5-10 minutes for the filling to thicken up, just keep stirring until this is what it looks like.
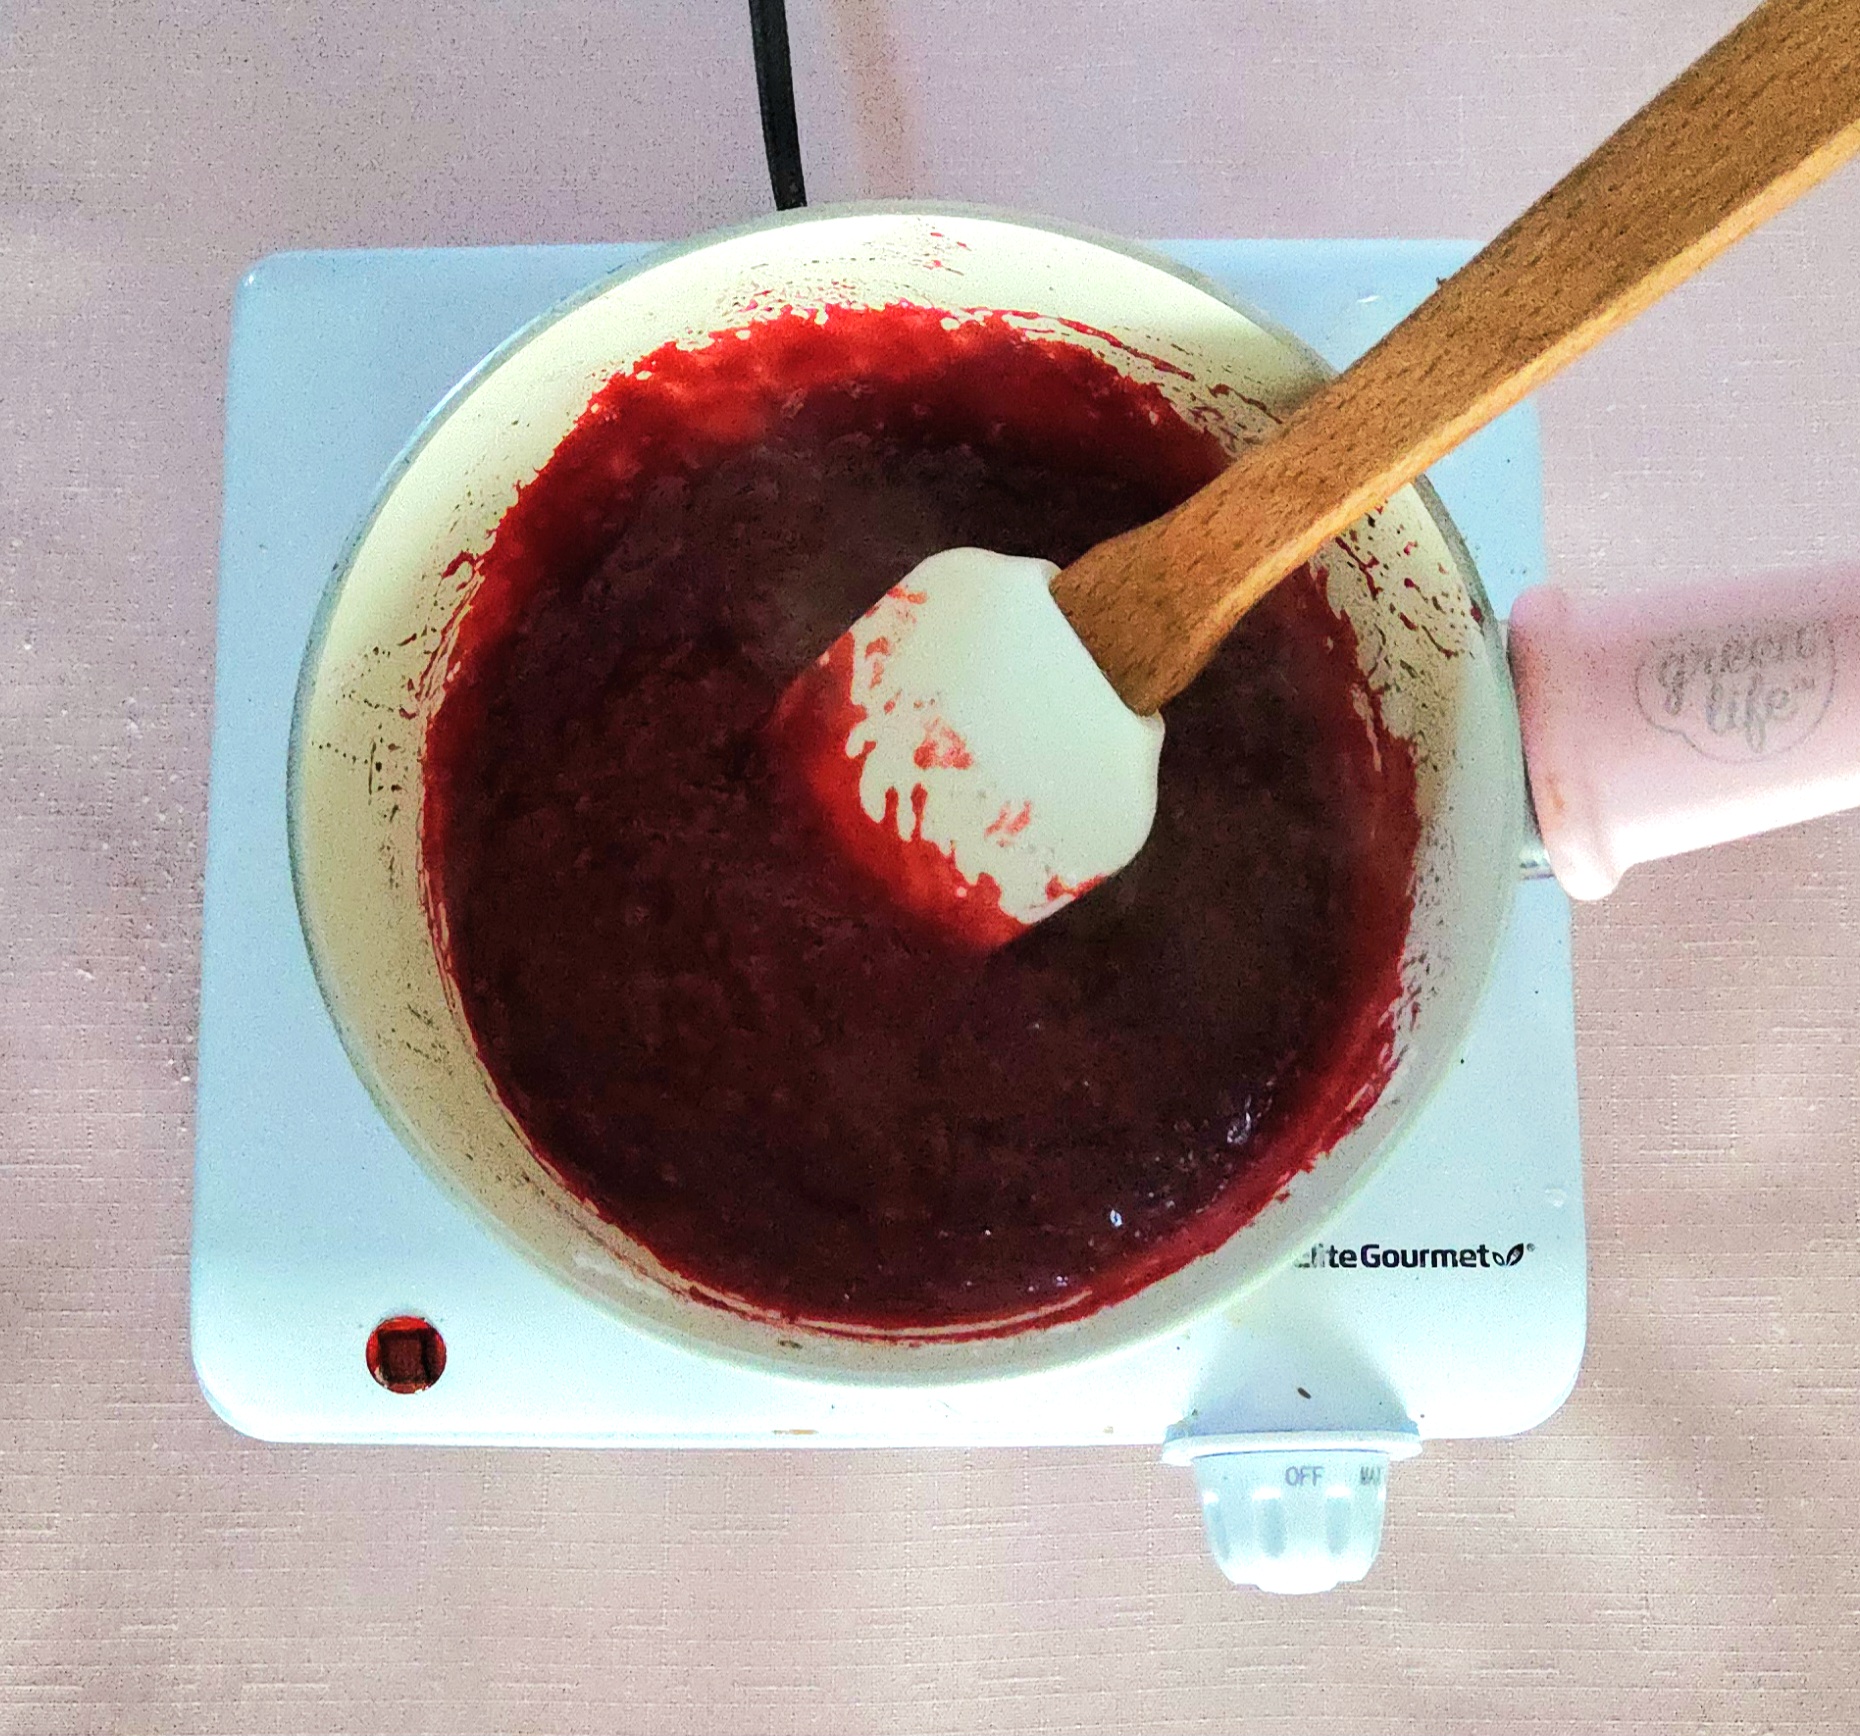
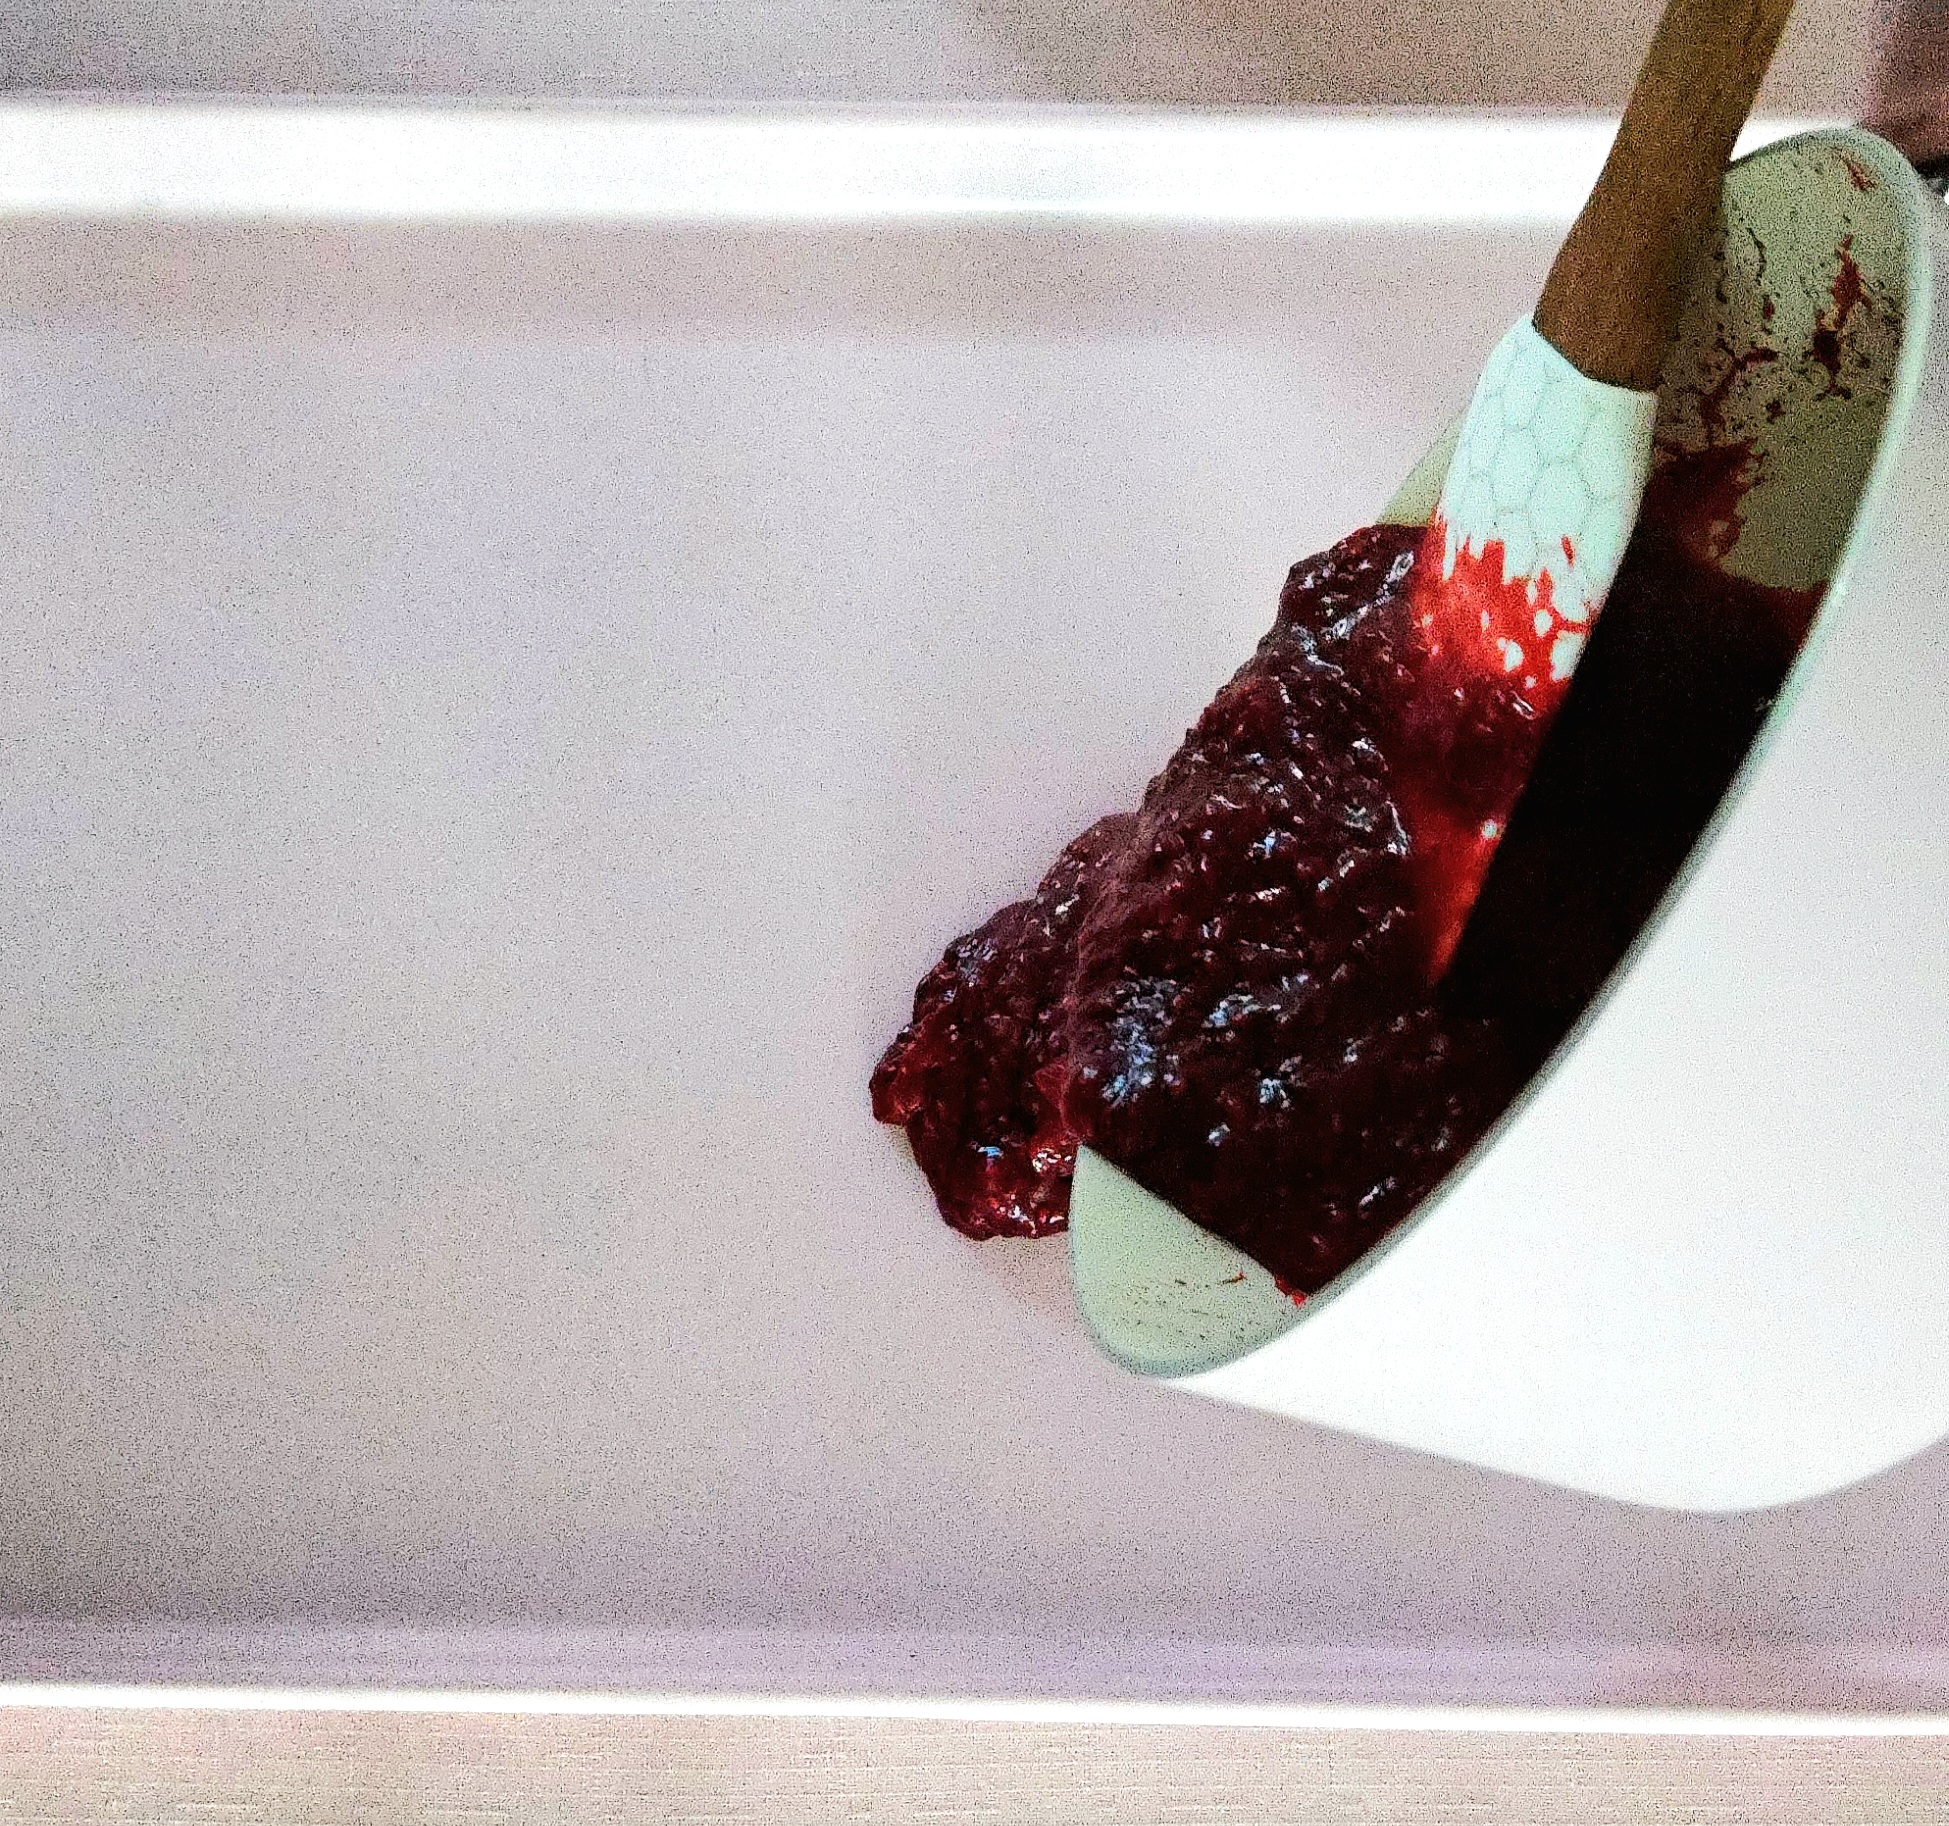
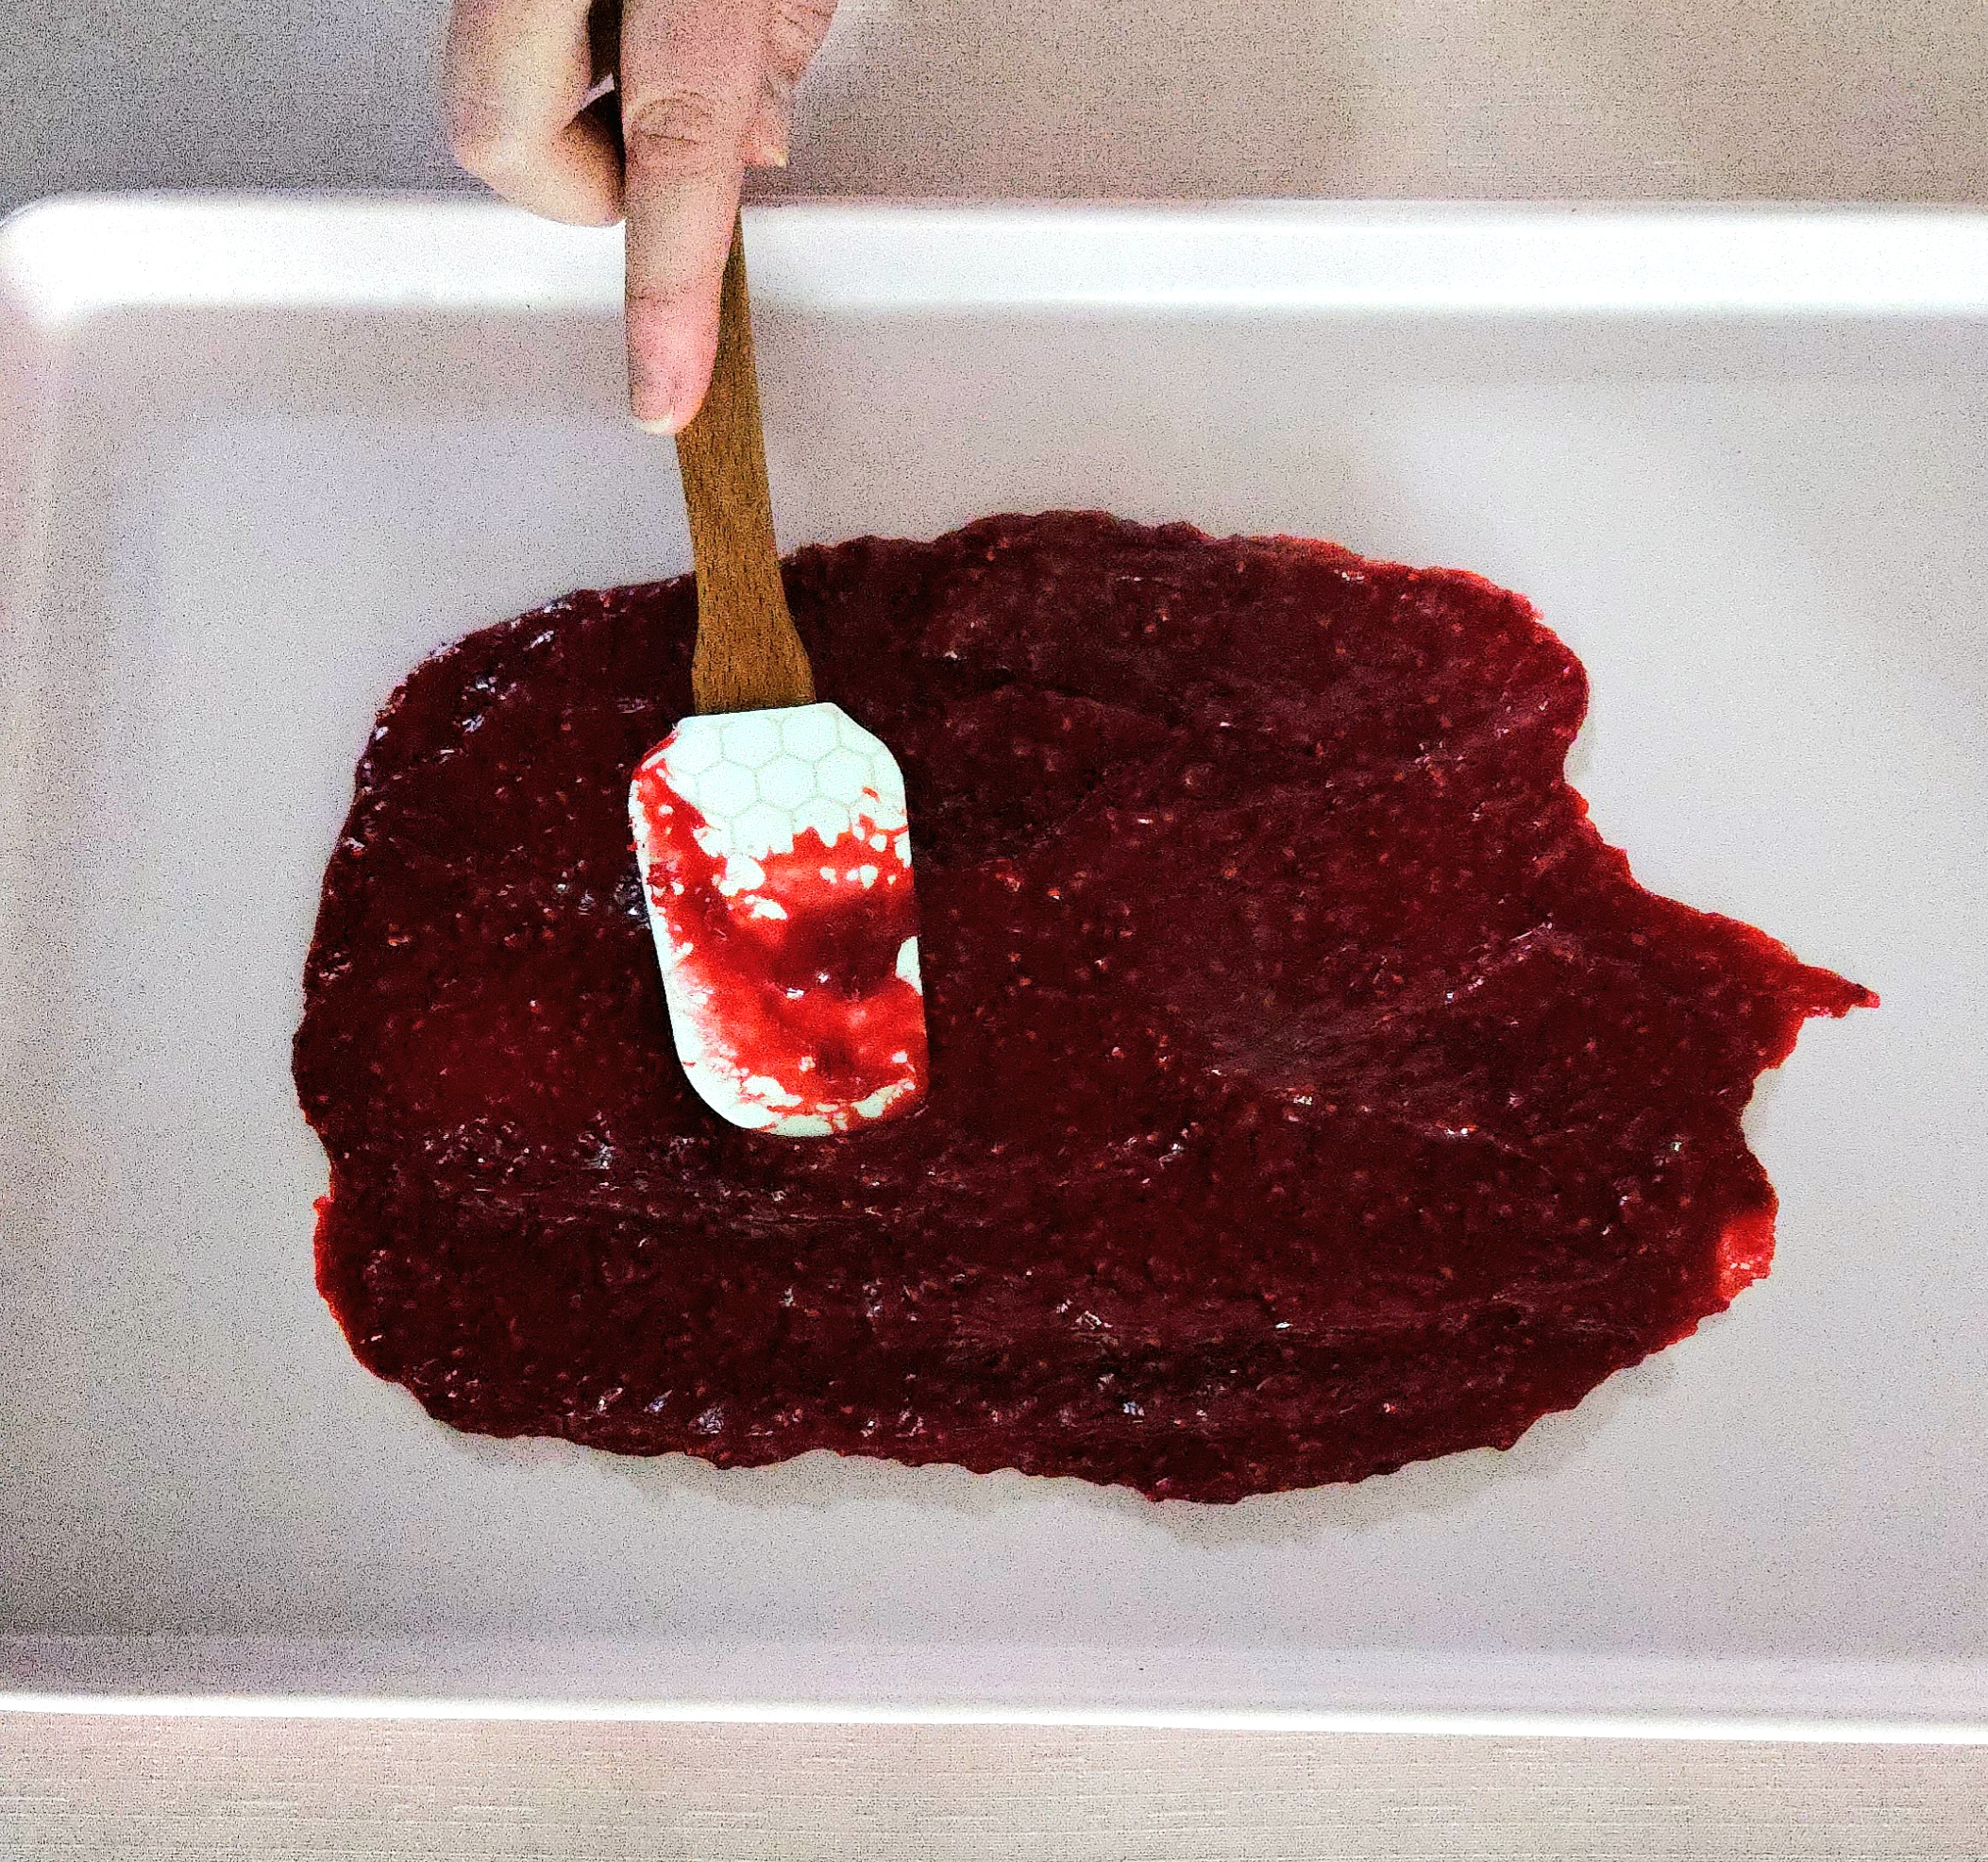
Immediately after the filling has finished cooking, pour it onto the clean rimmed baking sheet you’d set aside. Spread it out thinly, to allow it to cool down more quickly. Cover the top of the filling with plastic wrap, so it’s directly touching the filling, to prevent a skin from forming on top. It should take around 30 minutes or so for the filling to completely cool.
Assemble and Bake
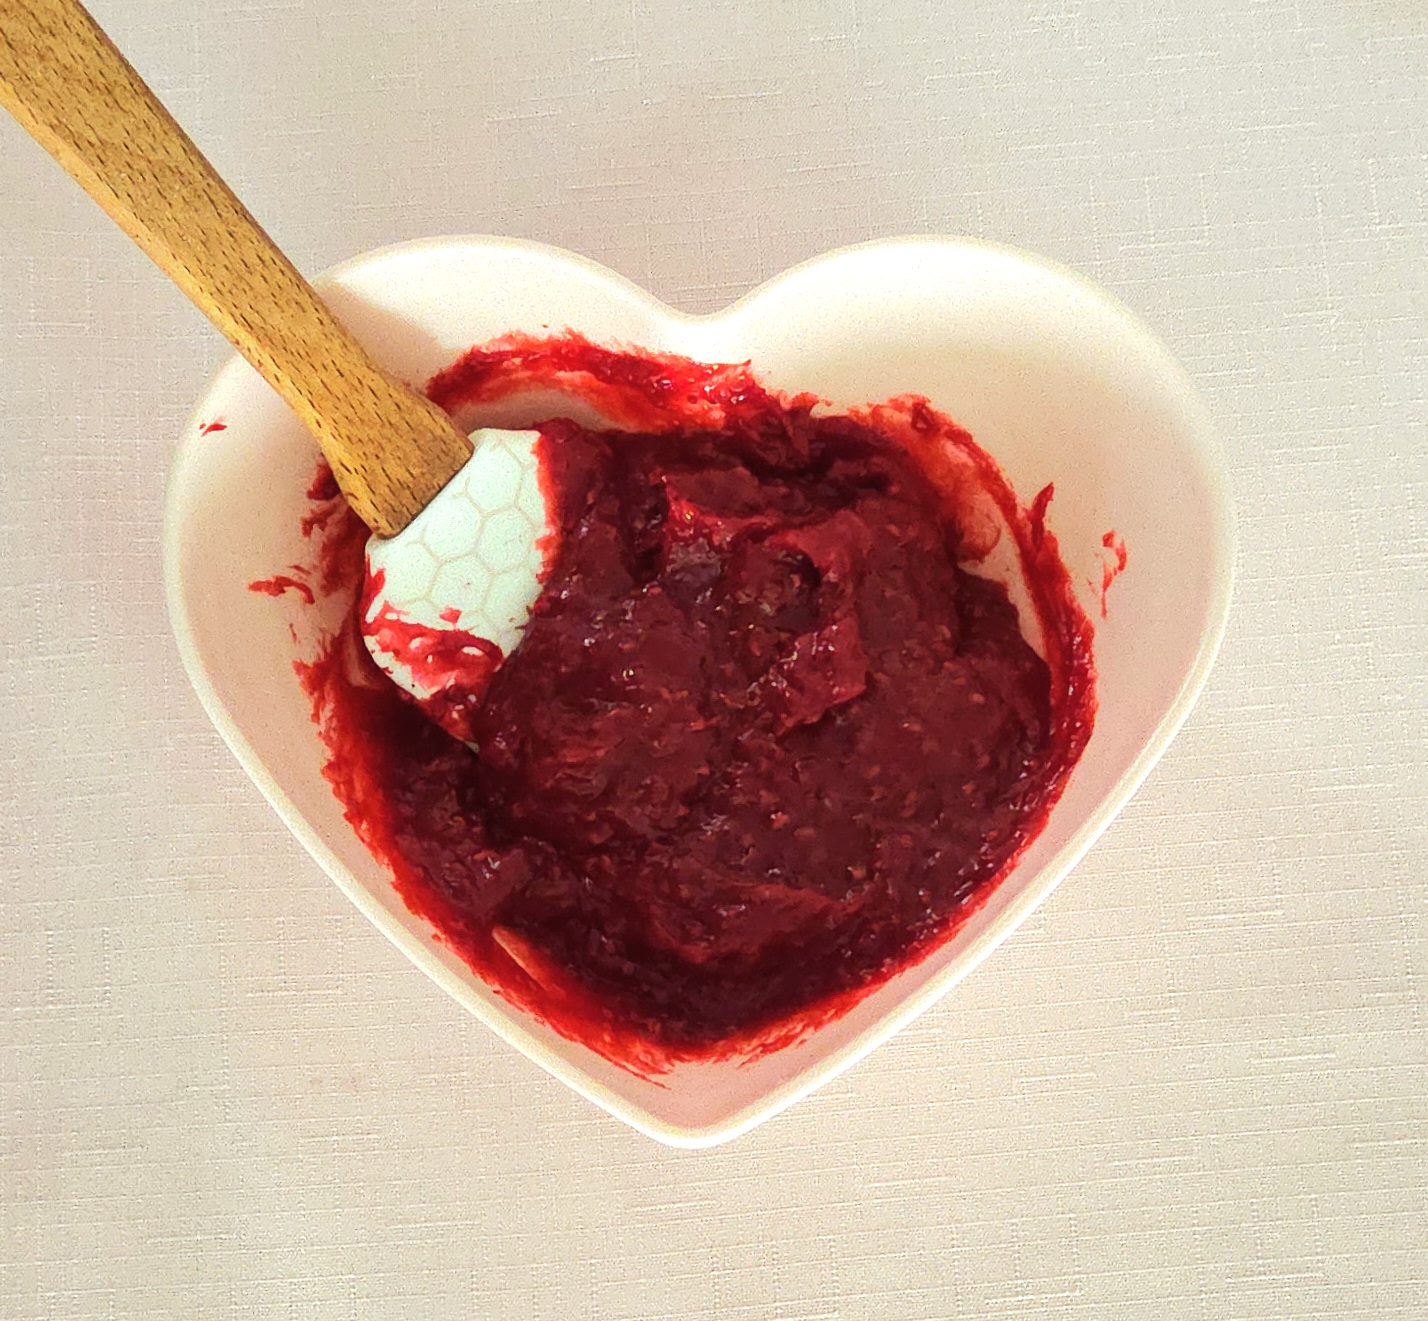
Once the filling has cooled completely, transfer it over to a small bowl and give it a mix. This is called reconstitution, and it makes a filling easier to spread.
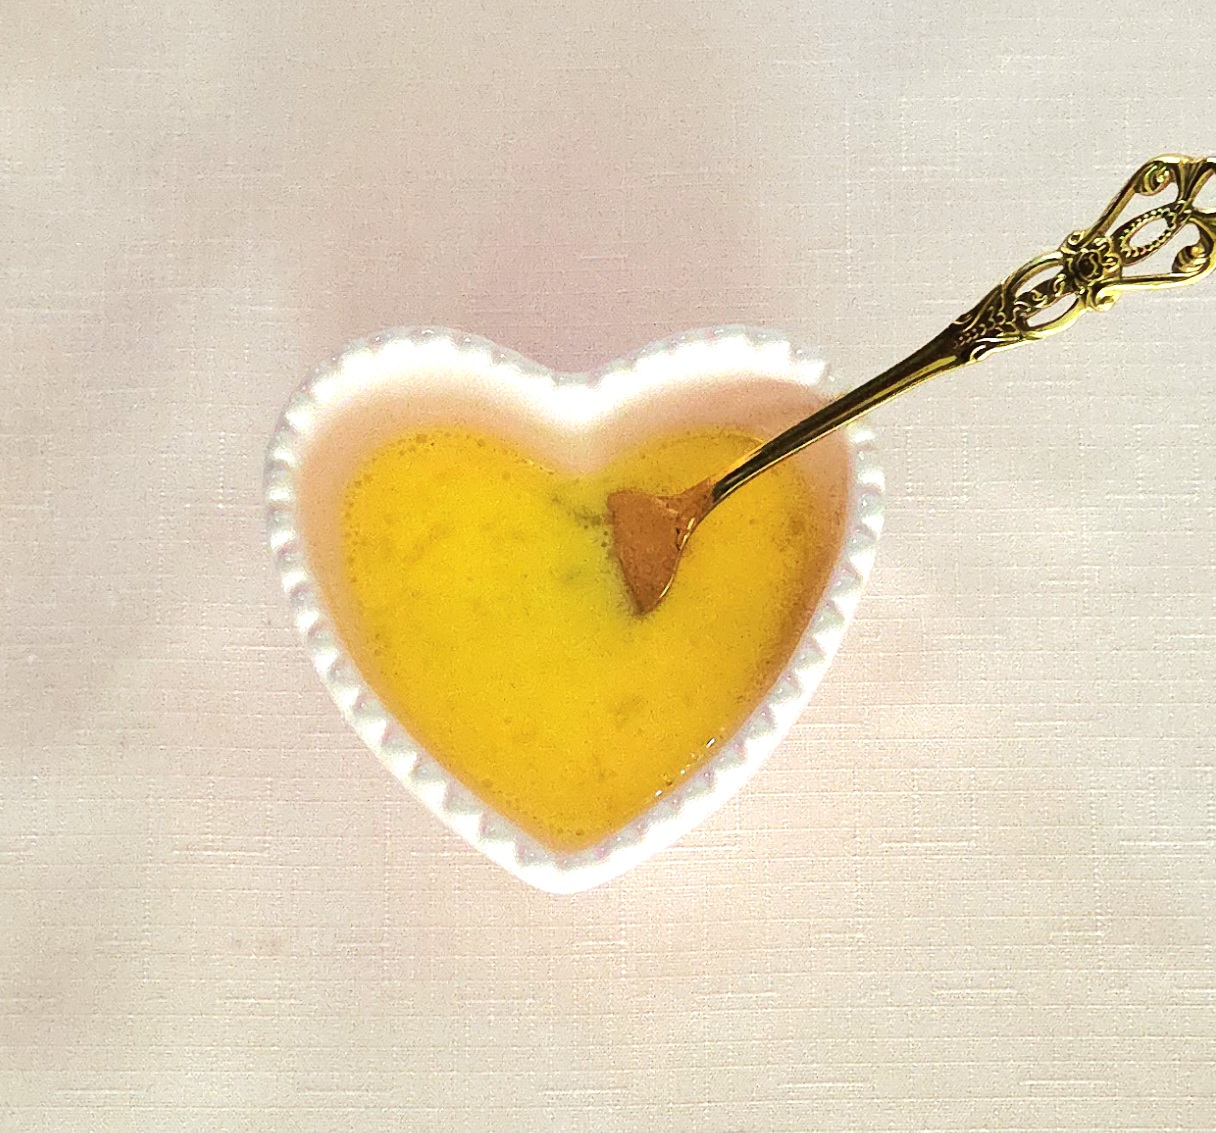
In a small dish, whisk together the egg, a pinch of salt, and a splash of water, using a fork. This is your egg wash, the primary glue of the baking world.
Draw your attention to the puff pastry. If you’re using store bought puff pastry, jump ahead. However, if you did what I’d suggested and made your own, follow along! Lightly dust a clean counter with flour. Take the dough out of the fridge and cut it in half, like so.
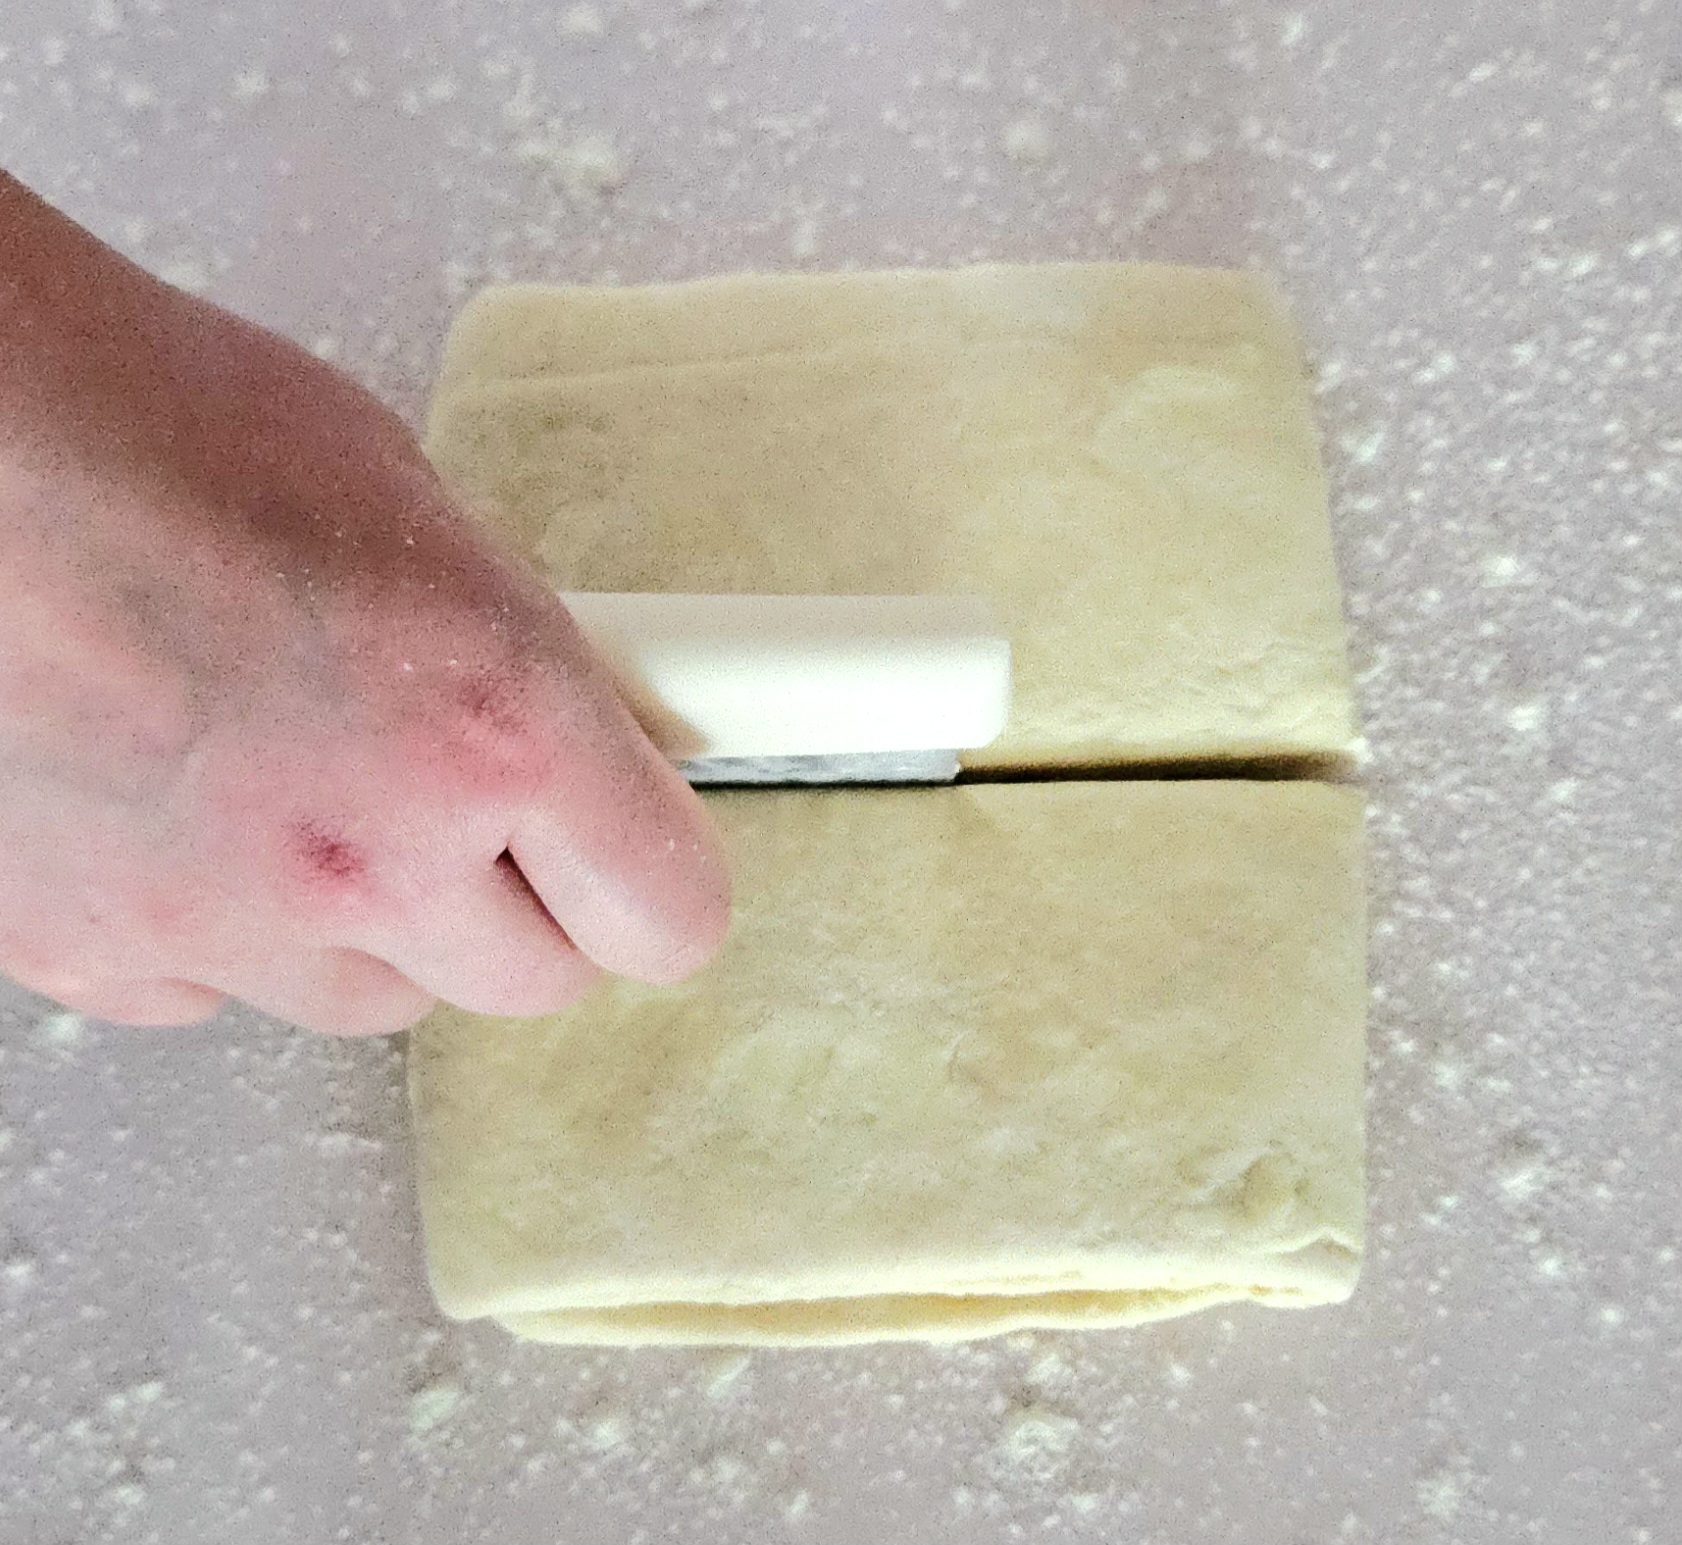
Place half of the cut dough onto the floured counter, and rewrap the second half in plastic to return it to the fridge for now. Dust the puff on the counter with more flour, then roll it out to an approximately 9×13 inch rectangle.
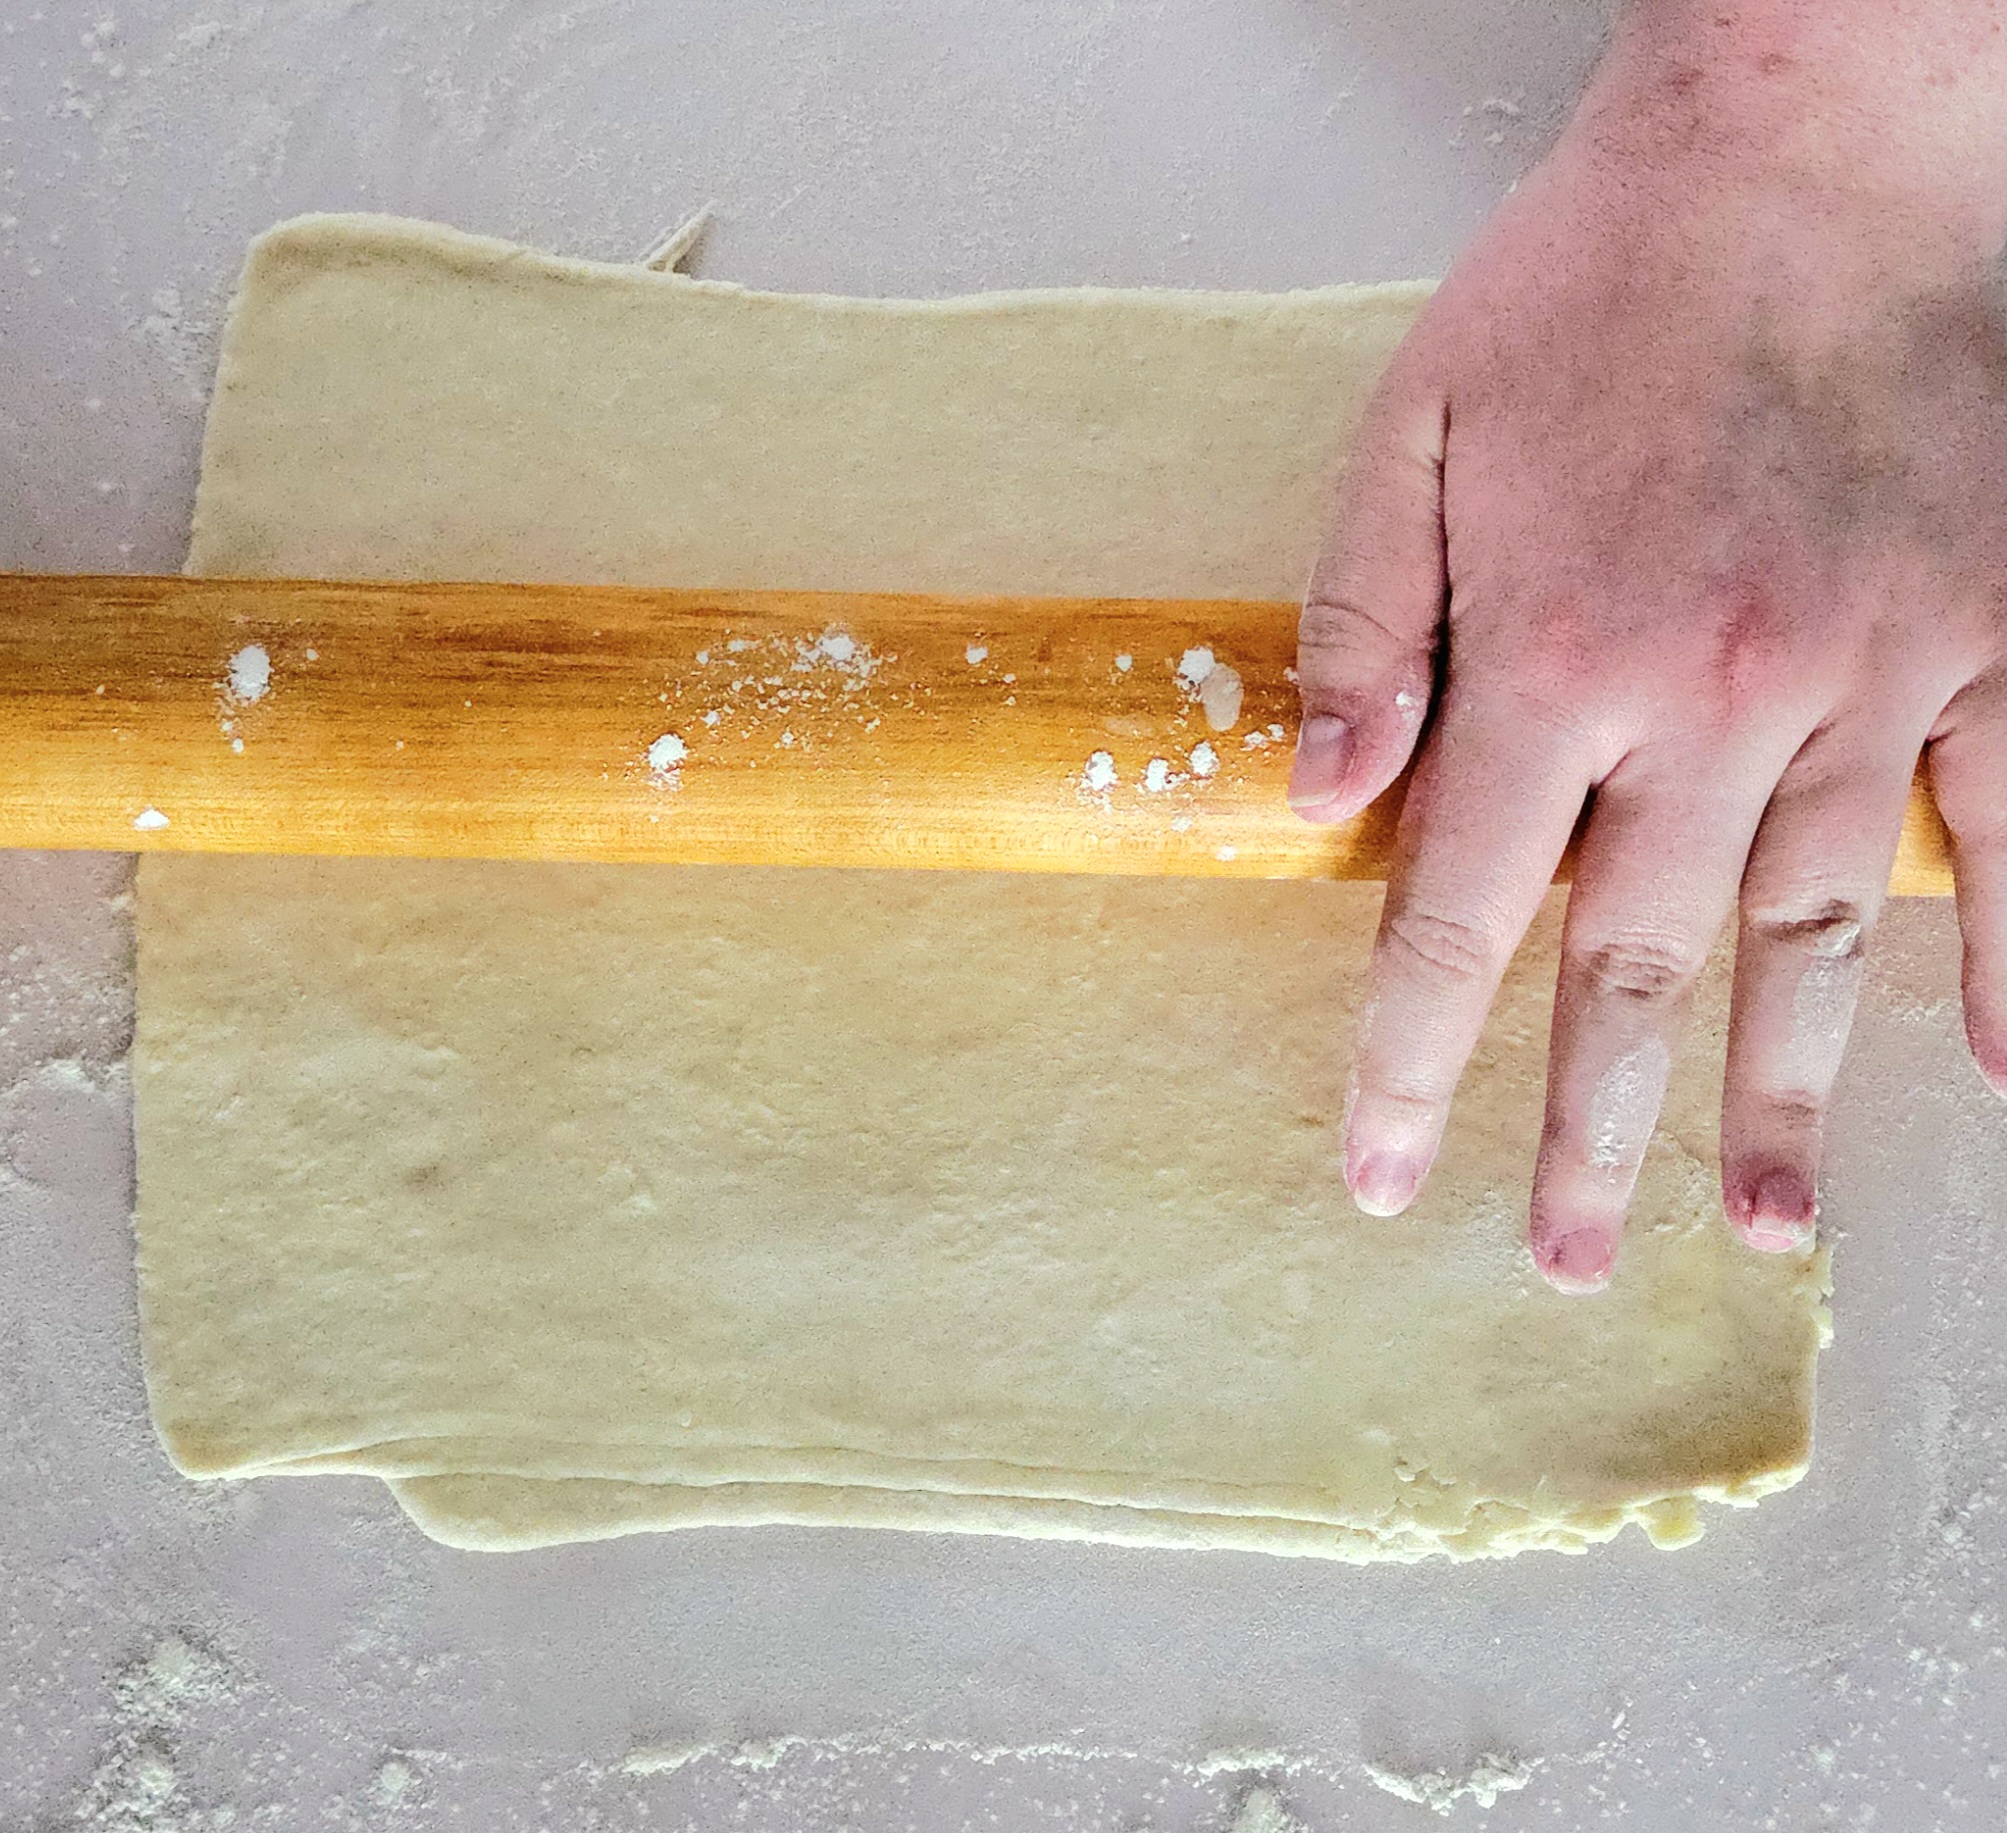
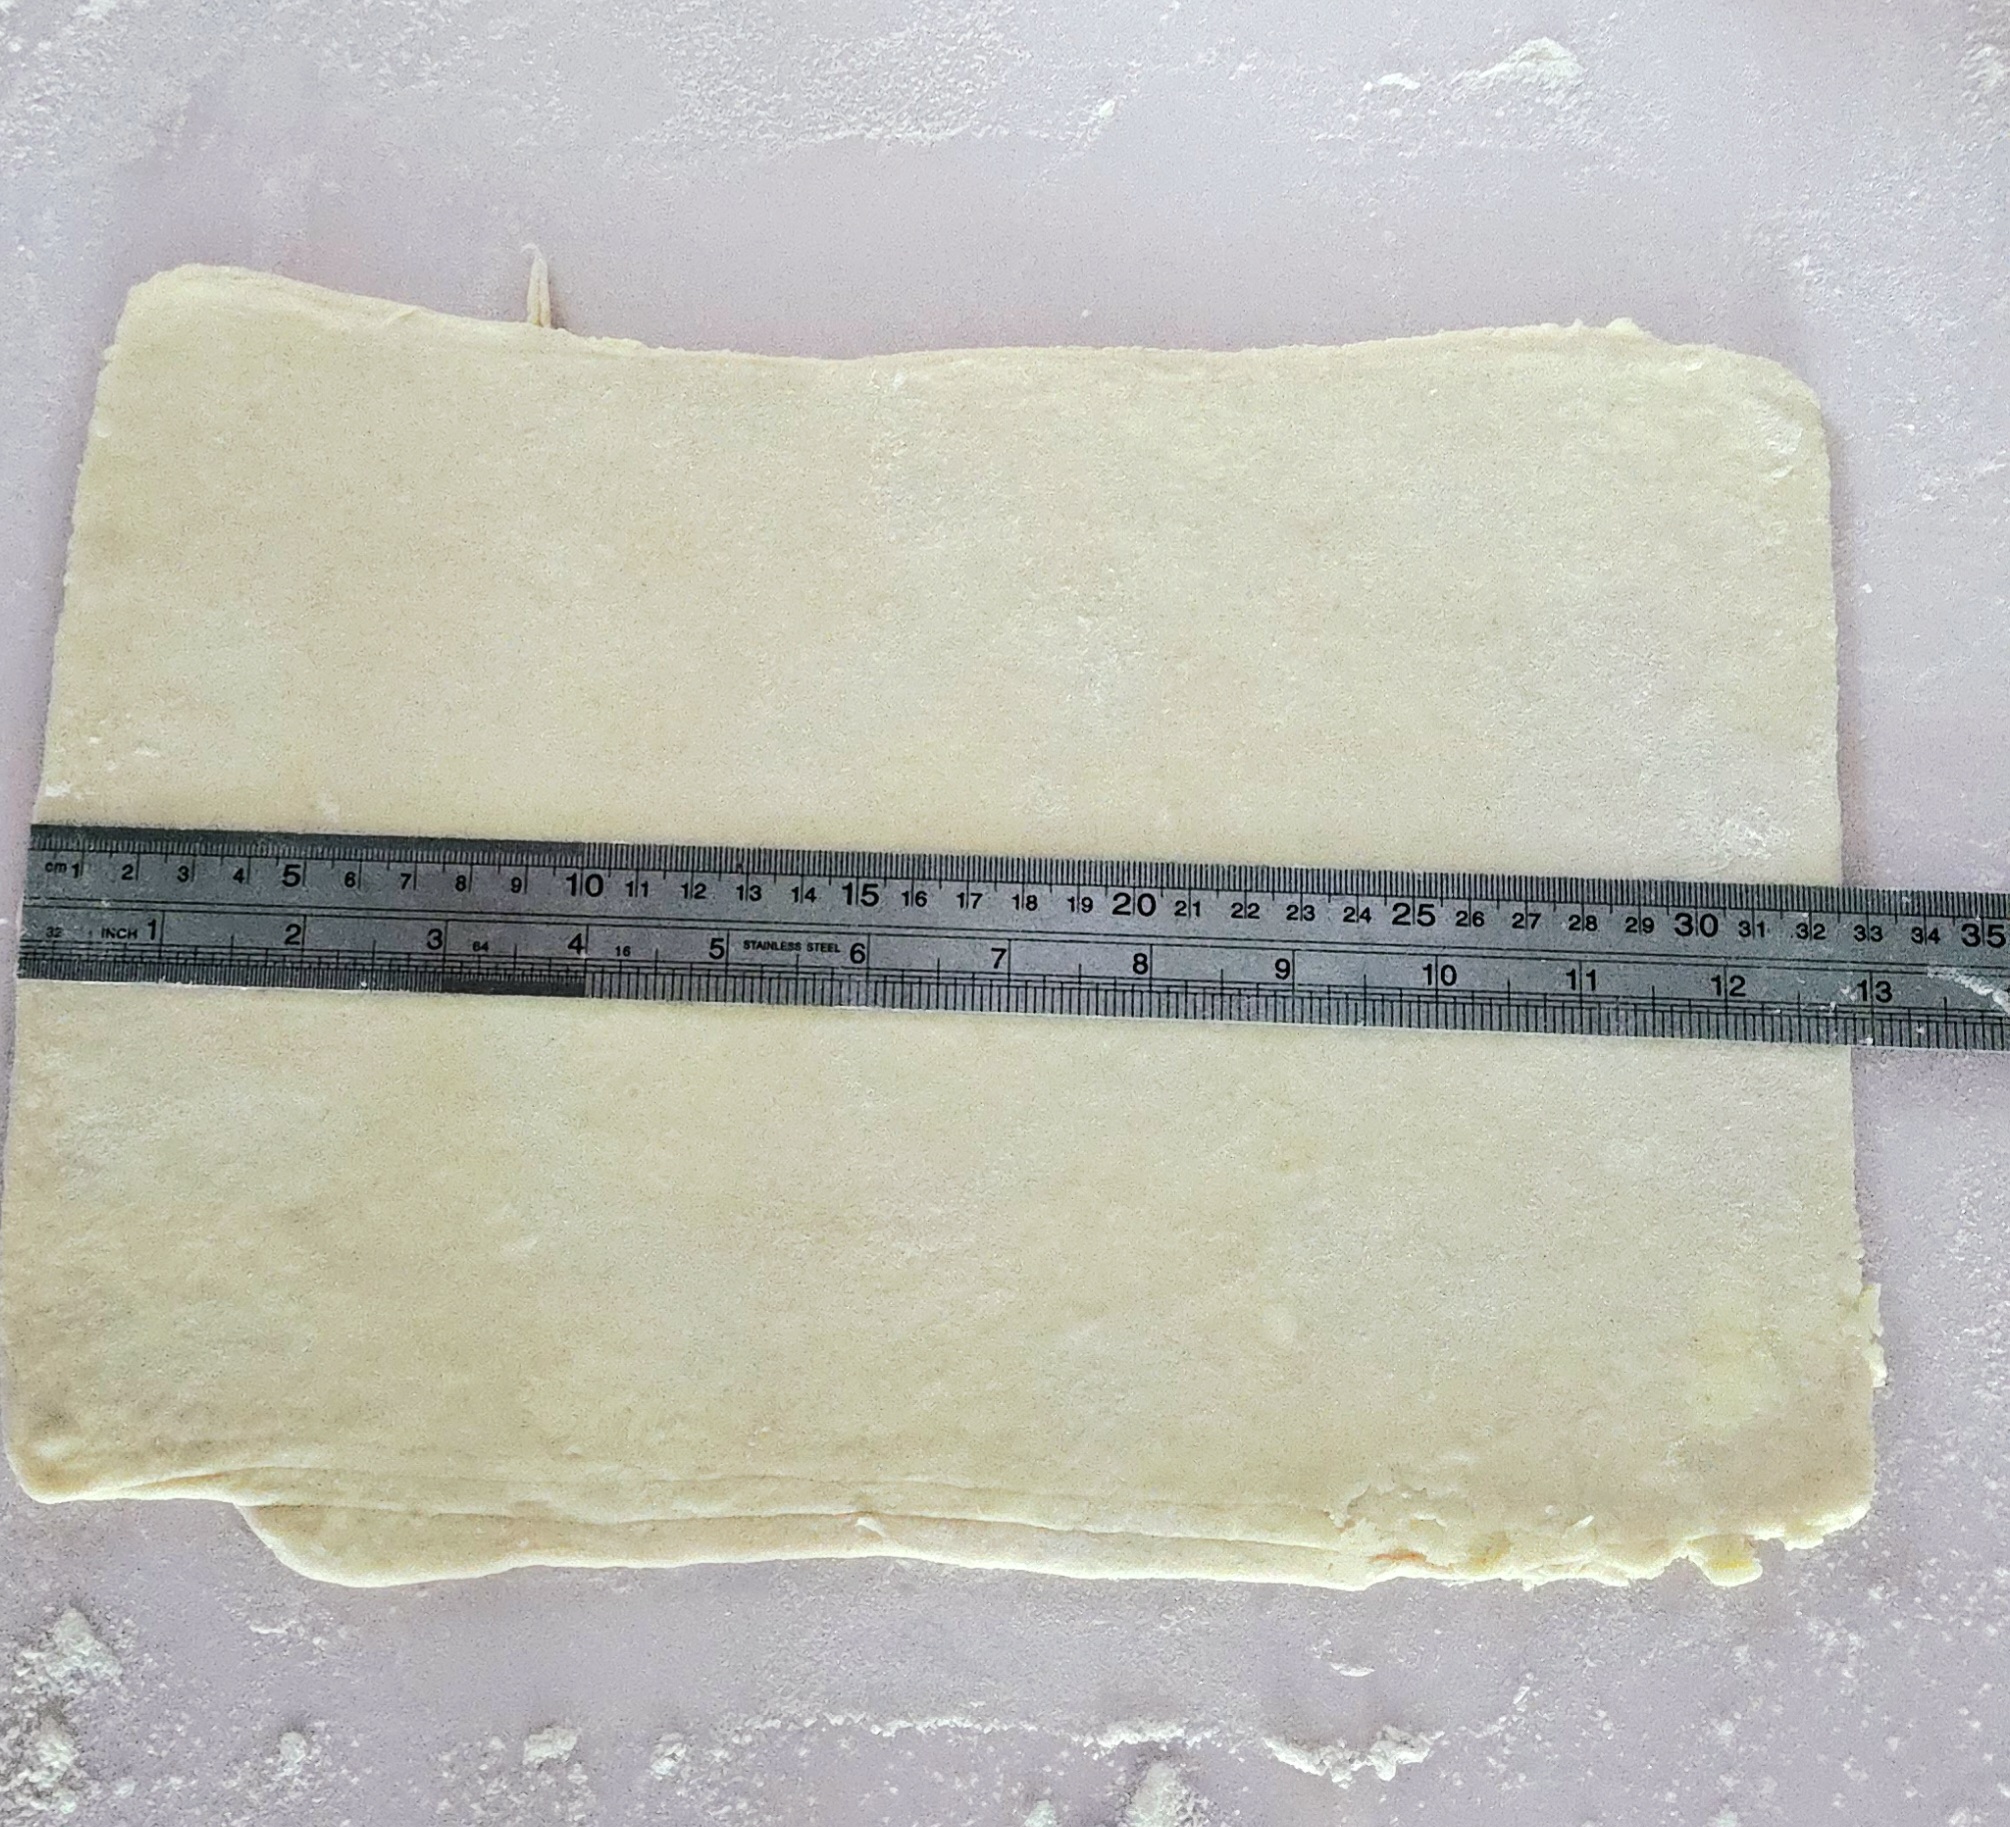
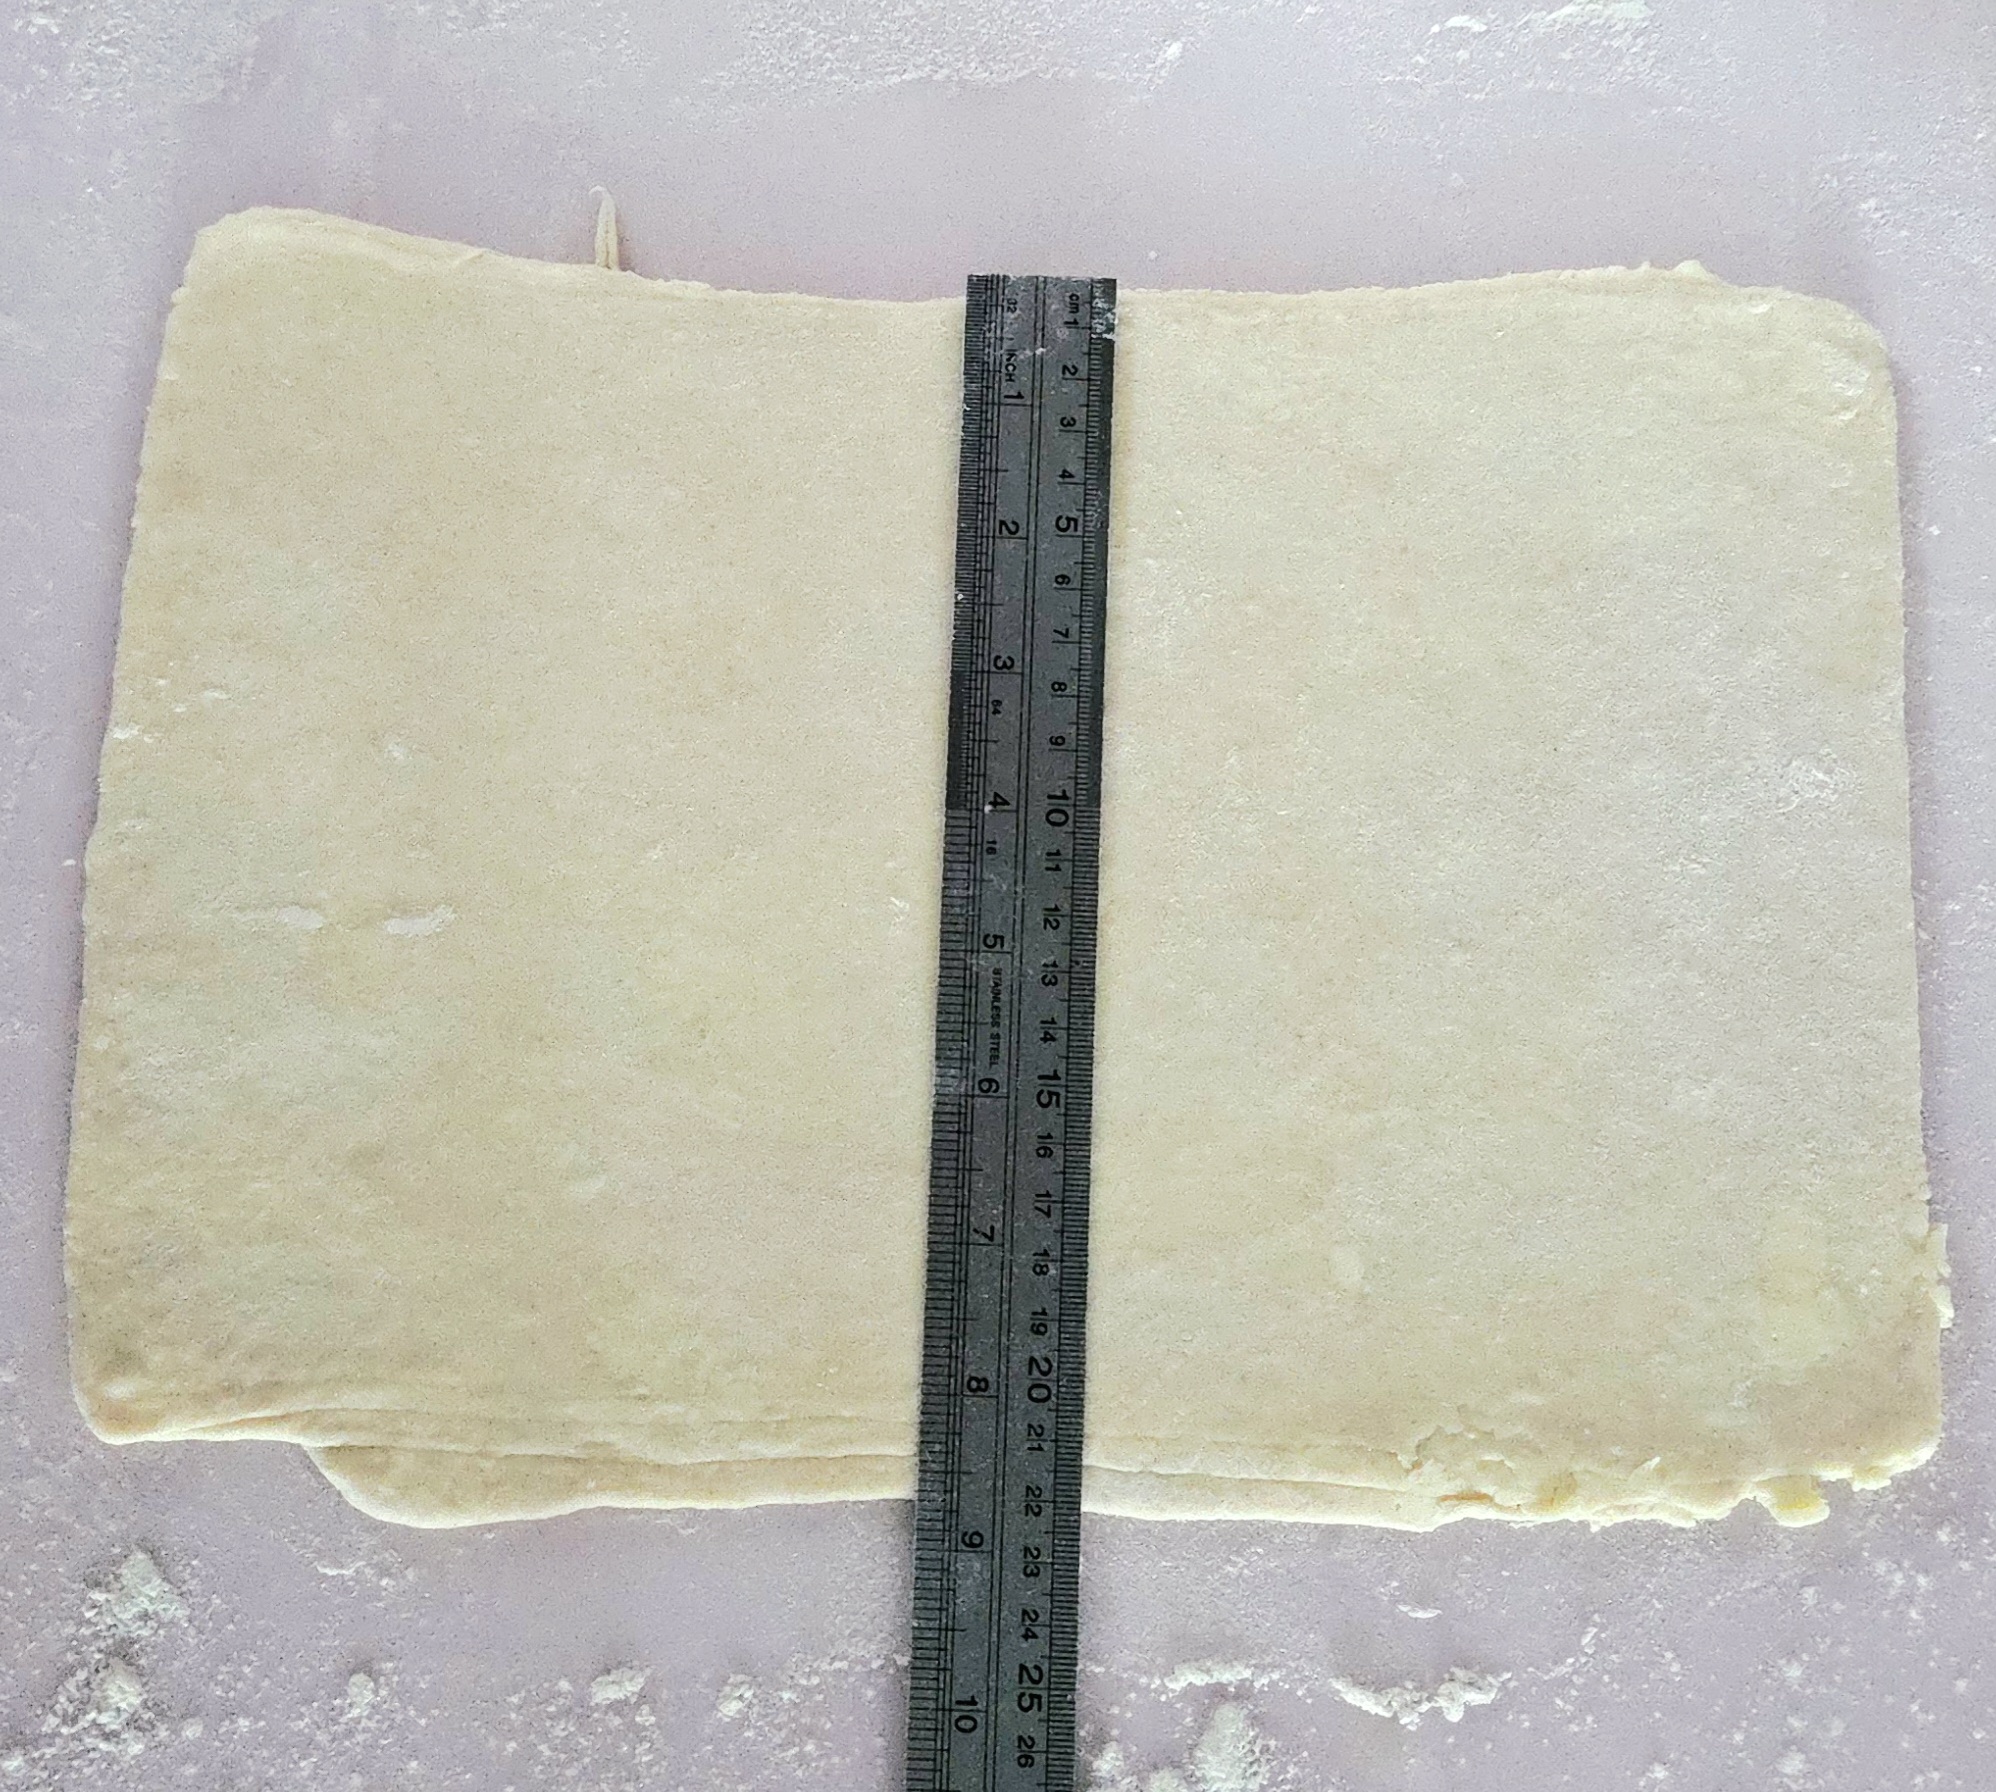
Now, depending on how warm your kitchen is, the dough may have warmed up at this point. Don’t panic! Just place it onto one of the lined baking sheets, cover the top with plastic, and place it into the fridge for 15-20 minutes. Cut the rolled out puff into a 2×3 grid, so you’re left with 6 approximately 4×4 inch squares.
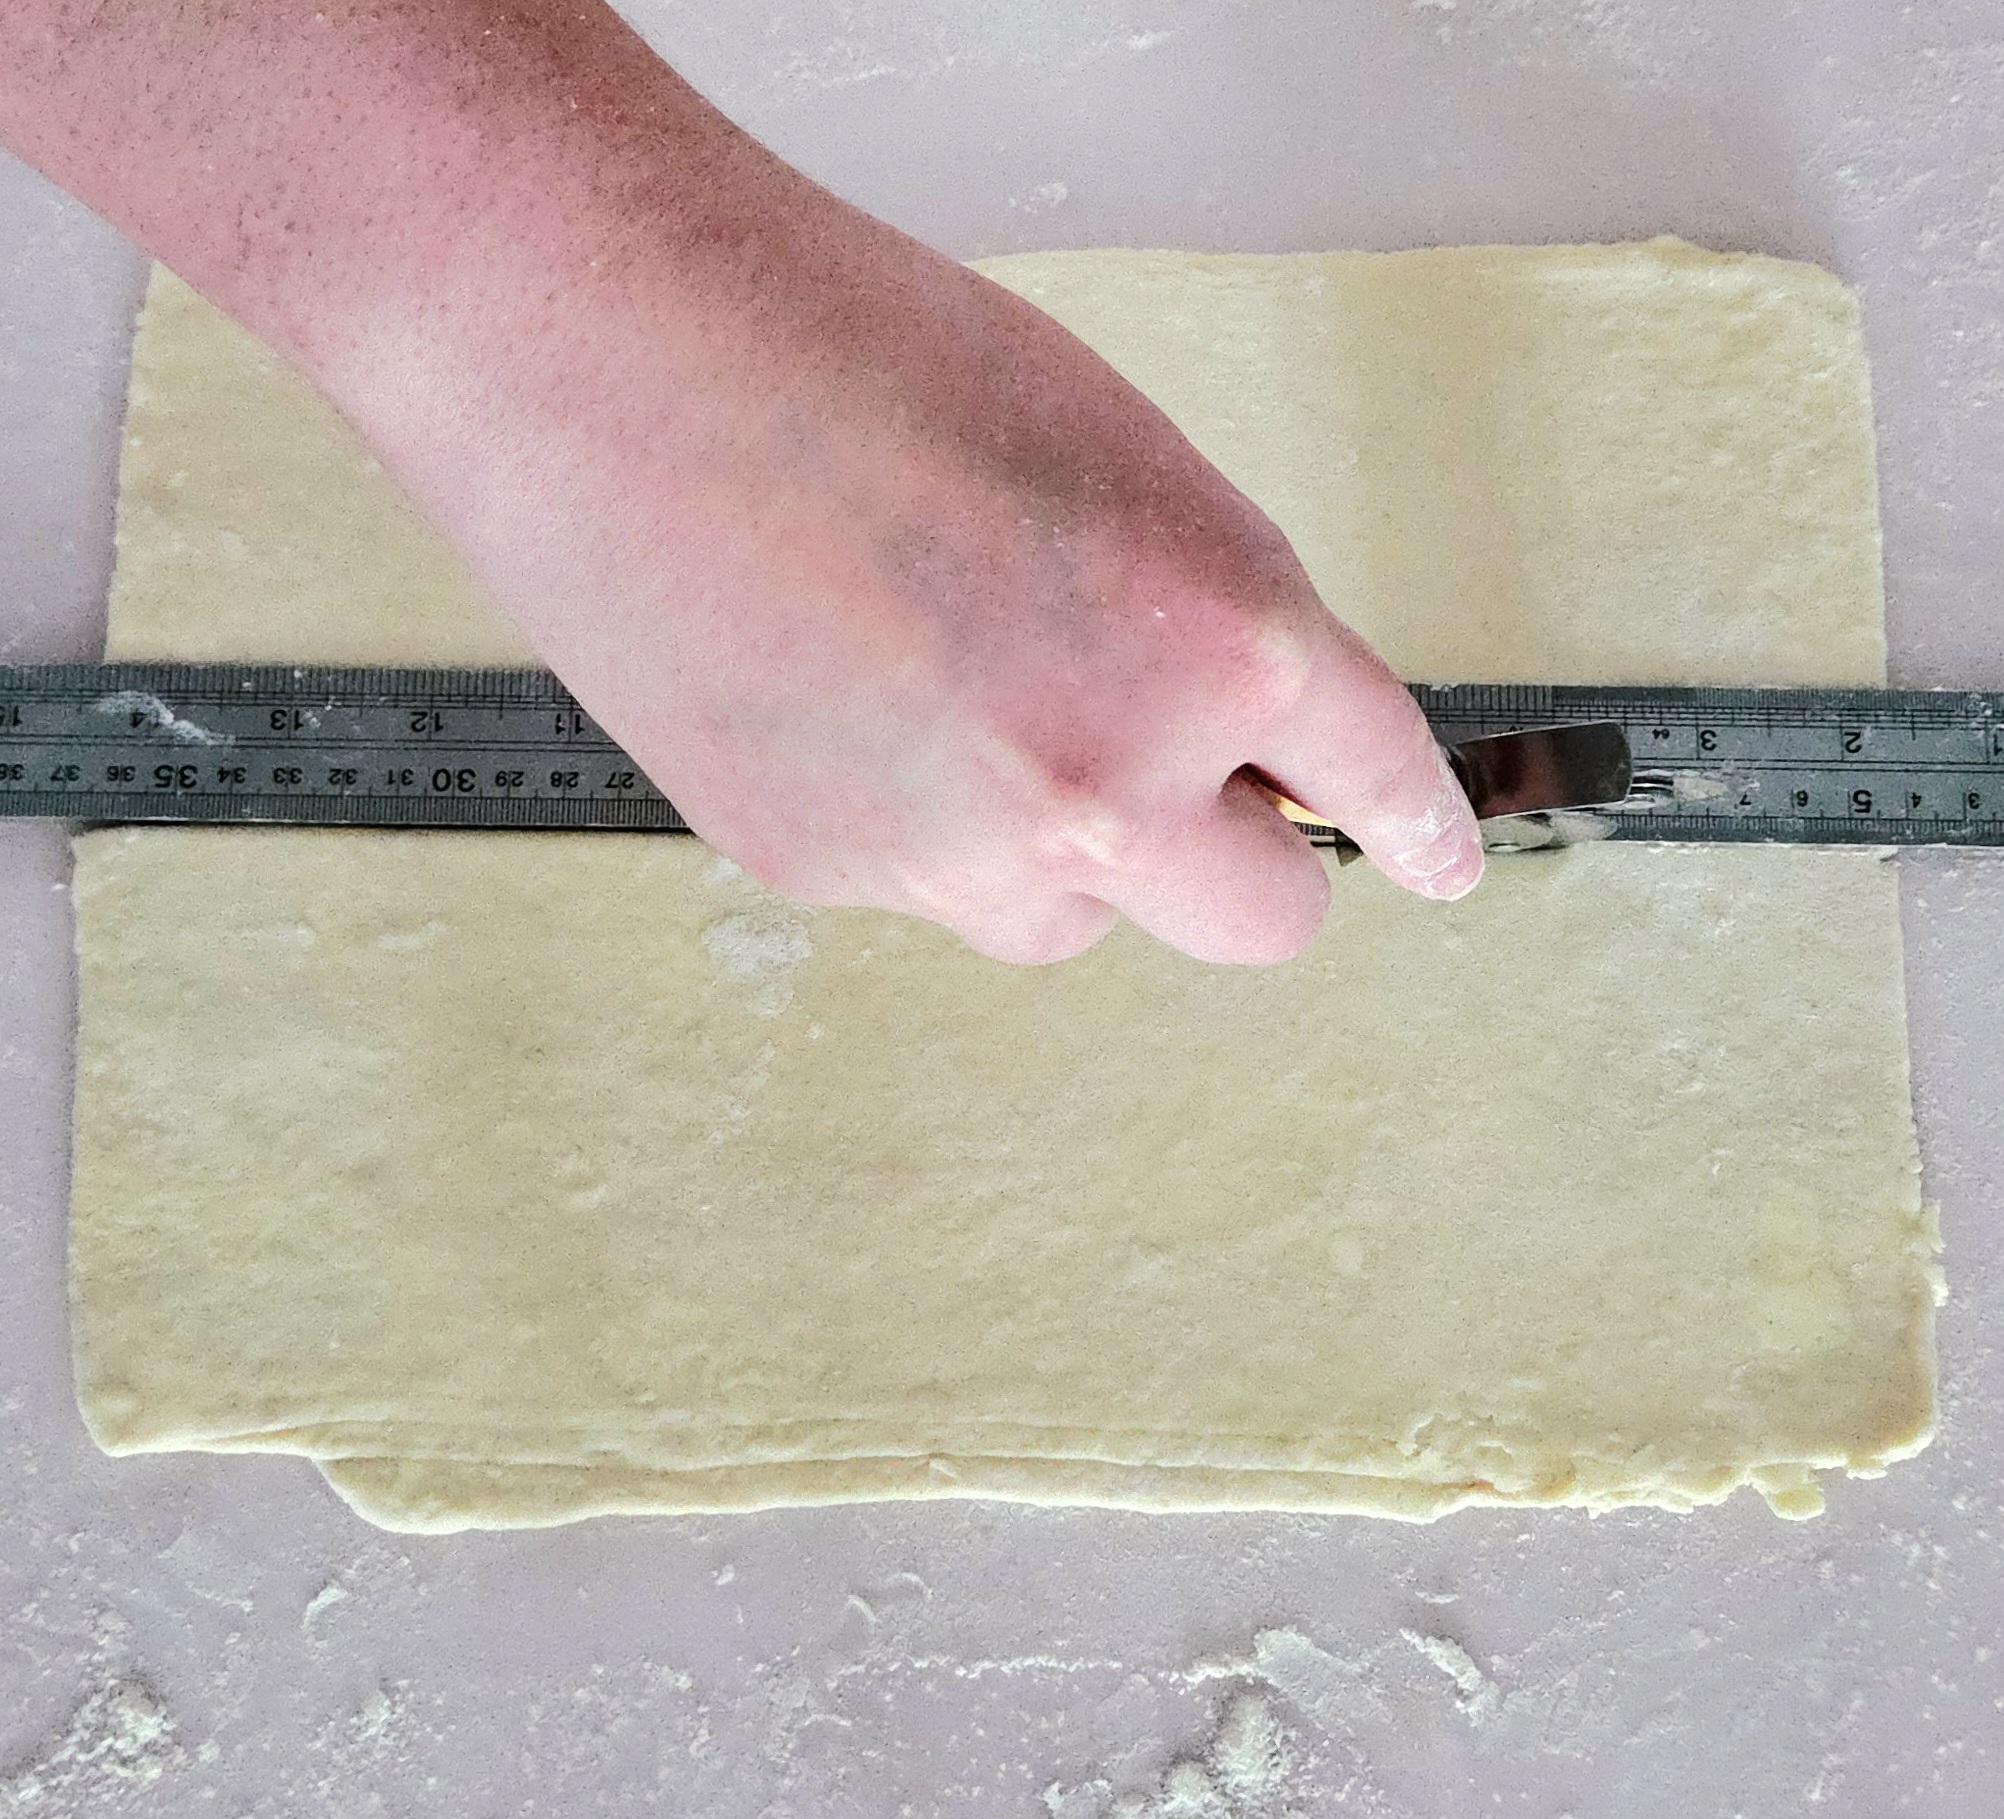
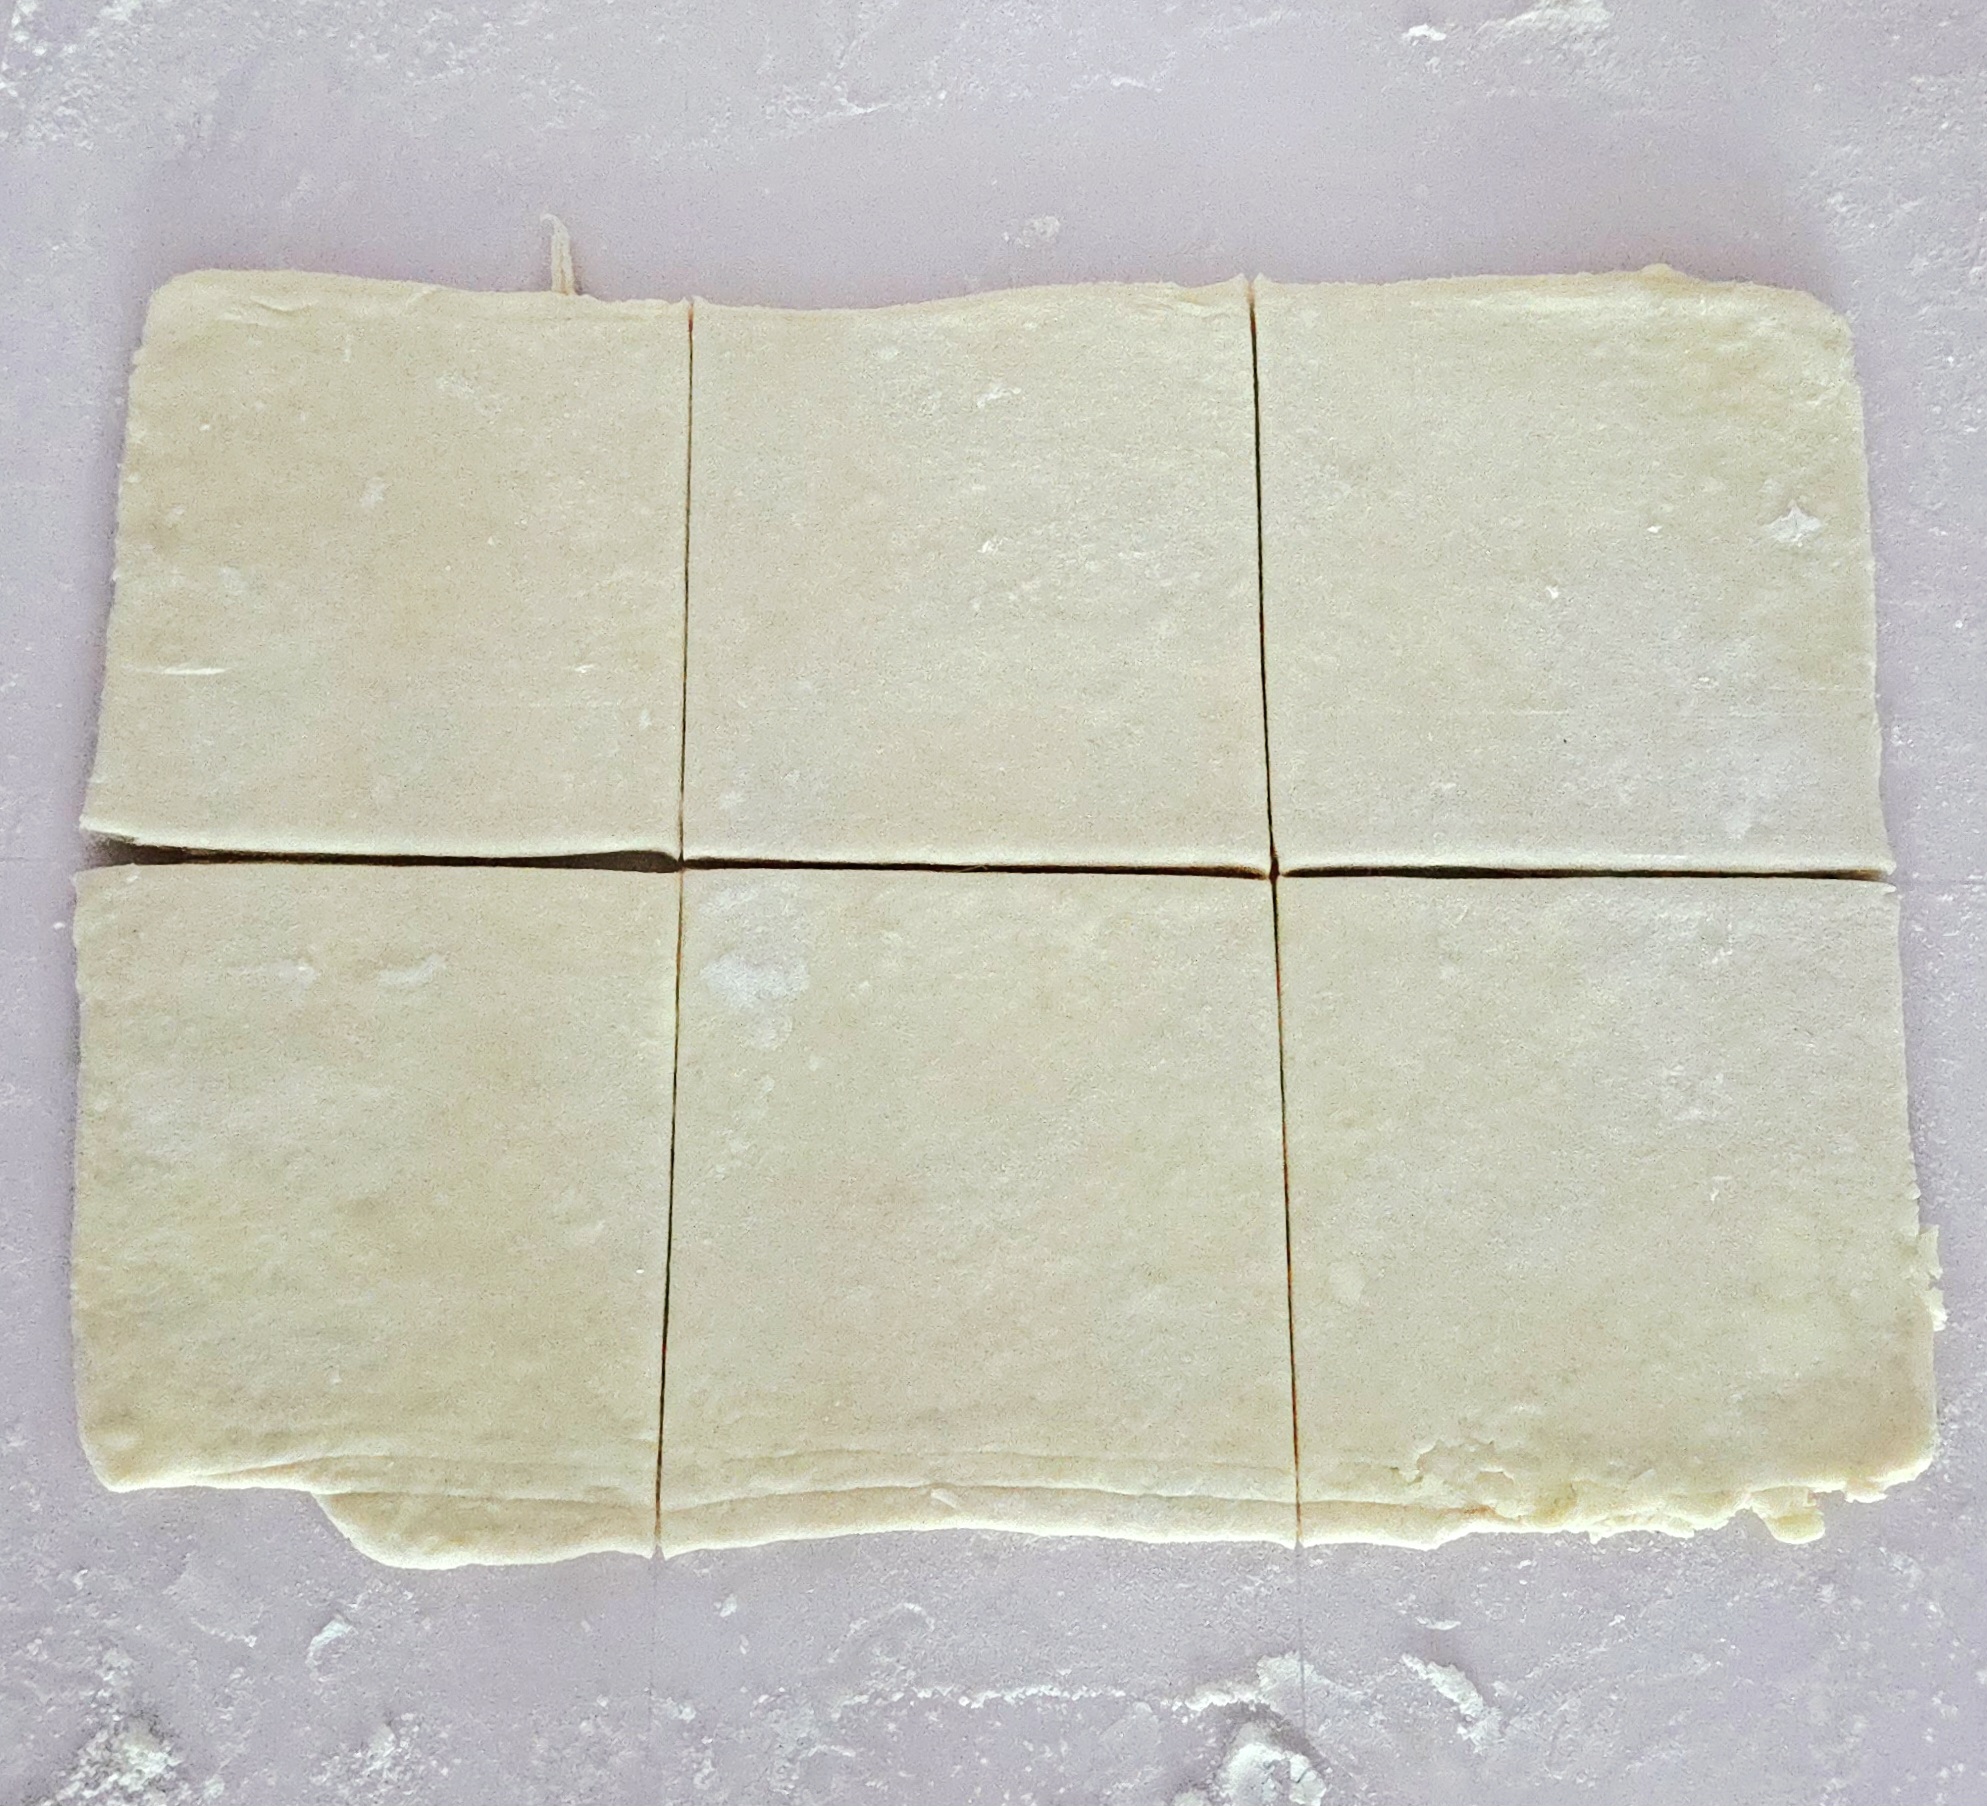
Transfer the portioned dough back to the lined baking sheet, cover them with plastic wrap, and place them in the fridge. While they chill, bring your attention to the second half of the dough. Roll the second half of puff pastry out and divide it in the same way you did the first half.
Switch the second sheet of puff with the first. Transfer the squares of dough back to the counter. Take one square, turn it on its side so it’s shaped like a diamond. Cut two 1-2 inch slits using a paring knife in the center of the top half, as shown.
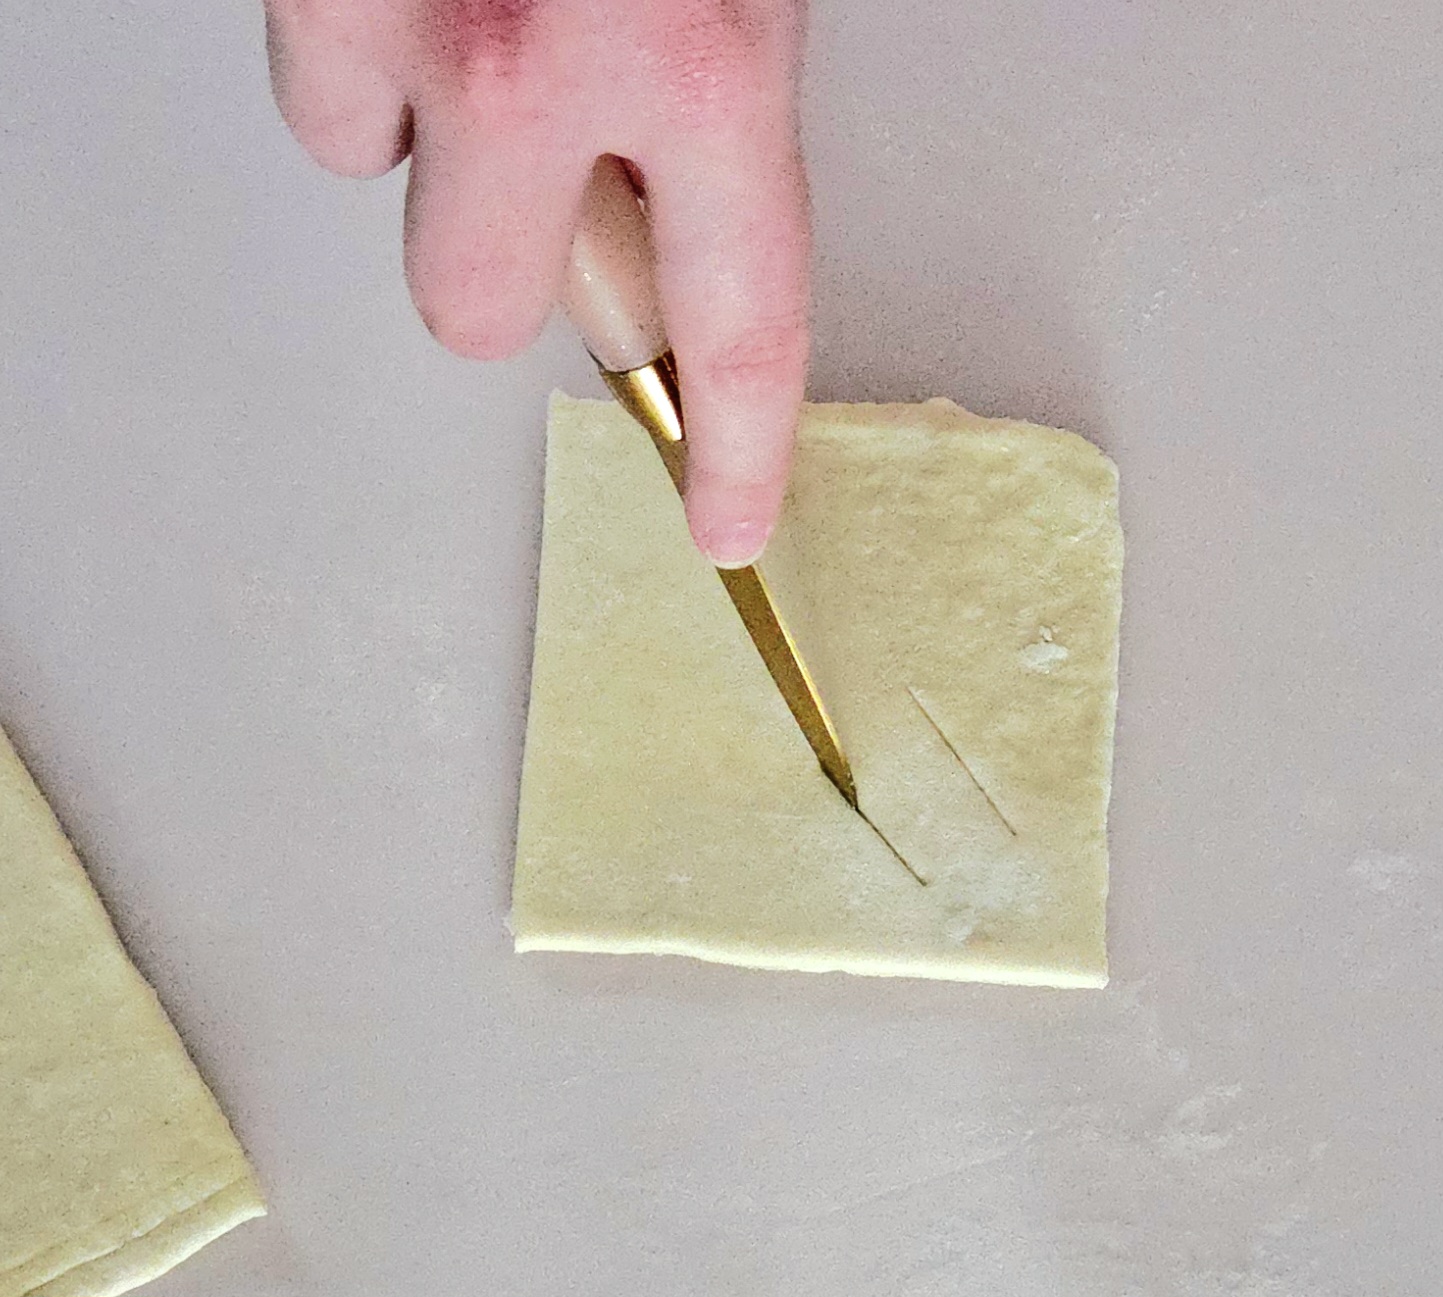
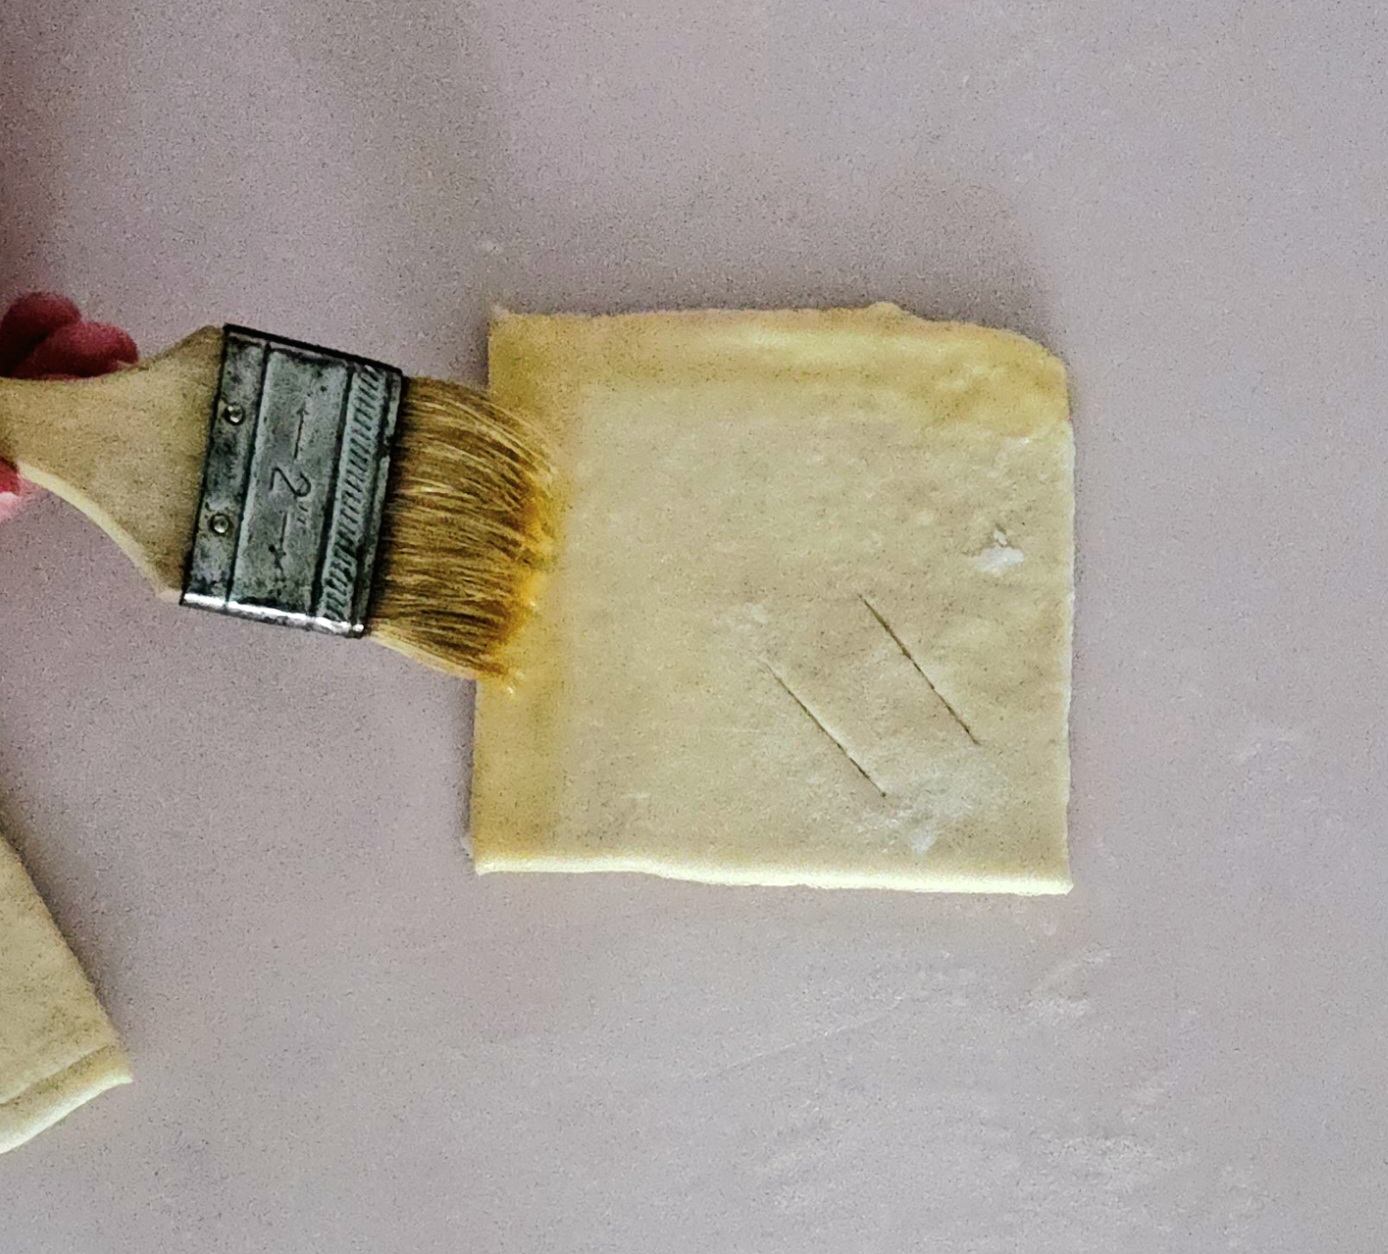
Grab the egg wash and brush a light layer along the two edges on the bottom half of the diamond, between ¼-½ inch wide. This is the glue that holds the turnovers together, and keeps the filling inside while they bake.
Dollop 2-3 Tablespoons of filling onto the bottom half of the diamond. Spread it out into a triangle shape, right up to the lines of egg wash.
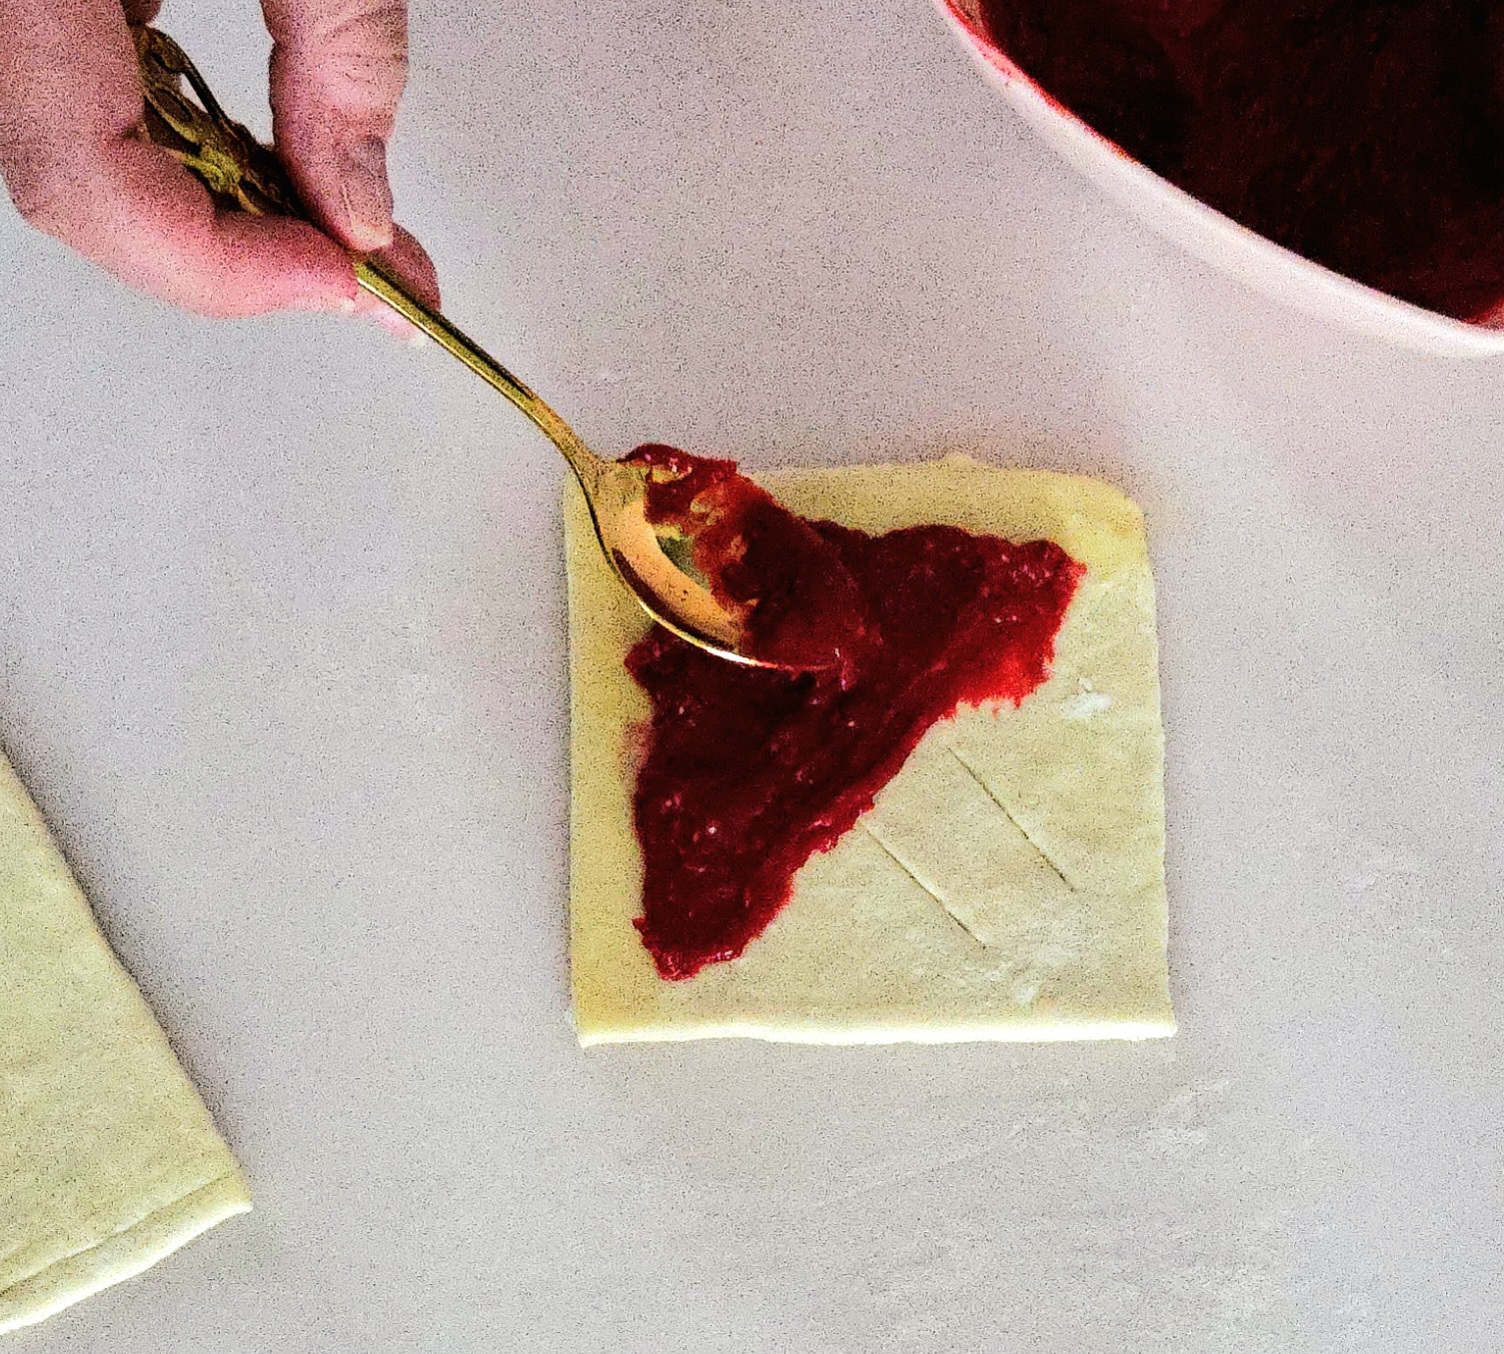
Fold the dough in half, so the top point lines up with the bottom point. Use your fingers to gently press the edges to seal them together. Take a fork and crimp the sides together, for extra security. Grab a bench scraper or chef’s knife and bluntly cut the very outside of the crimped edges off. This evens out the pastries, so they’re a bit prettier, and ensures just a tad more security for the filling to stay inside the dough as they bake.
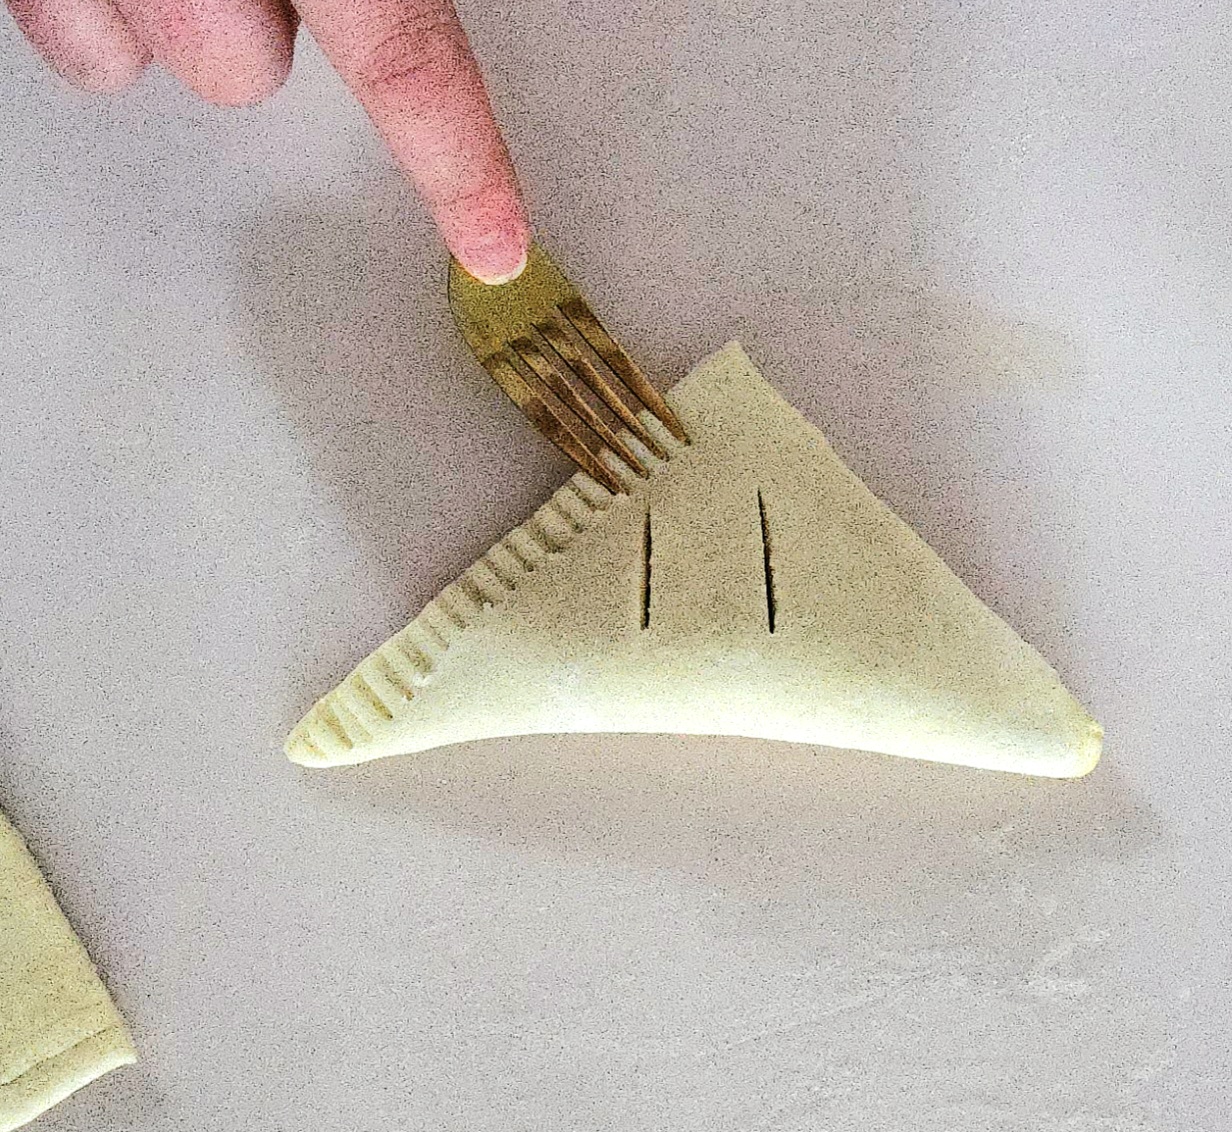
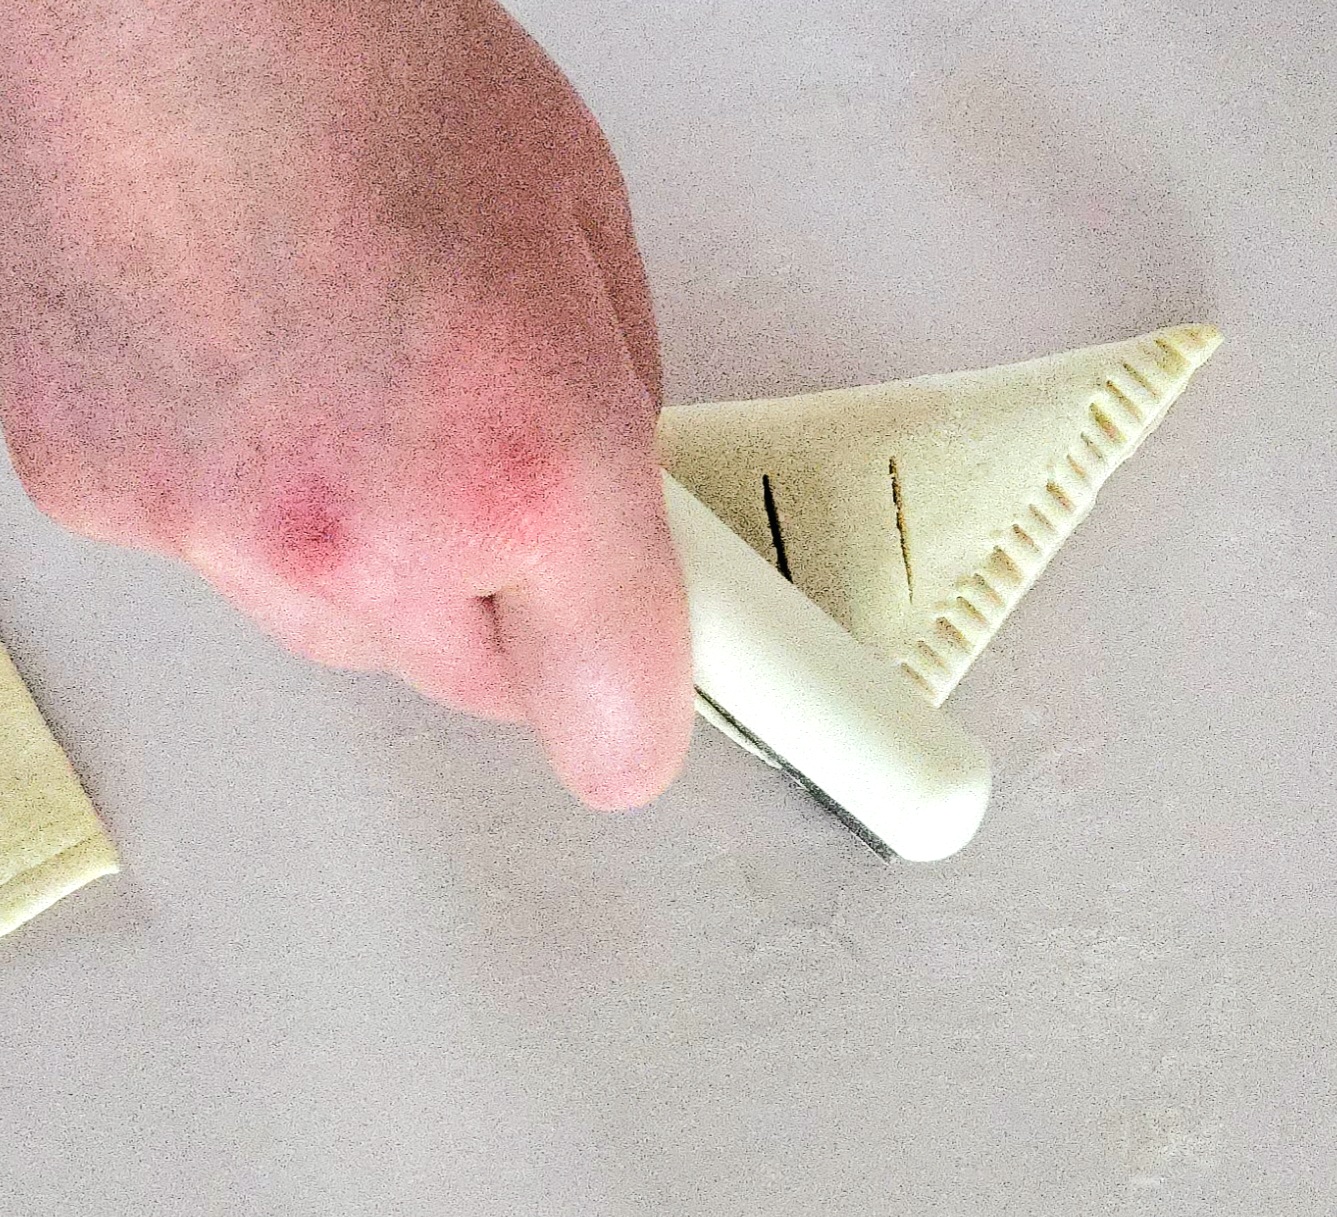
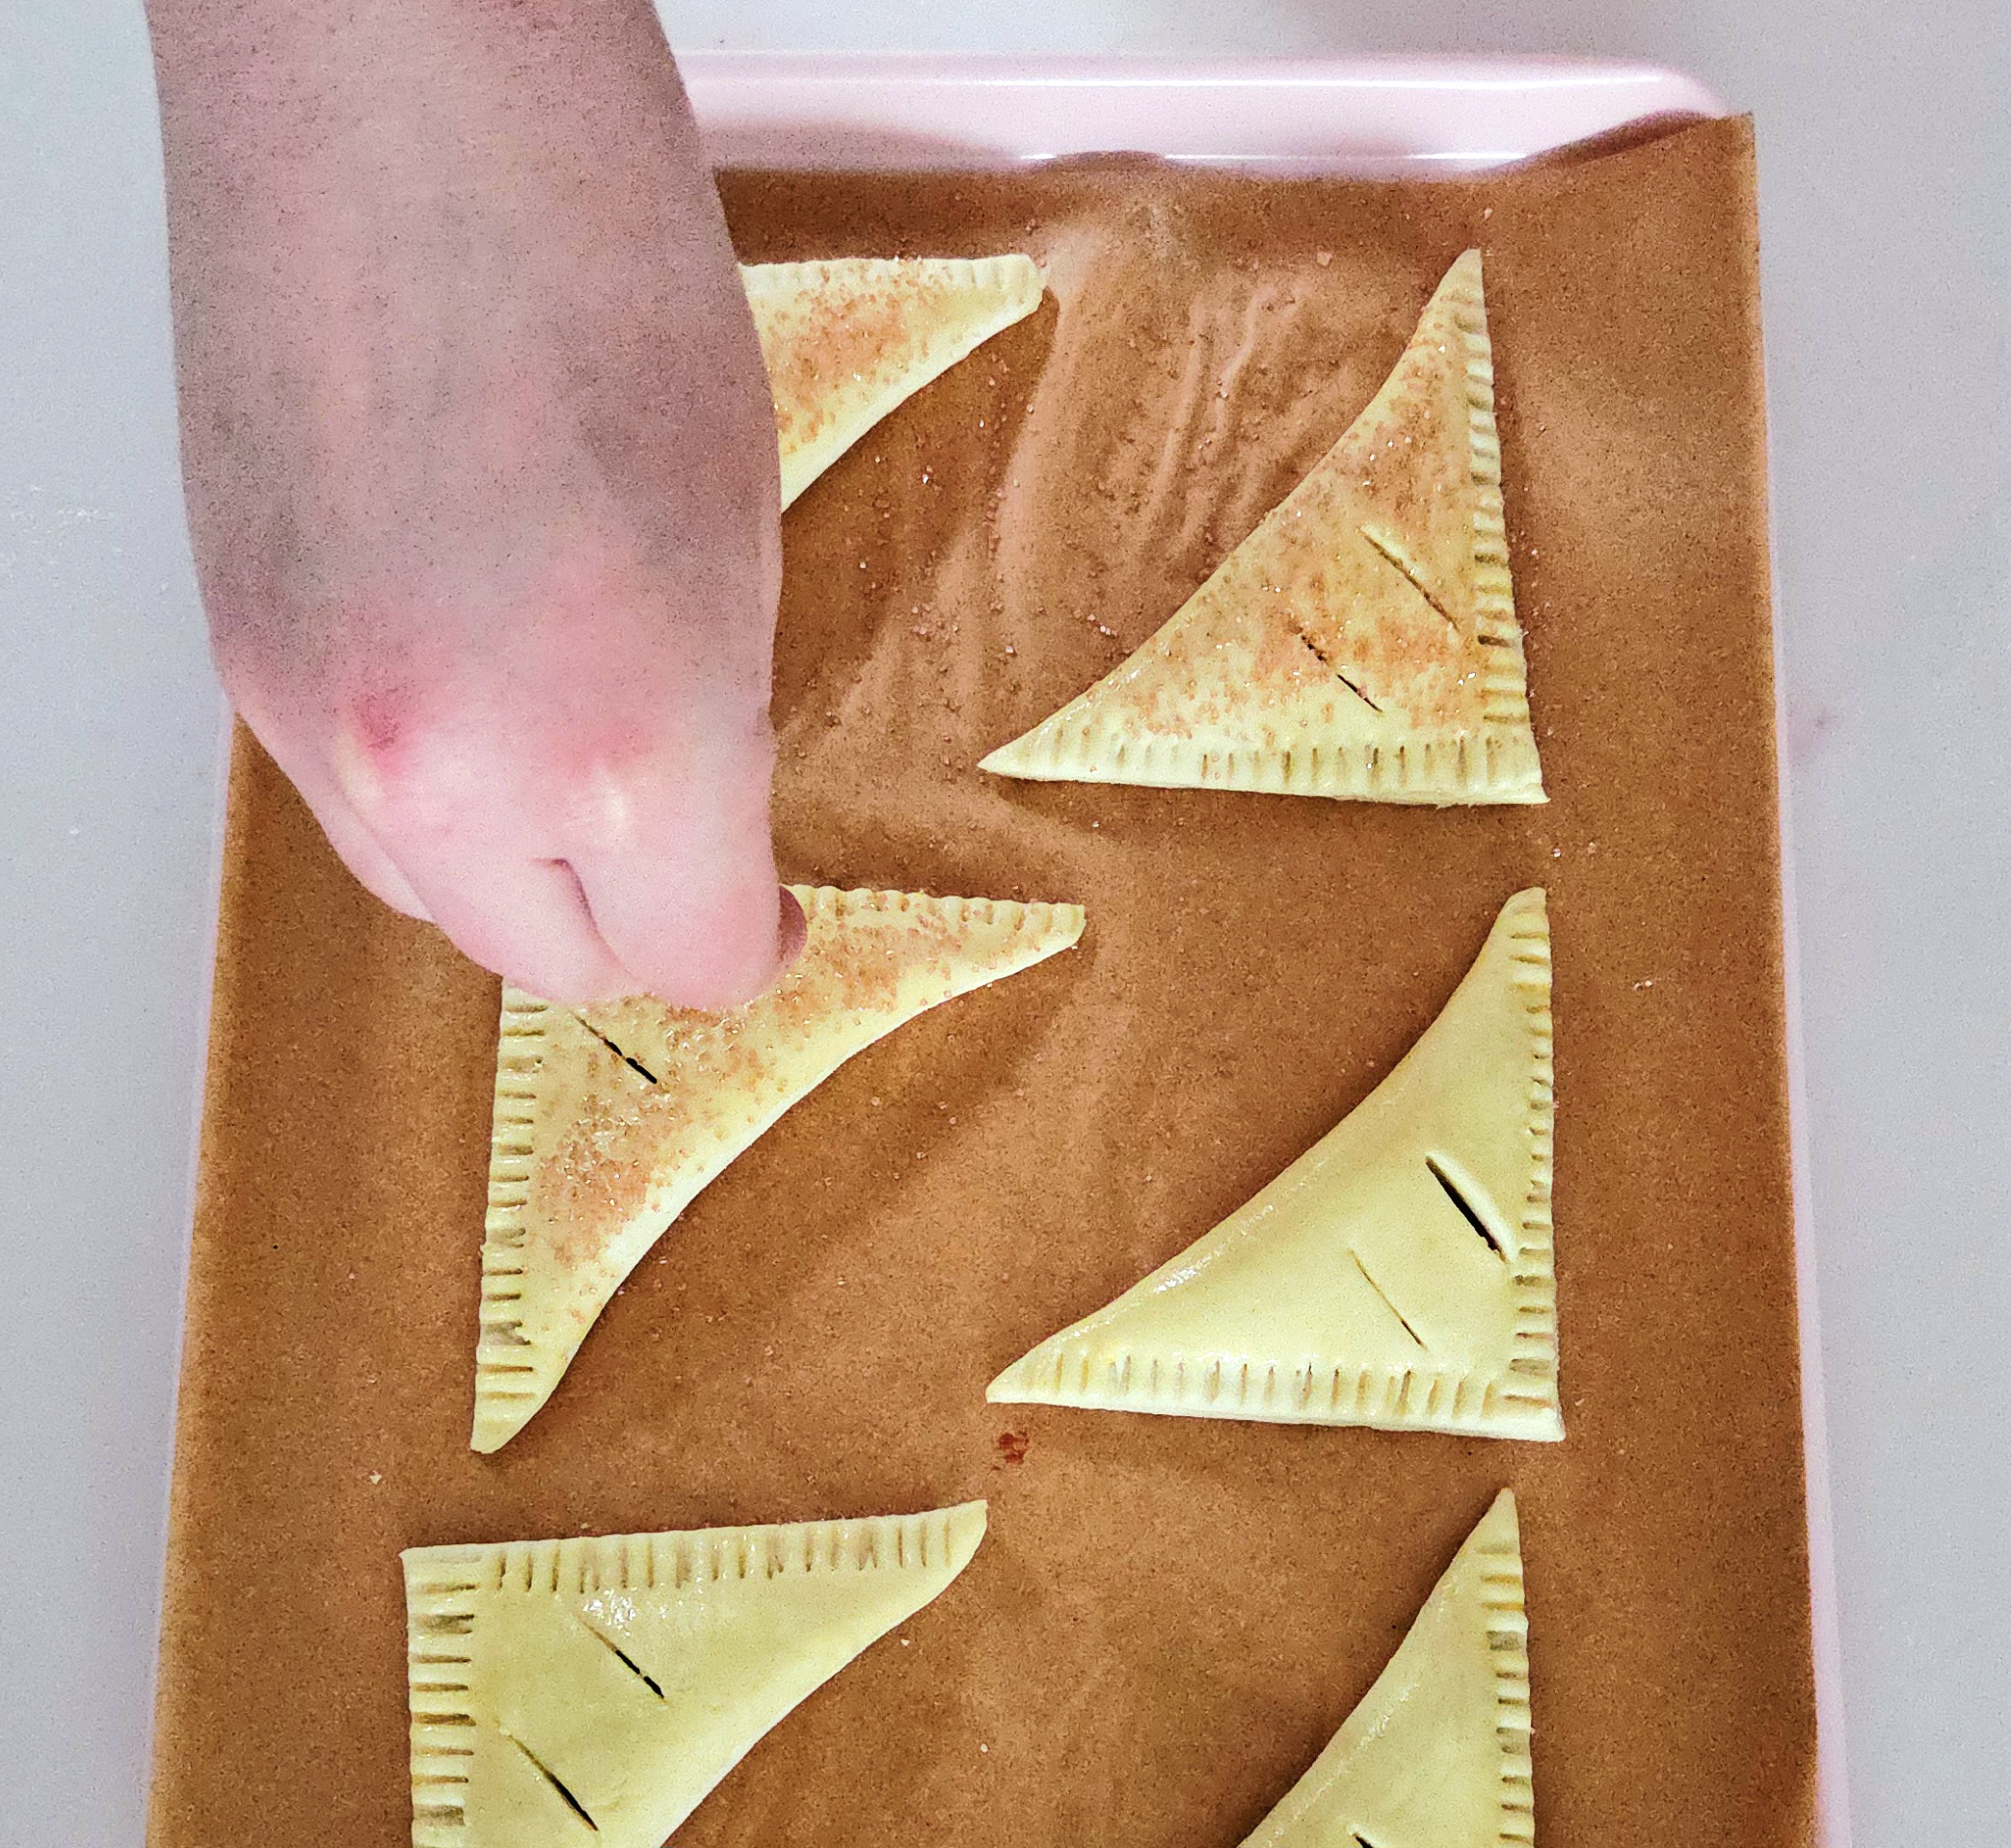
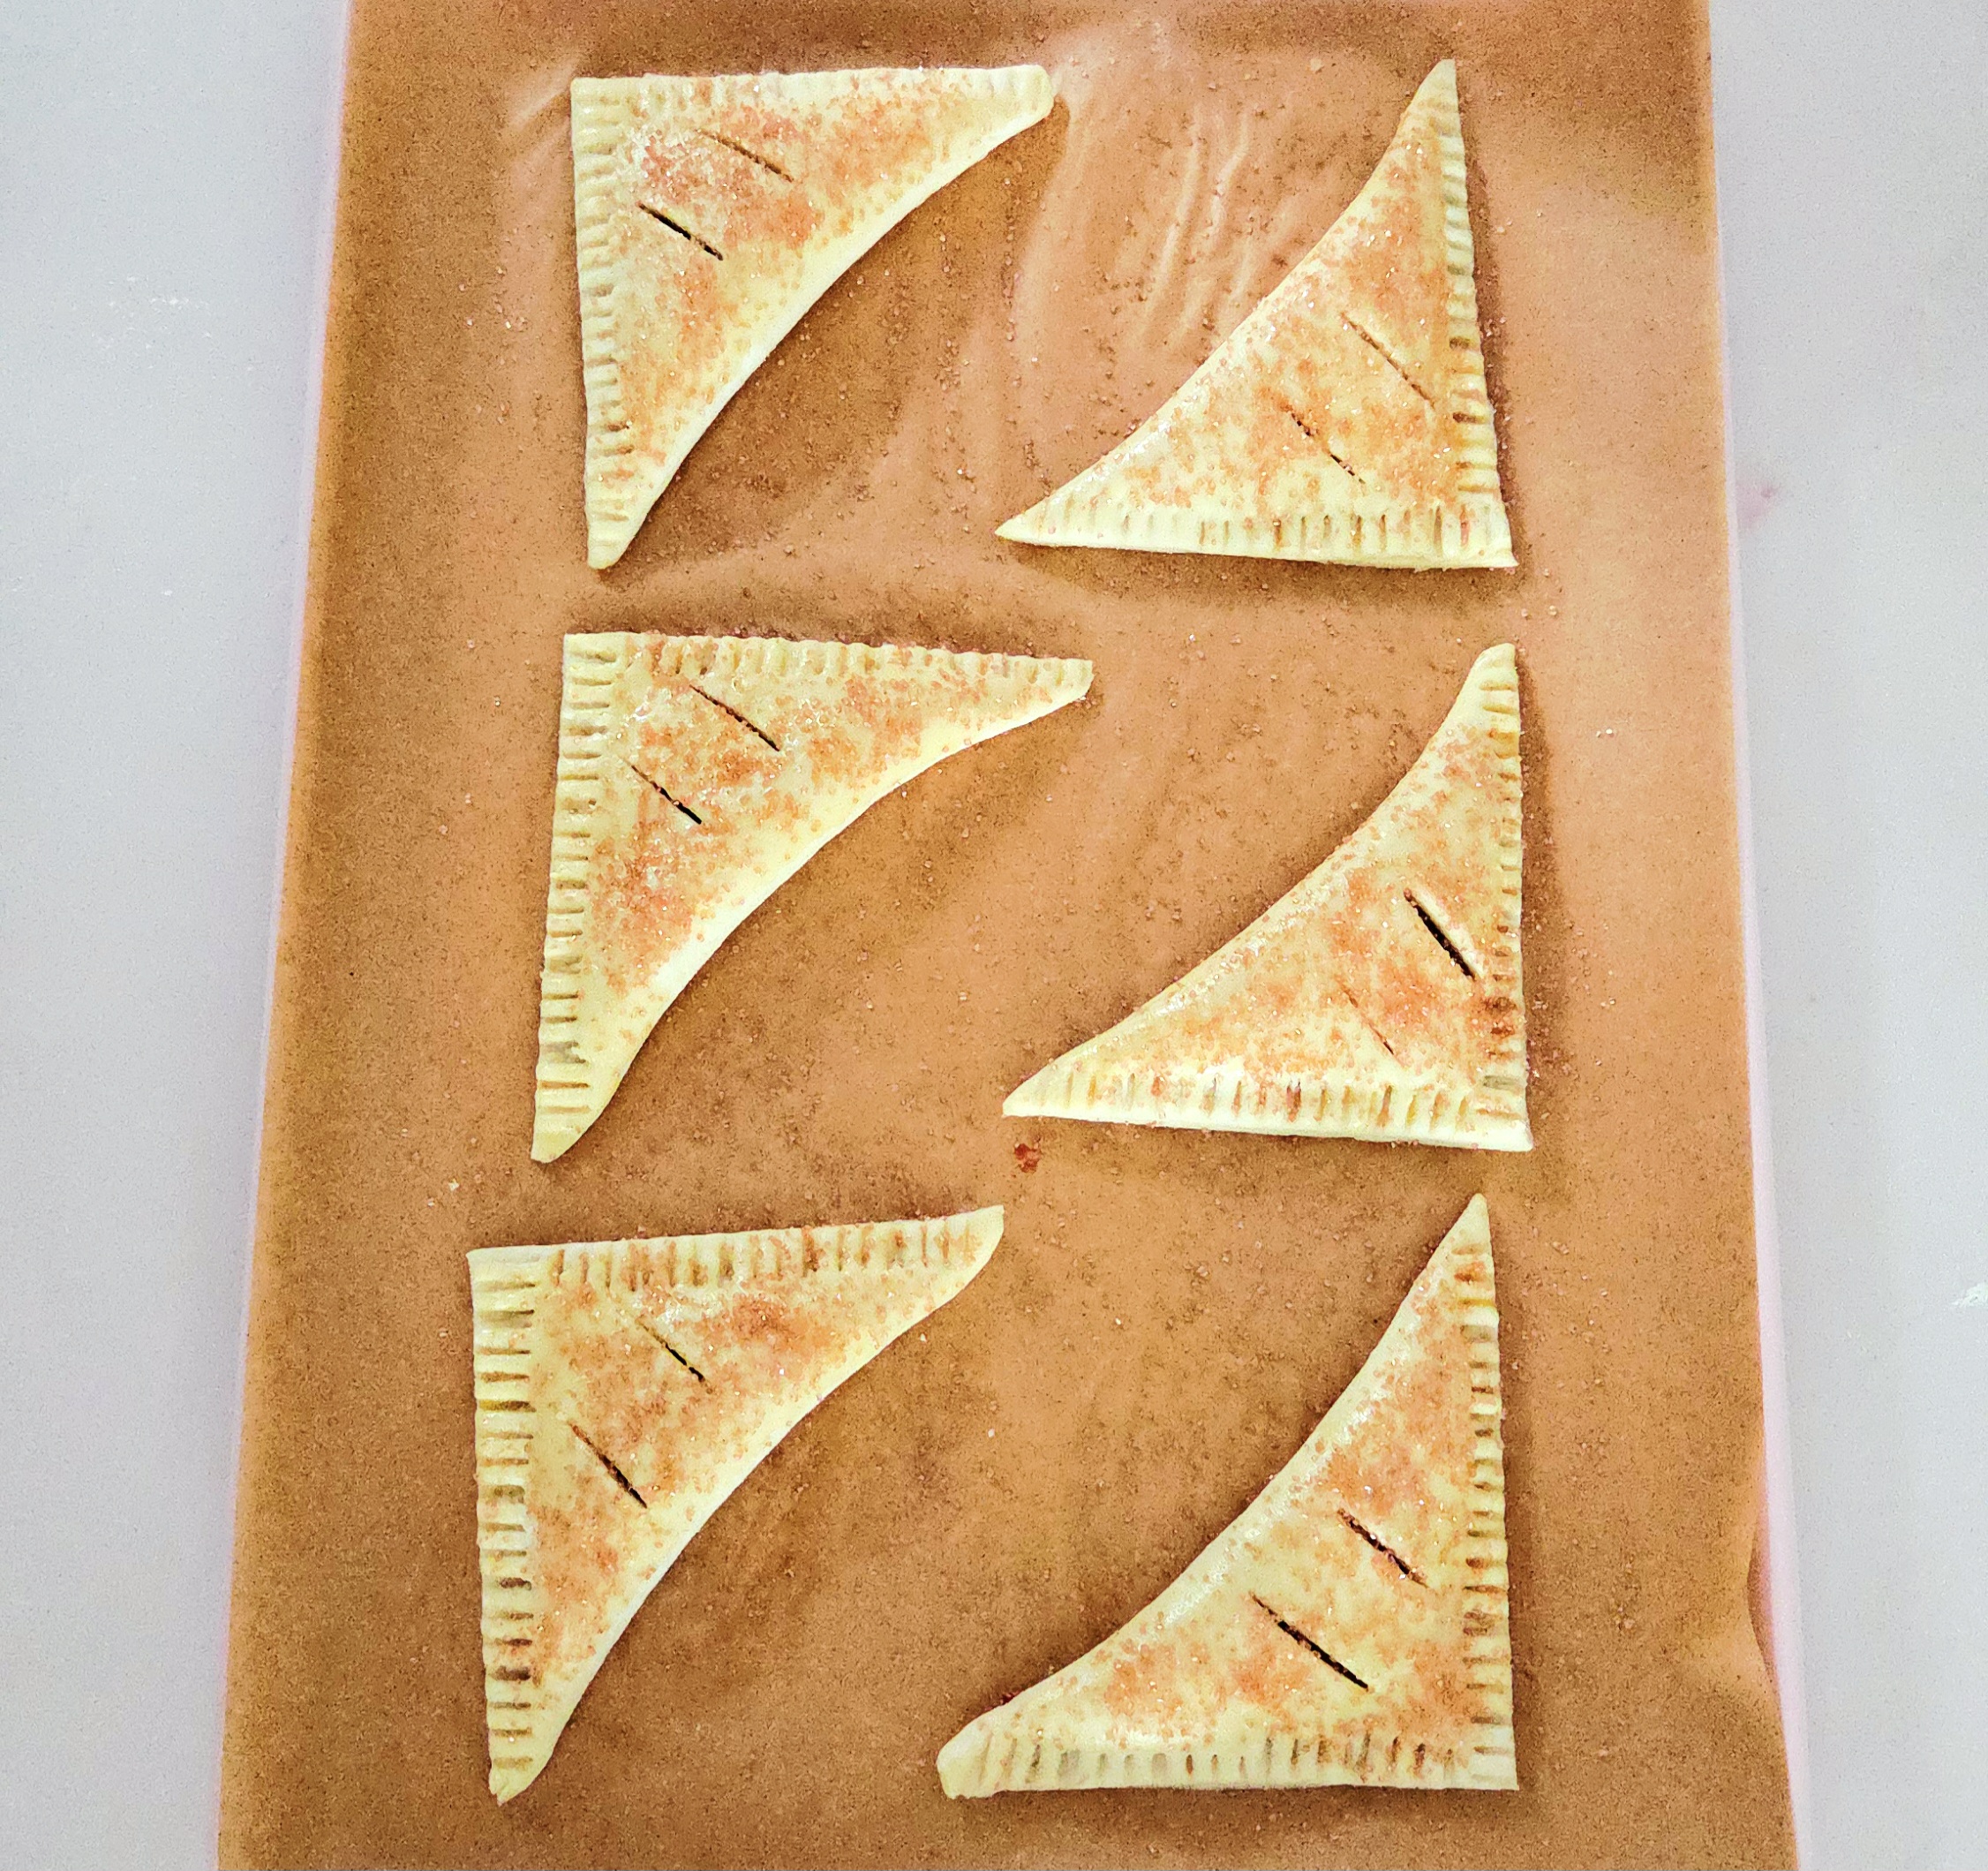
Space the turnovers evenly on the parchment lined baking sheet. Cover them with a sheet of plastic wrap and place them in the fridge. While the first set of turnovers chill, take the second sheet of portioned puff and repeat this process with them. After the second set of turnovers are assembled, take the first sheet back out of the fridge. Remove the plastic and brush a light layer of egg wash over the top of them. If you’d like a bit of sparkle and crunch, sprinkle some sparkling sugar on top.
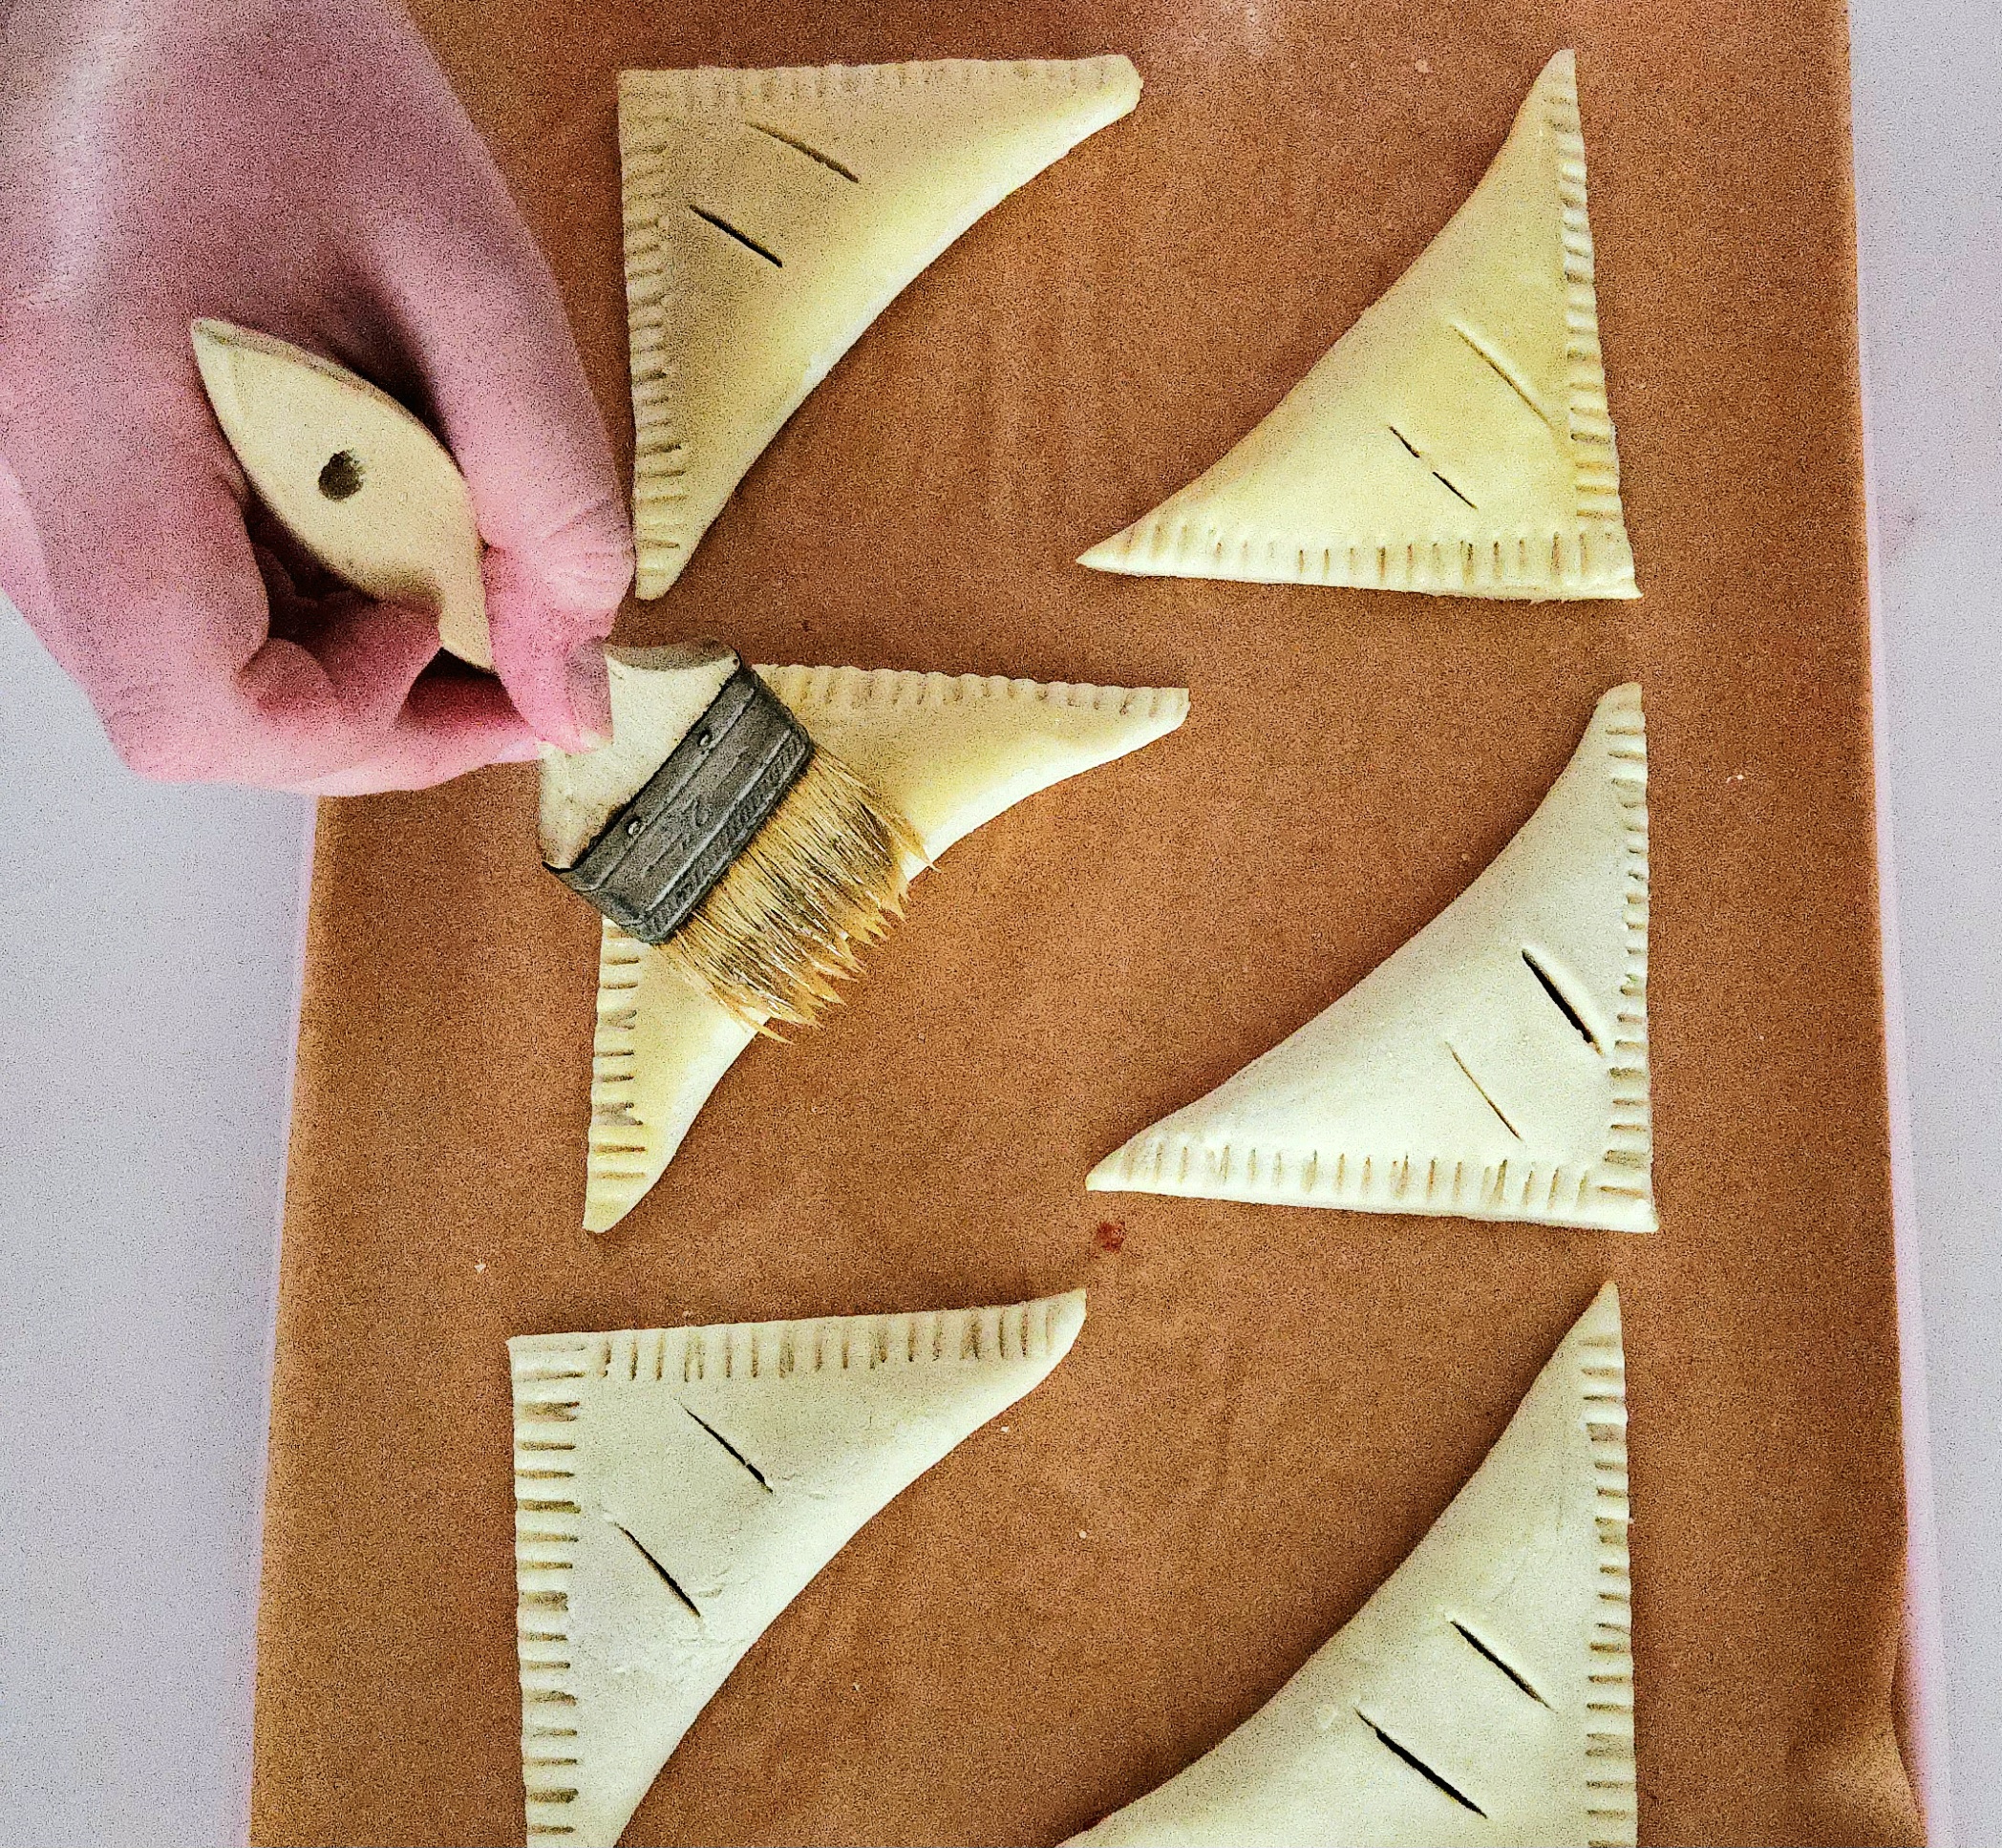
Bake the turnovers on the center rack of the hot oven for 20-25 minutes, flipping the pan halfway through. The pastries should be puffed up and golden brown, the filling by the slits bubbling. Repeat with the second pan of turnovers.
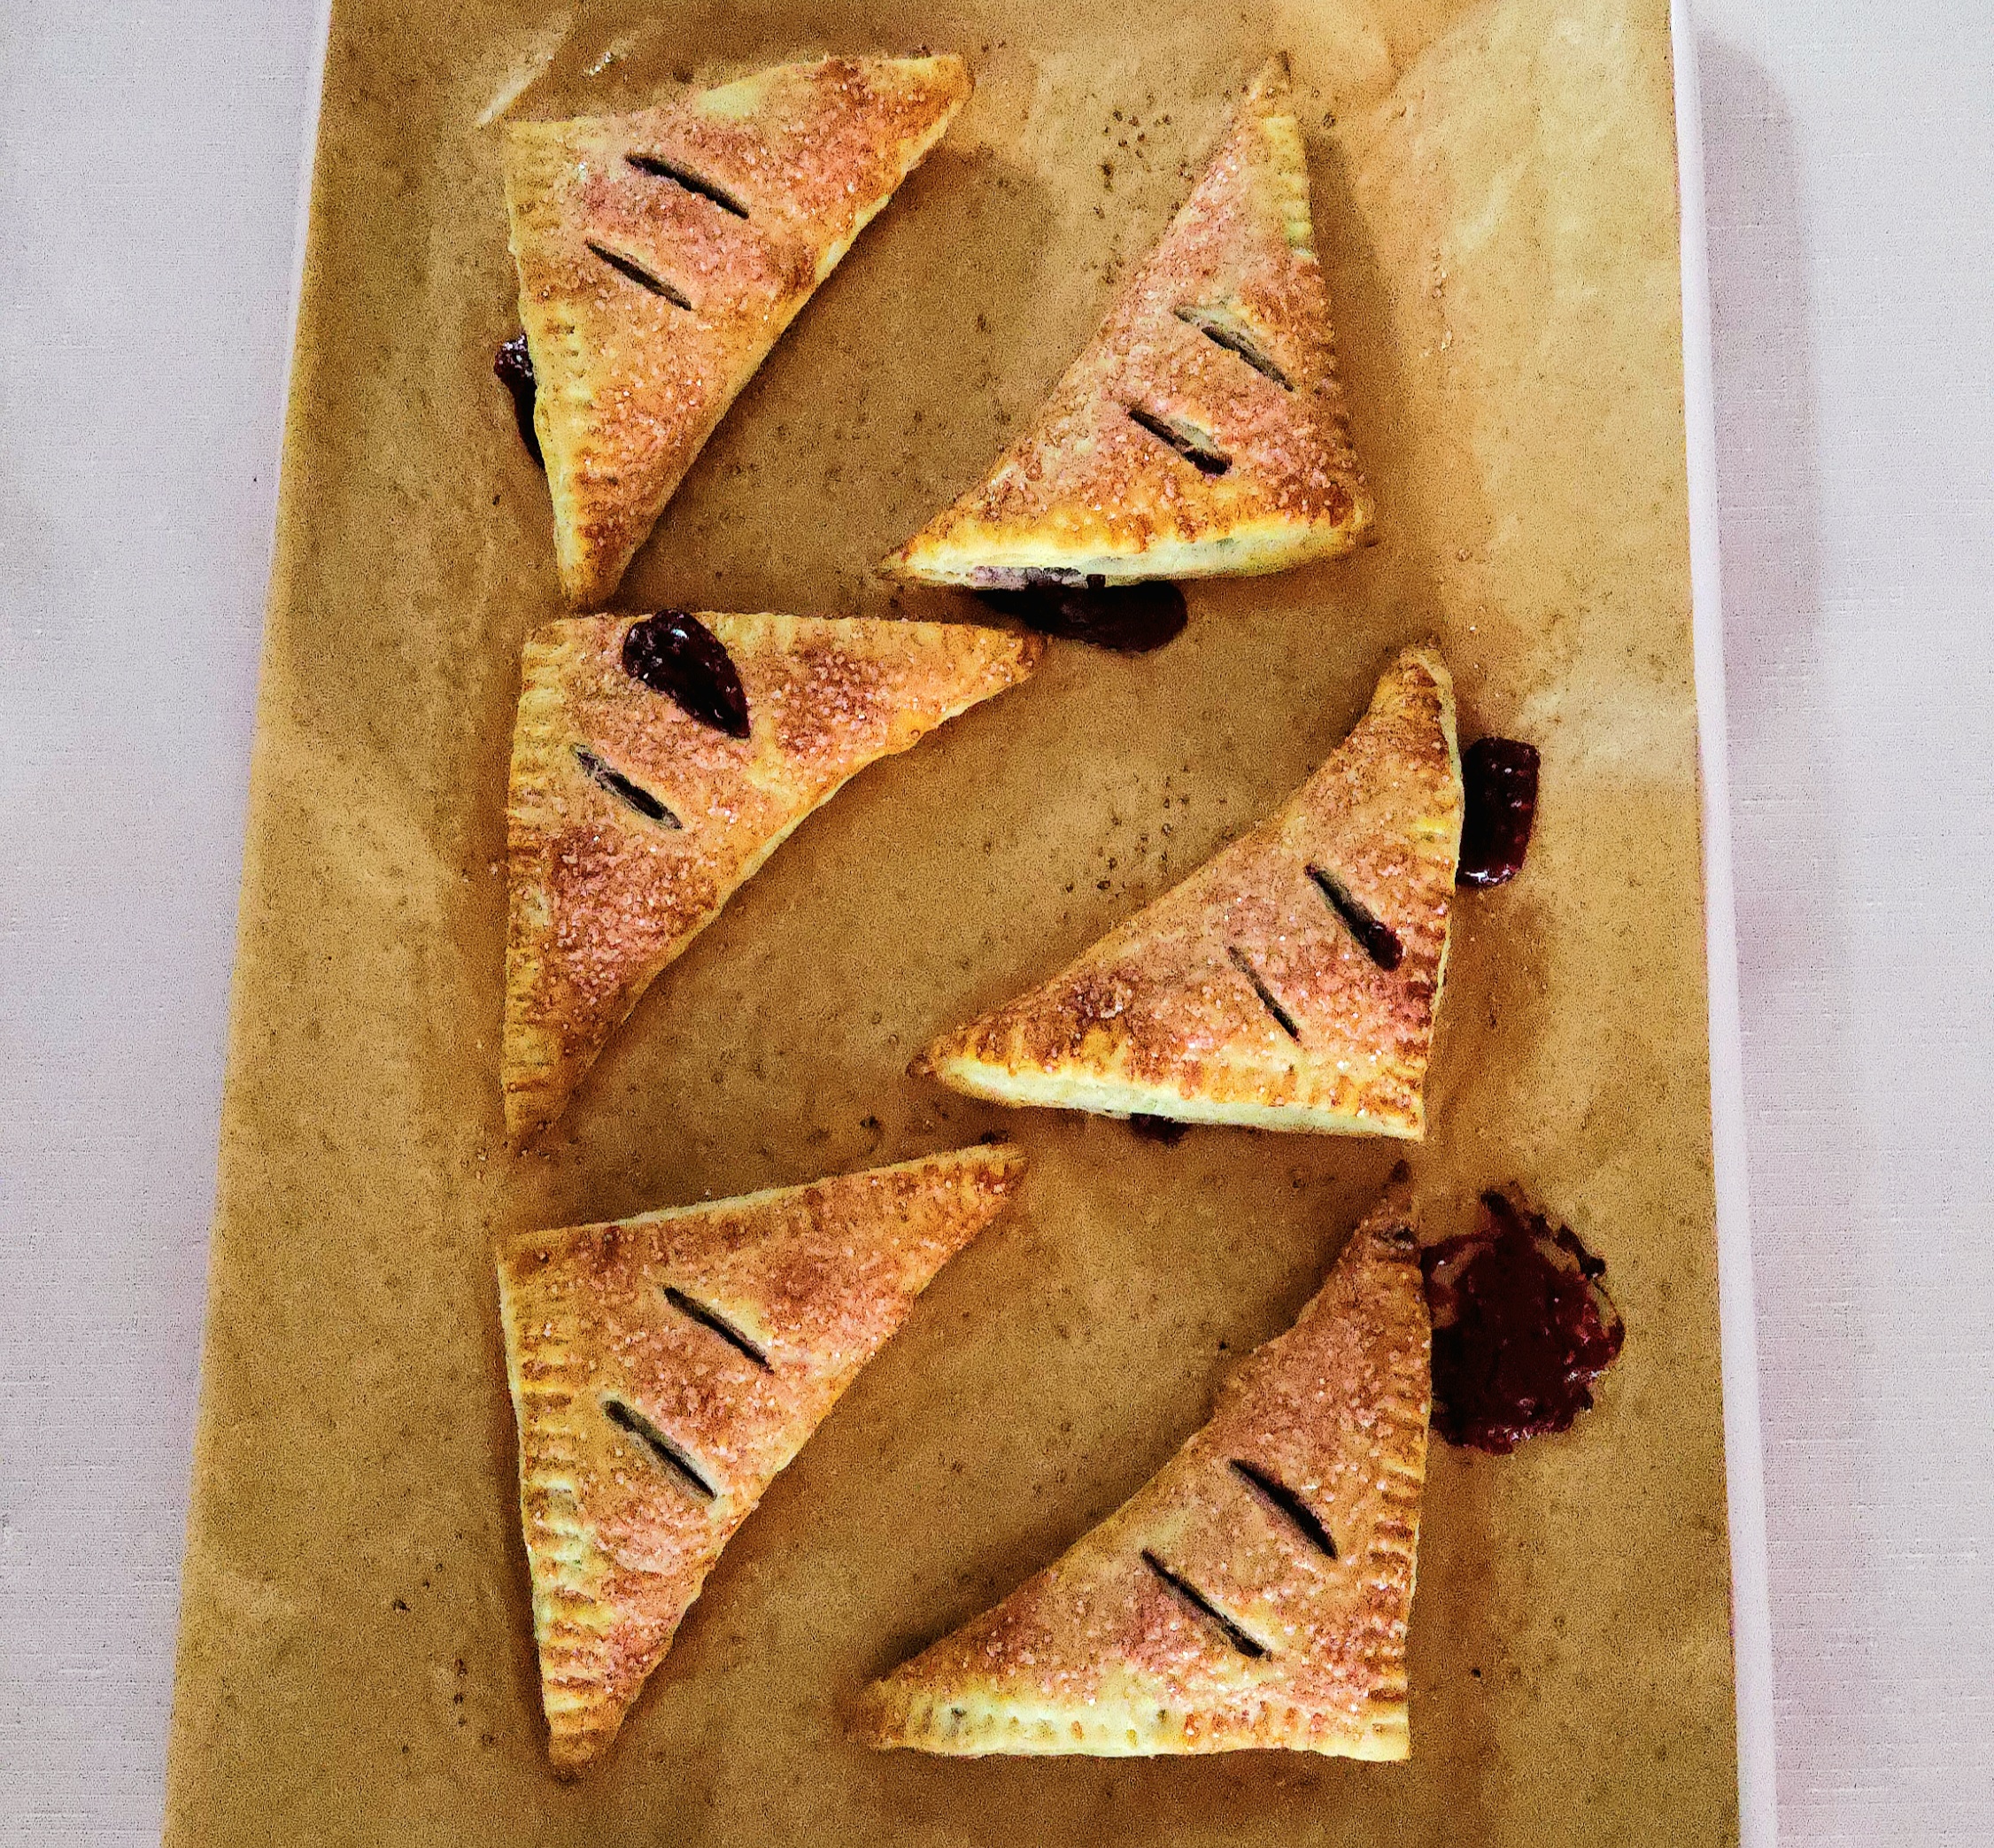
Allow the hot turnovers to rest on the pan for a few minutes after coming out of the oven. This gives them a bit more structural integrity, so they’ll hold together better when they’re moved. Transfer them over to a cooling rack.
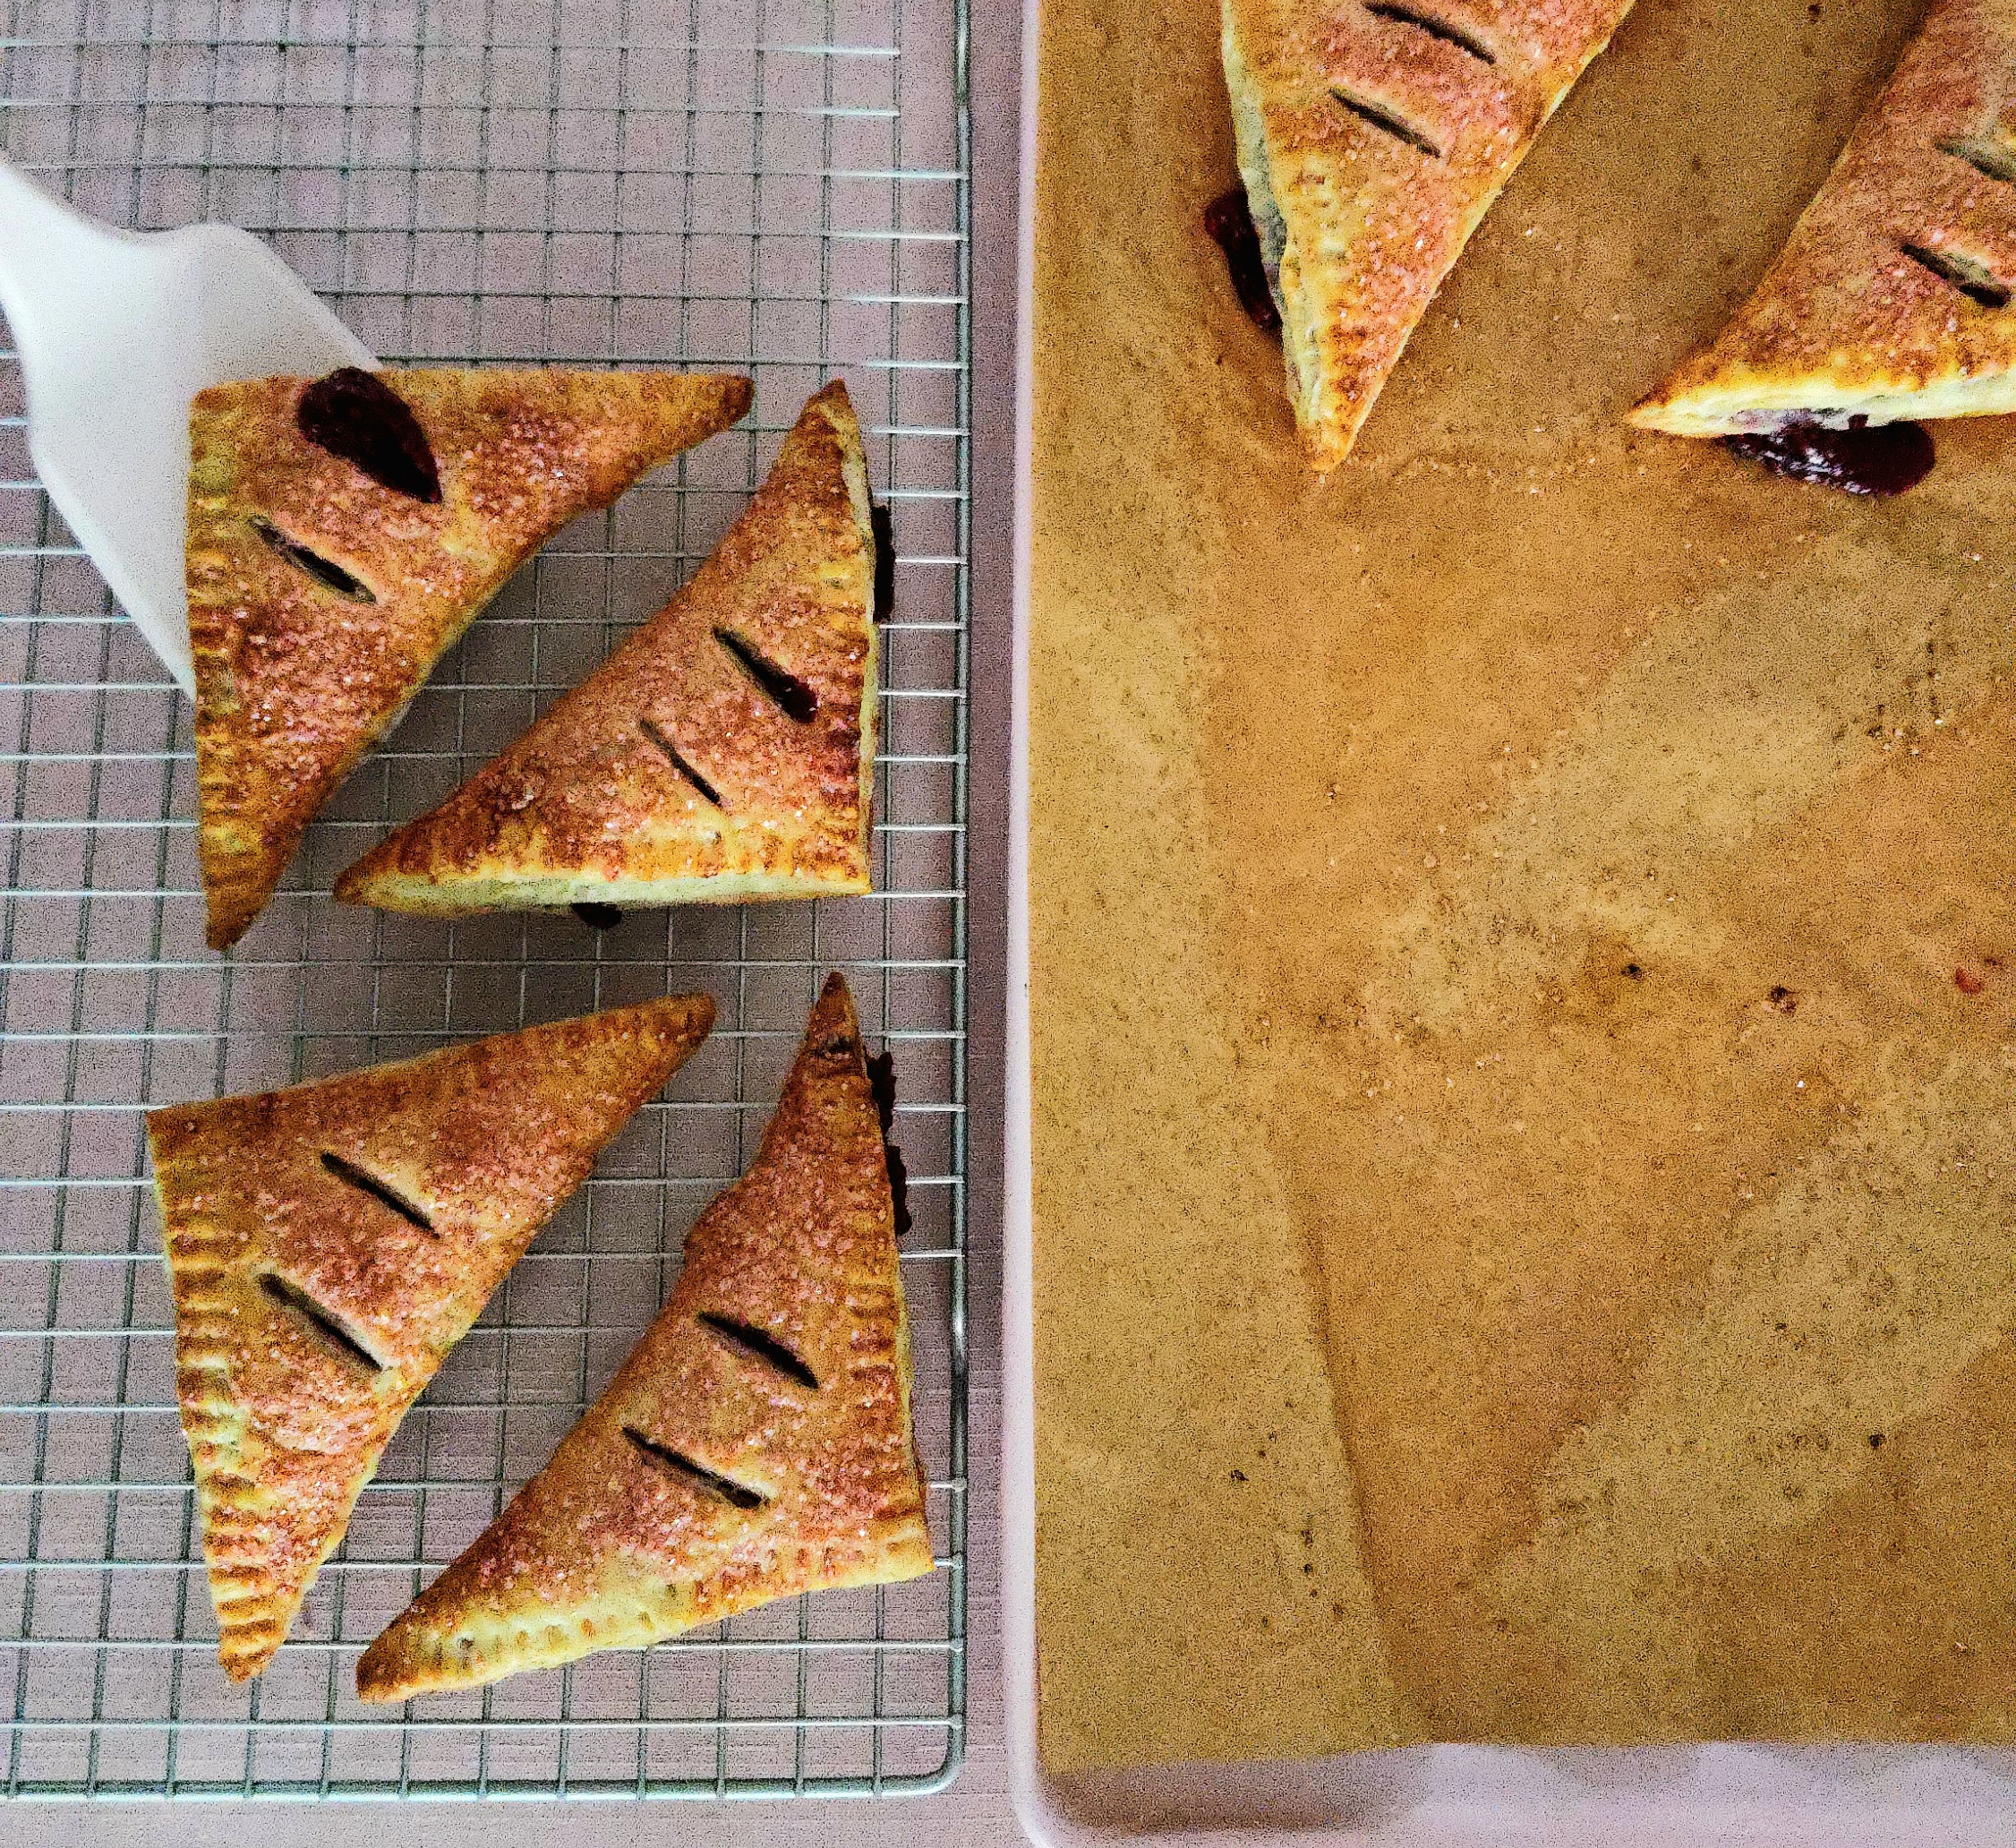
Once the pastries have come down to room temperature (or as close as you’ve got patience to wait for), dig in and enjoy! Store any leftover turnovers in an airtight container for up to 1 day.
Raspberry Turnovers
Bake Time: 400F for 20-25 minutes
Servings: 12 pastries
Total Time: 2 hours 30 minutes
Prep Time: 1 hour
Ingredients:
- 1 batch quick puff pastry (link) or 1-2 boxes frozen puff pastry
- 5 oz frozen raspberries
- 1 Tablespoon unsalted butter
- 1 lemon
- ⅓ cup granulated sugar
- 1 Tablespoon cornstarch
- 1 Tablespoon all-purpose flour
- ¼ teaspoon salt
- 1 large egg
- Pinch salt
- Sparkling sugar (optional)
Directions:
Make the Filling:
- Before starting anything else, make sure the puff pastry is prepped or thawed and ready to use. Position the rack in the center of the oven and preheat it to 400F. Line two baking sheets with parchment paper or silicone baking mats and set them aside.
- Whisk together the sugar, cornstarch, flour, and salt in a small mixing bowl. Set it aside for now. Grab a clean, rimmed baking sheet, so it’s ready to go for the filling.
- In a 2 qt saucepan, melt the butter over medium heat. Add in the raspberries and squeeze in the juice of the lemon.
- Give it a stir for a minute, using a heat safe spatula, then as the berries heat up, dump the dry goods on top of them. Stir the filling constantly, making sure the spatula is touching the bottom of the pan, until it becomes thick, about 5-10 minutes.
- Once it’s finished, immediately pour the filling onto the baking sheet you grabbed earlier. Scrape as much of it onto the baking sheet as you can, then spread it out. Cover the filling with a sheet of plastic wrap, directly touching the filling. Set it aside to cool completely.
Assembly and Bake:
- Crack the egg into a small dish, add a pinch of salt and splash of water, and beat it with a fork. Set the egg wash aside. Scrape the cooled filling onto a small bowl and give it a mix with a spoon, then set it aside.
- Lightly dust a clean counter. Grab the puff pastry from the fridge. If you’re using a scratch-made puff, like this one (link), cut the dough in half, as shown above. Wrap half of the puff back in plastic and return it to the fridge, and place the second half onto the floured counter. Dust the top of the puff with flour, then roll it out to an approximately 9×13 inch rectangle.
- Cut the rolled out dough into a 2×3 grid, so you’re left with 6 approximately 4×4 inch squares. Place the portioned dough onto one of the lined baking sheets, cover it with plastic wrap, and place it in the fridge while you repeat this process with the second half of puff pastry.
- Start filling the squares that have been chilling in the fridge, while the second set chill. Take a square and arrange it in diamond formation in front of you. Using a paring knife, cut 2 slits measuring 1-2 inches on the top half of the diamond, in the center. Brush the bottom two edges with egg wash. Use photos above for reference.
- Scoop 2-3 Tablespoons worth of filling into the bottom half of the diamond that hasn’t been cut. Spread it out into a triangle, right up to the egg wash lines. Fold the turnovers in half, so the slit dough is now covering the filling.
- Gently press the edges together with your fingers first, then crimp them closed using a fork. Place the assembled turnovers back onto the lined baking sheet. Cover them with plastic and place them back into the fridge, while you assemble the second set of turnovers.
- Once the second half has been prepped, switch them back with the first pan of turnovers you put together. Using a bench scraper or chef’s knife, bluntly cut off the very edges of the crimped sides of the pastries. Space out the turnovers evenly on the pan, as shown above.
- Brush the tops of the turnovers with egg wash and, if you’d like, sprinkle the tops with sparkling sugar. Bake them on the center rack of the heated oven for 20-25 minutes, flipping halfway through, until the tops are a beautiful golden brown. Repeat with the second pan.
- Allow the turnovers to rest on the pan for a minute or two, then transfer them over to a cooling rack. When they’ve come down to room temperature, dig in and enjoy! Any leftover pastries can be stored in an airtight container for up to 1 day.
Tips
- Unbaked turnovers can be frozen to pull and bake later at your own discretion! Follow the recipe through step 6 of the Assembly section, then instead of placing the turnovers into the fridge, place them into the freezer. Once they’re frozen solid, transfer the turnovers to a freezer bag. Pull and bake them at 400F for 25 minutes, or until they’re golden brown and puffed up.
- If at any point throughout the process the puff pastry starts to get warm and difficult to work with, place the dough on a baking sheet, cover it, and chill it for 15-20 minutes. The cold will firm up the butter solids, making it easier to work with again.


0 Comments