
I’m going to be honest, the inspiration for this recipe began with having a surplus of honey roasted peanuts that I needed to use up. There was no emotional tie, as much as I absolutely froth at the mouth for a good honey roasted peanut. And that’s okay! Sometimes, the best recipes come from having ingredients you need to use up before they go bad. No shame or embarrassment in a situation we’ve all found ourselves in.
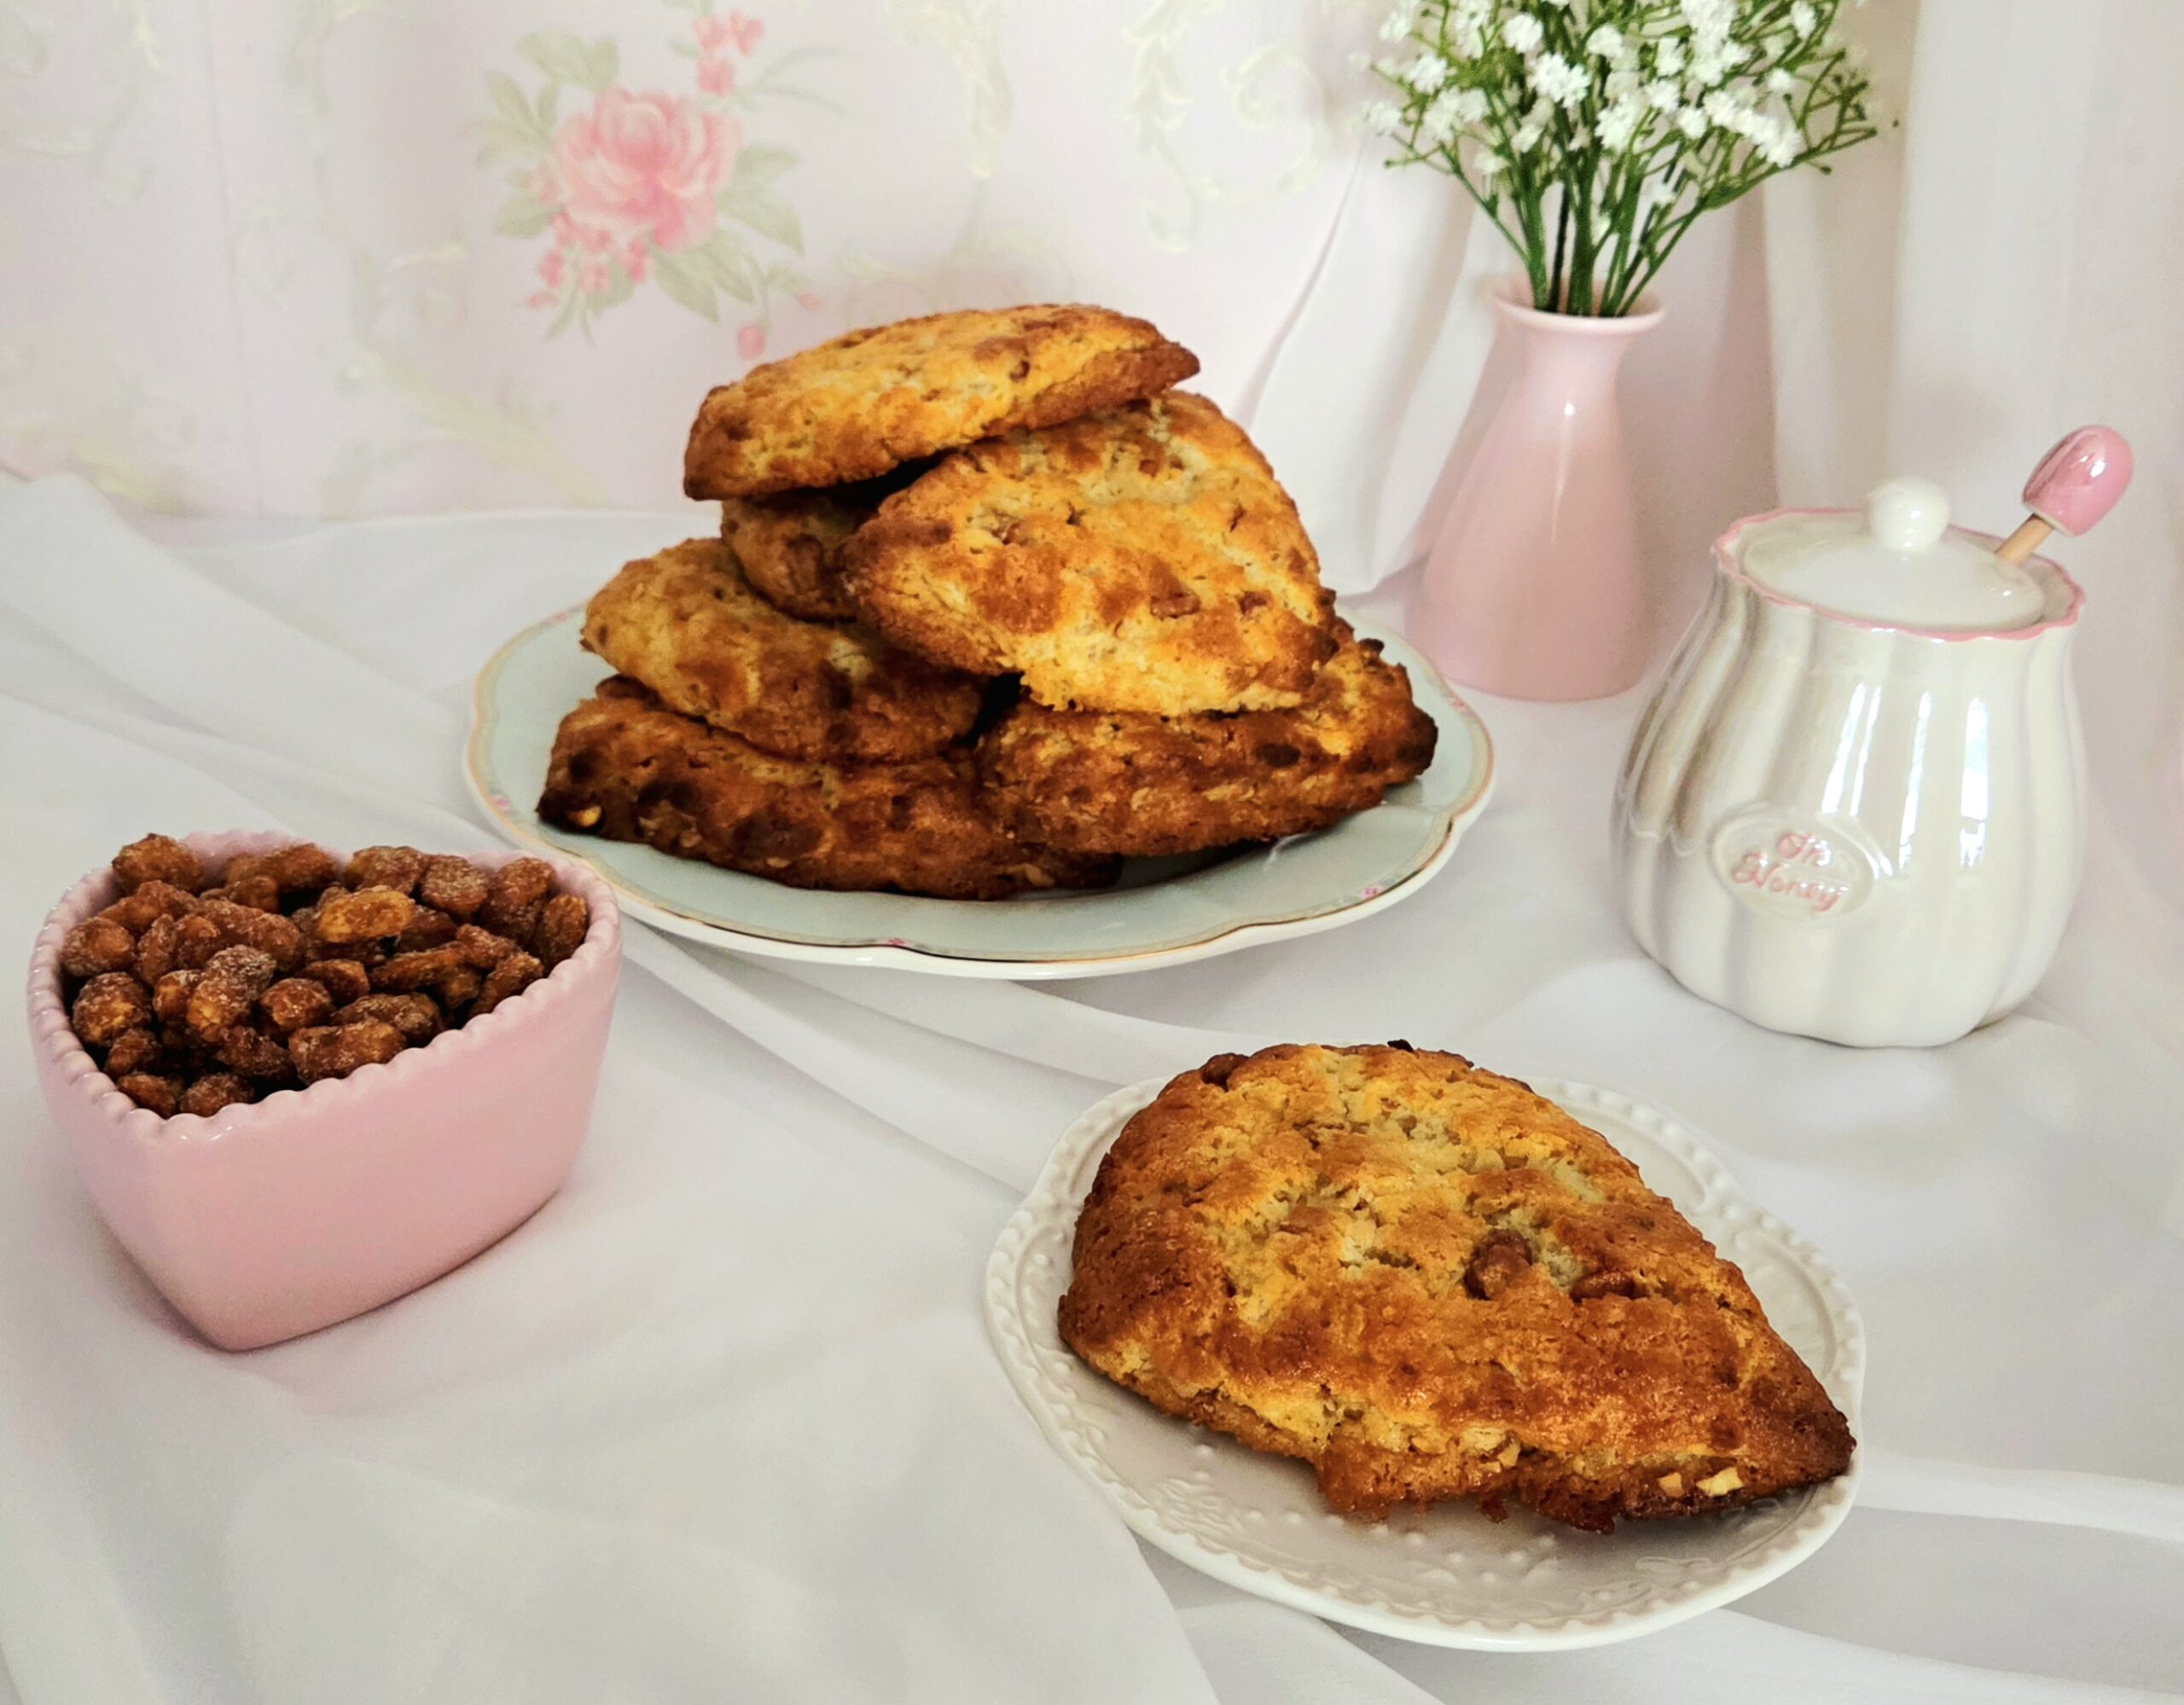
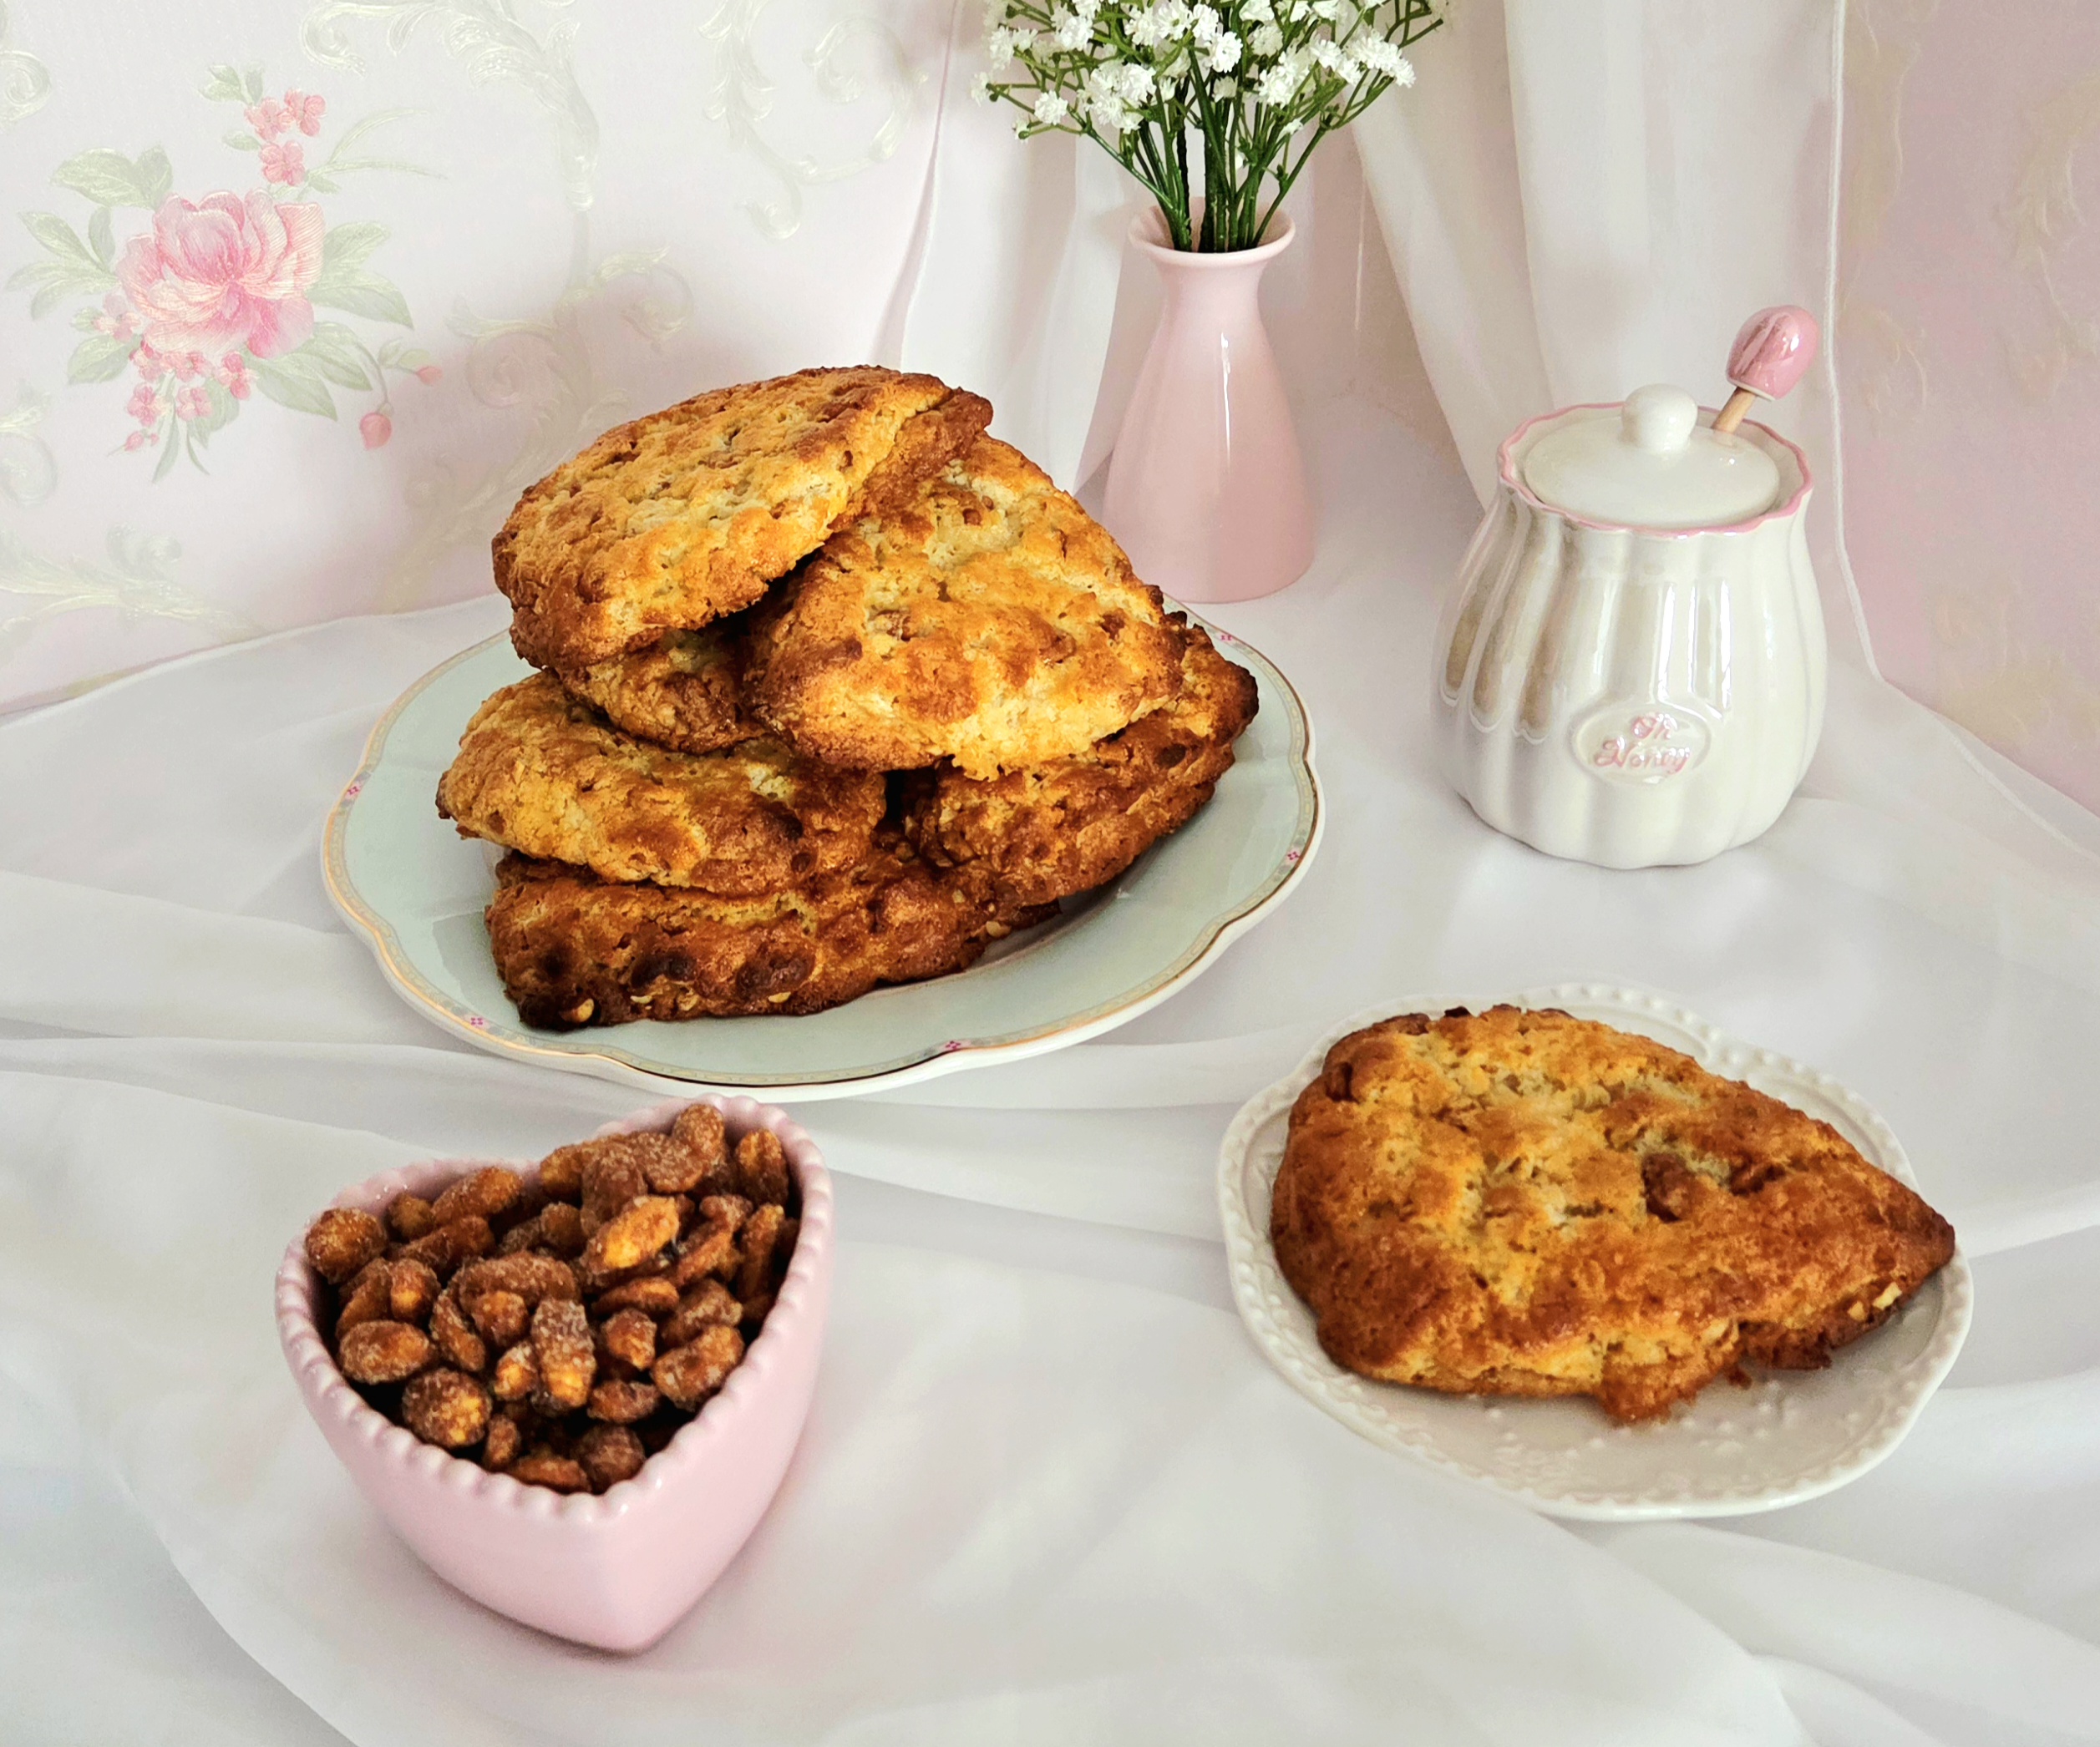
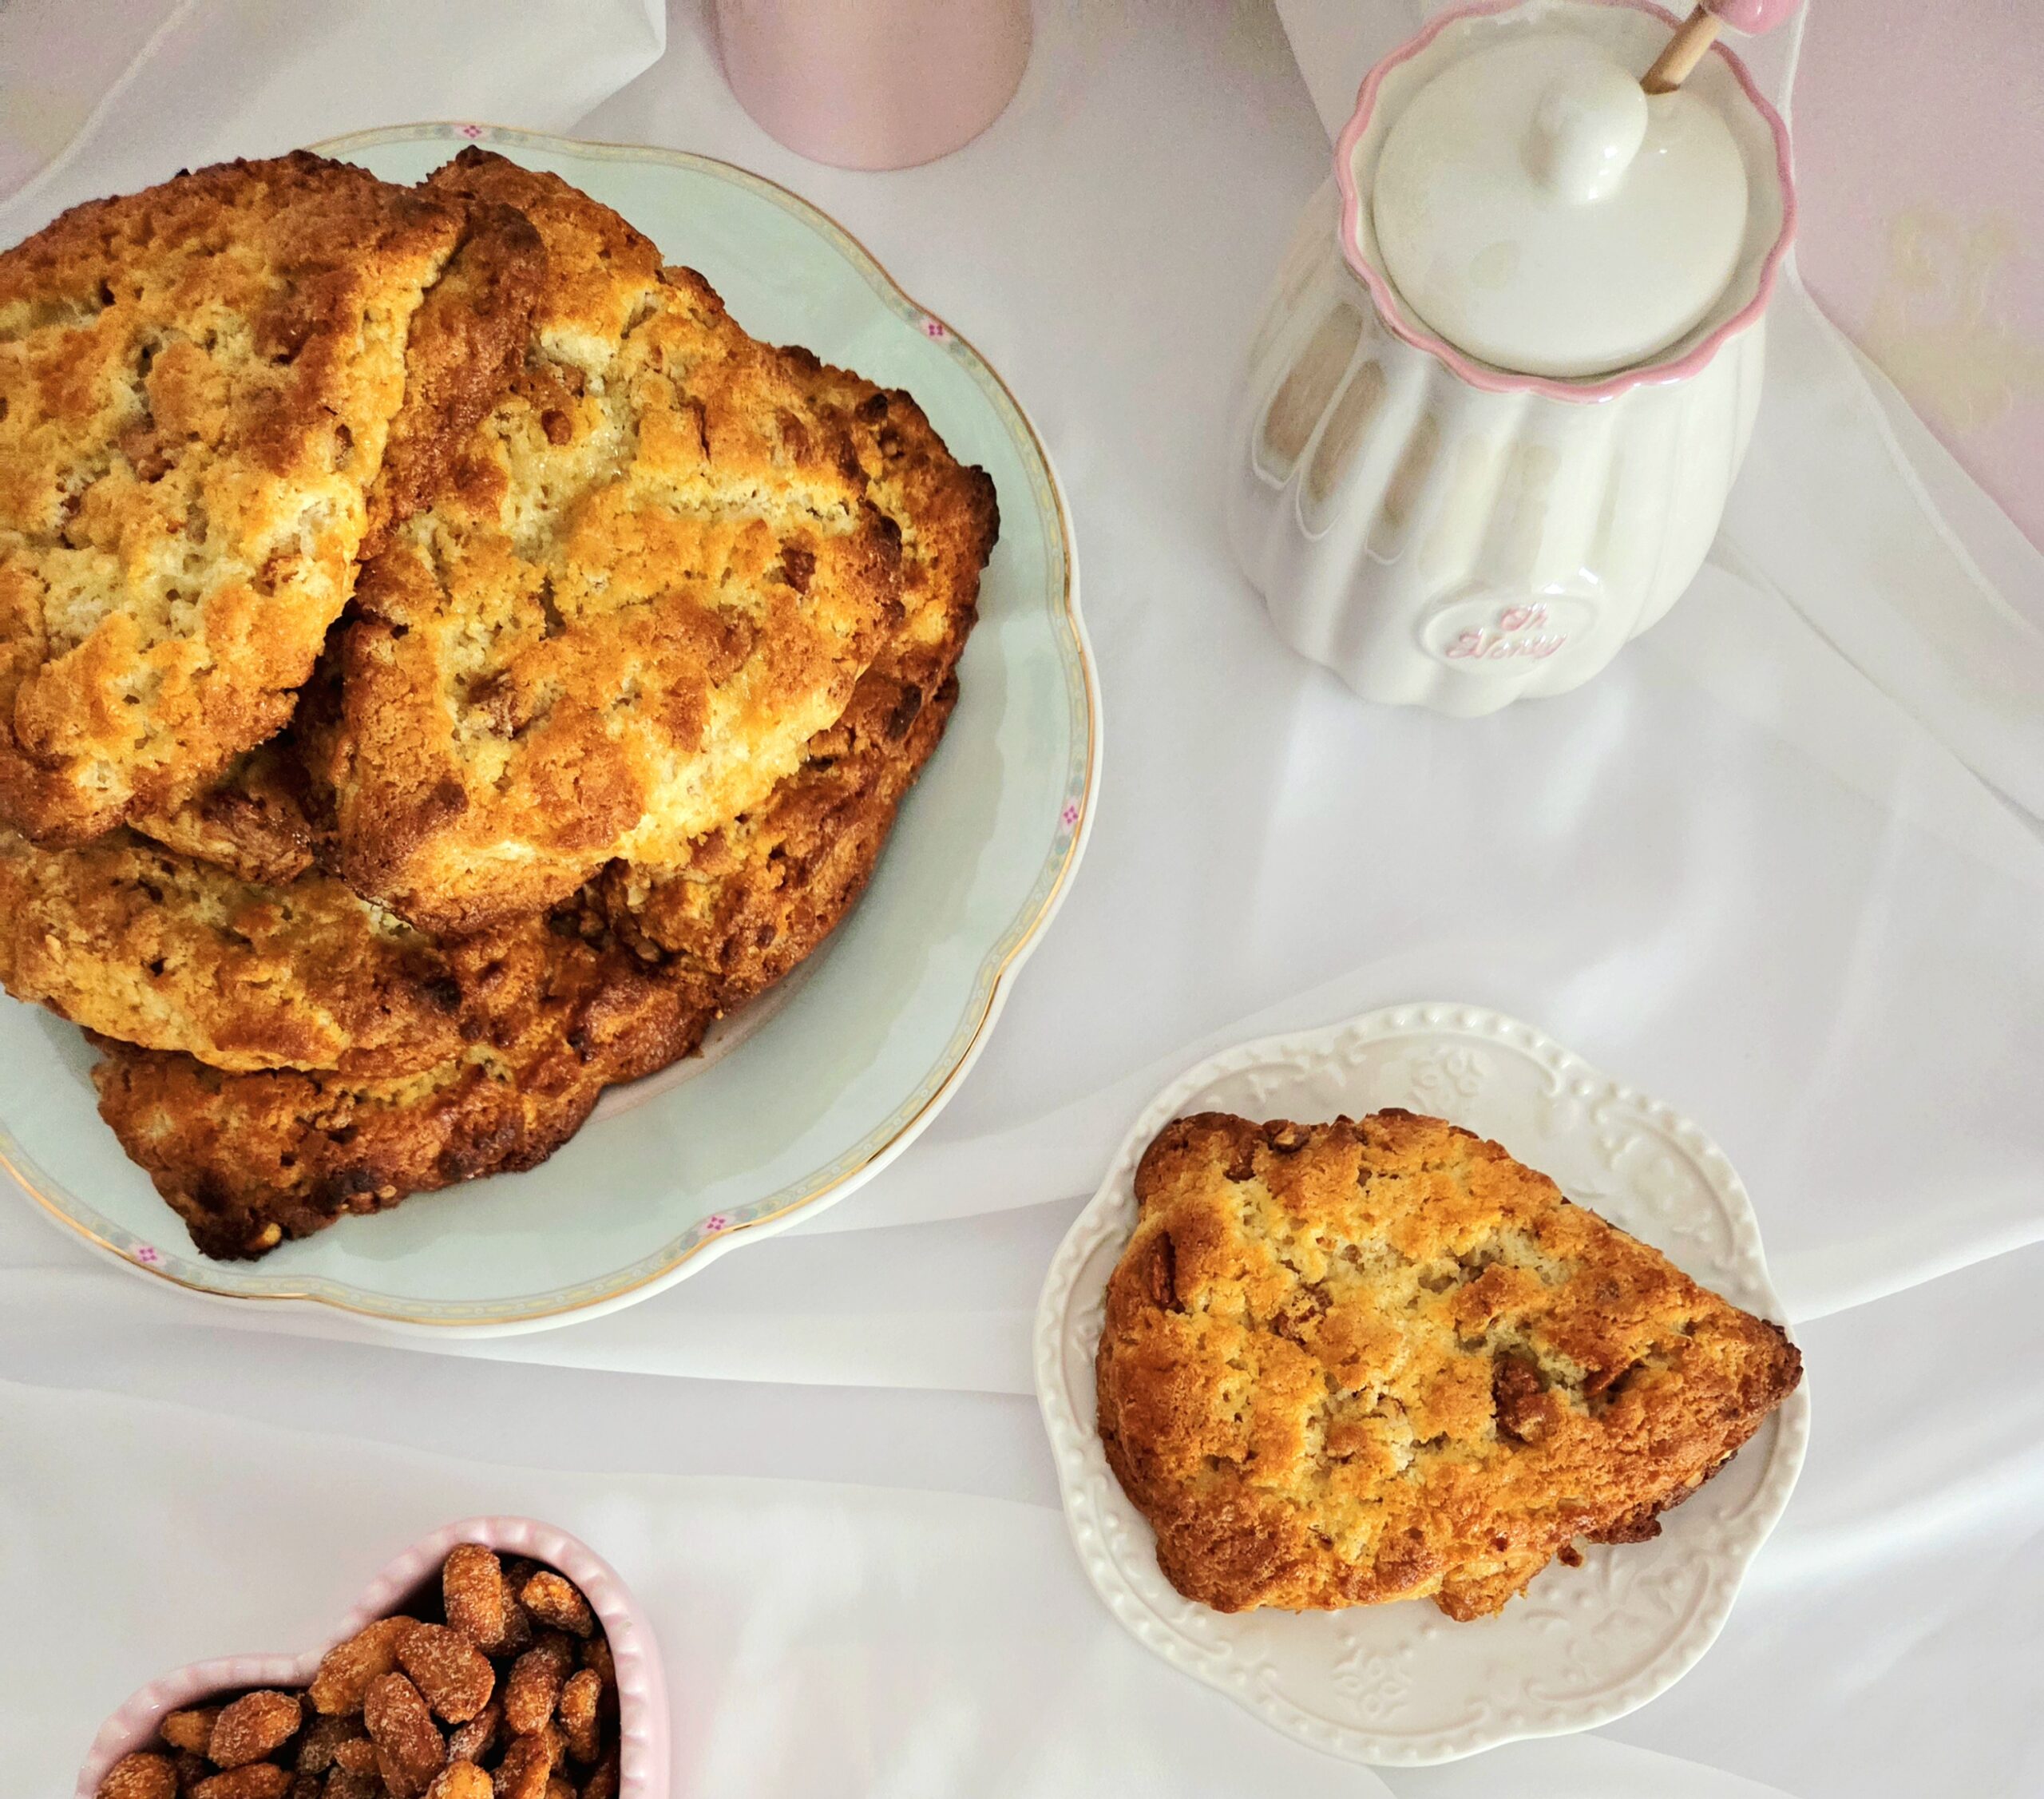
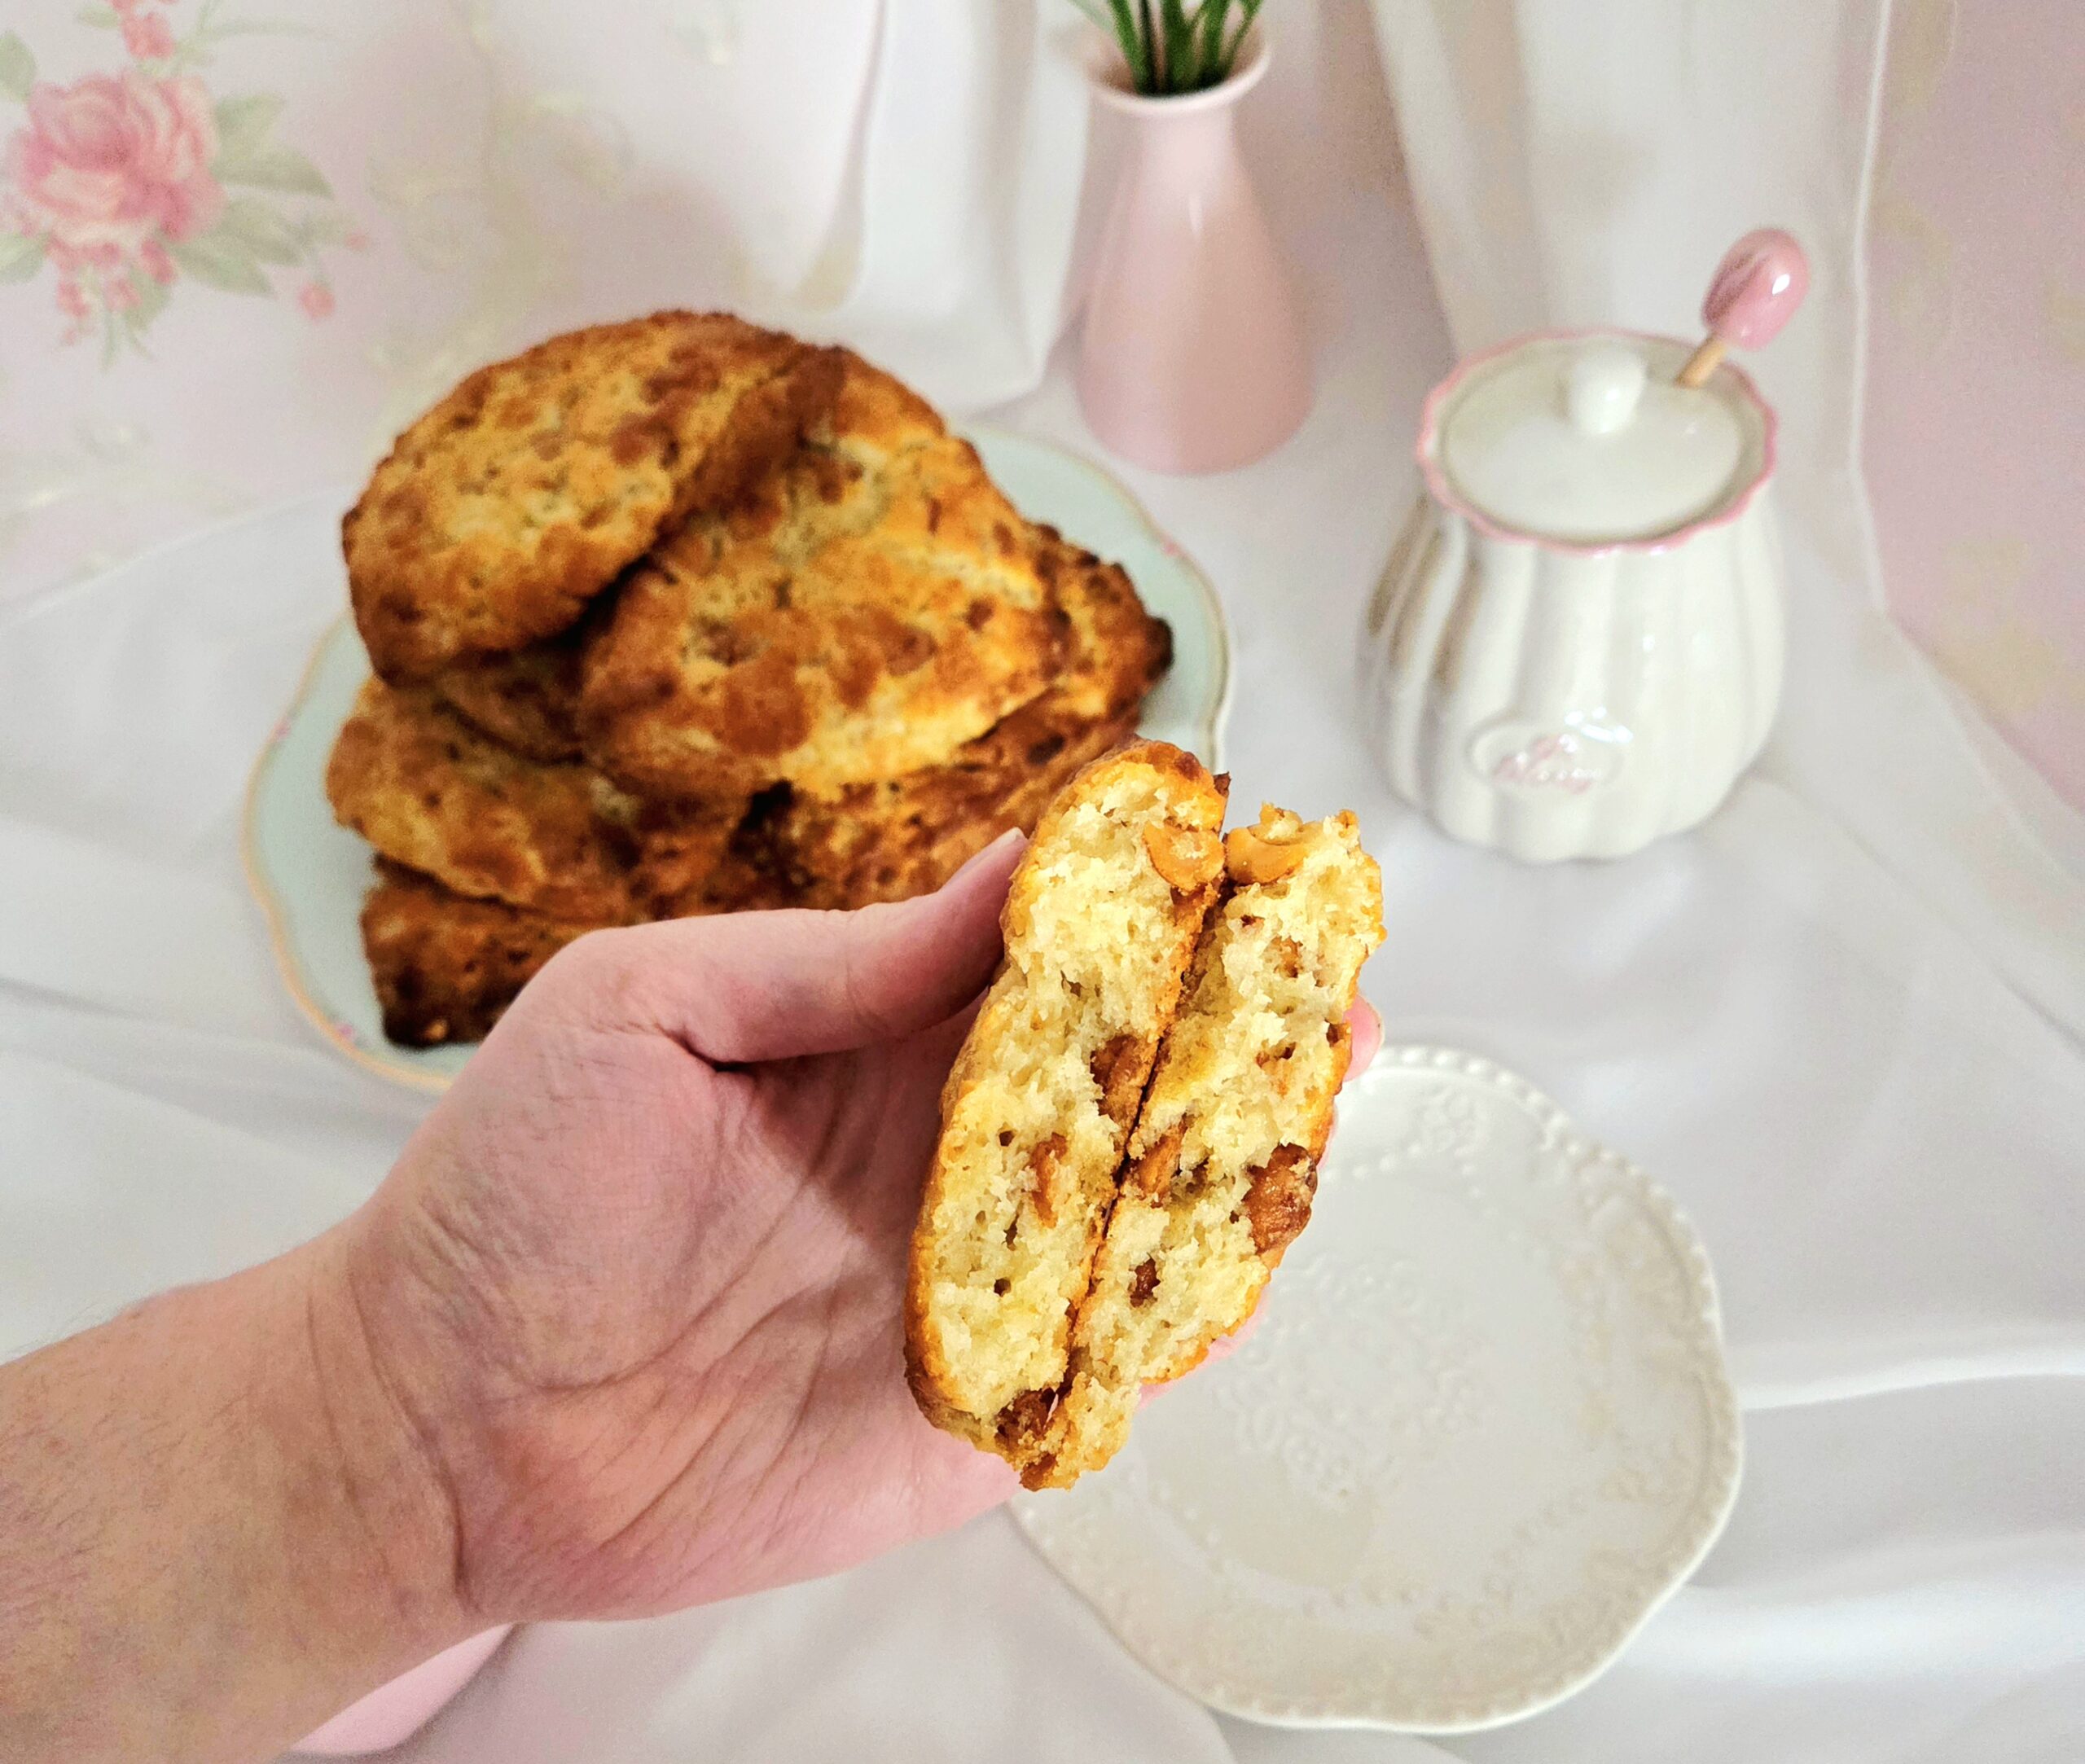
Thank goodness I did find myself in that situation with the bag of honey roasted peanuts because damn, these are good scones. They have prominent sweet and salty notes, with a crisp exterior and soft interior. The peanuts are crunchy, the honey is sticky, the dopamine is high. The whole scone truly does taste like a honey roasted peanut. It really made me miss the warm bags of nuts street vendors used to sell around here. Serve these scones the way you would any scone, with tea and clotted cream.
FAQs and Science
Why does everything have to stay cold?
For the sake of the final texture, cold is very important. It keeps everything light and fluffy, whereas baking off a warm scone results in something heavy and greasy. Not the most appetizing pastry.
Does it matter which brand of honey roasted peanuts I use?
They’ll be an incredibly prominent flavor, so be sure to use a brand you love.
I don’t own a pastry blender, is there any other option?
You could instead freeze the butter and grate it into the dry, then toss it together. Or if you own a food processor, pulse the dry goods with the butter until the butter pieces are no bigger than pea sized. I highly recommend investing in one though, they aren’t expensive and come in handy anytime you need to cut cold butter into flour!
Why drizzle the honey on top of the scones halfway through baking, rather than before baking?
I tried drizzling it from the start of the bake, and it just burned. Drizzling halfway through makes the honey melt and caramelize on top, offering a beautiful sheen.
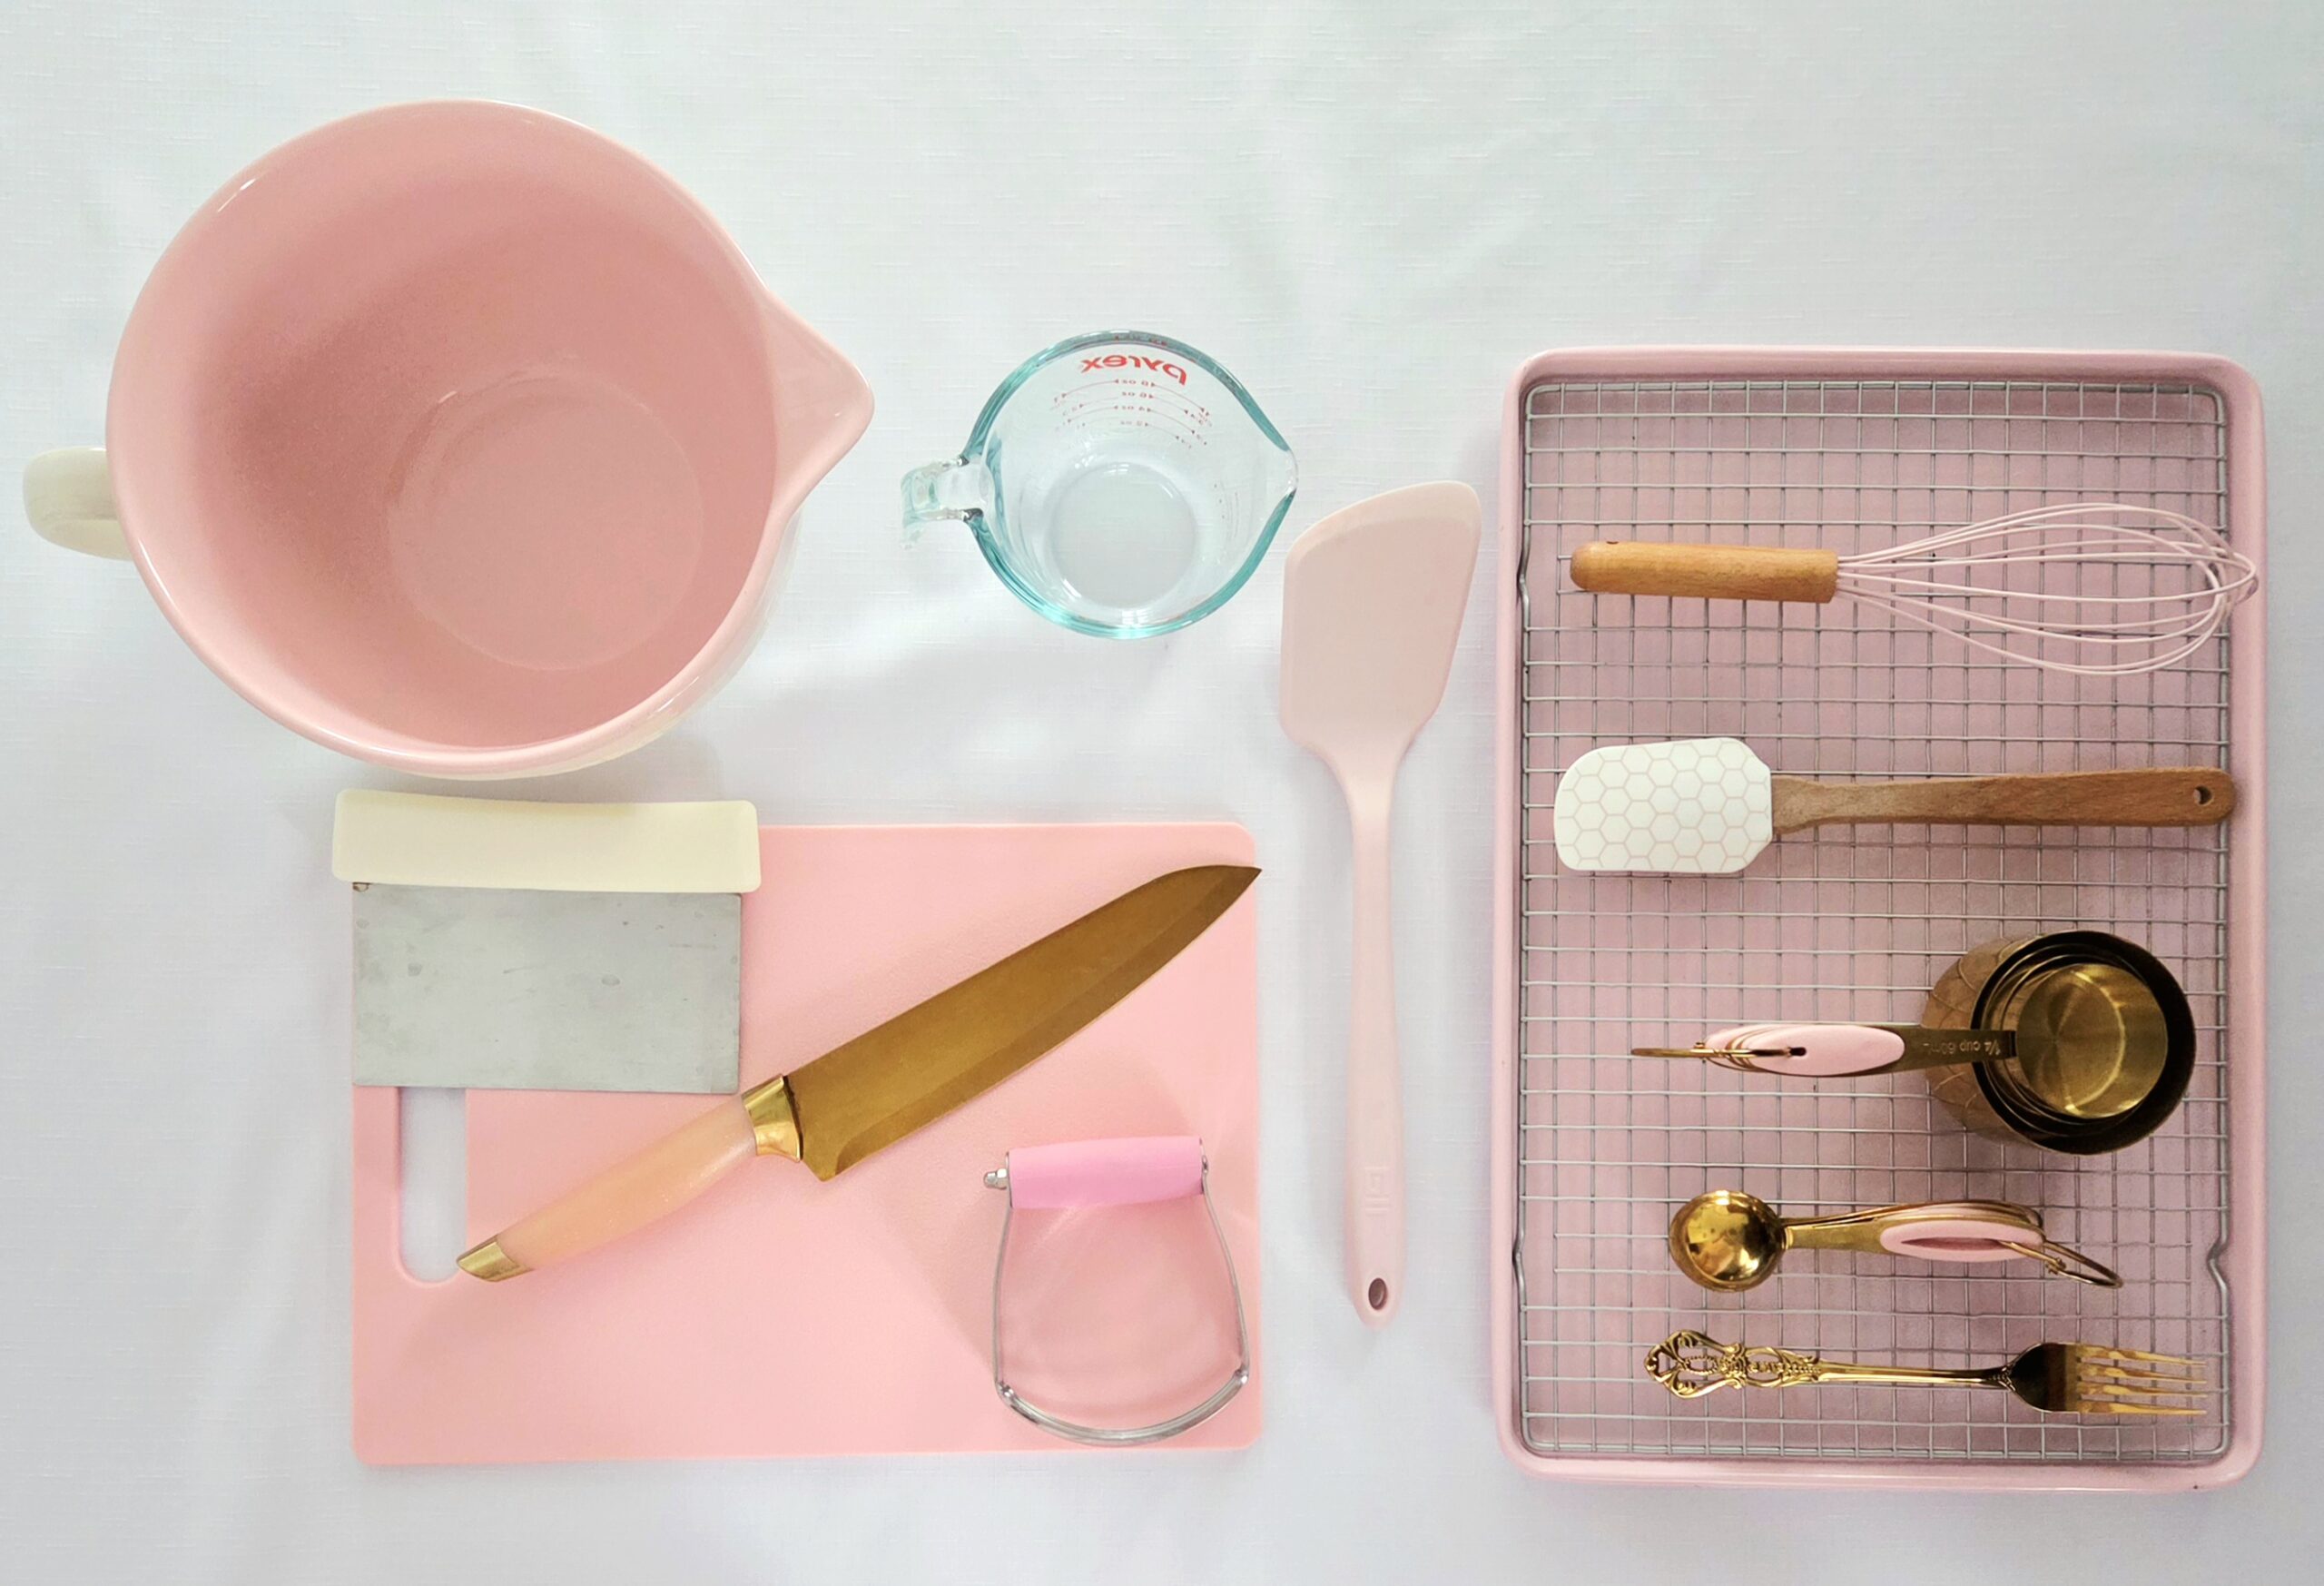
What You’ll Need
- Plastic wrap
- Parchment paper
- 2 baking sheets
- Medium mixing bowl
- Dry measuring cups
- Liquid measuring cup
- Measuring spoons
- Whisk
- Rubber spatula
- Fork
- Pastry blender
- Chef’s knife
- Cutting board
- Bench scraper
- Spatula
- Cooling rack
The Process
Begin the process by preparing both the pans and the oven. Make sure the rack is positioned in the center of the oven, and preheat it to 425F. Line two baking sheets with parchment paper, so the scones won’t stick while baking. Set them aside.
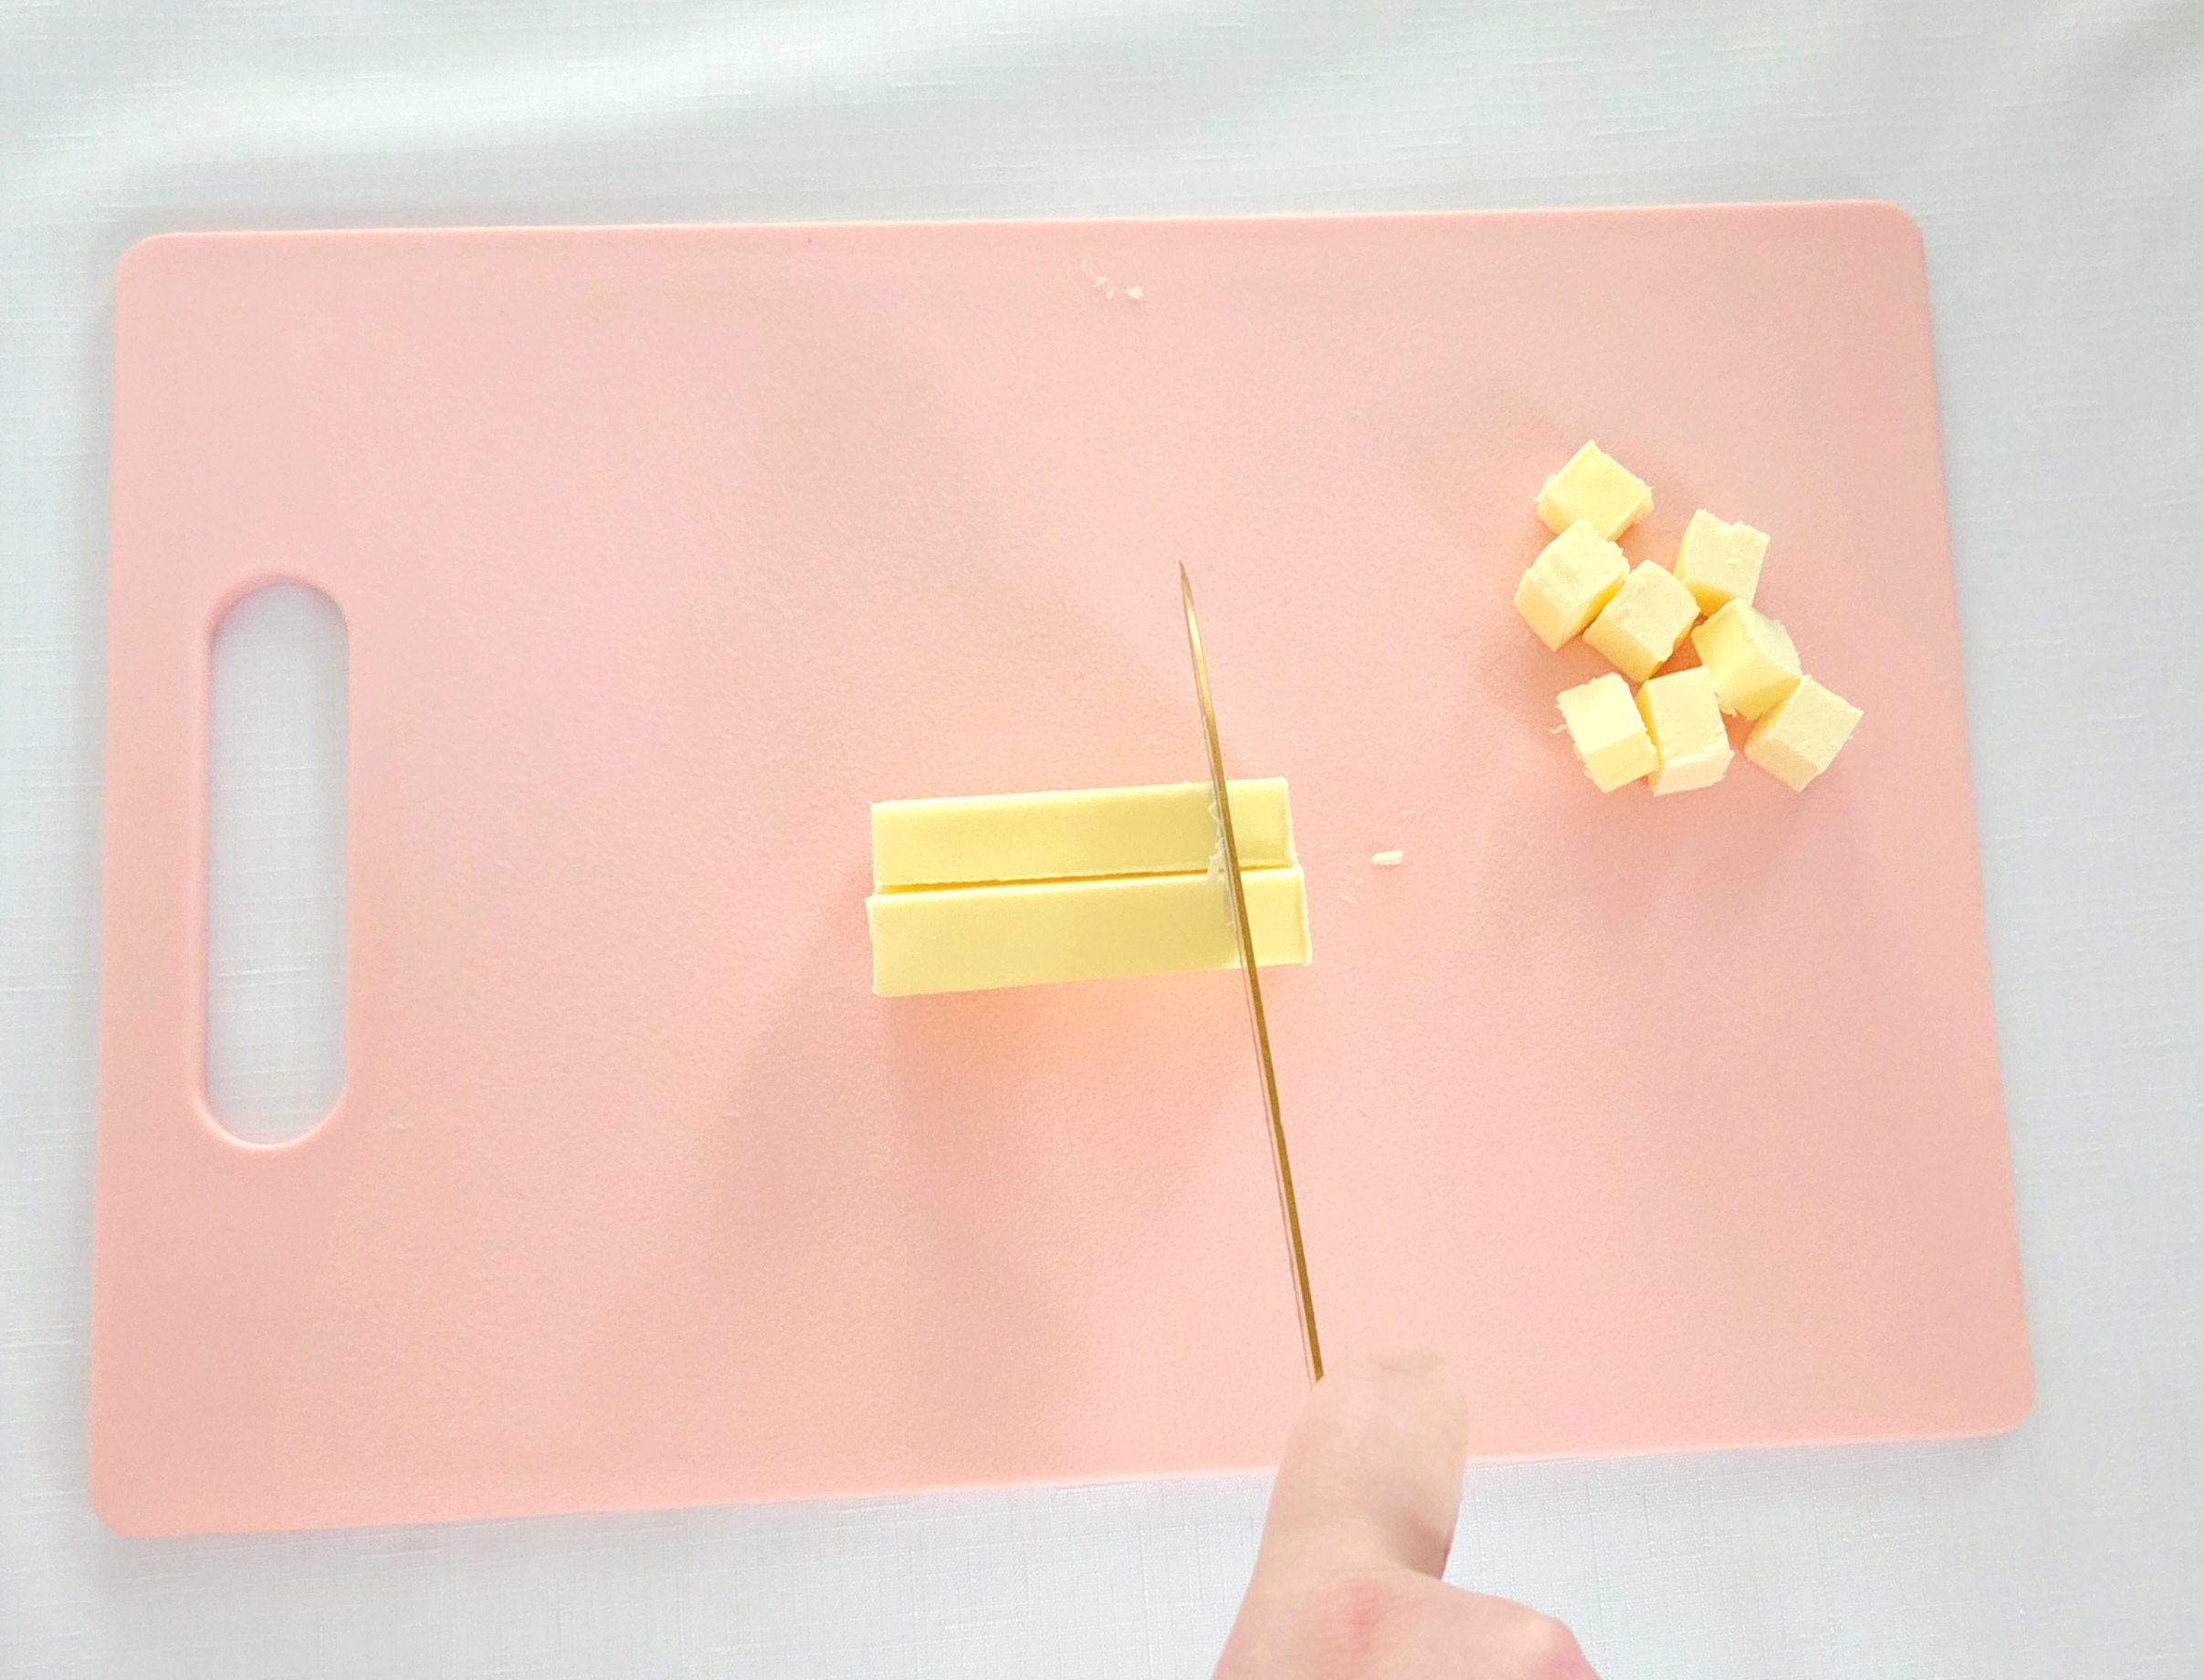
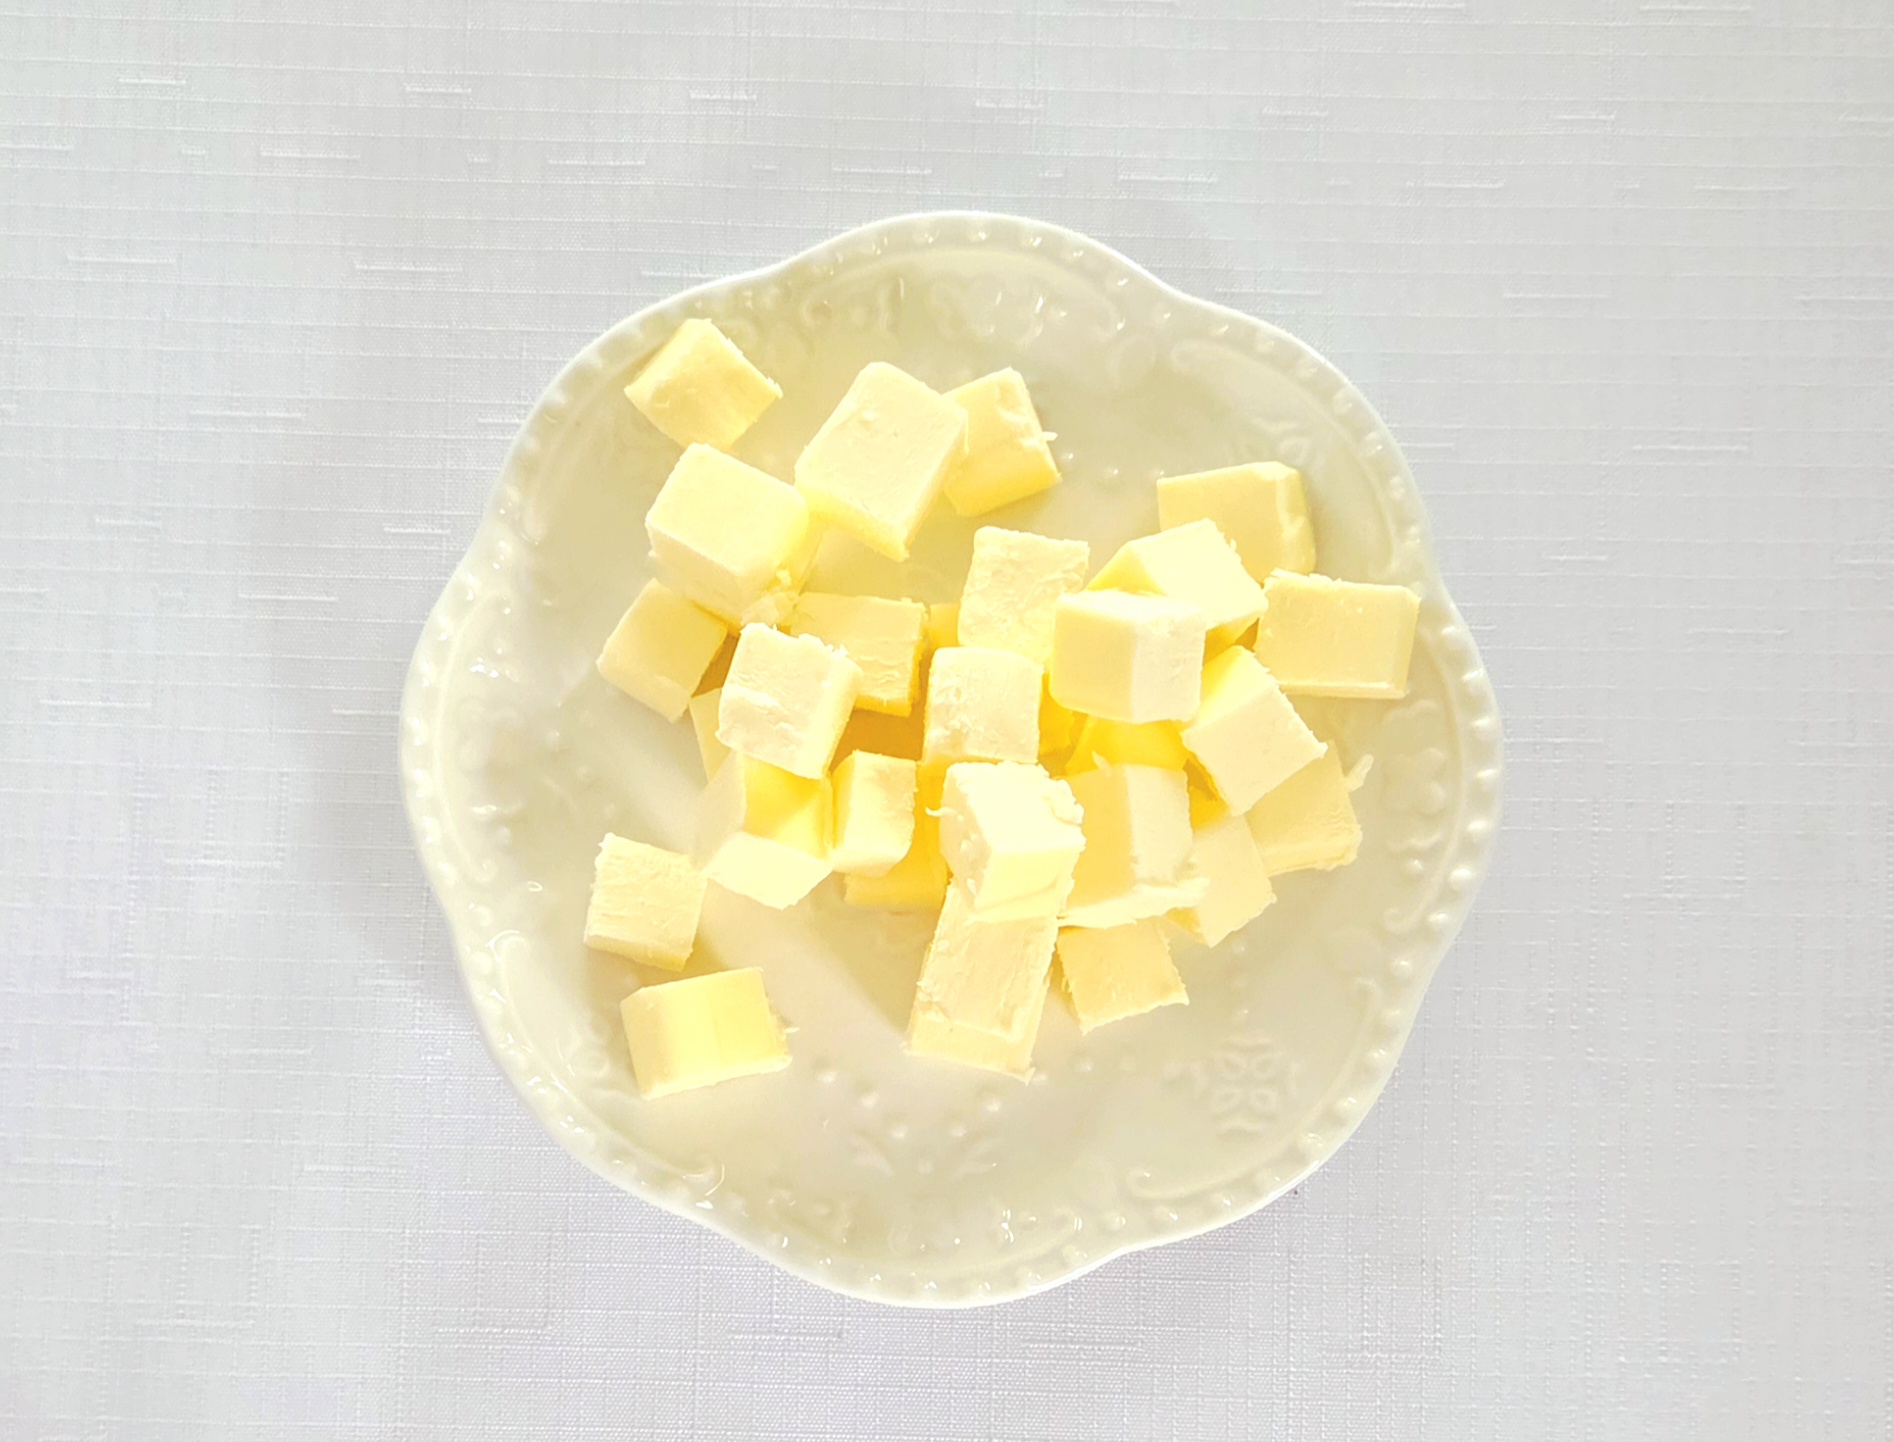
Cut the butter into ½-inch cubes, then place it onto a plate and back in the fridge to stay cold. Cold is a big factor in successfully making delicious scones, so storing it in the fridge is very important.
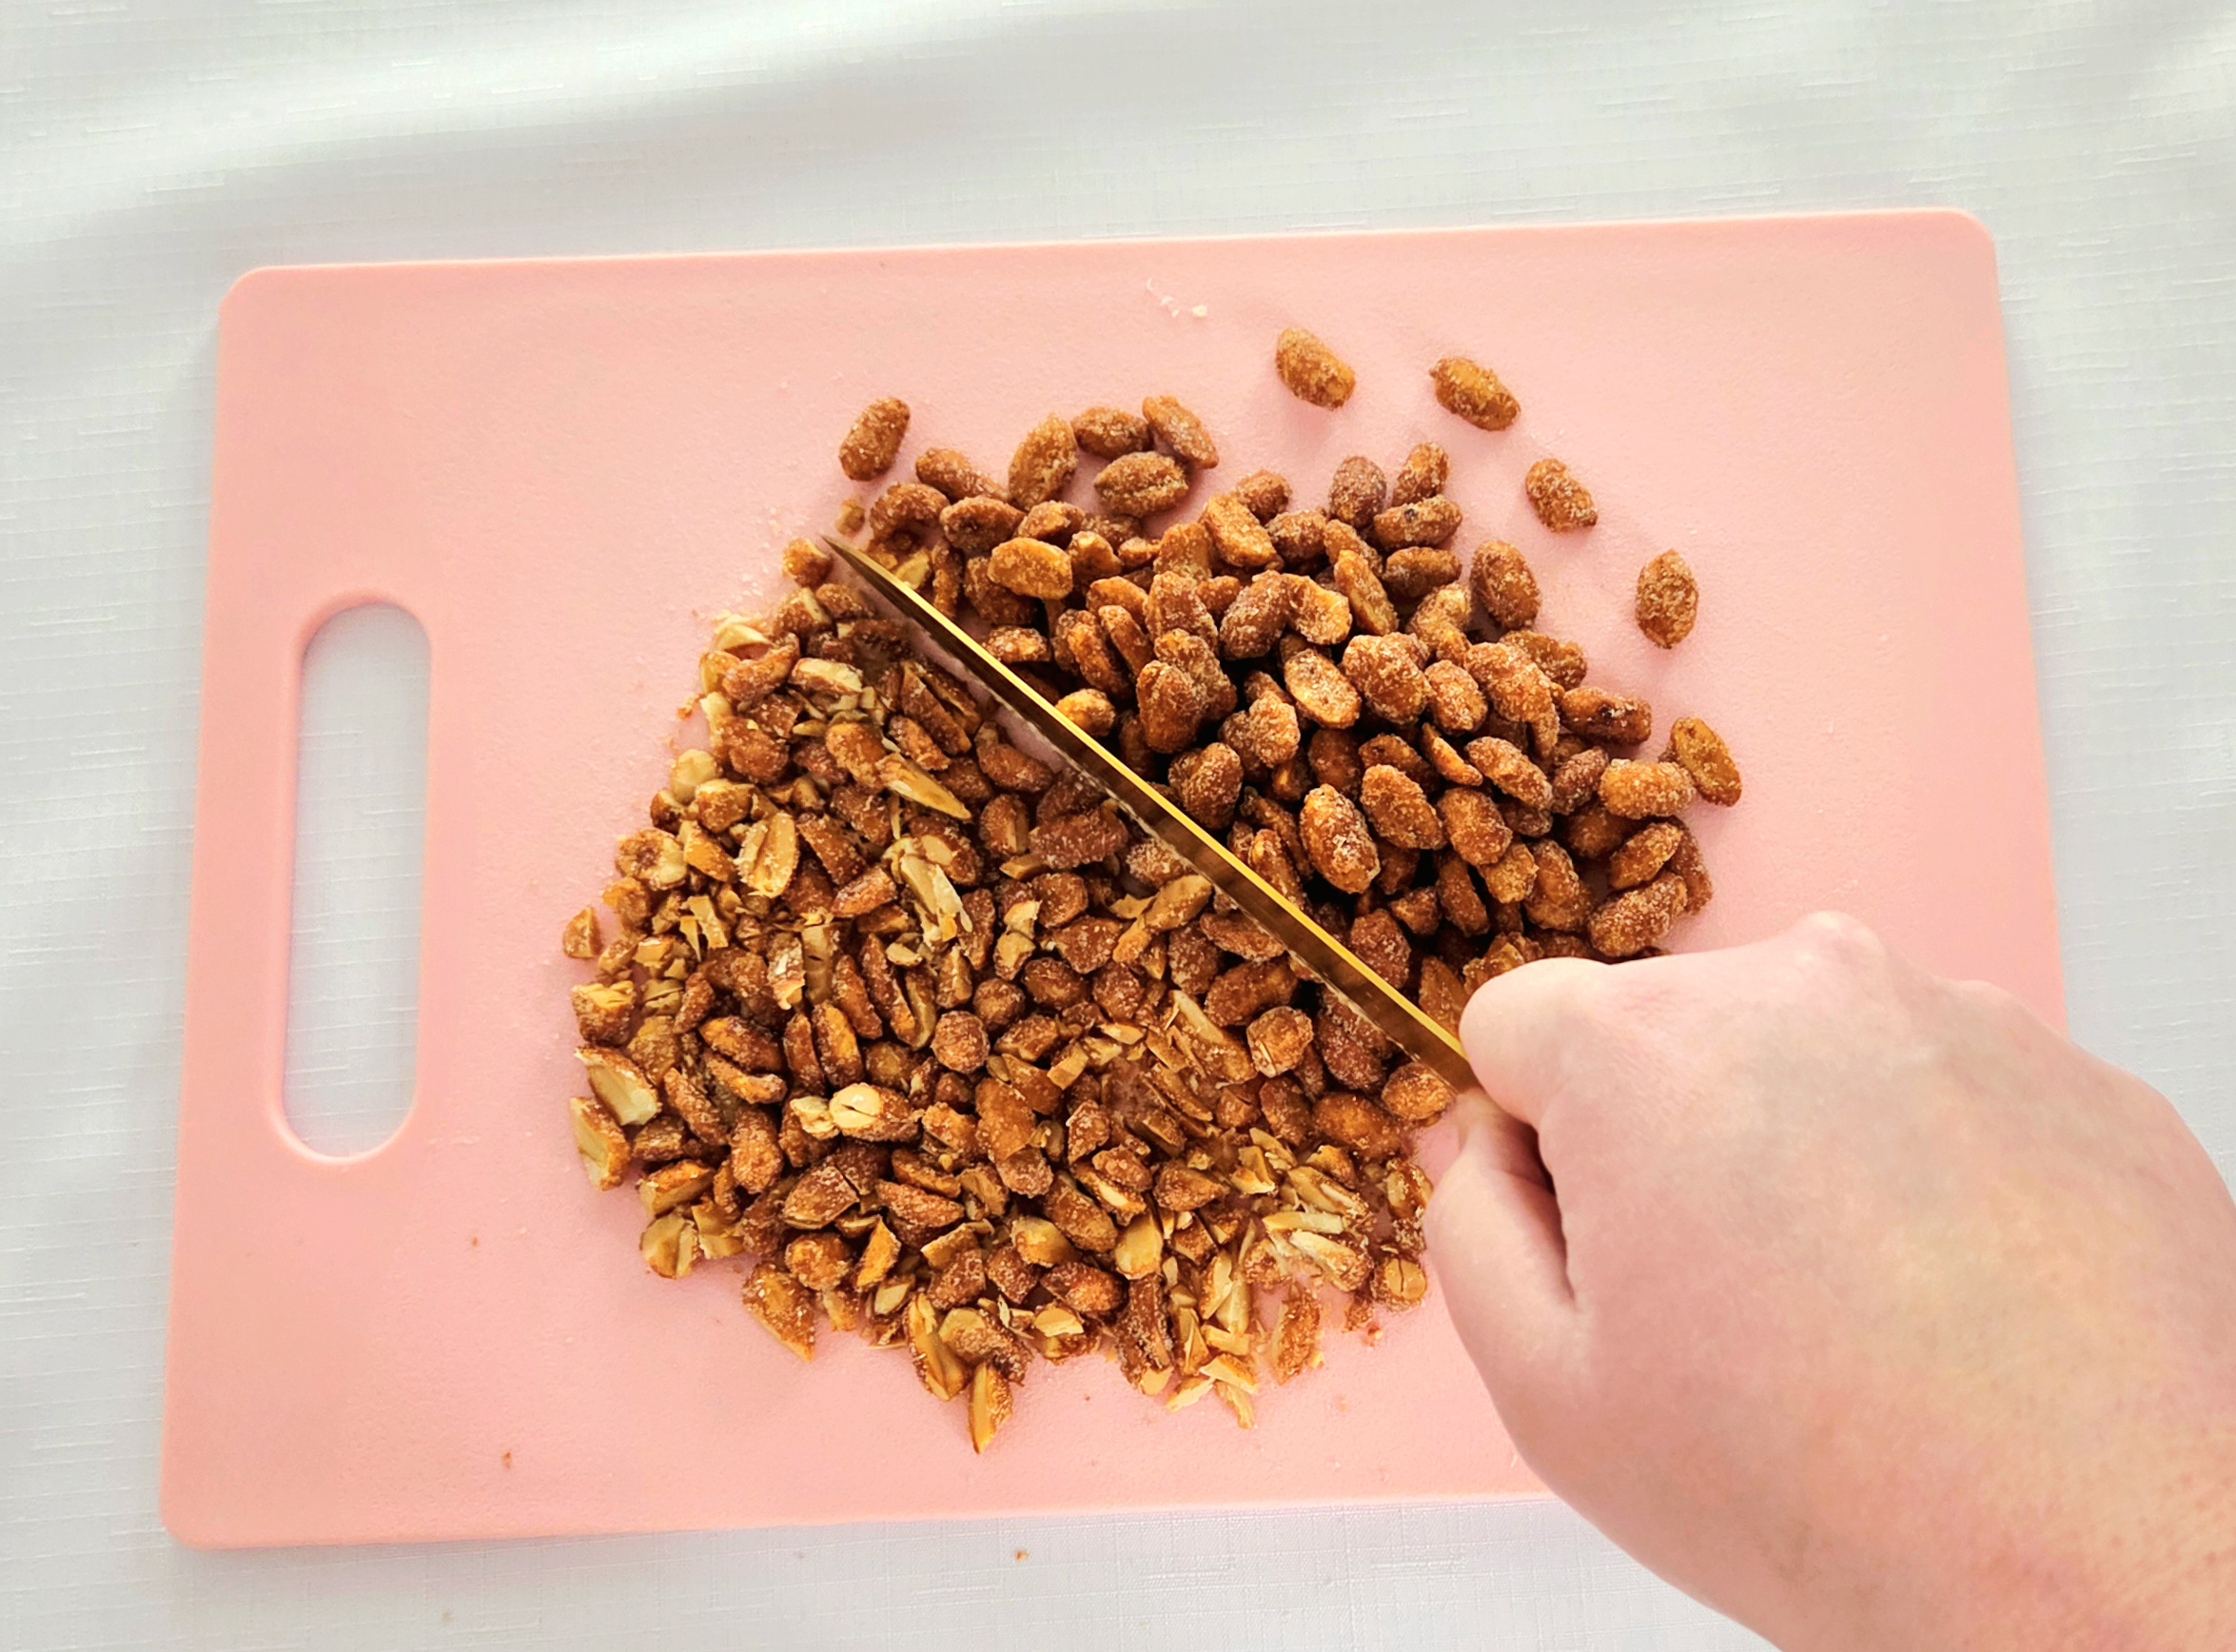
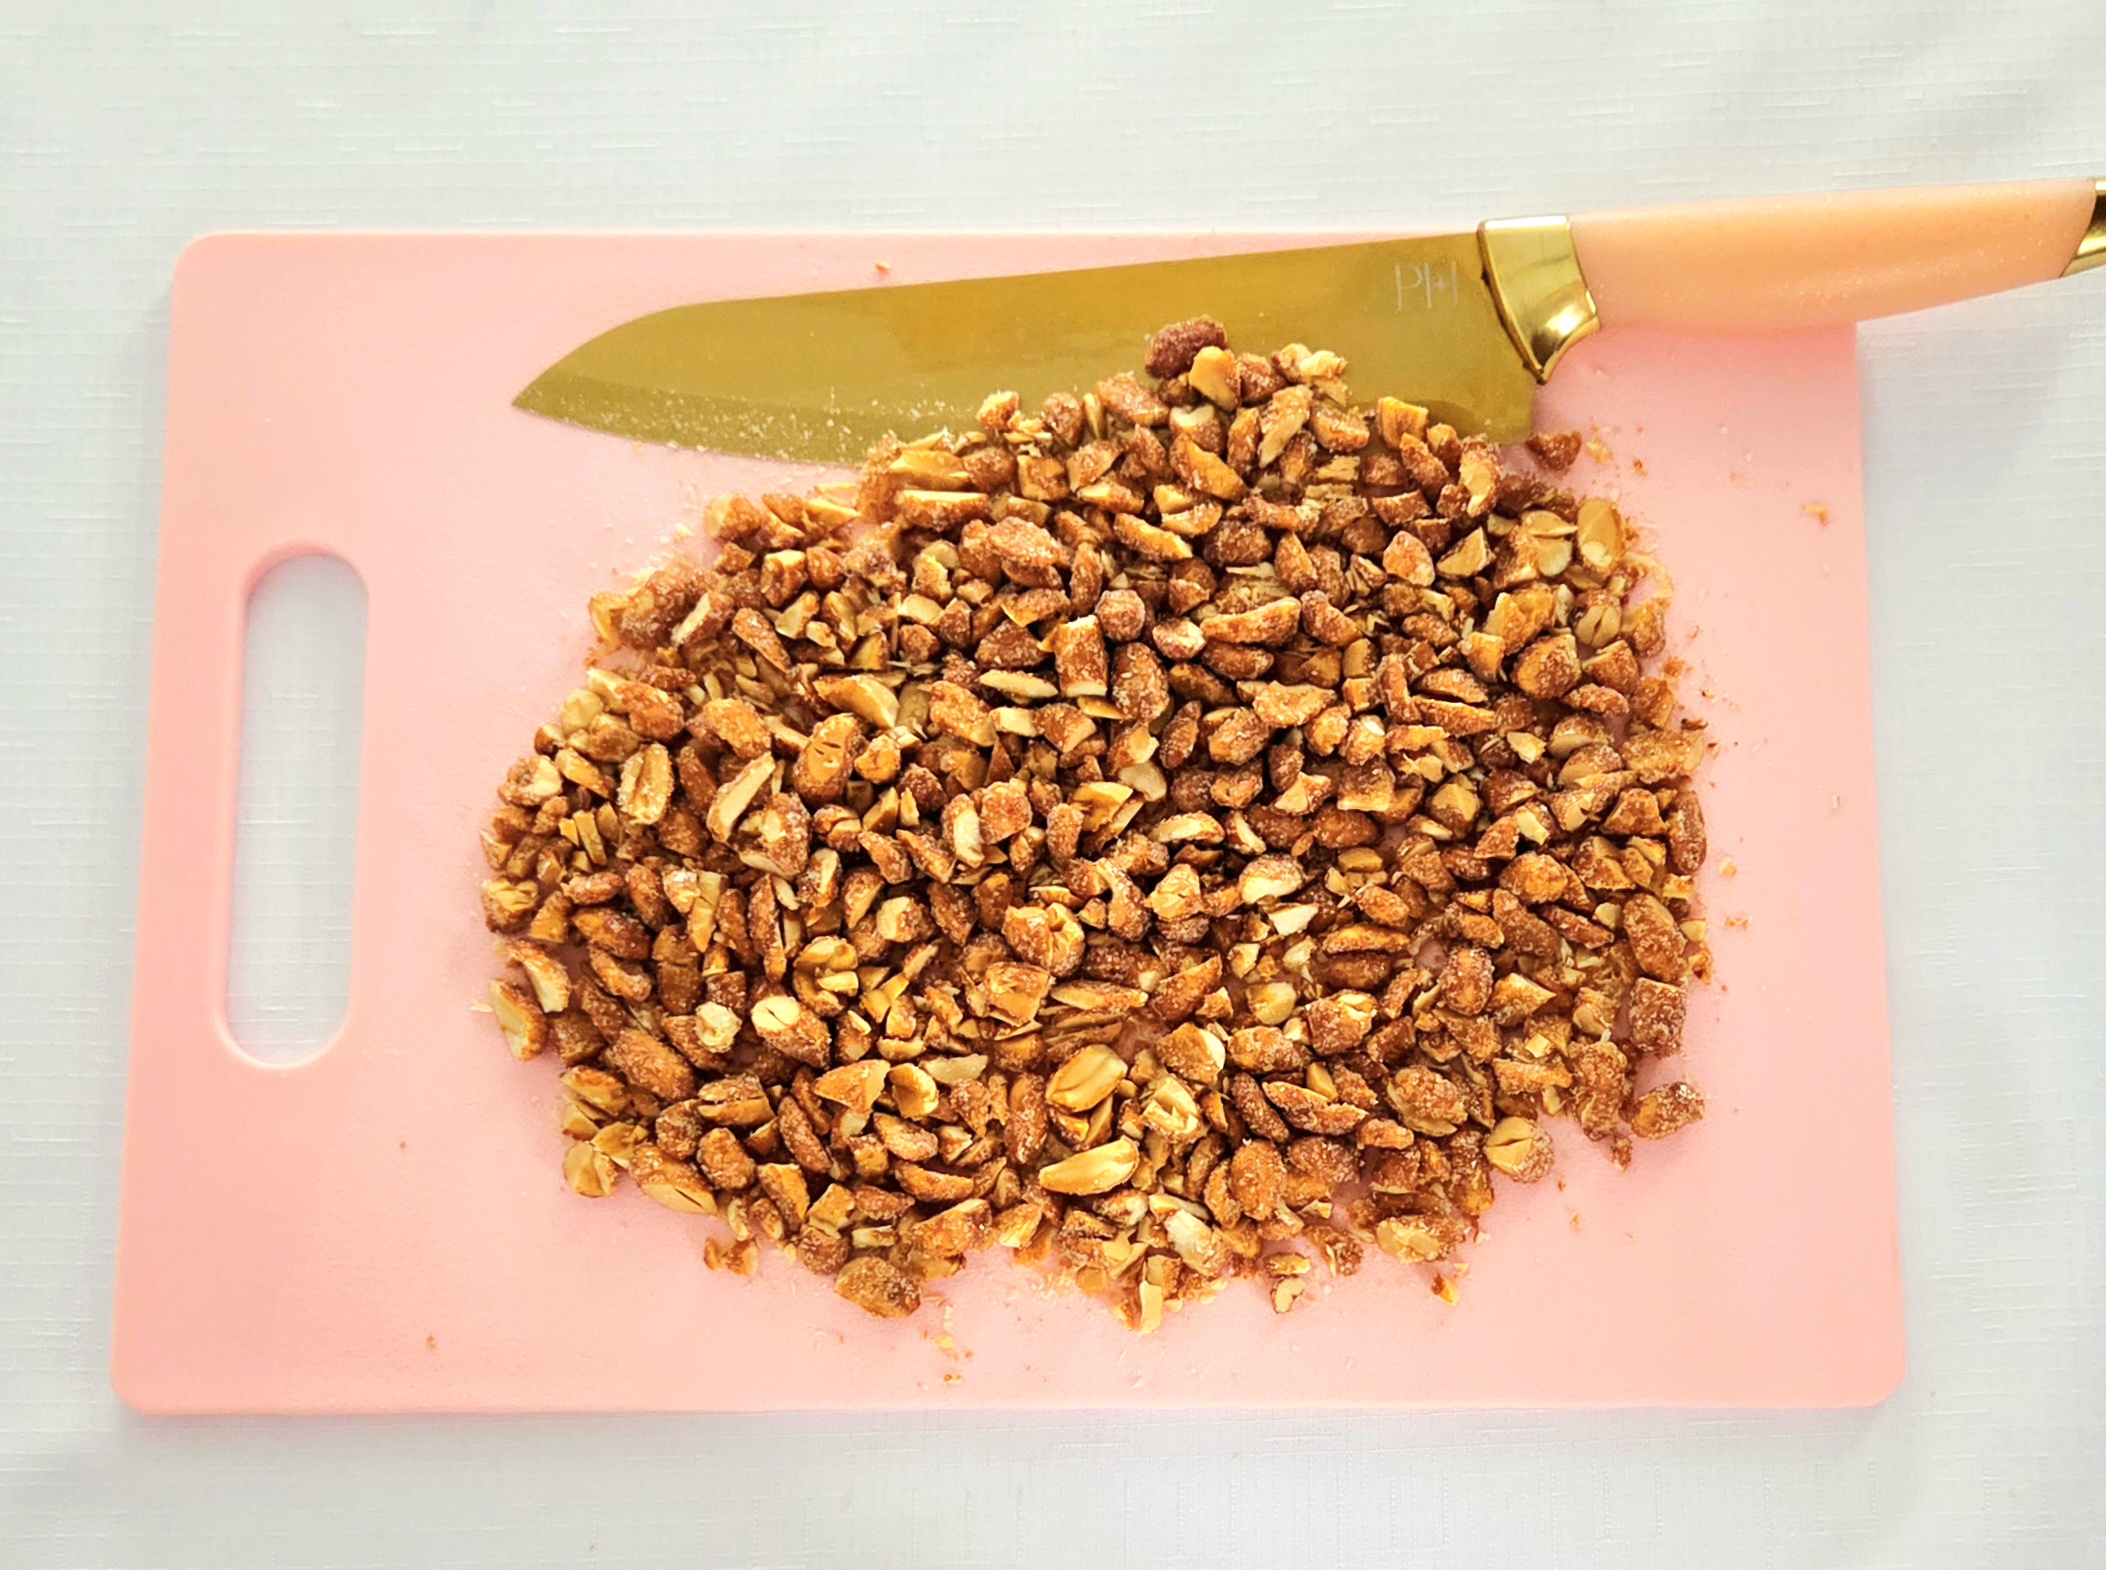
Roughly chop the honey roasted peanuts now as well and set them aside. Use a delicious brand, since that flavor is going to be prominent.
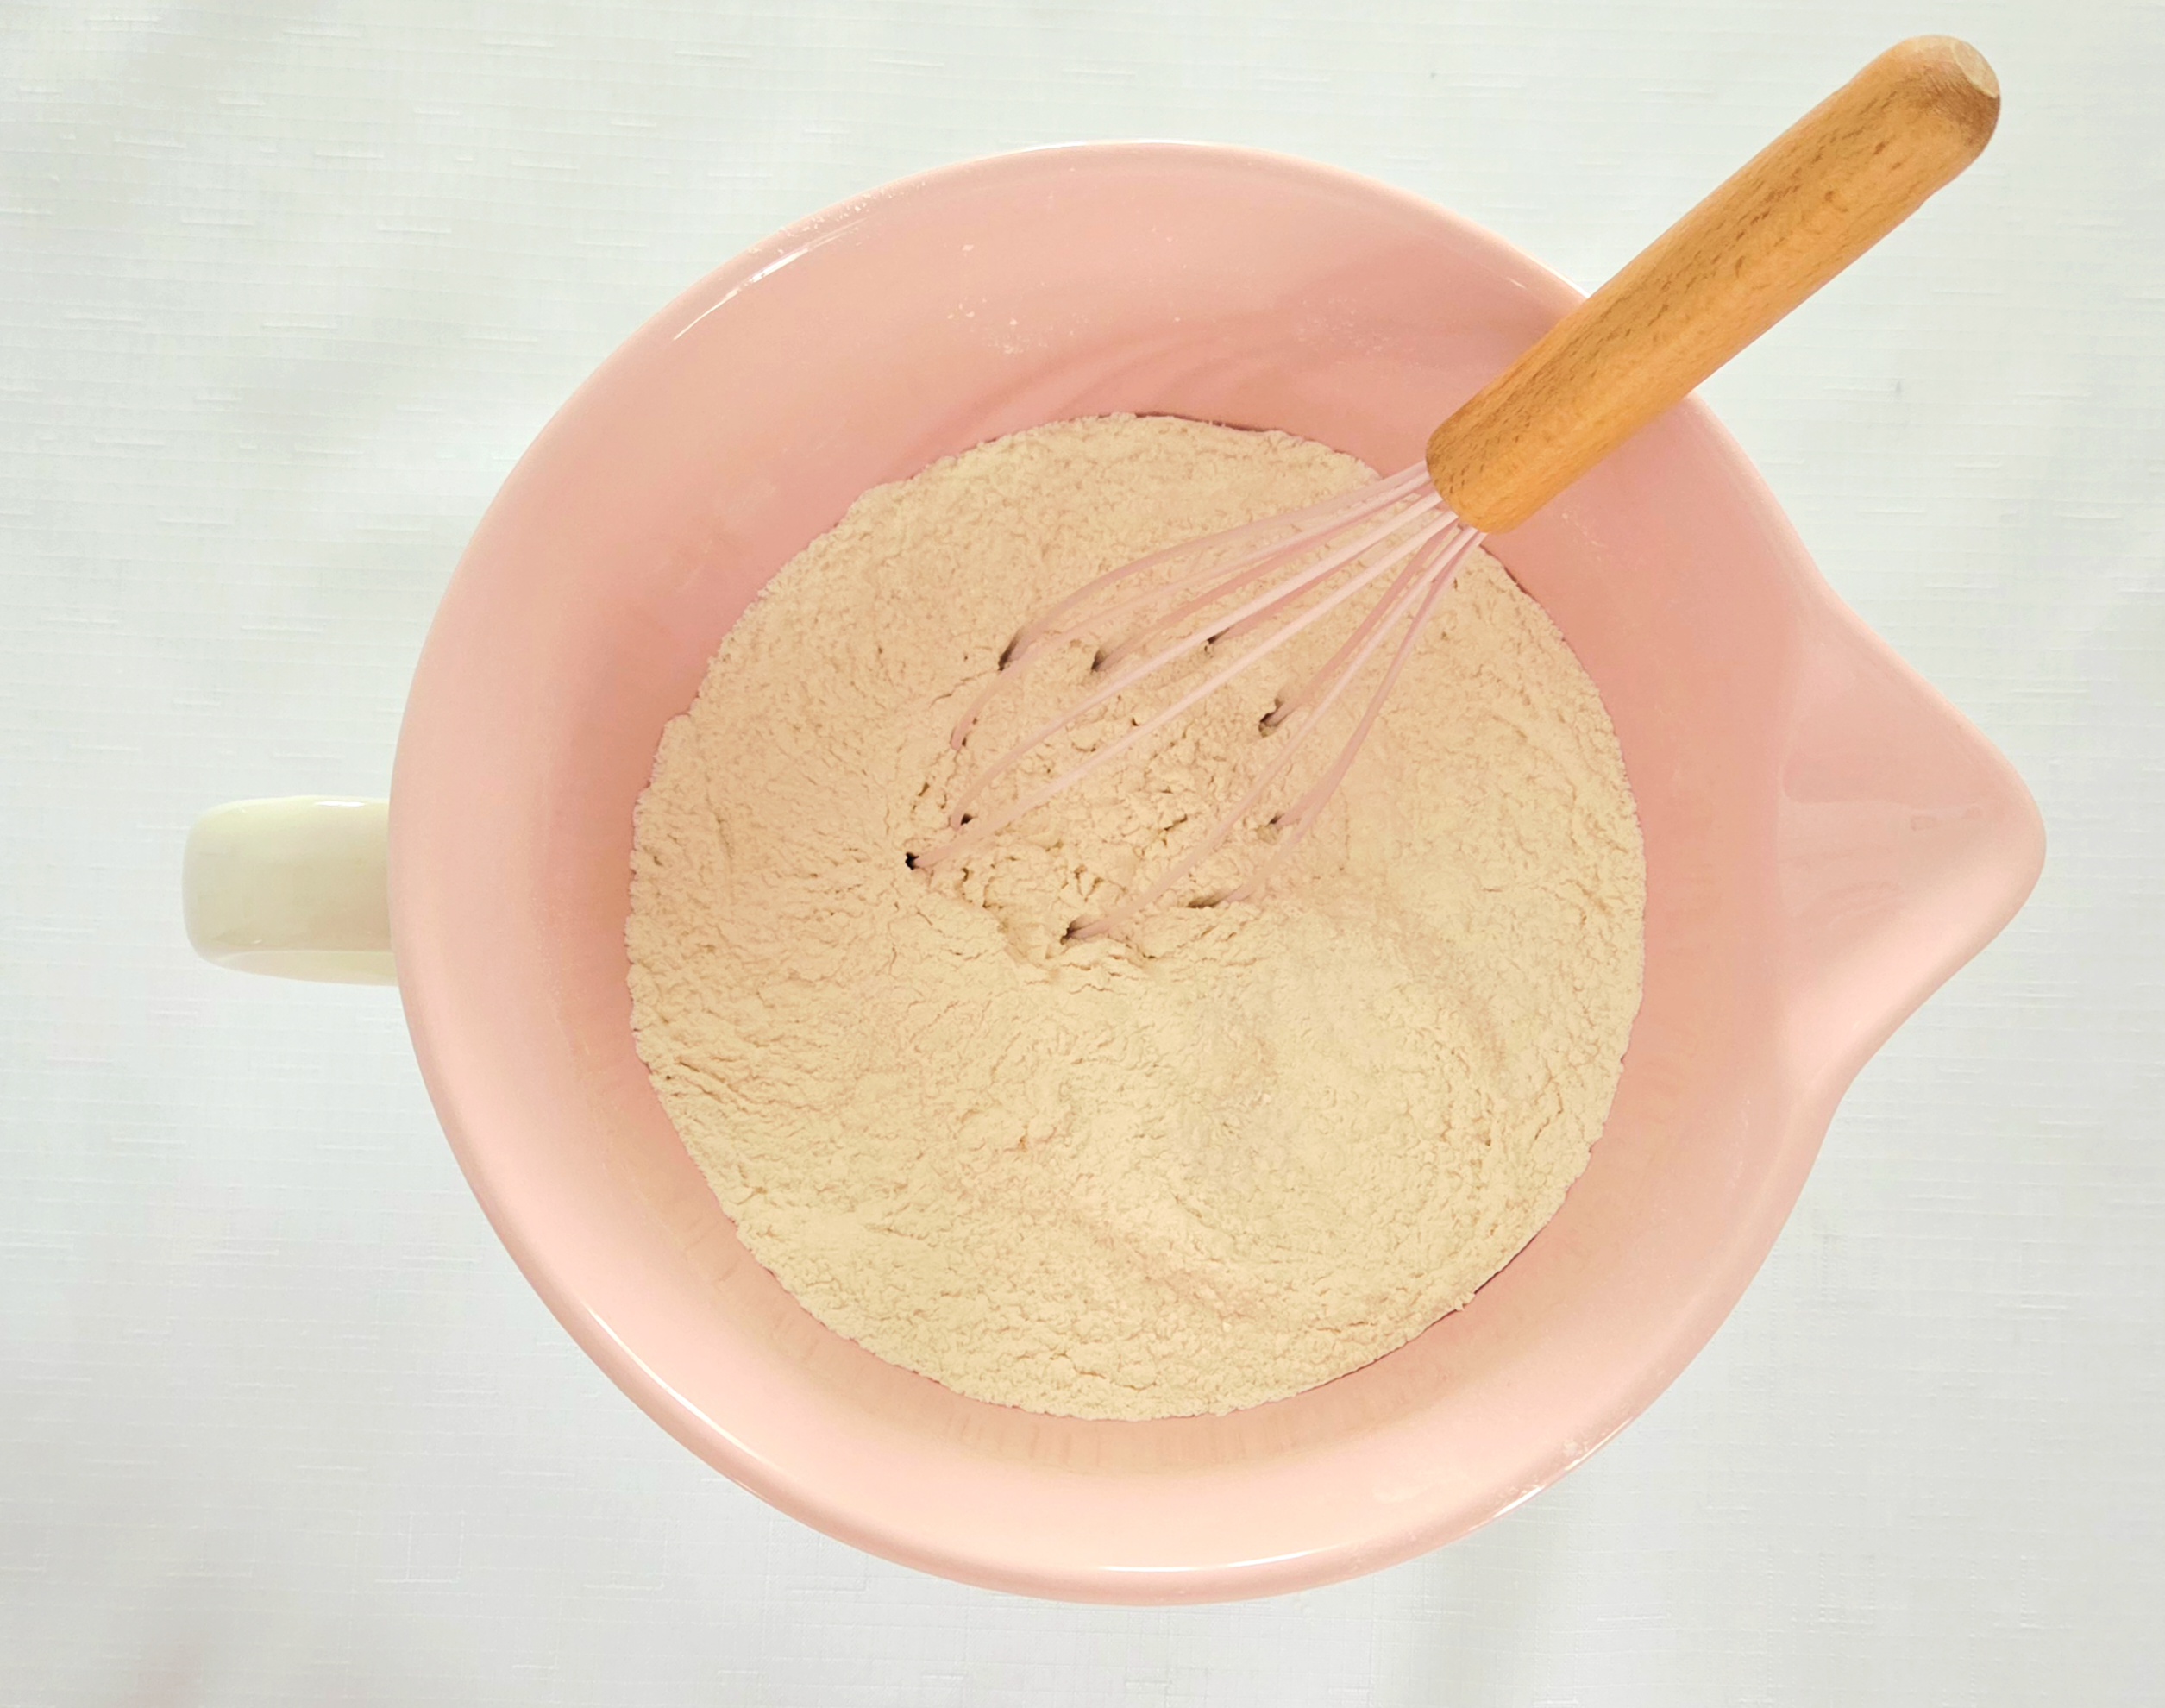
In a medium sized mixing bowl, whisk together the flour, sugar, baking powder, and salt. Hold off on the peanuts for now, since they’ll make cutting in the butter a much more difficult time.
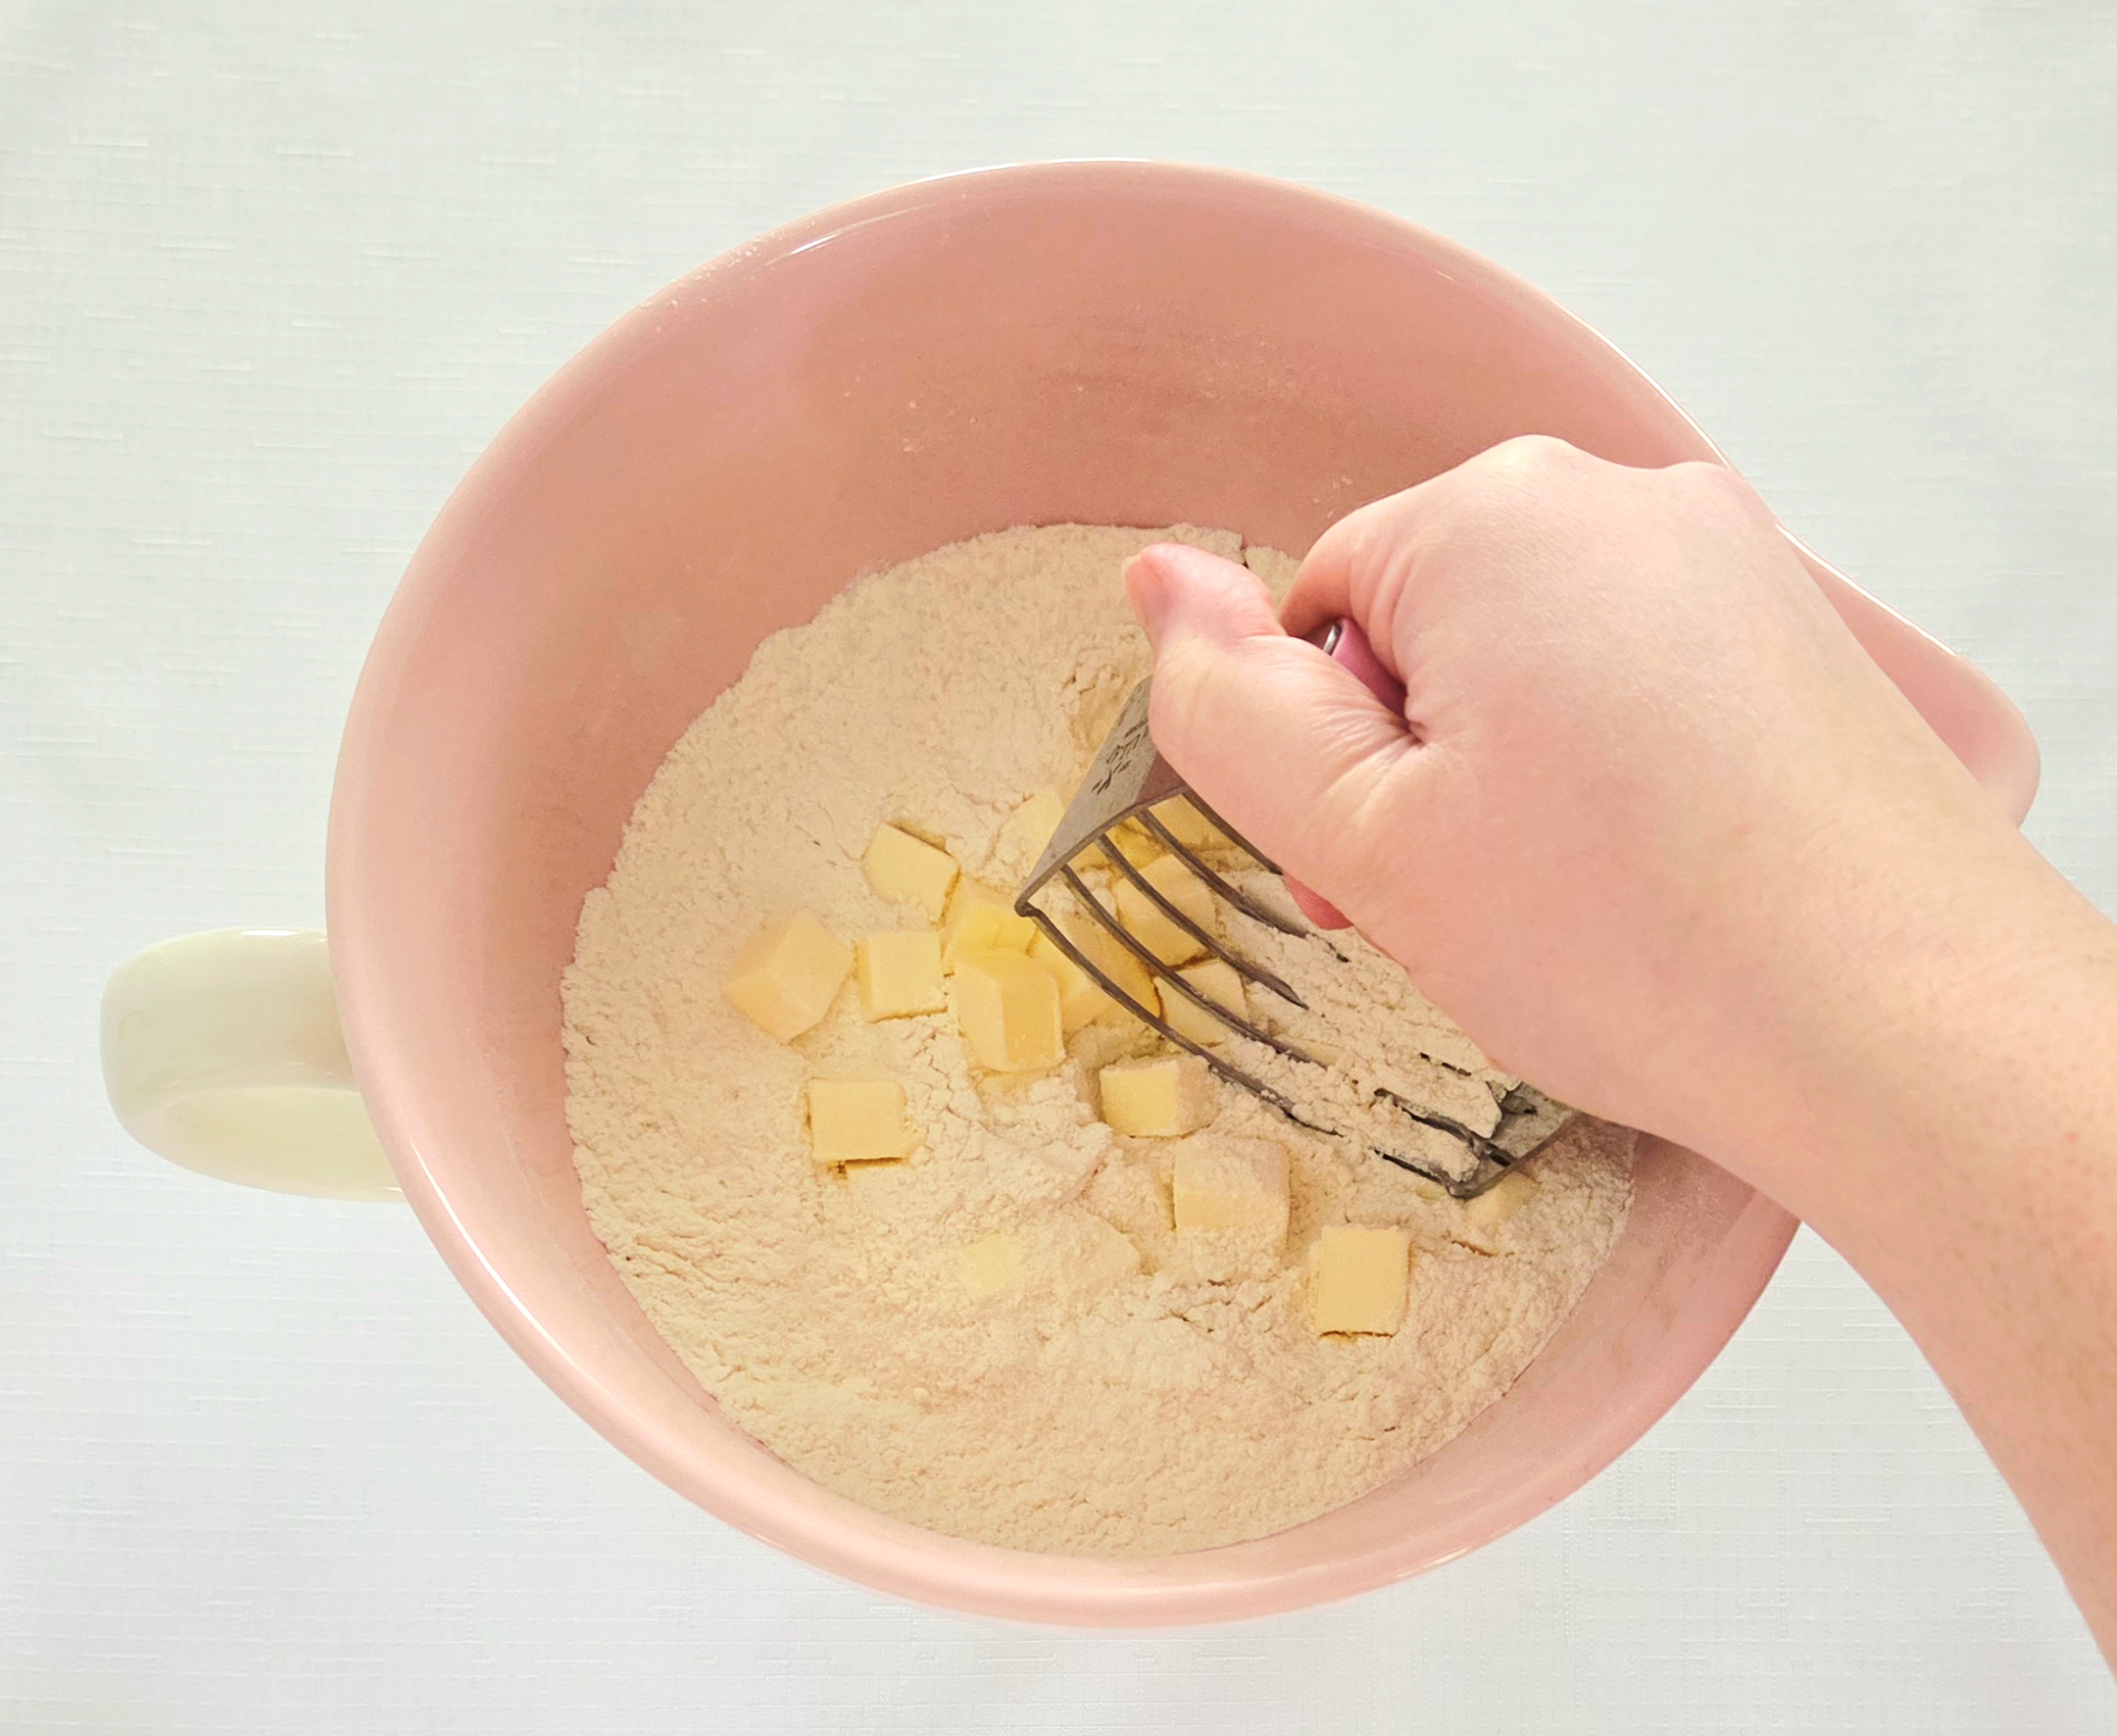
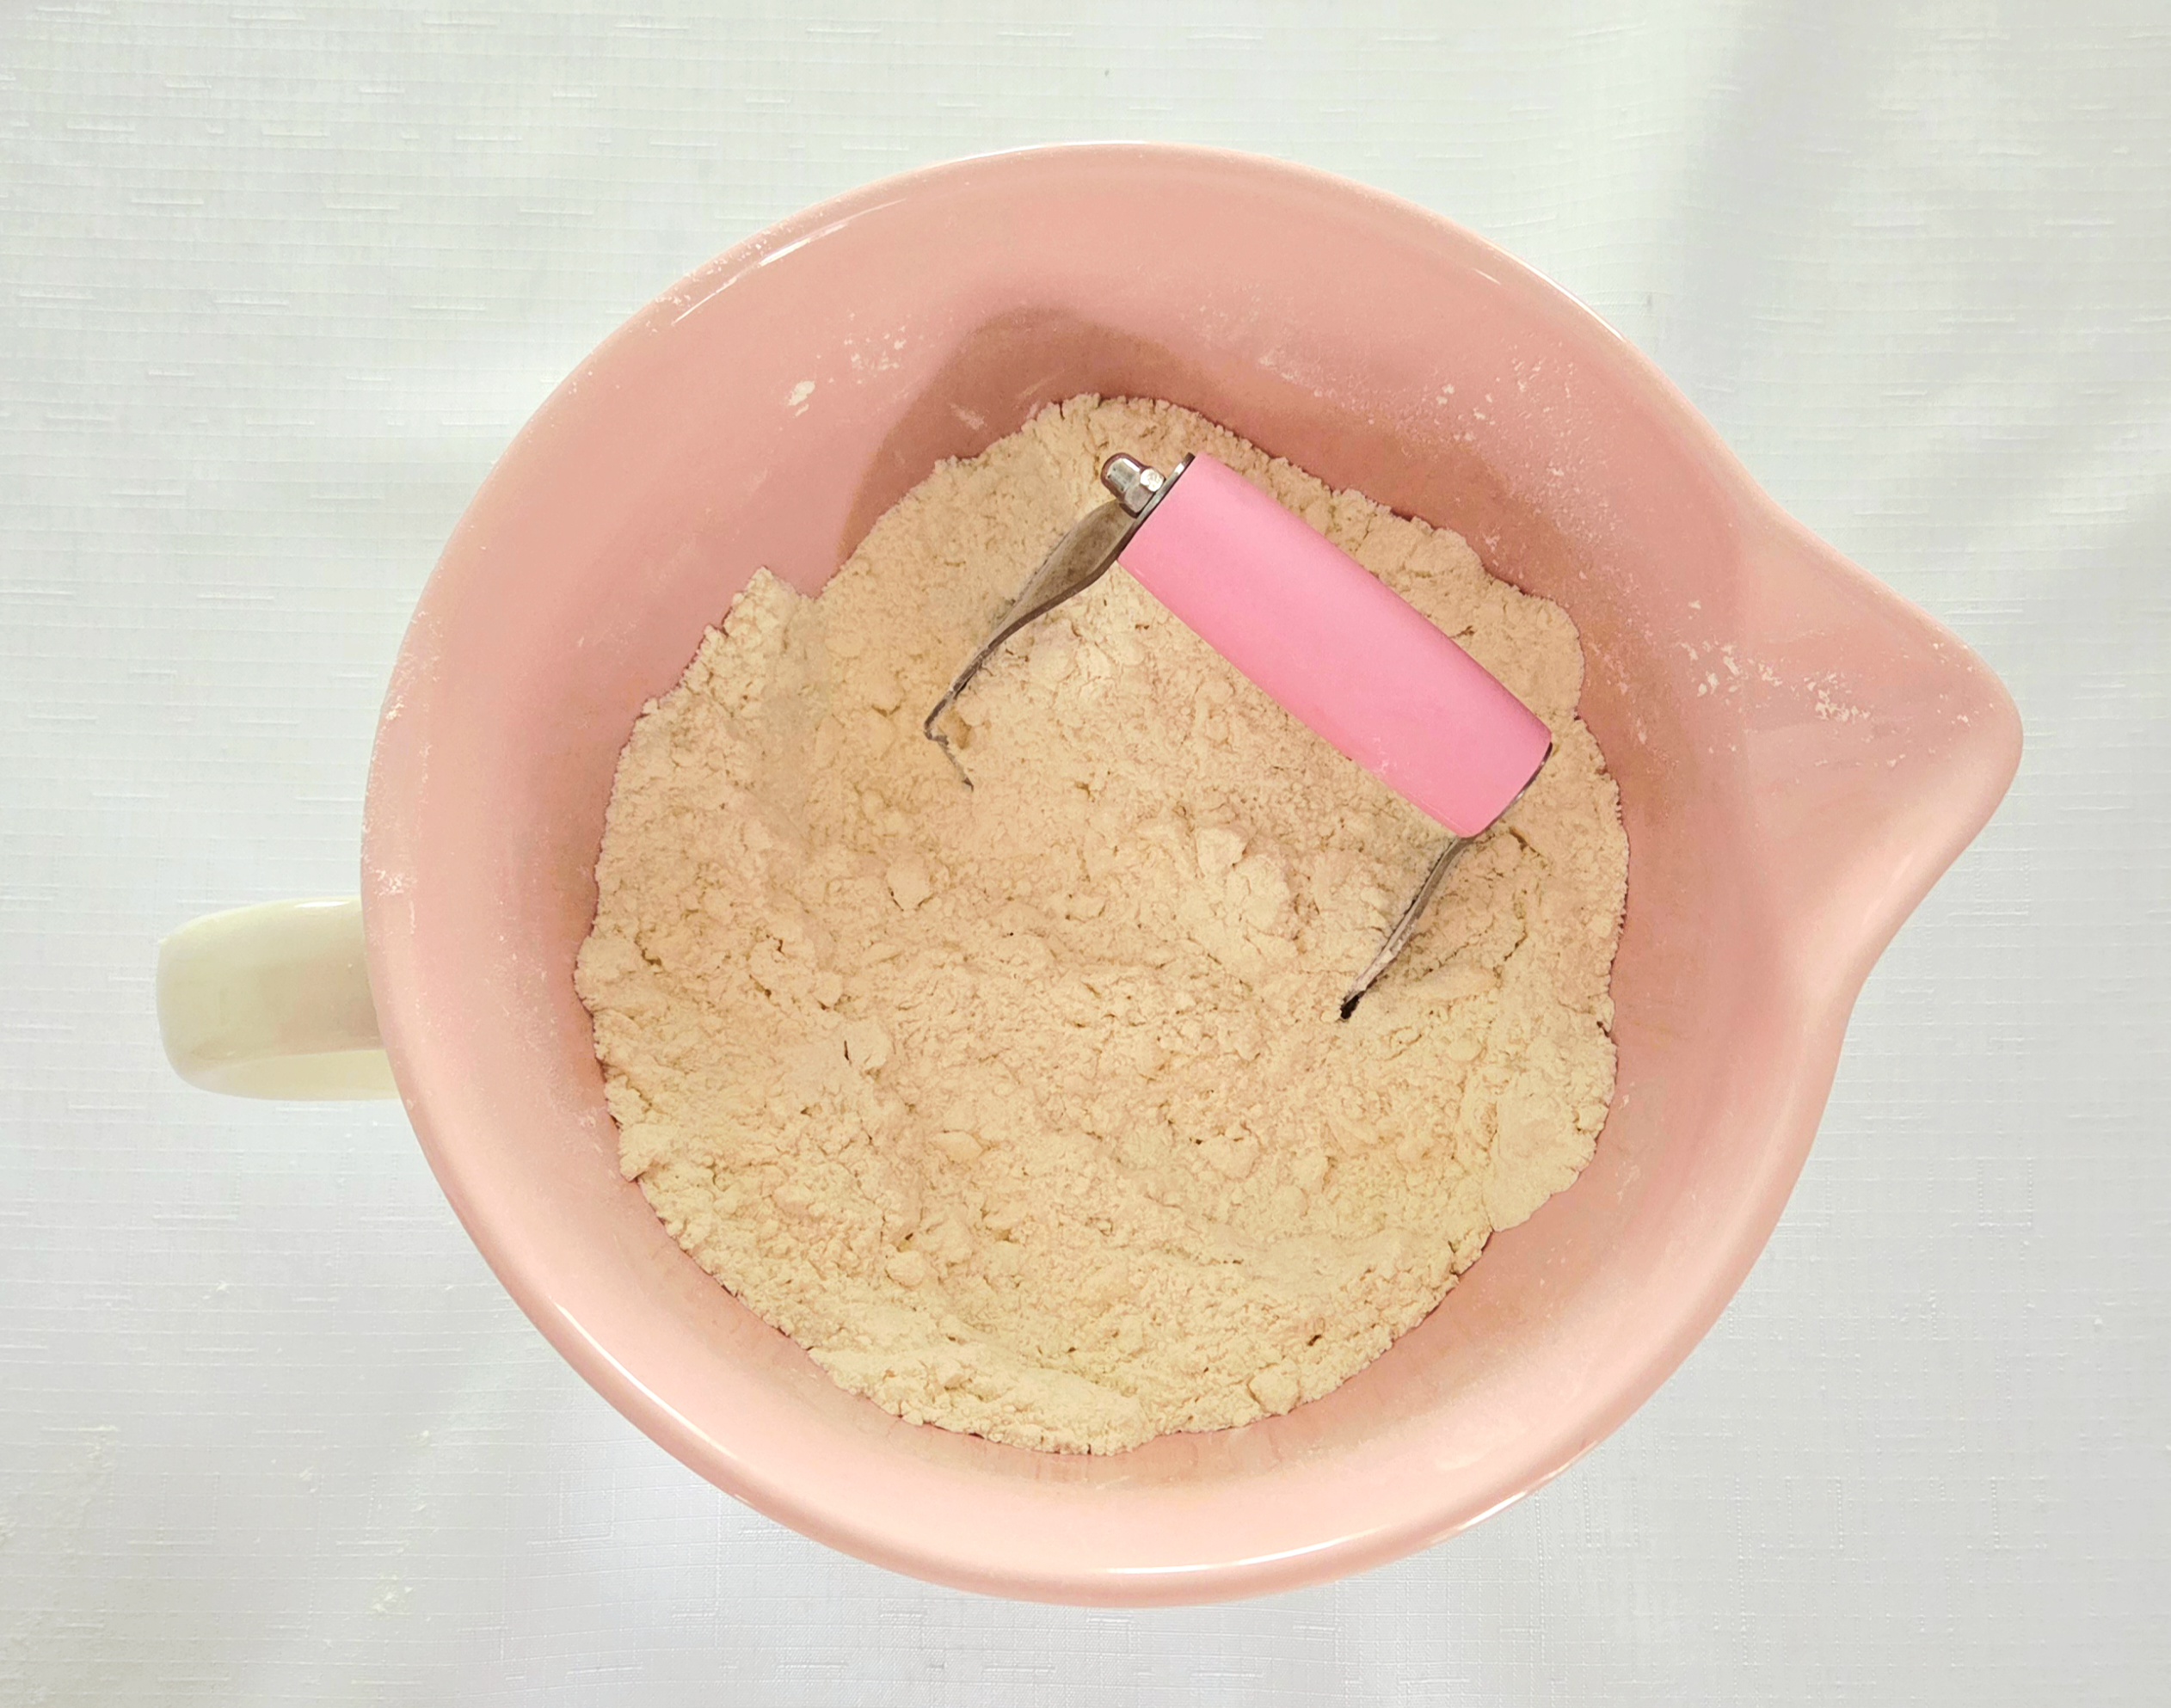
Butter time! Grab the cubed butter from the fridge and sprinkle it over the dry goods. Using a pastry blender, cut the butter into the flour mixture by pressing directly down into it over and over and over again.
Now, there are people who will advise you to freeze the butter and then grate it with a large-hole cheese grater into the dry goods. I refer to these people as “someone who doesn’t have warm hands.” If I were to grate frozen butter, half of it would end up on my hands and it would be a greasy disaster. A pastry blender may be a more obscure tool, but it’s not expensive and worth investing in if you love to bake.
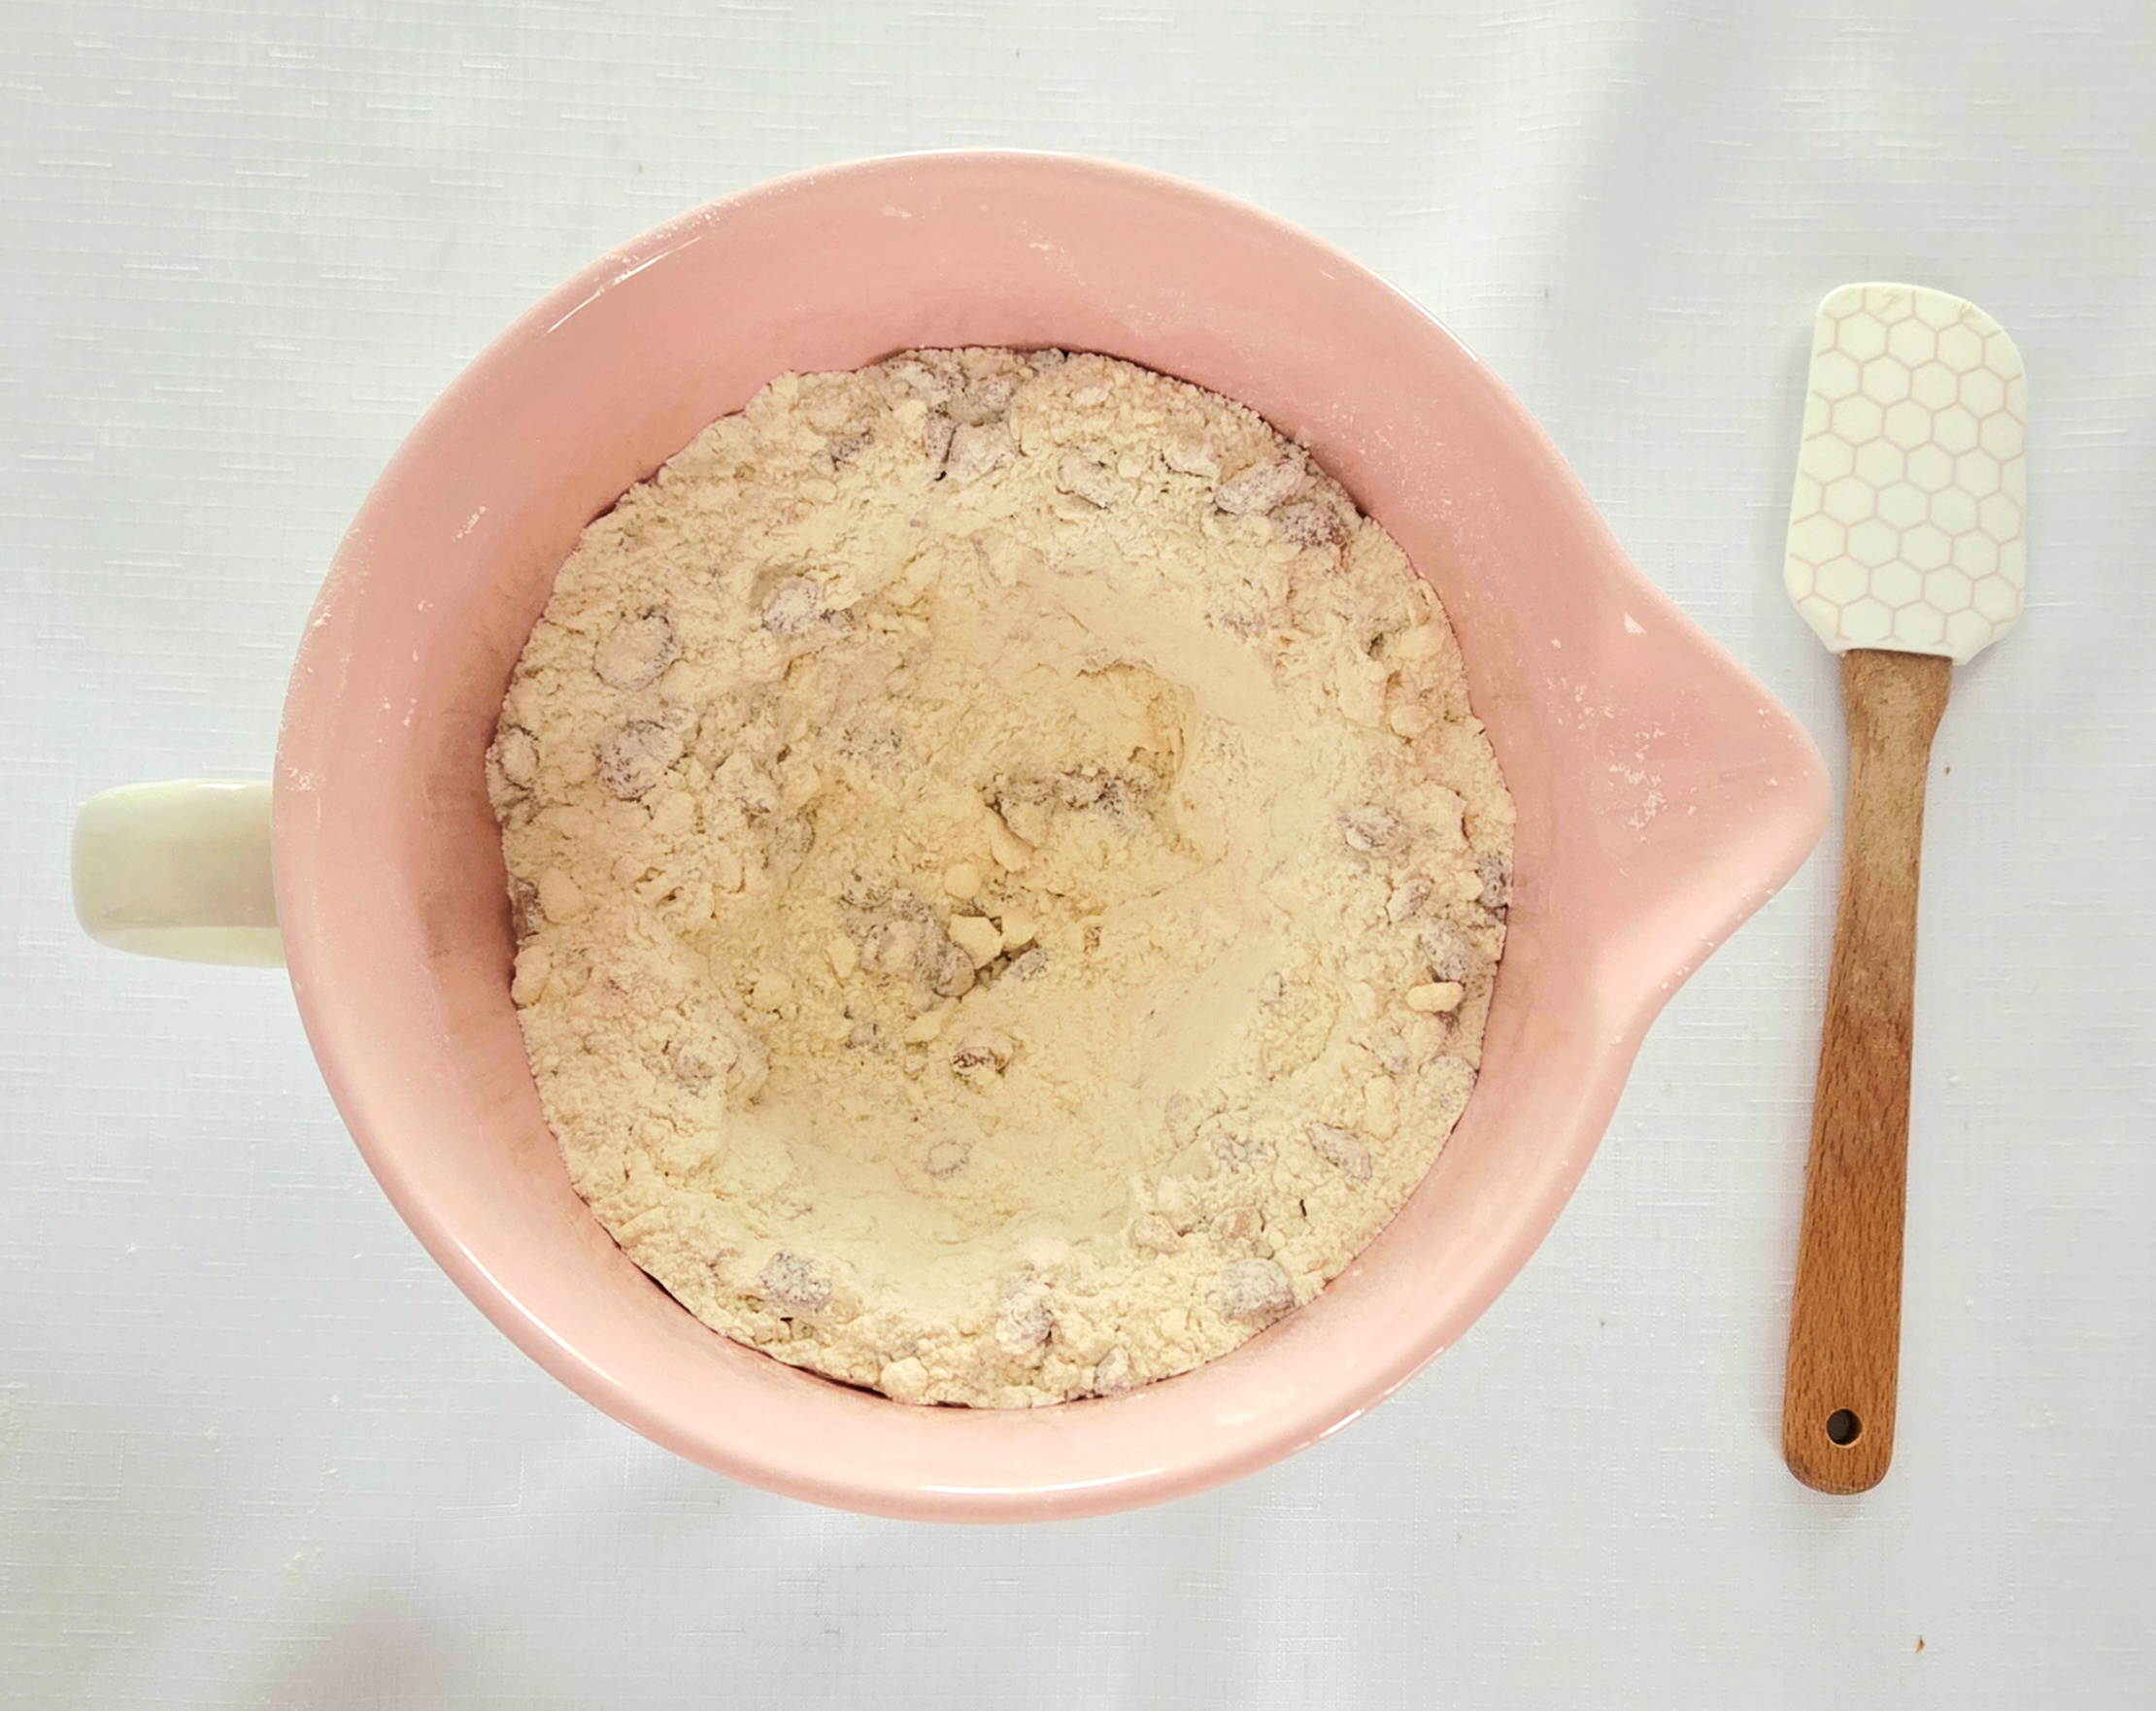
Toss in the chopped peanuts and give it a good mix with a rubber spatula, to evenly distribute the nuts. They’d get jammed in a whisk, hence the switch in tool. Use the spatula to form a well in the center of the dry goods. This well just makes it easier for the cream to reach the dry goods at the bottom of the bowl, so you’ll have to work less to bring the dough all together.
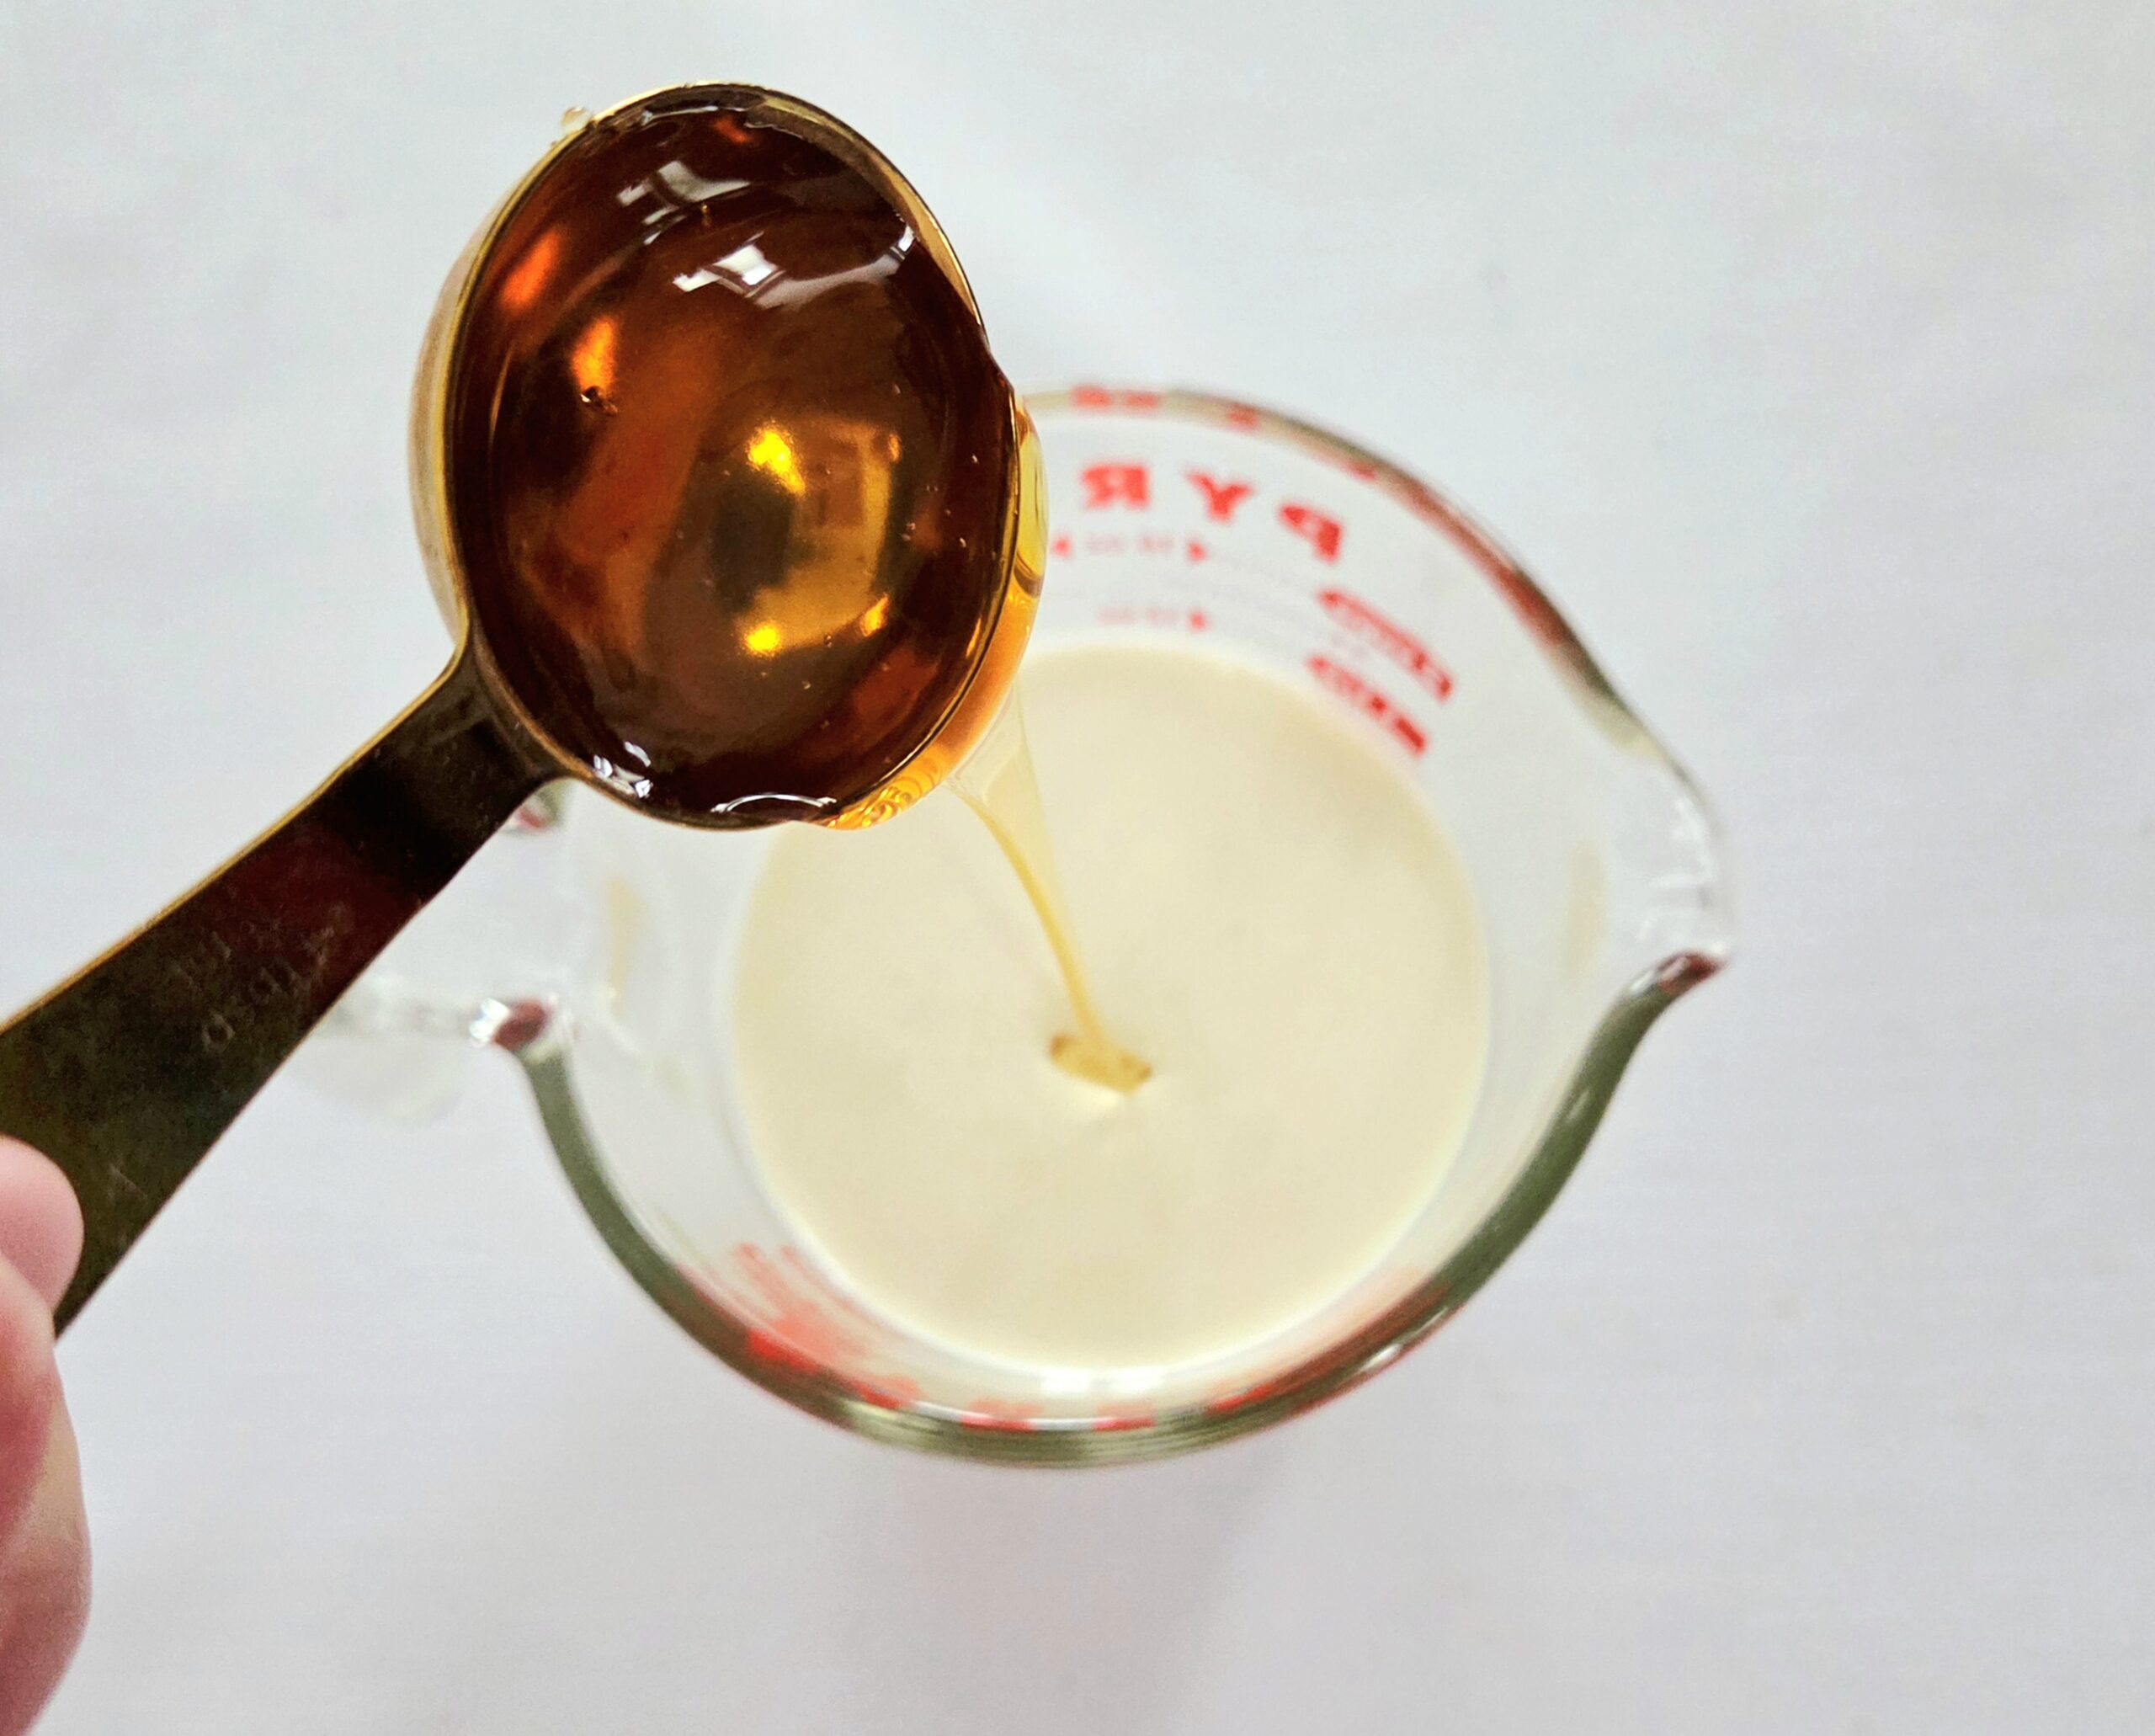
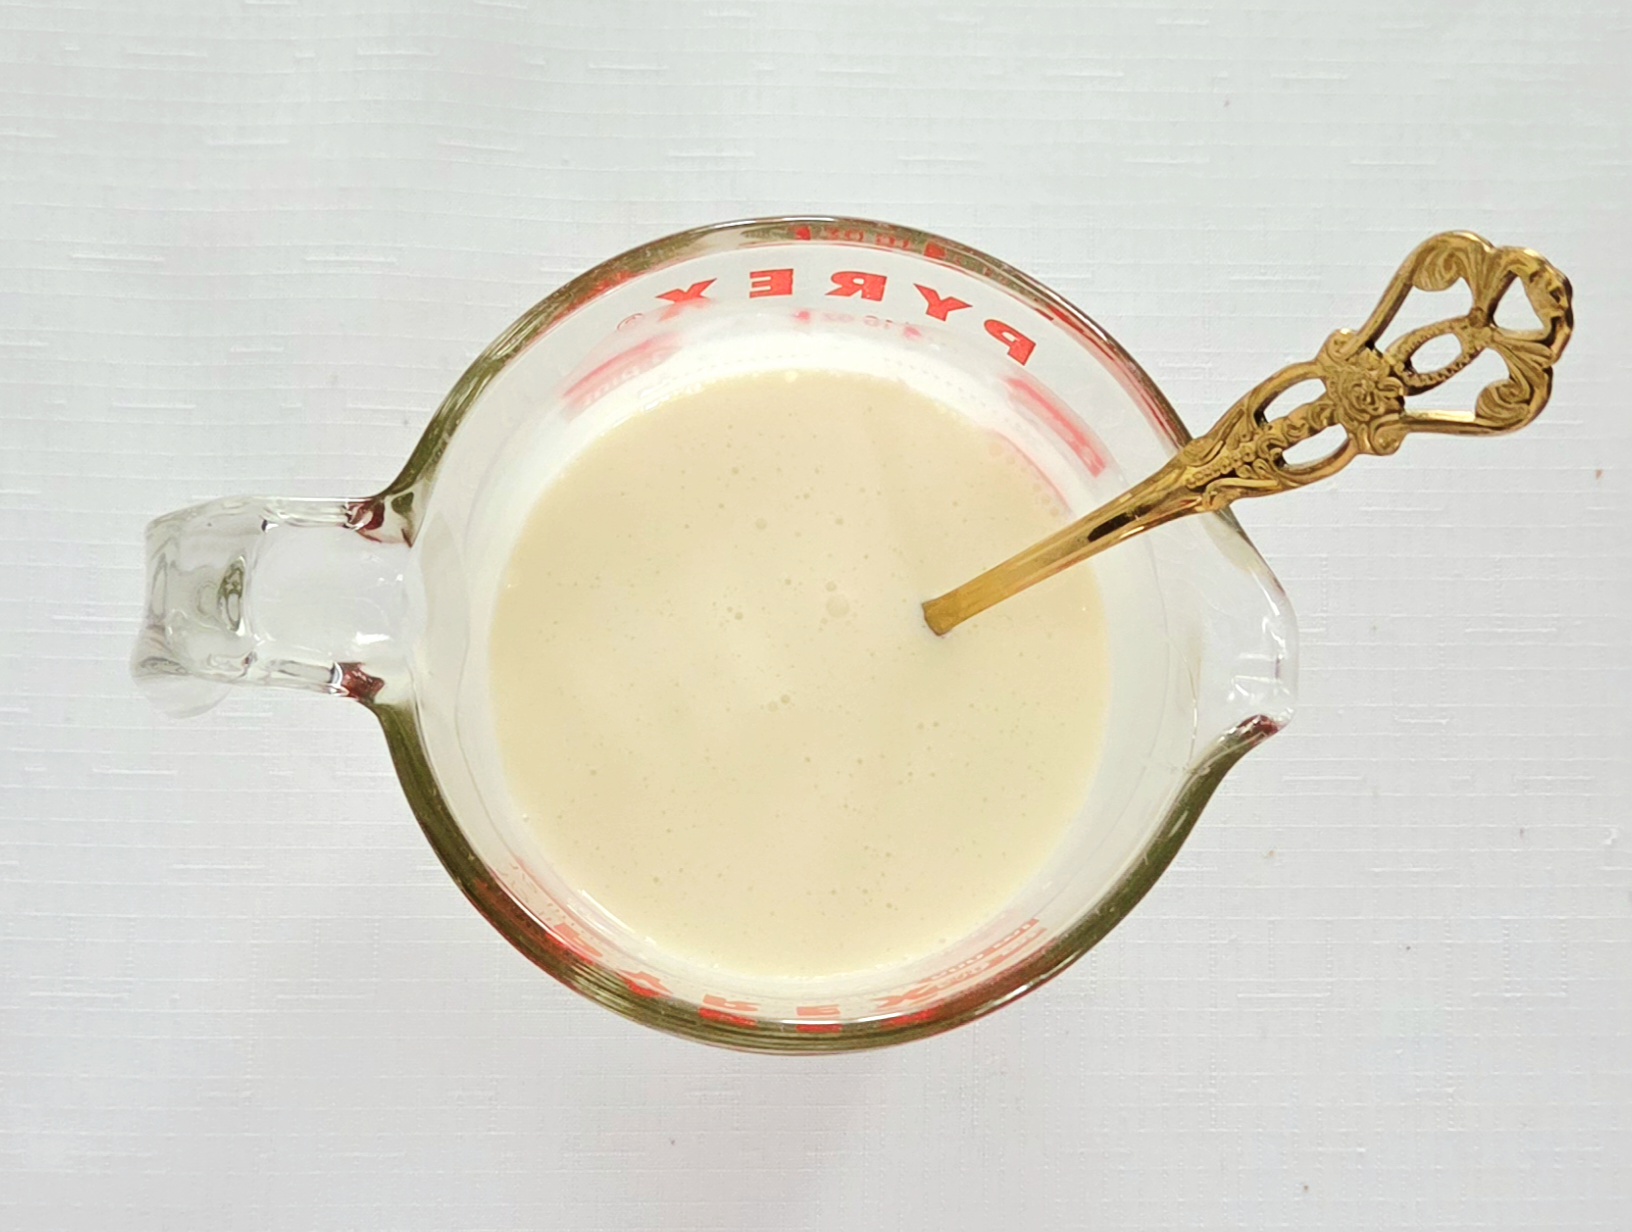
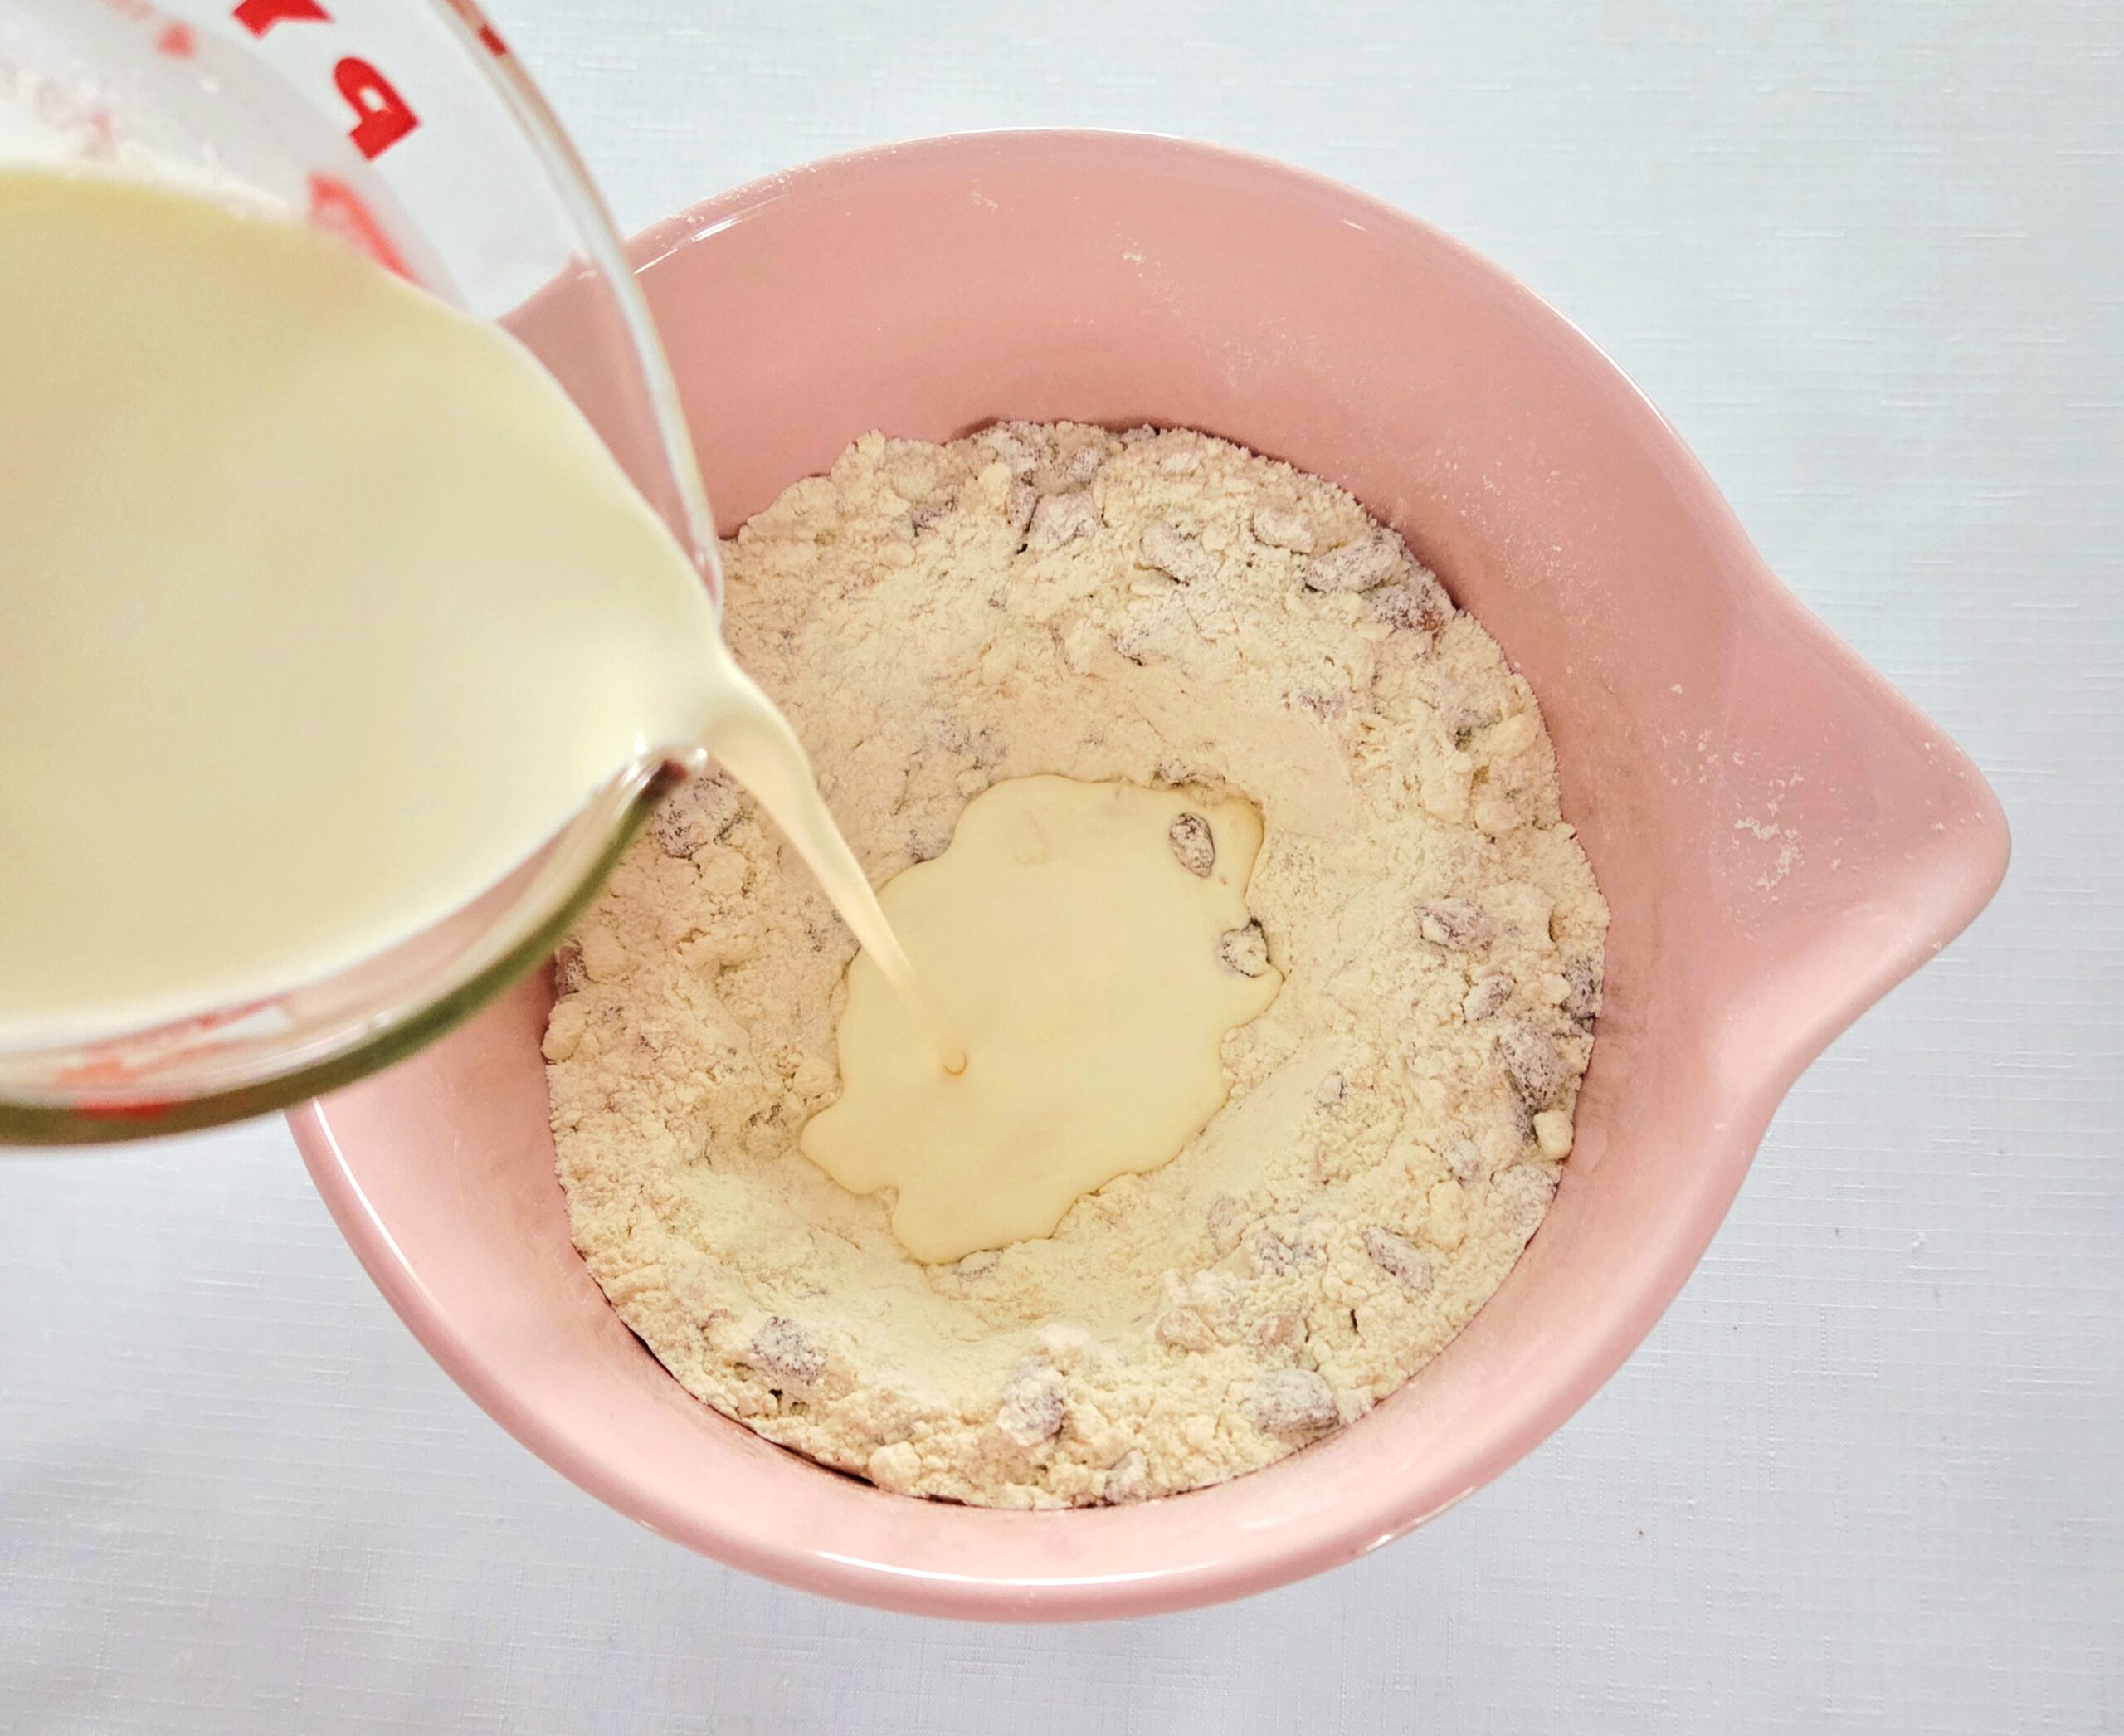
In the liquid measuring cup, measure the cream. Pour 3 Tablespoons of honey into the cream and whisk them together with a fork. There may be a few chunks of honey left, don’t fret. Just do the best you can to make it homogeneous while everything stays cold.
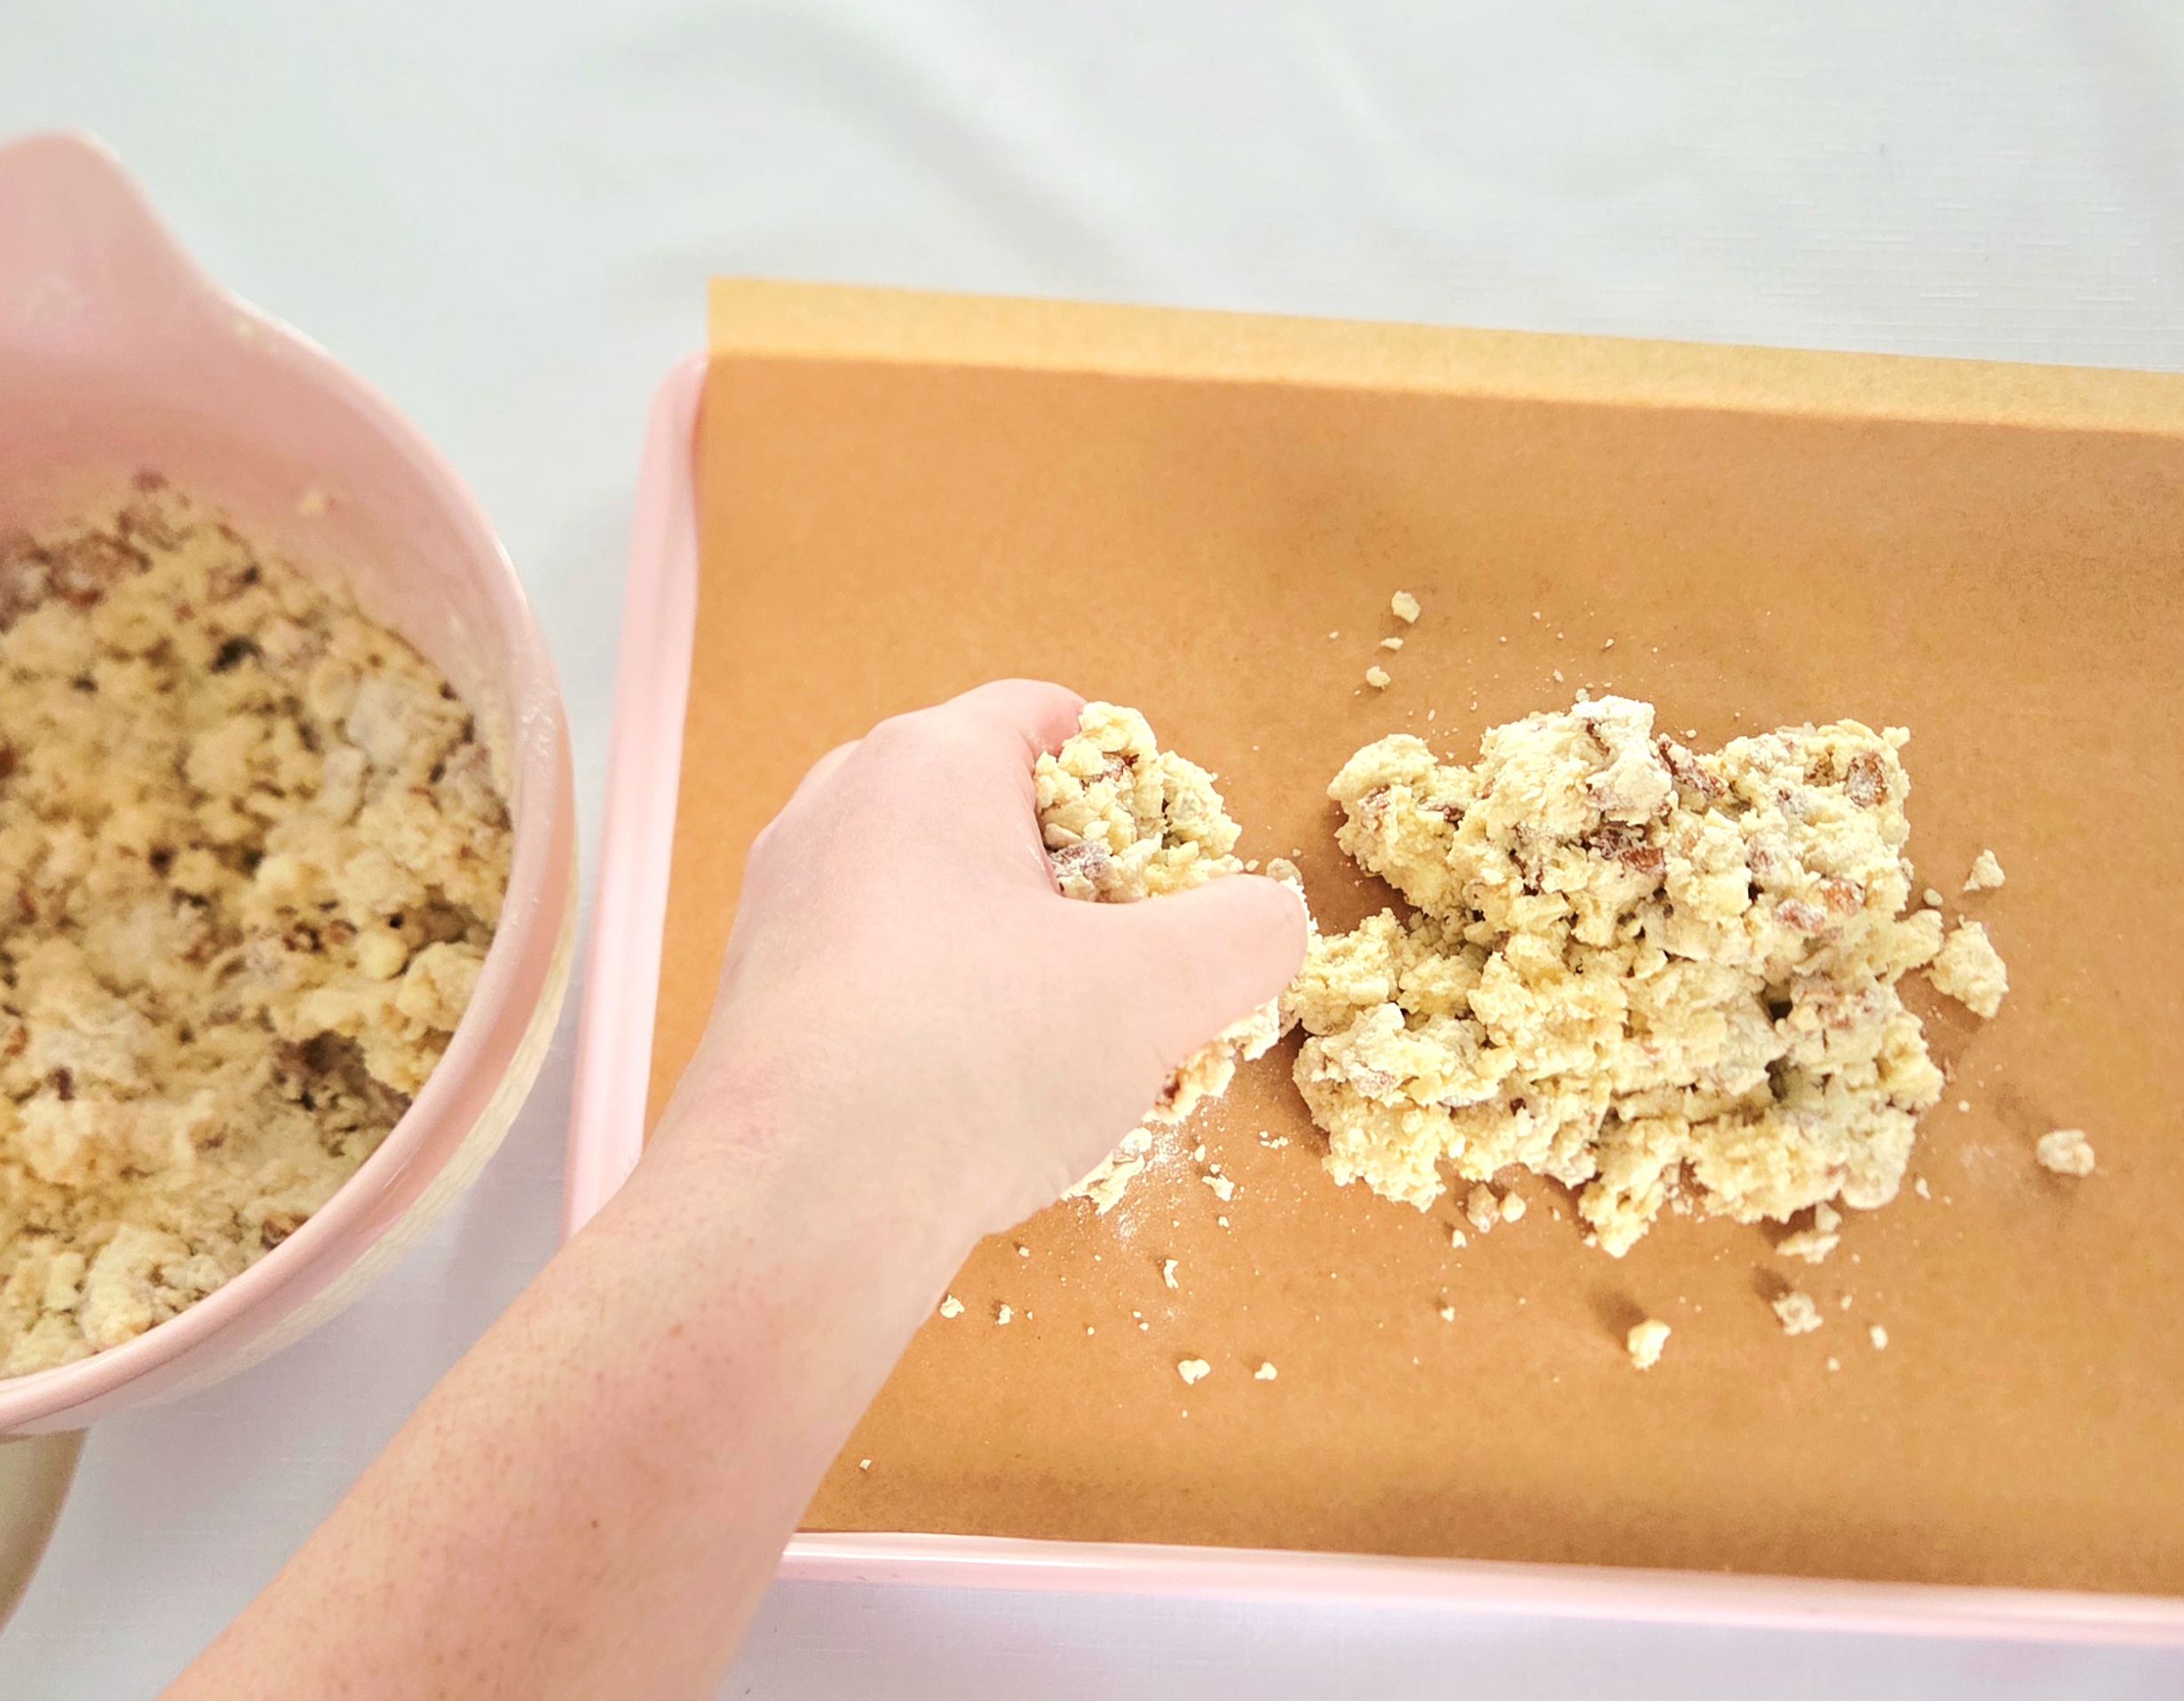
Pour the honey cream into the well you made in the center of the dry goods. Whisk the dough together with the fork. Grab one of the parchment lined baking sheets from the beginning of the recipe. As the dough forms hydrated hunks, transfer them over to the parchment lined sheets.
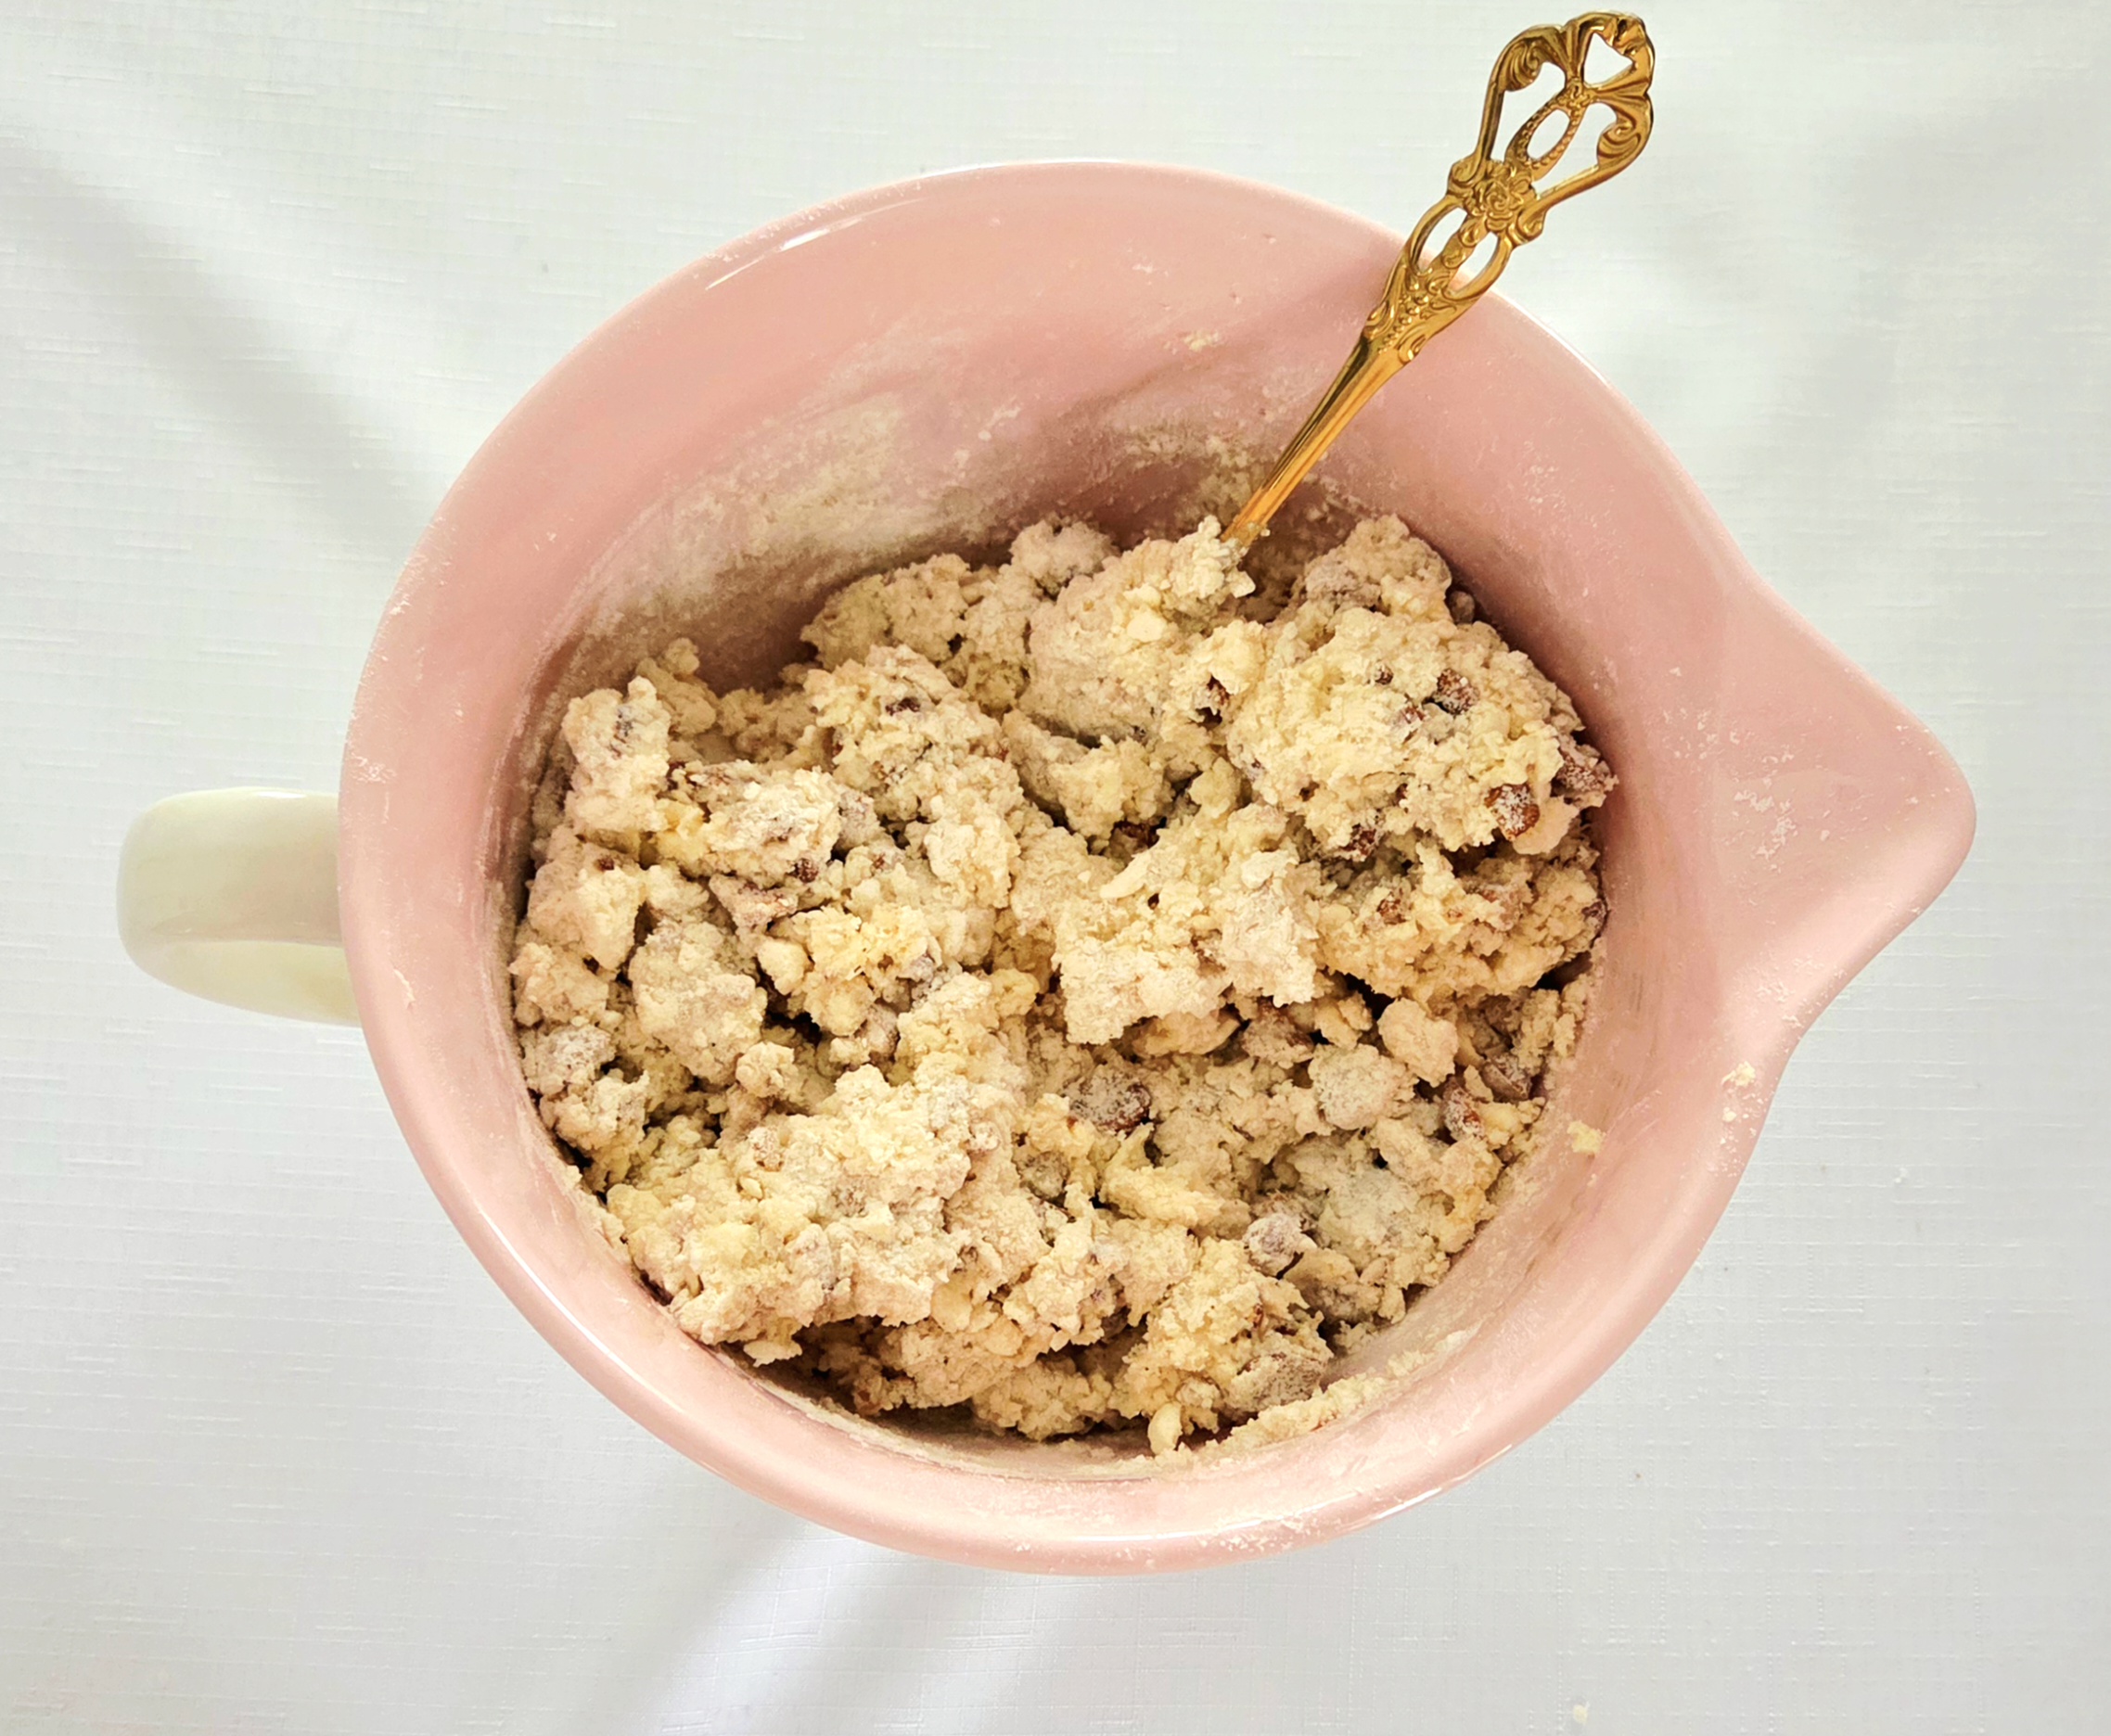
If there’s a significant portion of the dry flour mixture left at the bottom of the bowl, add in one Tablespoon of cream at a time and whisk it in with the fork. The hydration of dough like this is a delicate balance. If it’s too dry, it will fall apart. But if it’s too wet, it becomes heavy. Use the reference pictures presented to make your best judgment call.
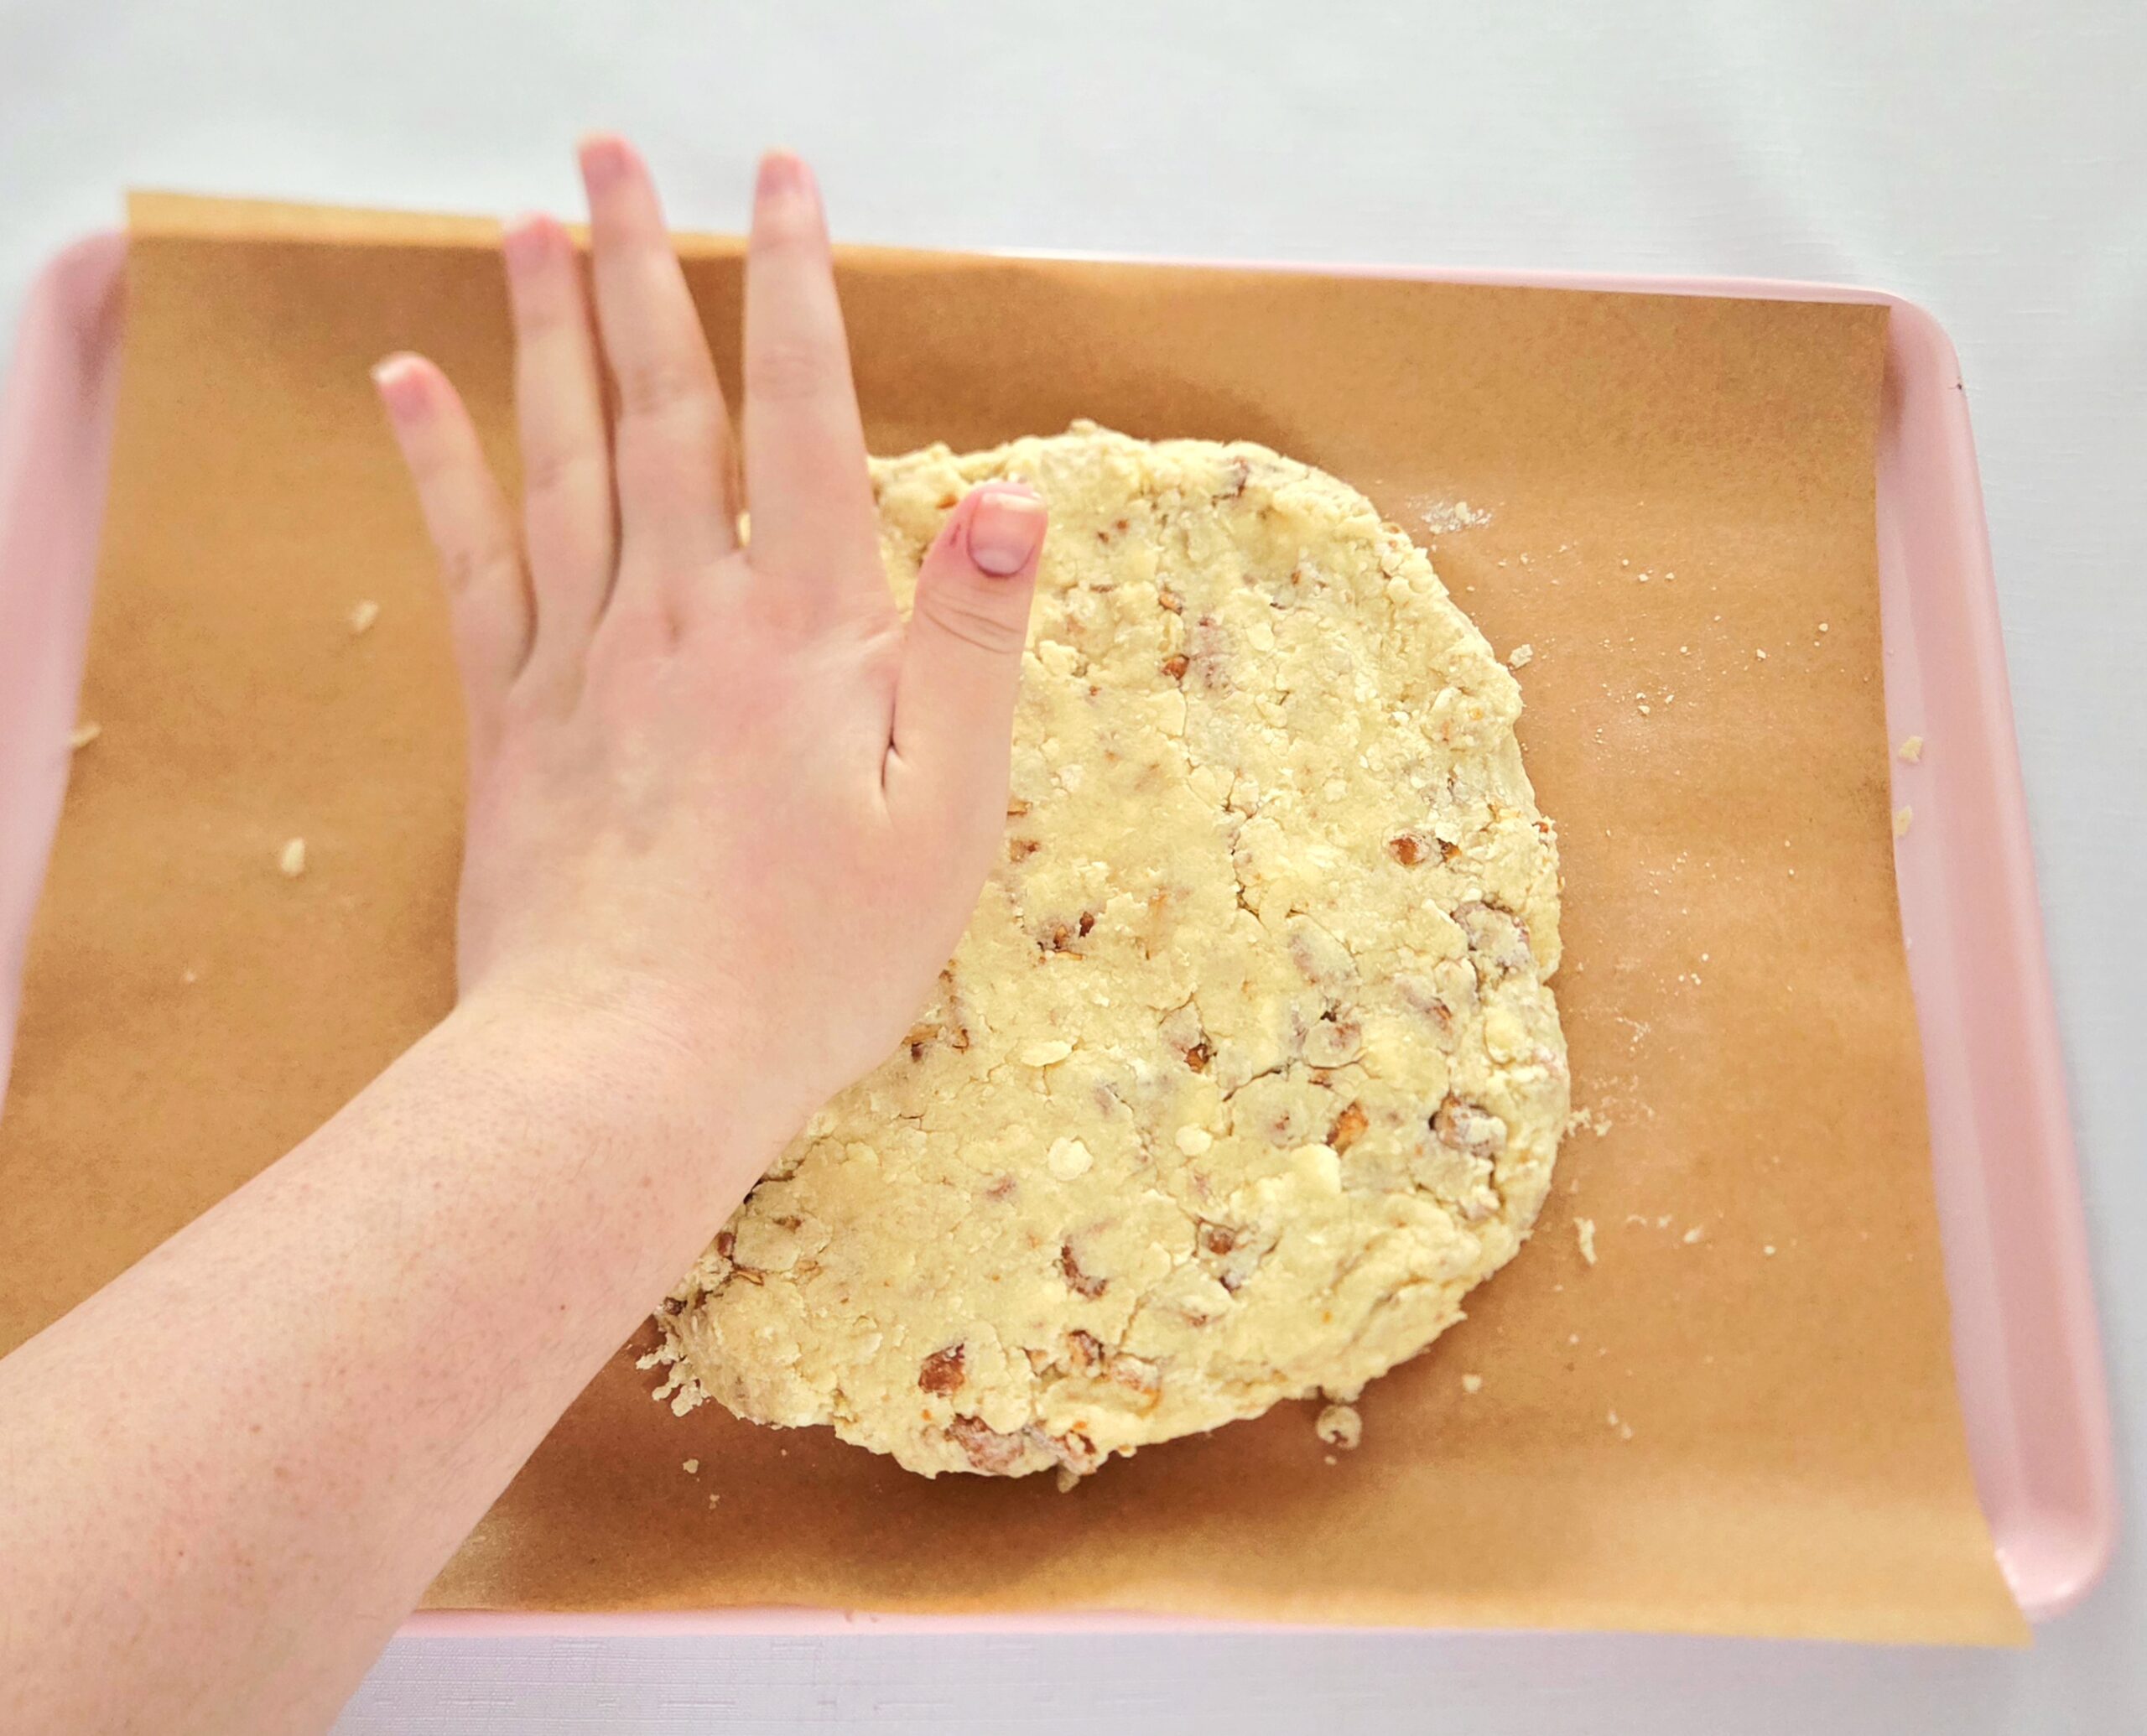
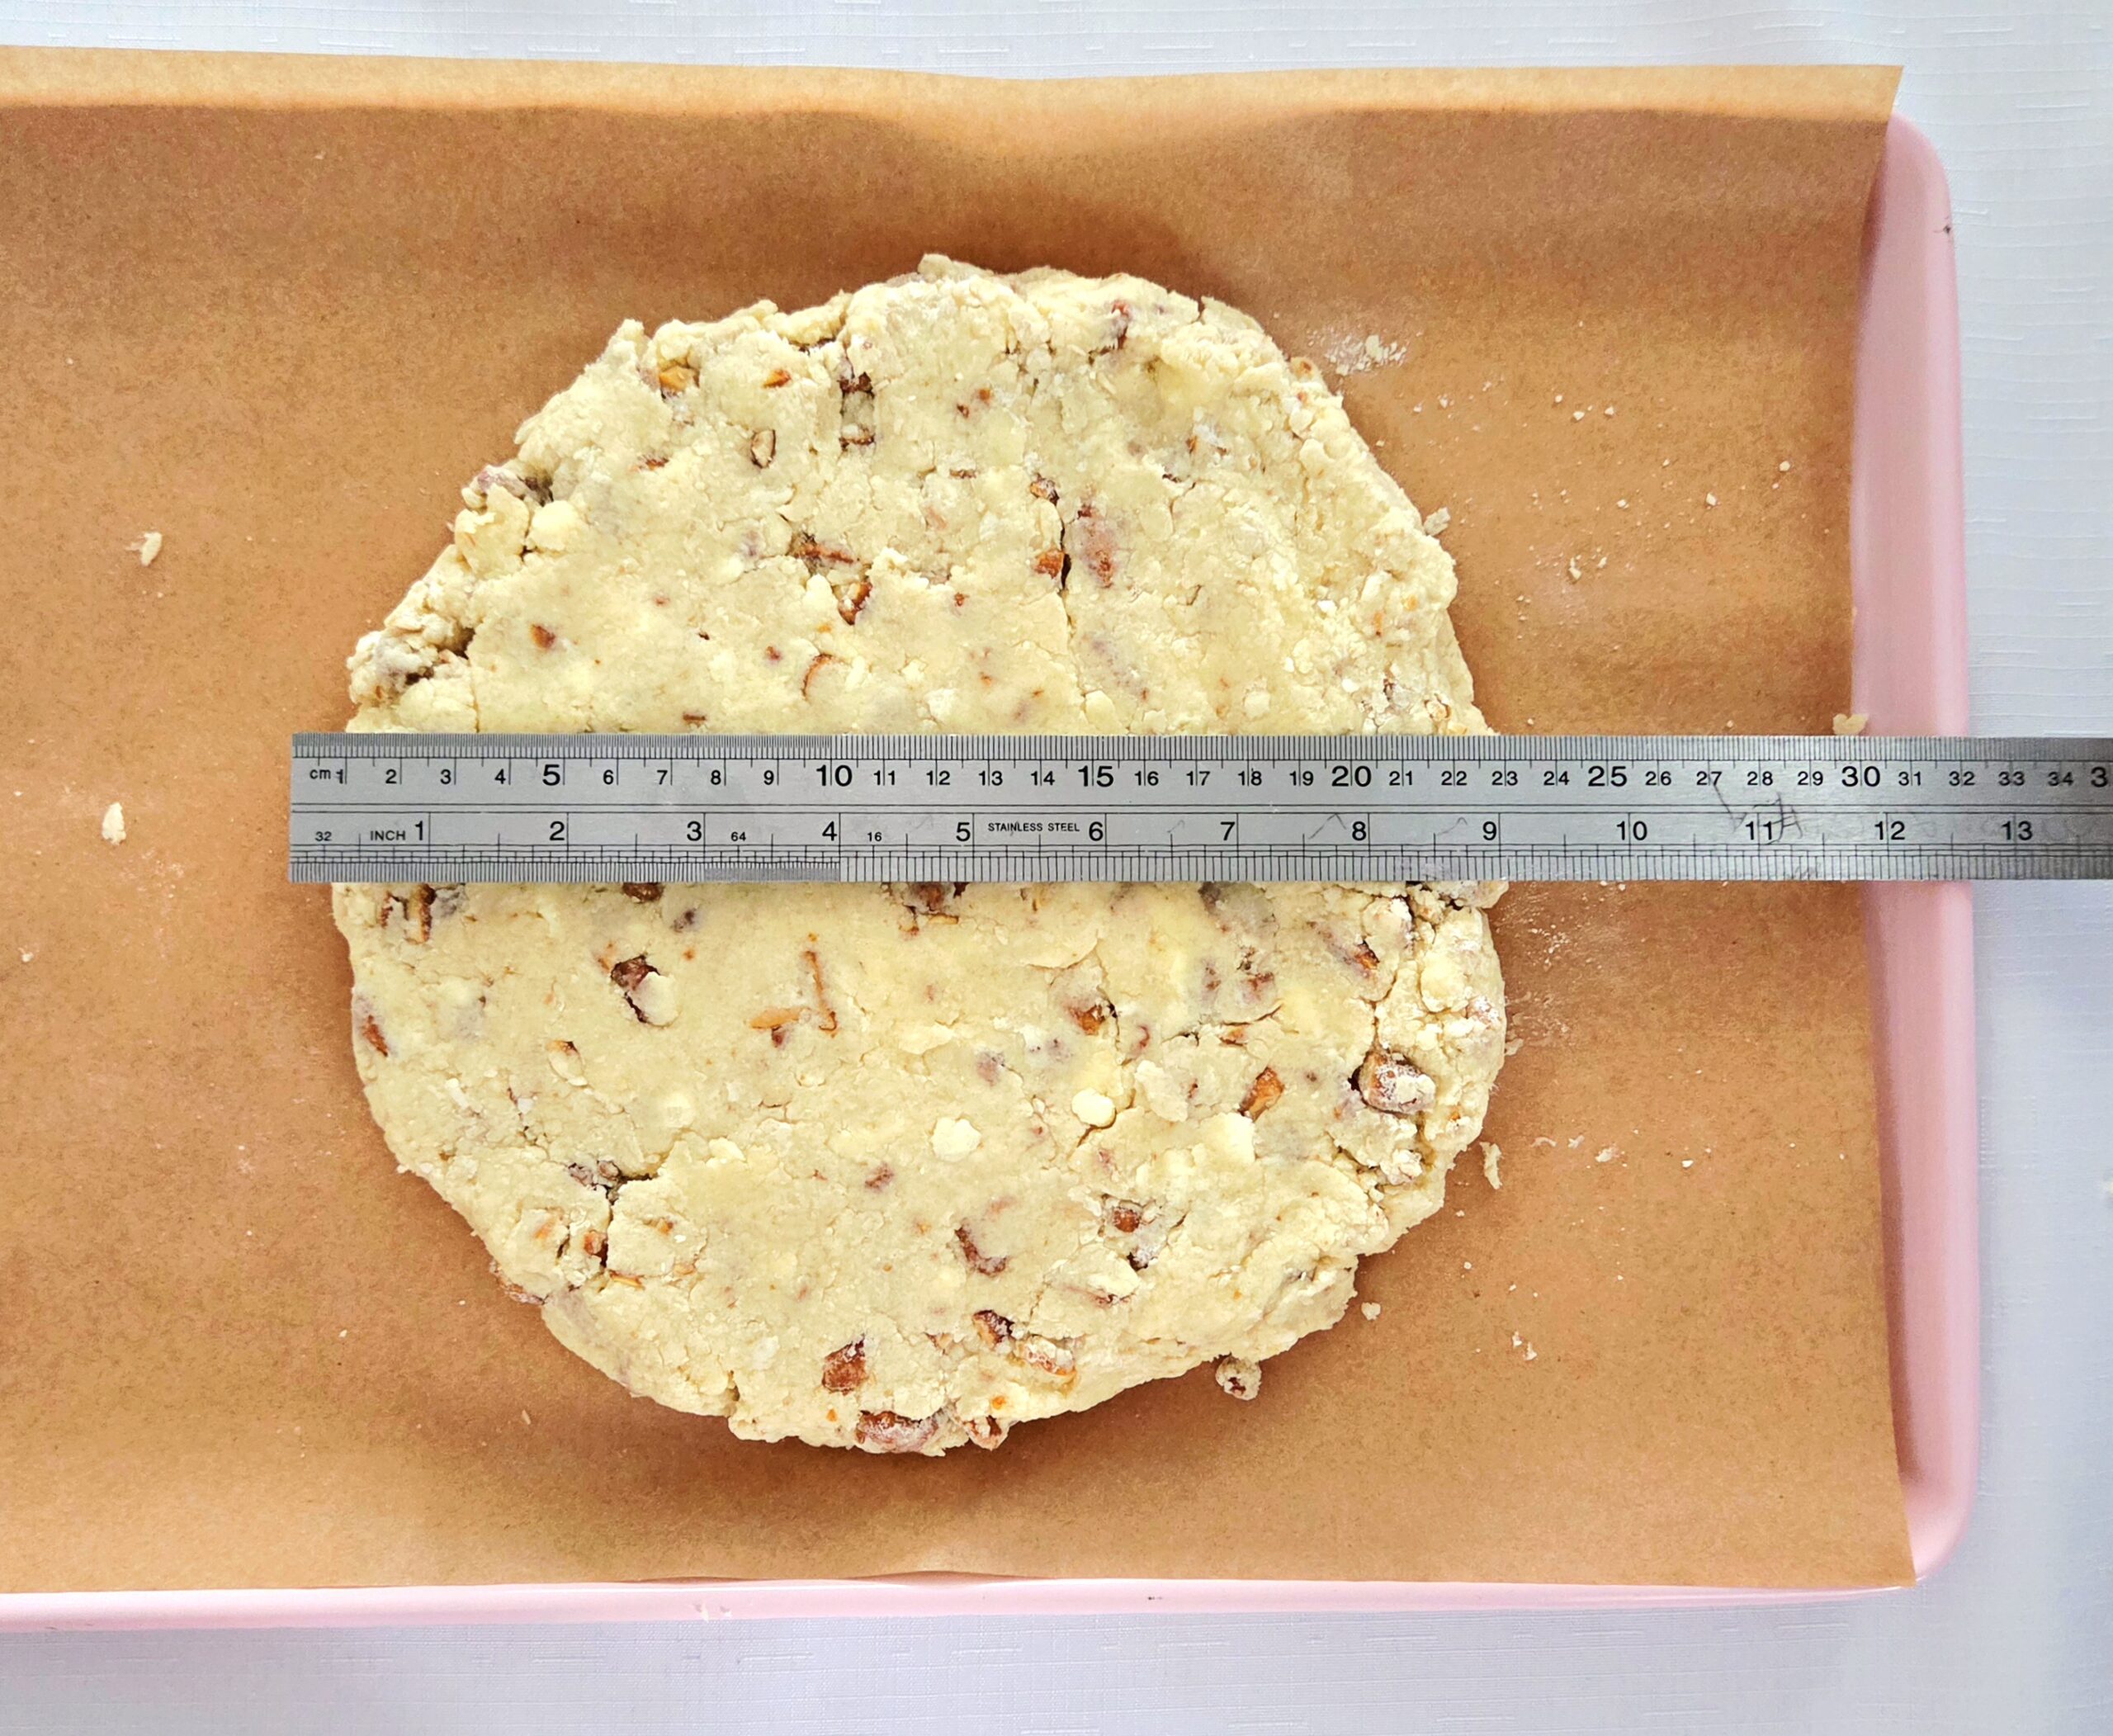
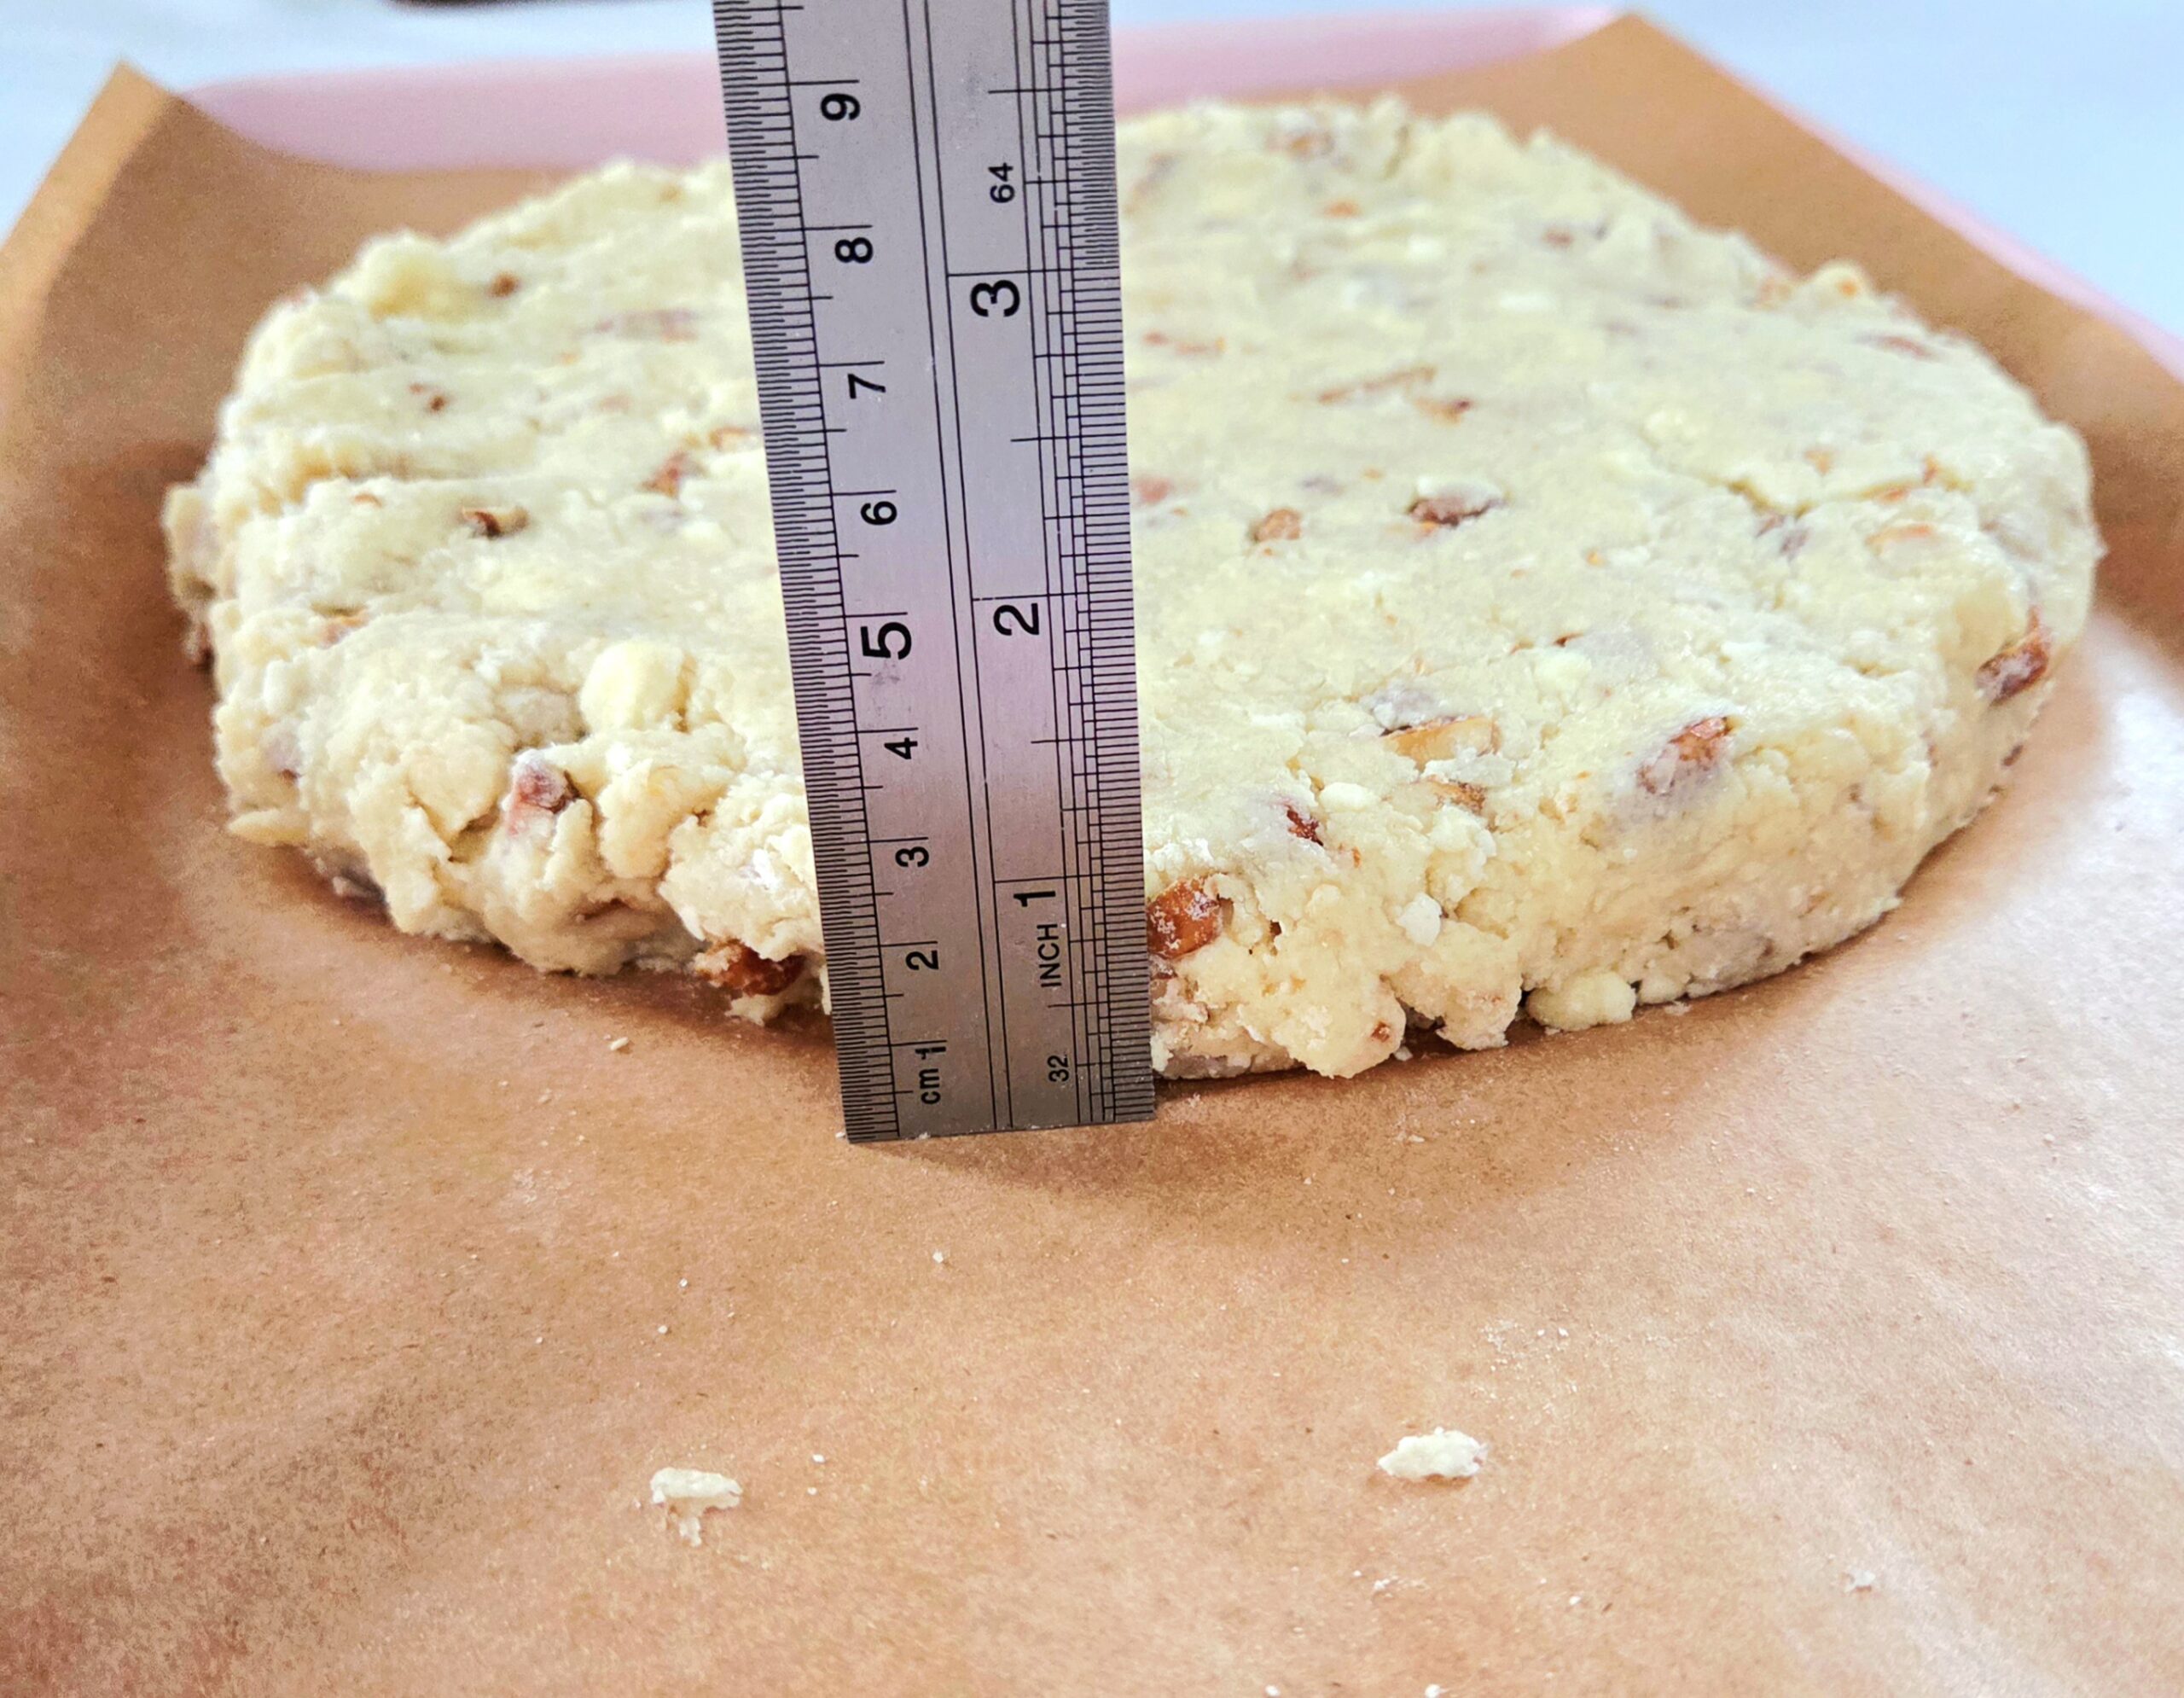
Gently knead the dough just enough to bring it together. Form it into a roughly 9-inch circle, about 1-inch thick. Use the heel of your hand, so it won’t get too warm. Cover it with plastic wrap, so the dough is airtight, and stick it in the fridge to chill and rest. Cold is king in this recipe.
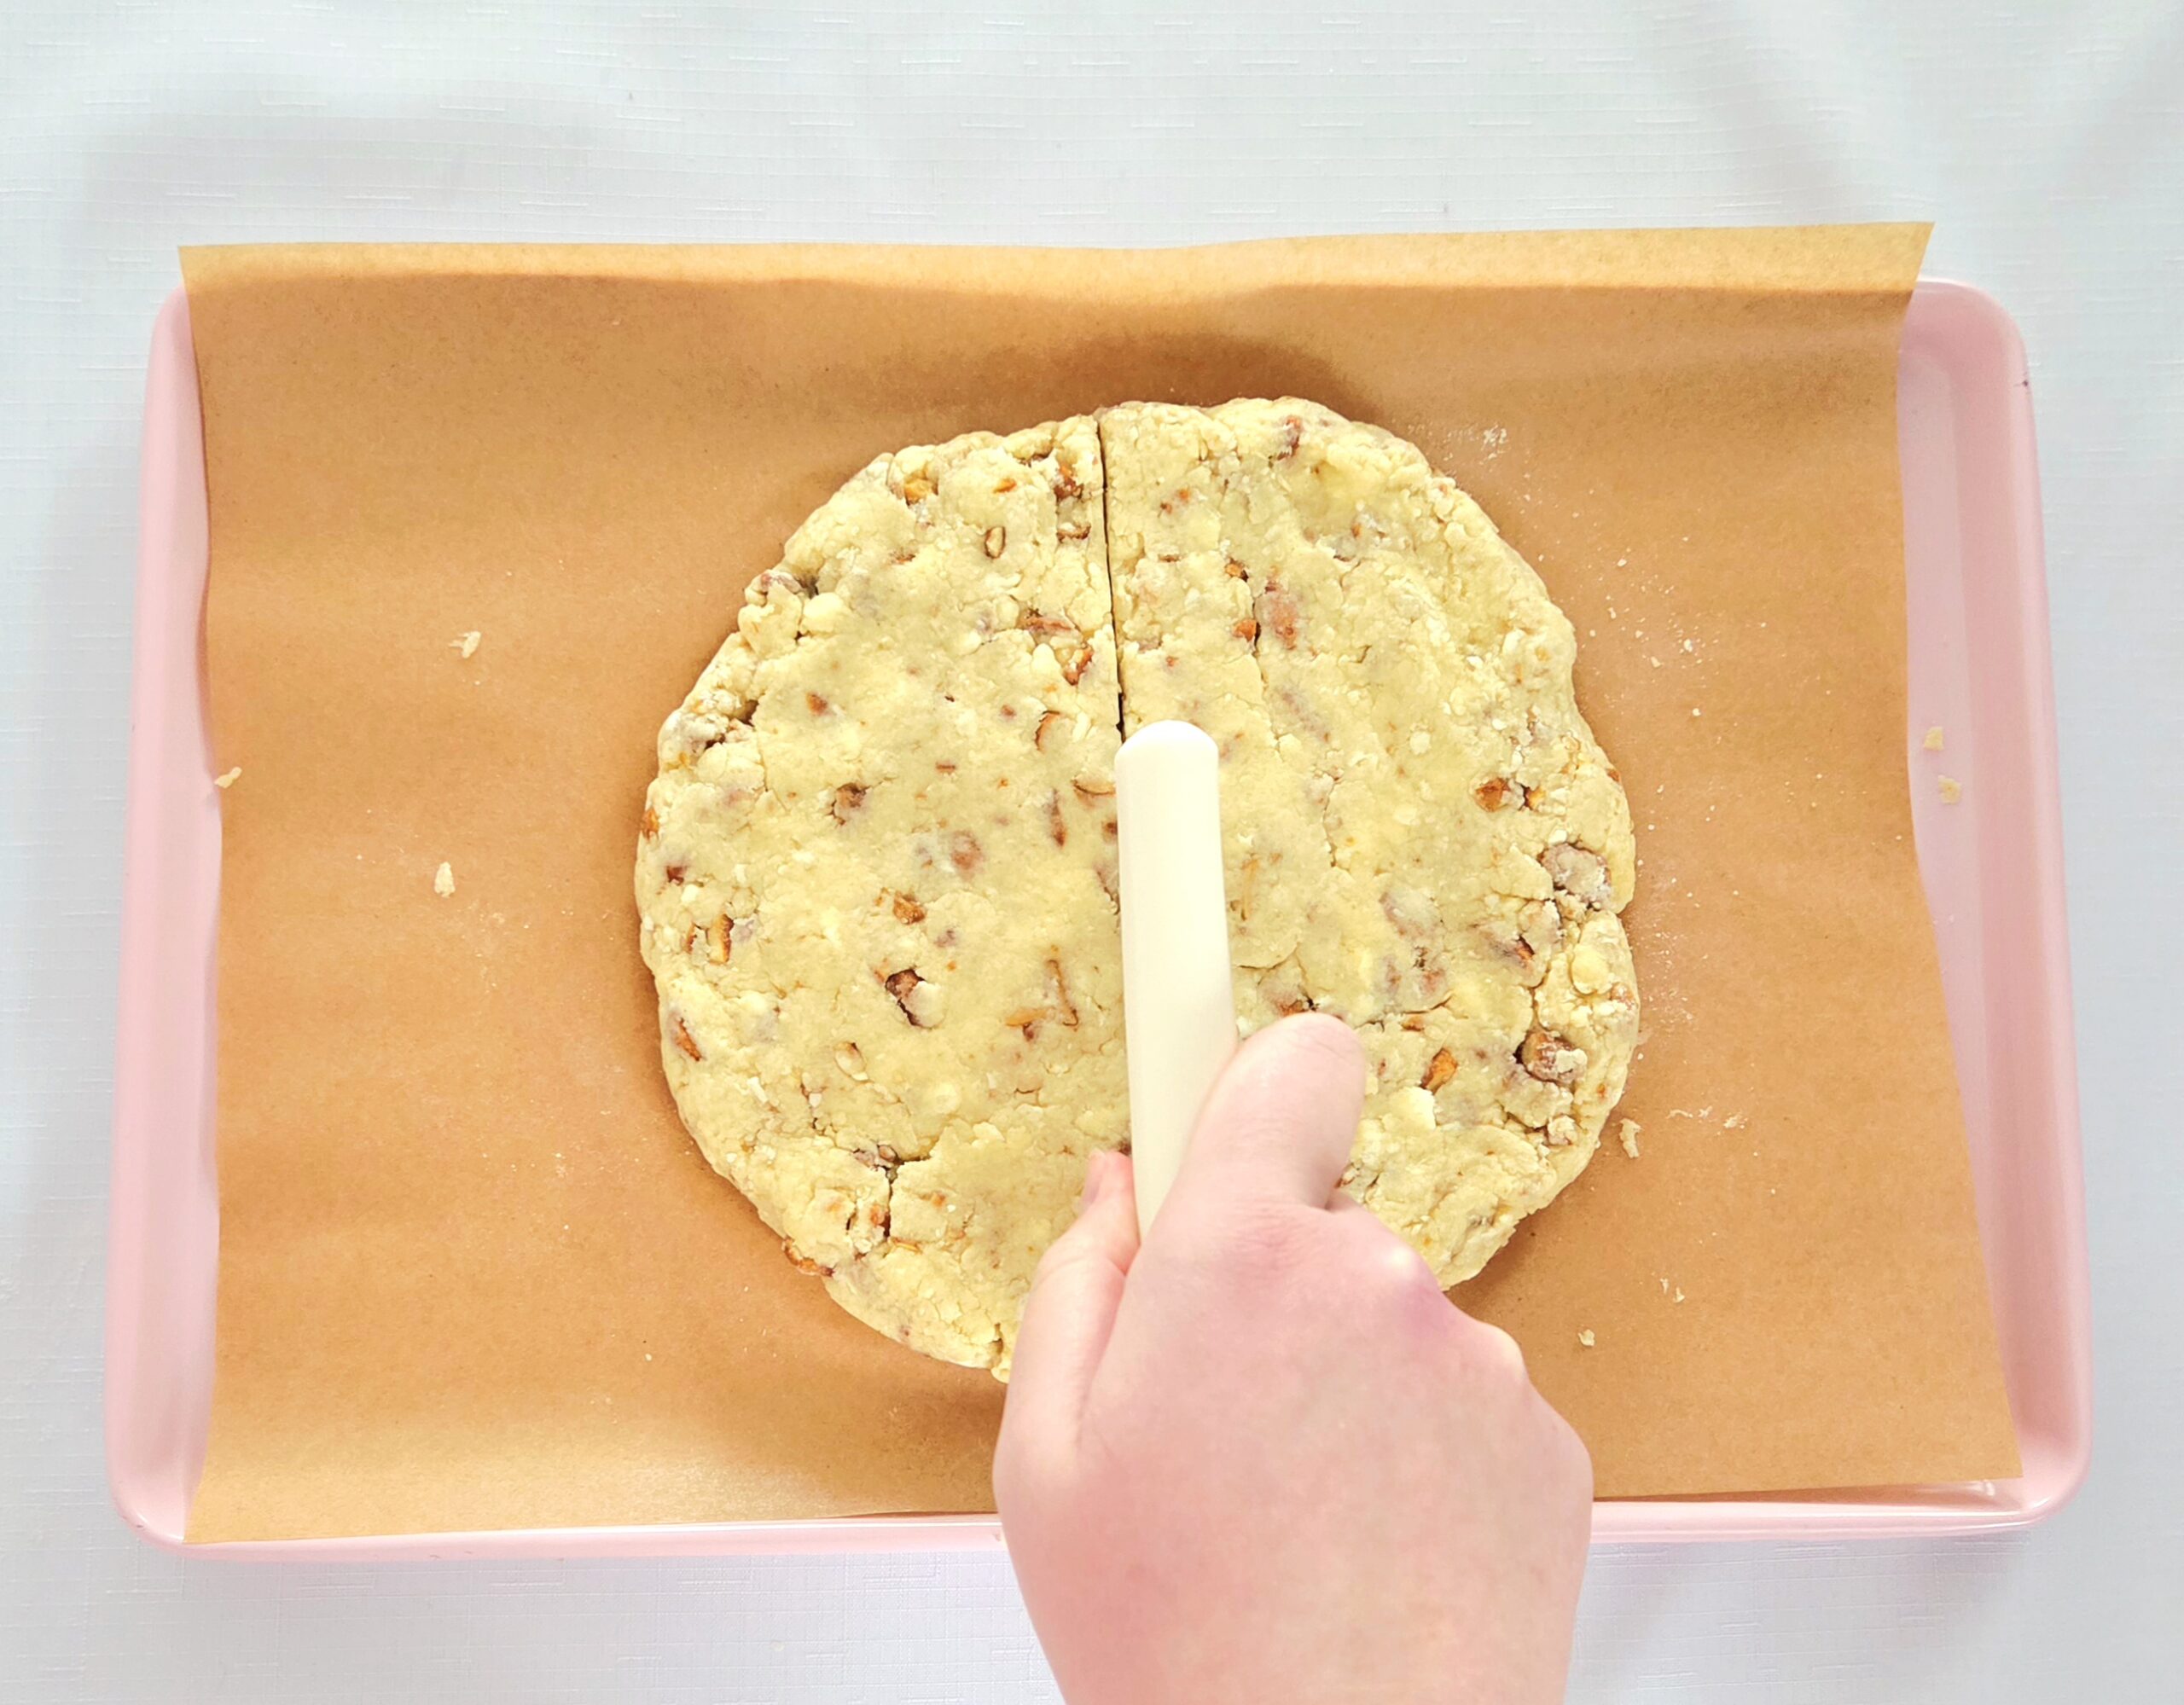
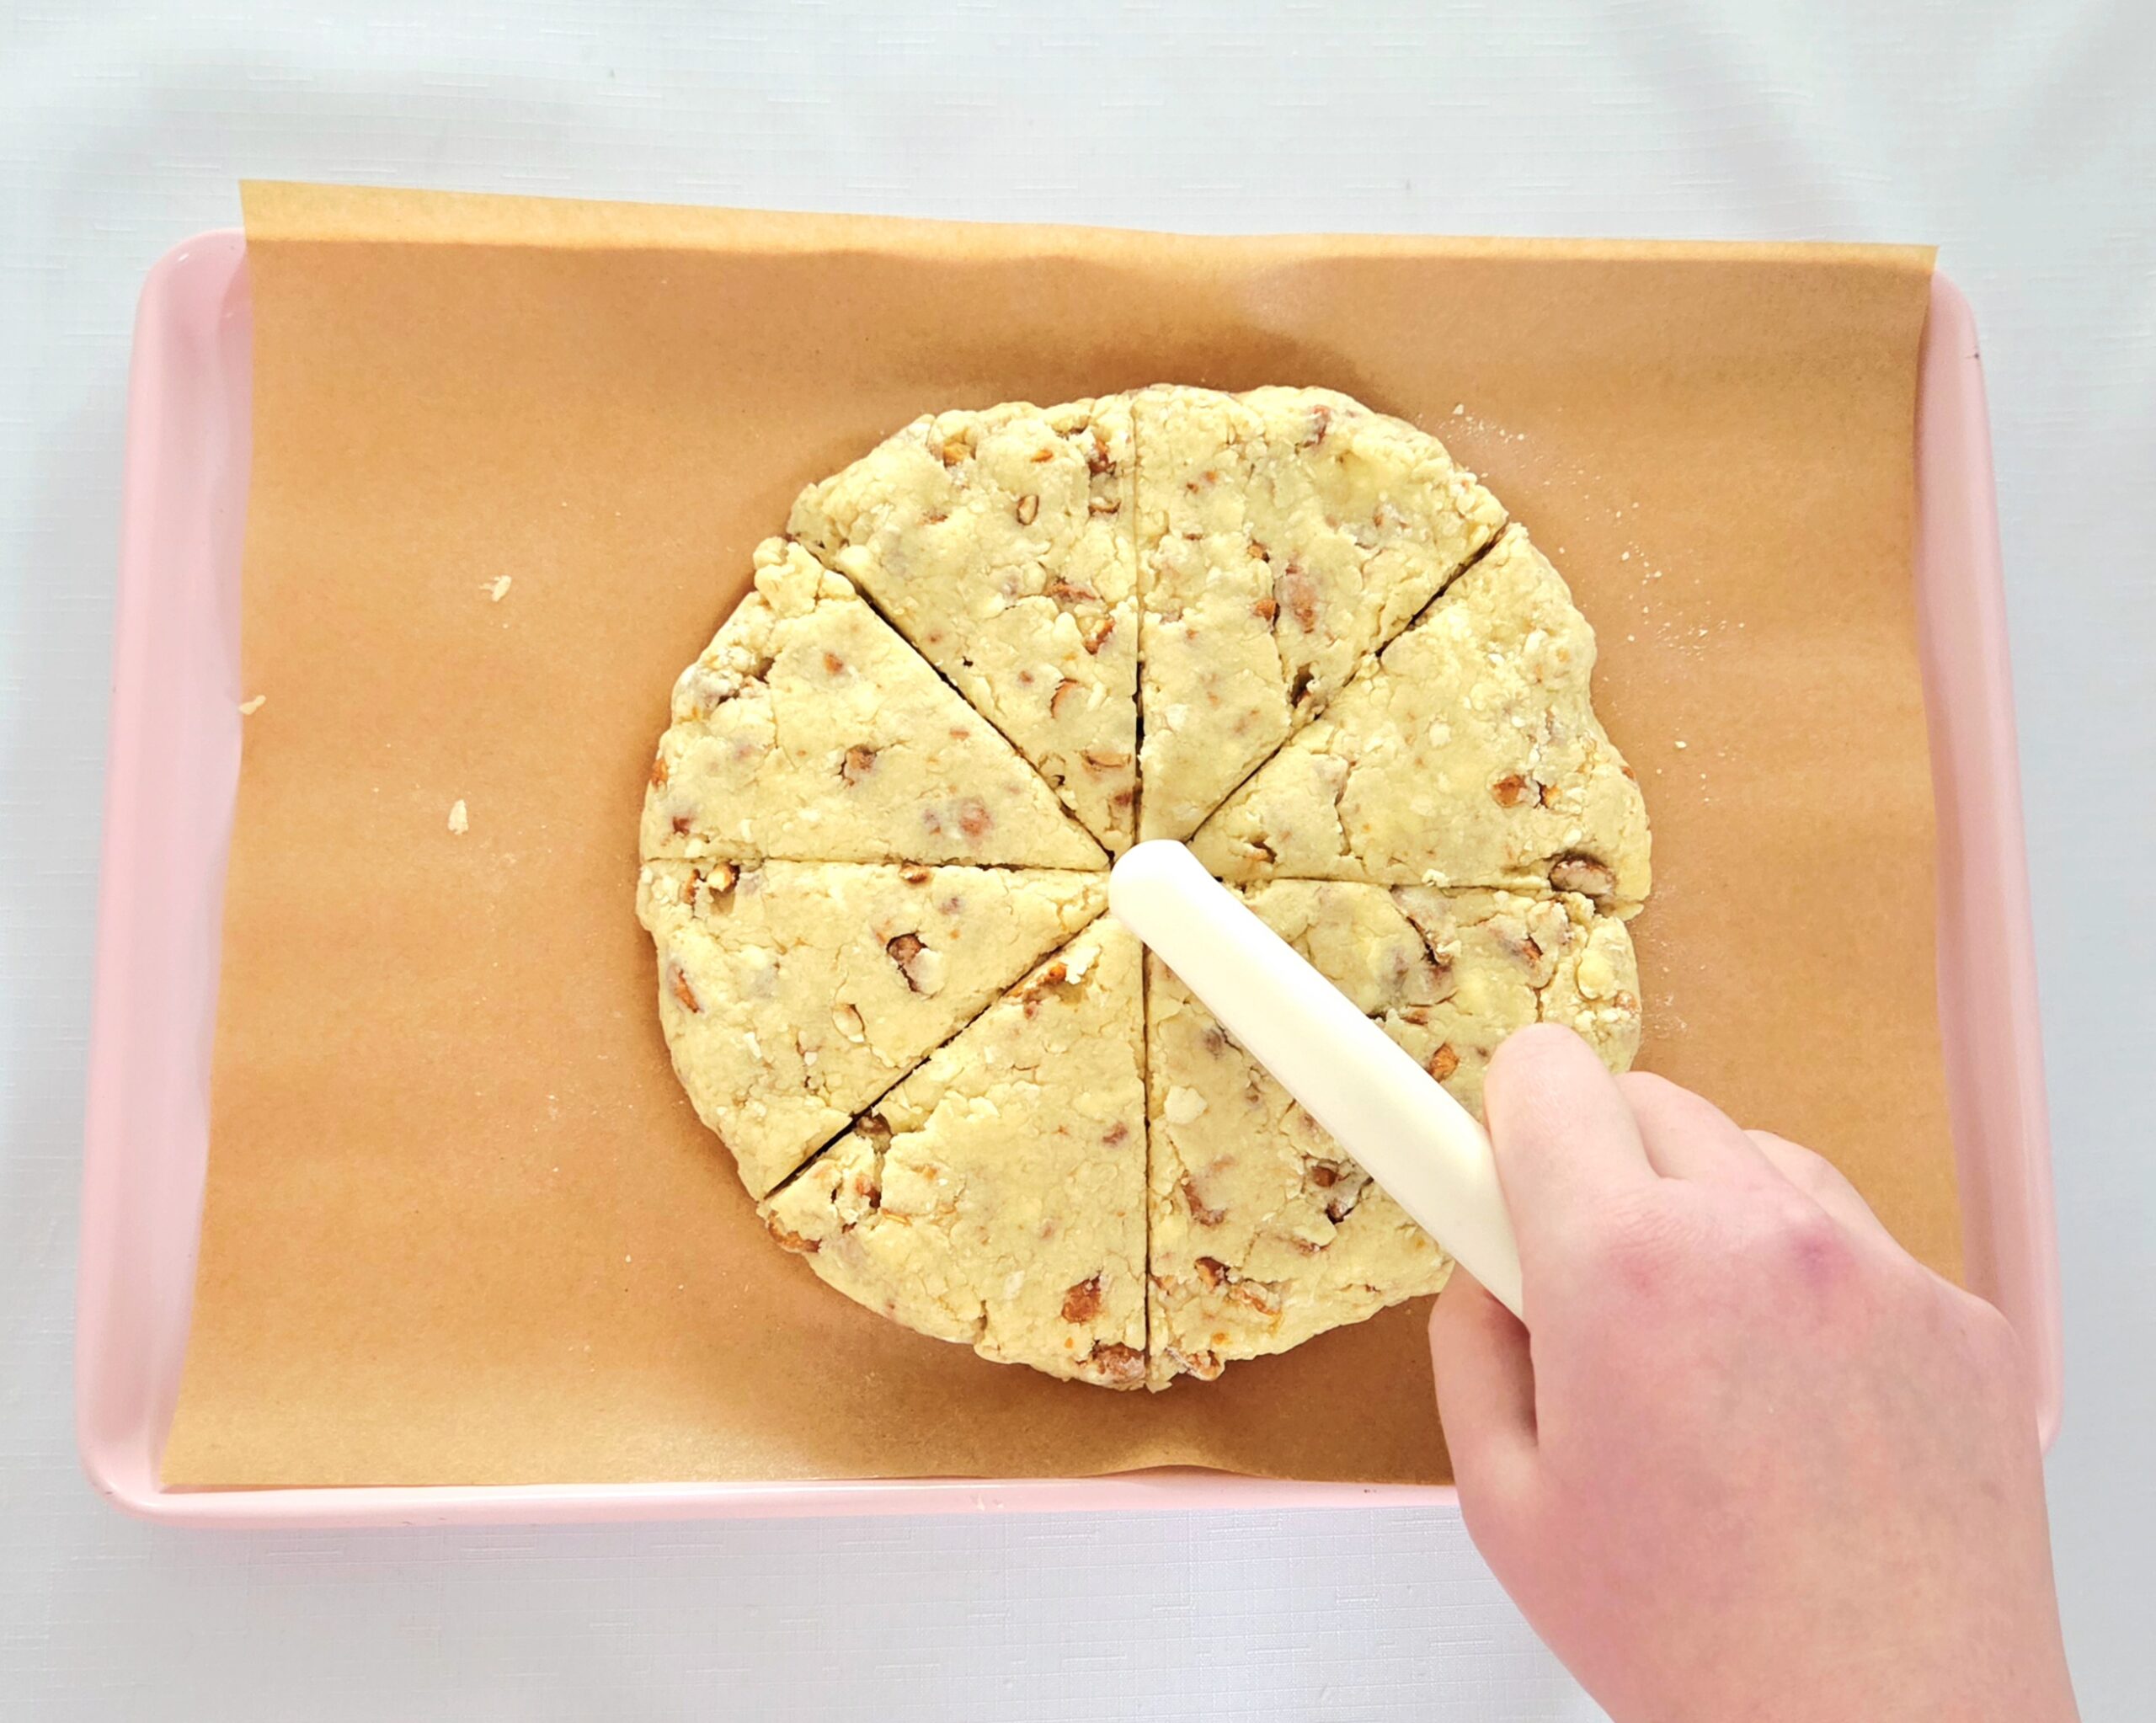
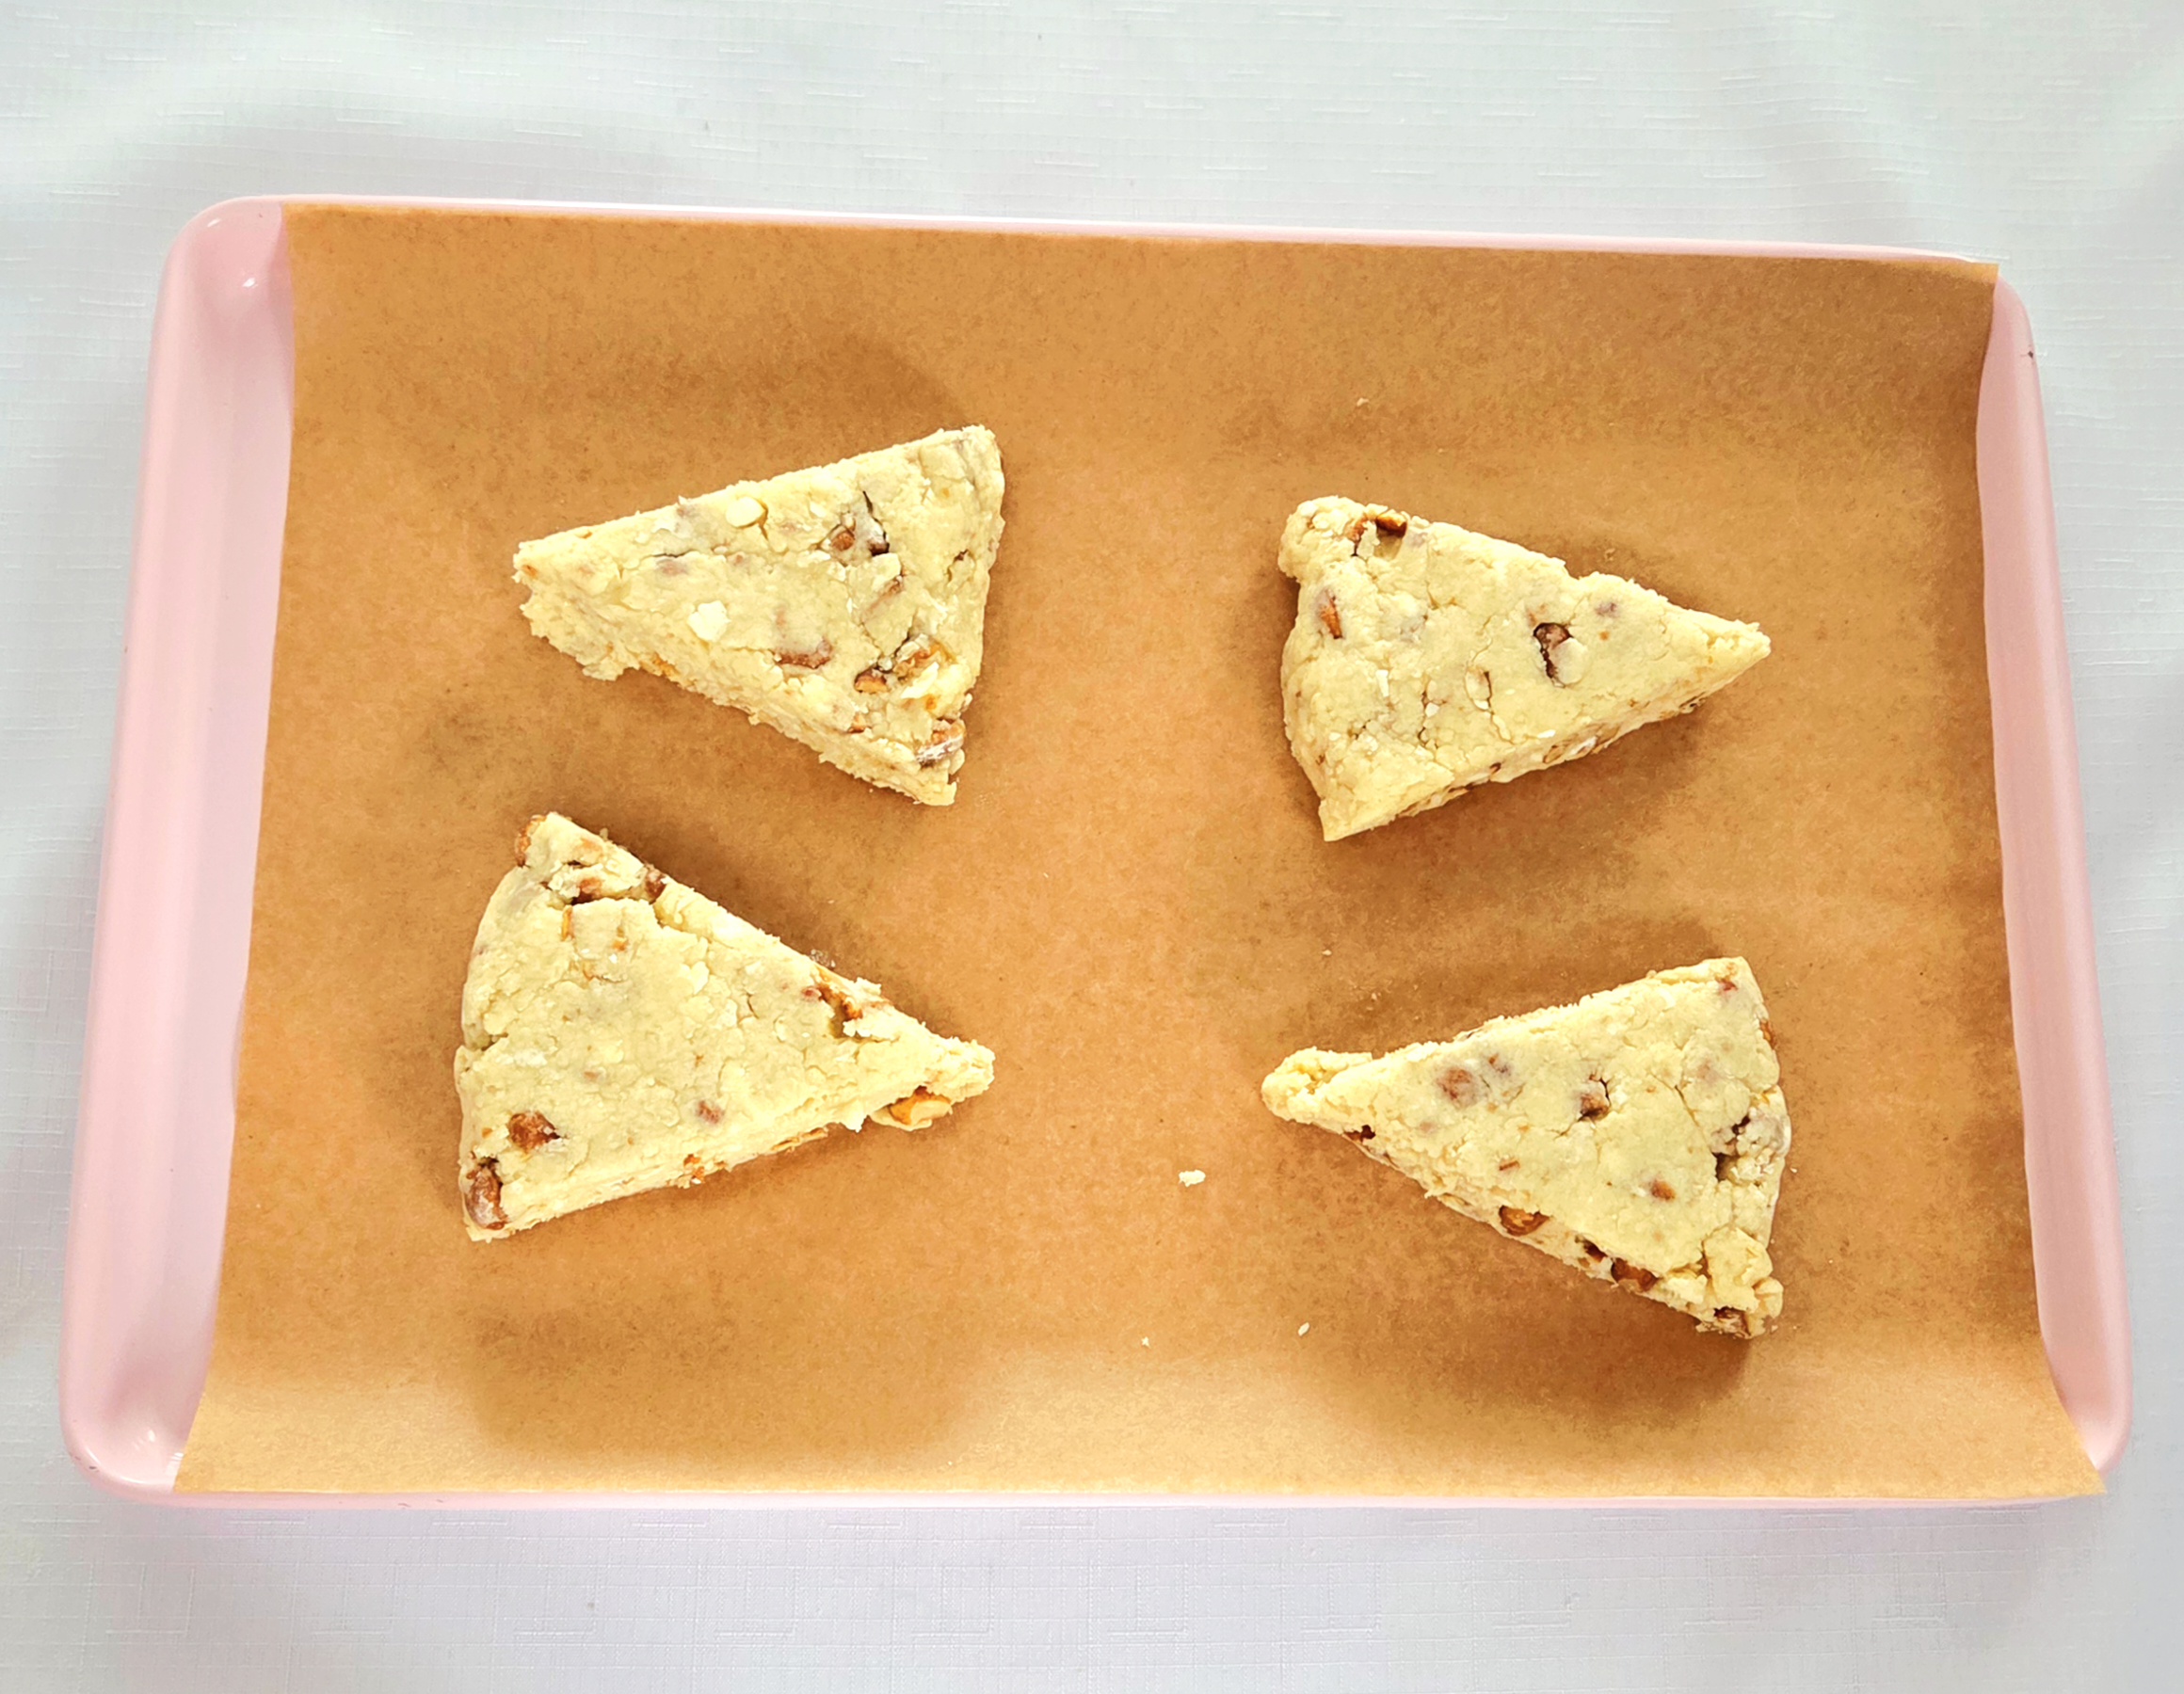
After about an hour, grab the dough from the fridge. Cut the scone dough in half vertically using either the bench scraper or chef’s knife, then again in half horizontally, so you have 4 equal quadrants. Cut each section in half, leaving you with 8 relatively equally sized scones. If you’re using the knife, I recommend transferring the dough to a cutting board first, for the sake of keeping your equipment in good condition.

Grab the second lined baking sheet and space out 4 of the scones onto it. They’re going to expand, so give them plenty of room to grow. Cover the other 4 scones with plastic wrap and return them to the fridge, so they stay cold while the first batch bakes. Place the scones going into the oven on the center rack and bake them for 6-7 minutes.
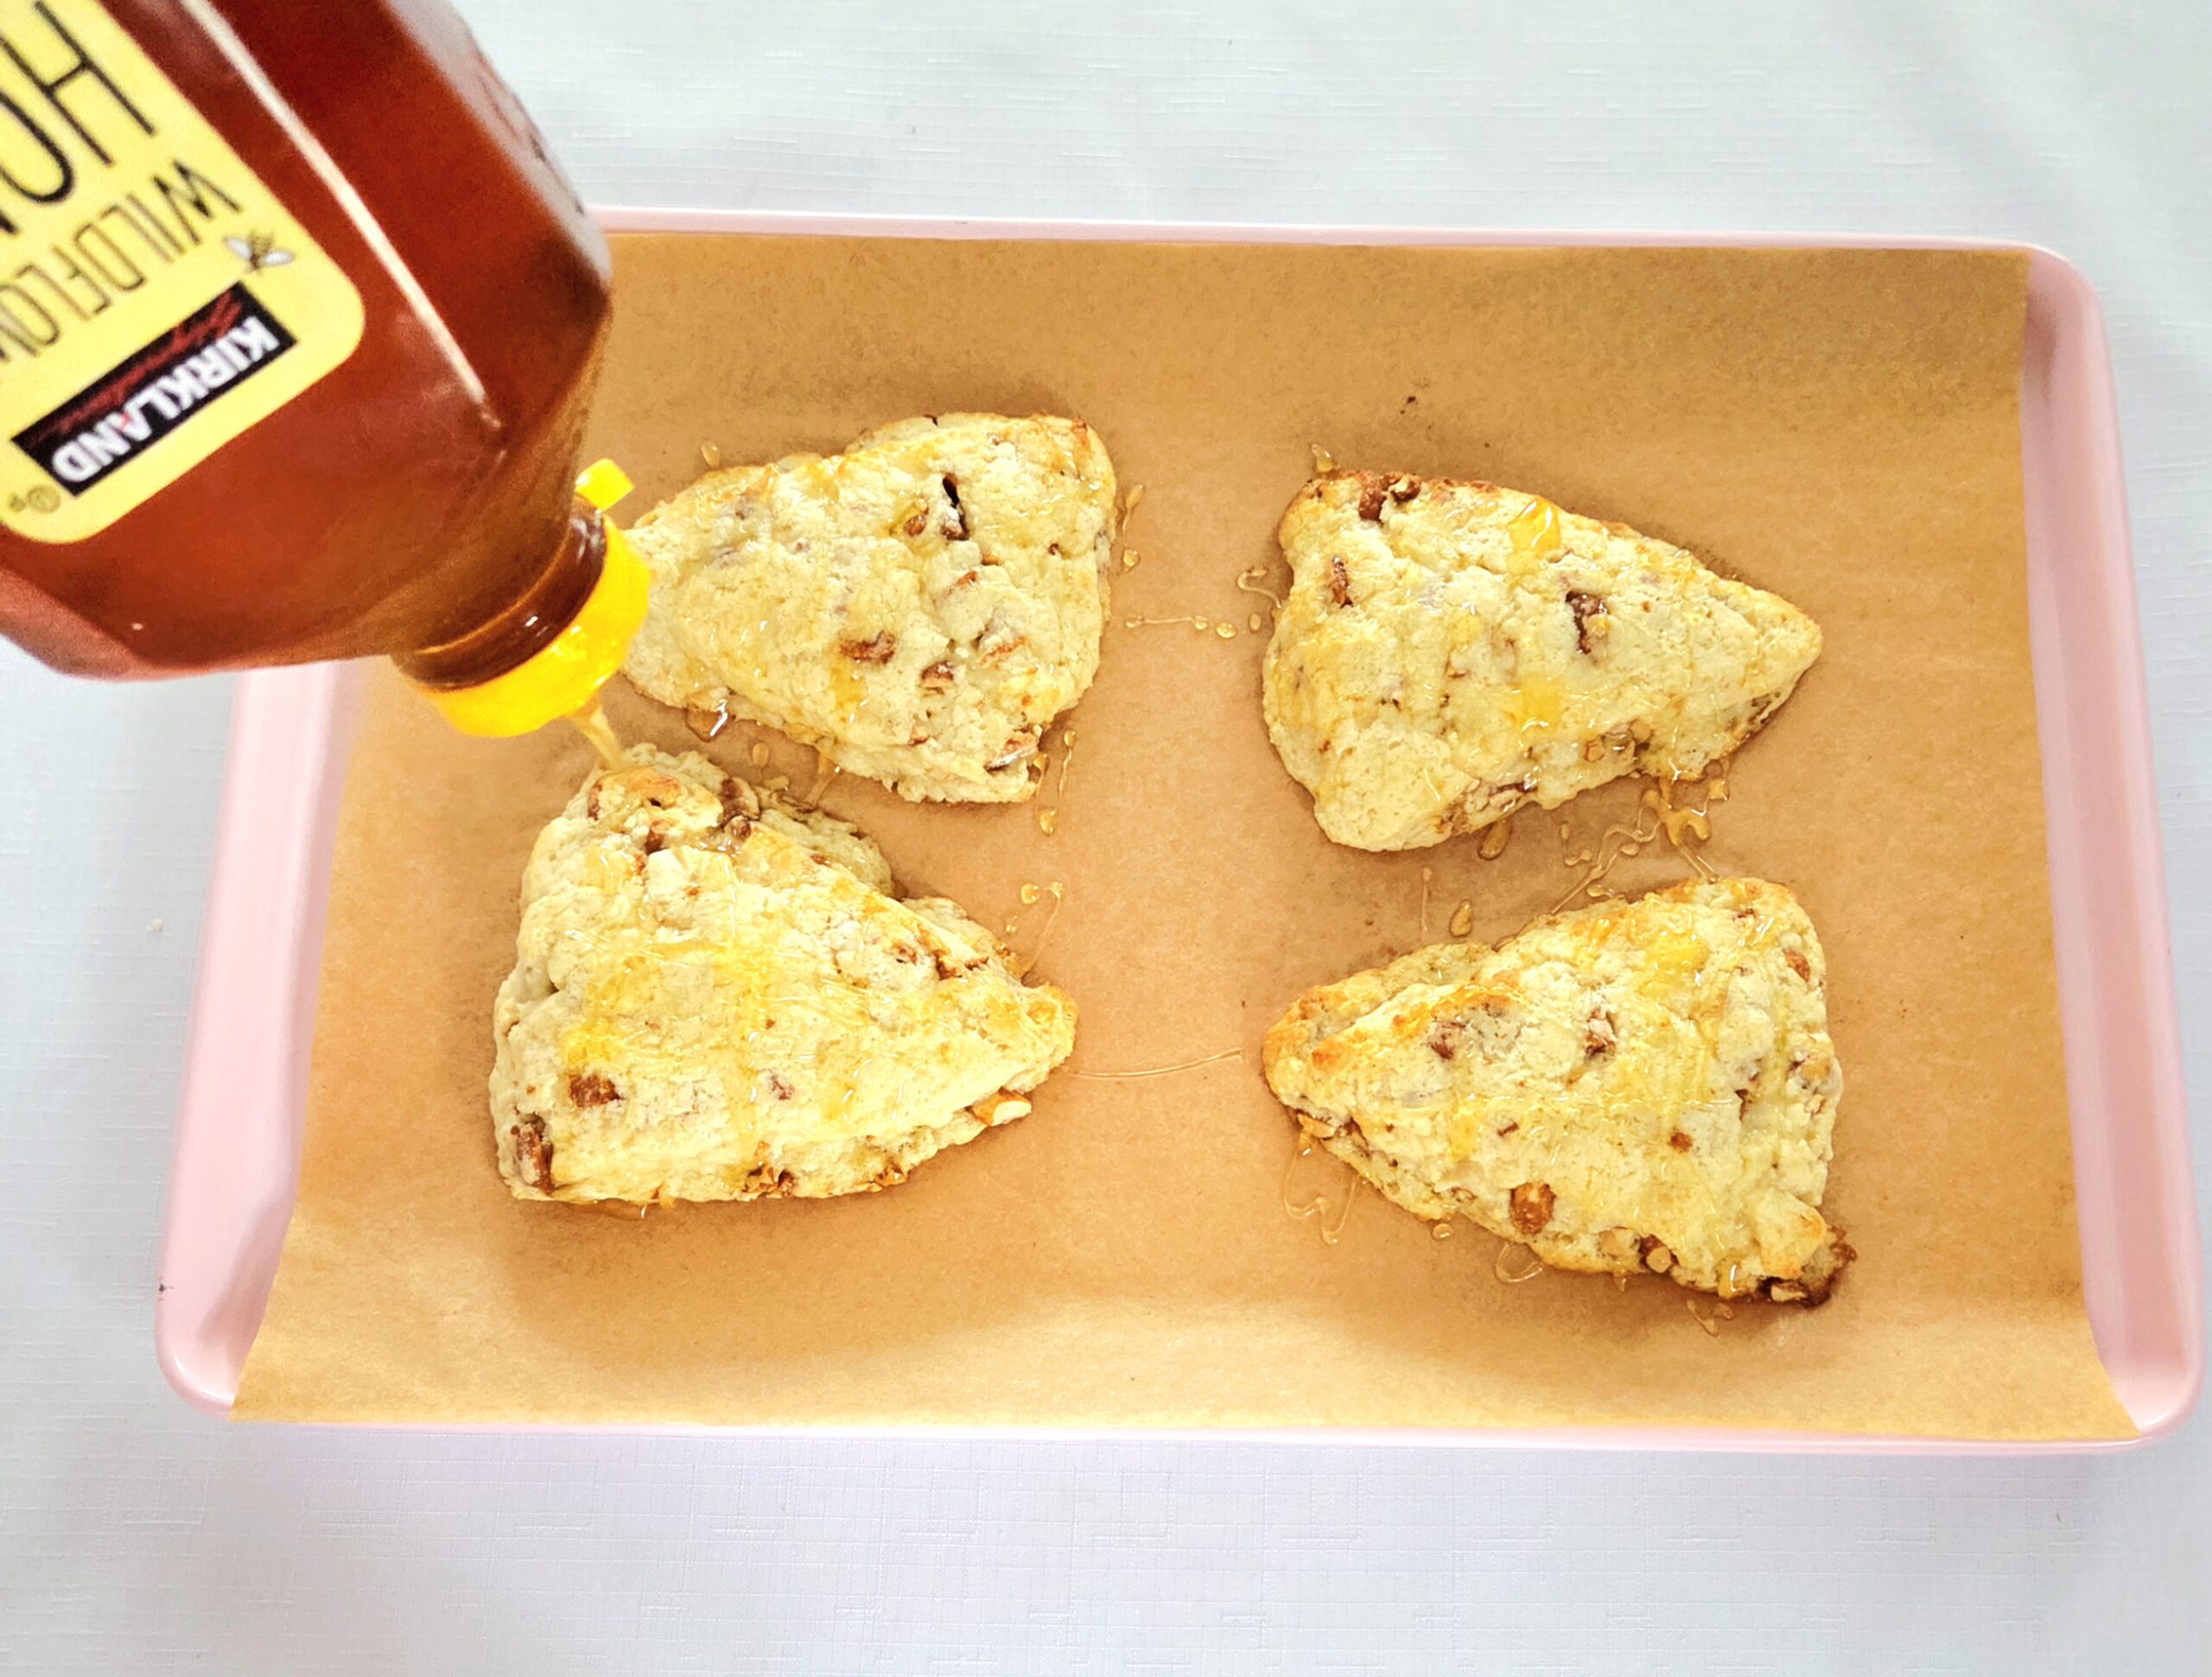
Take the half-baked scones out of the oven and place it onto a heat-safe space. Be sure to close the oven door behind it, so the heat stays trapped while you work. Drizzle a small amount of honey onto each scone, then return them to the oven for another 6-7 minutes to finish up. They’ll be a delightful golden brown and a bit shiny in the end.

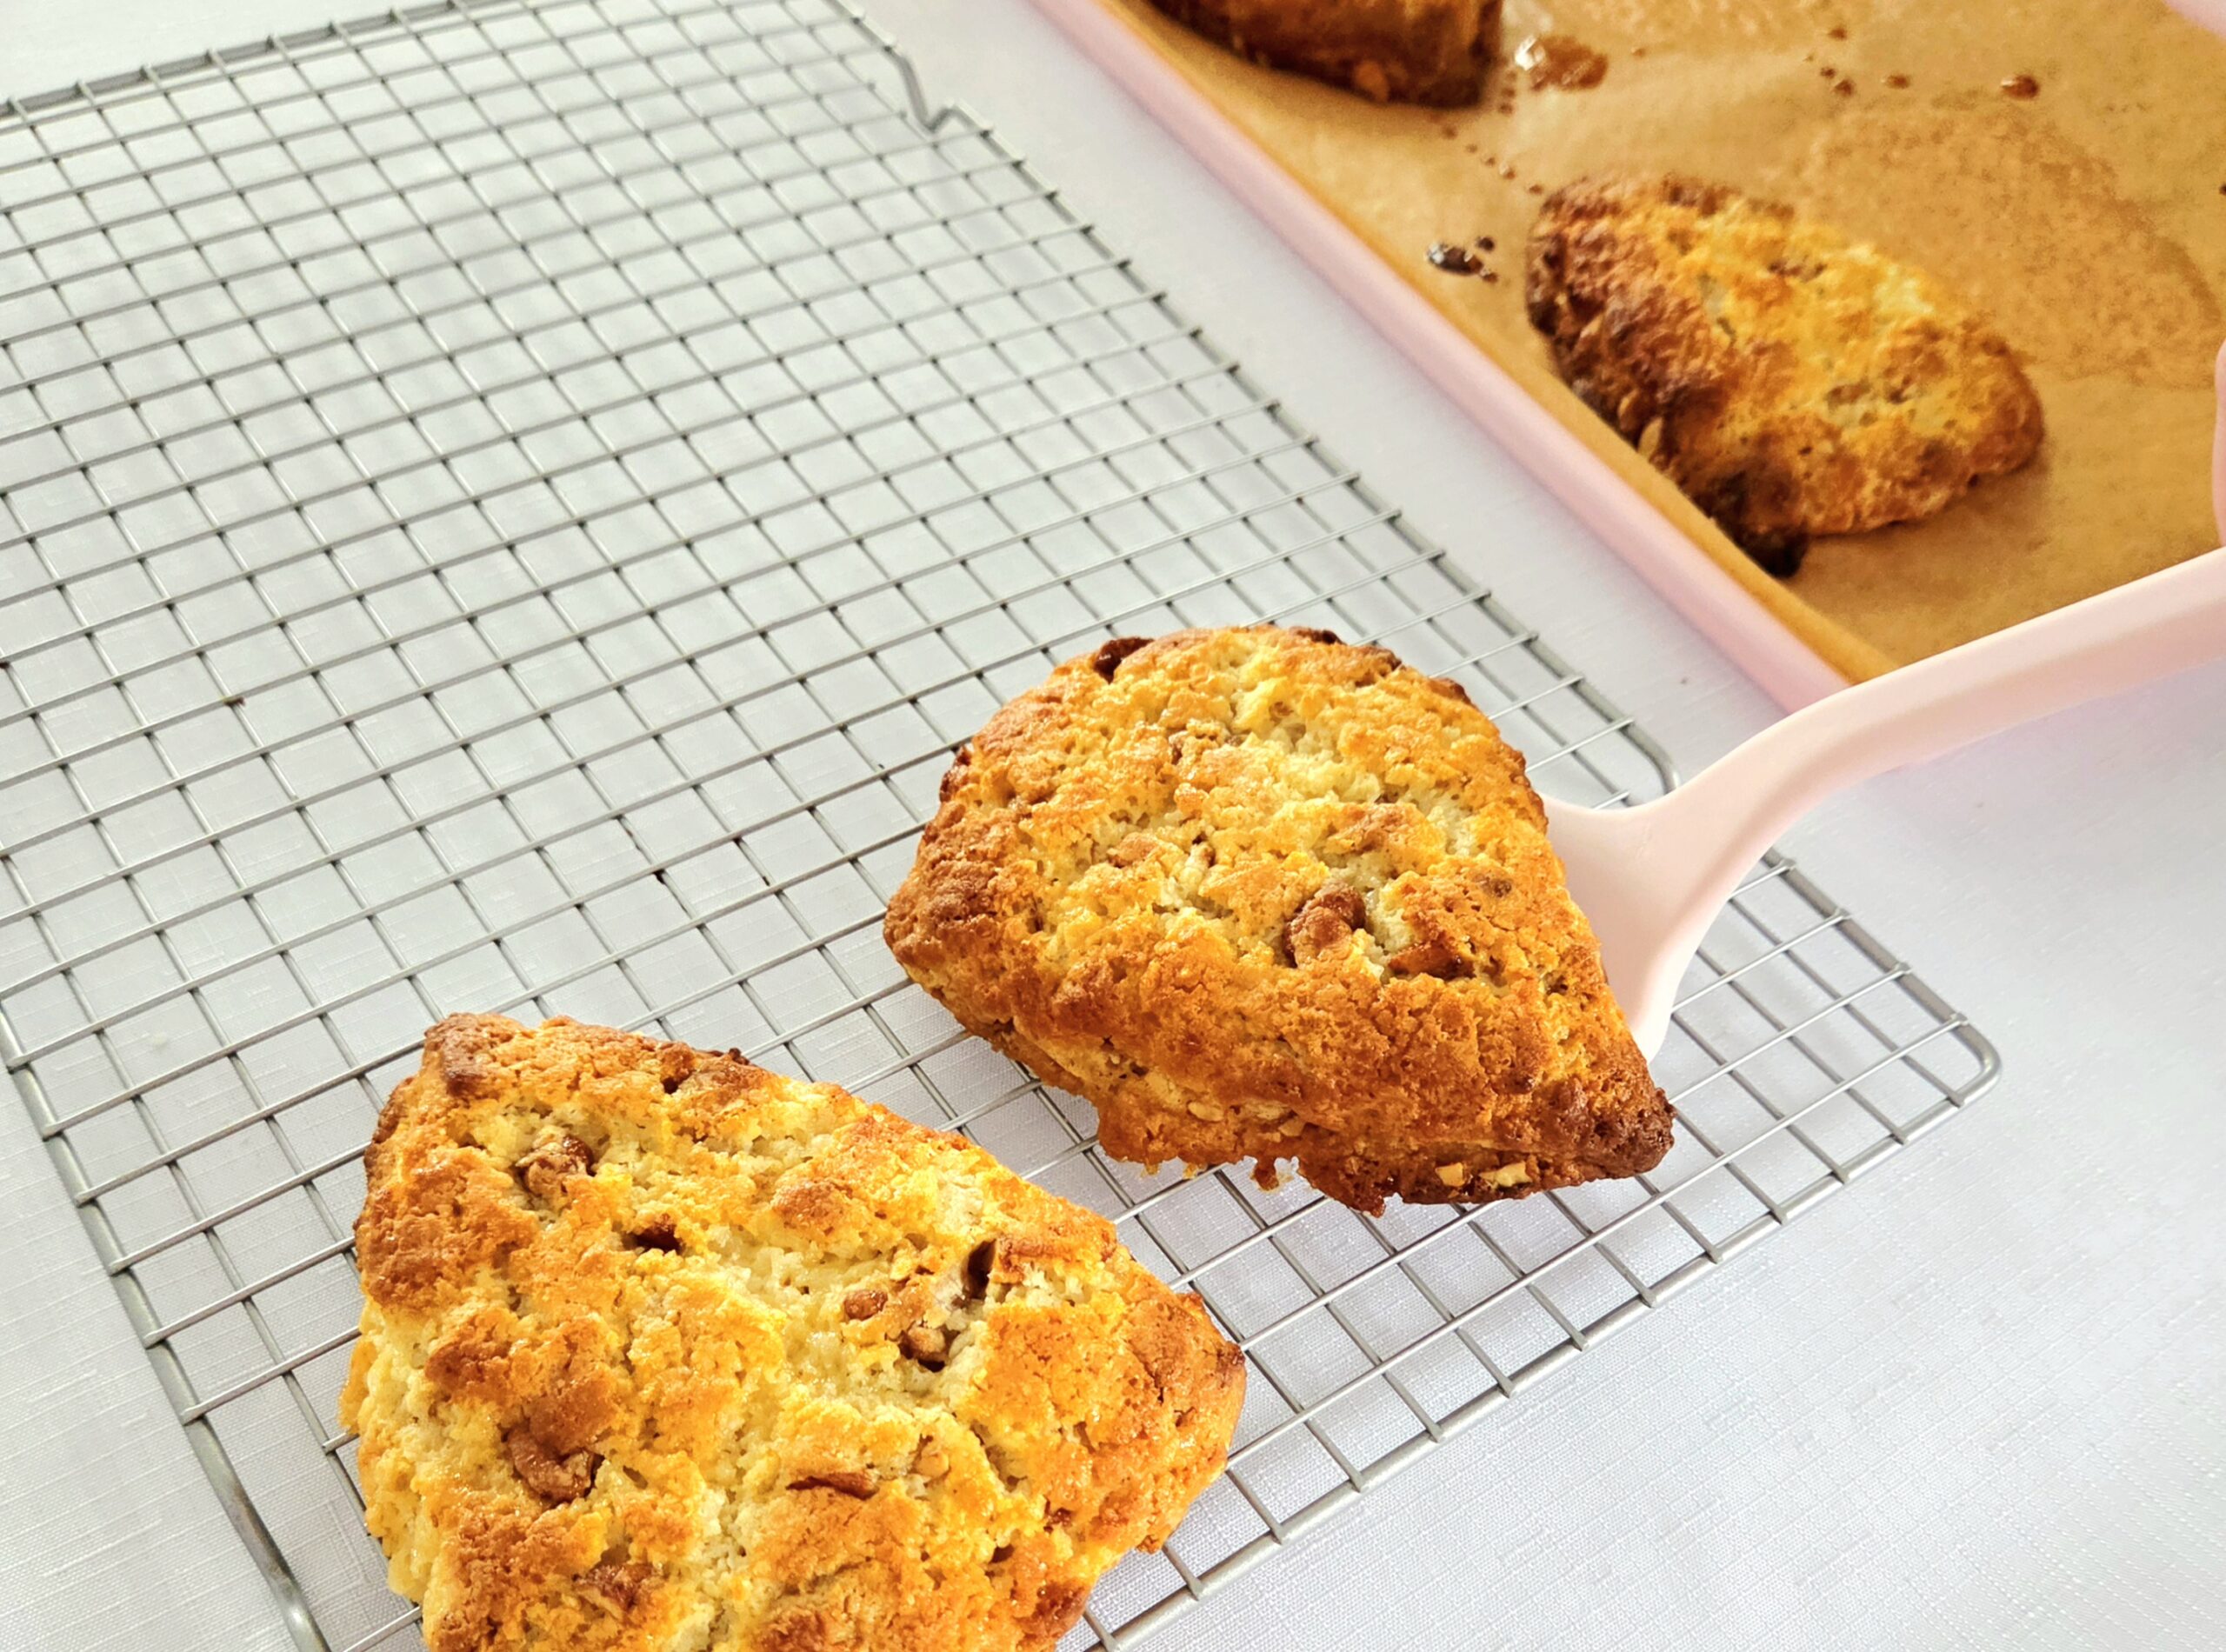
Allow them to rest on the hot pan for a few minutes before transferring the scones over to a cooling rack. If you try to move them right away, they’re pretty much guaranteed to fall apart on you. Repeat this process with the second pan of scones, taking care to space them out well just like you did with the first batch.
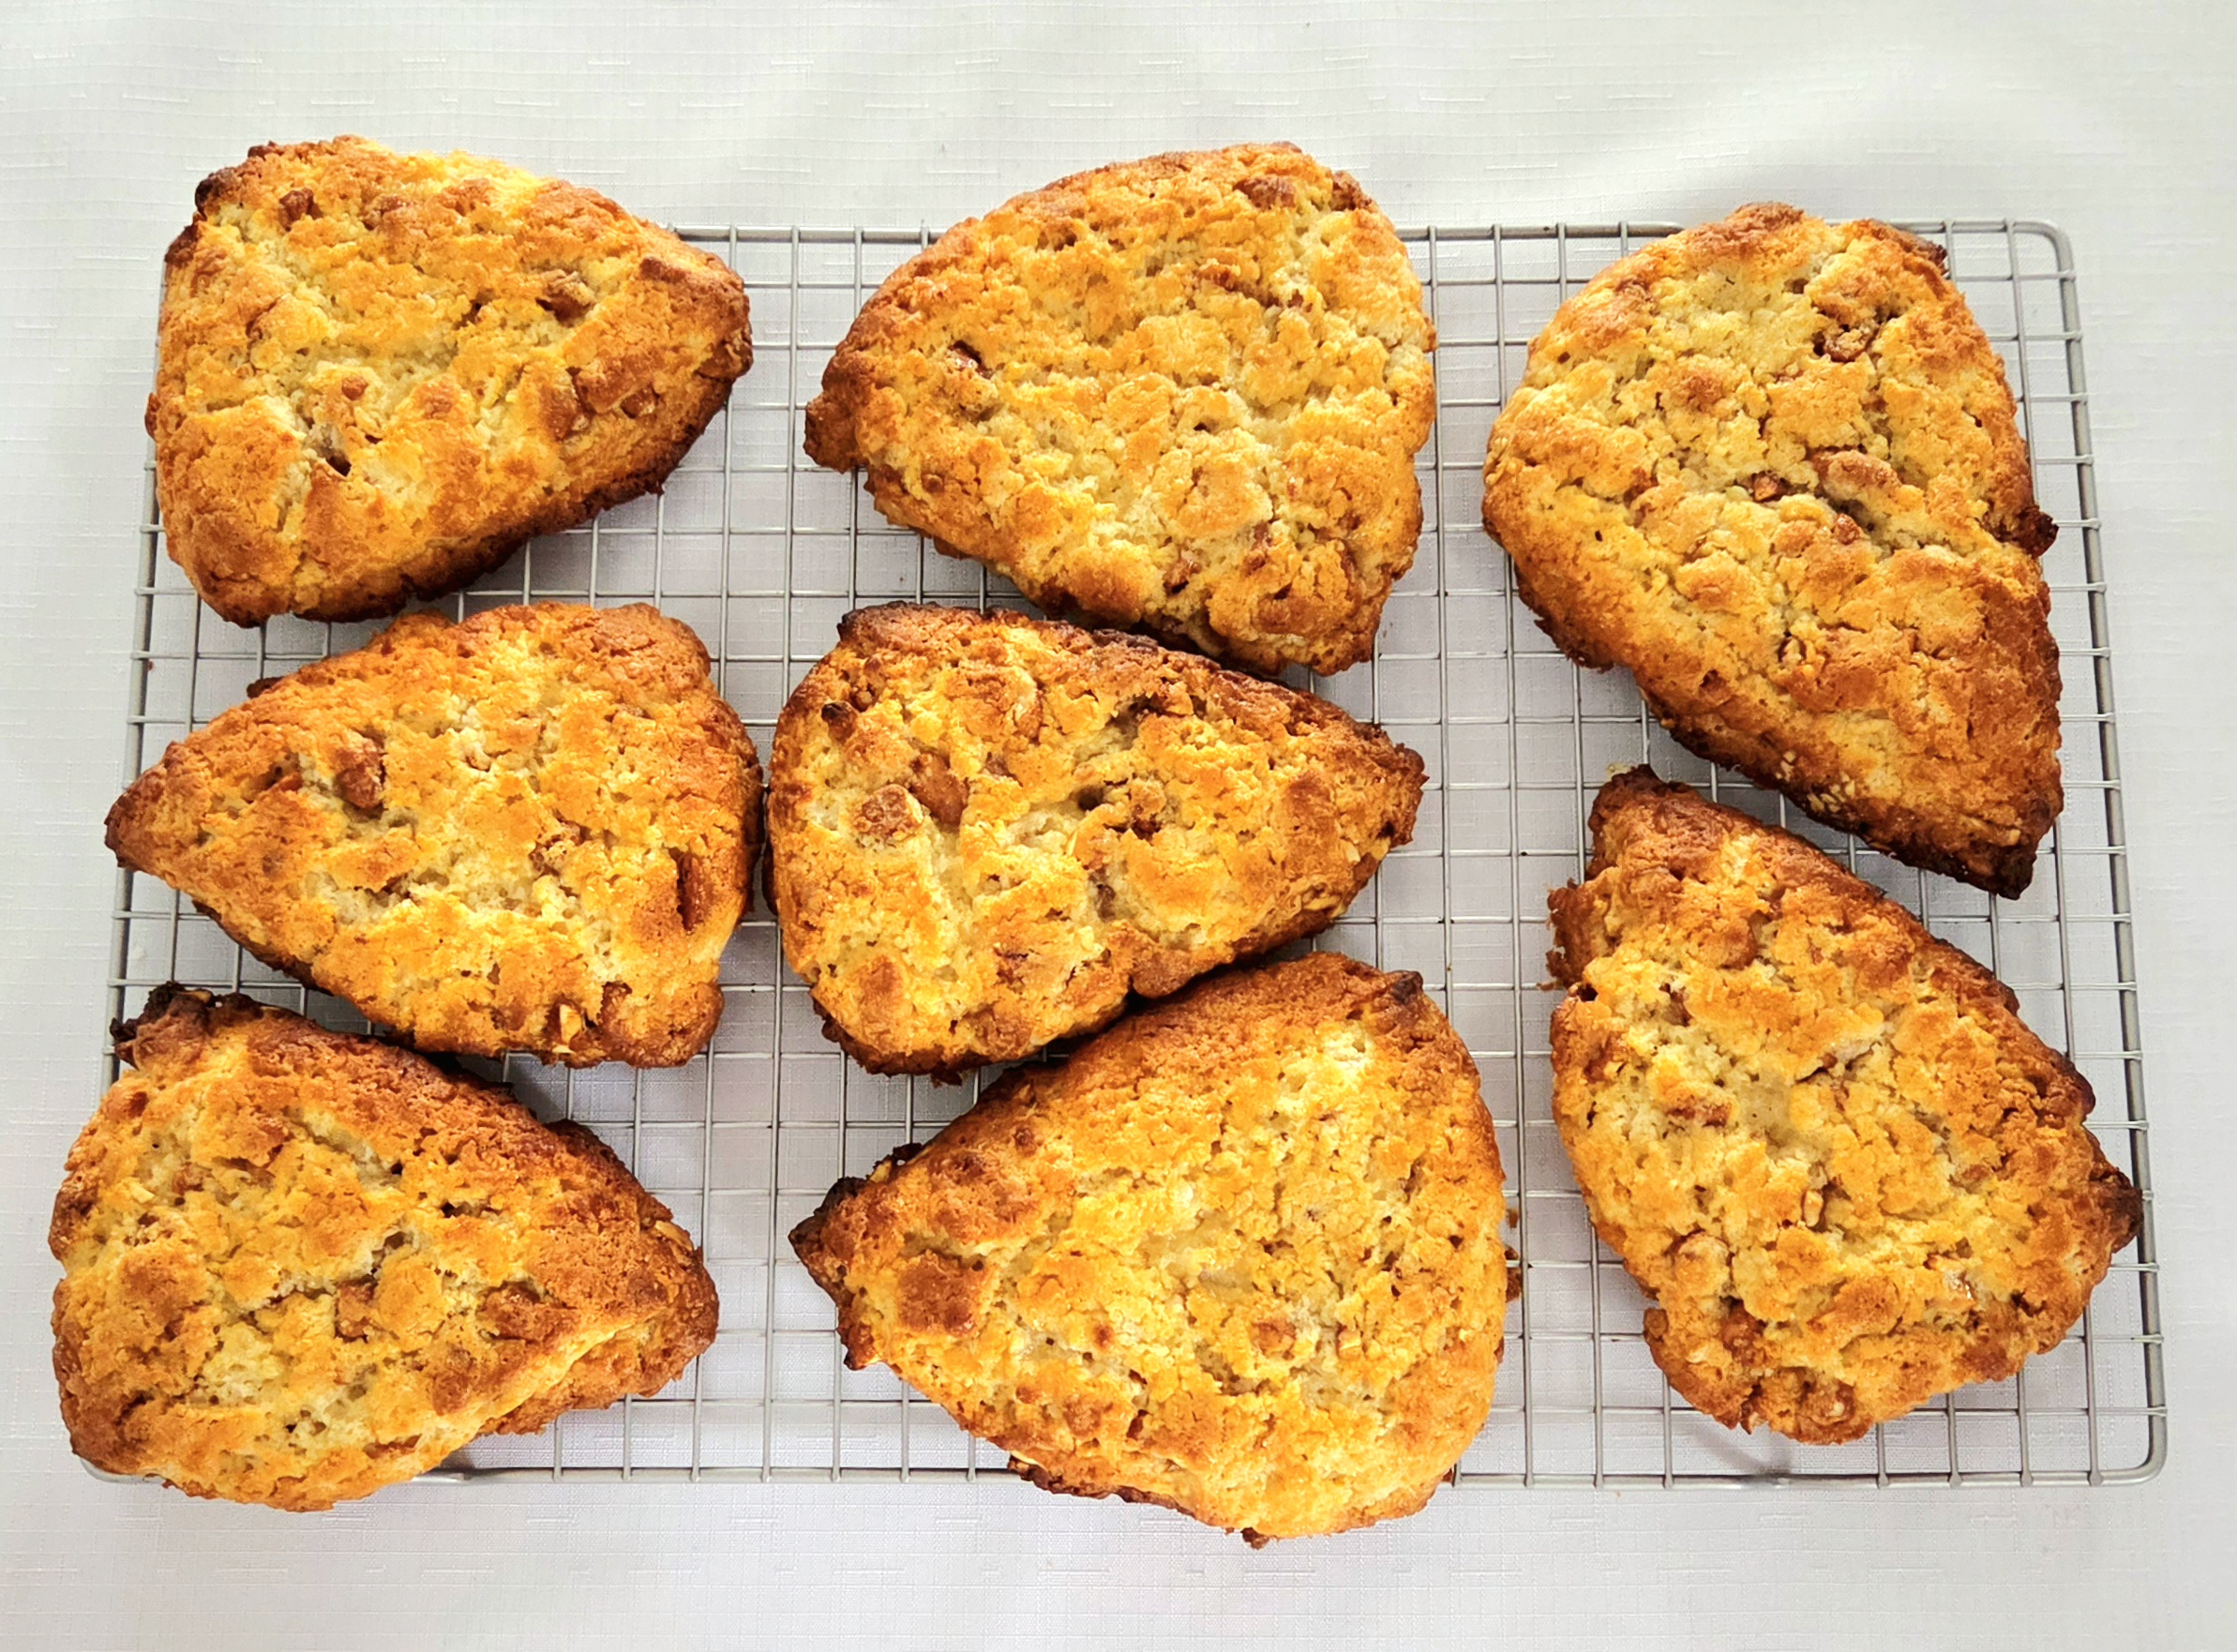
Let the scones cool as close to room temperature as you’ve got the patience to wait for, then break in and enjoy! Save any leftover scones in a zip-top bag or airtight container for up to two days, serving with tea and either clotted cream, butter, or jam.
Honey Roasted Peanut Scones
Bake Time: 425F for 12-14 minutes
Servings: 8 scones
Total Time: 2 hours
Prep Time: 30 Minutes
Ingredients:
- 7 Tablespoons unsalted butter
- 1 ½ cups honey roasted peanuts
- 2 ½ cups all-purpose flour
- ⅔ cup granulated sugar
- 4 teaspoons baking powder
- 1 teaspoon salt
- 1 ¼ cups heavy cream
- 3 Tablespoons honey + more for drizzling
Directions:
- Preheat the oven to 425F, on the convection setting if your oven has one, and place the rack in the center of the oven. Line two baking sheets with parchment paper and set them aside.
- Cut the butter into ½ inch cubes. Place it on a plate in the fridge to keep it cold until you need it. Give the honey roasted peanuts a rough chop, set them aside.
- Whisk together the flour, sugar, baking powder, and salt in a medium sized mixing bowl. Add the cold chunks of butter and, using a pastry blender, cut the butter into the dry goods, until the pieces are no bigger than a pea.
- Dump the chopped peanuts into the mixture. Give it a stir with a rubber spatula to evenly distribute the nuts, then use it to create a well in the center of the dry goods.
- Measure out the heavy cream, then add the 3 Tablespoons of honey to it. Whisk it together with a fork, then pour it into the well made in the middle of the dry goods. Use the fork to bring the dough together.
- Transfer the dough in chunks onto one of the parchment lined baking sheets. If there are any unhydrated portions, leave them in the bowl and mix in another Tablespoon of cream before adding it to the rest of the dough.
- Form the dough into an approximately 9 inch circle, around 1 inch thick, using the heel of your hand. Cover the dough with plastic wrap and place it in the fridge for an hour.
- Remove the scone dough from the fridge and cut the circle in half horizontally, then in half vertically, using either a chef’s knife or bench scraper. Cut each quarter in half, leaving you with 8 relatively equal pieces.
- Place four of those pieces, well spaced, on the other lined baking sheet, returning the other four to the fridge. Place them on the center rack of the oven and bake for 6-7 minutes. Remove the pan from the oven, shutting the door behind it, and drizzle honey over the top of each scone. Return the pan to the oven and finish baking for another 6-7 minutes. Repeat with the four remaining scones.
- Allow the scones to rest on the hot pan for a few minutes, then transfer them over to a cooling rack. Once they’ve come down to room temperature, dig in and enjoy with a cup of tea! Save any leftover scones in a zip top bag or airtight container for up to 2 days.
Tips
- Unbaked scones can be frozen then pulled and baked at your leisure! Follow the recipe as written up through step 8, skipping the heating of the oven. Separate all 8 scones on one lined baking sheet and place them into the freezer. Once the scones are frozen solid, transfer them over to a freezer-safe bag. Pull and bake your desired amount at 425F for 14-16 minutes, drizzling with honey halfway through baking.


0 Comments