

There’s nothing quite like a nice flaky, buttery biscuit. Crispy on the outside, soft and steamy on the inside. They can be sweet, savory, enjoyed on their own or part of a bigger dish. Find them at a barbecue, a diner, in a strawberry shortcake, or served at any dinner table in the American south. As a lifelong New Englander, I can honestly say that biscuits are one of the ways in which southern cuisine tends to be superior. They just aren’t popular around here, and I think that’s a real shame!
To make up for that, I’ve made a real effort to include biscuits where I can. These chive and cheddar biscuits are cheesy, savory, and packed with flavor. The onion powder really kicks the chives into high gear, the cheddar adds a salty, funky punch in the best way. Perfect for a breakfast sandwich, on top of chicken pot pie in place of pie crust, or just warmed on its own! They’re quick, they’re tasty, and they’re so much better than anything you’d ever get out of a can.
FAQs and Science
Why is it important to keep the ingredients cold?
Keeping everything cold is one of the key factors in making a flaky biscuit. The sudden temperature change going from a cold refrigerator to a hot oven creates a burst of steam from the water content in the butter. This burst of steam causes the layers of dough to separate from each other just a little bit, creating the flaky texture. If the biscuits are warm when they go into the oven, the layers will melt together instead of keeping that delightful texture.
Can I use dried chives instead of fresh?
Yes, just expect for the onion flavor to be a bit more dimmed than what fresh chives would give.
Is there a substitute for buttermilk if I don’t have any?
There is! Measure out the 1 ¼ + 2 Tablespoons in whole milk, and then stir in 1-2 teaspoons of distilled white vinegar. Allow it to sit for 5 minutes or so, and then continue on with the recipe as written!
Why cut and fold the dough before shaping and baking the biscuits?
When you cut and fold the dough as instructed, you’re creating those flaky layers we’ve all come to love in a punch out biscuit.
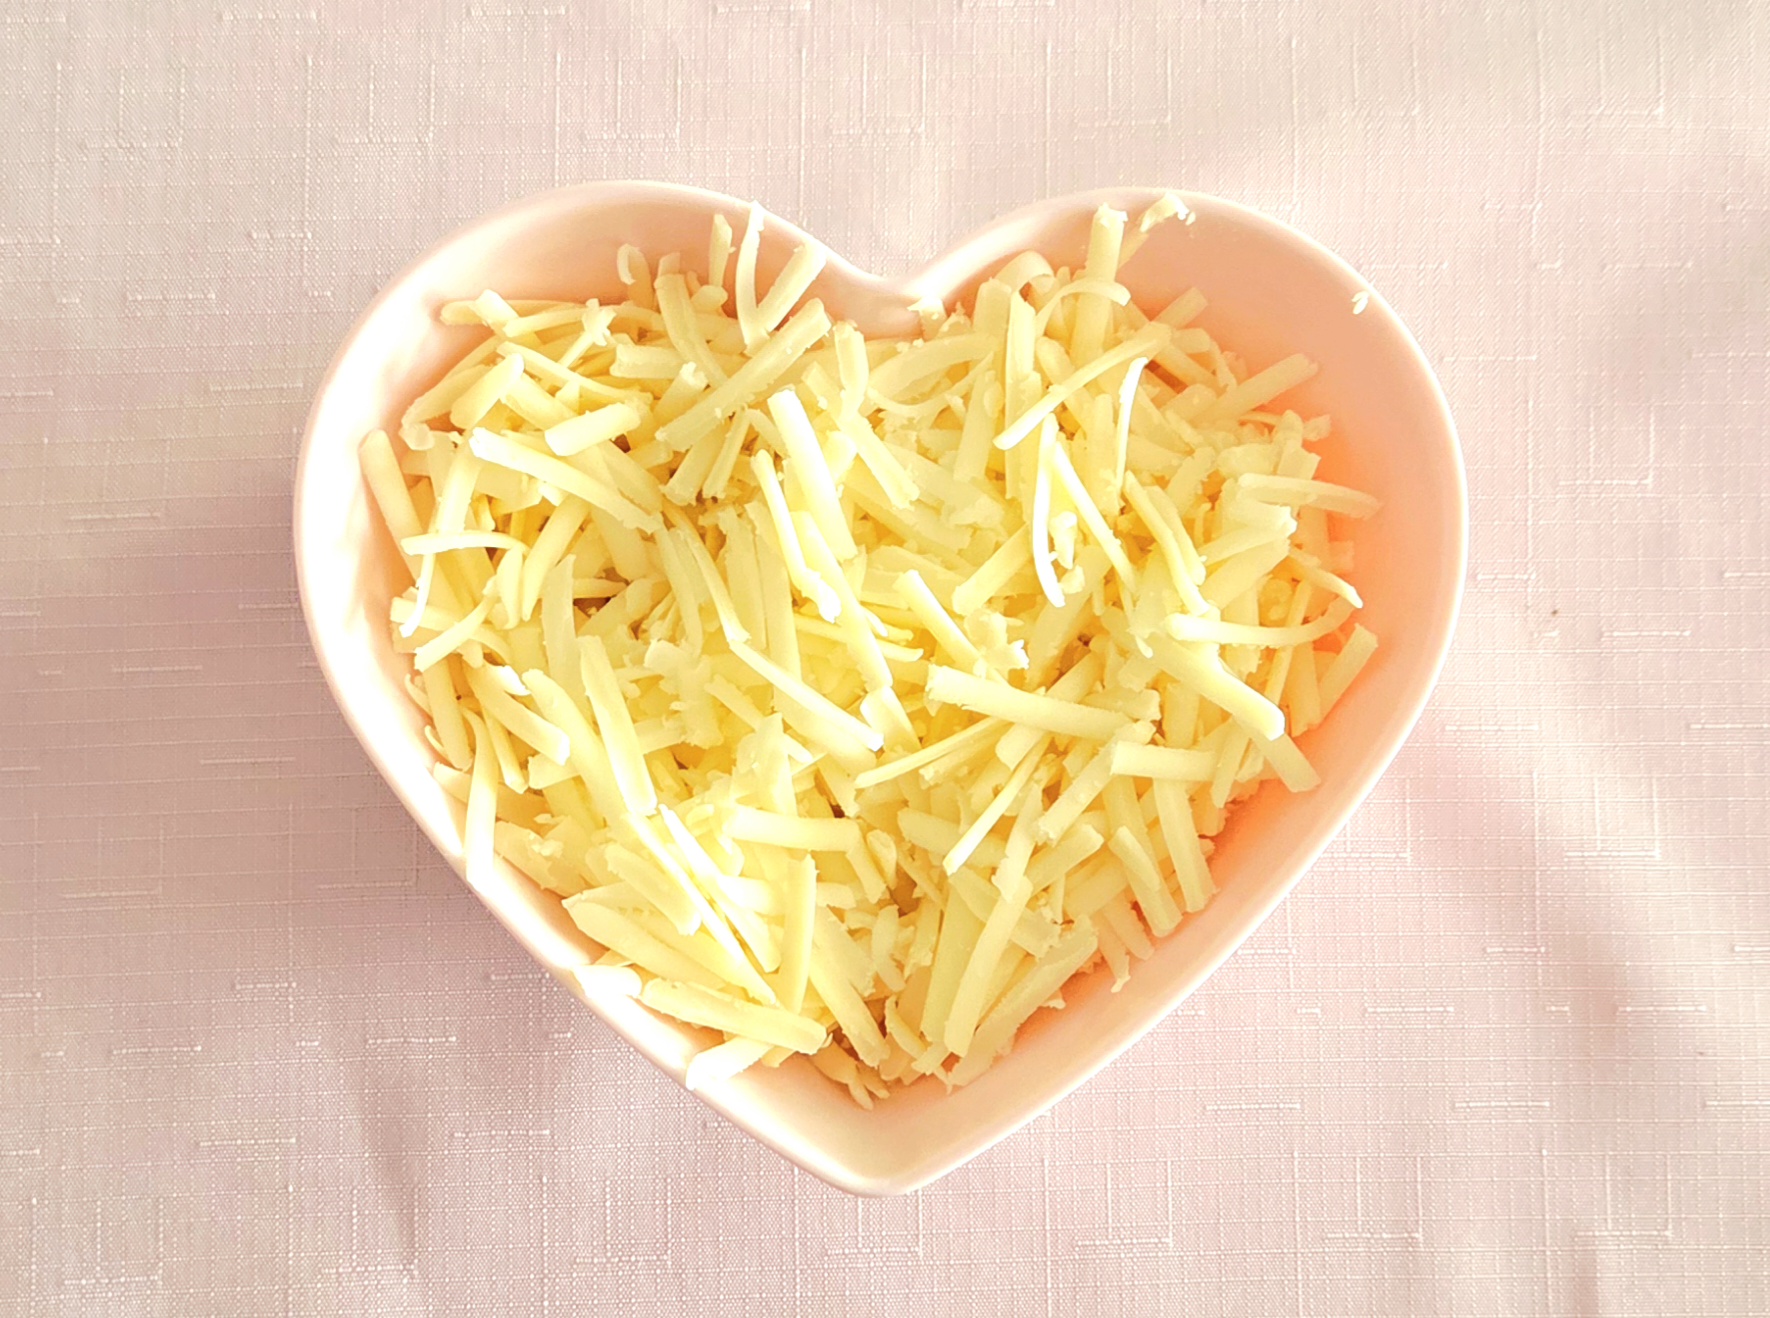
Do I need to freshly grate the cheddar, or can I use pre-shredded cheese?
Feel free to use pre-shredded cheese here! I tend to have a block of extra sharp cheddar around more often than a bag of shredded, which is my biggest reason for grating it myself in this recipe. There are times when grating it yourself does make a big difference in the quality of the end product, but in this instance, you’re just taking extra time to dirty another tool.
What You’ll Need
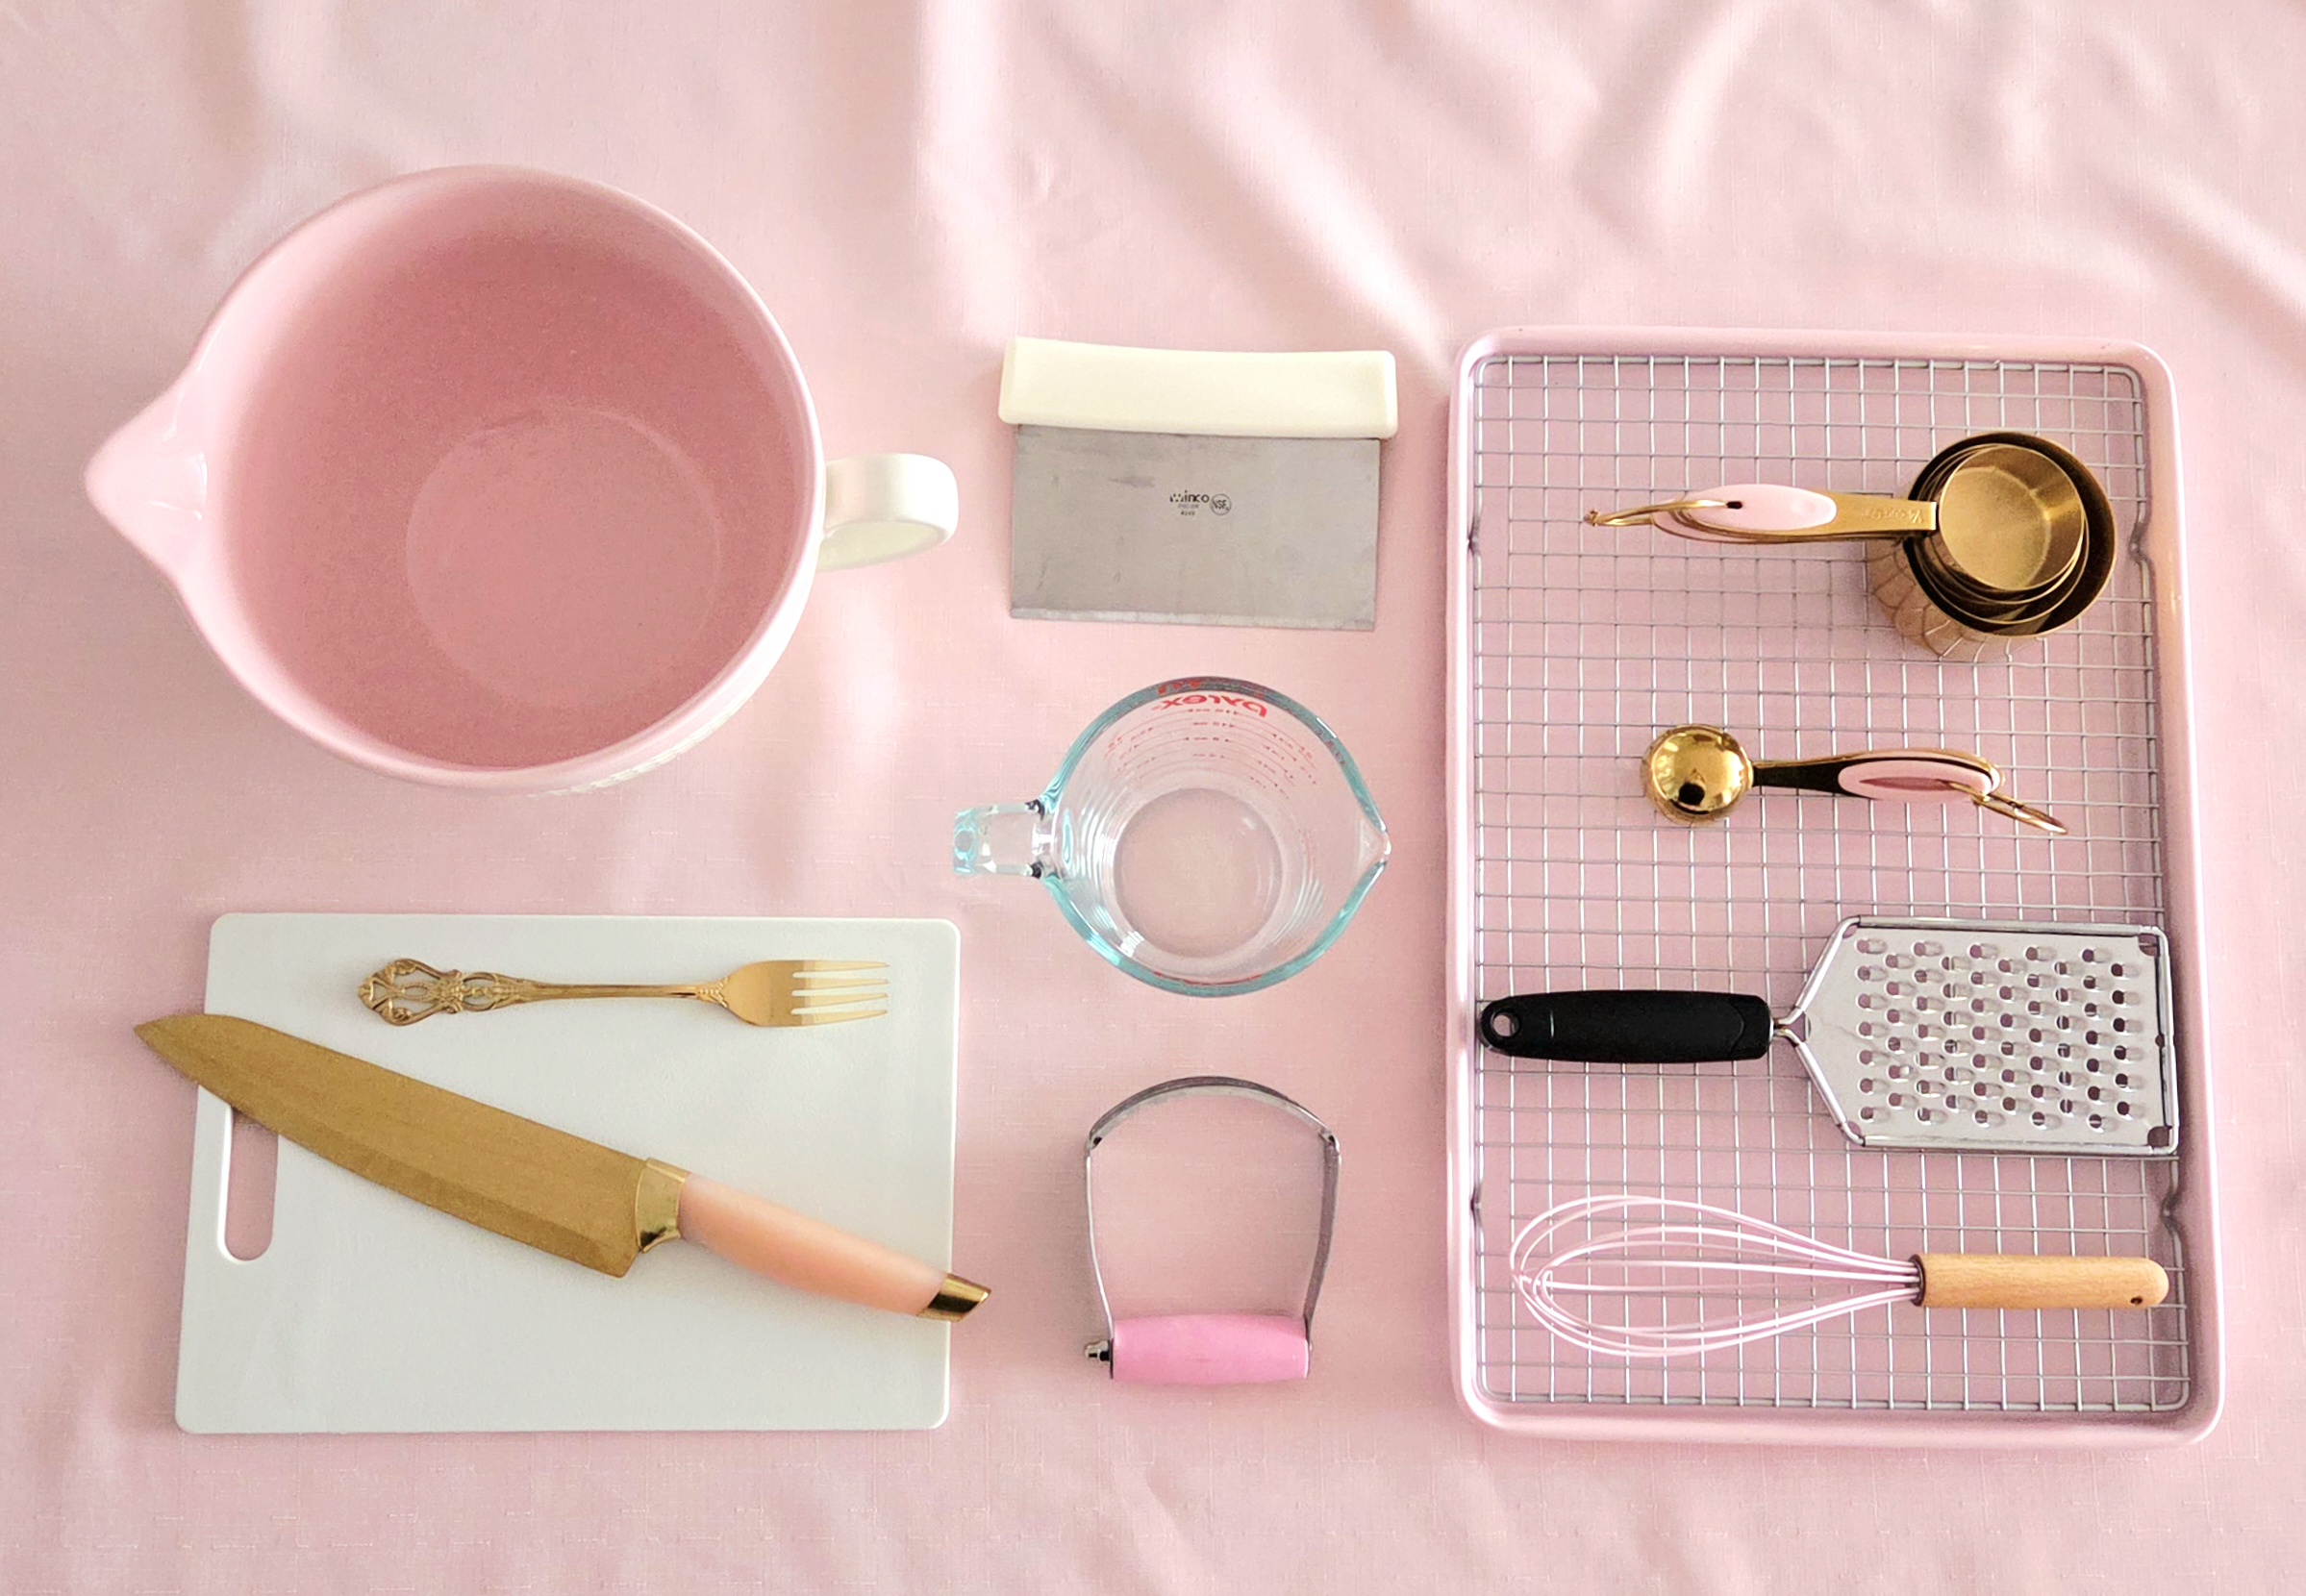
- Parchment paper
- Large mixing bowl
- Dry measuring cups
- Liquid measuring cup
- Measuring spoons
- Whisk
- Pastry blender
- Cheese grater
- Fork
- Bench scraper
- Chef’s knife
- Cutting board
- Baking sheet
- Cooling rack
The Process
Begin by preparing the pan and the oven. Preheat the oven to 425F, on the convection setting if possible, making sure that the rack is in the center of the oven. Line a baking sheet with either parchment paper or a nonstick silicone baking mat. Set the pan aside until it’s needed.
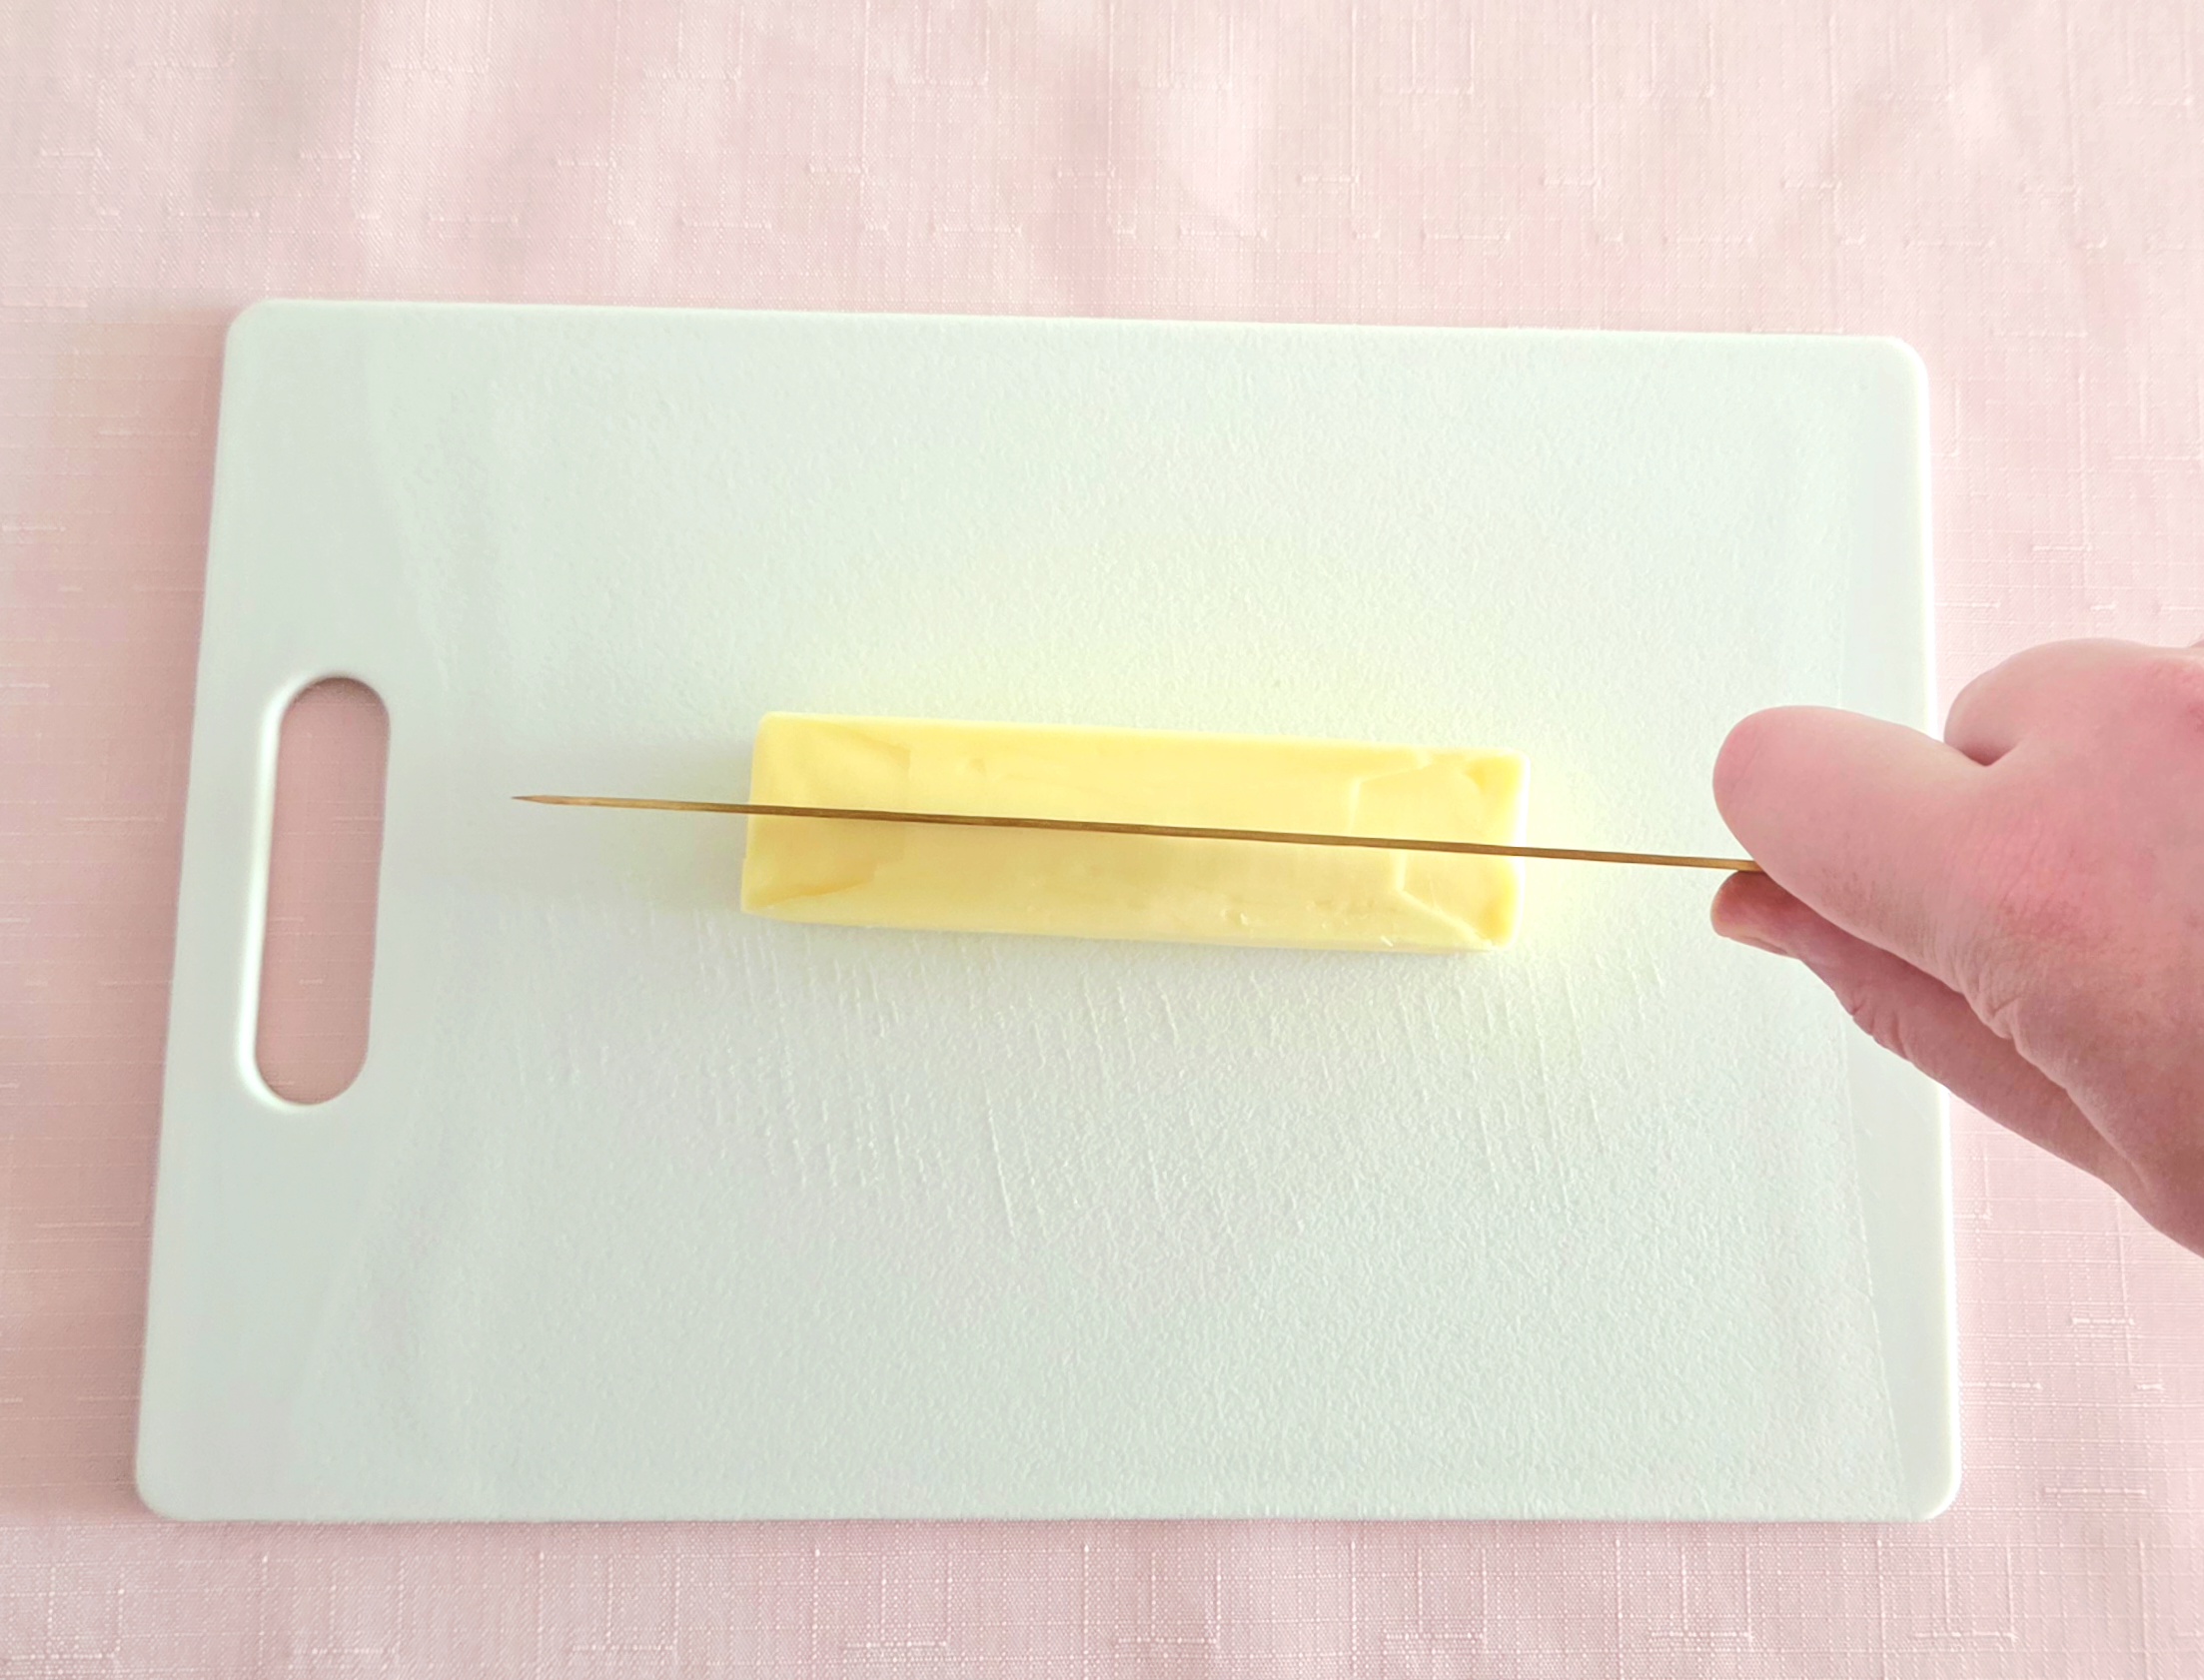
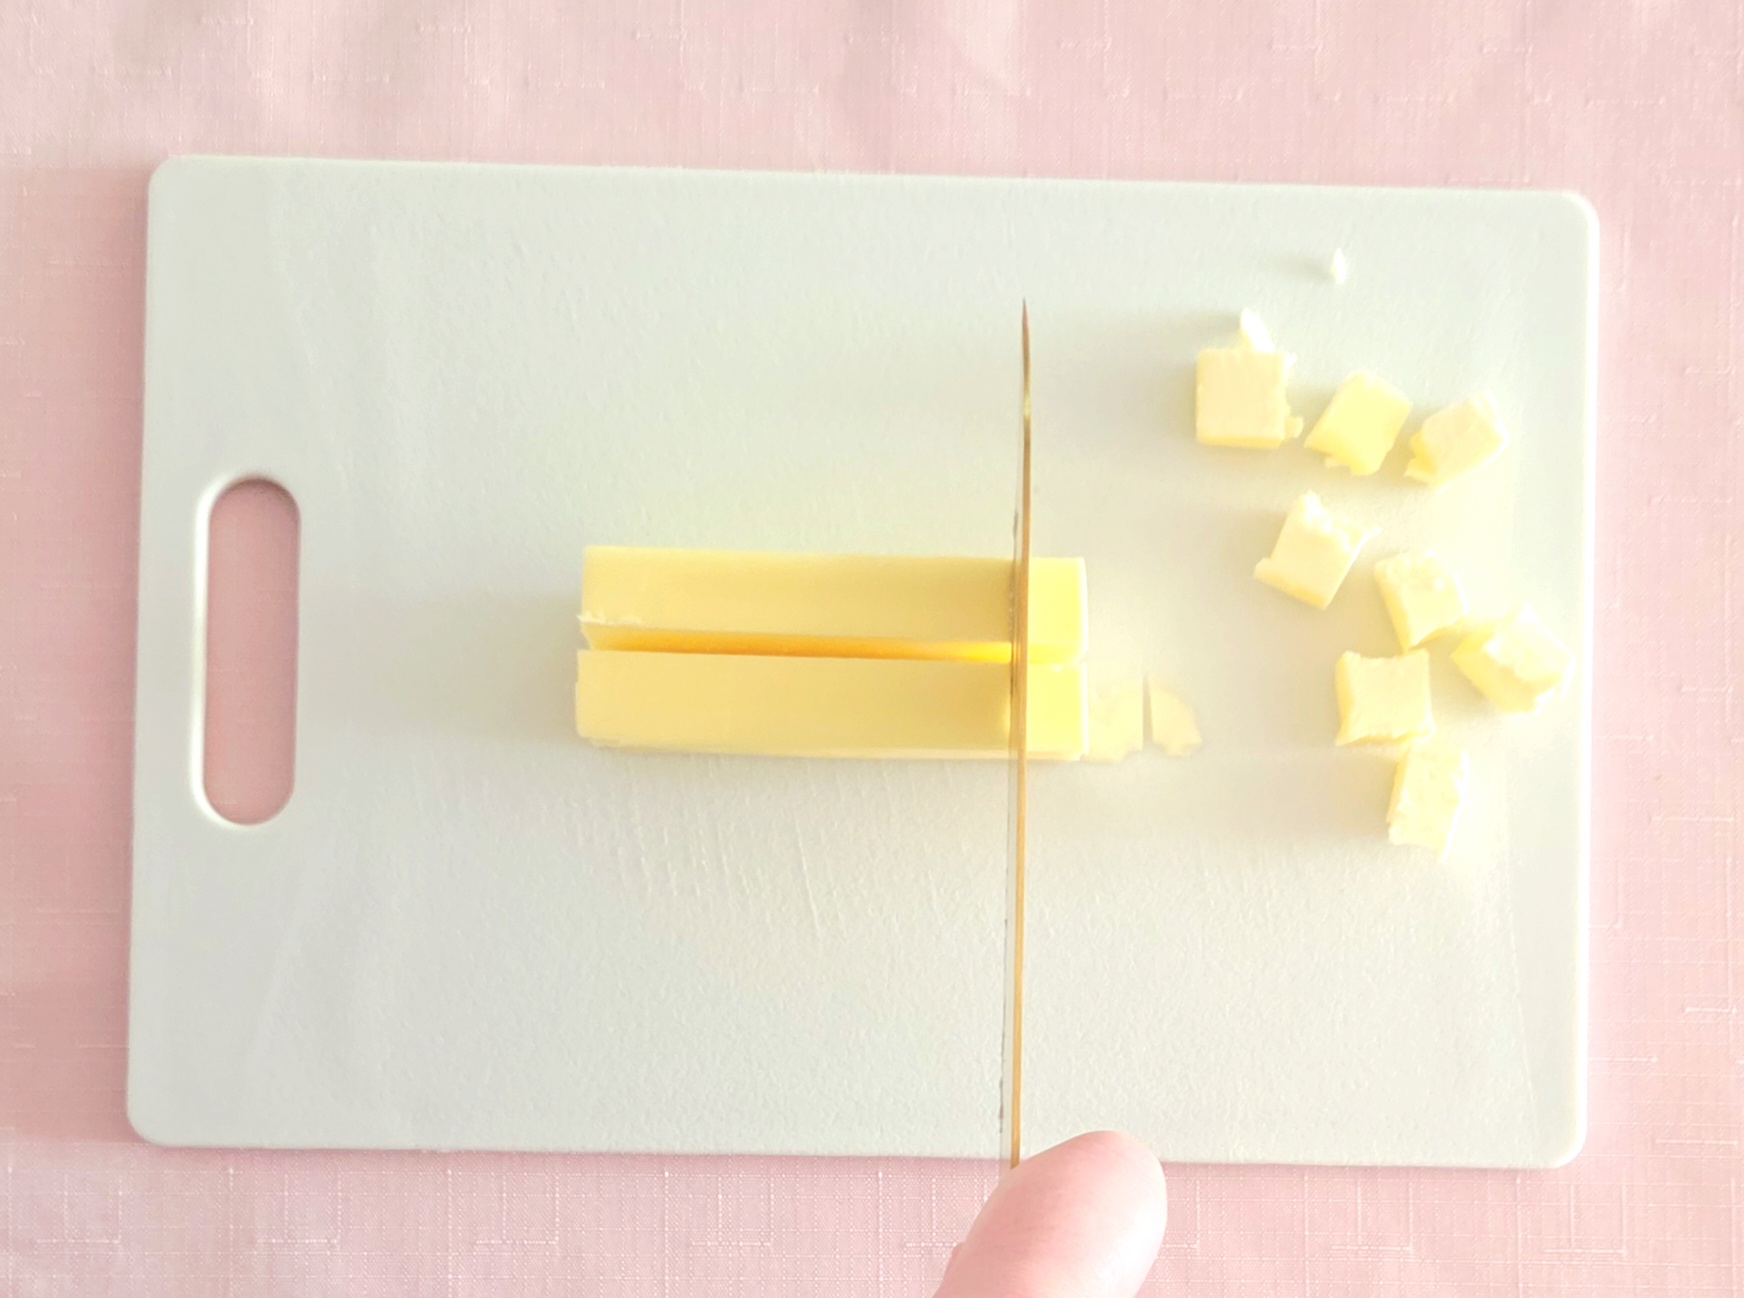
One of the keys to a good biscuit is keeping the ingredients cold. Cut the already cold butter into cubes around ½ inch in size, then place the pieces on a plate. Stick the chopped up butter in the fridge, so they’ll stay cold while you continue on with the rest of it.
If, like me, you’re grating the cheese by hand from a block, now is the time to do so! It wont hurt anything to use the pre-shredded stuff in this instance, since you aren’t looking for it to melt together like it does on a pizza. But a block of cheese tends to be cheaper, so it’s always my choice regardless. Grate the cheddar into a medium sized bowl, then stick it in the fridge.
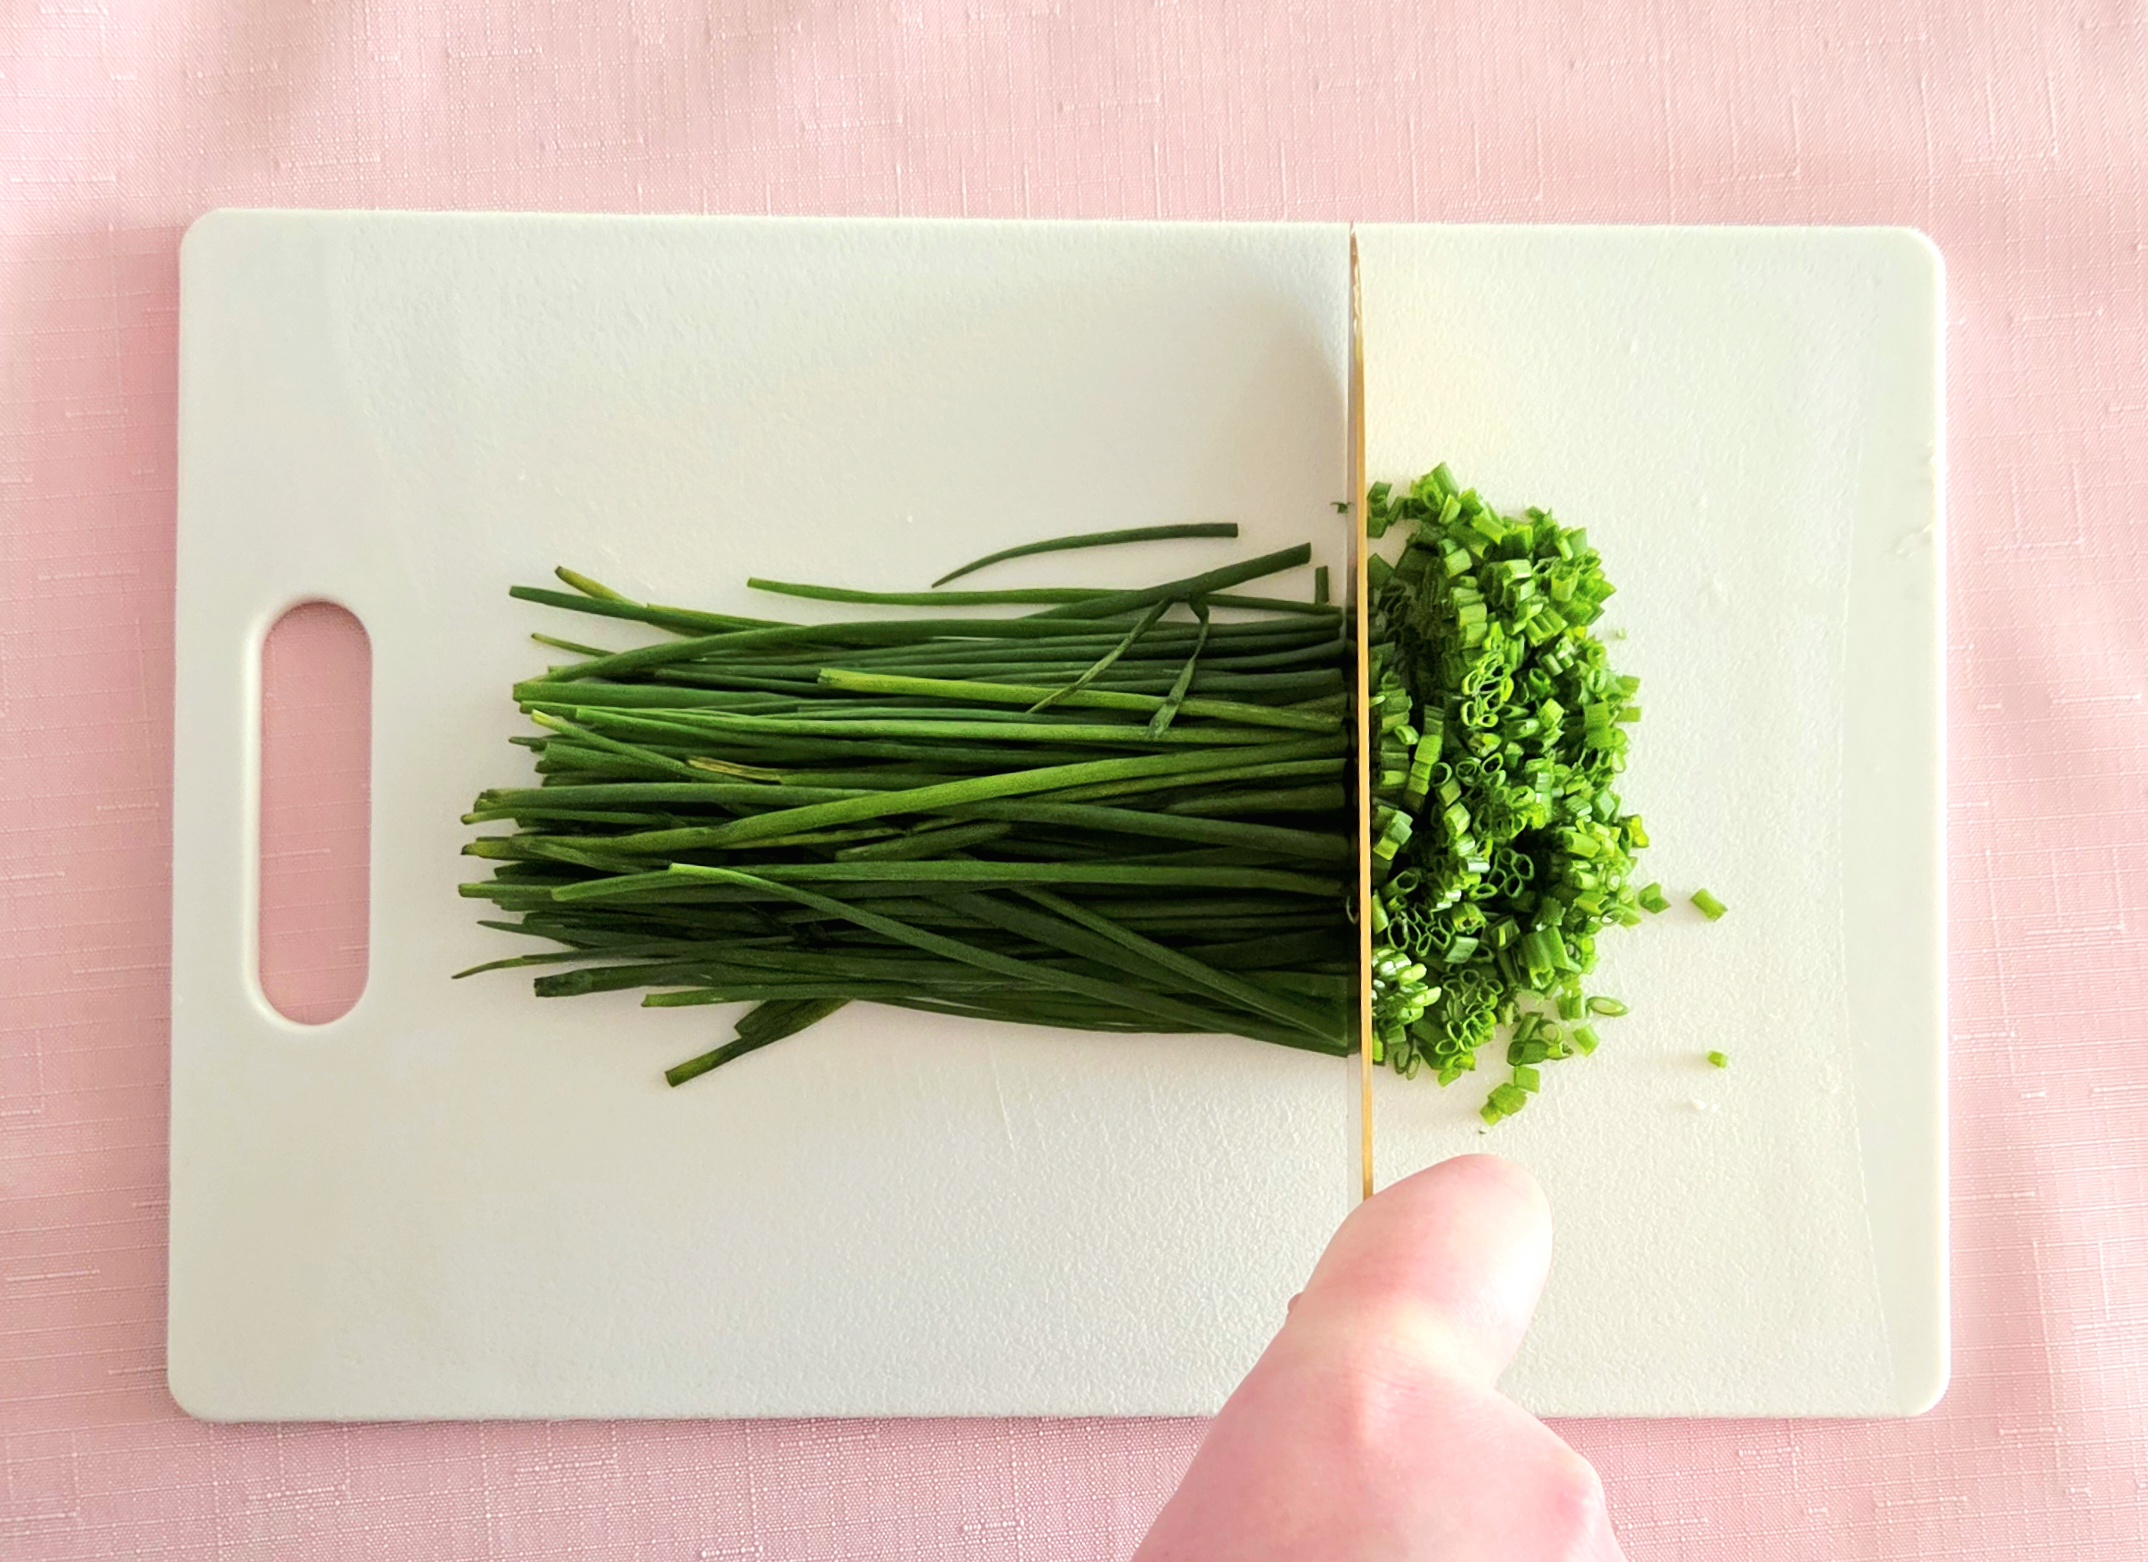
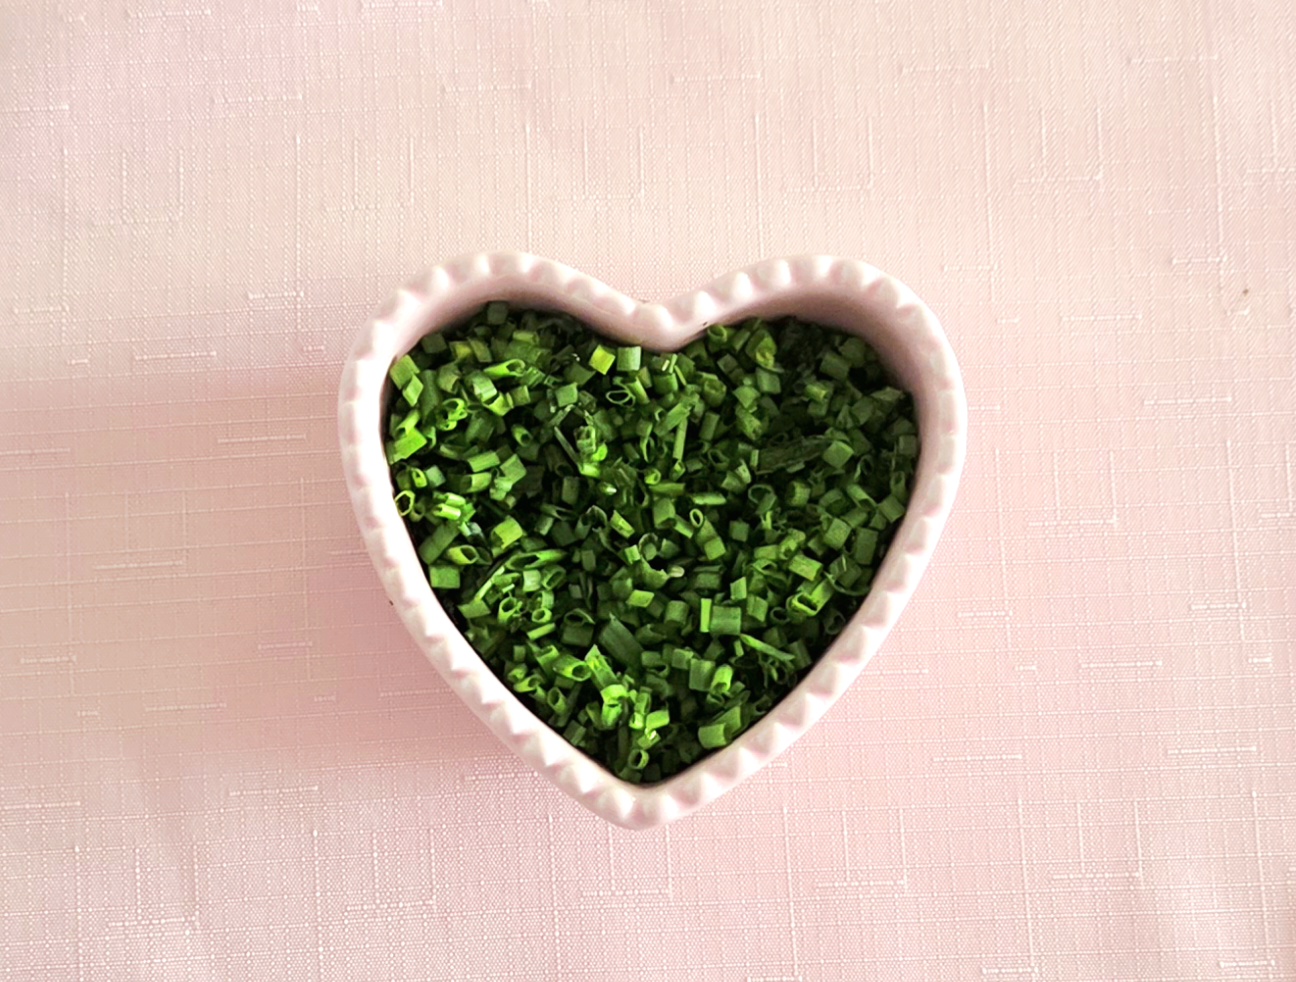
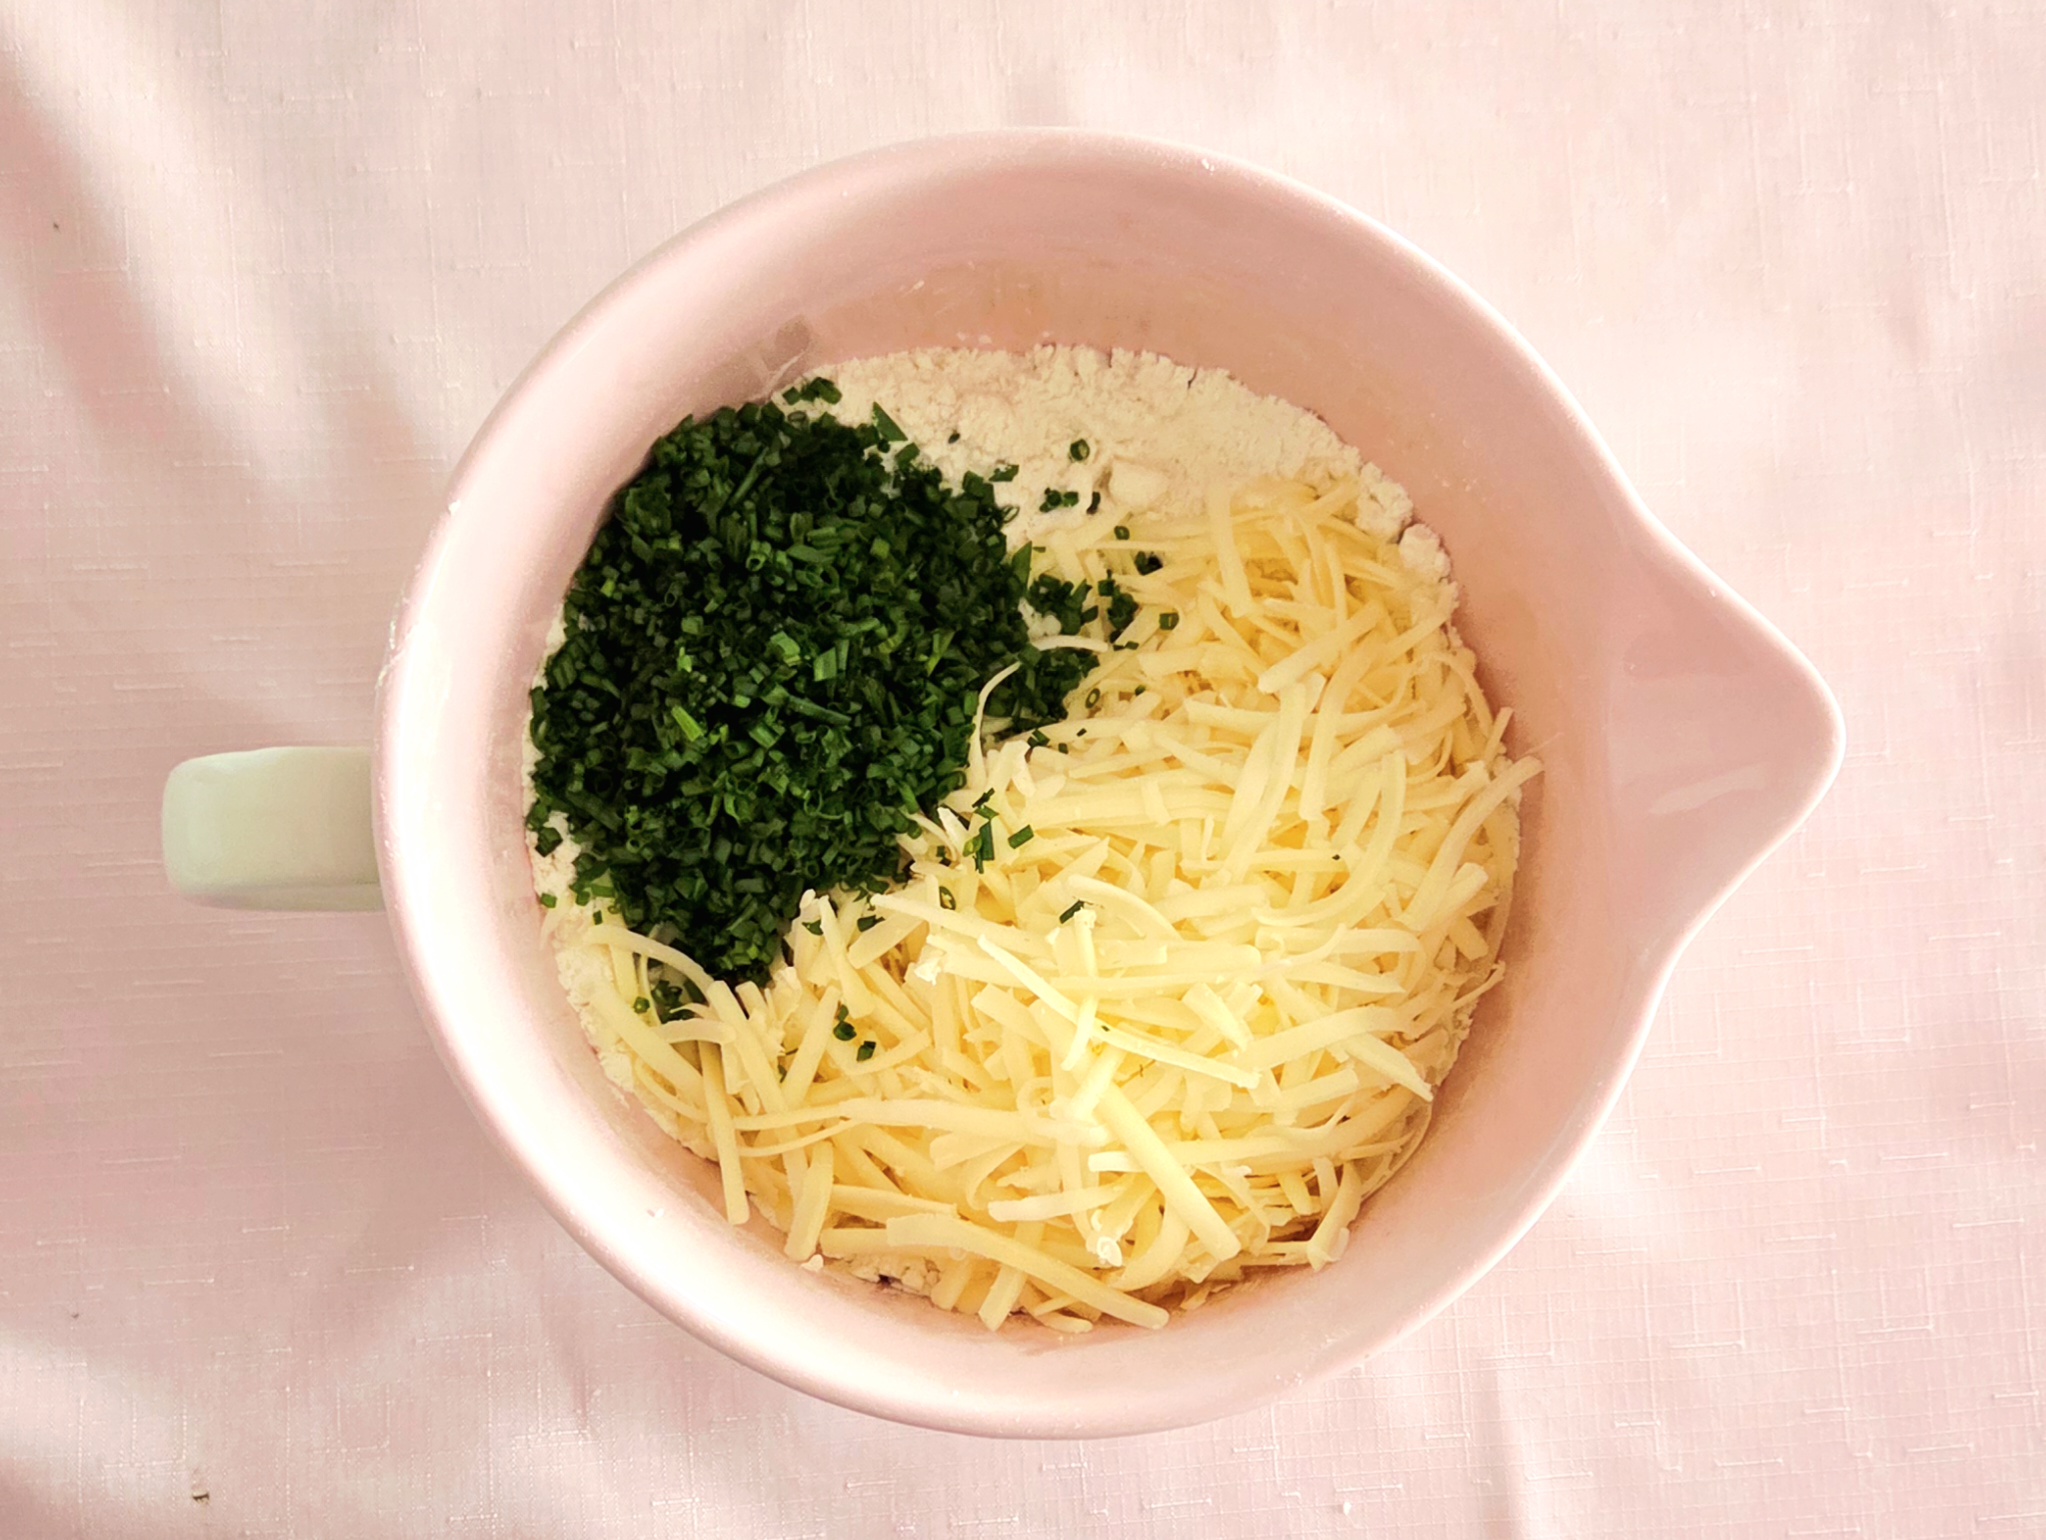
Mince the chives, and place them in the fridge to stay cold. If you’d rather use freeze dried chives, then of course skip this step, but be warned! Dried chives wont be nearly as potent as the fresh stuff, so the onion flavor will be dimmed. Still delicious, just a bit more bland.
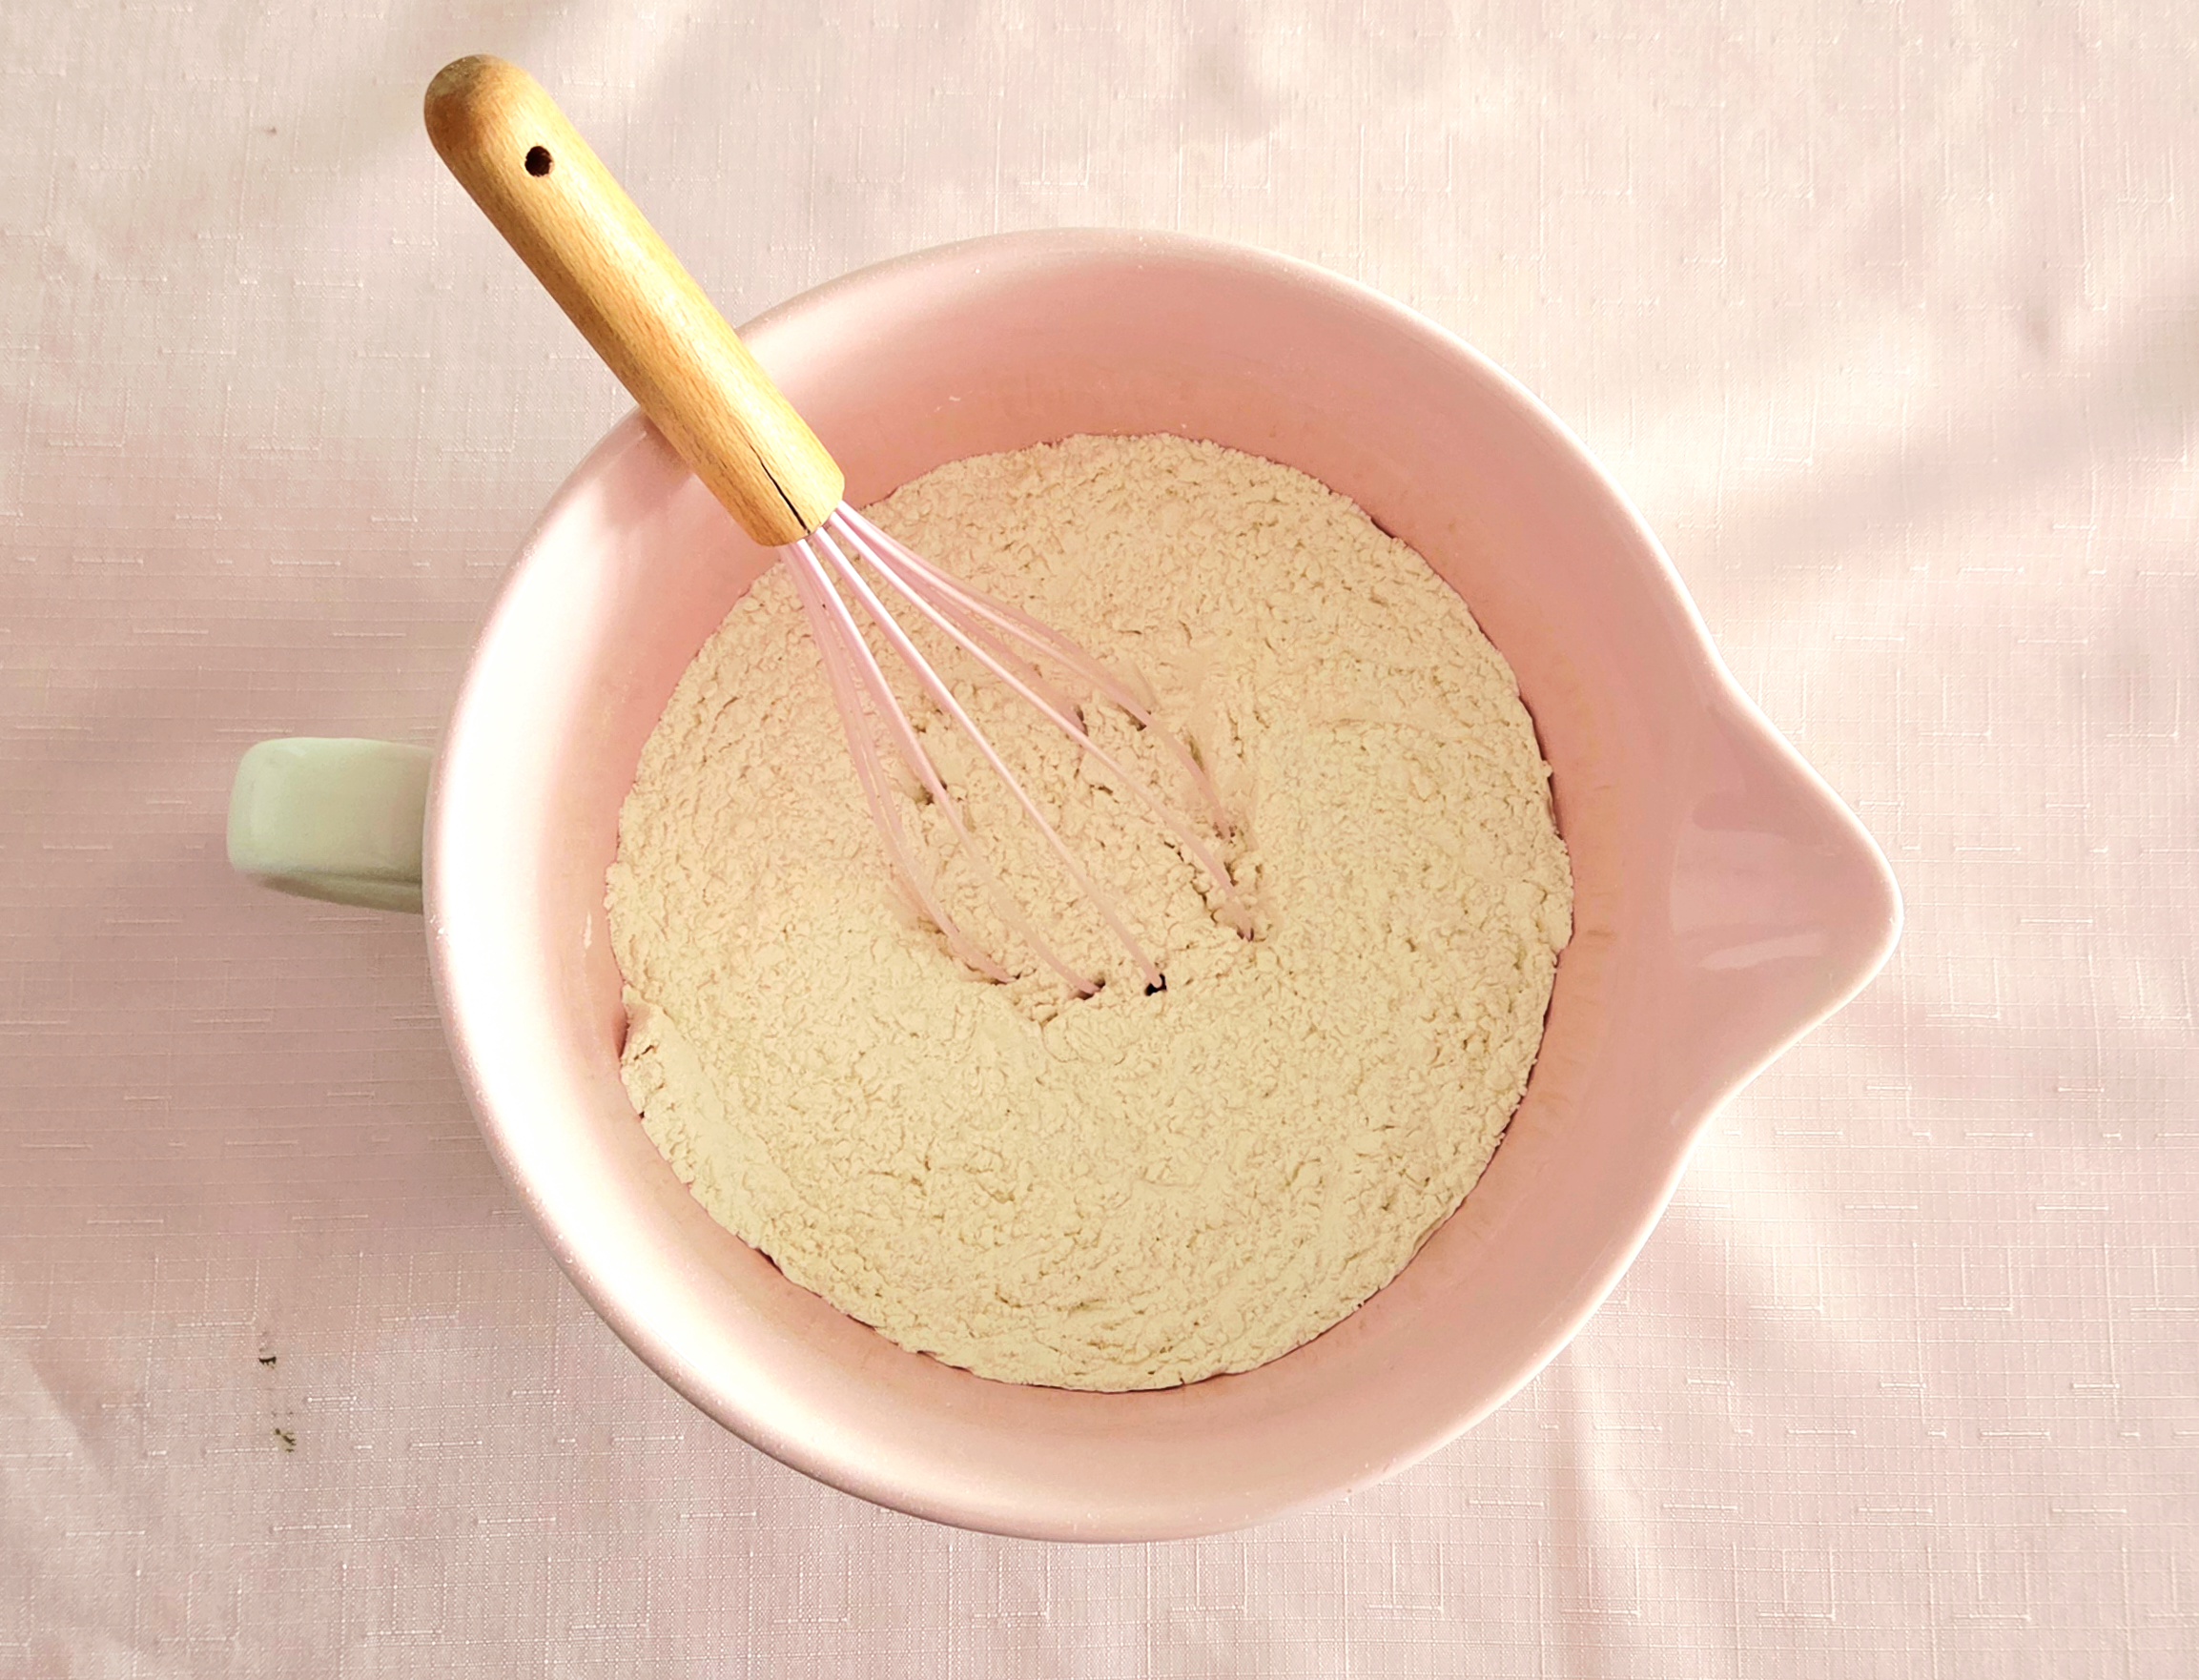
Whisk together the flour, baking powder, sugar, salt, and onion powder in a large mixing bowl. Yes, it will negatively impact the biscuits if you skip whisking them all together. You’ll get pockets of salt and onion powder, the leavening will be all over the place so no even rise as they bake, it won’t be a good time. Just take ten seconds and whisk it all together.
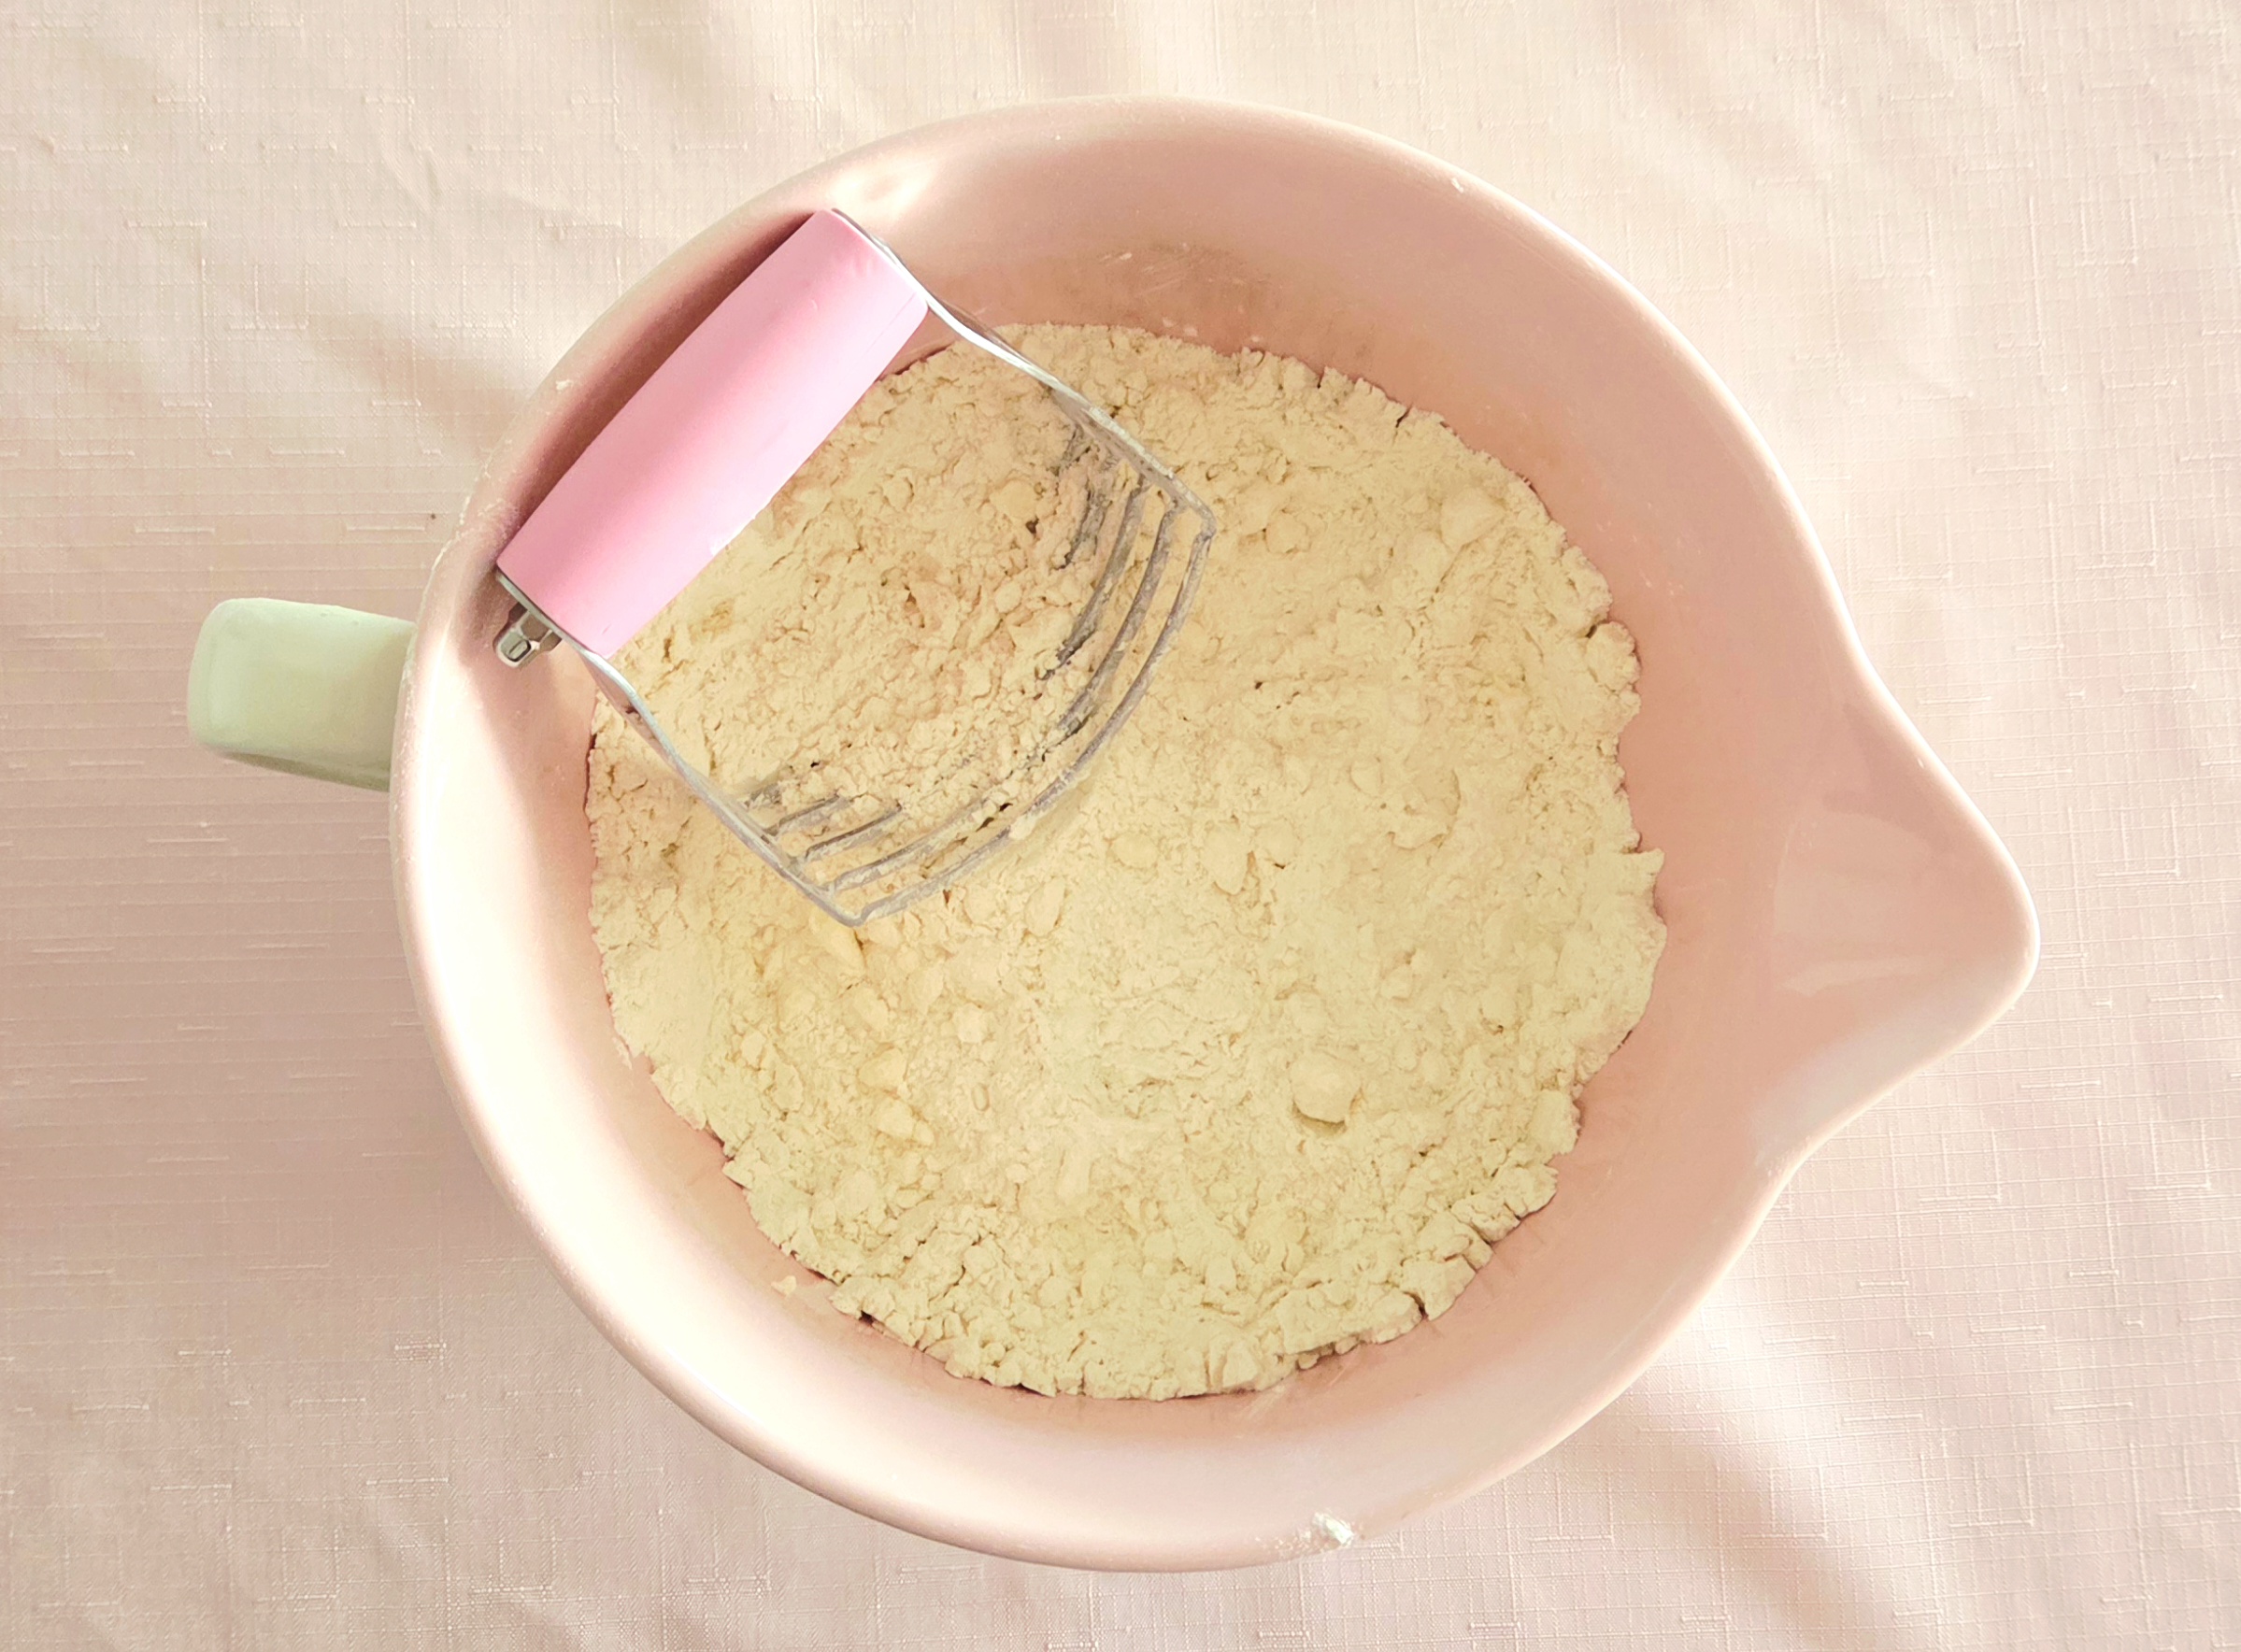
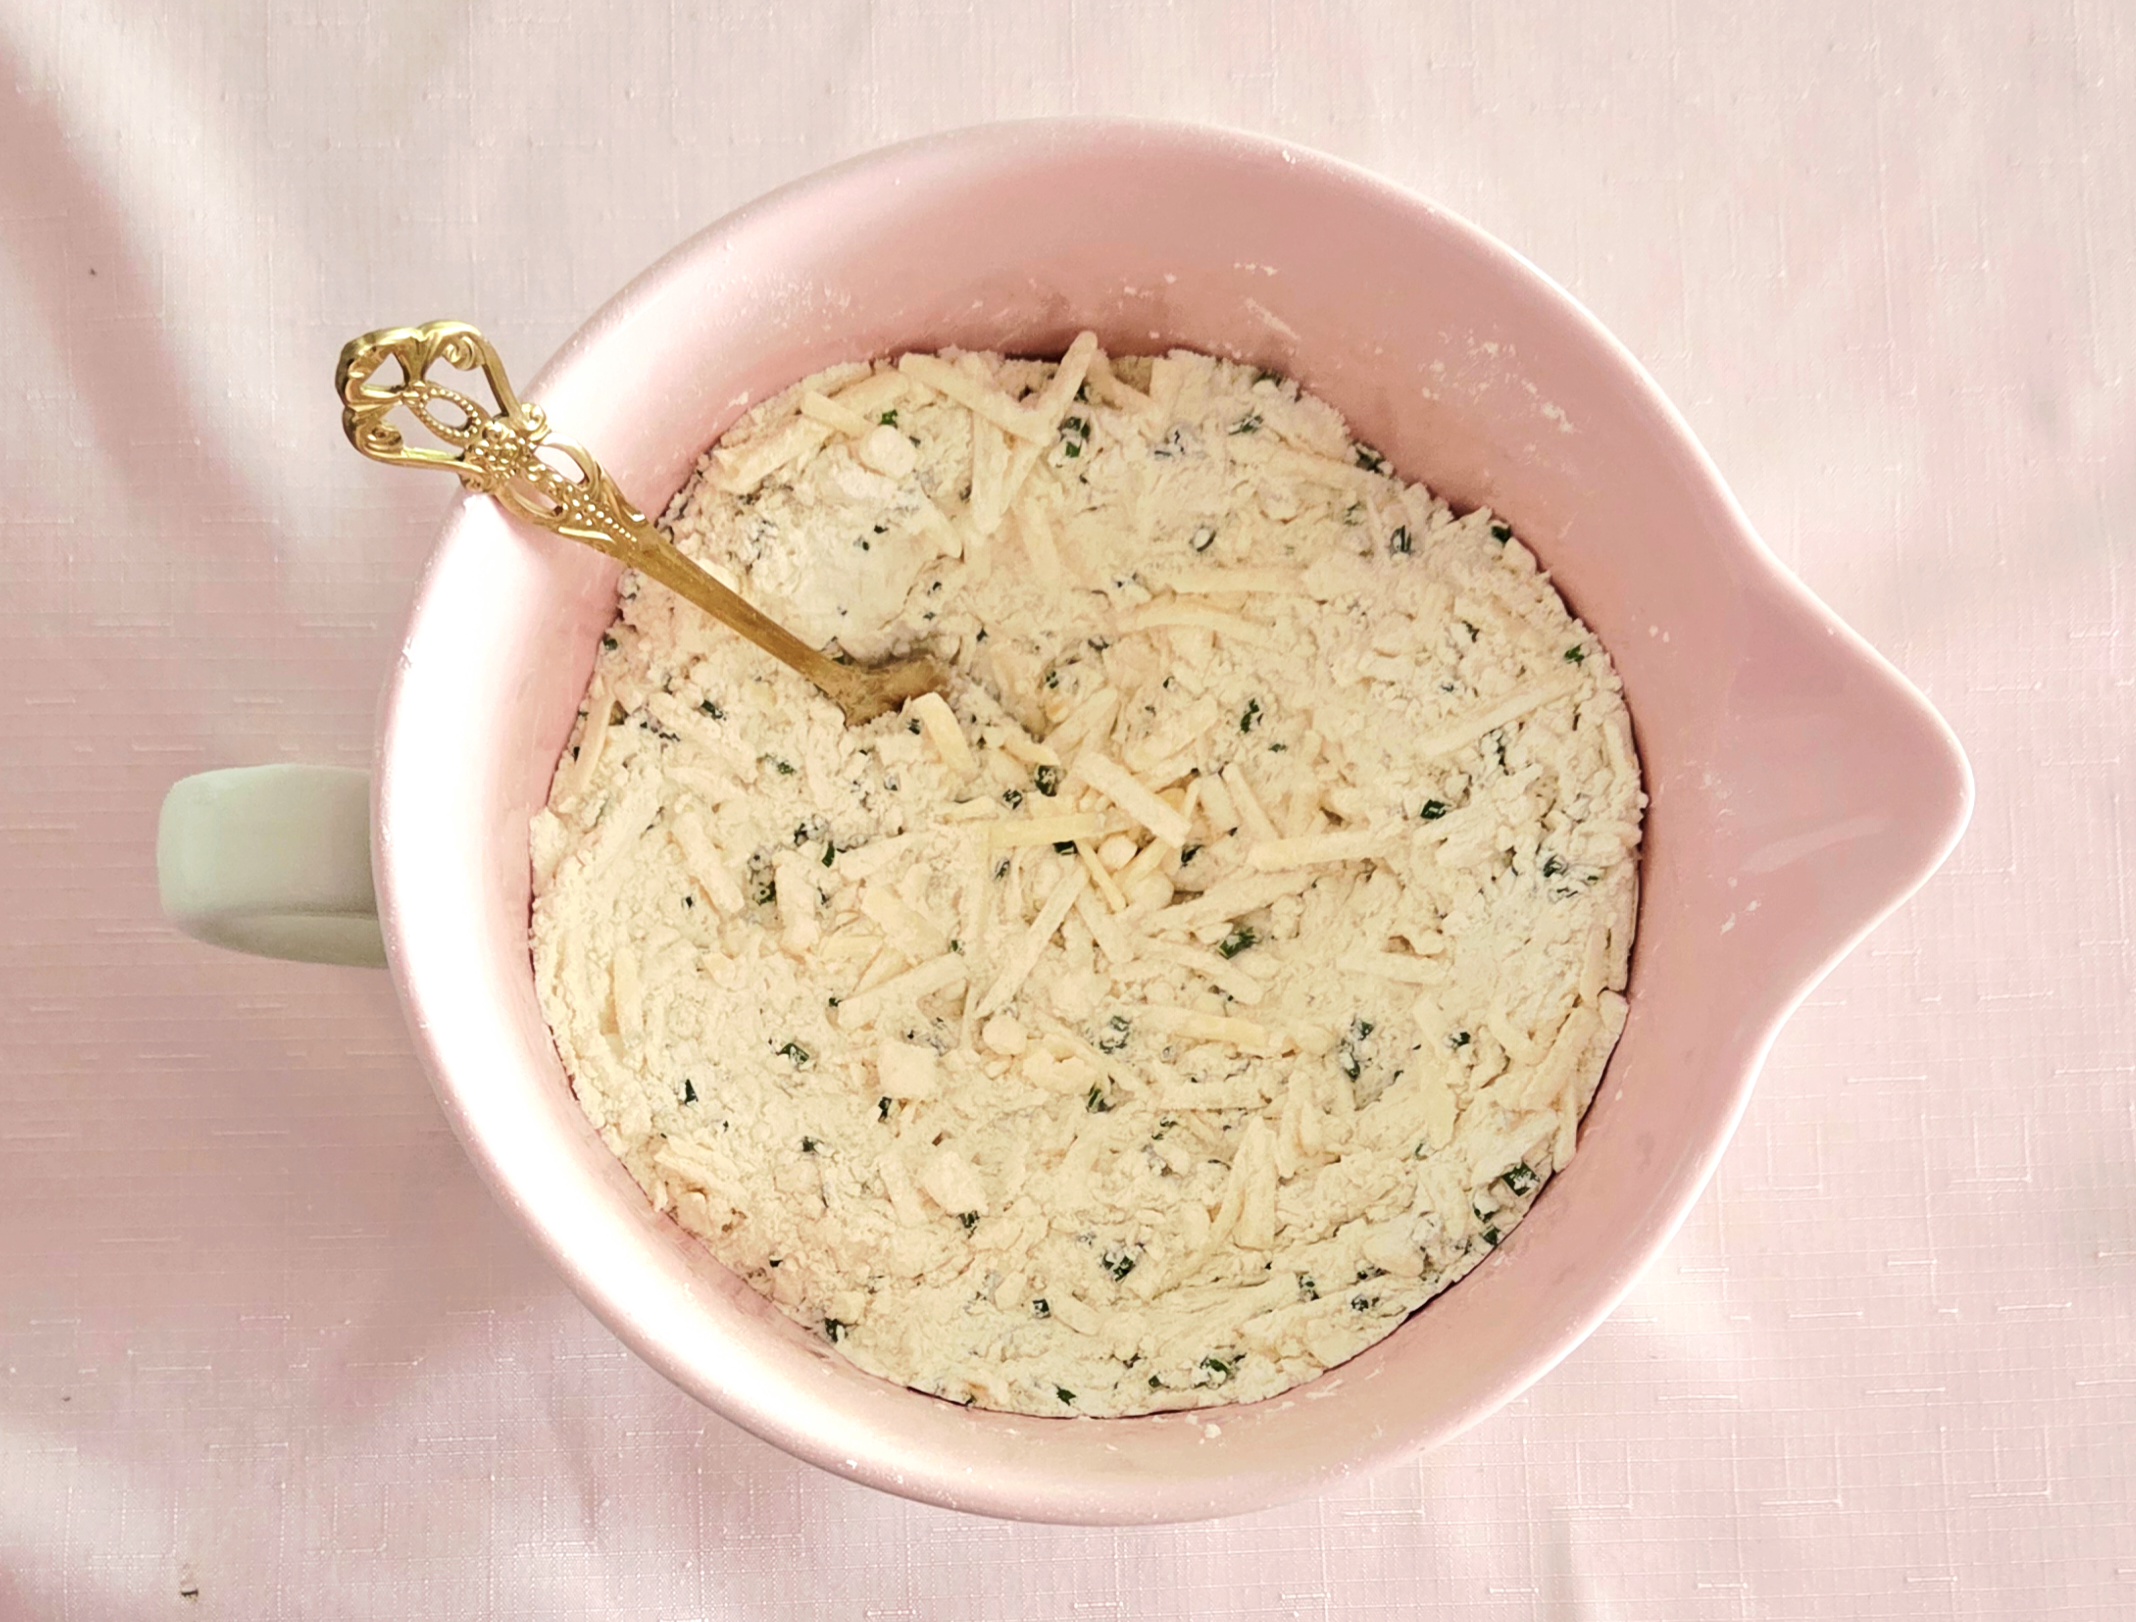
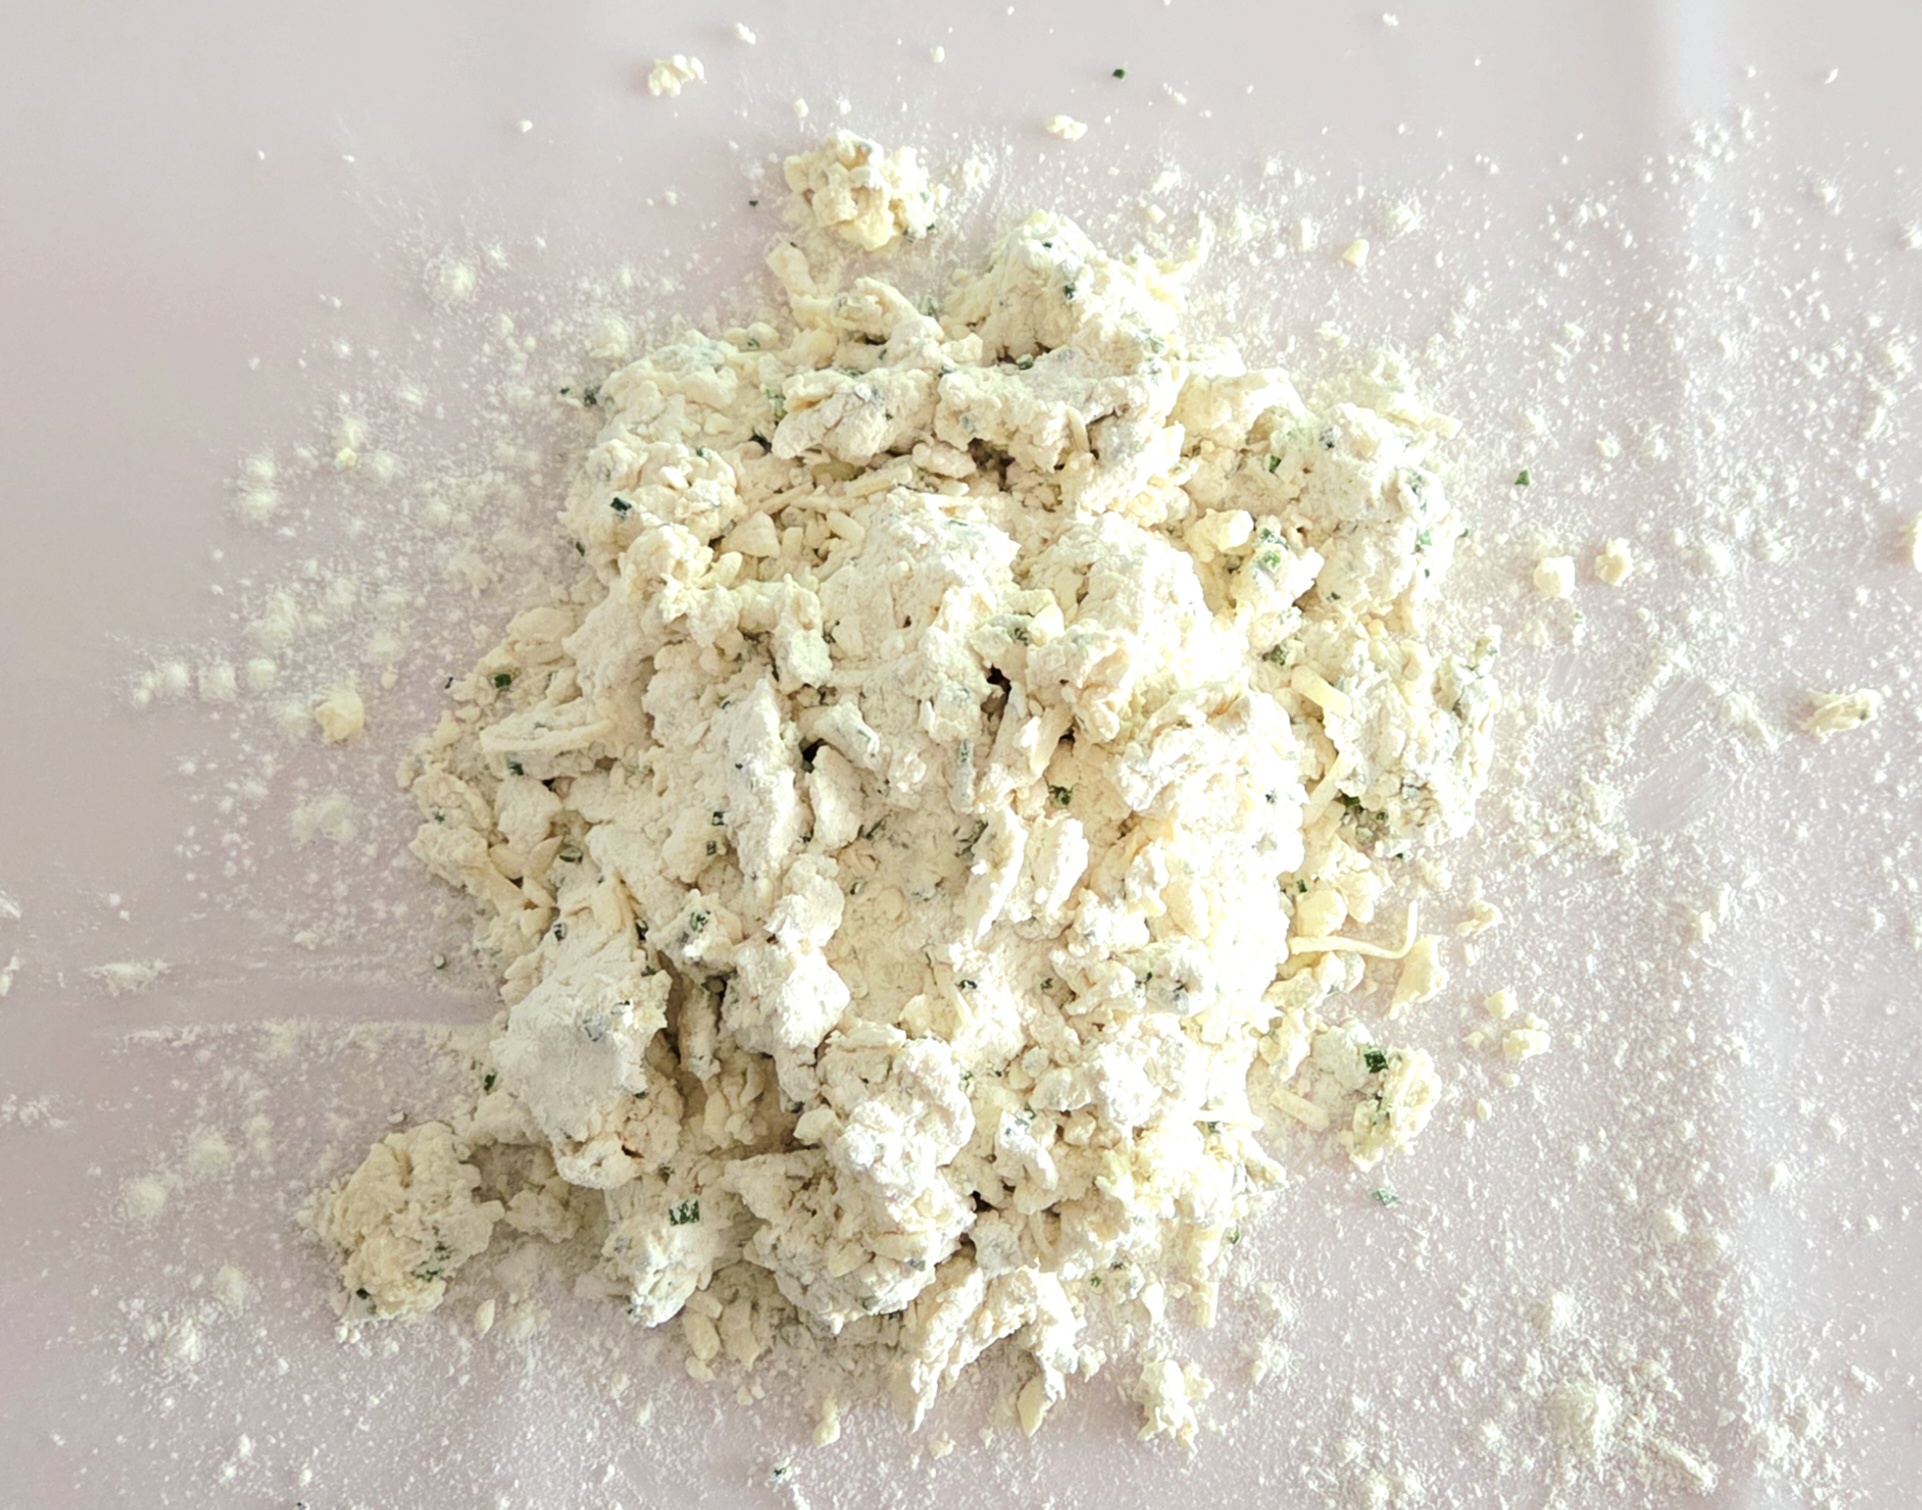
Dump the cubes of butter that were cut up and stuck in the fridge earlier into the dry goods. Scatter them around a bit, to make the job easier, and begin cutting them into the flour using a pastry blender. Press it straight down into the cold butter over and over again, until the pieces that haven’t blended in with the dry are no bigger than pea-sized.

Toss the grated cheese and minced chives from the fridge into the mixture. Use a fork to thoroughly combine everything, so the cheese and chives are dispersed evenly.
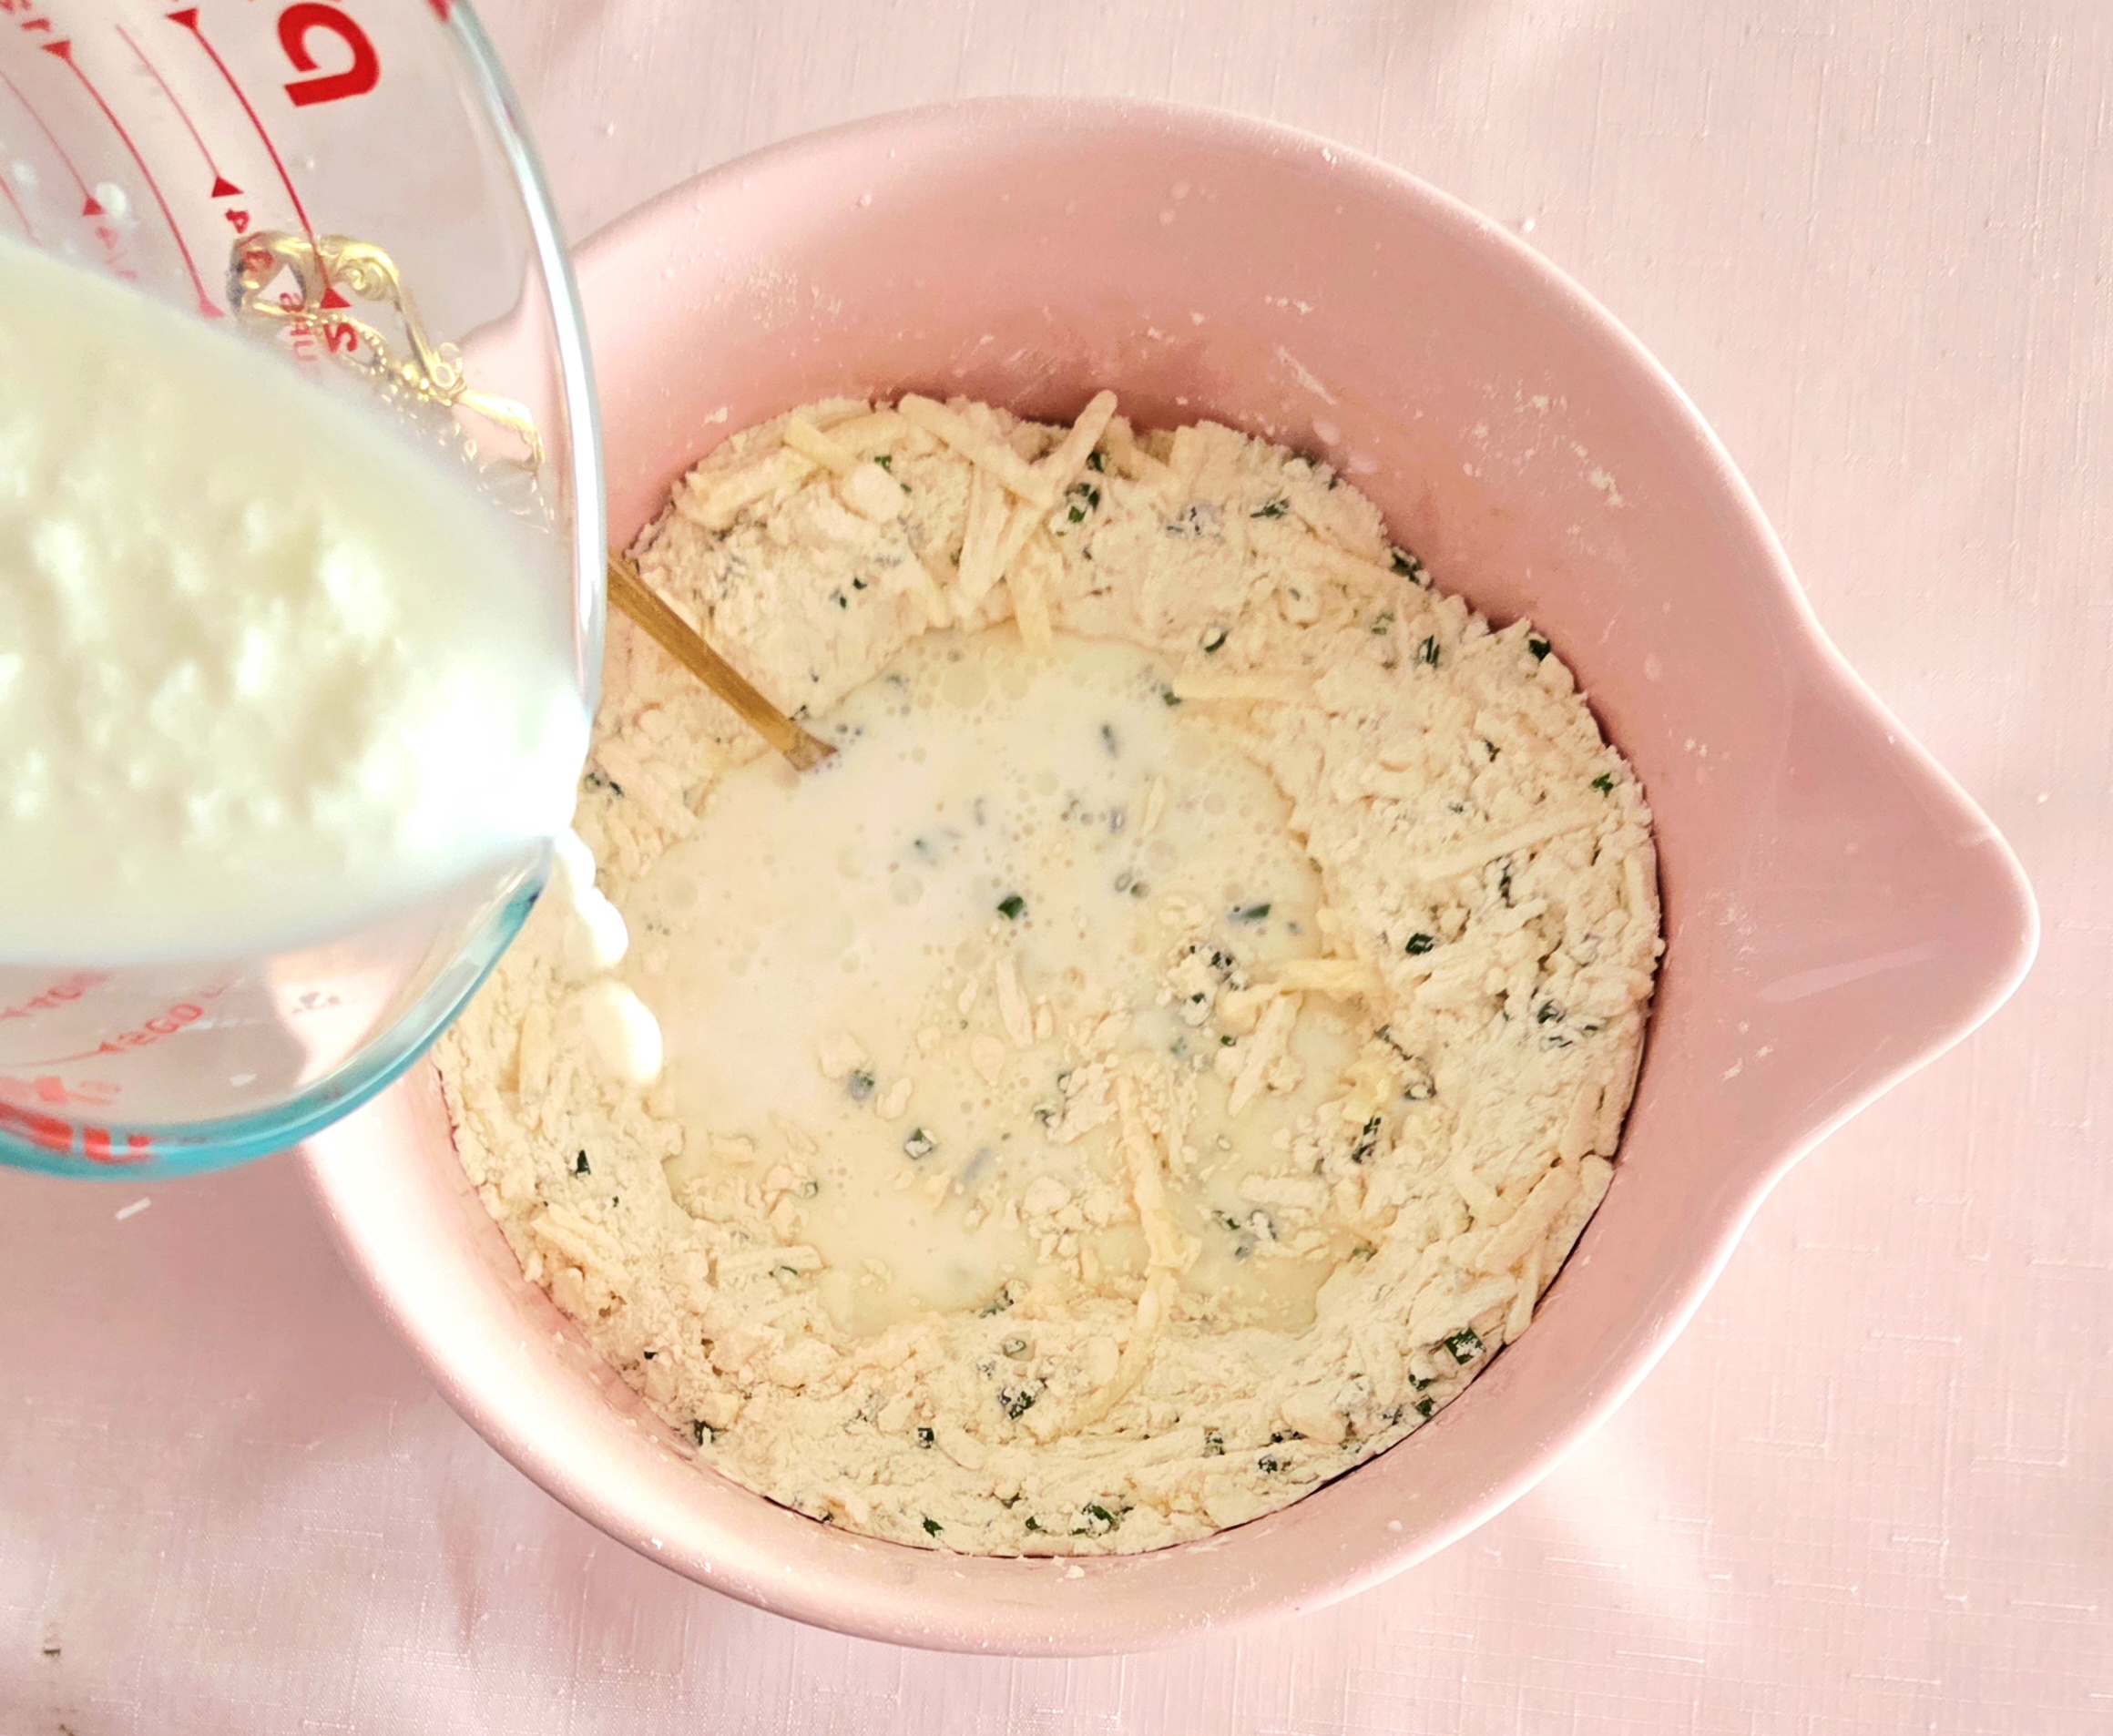
Pour the buttermilk into the bowl with everything else and, using that same fork, gently mix them together to form the dough. When most of the flour has been hydrated by the buttermilk, dump the dough out onto a clean, lightly floured surface.
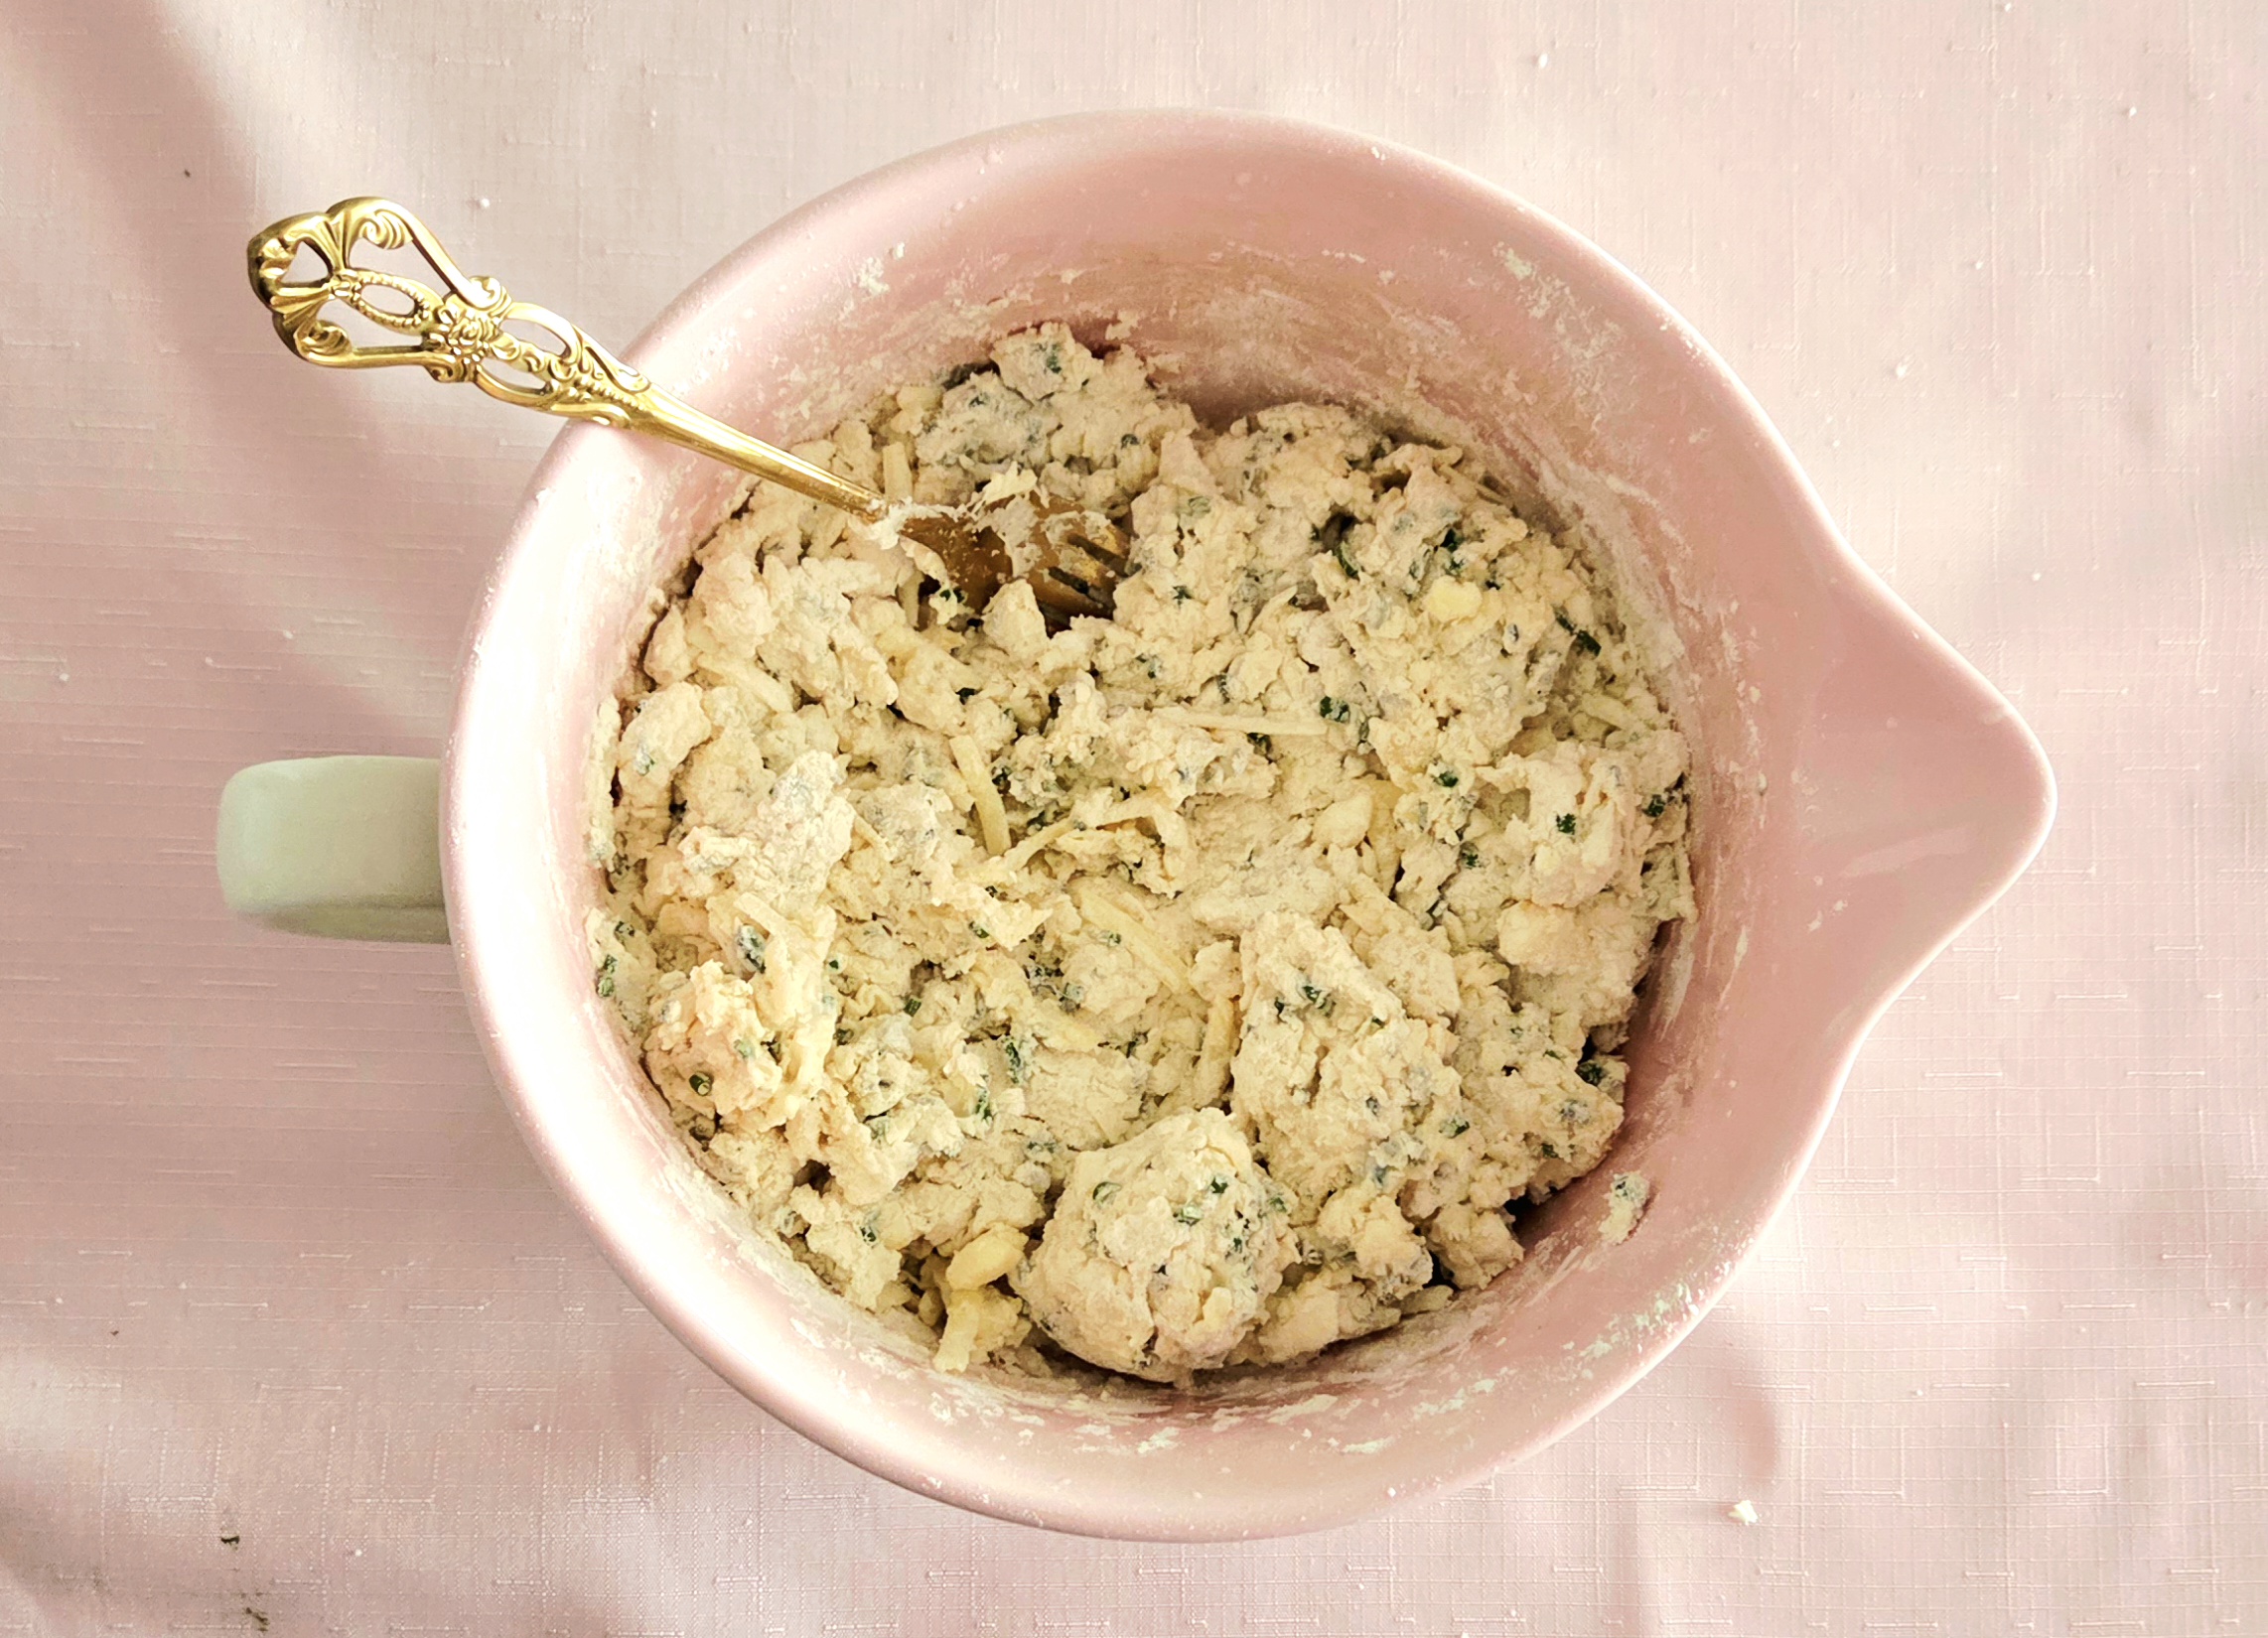
Knead the dough together for about a minute or so, doing your best not to warm it up. Warming the biscuits will melt the butter, which will hurt the final texture. They won’t be nearly as flaky or tender.
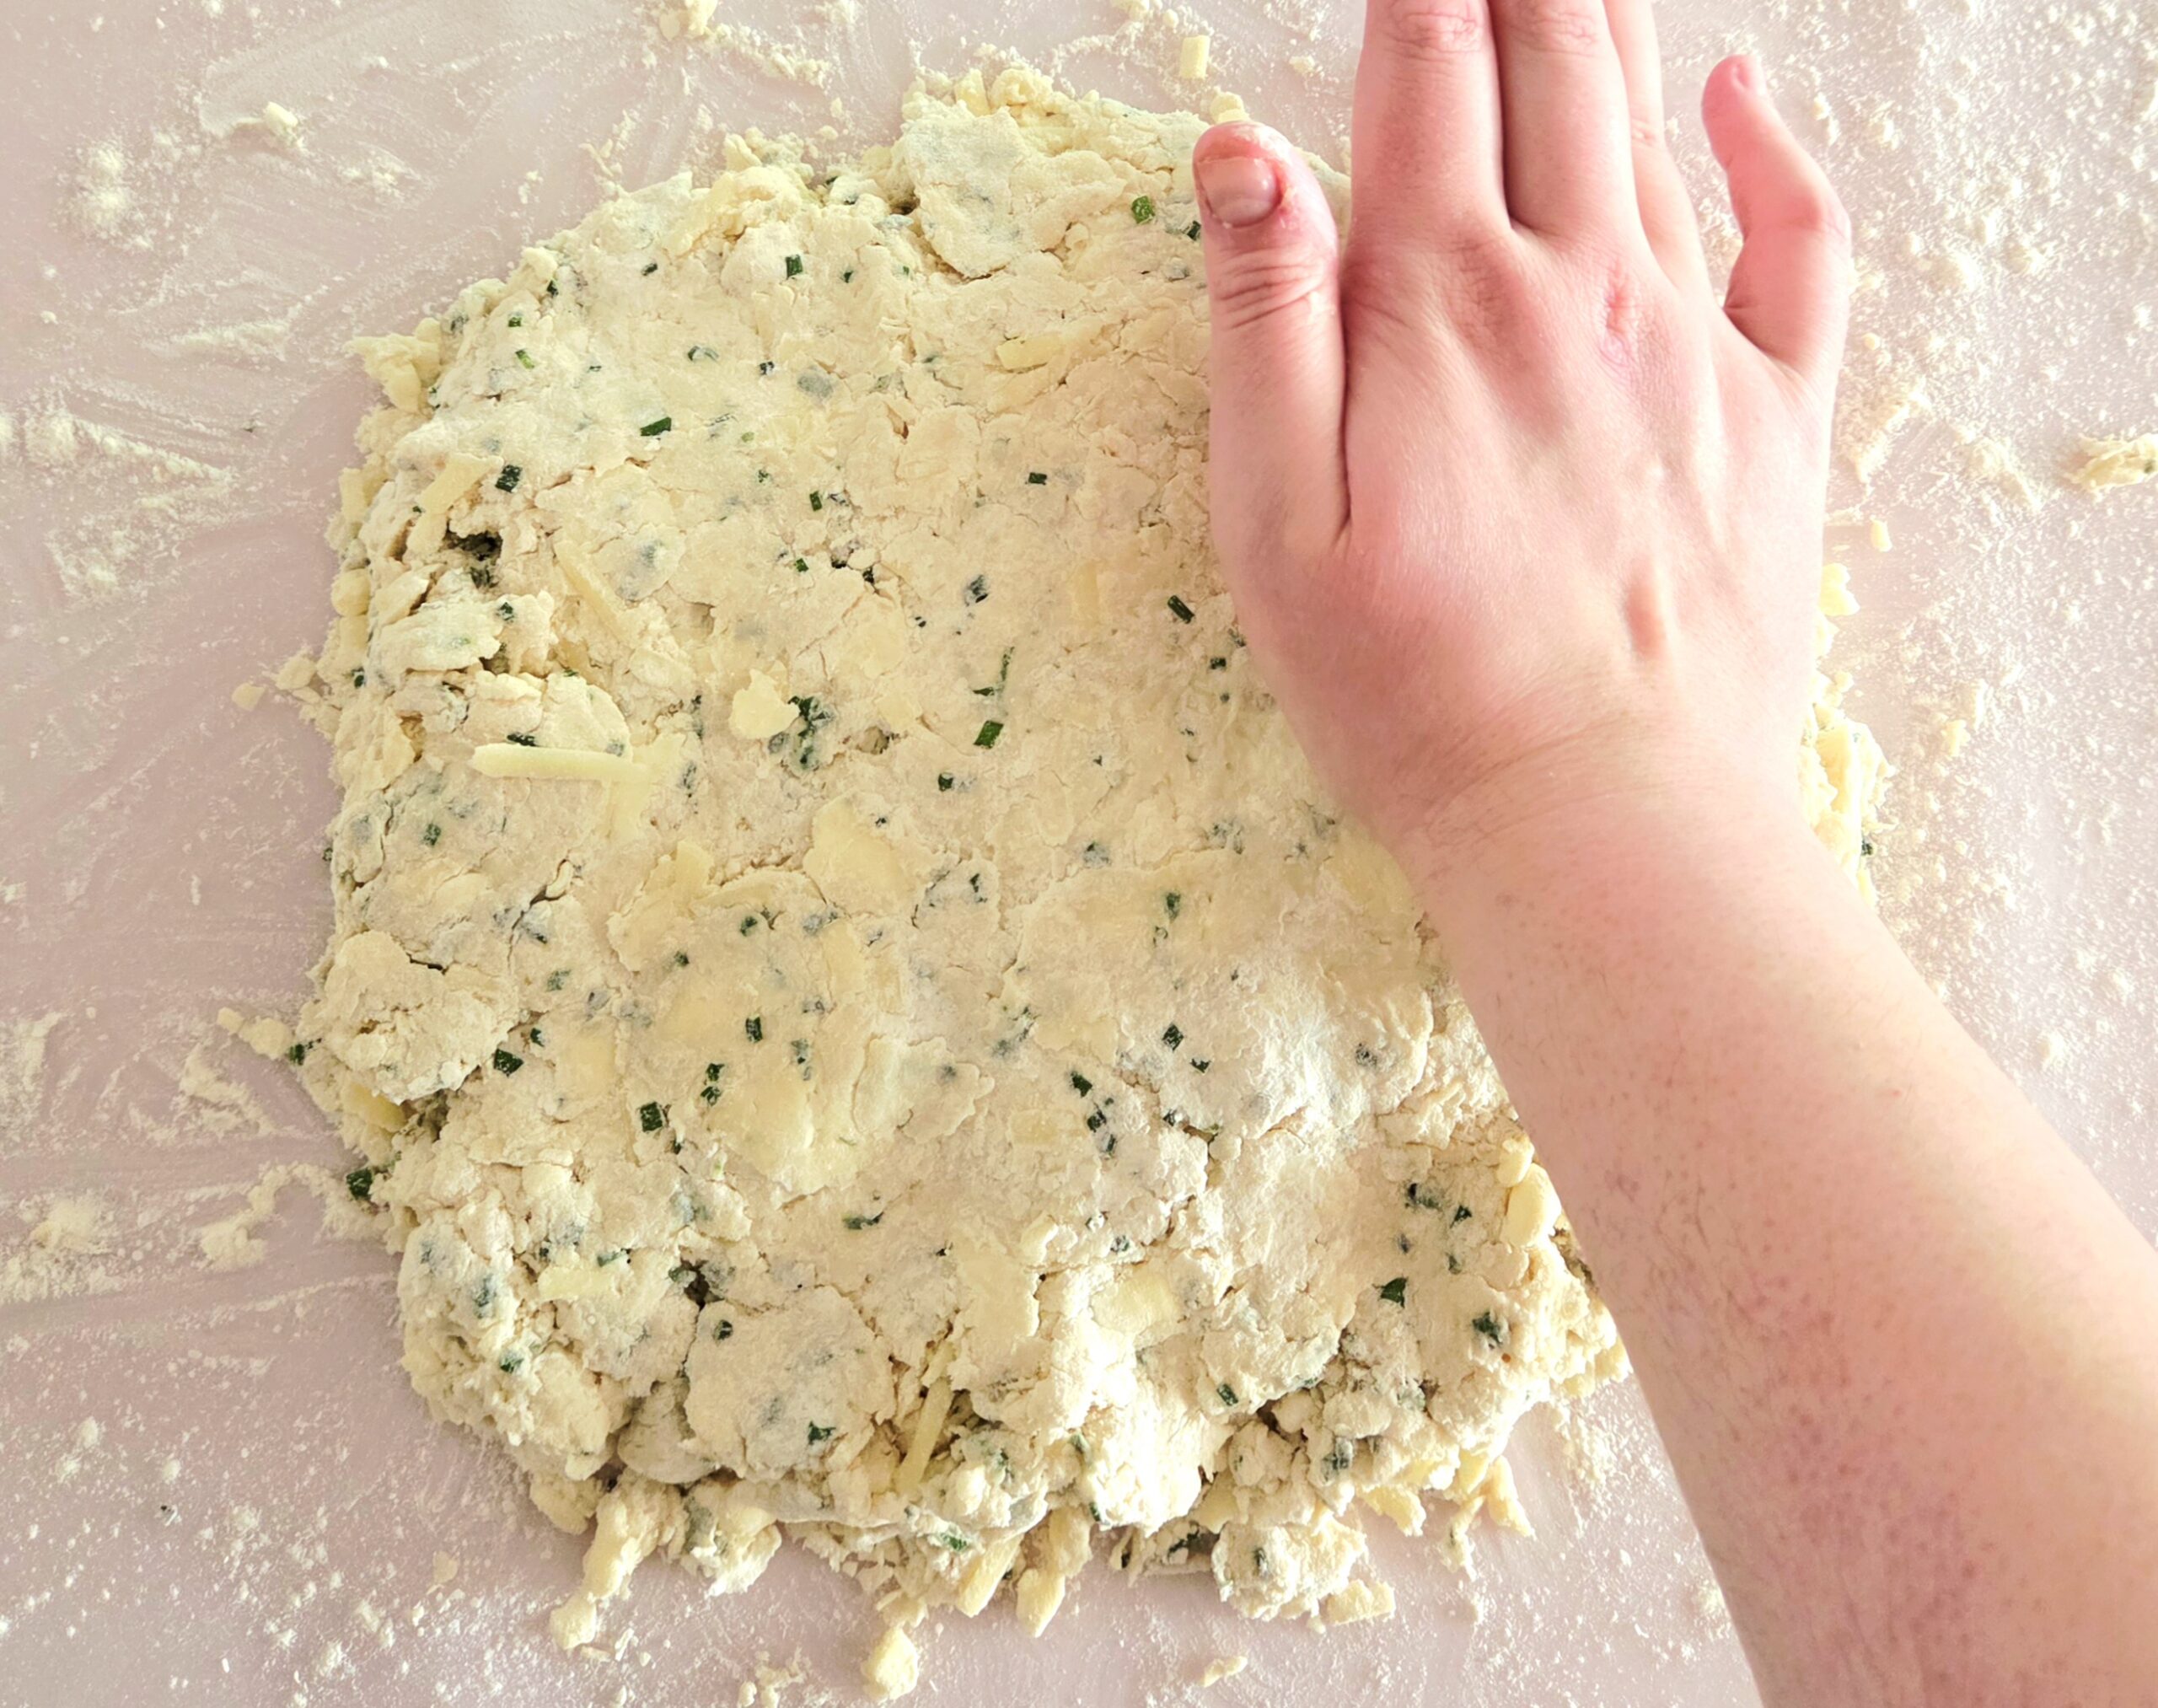
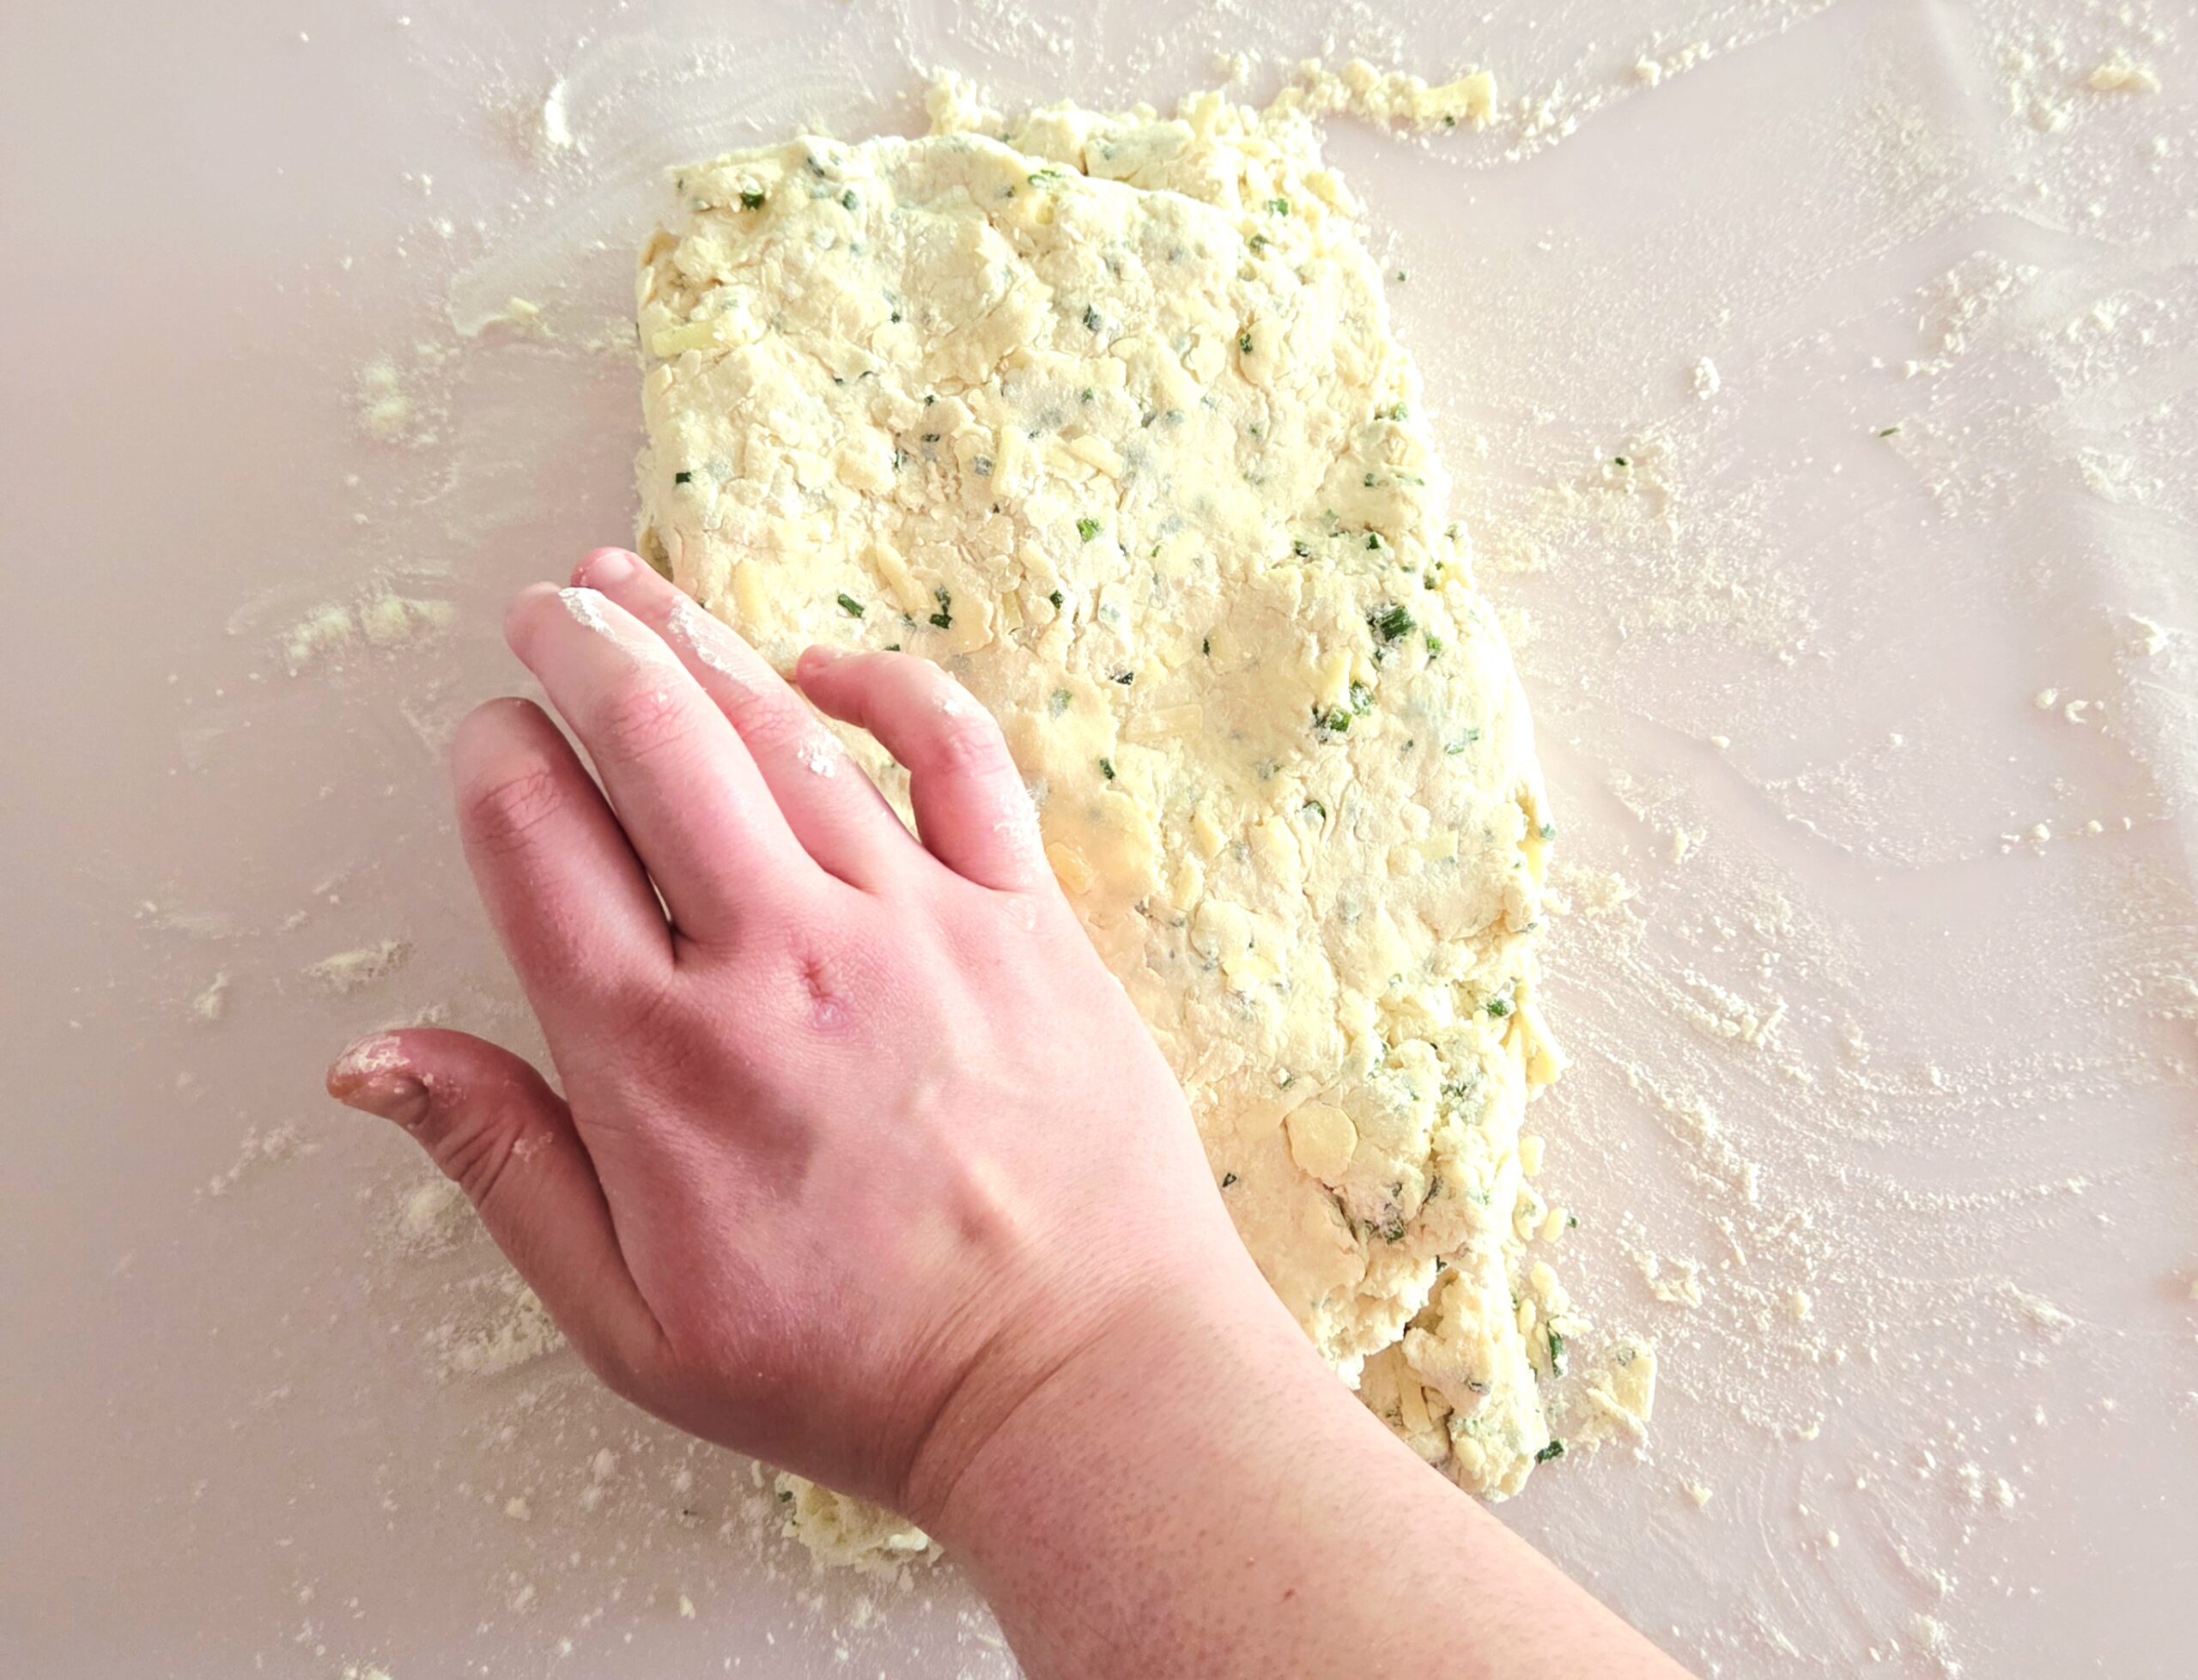
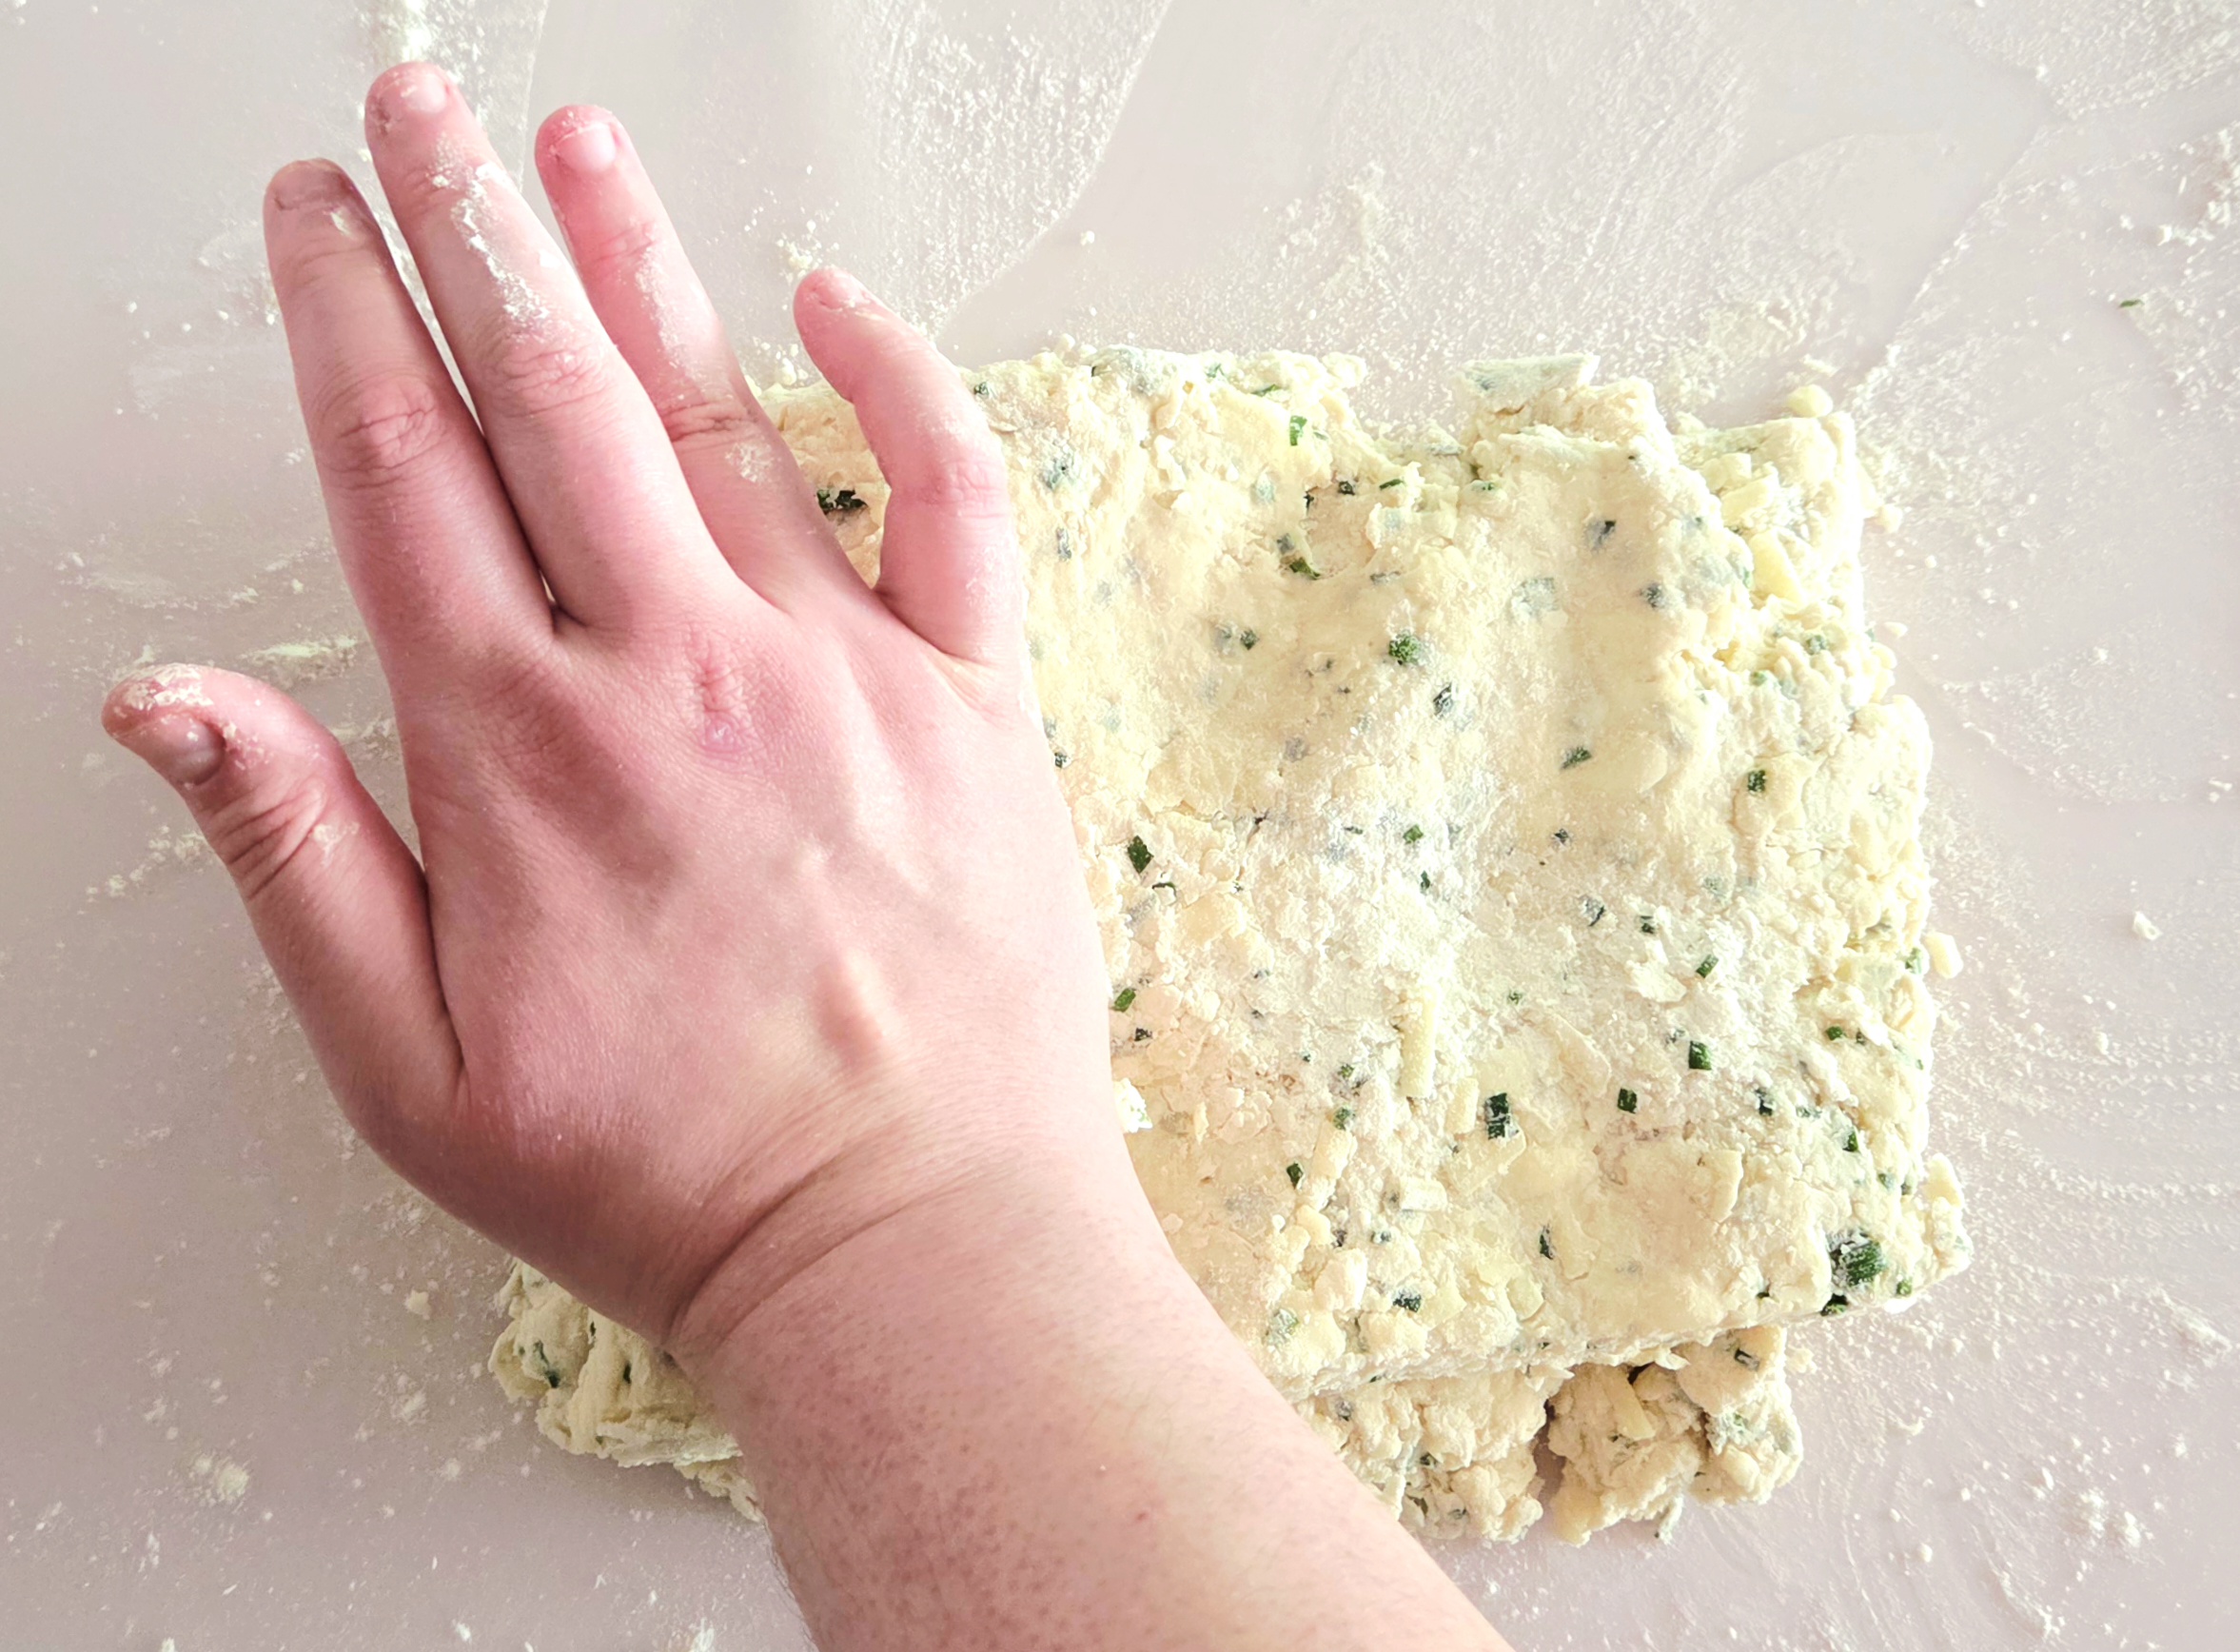
As soon as the dough has been kneaded together, pat the biscuits out to a rectangle using the heel of your hand. It should be around 1-inch thick, though the size beyond that doesn’t really make a difference at this point.
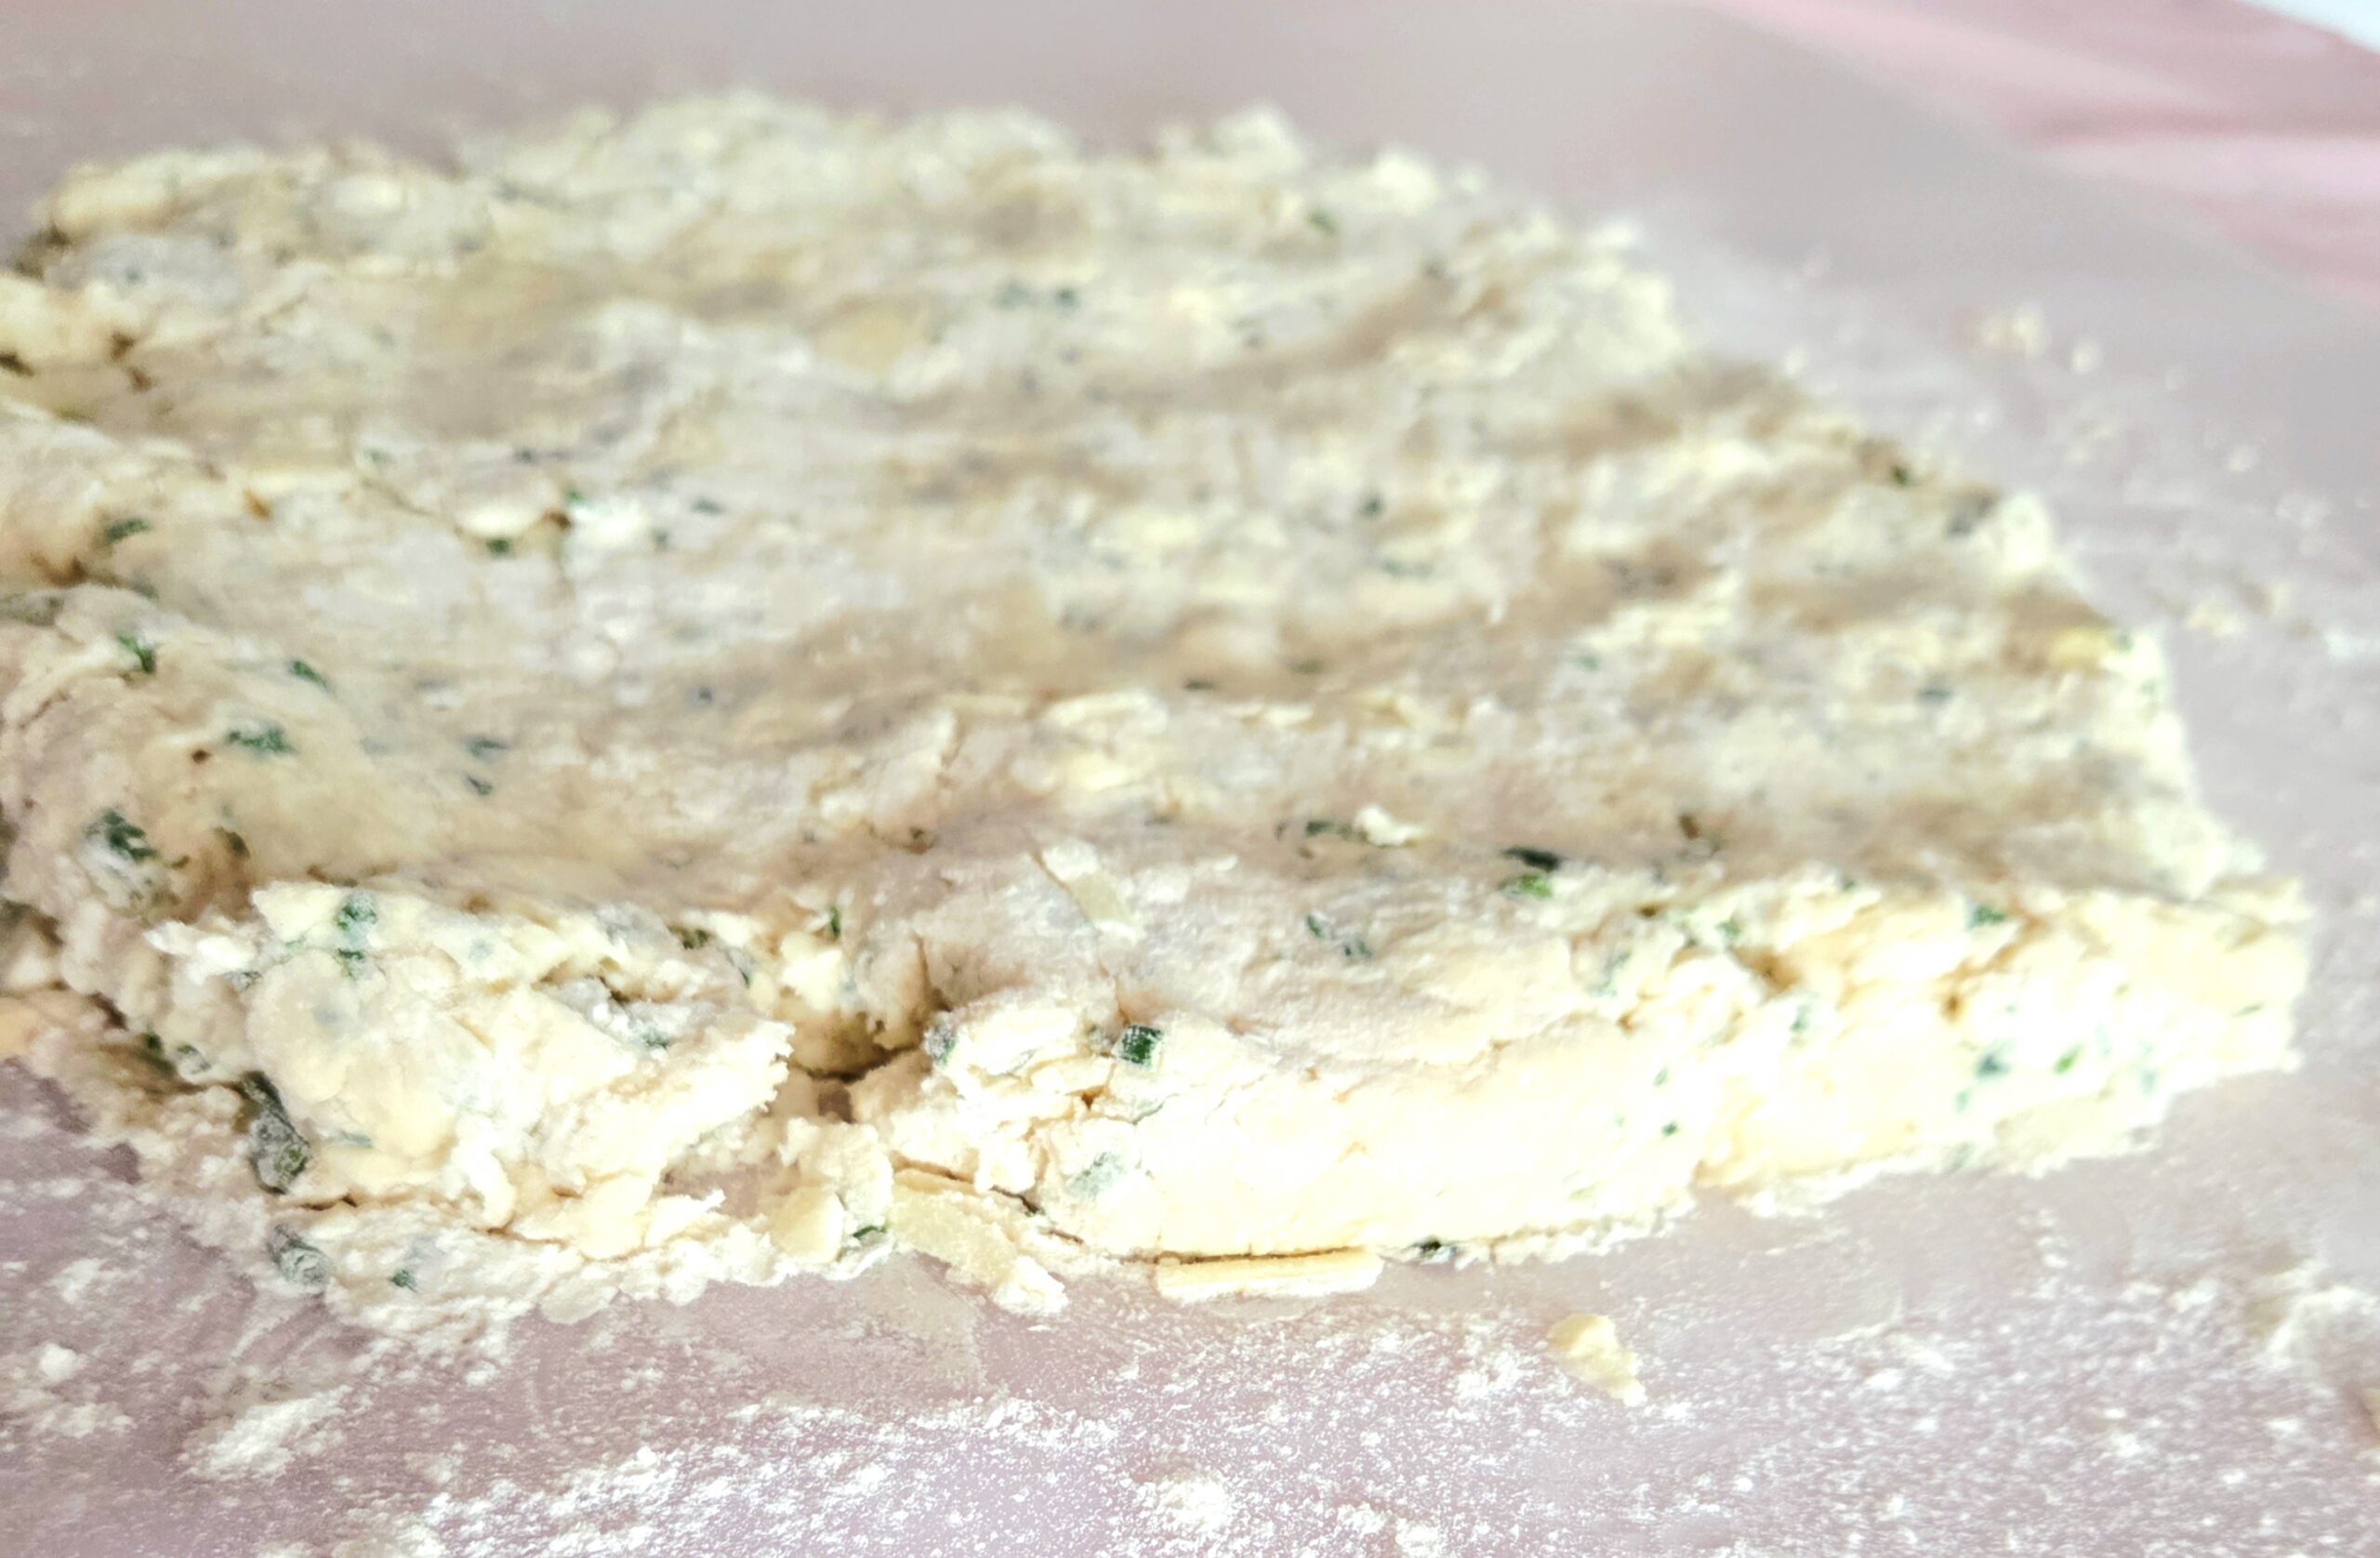
Time to create the layers that will make that flaky texture! Using a bench scrape, cut a line straight down the middle of the dough, so there are now two halves. Use the bench scraper to pick up one half and place it directly on top of the other half. Press the top gently onto the bottom, using the heel of your hand, until it’s once again around 1-inch thick.
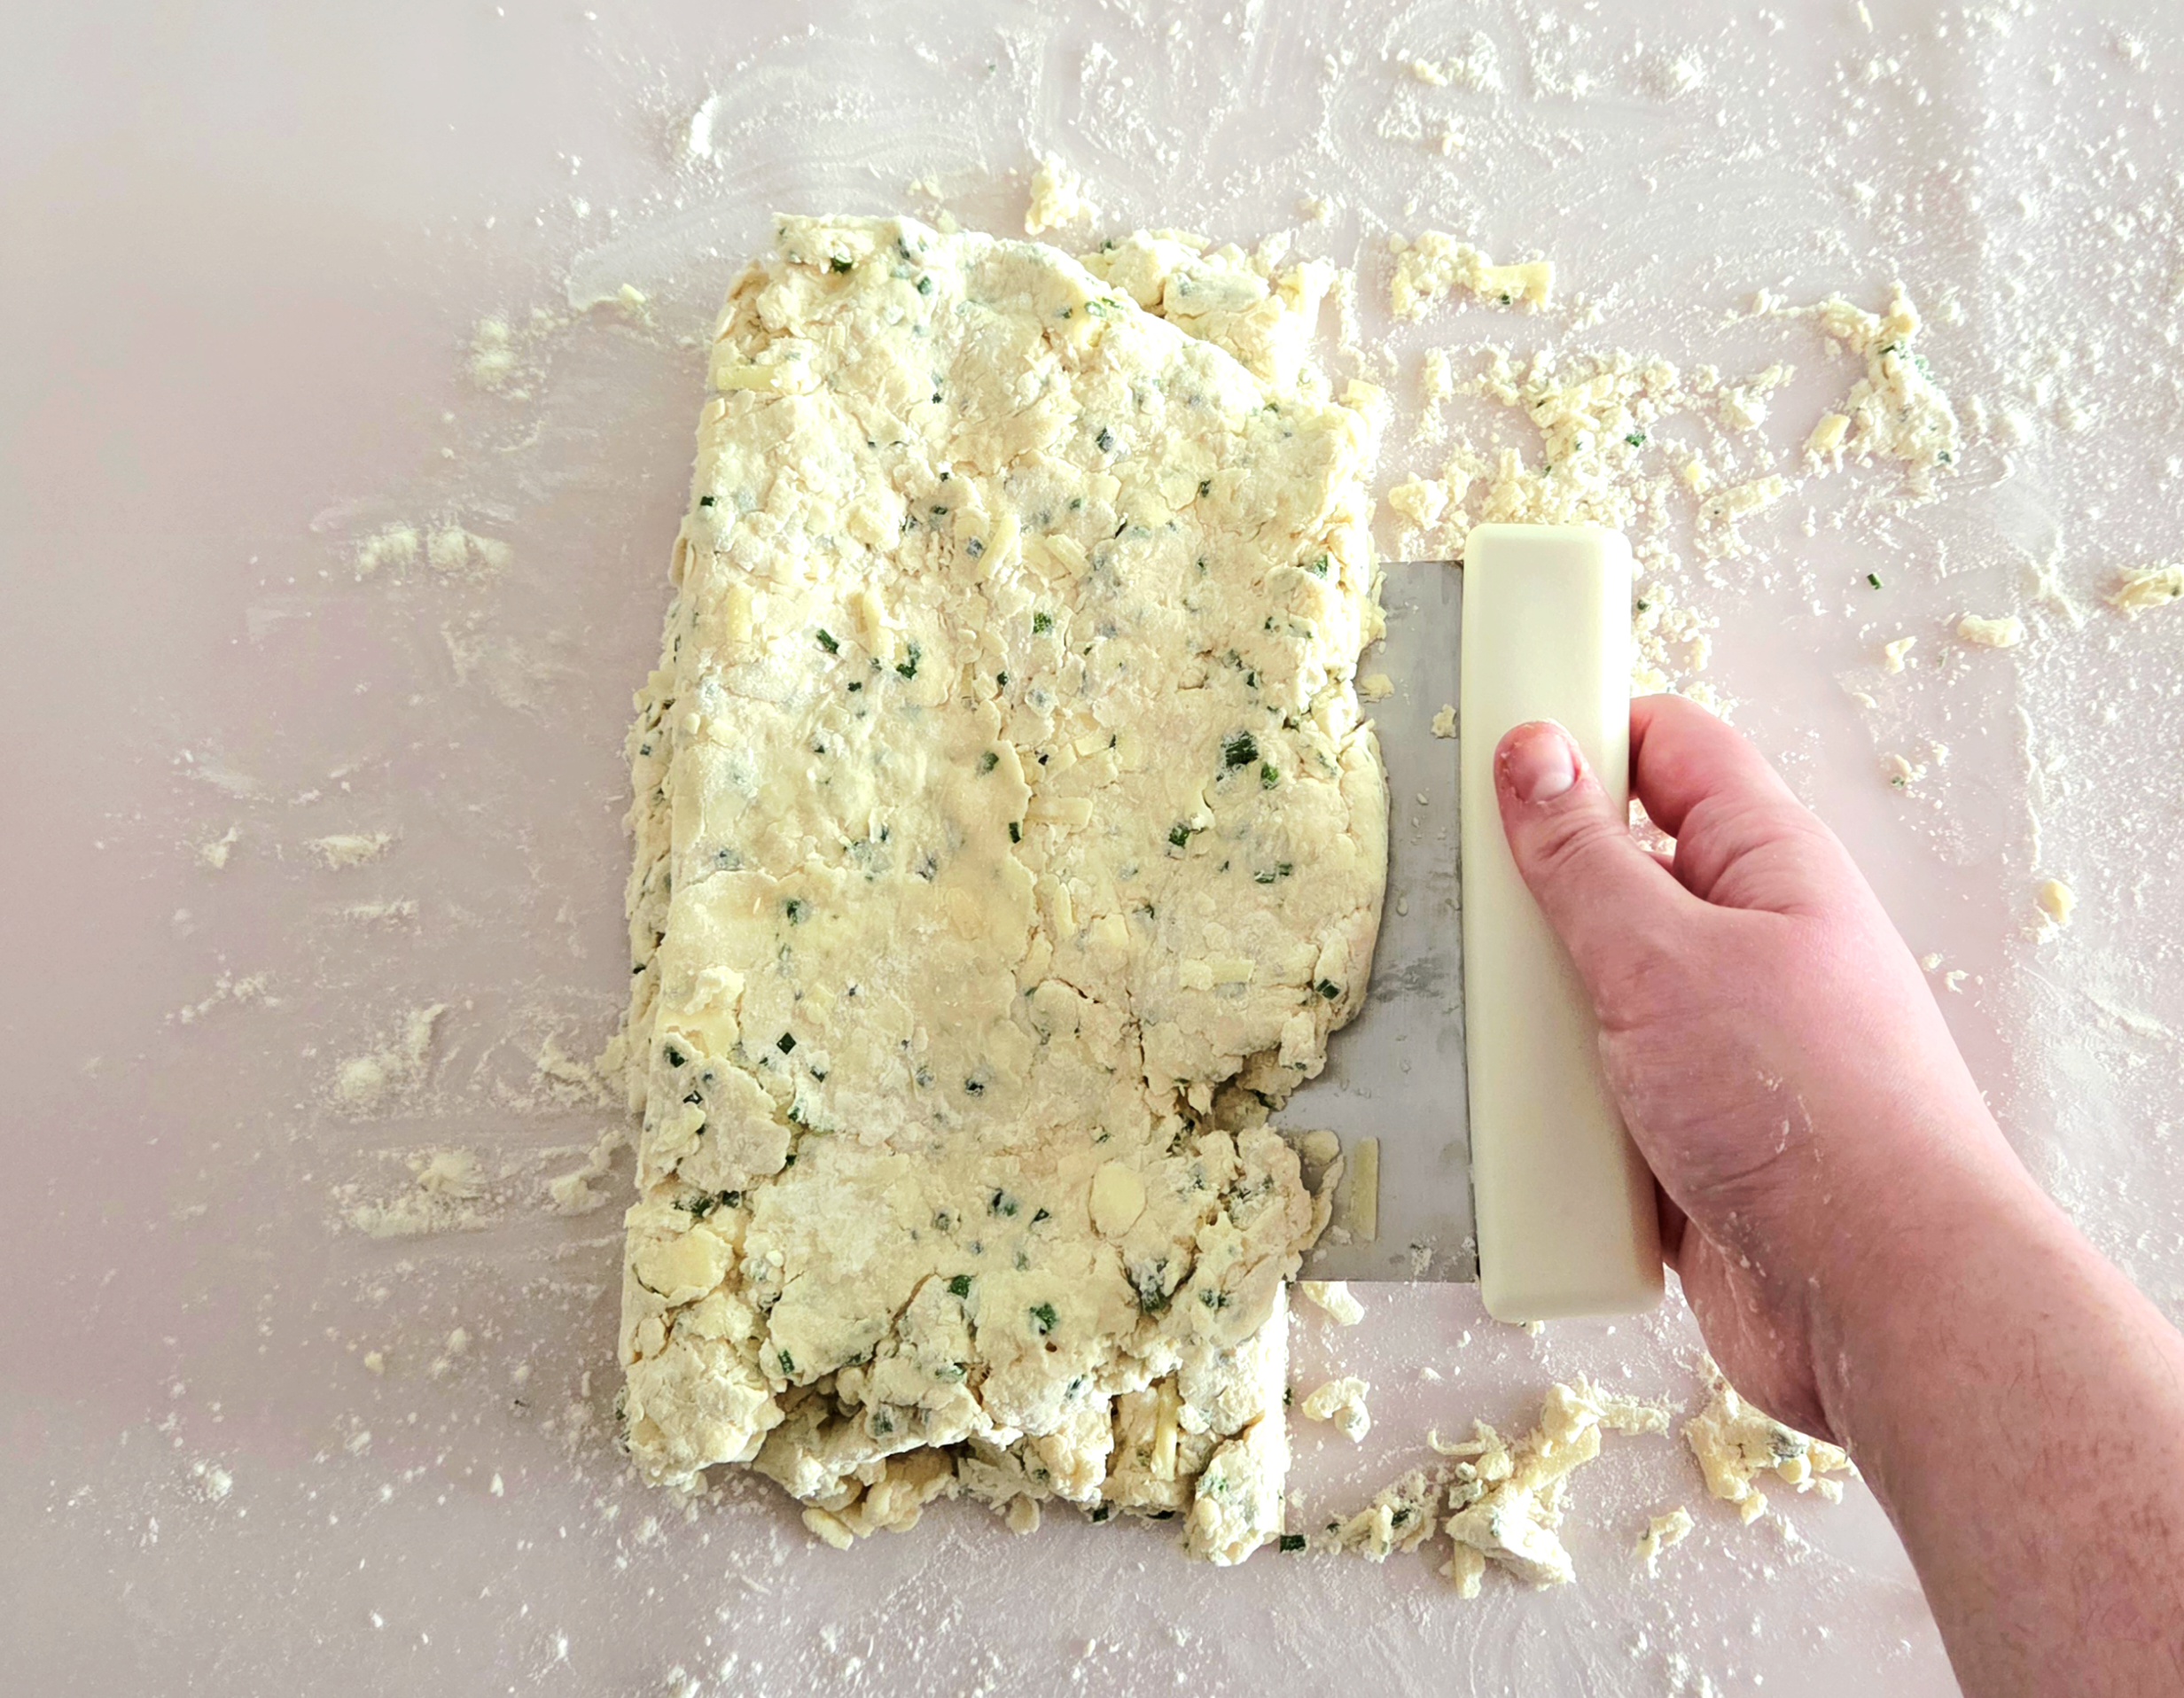
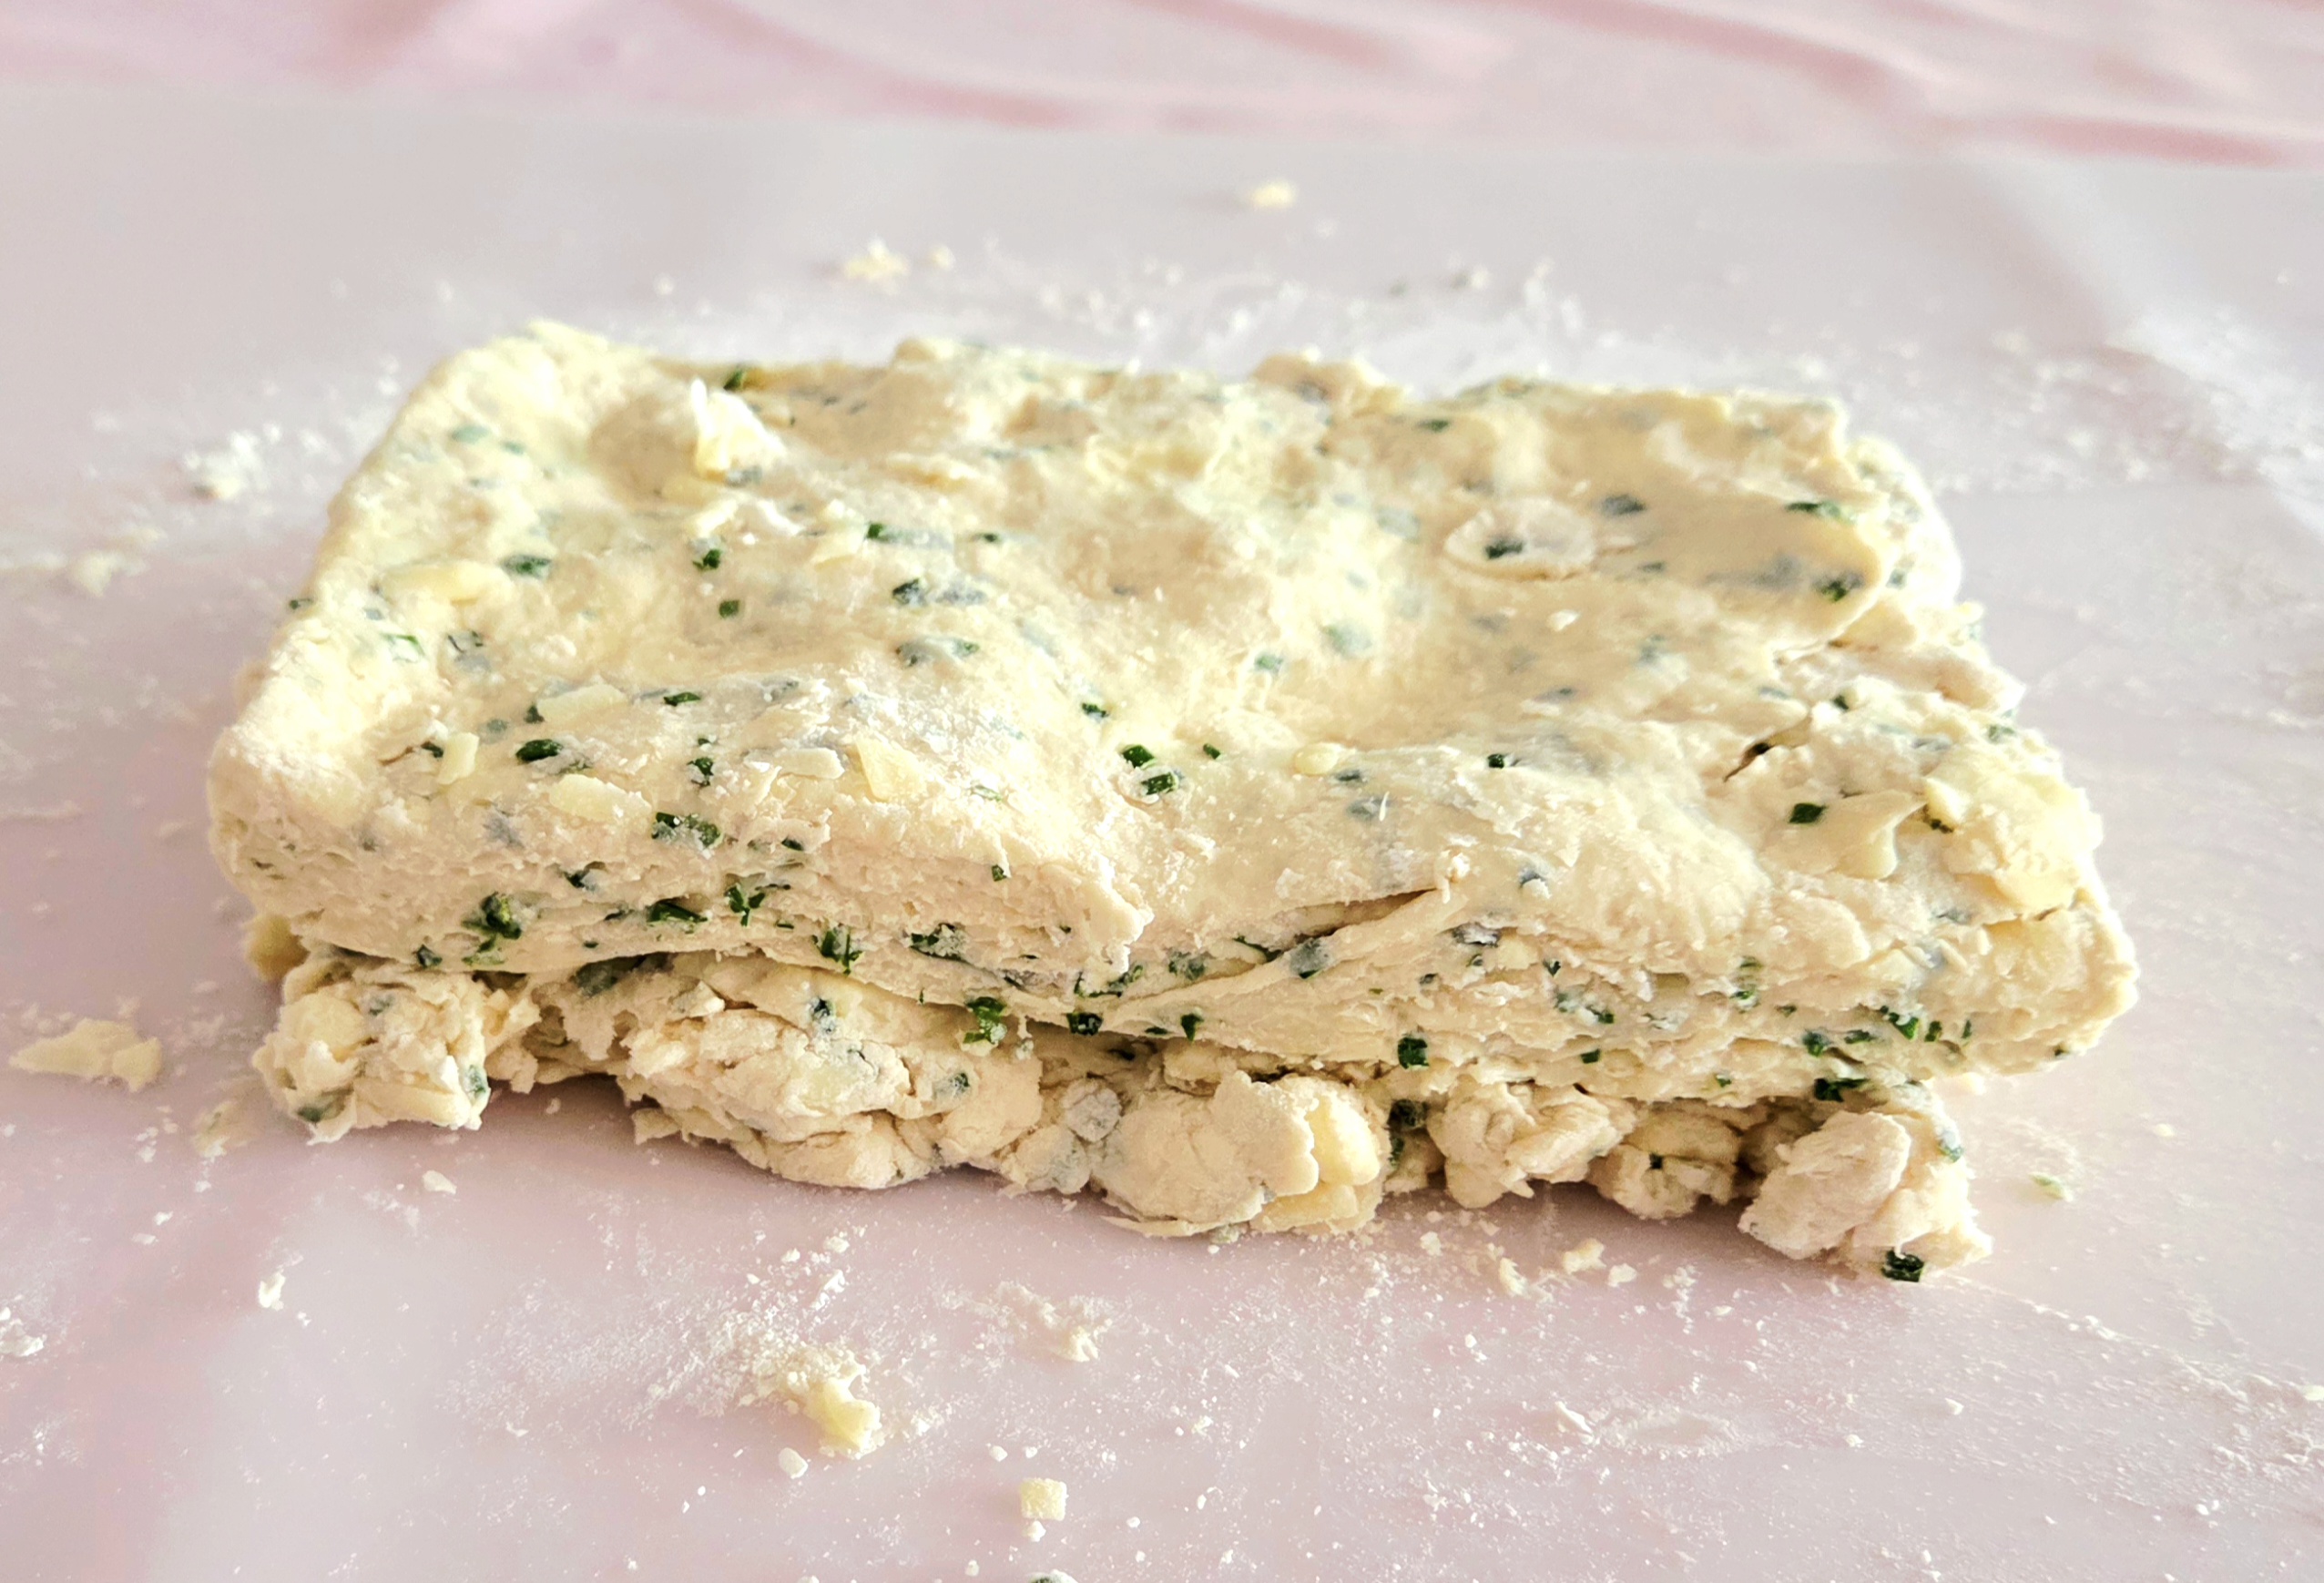
Cut the dough in half in the opposite direction that you did the first time. So, if at first you cut a vertical line down the center, this time make it a horizontal line. The different directions help to ensure that every part of the dough will get those flaky layers. Just as before, place one half on top of the other and press it all down to 1-inch thick.
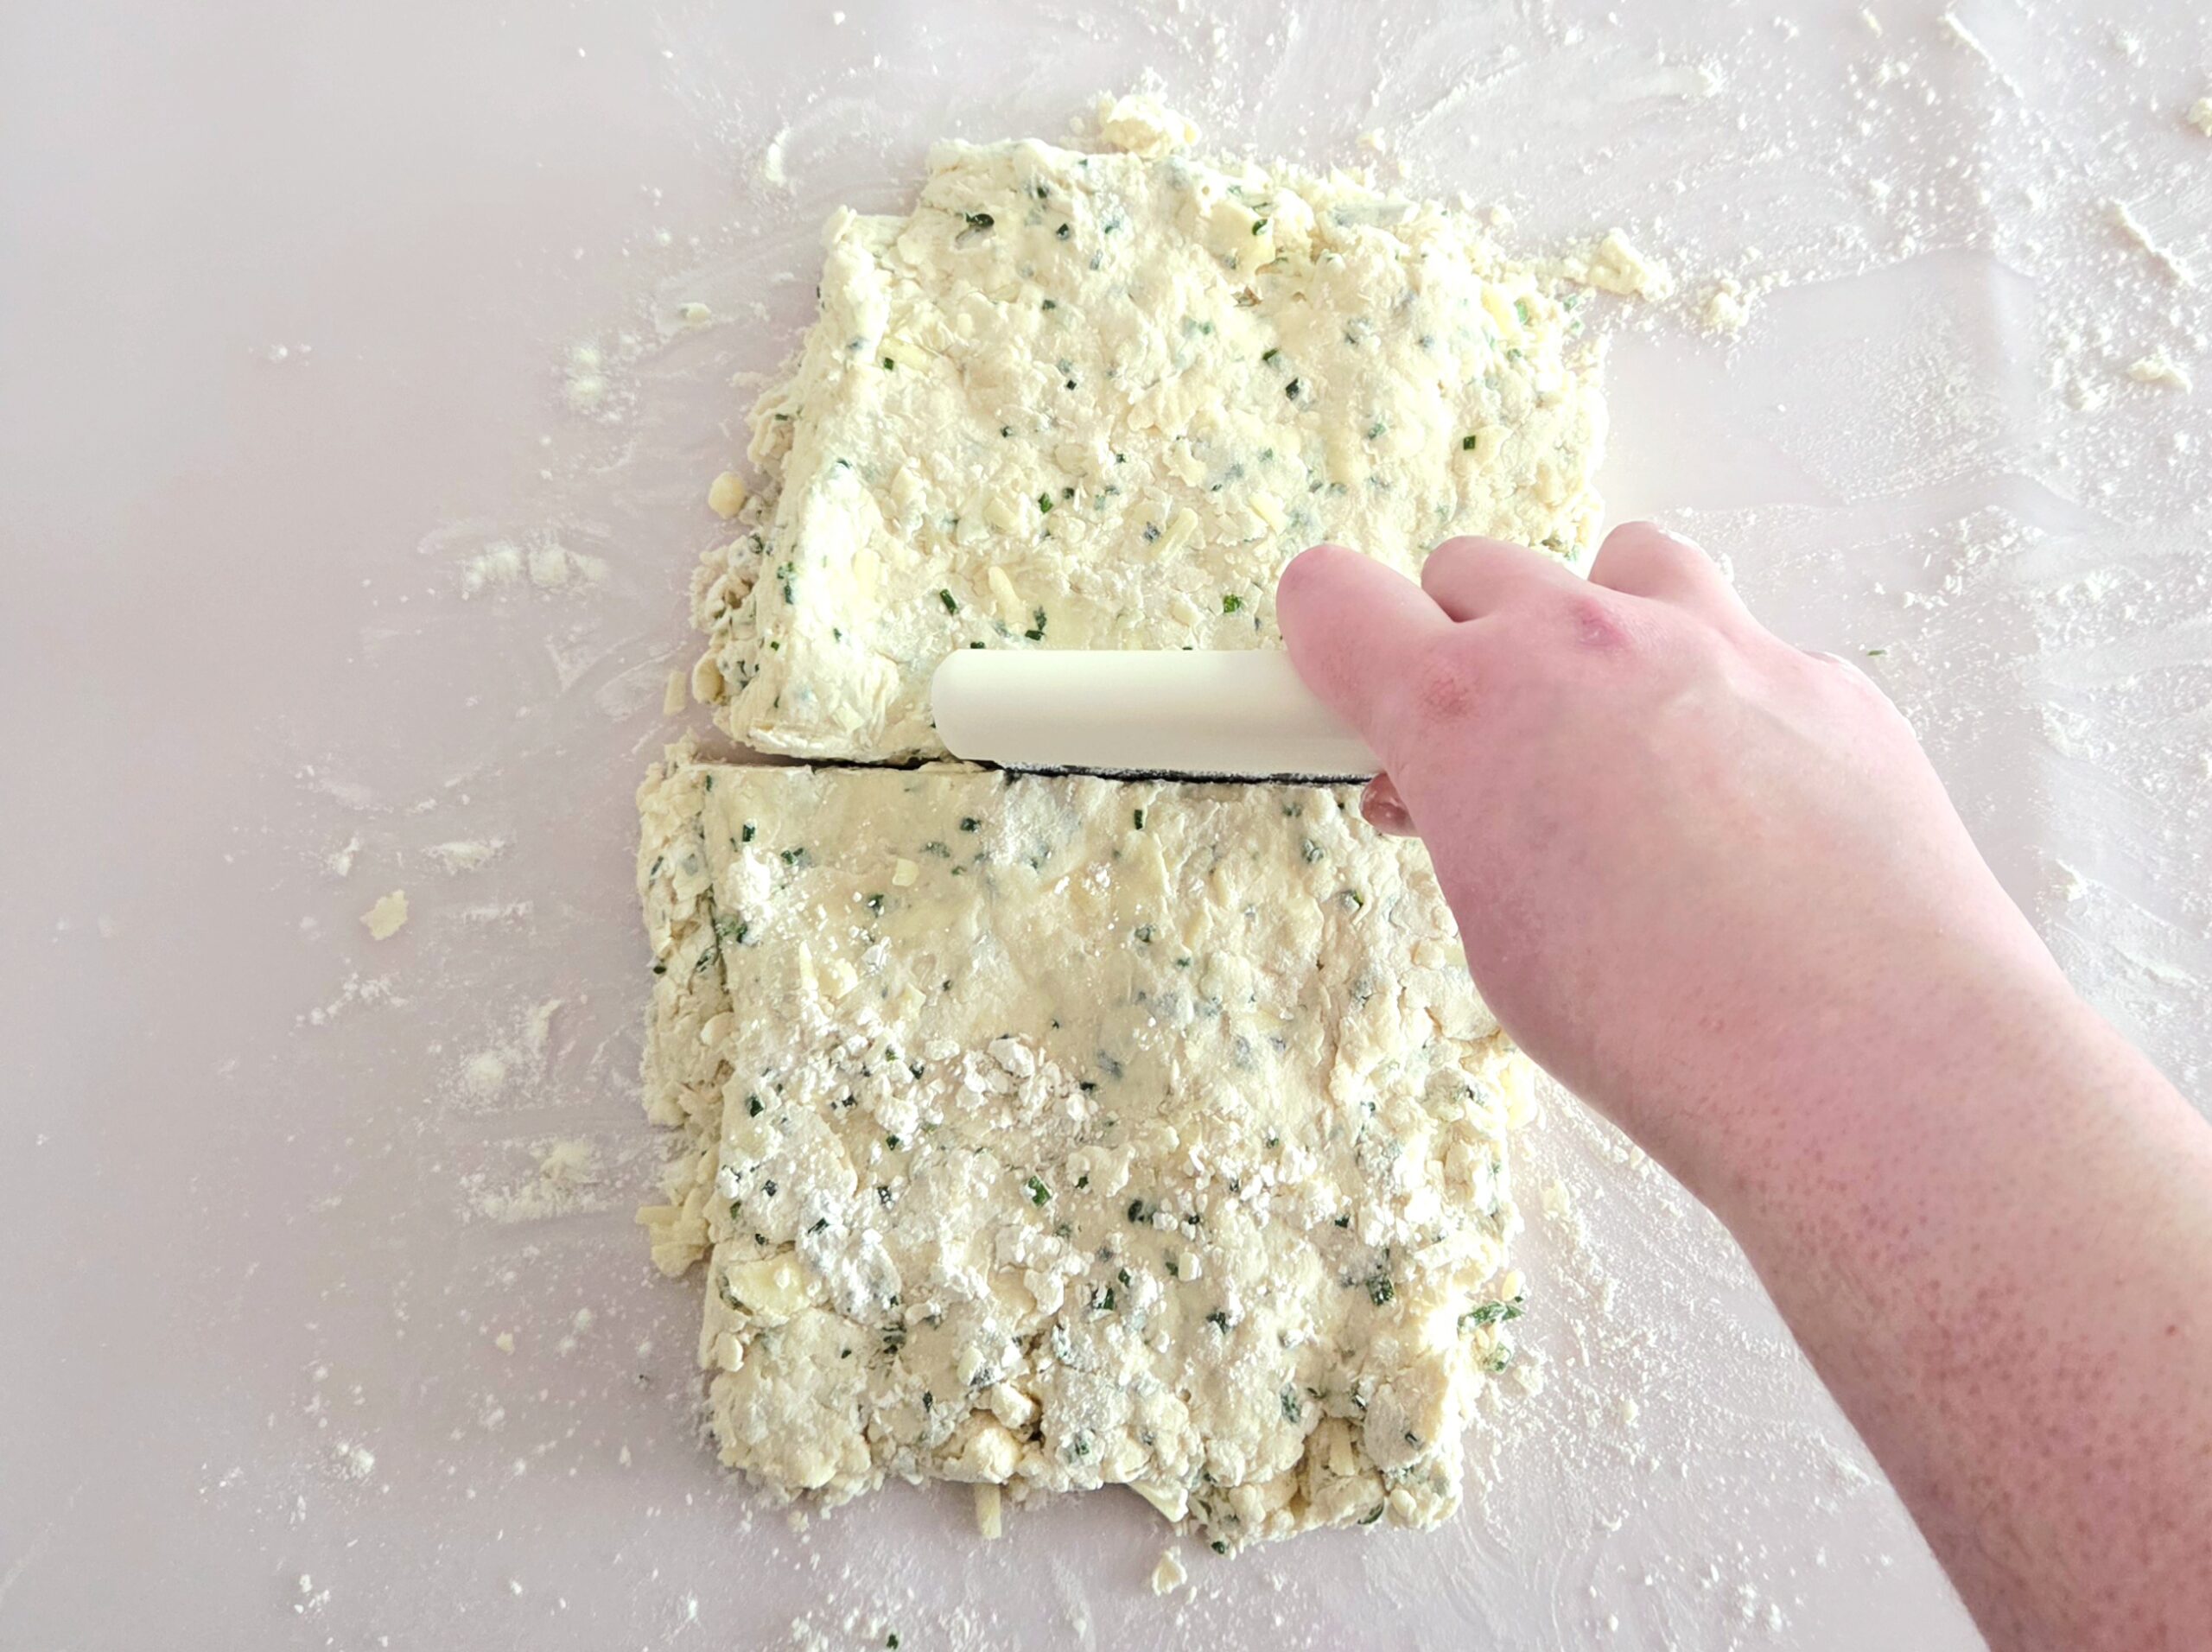
Again, cut the dough in half in the same direction you did the first time. Place one half on top of the other and pat it all down to 1-inch thick. One final time, cut the dough in half in the opposite direction, place one half on top of the other, and wrap it airtight in plastic. Place the wrapped up biscuit dough into the fridge to chill for 30-60 minutes, depending on how warm it got while it was being worked.
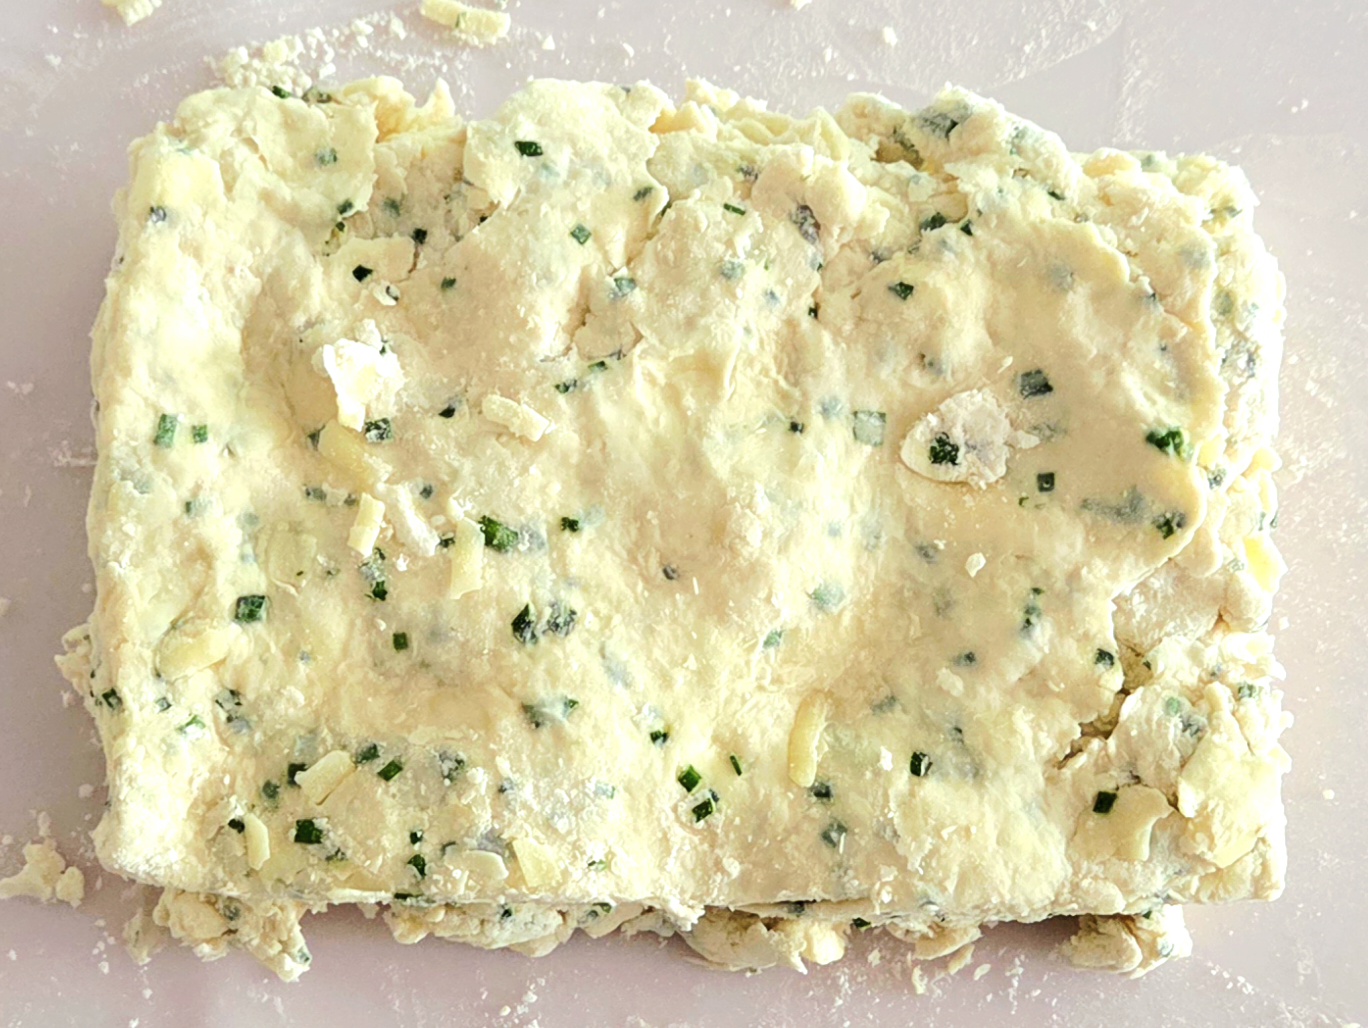
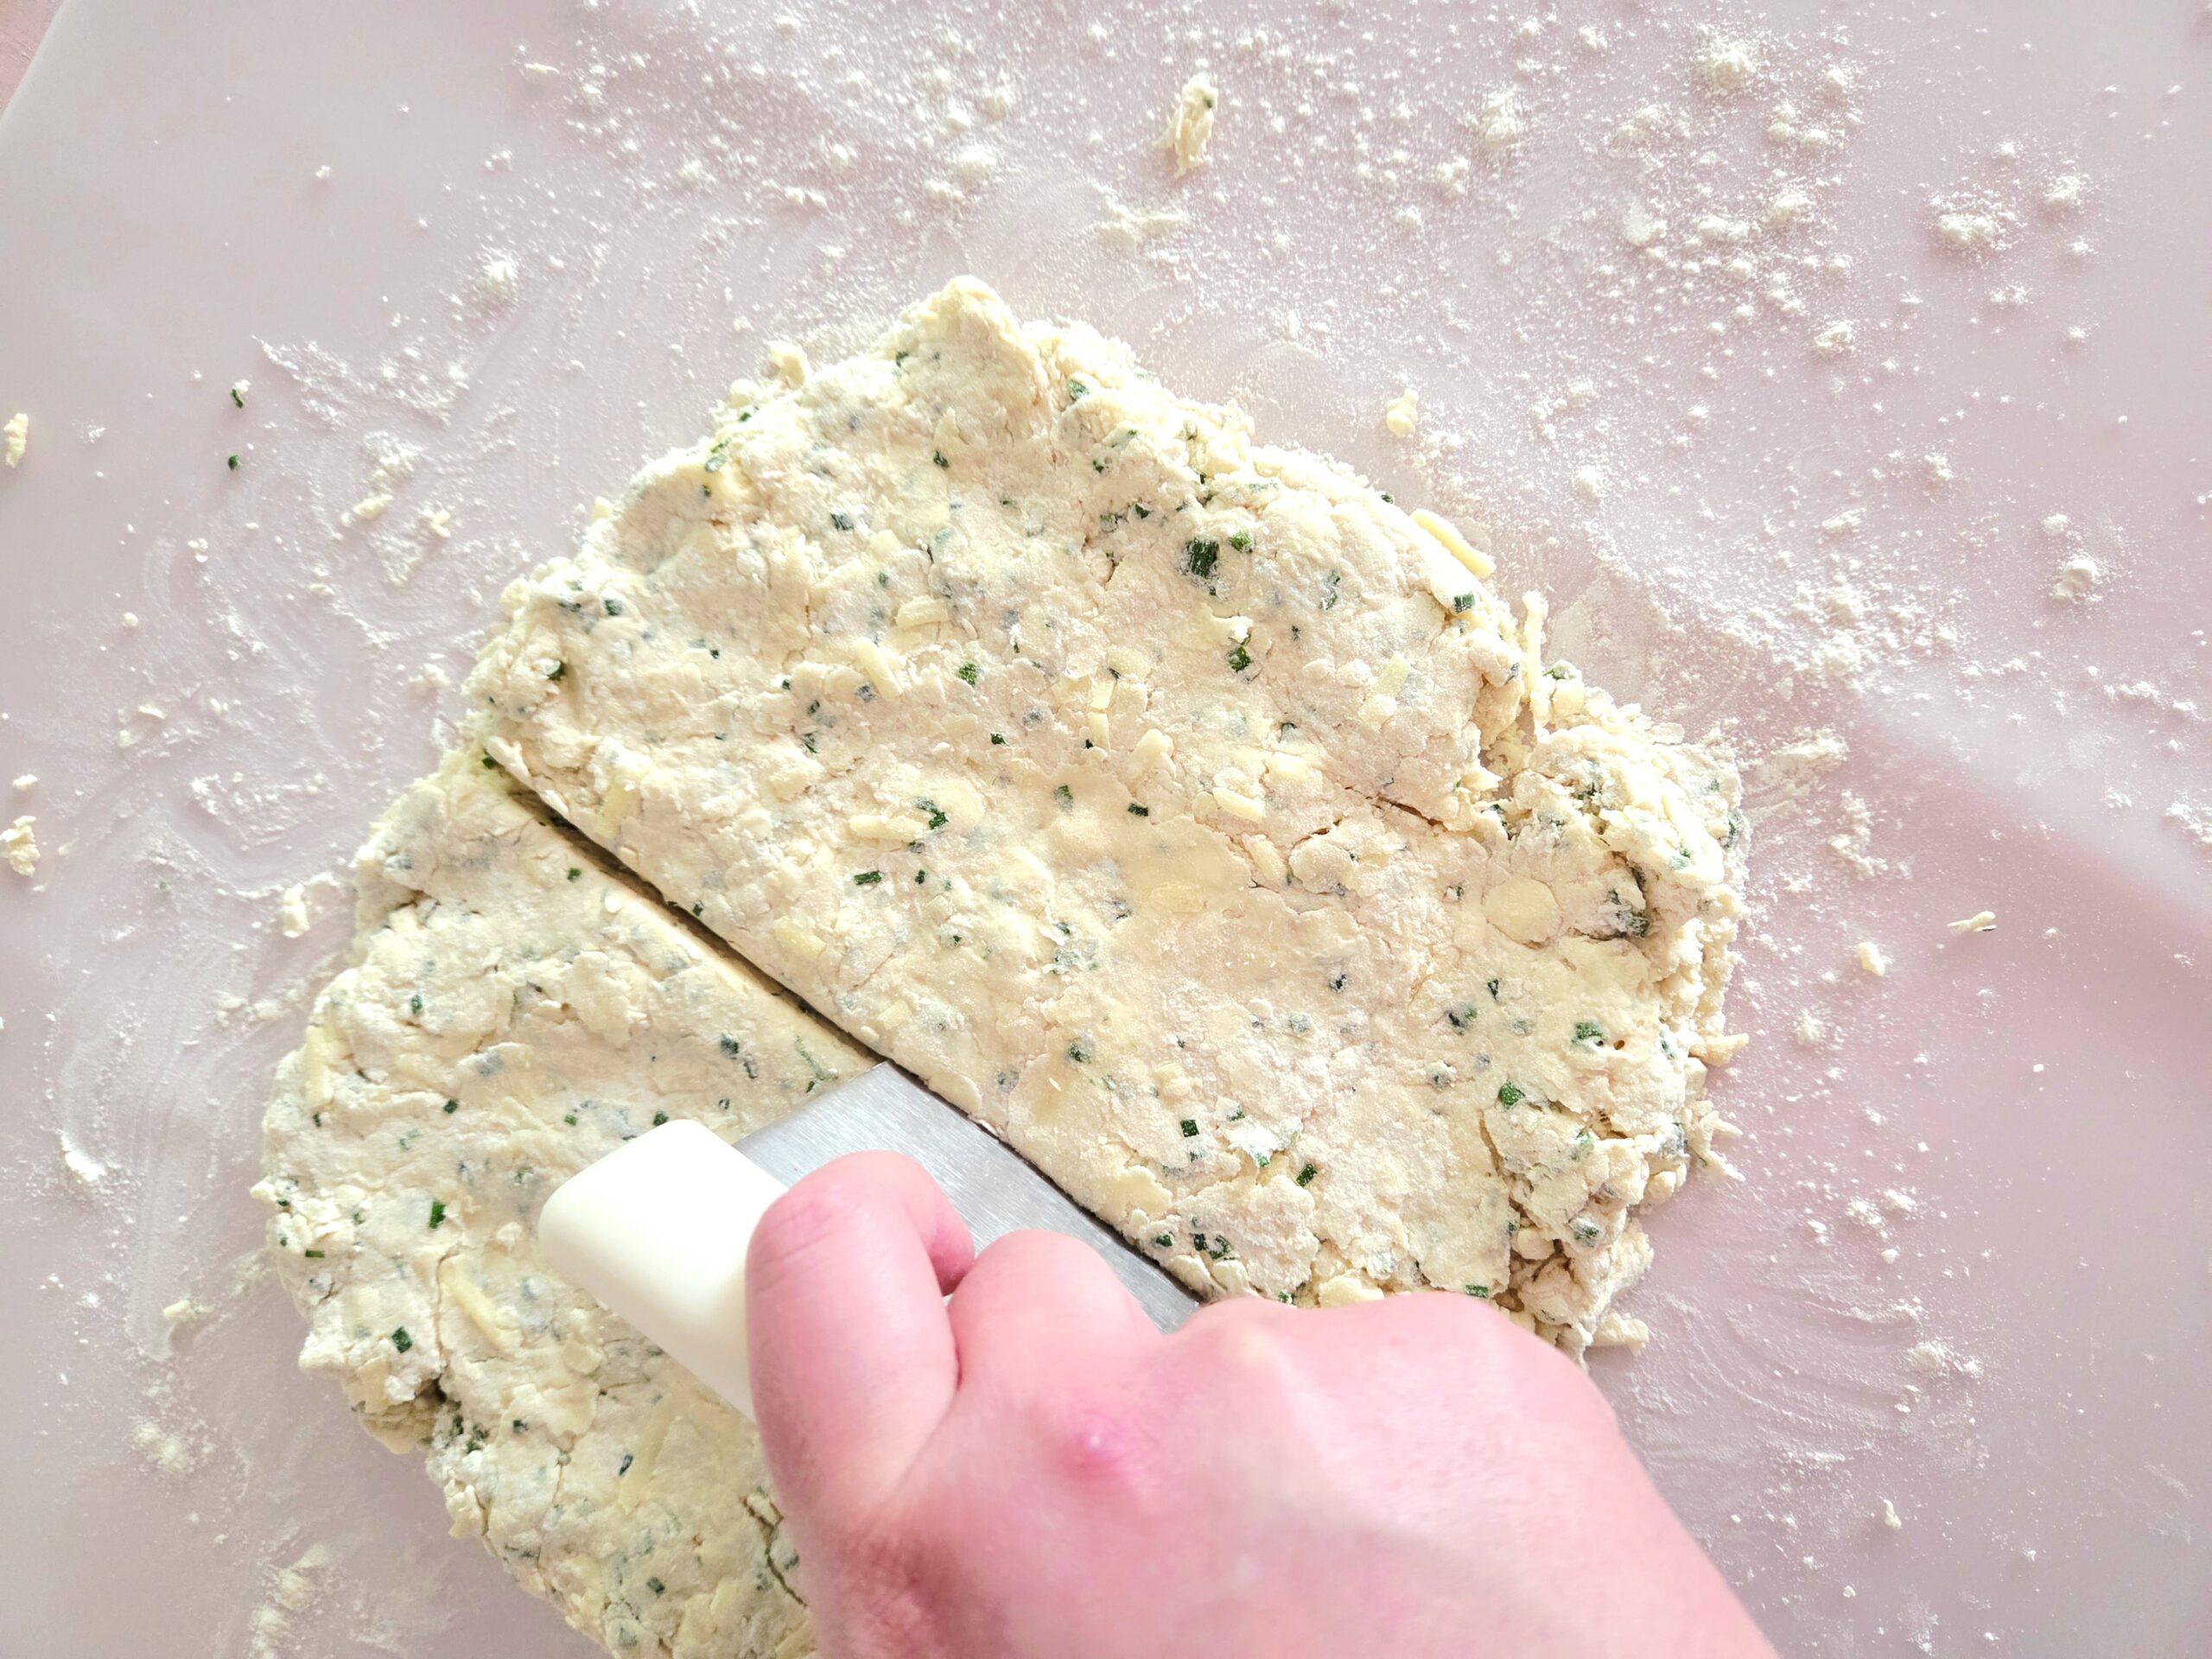
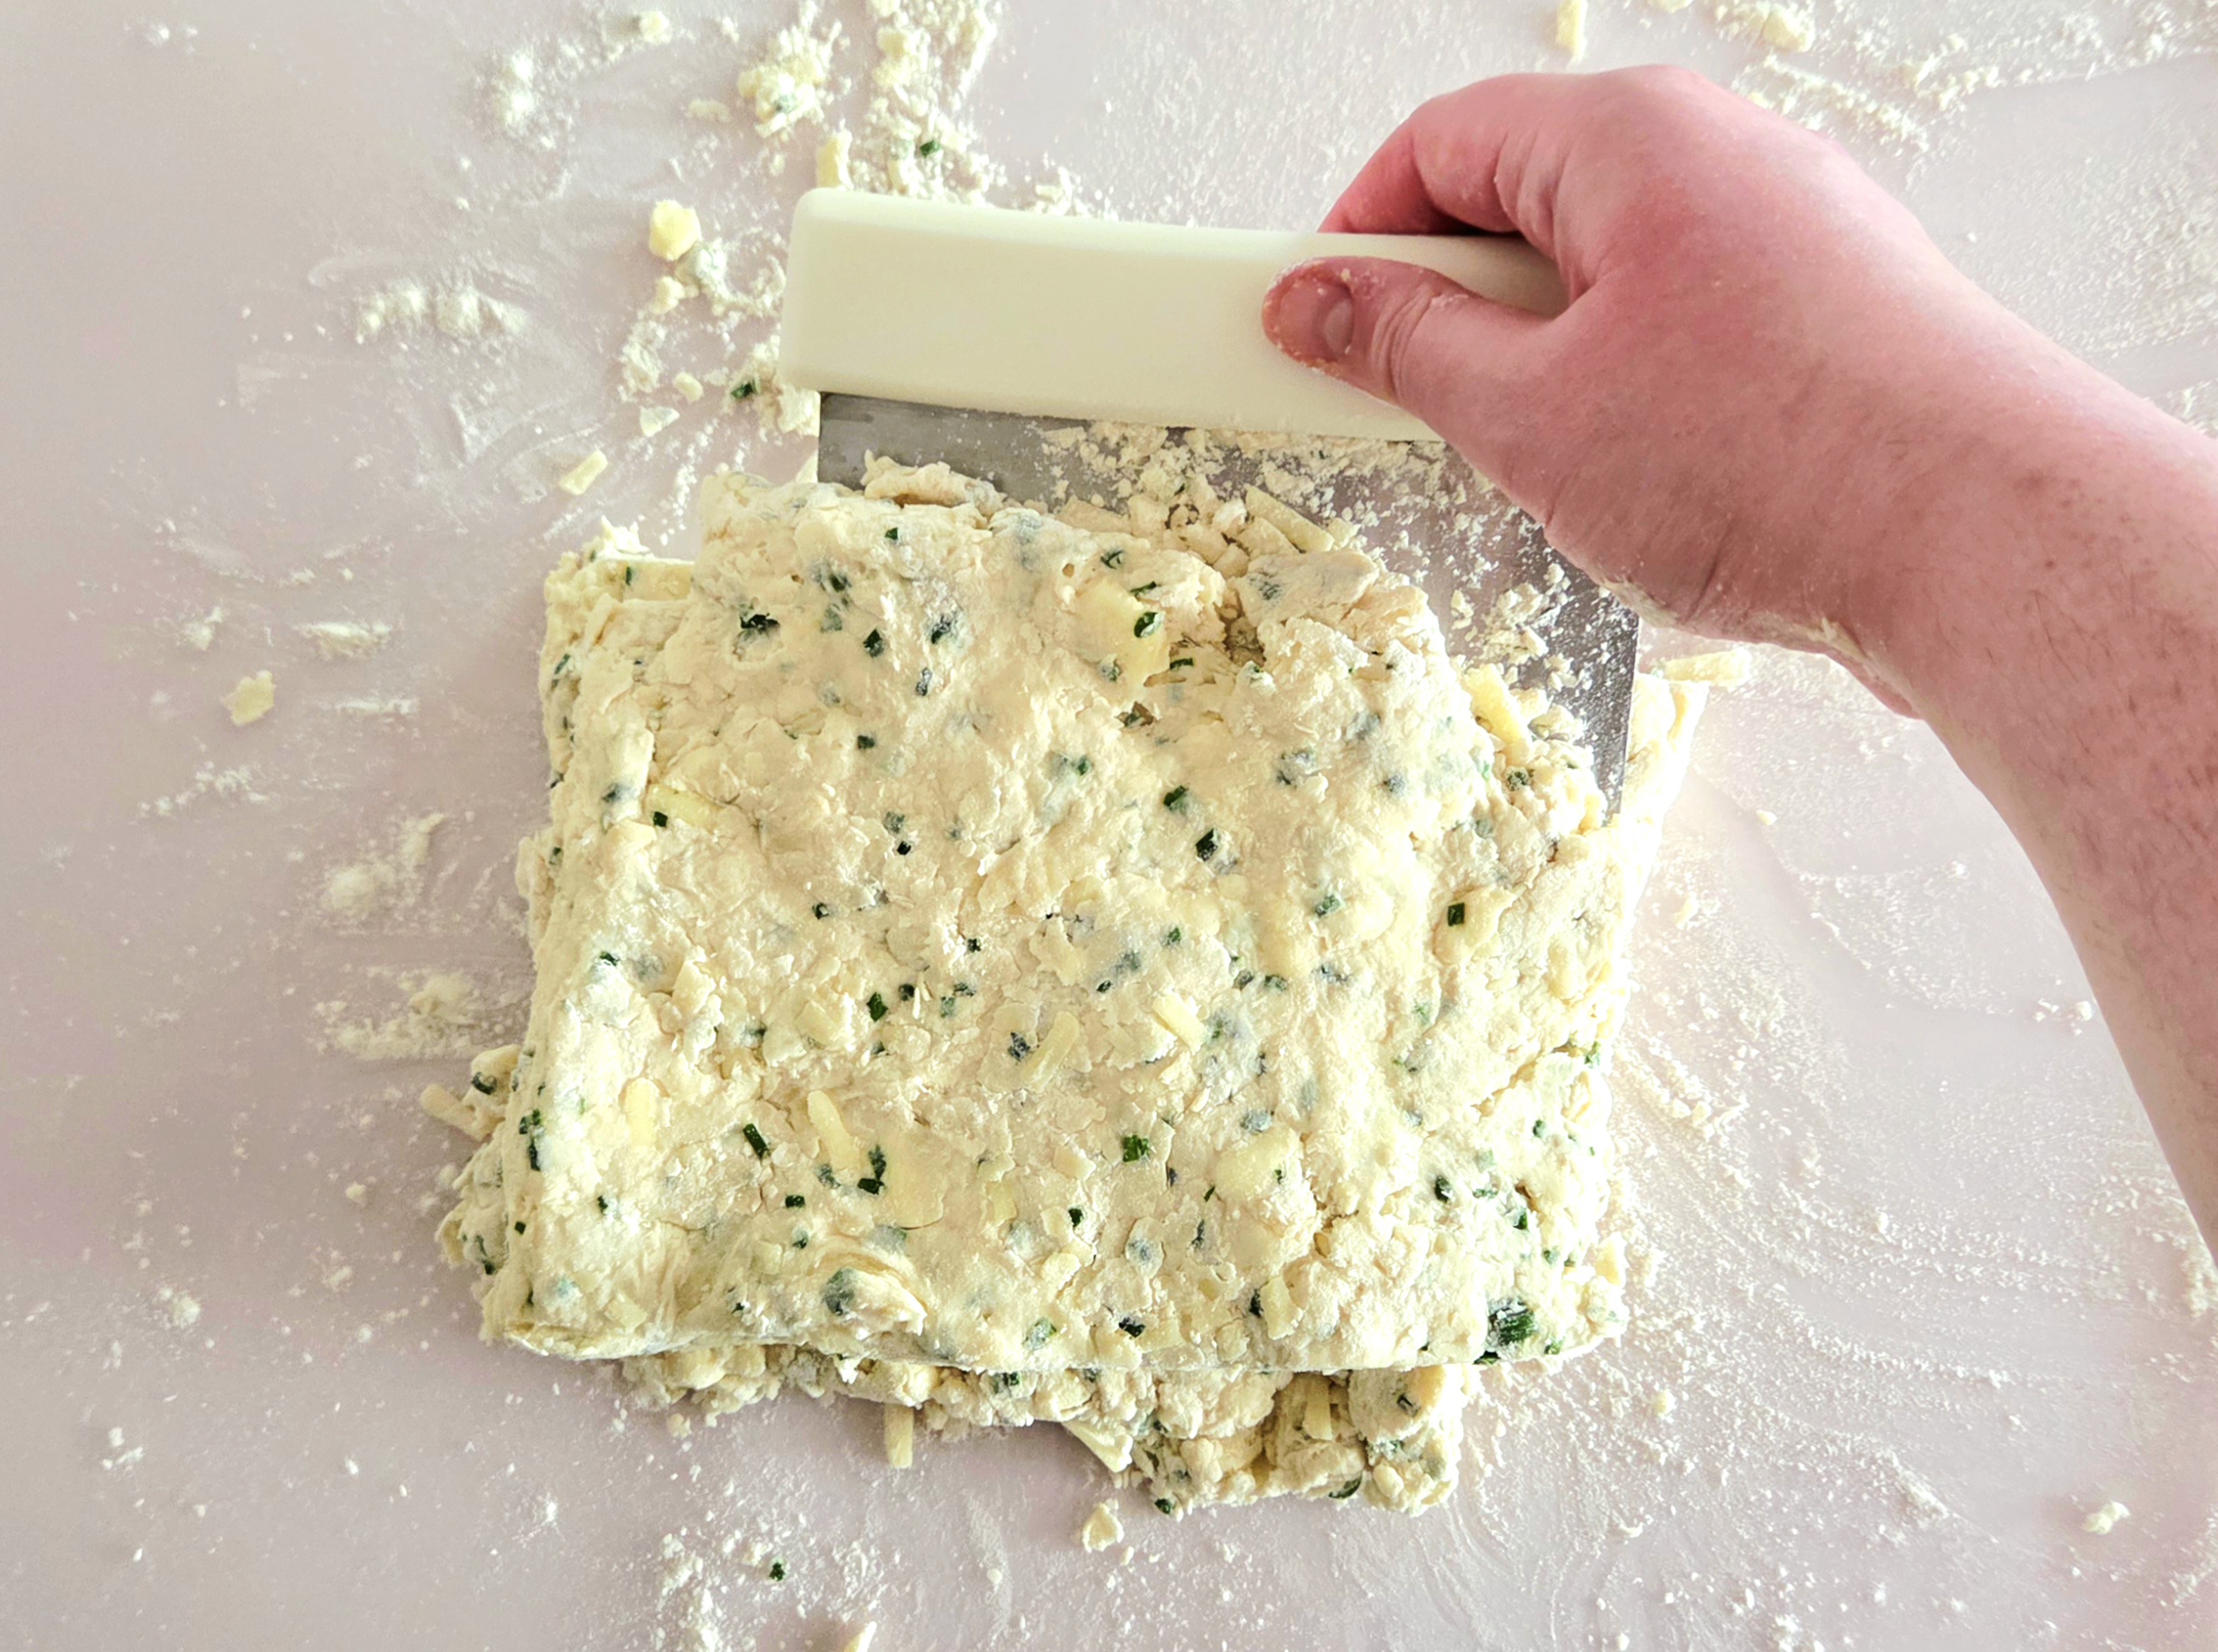
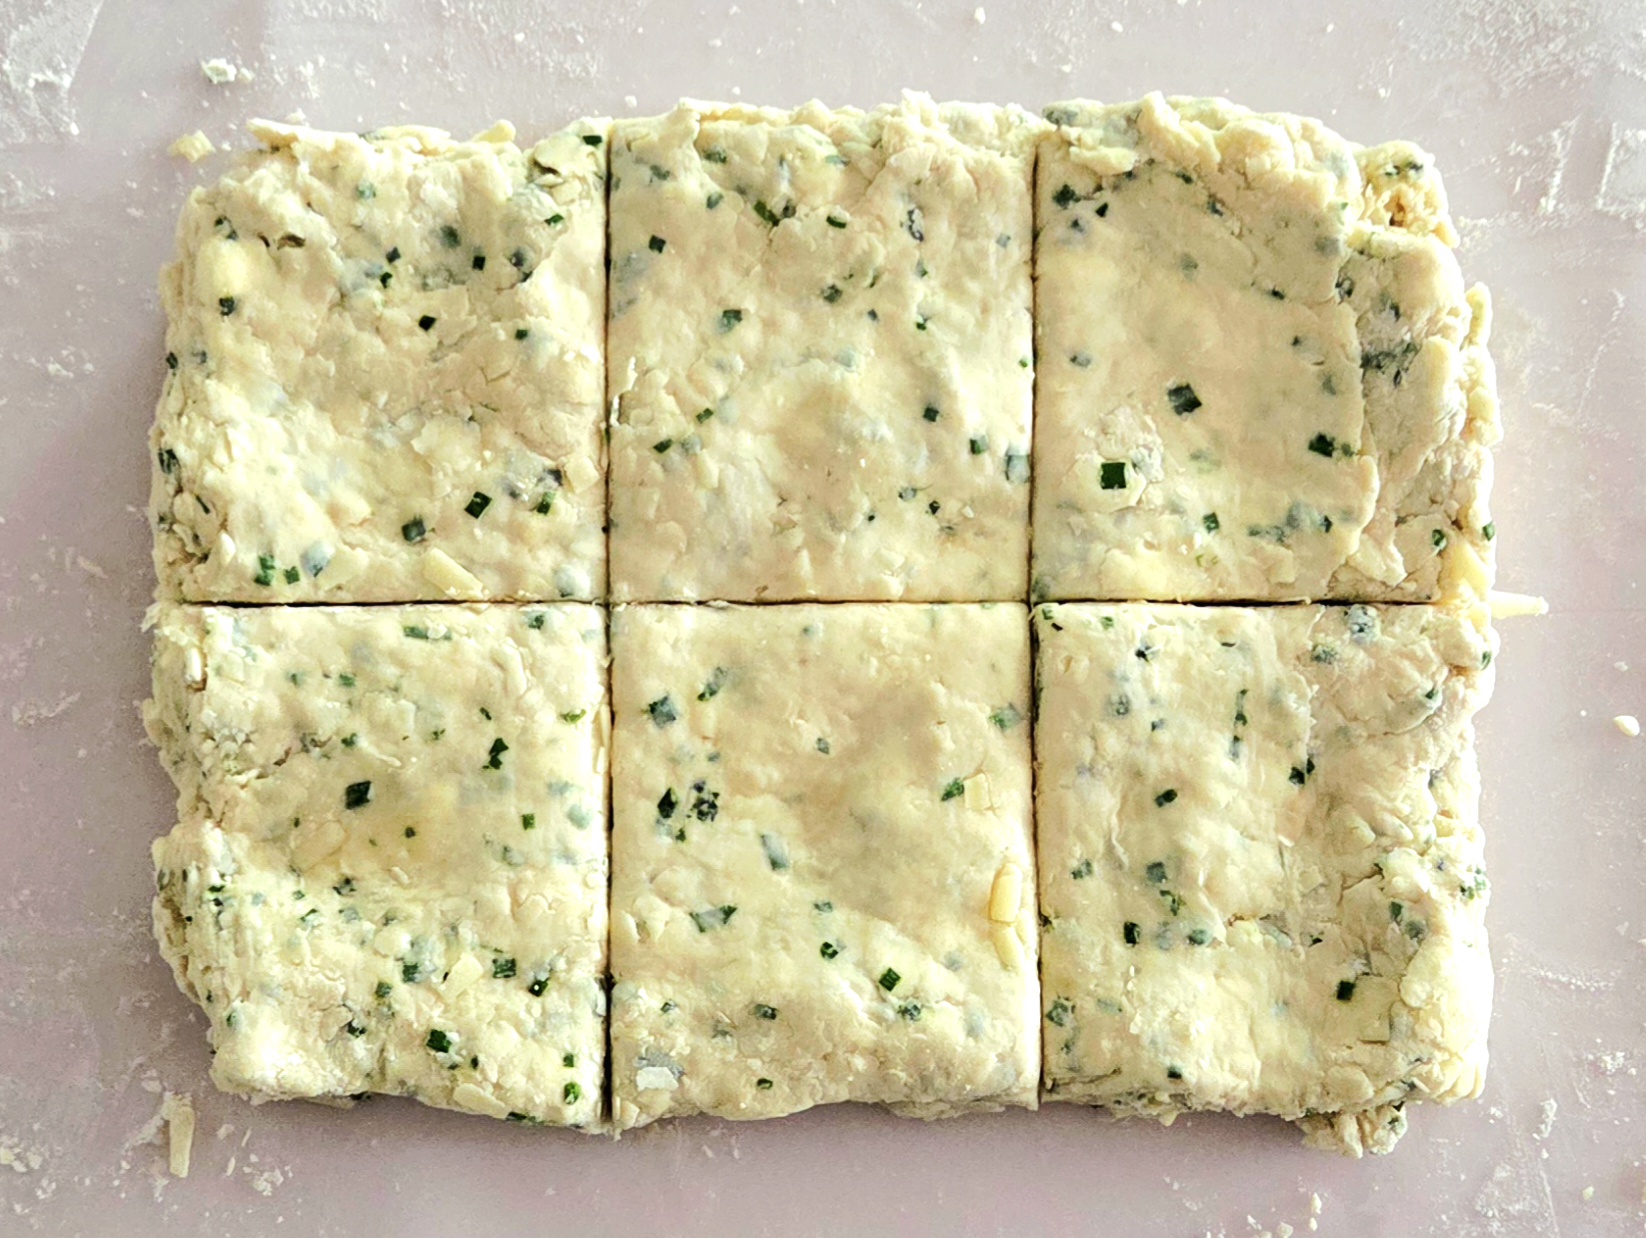
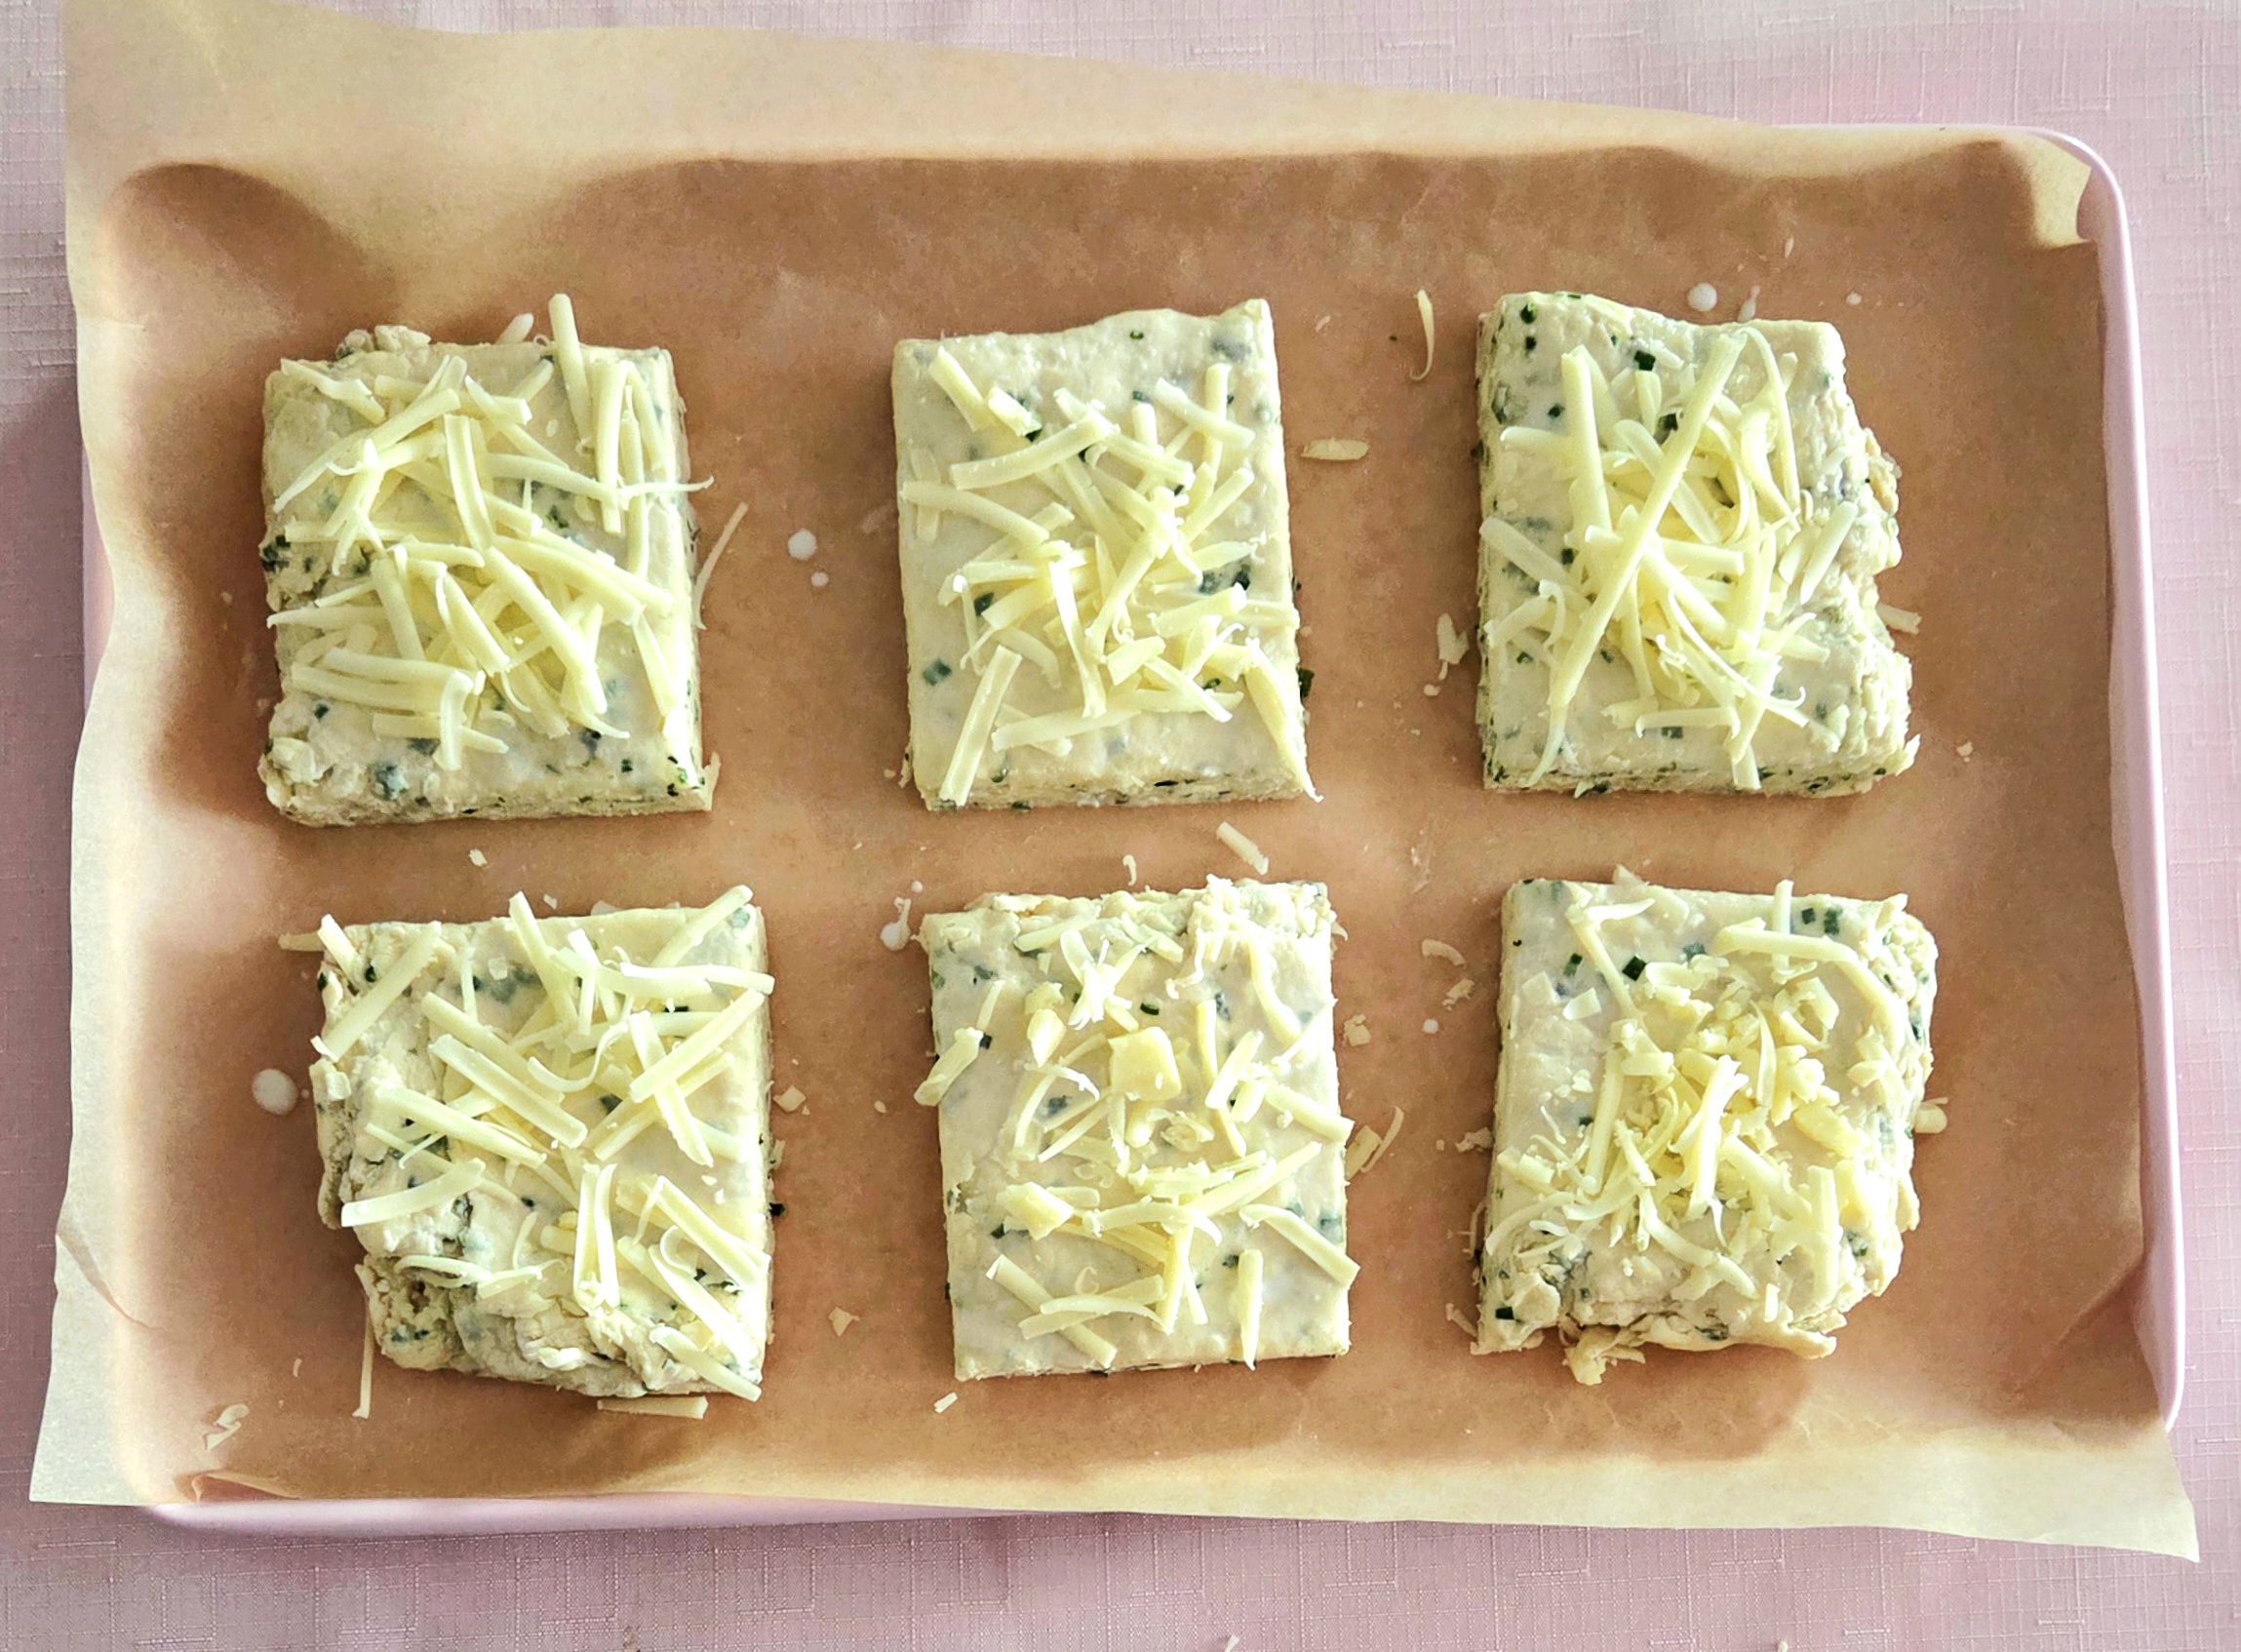
Unwrap the dough and place it onto a clean, lightly floured surface. Use your hands to pat the dough out into an 8×10 inch rectangle, approximately 1-inch thick. Take the bench scraper and cut the biscuits into 6 portions. Yes, biscuits are typically round, but I’m against waste if it can be helped! Square biscuits are just as delicious as circular, but they use up every bit of that dough.
Place the biscuits on the lined baking sheet, spacing them 1-2 inches apart. They won’t spread out an incredible amount, but a bit of space is always welcome when baking. Brush the tops of each biscuit with a bit of milk, using either your finger or a pastry brush. Sprinkle a bit more cheese on top of each biscuit, either freshly grated or pre-shredded. Bake the biscuits for 16-18 minutes, until they’ve puffed up and have turned a beautiful golden brown.
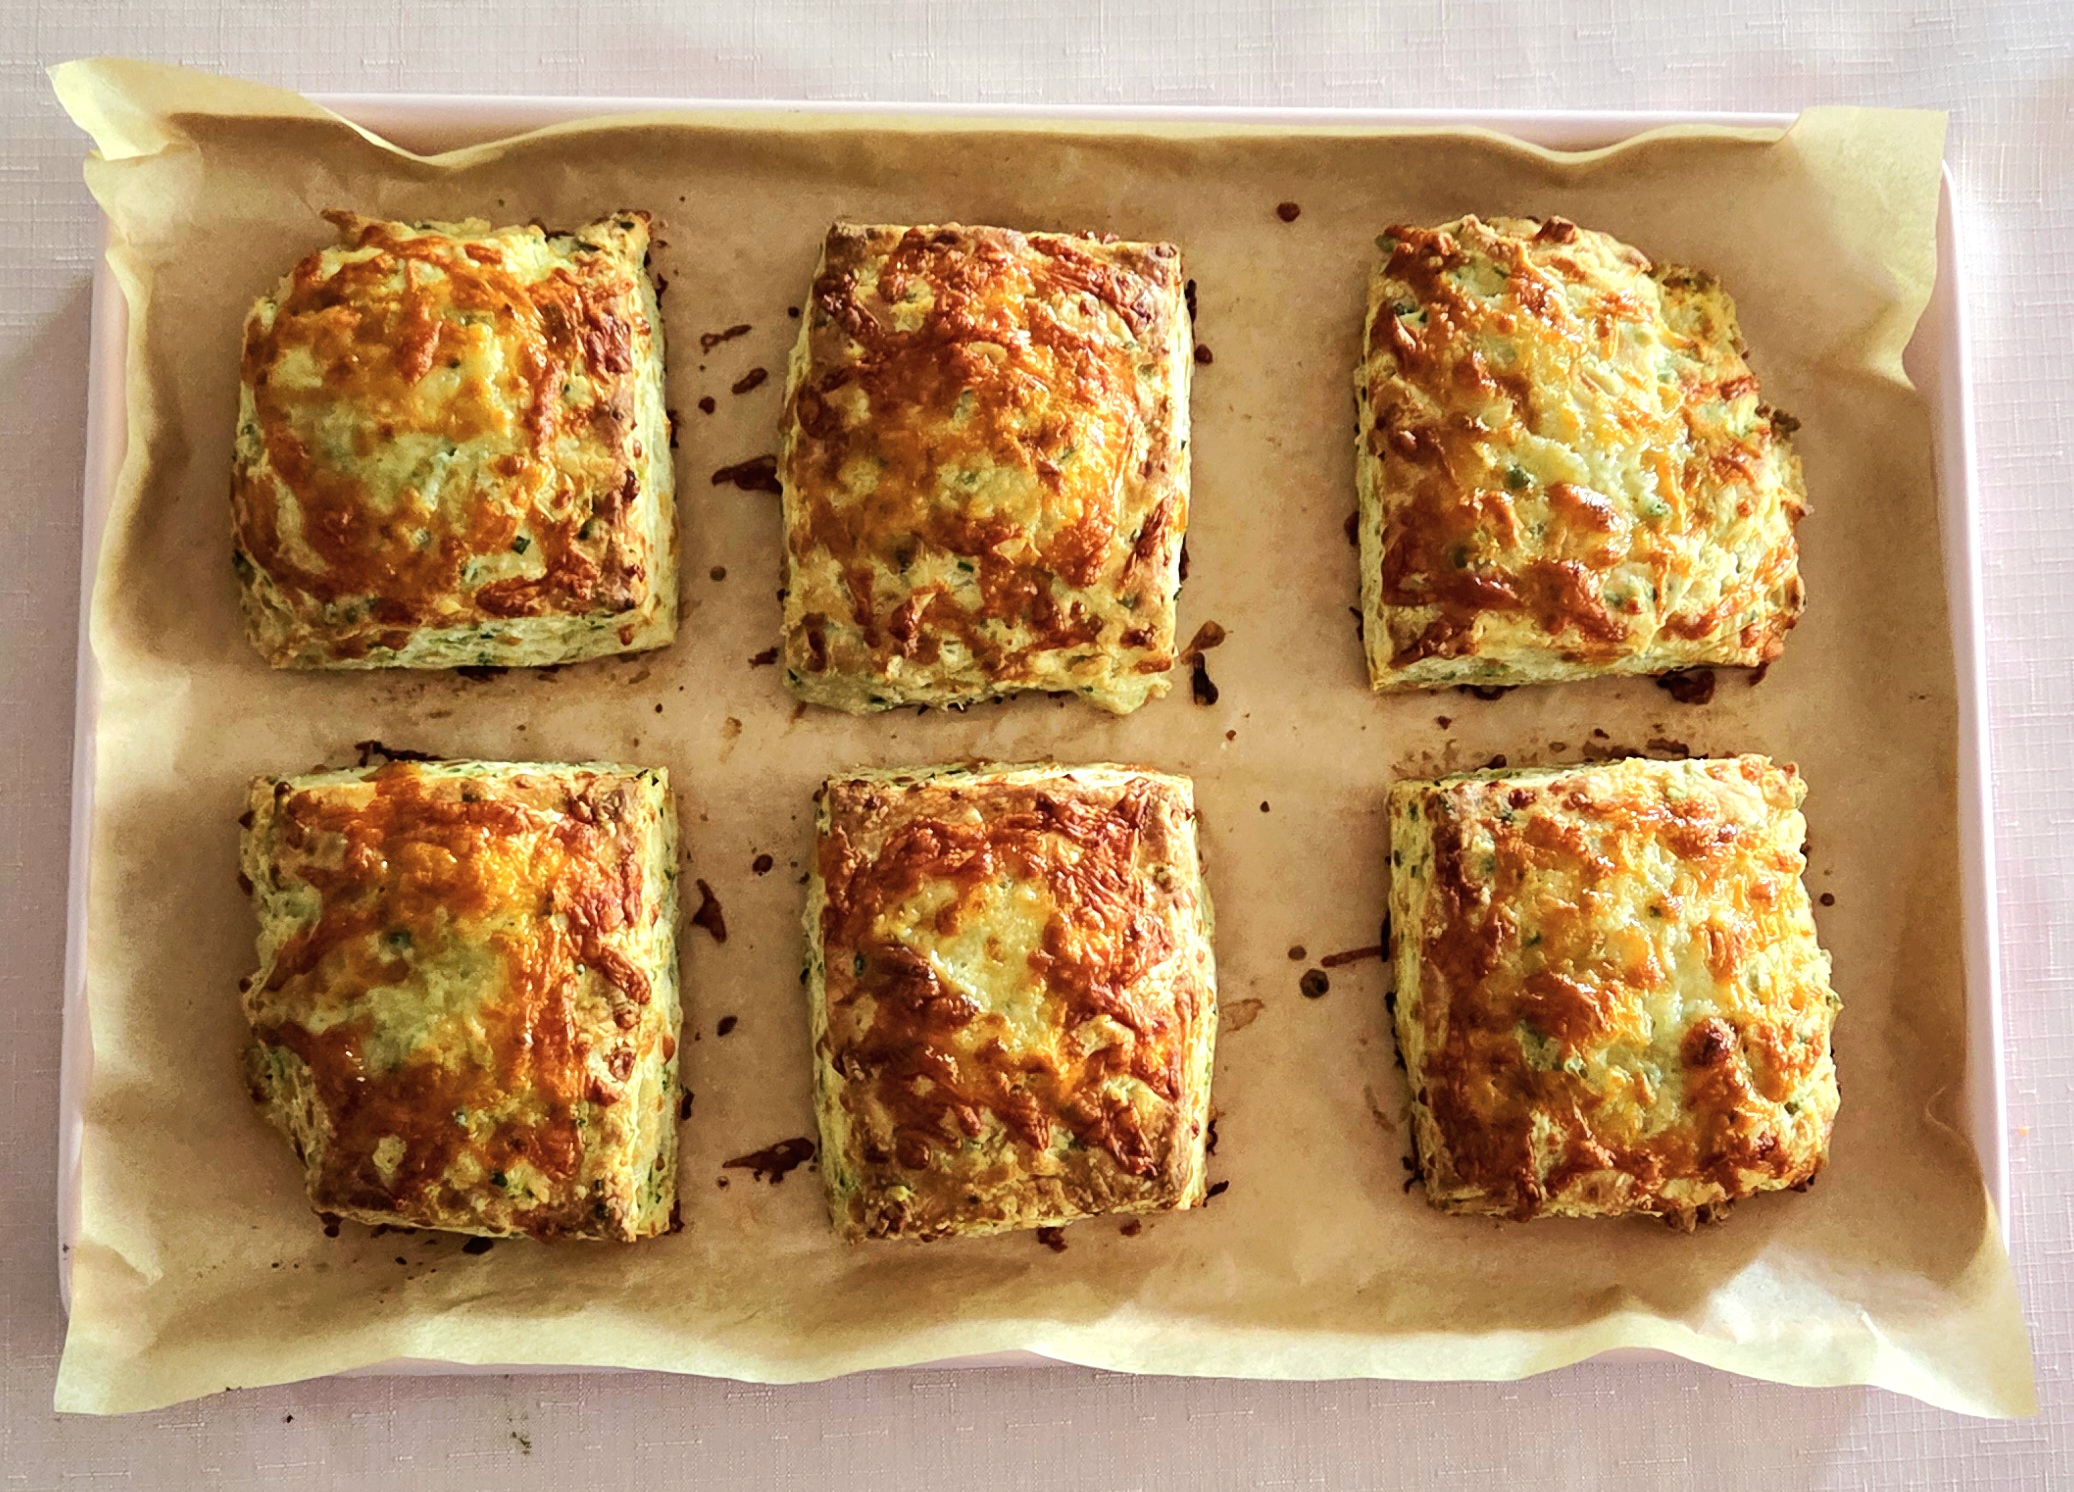
Immediately after they come out of the oven, transfer the biscuits over to a cooling rack. If they’re left on the baking sheet, the bottoms will steam and become soggy. No one wants a soggy bottom biscuit.
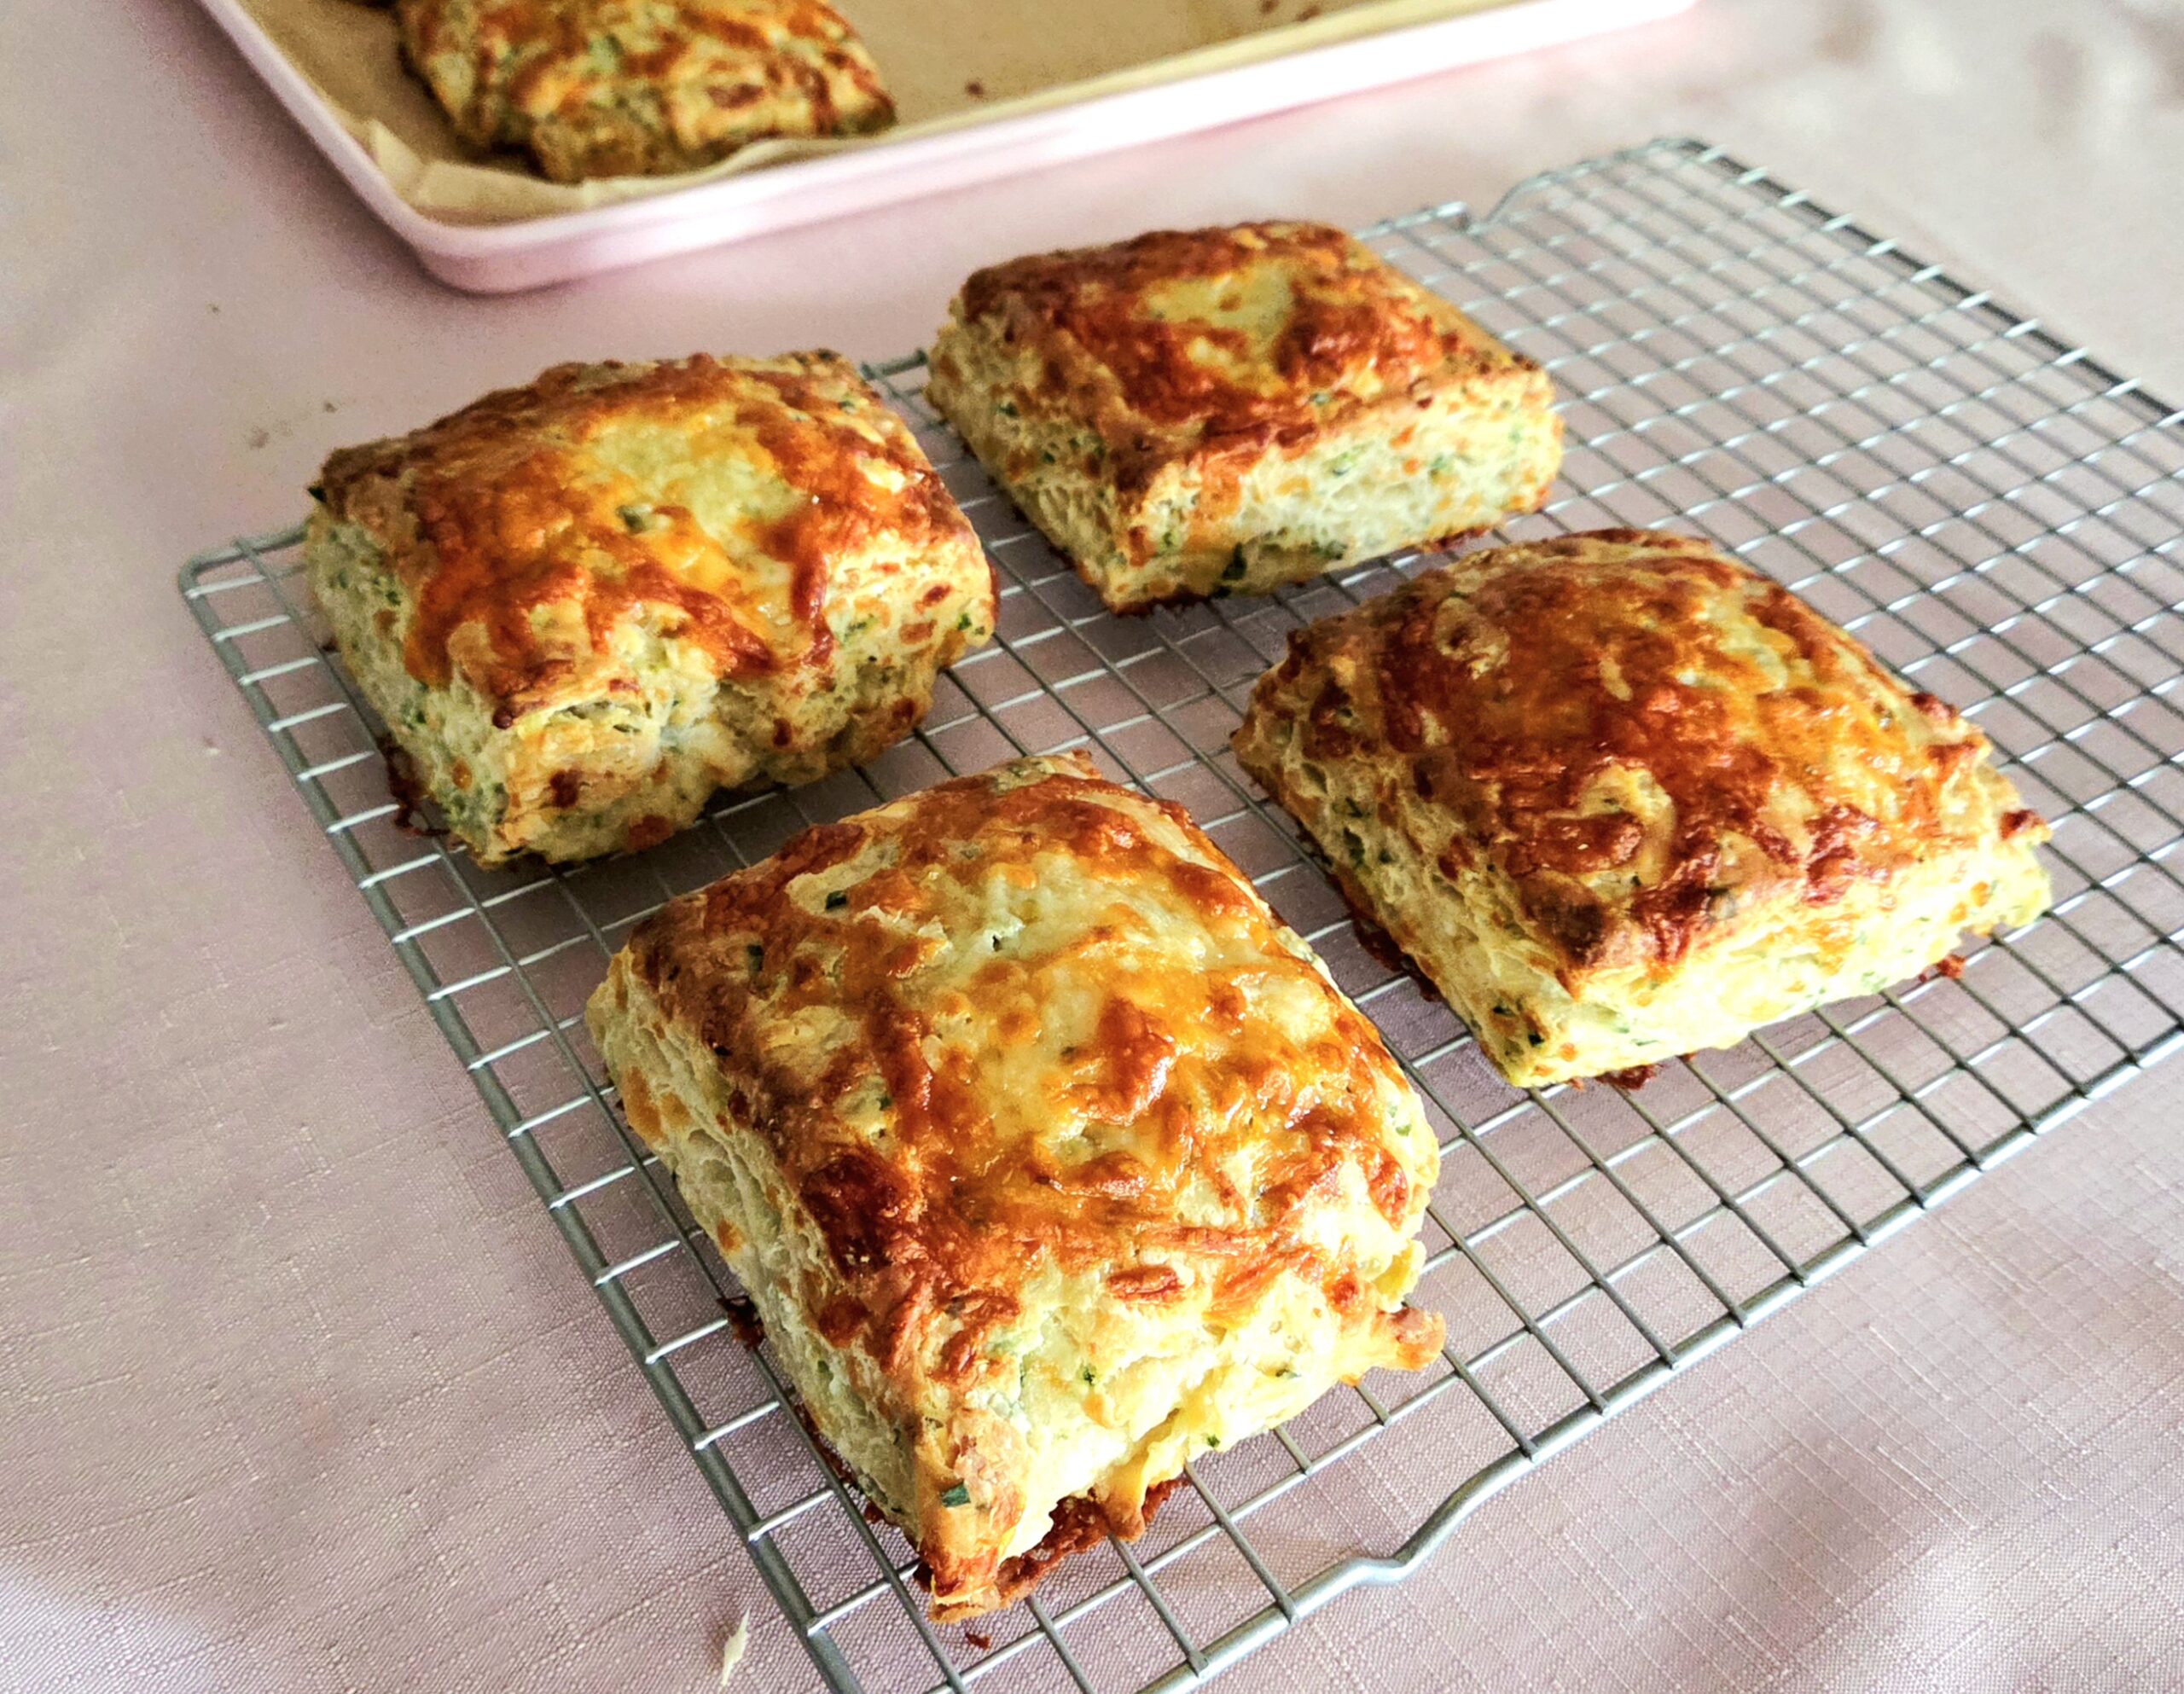
As soon as the biscuits are cool enough to touch, dig in and enjoy! Store any left over in either an airtight container or gallon sized zip top bag in the fridge for up to two days, and enjoy!


Cheddar Chive Buttermilk Biscuits
Bake Time: 425F for 16-18 minutes
Servings: 6 biscuits
Total Time: 1 hour
Prep Time: 30 Minutes
Ingredients:
- 12 Tablespoons unsalted butter, cold
- 1 oz minced chives
- 6 oz extra sharp cheddar cheese
- 3 cups all-purpose flour
- 4 teaspoons baking powder
- 1 Tablespoon granulated sugar
- 1 ½ teaspoon onion powder
- 1 ¼ teaspoon salt
- 1 ¼ cup + 2 Tablespoons buttermilk, divided
Directions:
- Preheat the oven to 425F, on the convection setting if possible, and prepare the pan. Line a baking sheet with parchment paper or a silicone baking mat and set them aside.
- Cut the cold butter into ½ inch chunks and place it back in the fridge to keep it cold until you need it.
- If you’re using a block of cheese, in a medium bowl, grate the extra sharp cheddar and place it back in the fridge for now. Mince the fresh chives, set them aside.
- In a large mixing bowl, whisk together the flour, baking powder, sugar, onion powder, and salt. Add the cold cubes of butter and using a pastry blender, cut them into the flour mixture until the butter bits are no bigger than a pea.
- Add the grated cheddar and minced chives to the flour mixture and toss it with a fork until the cheese and chives have been evenly distributed.
- Pour in the buttermilk and gently mix the wet and dry together. Once the flour has mostly hydrated, pour the dough onto a lightly floured counter. Knead the dough together for a minute, so it all comes together.
- With the heel of your palm, pat down the dough into a rectangle around 1-inch thick. Using your bench scraper, cut the rectangle in half and place one half of the dough on top of the other. Pat it down into another rectangle about 1-inch thick and cut it in half again. Place one half of the dough on top of the other and pat it down to a 1-inch thick rectangle once more. Cut the rectangle in half, place one half on top of the other, and then wrap it airtight in plastic. Refrigerate the dough for 30-60 minutes.
- Pat the chilled dough out to an approximately 8×10 inch rectangle, 1-inch thick. Using the bench scraper, cut the rectangle into 6 equal squares, as shown above. Place the biscuits on the lined baking sheet, spaced 1-2 inches apart. Brush the tops of the biscuits with milk, using either a pastry brush or your finger. Grate a bit more cheese on top of each biscuit and place them in the oven for 16-18 minutes, or until the biscuits have puffed up and the tops are golden brown.
- Transfer the hot biscuits over to a cooling rack. Once the biscuits are cool enough to touch, dig in and enjoy! Keep any leftover biscuits stored in an airtight container in the fridge for up to 2 days.
Tips
- These biscuits can be frozen, either baked or unbaked! For baked, follow the recipe as instructed. Once the biscuits have completely cooled, transfer them over to a freezer safe bag and freeze for up to three months. Either thaw them gently on the counter overnight, or warm them gently in the oven on 300F until warmed through.
- For unbaked, follow the recipe up to step 8, right before placing them in the oven. Cover the biscuits that have been portioned, brushed with milk, and topped with cheese with plastic wrap, place them in the freezer. Once solid, transfer the biscuits over to a freezer safe bag. Pull and bake the desired amount at 400F for 18-20 minutes, or until the biscuits are a beautiful golden brown. Transfer them to a cooling rack until they’re cool enough to touch, and enjoy!


0 Comments