
There’s nothing more versatile in the baking world than the pie. They can be sweet or savory, just a snack or an entire meal. They’ve been baked in countless civilizations over the course of thousands of years. You could find cheese pies, chicken pies, honey pies and so many more in Ancient Greece. There was Flying Pie in 16th century Europe (slightly horrifying, I’m not going to lie). We’ve even found evidence of a recipe for Wildfowl Pie in Mesopotamia! Today, you’ll find some variation of a pie in pretty much every culture around the world. Some kind of flaky crust filled with deliciousness? Sign us all up!
There’s only one universal truth I can say about pie outside of the all-around love for eating it. There’s a universal hatred for making pie crust from scratch. I actually have a vivid memory from pastry school of one of my chefs selling us all on the money that can be made solely in crafting pie and tart shells for restaurants and bakeries. I never once doubted her on that, just look at how many pre-made pie doughs there are in the grocery store! And I completely understand the intimidation factor, we live in a world where shortcuts are king. If you don’t come from a family that baked, with a grandmother who passed down the pie crust that her own grandmother made, where do you learn?
That’s where I come in, here to guide you step by step and take that fear away. I’ll happily be that replacement grandmother for a day! With a little bravery, determination, and practice, you’ll be comfortable with making any pastry dough in no time. Your house will be filled with your favorite pies made completely from scratch whenever the mood strikes!
FAQs and Science
Is keeping everything cold really that important?
Yes, temperature is crucial. By keeping everything cold now, when the dough hits a hot oven, that drastic change in temperature will create a pocket of steam where the butter is. This makes the flaky layers that we all love so much.
Why use both shortening and butter?
Both butter and shortening contribute to the flakiness of the crust, but they do have their own distinct, individual benefits. Butter has a much nicer and richer flavor, whereas the higher melting point of shortening helps to prevent the crust from shrinking too much.
What does vodka do for the dough? Can you taste it?
The vodka’s job is to prevent the dough from becoming tough! While it does hydrate the dough, it does so in a different way than water does. Gluten development is inhibited, and this results in a much more tender crust. Don’t worry, the alcohol will cook out of the crust and you wont taste it at all!
Can the dough be frozen?
Yes, for up to 6 months! I’d recommend before freezing it, you roll it out to a circle around ½ inch thick before wrapping it tight and placing it on a flat surface in your freezer. This way, it will thaw much more quickly when you pull it out again.
What You’ll Need
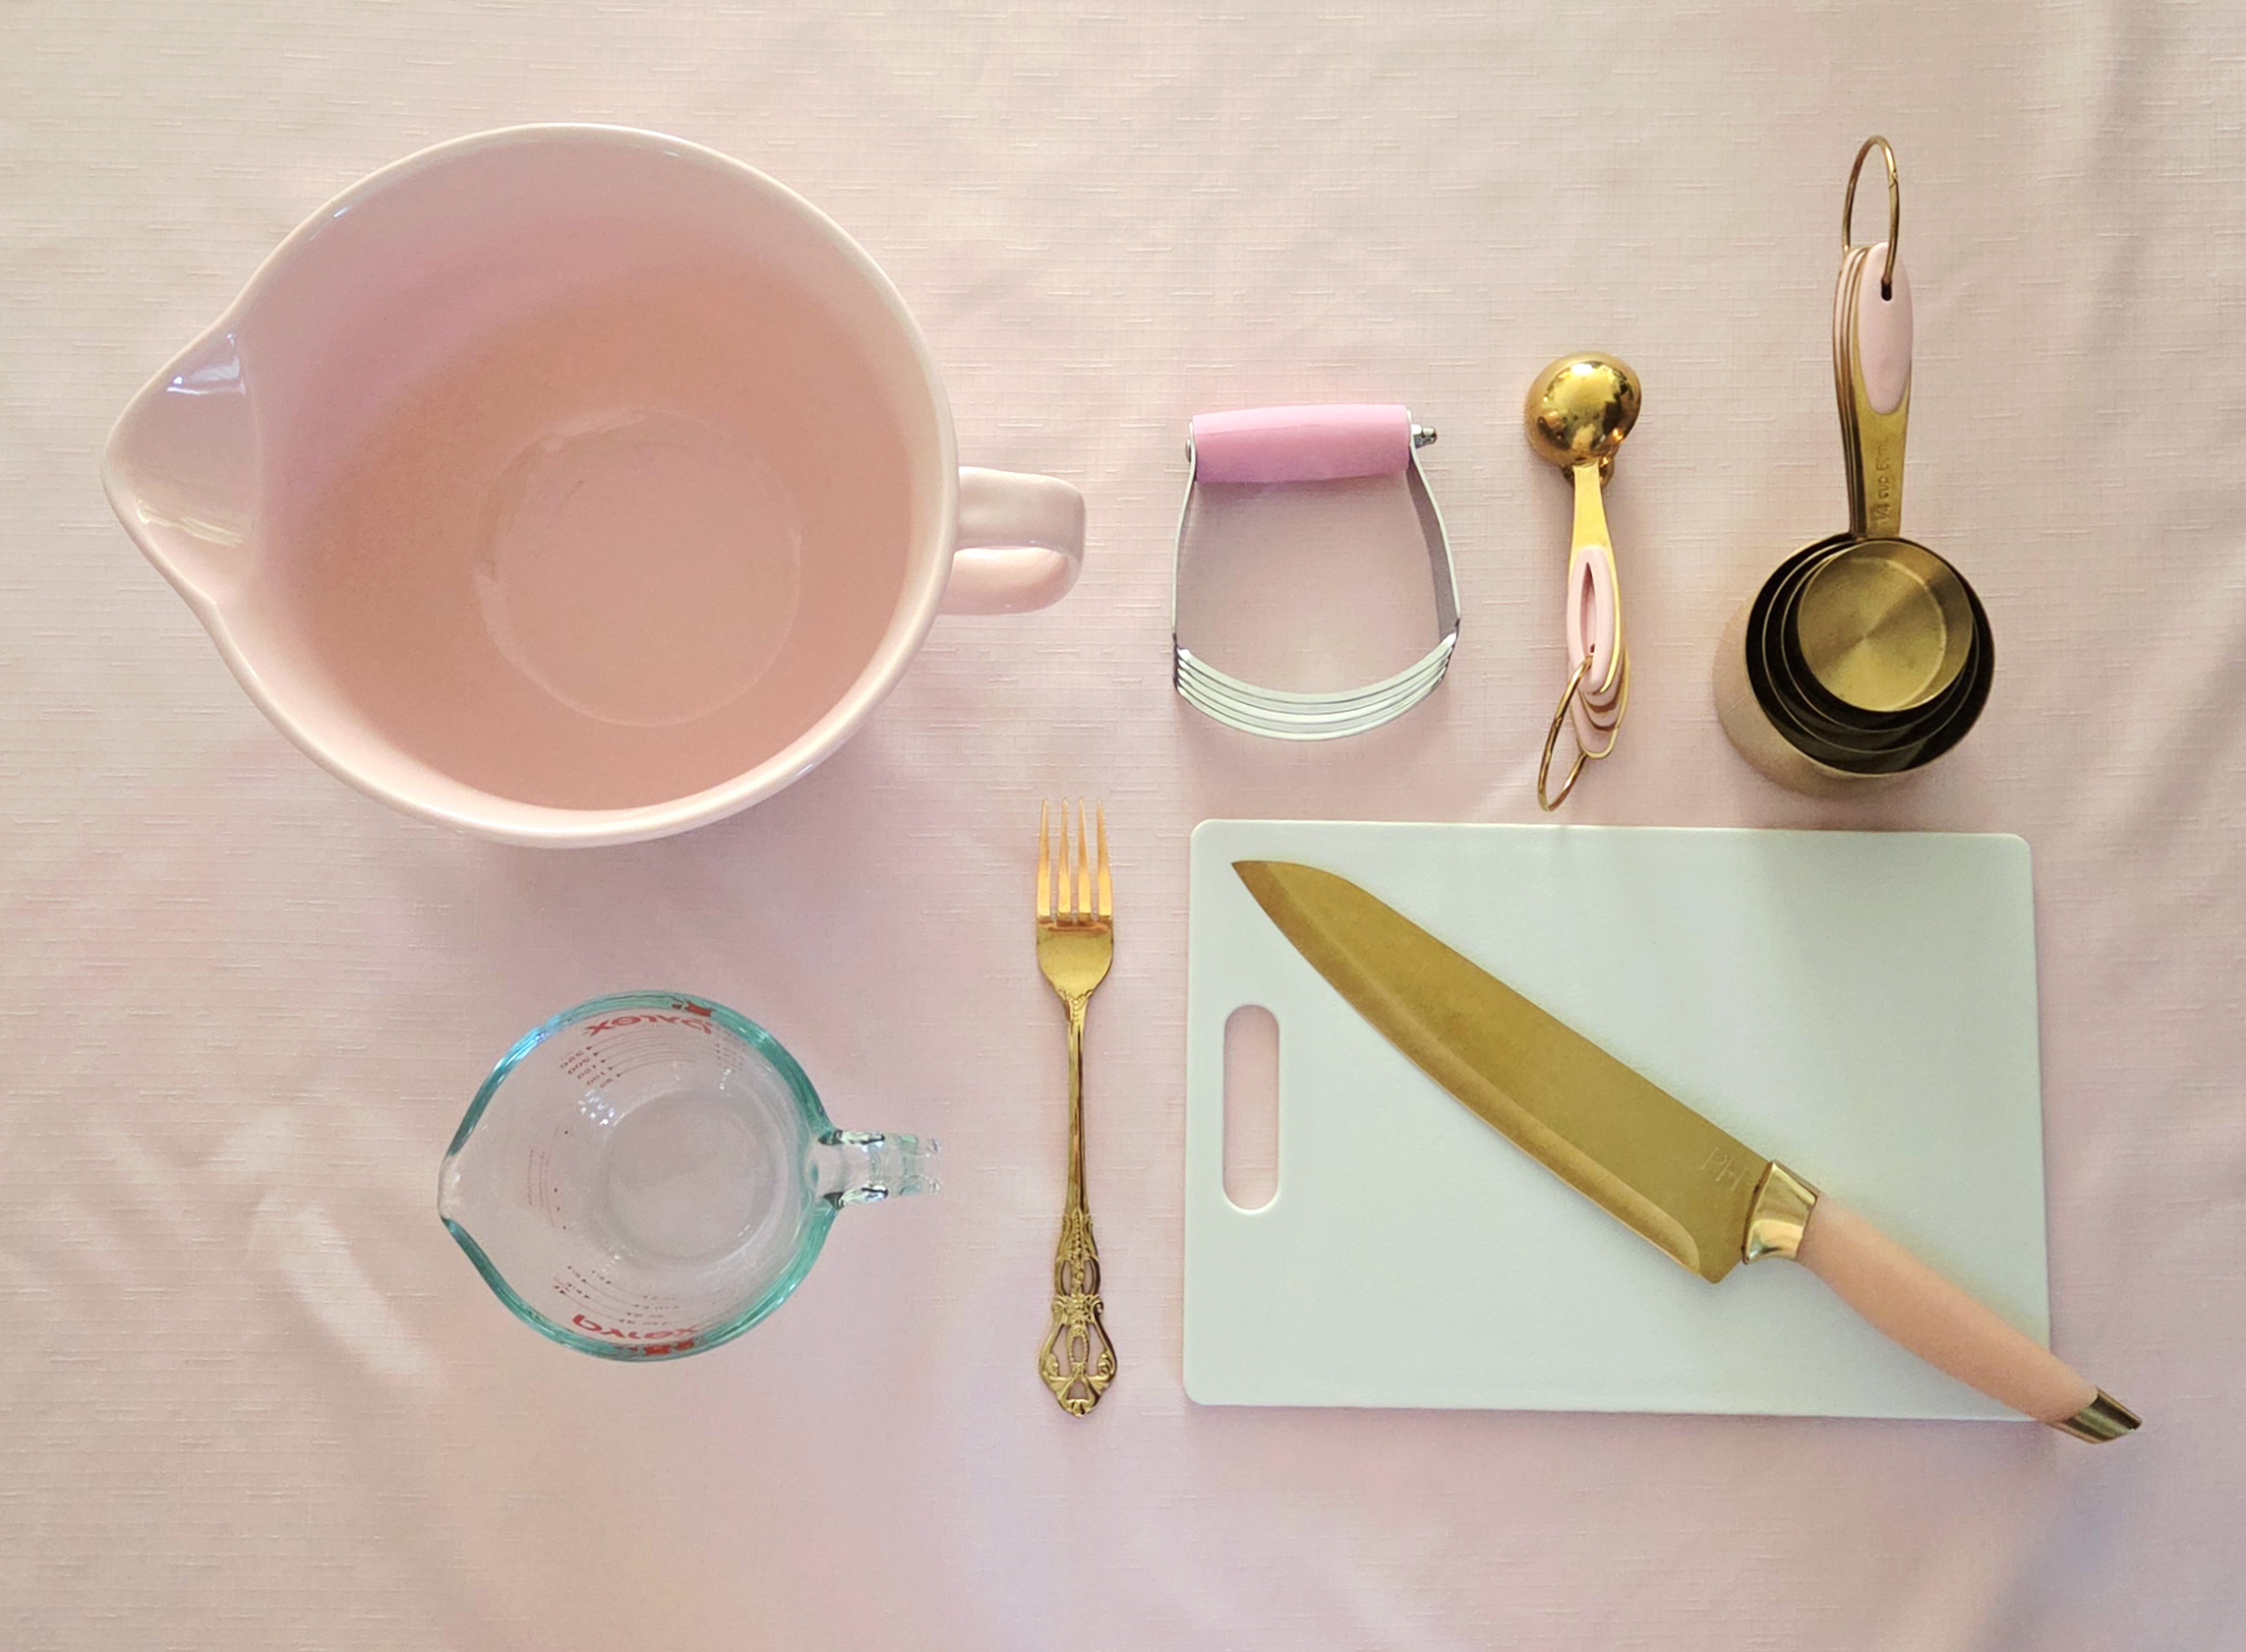
- Large mixing bowl
- Plastic wrap
- Dry measuring cups
- Liquid measuring cup
- Measuring spoons
- Fork
- Pastry blender
- Chef’s knife
- Cutting board
The Process
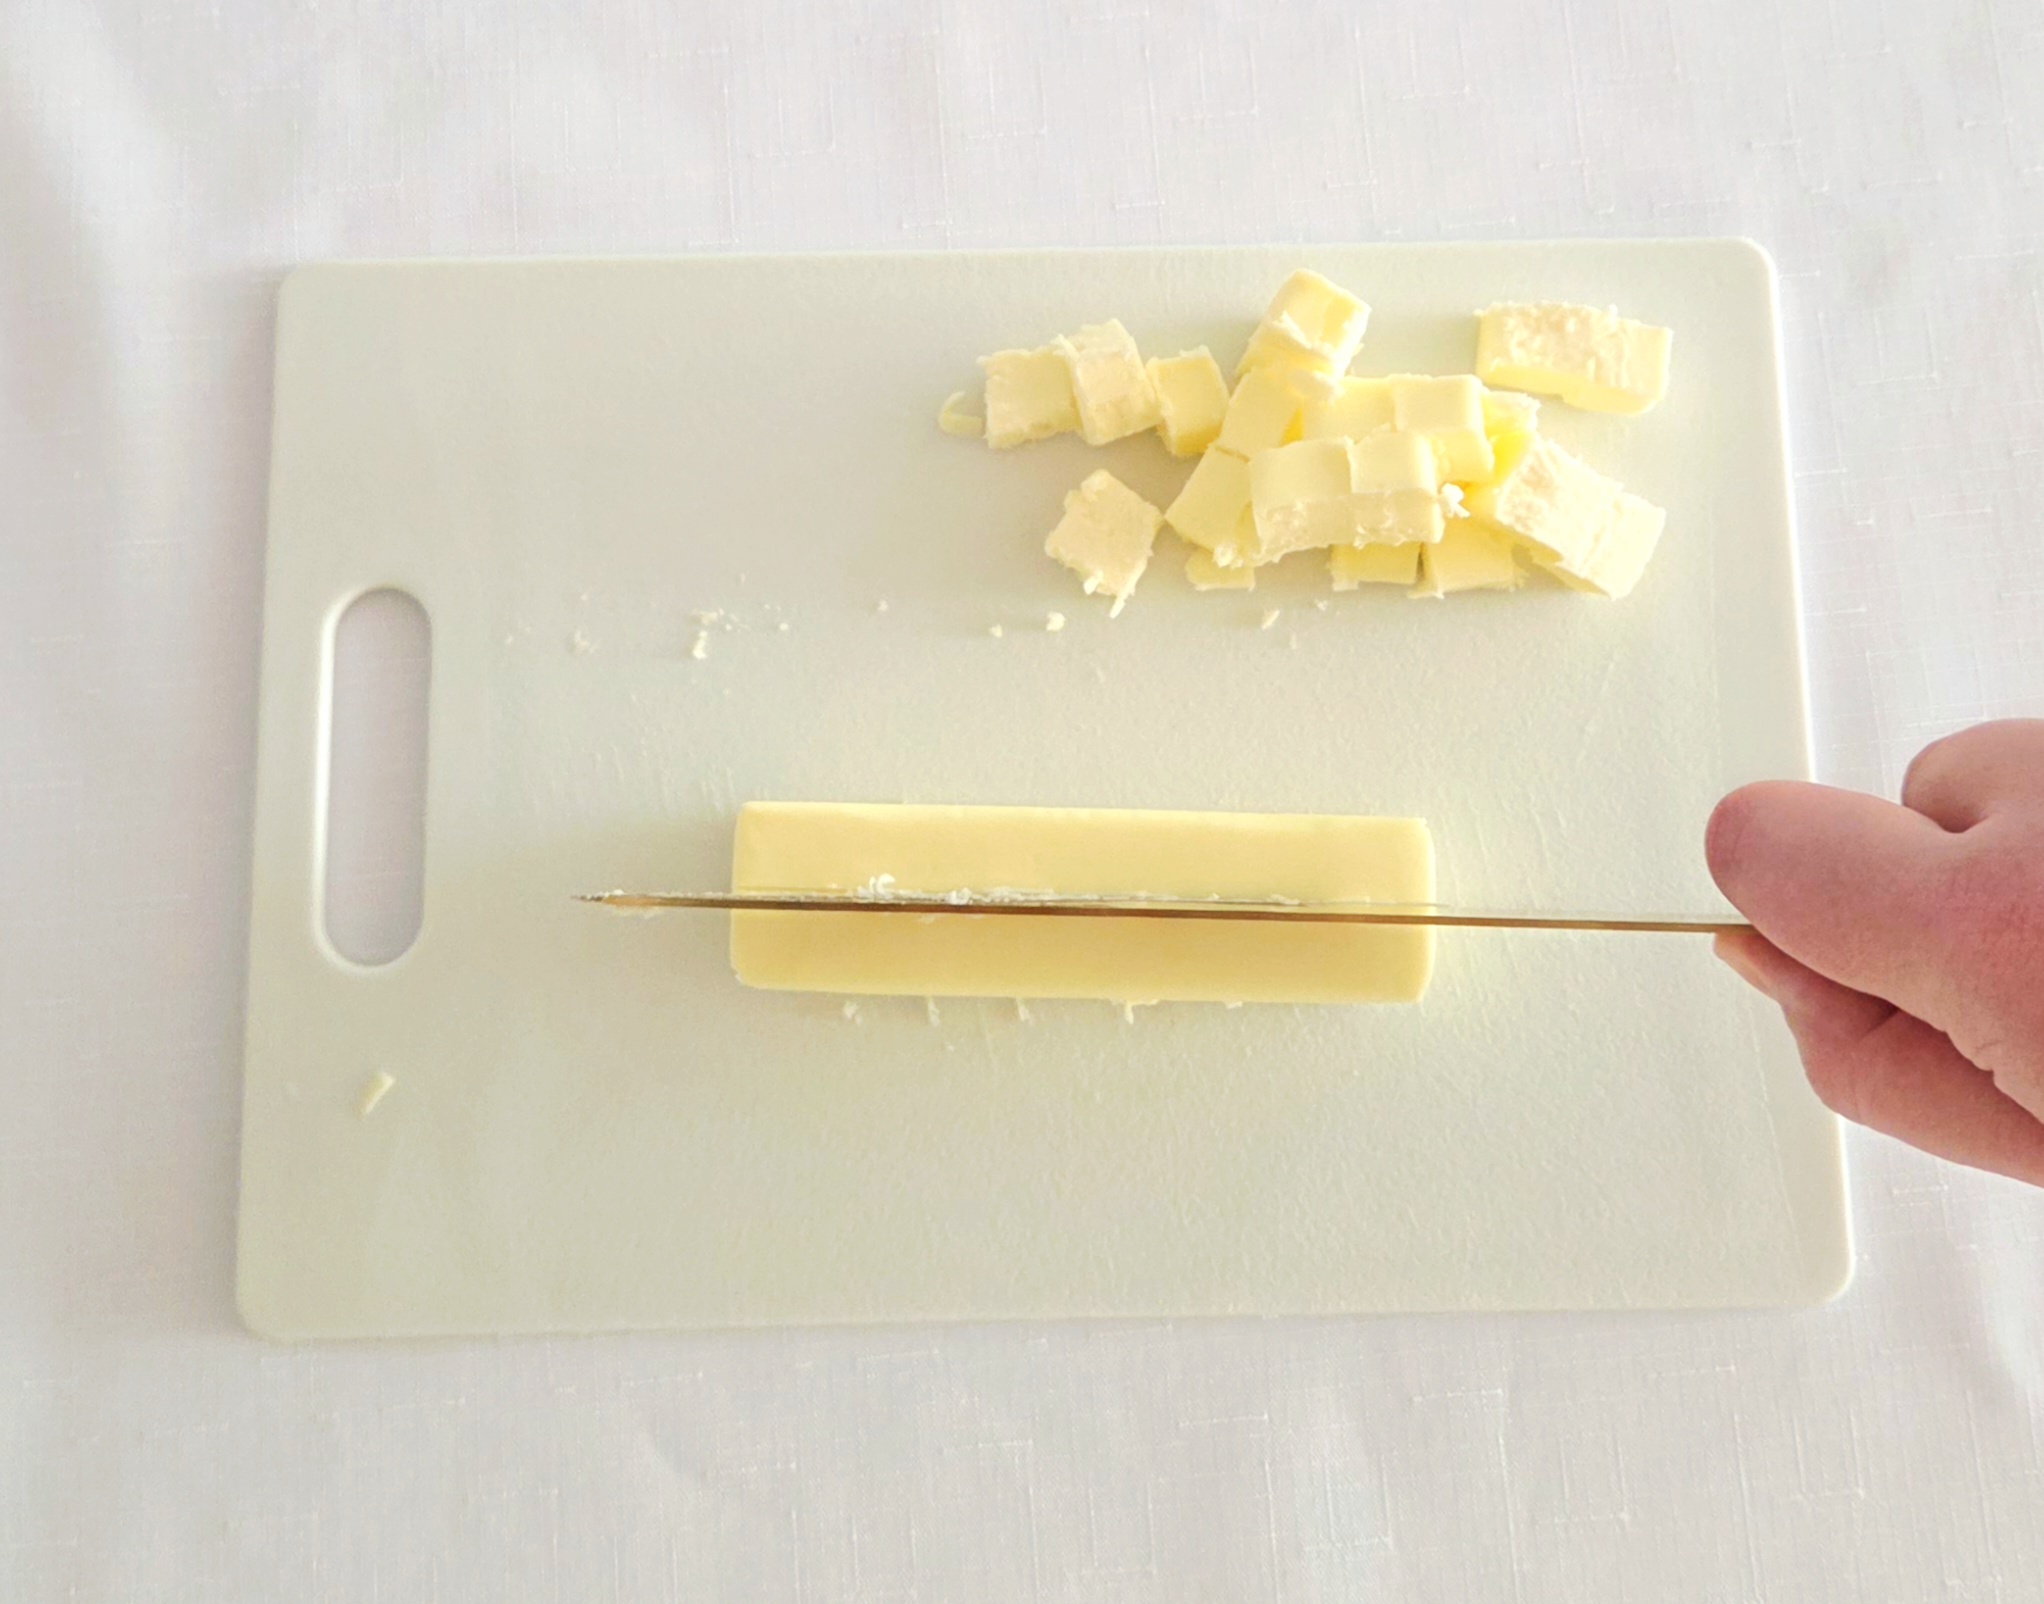
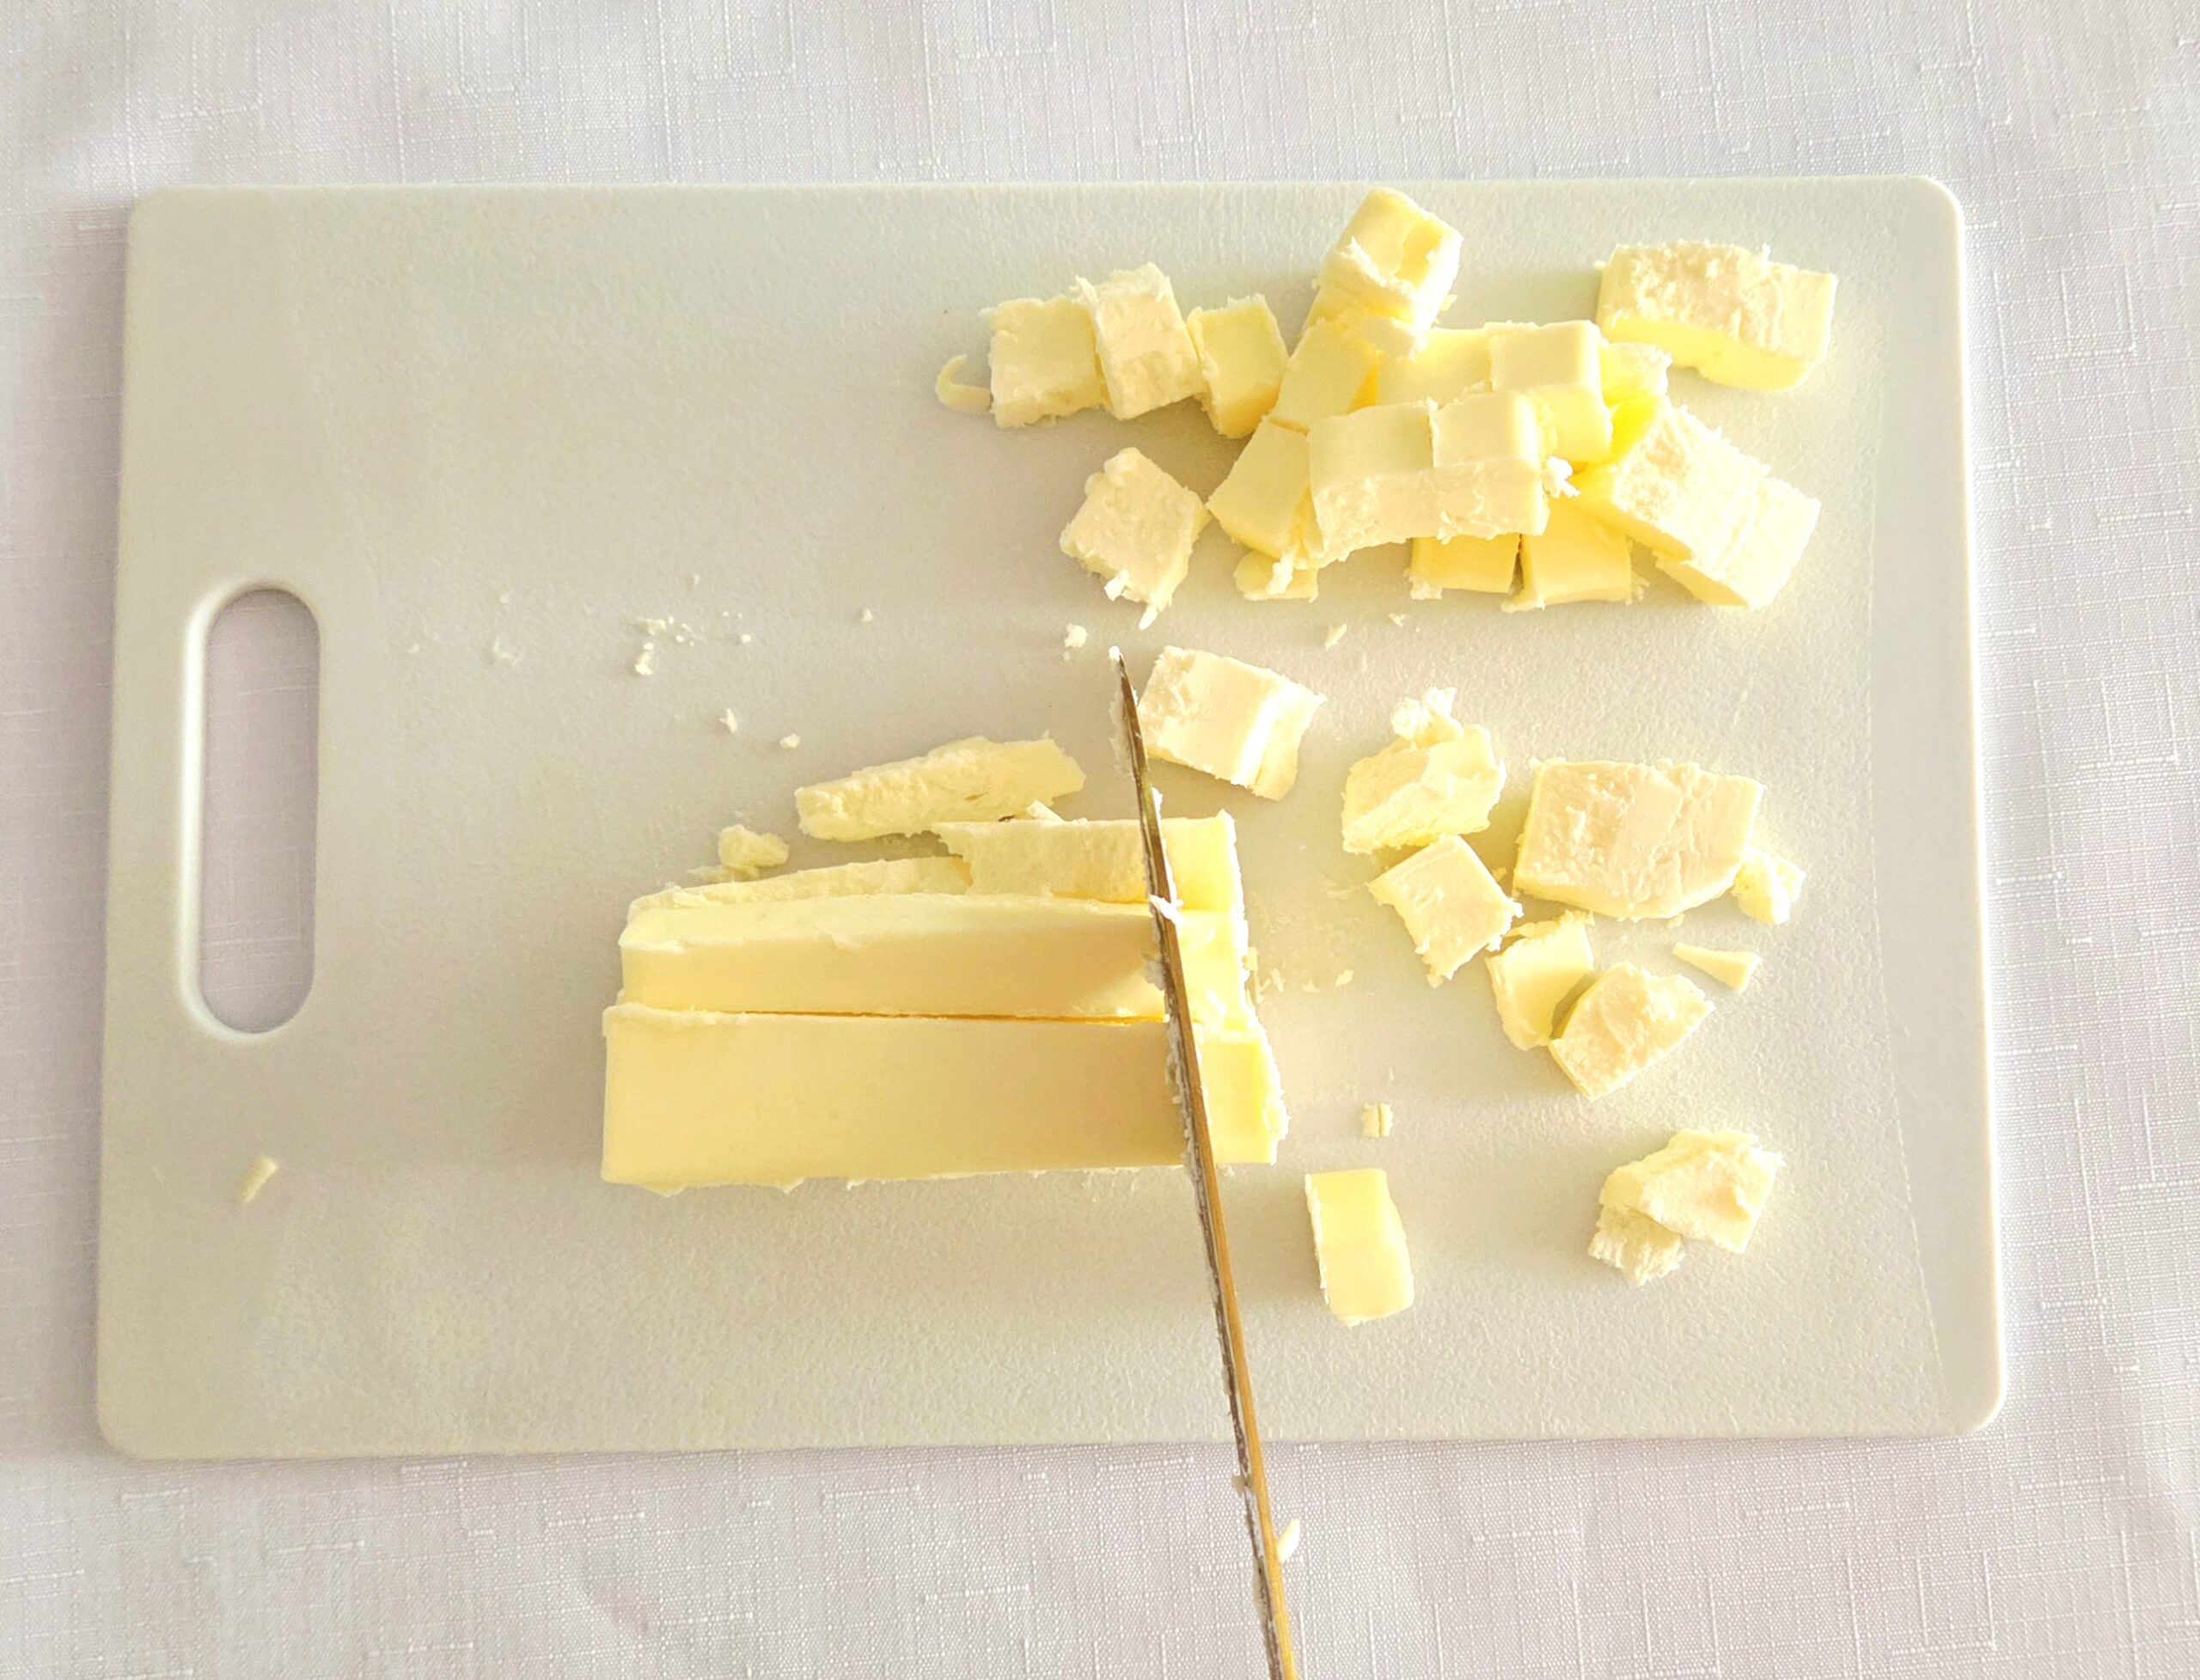
Begin by preparing the fat components, so everything will stay as cold as possible. Cold is key in this recipe. Cut the butter into ½ inch chunks, and the shortening into 4 pieces. The butter will stay much firmer than the shortening, so it helps to make the pieces smaller from the get-go. Place them into the fridge (or freezer, if your kitchen is particularly warm) to chill until needed.
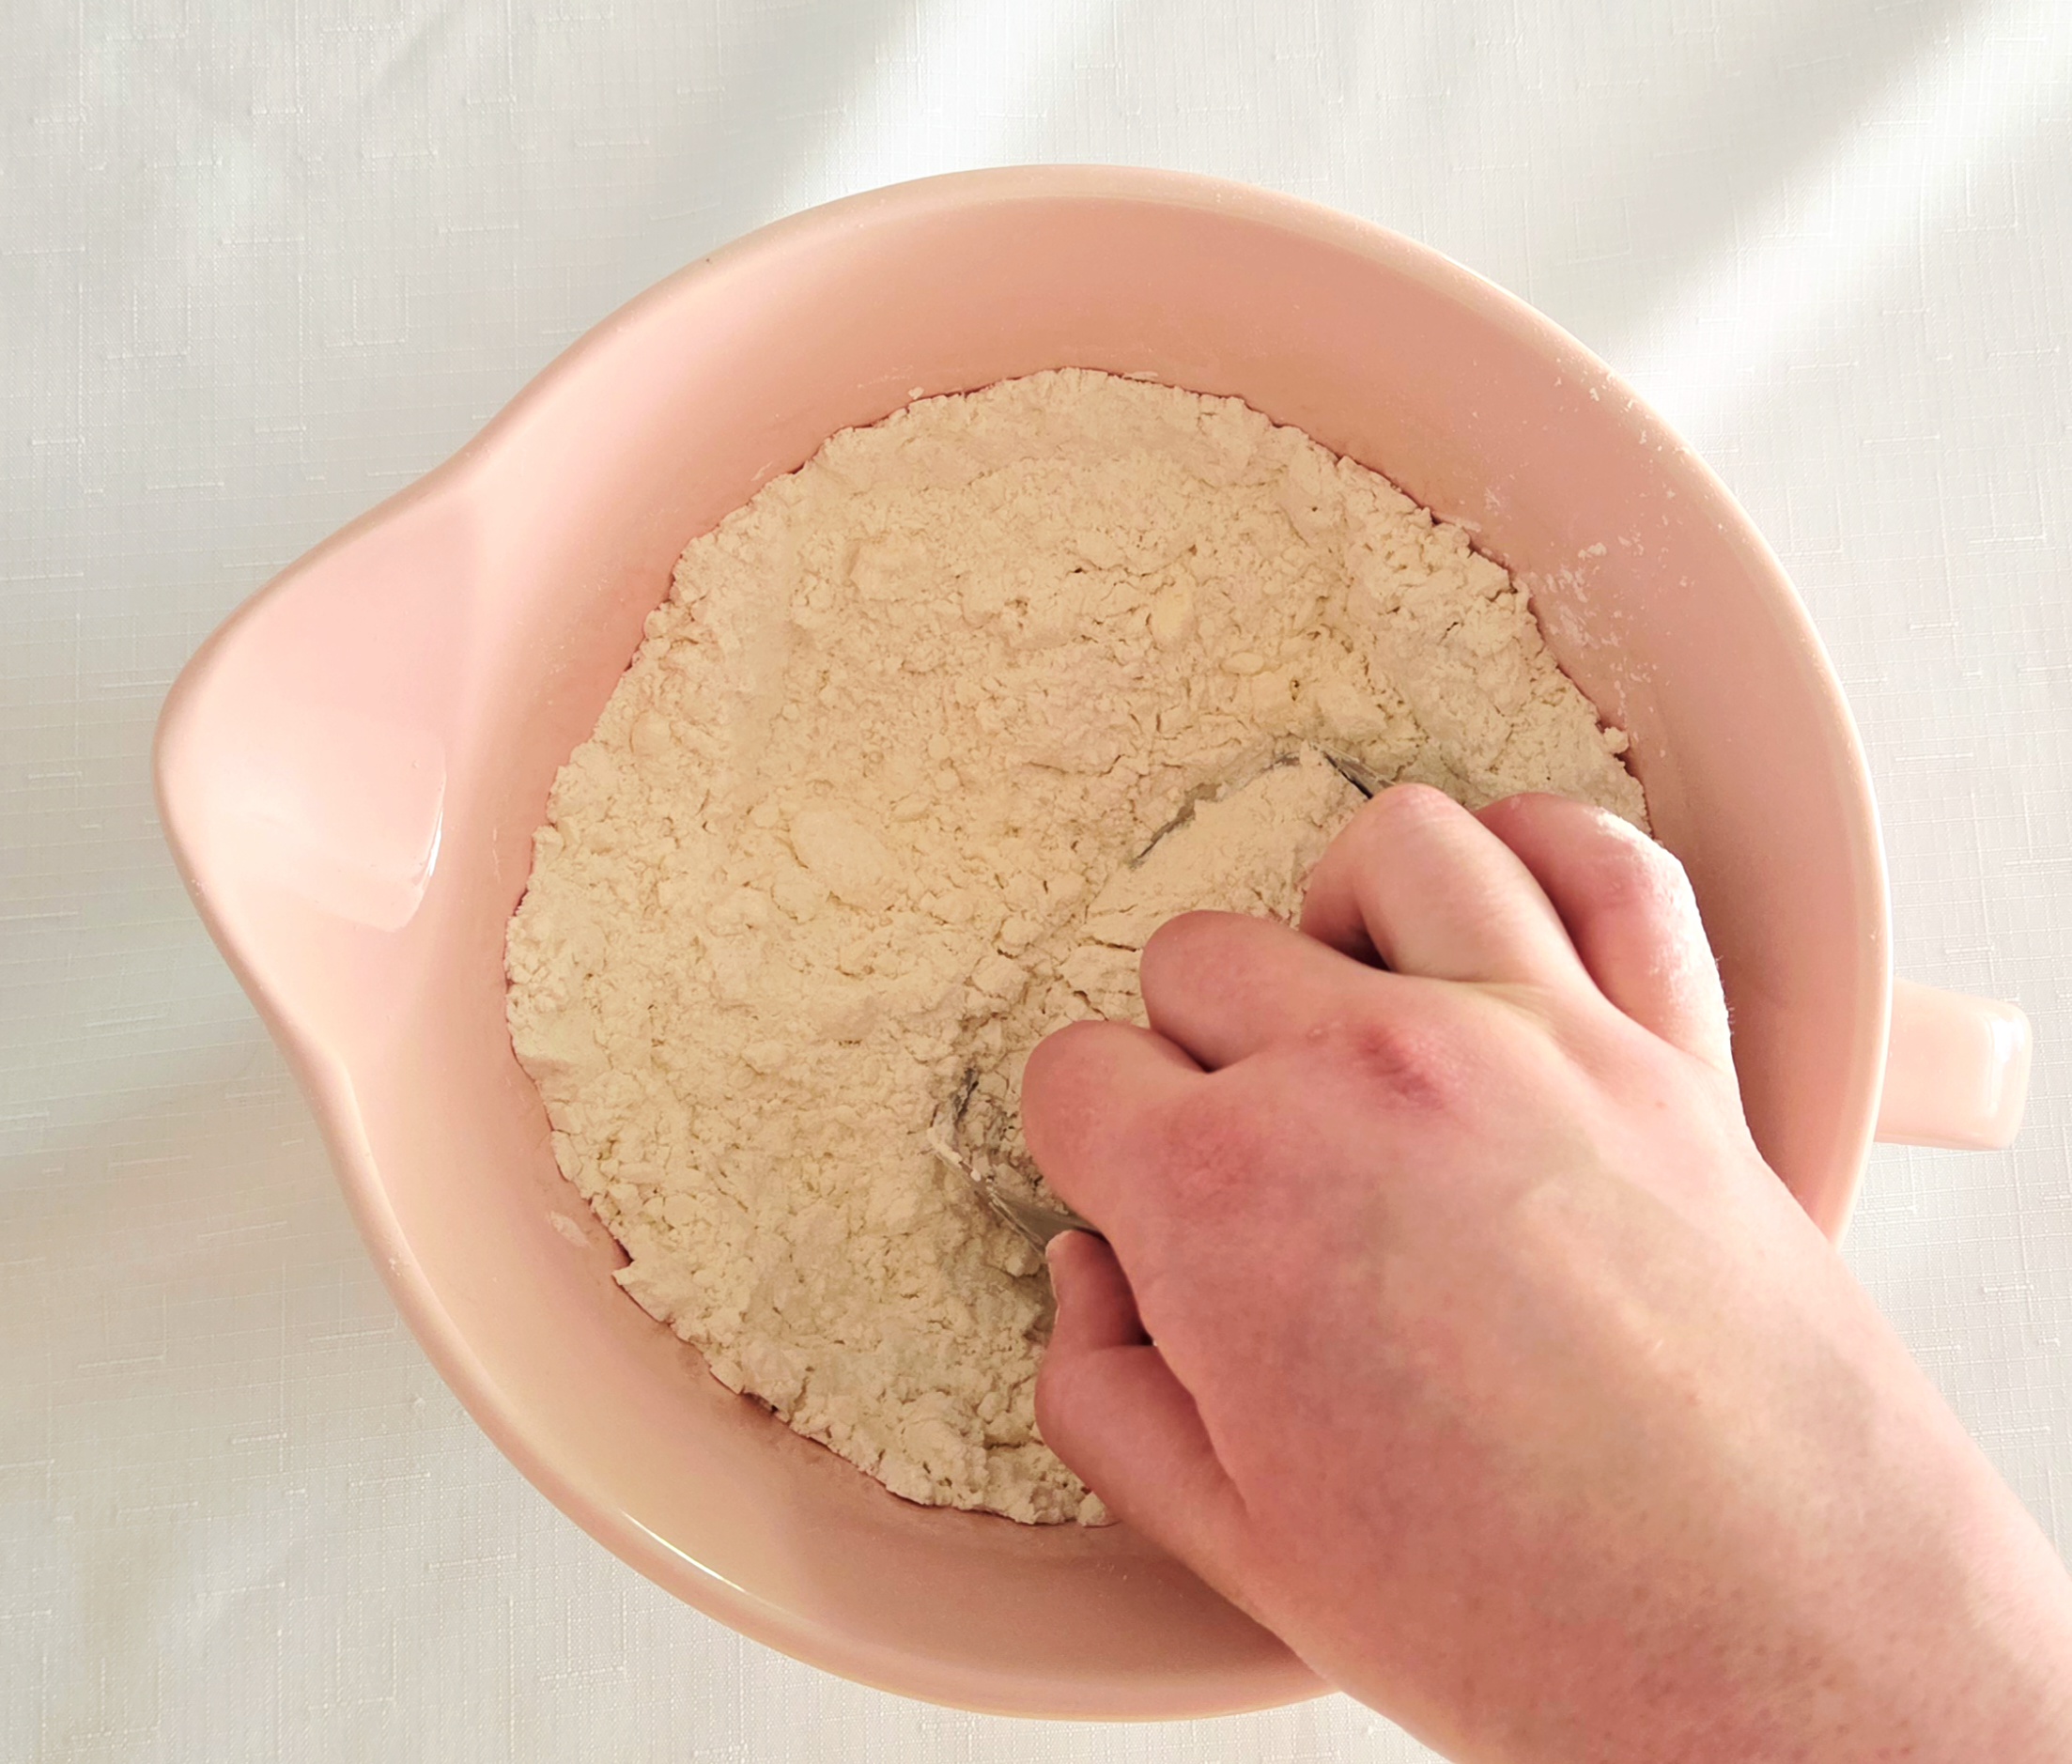
In a large mixing bowl, whisk together the flour, sugar, and salt. Whisking the dry ingredients now will prevent a clump of salt or sugar sneaking its way into the pie crust later on.

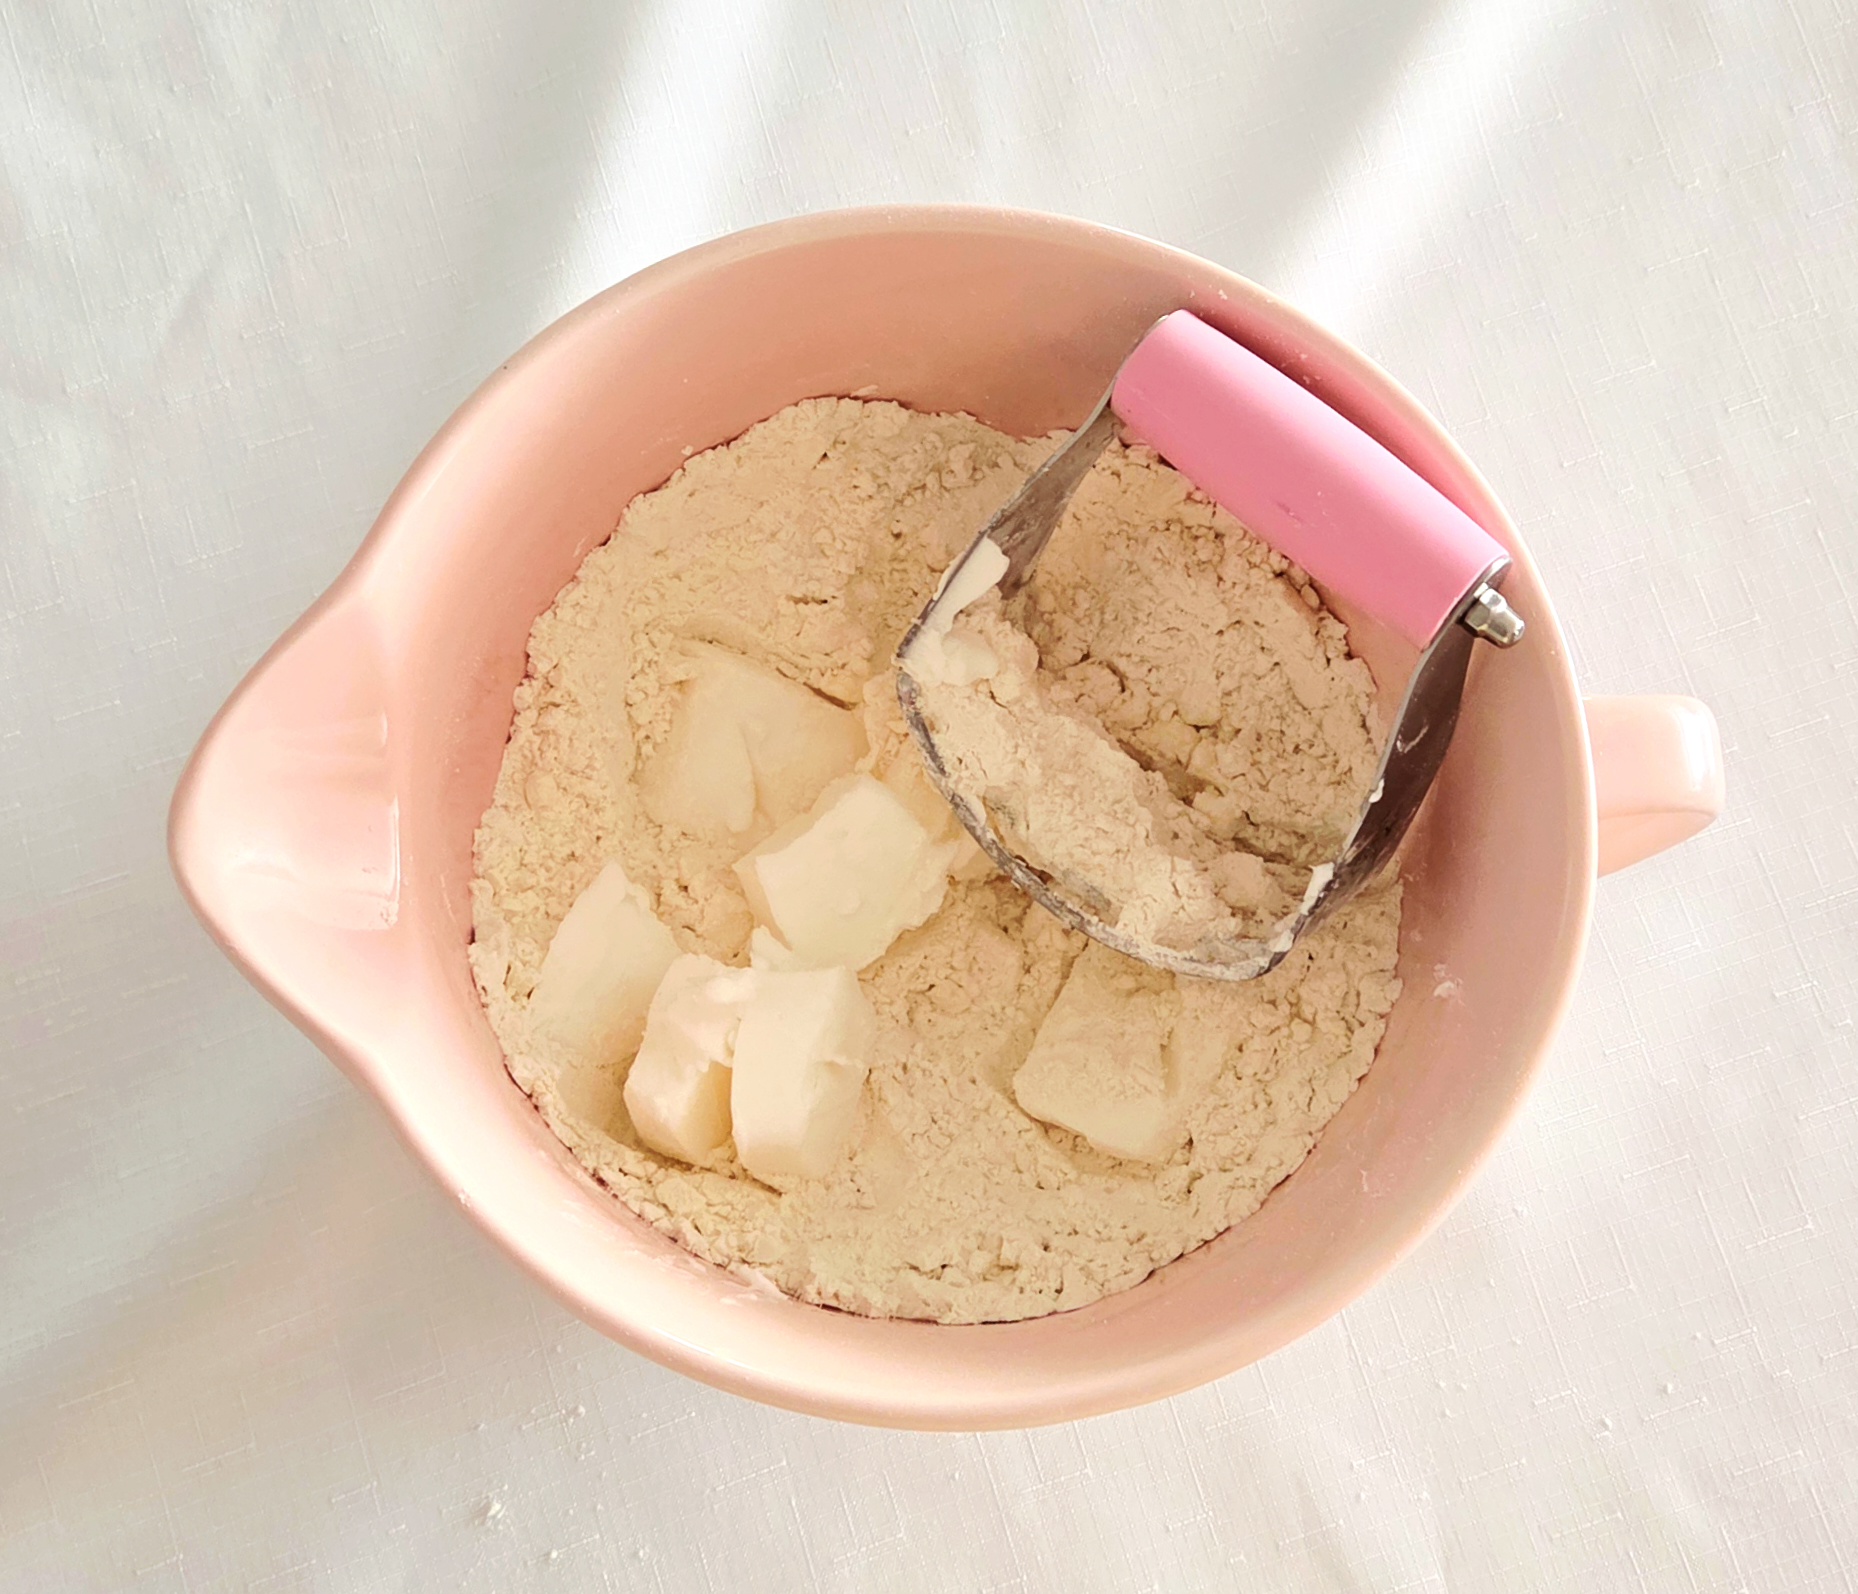
Add in the cold butter and cut the chunks in, using a pastry blender. If you don’t have a pastry blender, you could also pulse the butter into the dry goods using a food processor!
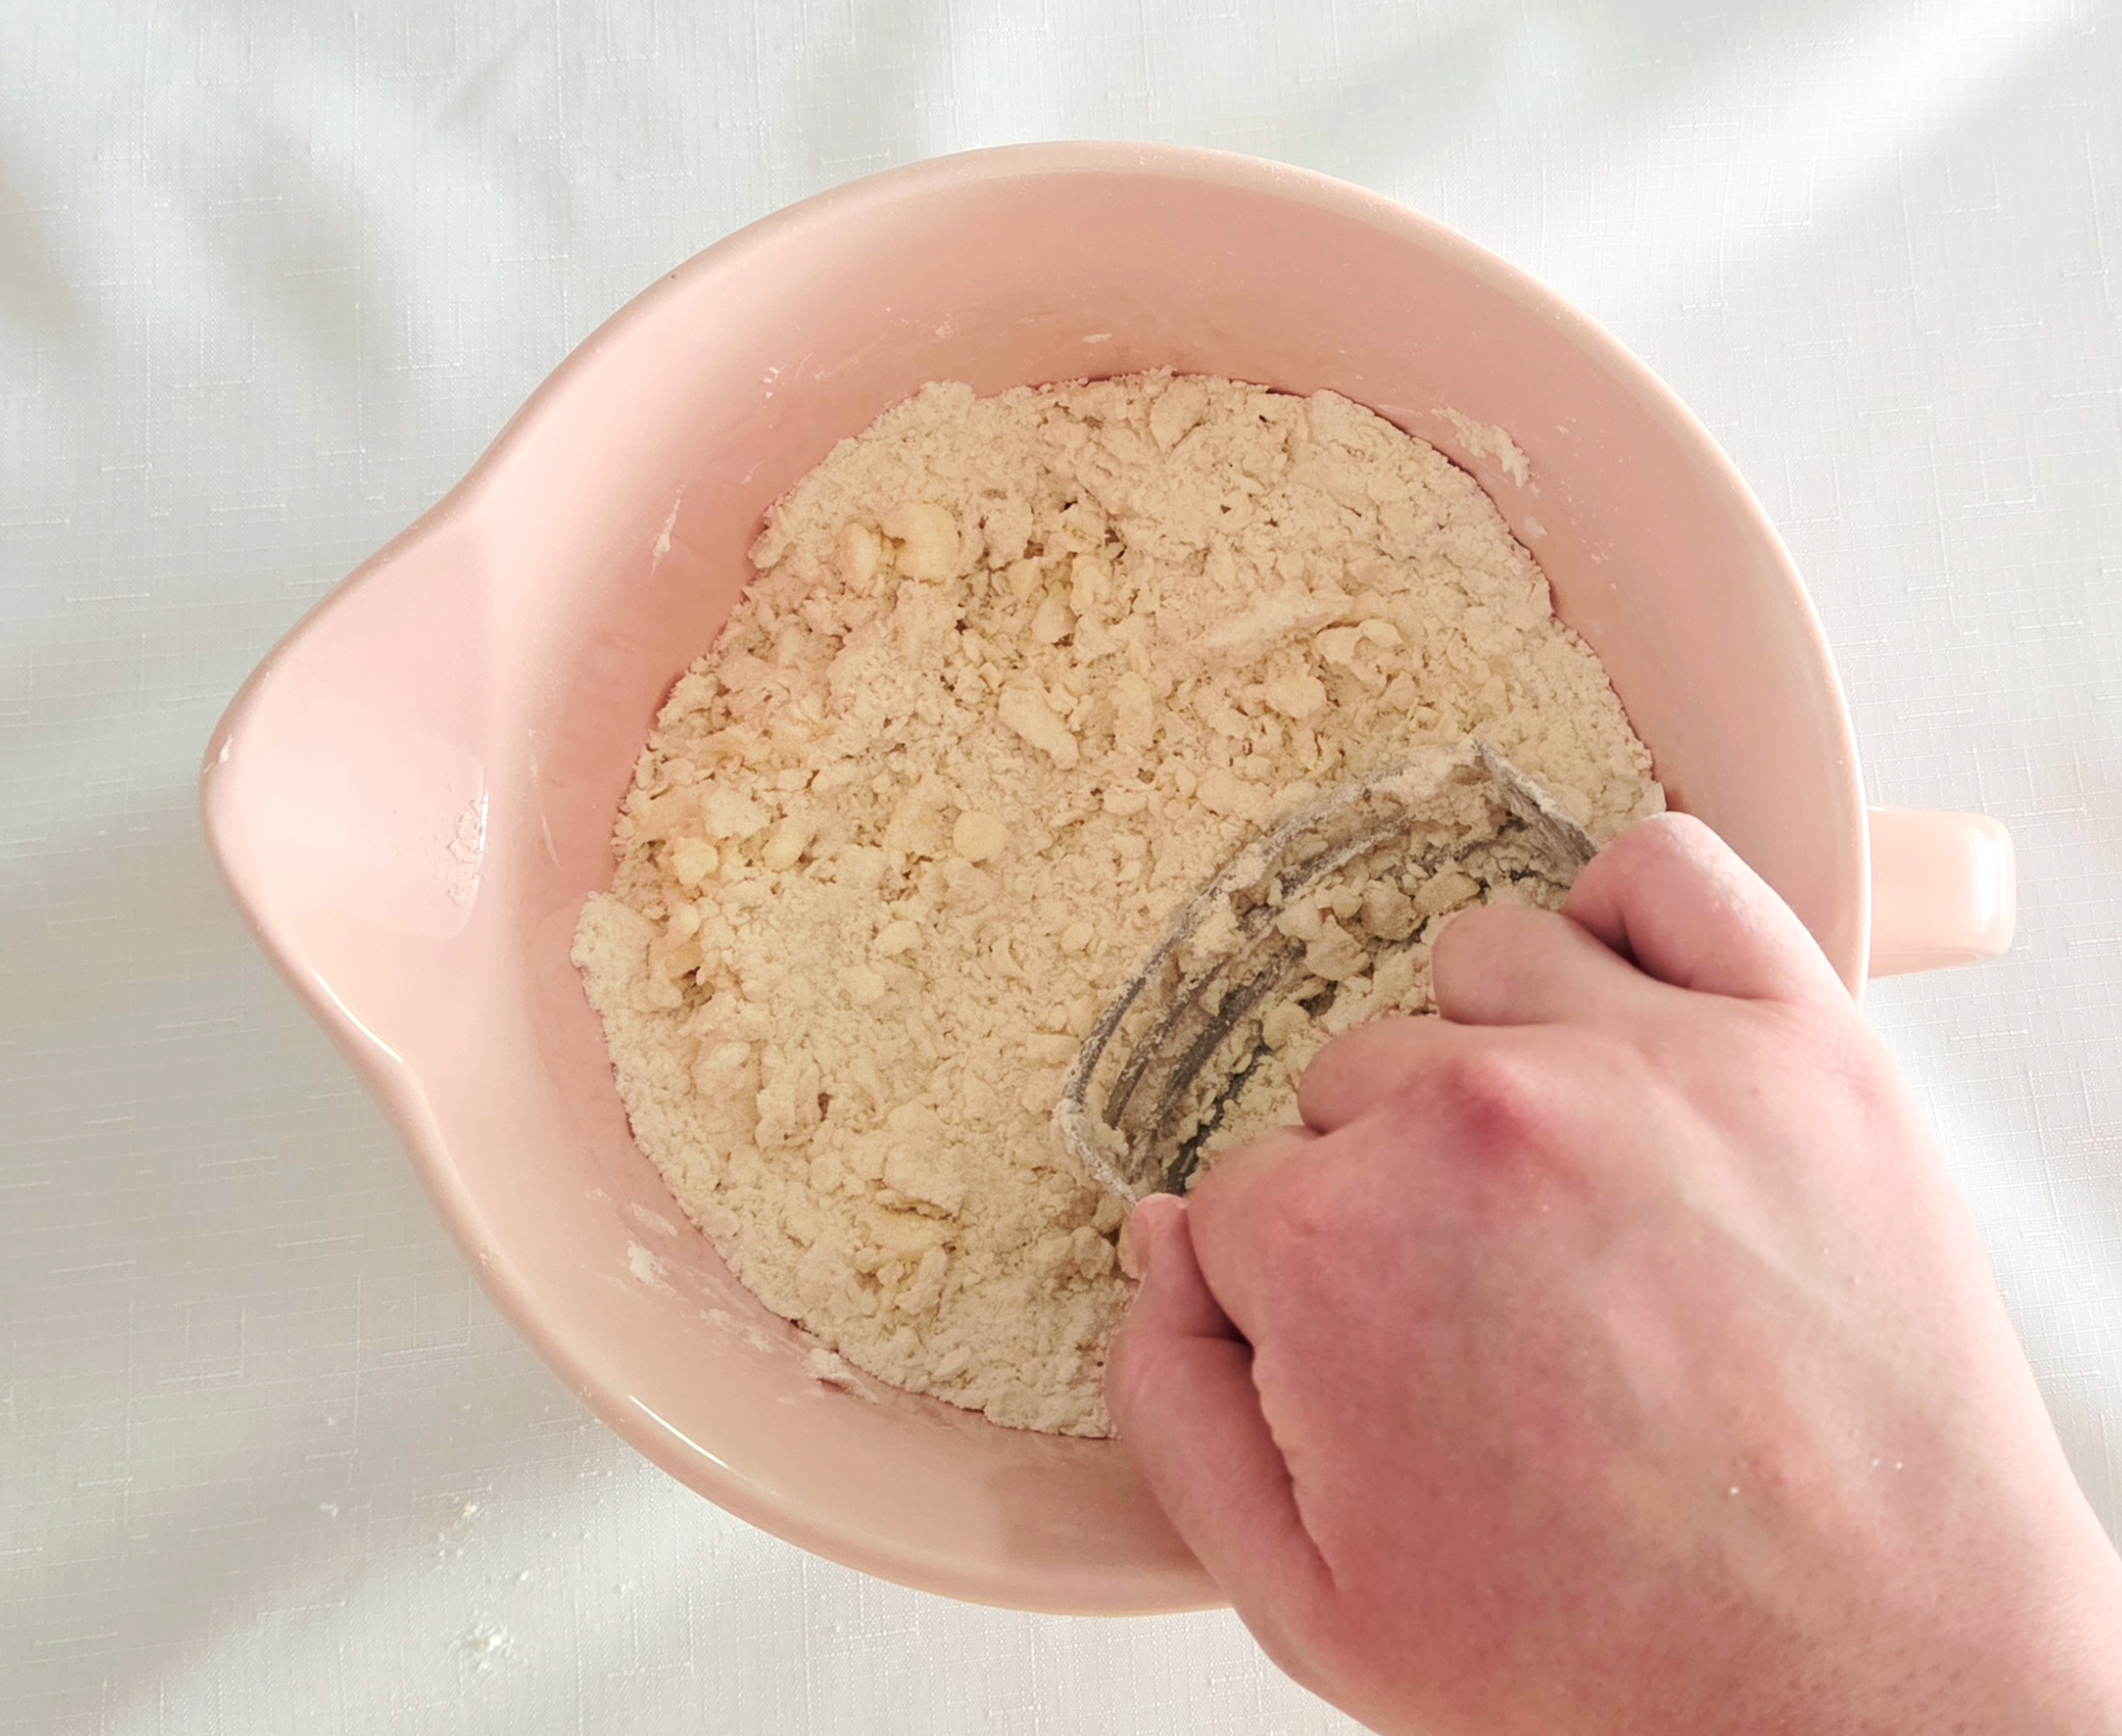
When the butter chunks are around pea sized, add in the shortening and cut it in until it’s been distributed. Shortening is much softer than butter, so this wont take much effort at all.
Pour the cold vodka and ice water over the flour butter mixture. Take care not to allow any actual chunks of ice to fall into the dough, they’ll create a heavy wet patch that wont bake out. Using a fork, stir them together to form the dough.
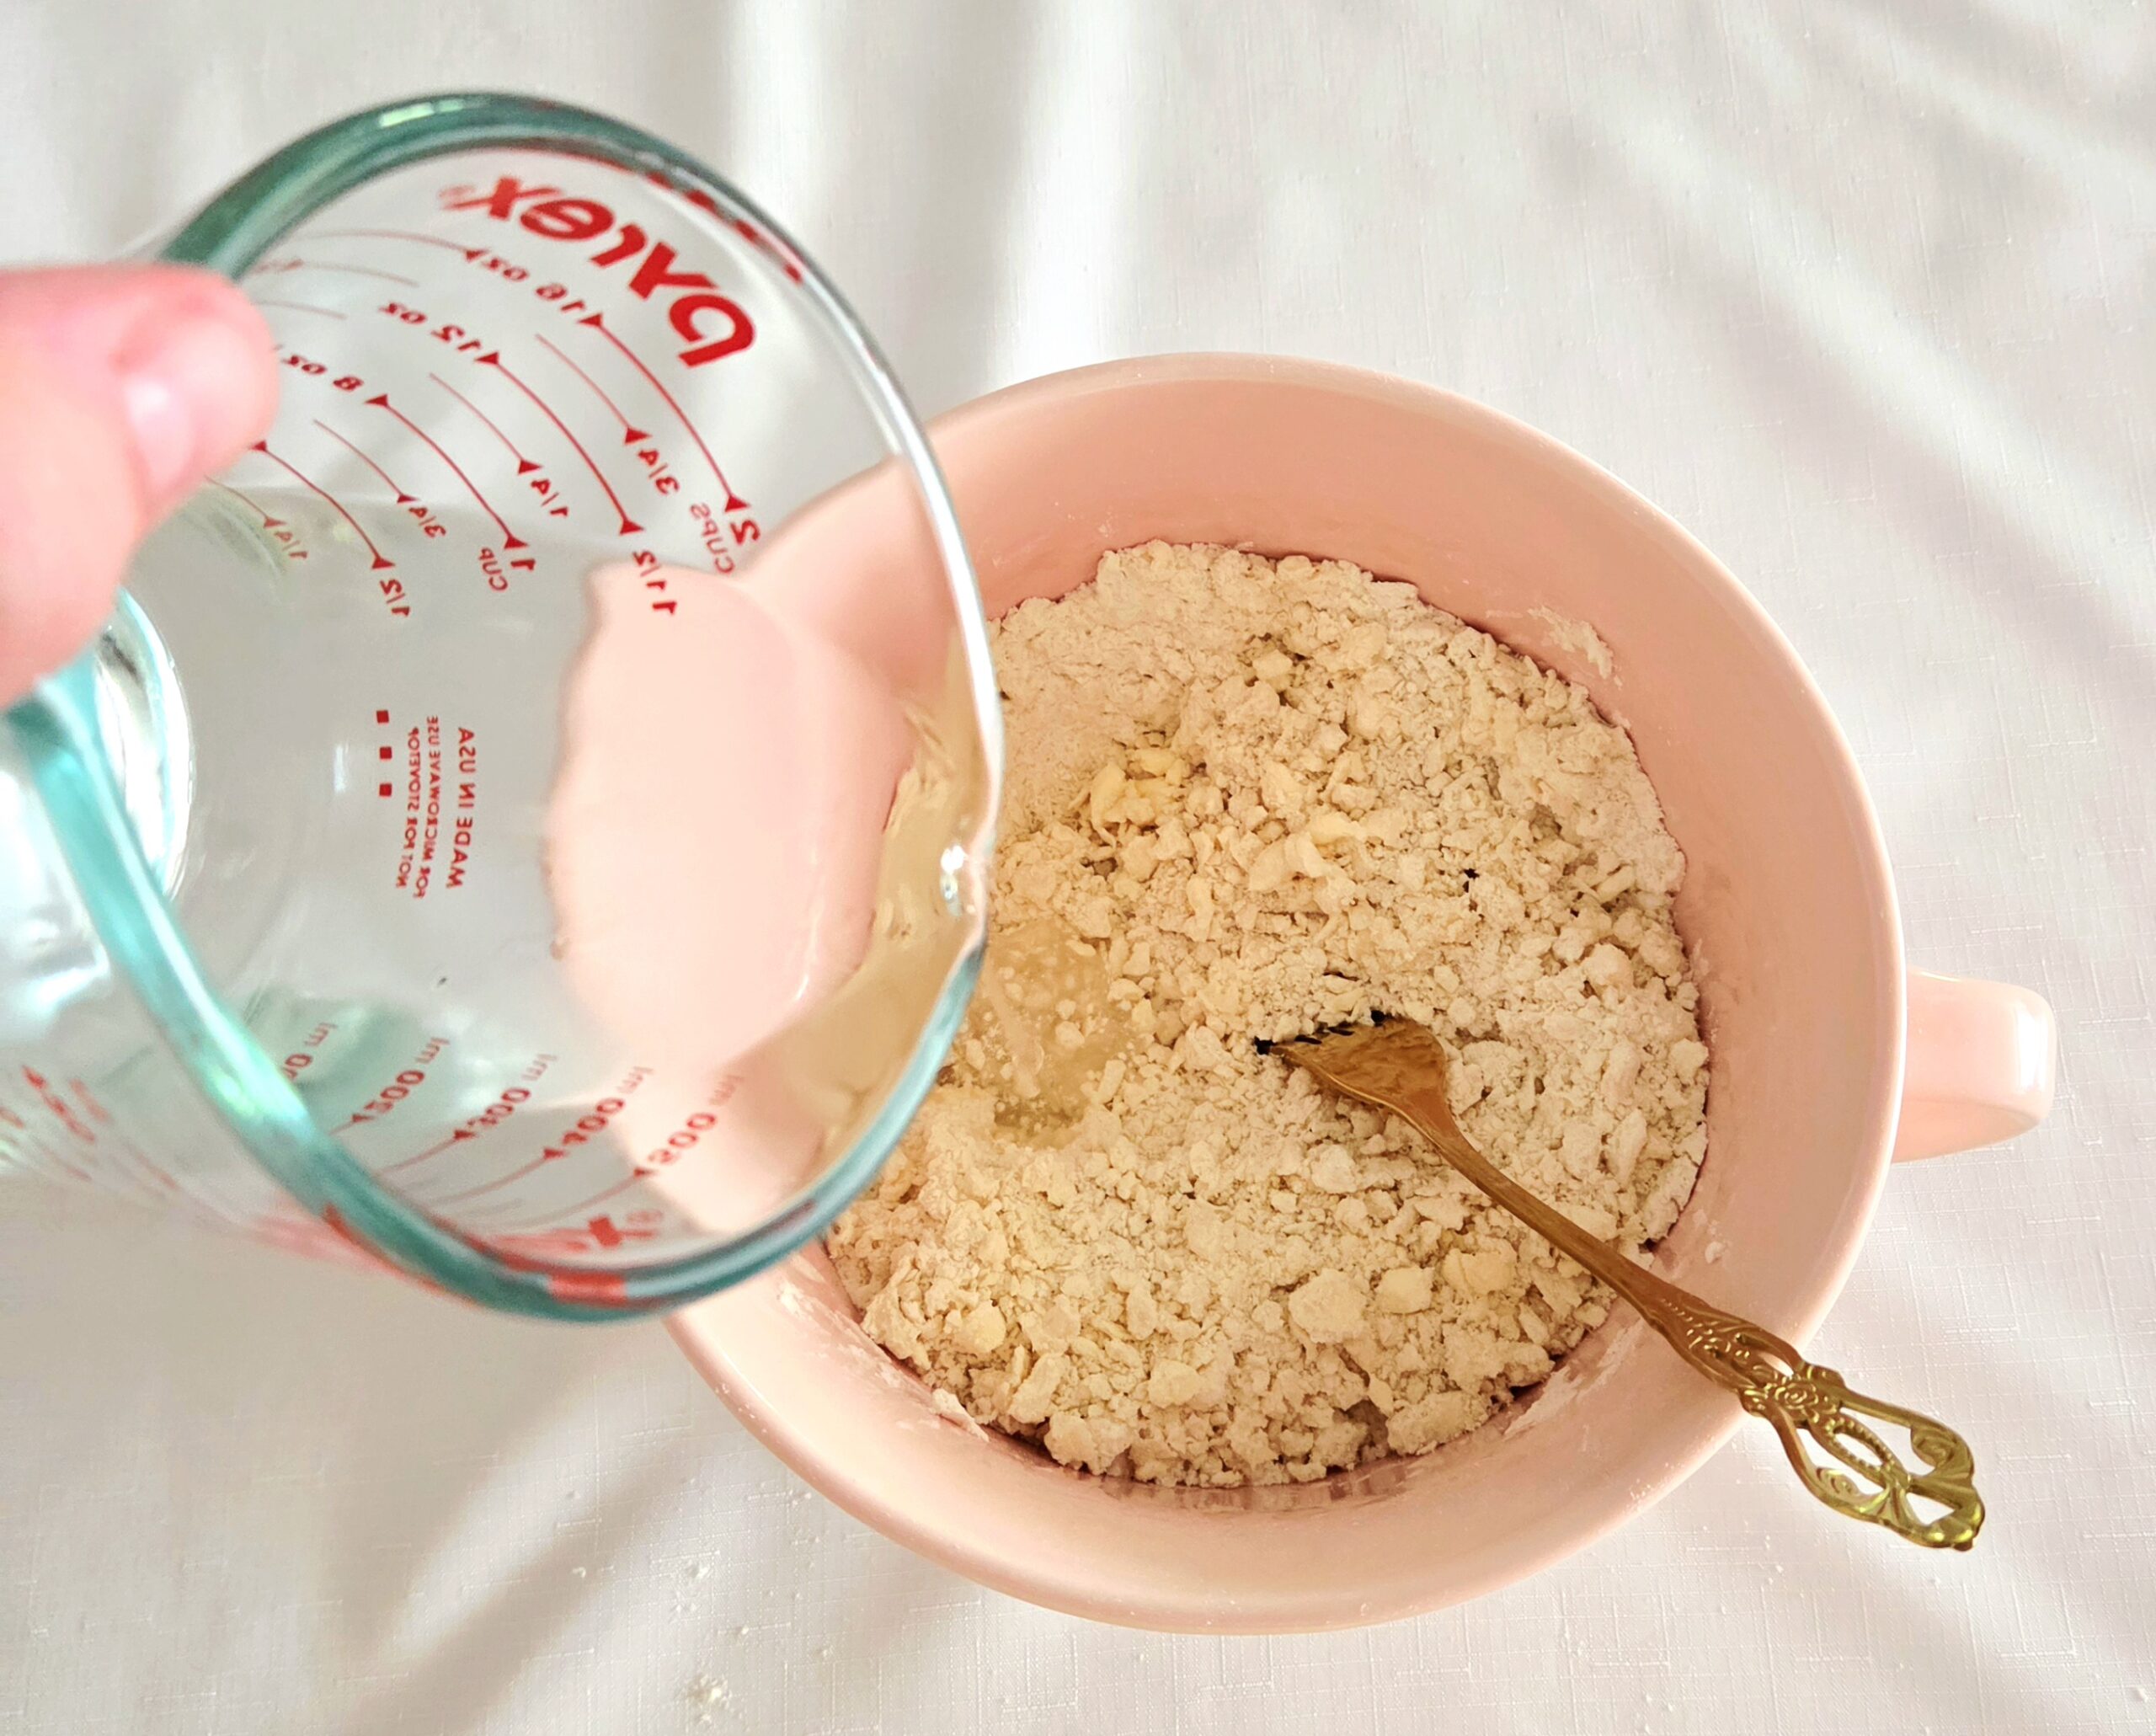
It should be just hydrated enough to hold together when pressed. If there’s a lot of unhydrated flour left, add another Tablespoon of ice water until the dough does hold when pressed together.
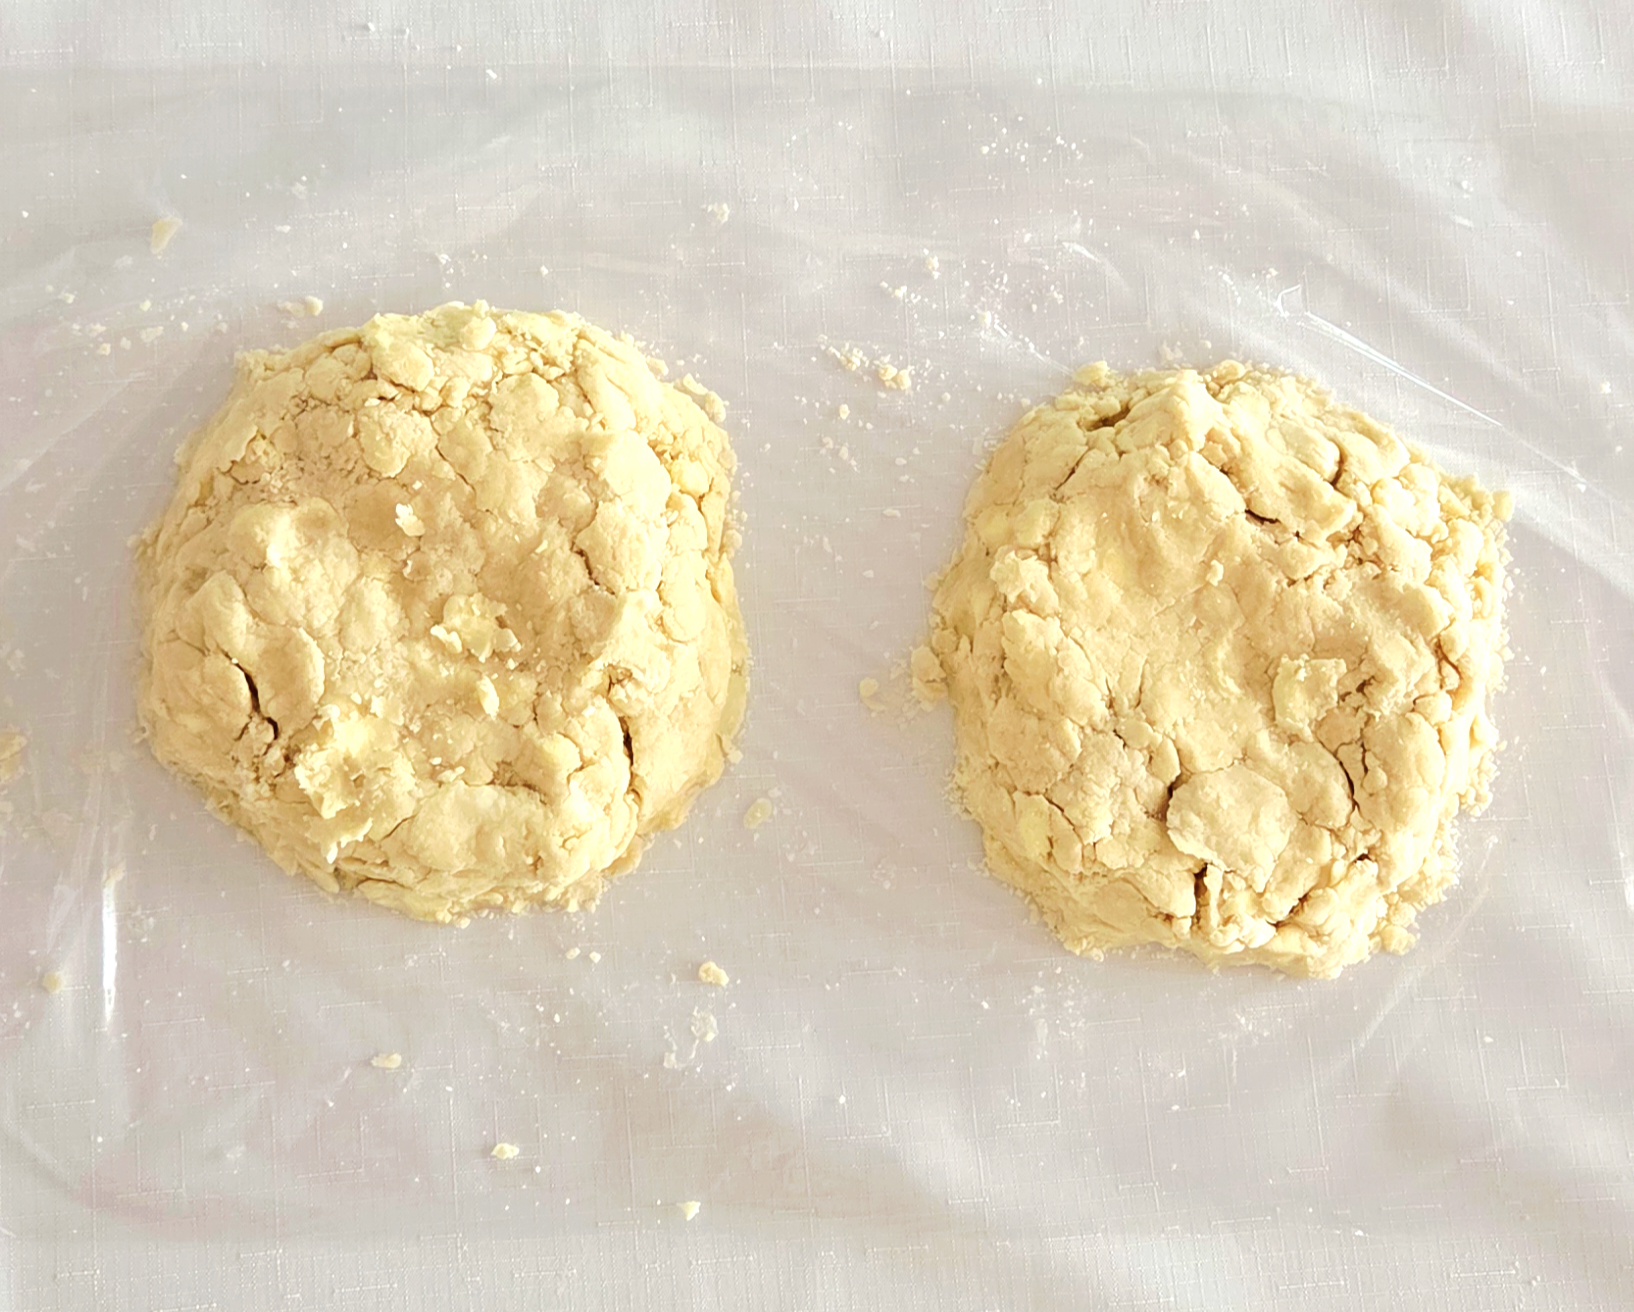
If you’ve prepared the double batch, divide the dough in half and form each half into a 4 inch disc. Wrap each disc in plastic wrap and chill for a minimum of 1 hour, or up to 2 days. Allowing the dough to rest in the fridge before using it is crucial. For starters, everything will get the opportunity to chill back down again. But this time also allows the gluten to relax, so the dough will cooperate when it’s time to roll it out. Do not skip this step!
Your dough is now ready to use! Happy sweet and savory baking.
Easy Pie Crust
Makes: 1 or 2 layers for a 9-inch Pie
Total Time: 90 minutes
Prep Time: 30 minutes
Ingredients:
Double Crust:
- 2 ½ cups all-purpose flour
- 2 Tablespoons sugar
- 1 teaspoon salt
- 12 Tablespoons unsalted butter, cold
- 8 Tablespoons vegetable shortening
- ¼-⅓ cup vodka, chilled
- ¼-⅓ cup ice water
Single Crust:
- 1 ¼ cup all-purpose flour
- 1 Tablespoon sugar
- ½ teaspoon salt
- 6 Tablespoons unsalted butter, cold
- 4 Tablespoons vegetable shortening
- 2-3 Tablespoons vodka, chilled
- 2-3 Tablespoons ice water
Directions:
- Cut the butter into ½ inch chunks and the shortening into 4 pieces. Place them into the fridge to chill until needed.
- In a large mixing bowl, whisk together the flour, sugar, and salt. Add in the cold butter and cut the chunks in, using a pastry blender. When the butter chunks are around pea sized, add in the shortening and cut it in until it’s been distributed.
- Starting with the lesser amount, pour the cold vodka and ice water over the flour butter mixture. Using a fork, stir them together until a dough forms. It should be just hydrated enough to hold together when pressed. If there’s a lot of unhydrated flour left, add another Tablespoon of ice water until the dough is just hydrated enough to press together.
- If you’ve made the double crust, divide the dough in half and form each half into a 4 inch disc. Wrap each disk in plastic wrap, so it’s airtight, and chill for a minimum of 1 hour, or up to 2 days.
Tips
- In case I haven’t made it blatantly clear the first 15 times I’ve said it, keep all of your ingredients as cold as possible if you want a nice flaky, tender pie crust!
- Prepared pie dough can be frozen ahead of time to use later on! After allowing the finished dough to rest in the fridge for an hour, roll it out until it’s about a ½ inch thick. This way, when you’re ready to thaw and use it, it will be a much faster process and your future self will thank you.


0 Comments