
My favorite pie of all time, easily beating out every other, is your Basic B pecan pie. Not that I have anything against most other pies, I’m always a pro-pie person. Apple pie is great, French silk pie is phenomenal, key lime is sublime (it had to be done, it’s the law), but pecan pie is just it for me. It has to be made correctly, though. I wont stand for those cheap grocery store pecan pies where it’s 90% too-sweet runny goop with the thinnest layer of pecans on top. I swear, that pie is the reason so many people don’t like pecan pie.
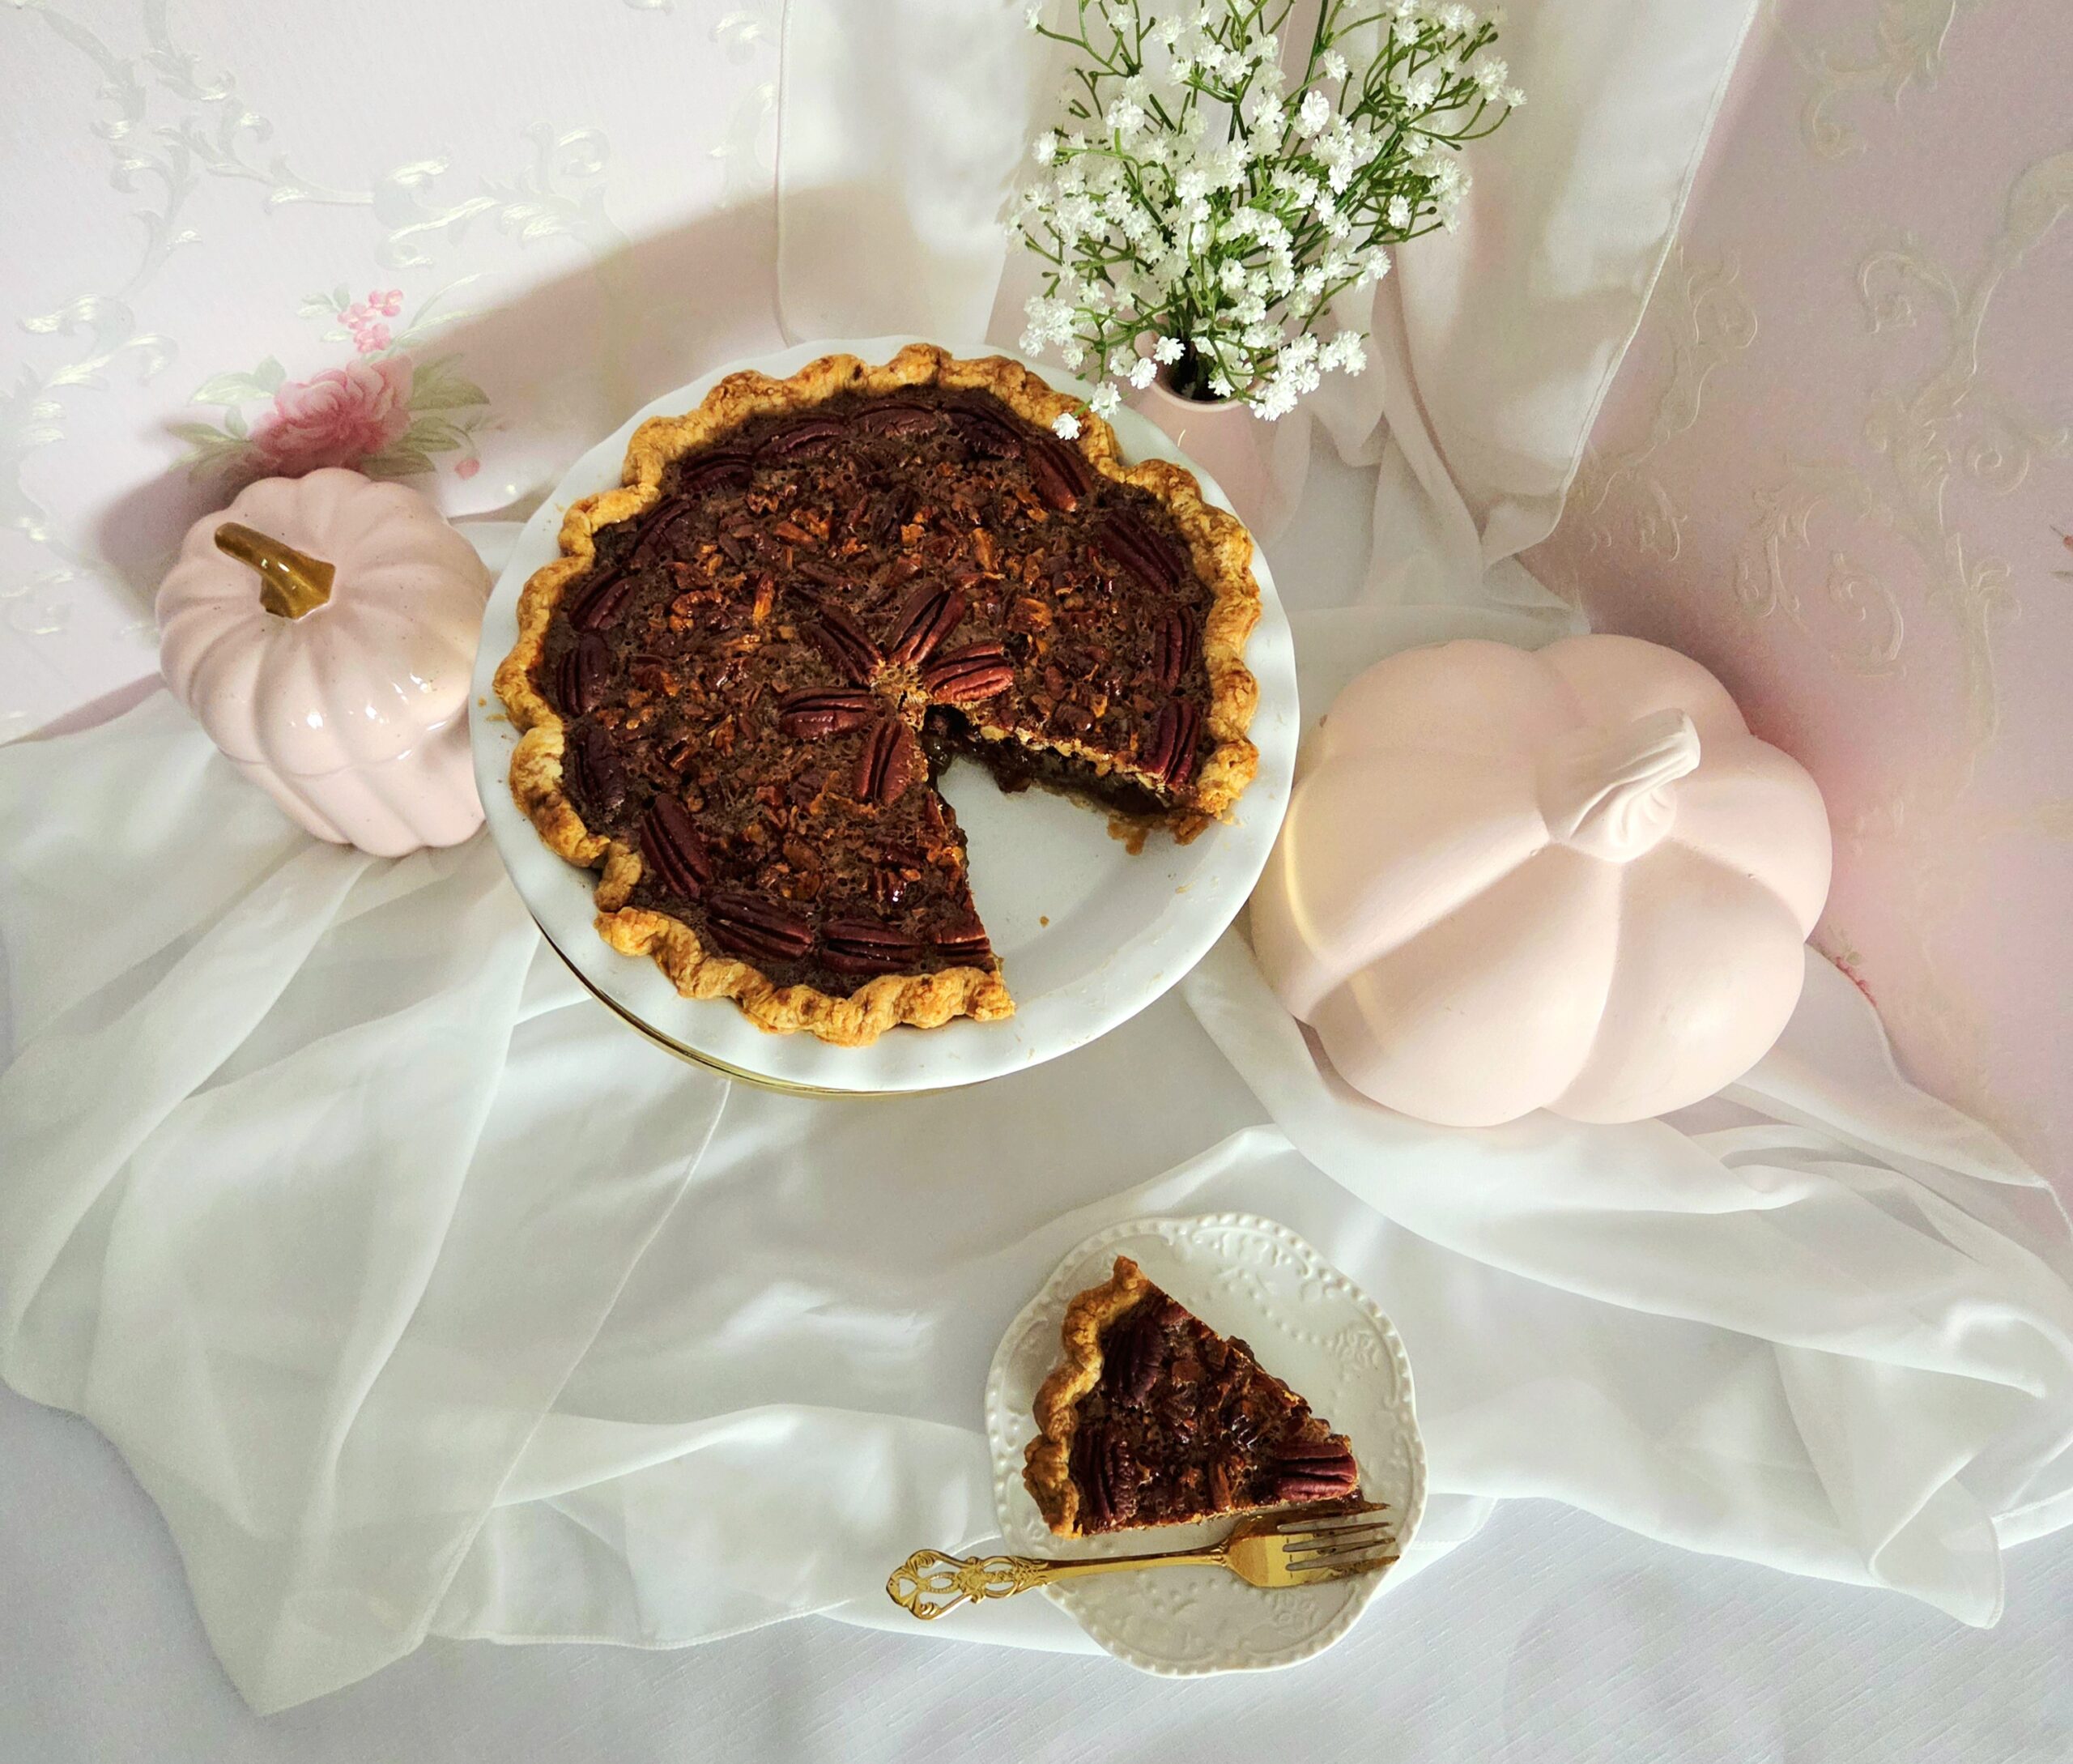
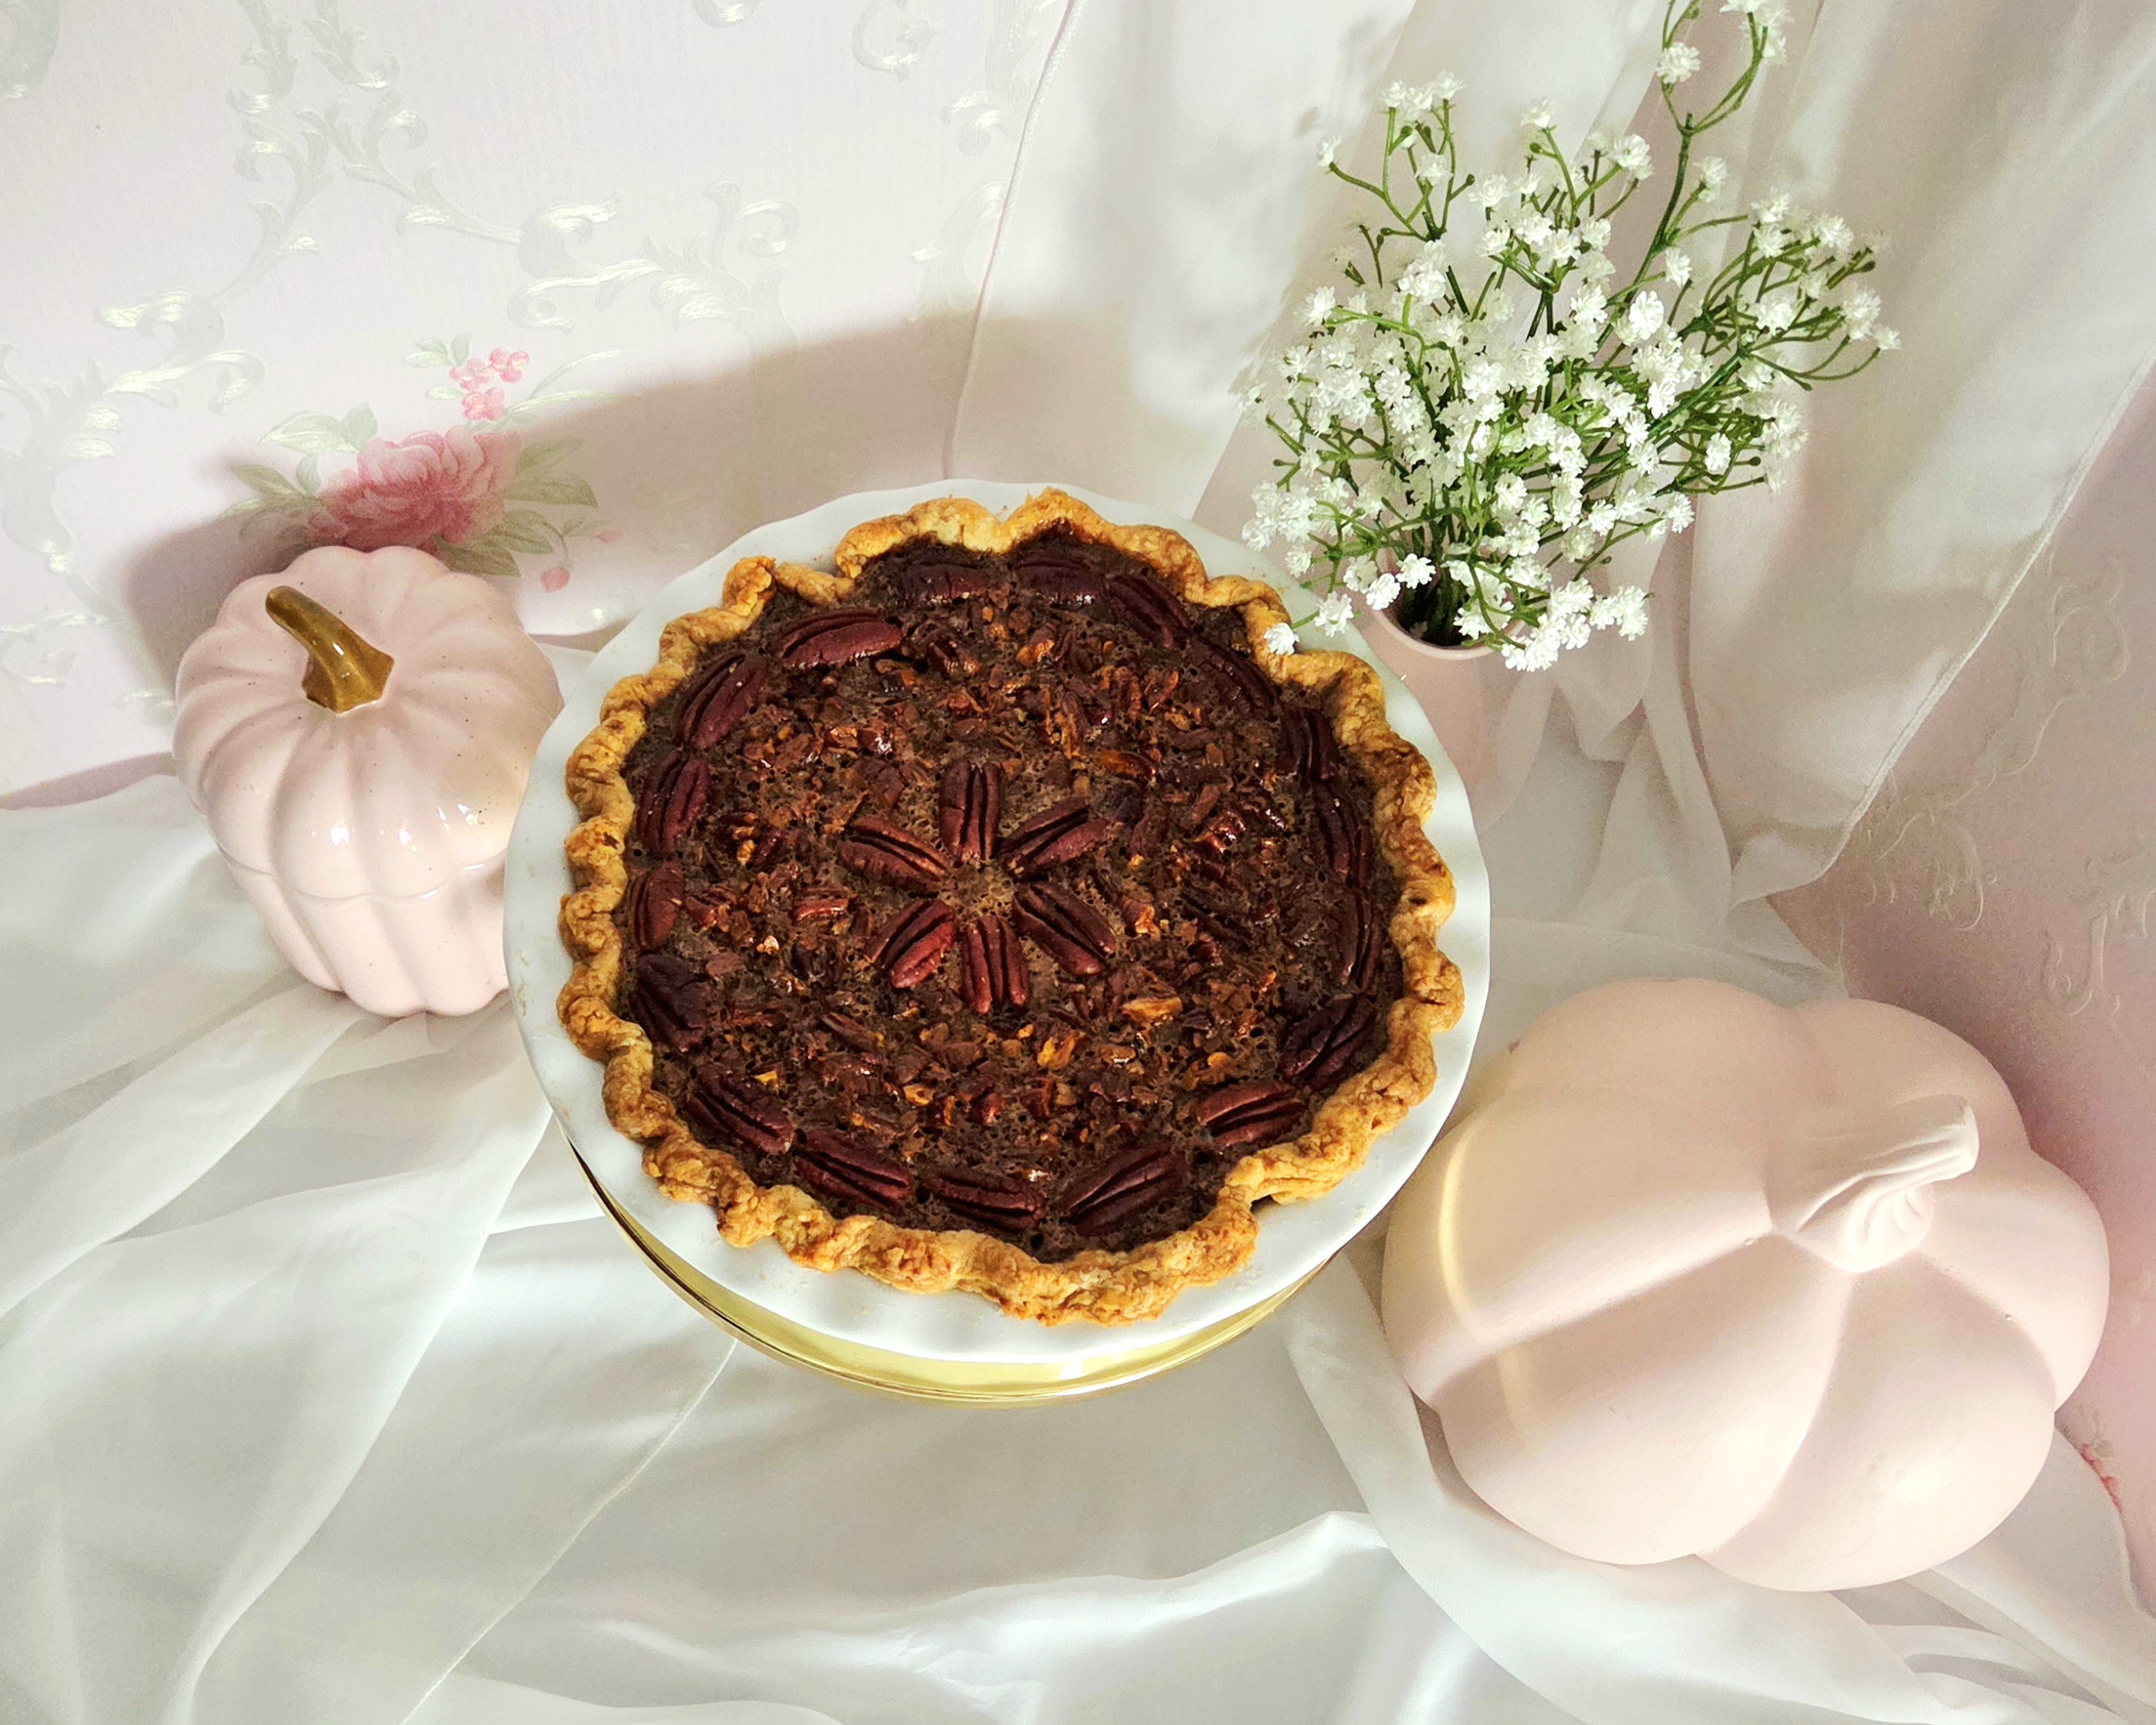
You definitely wont find that garbage here. The filling in this pie is well set, with a proper balance of salt and vanilla to compliment a good amount of pecans. It’s nutty with notes of caramel, and has just the right amount of goop for a beautiful mouth feel. The perfect accompaniment to your holiday dinner, a brisk fall picnic, or a cozy night in.
FAQs and Science
What’s the purpose of par-baking the crust?
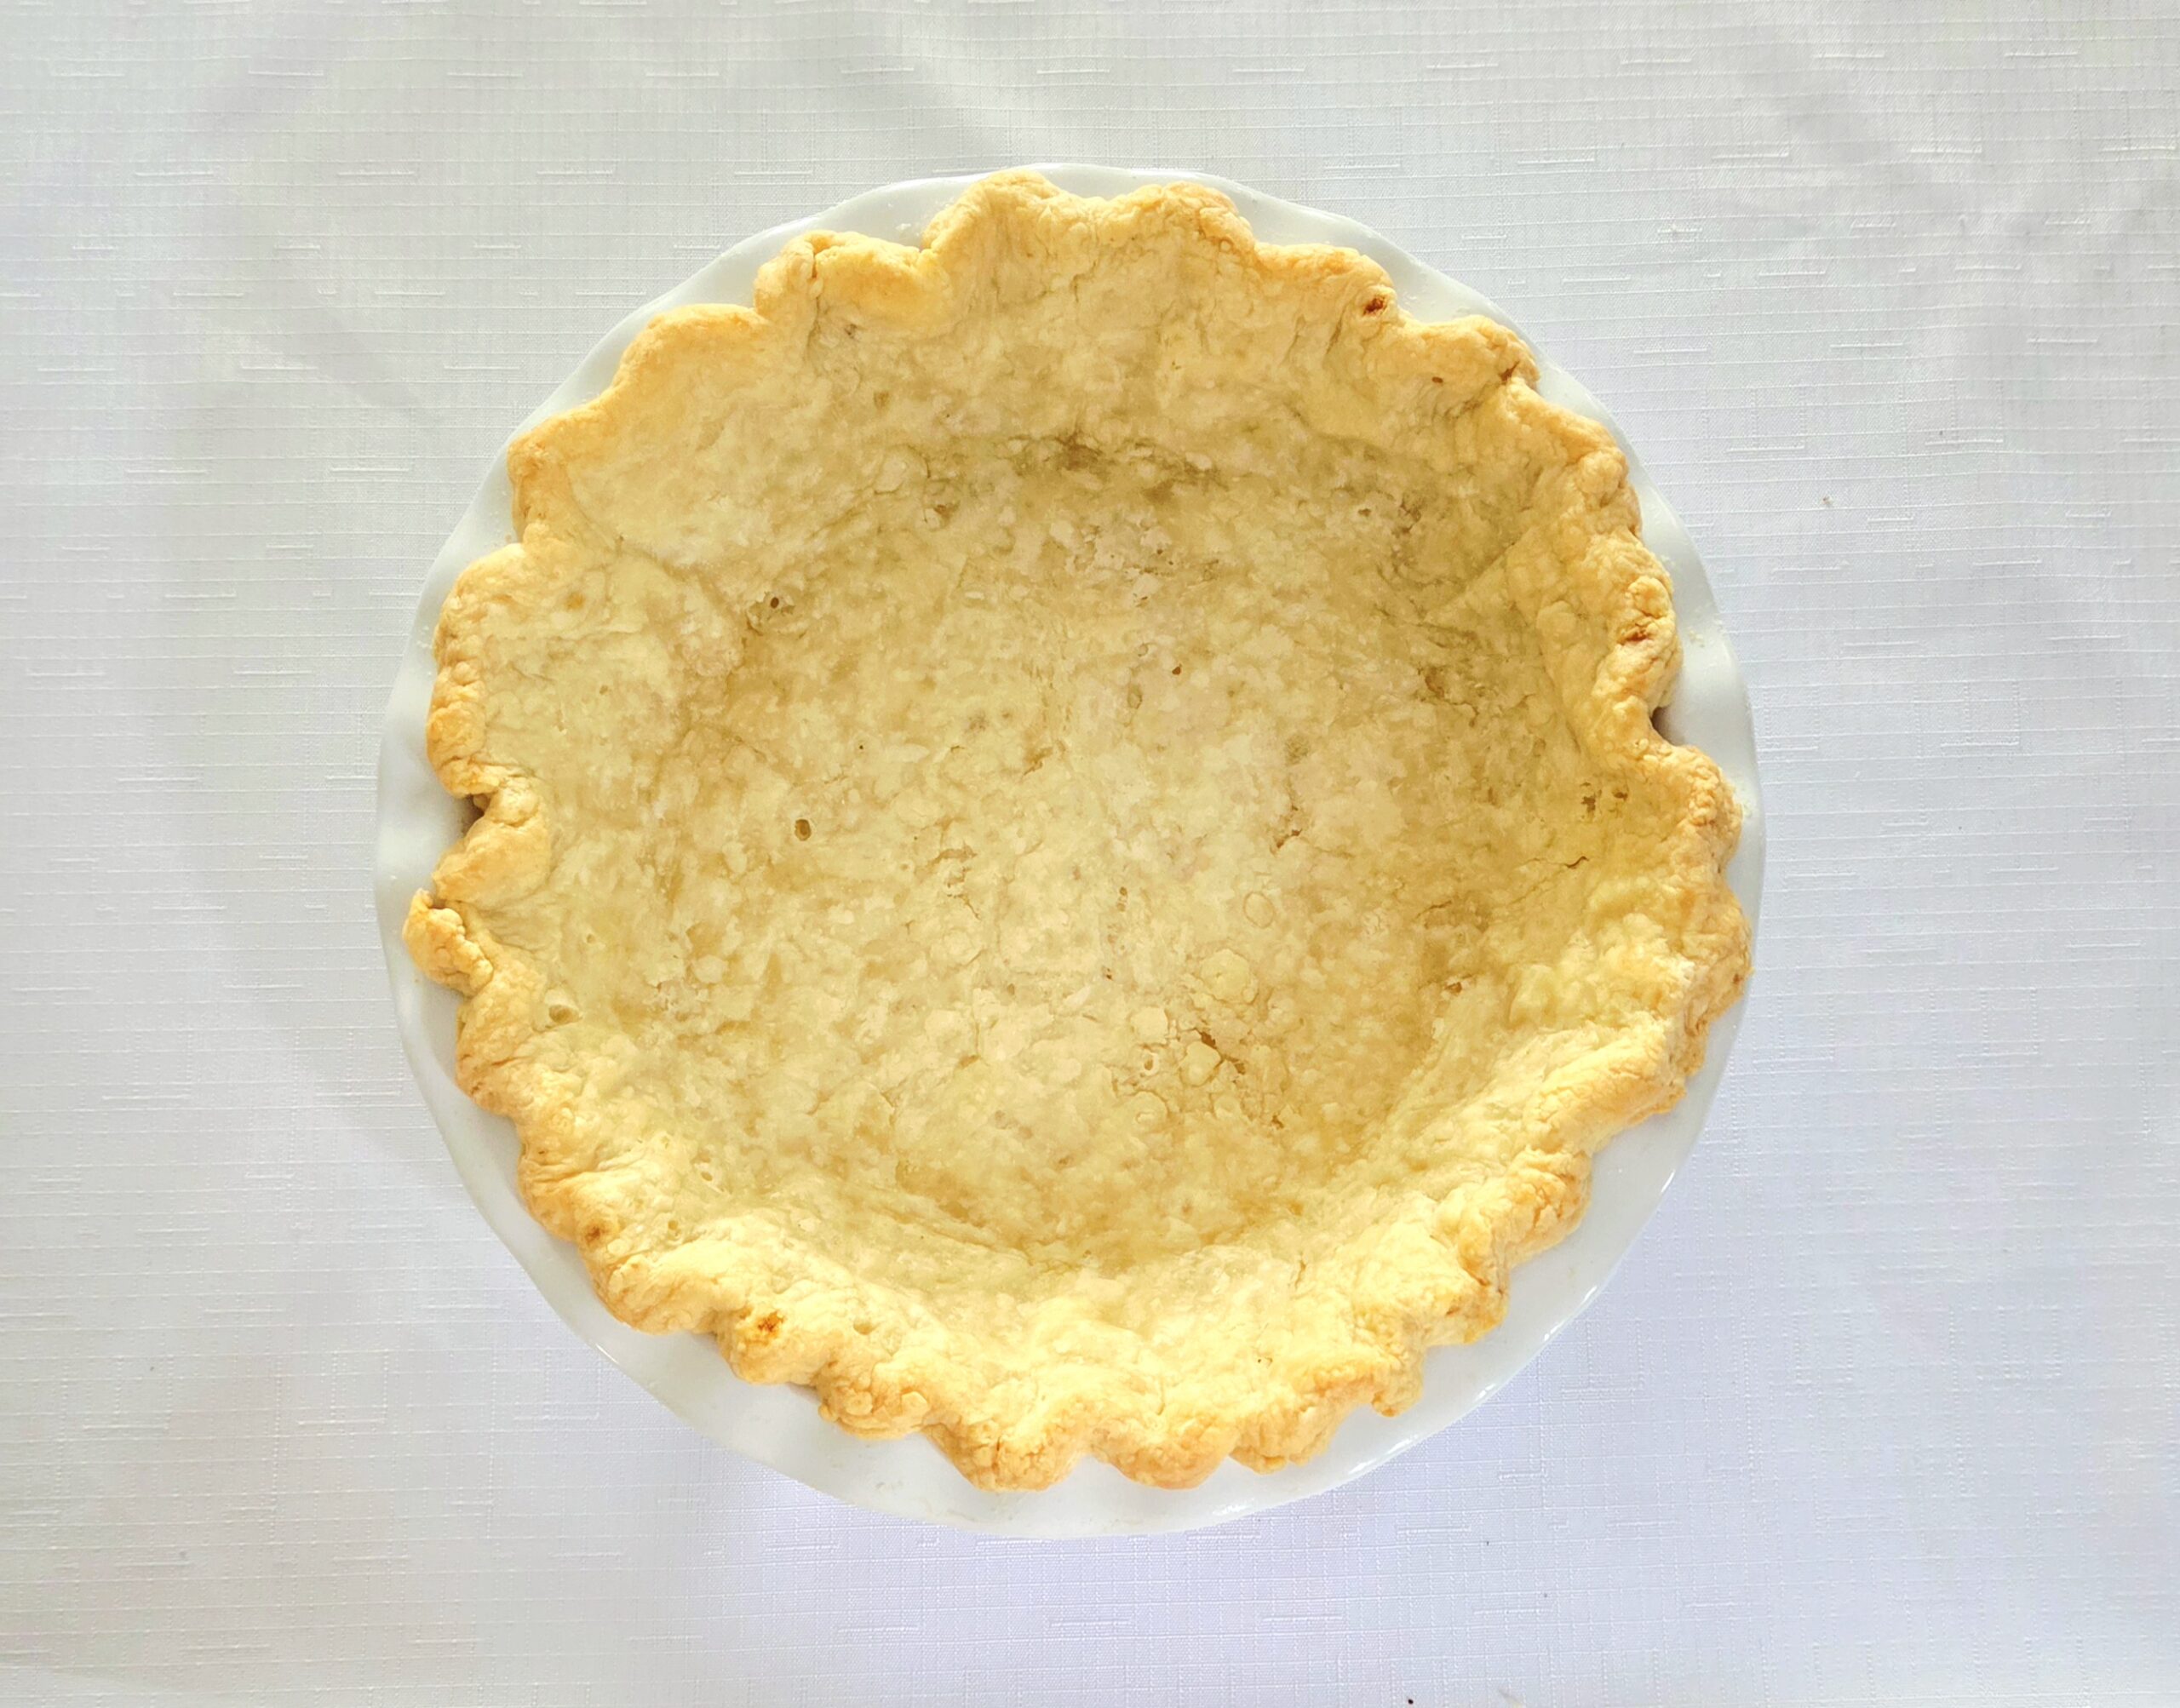
In order for the crust to fully bake, you need to allow it time to bake without any filling in it first. Fully baking the crust on its own ended up with a crust that was overdone, so I split the difference by only partially baking it on its own.
Why toast the pecans before adding them to the filling?
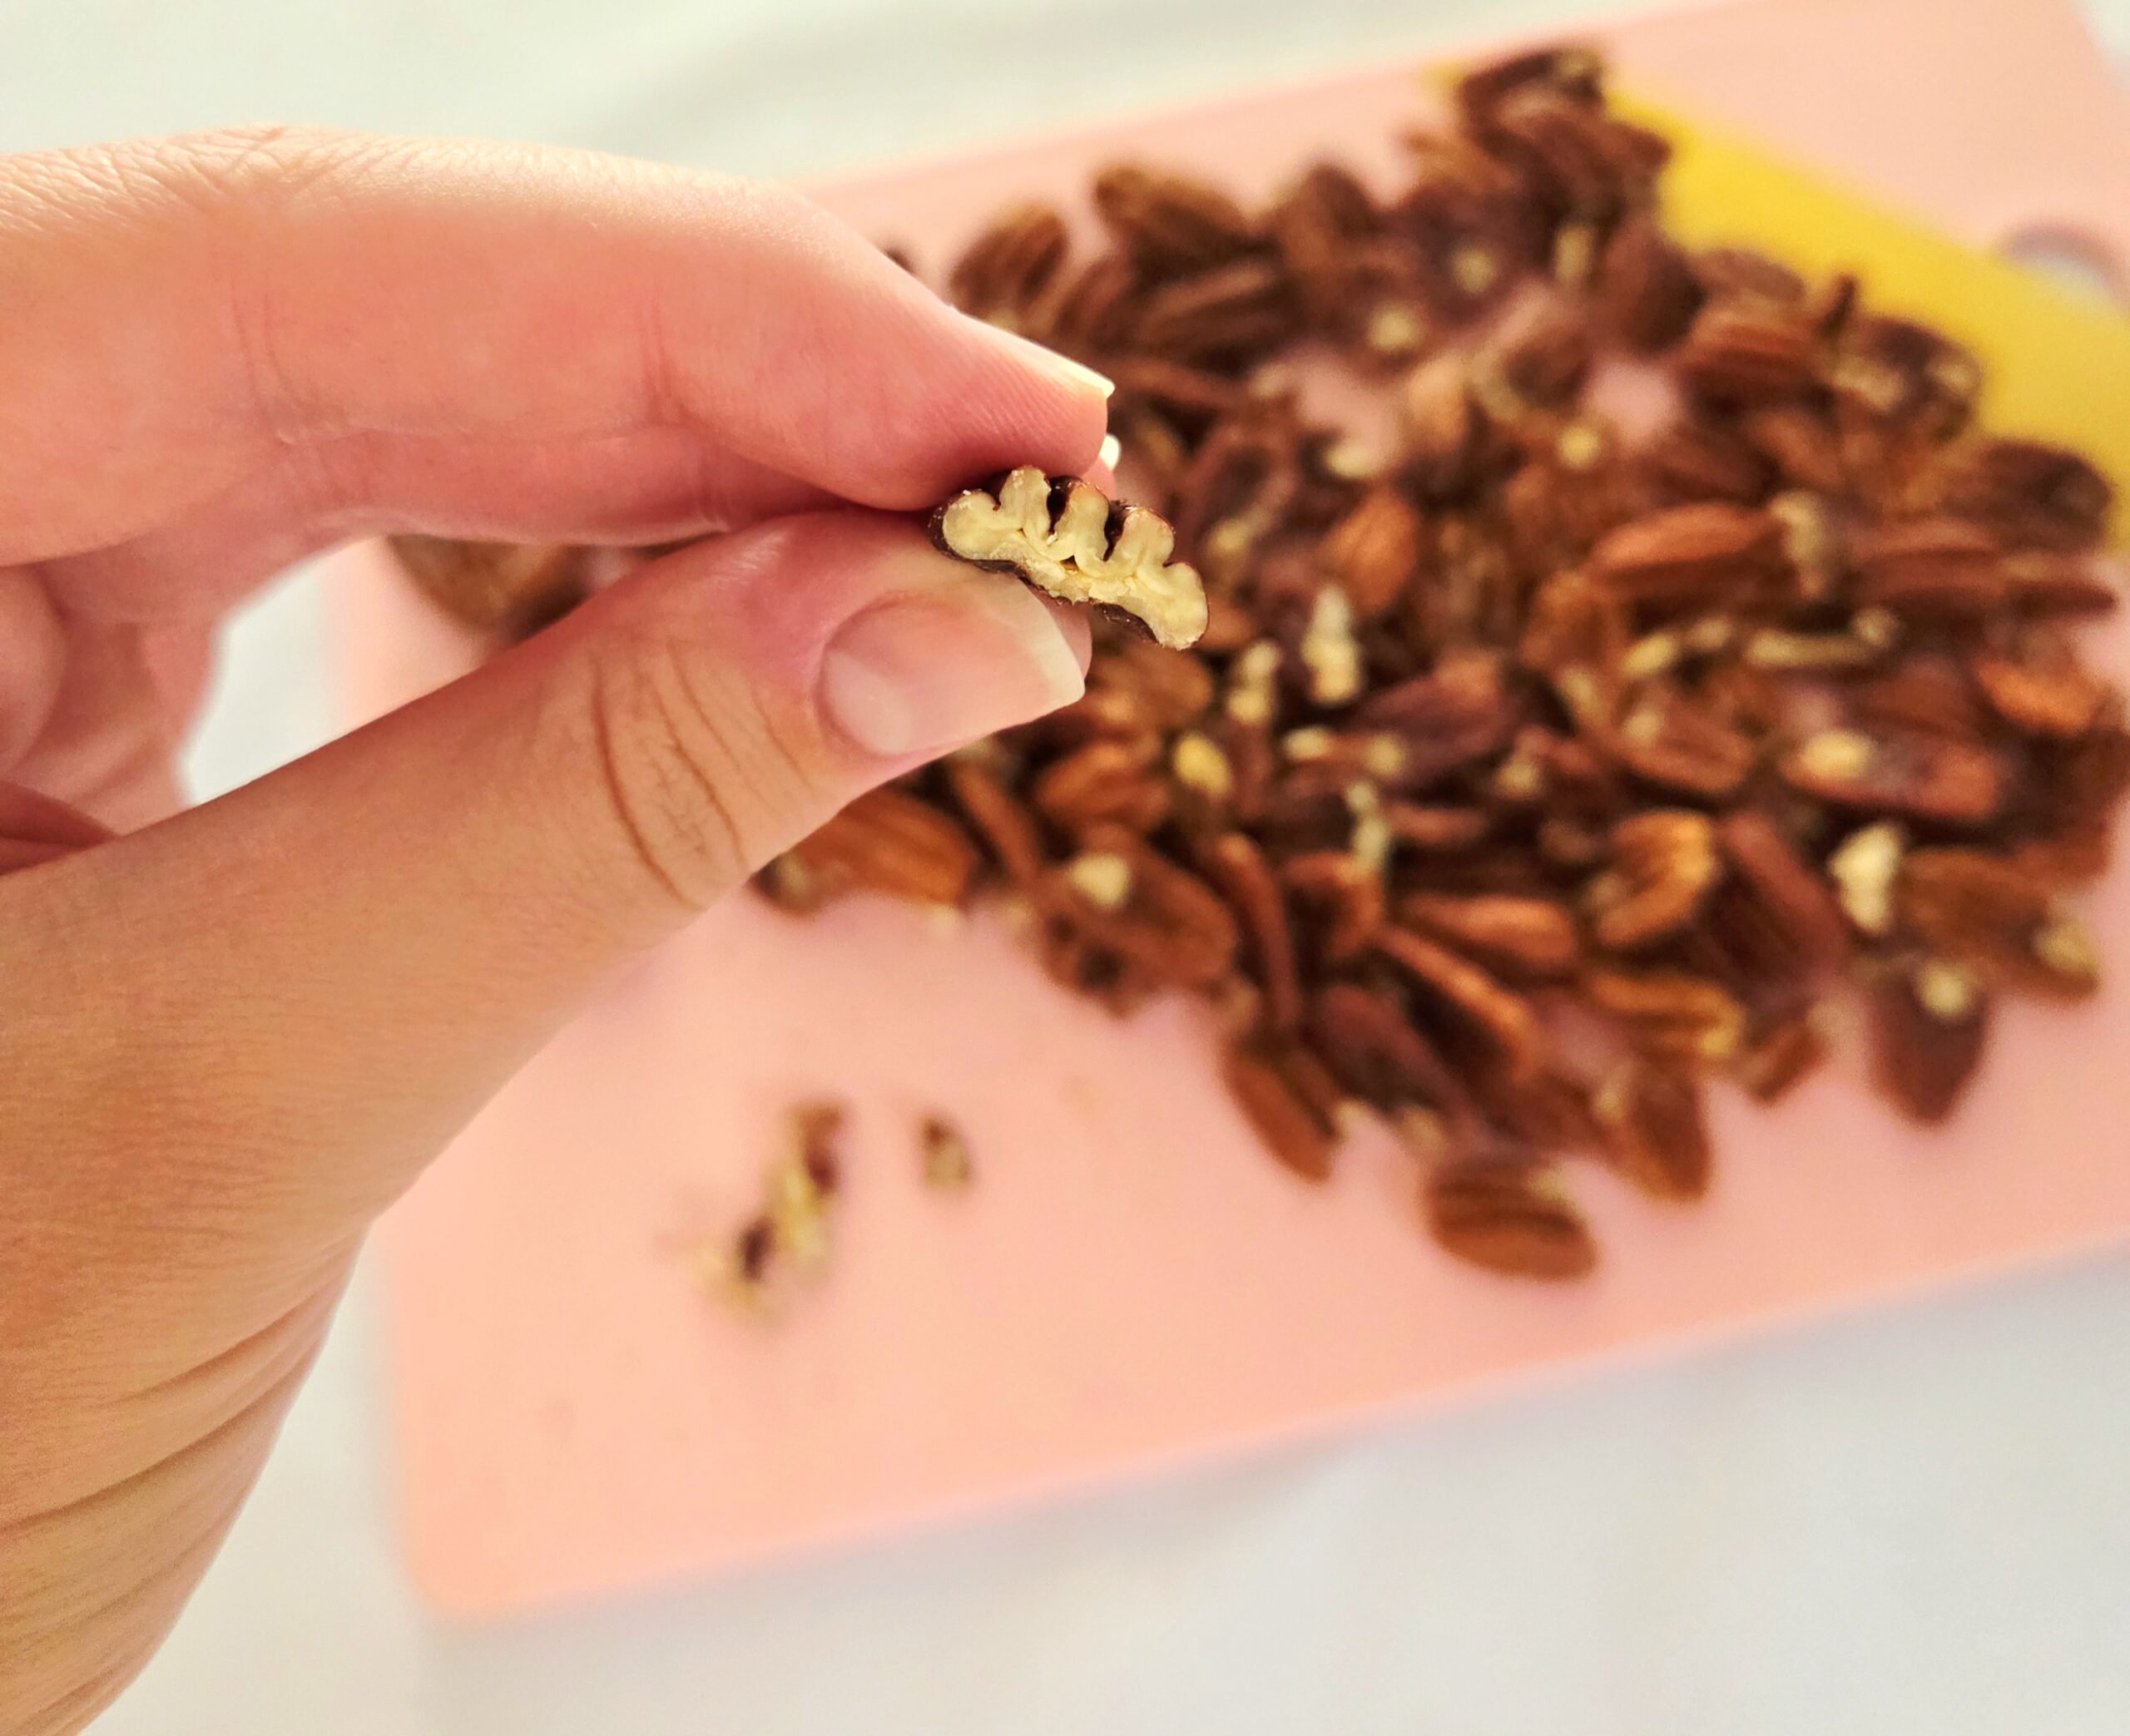
Toasting the pecans on their own brings out their natural oils, thus intensifying their flavor! The pie will of course still come together without this step, but it’s worth the extra few minutes.
Is corn syrup measured in a dry or liquid measuring cup?
Liquid measuring cup.
Are the pecans on top really necessary?
They’re just a garnish, so if you don’t have any leftover pecan halves or you’re just ready to bake it, feel free to leave them off!
Do I really need to cover the crust with foil?
Yes, if you don’t then you’ll risk the outer rim of the crust getting too dark and burning. The foil helps to shield it from the heat of the oven, so it will bake at a slower rate.
Does it matter what material the pie dish I use is made from?
The material your pan is made from actually does make a huge impact on how your pie comes out, as different materials conduct heat differently. A dark metal pie dish will conduct the most heat, while glass conducts the least. I prefer to go somewhere in the middle, with either a lighter metal or ceramic dish.
What You’ll Need

- Ceramic or light metal colored pie dish
- Nonstick baking spray
- Parchment paper
- Pie weights, dried beans, or dried rice
- Baking sheet
- Large mixing bowl
- Whisk
- Rubber spatula
- Rolling pin
- Dry measuring cups
- Liquid measuring cup
- Measuring spoons
- Chef’s knife
- Paring knife or kitchen scissors
- Cutting board
The Process
Roll the Dough
Preheat the oven to 350F, on the convection setting if possible, and prepare the pie dish by coating it with a nonstick baking spray. Set this pan aside.
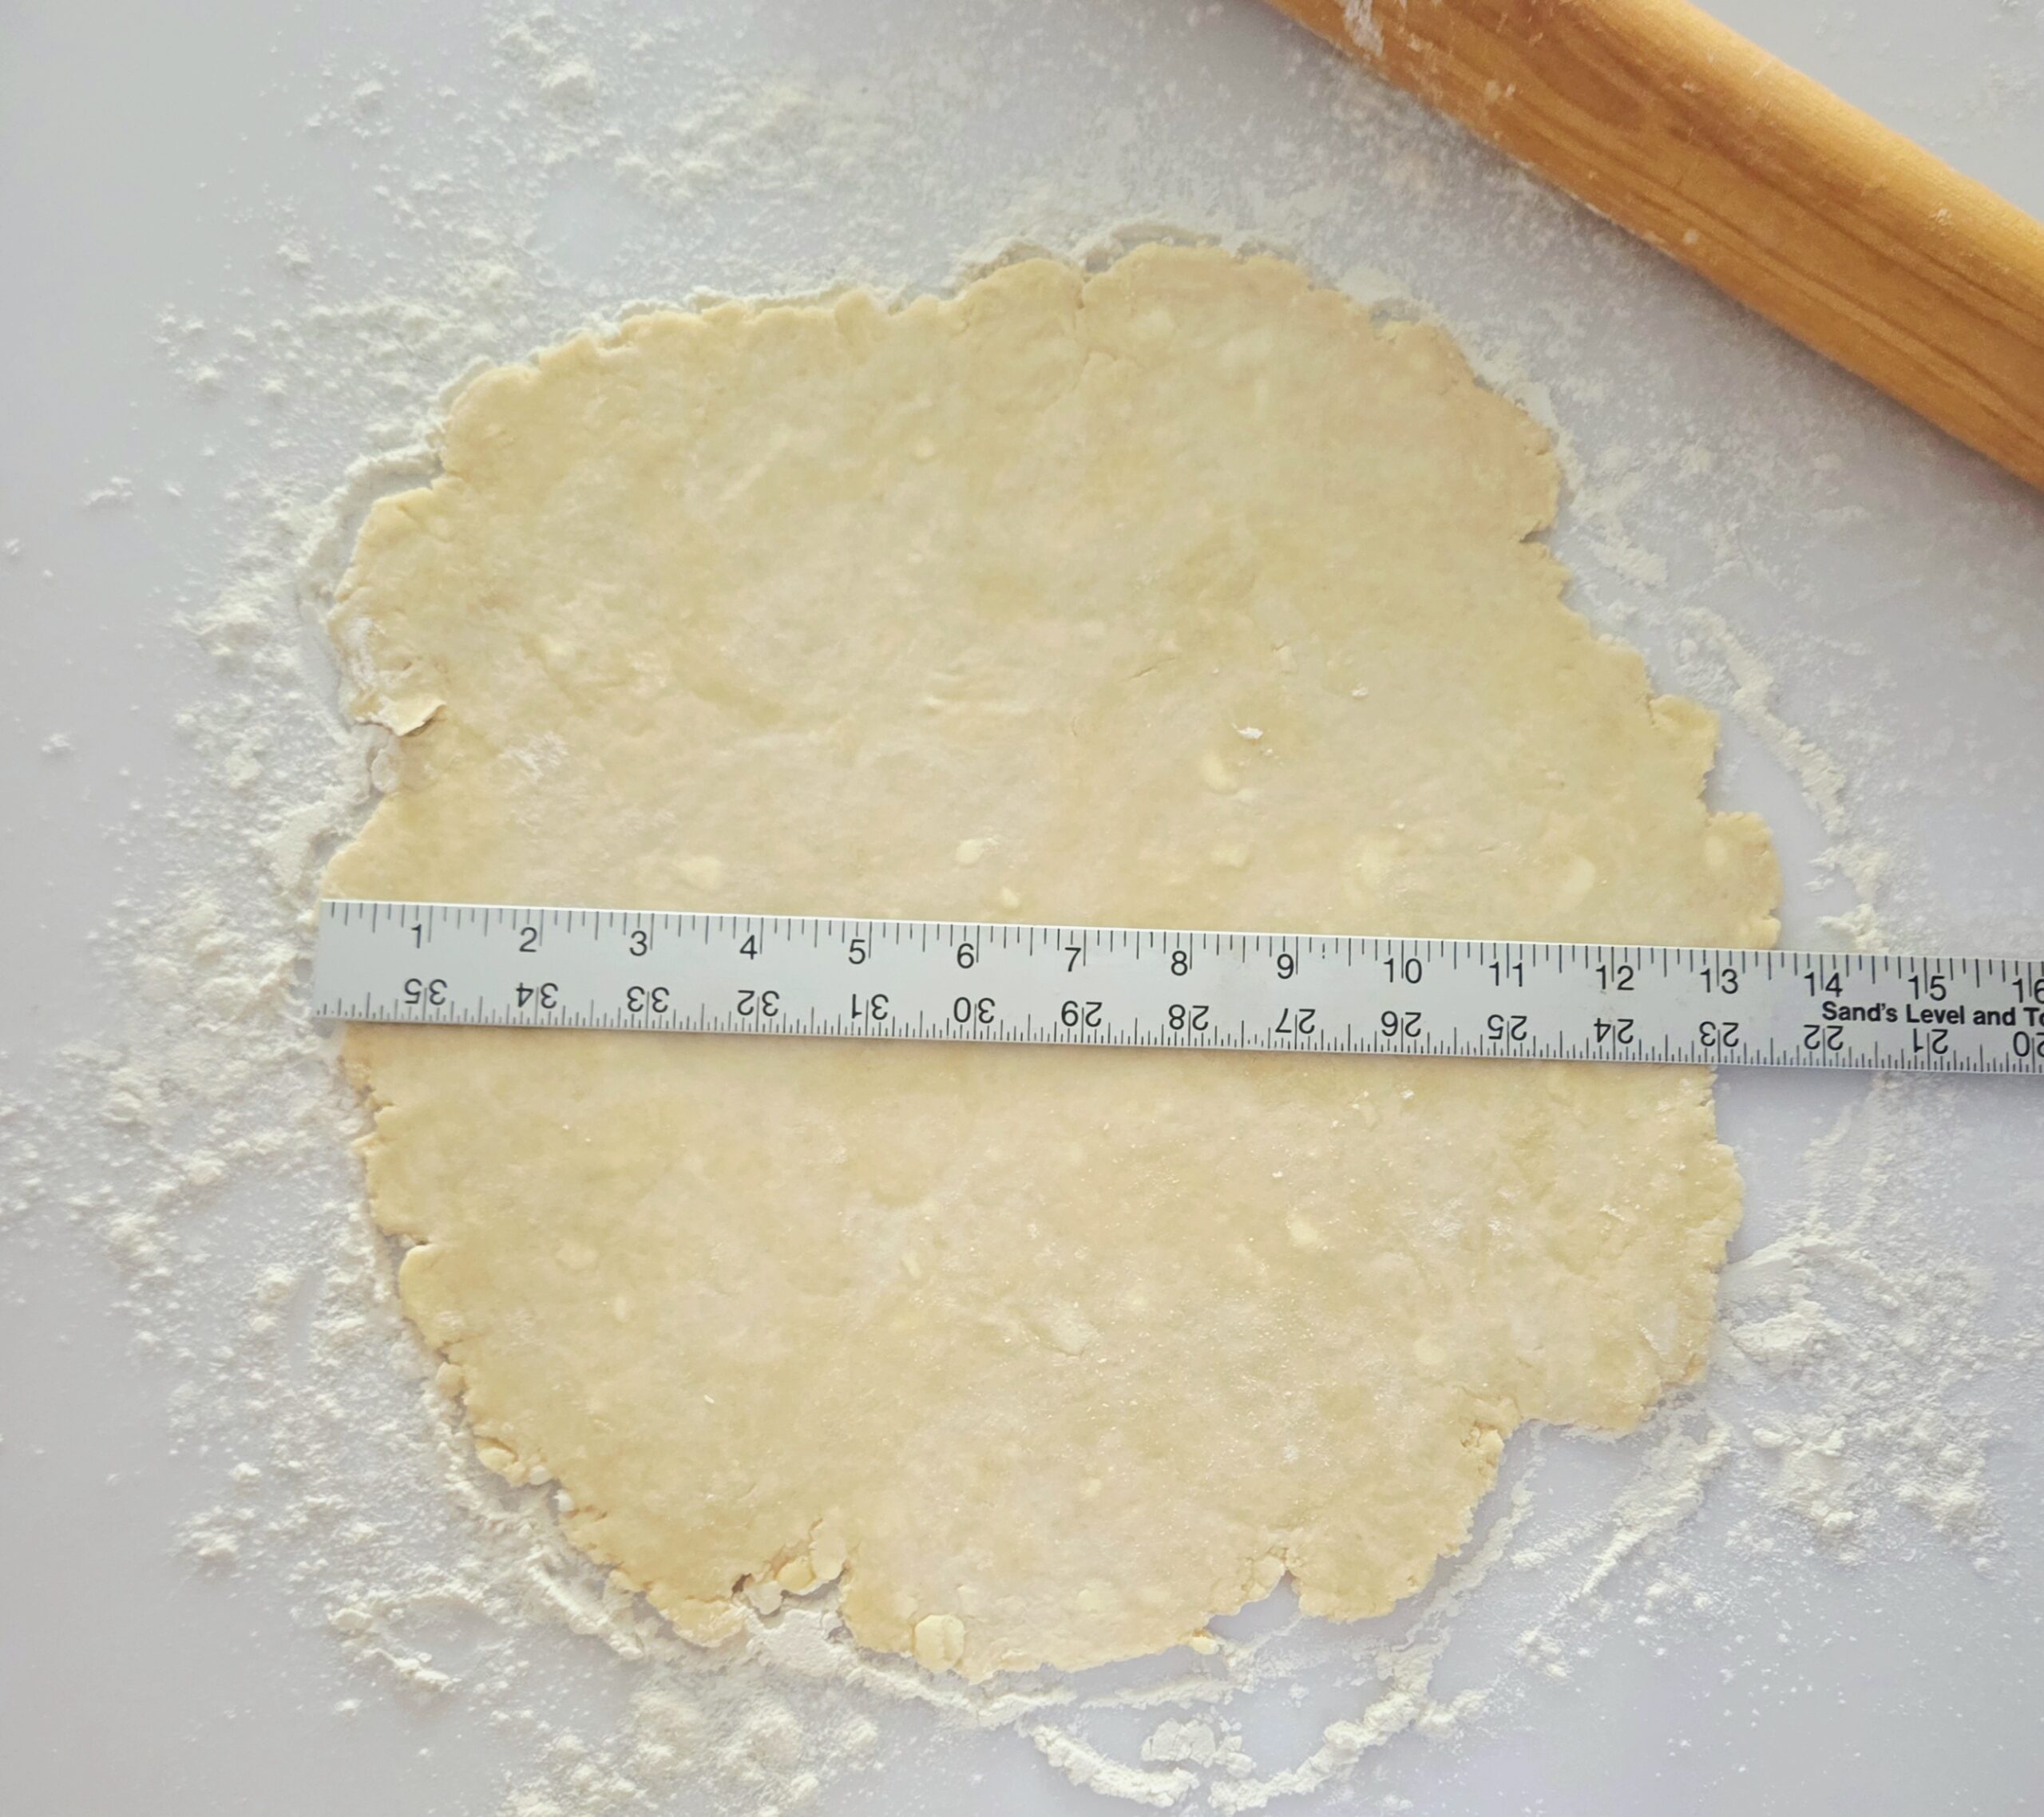
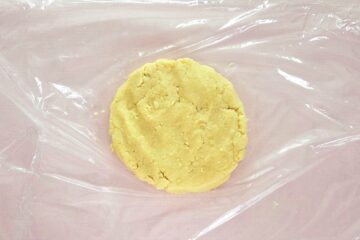
If you’ve opted to make your own pie crust, remove the disc of dough from the fridge to roll out. Lightly flour a clean counter, place the disc in the center, and lightly flour the top of the disc as well. Using a rolling pin, roll out the dough into a circle with a 13-inch diameter. If at any point the dough starts to stick to either the counter or the rolling pin, gently peel it away and add a little more flour. I suggest using a bench scraper to assist you with this step, to avoid tearing a hole in the dough.
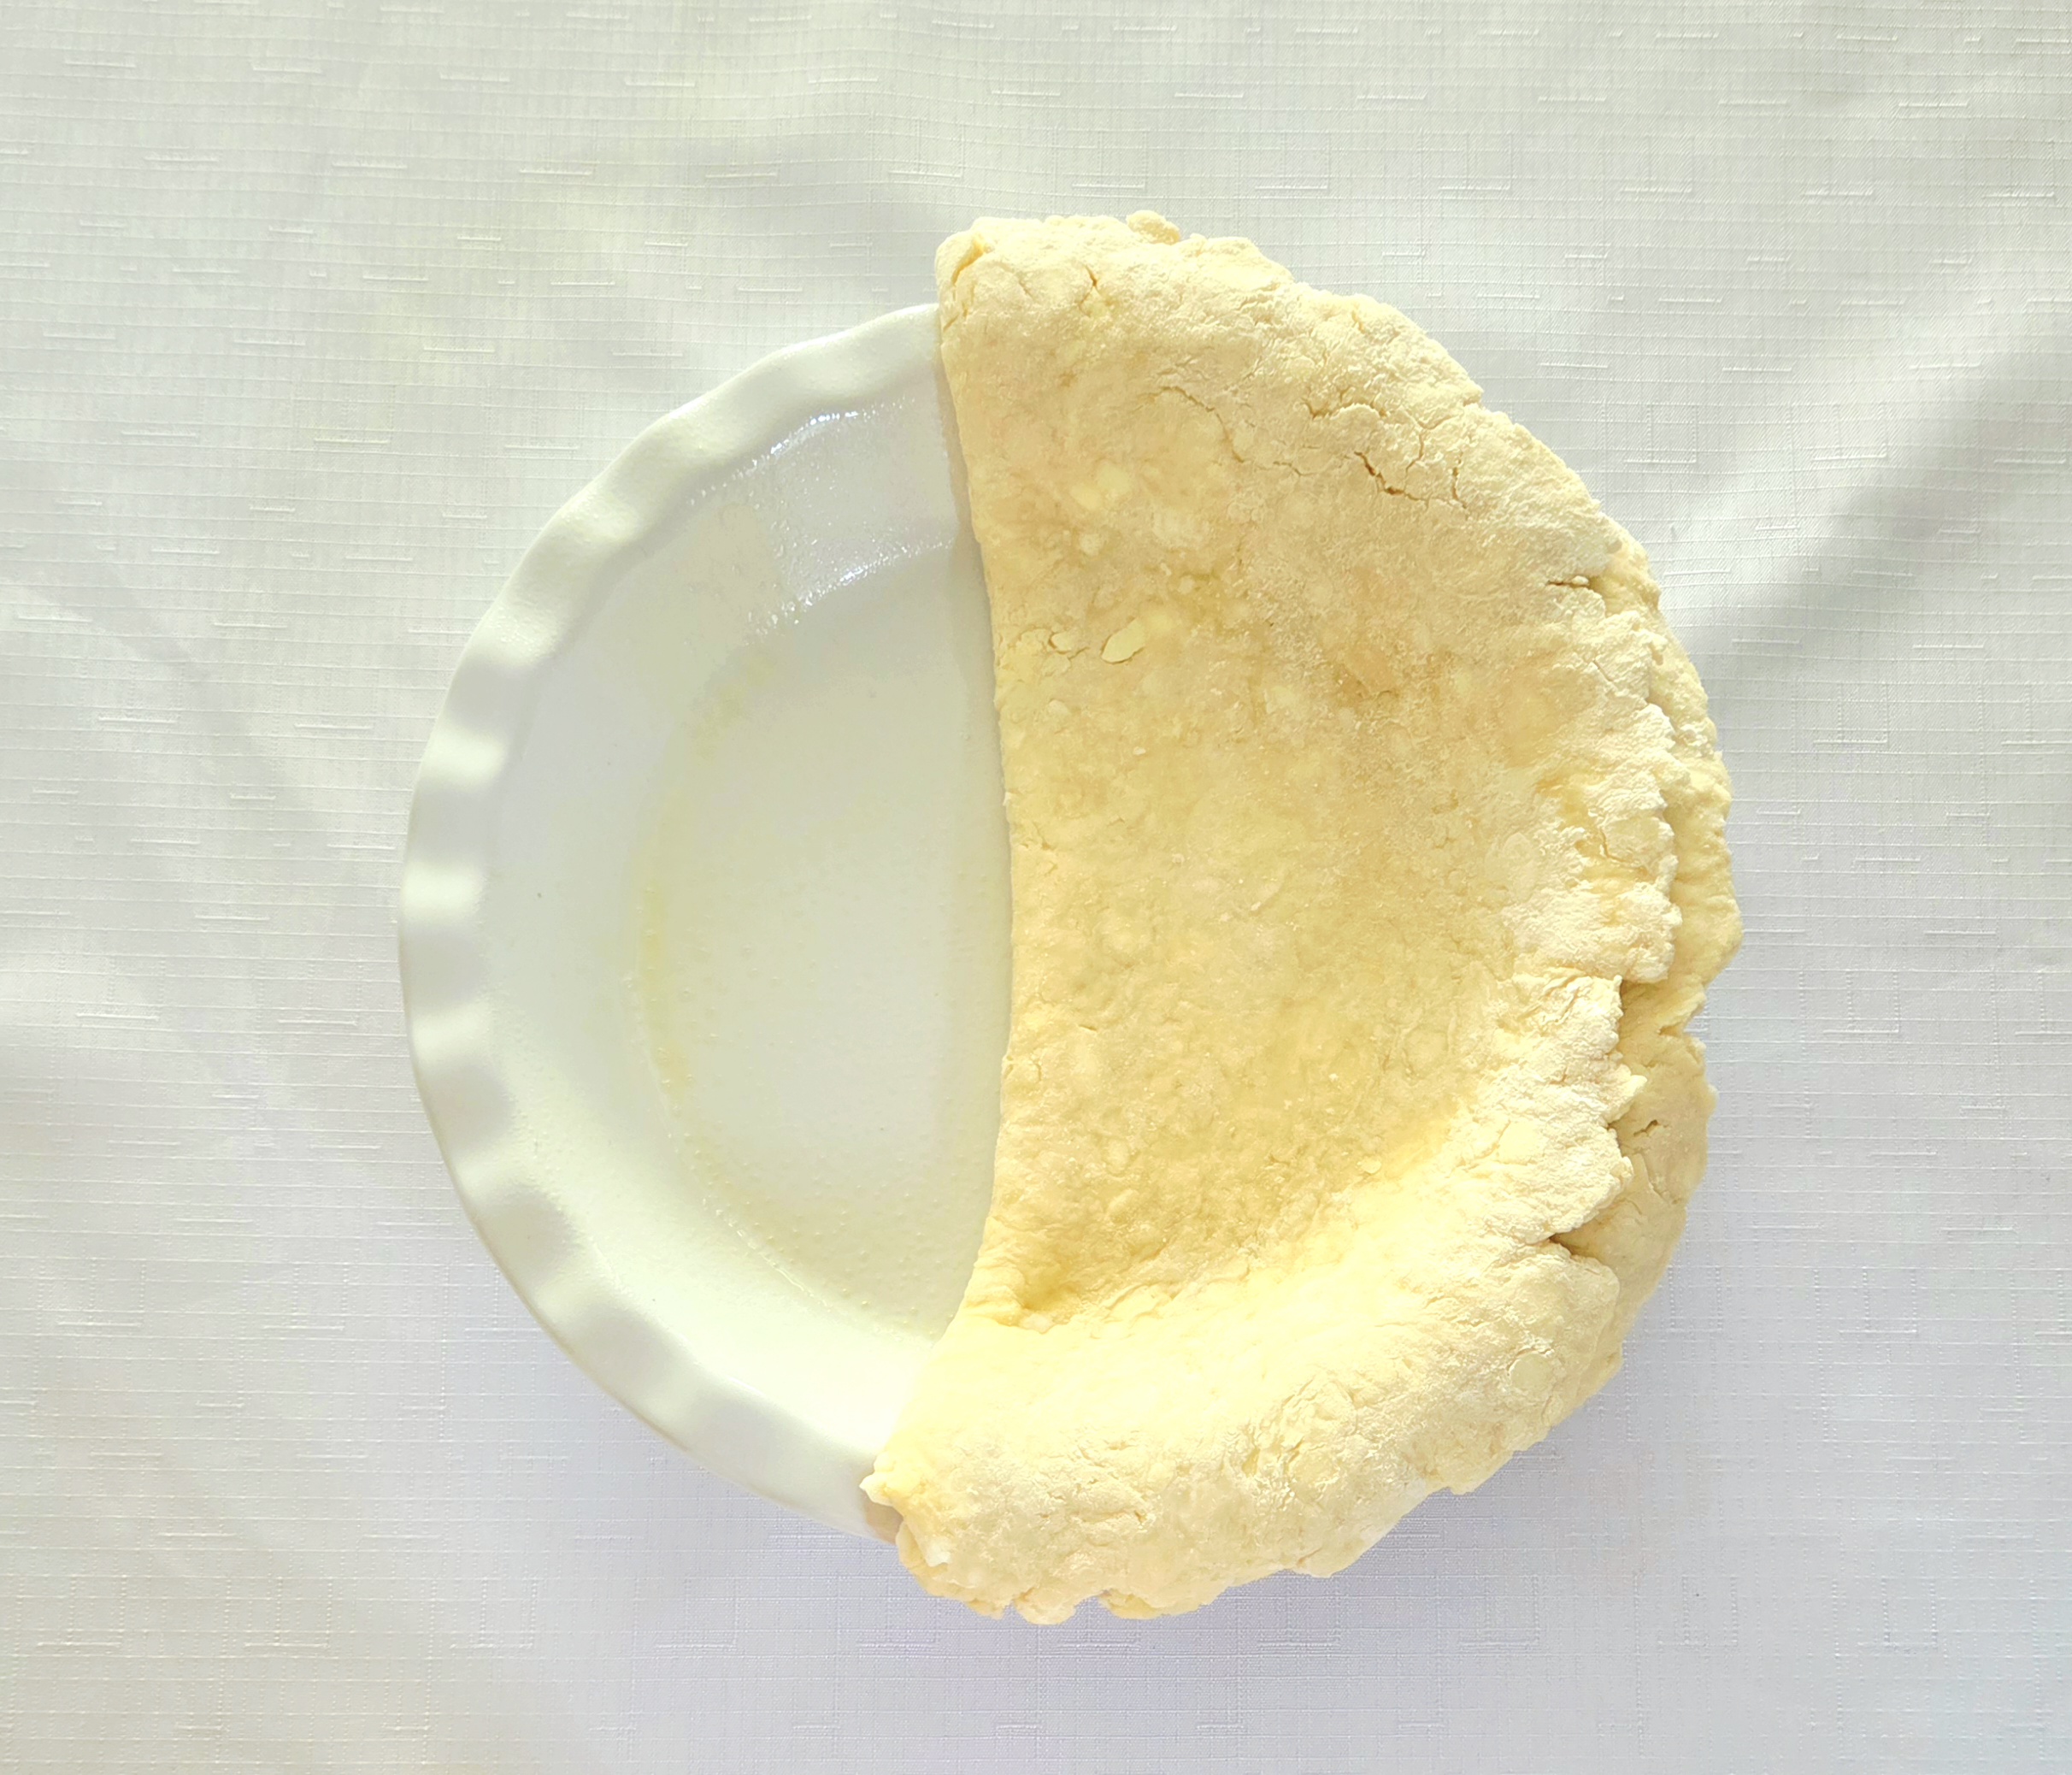
Time to transfer the dough over to the pie dish. Some people find it easiest to fold the dough over the rolling pin to transfer it, as it can be more comfortable to lift this way. You’re also free to implore my slightly bolder method of folding the dough directly in half on top of itself and quickly moving it into the dish! Just be very confident in both your movements and in the dough not being sticky at all, or you’re going to have a stressful time.
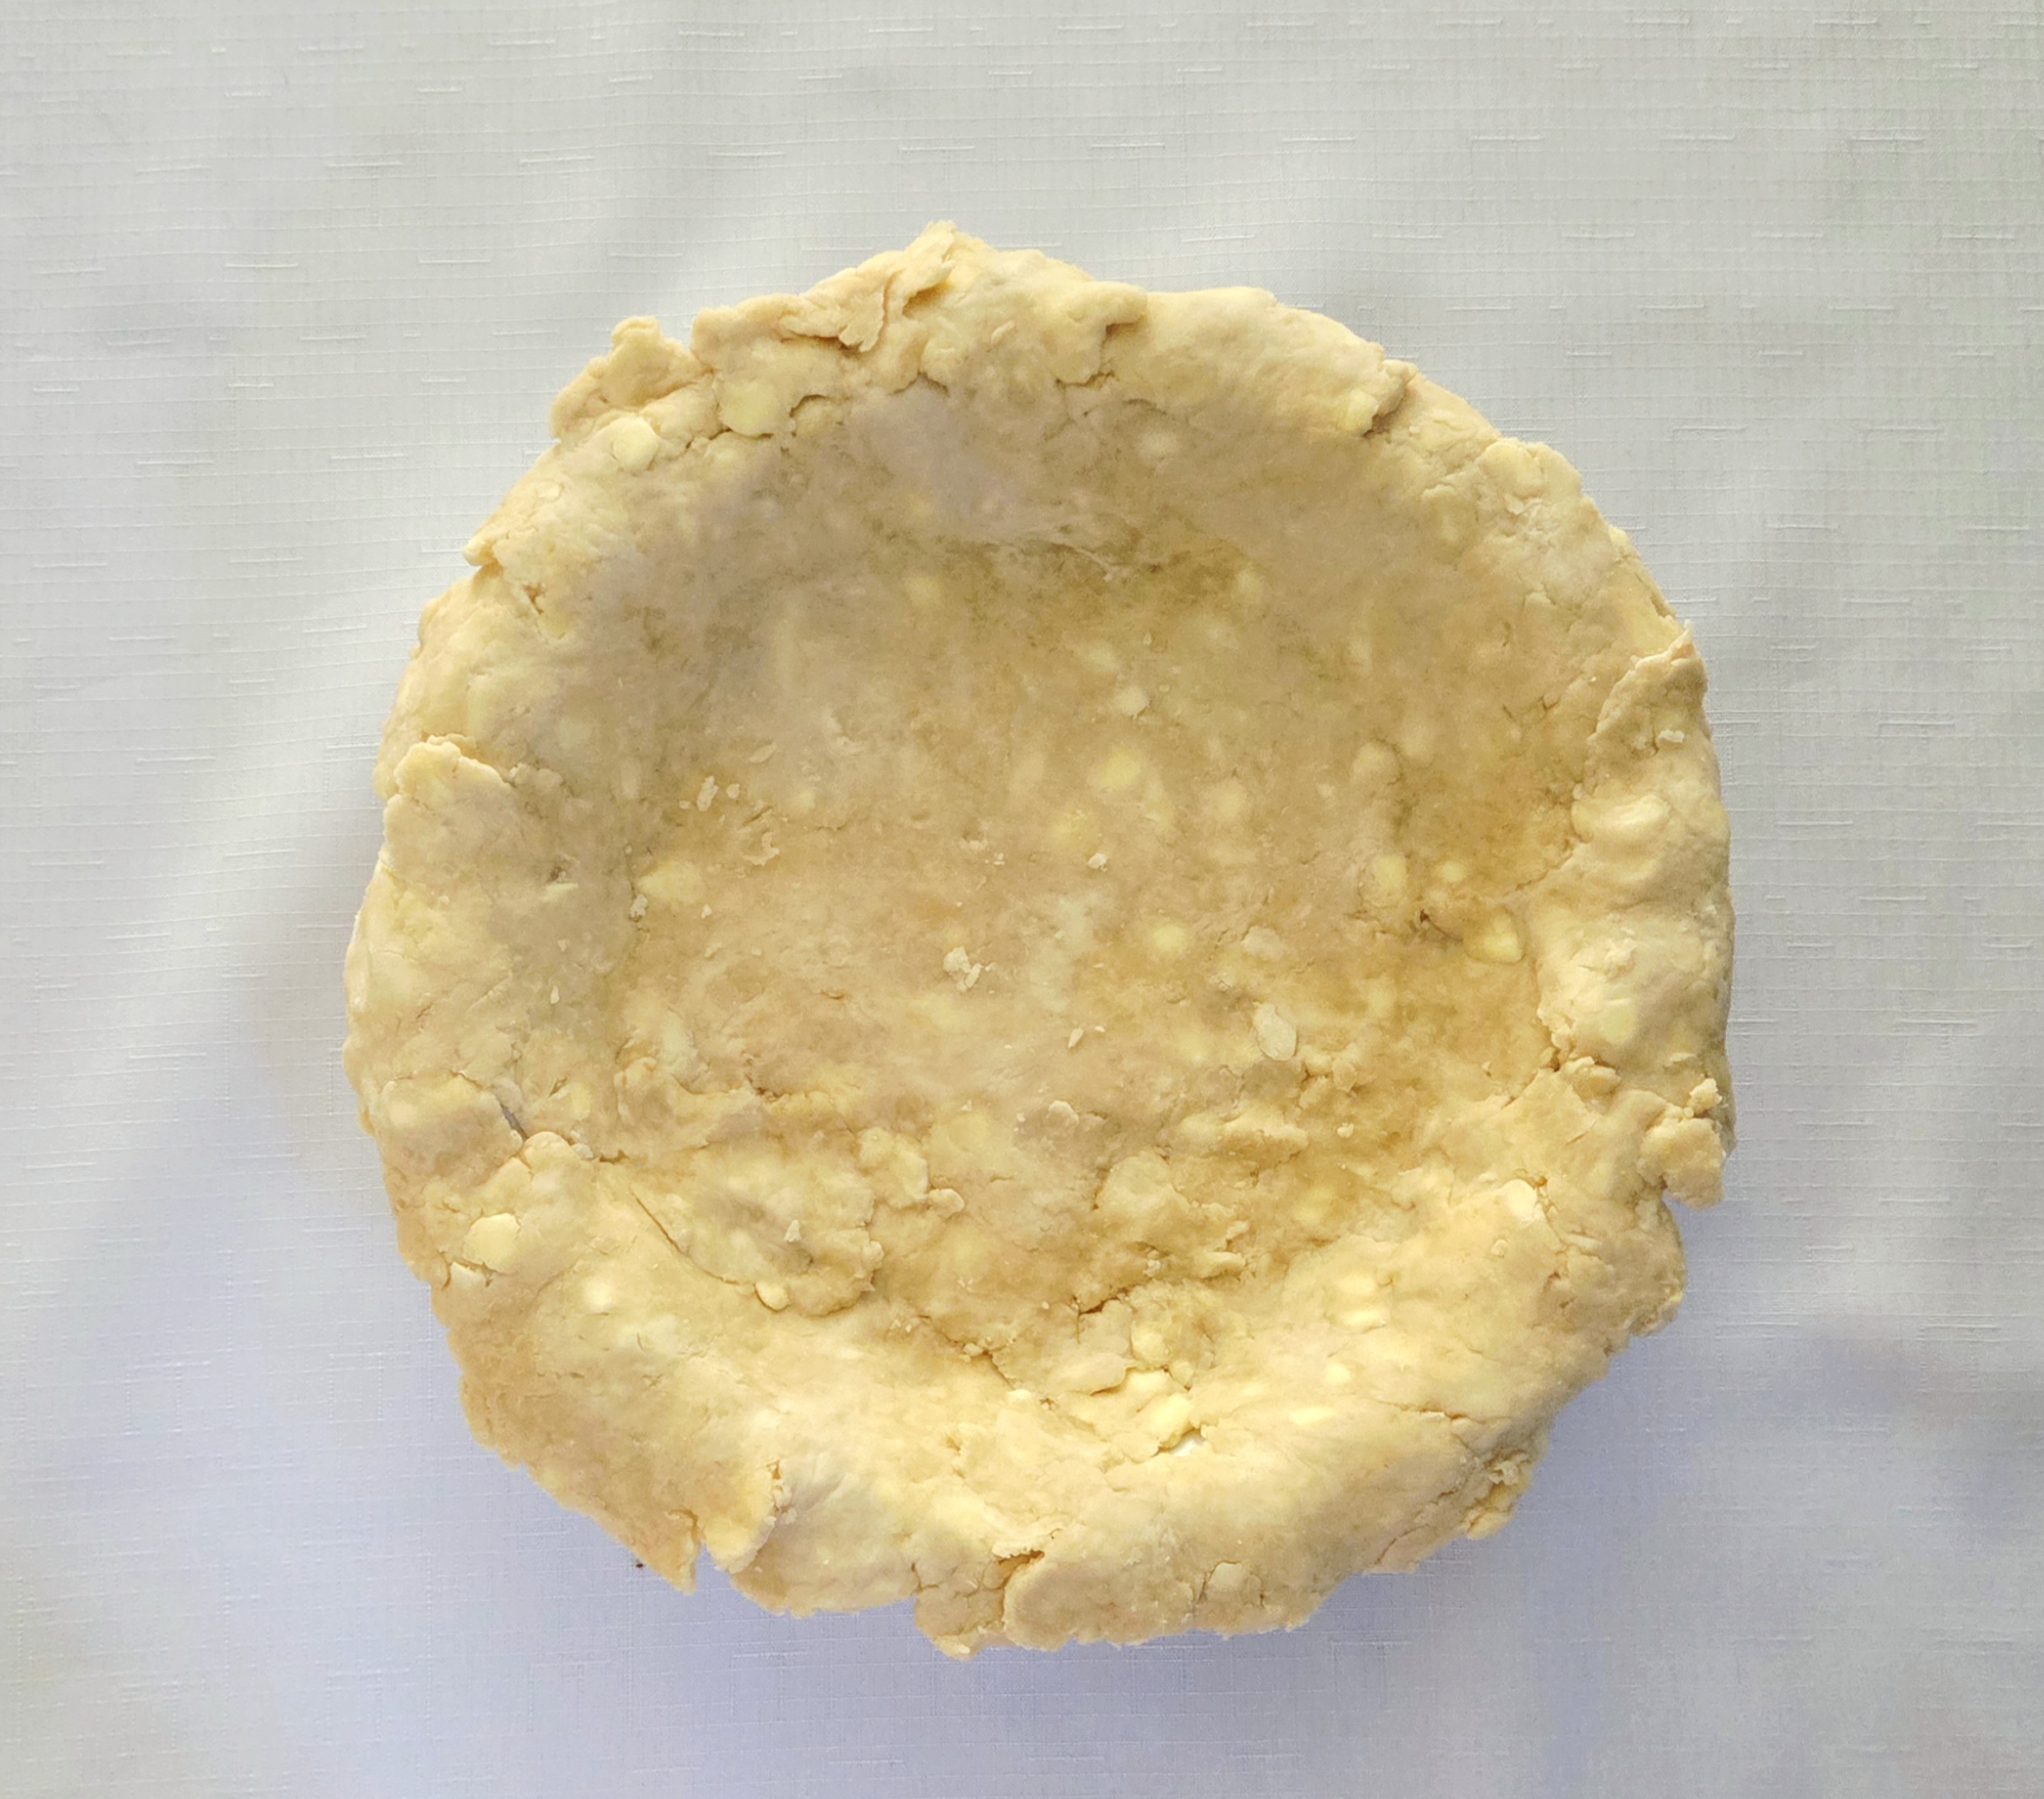
Gently unfold it, and fit the dough snug into the pie dish. Ensure that it’s touching the bottom, all sides, and the crease where the bottom and sides meet. This can be a bit tricky to achieve, but I believe in you. In pastry school, the method we learned for getting dough perfectly flush in the corners was to lift up the sides and gently push down before laying them against the sides of the dish. Doing this prevents the dough from tearing or thinning out where the bottom meets the sides. Allow any excess dough to hang over the sides of the dish.
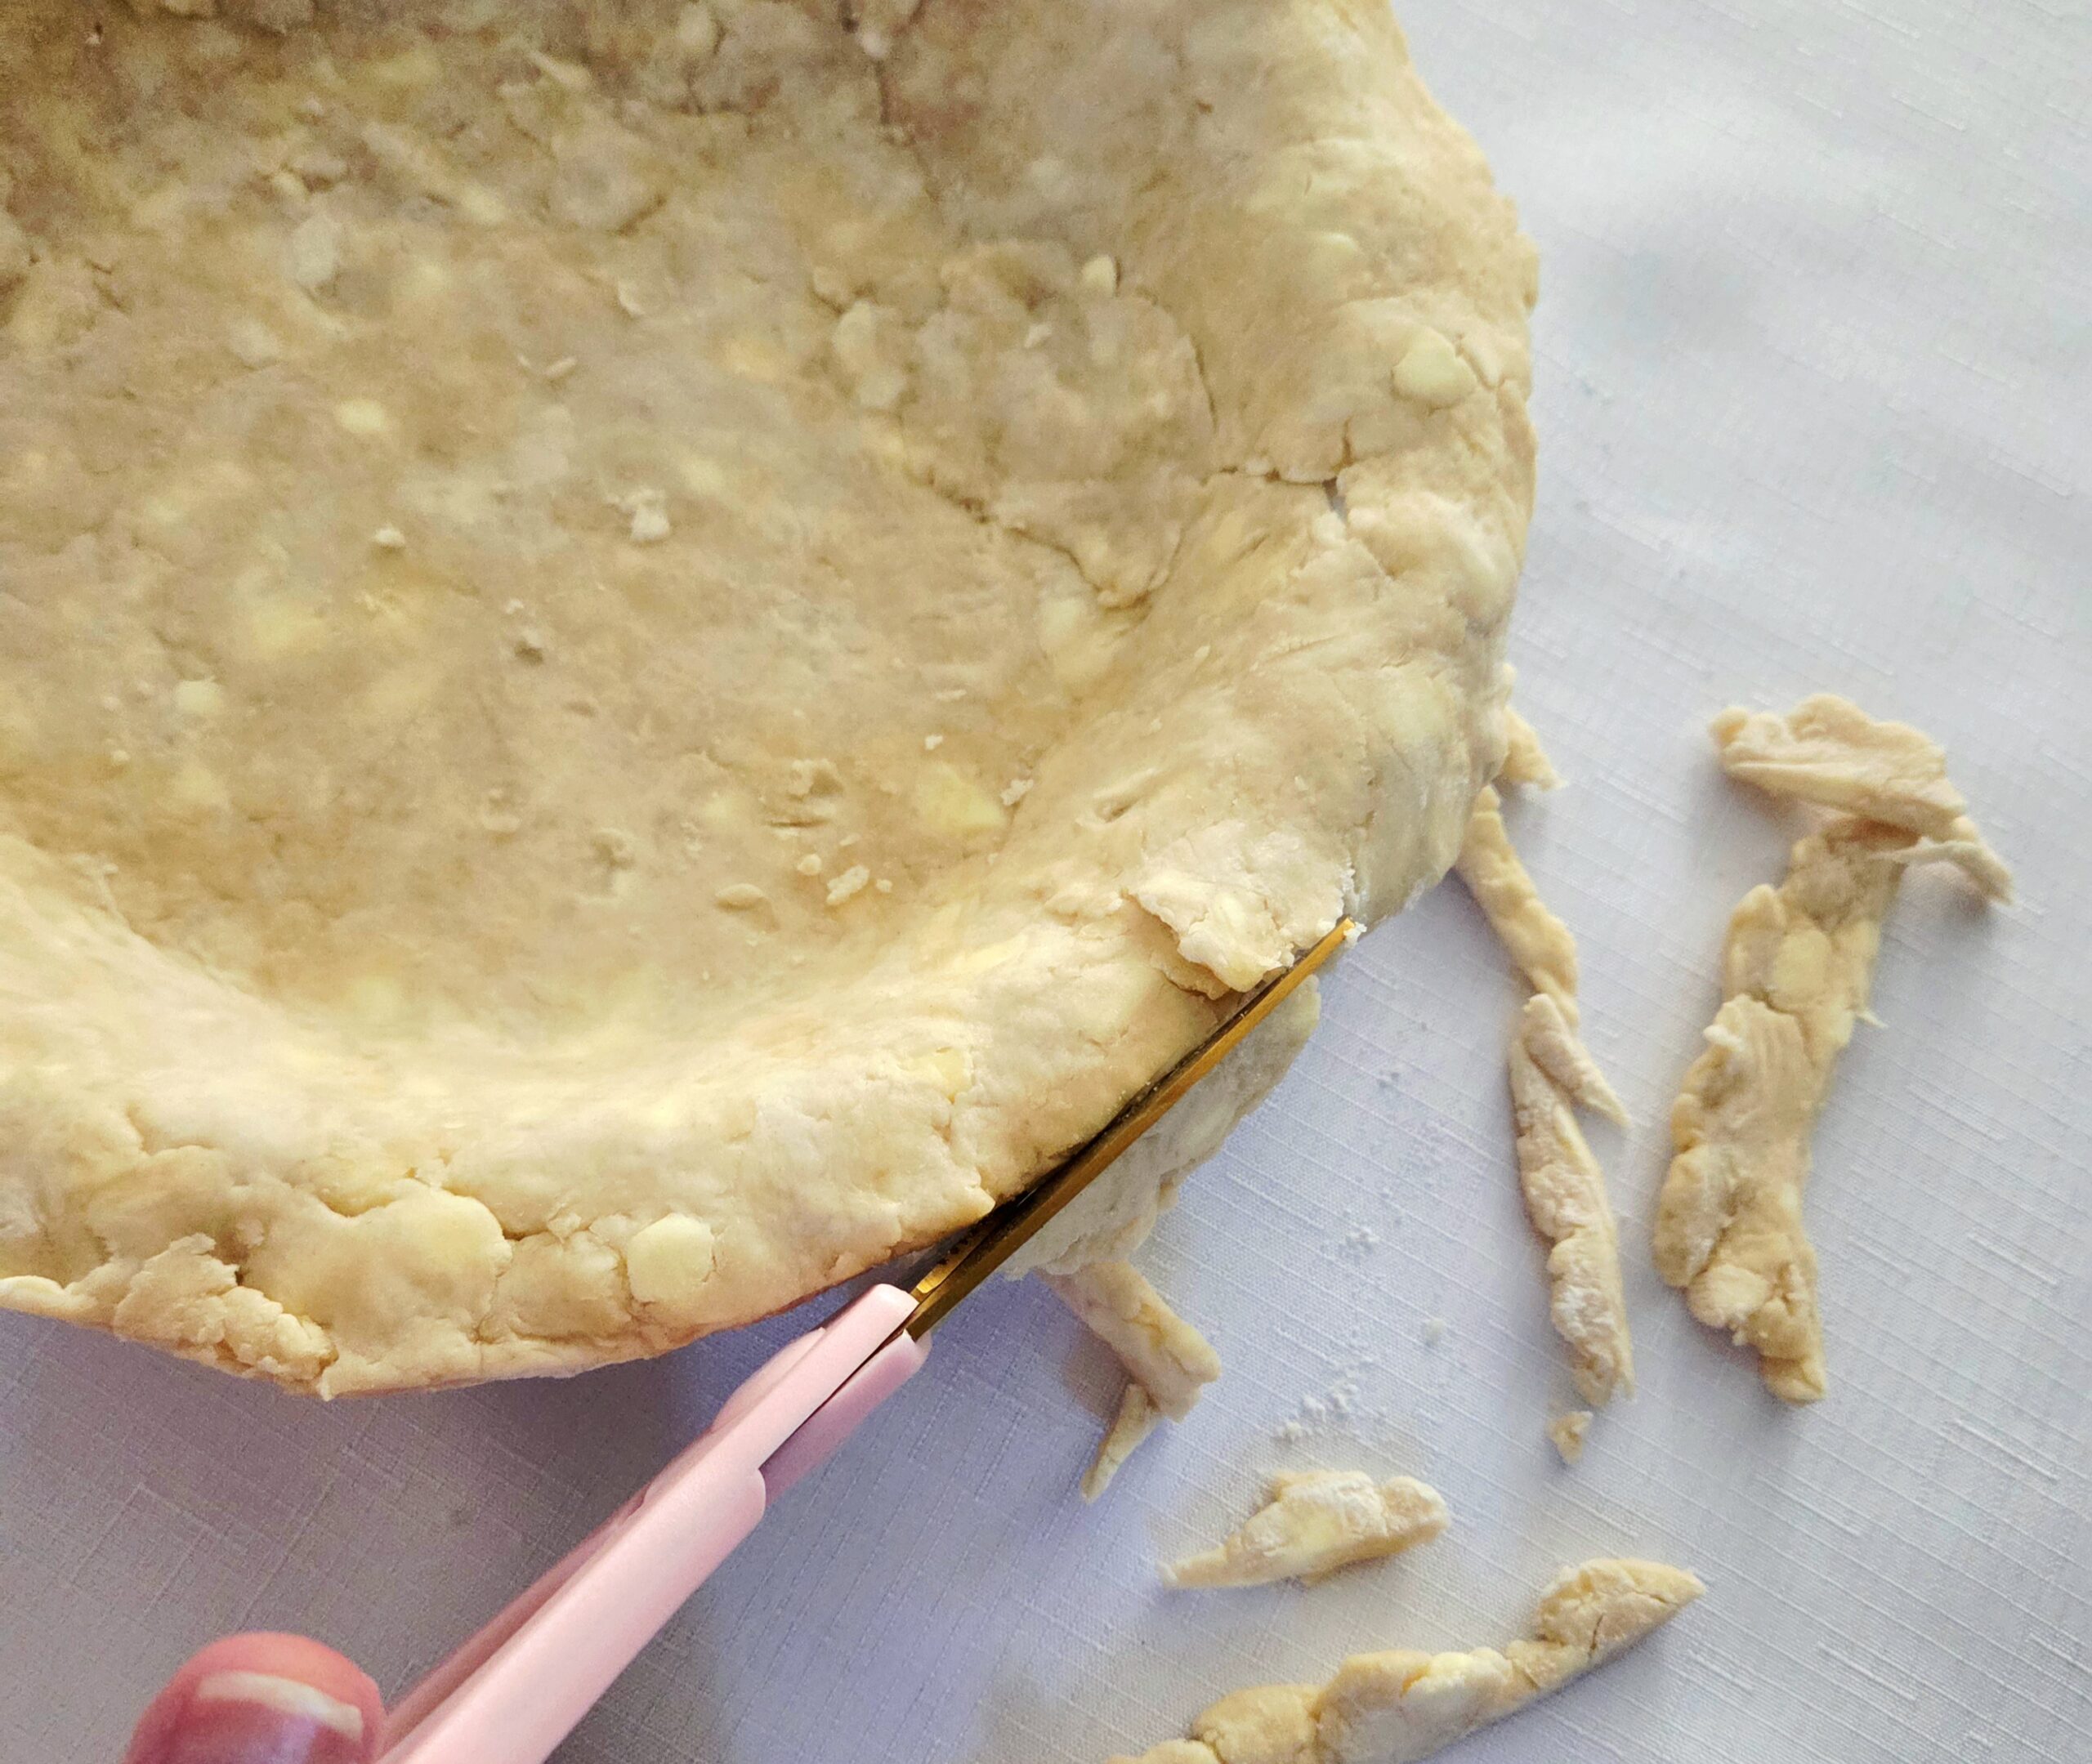
Trim any extra hanging over the sides of the pan with a paring knife or kitchen scissors. Tuck the outer rim of the dough underneath, by no more than 1/2 an inch, and press down gently to seal it. This will make the crimped edges prettier, but thickening the outer crust in this way makes it less likely to burn.
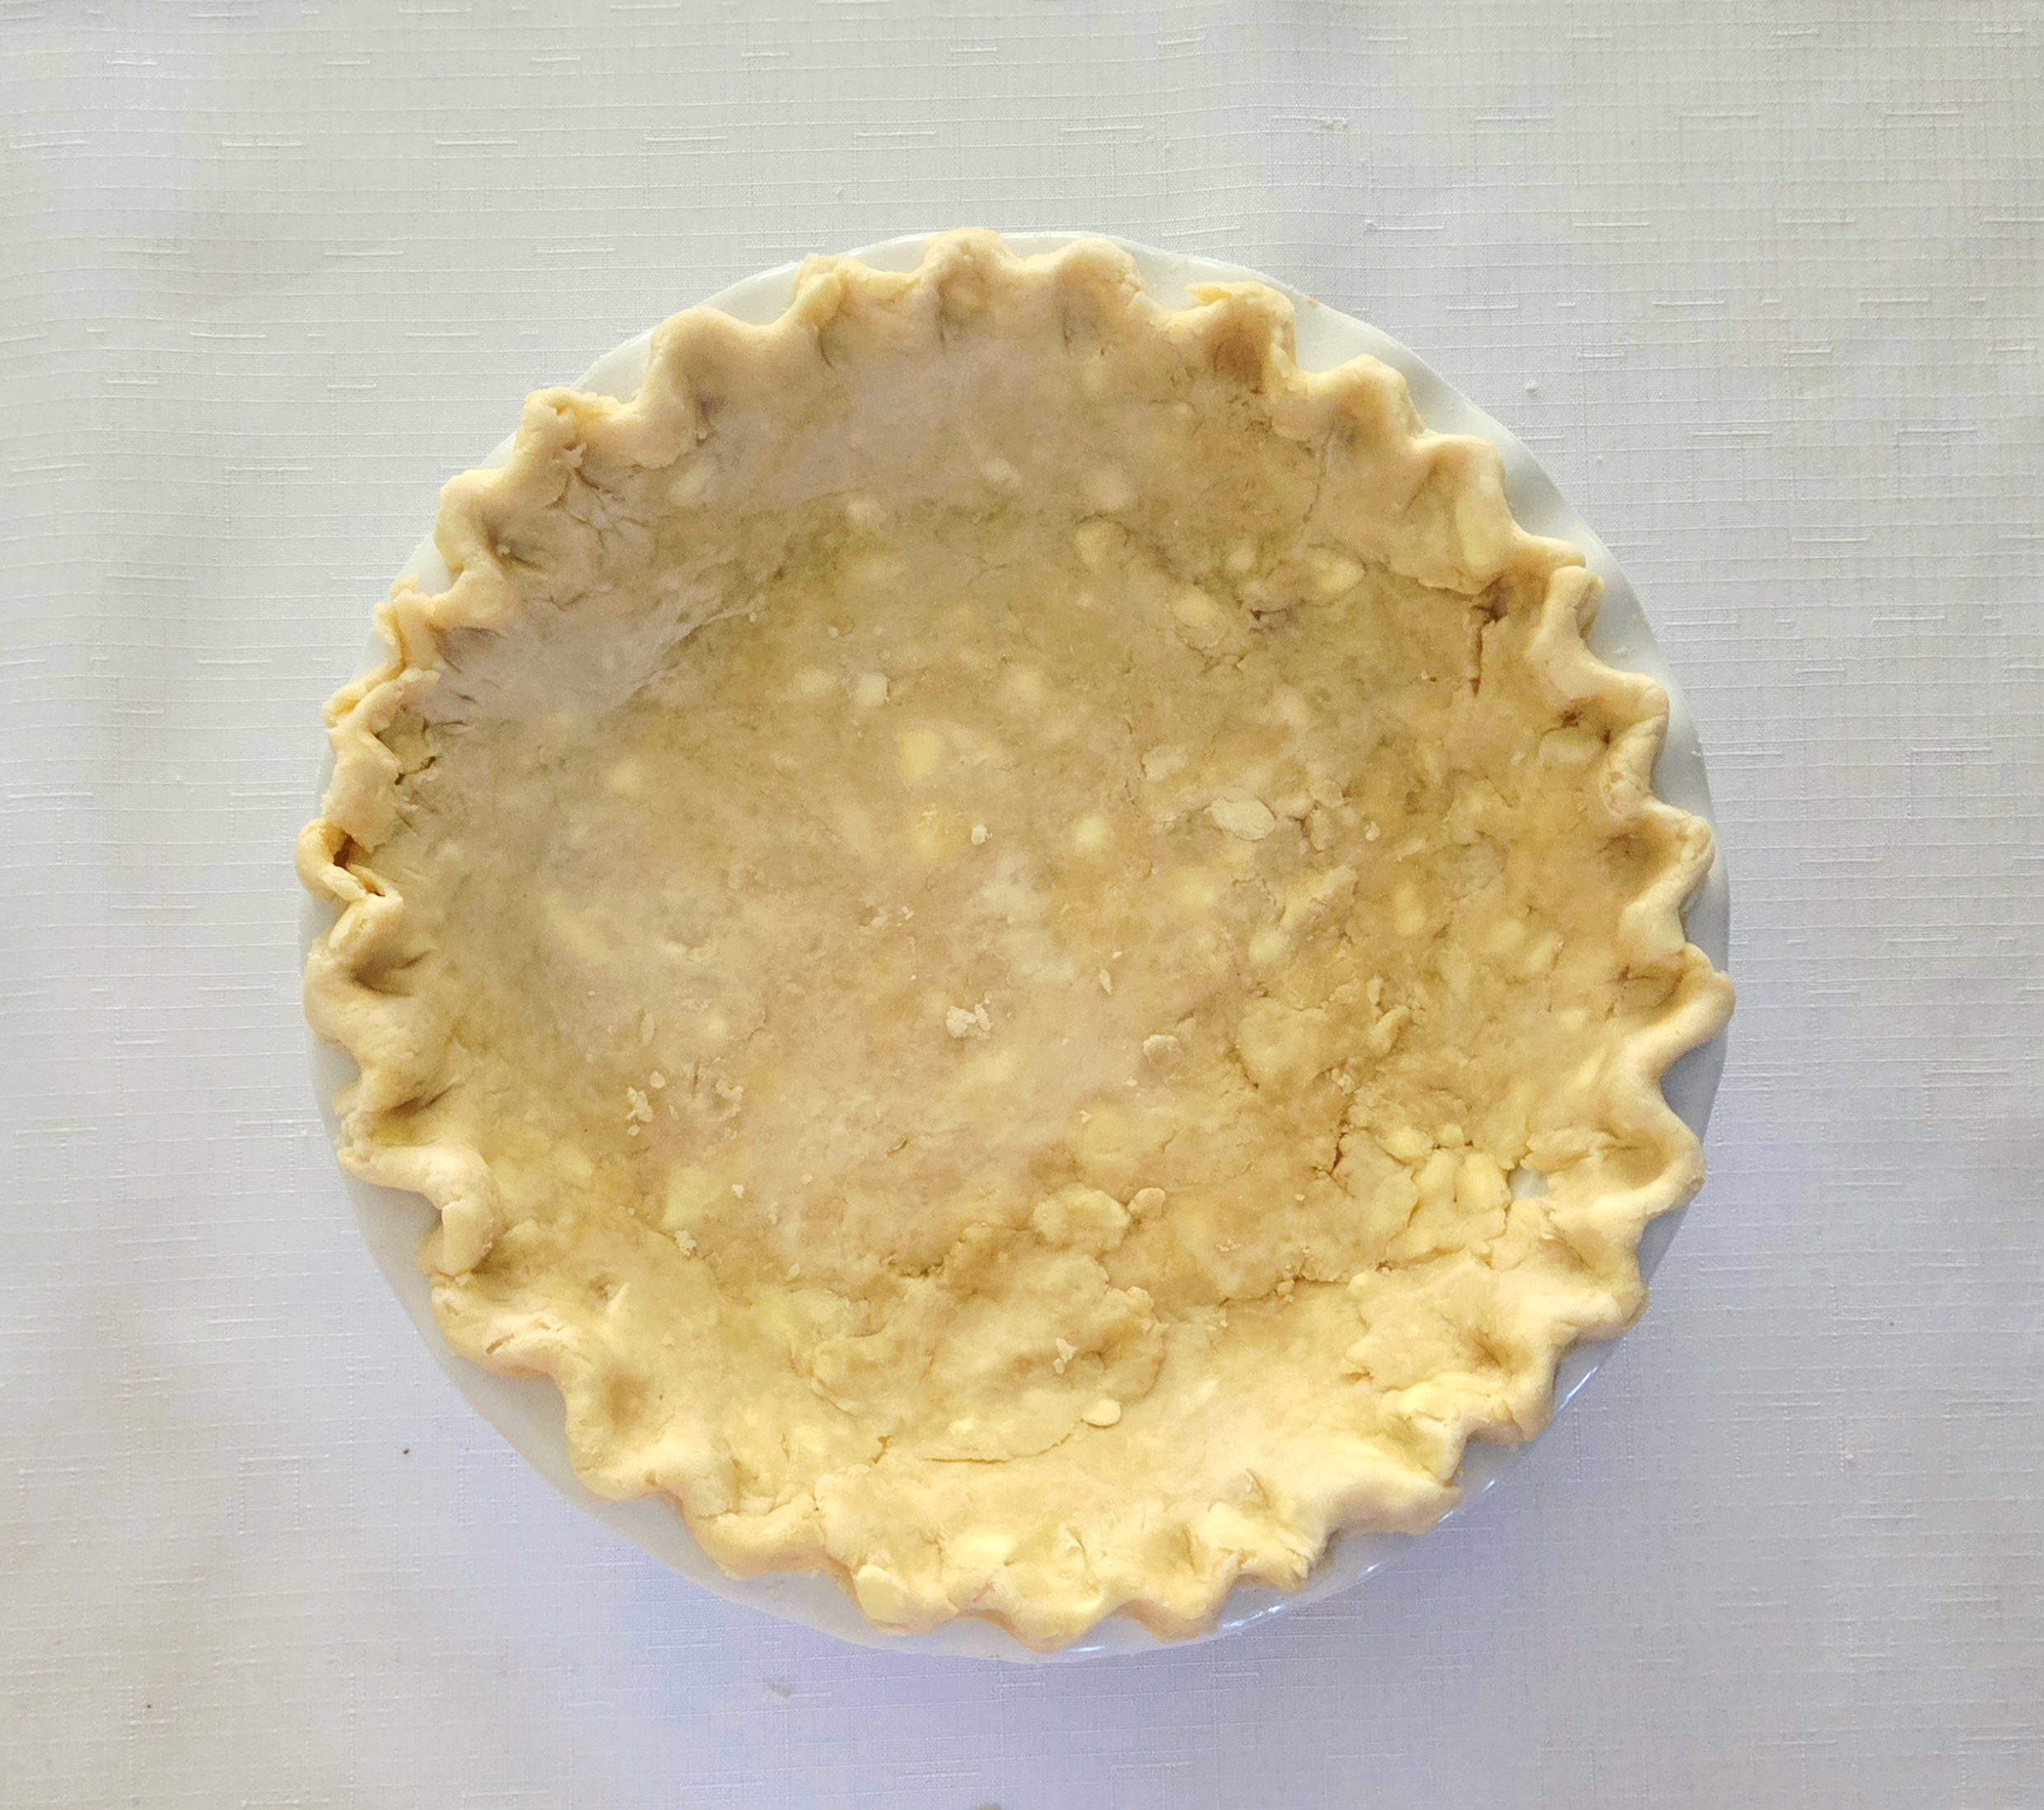
For an easy crimp, take a fork and gently press the tines into the rim of dough you just tucked under. To ensure that it’s even, start the next crimp by placing the tine on the end into the previously made impression on the end. Continue all the way around the rim of dough.
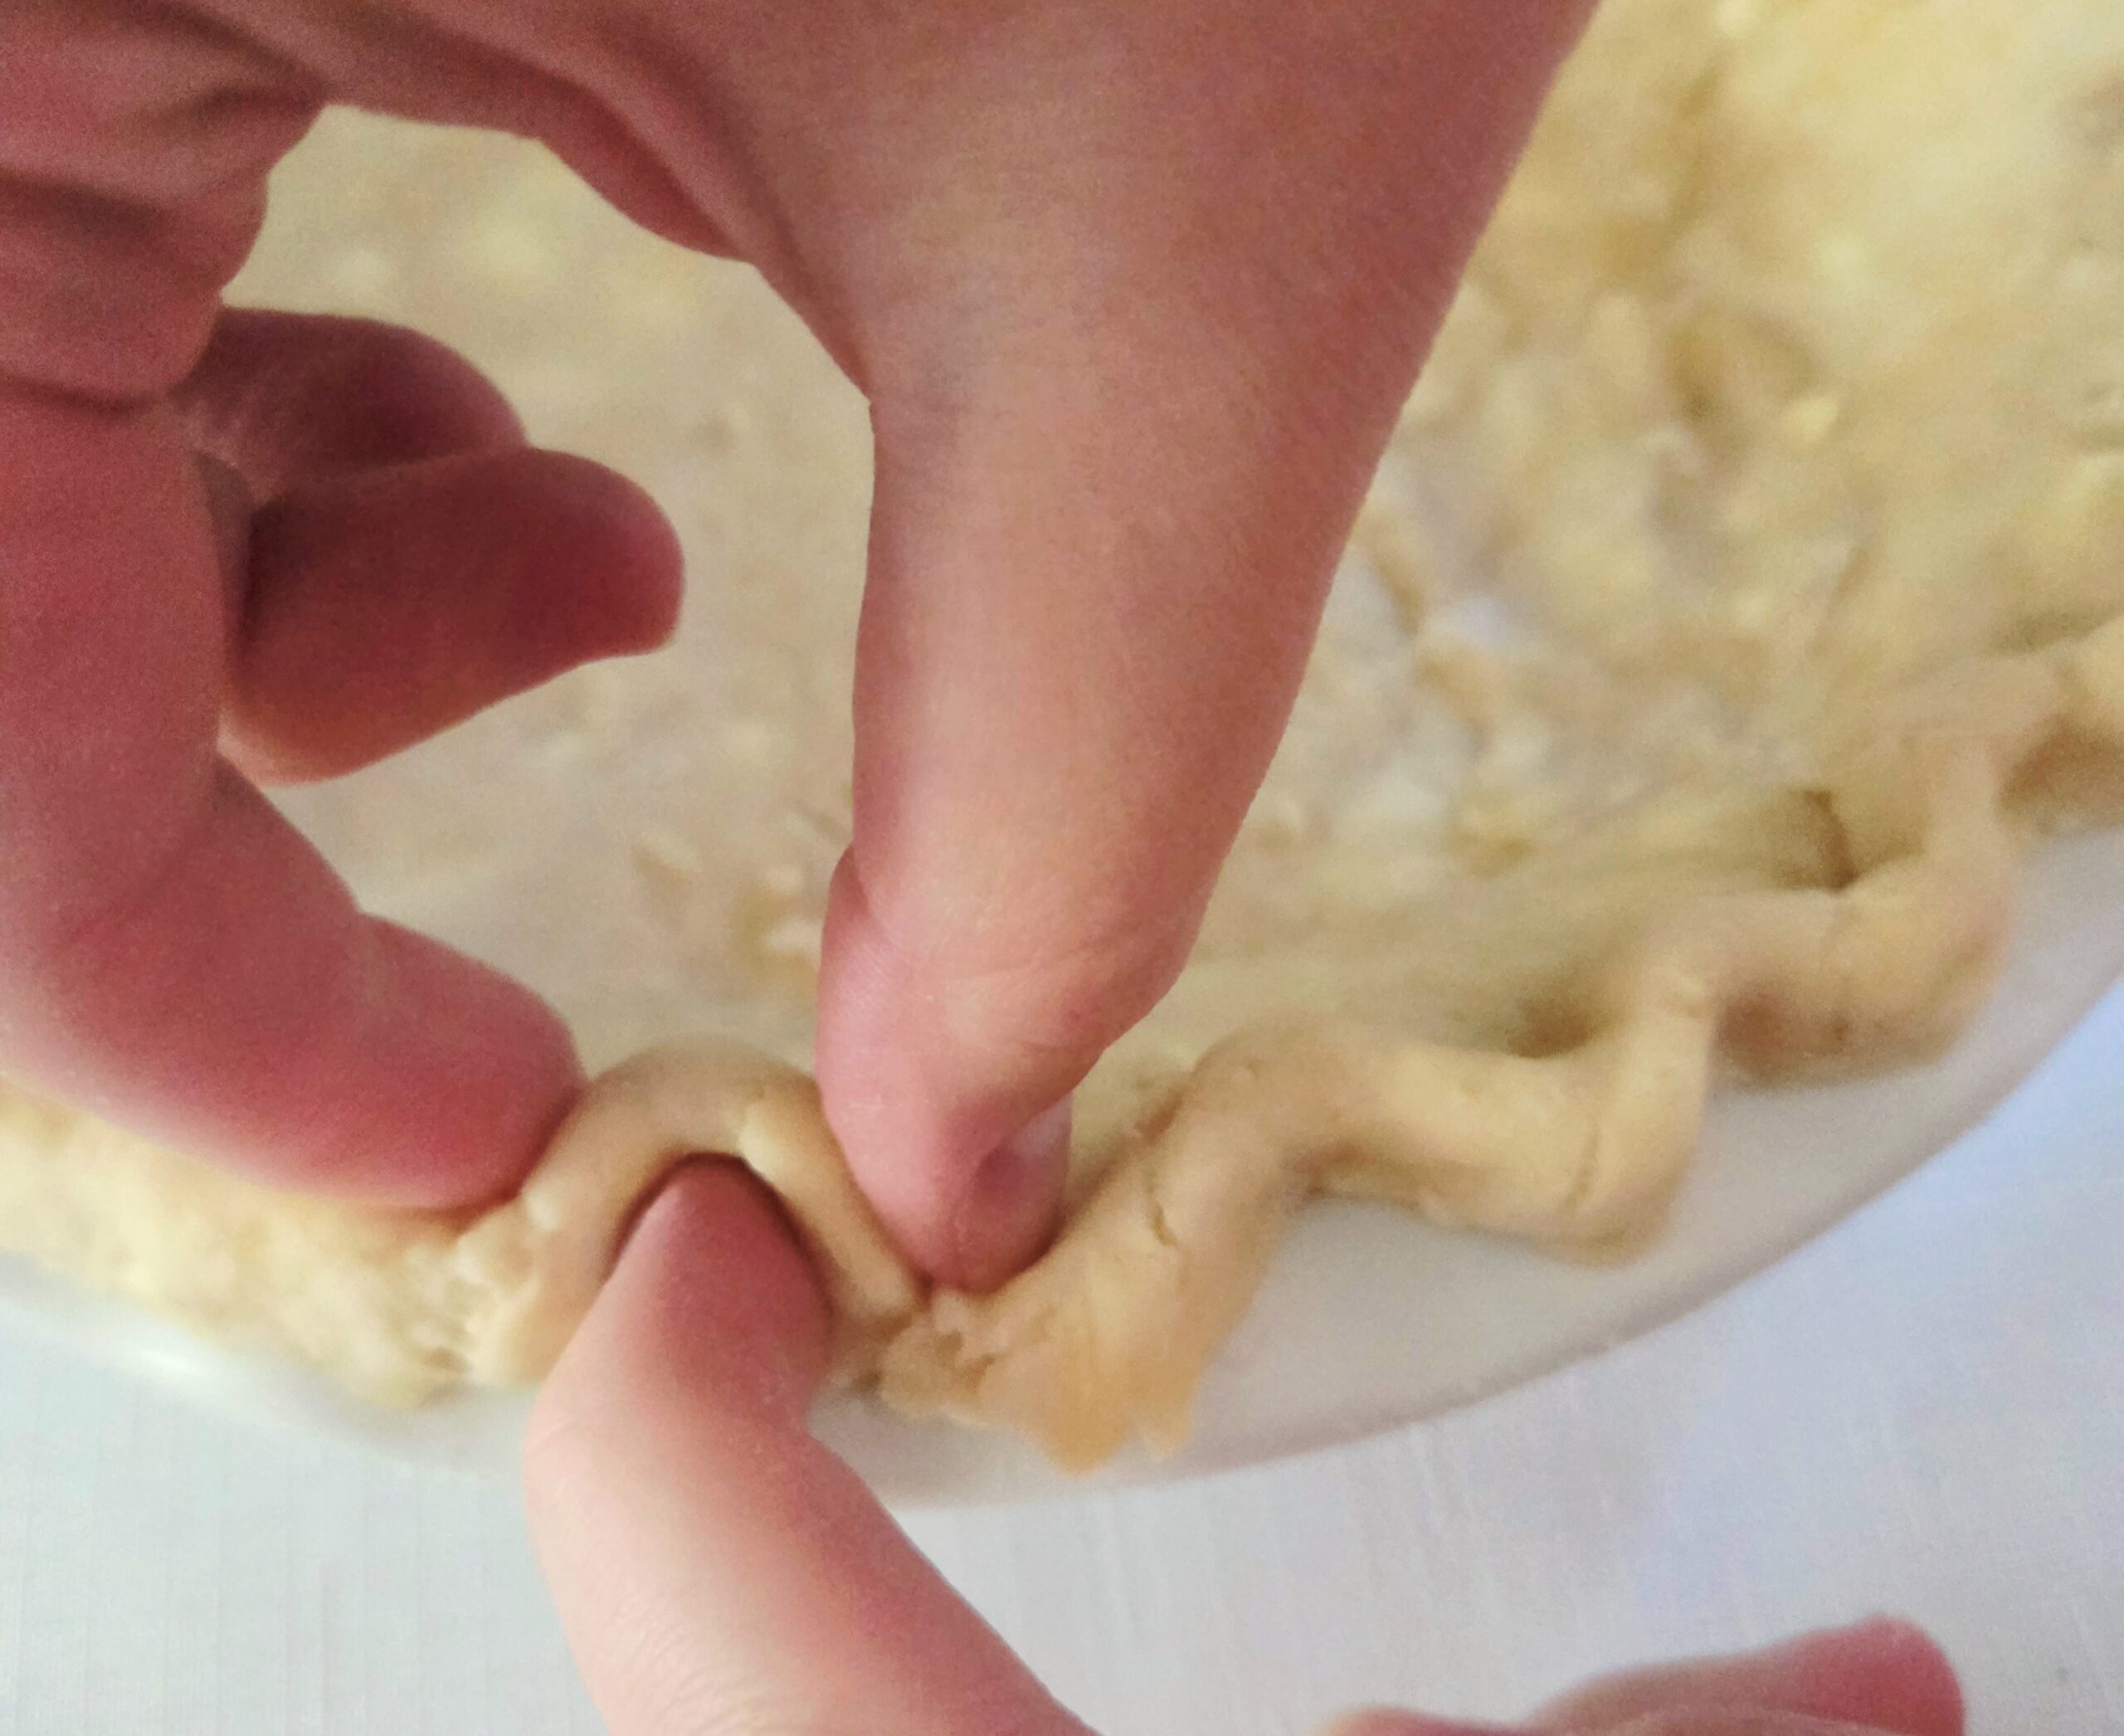
For a slightly fancier crimp, take your pointer finger and thumb on one hand and hold them about an inch apart. Gently press them against the sides of the rim of dough and use the pointer finger on the opposite hand to make a moderately deep impression in the space between your two fingers. Start the next finger crimp by placing your pointer finger against the previously made indent, and repeat the same actions as before. Repeat this process all the way around the rim.
If you’re using a pre-made pie crust, release it from its packaging. Unfurl the dough and line the pie pan, taking care to make sure it reaches all the way to the bottom rim. You don’t want that gap of air between the dough and the pan, or you risk it tearing during the par-bake. Torn pie crust means the filling will leak through, making for a very difficult pie to release from the pan.
It’s unlikely that you’ll have much extra dough around the top rim to make a particularly fancy crimp, just do the best you can. Alternatively, if you have a second crust not being used on a different pie, you can utilize that for the perimeter! Cut out strips to make a braid, or use a small cookie cutter to layer leaves, acorns, or pumpkins for a beautiful autumnal flare. However, if that’s the route you’re taking, make sure to add it after the filling has been poured into the base, not now.
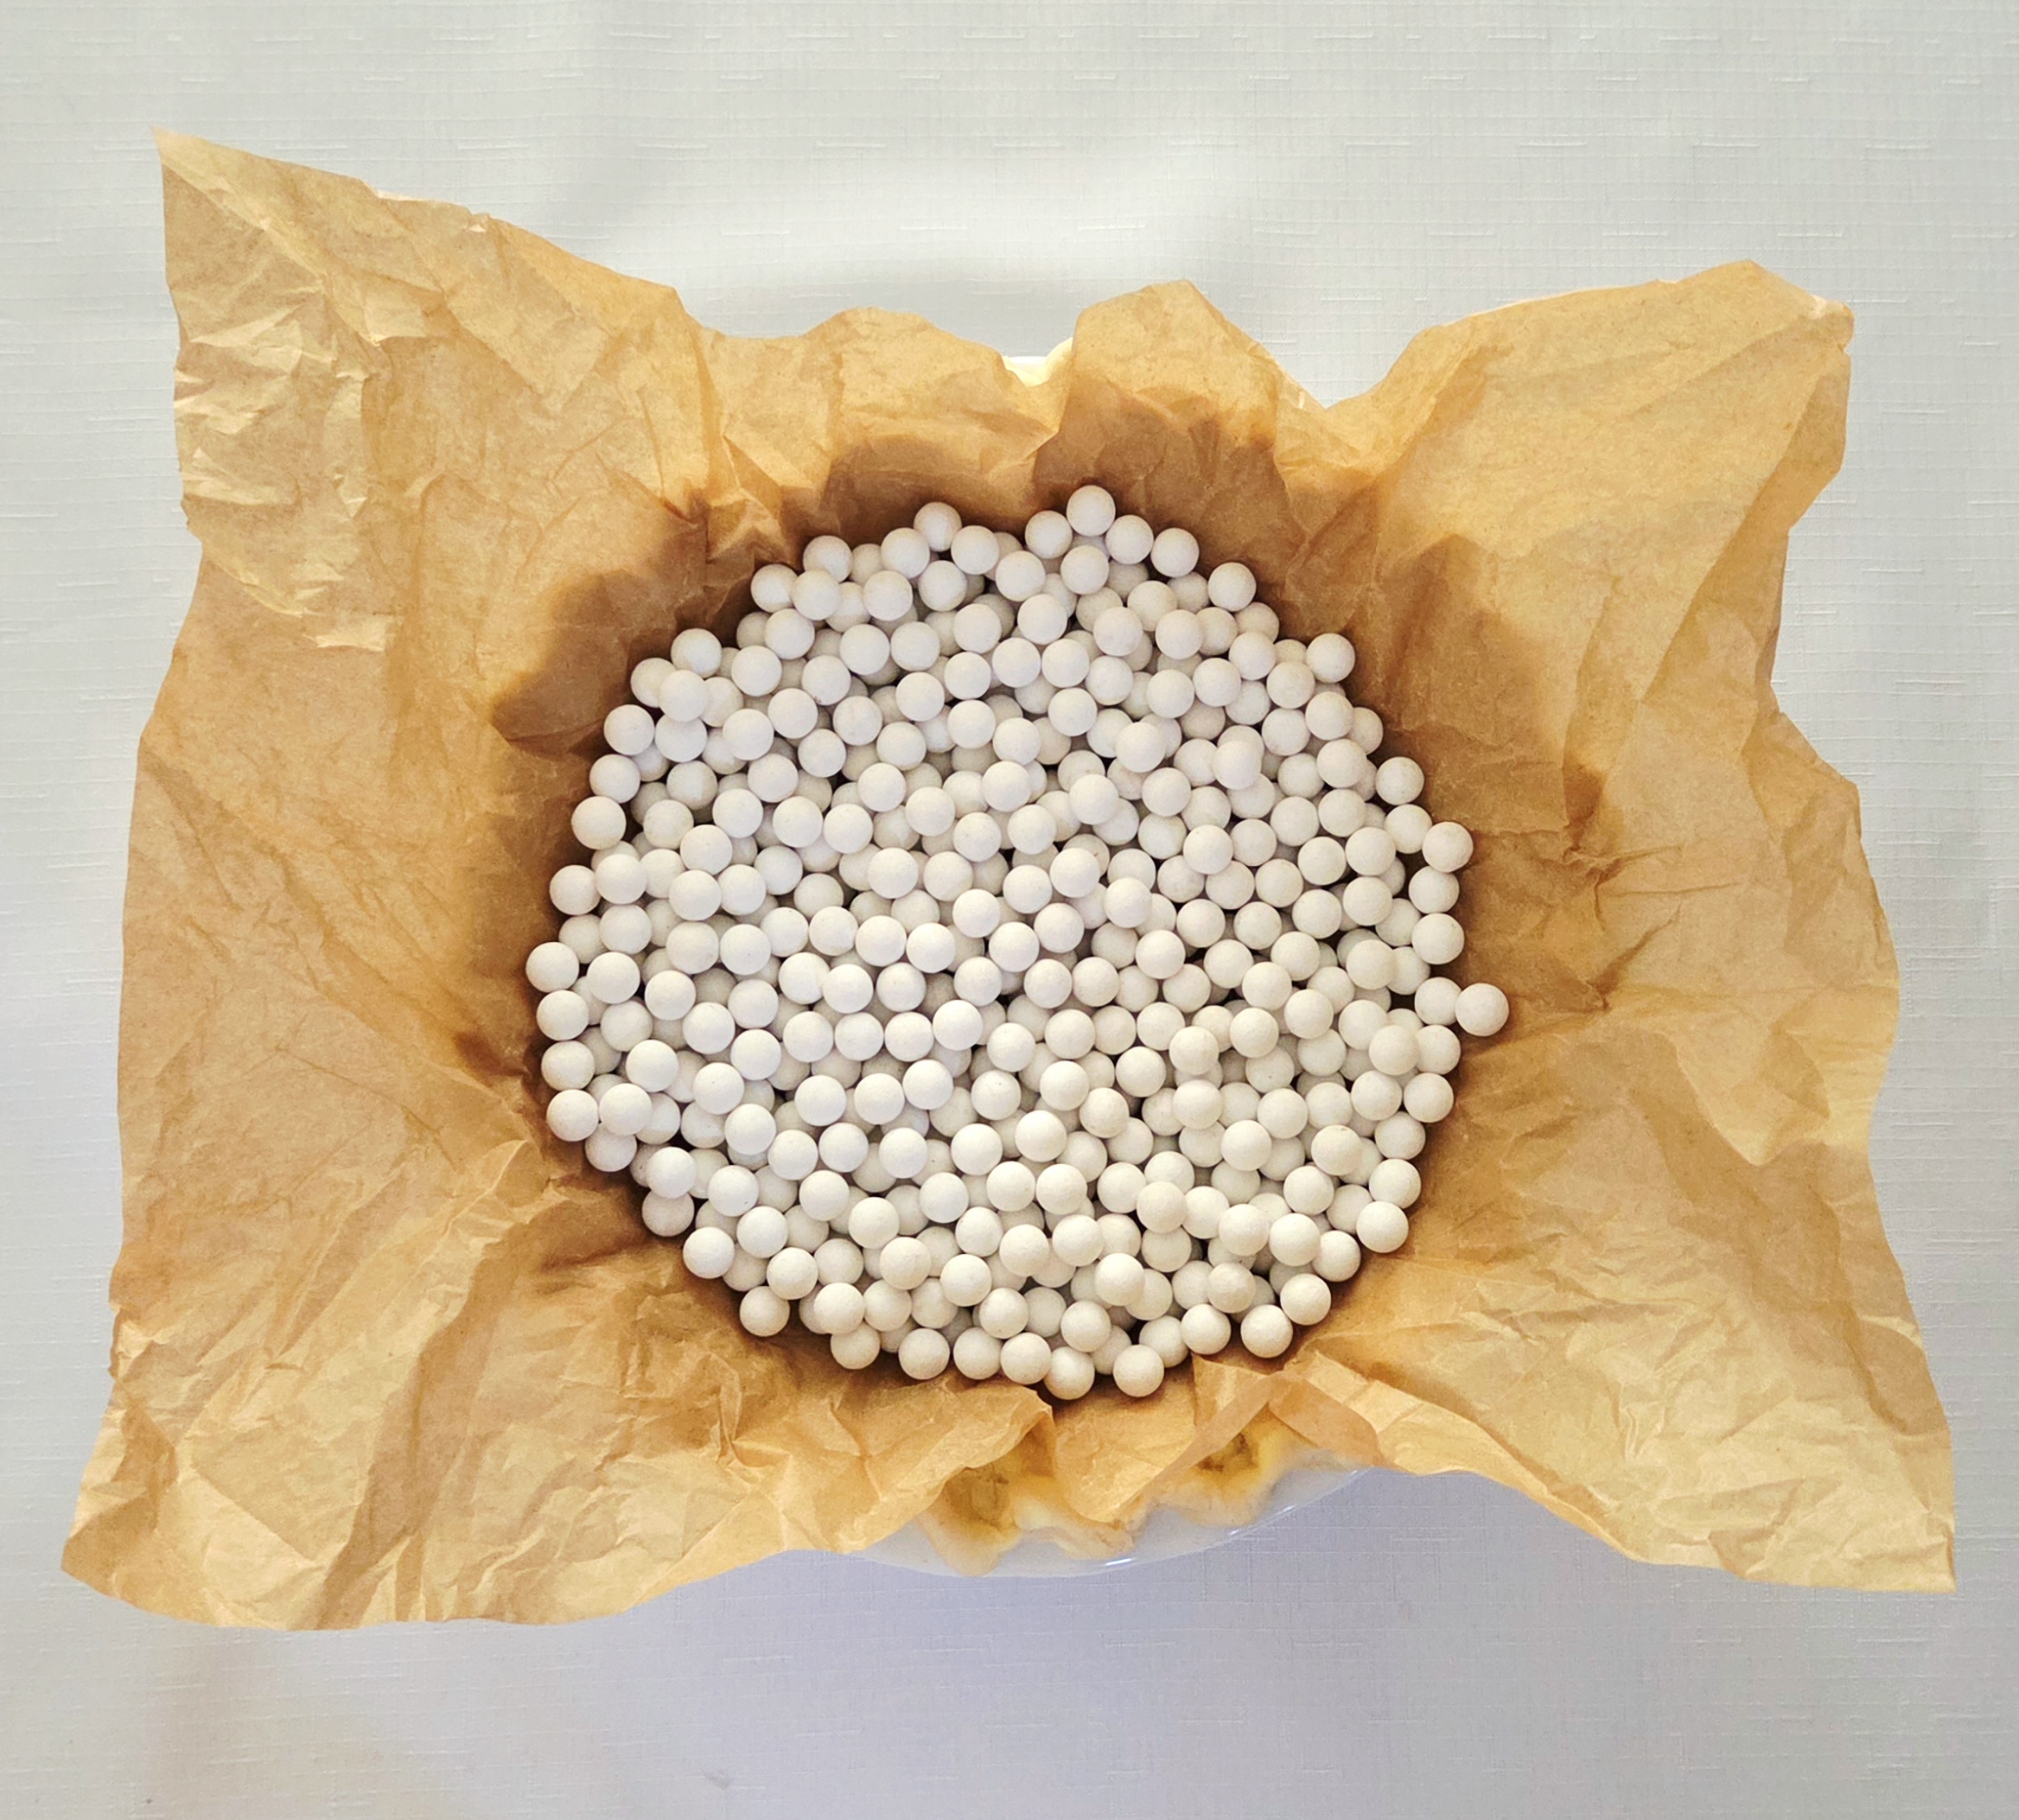
Grab a piece of parchment paper large enough to fill the entire inside of the pie dish, including up the rim, and crumple it into a ball. Uncrumple it and place it into the dough lined pie dish, then fill the parchment with either pie weights, dried beans, or dried rice, enough so that the dish is completely full.
Place the pie dish on the center rack in the oven and bake it for __ minutes. Carefully remove the parchment and weights from the crust and return the dish to the oven for another __ minutes. Remove the dish and set it aside. You’re only looking for it to be mostly baked, not completely baked.
Prepare the Filling
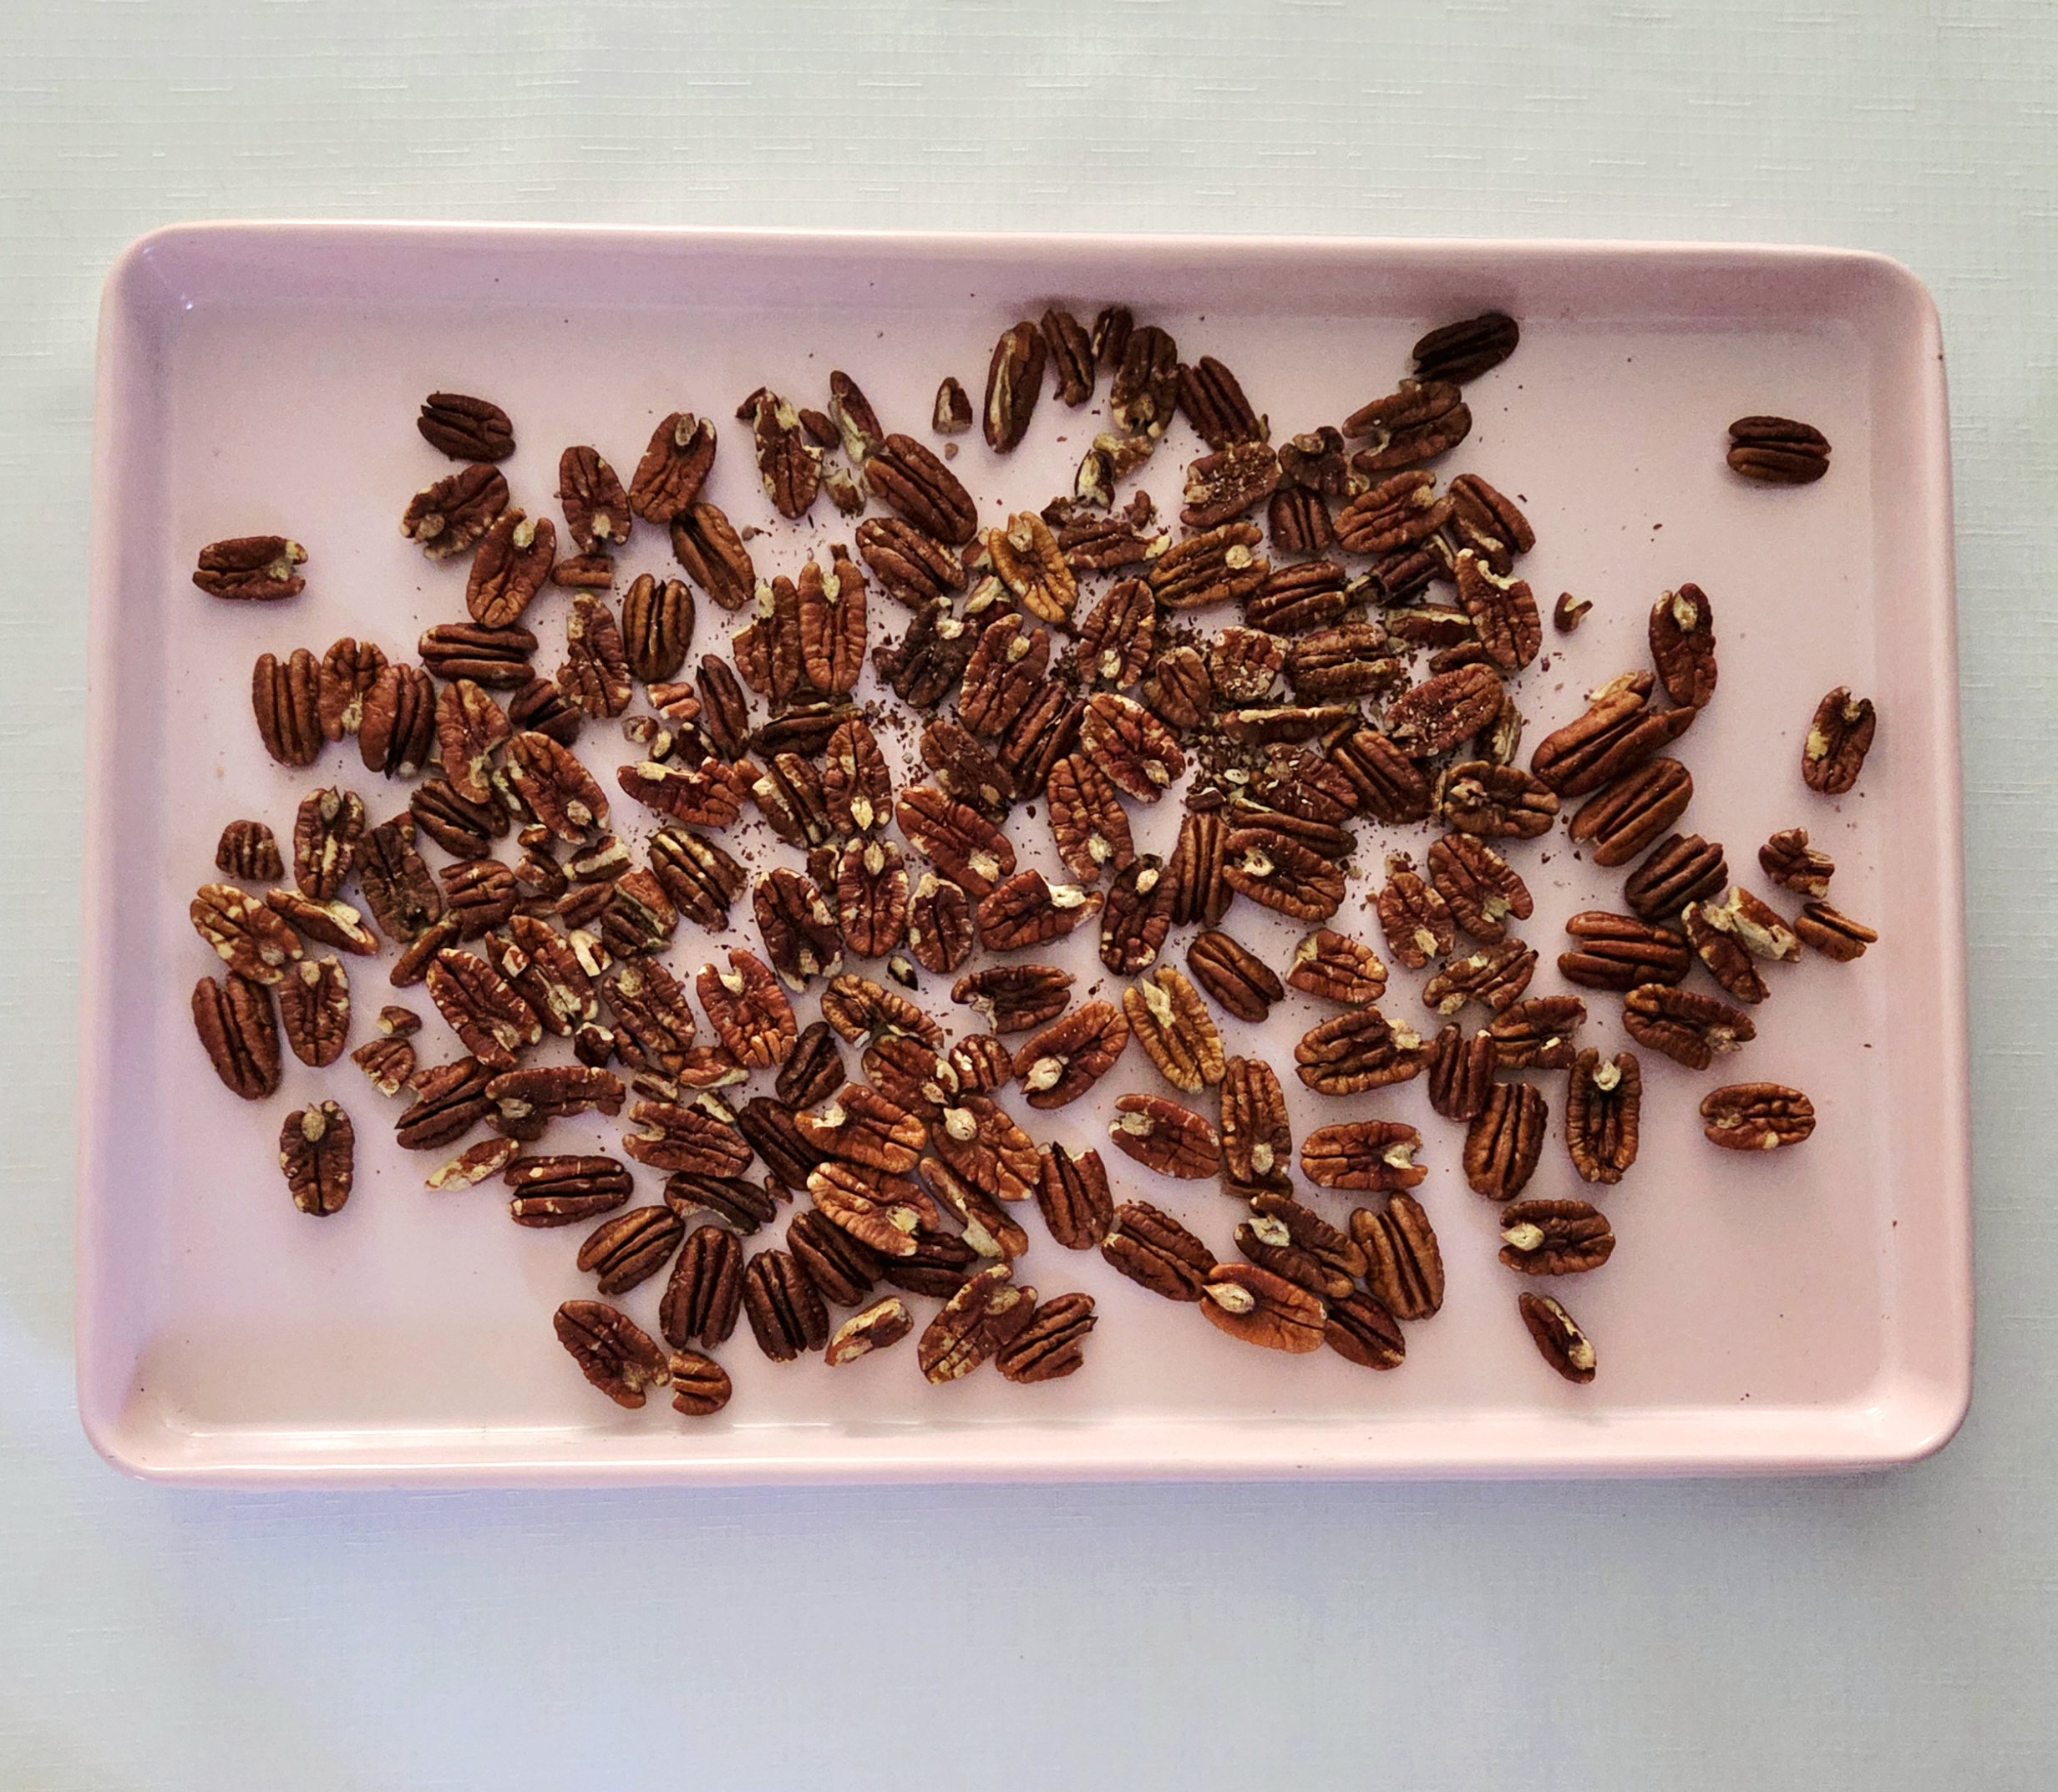
While the pie bakes, make the filling. Spread the pecans out on a baking sheet and bake for 8-10 minutes, stirring occasionally, or until fragrant and toasted. Doing this step will draw out the natural oils of the pecans, thus intensifying their flavor in the pie. You’ll know they’re finished if when you break one open, it’s a toasty golden brown. Set them aside to cool.
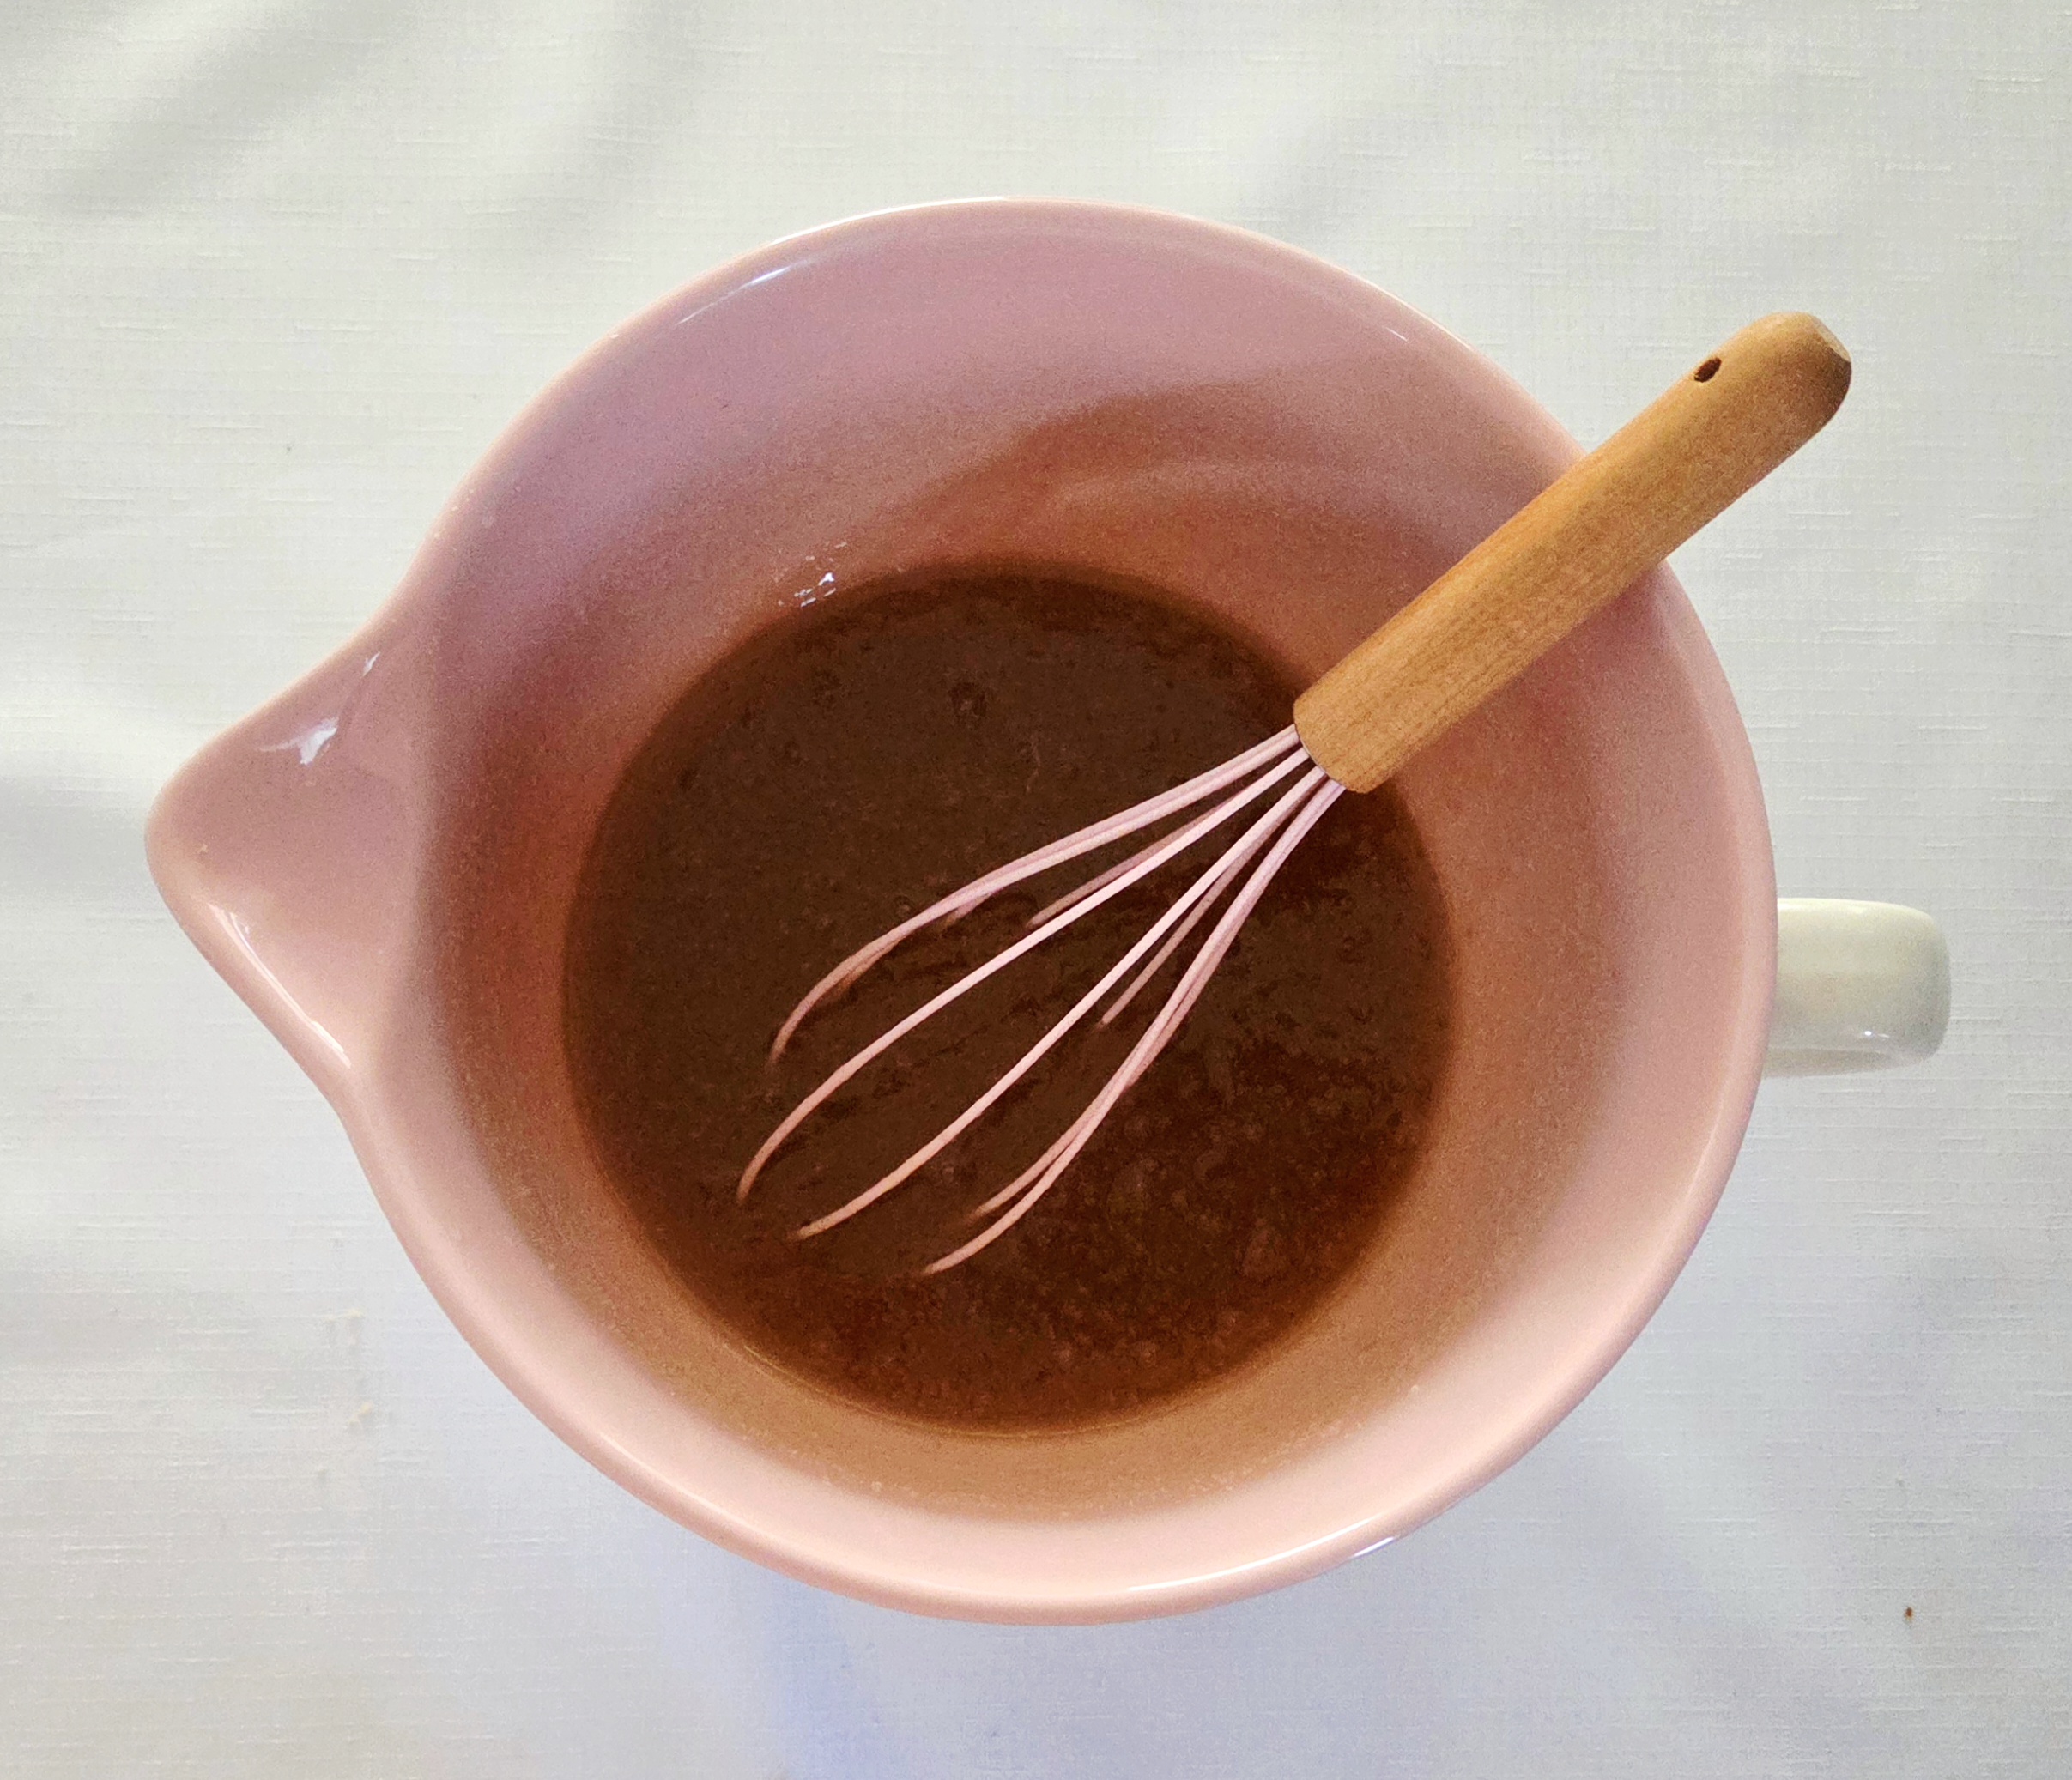
In a large microwave safe mixing bowl, heat the butter until it’s just melted but not hot. Whisk in the granulated sugar, brown sugar, corn syrup, salt, vanilla, and eggs.
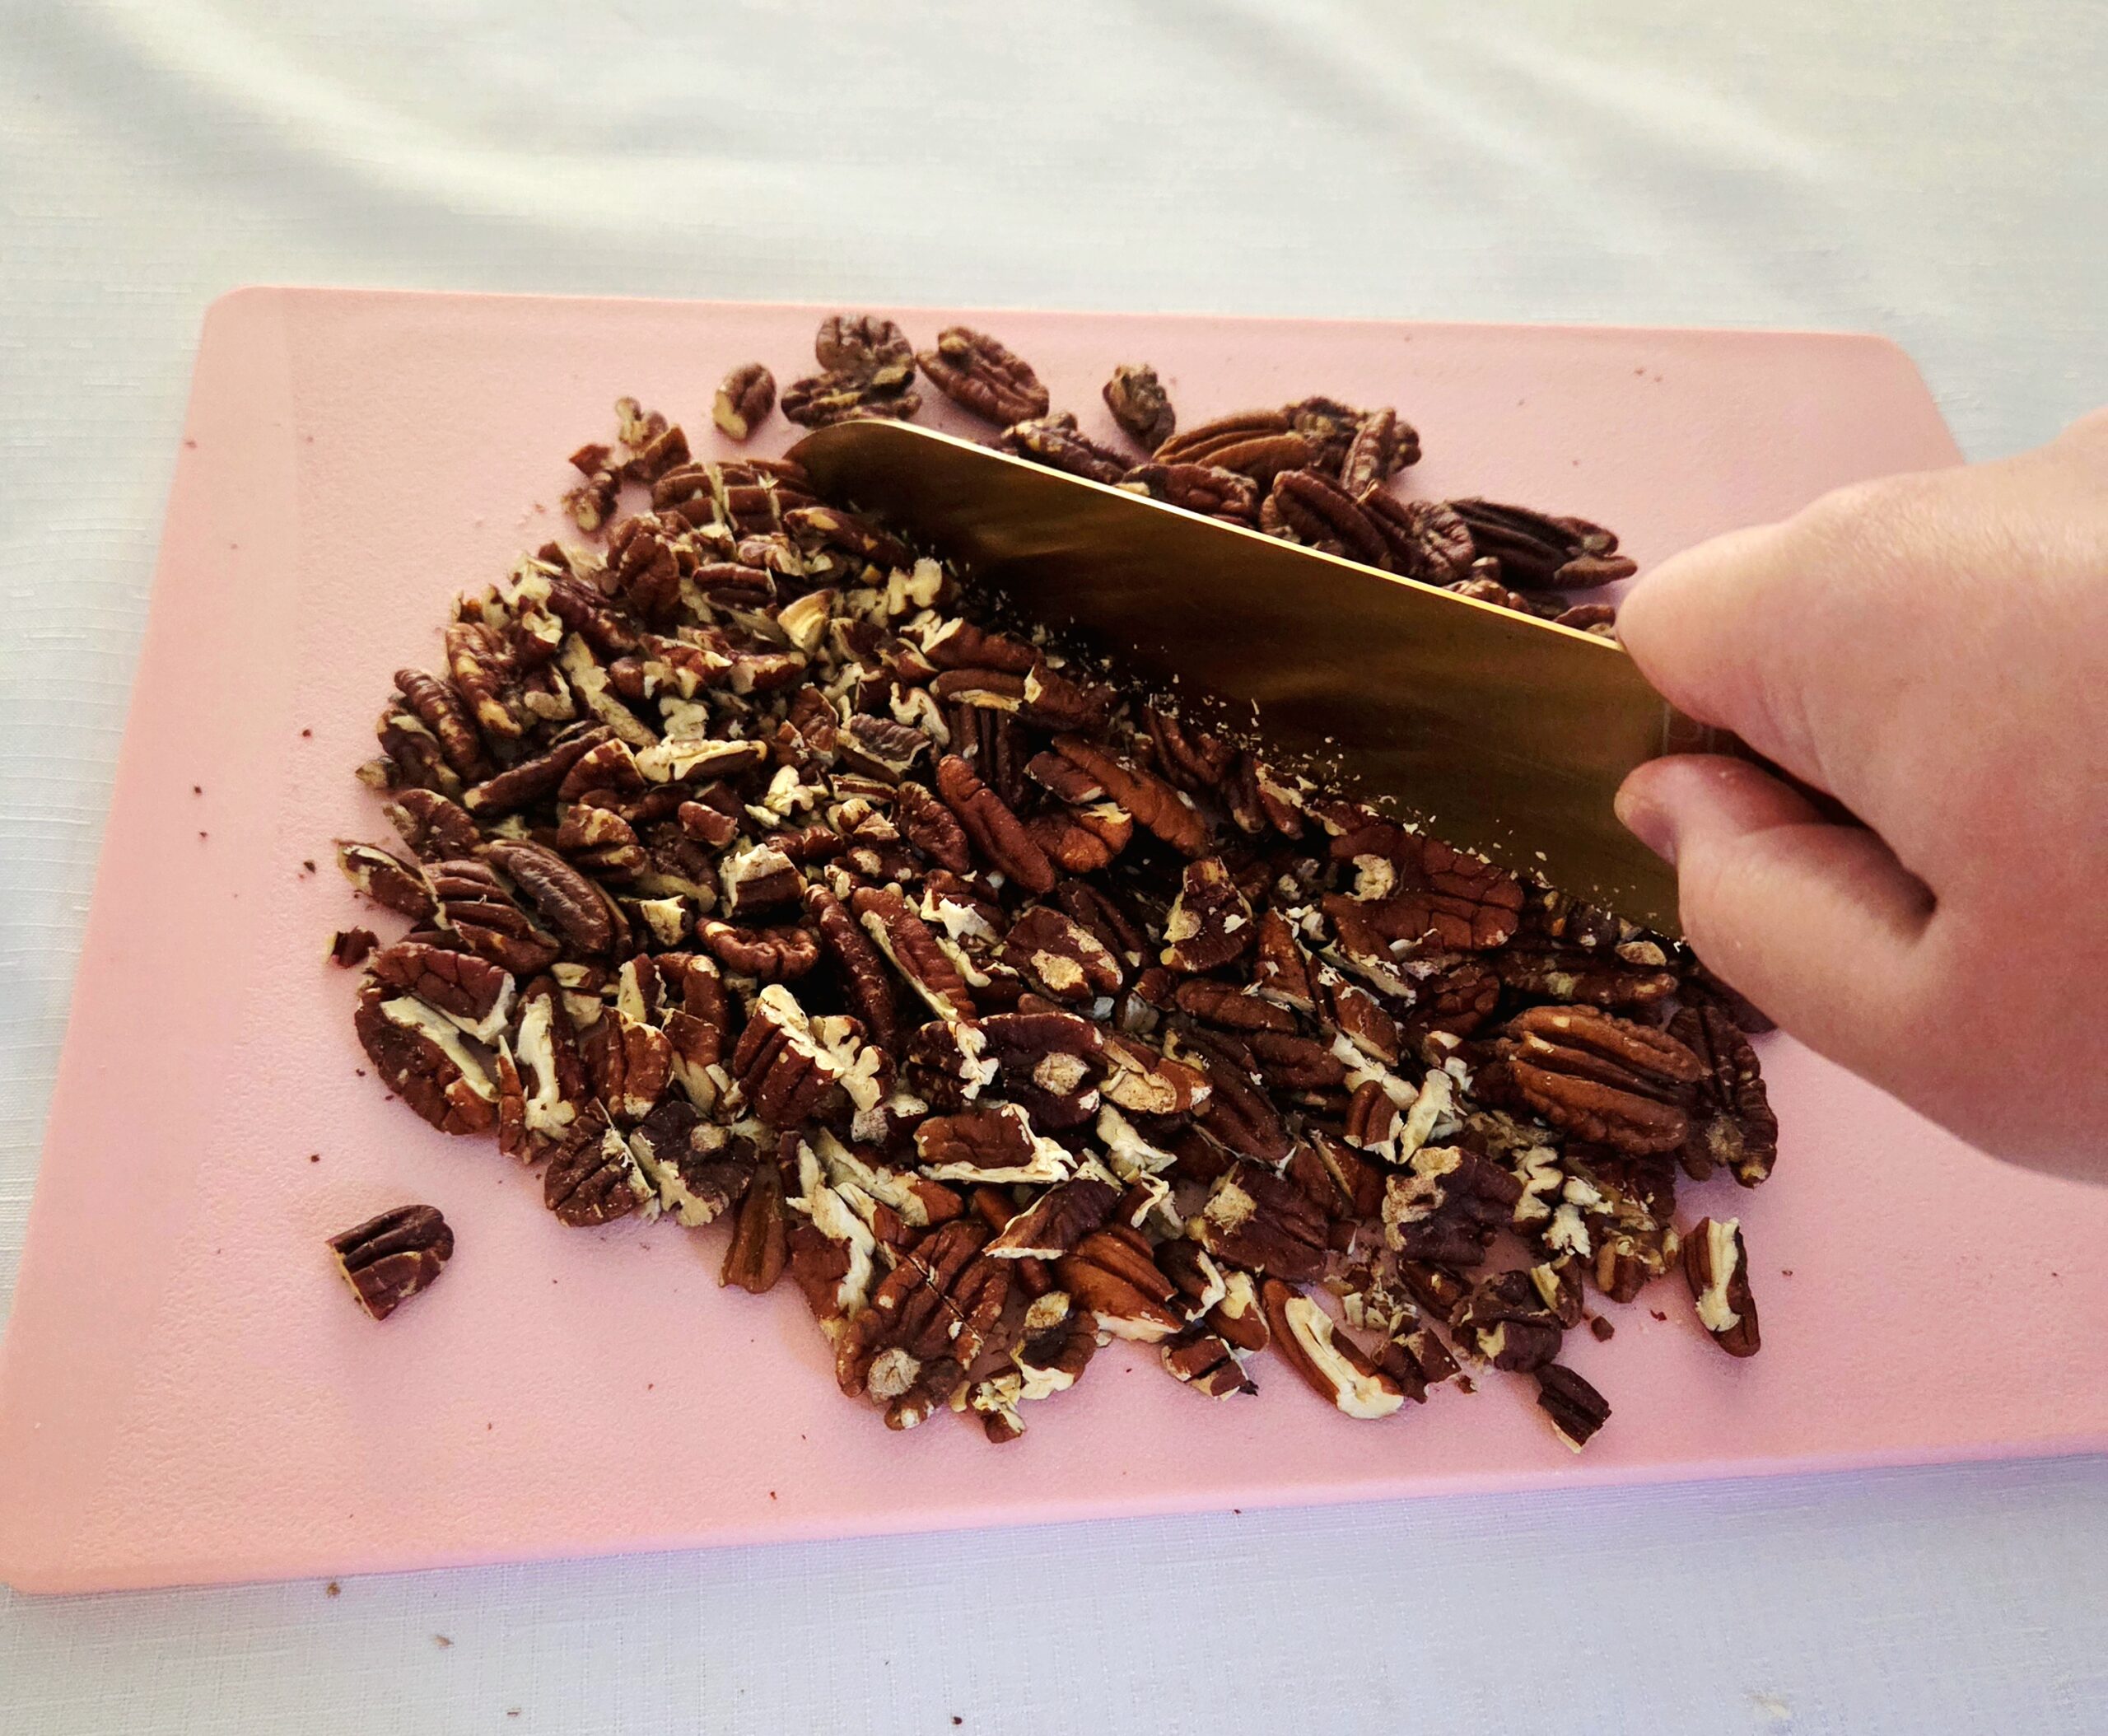
Once the pecans have cooled down, move them onto a cutting board and, using a chef’s knife, give them a rough large chop.
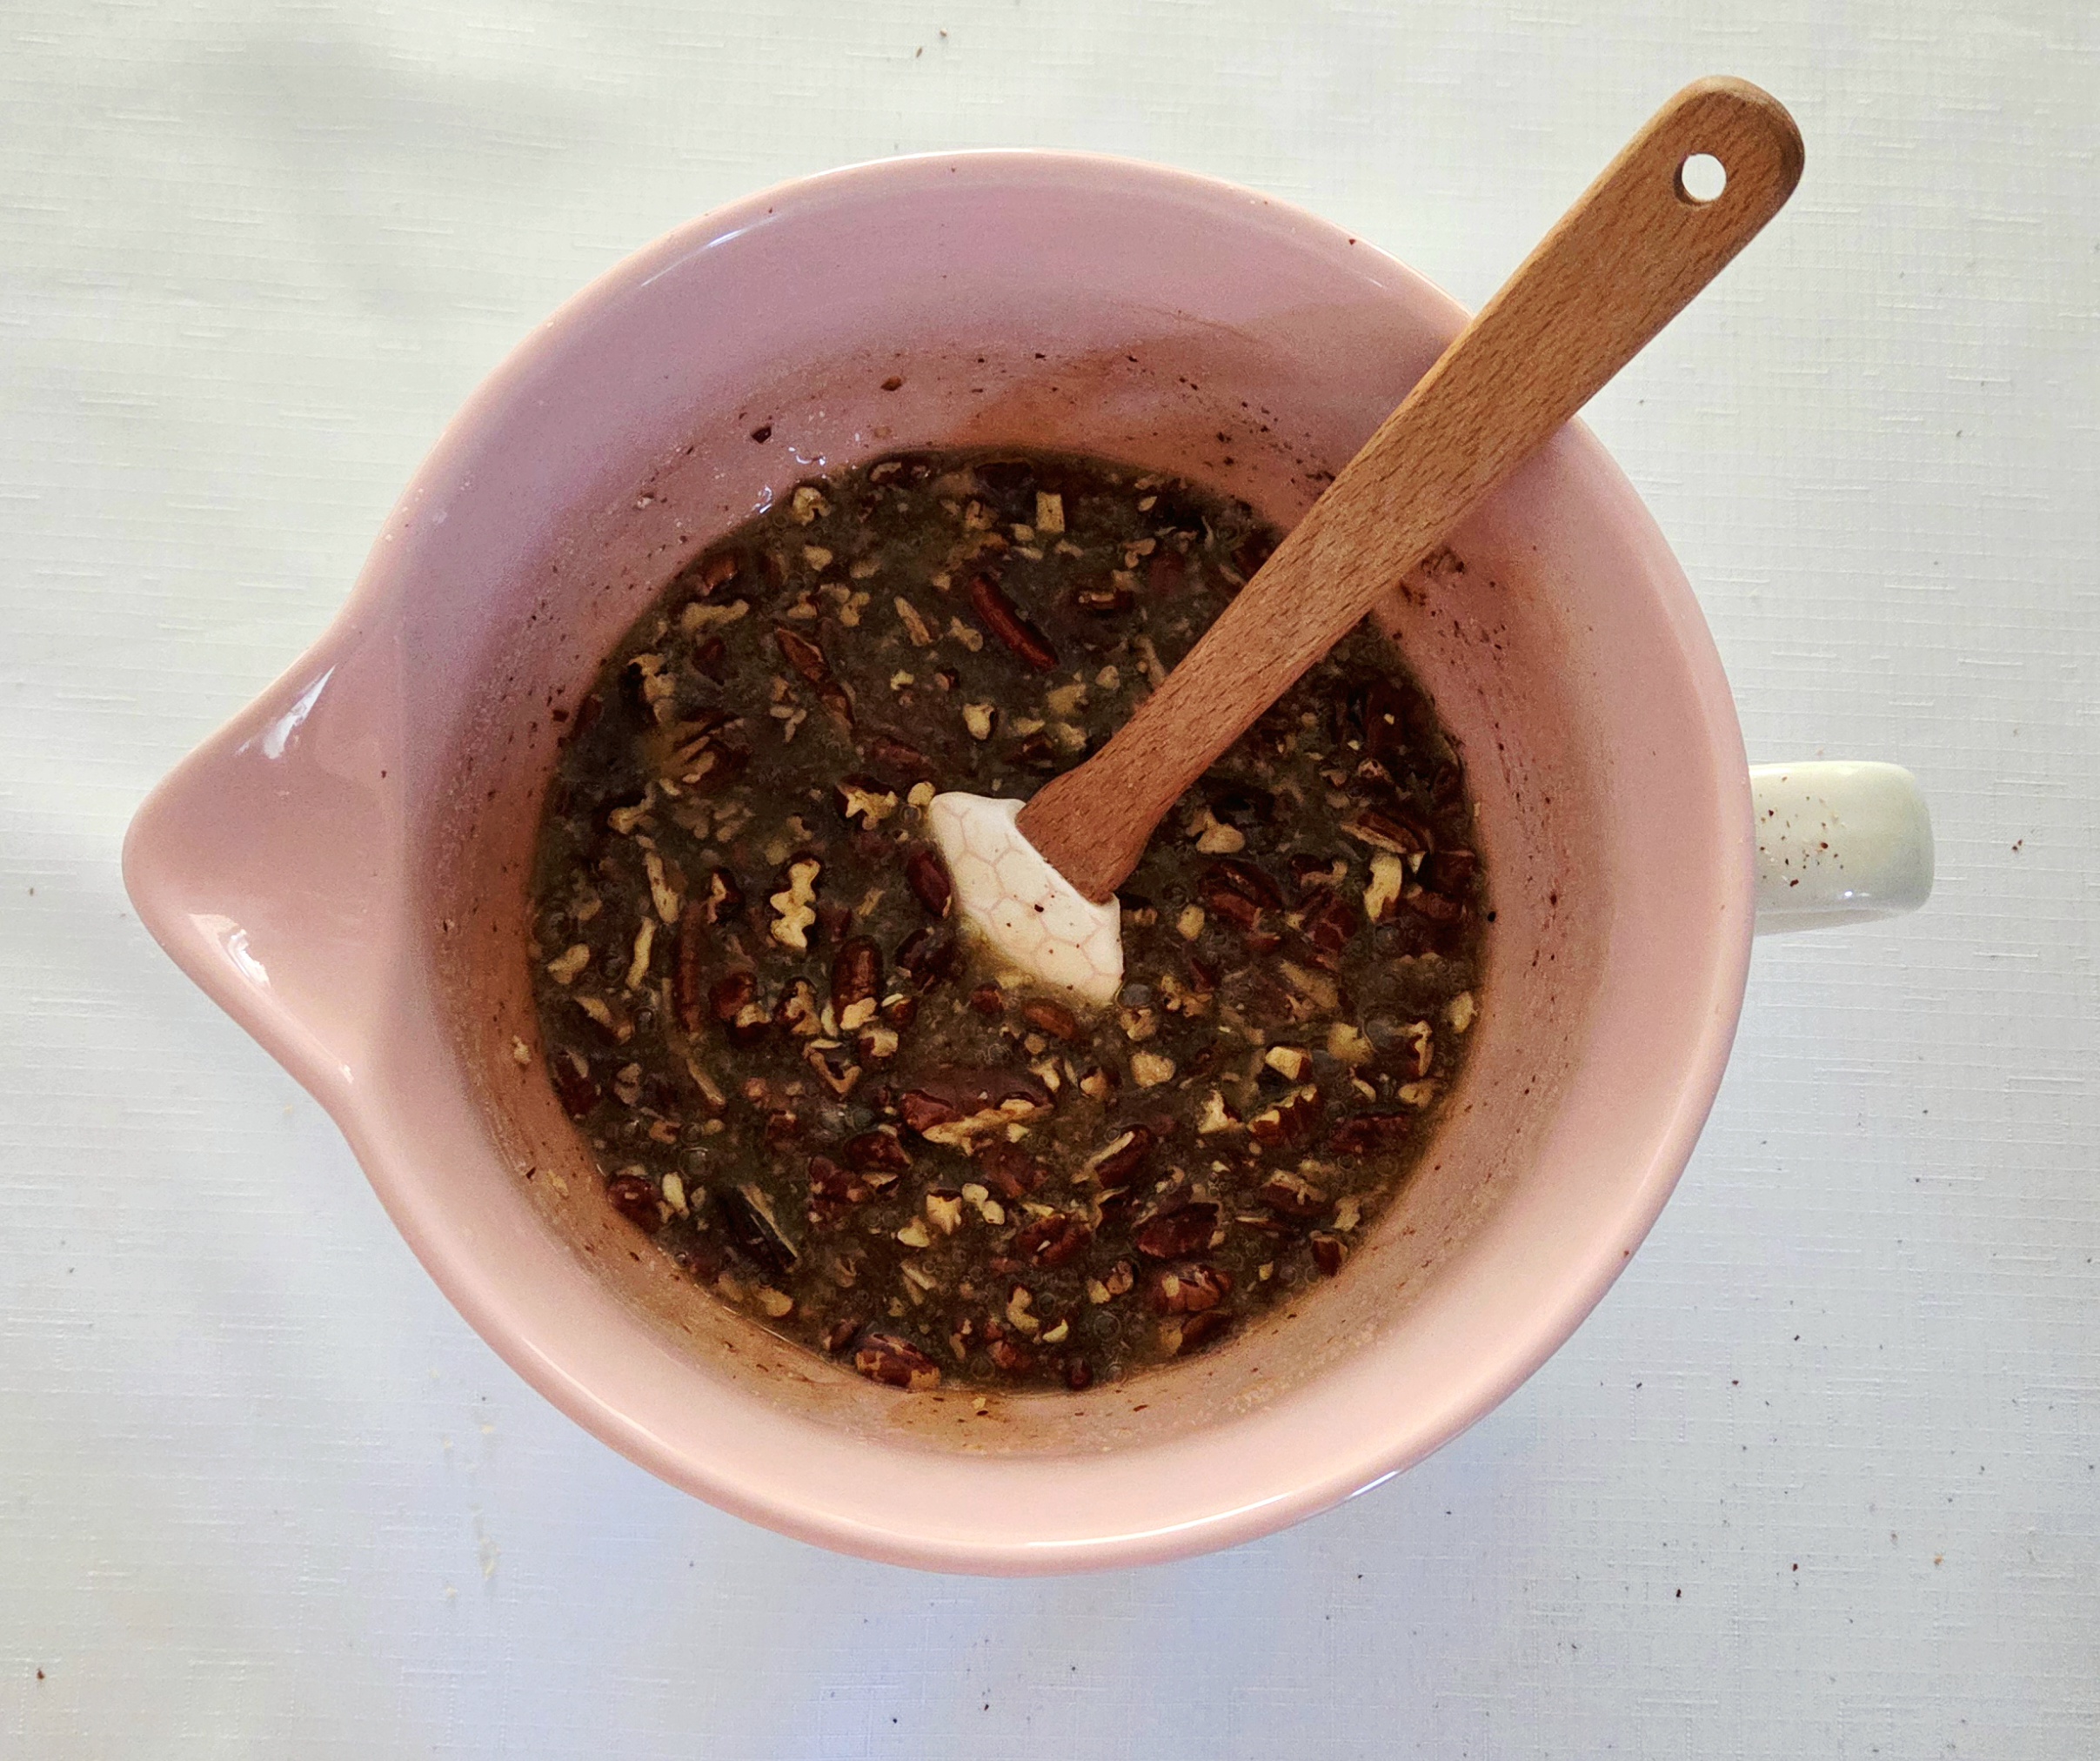
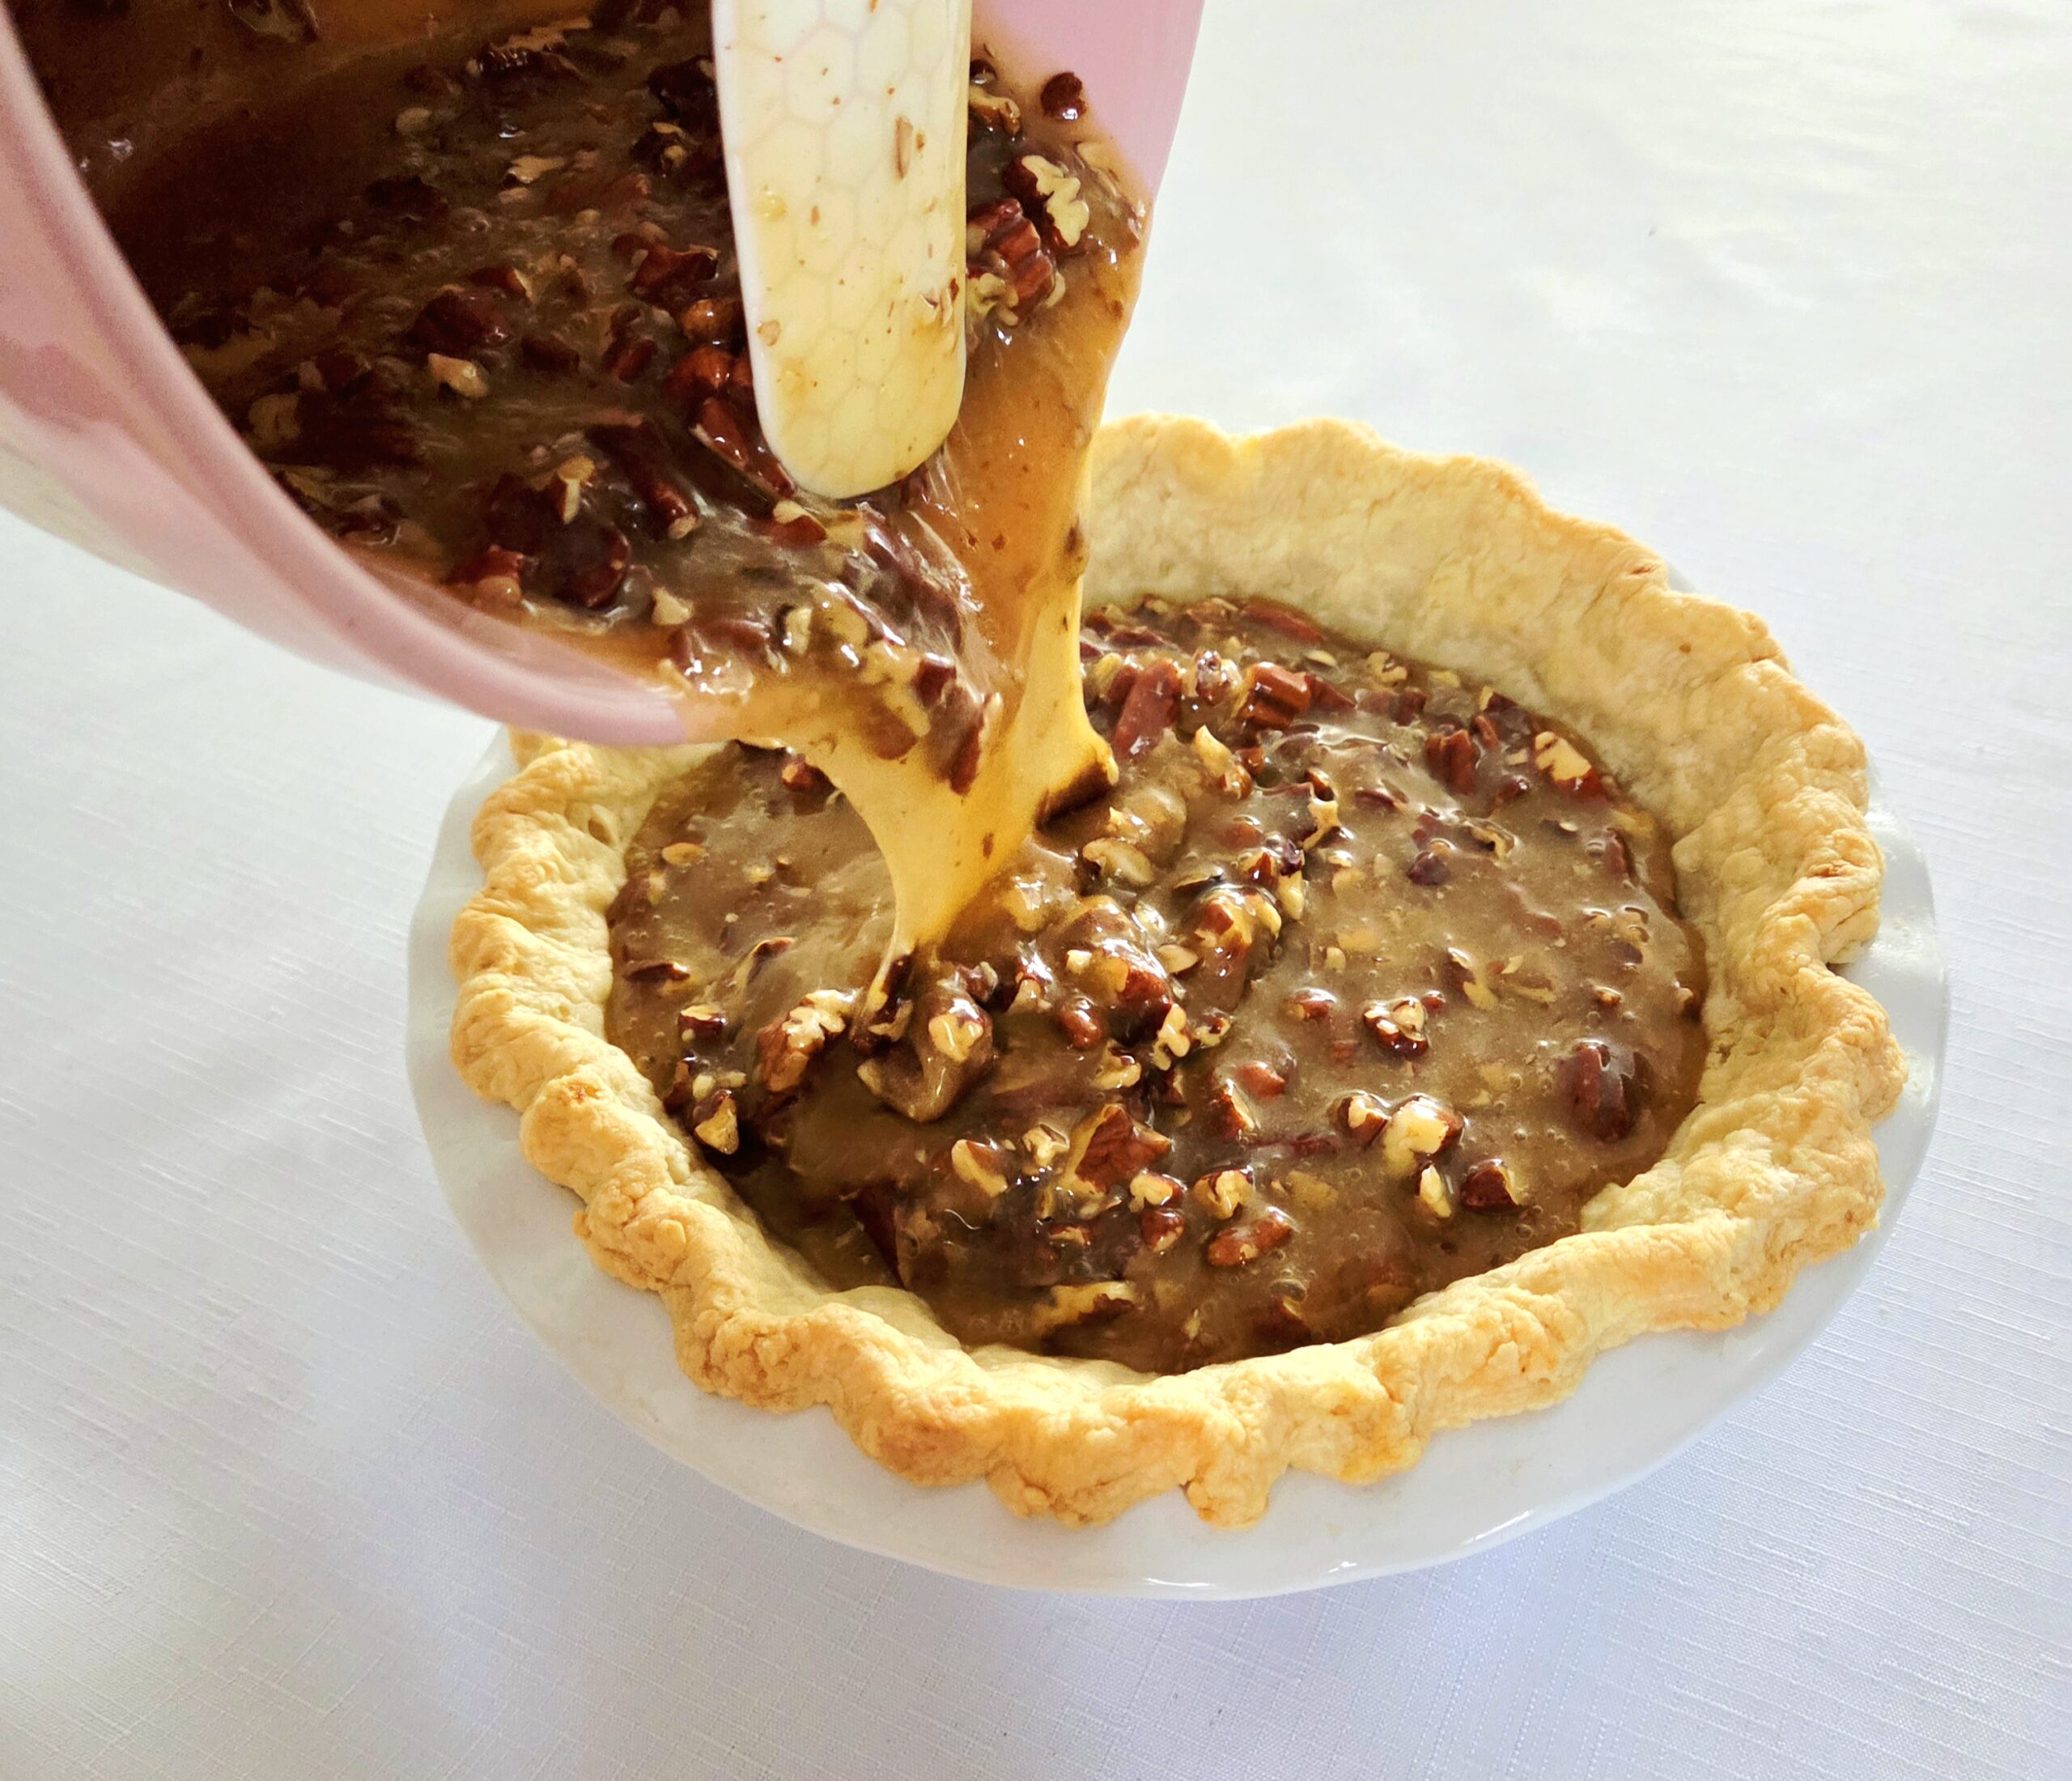
Pour the pecans into the rest of the filling and stir them in using a rubber spatula, then pour the filling into the par-baked crust, scraping the sides of the bowl with the spatula to get as much of the filling in as possible.
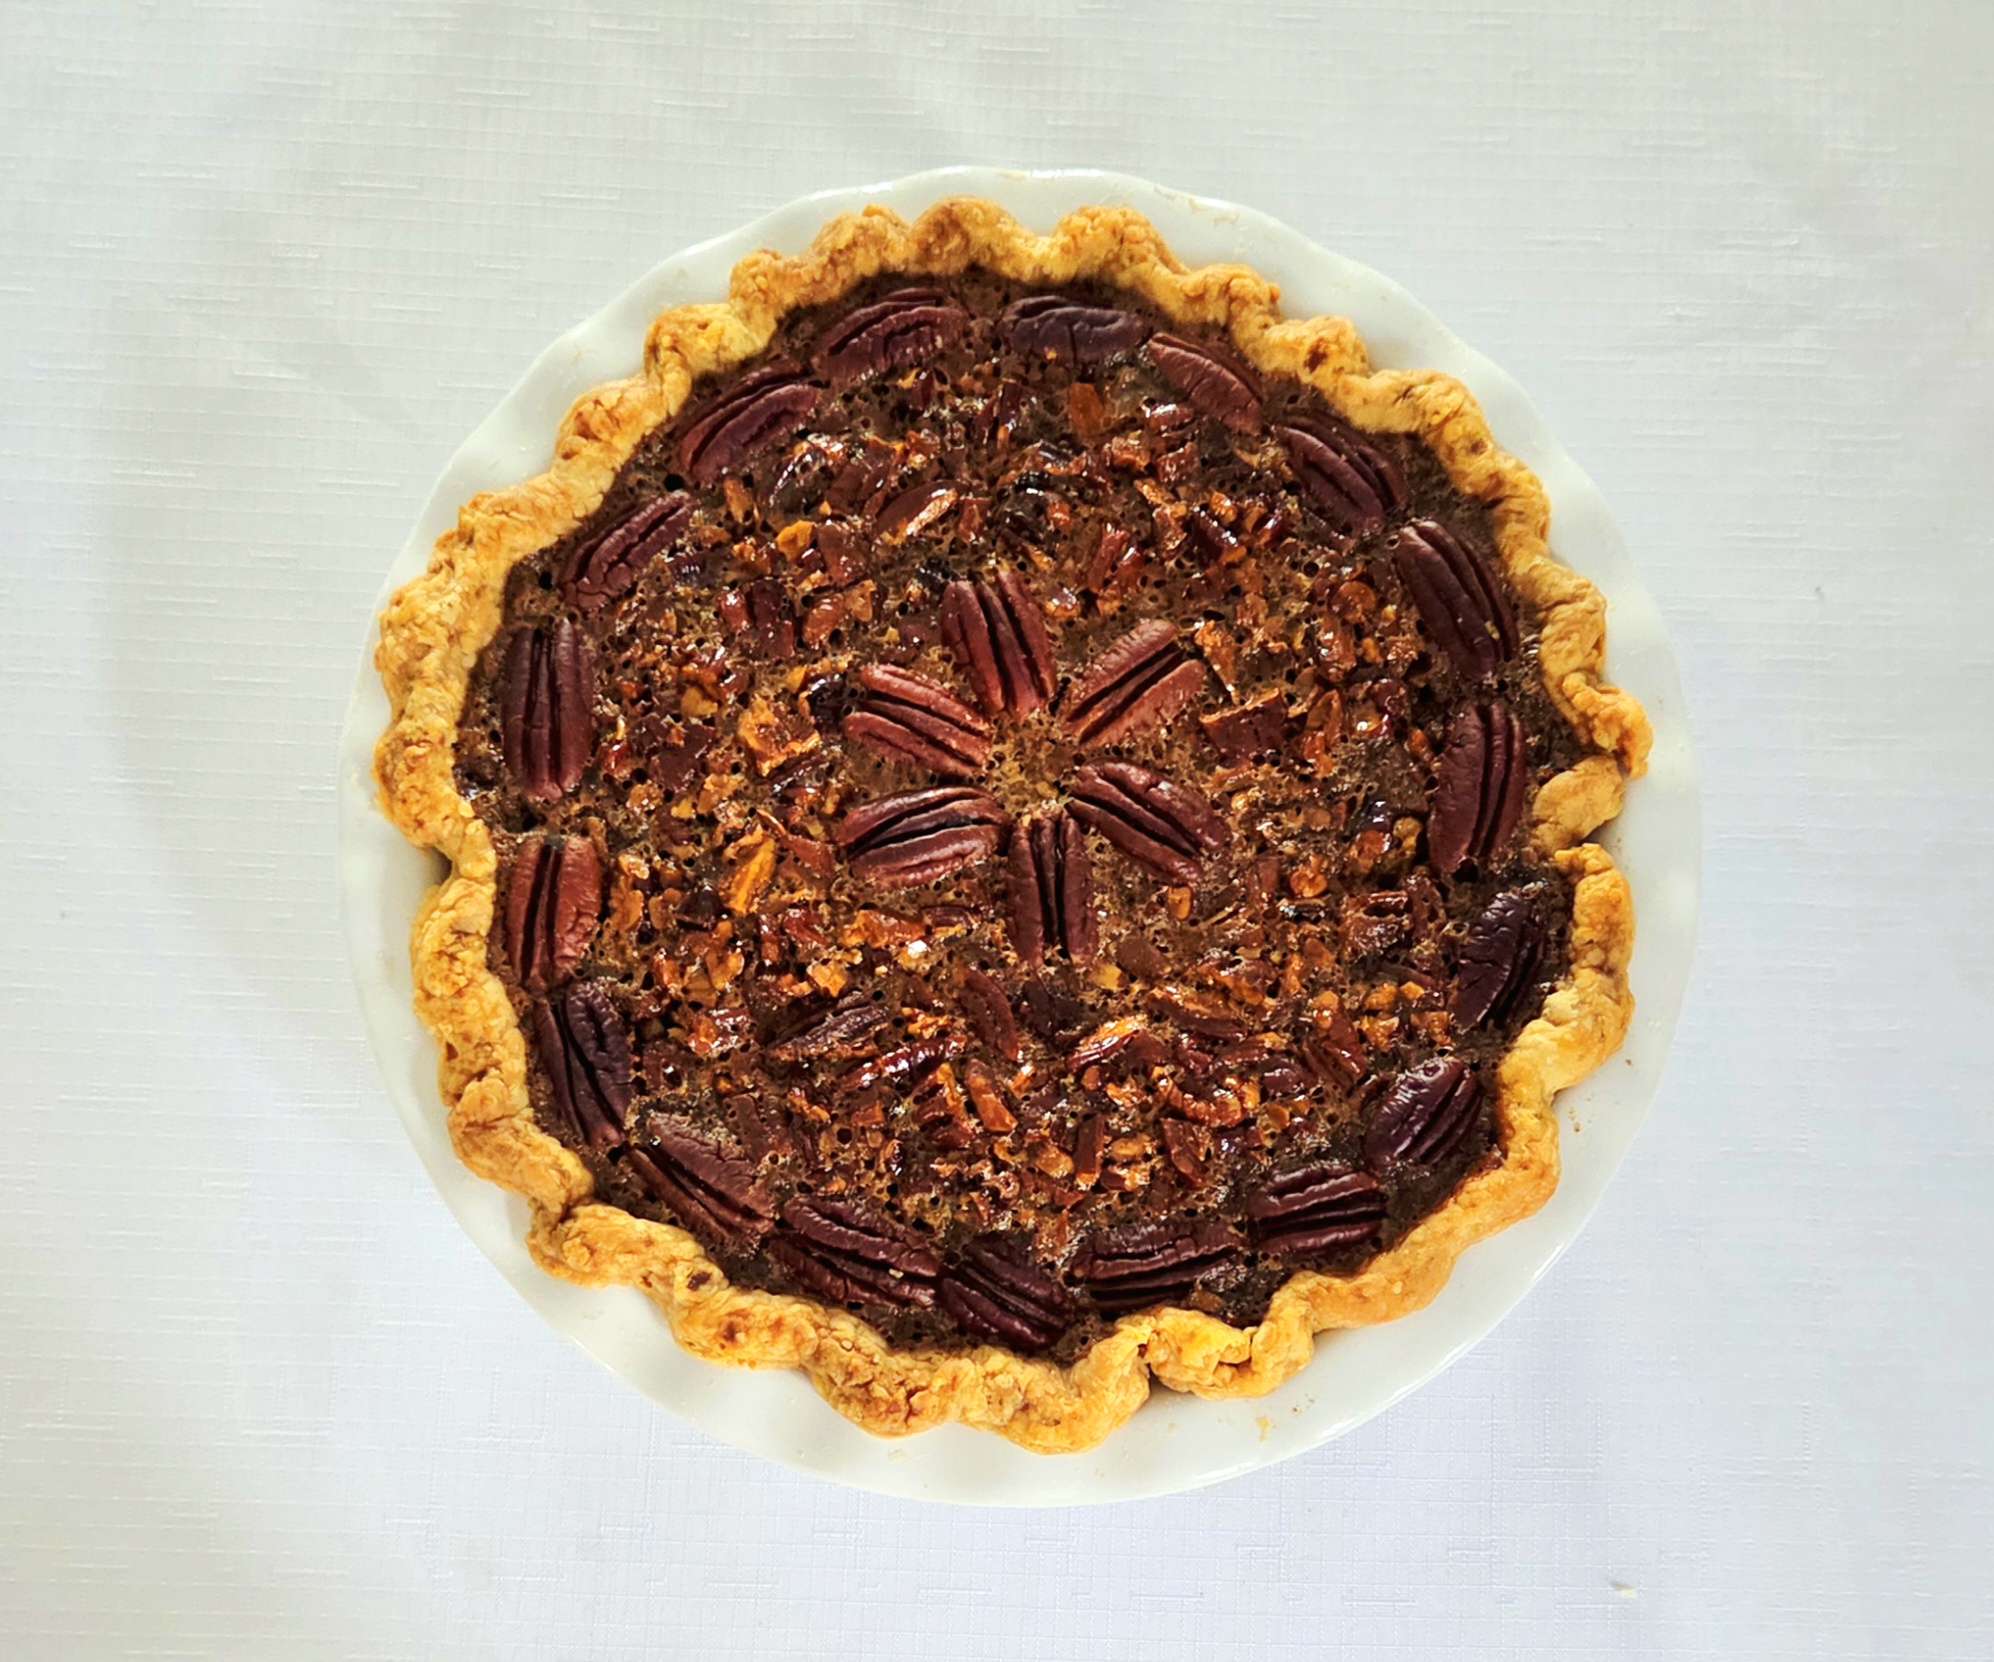
Place extra pecans on top of the filling, in a pleasant design of your choosing.

Gently cover the outside rim of the crust with foil to help prevent it from getting too dark and place the pan in the oven once more. Bake for 70-75 minutes, flipping halfway through, or until the filling is set with only a slight jiggle.
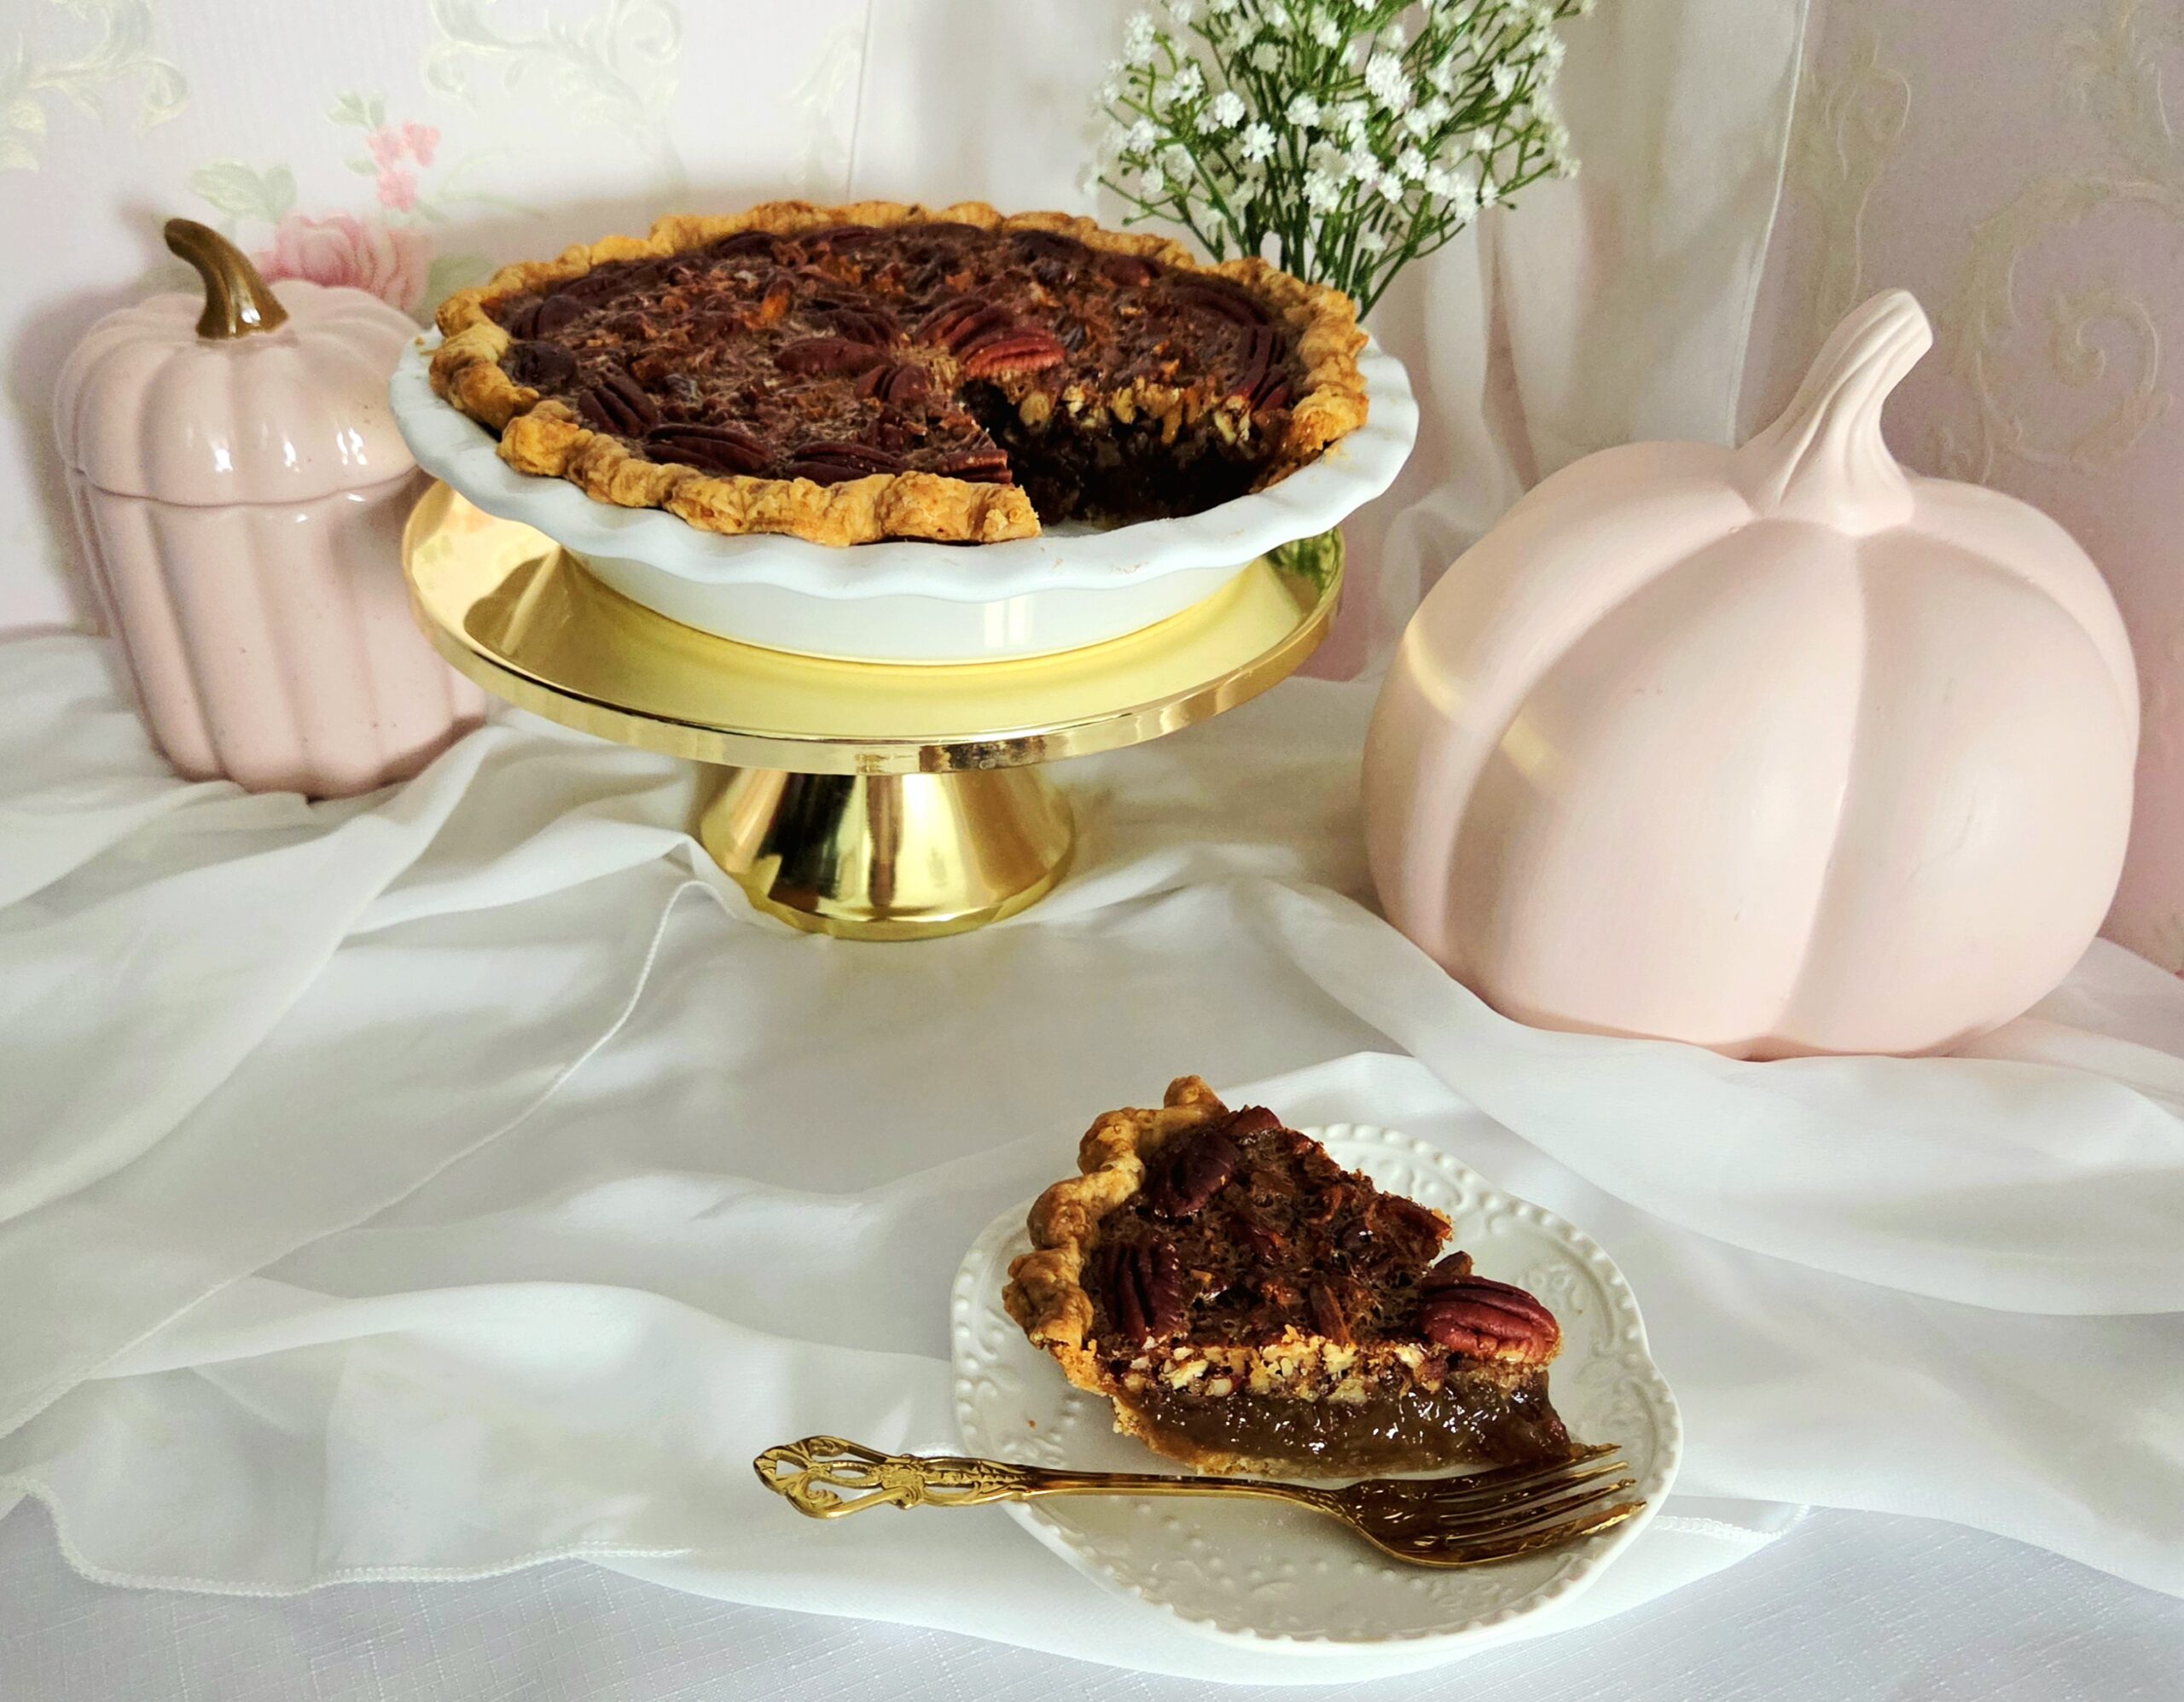
Remove the pie from the oven and allow it to cool down to room temperature before slicing into. Store any leftover pie in an airtight container on the counter, and enjoy!
Pecan Pie
Bake Time: 350F for 70-75 minutes
Servings: 12 slices
Total Time: 2 hour 30 minutes
Prep Time: 30 Minutes
Ingredients
- Single Easy Pie Crust or a pre-made pie crust of your choice
- 2 cups pecan halves
- ½ cup granulated sugar
- ½ cup light brown sugar
- 1 cup light colored corn syrup
- 4 Tablespoons unsalted butter
- 3 large eggs, room temperature
- 1 teaspoon salt
- 2 teaspoons vanilla extract
- Extra pecans to garnish top (optional)
Directions
Shaping:
- Preheat the oven to 350F, on the convection setting if possible, and prepare the pie dish by coating it with a nonstick baking spray. Set this pan aside. If you are using a pre-made dough, skip down to step 3 and proceed.
- Remove the disc of dough from the fridge to roll out. Lightly flour a clean counter, place the disc in the center, and lightly flour the top of the disc as well. Using a rolling pin, roll out the dough into a circle with a 12-inch diameter. If at any point the dough starts to stick gently peel it away, and add a little more flour. If you can, use a bench scraper to help prevent the dough from tearing.
- Fold the circle of dough in half, and transfer it over to the pie dish. Gently unfold it, and fit the dough snug into the pie dish. Make sure it’s touching the bottom and sides, and tucks into the crease where the bottom and sides meet. Trim anything hanging over the sides of the pan with a paring knife or kitchen scissors. Tuck the edge of the dough about 1/2 inch underneath itself, and press down gently to seal it.
- For an easy crimp, take a fork and gently press the tines into the rim of dough you just tucked under. To ensure that it’s even, start the next crimp by placing the tine on the end into the previously made impression on the end. Continue all the way around the rim of dough. See reference photos above.
- For a slightly fancier crimp, take your pointer finger and thumb on one hand and hold them about an inch apart. Gently press them against the sides of the rim of dough and use the pointer finger on the opposite hand to make a moderately deep impression in the space between your two fingers. Start the next finger crimp by placing your pointer finger against the previously made indent, and repeat the same actions as before. Repeat this process all the way around the rim. See reference photos above.
- Grab a piece of parchment paper large enough to fill the entire inside of the pie dish, including up the rim, and crumple it into a ball. Un-crumple it and place it into the dough lined pie dish, then fill the parchment with either pie weights, dried beans, or dried rice, enough so that the dish is completely full.
- Place the pie dish on the center rack in the oven and bake it for 30 minutes. Carefully remove the parchment and weights from the crust and return the dish to the oven for another 15 minutes. Remove the dish and set it aside. You’re only looking for it to be mostly baked, not completely baked.
Filling:
- While the crust bakes, make the filling. Spread the pecans out on a baking sheet and bake for 8-10 minutes, stirring occasionally, or until fragrant and toasted. You’ll know they’re finished if when you break one open, it’s a toasty golden brown (see reference photo above). Set them aside to cool.
- In a large microwave safe mixing bowl, heat the butter until it’s just melted but not hot. Whisk in the granulated sugar, brown sugar, corn syrup, salt, vanilla, and eggs.
- Once the pecans have cooled down, move them onto a cutting board. Using a chef’s knife, give them a rough chop.
- Pour the pecans into the rest of the filling and stir them in using a rubber spatula. Transfer the filling into the par-baked crust. Scrape the sides of the bowl with the spatula, to get as much of the filling in as possible.
- Place extra pecans on top of the filling, in a pleasant design of your choosing.
- Put the pan back in the oven once more. Bake for 70-75 minutes, flipping halfway through, or until the filling is set with only a slight jiggle.
- Remove the pie from the oven and allow it to cool down to room temperature before slicing into. Store any leftover pie in an airtight container on the counter, and enjoy!
Tips
- Toast the pecans before chopping them up and throwing them into the filling! This draws out the natural oils in the nuts, increasing their flavor in the final pie.
- If you notice the outer rim of crust getting too dark, cover it with foil or a pie crust shield. Be careful not to burn yourself!


0 Comments