

Anyone who knows me knows that when it comes to dessert, I’m a decadent girl. Chocolate, nuts, caramel, peanut butter, anything along those veins and I’m all over it. Sure, I still like fruity desserts, just fine. A nice peach pie, a flaky raspberry danish, a crisp apple turnover, all perfectly pleasant! But I almost never go out of my way to get them. One of the few exceptions to that rule is a good lemon bar. The problem is, a good one can be difficult to find. So I decided to make my own.
These lemon bars are the perfect balance between tart and sweet, with a crispy shortbread crust and a filling that’s both delightfully gooey and still set. The lemon flavor jumps out at you, but isn’t so prominent as to taste how lemon pledge smells. Exactly what’s wanted in a lemon dessert. They’re perfect to bring on a sunny picnic, serve at a bridal shower, or prepare when it’s still chilly out and you need to remember the sunshine. Do your household a favor and bake up your own pan of sunshine today.
FAQs and Science
What does poking holes in the bottom of the crust do?
This is what’s known as docking the dough. This technique gives the steam plenty of spaces to escape from in the shortbread, preventing things like puffing from happening.
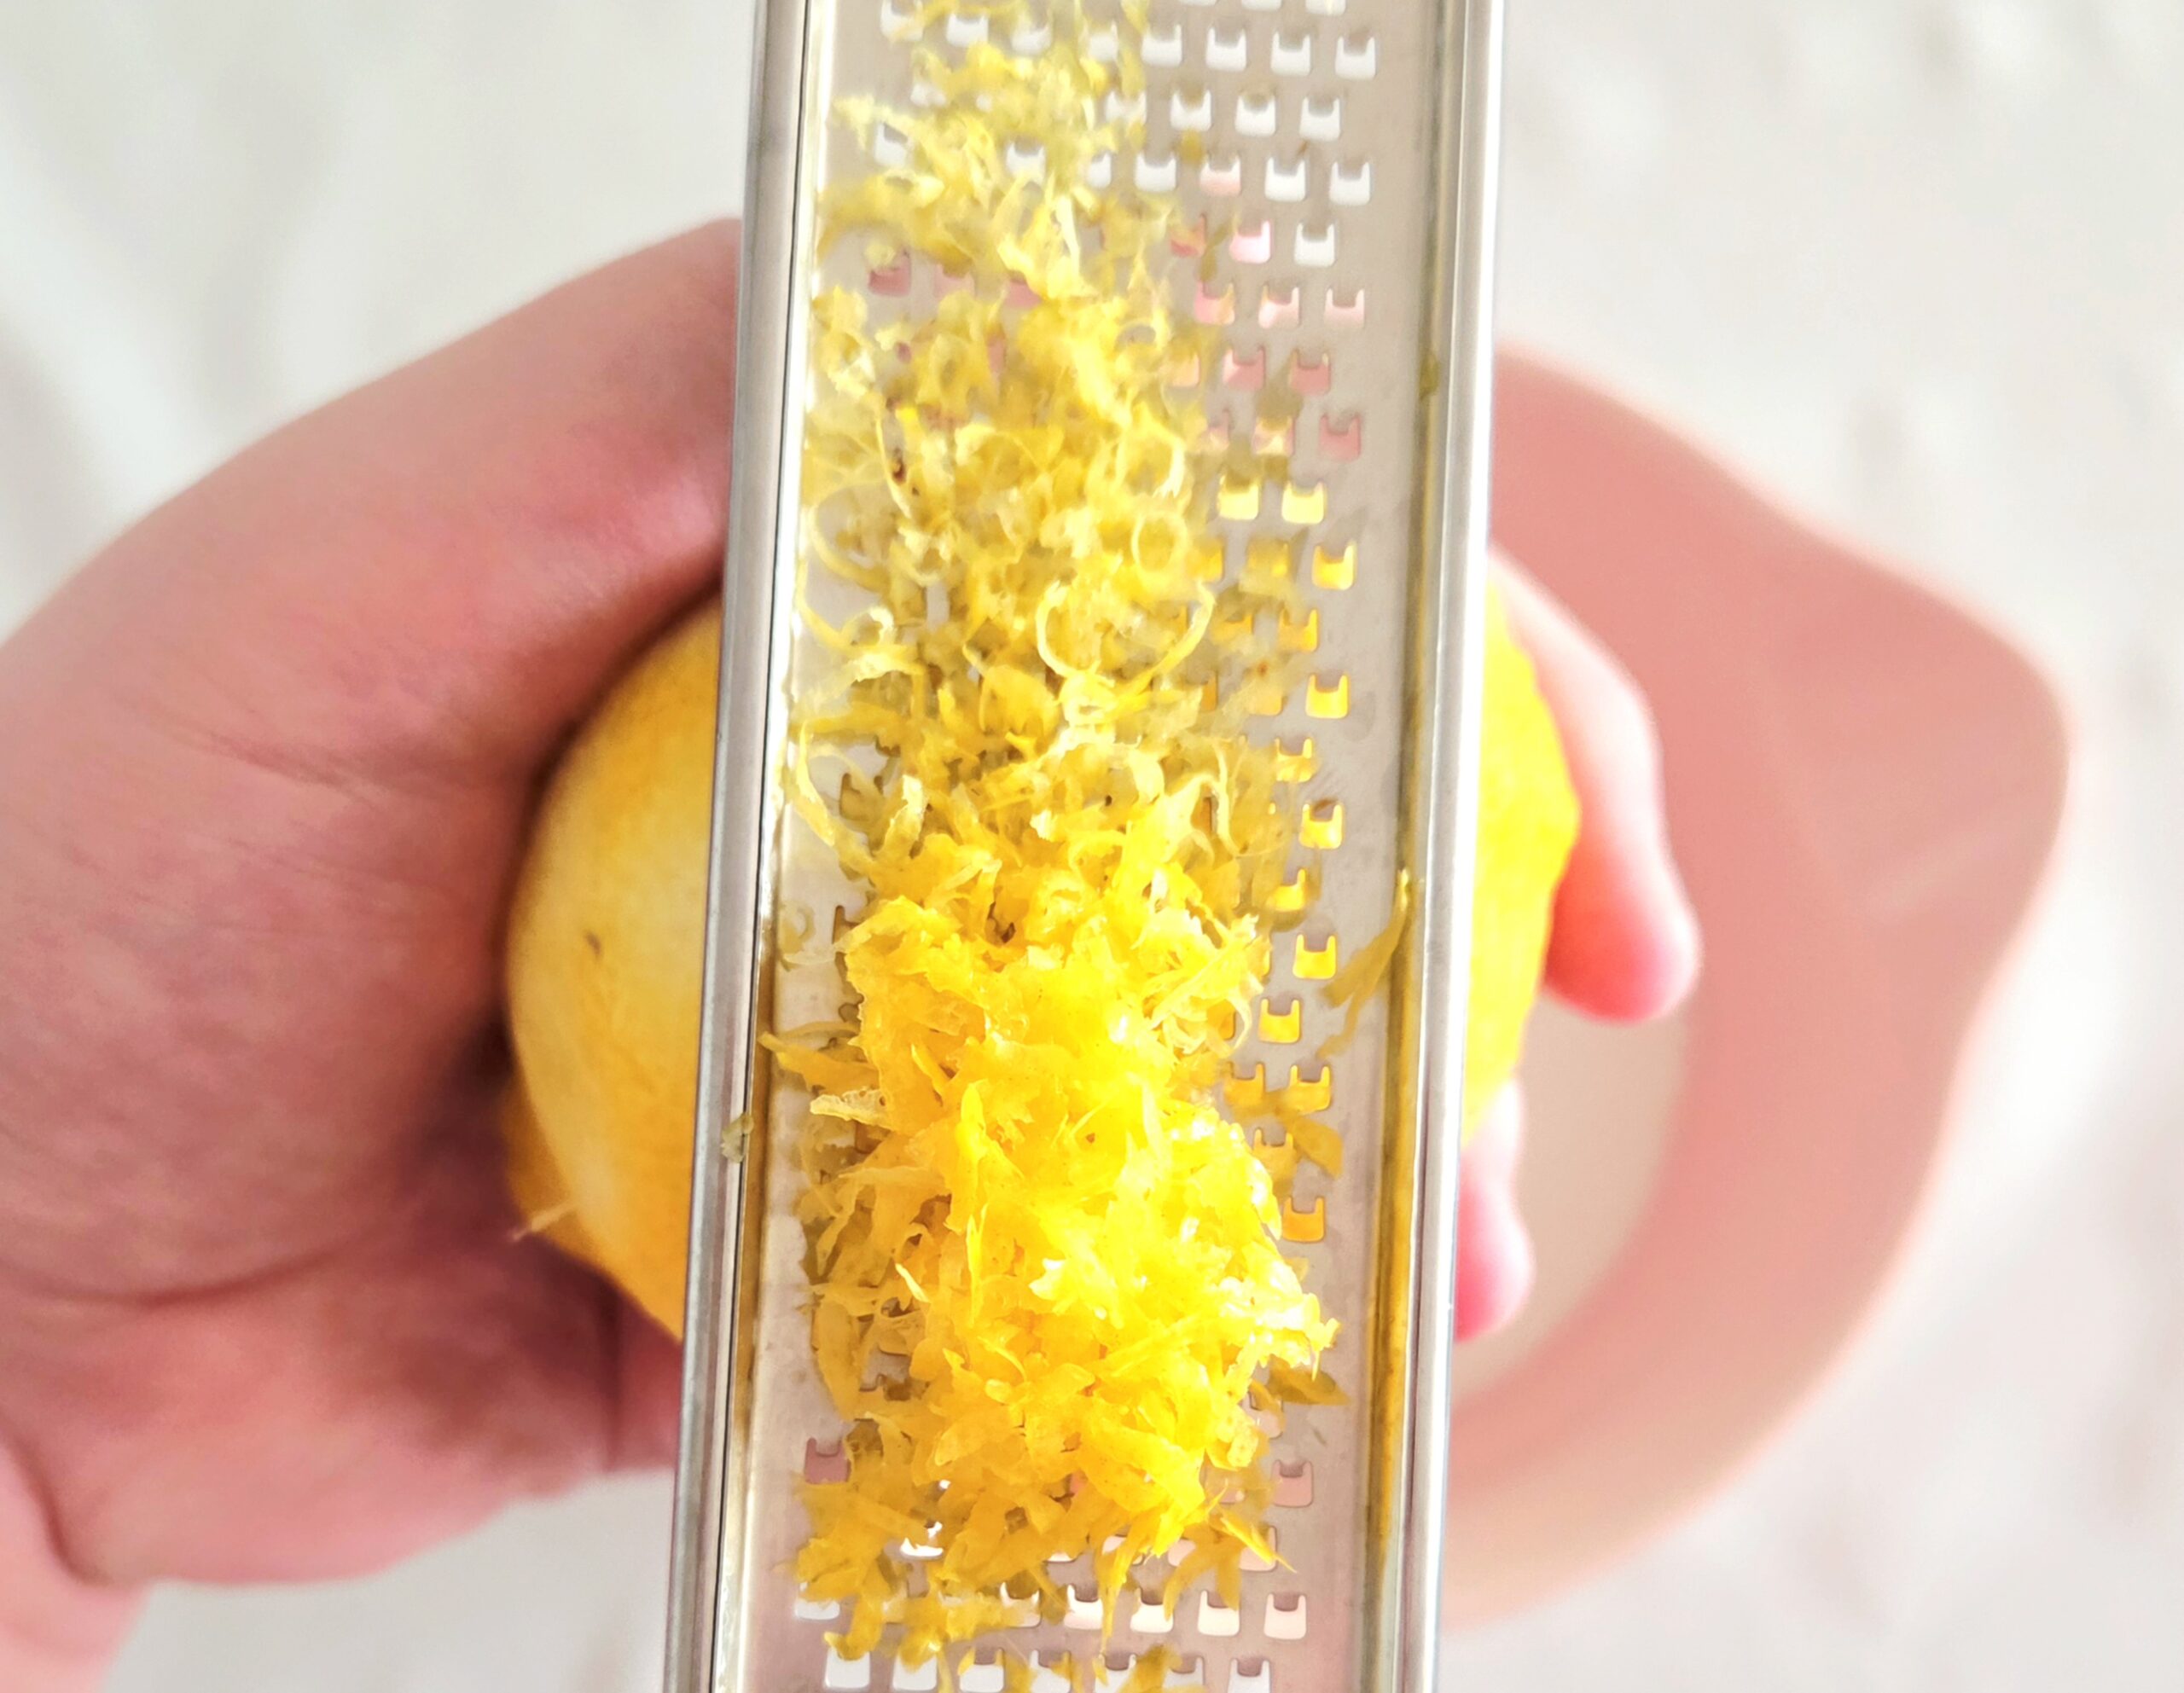
What is that layer of white underneath the yellow skin of the lemon?
That white stuff is the pith of the citrus! It’s incredibly bitter and won’t add anything of delicious value to any baked good you decide to make. That’s why it’s advised that you avoid it as much as it can be avoided as you zest.
How do I zest a lemon?
I’m partial to the Martha Stewart method when it comes to zesting! Hold the lemon so it’s facing up in one hand, and drag the blade on the top of the lemon using the other. This way, the zest will collect on the back of the microplane, and you can clearly see if you’ve reached the white pith yet. Tap out the zest collected into the bowl of sugar if it starts to get too high, and keep going and turning the lemon until all of the zest the bars need has been harvested.
Why allow the zest to sit in the sugar on its own for a few minutes?
When citrus zest of any kind sits in sugar, the sugar draws out the natural oils in the zest. These oils naturally intensify the citrus flavor in the final product, more than just tossing the zest in without completing this step would.
Does freshly squeezed lemon juice actually make a difference?
Drastically so! Pre-bottled lemon juice is incredibly bitter. If you use that instead of the delightfully tangy fresh-squeezed stuff, the bars will reflect that and be bitter. So while it’s a bit of a pain to squeeze your own, it’s an effort well worth making.
What You’ll Need

- Parchment paper
- Stand mixer fitted with paddle attachment
- Medium mixing bowl
- Small heat-safe bowl
- Dry measuring cups
- Liquid measuring cup
- Measuring spoons
- Flat bottomed glass
- Rubber spatula
- Whisk
- Citrus reamer or squeezer
- Microplane
- Sieve or sifter
- Chef’s knife
- Cutting board
The Process
Complete the Crust
Begin with the shortbread crust, as it will need to be par-baked before adding the filling. Preheat the oven to 350F, on the convection setting if possible, making sure the rack is placed in the center of the oven. Line the bottom and up two sides of a 9×13 inch baking pan with parchment paper. Either spray the two exposed sides with a nonstick baking spray or coat them with melted butter. Set the pan aside, until it’s needed.
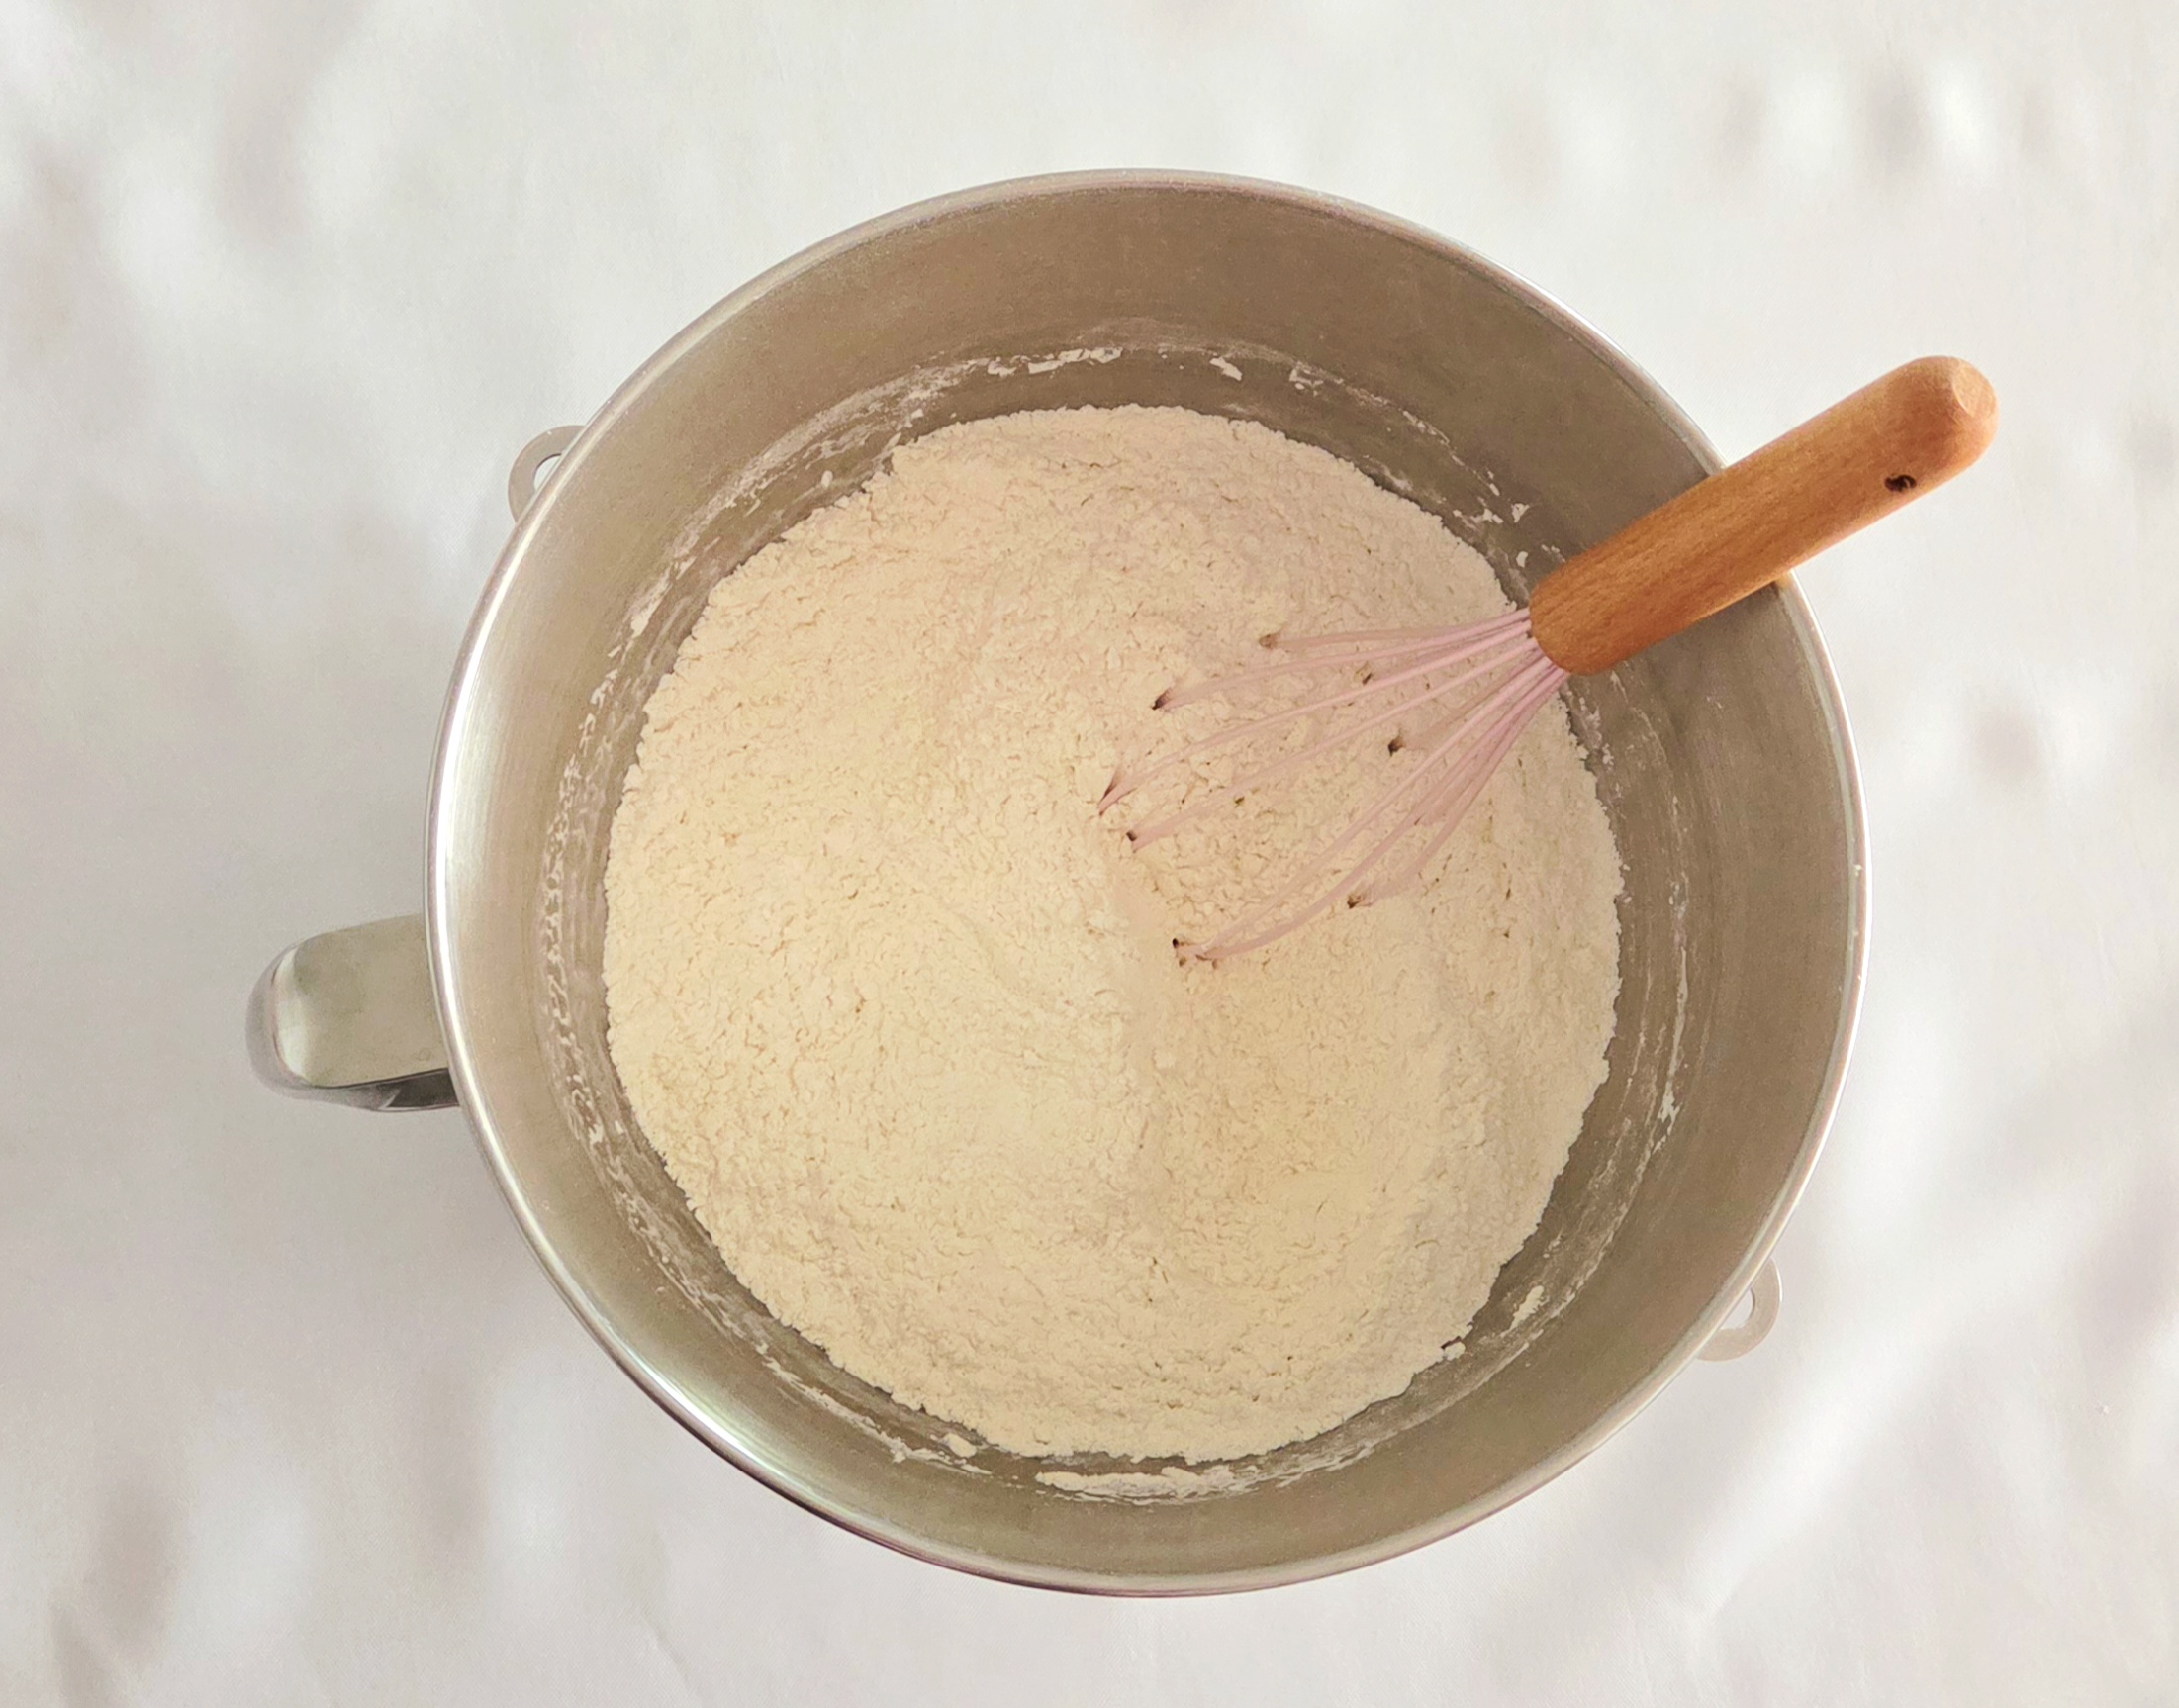
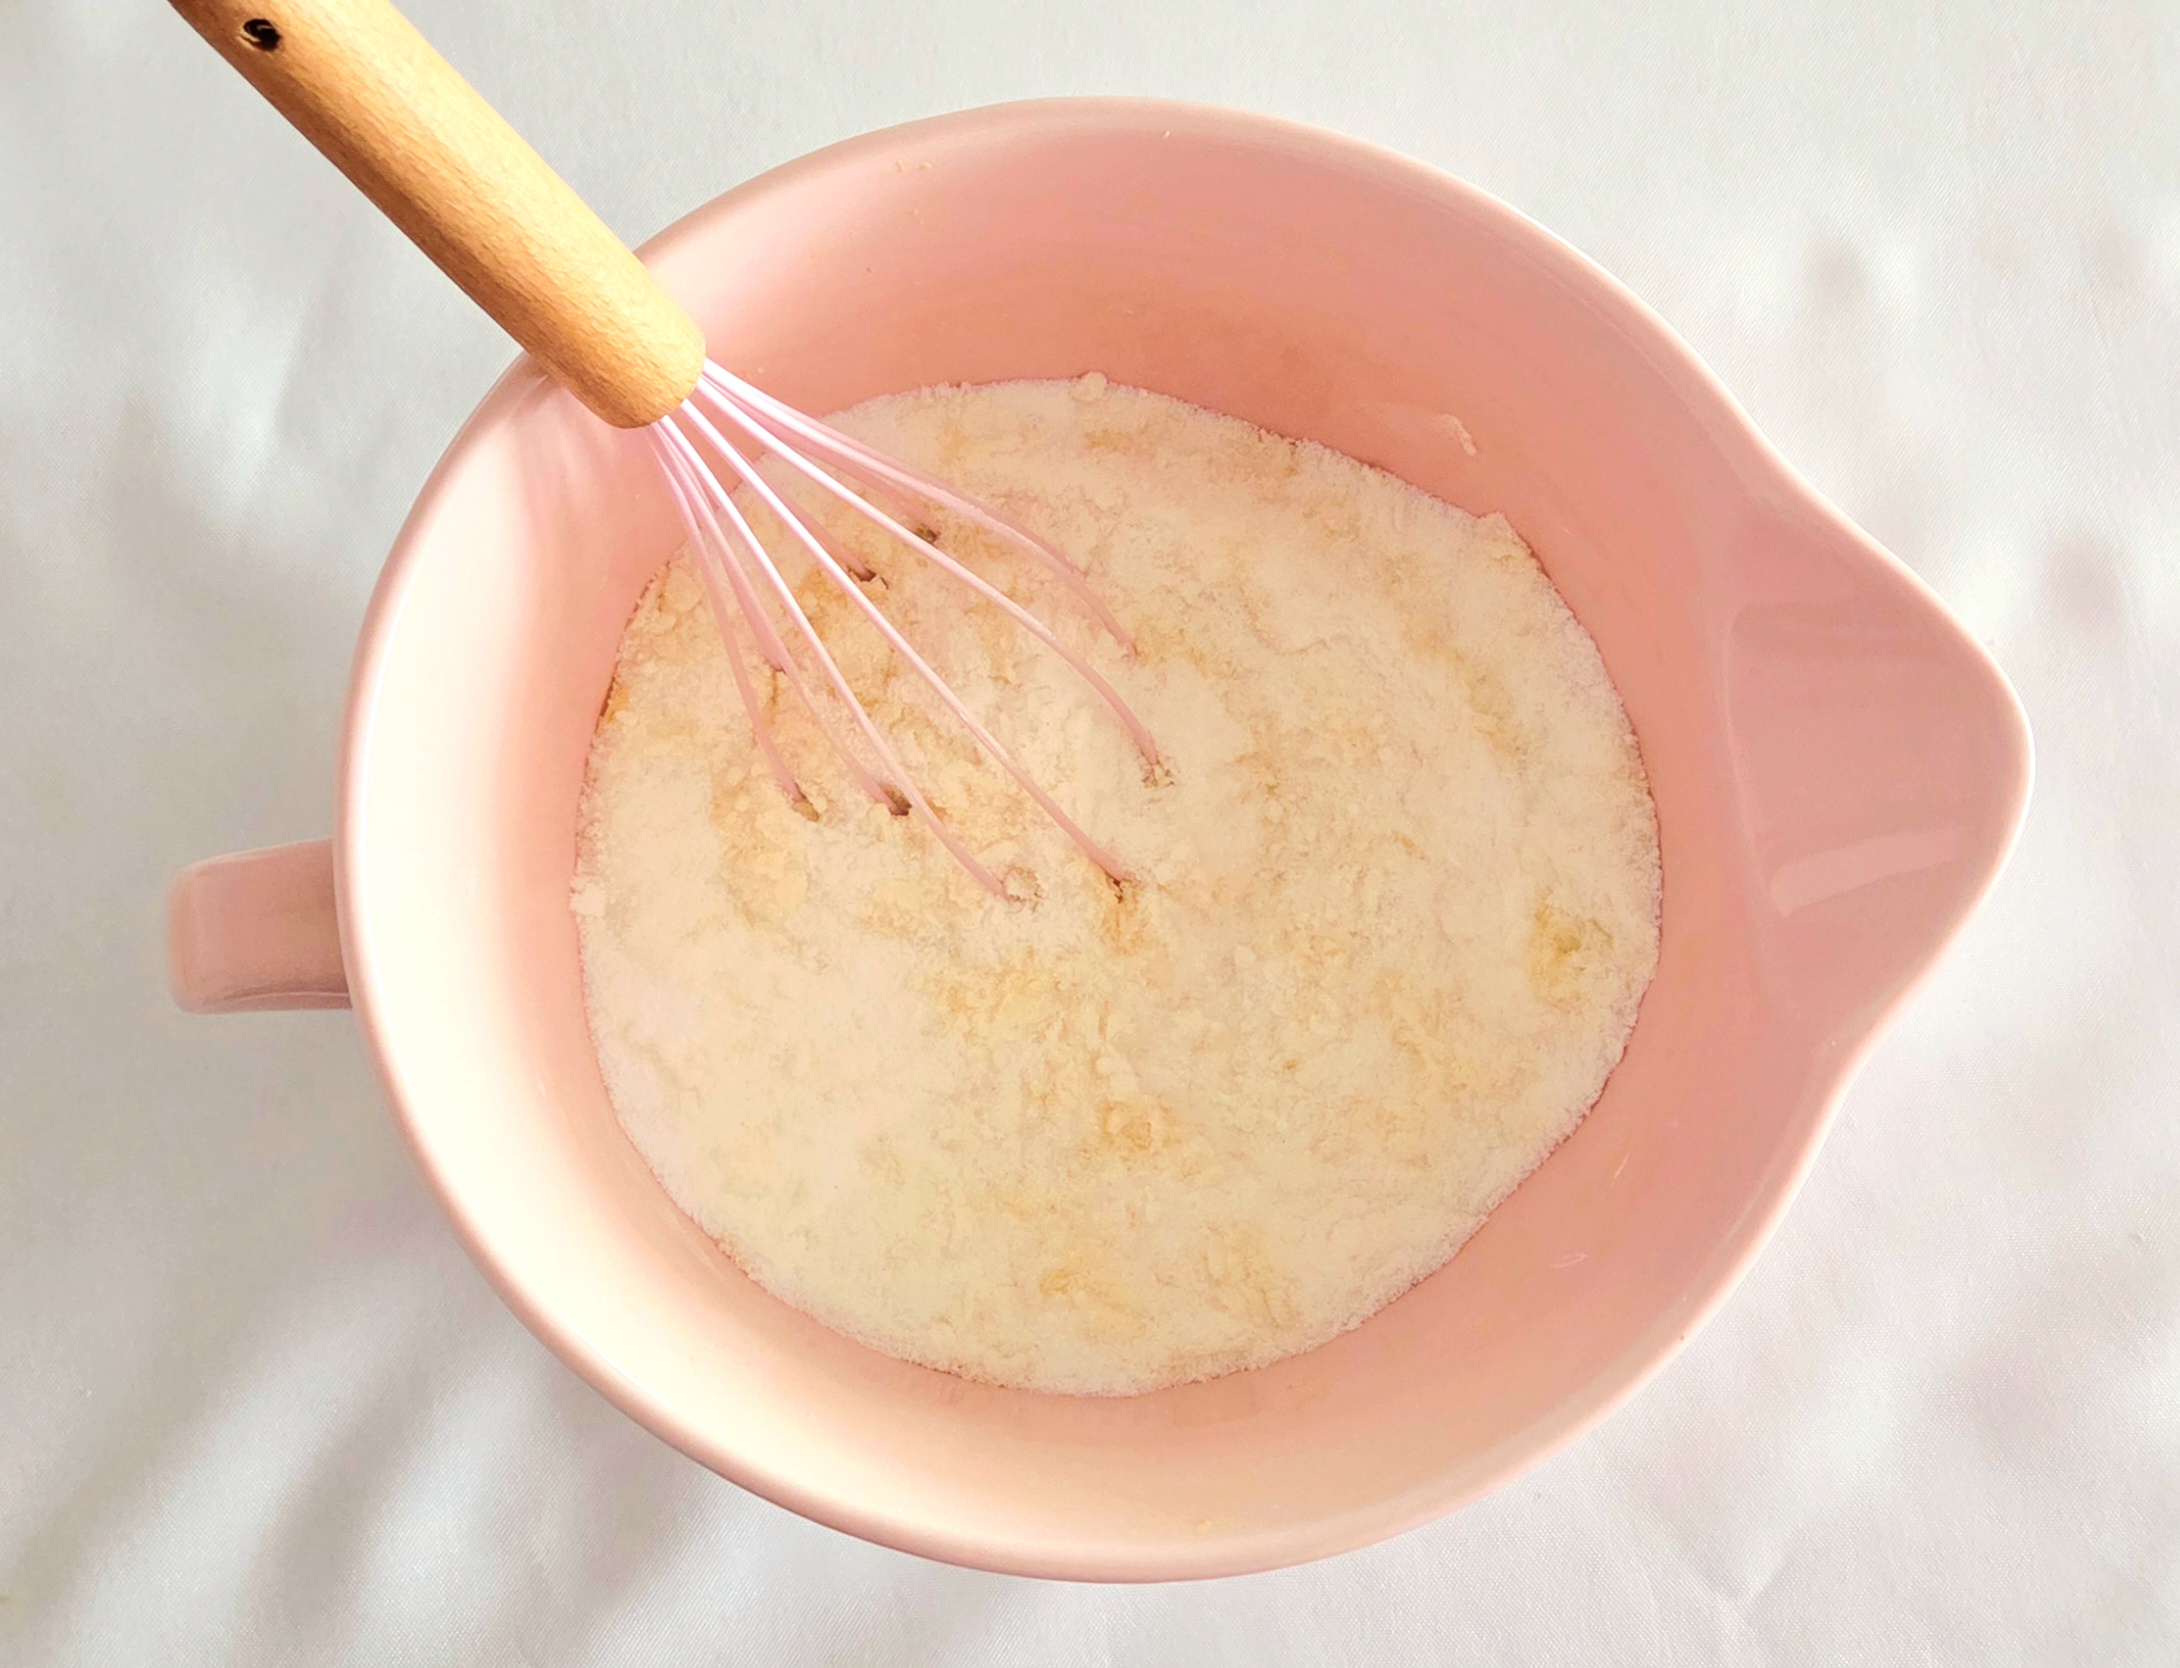
In the bowl of a stand mixer, sift the powdered sugar to get the lumps out. Add in the flour and salt, and whisk them all together. I know it’s tempting to skip the whisking and move straight to the next step, but ignore this urge. Whisking the dry goods together ahead of time makes sure they’ll be evenly distributed throughout the final product. If you don’t whisk now, you run the risk of winding up with a pocket of salt in one spot or absolutely no sugar in another. Take ten seconds a whisk.
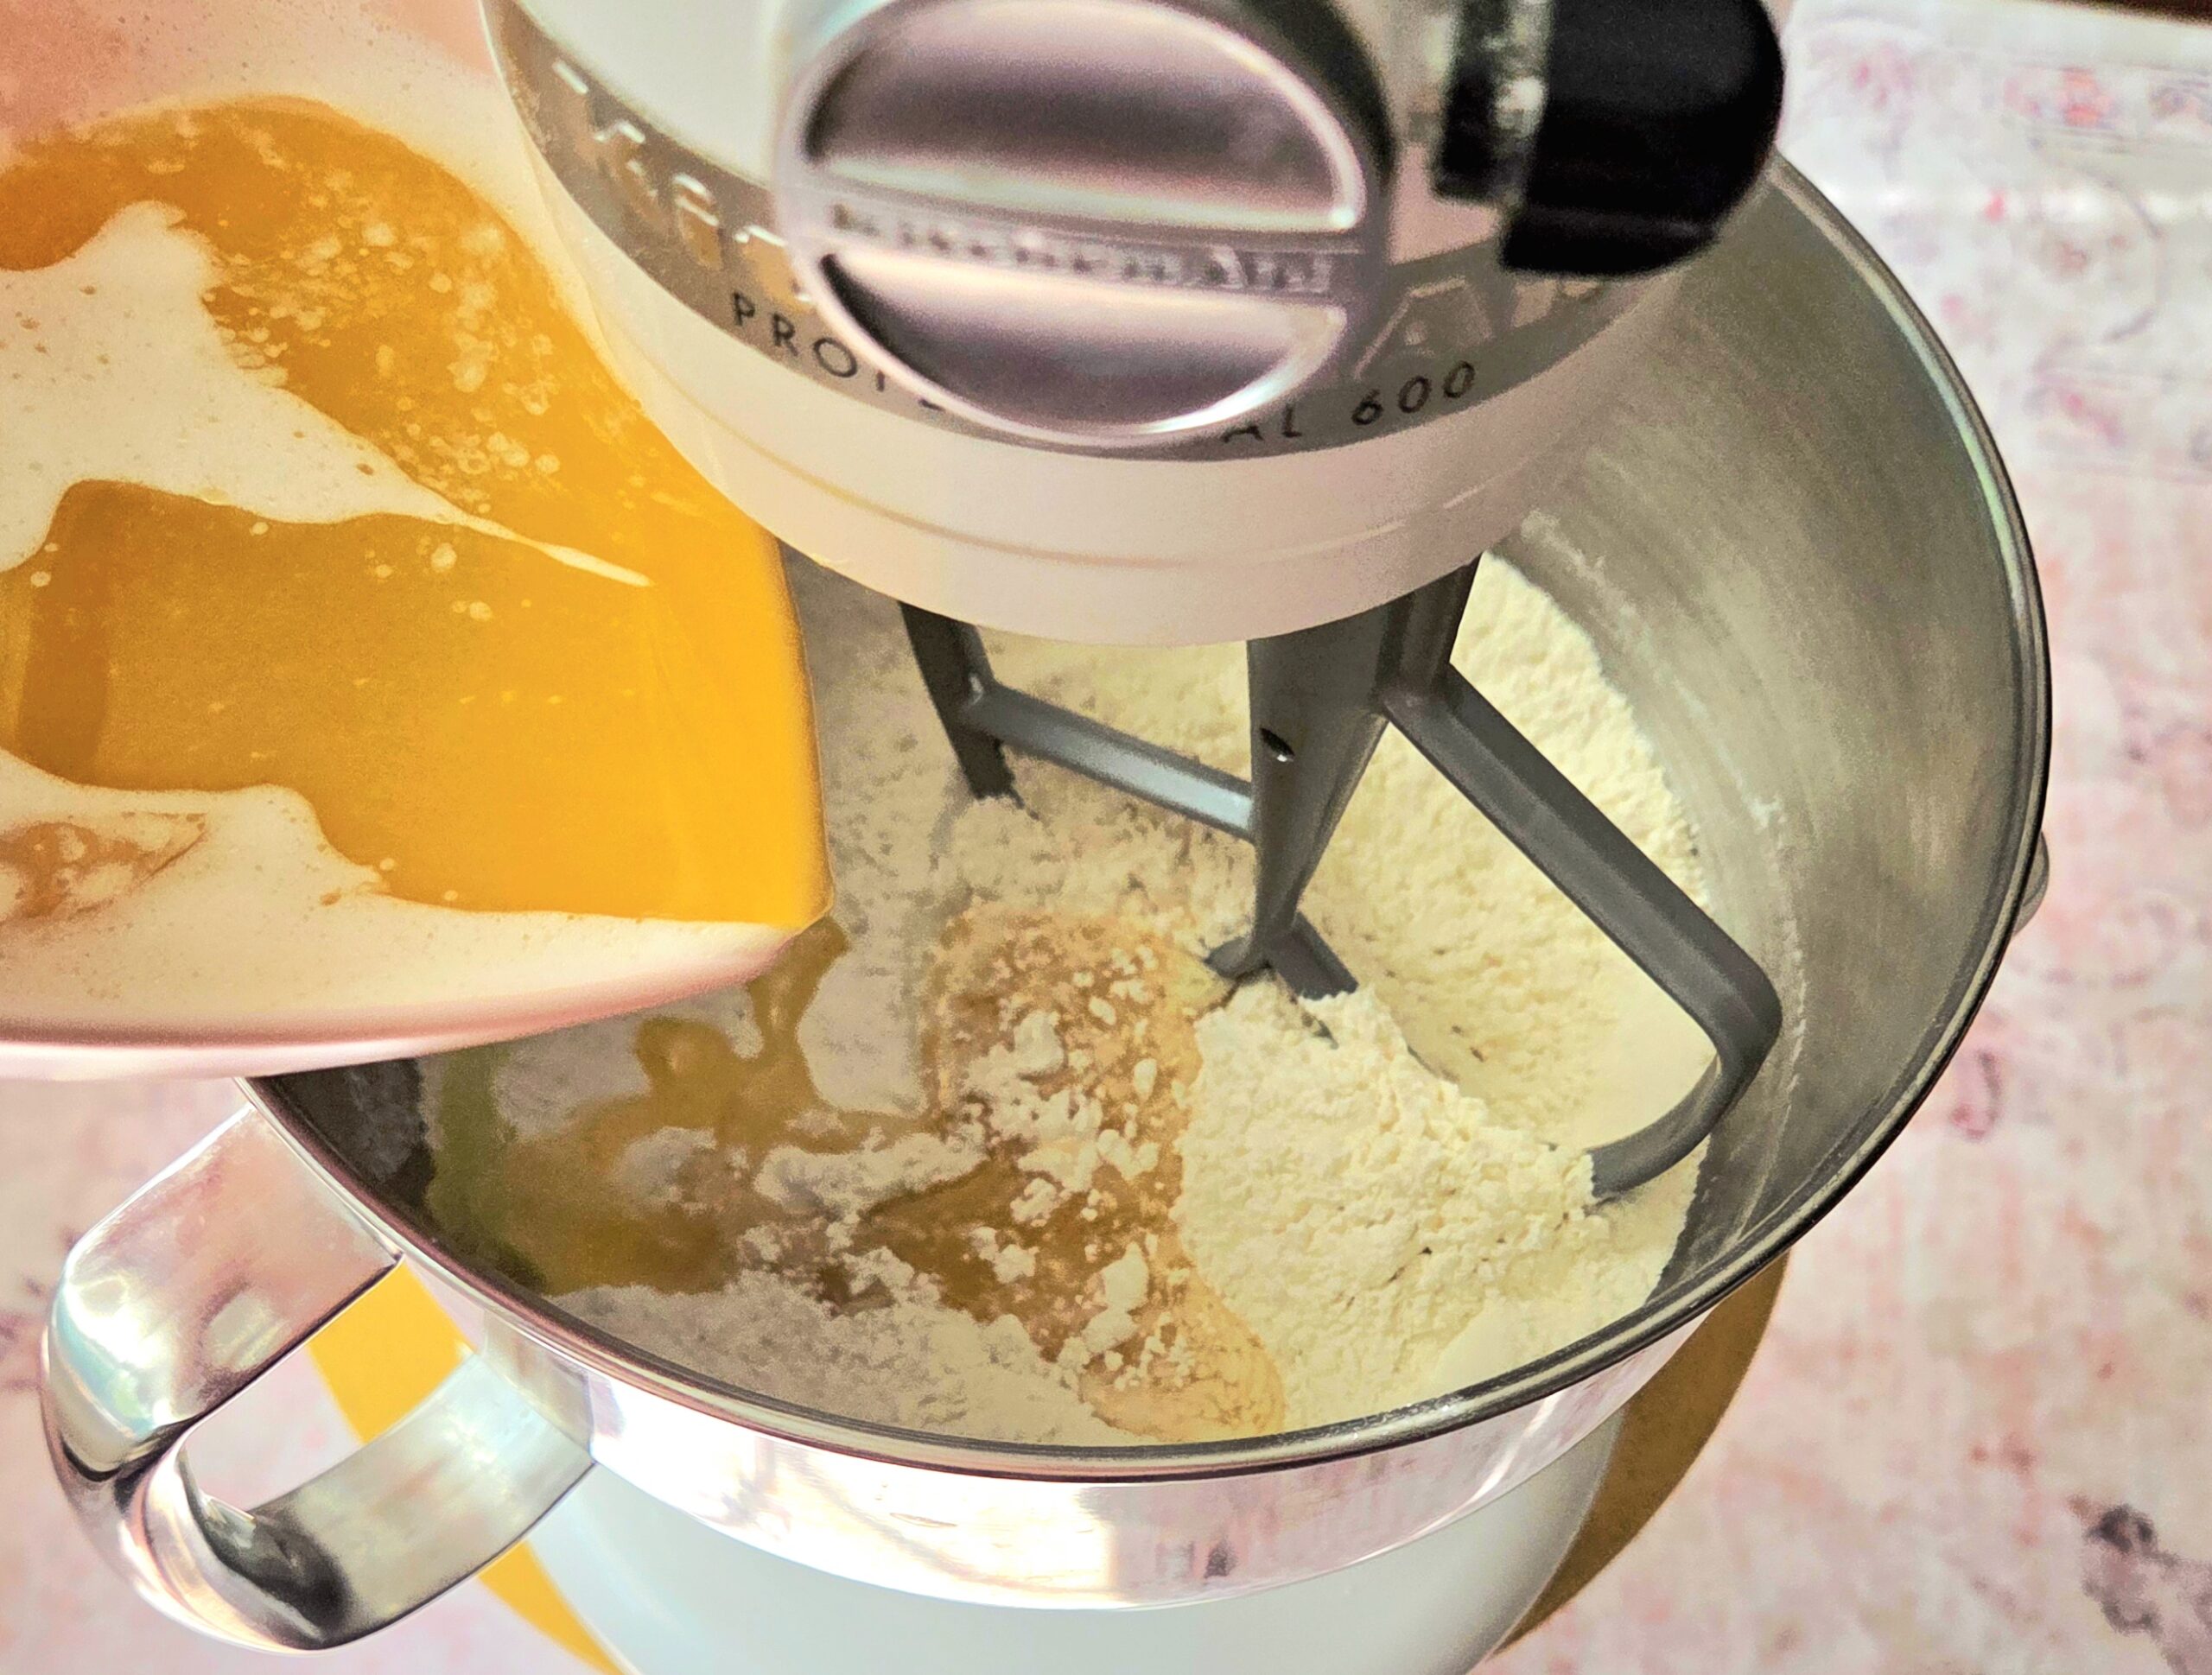
Heat the butter in the microwave, or on the stovetop if necessary, until it’s just melted. Don’t fret if the butter is on the hot side, it won’t hurt the shortbread. The guidance to only heat the butter until it’s just melted is to prevent it from overheating in the microwave and popping, leaving you with a butter explosion. Pour the vanilla extract into the melted butter and gently stir them together.

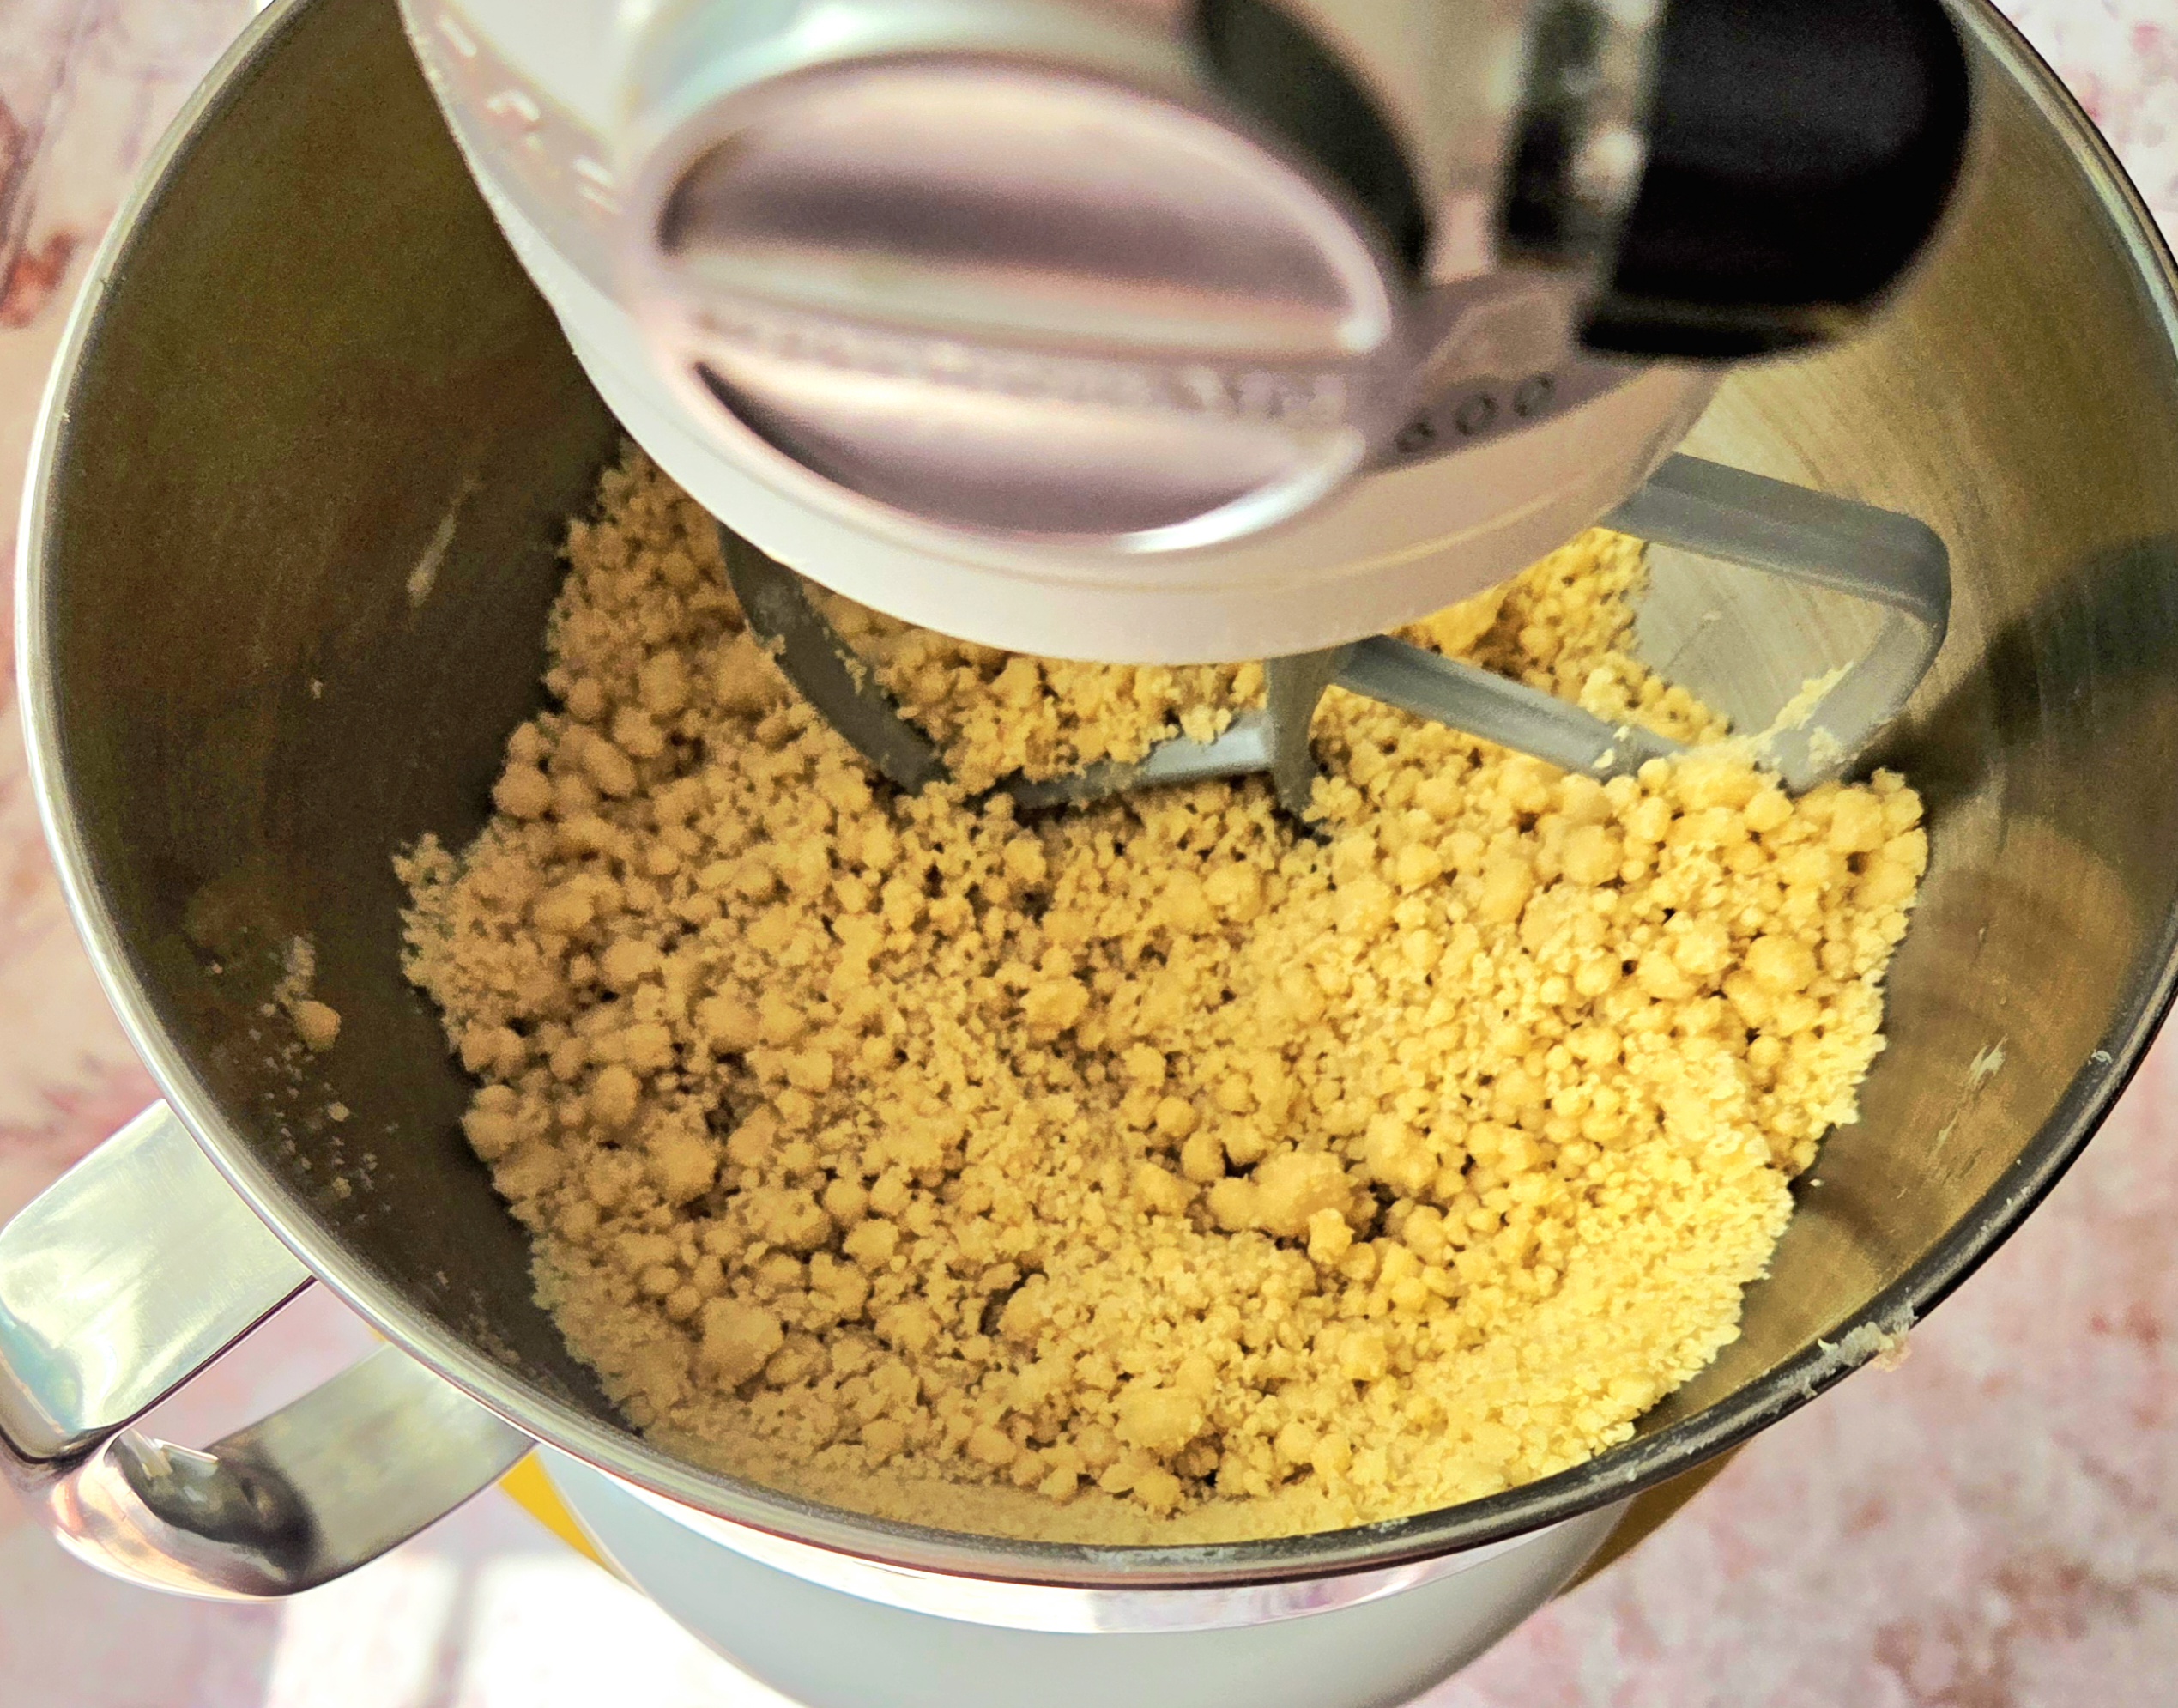
Pour the butter mixture into the dry goods, making sure the mixer is fitted with the paddle attachment. Beat the dough on level 1 for 1-2 minutes, until the dry goods have completely absorbed the butter. It should be a crumbly, but completely hydrated, texture.
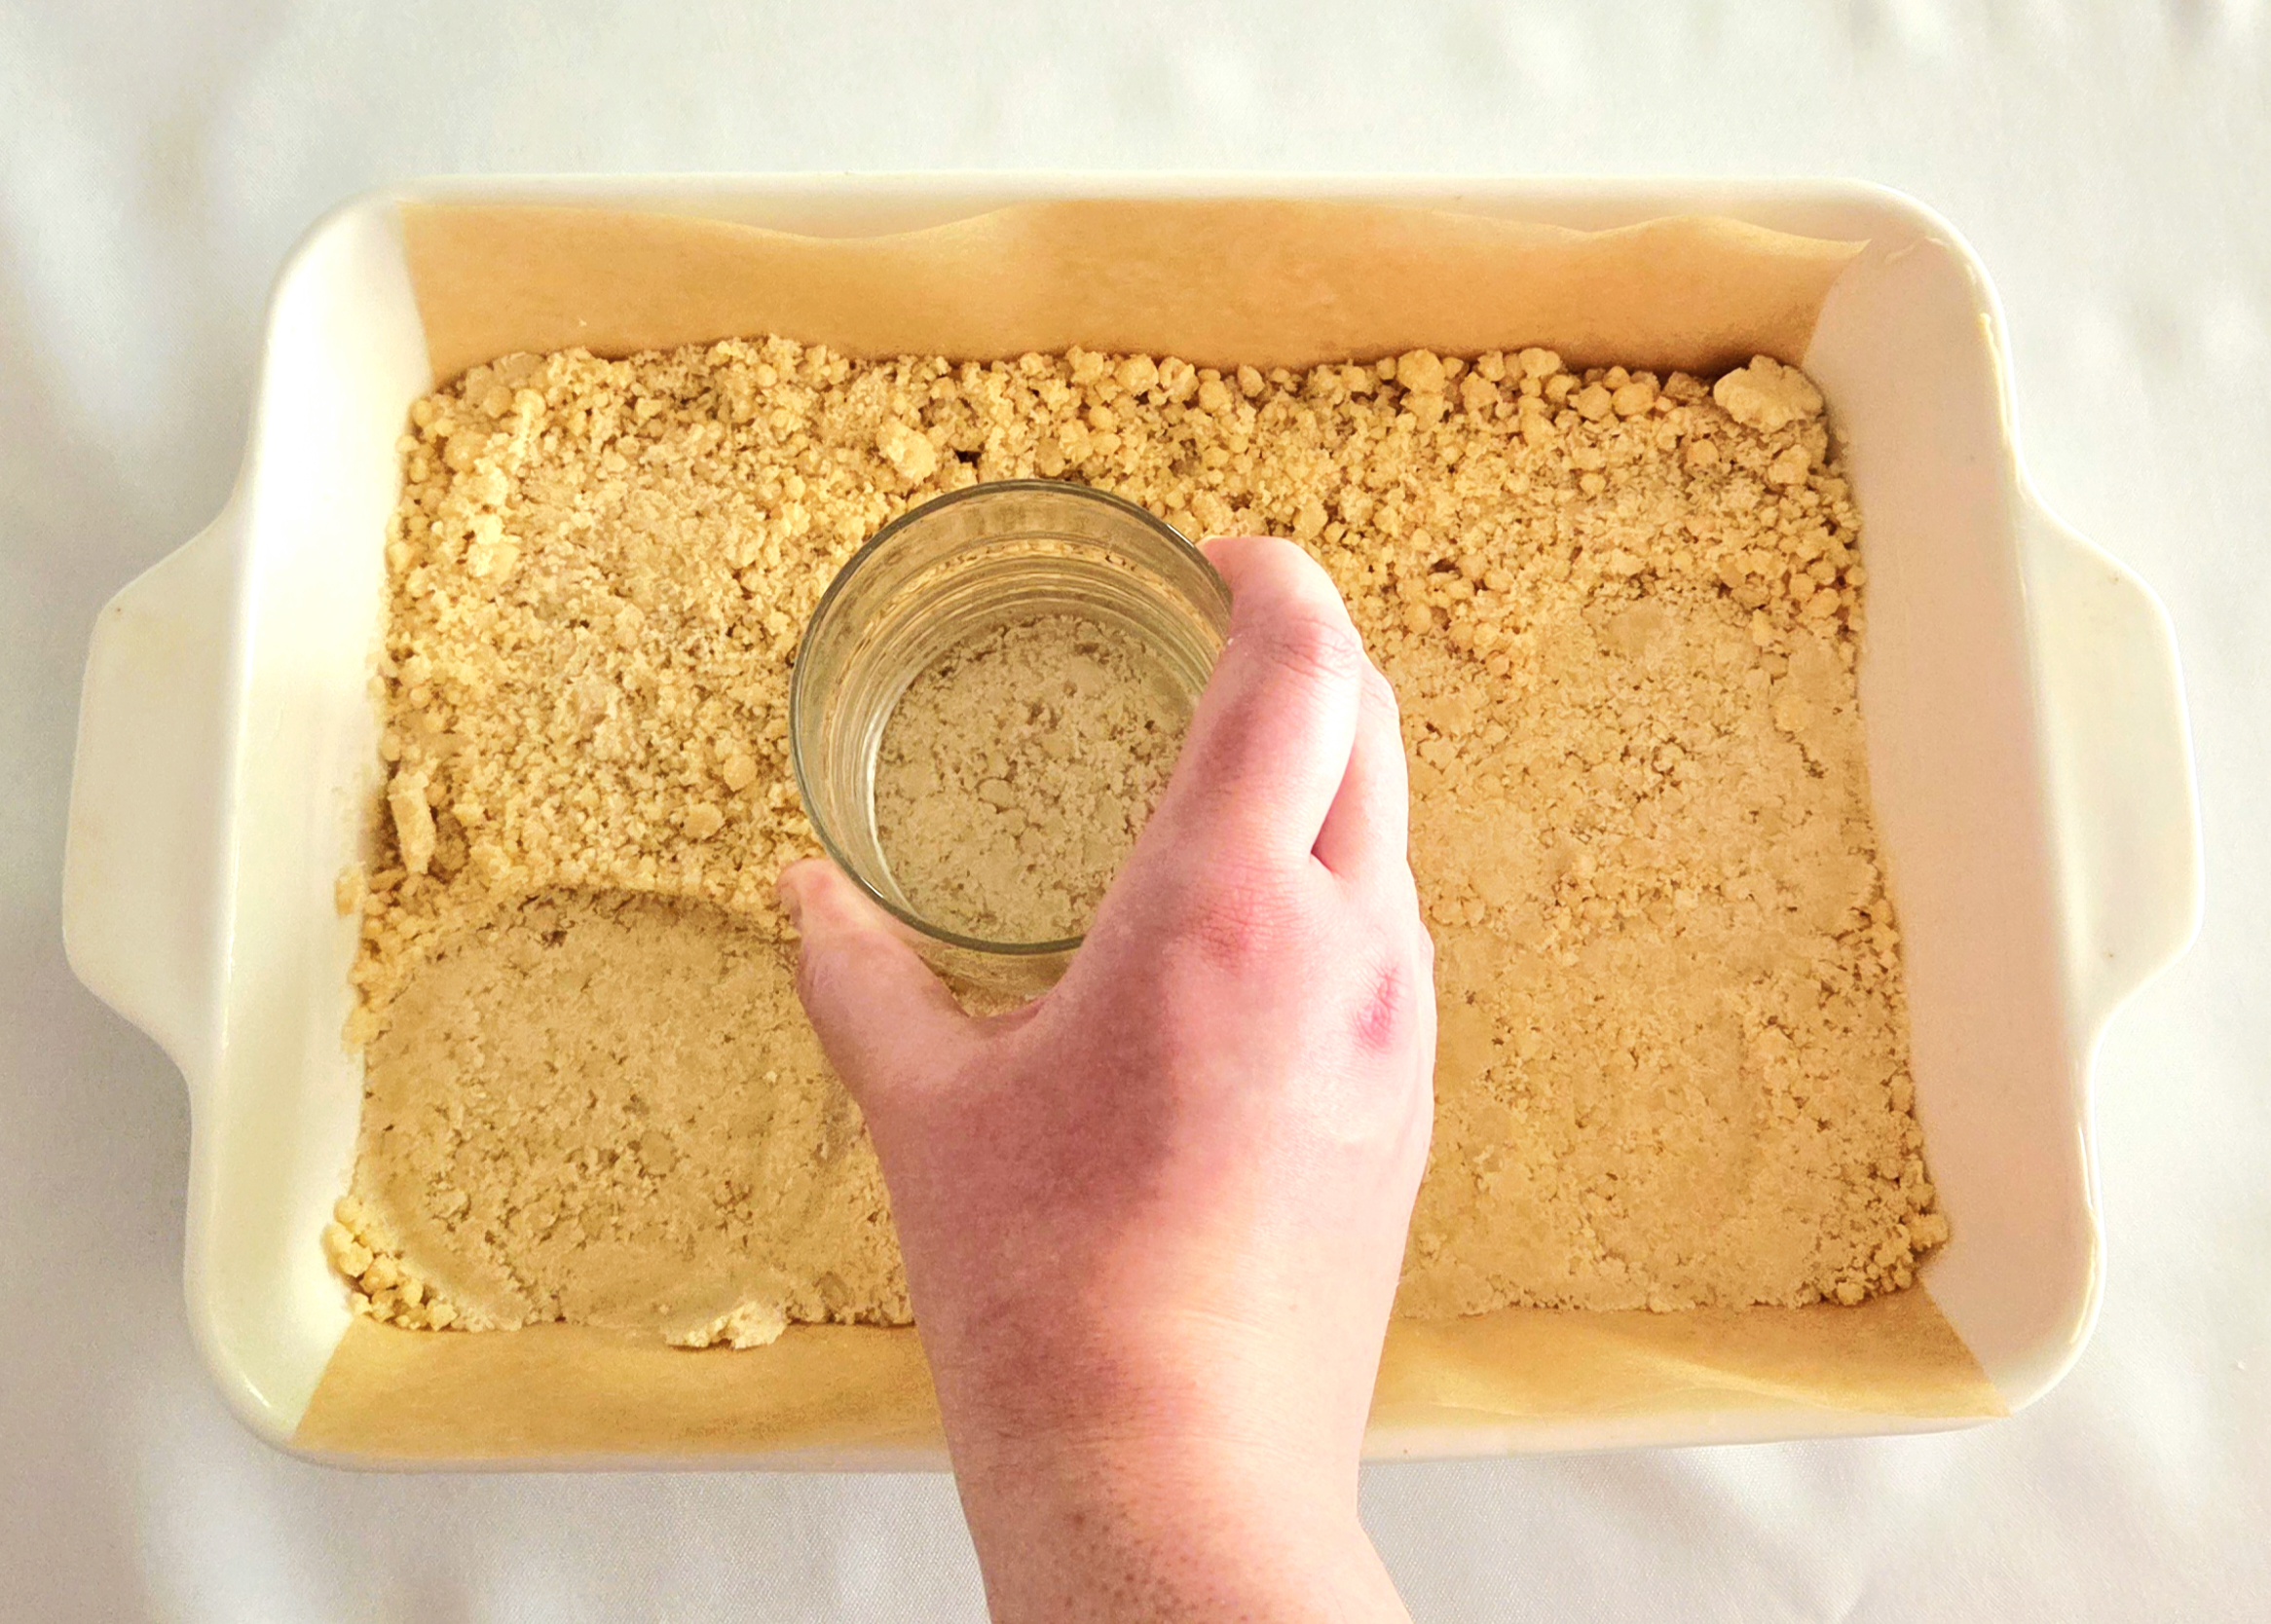
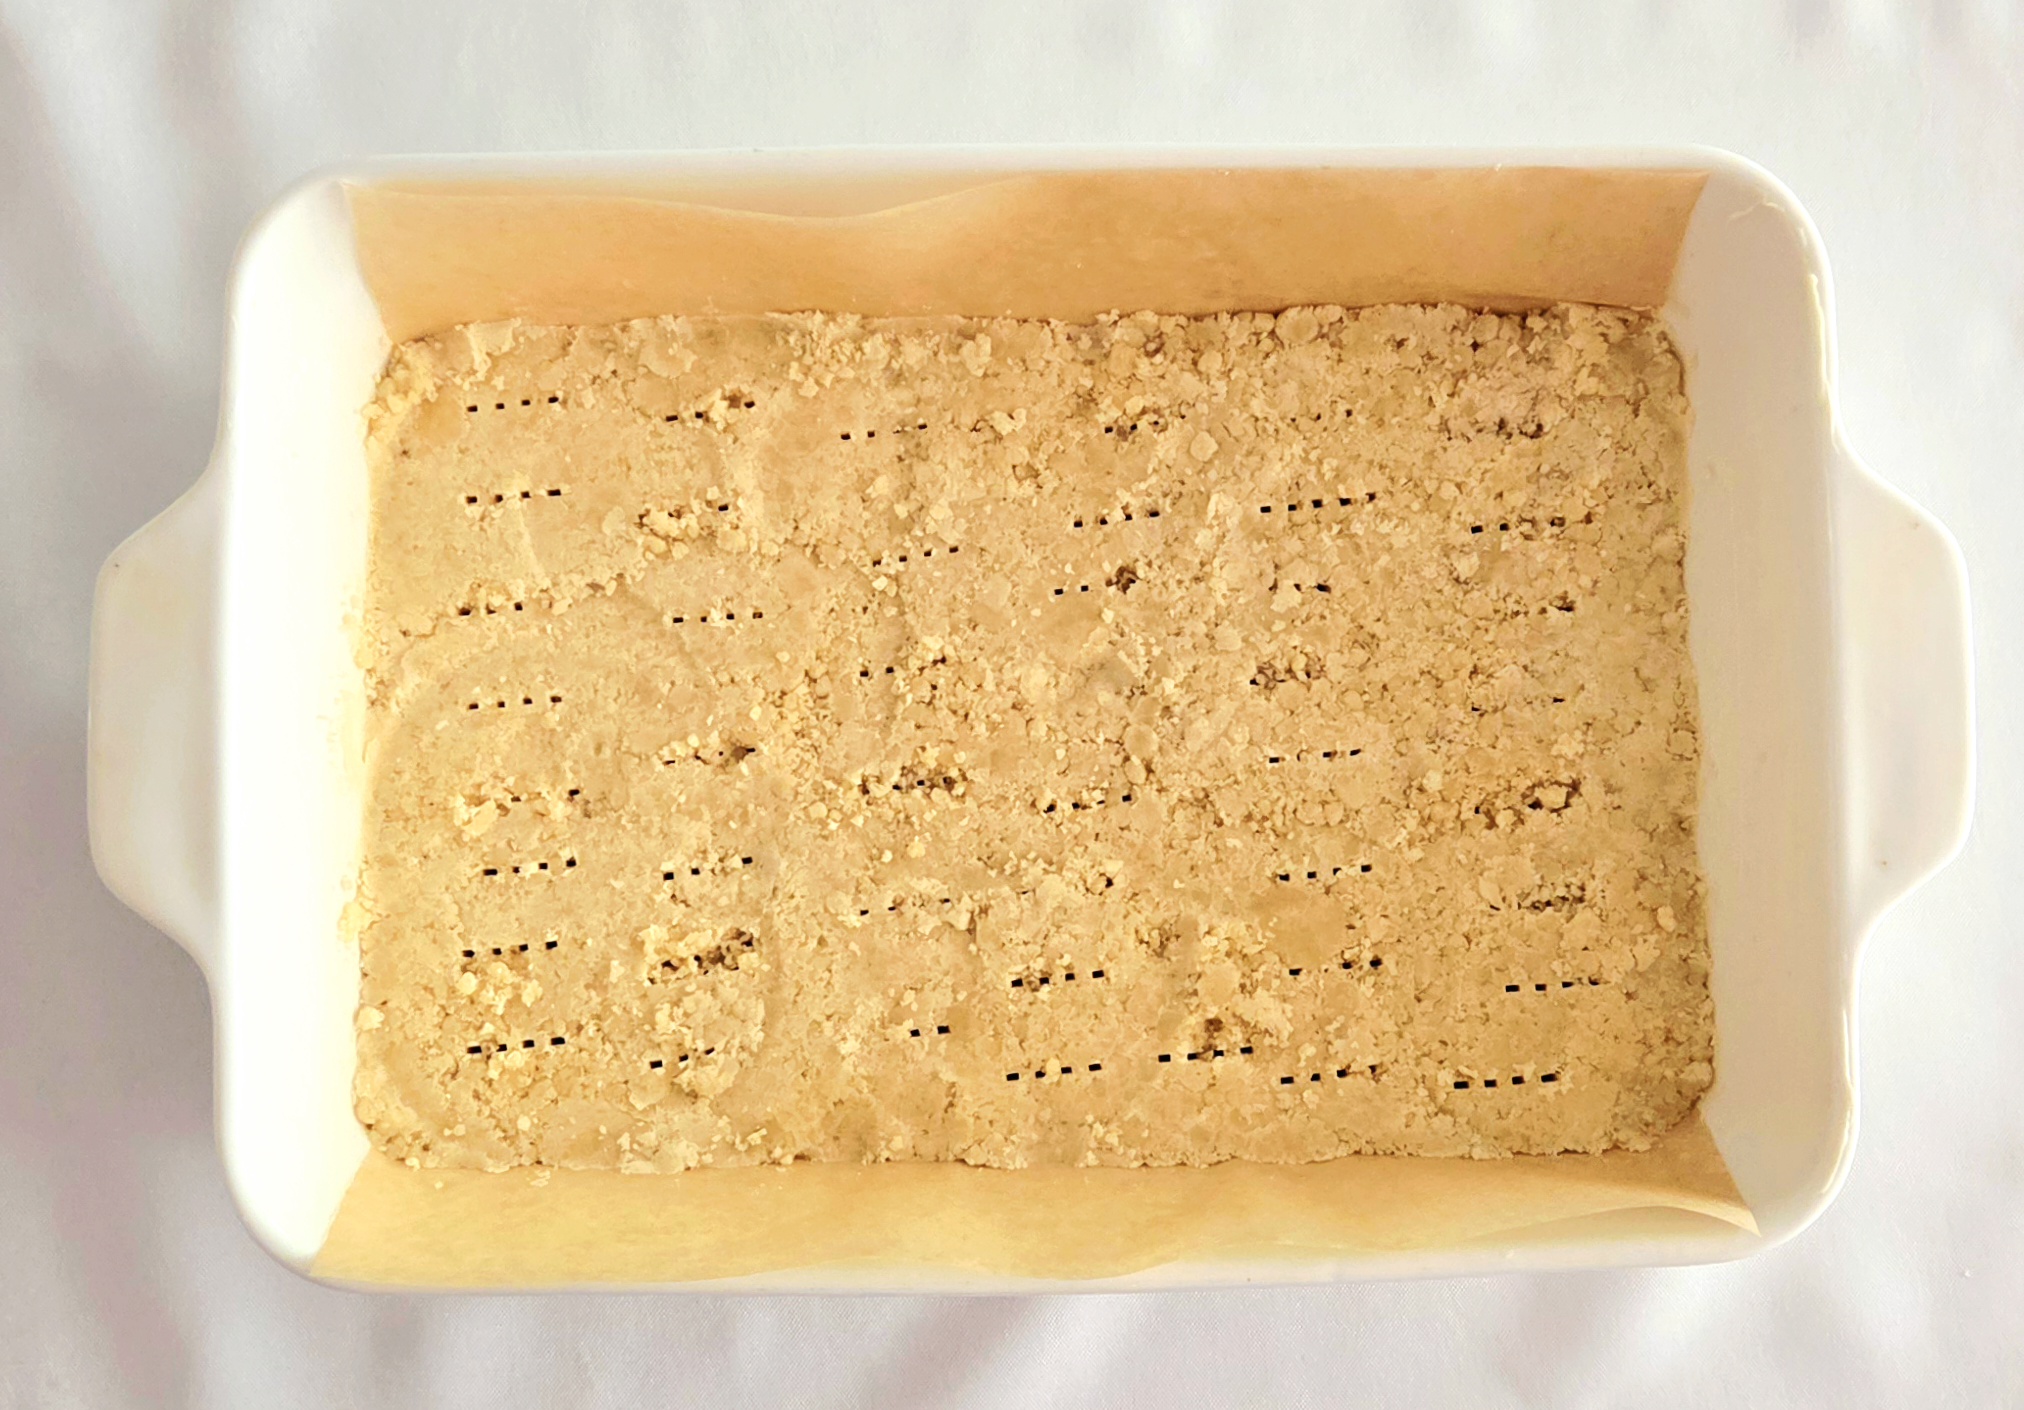
Empty the dough from the bowl into the prepared pan. If needed, use the rubber spatula to scrape every last bit of dough out. Spread it out relatively evenly throughout the pan. Take a flat bottomed glass and firmly press the dough down in the pan.
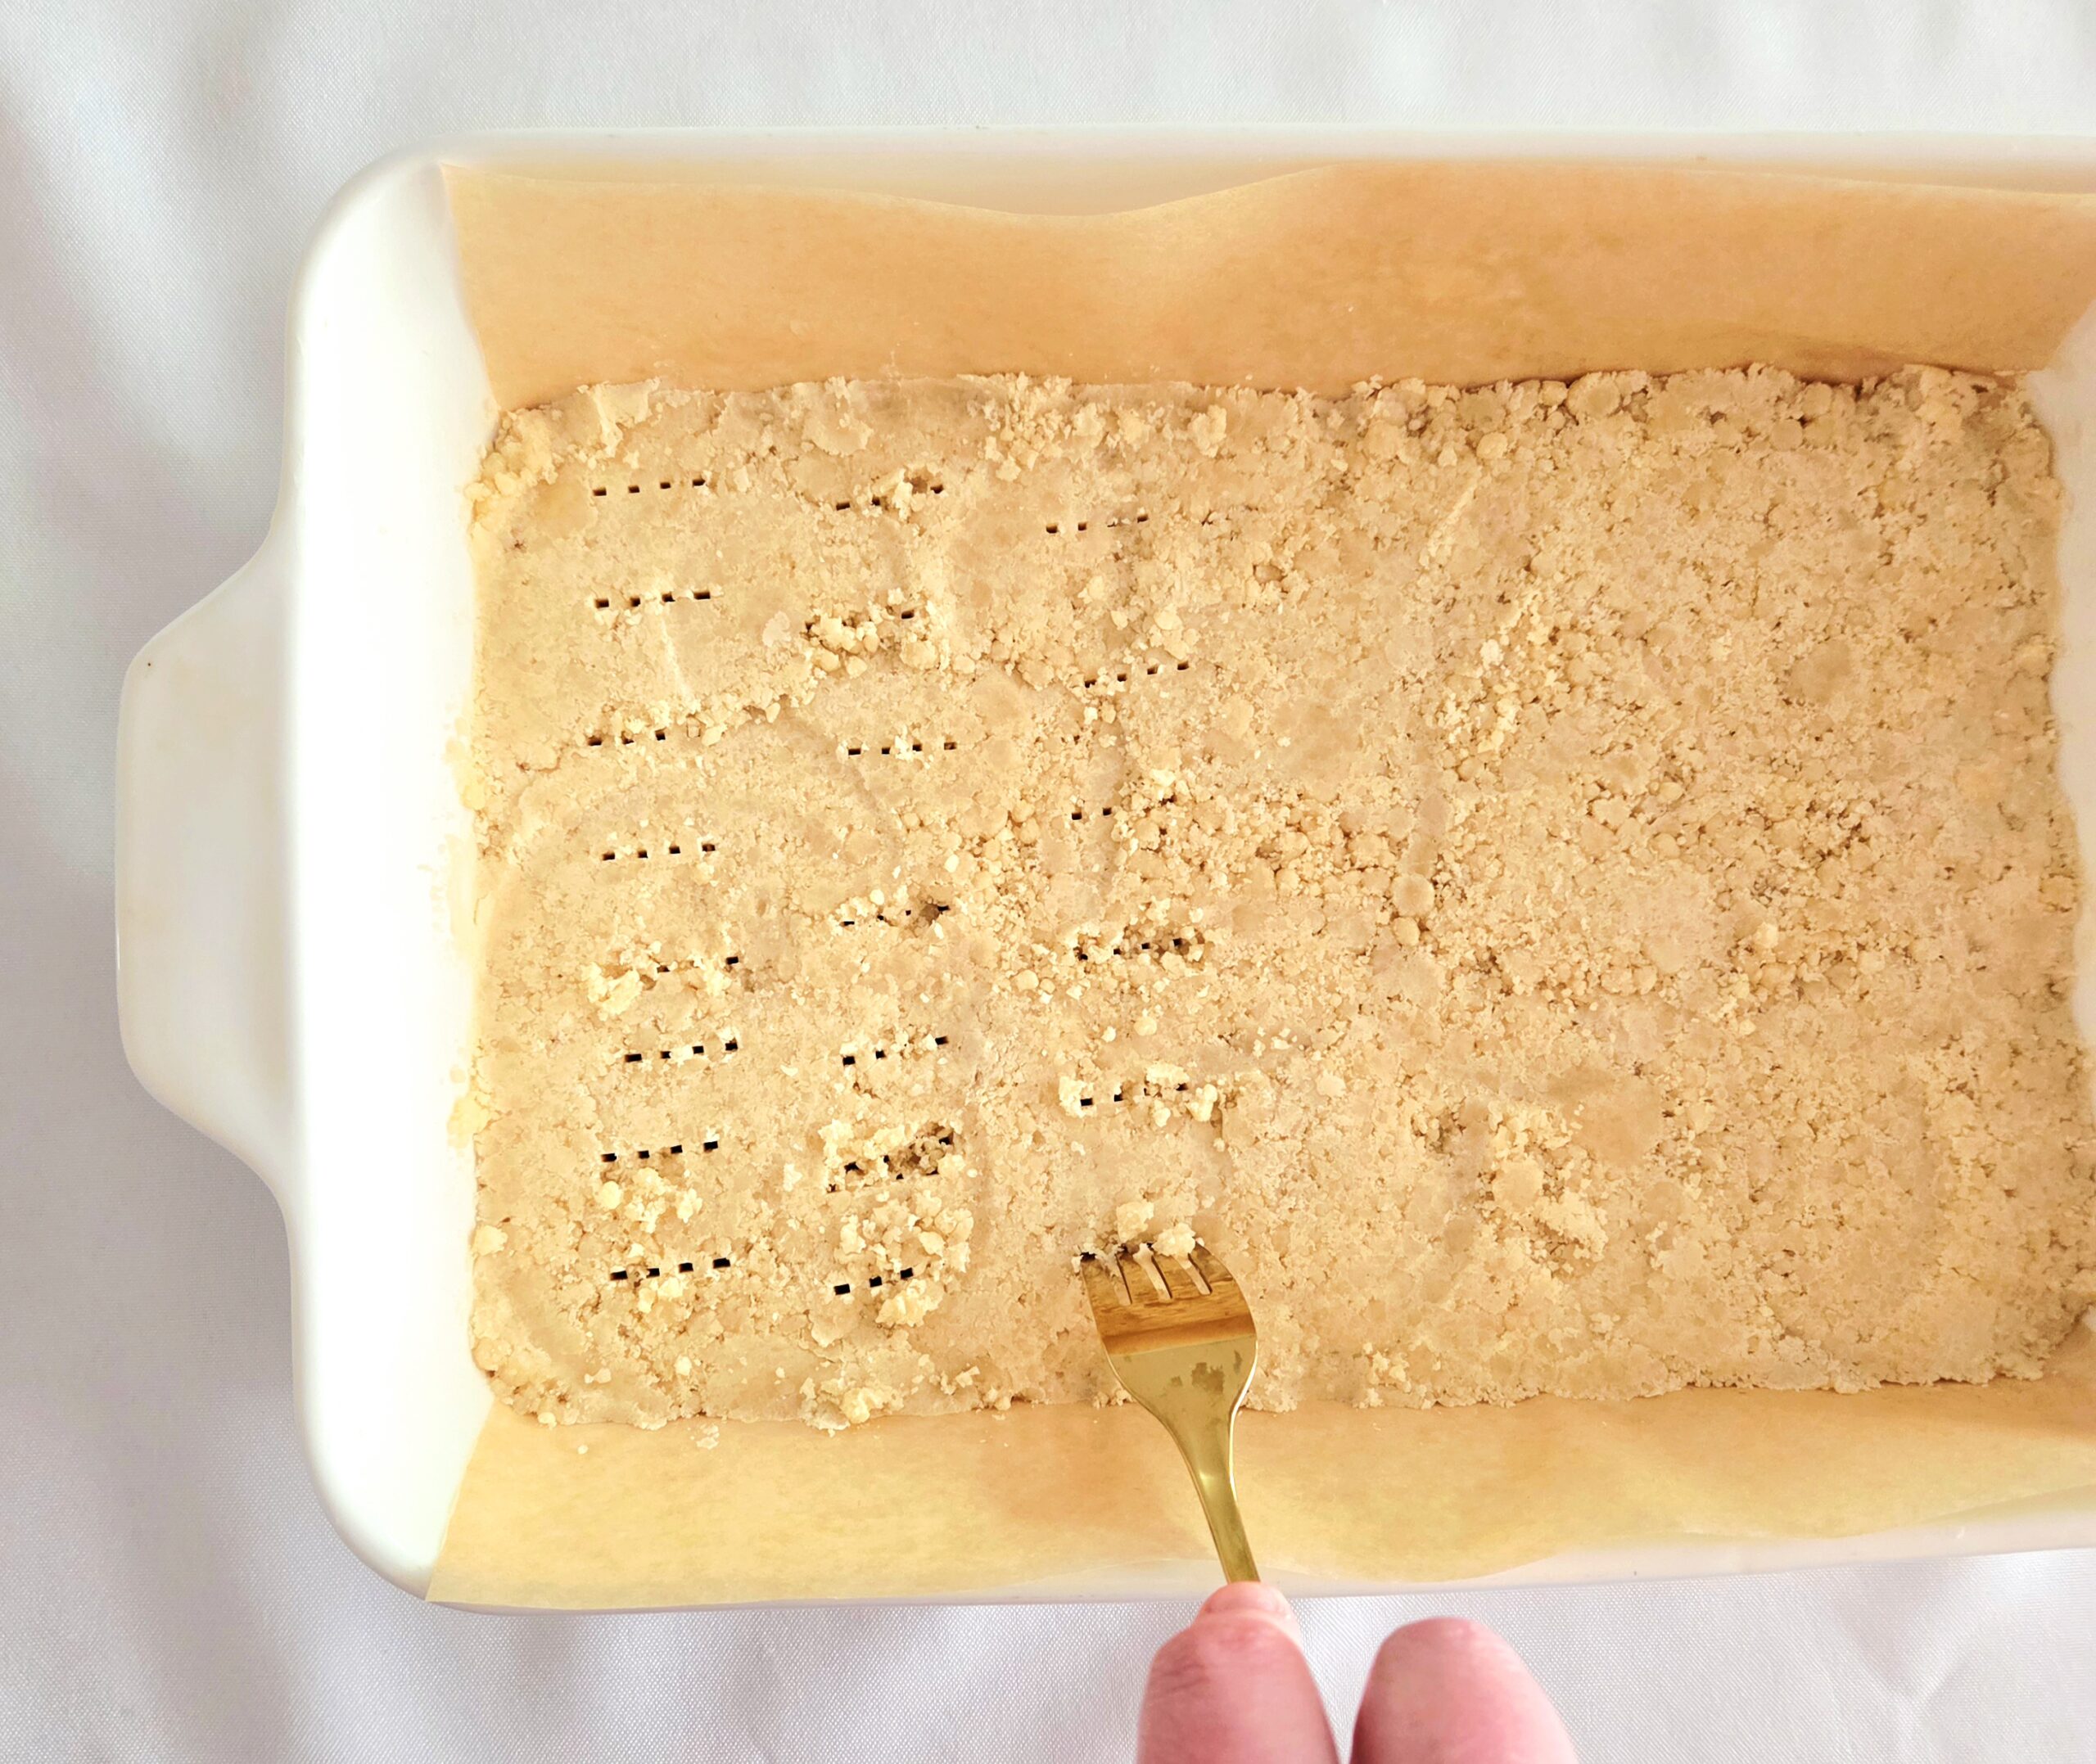
Using a fork, poke holes straight down to the bottom of the pan all over the dough. This is known as docking the dough. The dough is docked to allow steam an easy place to escape, keeping it crisp, even, and preventing any puffing.
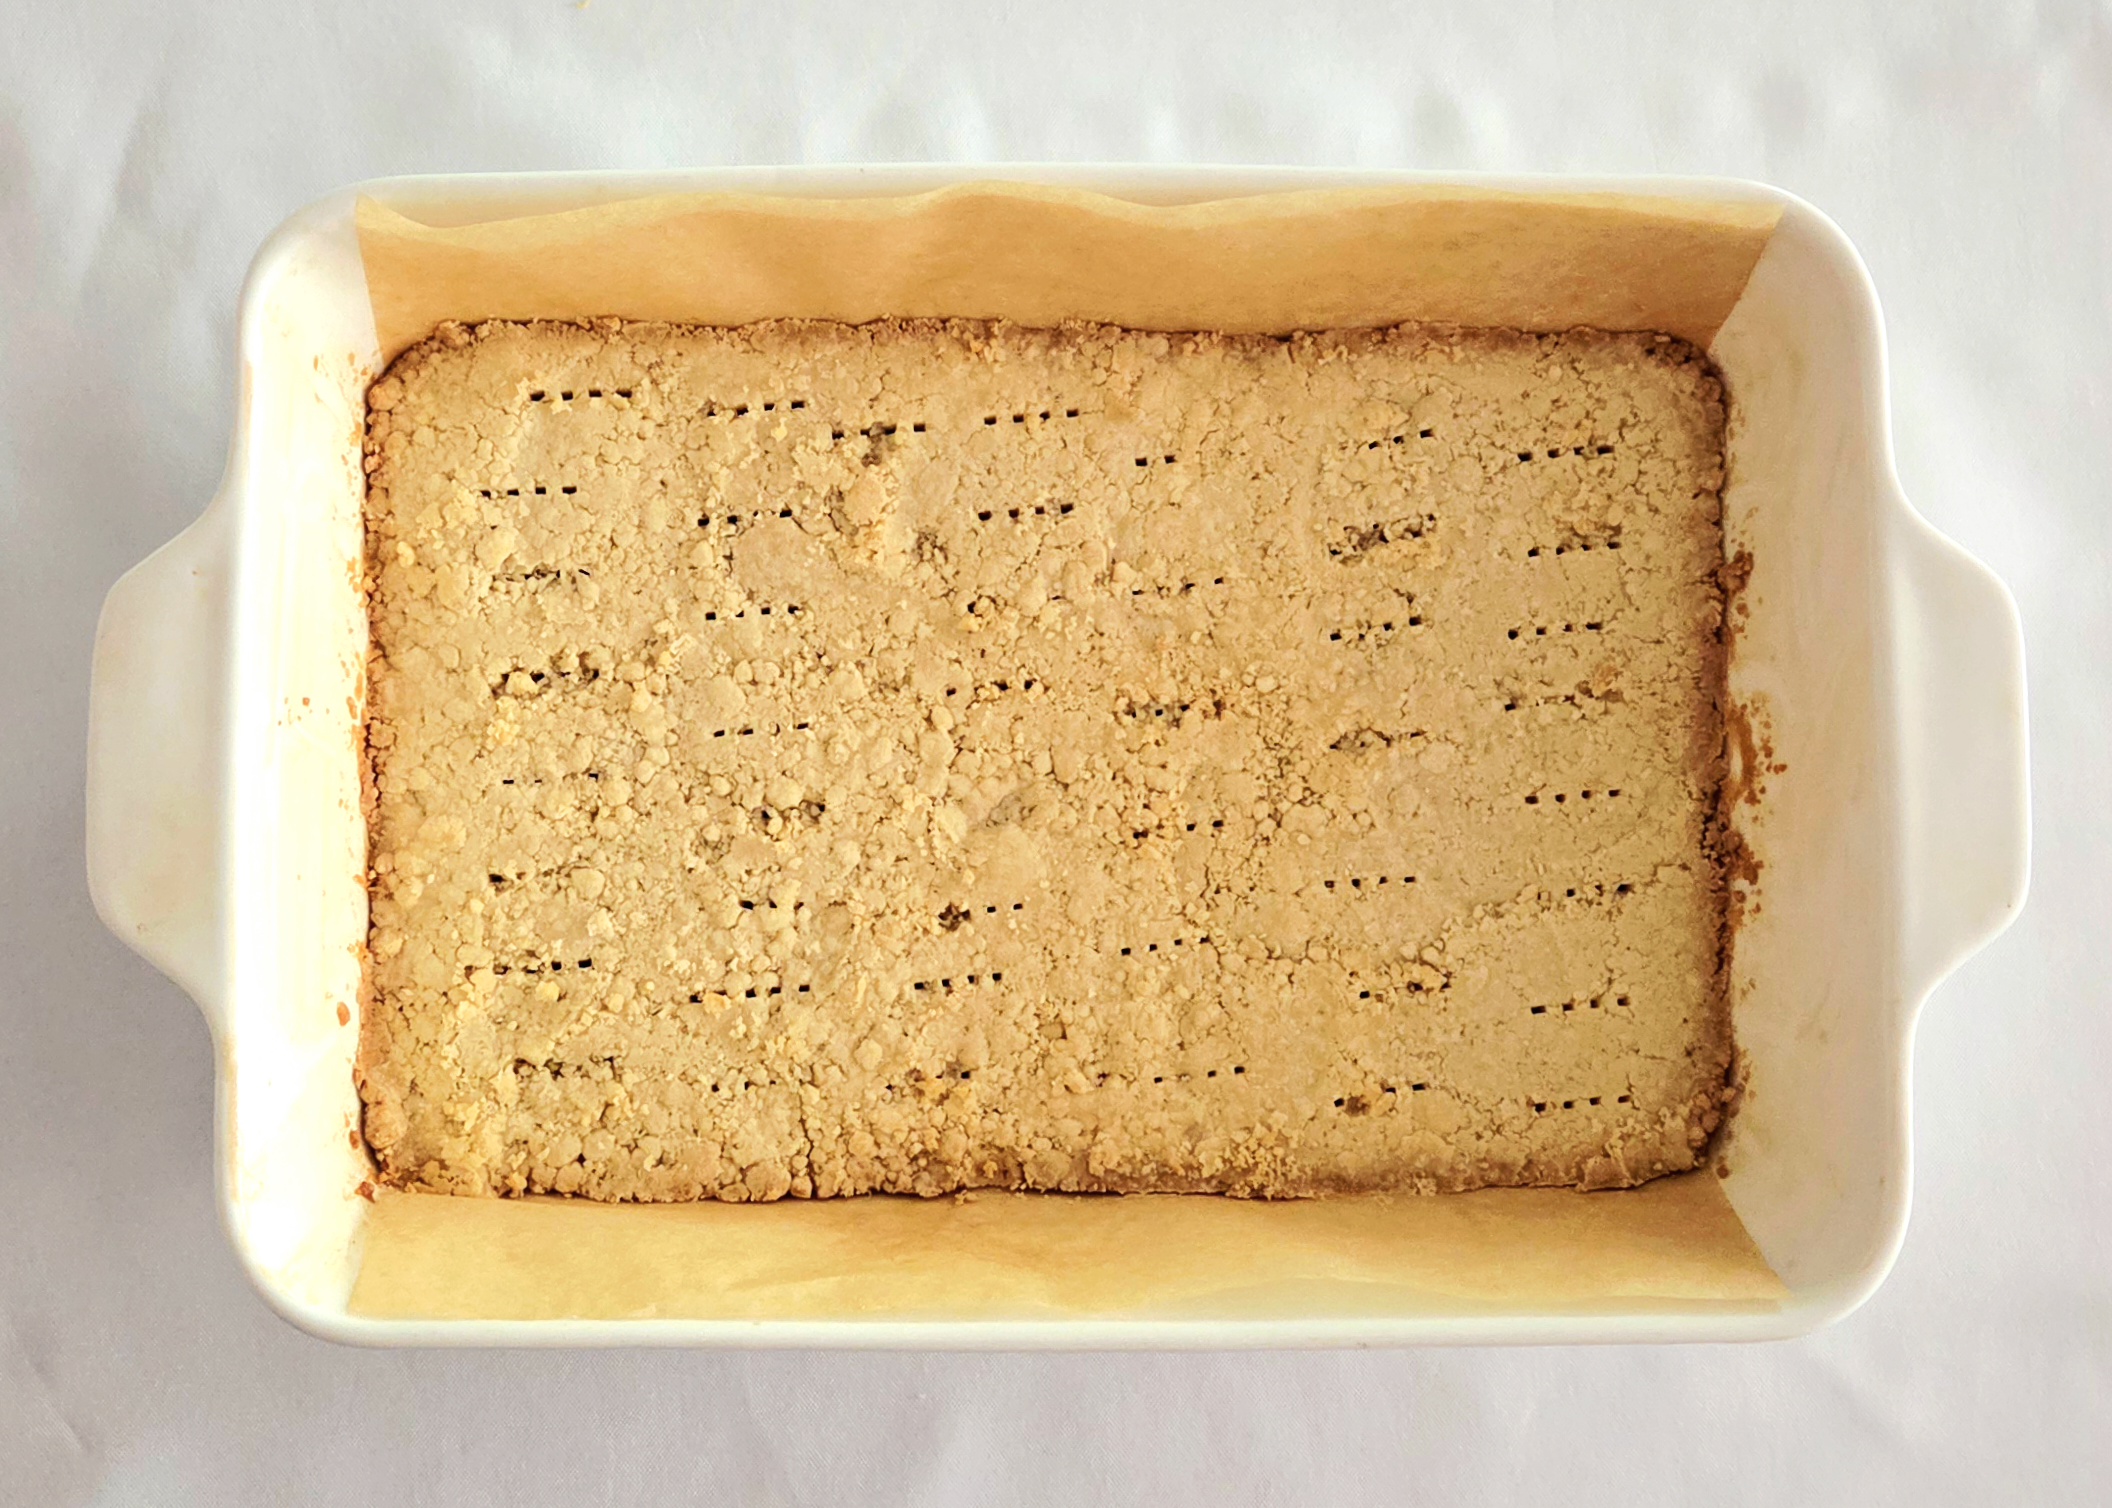
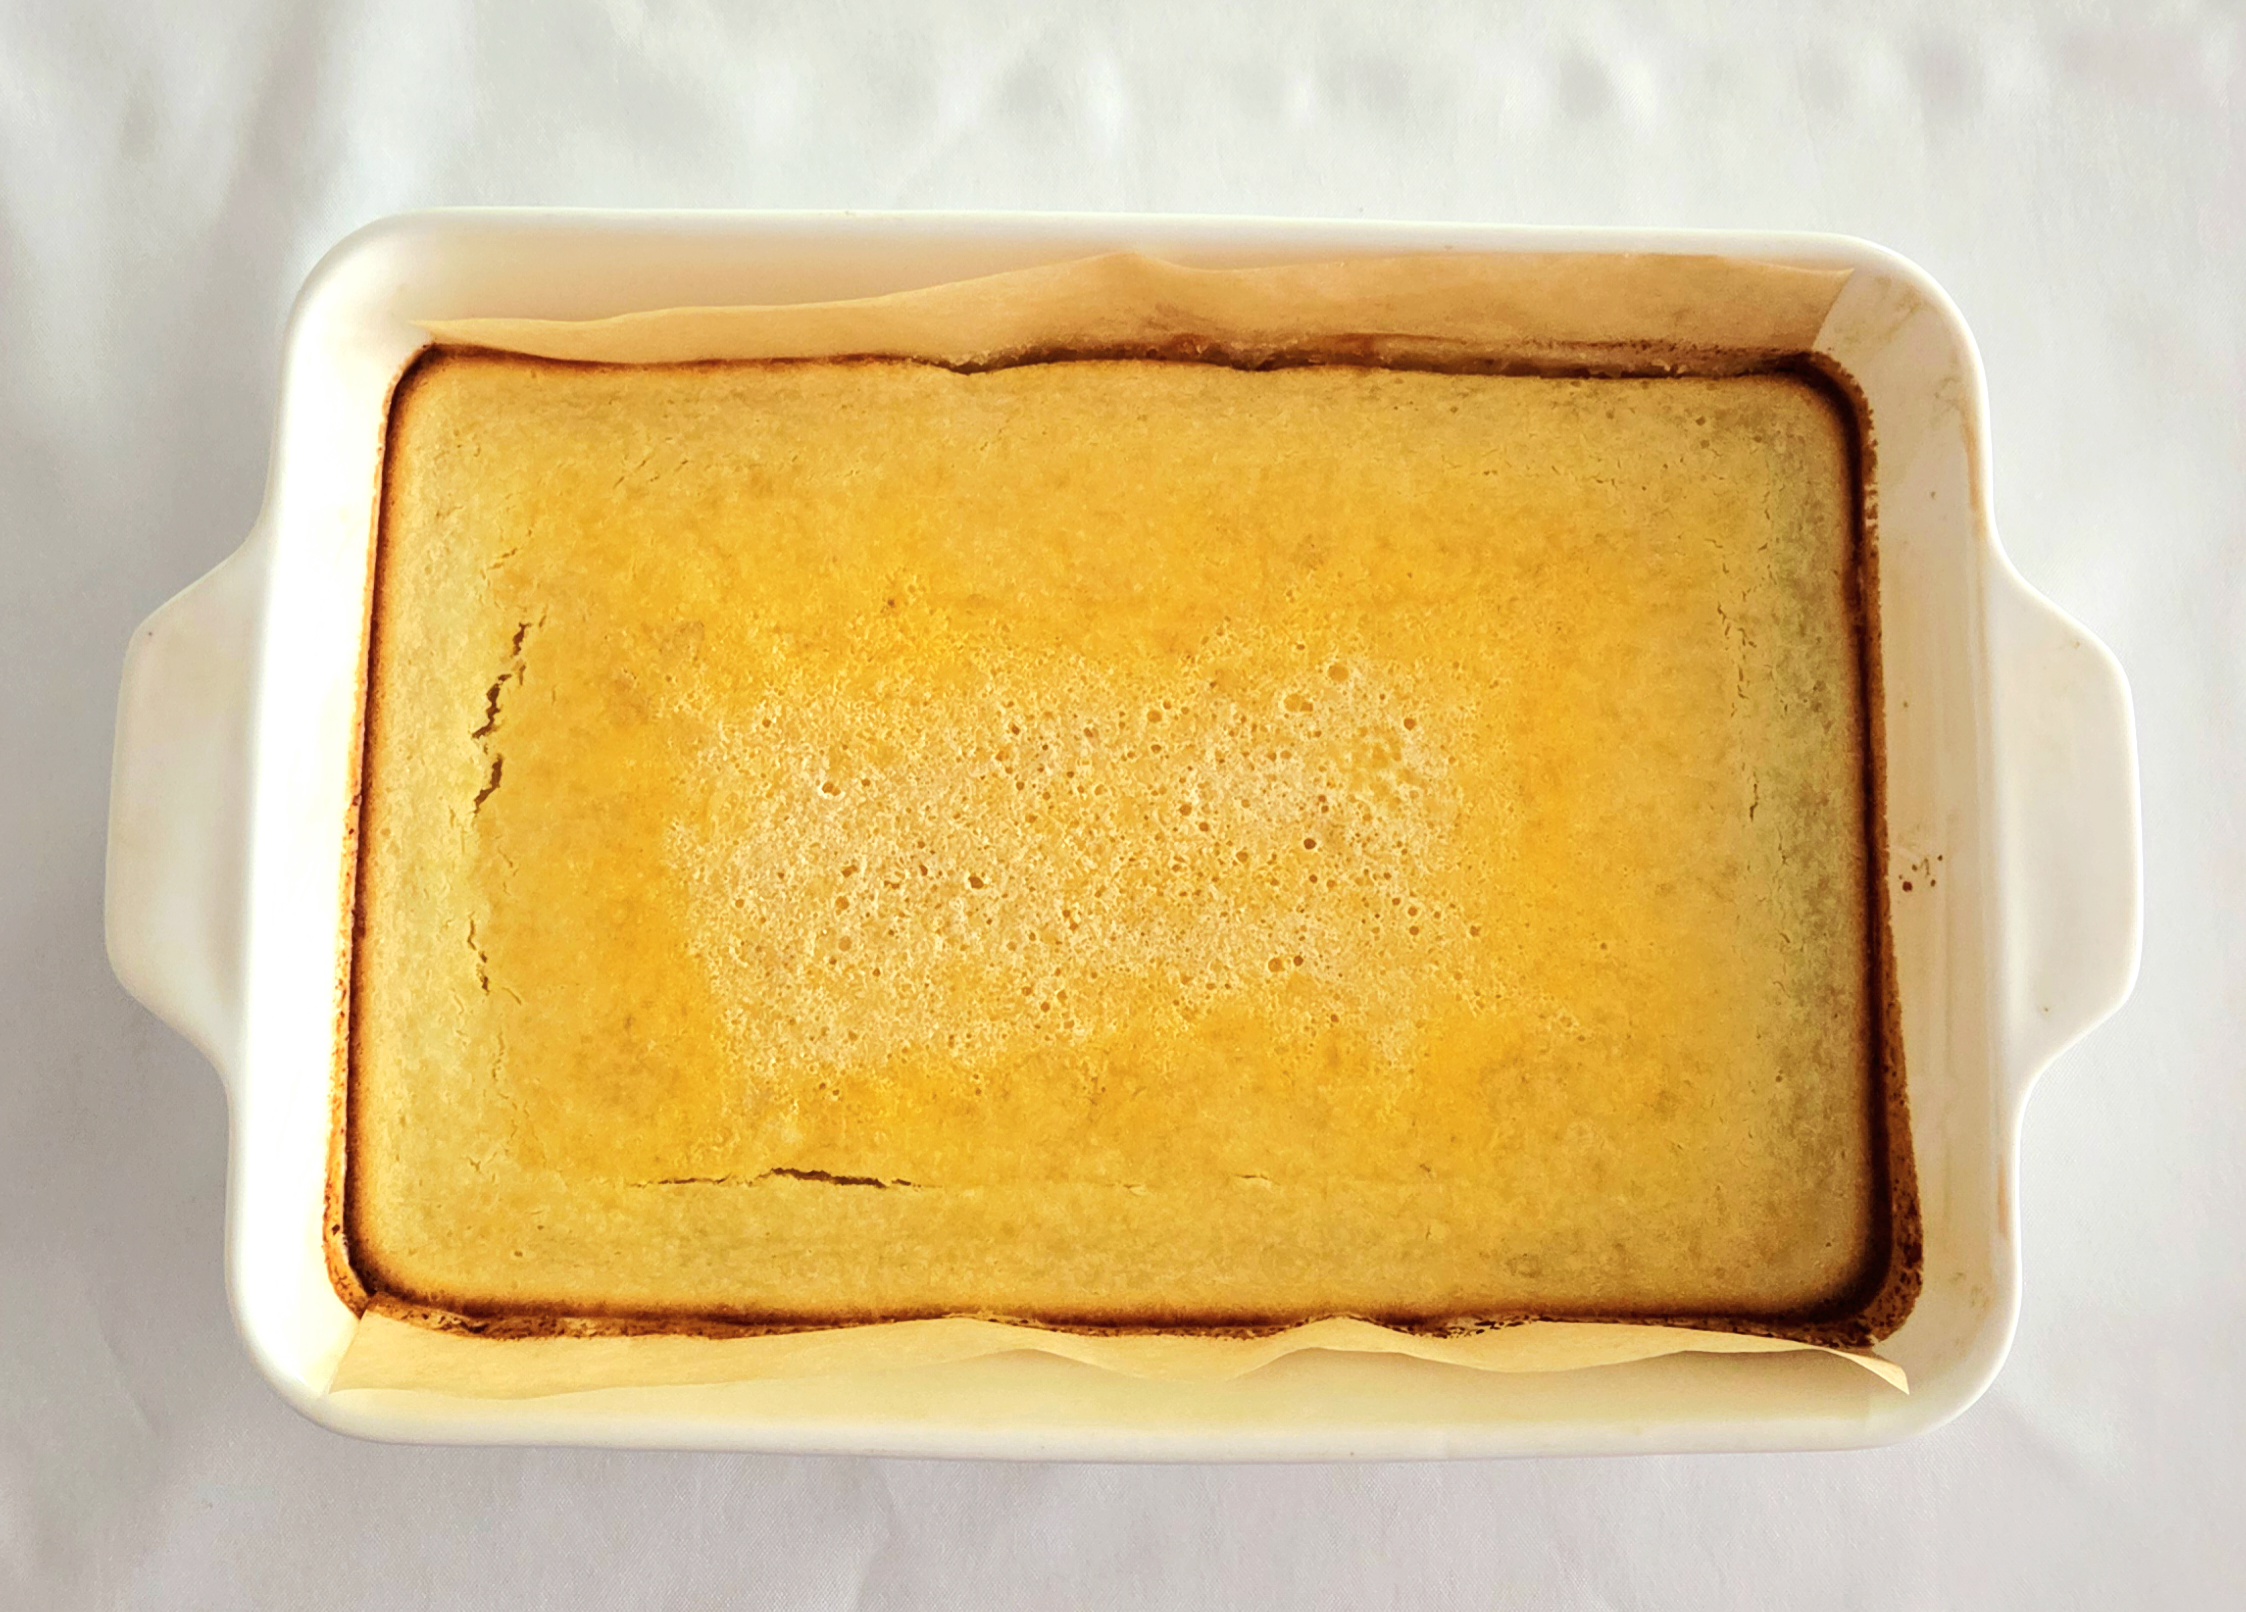
Bake the shortbread for 25-30 minutes, flipping the pan halfway through baking. The edges should be a delightful golden brown color when it’s finished.
Fulfill the Filling
While the crust bakes, prepare the filling. In a medium sized mixing bowl, pour the granulated sugar. Zest the lemon rind directly into the sugar, being careful not to add any of the white pith. The yellow adds a fragrant lemon flavor, the white adds only bitterness. Whisk the zest into the sugar and allow it to sit for five minutes or so. The sugar draws out the natural oils in the rind, intensifying the lemon flavor in the final product.
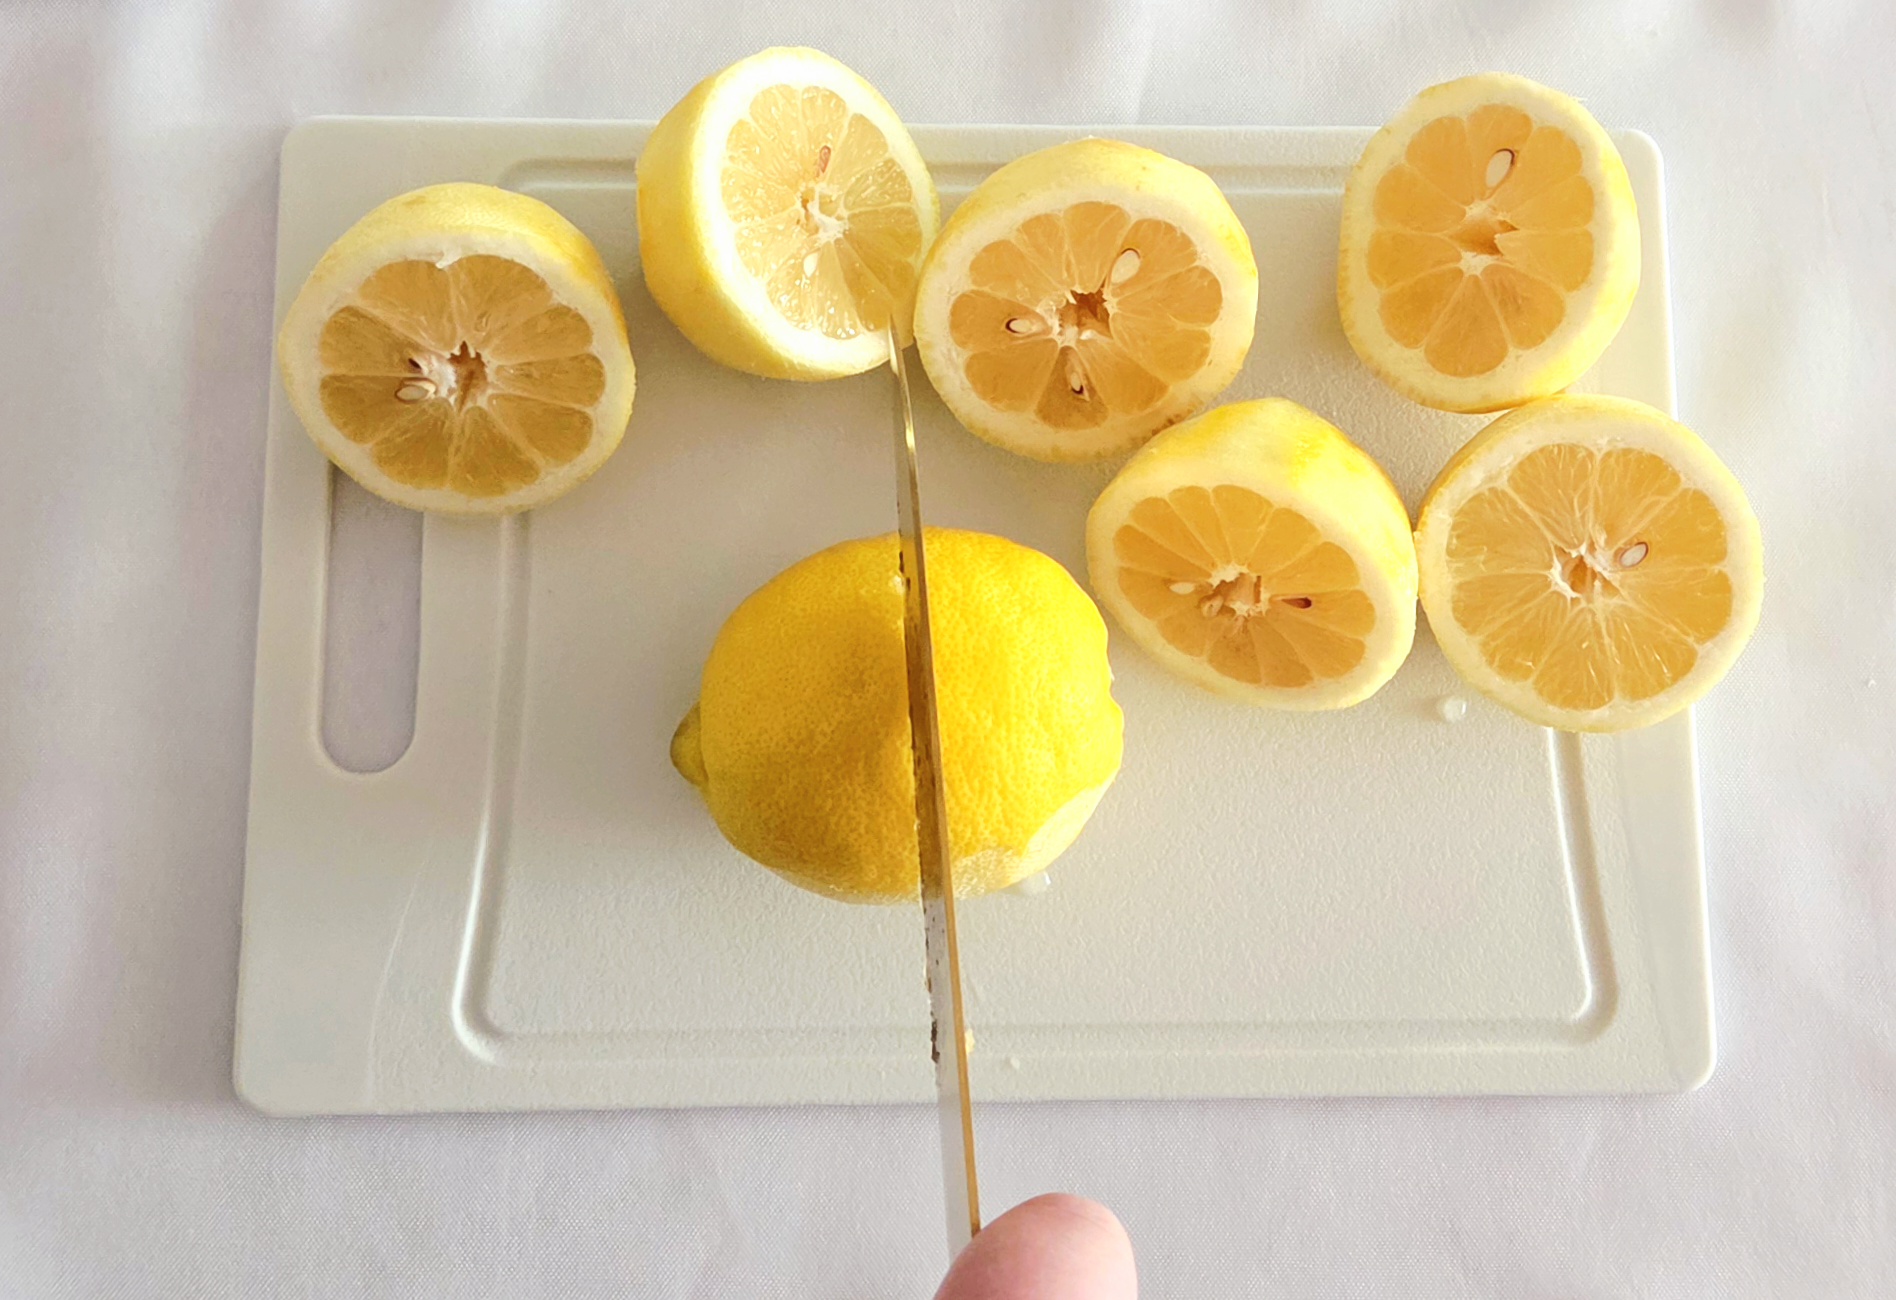
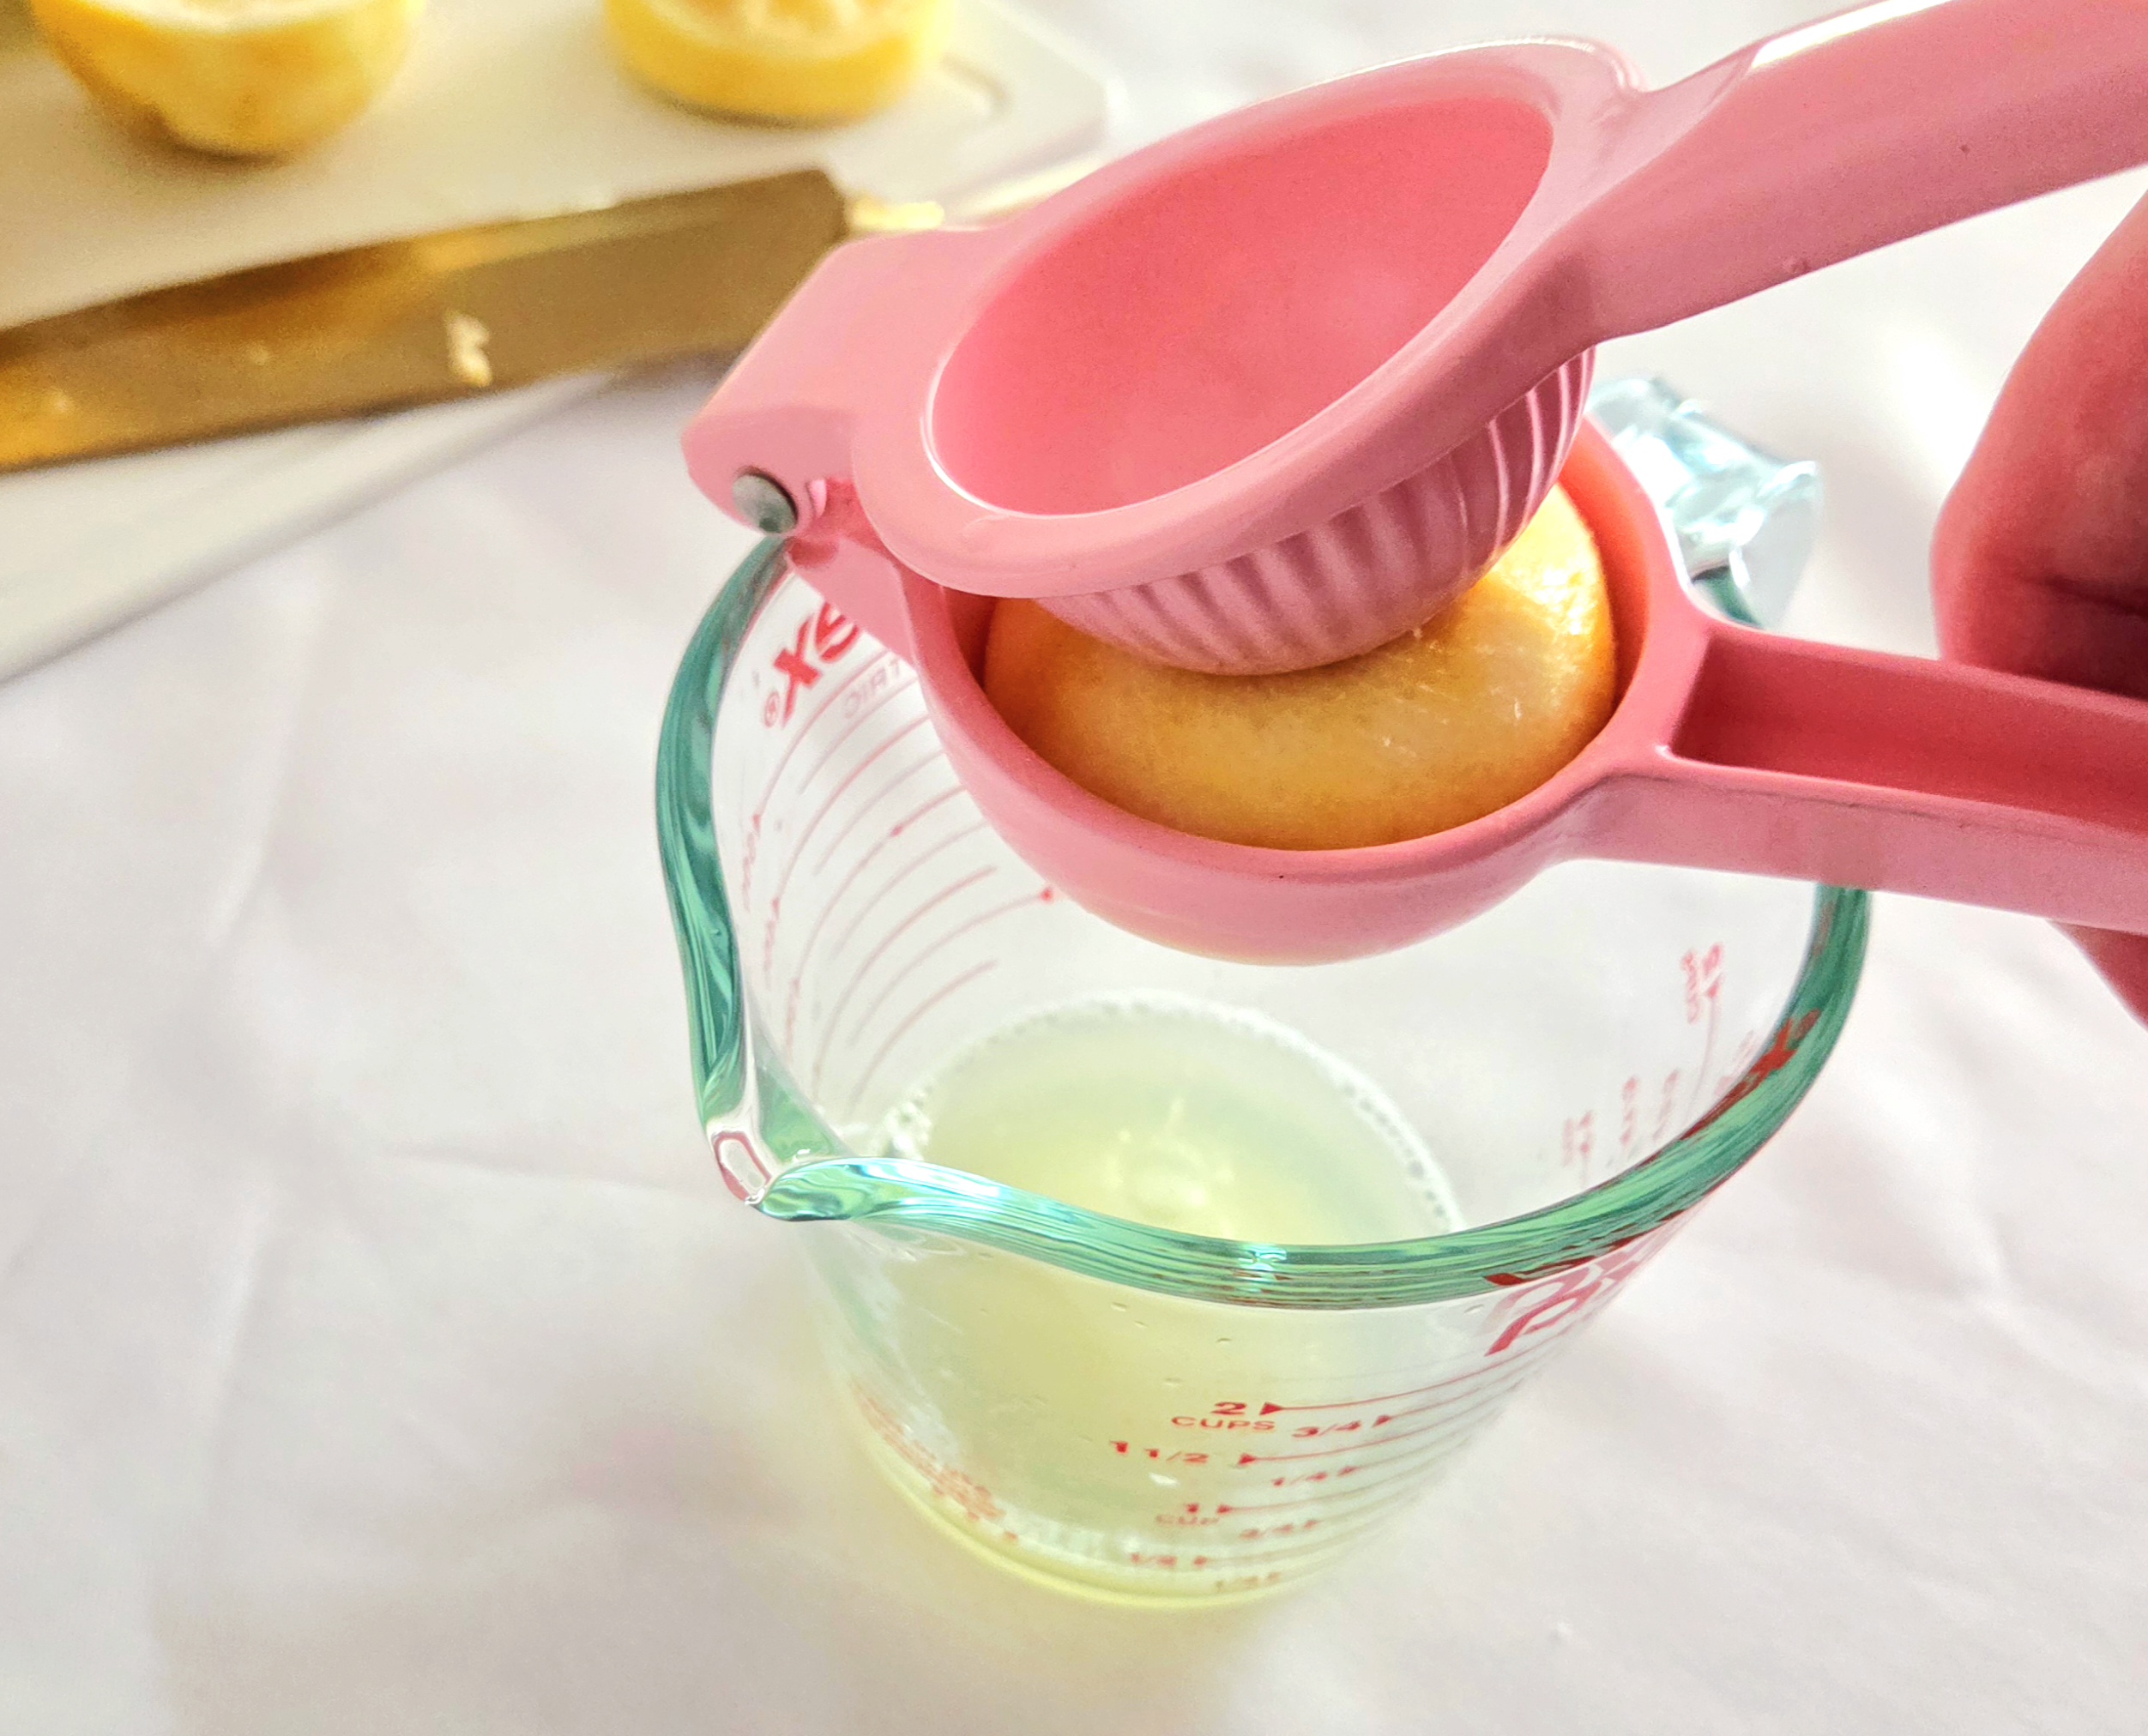
Cut 4-5 lemons in half and squeeze the juice directly into a measuring cup. Use a citrus reamer or citrus squeezer to aid in this task. Yes, it is faster and simpler to just buy a bottle of lemon juice and pour that into the filling, but every convenience comes at a price. In this instance, the price is sacrificing the flavor of the bars. Rather than a delightful tart, bright lemon flavor, you’ll end up with something sad and bitter. So as annoying as it may be, it’s worth the effort to squeeze your own fresh lemon juice.
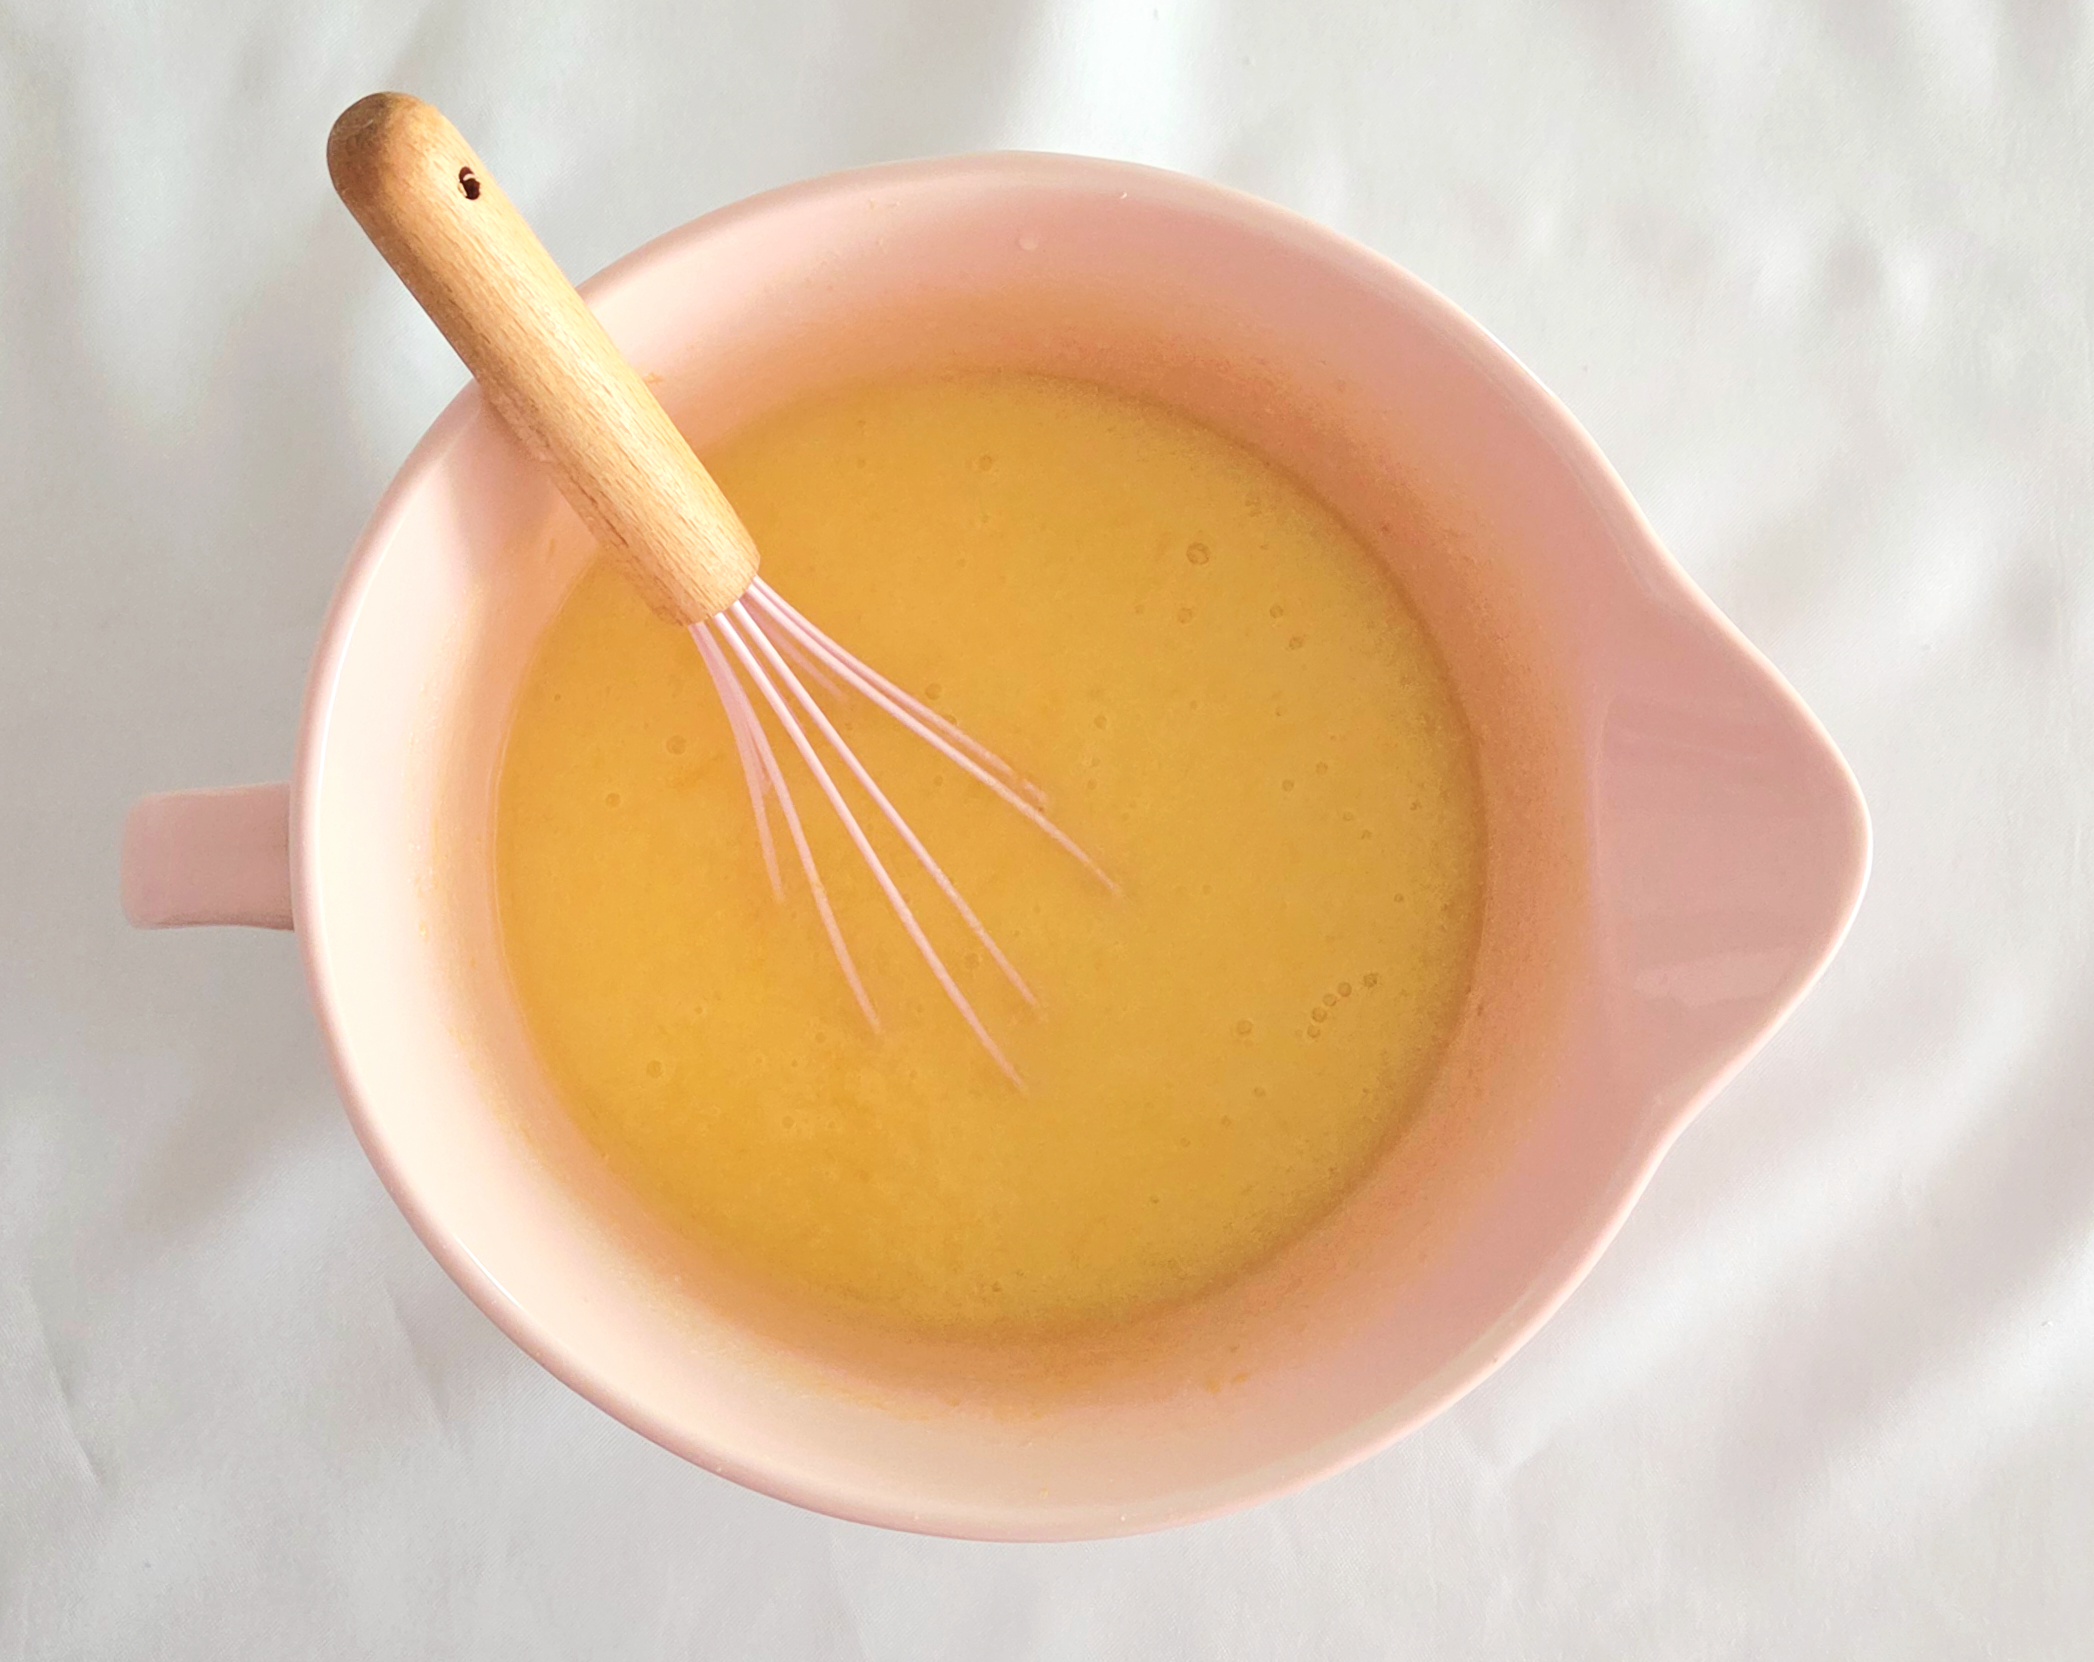
Add the flour and salt to the lemon sugar, whisk them in. Pour in the lemon juice and crack in all of the eggs, thoroughly combine them until the filling is one homogeneous mixture. Set the filling aside, until the shortbread crust has finished baking.
Assembly and Bake
When the crust has finished baking, immediately pour the completed filling over the top. Because it’s so thin, it will naturally spread out evenly. If needed, use a rubber spatula to scrape out as much filling from the bowl as possible.
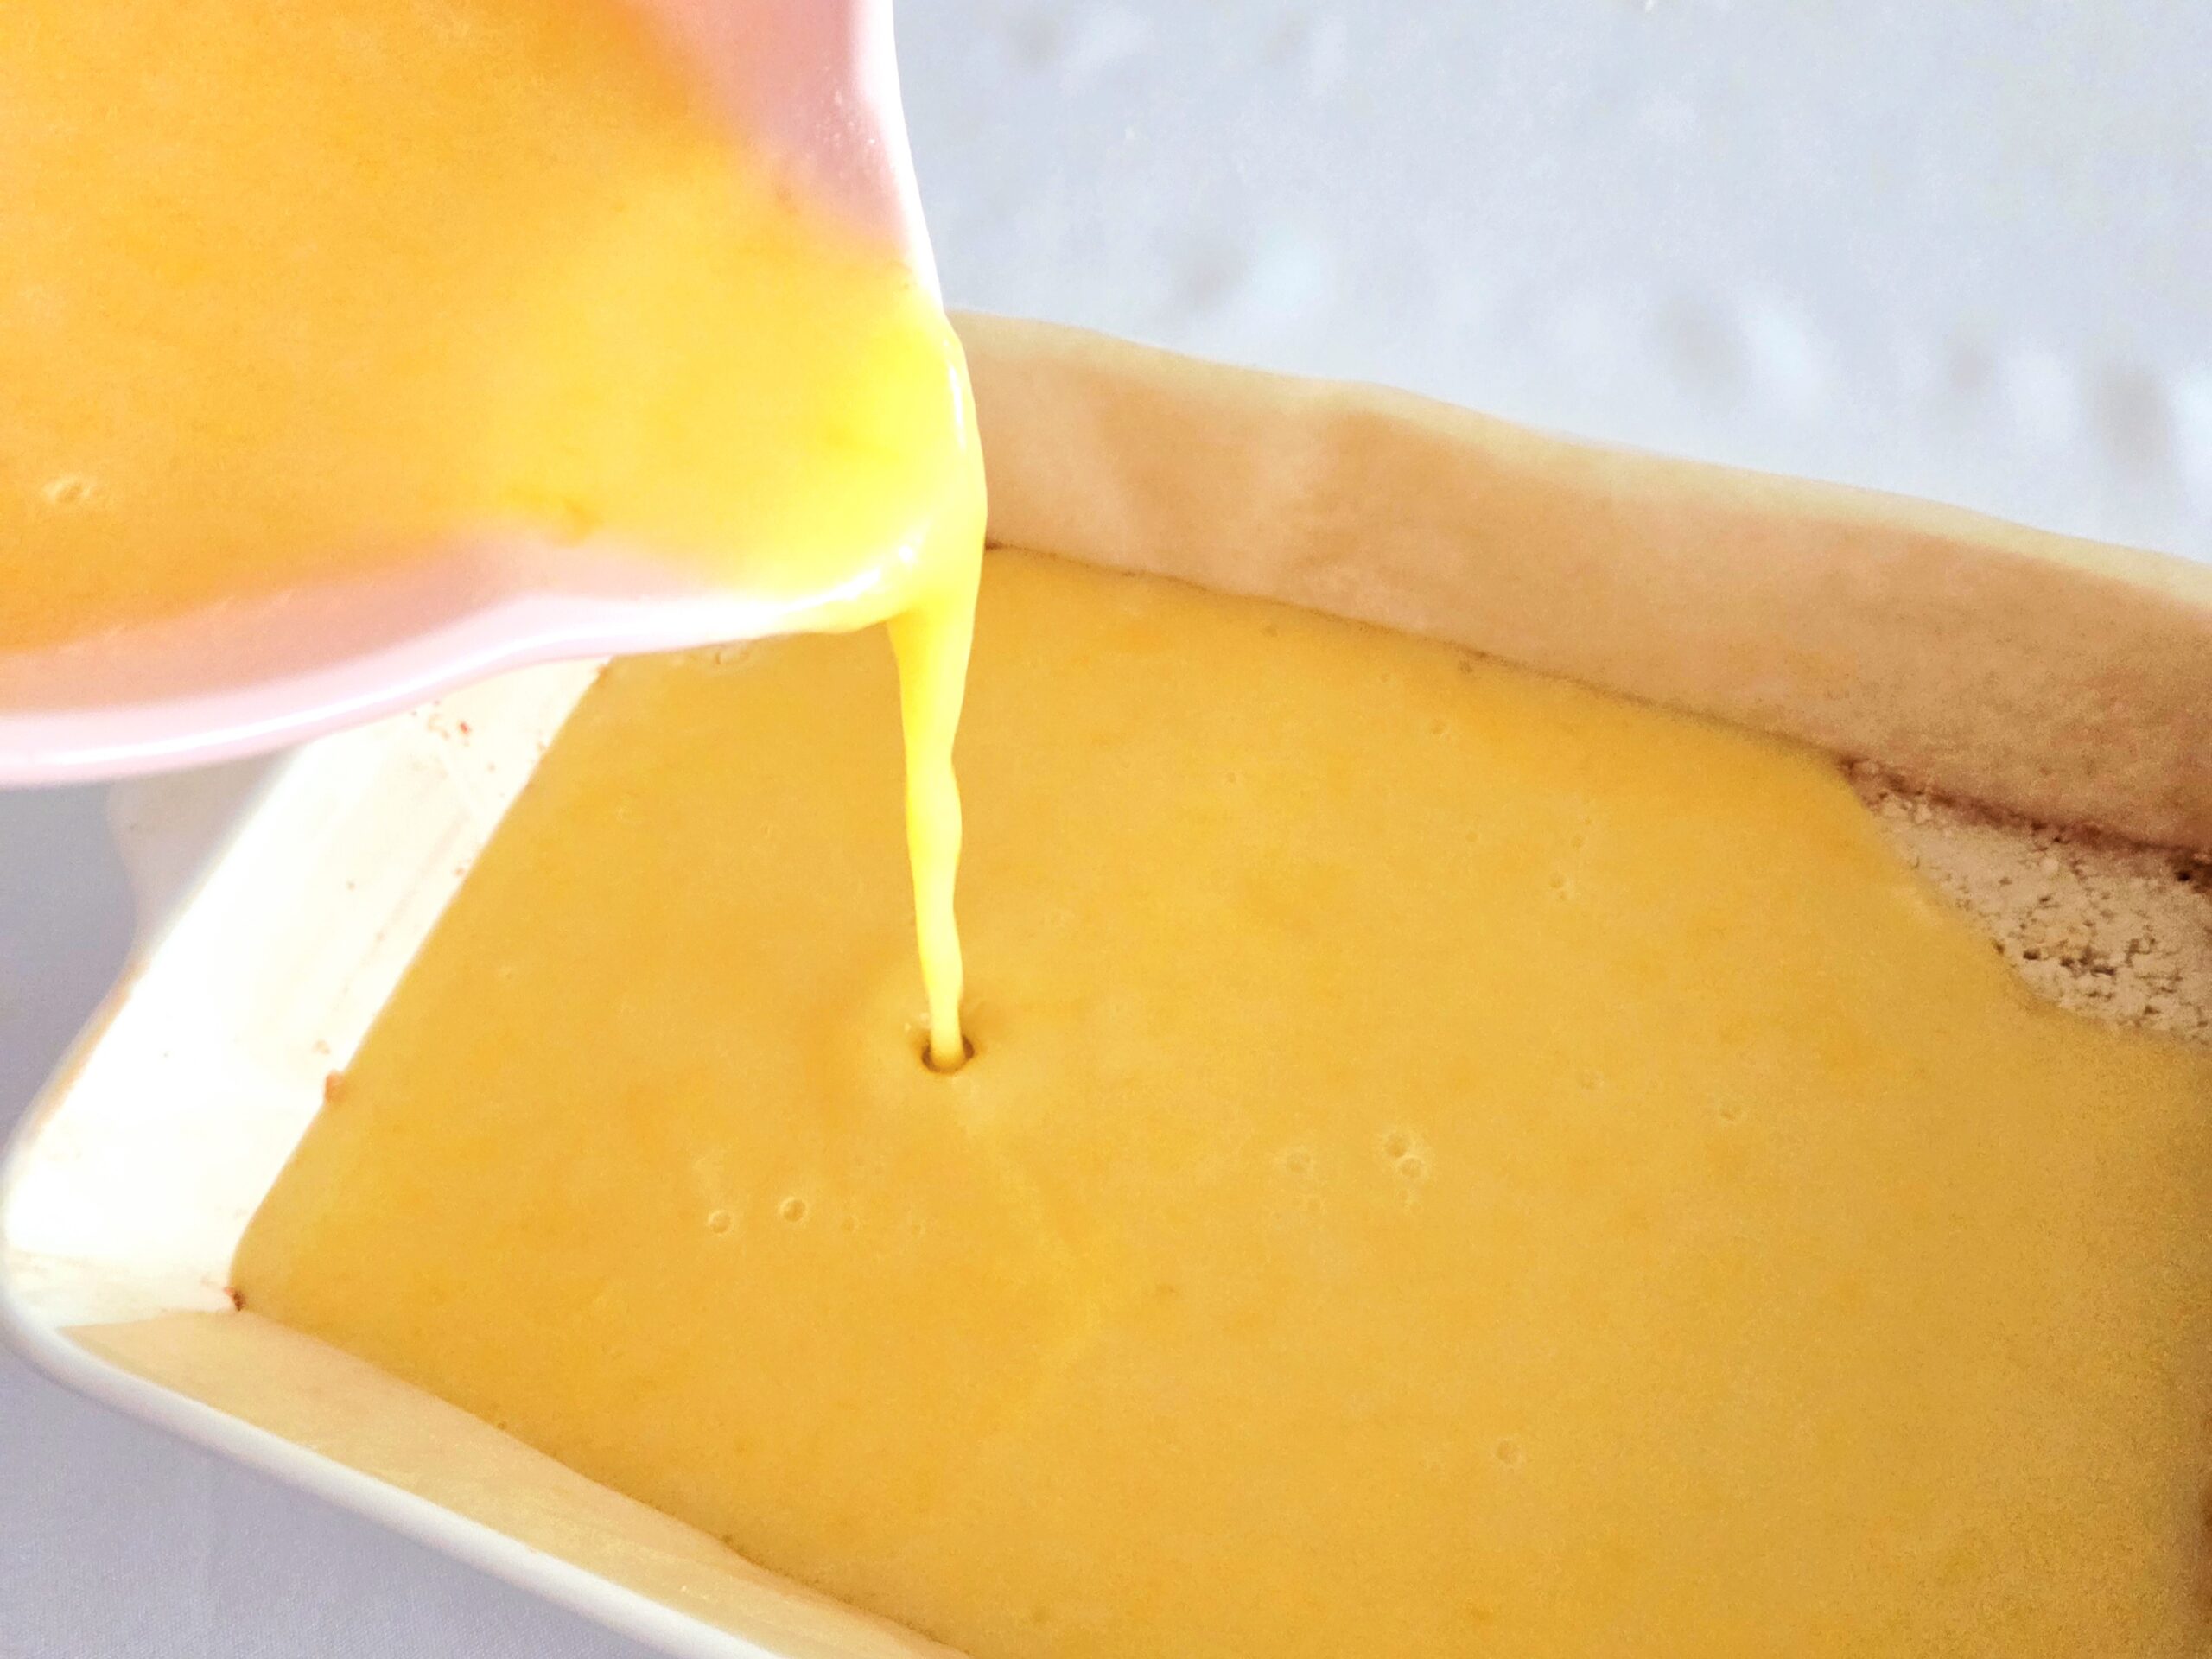
Bake the lemon bars for another 20-25 minutes. By the end of baking, the center should still be a bit wiggly, but the filling should be set. That way, it won’t run everywhere once the bars have been portioned out, and the filling also will not be curdled from being overbaked.
Allow the pan to cool at room temperature for an hour, then transfer it to the fridge to chill. It will need a minimum of 2 hours to chill completely, but can be made ahead of time and placed in the fridge for up to two days. If you’re opting for the latter, be sure to cover the top with a layer of plastic wrap to keep it fresh.
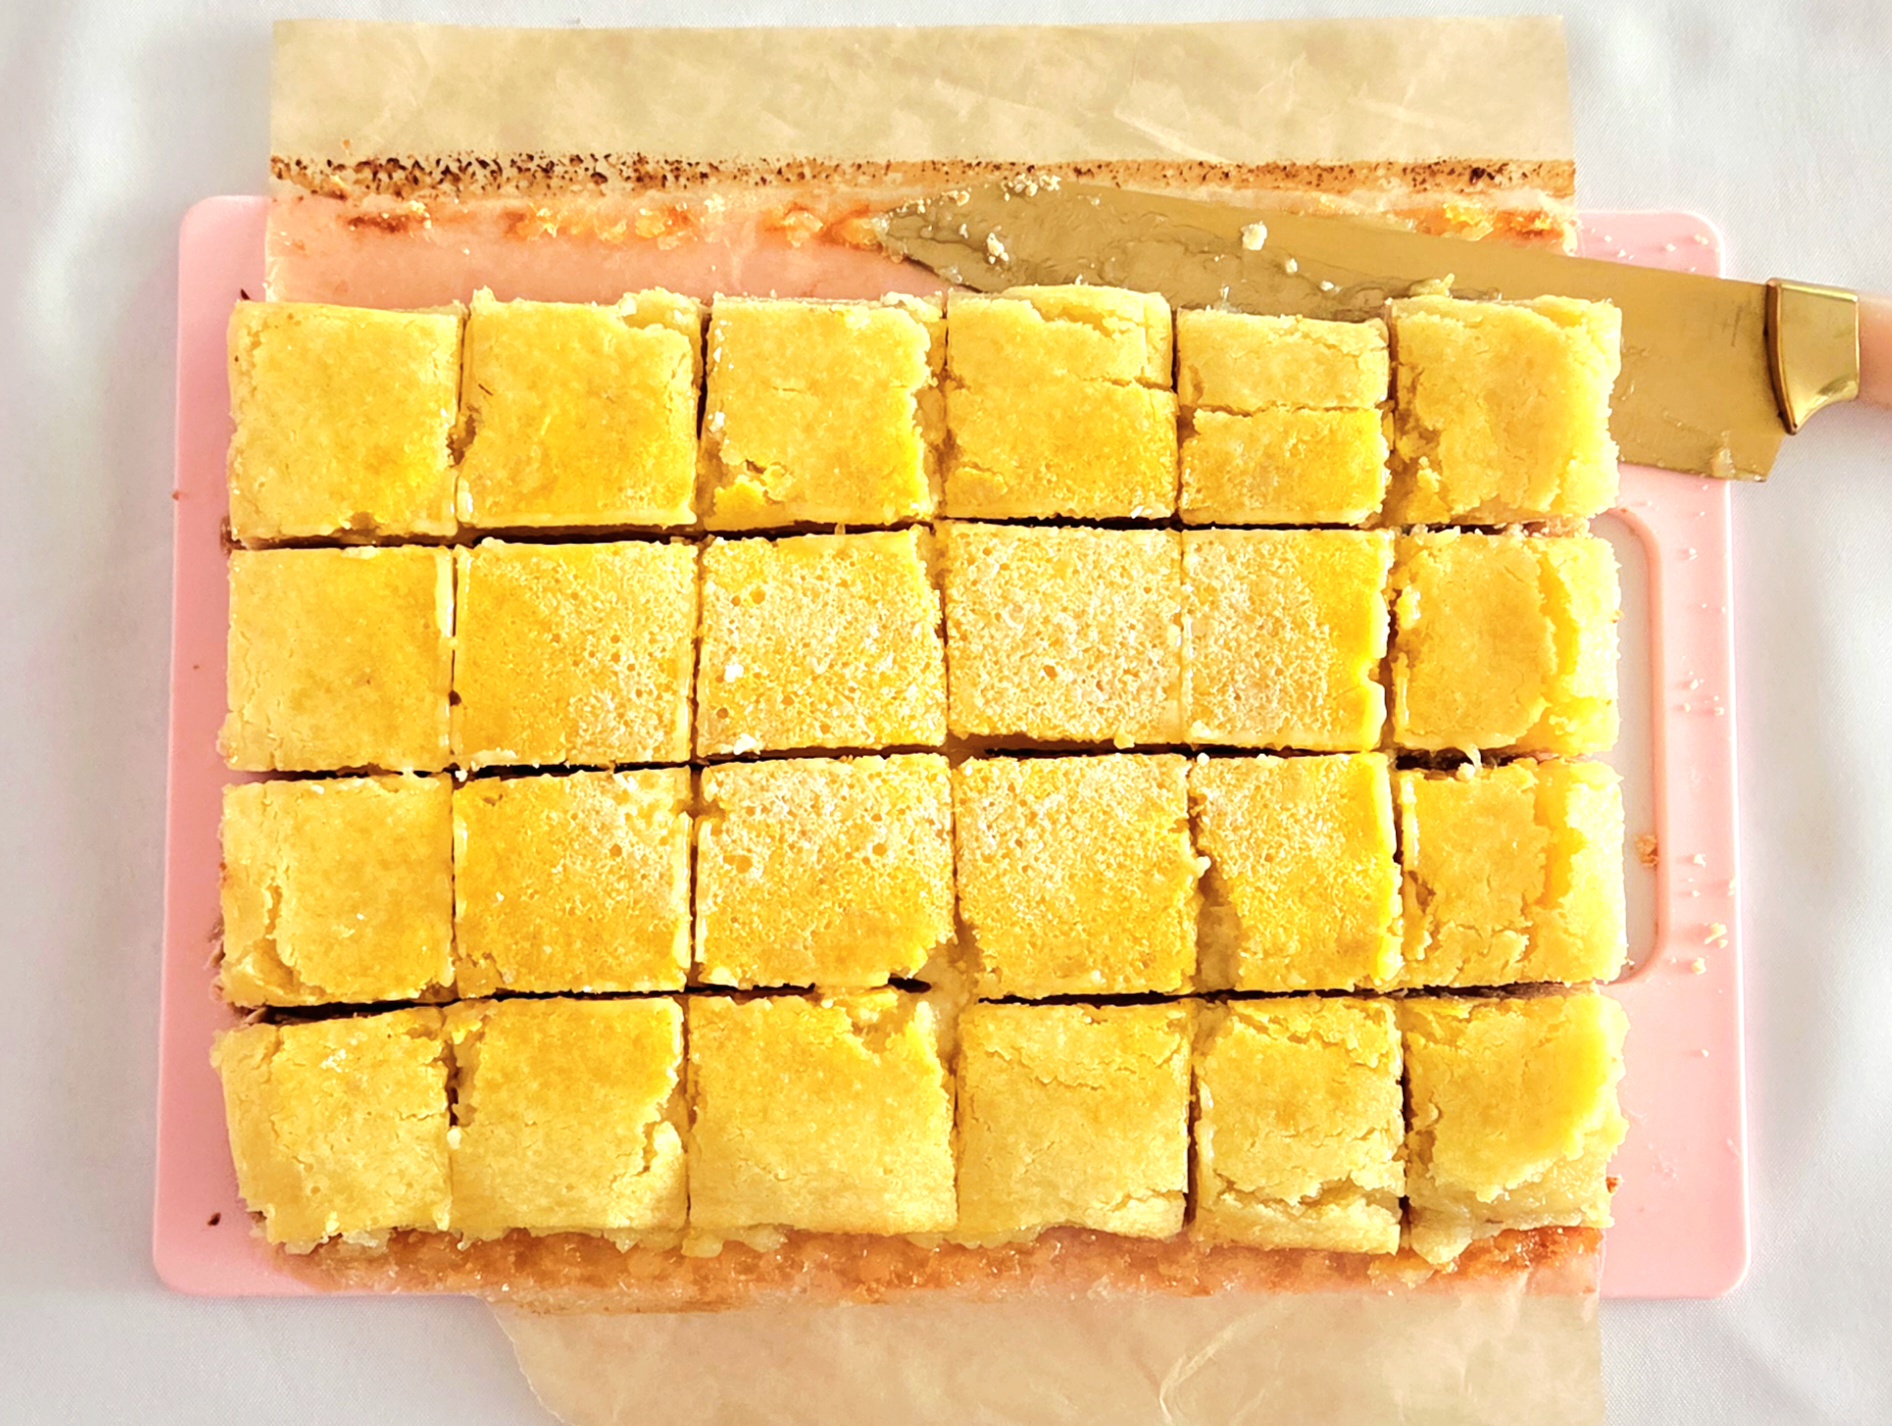
After chilling, remove the full slab of lemon bars from the pan and transfer it over to a cutting board. Divide it into a 6×4 grid, leaving you with 24 fairly equally sized bars, or whichever size you’d prefer. You are the leader of your lemon bars, after all.
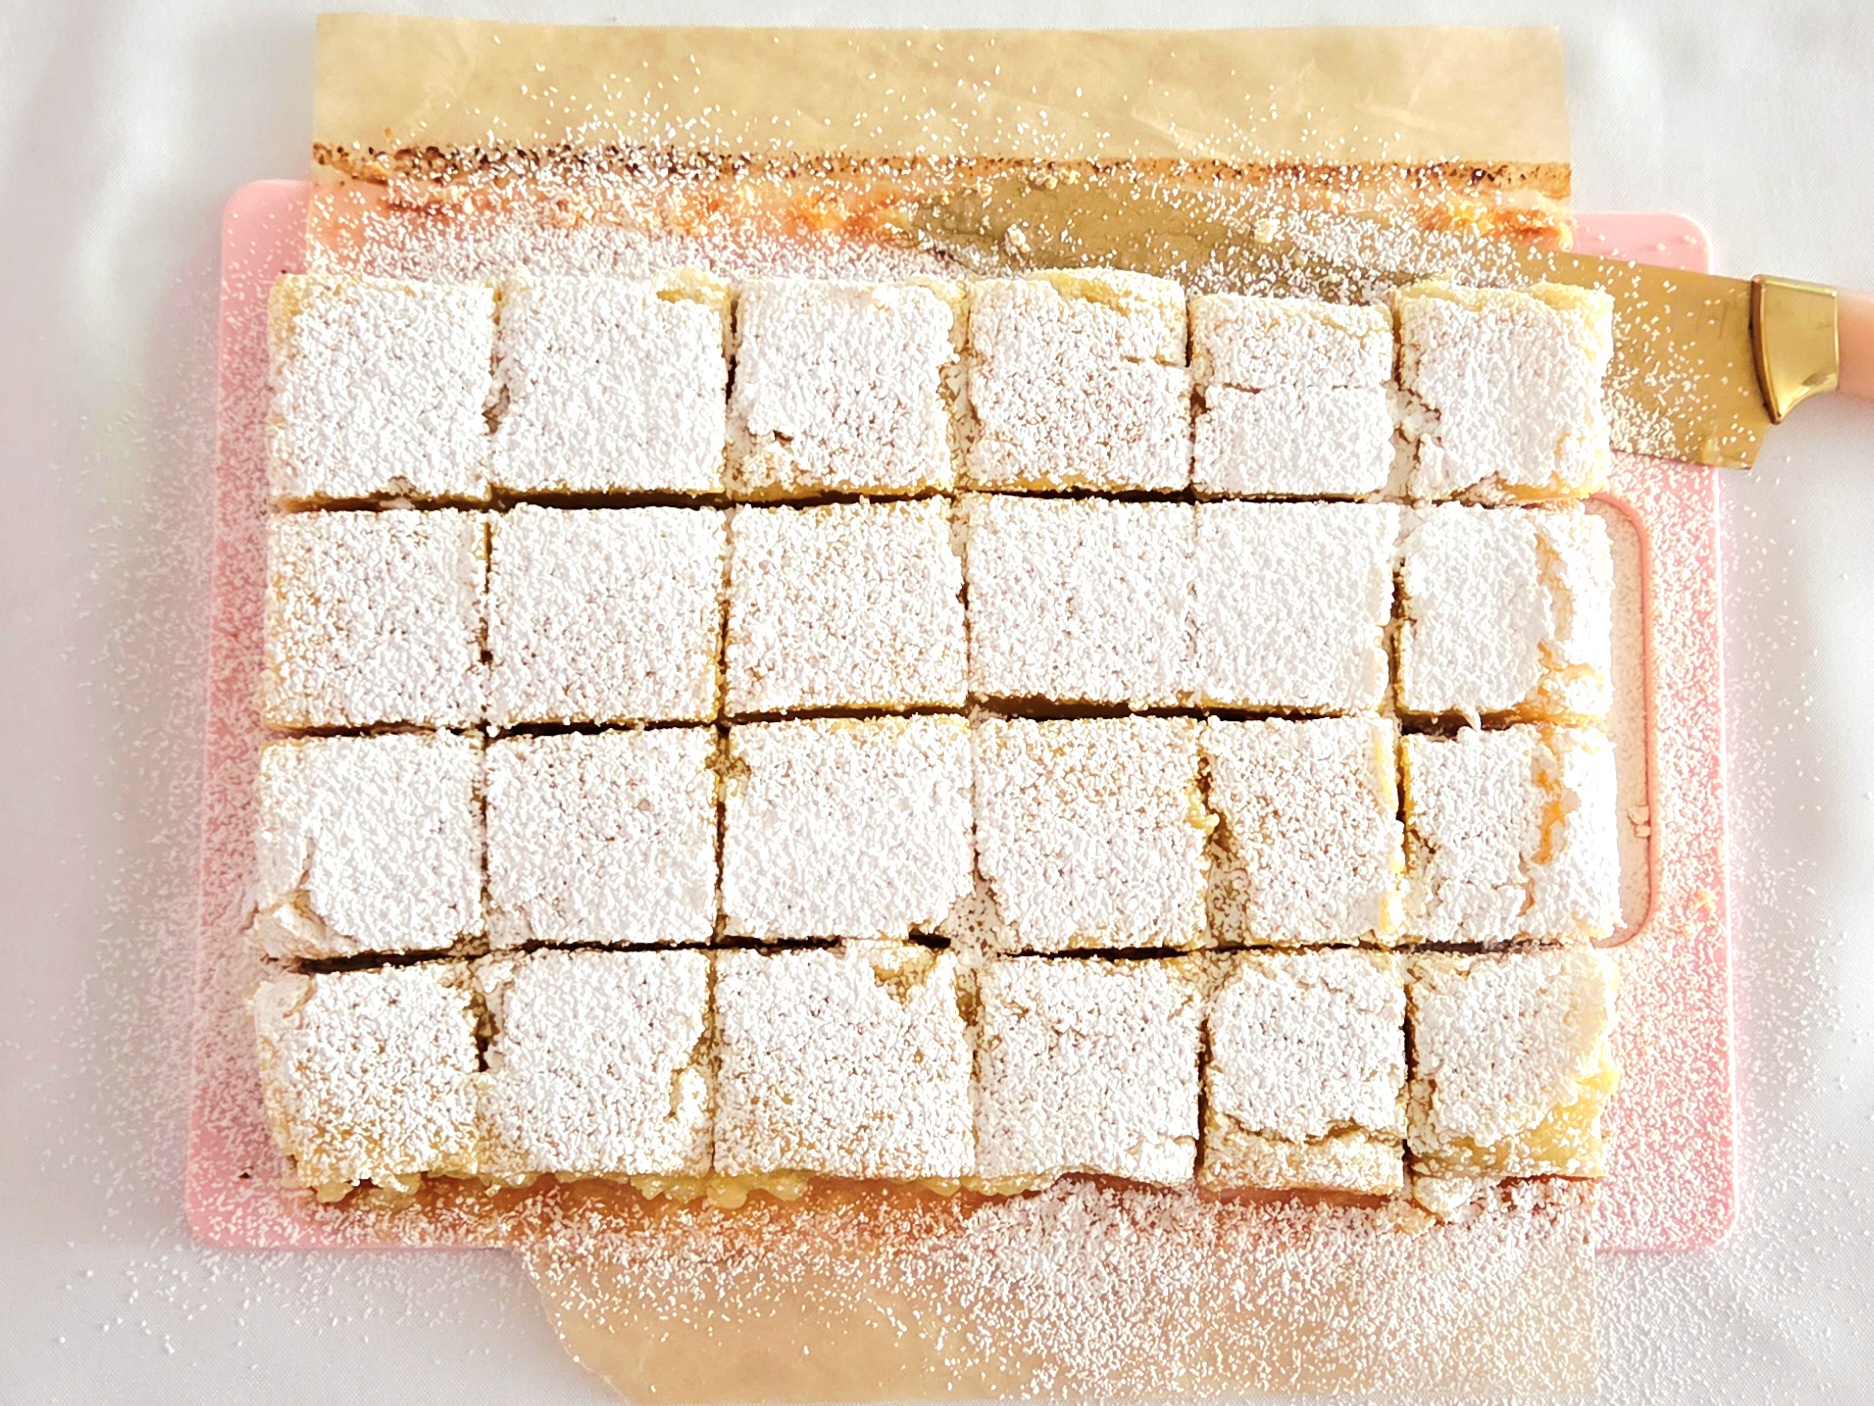
Dust the top with a few Tablespoons worth of powdered sugar. It should be enough to completely coat the top, but not so much to be a thick layer.
Store any uneaten bars in an airtight container in the fridge for up to three days, and enjoy!


Lemon Bars
Bake Time: 350F for 45-55 minutes
Servings: 24 bars
Total Time: 4 hours 45 minutes
Prep Time: 45 Minutes
Ingredients
Shortbread:
- 3 cups all-purpose flour
- ⅔ cup powdered sugar
- 1 teaspoon salt
- 16 Tablespoons unsalted butter
- 1 teaspoon vanilla extract
Filling:
- 3 cups granulated sugar
- Zest of 2 lemons
- ⅔ cup all-purpose flour
- 1 teaspoon salt
- 7 large eggs, room temperature
- 1 cup fresh squeezed lemon juice
- Powdered sugar, for dusting on top
Directions
Bake the Shortbread:
- Start by preparing the shortbread. Preheat the oven to 350F, on the convection setting if possible, making sure the rack is placed in the center of the oven. Line a 9×13 inch baking dish with parchment paper on the bottom and up two sides, spraying the uncovered sides with a nonstick baking spray. Set this pan aside.
- In the bowl of a stand mixer fitted with the paddle attachment, sift the powdered sugar. Add in the flour and salt, whisk them all together.
- Heat the butter until it’s just melted in a microwave safe bowl. Stir in the vanilla extract, then pour it into the dry goods. Beat the mixer on level 1 for 1-2 minutes, or until all of the dry goods have been hydrated. The dough should look crumbly.
- Dump the dough into the prepared pan and spread it around fairly evenly. Take a flat bottomed glass and firmly press the dough down into the bottom of the pan. Use a fork to poke holes all over the shortbread (dock the dough).
- Bake the shortbread for 25-30 minutes, or until the edges are a light golden brown. While it bakes, begin working on the filling.
Make the Filling:
- As the crust bakes, start making the filling. Into a large mixing bowl, dump the granulated sugar. Add the lemon zest, and whisk the two together. Allow the lemon sugar to sit together for 5 minutes or so, then continue on.
- Freshly squeeze the lemon juice, until a liquid measuring cup is filled to the 1-cup line.
- Whisk in the flour and salt. Pour in the lemon juice and crack in the eggs. Thoroughly whisk everything together, so it’s one homogeneous mixture. Set the filling aside until the crust has finished baking.
Assemble and Bake it Off
- Immediately after removing the crust from the oven, pour the filling directly over it. Scrape in as much of the filling as you can. It should naturally settle evenly over the top.
- Return the pan to the oven and bake it for an additional 20-25 minutes, or until the filling is set but still slightly jiggly in the center. Allow the lemon bars to cool for an hour, then transfer the pan to the fridge. Chill them for at least 2 hours, or up to 2 days.
- Remove the full slab from the pan and place it on a cutting board. Cut the slab into a 4×6 grid, leaving you with 24 relatively evenly sized bars. Sift a few Tablespoons of powdered sugar over the top, or enough to cover it well. Store any leftover lemon bars in an airtight container in the fridge for up to 3 days, and enjoy!
Tips
- Squeeze your own lemon juice fresh from the source. Bottled lemon juice is much more bitter, and that will be reflected in the bars if you choose to use it.
- These bars can be made up to two days ahead of time! Follow the recipe up until step 2 in the Assembly section, then cover the top of the pan in plastic wrap to keep it fresher as it chills. You could follow the recipe completely and divide the bars ahead of time, but keeping them in one big slab until they’re about to be served keeps them more fresh.


0 Comments