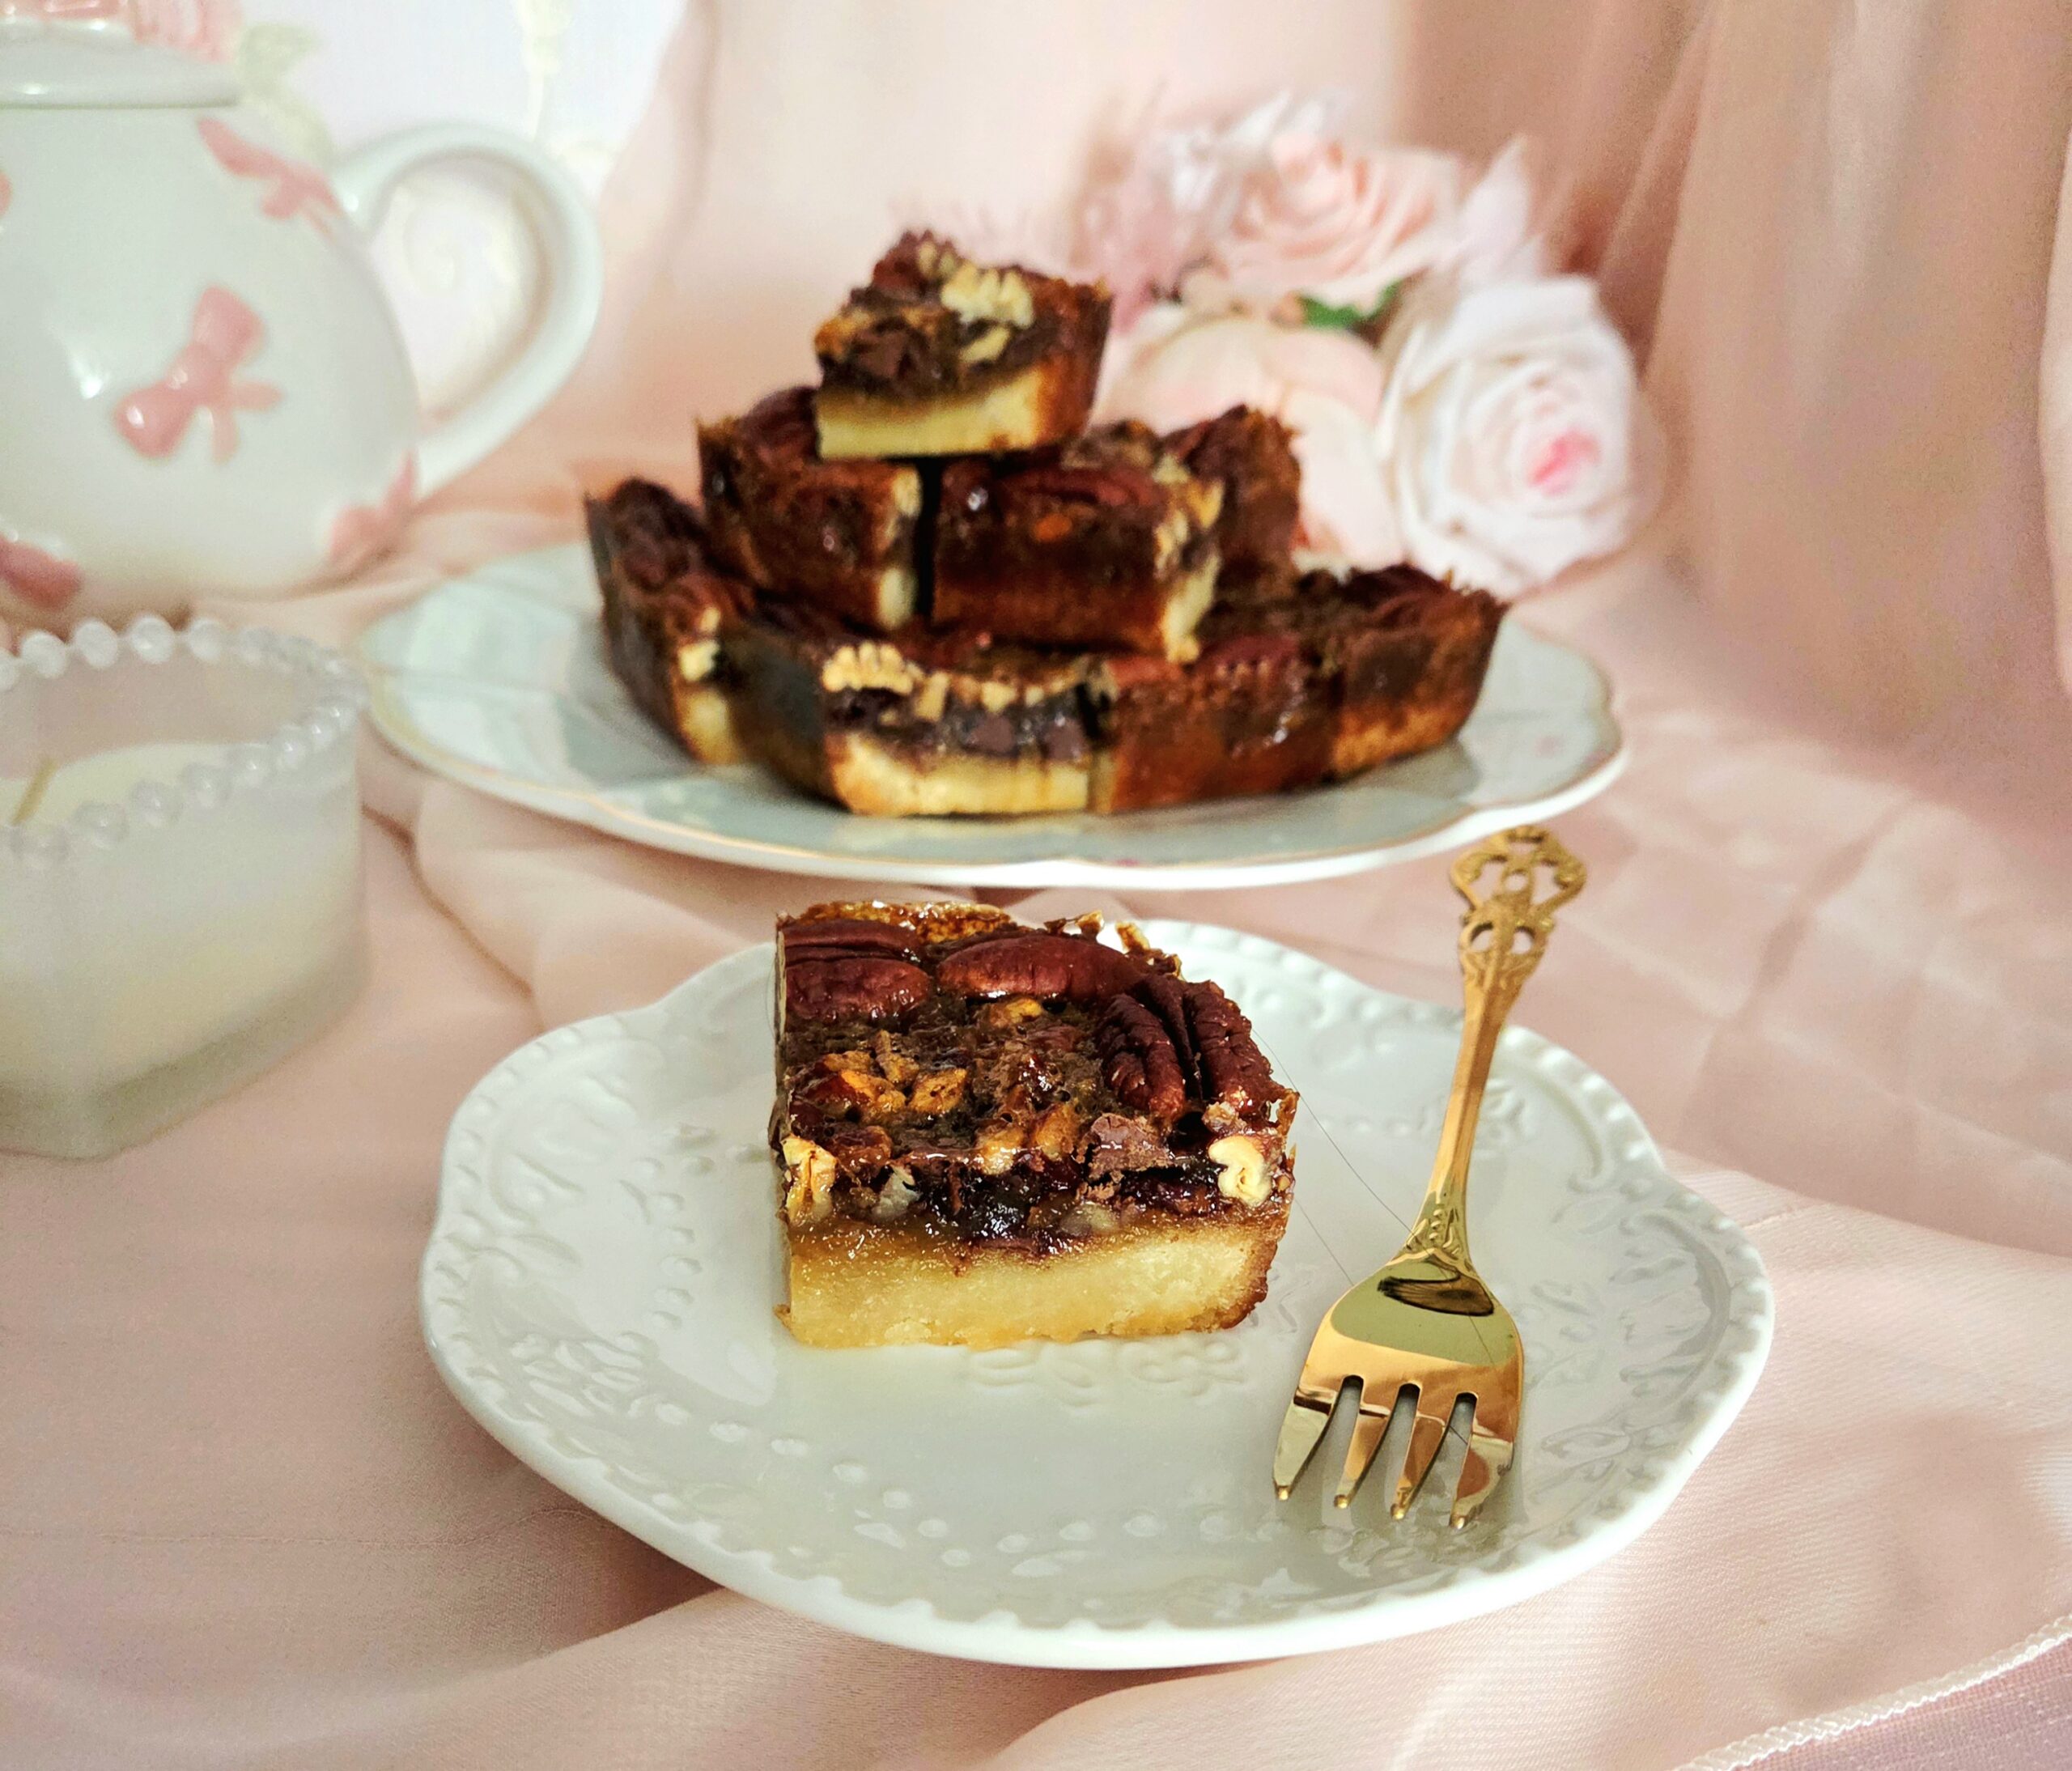

Fall is, by far, the best baking time of year. It’s one of the things I look forward to the most, as the summer is coming to an end. Sure, there’s also apple picking, pumpkin carving, haunted houses, using your fireplace once again, all the makings of prime time coziness! But the top of that list for me will always be baking, and with fall baking comes pie. But what if you’re still too intimidated to tackle making your own pie crust?
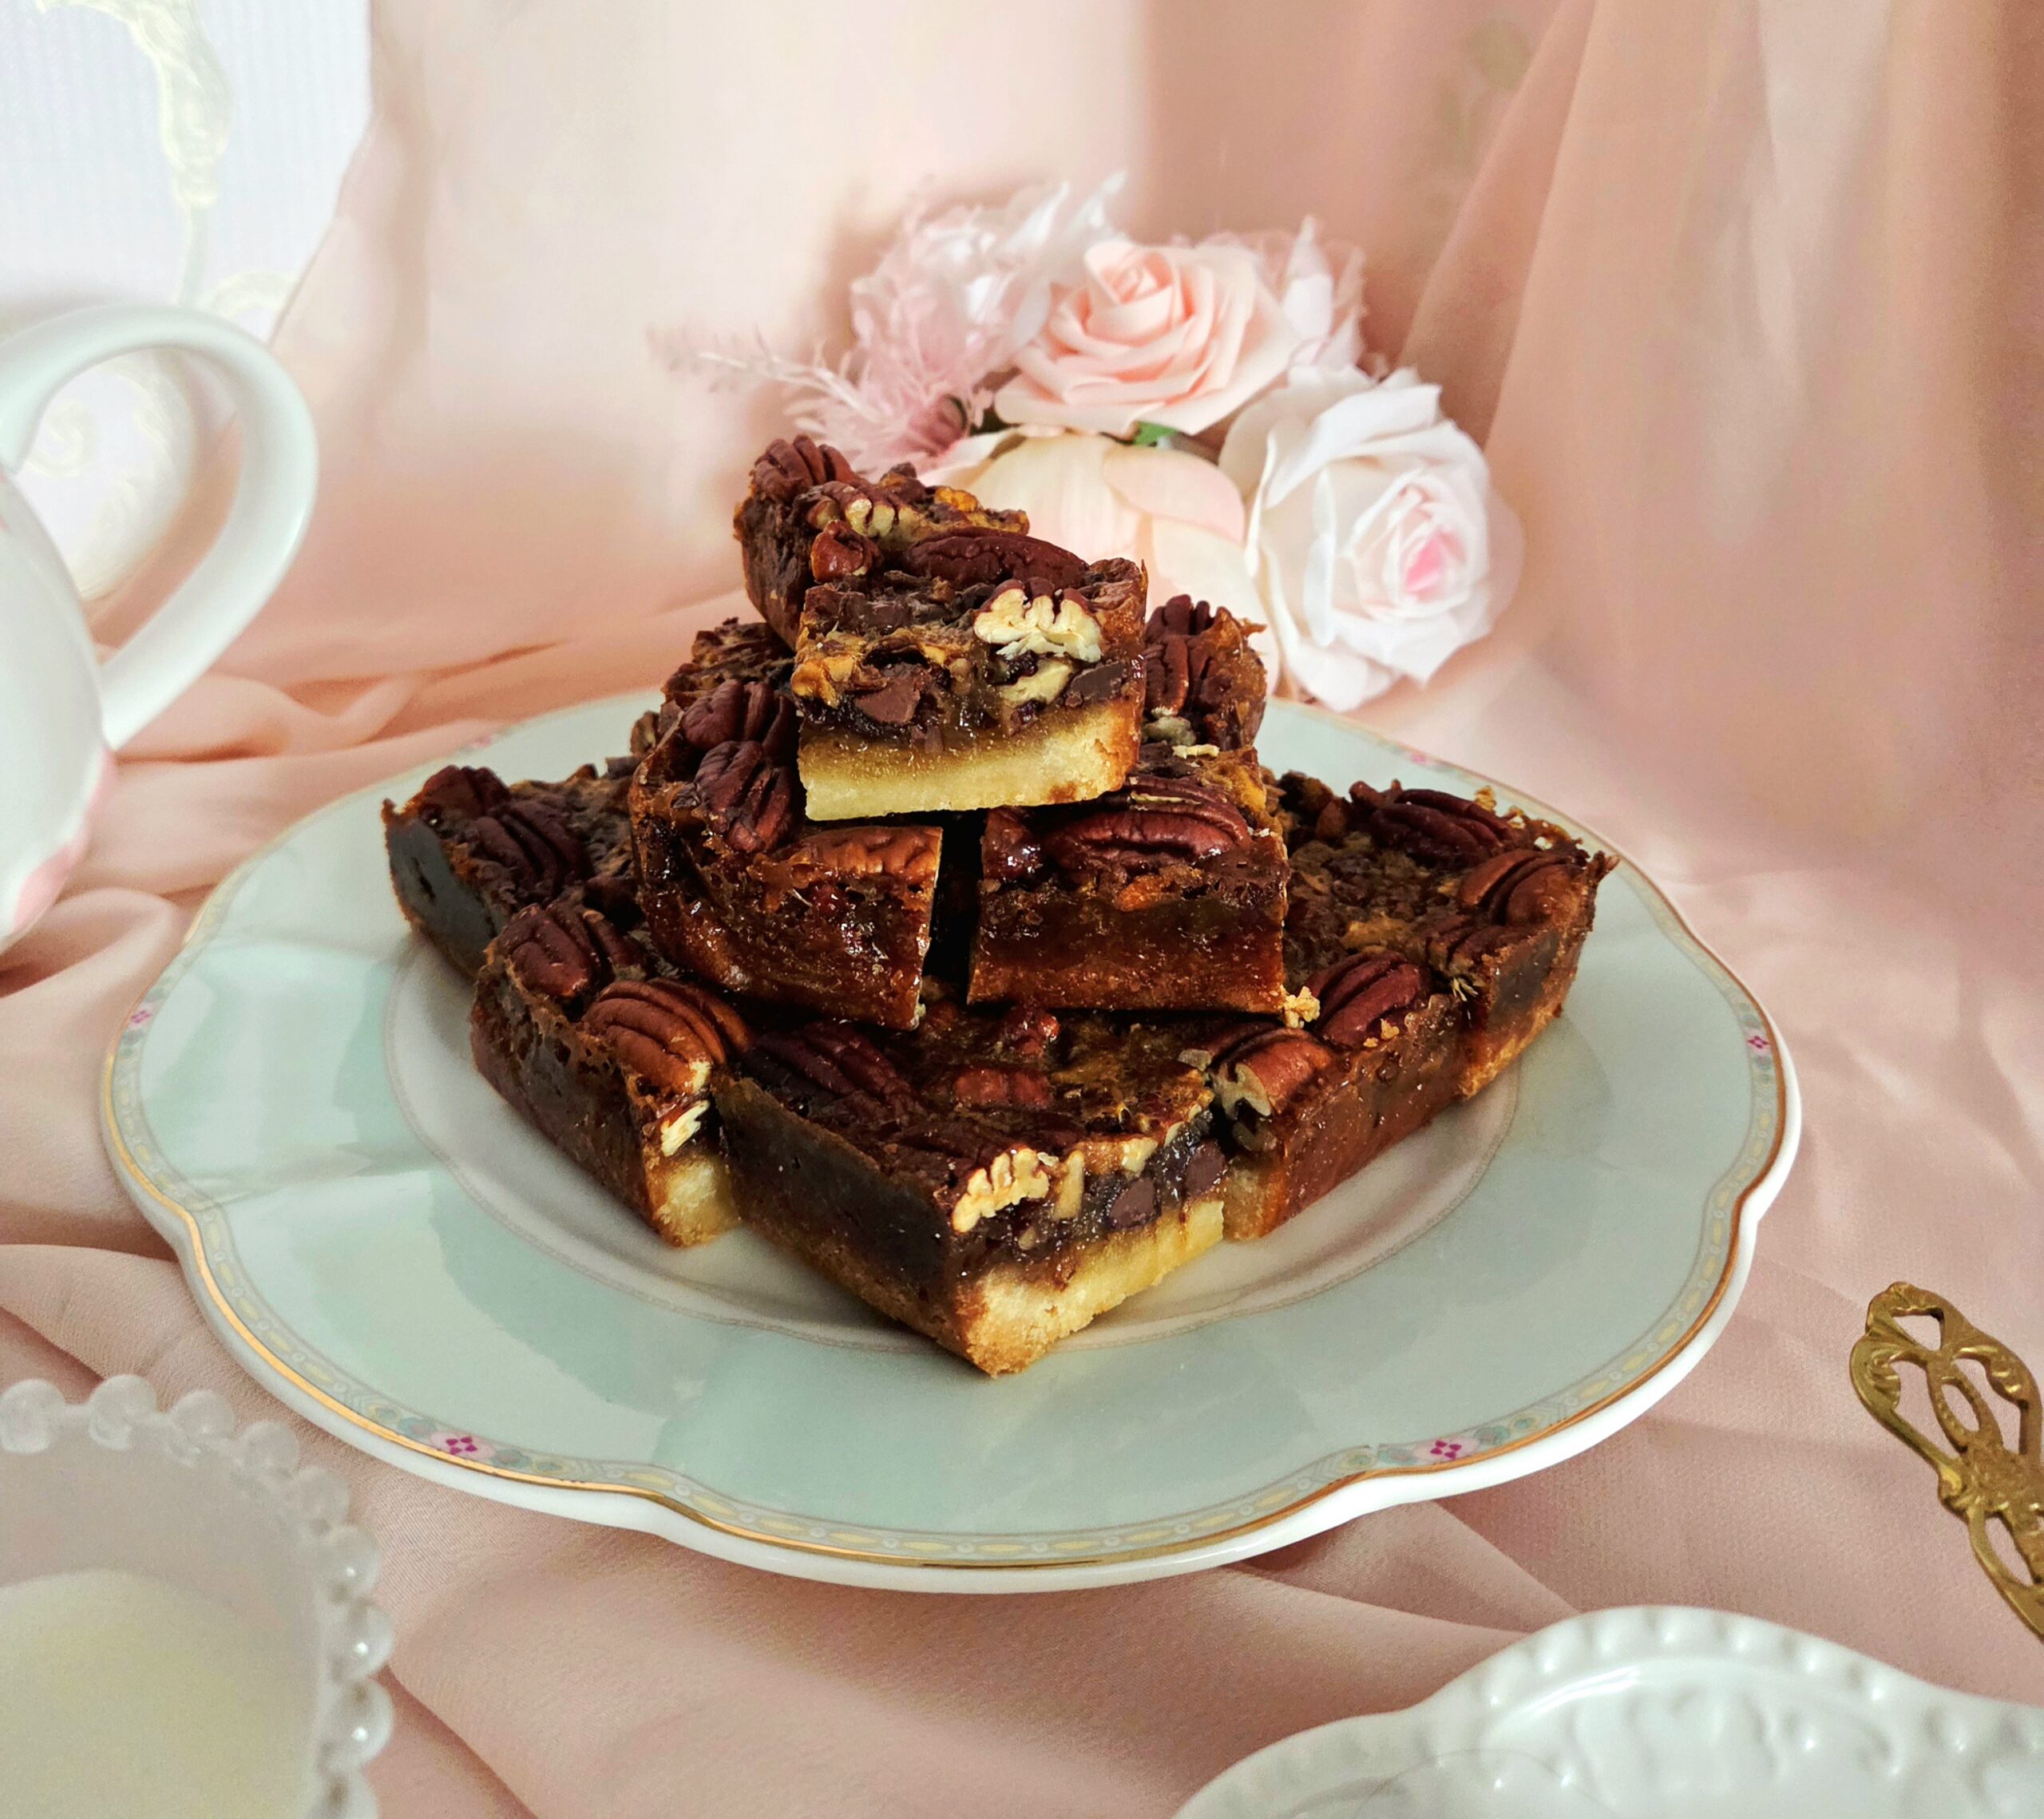
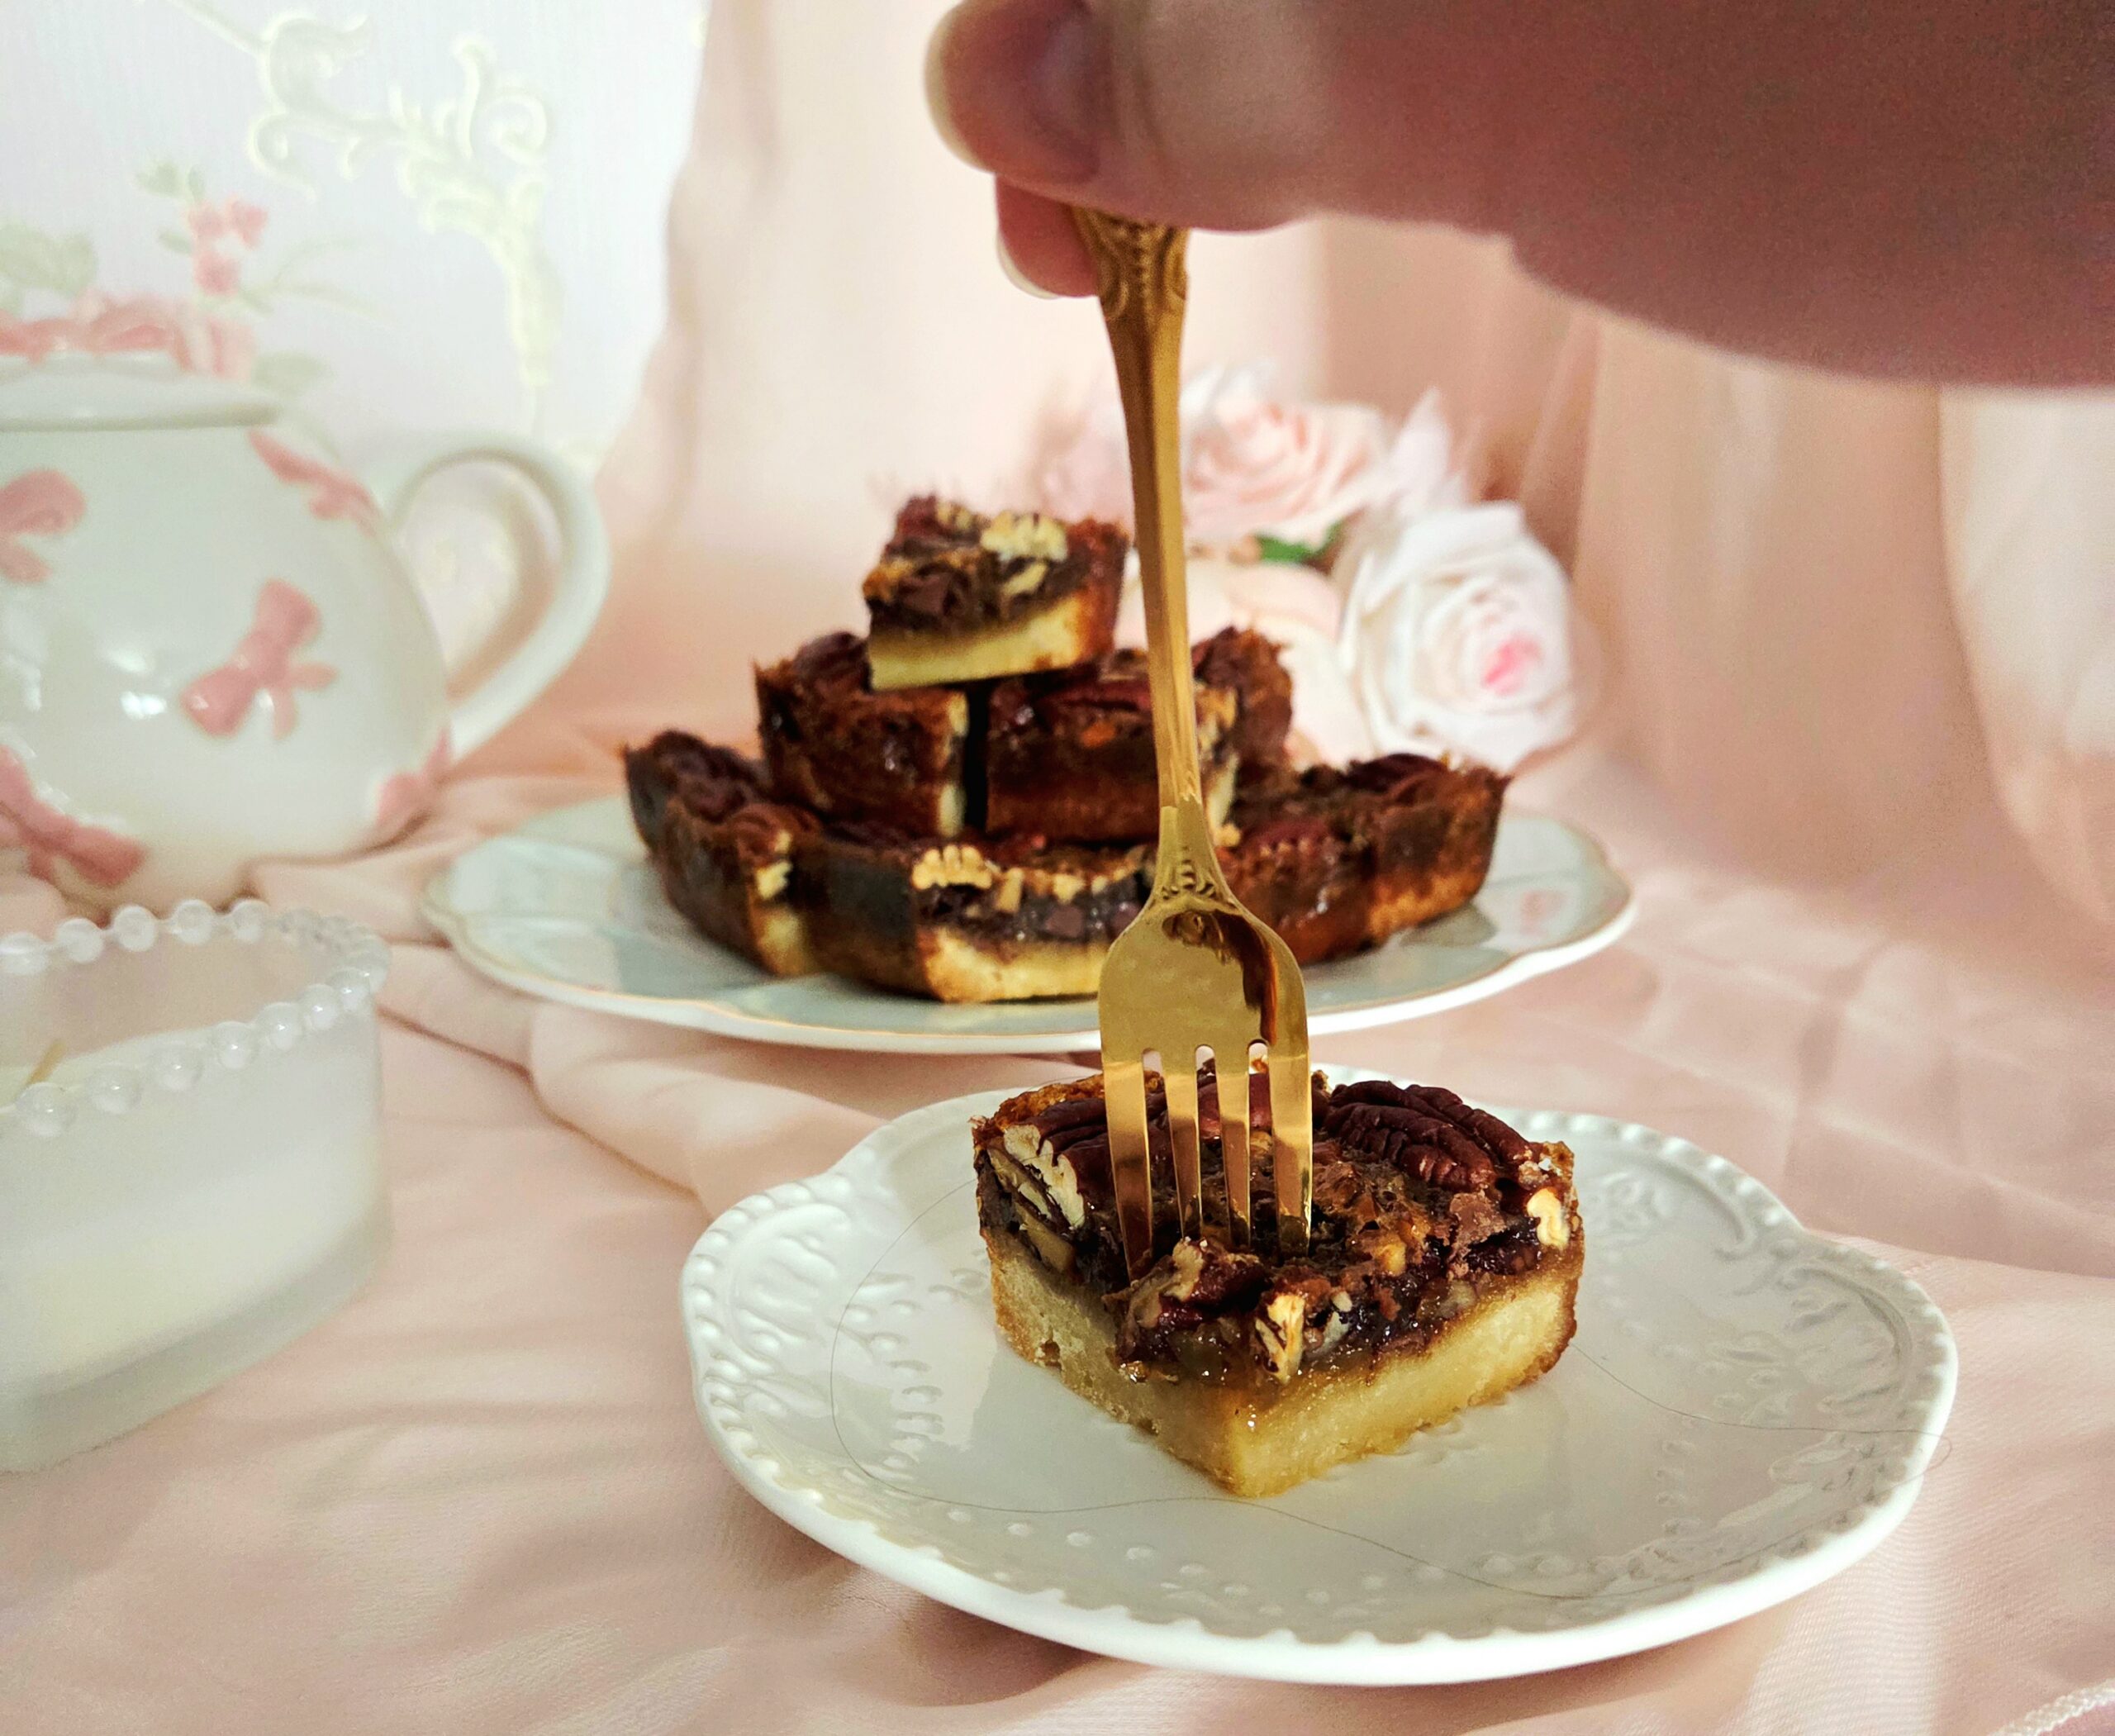
That’s where the pie bar comes in. Think of them like pie’s easygoing cousin. You get all the pride of baking something entirely from scratch without the hassle of making a full blown pie crust. Plus, they both come together and finish baking a heck of a lot faster! These chocolate chip pie bars are sweet, crunchy, and gooey, with the perfect hint of bitterness coming in from the chocolate. A drastically underrated combination, if you ask me. A beautiful enhancement to what, in my opinion, is the best of the classic pie flavors.
FAQs and Science
Why toast the pecans before adding them to the filling?
Toasting nuts of any kind before baking with them draws out the natural oils, intensifying the flavor of the nut in the final product.
I prefer milk chocolate over dark, would it work for me to substitute here?
I strongly advise against it. The slight bitterness in dark or semisweet chocolate cuts through the sweetness of the rest of the filling, giving added dimension to the bars. Milk chocolate would just add more sweet on top of sweet.
Does it really matter for the eggs to be room temperature? Is there a fast way to bring them up to room temperature?
Having every ingredient around the same temperature helps everything to bind together properly. But luckily, there’s a fast and easy way to warm your eggs for any recipe! Place them into a small bowl and pour the hottest water that comes out of your faucet on top, so they’re completely submerged. Do this at the beginning of the recipe, and by the time you’re ready to use them, they’ll be the perfect temperature.
Is there a fast way to soften butter?
Absolutely! I carefully utilize the microwave for this. Cut the butter into chunks and place them on a heat safe plate. Microwave the butter in 15 second intervals, pressing your finger into the butter in between to test if it needs more time. It’s finished when you can easily sink your finger into it.
Can these bars be frozen?
Yes, these bars freeze great! Once they’ve completely cooled and you’ve cut the slab up, place them into a freezer-safe bag and freeze them for up to 3 months. Place them on the counter the night before you plan to eat them, so they’ll gently thaw.
What You’ll Need
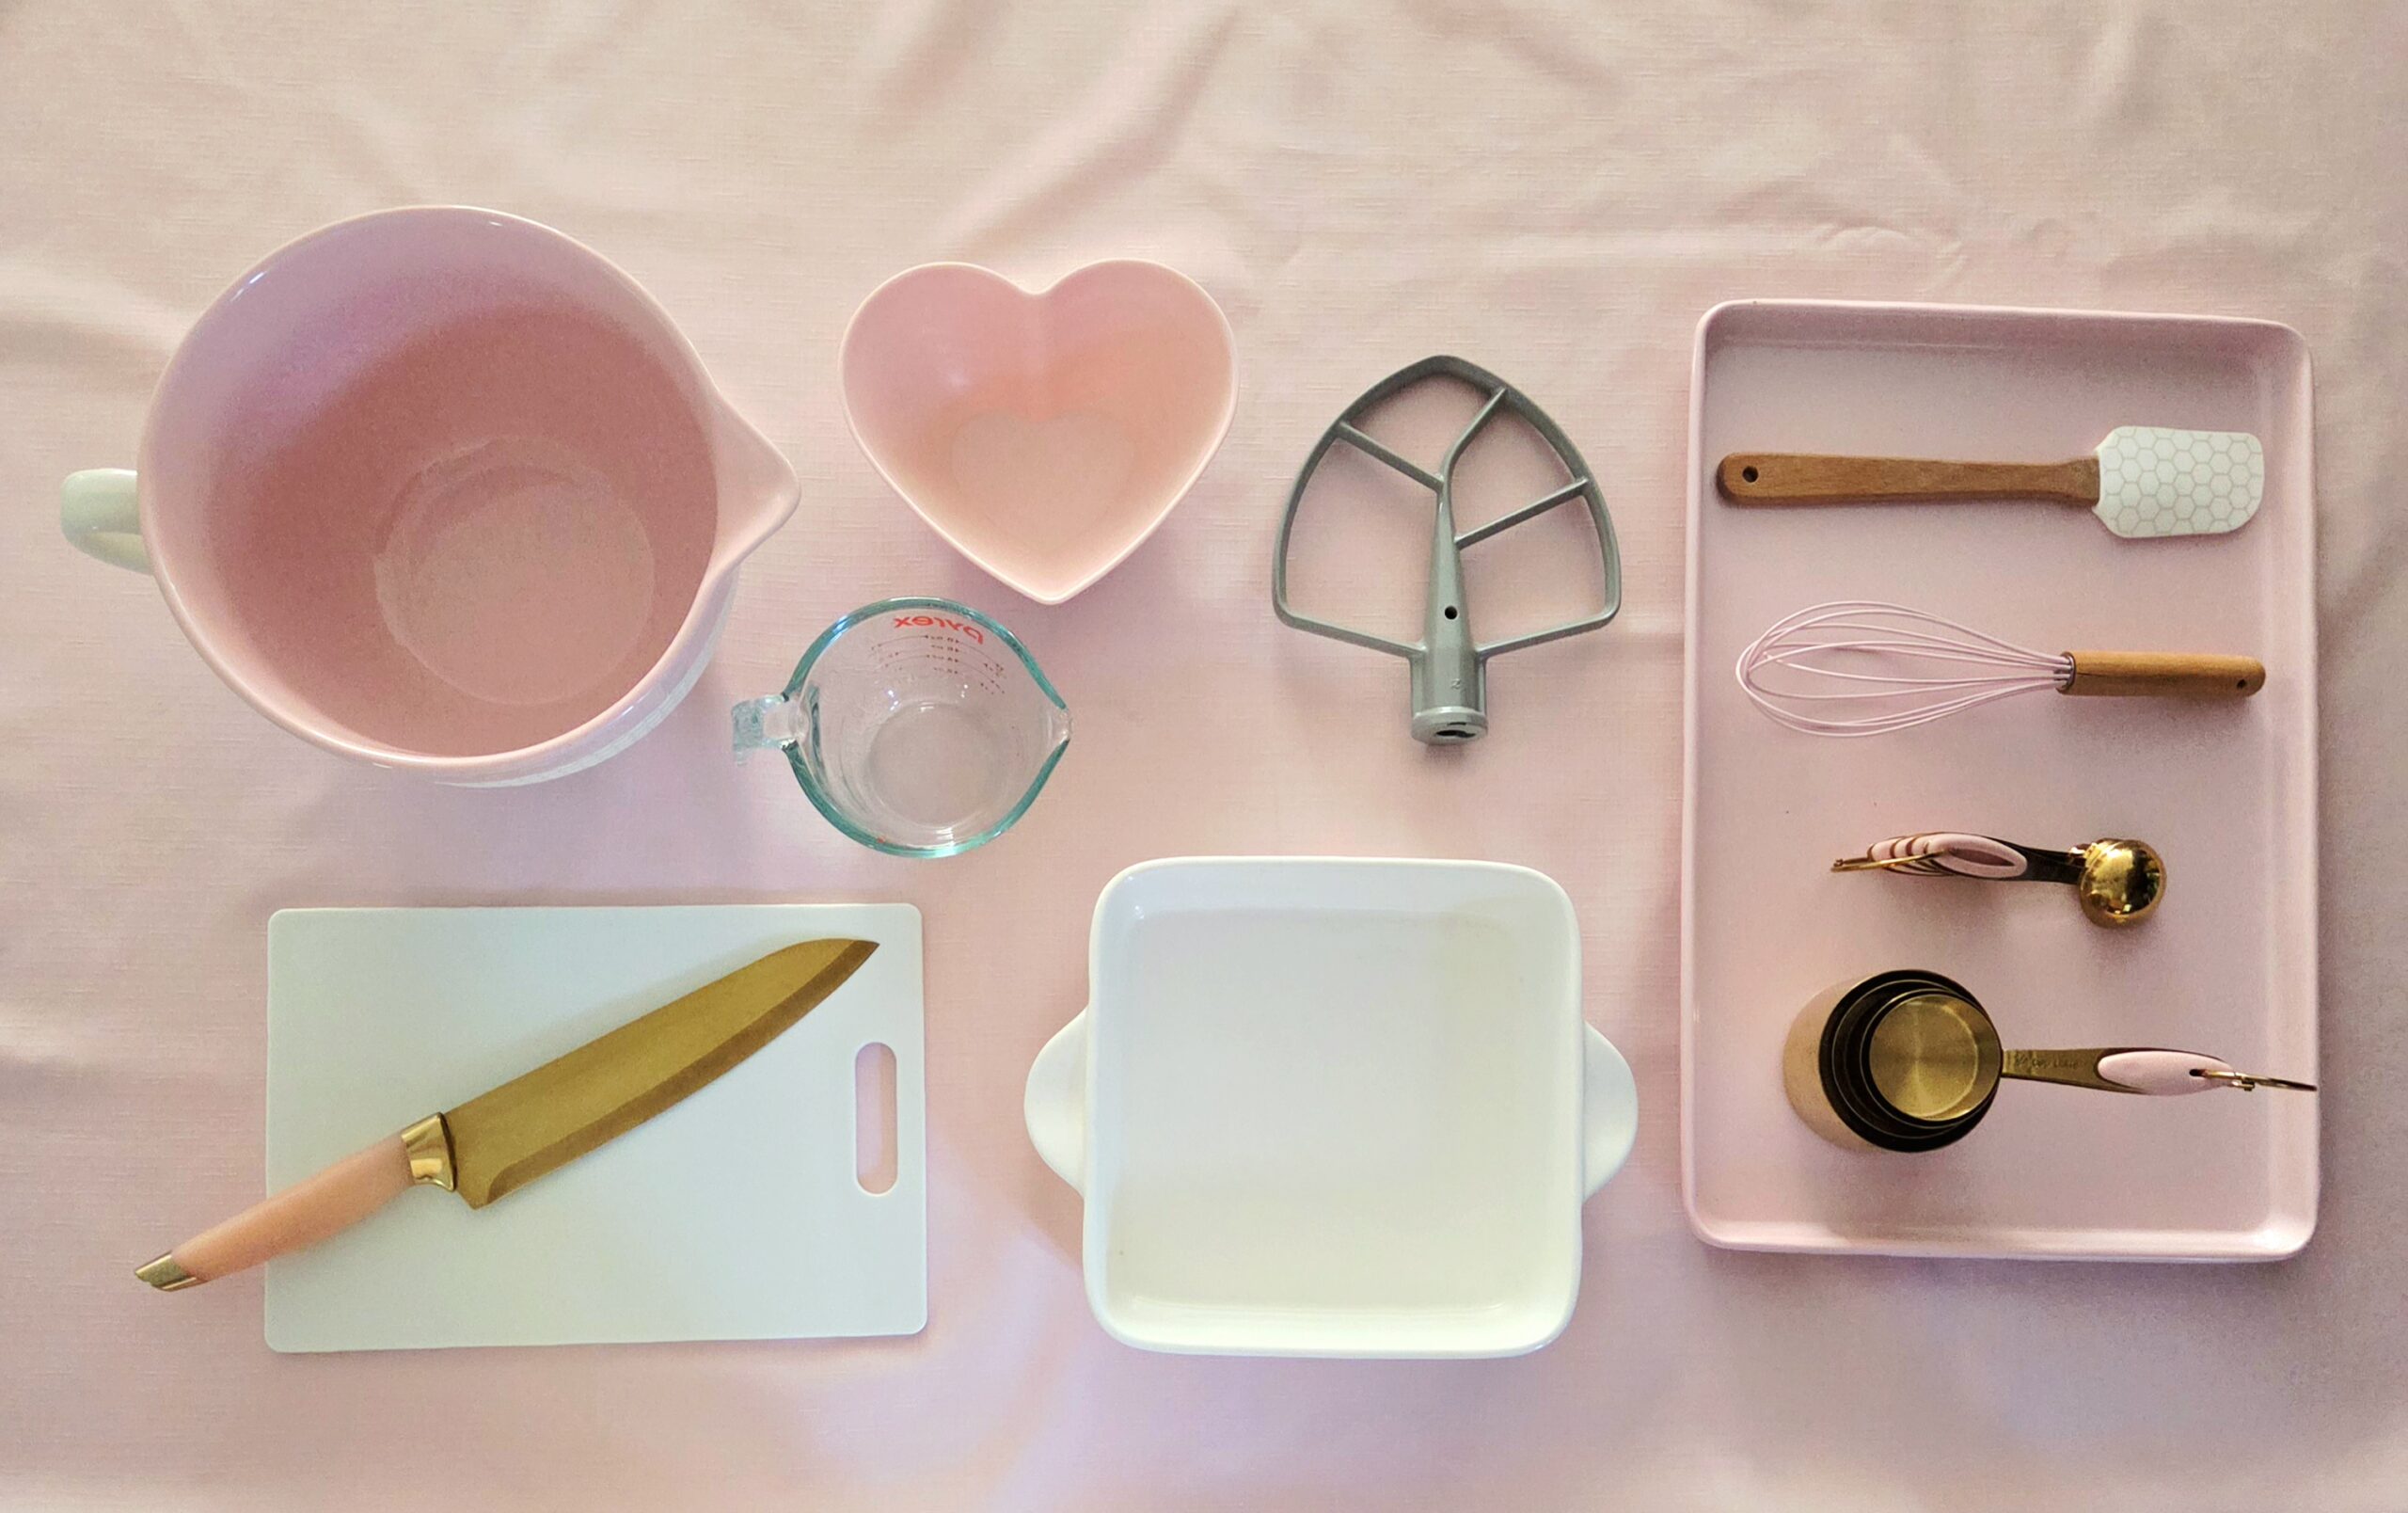
- Stand mixer fitted with the paddle attachment
- 8×8 inch baking pan
- Parchment paper
- Dry measuring cups
- Liquid measuring cup
- Measuring spoons
- Whisk
- Rubber spatula
- Large mixing bowl
- Small mixing bowl
- Baking sheet
- Chef’s knife
- Cutting board
The Process
Prepare the Crust
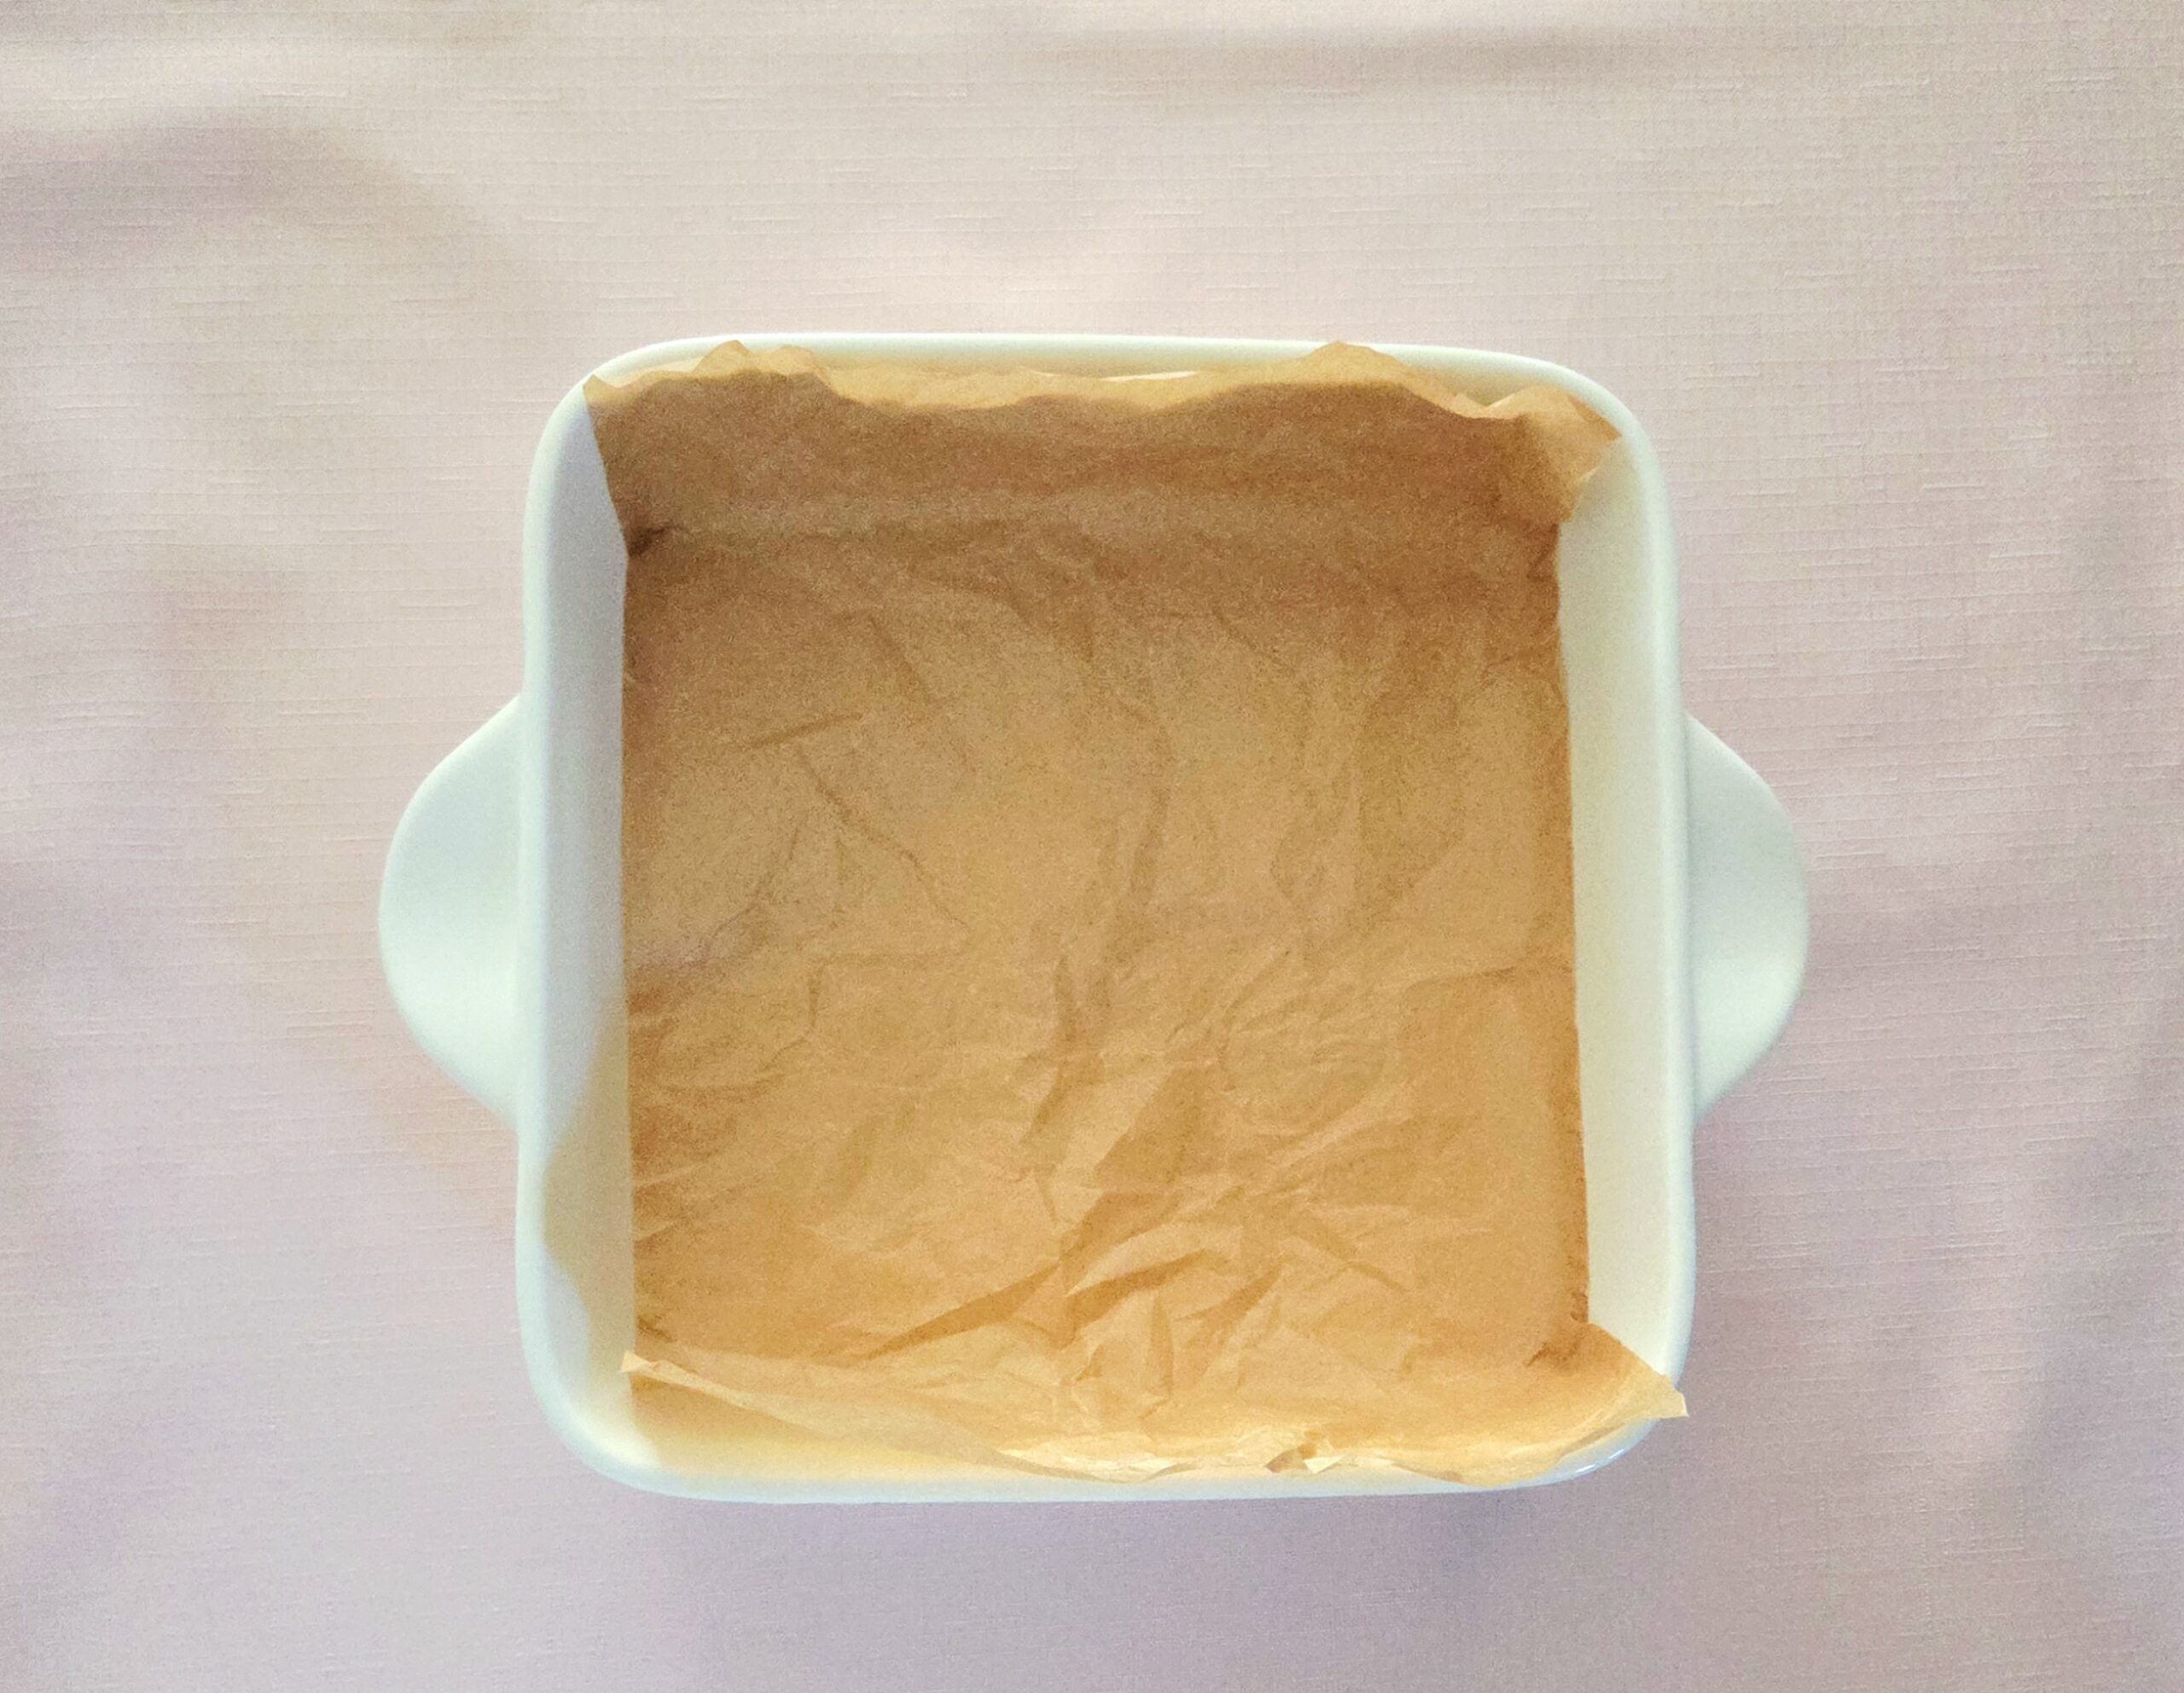
Start by preparing the oven and the baking dish. Preheat the oven to 350F, on the convection setting if possible. Line an 8 x 8 inch dish with parchment paper along the bottom and up two sides, then spray the uncovered sides with a nonstick baking spray. The parchment makes removing the bars from the pan an easy, stress-free moment, do not skip this step. Set the dish aside.
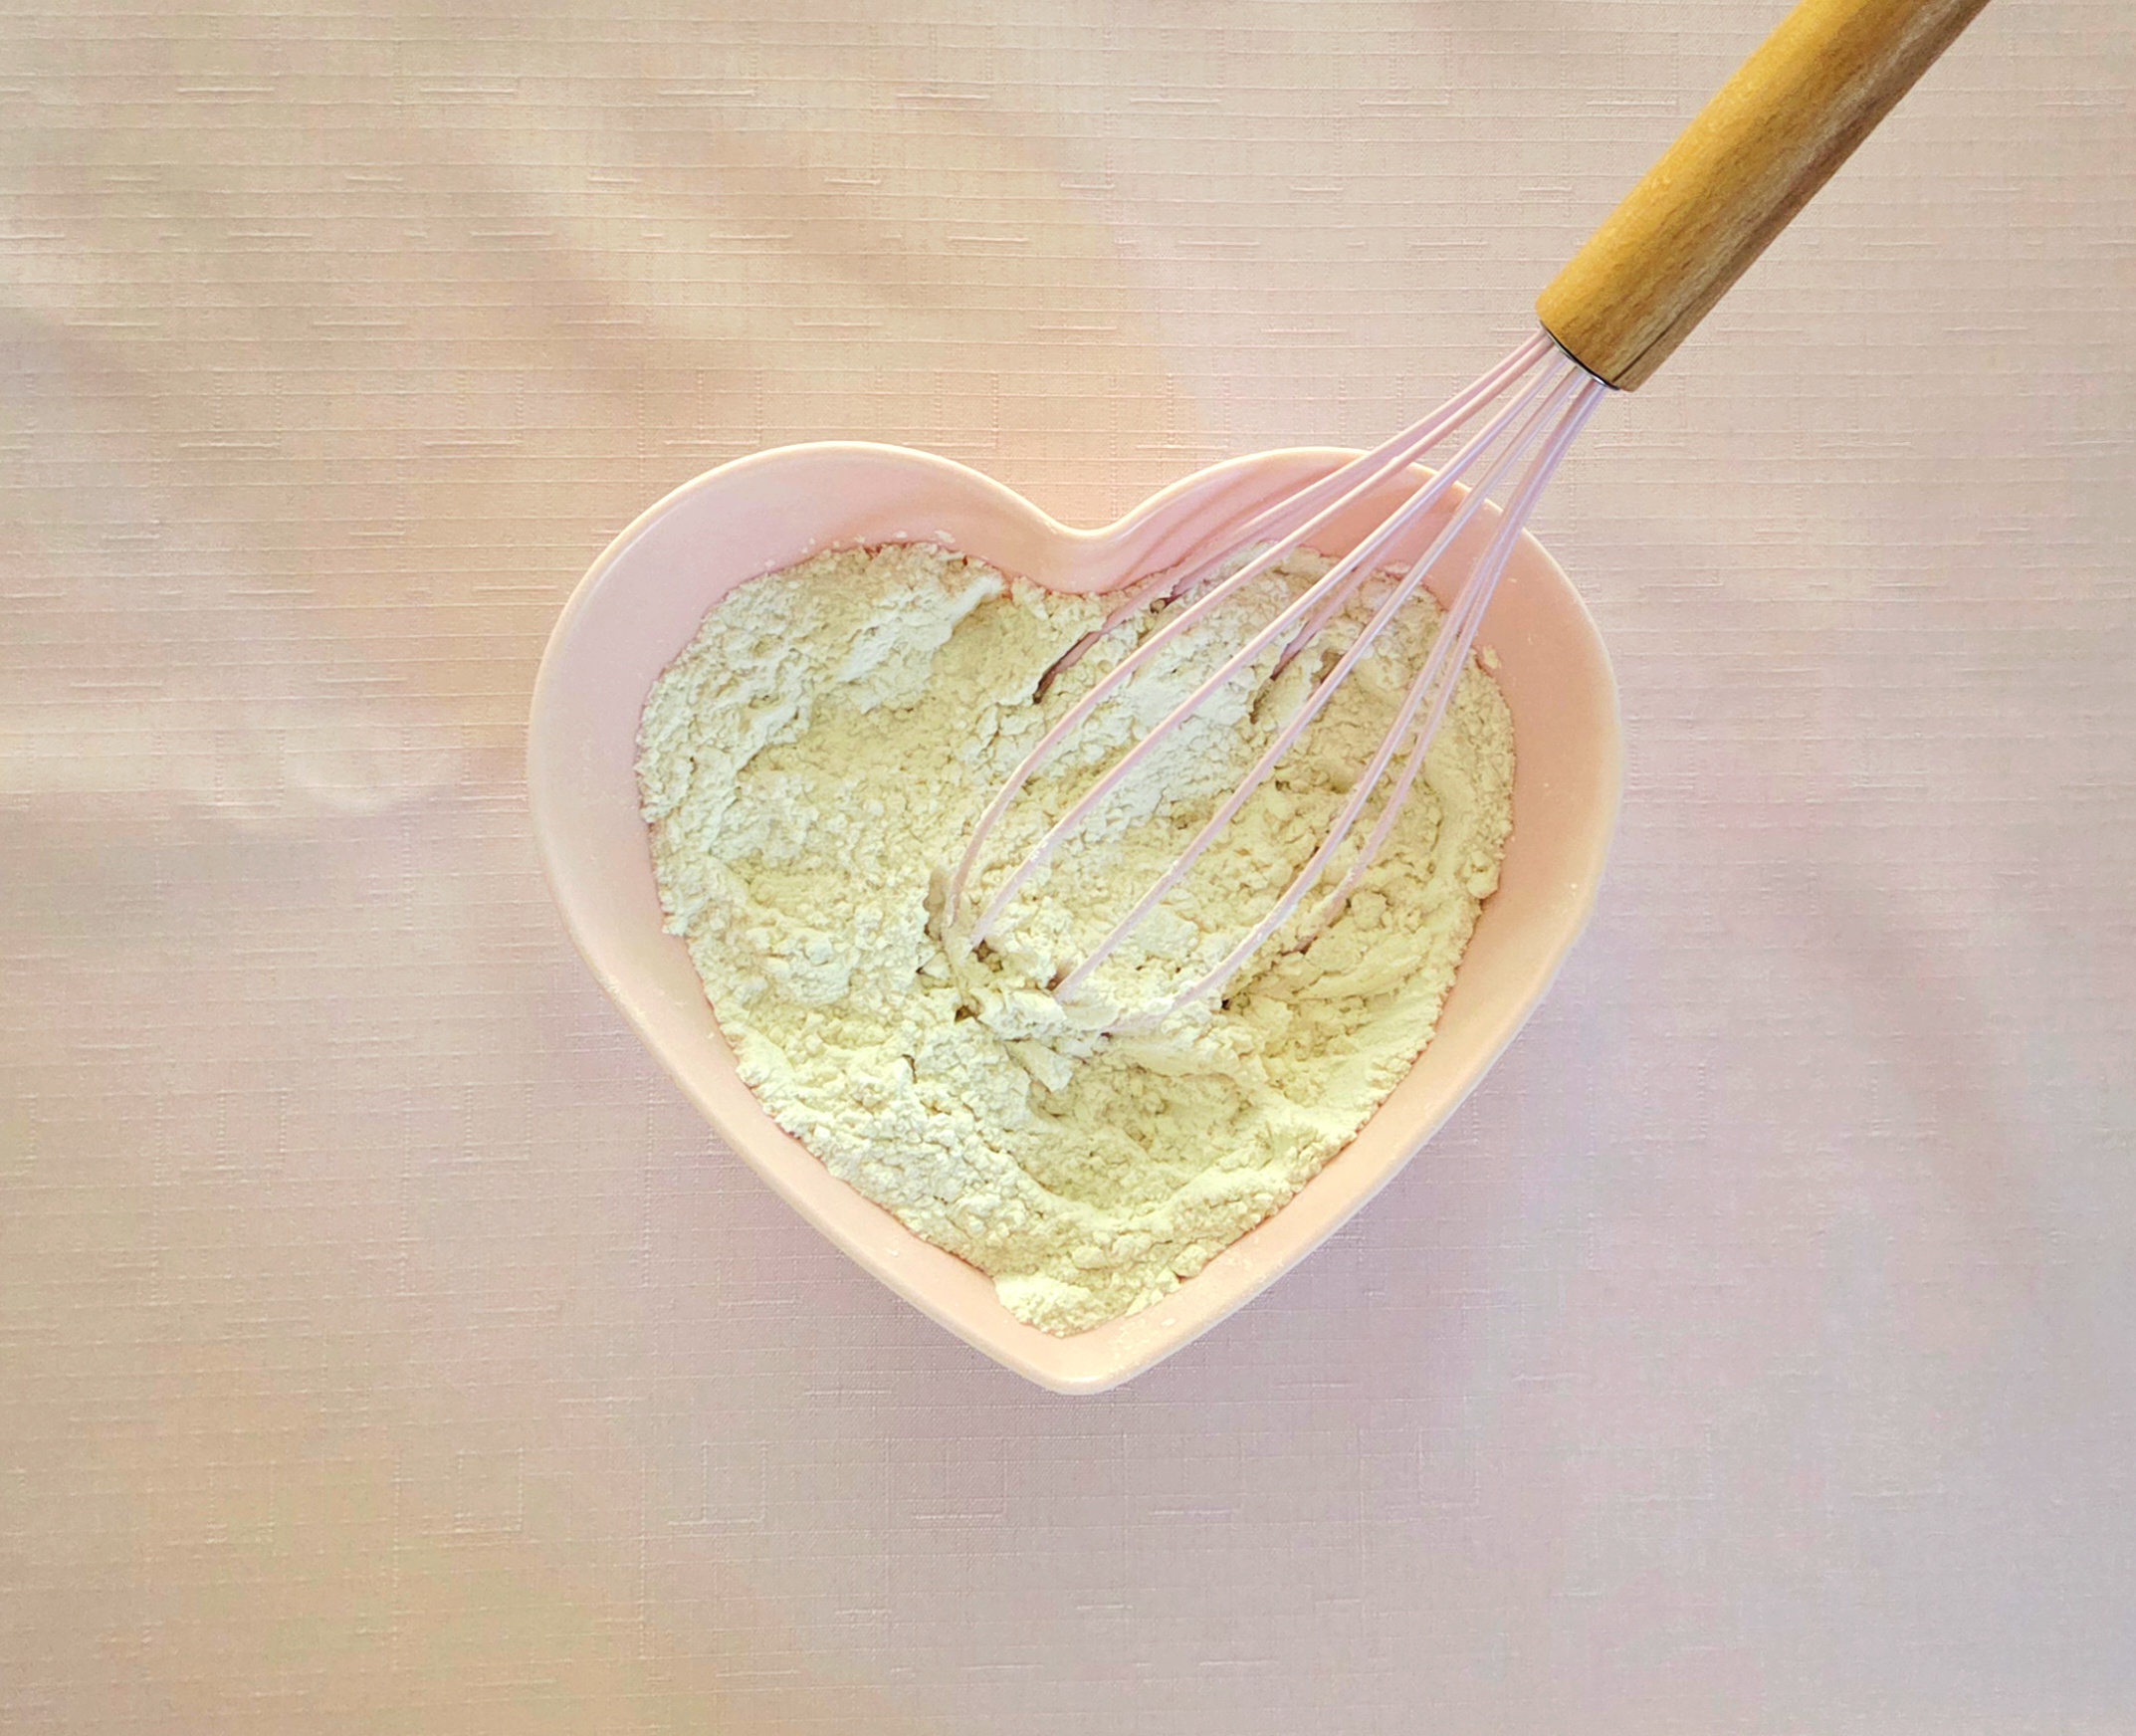
Now, prepare the dry goods. In a small mixing bowl, whisk together the flour and salt. I know it’s tempting to not bother with this step, to just dump them into the dough separately when the time comes. It is worth taking the extra 30 seconds to whisk them together beforehand. Whisking will break up any clumps of flour, and make sure the salt gets evenly distributed. Take the 30 seconds, then set the dry goods aside.
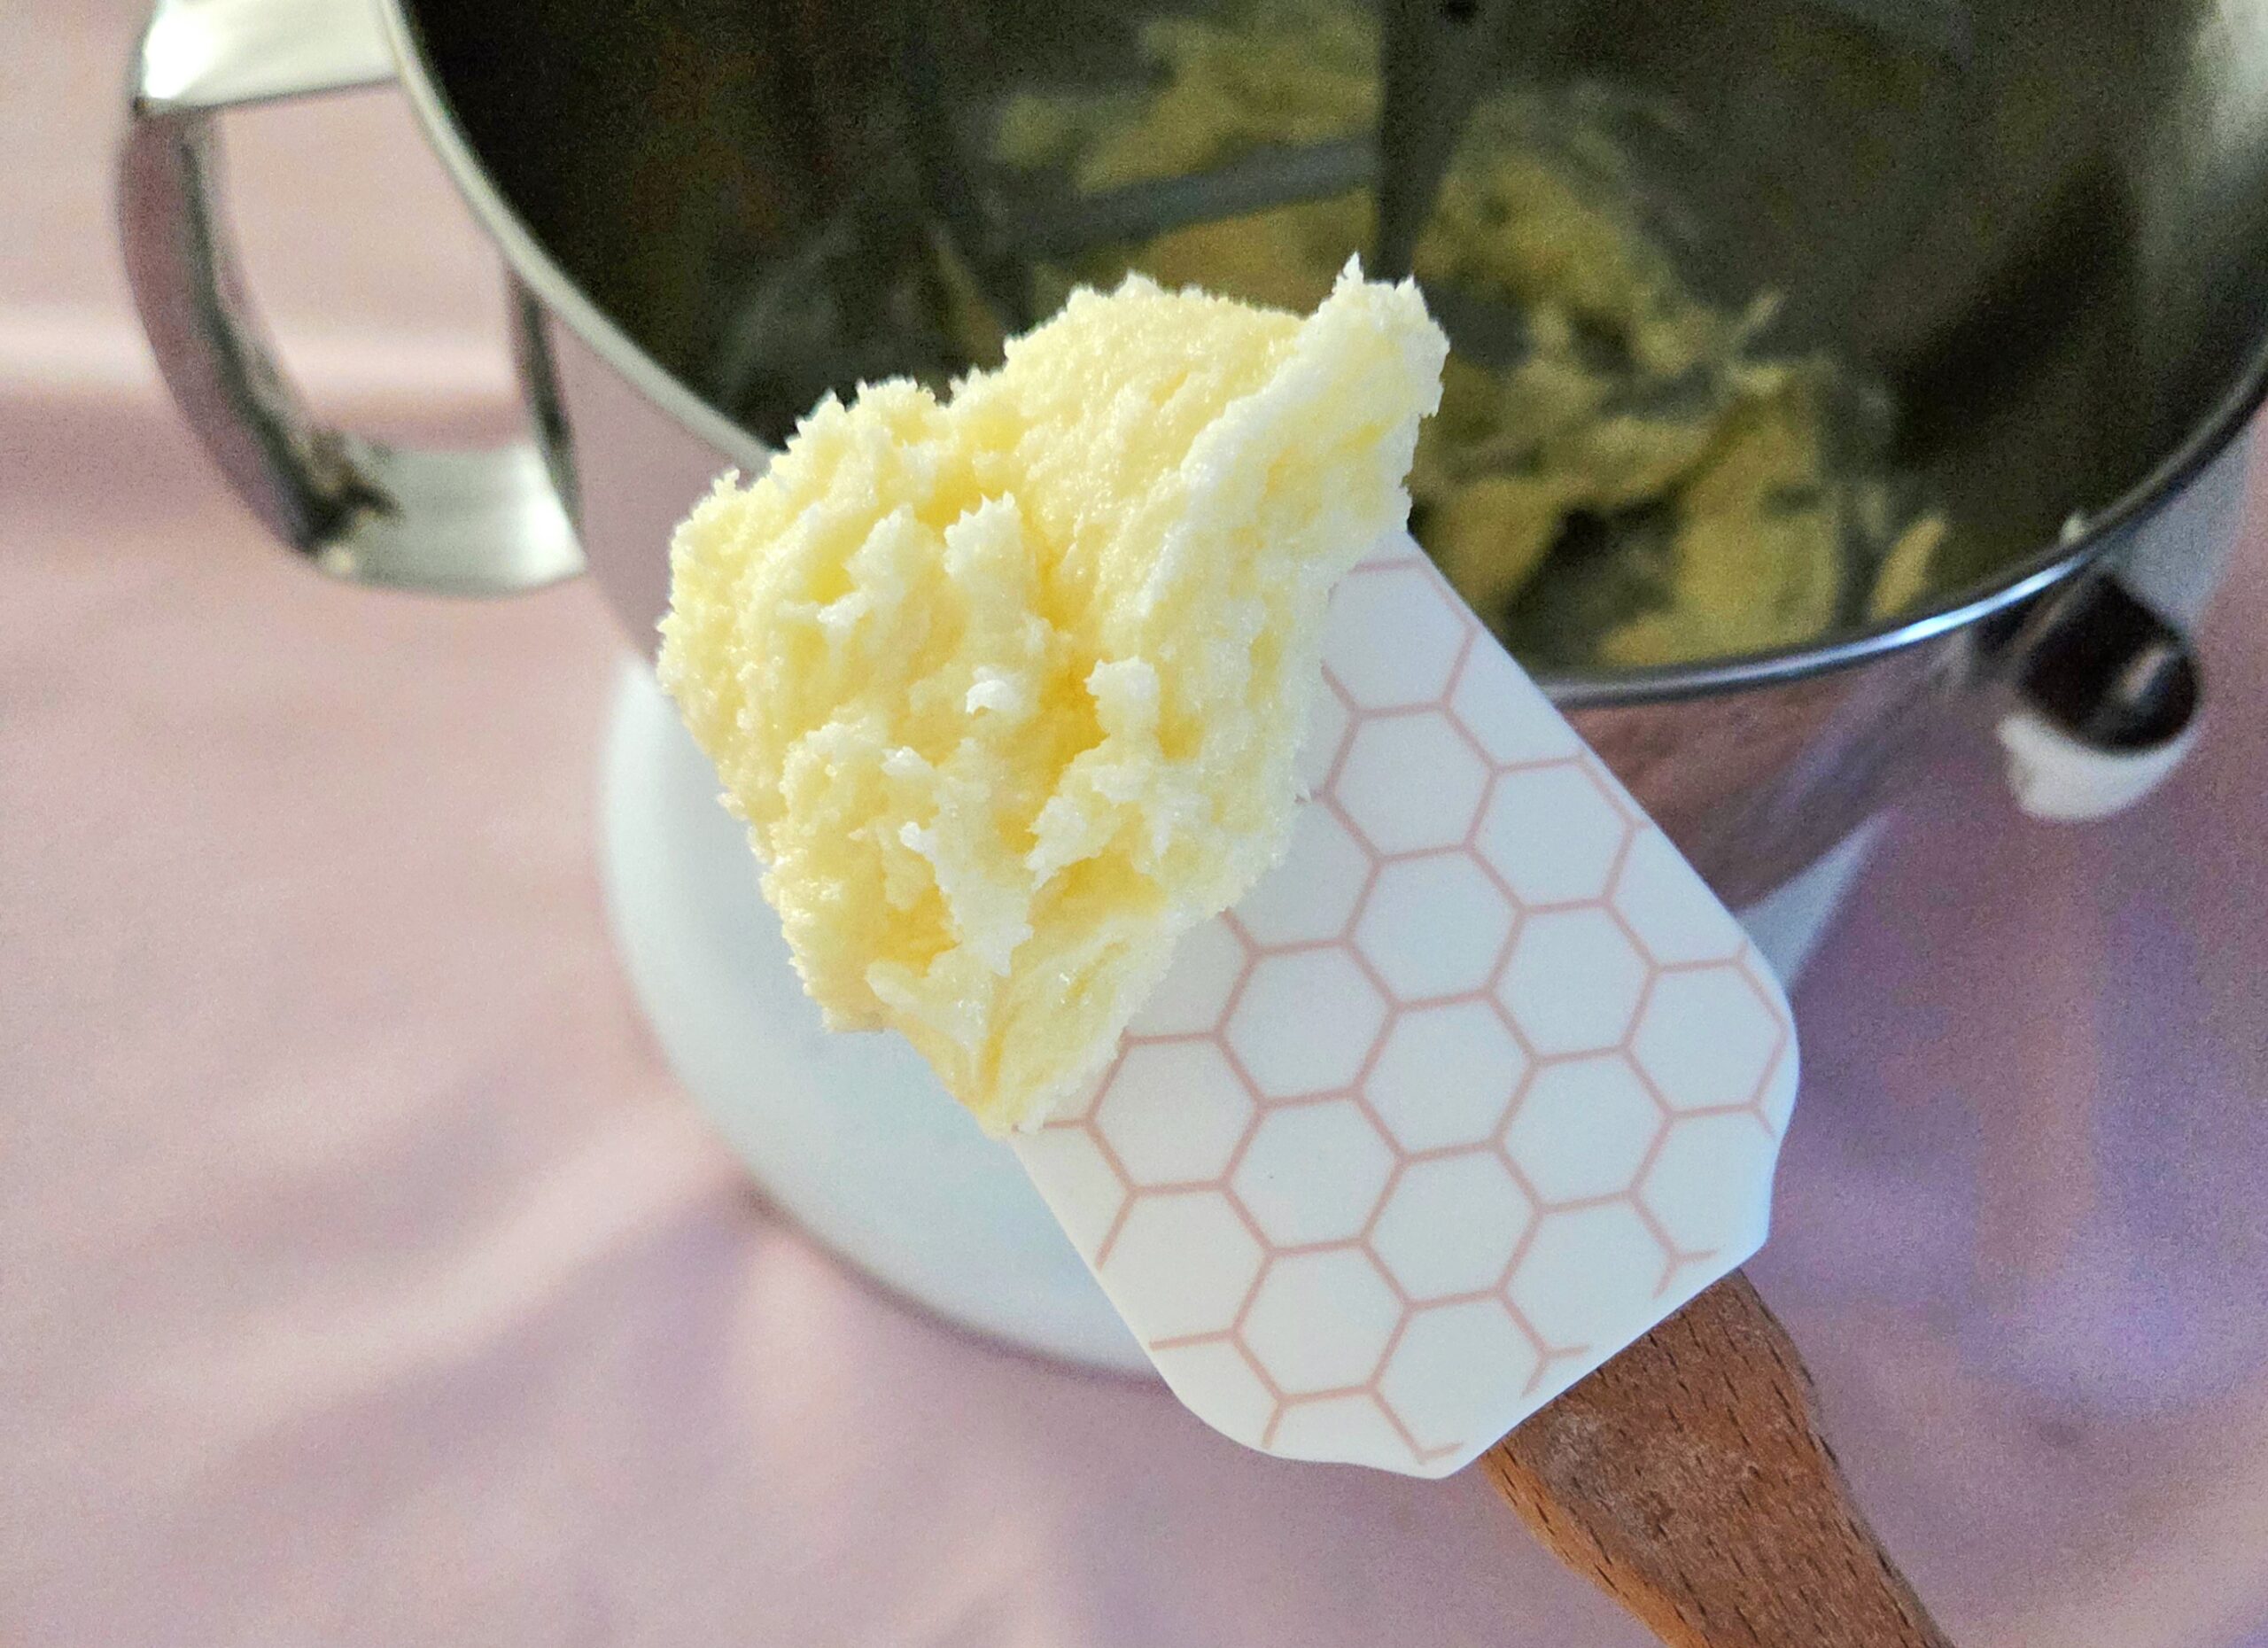
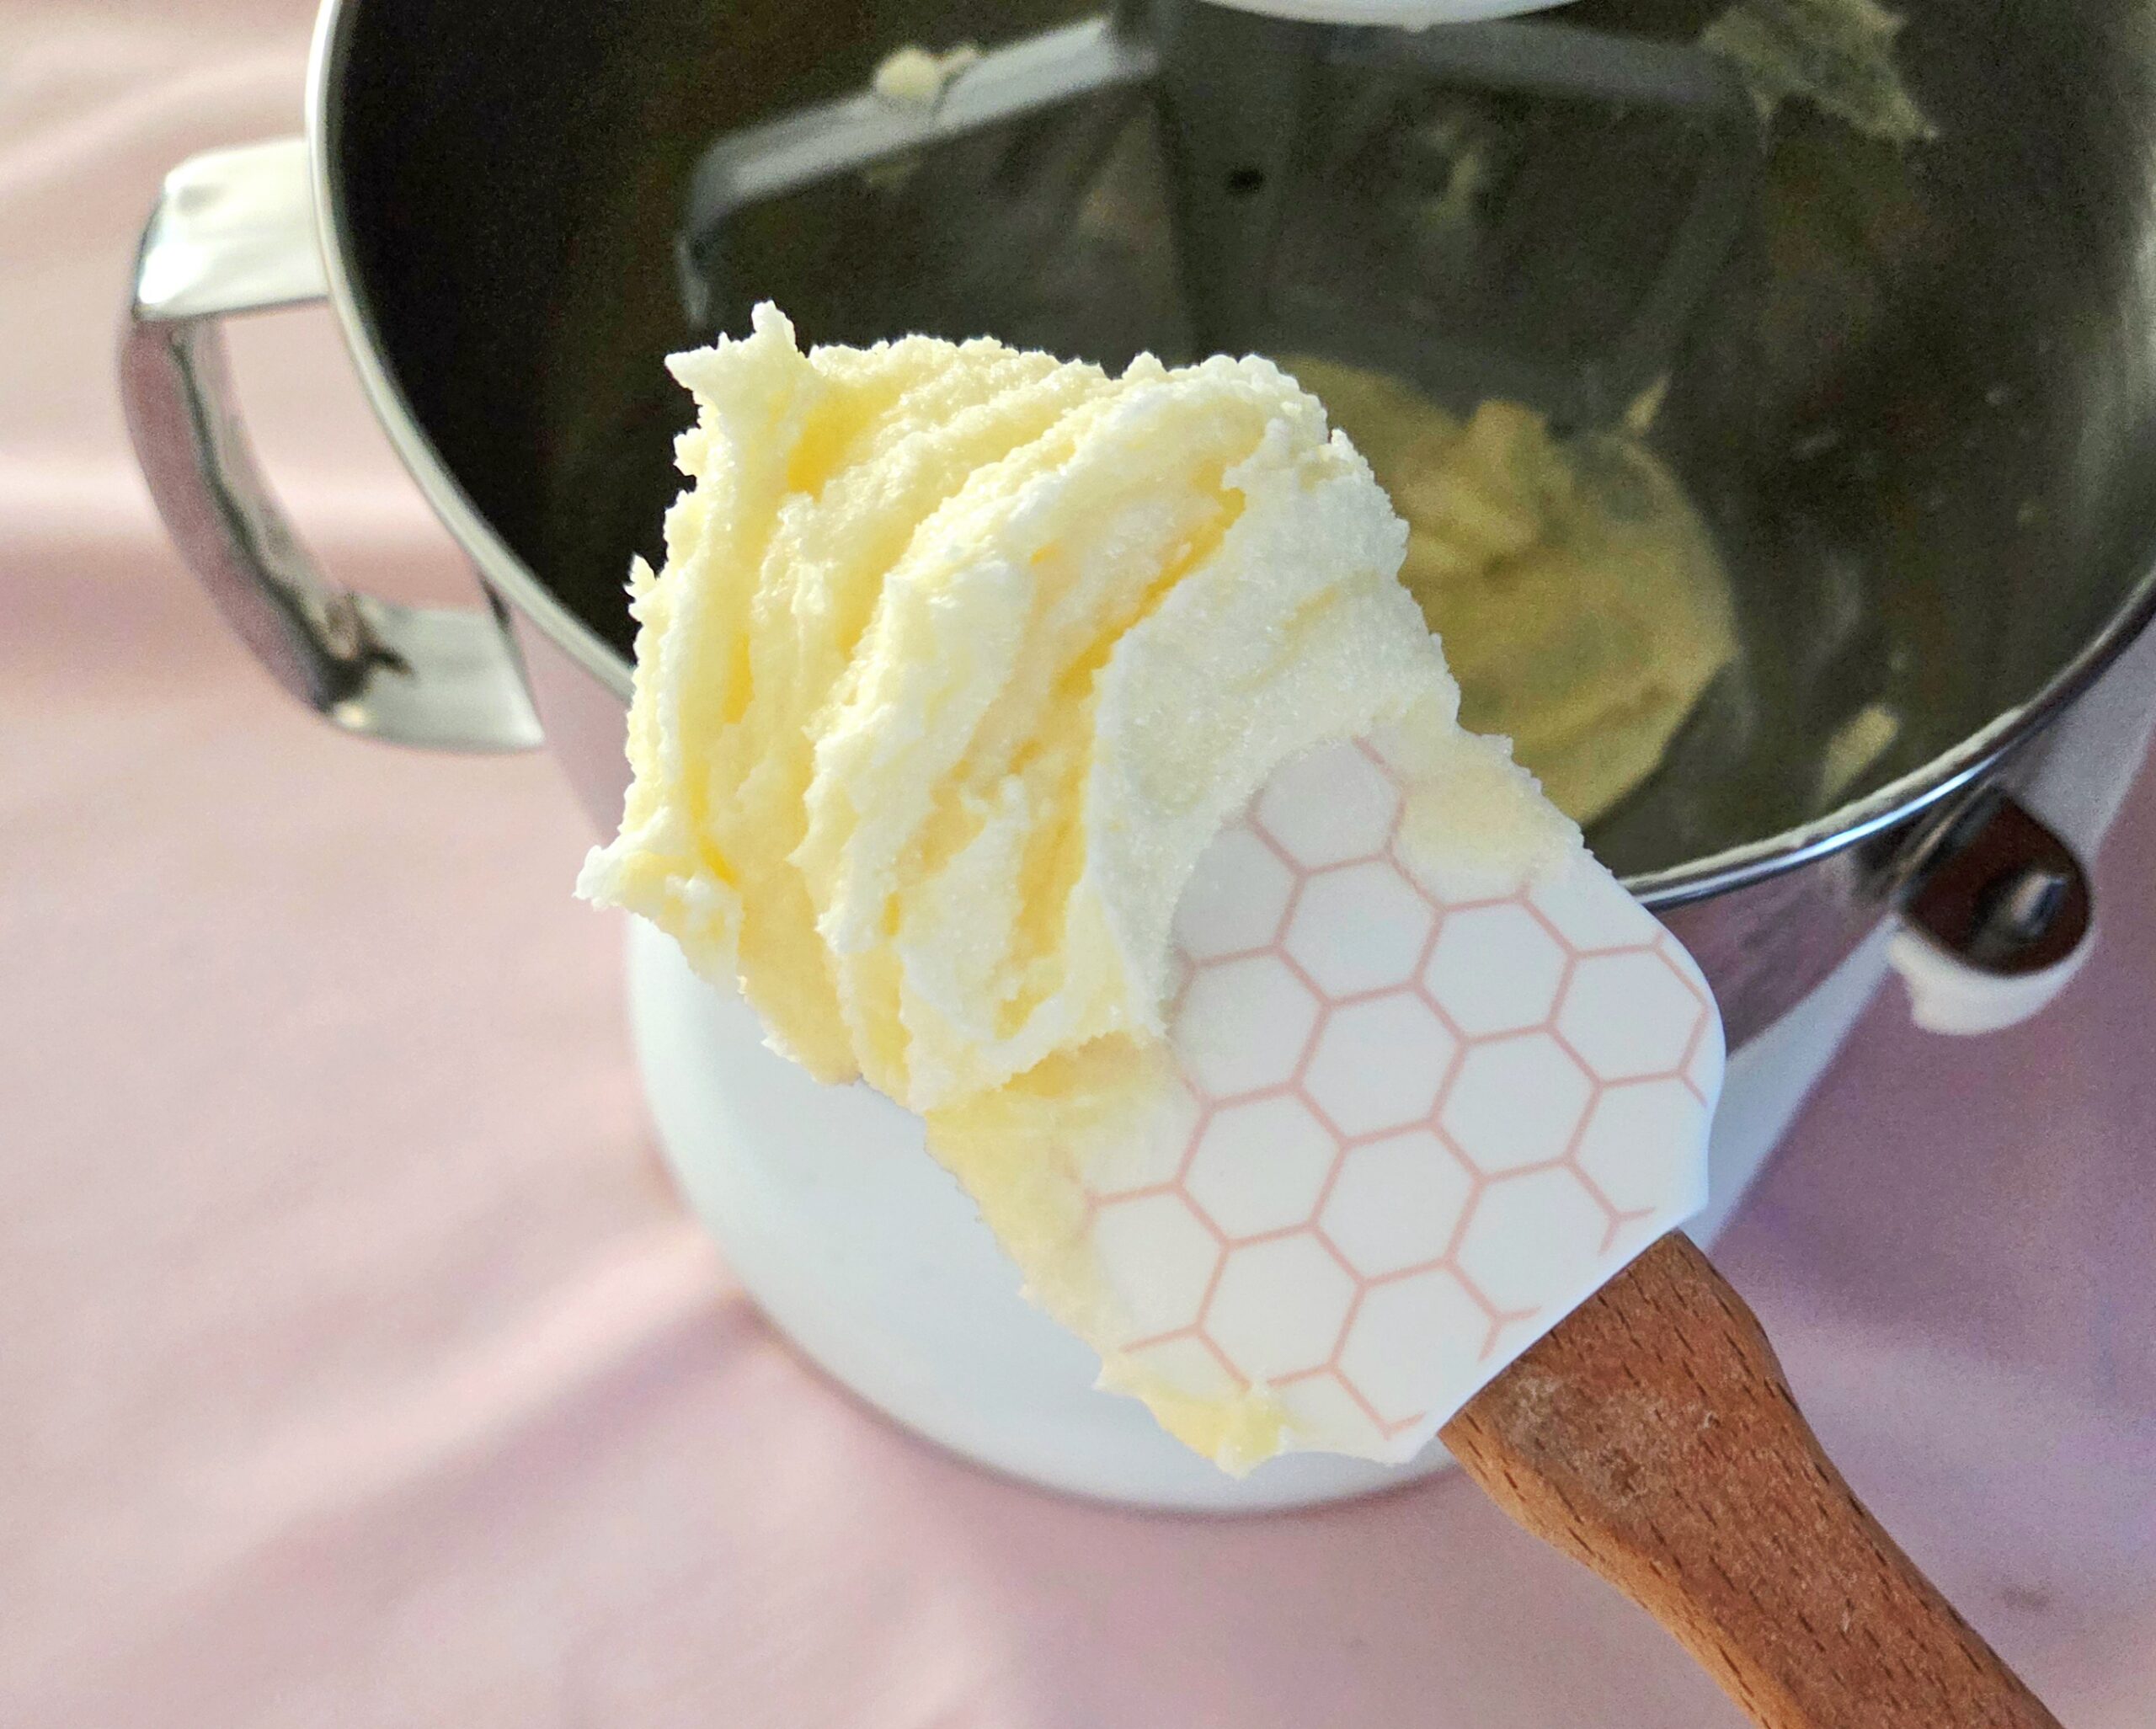
Time to cream the butter. Beat the softened butter, sugar, and vanilla together in a stand mixer fitted with the paddle attachment on level 3 for 4-5 minutes or so. It should go from a butter yellow to almost white with a very fluffy texture.
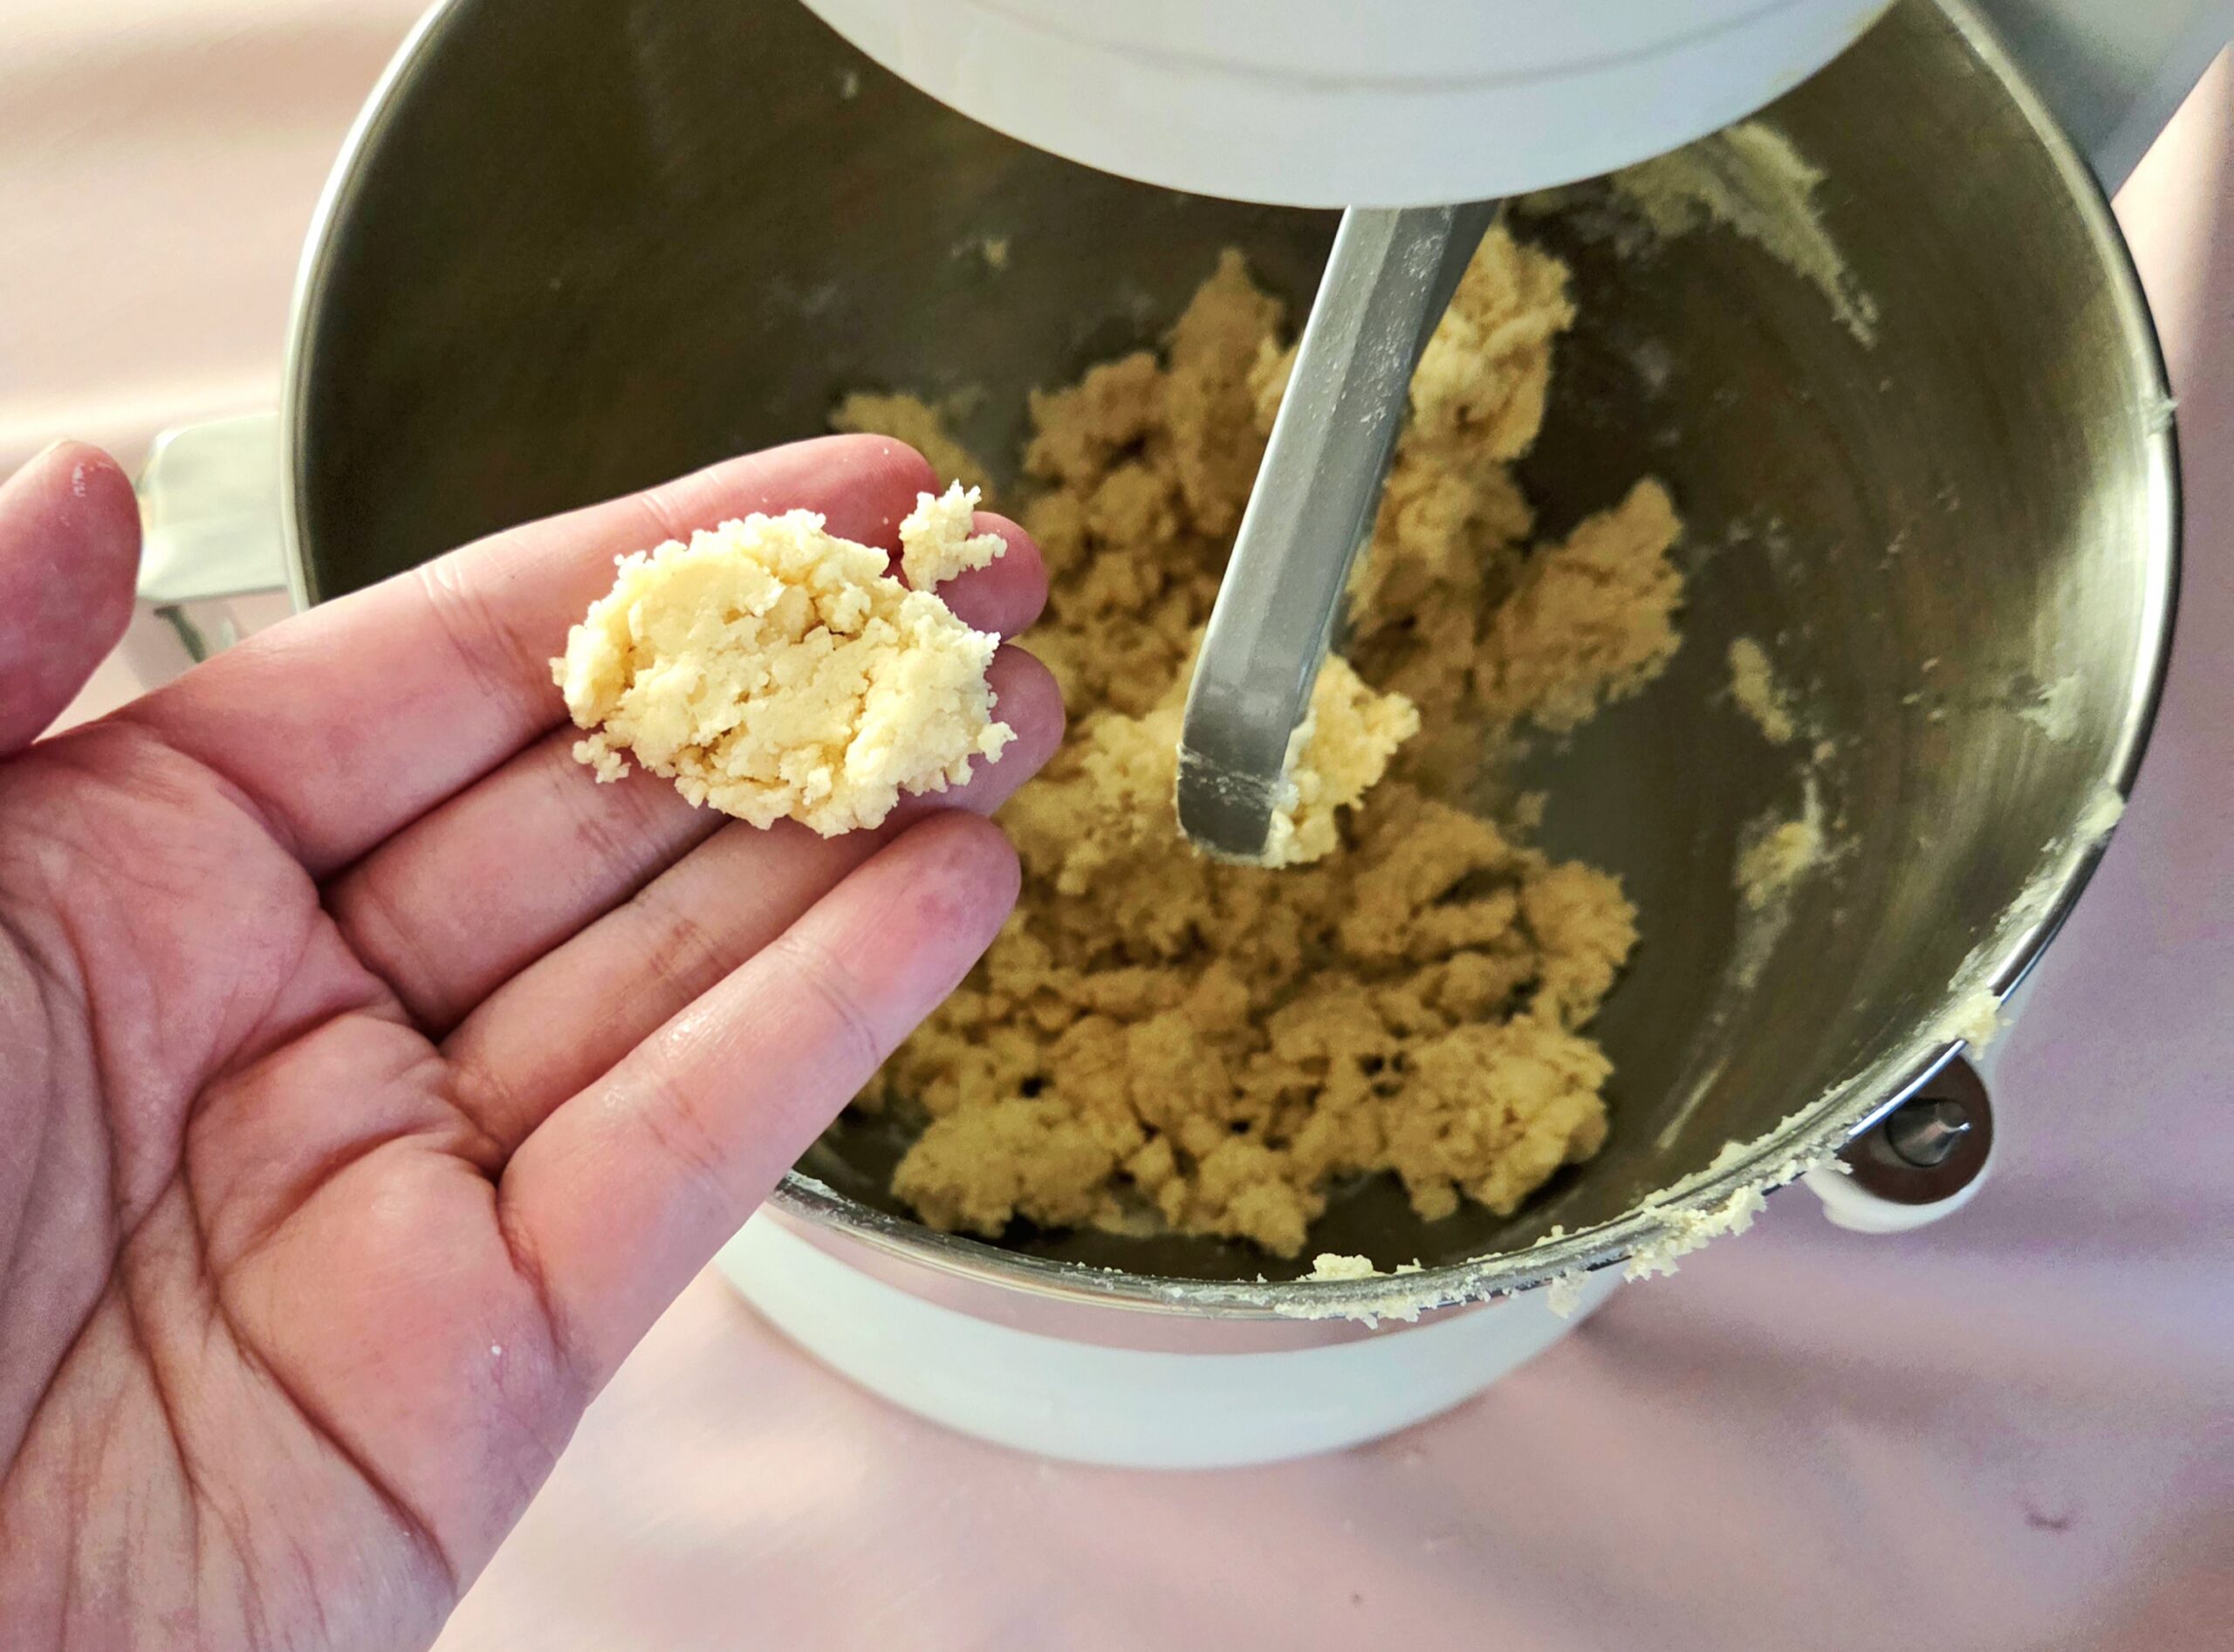
Add in the flour mixture all at once to the creamed butter and beat it on level 1 for 30 seconds. Pause the mixer and pour in the whole milk, then resume on level 1 and beat for an additional minute. Do not keep mixing beyond the point where it all comes together, or you risk over-mixing the dough. Over-mixing leads to developing too much gluten. Too much gluten makes for tough, unpleasant shortbread. No one wants that.
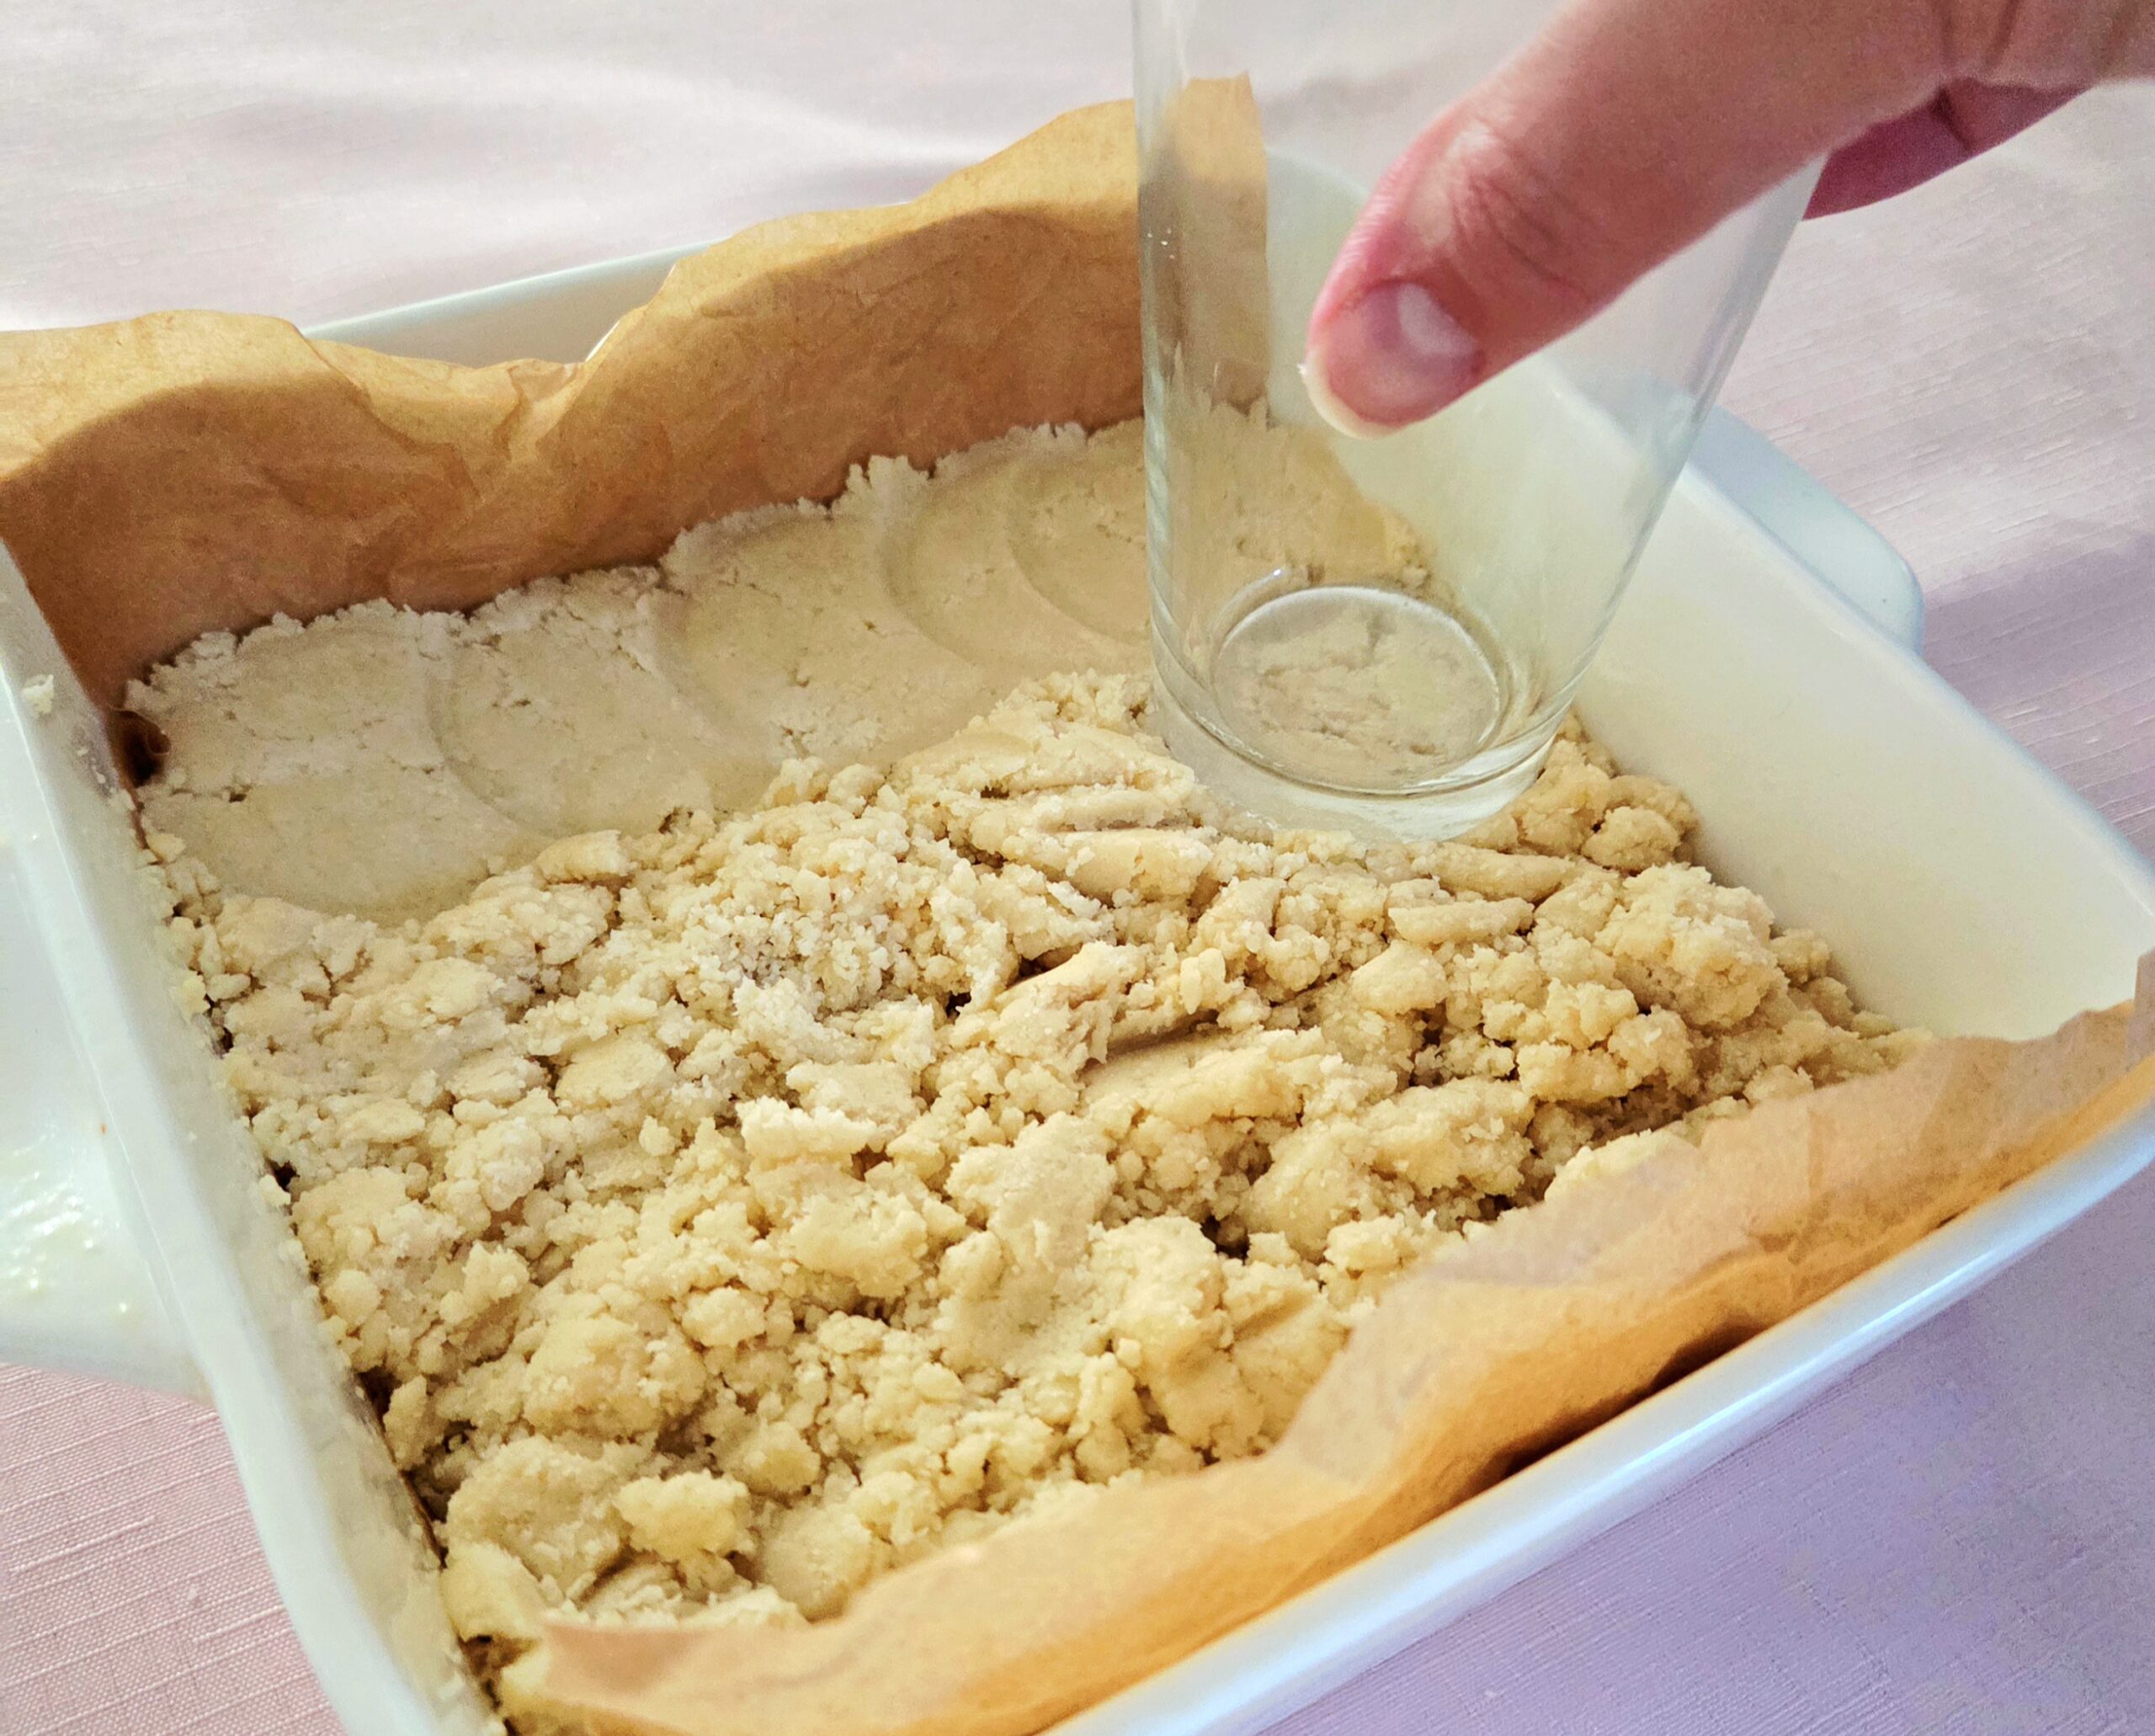
Using a rubber spatula, scrape all of the dough into the lined baking dish. With a flat bottomed glass, firmly press the dough into the bottom of the pan as evenly as you can.
Take a fork and prick all over the crust, straight to the bottom of the dish. Docking the shortbread like this ensures even baking, as it allows an escape hatch for the steam from the butter.
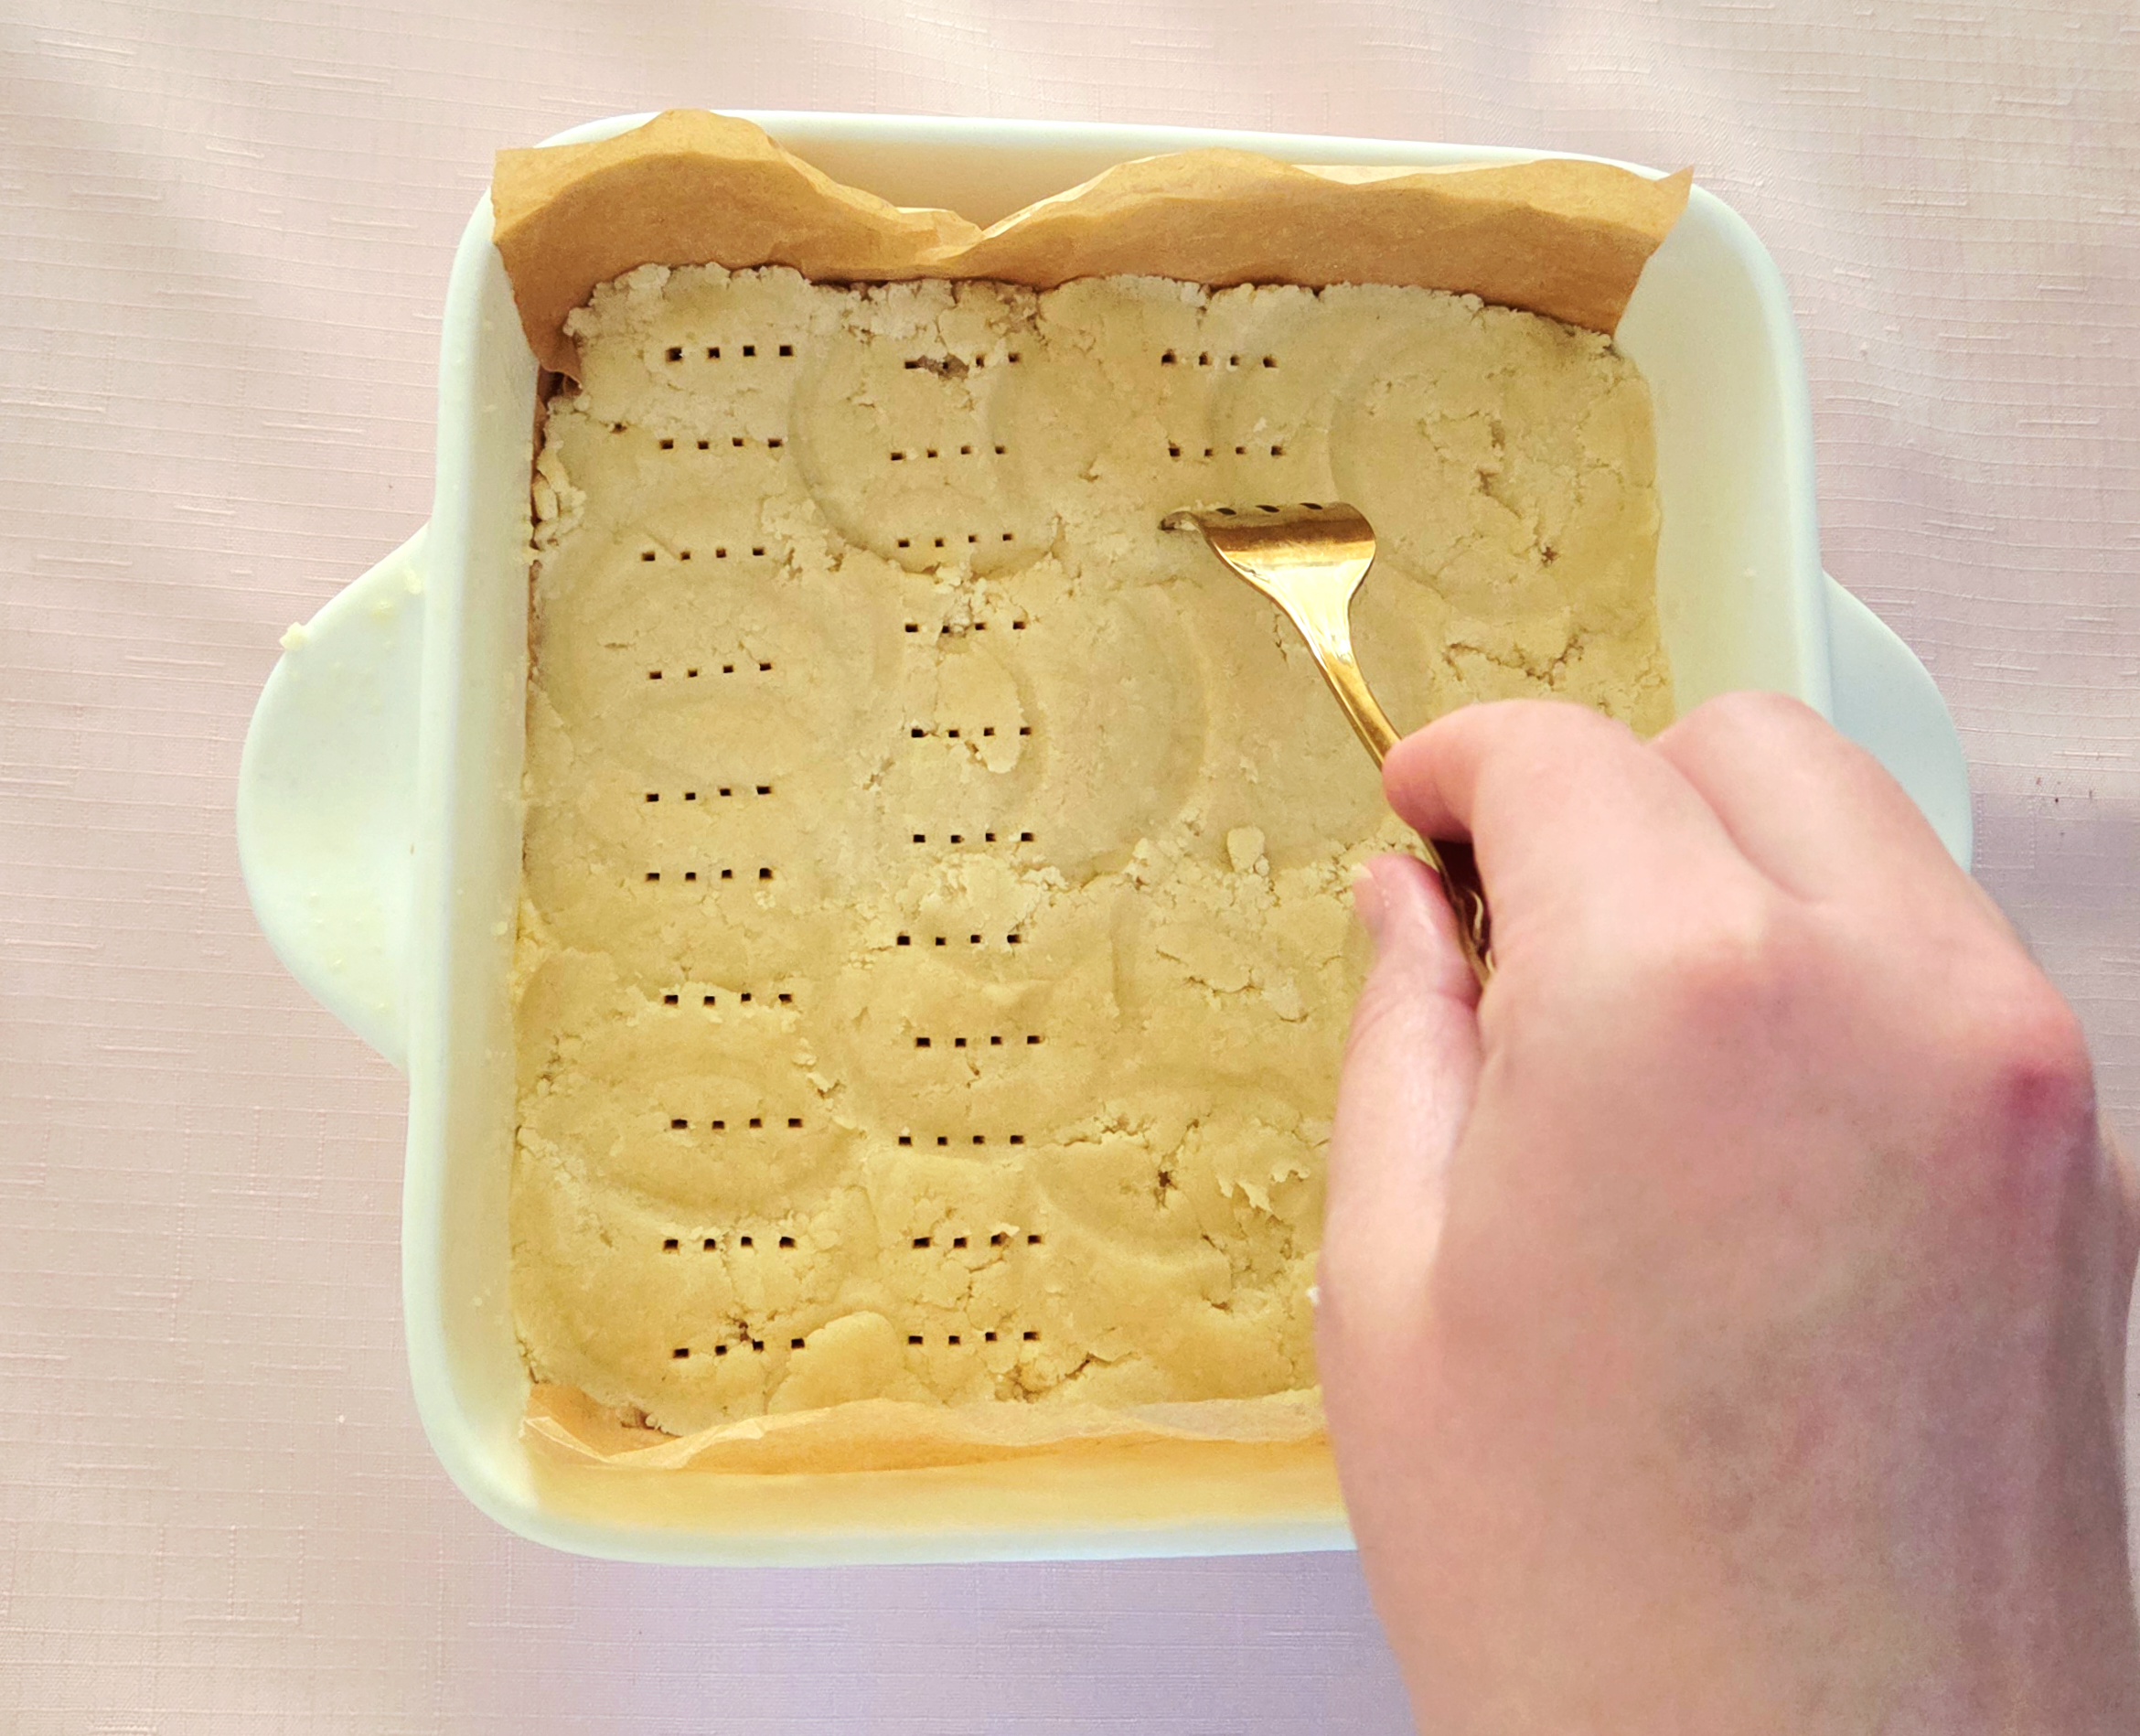
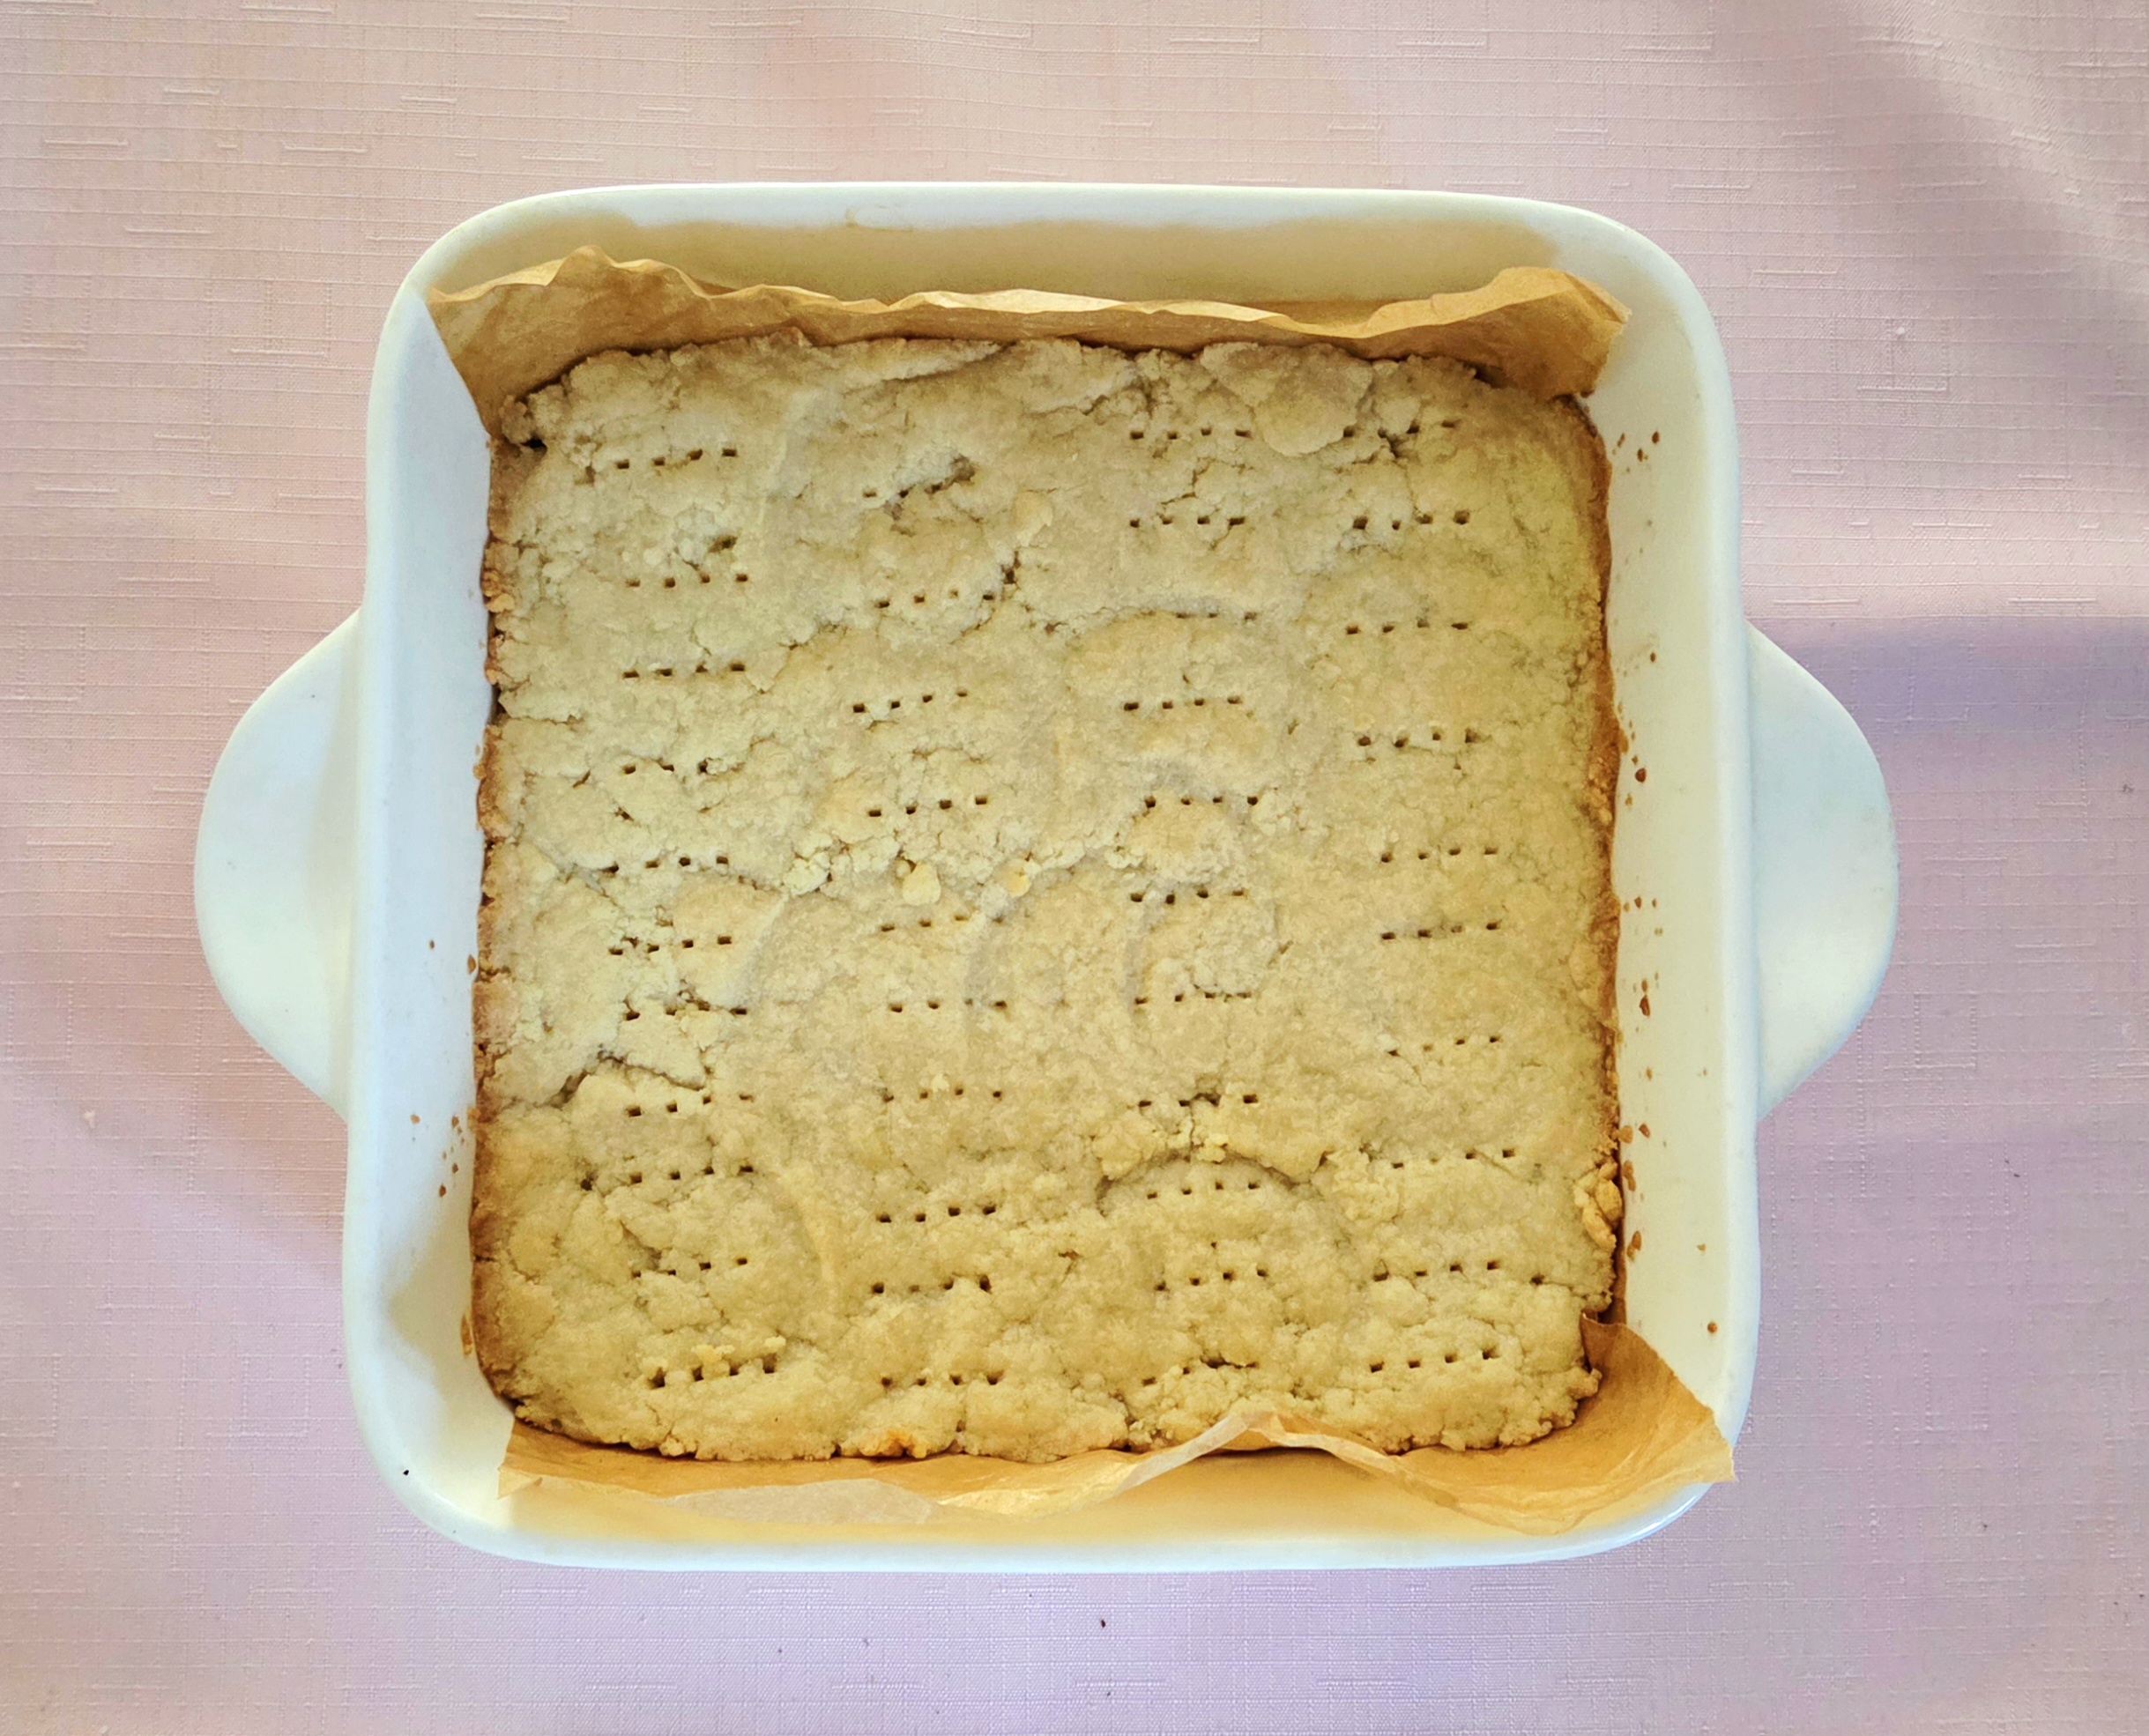
Par-bake the crust for 25 minutes on the center rack of the oven, flipping the pan halfway through. Doing this partial bake will make sure that by the end, the bottom crust has baked all the way through without over-baking the filling in the process. Set the crust aside.
Make the Filling
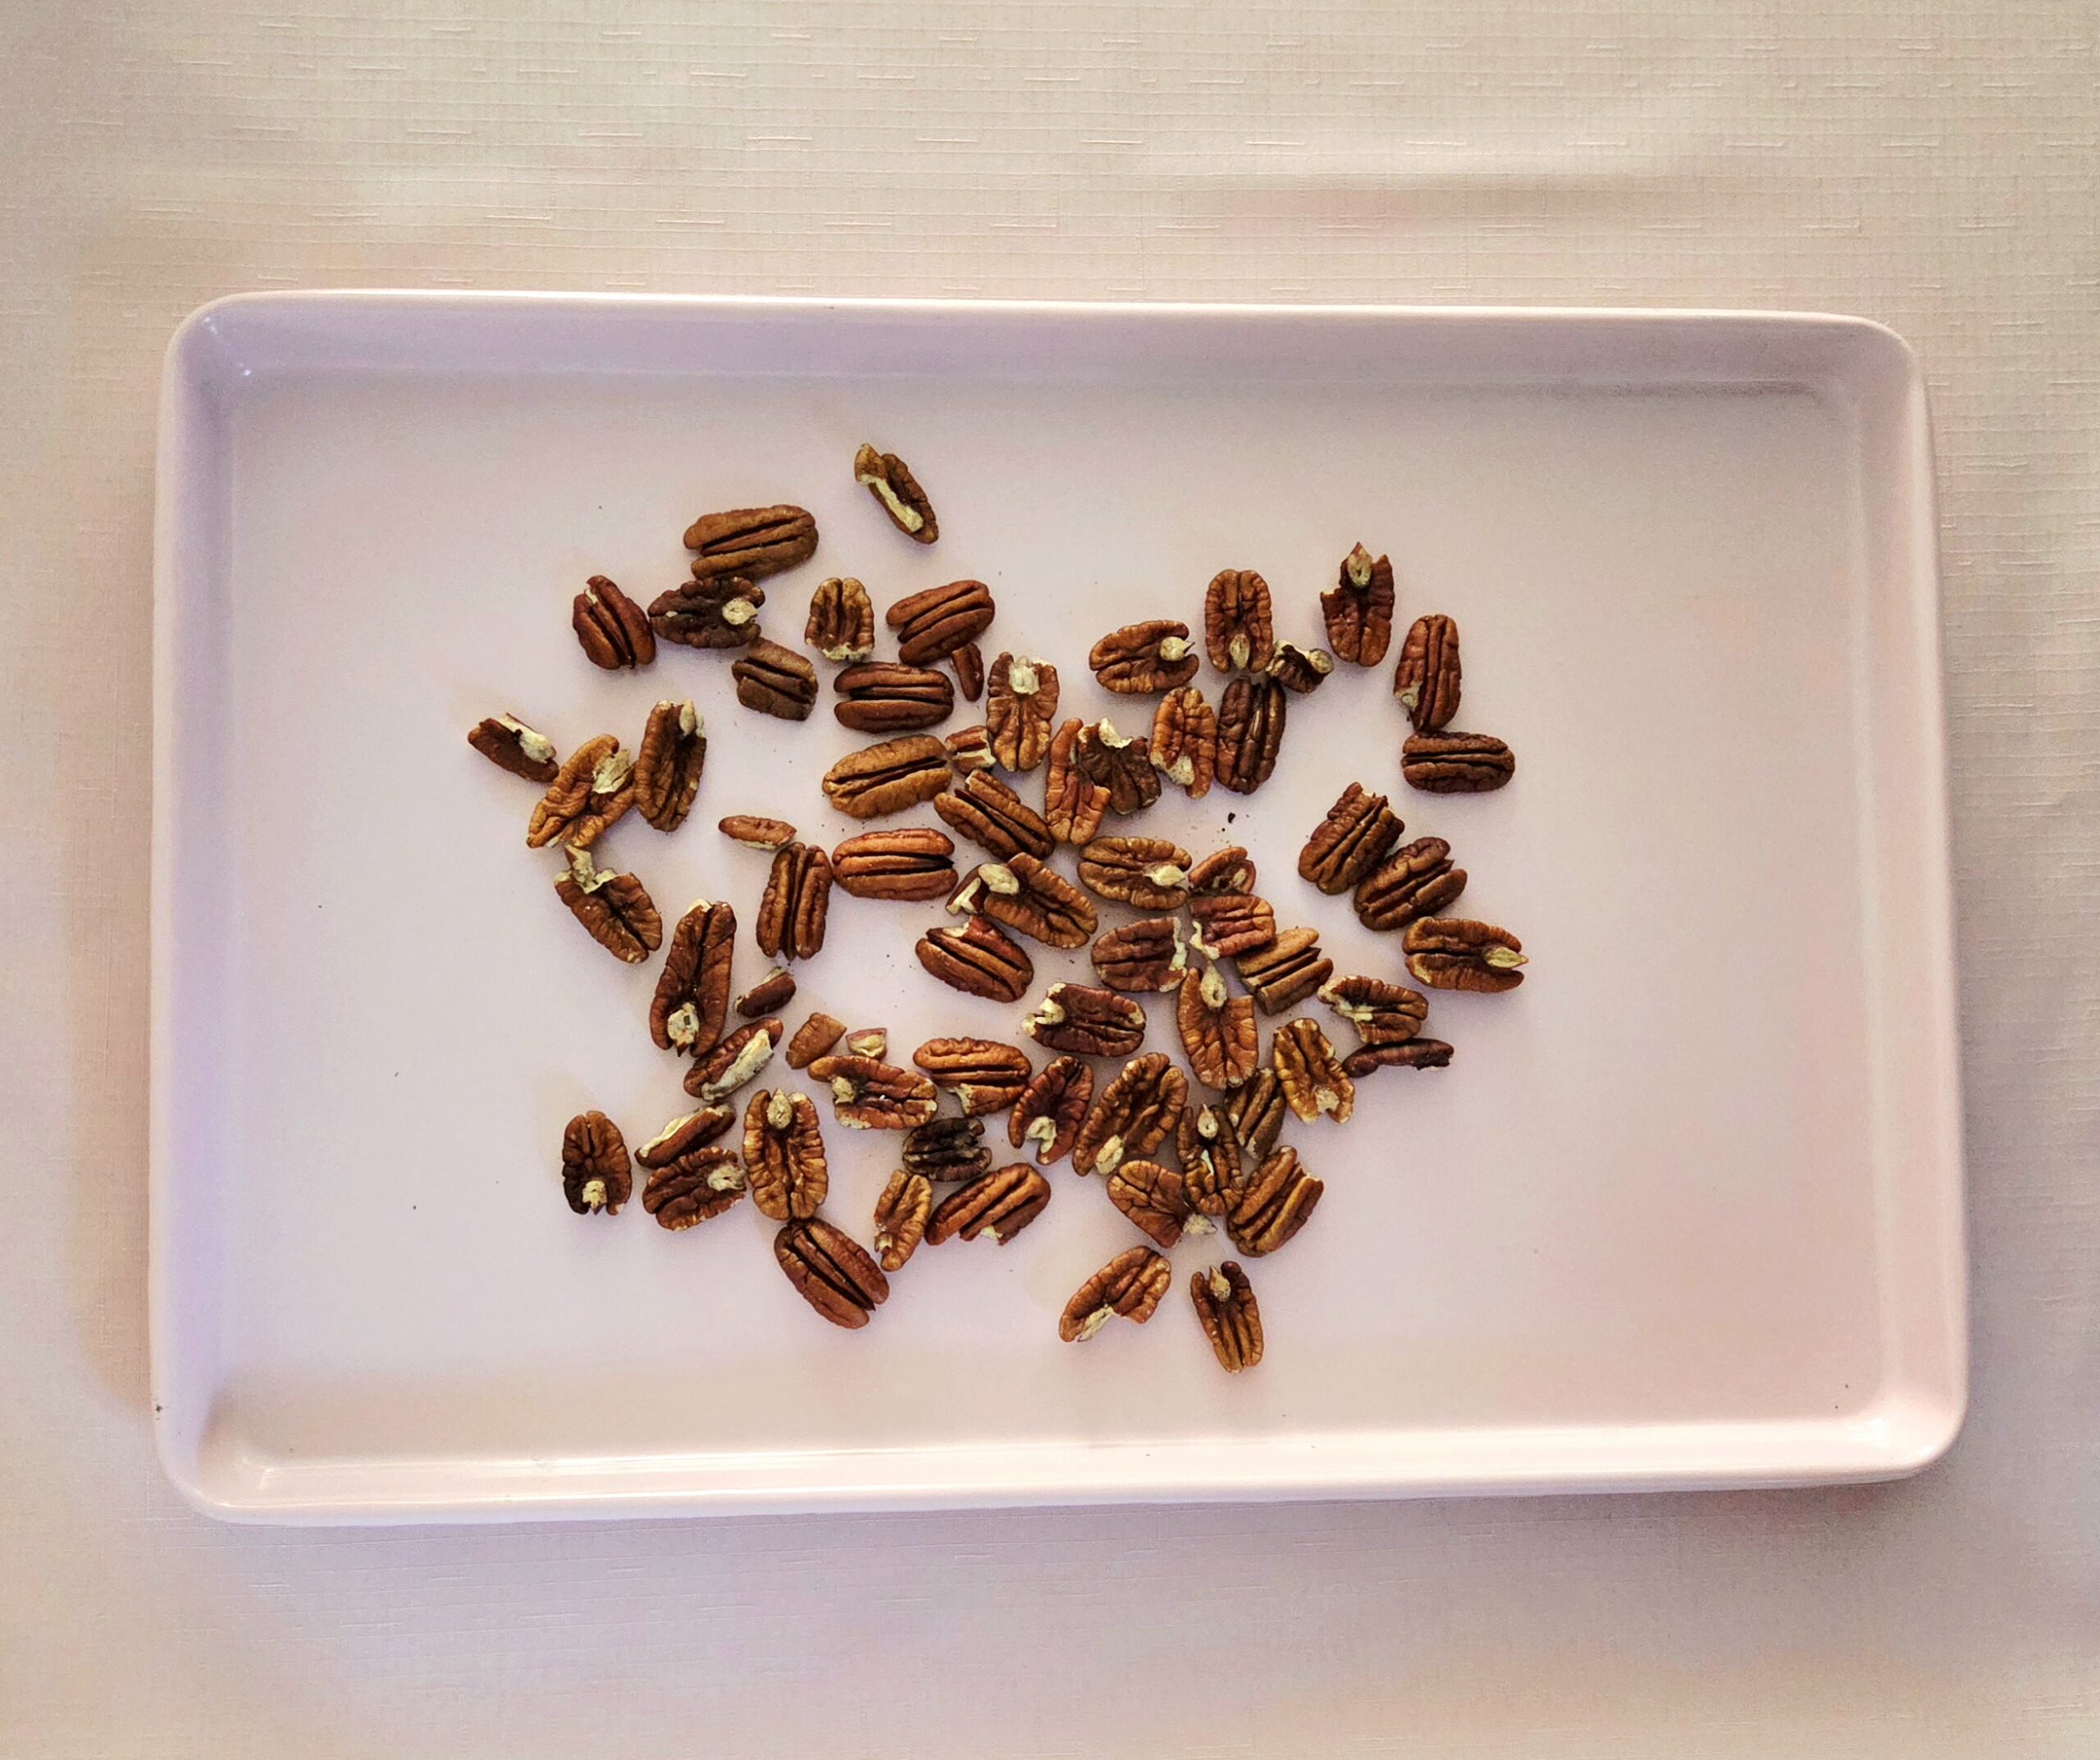
As the crust bakes, begin working on the filling. Spread the pecans out on a baking sheet and bake them at 350F for 8-10 minutes, or until they’re fragrant and the inside is a toasty golden brown. Pre-toasting the pecans draws the natural oils from the nuts, intensifying their flavor in the bars. Transfer the hot nuts onto a cutting board to cool while you prepare the rest of the filling.
In a large, heat-safe mixing bowl, melt the butter in the microwave. I like to do this in 30 second intervals, swirling it around in between sessions, then let the residual heat melt the remaining last solid bit. That way it wont explode in the microwave, and wont be too hot when everything else gets thrown in. Add the brown sugar, granulated sugar, corn syrup, egg, yolk, vanilla, and salt, then whisk until they become one homogeneous mixture. Set this bowl aside.
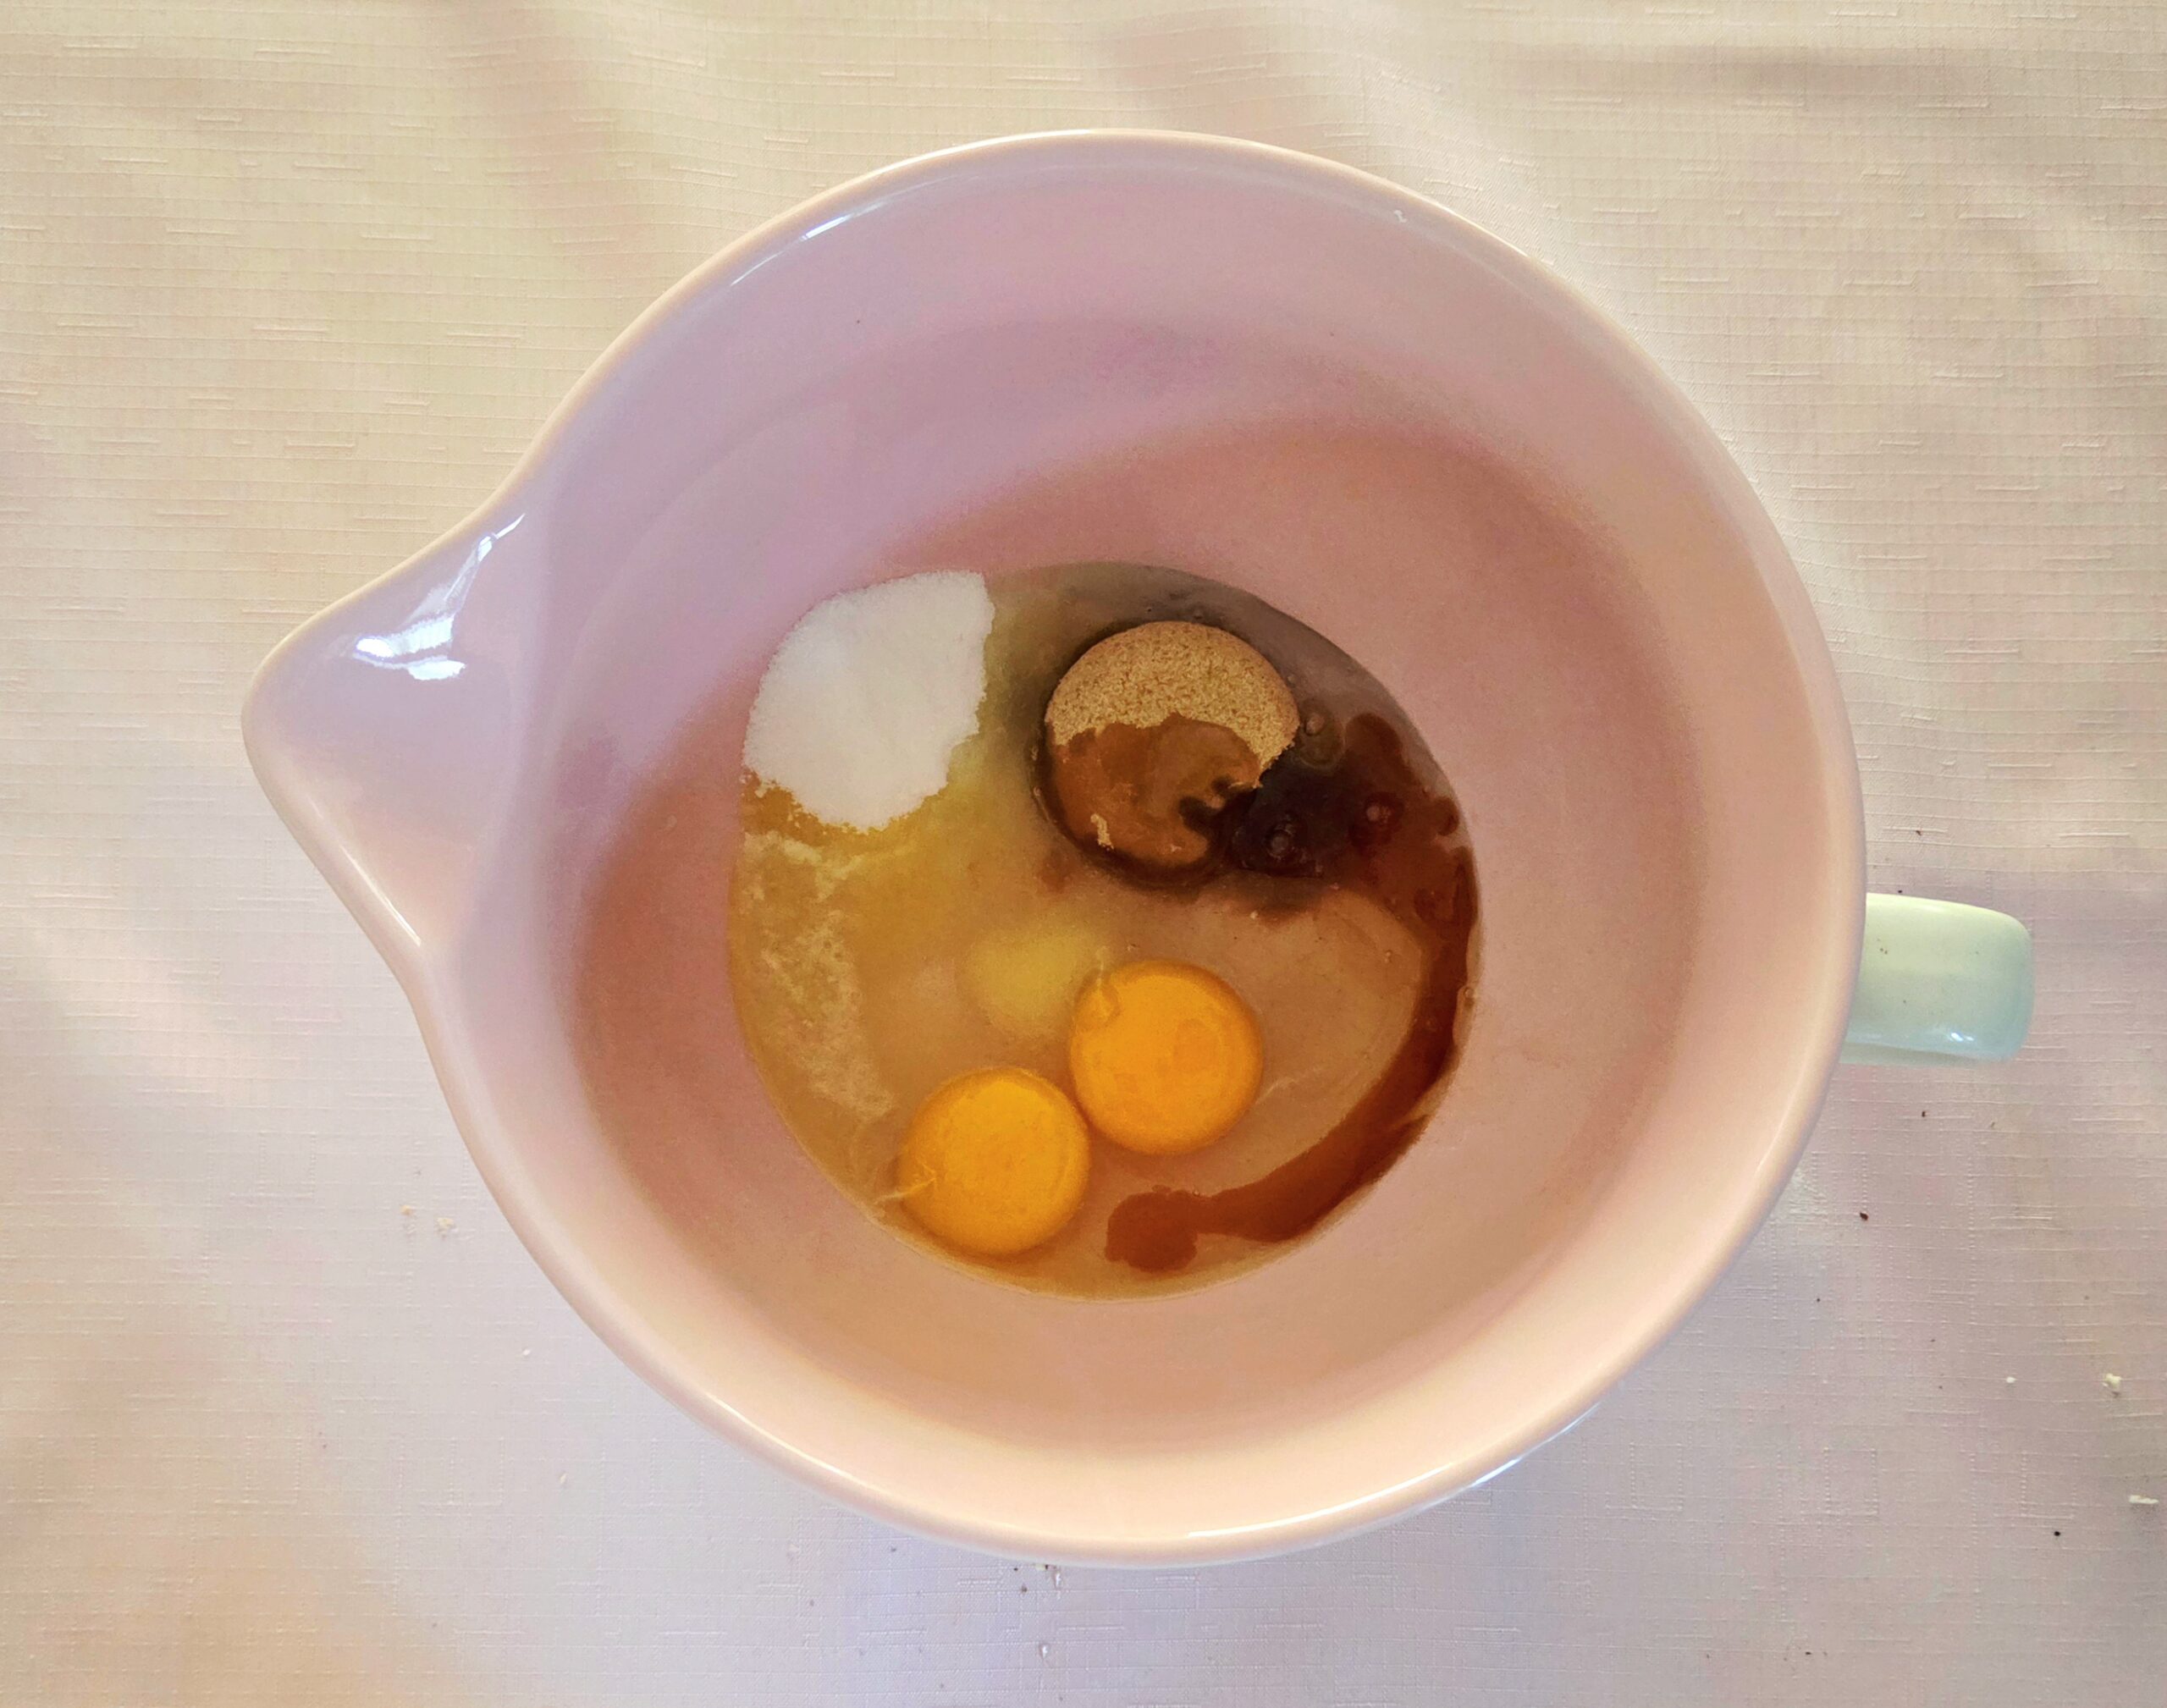
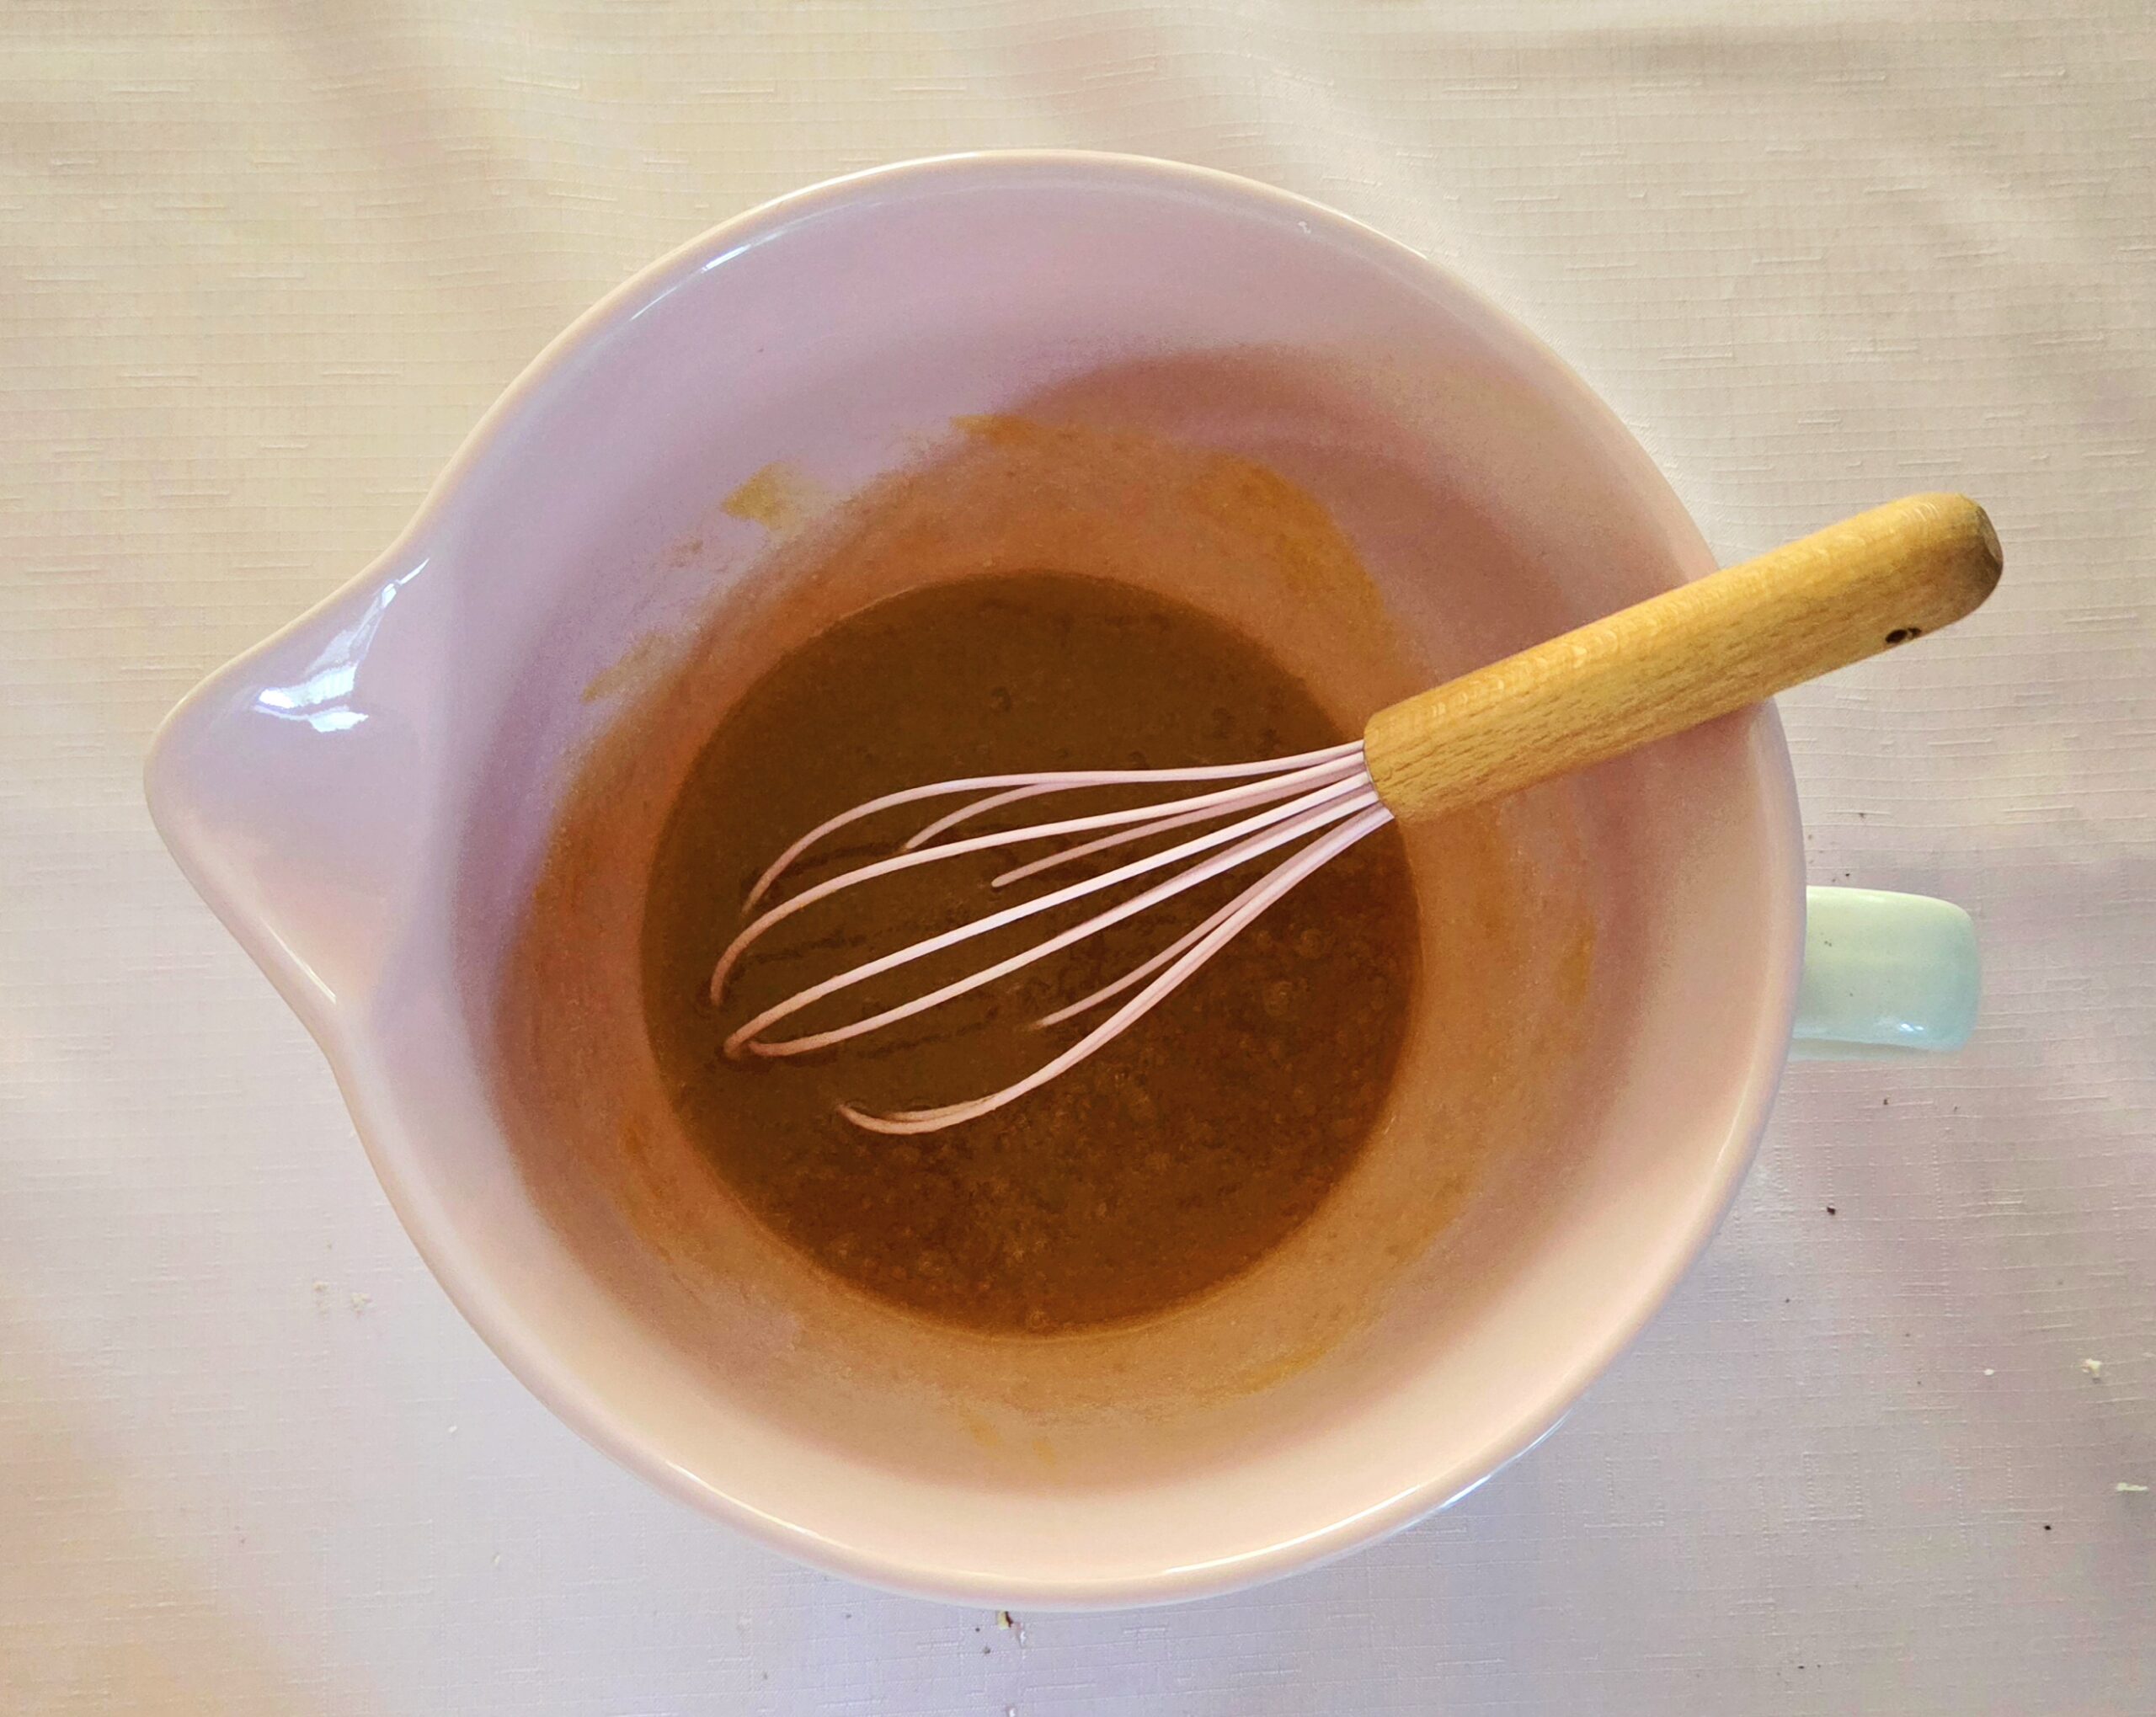
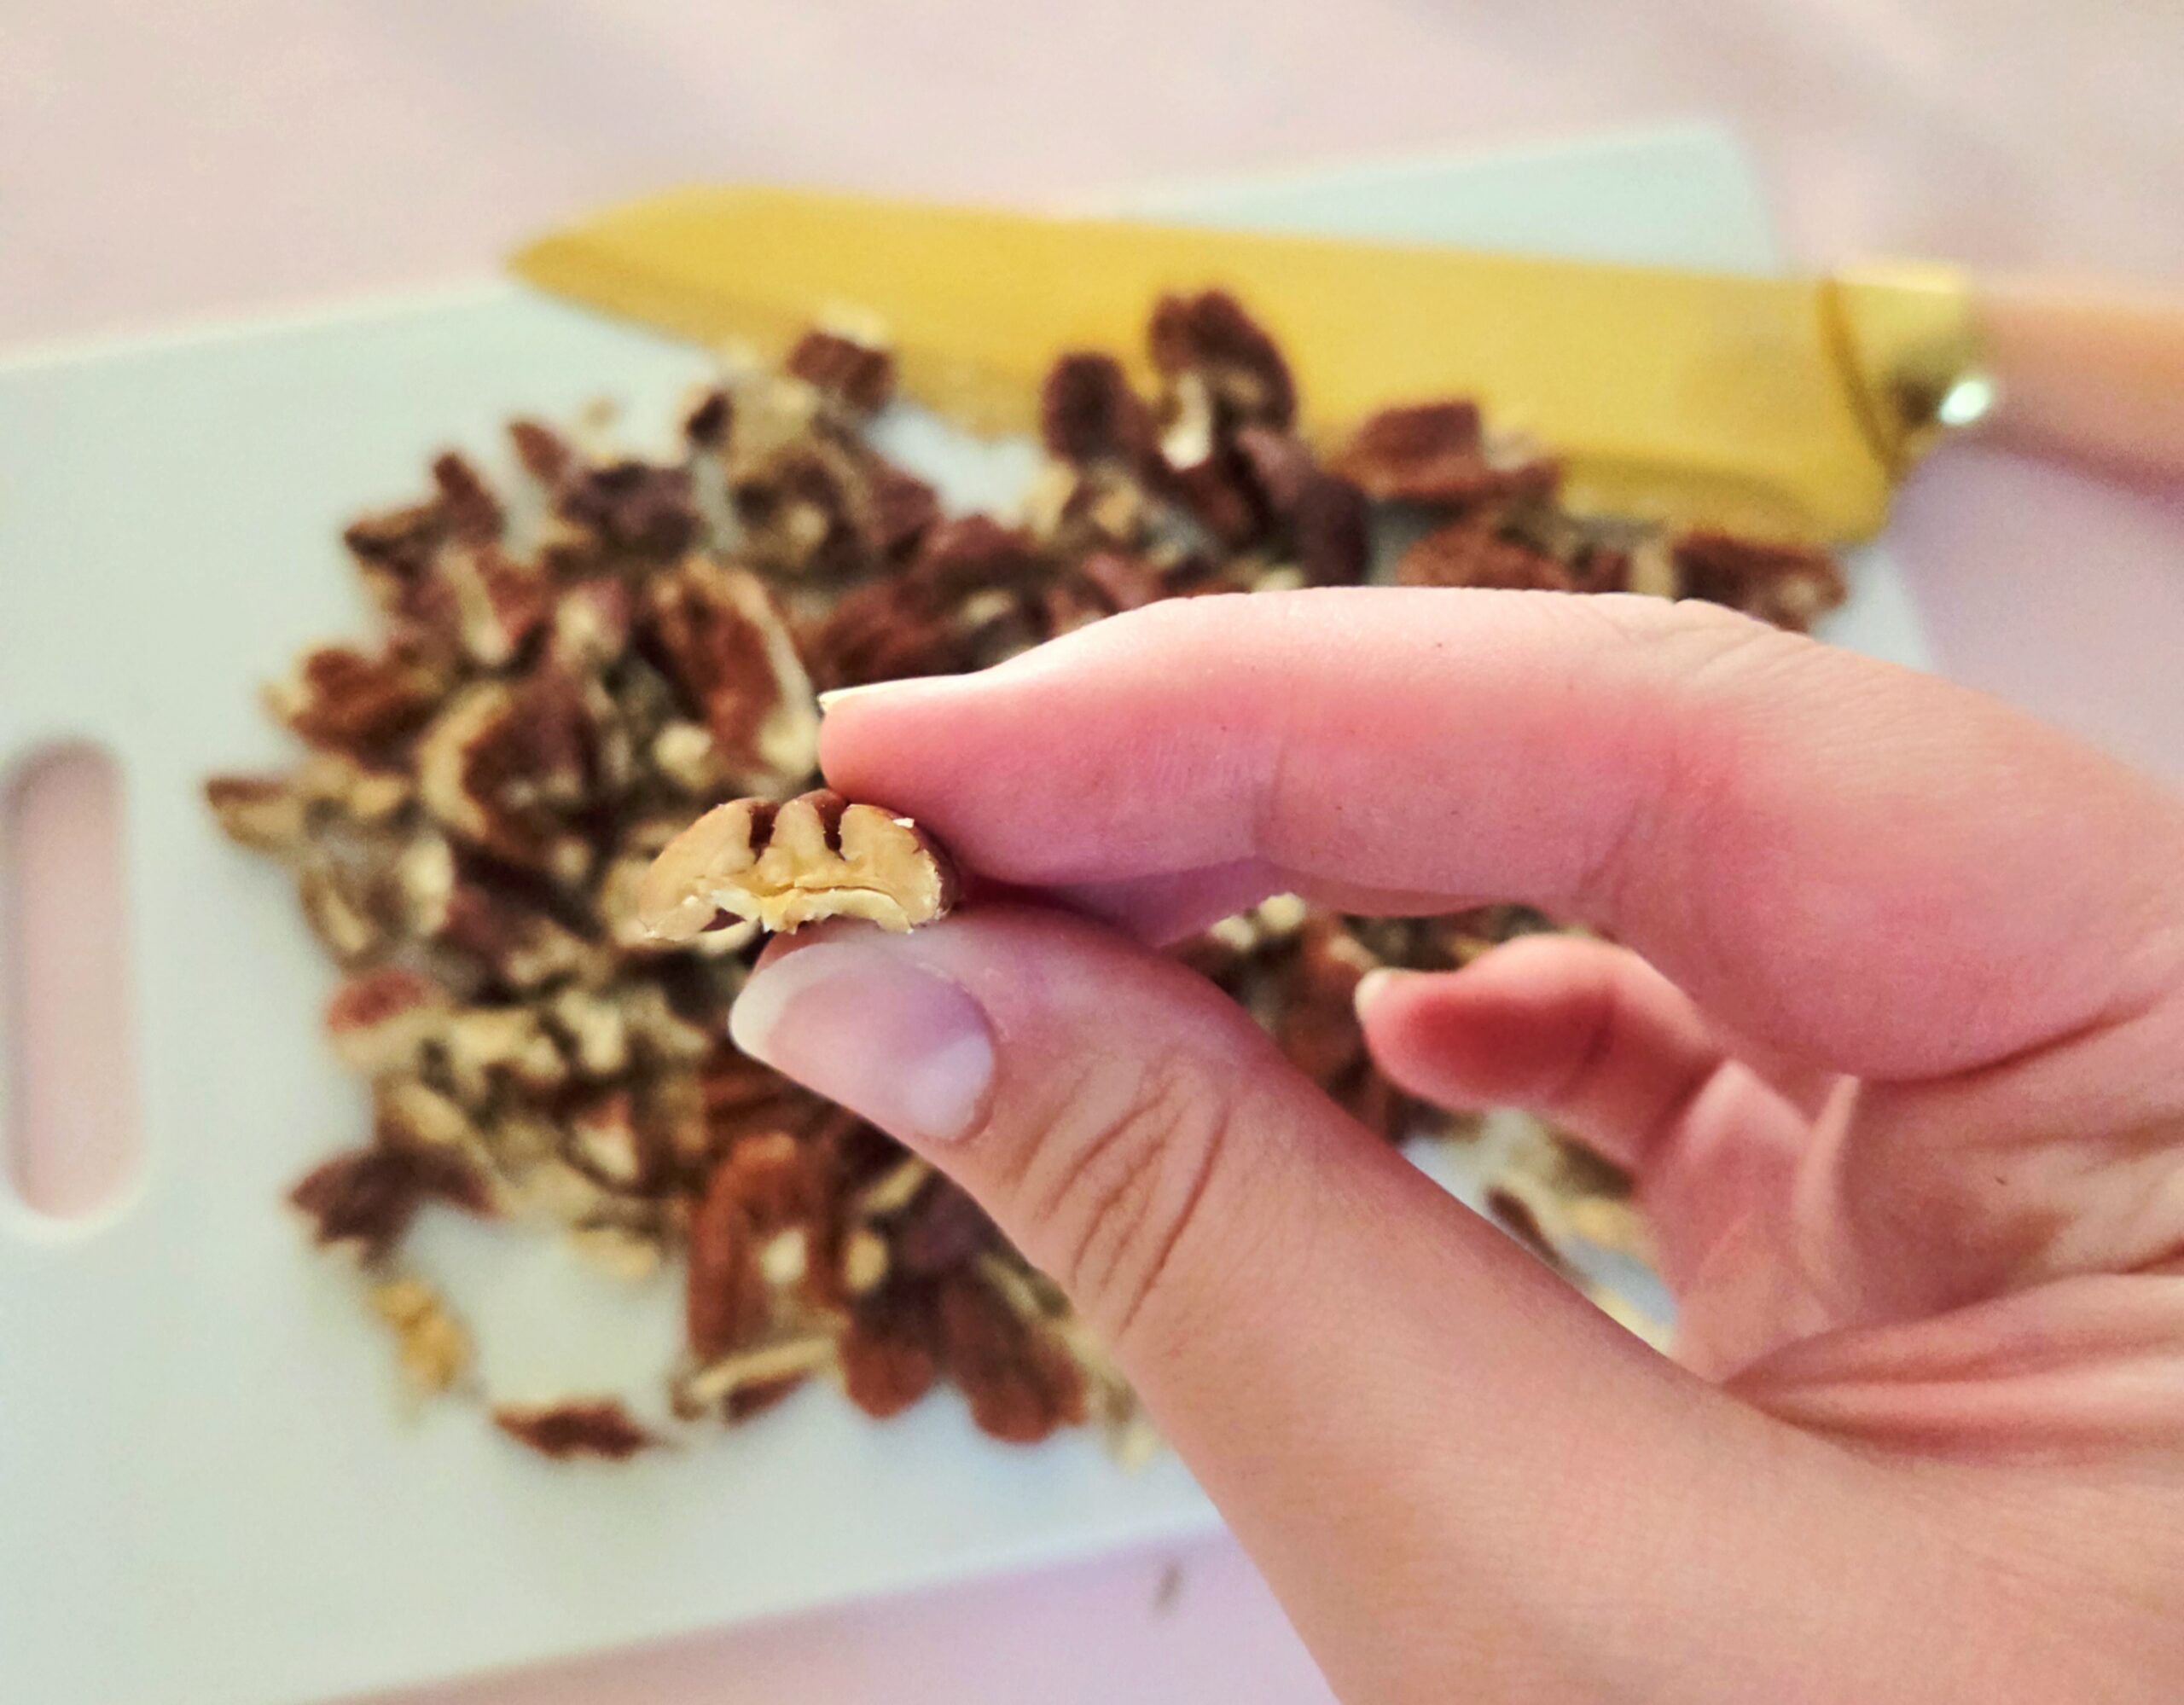
Once the nuts have mostly cooled, so they’re only warm to the touch, give them a rough chop using a chef’s knife. If they’re too hot, they could melt the chocolate chips into the rest of the filling once everything is folded in. We want to keep the delightful pockets of chocolate throughout. Add the nuts and the chocolate chips to the rest of the filling, then use a rubber spatula to fold them in.
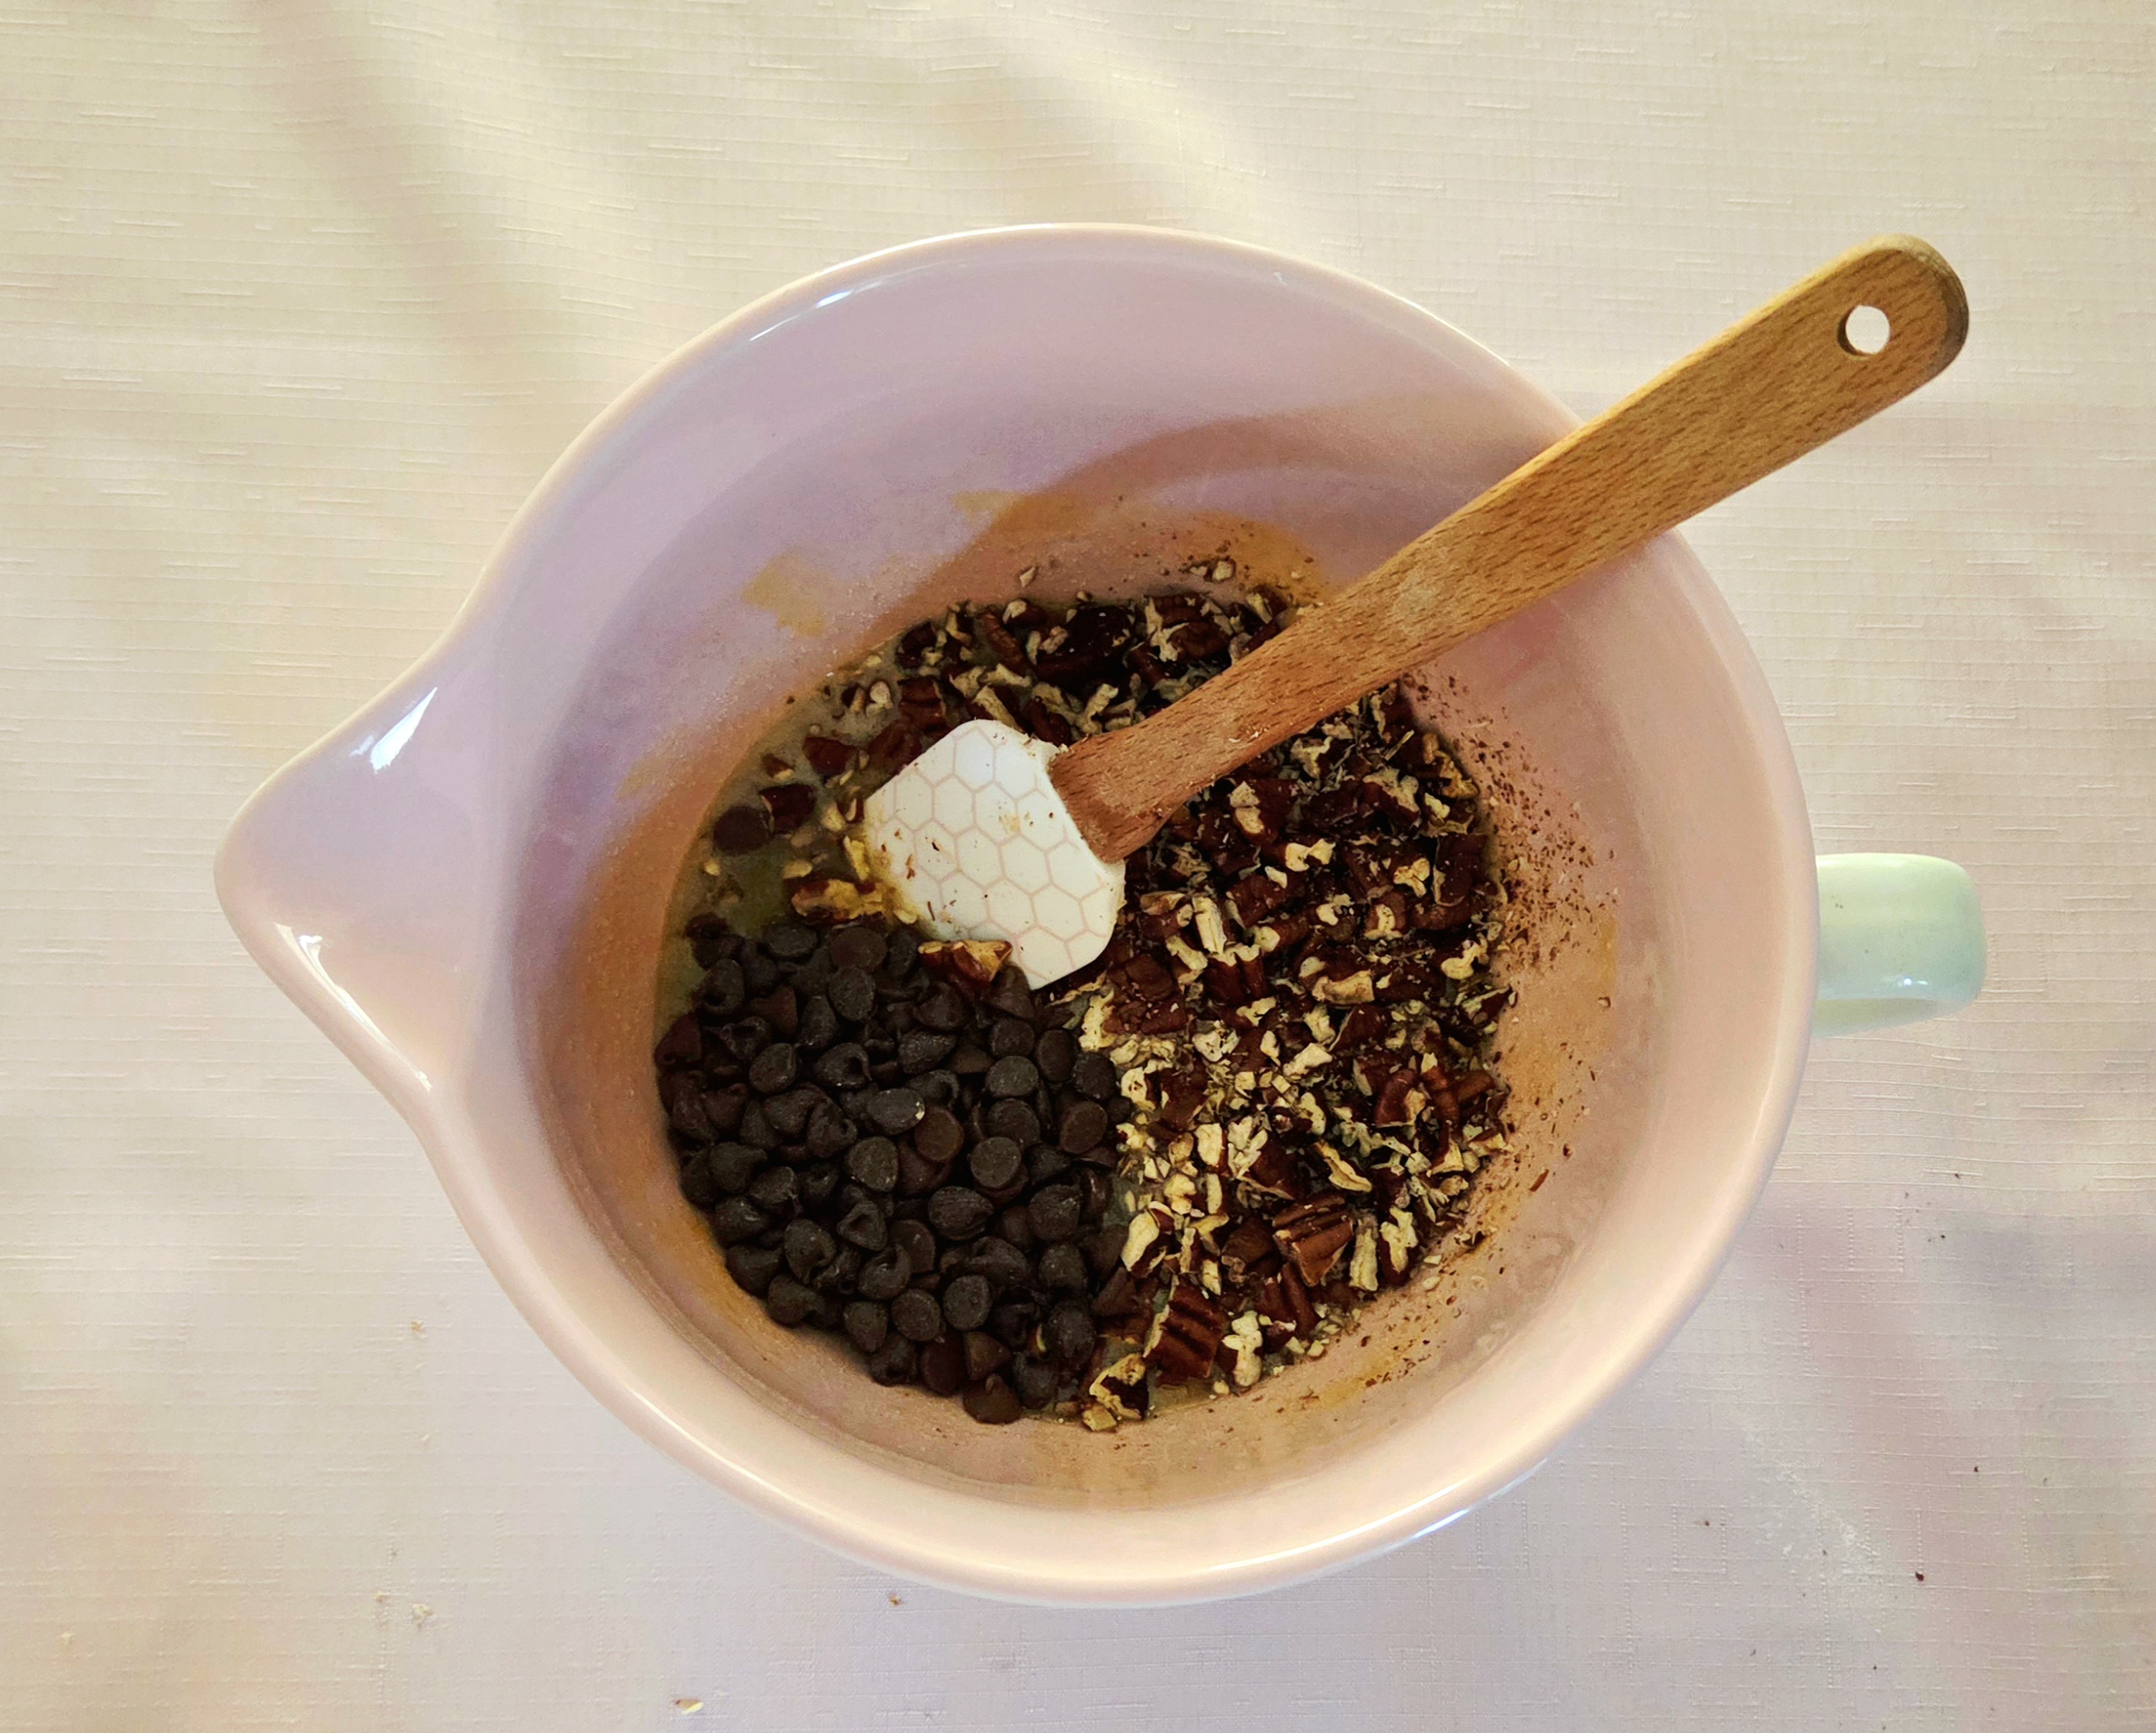
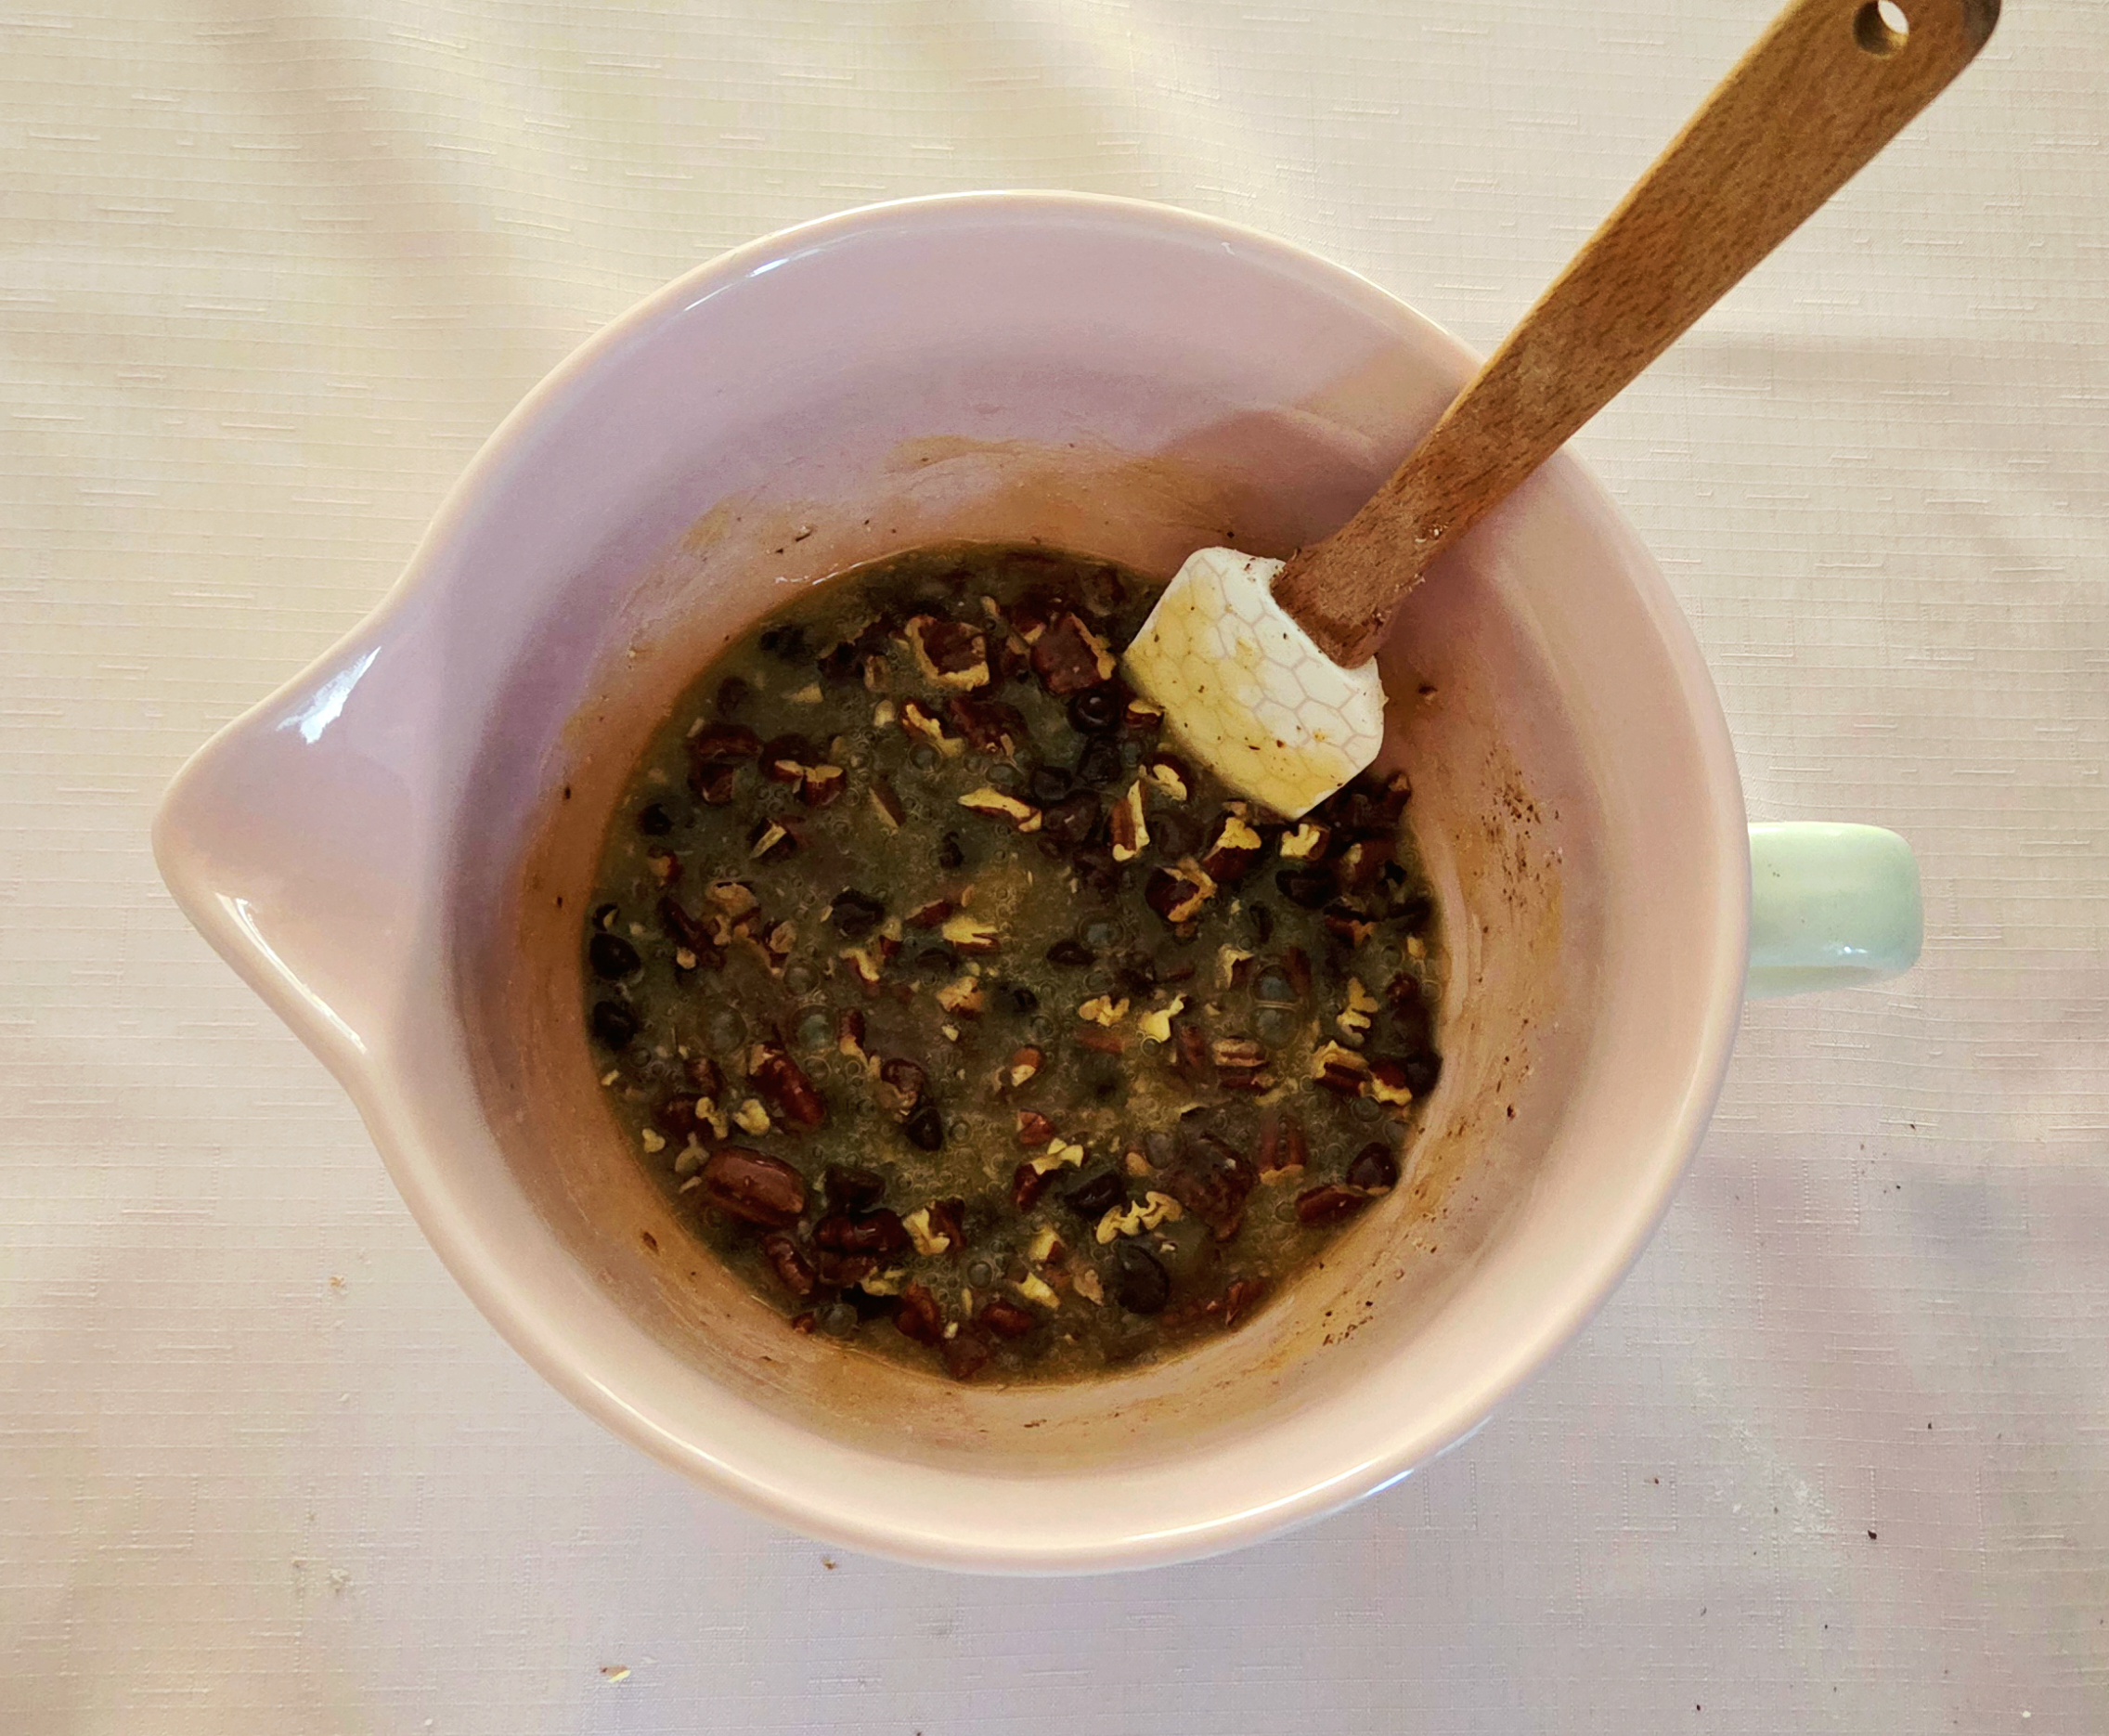
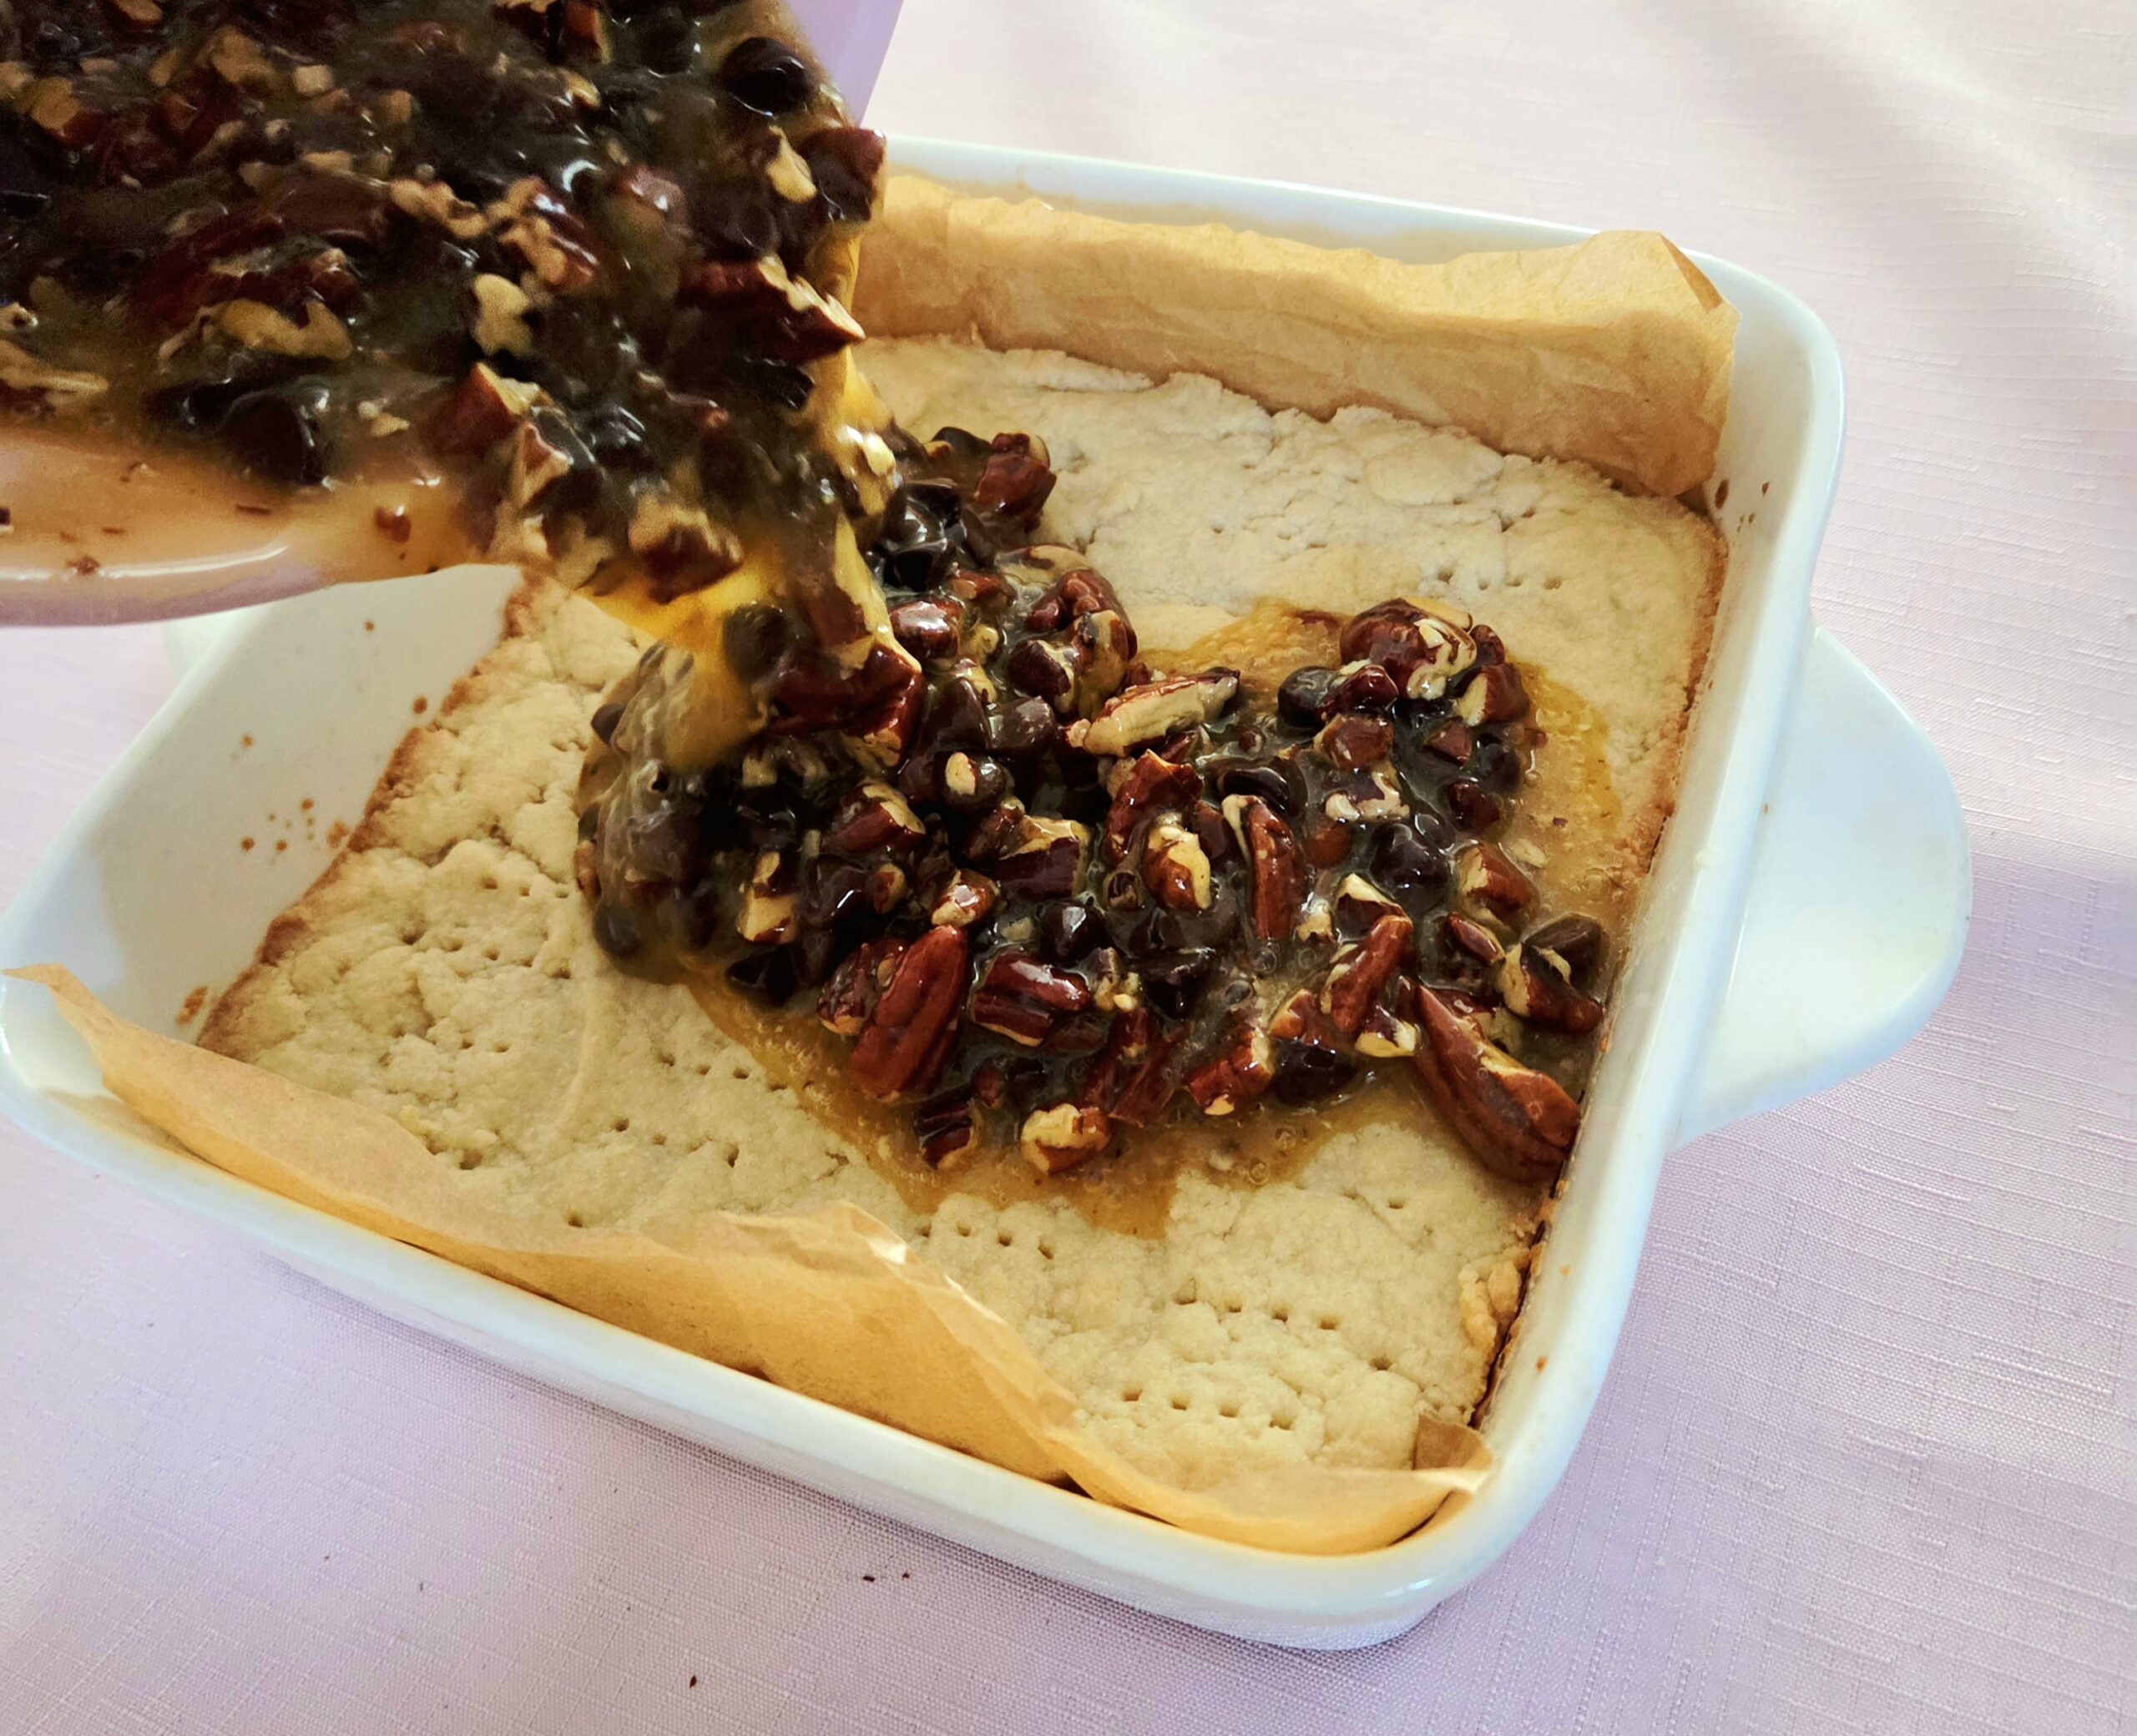
When the crust has finished par-baking, immediately pour the filling over the top of it, using the spatula to scrape as much out of the bowl as you can.
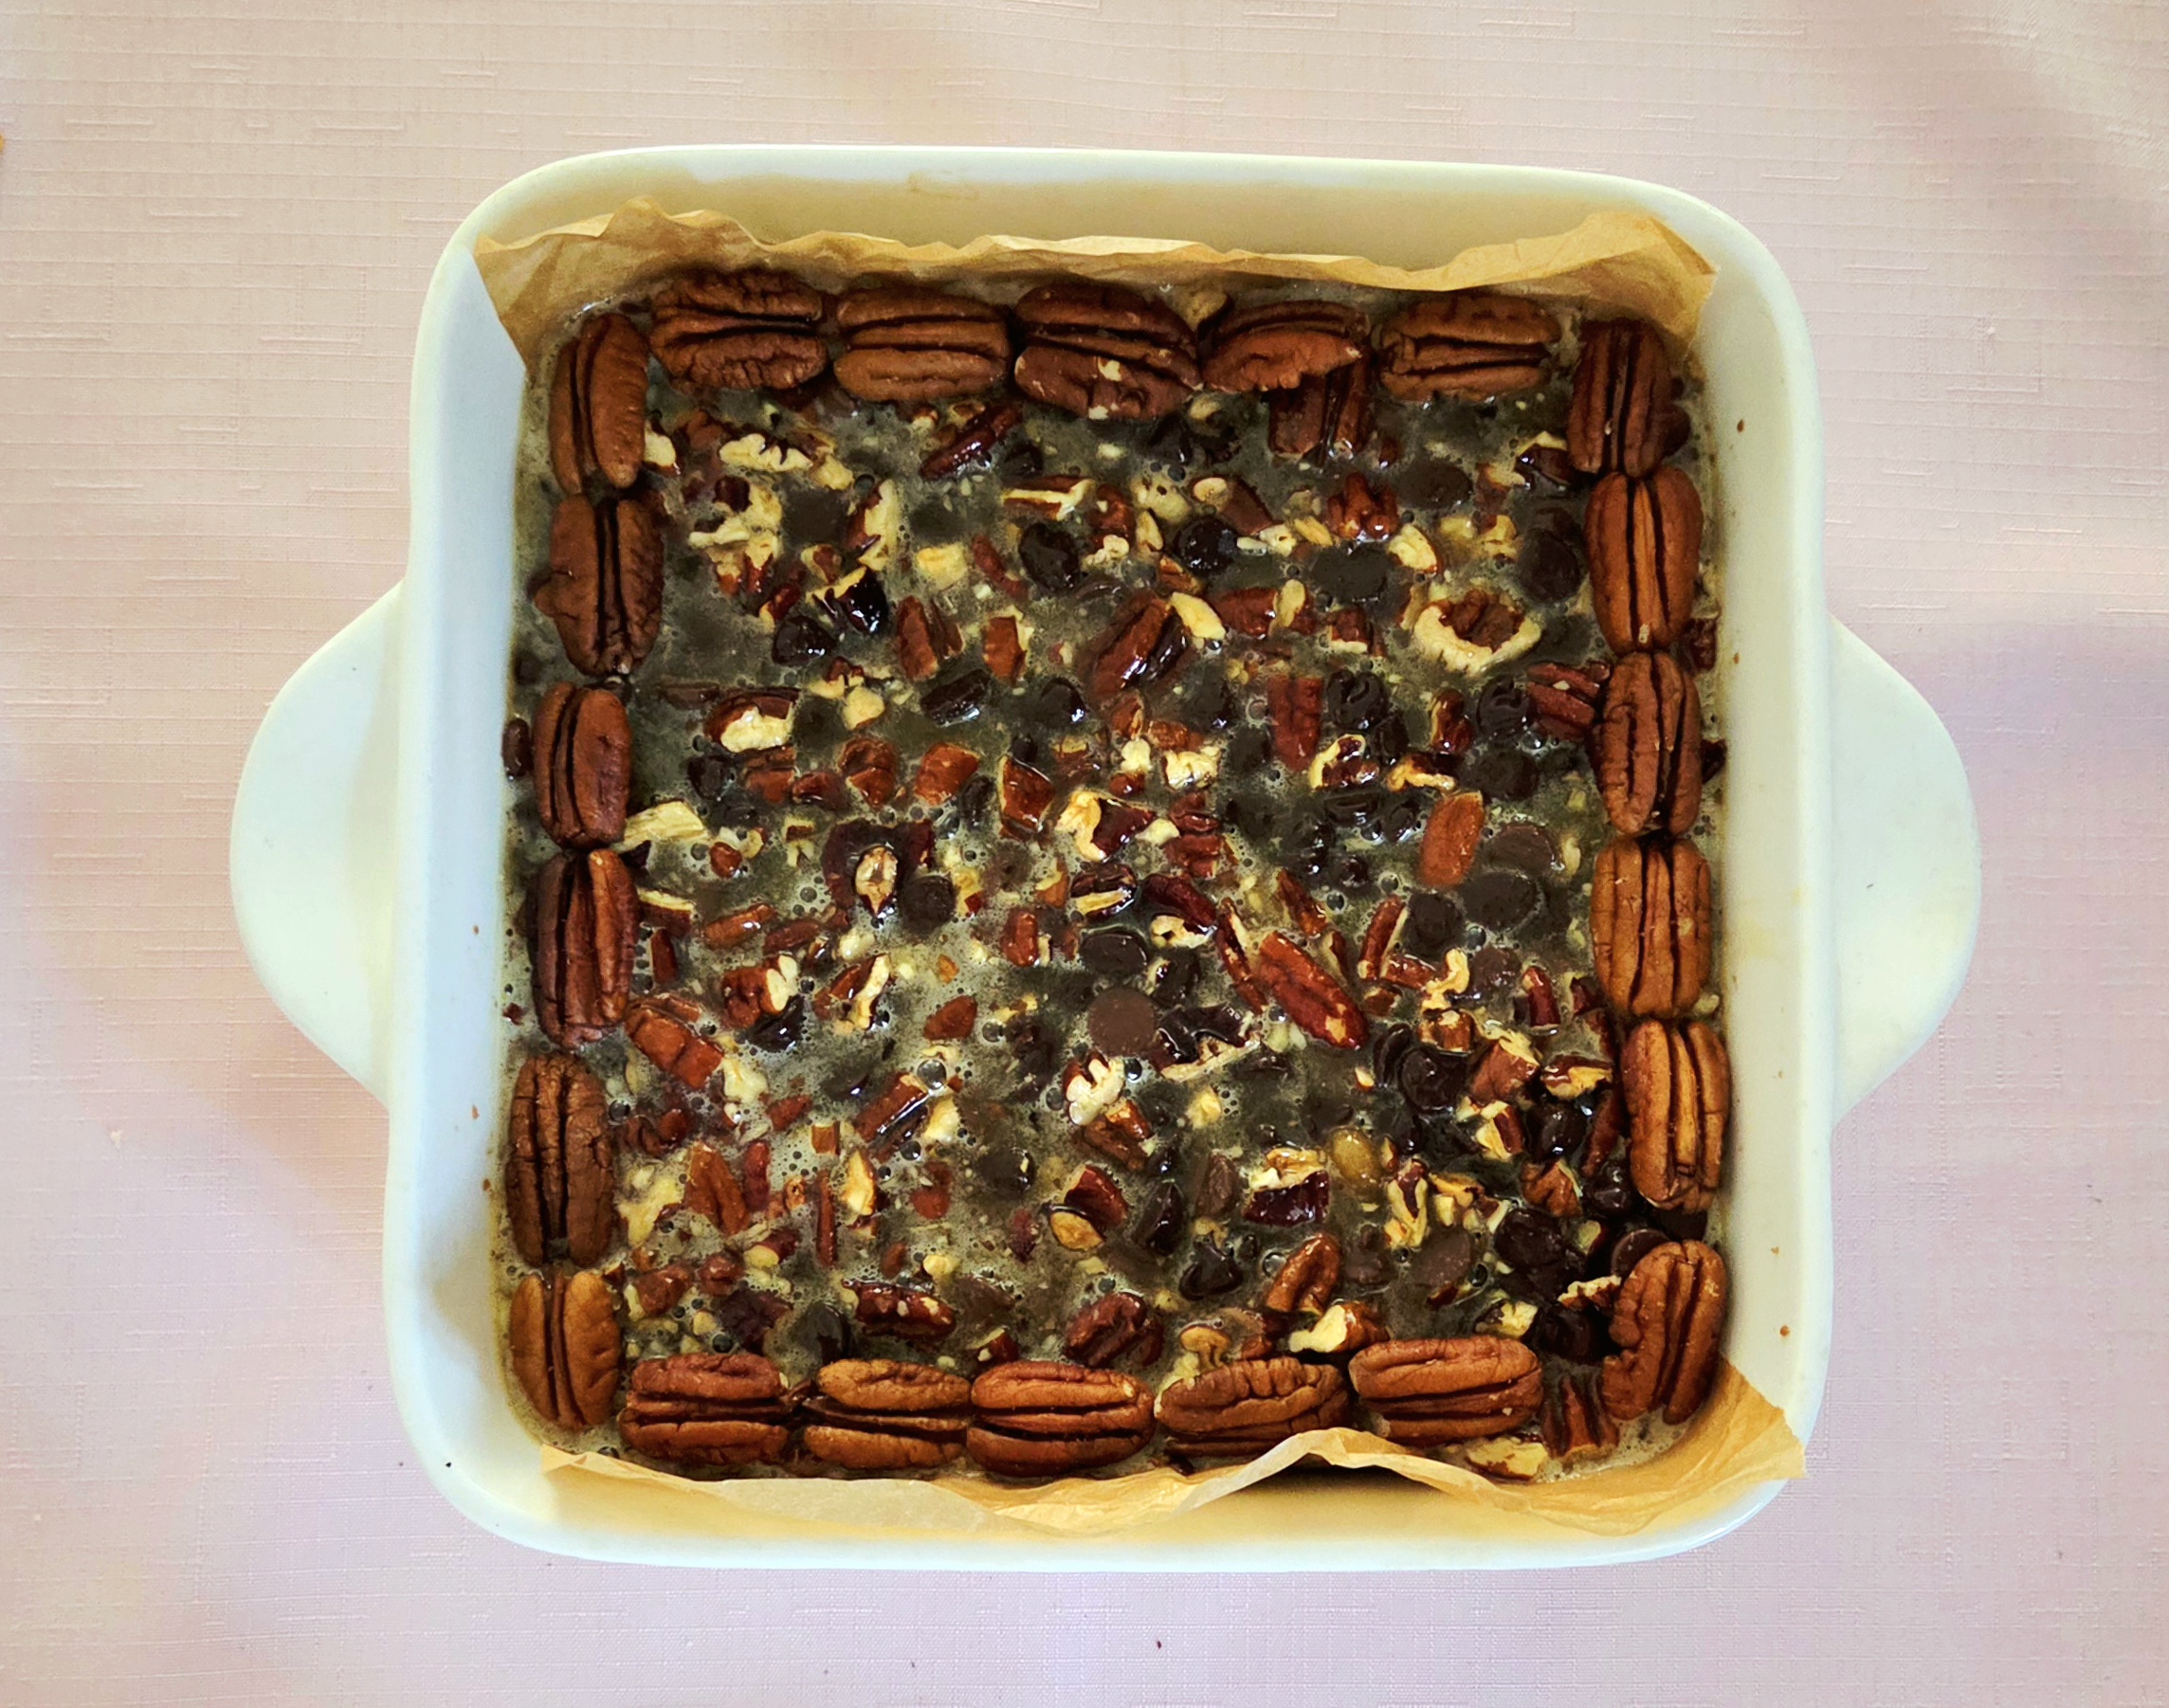
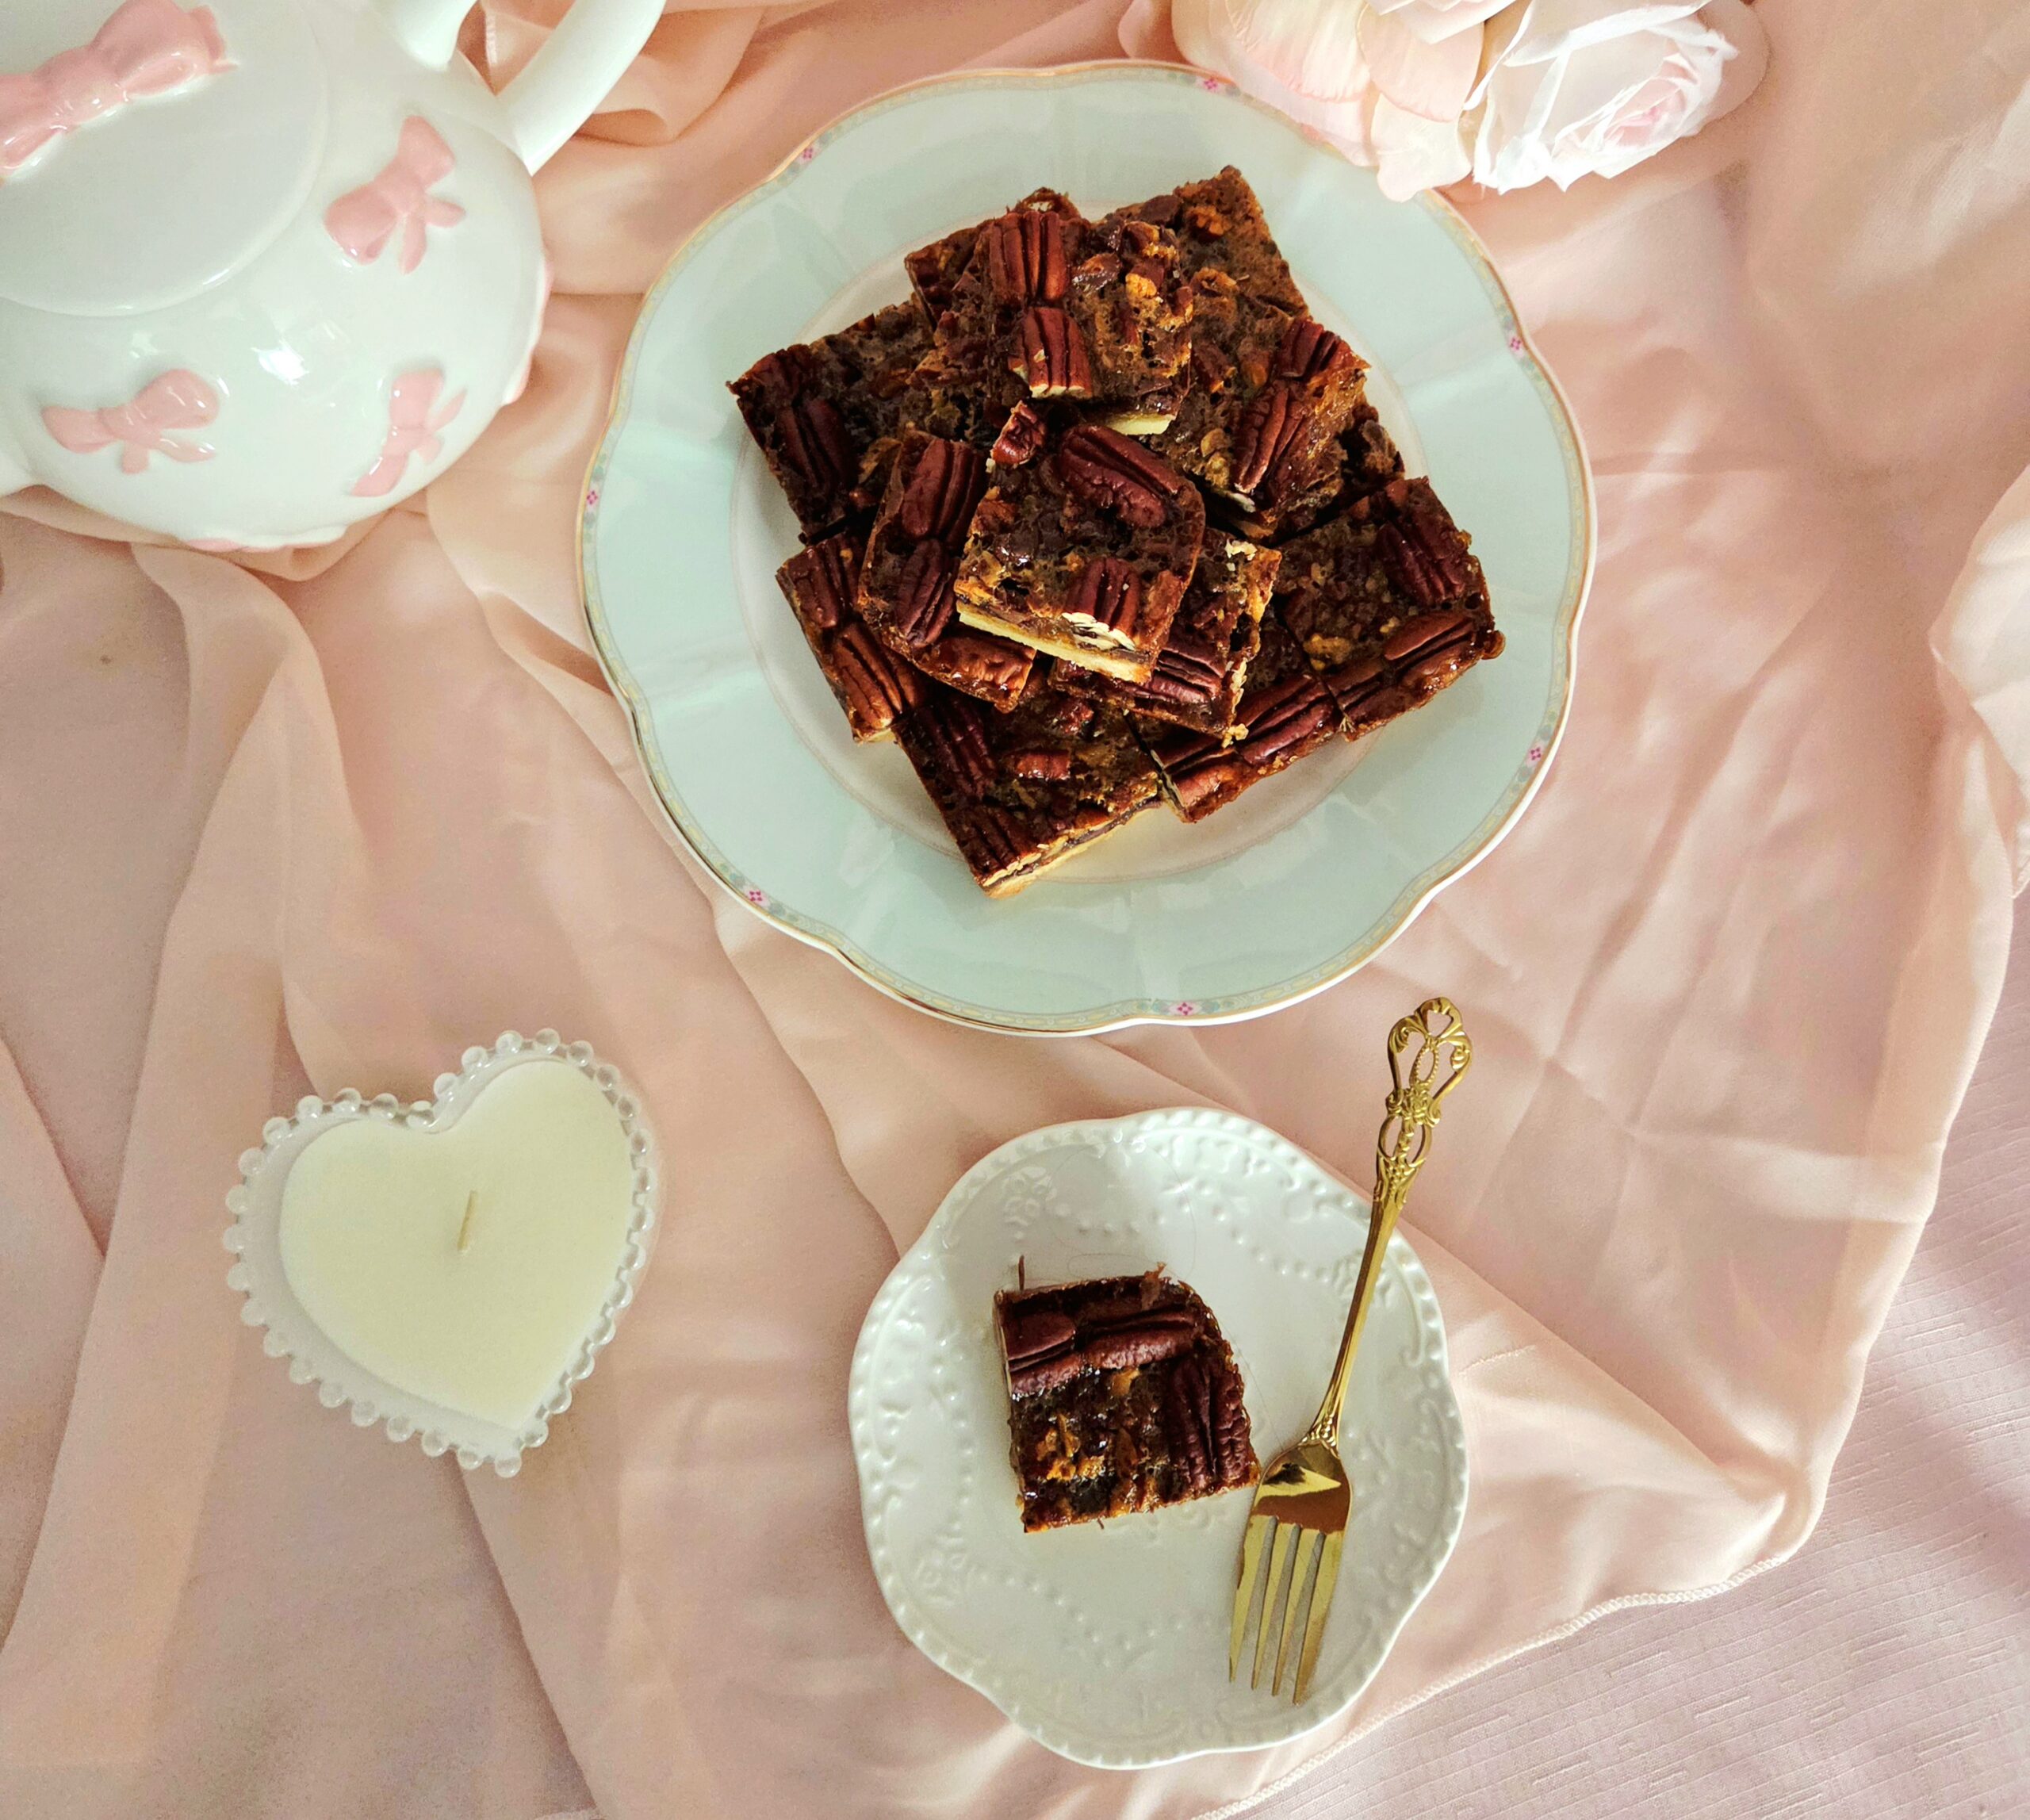
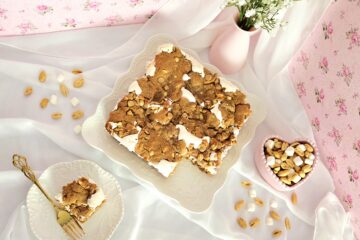
If you’d like, you can arrange extra pecans on top in a decorate fashion, for some extra cuteness. Bake it for 35 minutes longer on the center rack, flipping halfway through. Allow the slab to cool completely in the pan. Loosen the sides that were not lined with parchment paper by gently running a butter knife along the edge in between the slab and the dish.
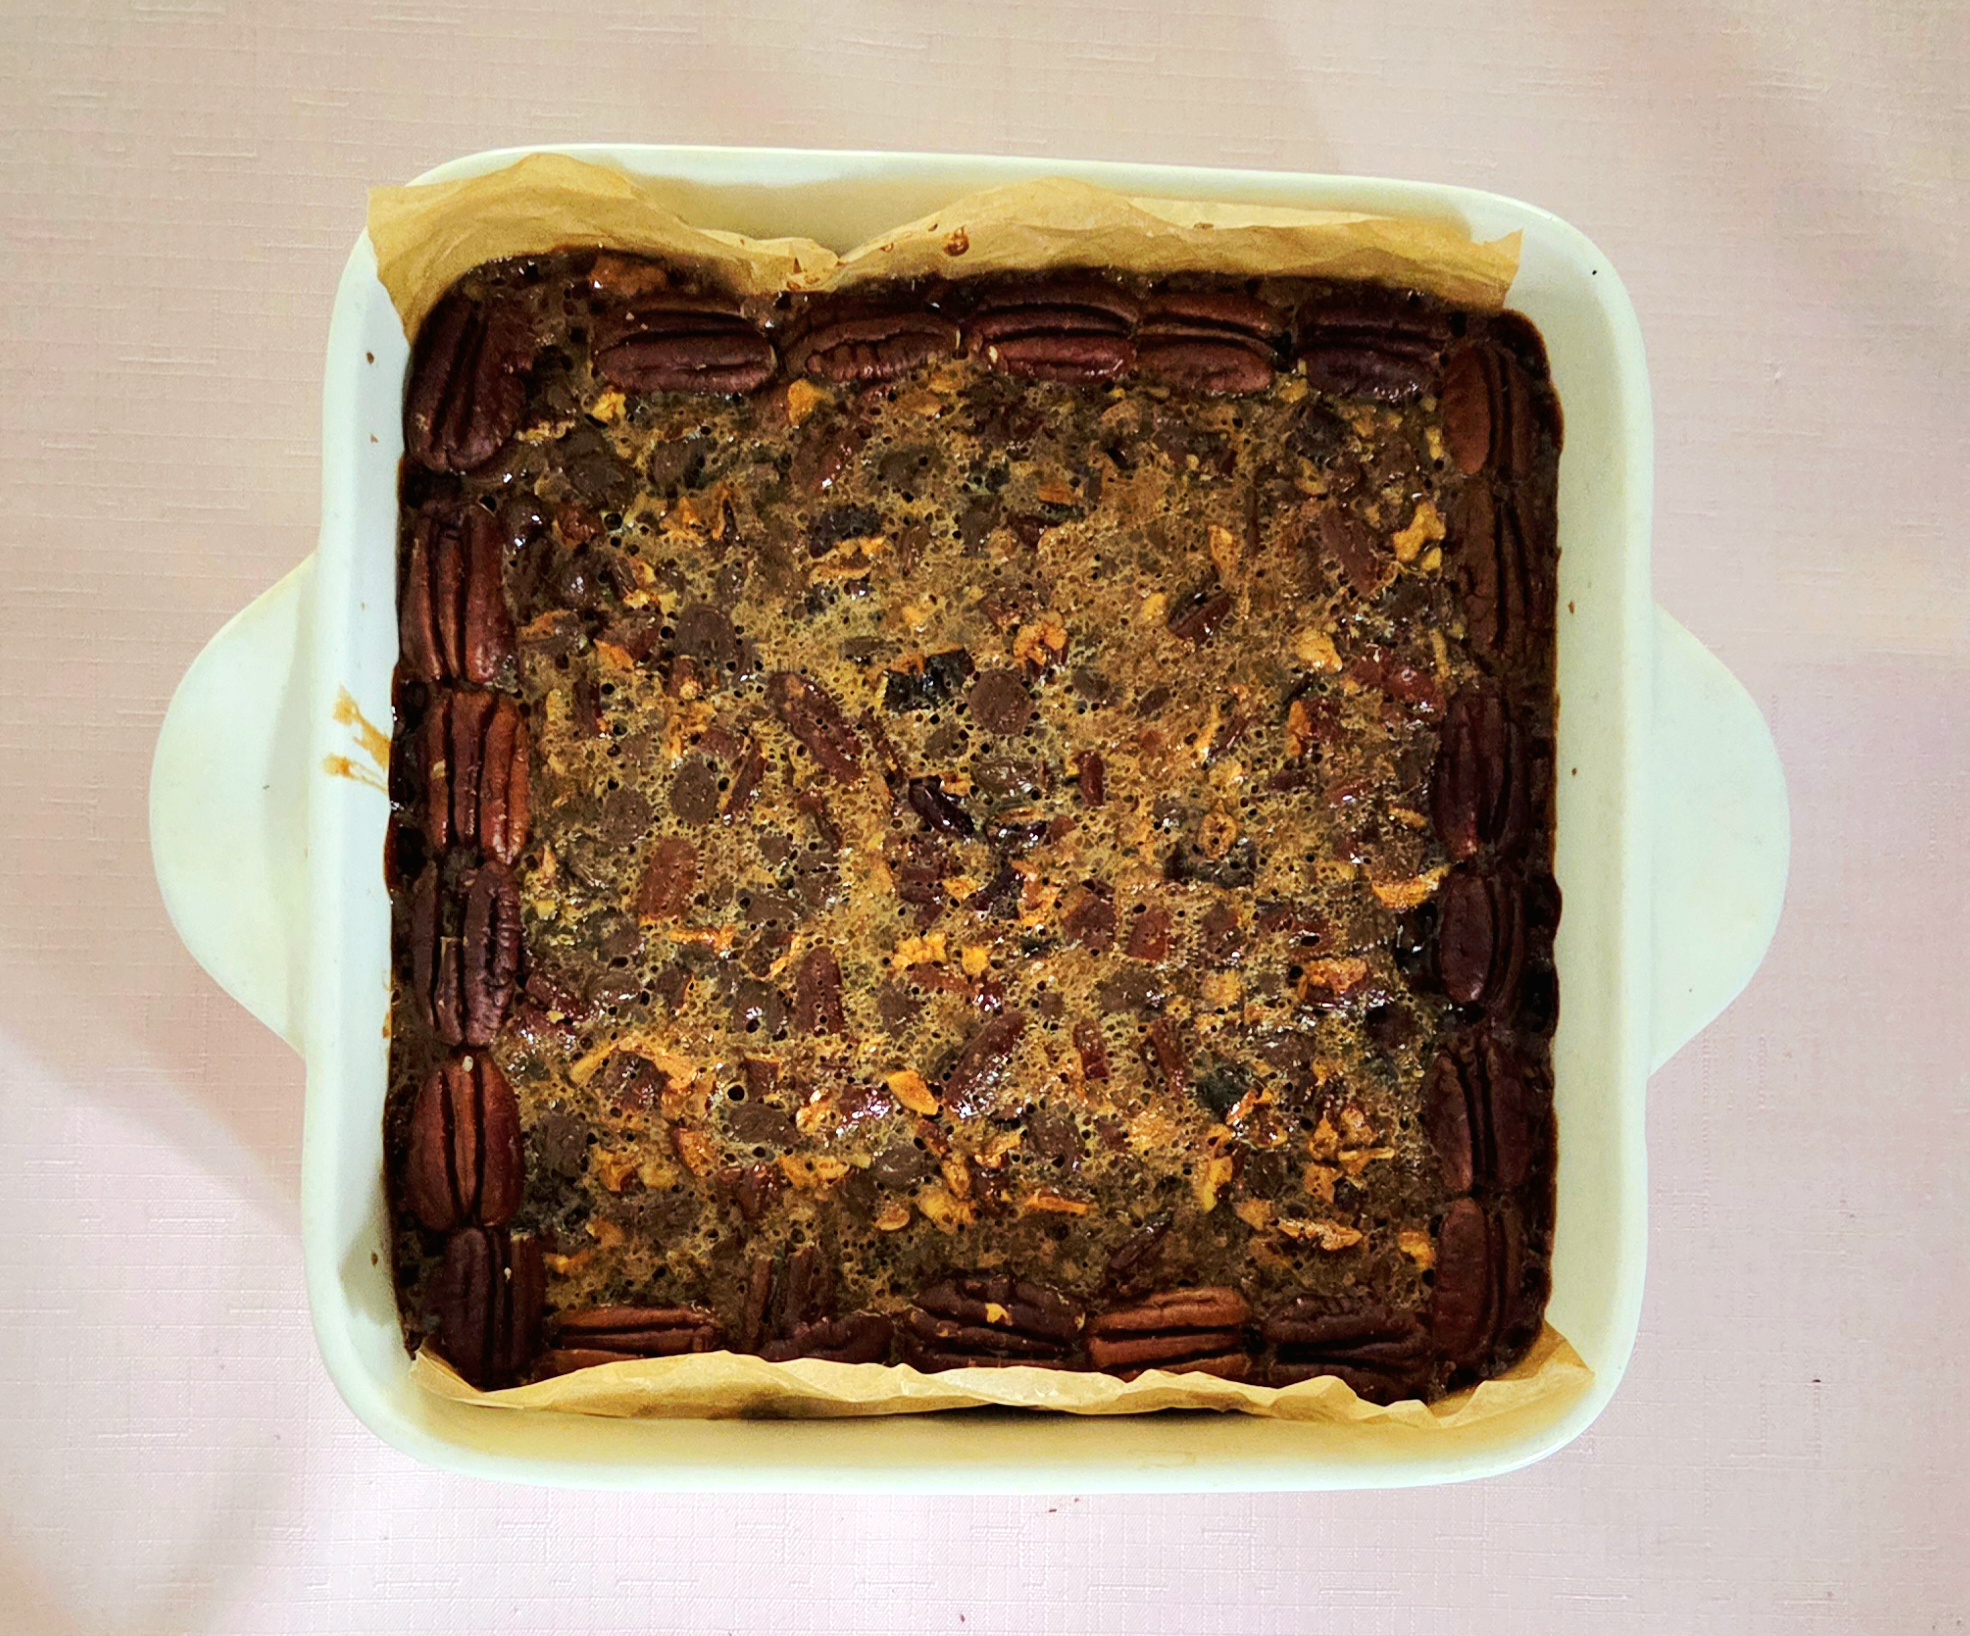
Lift the slab out and transfer it over to a cutting board. Using a chef’s knife, cut the slab into a 4×4 grid, giving you 16 bars.
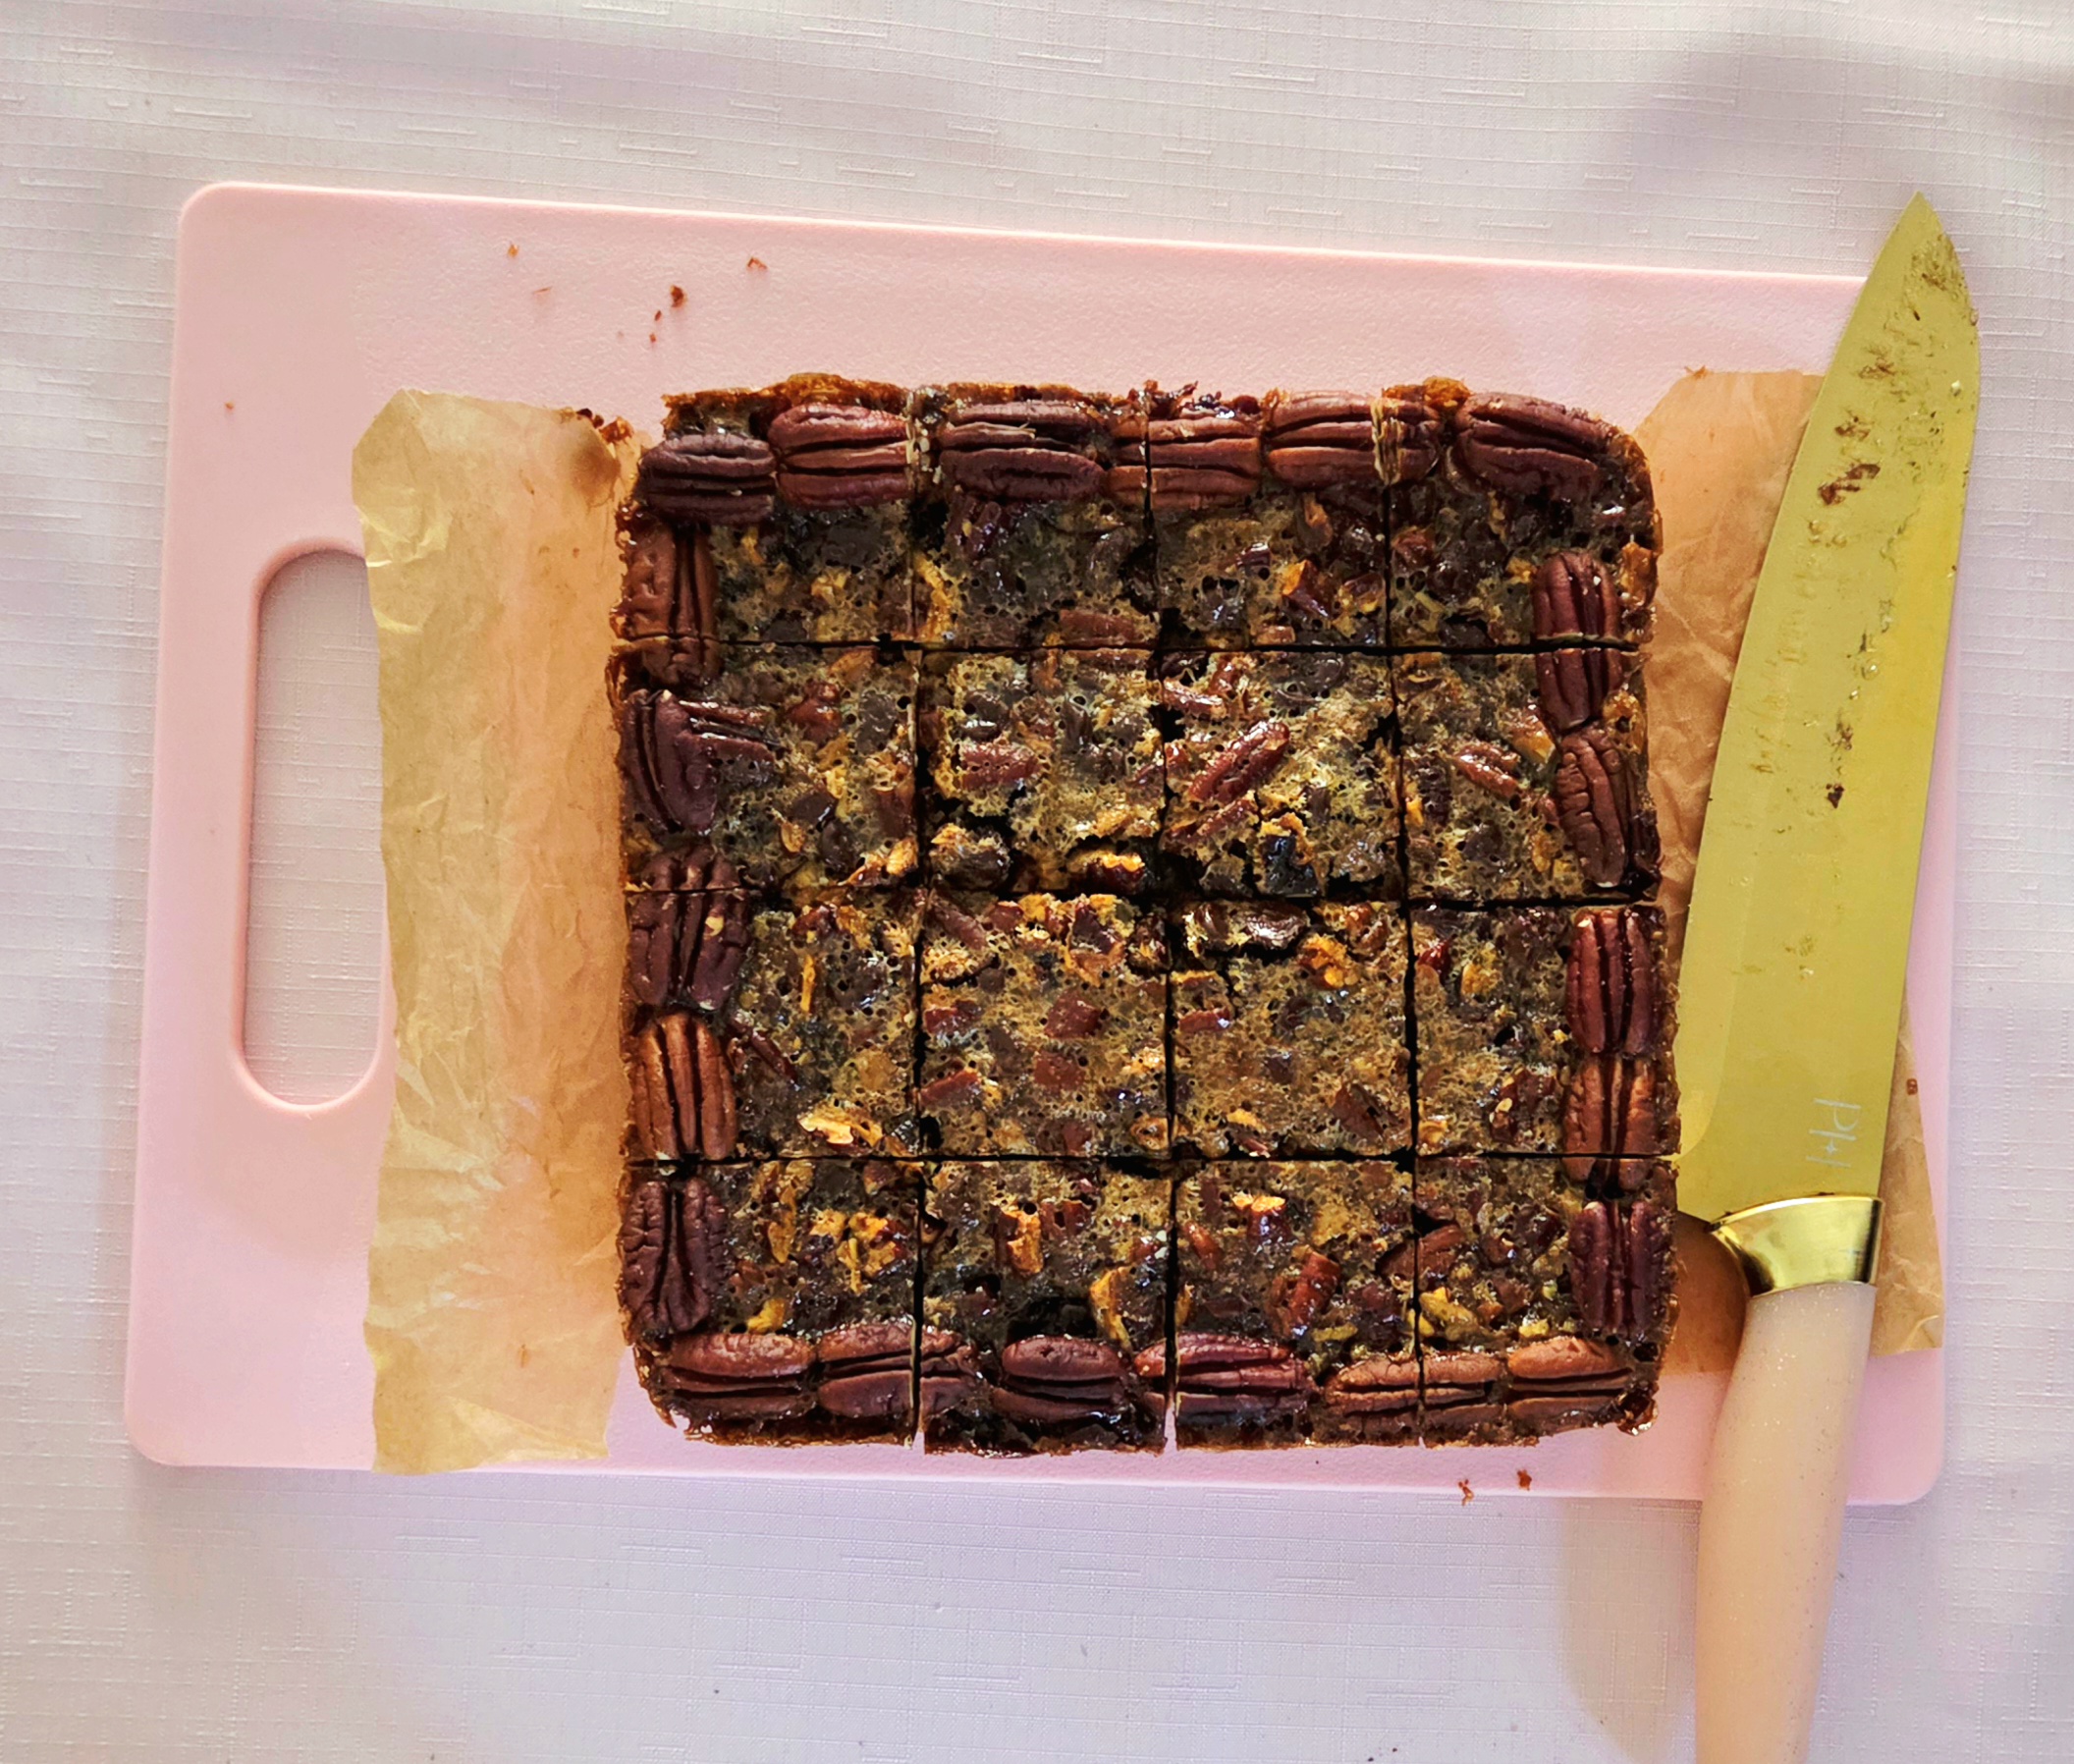
Store the bars in an airtight container on the counter for up to 3 days, and enjoy!
Chocolate Pecan Pie Bars
Bake Time: 350F for 60 minutes
Servings: 16 bars
Total Time: 1 hour 45 minutes
Prep Time: 45 Minutes
Ingredients
Crust:
- 1 ⅓ cup all-purpose flour
- ¾ teaspoon salt
- 8 Tablespoons unsalted butter, room temperature
- ½ cup sugar
- 1 teaspoon vanilla extract
- 2 Tablespoons whole milk
Filling:
- 1 ½ cups pecan halves
- 2 Tablespoons unsalted butter
- ¼ cup light brown sugar
- ¼ cup granulated sugar
- ½ cup light corn syrup
- 1 large egg + 1 egg yolk, room temperature
- 1 teaspoon vanilla
- ½ teaspoon salt
- ⅔ cup semisweet chocolate chips
Directions
For the Crust:
- Begin by preheating the oven to 350F, on the convection setting if possible, and prepare the baking dish. Line an 8×8 inch pan with parchment paper along the bottom and up two sides, then spray the uncovered sides with a nonstick baking spray. Set this pan aside.
- In a small mixing bowl, whisk together the flour and salt. Set the dry goods aside.
- Beat the softened butter, sugar, and vanilla together in a stand mixer fitted with the paddle attachment on level 3 for 4-5 minutes or so. It should go from a butter yellow to almost white with a very fluffy texture, as shown above.
- Add in the flour mixture all at once to the creamed butter and beat it on level 1 for 30 seconds. Pause the mixer and pour in the whole milk, then resume on level 1 and beat for an additional minute.
- Using a rubber spatula, scrape all of the dough into the lined baking dish. With a flat bottomed glass, firmly press the dough into the bottom of the pan as evenly as you can manage to.
- Take a fork and prick all over the crust, straight to the bottom of the dish. Par-bake the crust for 25 minutes on the center rack of the oven, flipping the pan halfway through. Set the crust aside.
For the Filling:
- While the crust is baking, begin working on the filling. Spread the pecans out on a baking sheet and bake them at 350F for 8-10 minutes, or until they’re fragrant and the inside is a toasty golden brown. Transfer the hot nuts to a cutting board to cool while you prepare the rest of the filling.
- In a large, heat-safe mixing bowl, melt the butter in the microwave. Add in the brown sugar, granulated sugar, corn syrup, egg, yolk, vanilla, and salt, and whisk until they become one homogeneous mixture. Set this bowl aside.
- Once the nuts have mostly cooled, so they’re only warm to the touch, give them a rough chop using a chef’s knife. Add the nuts and the chocolate chips to the rest of the filling, using a rubber spatula to fold them in.
- When the crust has finished par-baking, immediately pour the filling over the top of it, using the spatula to scrape as much out of the bowl as you can. Bake it for 35 minutes longer on the center rack, flipping halfway through.
- Allow the slab to cool completely in the pan. Loosen the sides that were not lined with parchment paper by gently running a butter knife along the edge in between the slab and the dish. Lift the slab out and transfer it over to a cutting board. Using a chef’s knife, cut the slab into a 4×4 grid, giving you 16 bars. Store the bars in an airtight container on the counter for up to 3 days, and enjoy!
Tips
- These bars can be frozen! Once you’ve completed the recipe and cut the bars into the desired portion size, then place them into a freezer-safe bag. Freeze them for up to 3 months, and place them on the counter the night before you’d like to eat them for a gentle thaw.

0 Comments