
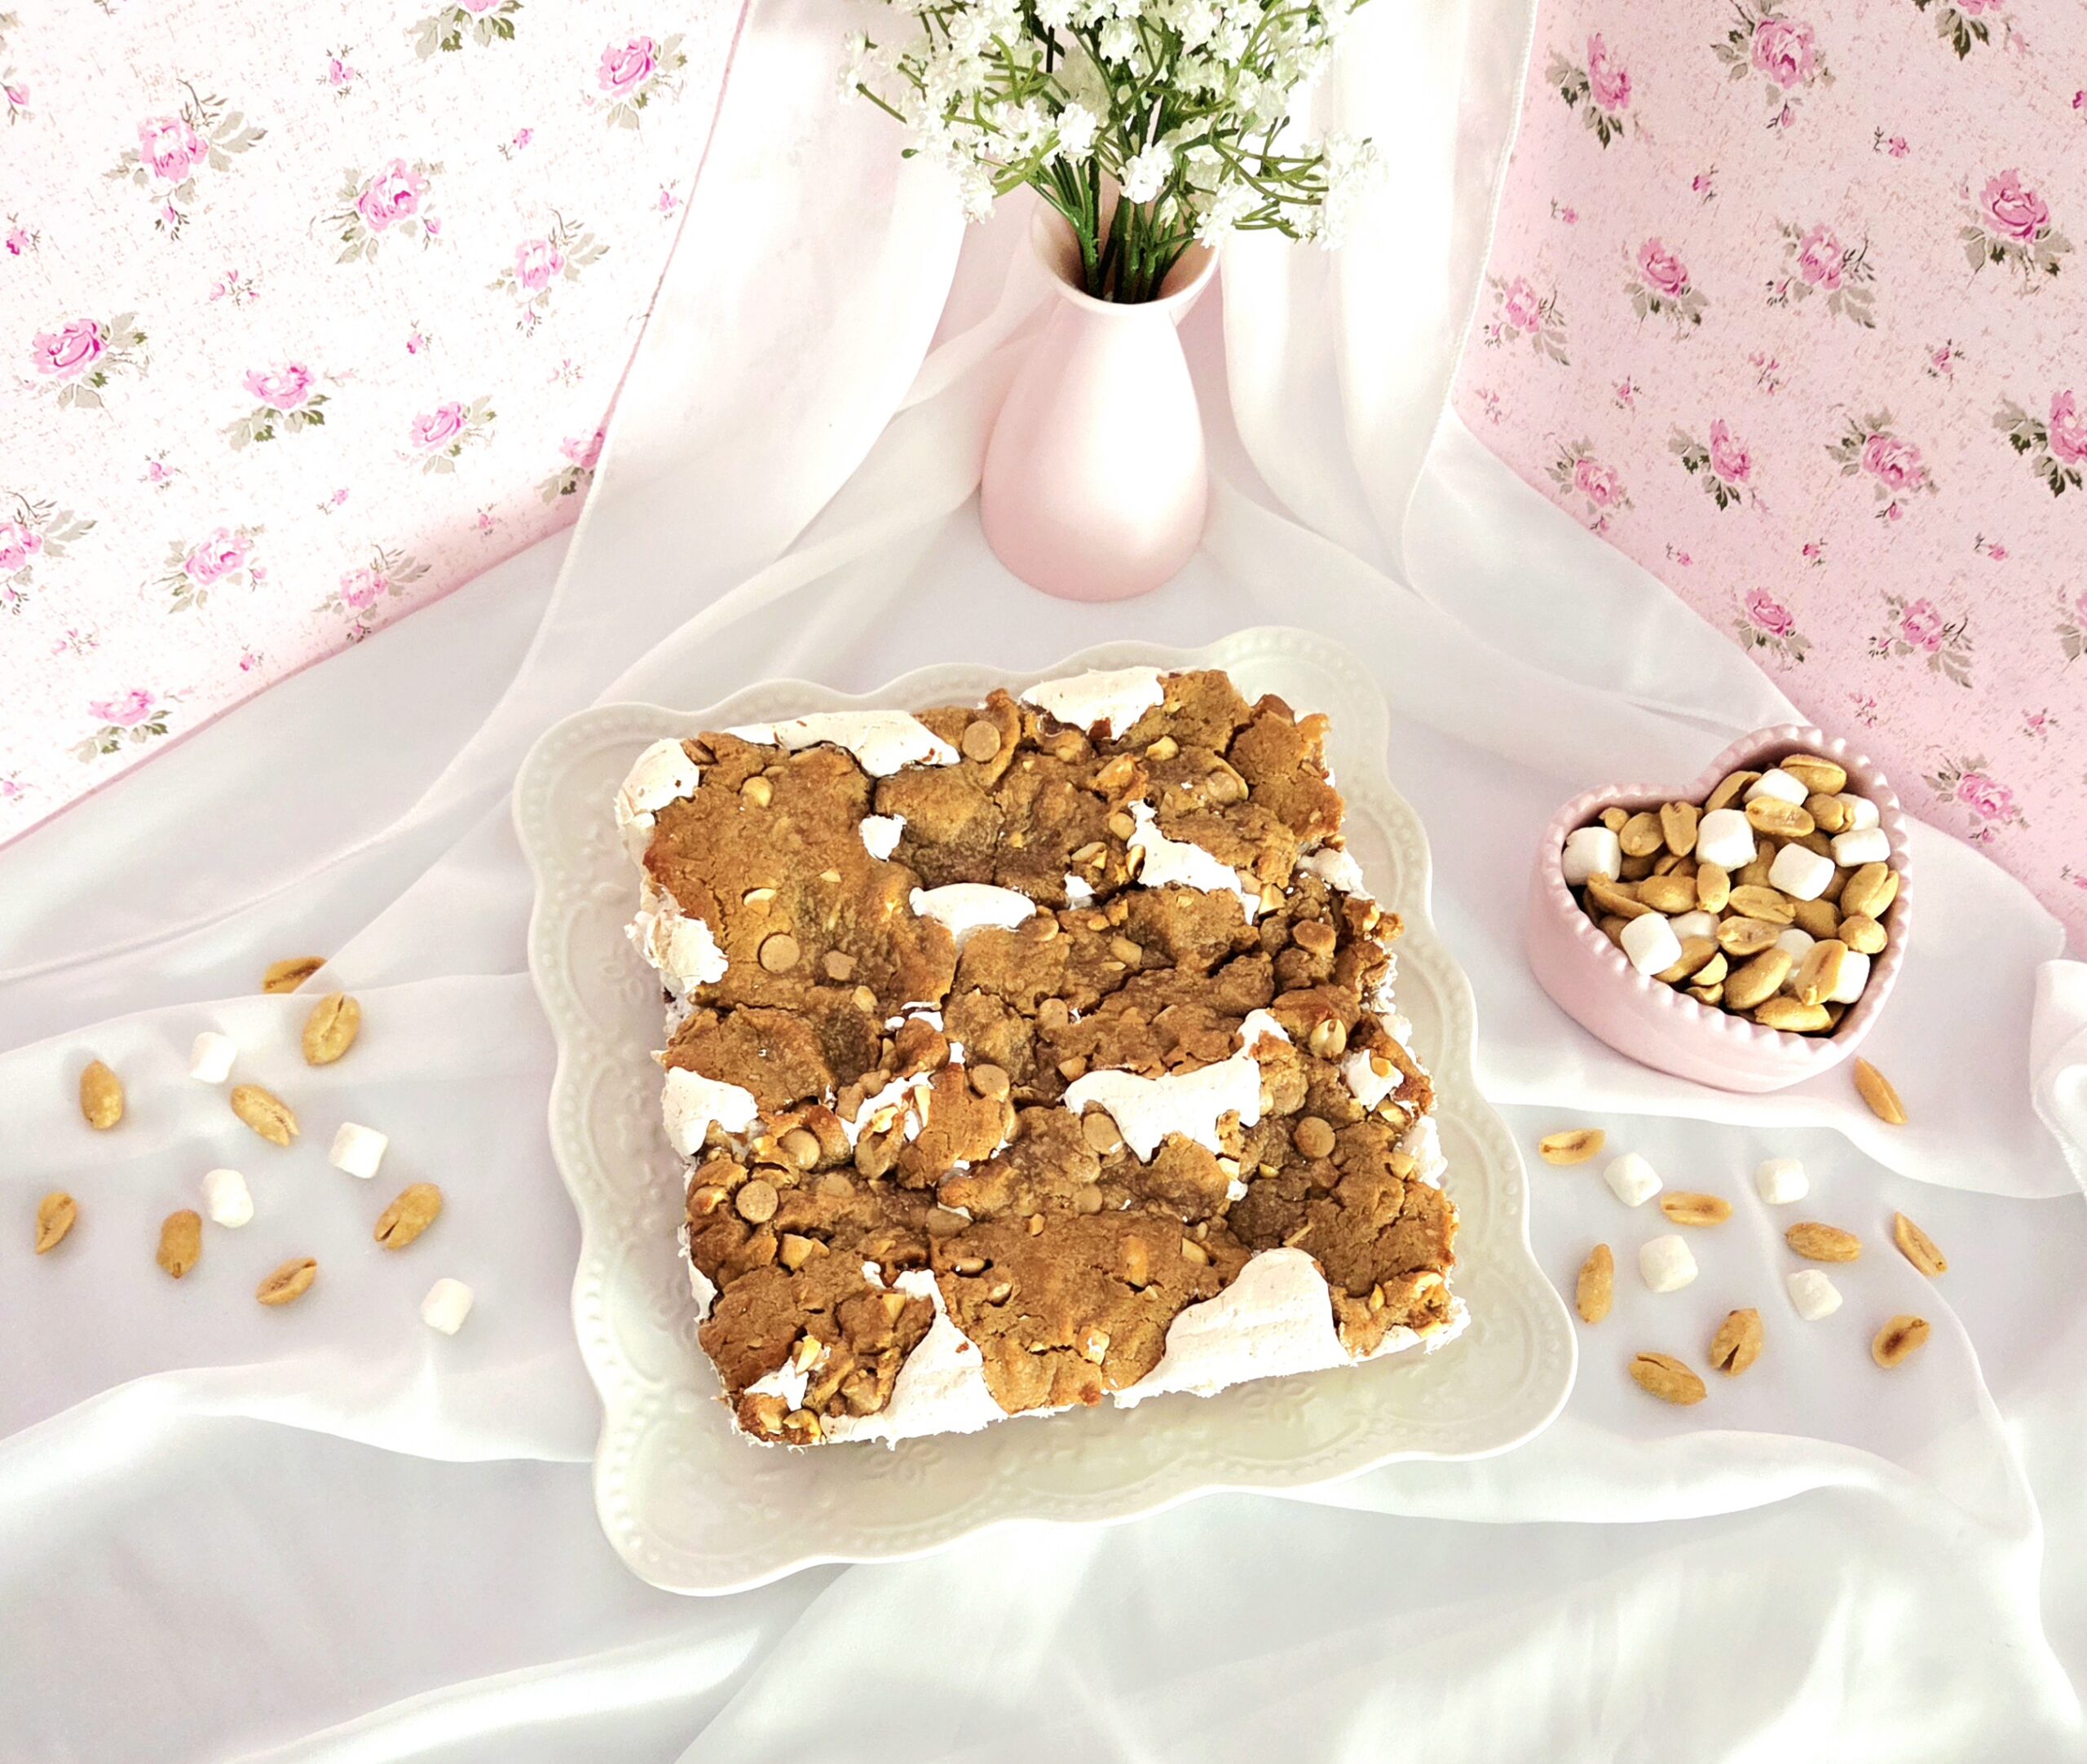
Fun fact: the state sandwich of Massachusetts, my home state, is the fluffernutter. It’s very simple, just white sandwich bread, marshmallow fluff, and peanut butter. The fluff has to be the original brand manufactured in Massachusetts, the peanut butter should be crunchy for the texture. Beloved by 8 year olds everywhere, it really is the candy of sandwiches. Who thought to pair peanuts with marshmallows to begin with? How did this become our state sandwich? I have no idea, it doesn’t really align with any other aspect of Massachusetts culture. But here we are.
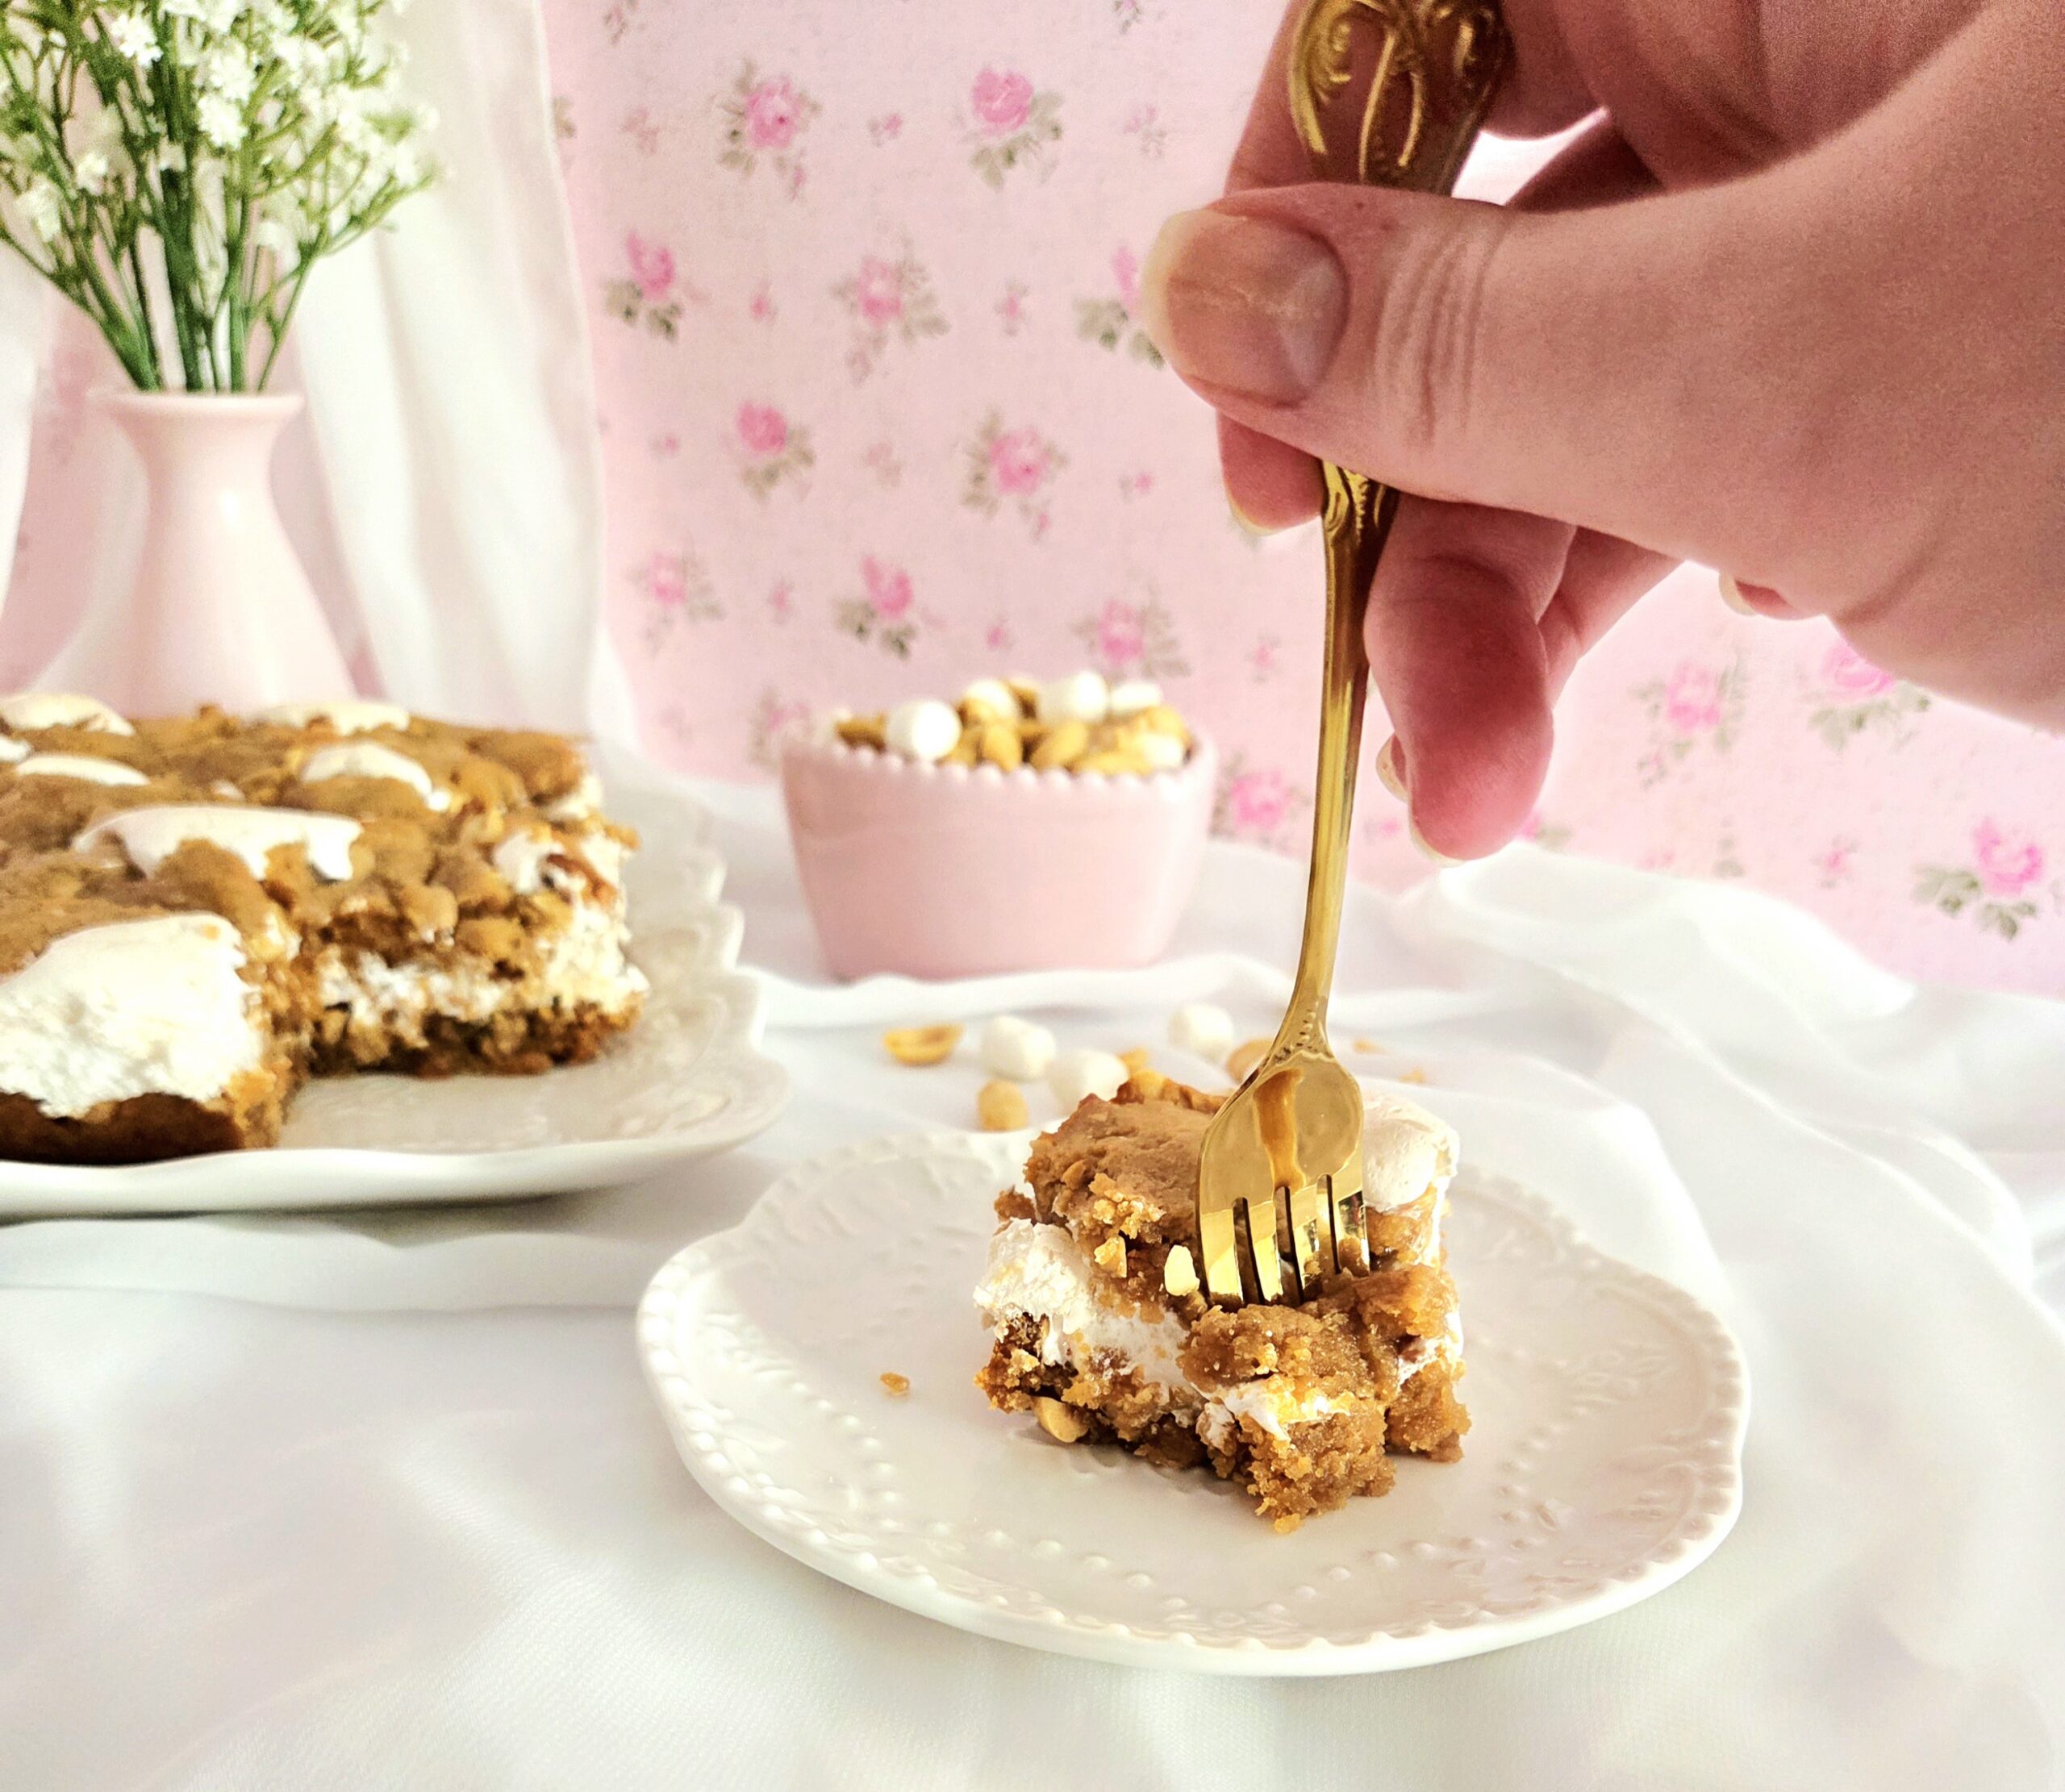
And here I am, concocting an homage to my home state. I’m going to be honest, while most of my recipes are intentionally not sugar bombs, you have to really love sweets to like this. Much like with the original sandwich! These bars are chewy and crunchy from the peanut butter dough, with a nice creamy mouthfeel from the fluff. The salt from the peanuts compliments the sweetness of the marshmallow beautifully. Bake them with your kids, bring them to a picnic, serve them at movie night.
FAQs and Science
Why use creamy peanut butter, but then add in chopped peanuts?
This is honestly a fair question. If you want to use crunchy people butter, you certainly can! But you’ll still need the chopped peanuts. The pieces you chop by hand will be much bigger than the finely chopped nuts found in crunchy peanut butter. That way, you can actually taste them in the end.
Do I have to pipe the fluff onto the dough? Can’t I spread it instead?
With how sticky and light fluff is, it will be a bigger pain in the butt to spread it out than to pipe it on. You’re free to do so, just be prepared for a bit of frustration.
Will I need a piping tip?
Nope! We aren’t making a pretty design, we’re just getting an even filling spread out.
Is there a reason the eggs are supposed to be room temperature? How do I warm them up quickly?
Baking is delicious chemistry, at its core. When the ingredients are all the same temperature, they emulsify much more easily. Plus, the warmth relaxes the proteins in the eggs, making them cooperate even further.
To warm your eggs quickly from the fridge, place them in a bowl at the beginning of the recipe. Cover them with the hottest water that comes out of your tap. By the time it’s egg time, they’ll be at the perfect warm temperature!
Why does the dough contain only egg whites instead of whole eggs?
Peanut butter based doughs are incredibly high in fat (shocking, I know). When a dough has too much fat, it actually ends up being crumbly and oily after it’s baked. That’s why so many peanut butter cookie recipes have that texture. To get around that, I tend to only use egg whites in peanut butter based doughs. It offers the structural protein in the egg without the extra fat from the yolk.
Which brand of marshmallow creme do you recommend?
Always the Fluff brand, manufactured in Massachusetts. If it isn’t an option, just use what you can, but I’m telling you: there’s a reason we stand by that one in my state.
What You’ll Need
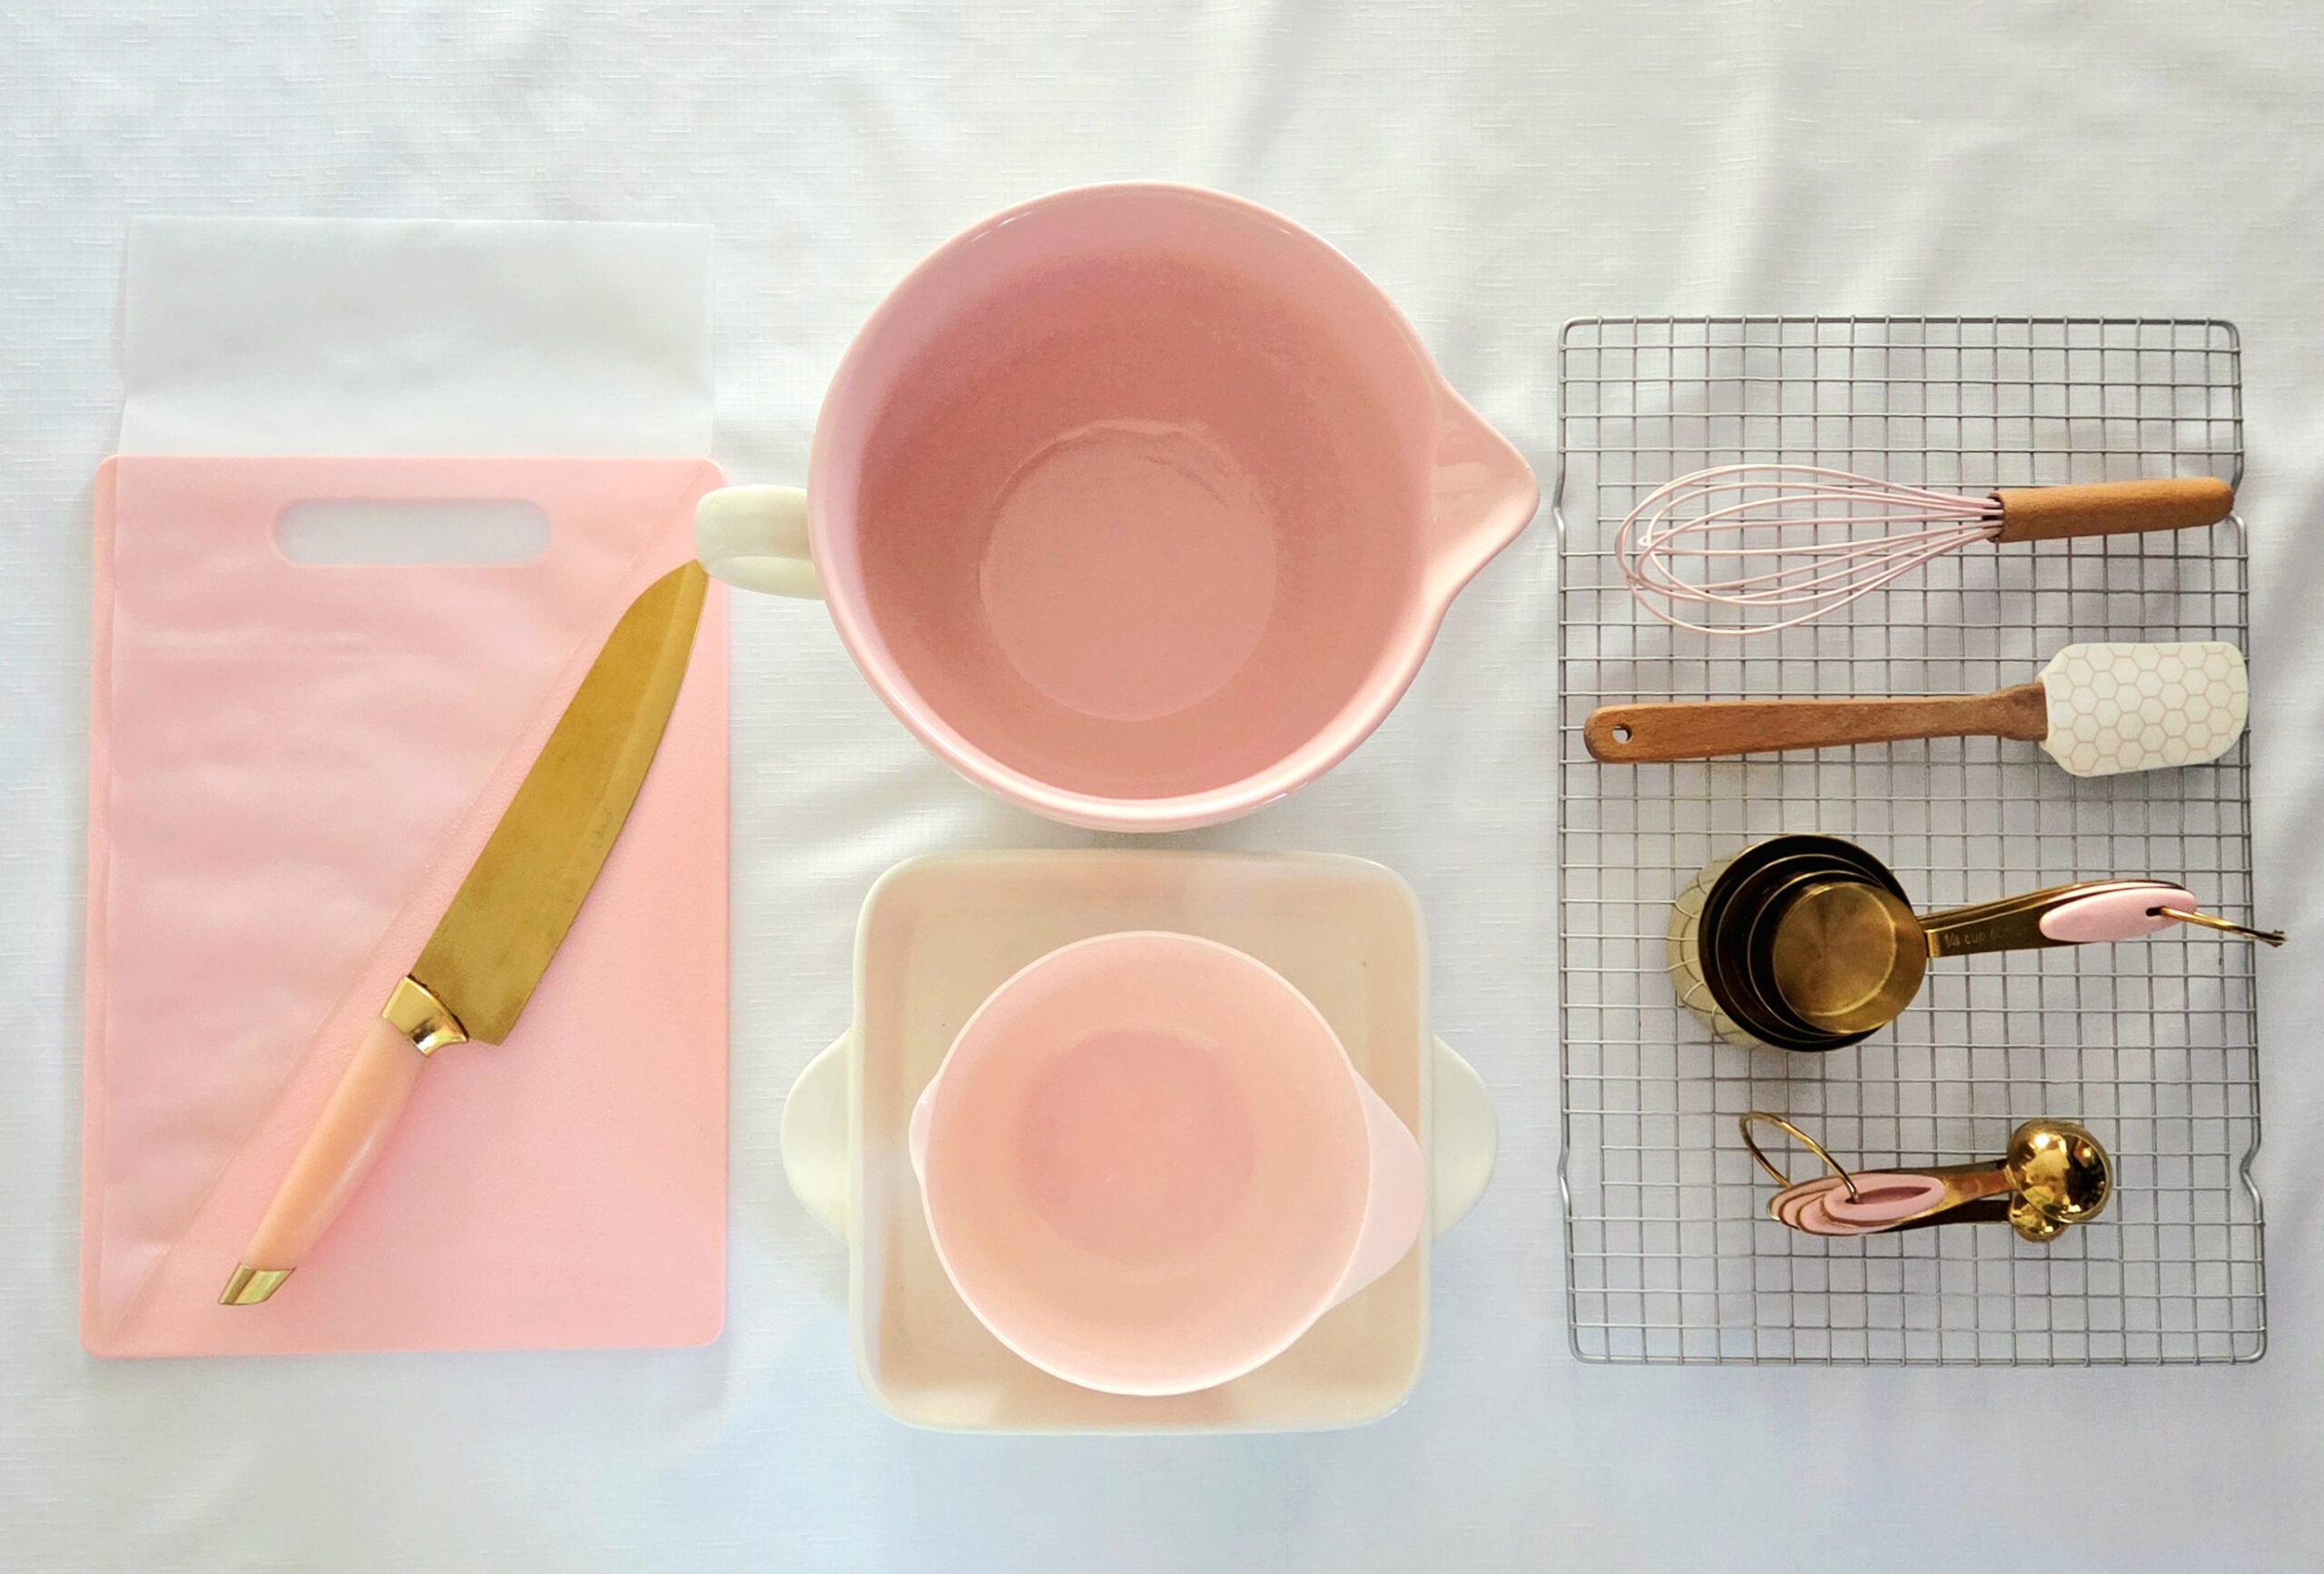
- 8×8 inch baking dish
- Parchment paper
- Small mixing bowl
- Medium mixing bowl
- Dry measuring cups
- Measuring spoons
- Whisk
- Rubber spatula
- Large piping bag or gallon zip-top bag
- Chef’s knife
- Cutting board
- Cooling rack
The Process
Before starting your bake, prepare the pan and the oven. Place the rack in the center of the oven and preheat it to 350F, on the convection setting if possible. Line up two sides and along the bottom of an 8×8 inch baking dish with parchment. I’m partial to a ceramic dish, but you could use a light metal pan if it’s what you’ve got. Grease the two uncovered sides with butter or nonstick baking spray. Set the pan aside.
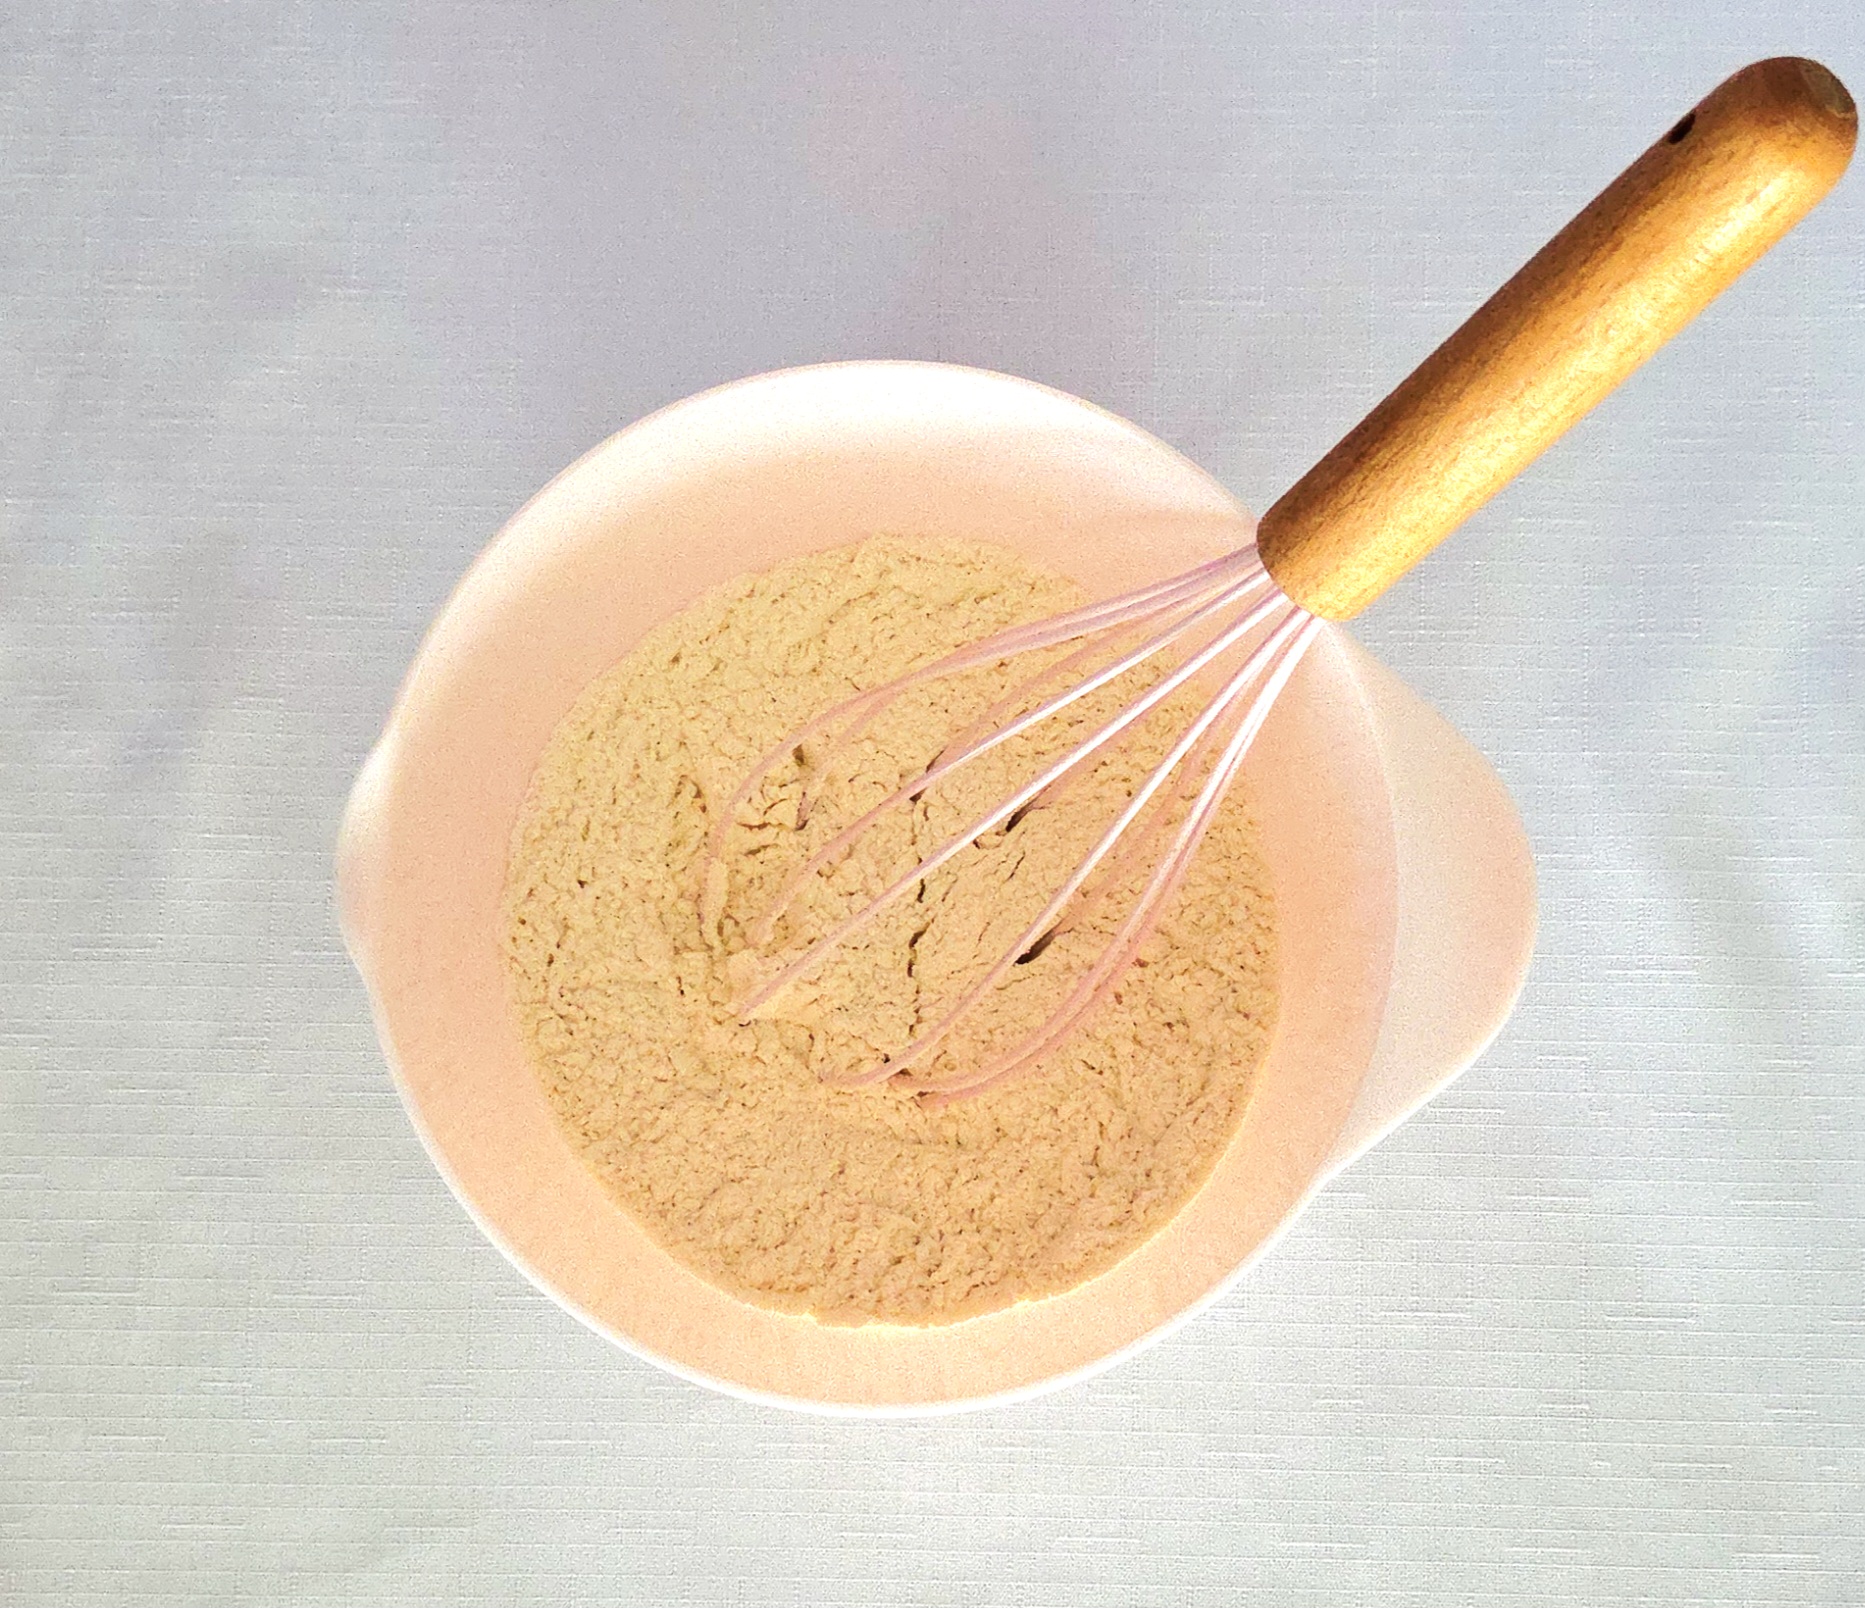
Whisk the flour, baking powder, and salt together in a small mixing bowl. Yes, you’re dirtying another bowl, but whisking the dry goods together ahead of time ensures they’ll be evenly distributed in the end. It’s worth the bit of extra effort.
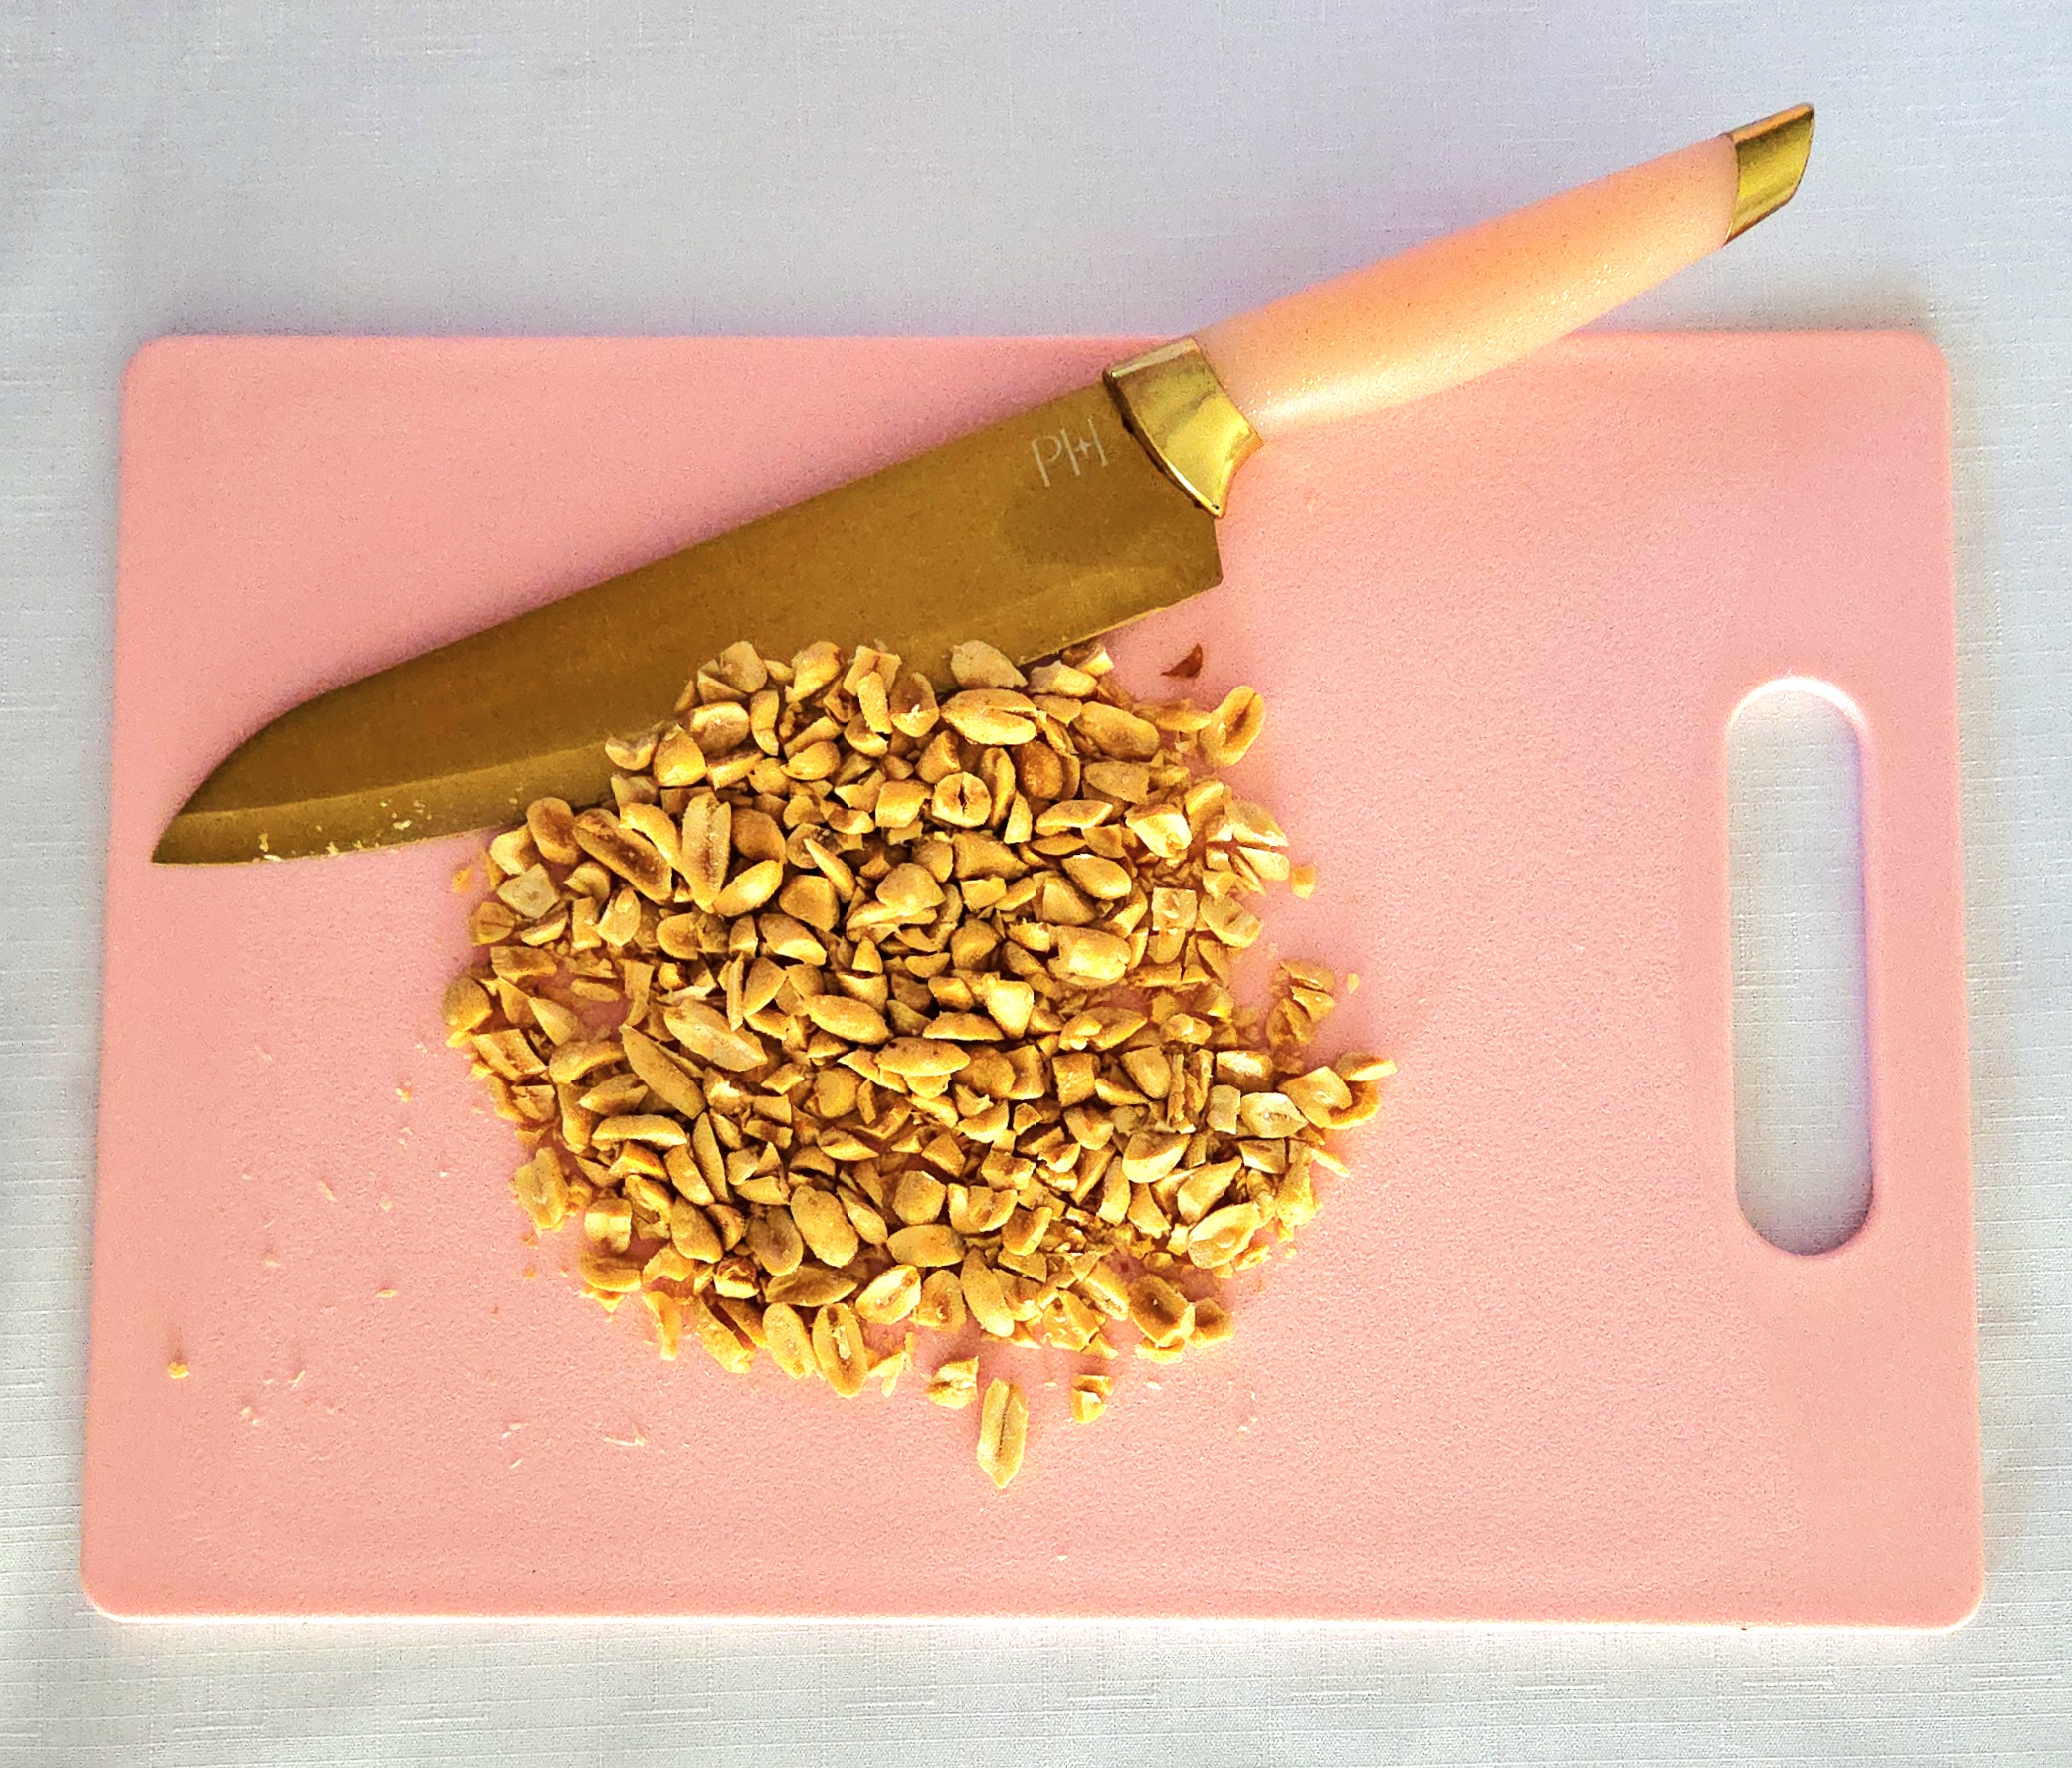
Using a chef’s knife, roughly chop the peanuts. The pieces should be on the larger side, as it makes for a better bite in the end. Set the peanuts aside until they’re needed.

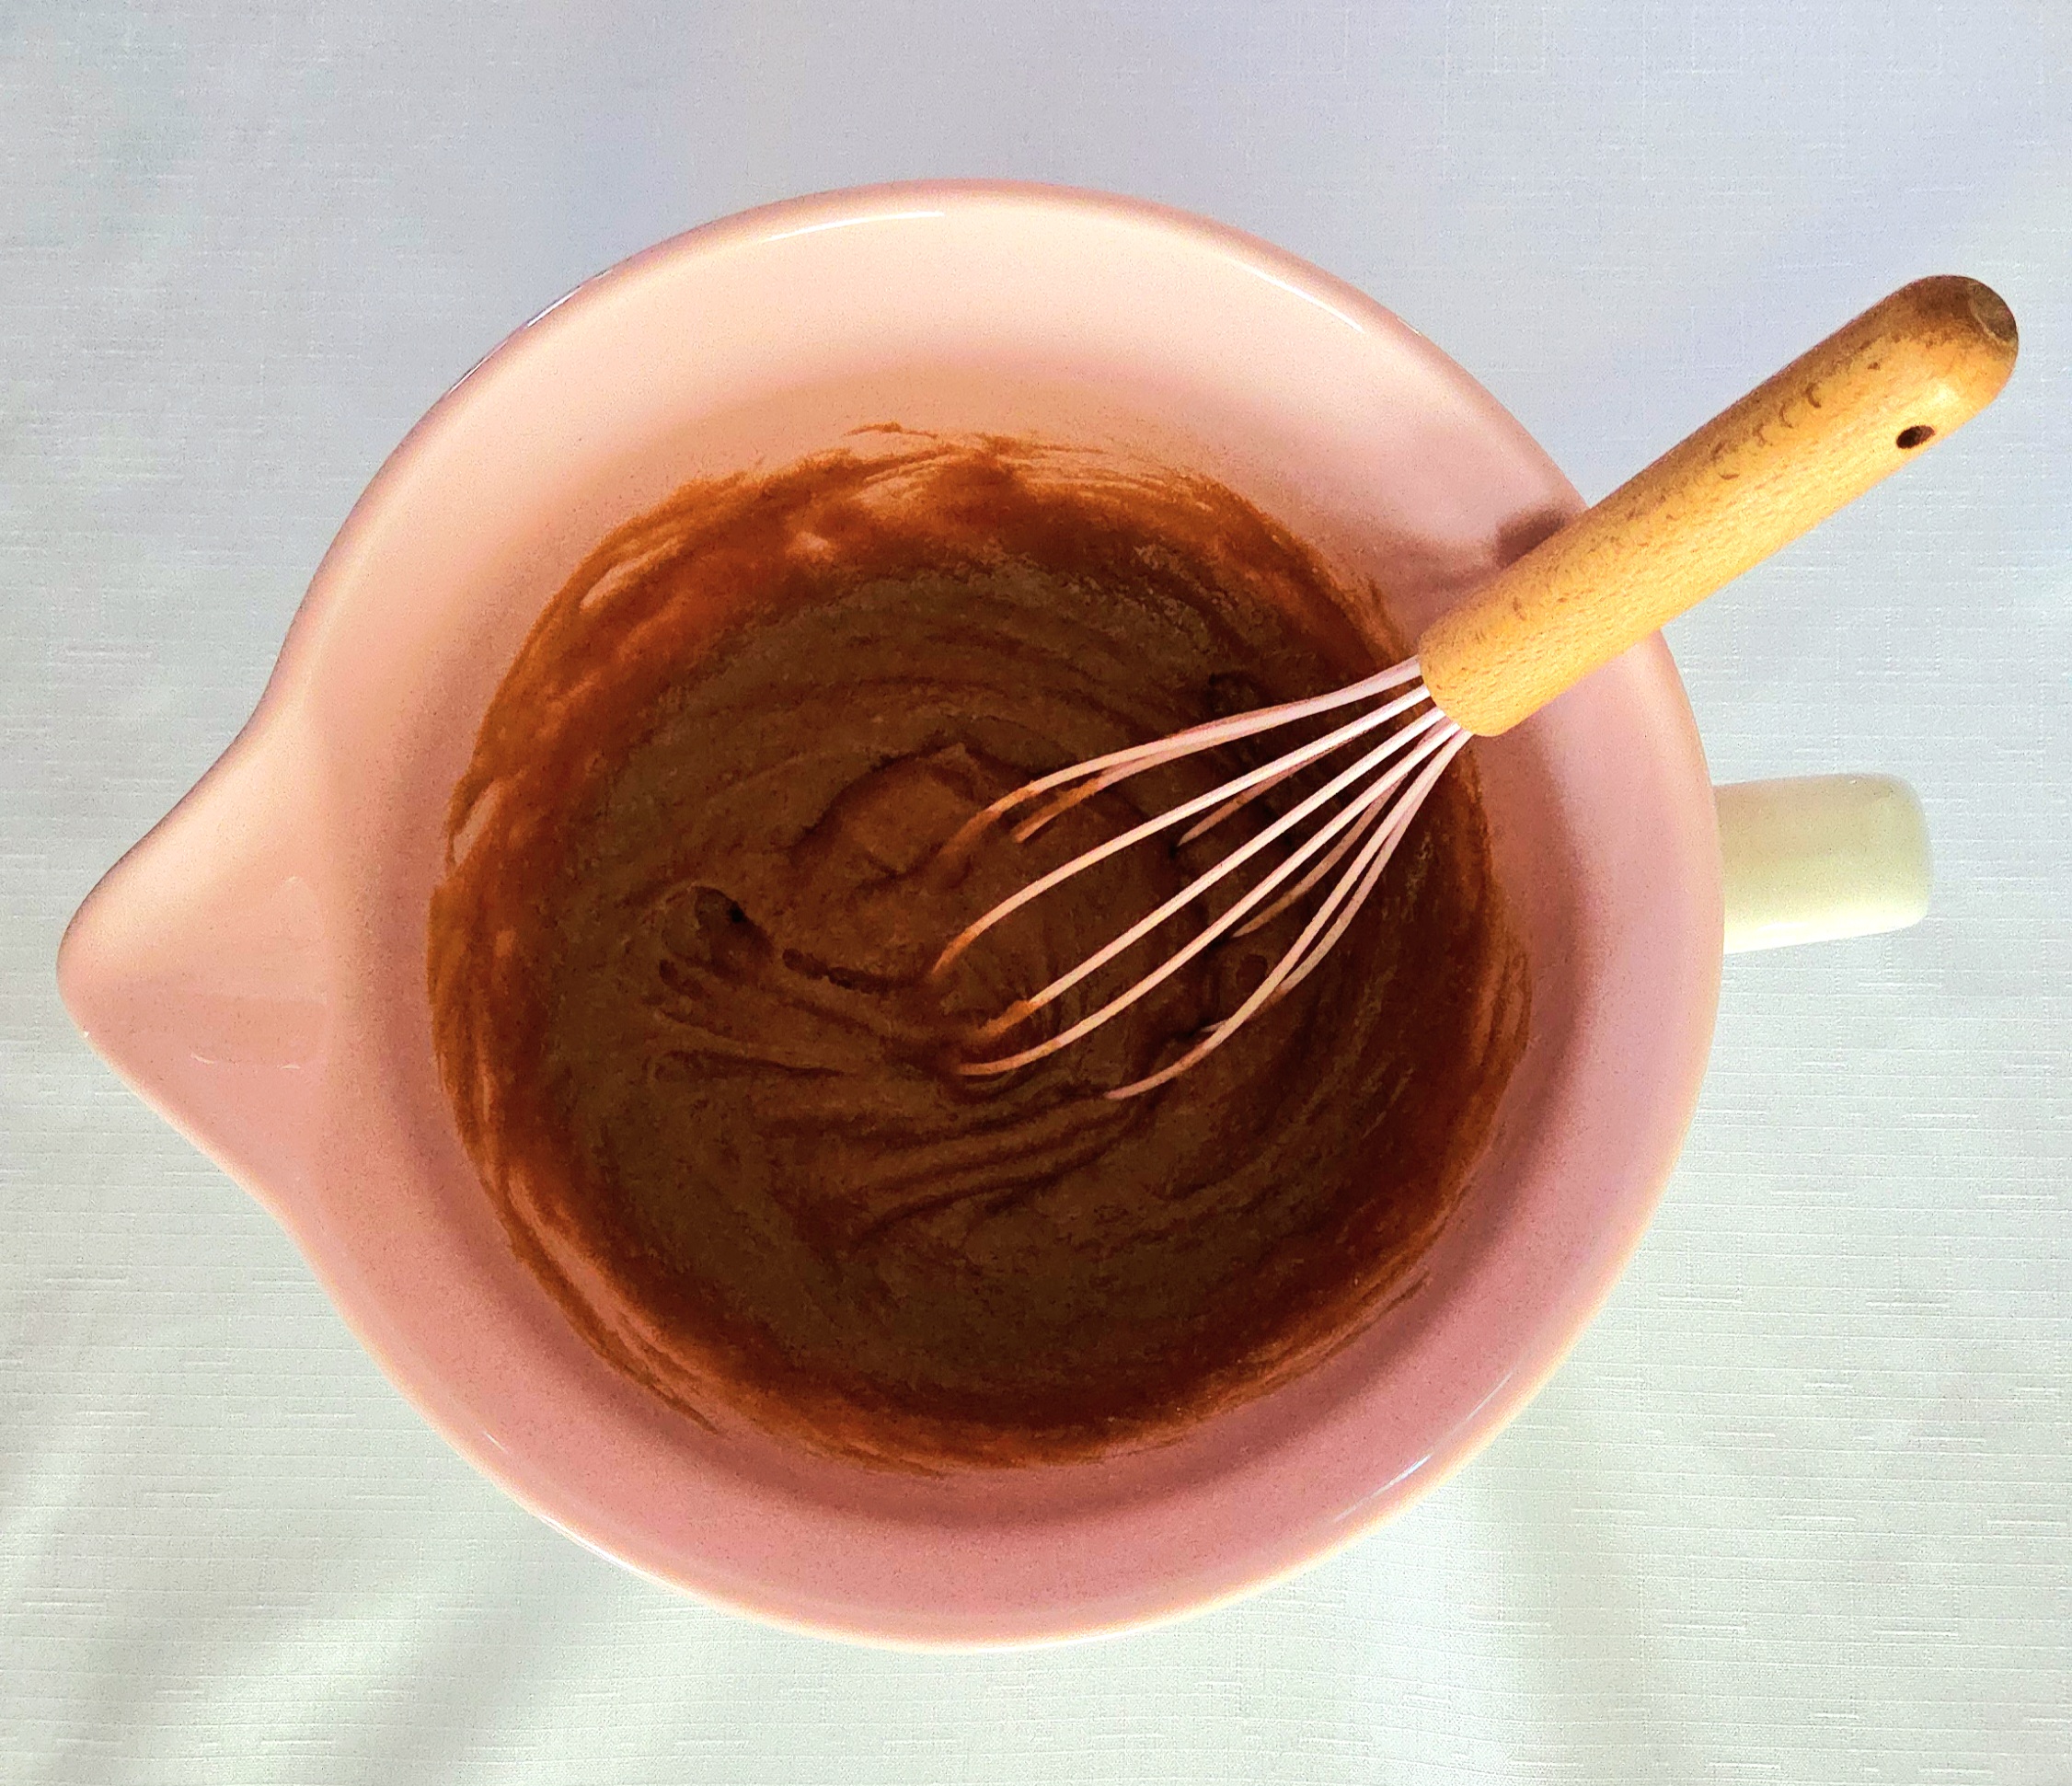
Melt the peanut butter. I just do this directly in the mixing bowl I’m going to throw the dough together in, in 30 second increments in the microwave. But if for some reason the microwave isn’t an option, you can do so in a pan on a low heat stove, then transfer it over to the mixing bowl. It can be warm, but should definitely not be hot.
Whisk in the sugar, egg whites, and vanilla extract. It should be a smooth, homogeneous mixture when you’re finished.
Add the dry goods all at once. Using a rubber spatula, stir the wet and dry together.
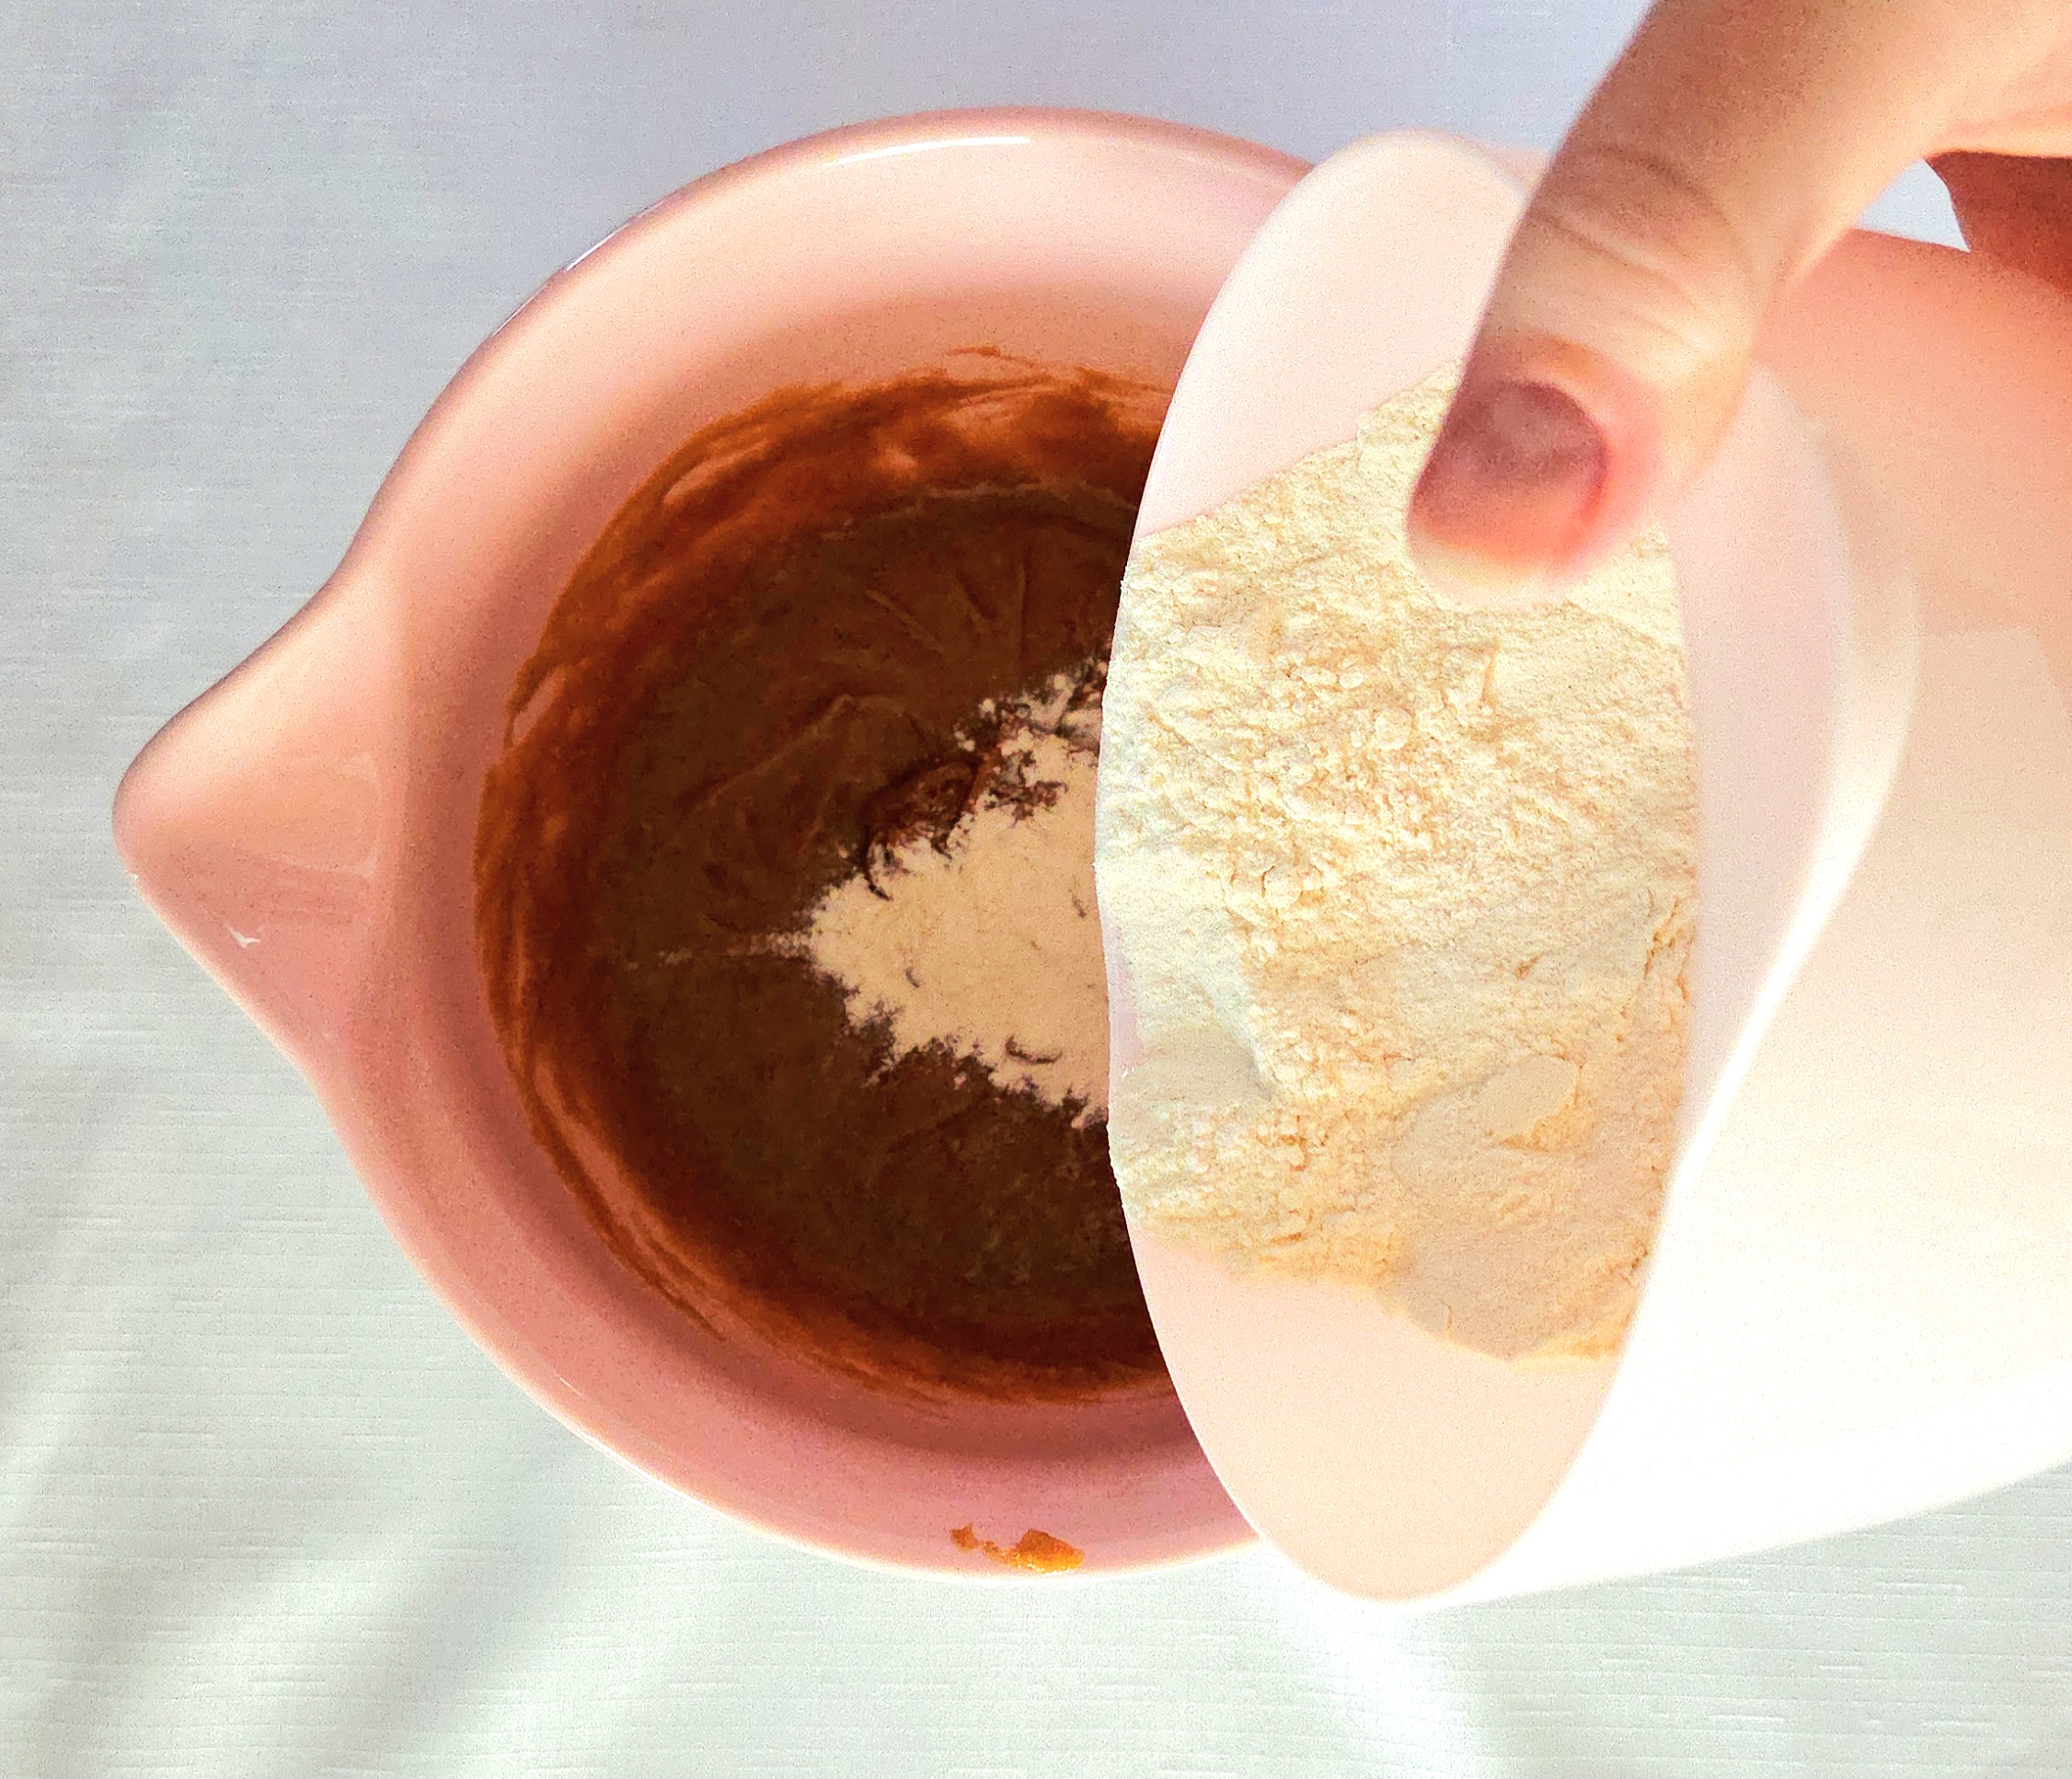
Once most of the flour has absorbed but a few visible streaks remain, dump in the chopped peanuts and peanut butter chips. Those streaks are a visual cue to you that you haven’t accidentally overworked the dough. Overworked dough means tough bars. Not exactly what I’d call delicious.
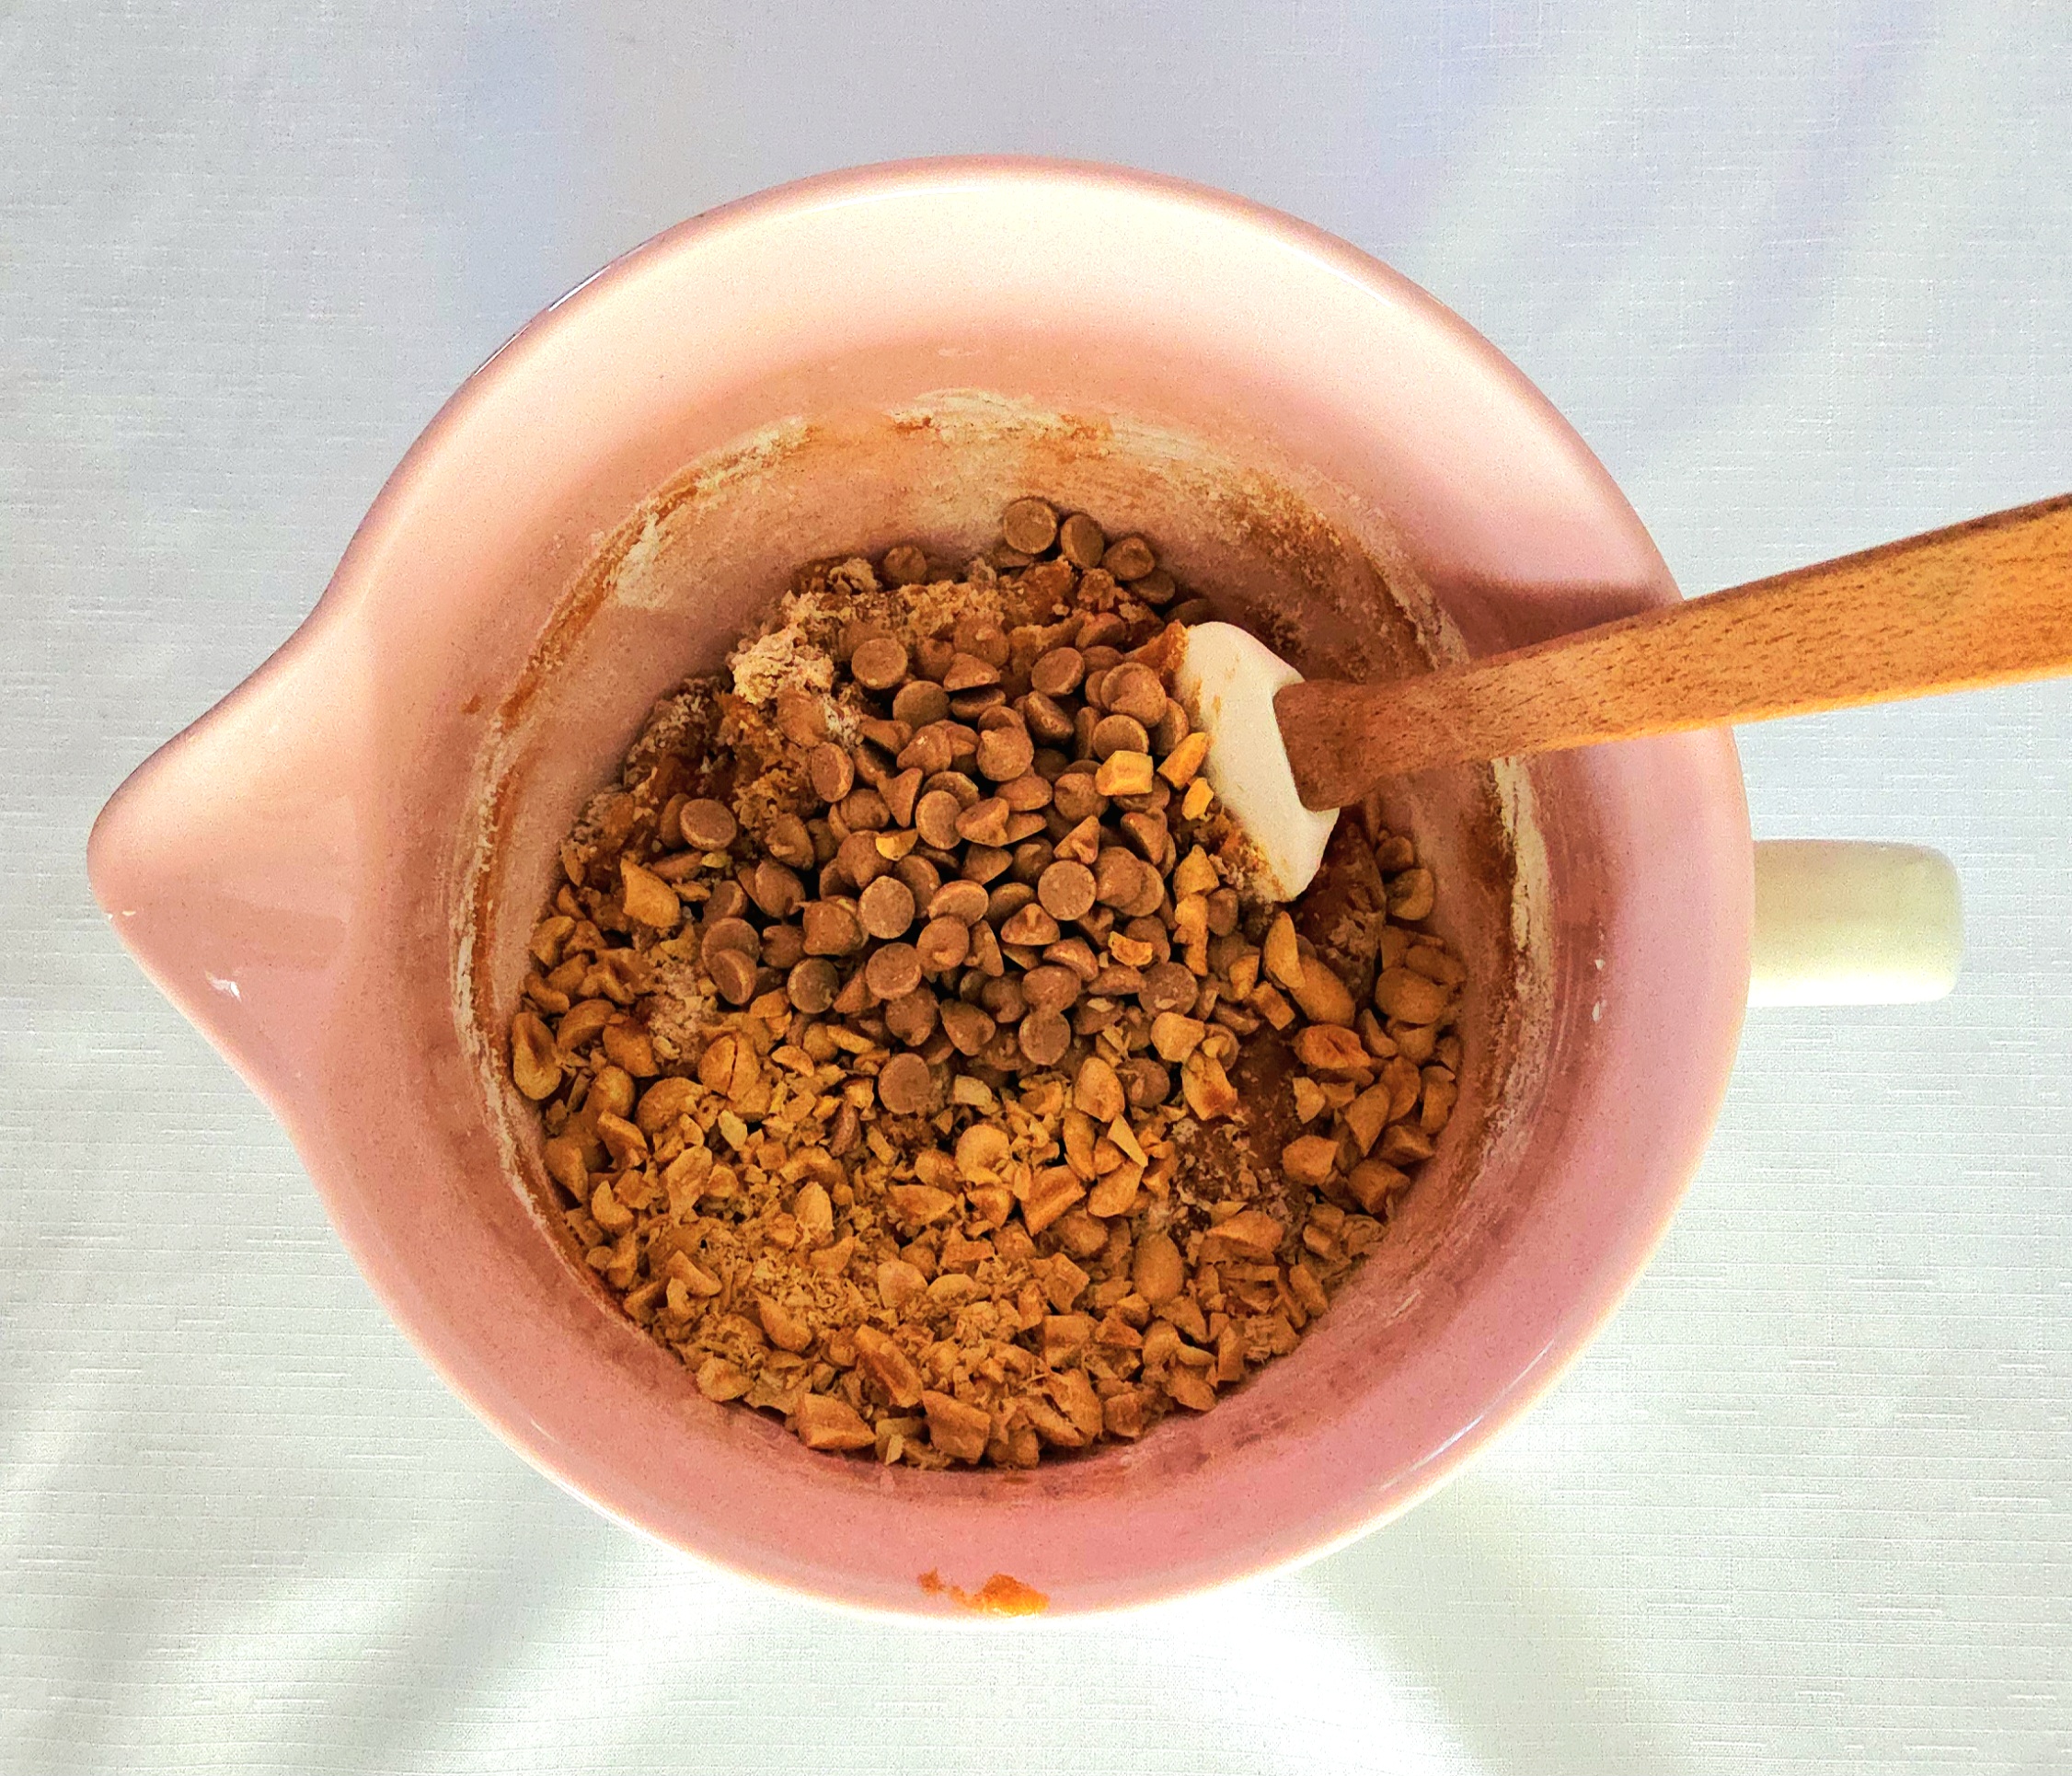
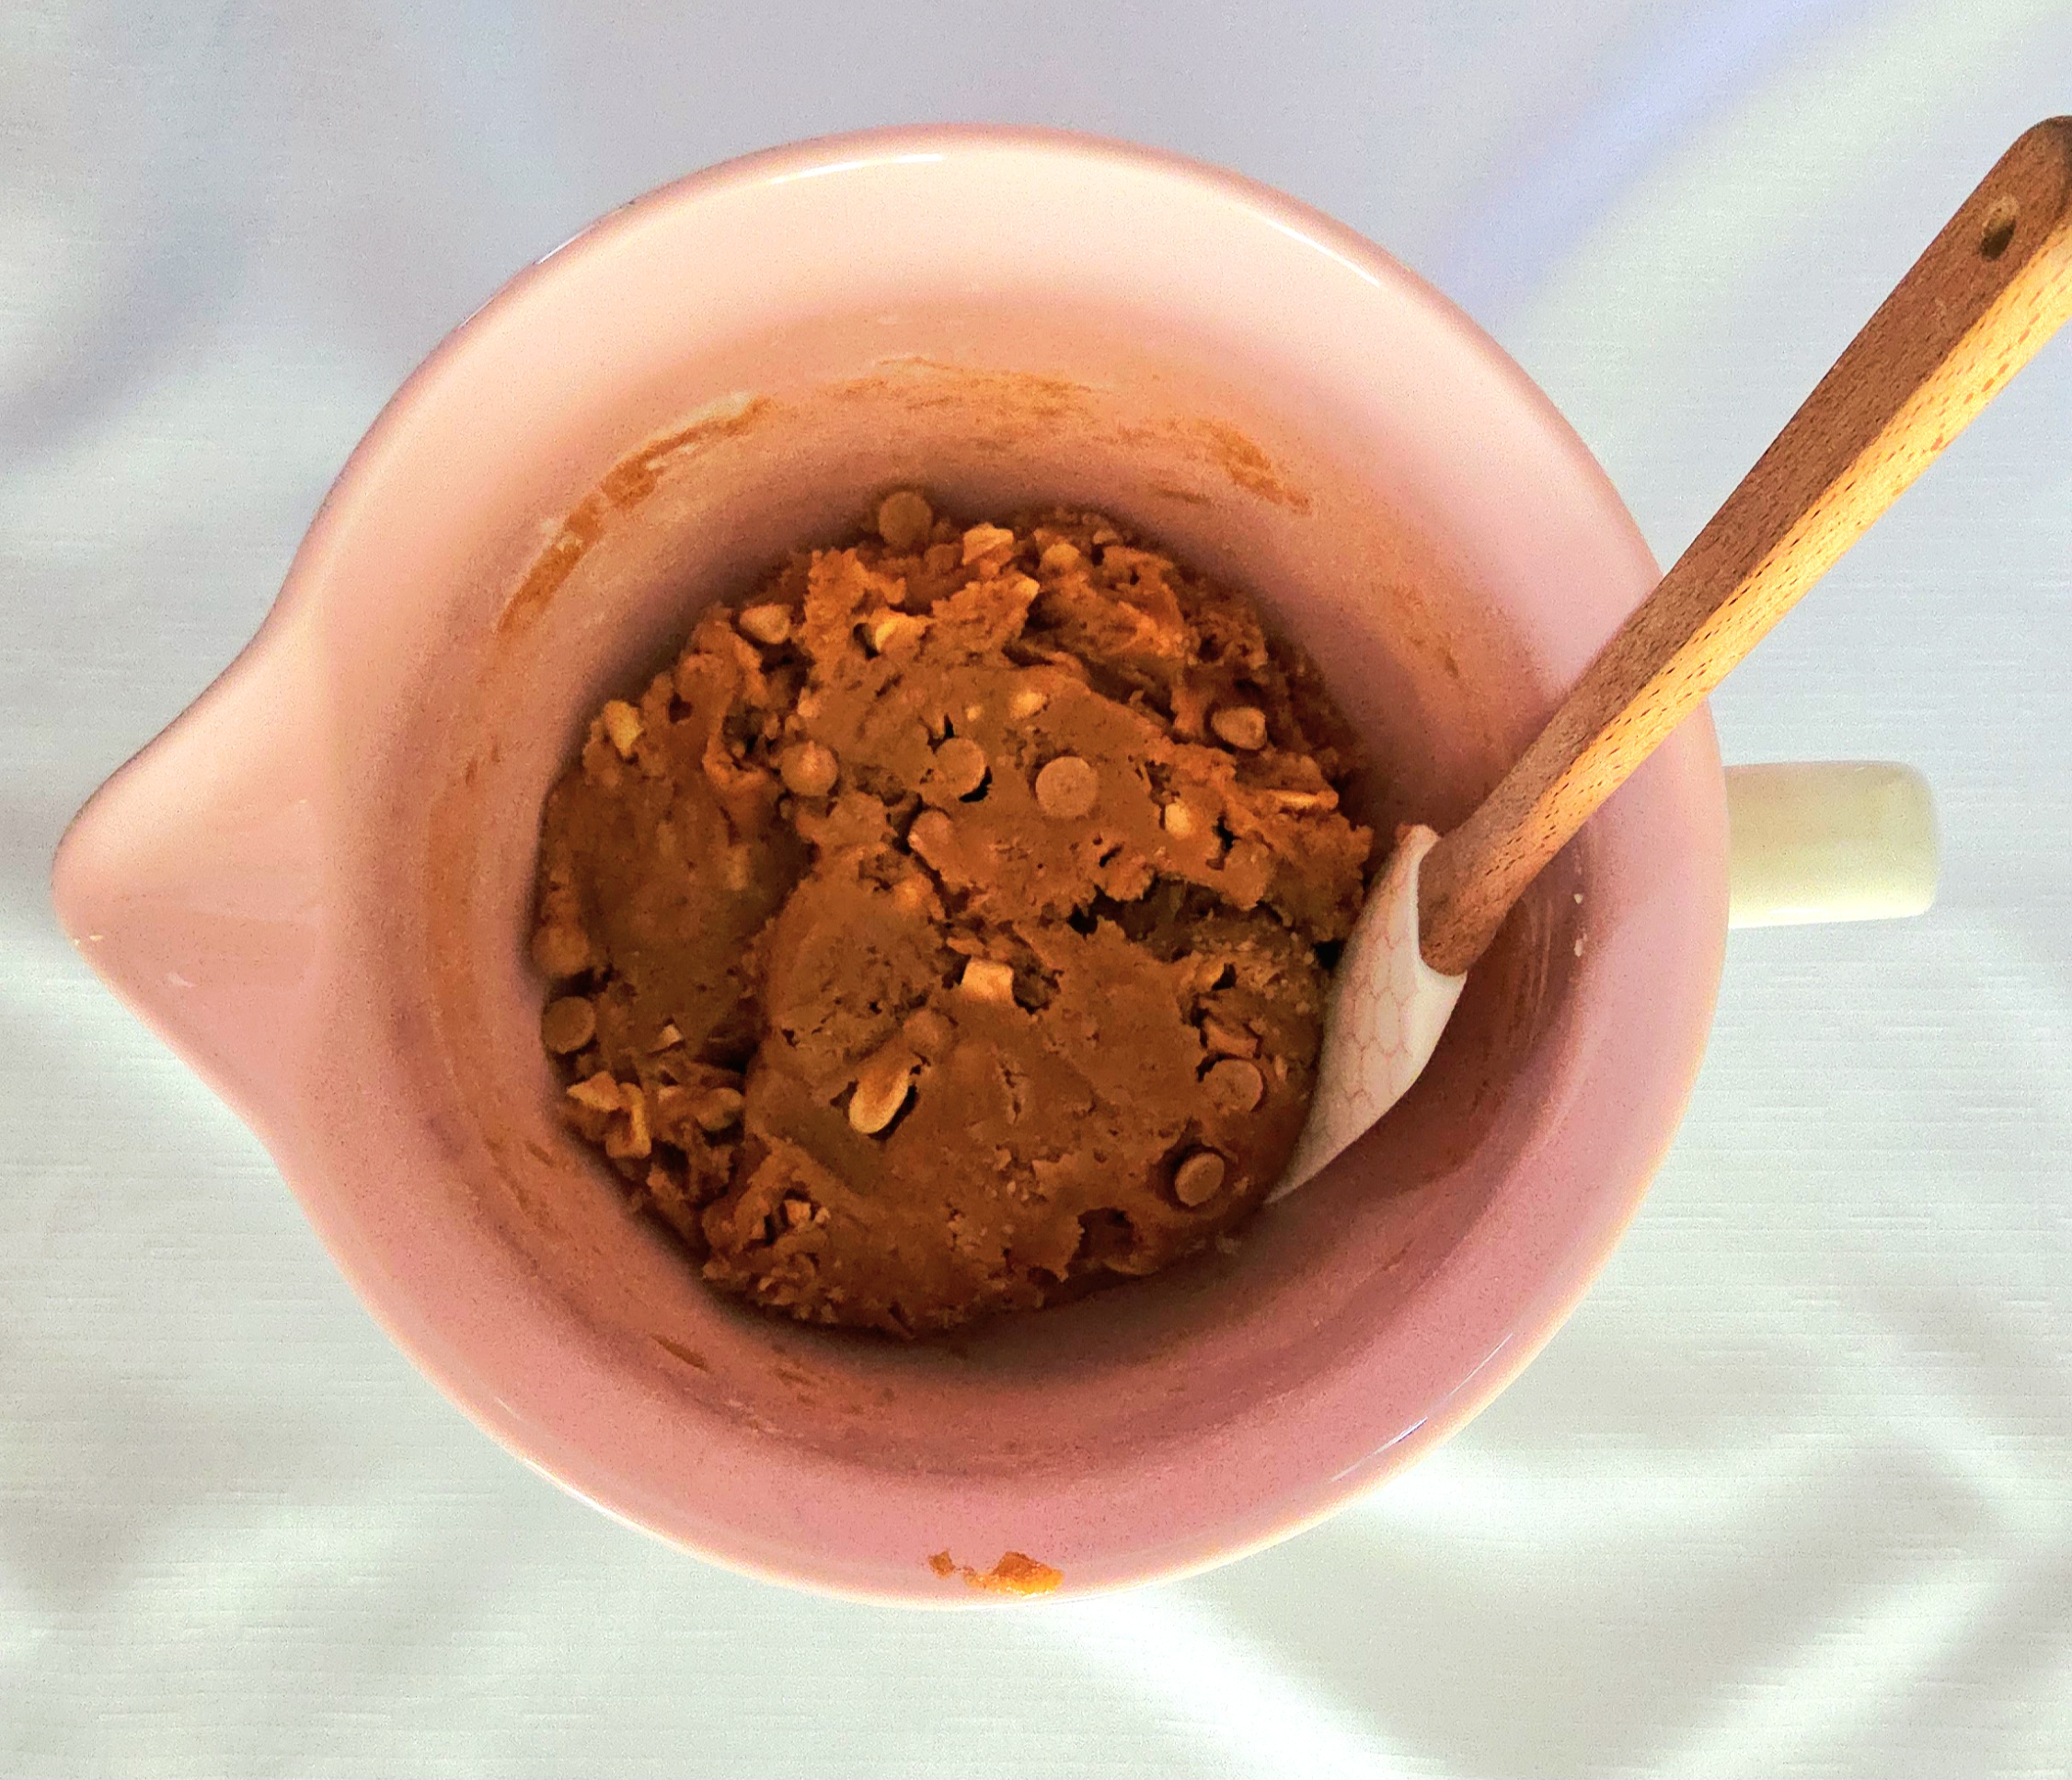
Stir the dough once again, until all of the flour has been absorbed and the nuts and chips are evenly distributed throughout it.
Get the marshmallow fluff ready to go. Fill either a large piping bag or a gallon sized zip-top bag with the fluff. This may take a few minutes, as fluff is both very sticky and very light, so gravity will not be on your side the way it is when you fill a piping bag with frosting. Twist the top opening, then place the bag on the counter and tuck the top of the bag underneath it.

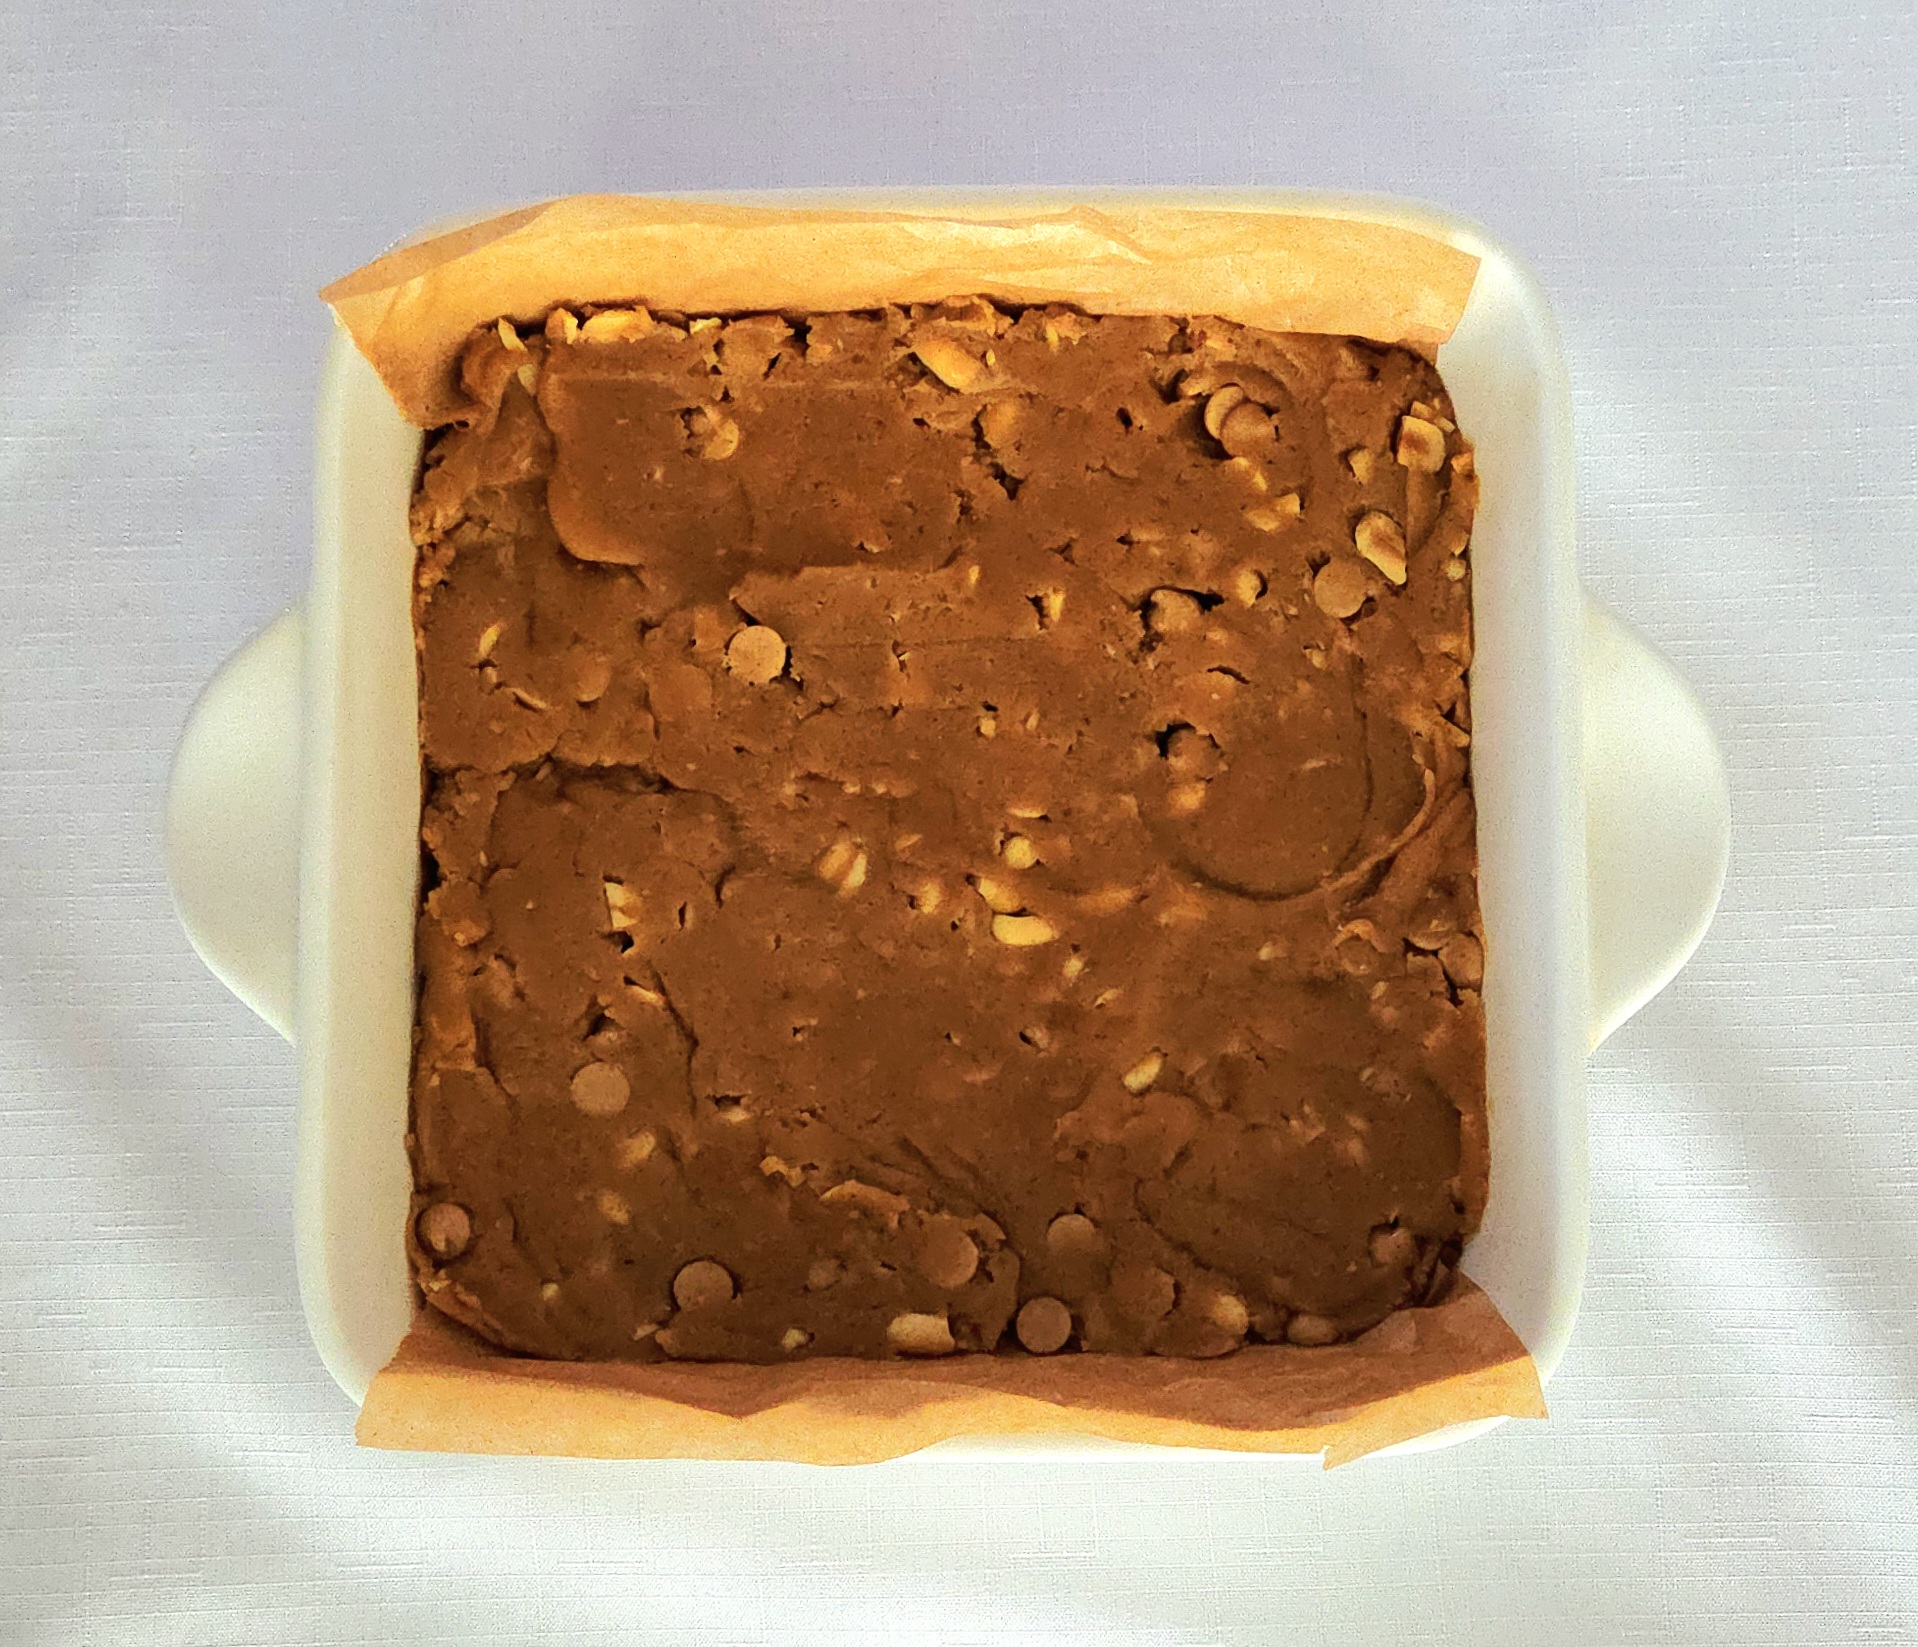
Bring the lined pan back into the picture. Press half of the dough evenly along the bottom of the dish.
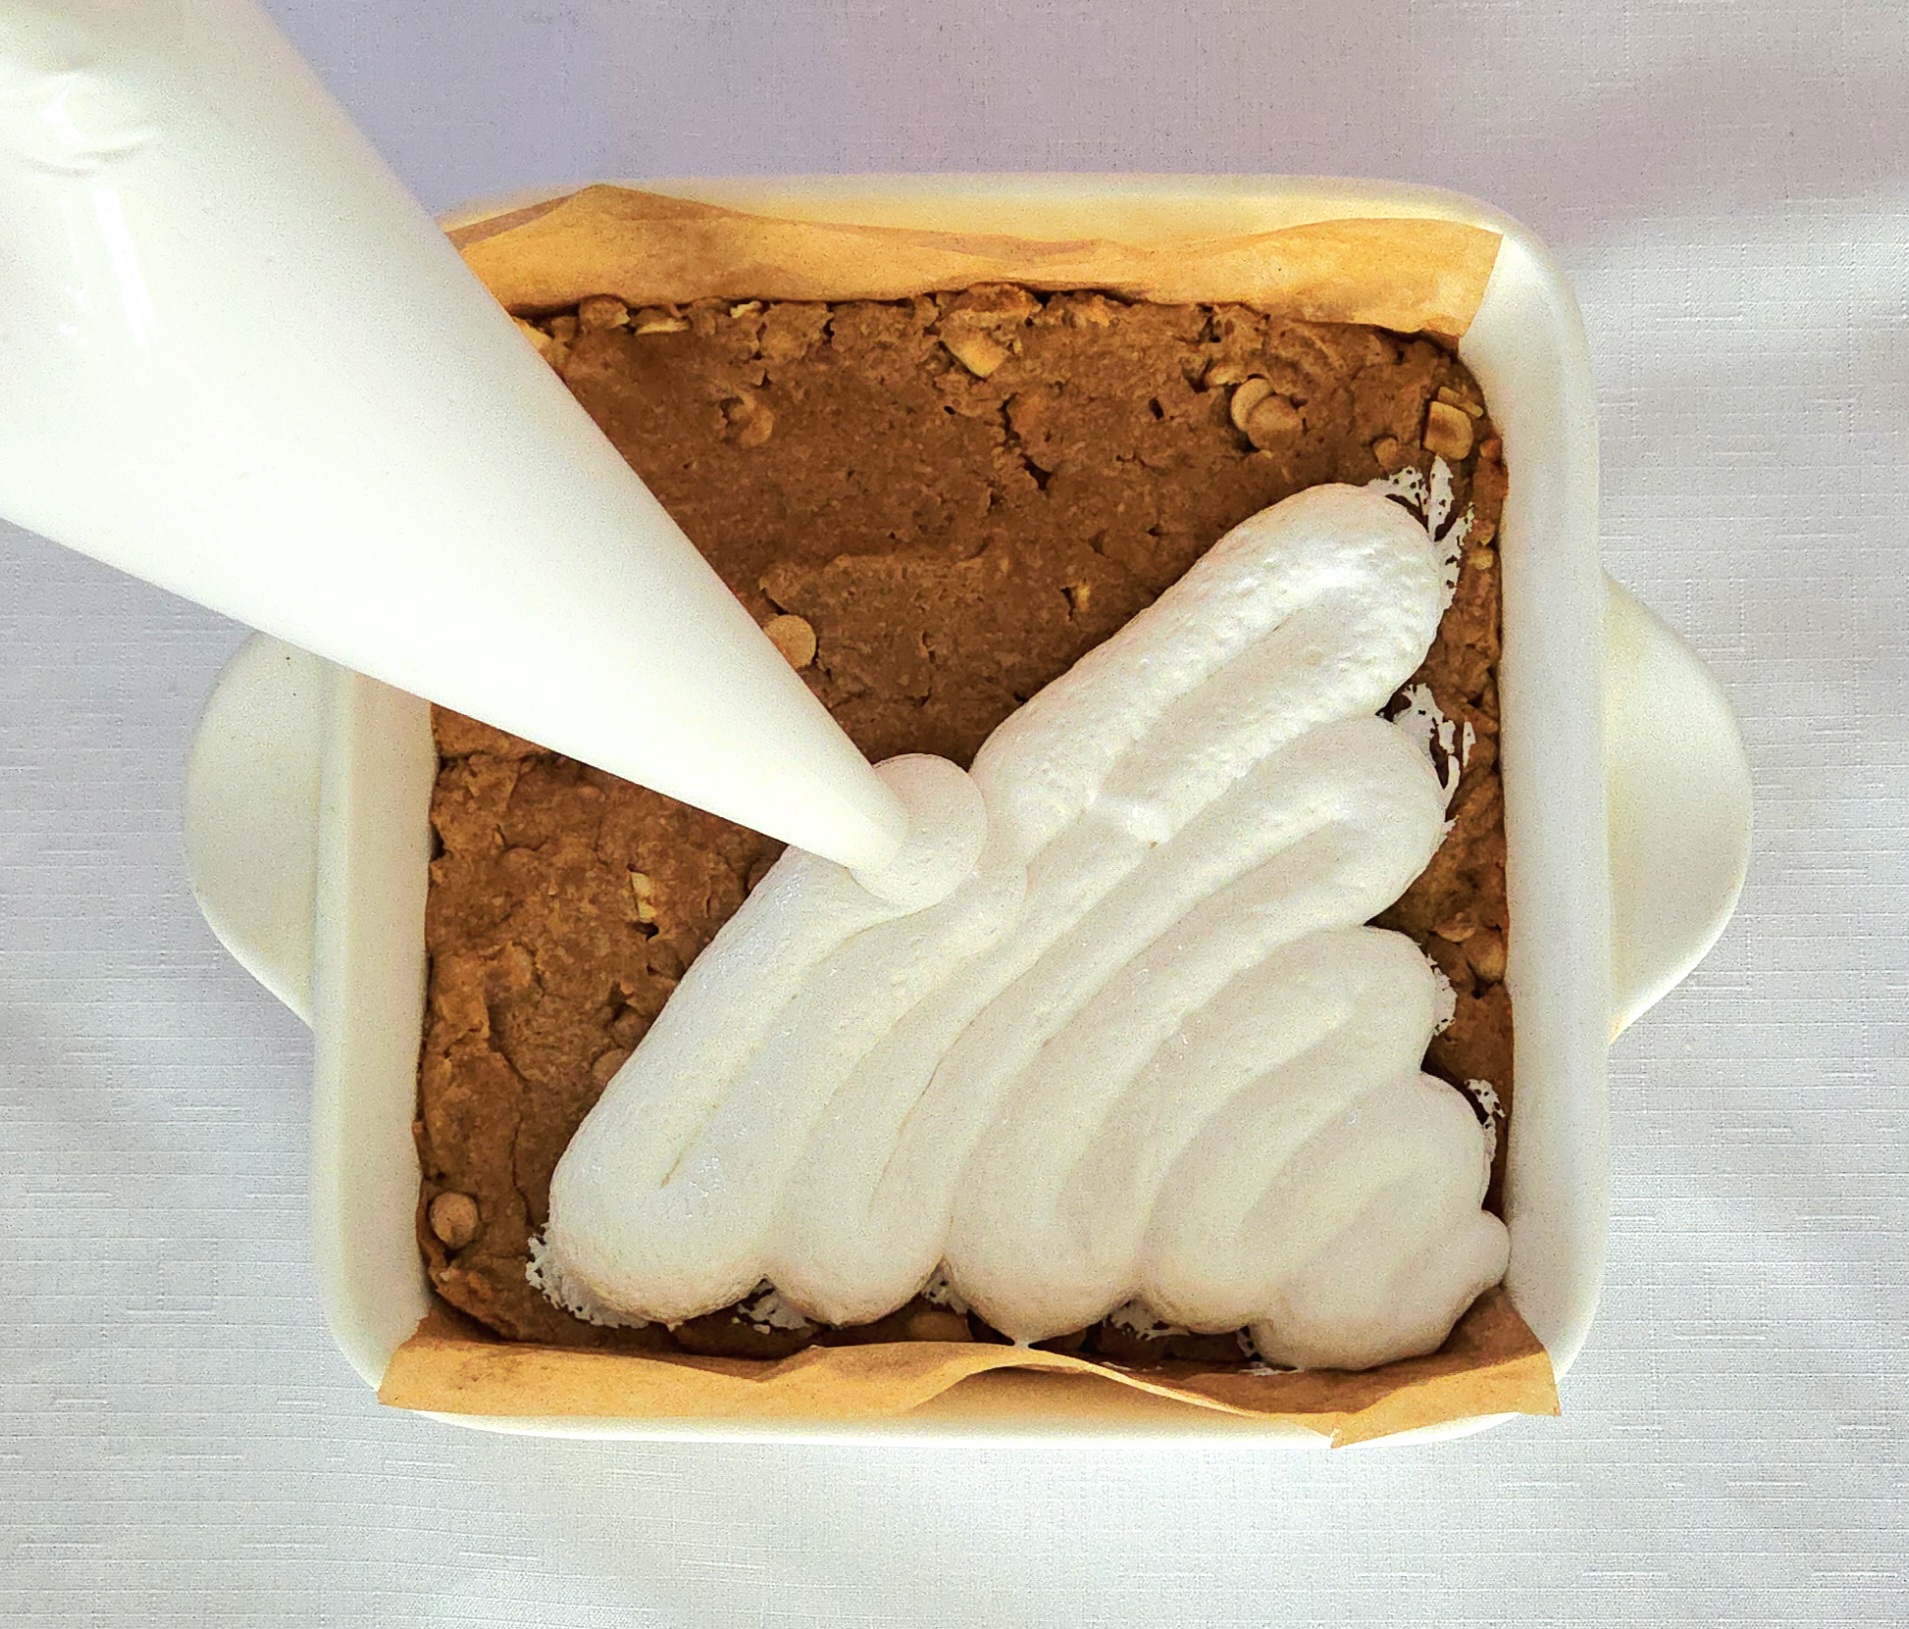
Grab the bag of fluff. Snip the bottom corner of the bag, at least an inch up. It needs to be wide enough for the fluff to be pushed through comfortably, or you’re going to have a bad time with a cramped hand. Secure the twisted top of the bag between your forefinger and thumb, and squeeze the bulk of the fluff with your other fingers. Pipe the fluff onto the bottom layer of dough, covering as much of it as you can.

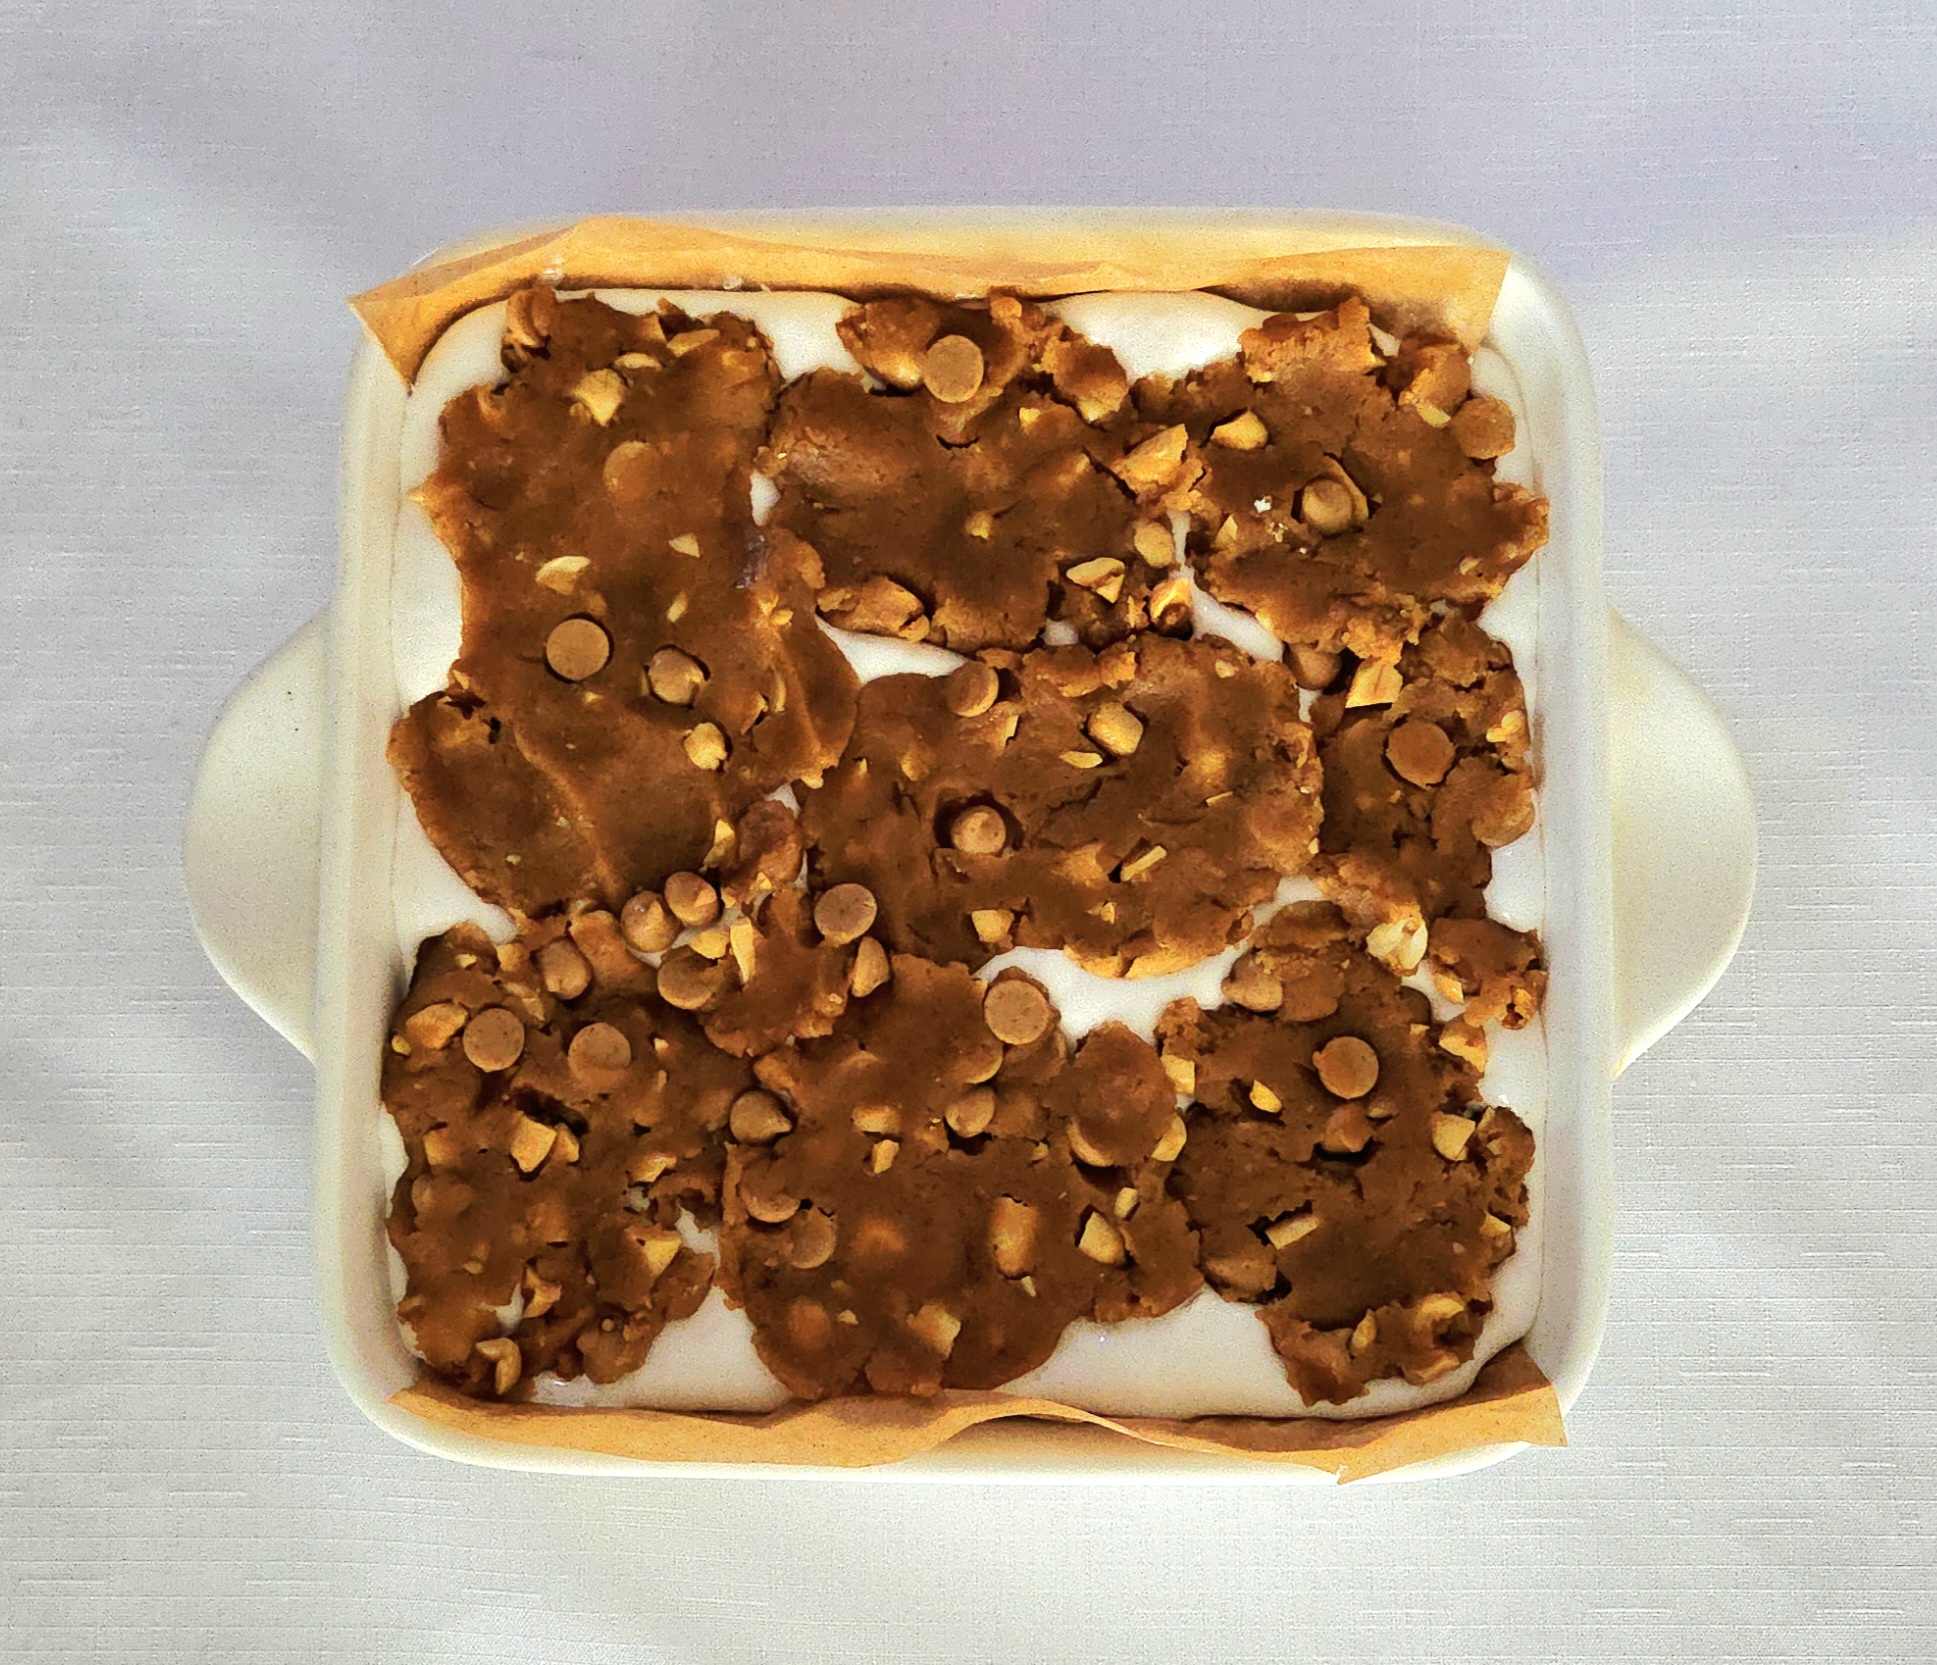
The top layer of dough I applied in pieces, after flattening them with my hands. Now, if you want to, you could try rolling out the dough into an 8×8 inch square and place that whole thing in one piece on top of the fluff. But seeing as this is a rustic bake anyways, flattening the dough piece by piece seemed like the less tedious option.
Place the bars in the heated oven on the center rack. Bake it for 35 minutes or so, flipping the pan around halfway through. The top will be golden, and the fluff will be bubbly.
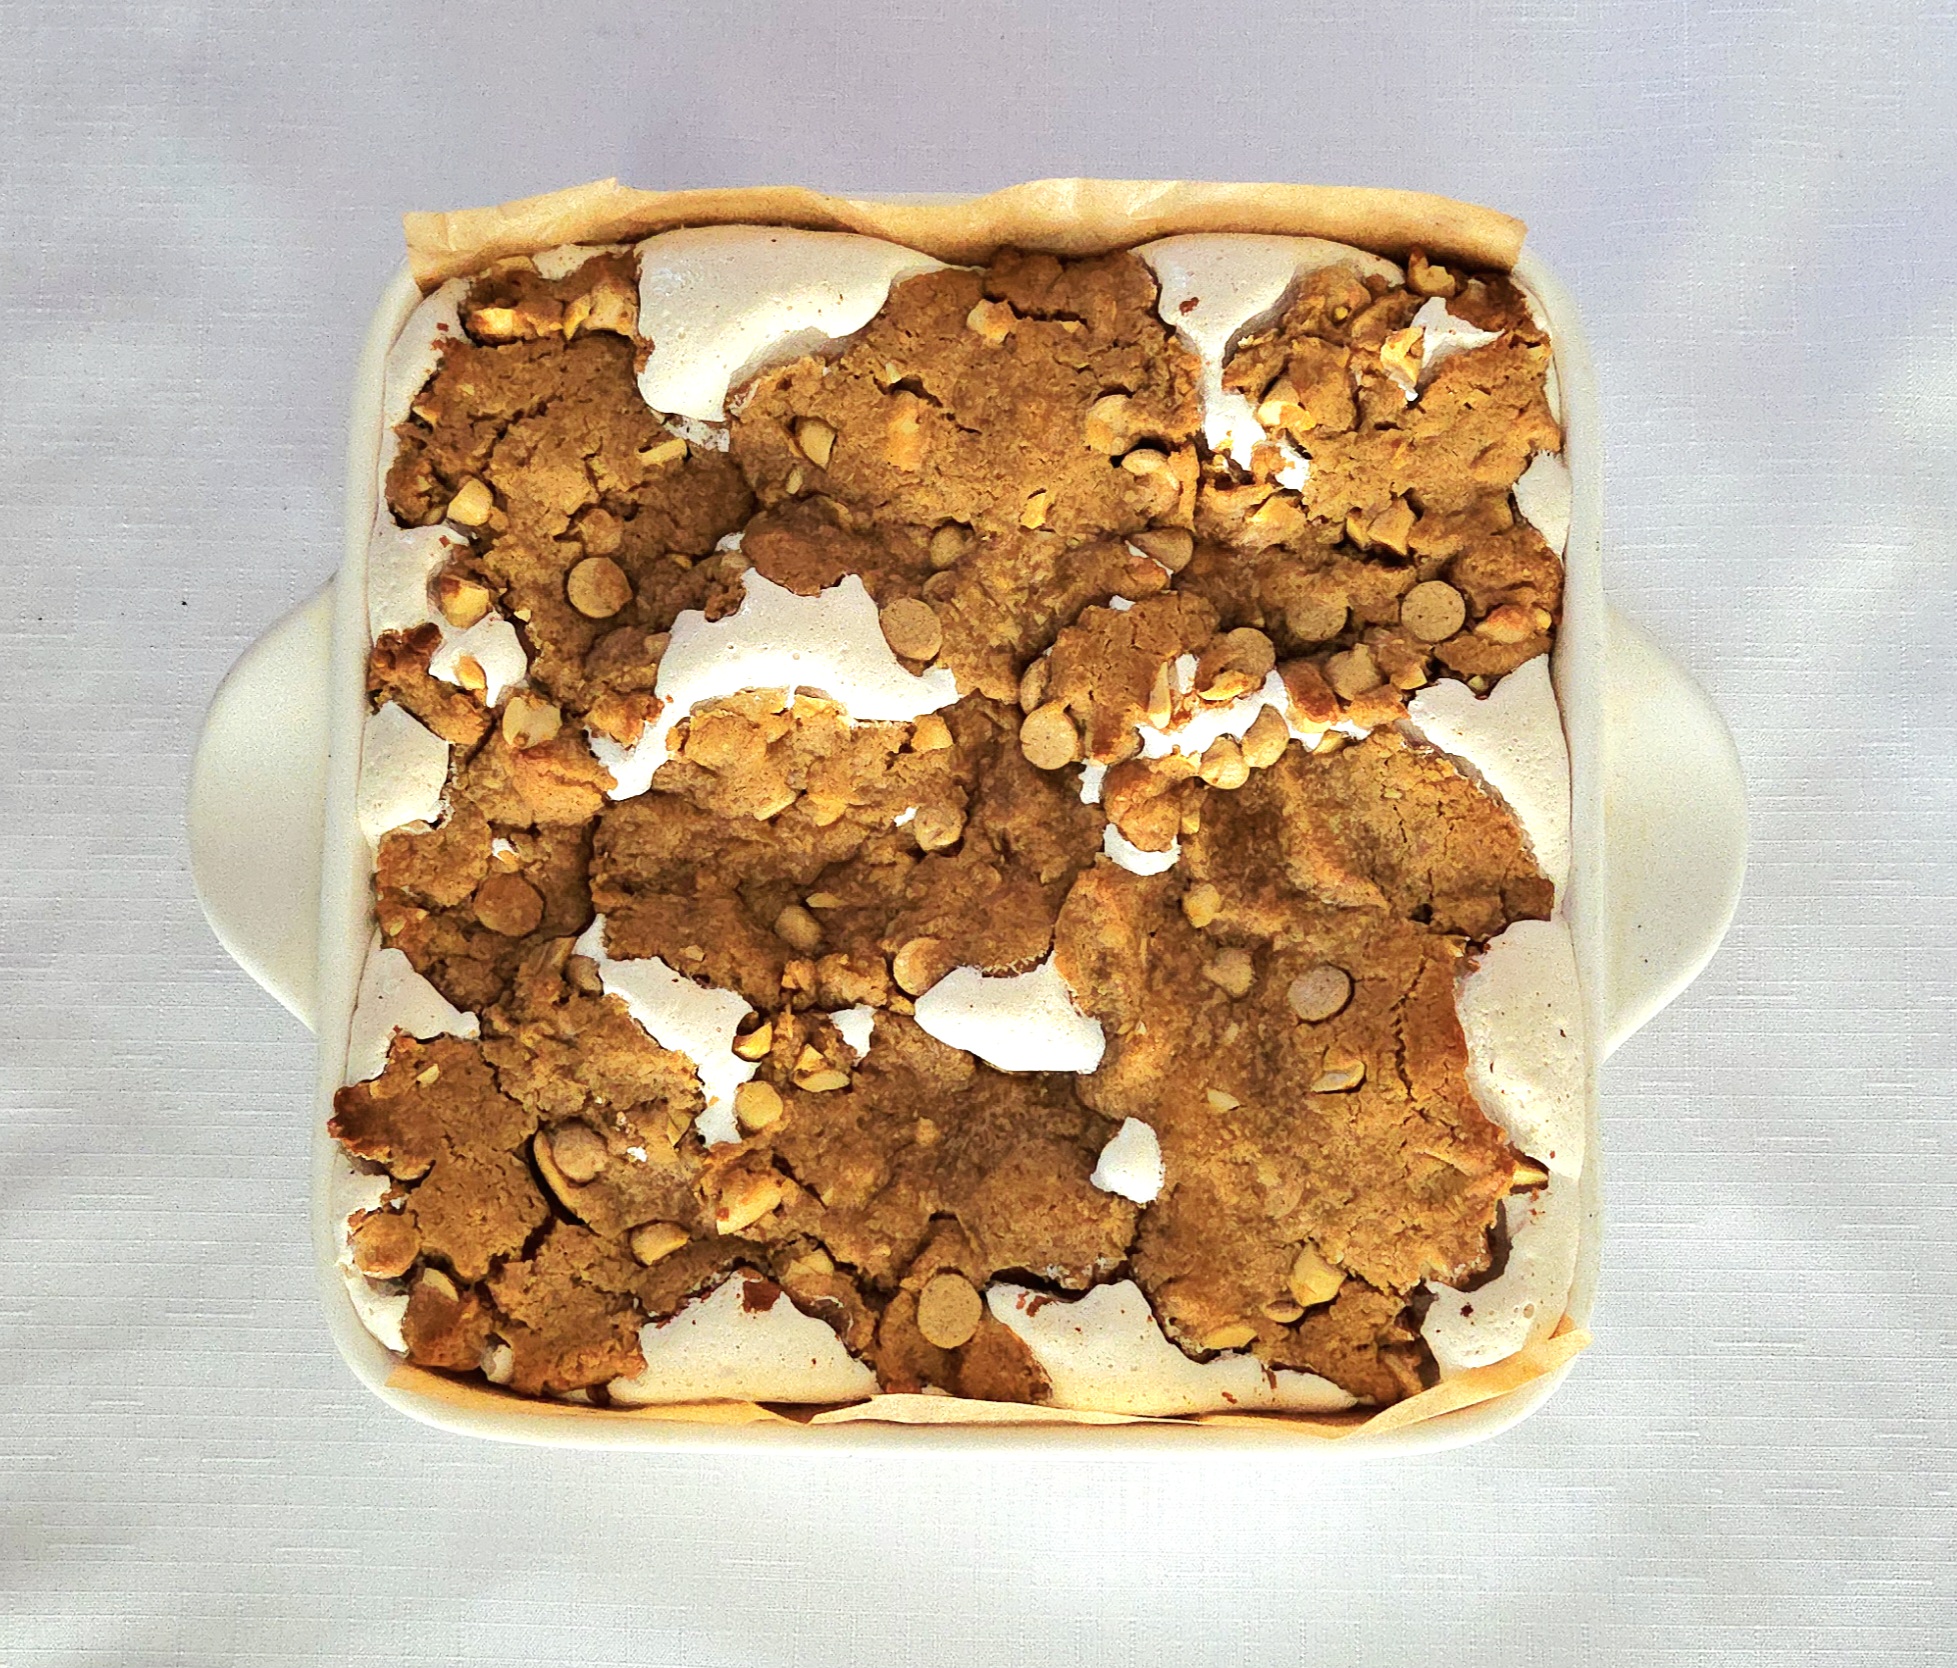
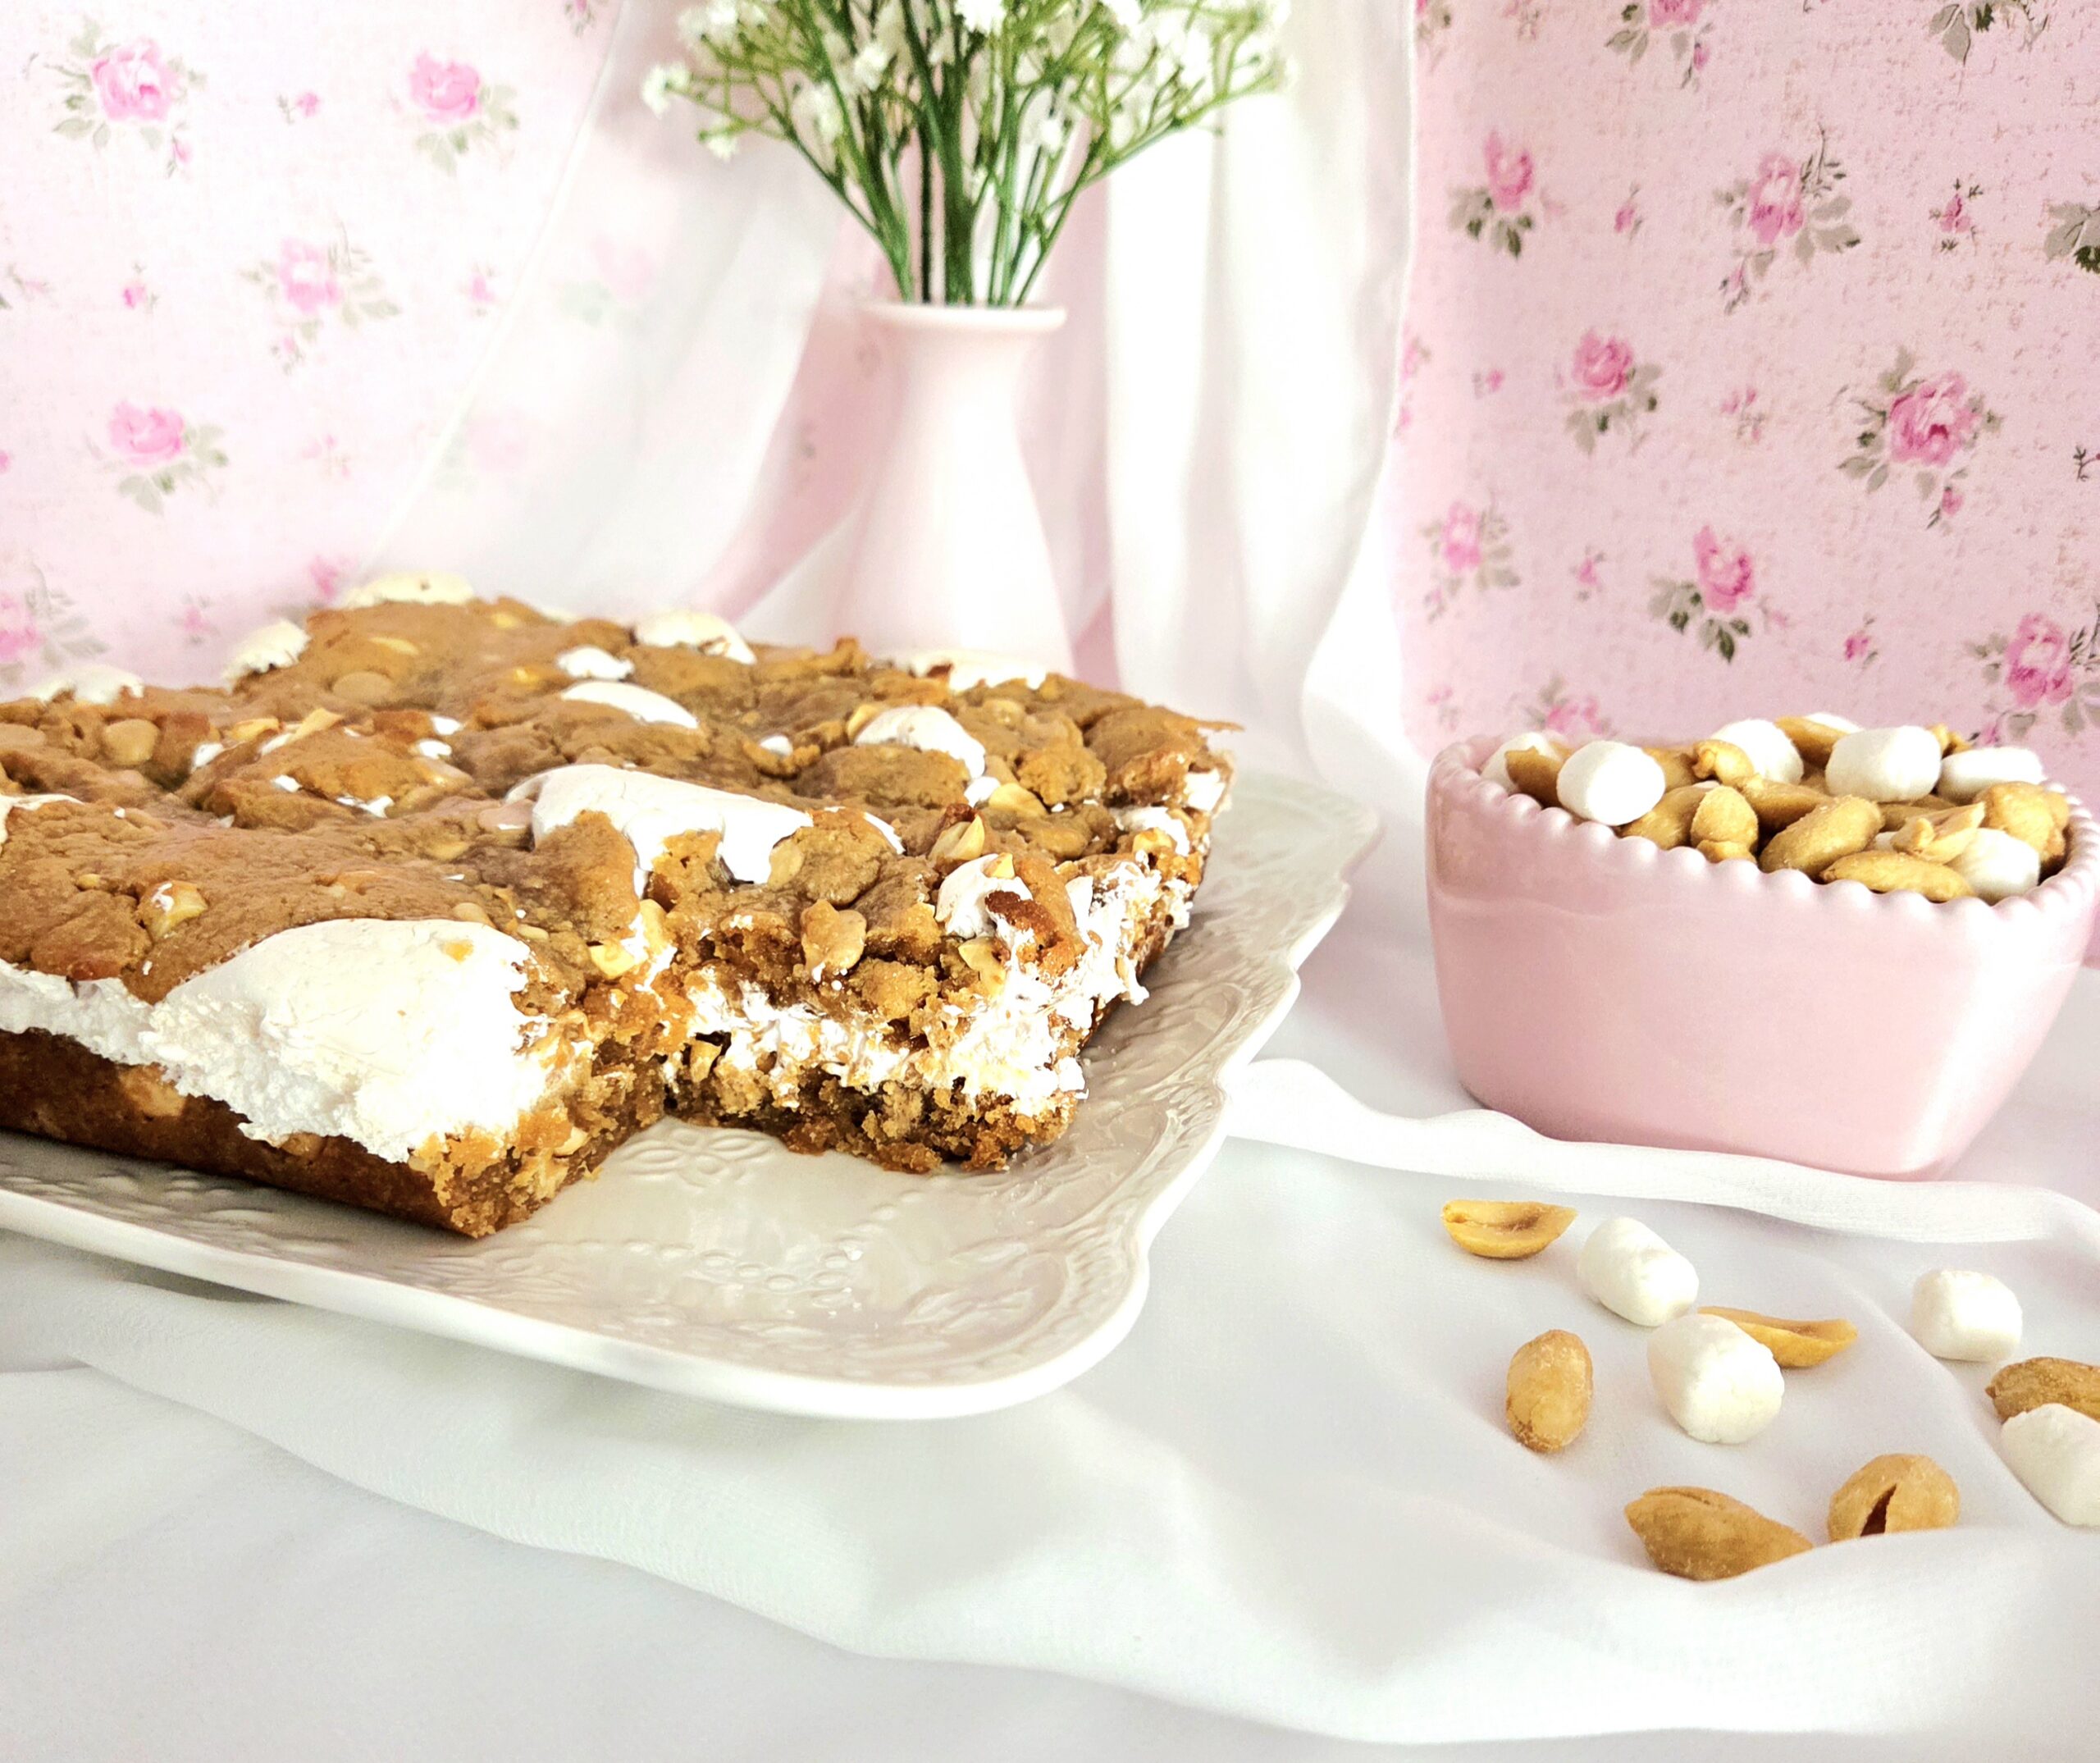
Once it’s finished baking, let the slab rest in the pan for at least 30 minutes. If you try to move it too soon, that molten marshmallow will cause the top layer to start sliding off. Giving it time to cool and set in the pan firms the slab enough to allow it to hold its shape. After that 30 minutes, transfer the slab over to a cooling rack to finish coming down to room temperature.

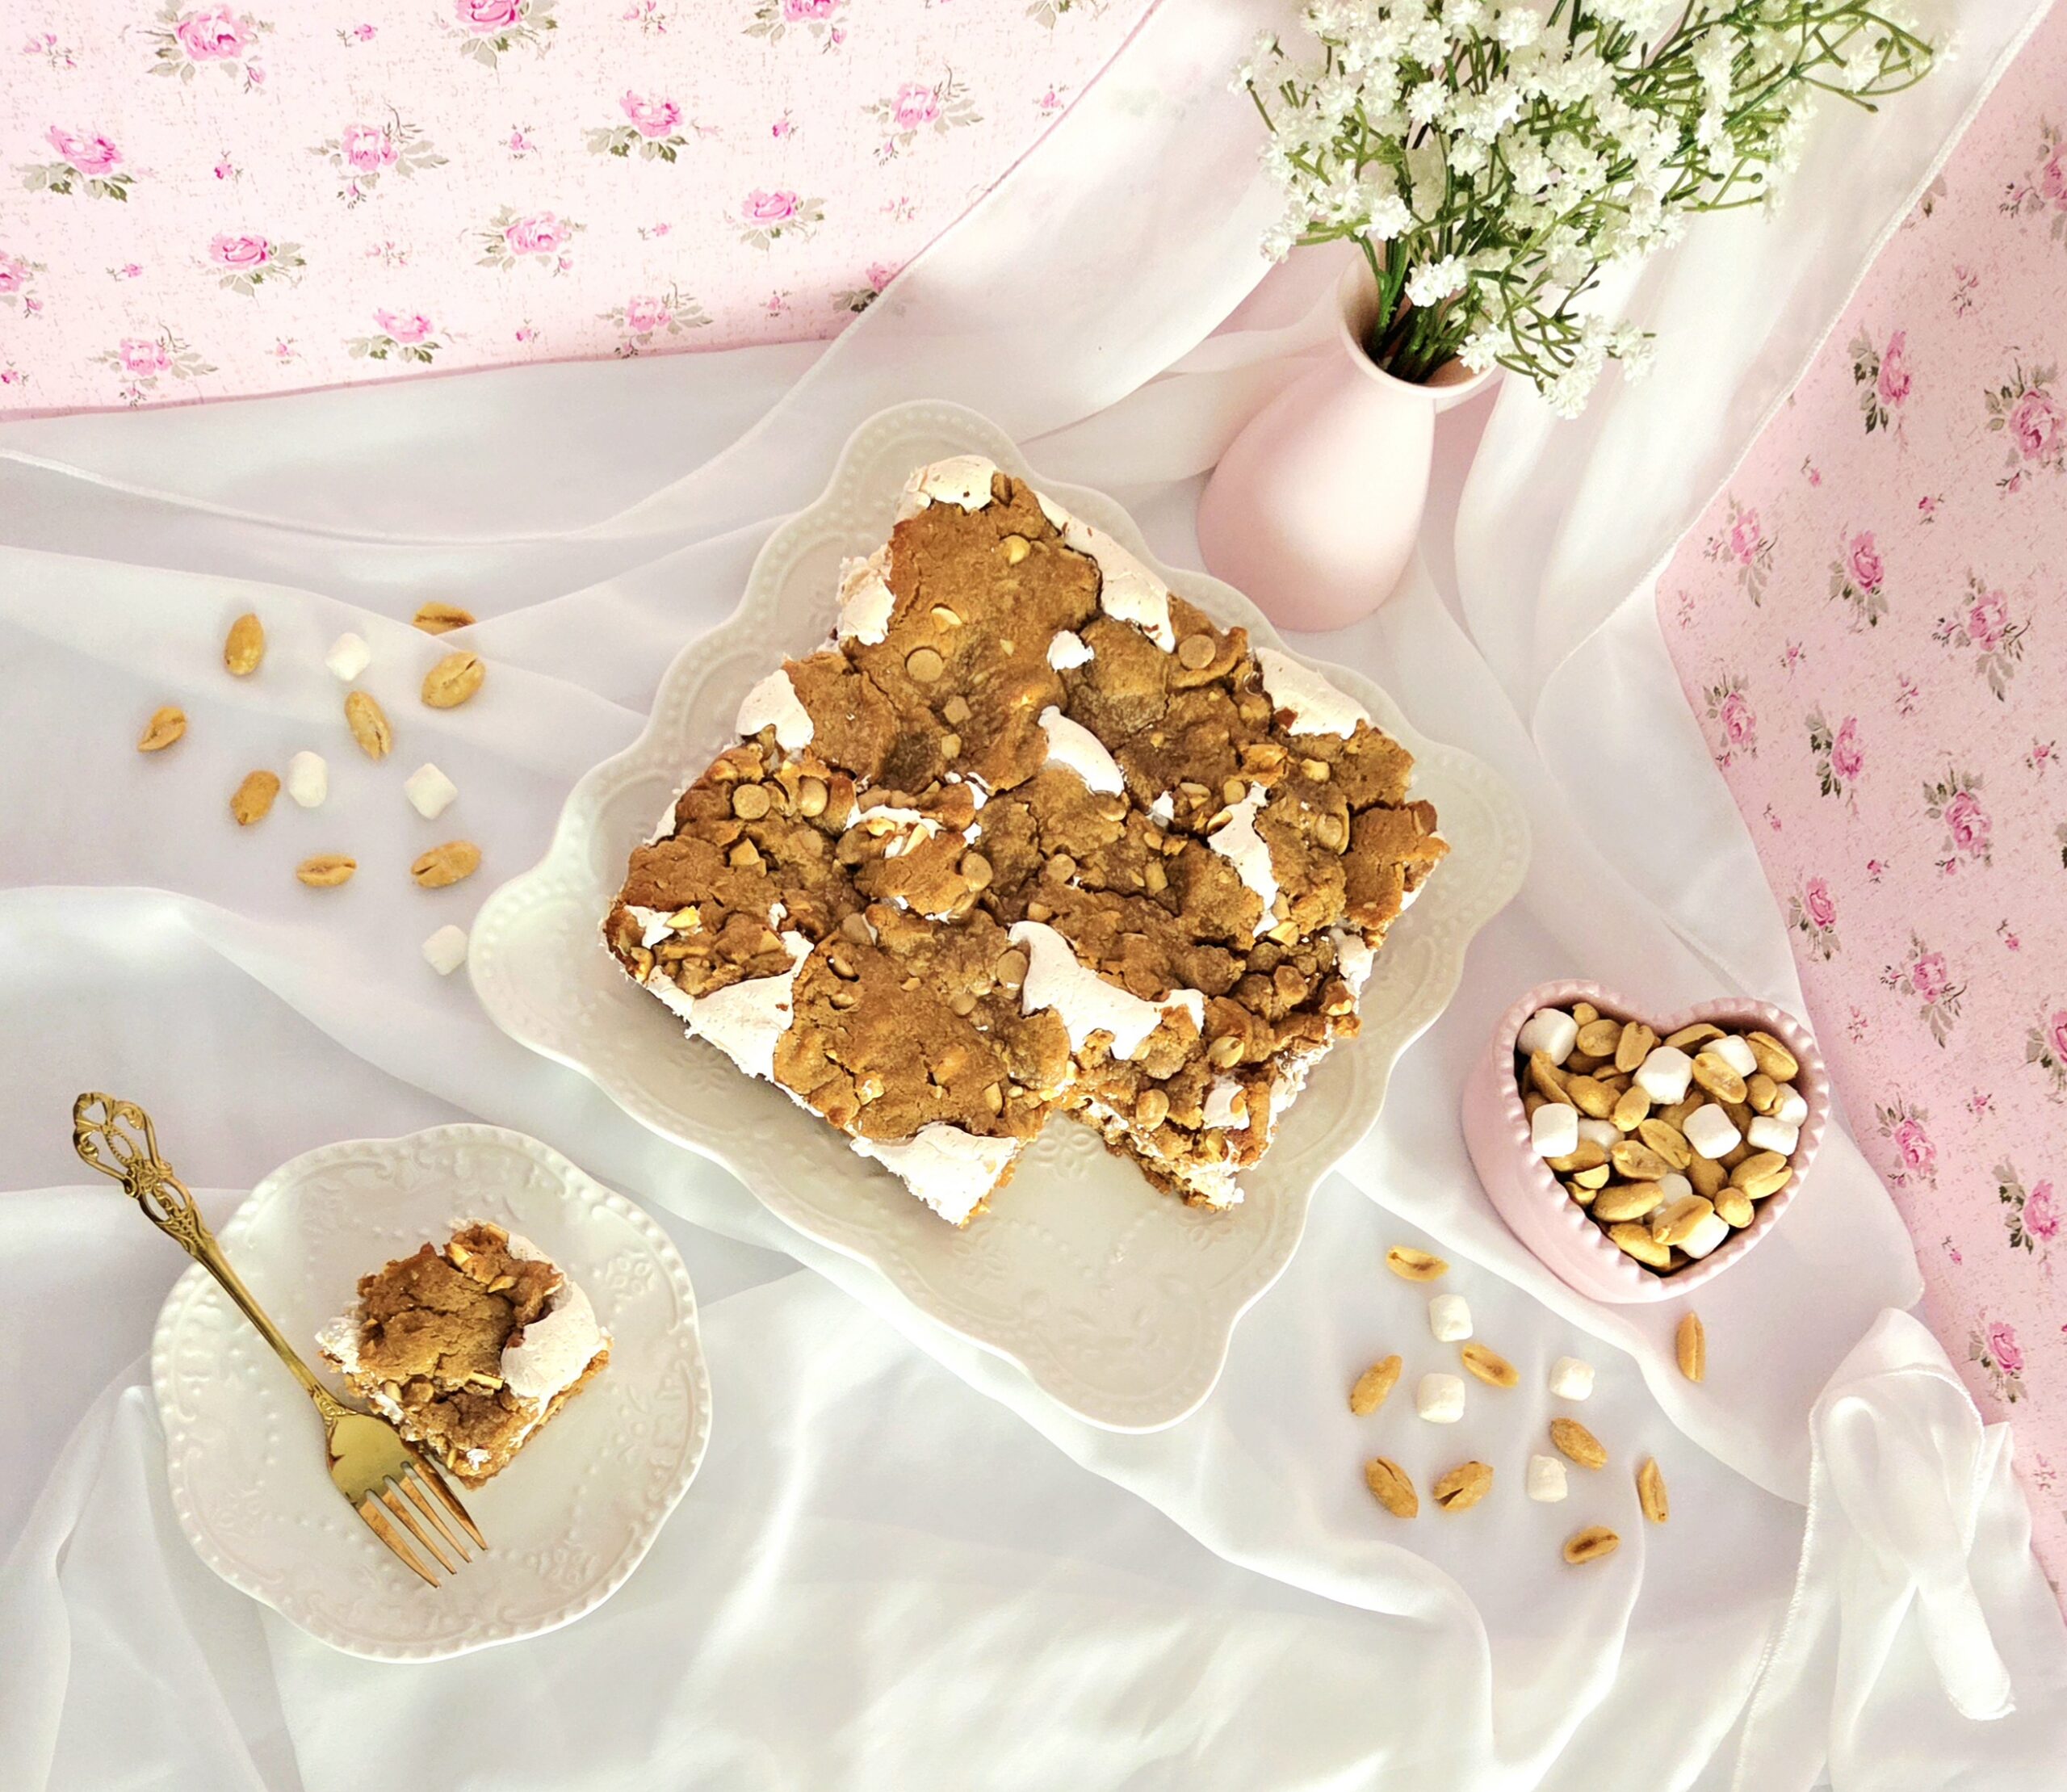
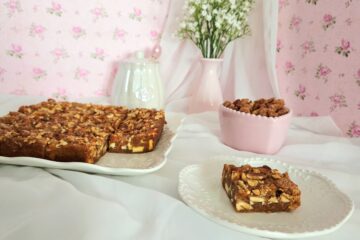
When it’s completely cool, cut the slab into a 4×4 grid, giving you 16 bars, or whatever your desired portion sizes are. This is your bake, you’re in charge. Any leftover bars should be stored in an airtight container on the counter for up to 3 days.
Fluffernutter Bars
Bake Time: 350F for 35 minutes
Servings: 16 bars
Total Time: 1 hour 5 minutes
Prep Time: 30 Minutes
Ingredients
- 1 cup all-purpose flour
- 1 teaspoon baking powder
- 1 teaspoon salt
- ½ cup roasted salted peanuts
- ¾ cup creamy peanut butter
- 1 cup light brown sugar
- 3 large egg whites, room temperature
- 1 teaspoon vanilla extract
- ½ cup peanut butter chips
- 3 cups marshmallow fluff
Directions:
- Preheat the oven to 350F, on the convection setting if possible, and position the rack in the center of the oven. Line the bottom and up two sides of an 8×8 inch baking dish with parchment paper. Grease the two unlined sides with either butter or nonstick baking spray. Set the prepared pan aside.
- In a small mixing bowl, whisk together the flour, baking powder, and salt. Set the dry goods aside. Give the peanuts a rough chop, then set them aside as well.
- Heat the peanut butter in 30 second increments in the microwave, inside a medium mixing bowl. It should be melted, but not hot. Add the sugar, egg whites, and vanilla extract, whisking them all together until the mixture is homogeneous.
- Dump the dry goods into the peanut butter mixture all at once. Using a rubber spatula, stir the two together. When most of the flour has been absorbed with only a few streaks remaining visible, add in the chopped peanuts and peanut butter chips. Stir the mixture until the nuts and chips are evenly dispersed and the flour has absorbed completely.
- Fill either a large piping bag or gallon sized zip-top bag with the marshmallow fluff. Twist the top to close the opening, then fold the top flap underneath the bag and place it down to seal the fluff inside until it’s time to use it.
- Grab the lined baking dish and press half of the dough onto the bottom of it. Take the bag of fluff and snip the tip off, wide enough that the fluff can easily be squeezed out of it. Hold the bag securely at the top, with the twisted portion secured firmly between your forefinger and thumb. Use the rest of your fingers to squeeze the fluff evenly over the entire bottom layer of dough.
- Flatten small portions of dough and place them on top of the layer of fluff. Do this with all of the dough to cover as much of the fluff as you can, then place it on the center rack of the hot oven. Bake it for 35 minutes or until the top is a rich golden brown, flipping it halfway through.
- Allow the bars to rest in the pan for at least 30 minutes before transferring the slab over to a cooling rack to finish coming down to room temperature. Cut the slab into a 4×4 grid, giving you 16 relatively equal pieces, or whatever your desired portion sizes are. Store any leftover bars in an airtight container for up to 3 days, and enjoy!
Tips
- Freeze the fully baked fluffernutter bars! Complete the recipe as written, then after they’ve cooled and you’ve cut them into your desired portion sizes, place them in a large freezer-safe bag. Freeze them for up to 3 months, then pull and gently thaw either on the counter or in the microwave at your discretion.
- Don’t waste the egg yolks! Use them in one of my other recipes, like my Levain Style Chocolate Chip Cookies or my layered Carrot Cake.
0 Comments