
Walnuts are such an underrated nut, so often overlooked in favor of the pecan in the baking world. They’re written off as a boring, outdated addition, and it’s really unfair. They’ve got a distinct, almost earthy flavor, present enough to make itself known but humble enough to allow other flavors to shine alongside it. They’re also full of healthy fats that are good for brain function. Who says those benefits shouldn’t be surrounded by sweet, gooey, chocolatey goodness? That’s where rocky road comes in.
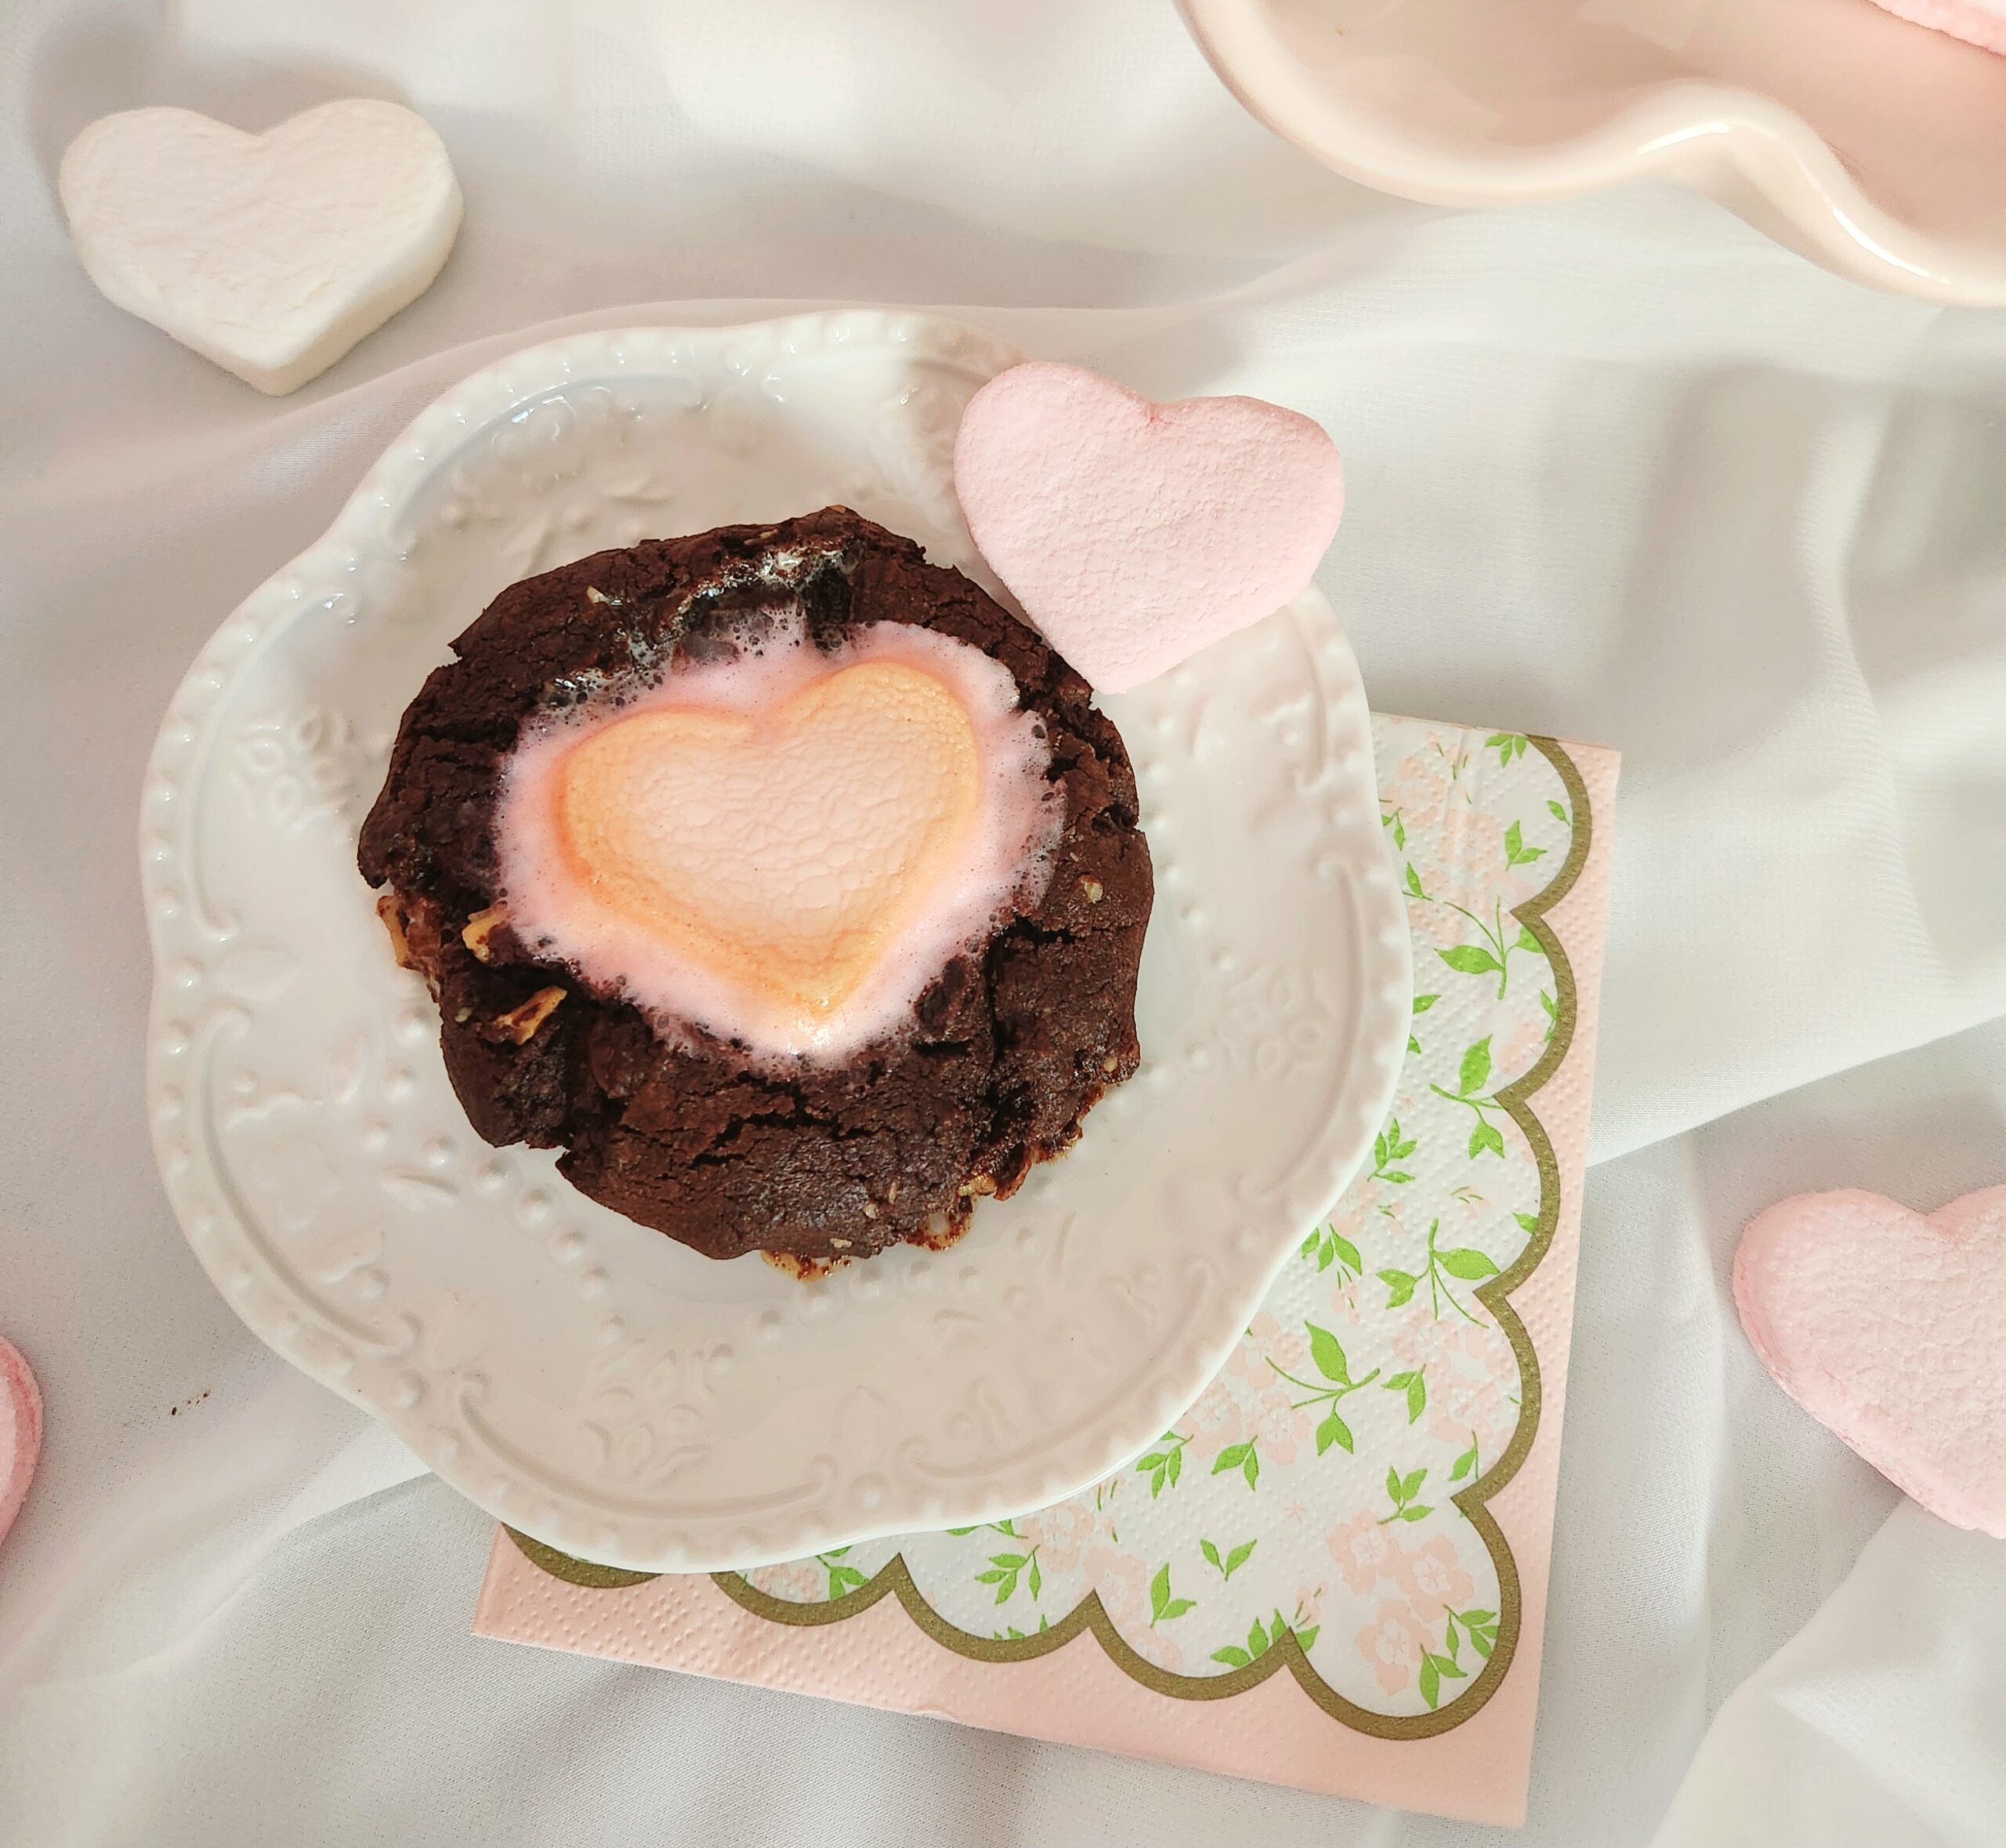
There’s a reason rocky road is such a classic flavor combination. The gooeyness of the marshmallow, crunch of the walnuts, and richness of the chocolate all come together in a beautiful harmony. It may have started off as a candy originally, but it’s blossomed beyond that and makes for a delectable cookie.
FAQs and Science
Why toast the walnuts?
Toasting nuts draws out the natural oils inside, which enhances the flavor. It’s worth the extra few minutes it takes.
I could only find pre-chopped walnuts, will those work?
I recommend whole walnuts because it’s easier to prevent them from burning when you toast them, but if that’s what you can find or you already have them, then by all means use them! Still toast them, but for 3-5 minutes rather than 7-10, and be sure to keep an extra close eye on them. Once nuts burn, there’s really no bringing them back.
Is there any way to speed up softening the butter?
Not once have I ever waited for the butter to naturally warm up enough to bake with, who has the patience? My method of choice uses the microwave.
For fully wrapped 8-Tablespoon sticks, place them parallel to each other with the opening to the side on the microwave tray. Heat for 12 seconds, then flip them upside down. Heat for another 12 seconds, then turn them so the wrapper opening is on top and heat for 9 seconds. This should be enough to get a softened, pliable consistency, but you can always add another few seconds if it’s still too firm to use.
I prefer milk chocolate, can I use that instead?
For the chips folded in at the end, yes. They’ll be sweeter cookies, but still delicious. For the melted chocolate in the dough, no. The dough needs the depth of bitterness from dark chocolate to balance everything correctly.
Why does it matter if the eggs are room temperature?
Warm eggs emulsify into the dough much easier. To quickly warm eggs from the fridge, at the start of the recipe, place the eggs in a bowl and cover them with the hottest water that comes out of your tap. By the time you need them, they’ll be perfectly warmed up.
Can I substitute dutch processed cocoa powder with natural cocoa powder?
If that’s what you can find, afford, or already have, then by all means, have at it!
Why wait halfway through baking to put the marshmallow on top?
If you place the marshmallow on top at the very beginning of baking the cookies, it will be crisp and overdone by the time the cookies finish baking. You want the marshmallow to be toasted, but still gooey, and placing it on halfway through achieves that perfect texture and consistency.
What You Need

- 2 baking sheets
- Parchment paper or 2 silicone baking mats
- Stand mixer with paddle attachment
- Dry measuring cups
- Measuring spoons
- Large mixing bowl
- Small microwave safe mixing bowl
- Spoon
- Cutting board
- Chef’s knife
- Rubber spatula
- Whisk
- Spatula
- Cooling rack
The Process
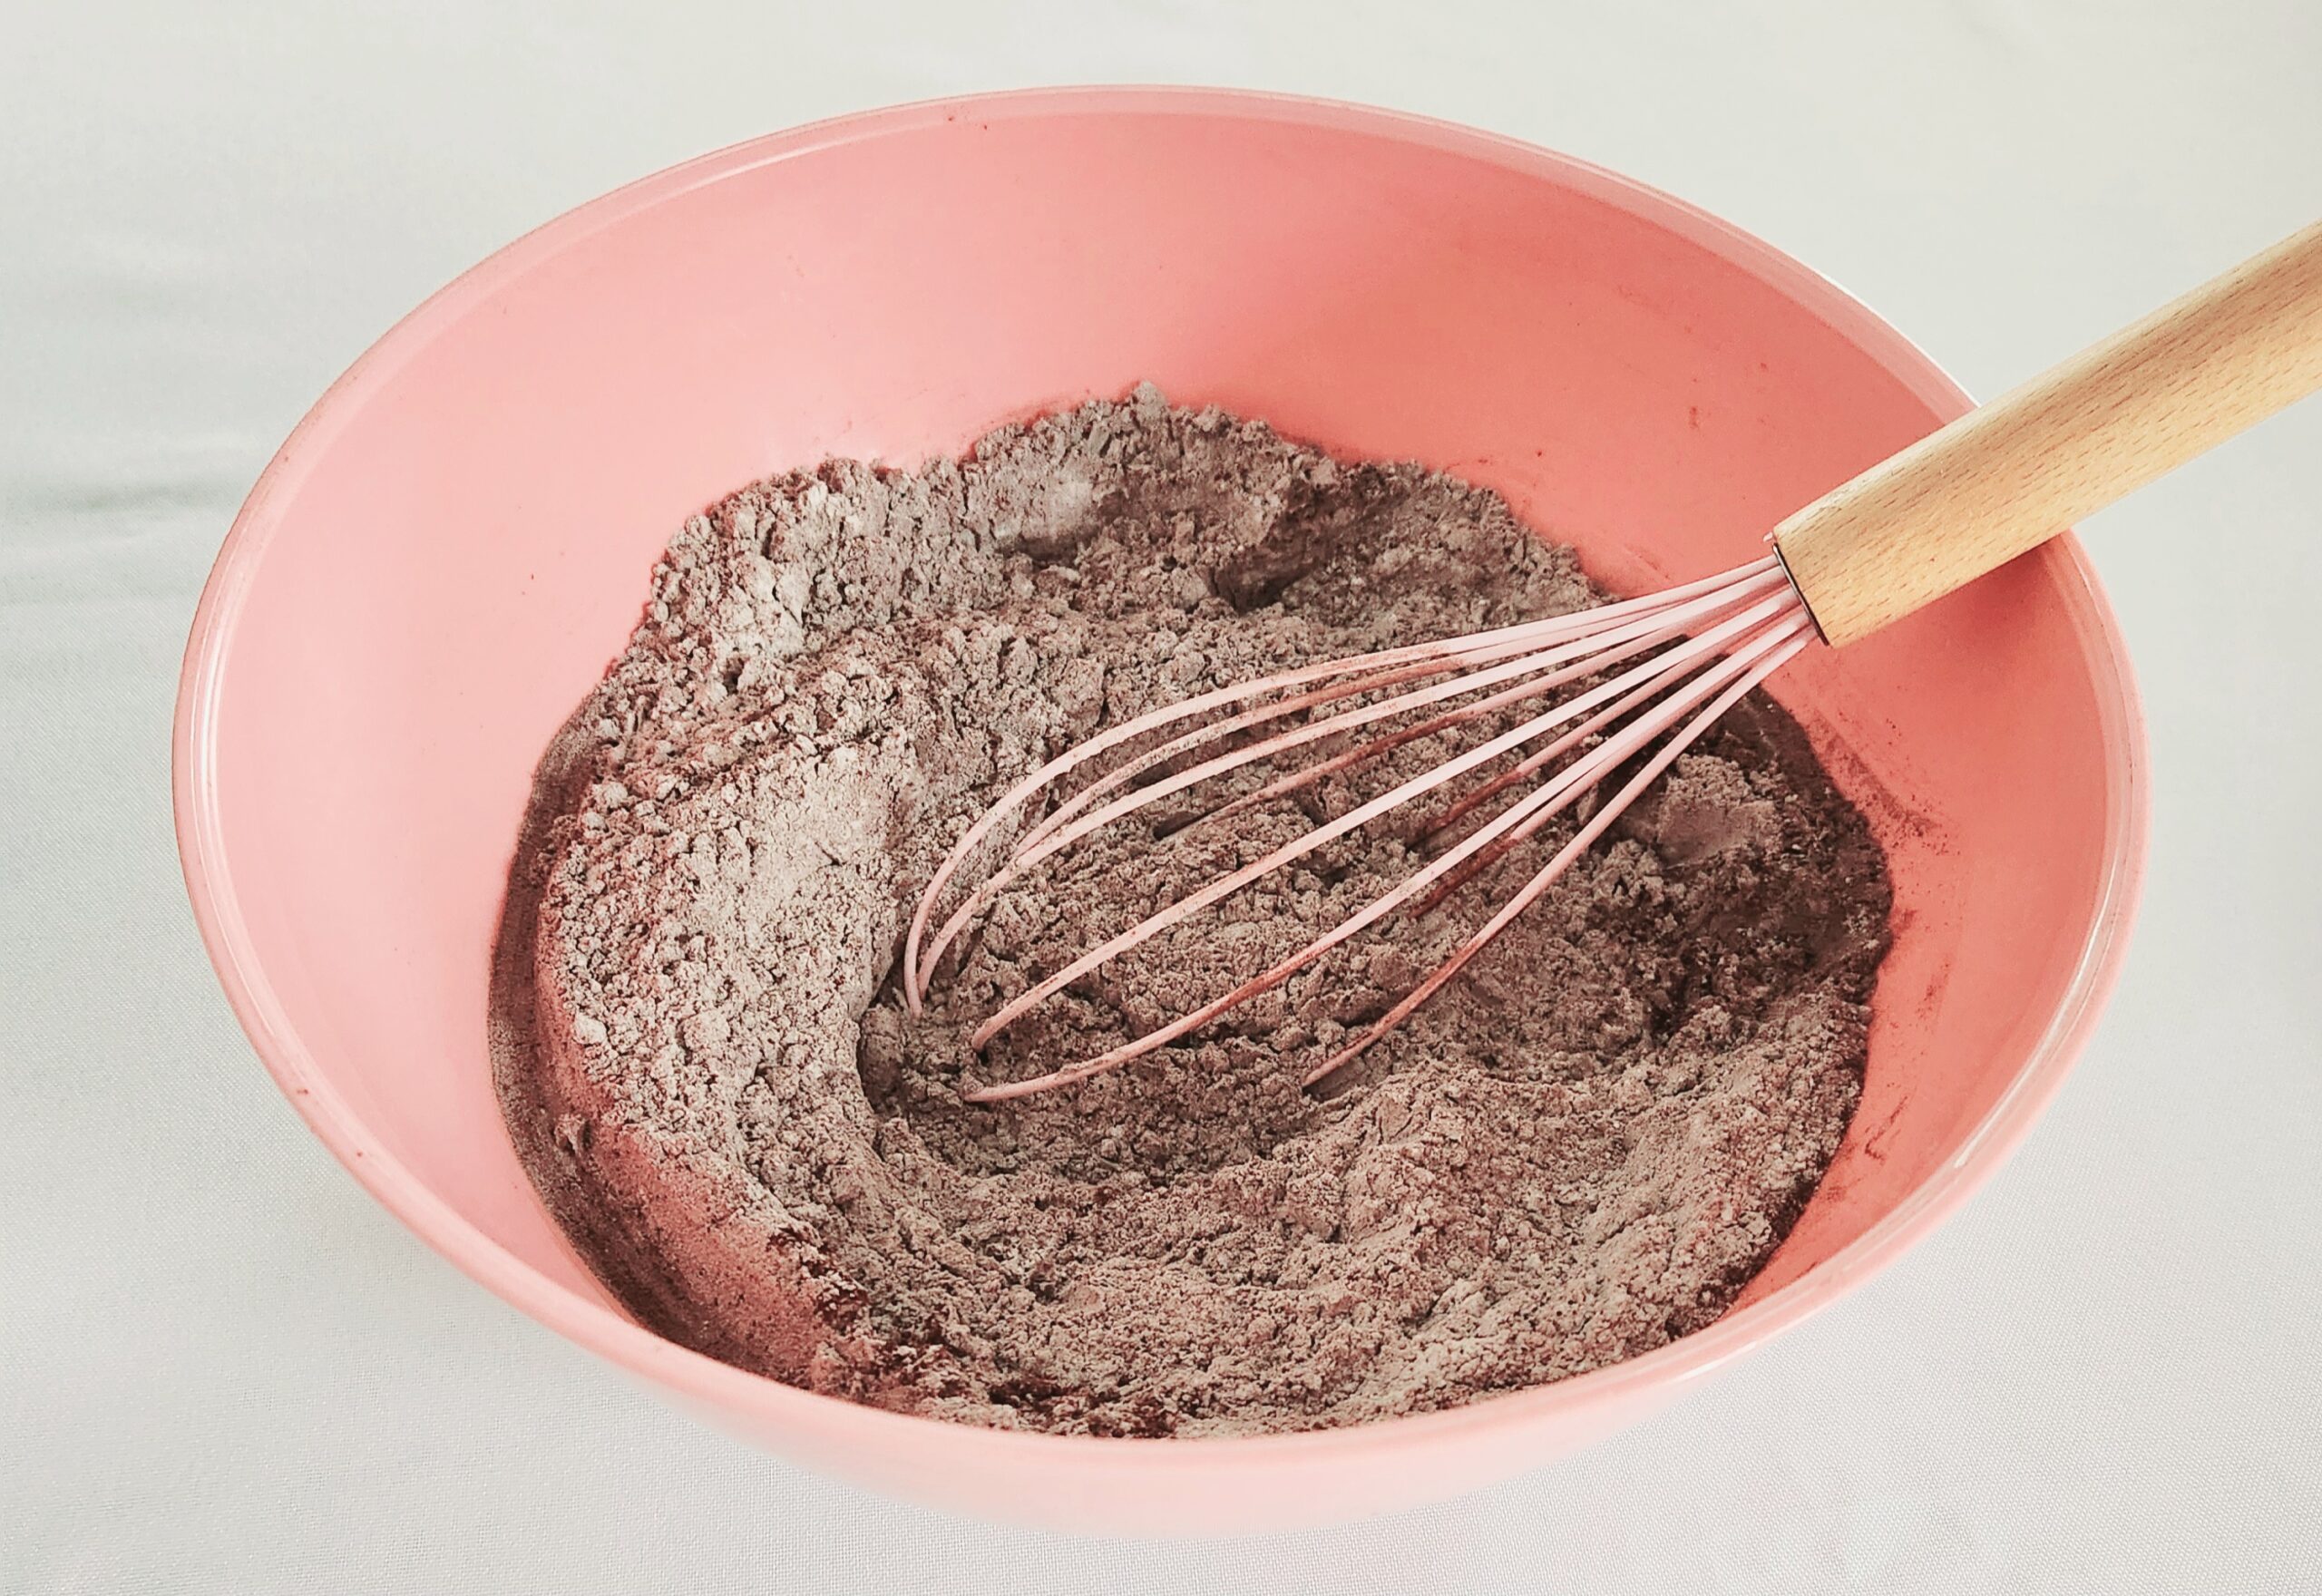
Preheat your oven to 350F, on the convection setting if possible. Line the 2 baking sheets either with parchment paper or silicone baking mats so the cookies won’t stick to the pan, and set them aside. In the large mixing bowl, whisk together the flour, cocoa powder, baking soda, and salt, and set the bowl aside.
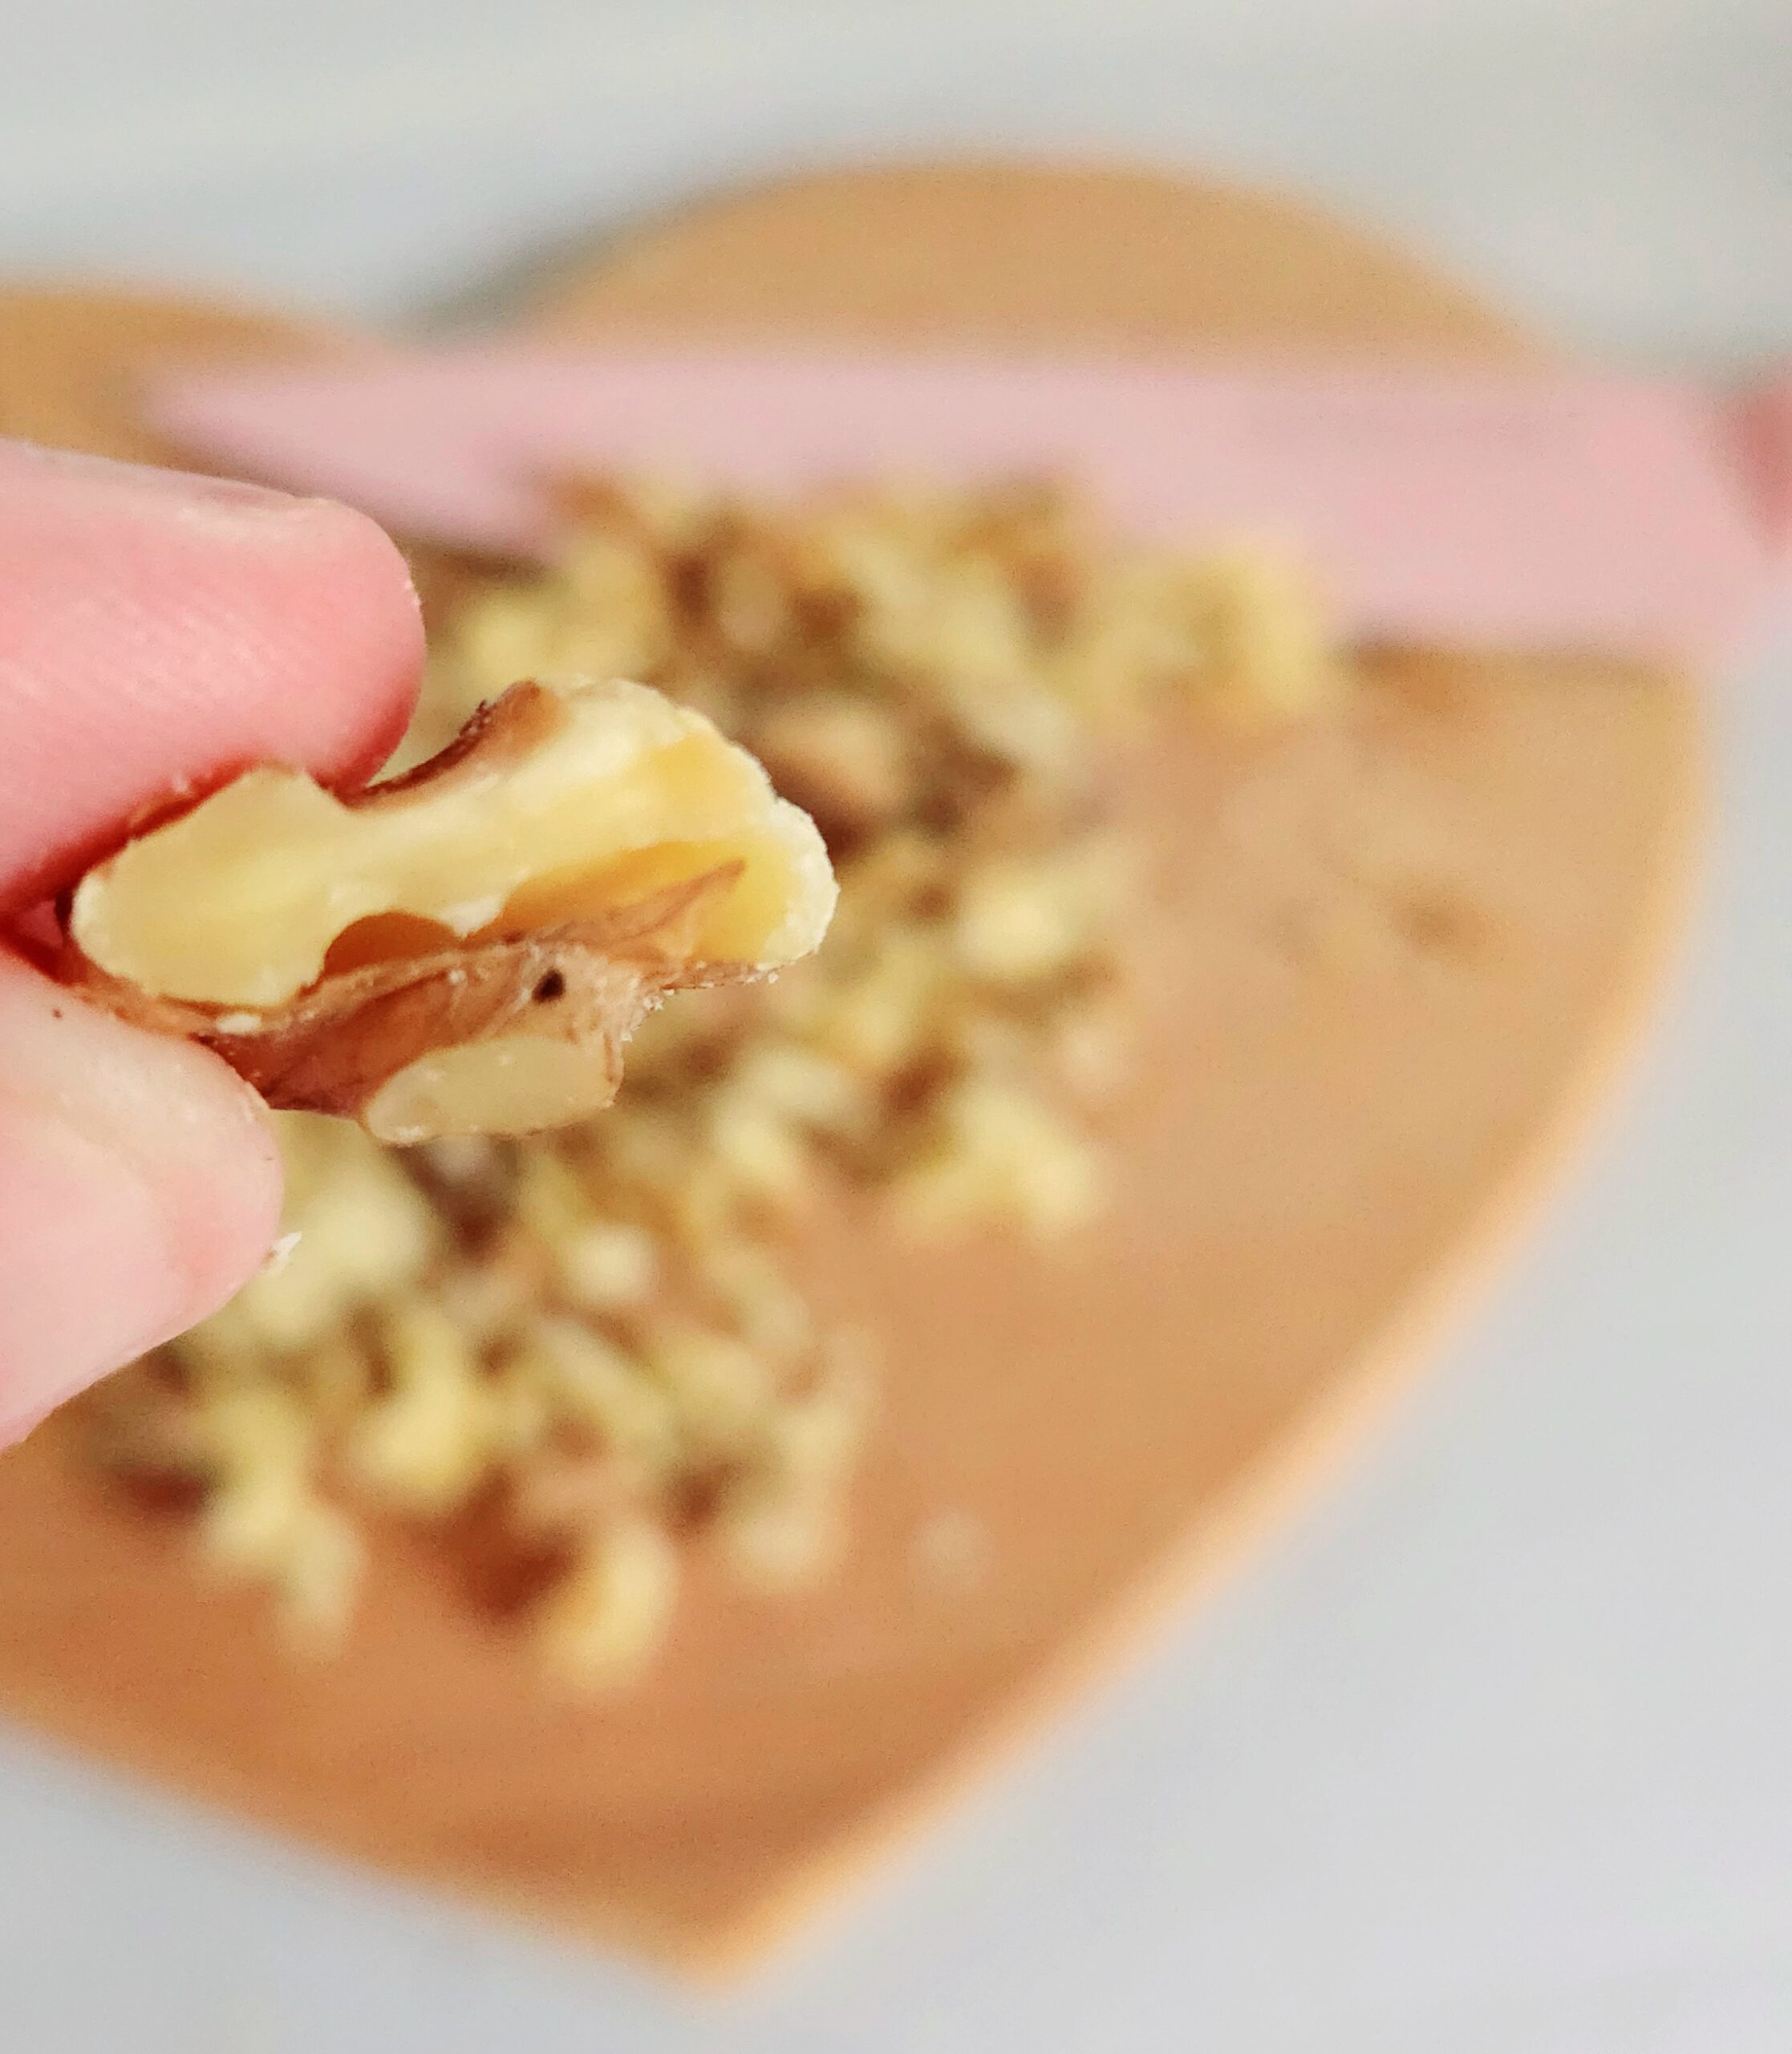
As soon as the oven heats up, spread the walnuts out on a baking sheet and toast them in the oven for 7-10 minutes, stirring halfway through. This draws out the natural oils from the nuts, which enhances their flavor in the cookies. You can use one of the pans you’ve already lined, though the lining isn’t necessary for this step. If you’re using pre-chopped walnuts rather than whole, keep a closer eye on the oven to make sure they don’t burn and only toast them for 3 minutes or so. You’ll know they’re finished when you break one open and see a toasty brown color.
Set the toasted nuts aside to cool while you continue on with the recipe.
While the nuts are toasting, melt the dark chocolate. If you’re using a microwave, heat the chocolate in 30 second increments, stirring with a rubber spatula in between each interval. Alternatively, if you’d rather heat it on the stove, set up a double boiler. Fill a small saucepan with 1-2 inches of water and bring it to a boil. While the water heats, place the chocolate in a heat-safe bowl that can comfortably sit on top of the saucepan.
Once the water is boiling, turn the heat off and place the bowl of chocolate on top of it, stirring the chocolate occasionally with a rubber spatula until it’s melted. Doing this now allows the chocolate time to cool down a bit before it’s time to add it into the dough. If the chocolate is too hot when you pour it in, the butter will melt and you’ll have a bad time.
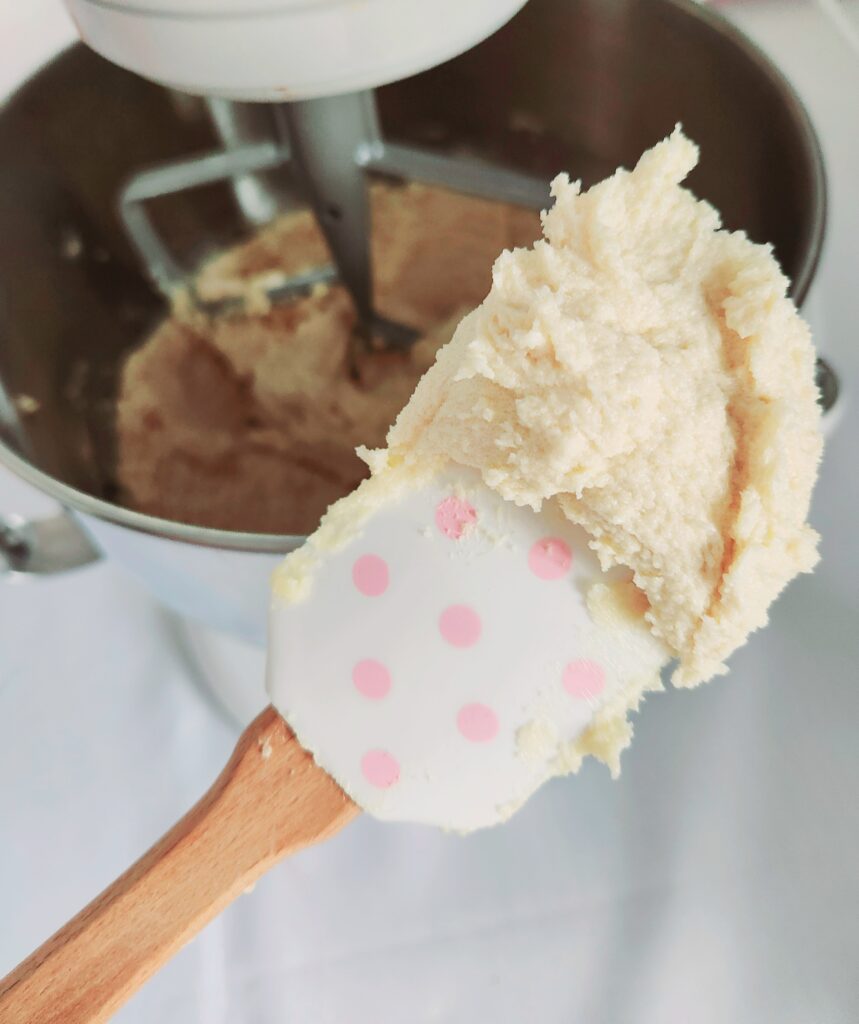
In the bowl of a stand mixer using the paddle attachment, cream together the softened butter, granulated sugar, and white sugar on level 3 or 4, for around 5 minutes or so. It should go from a light beige to an almost white color, and become very fluffy. Scrape down the sides of the bowl.
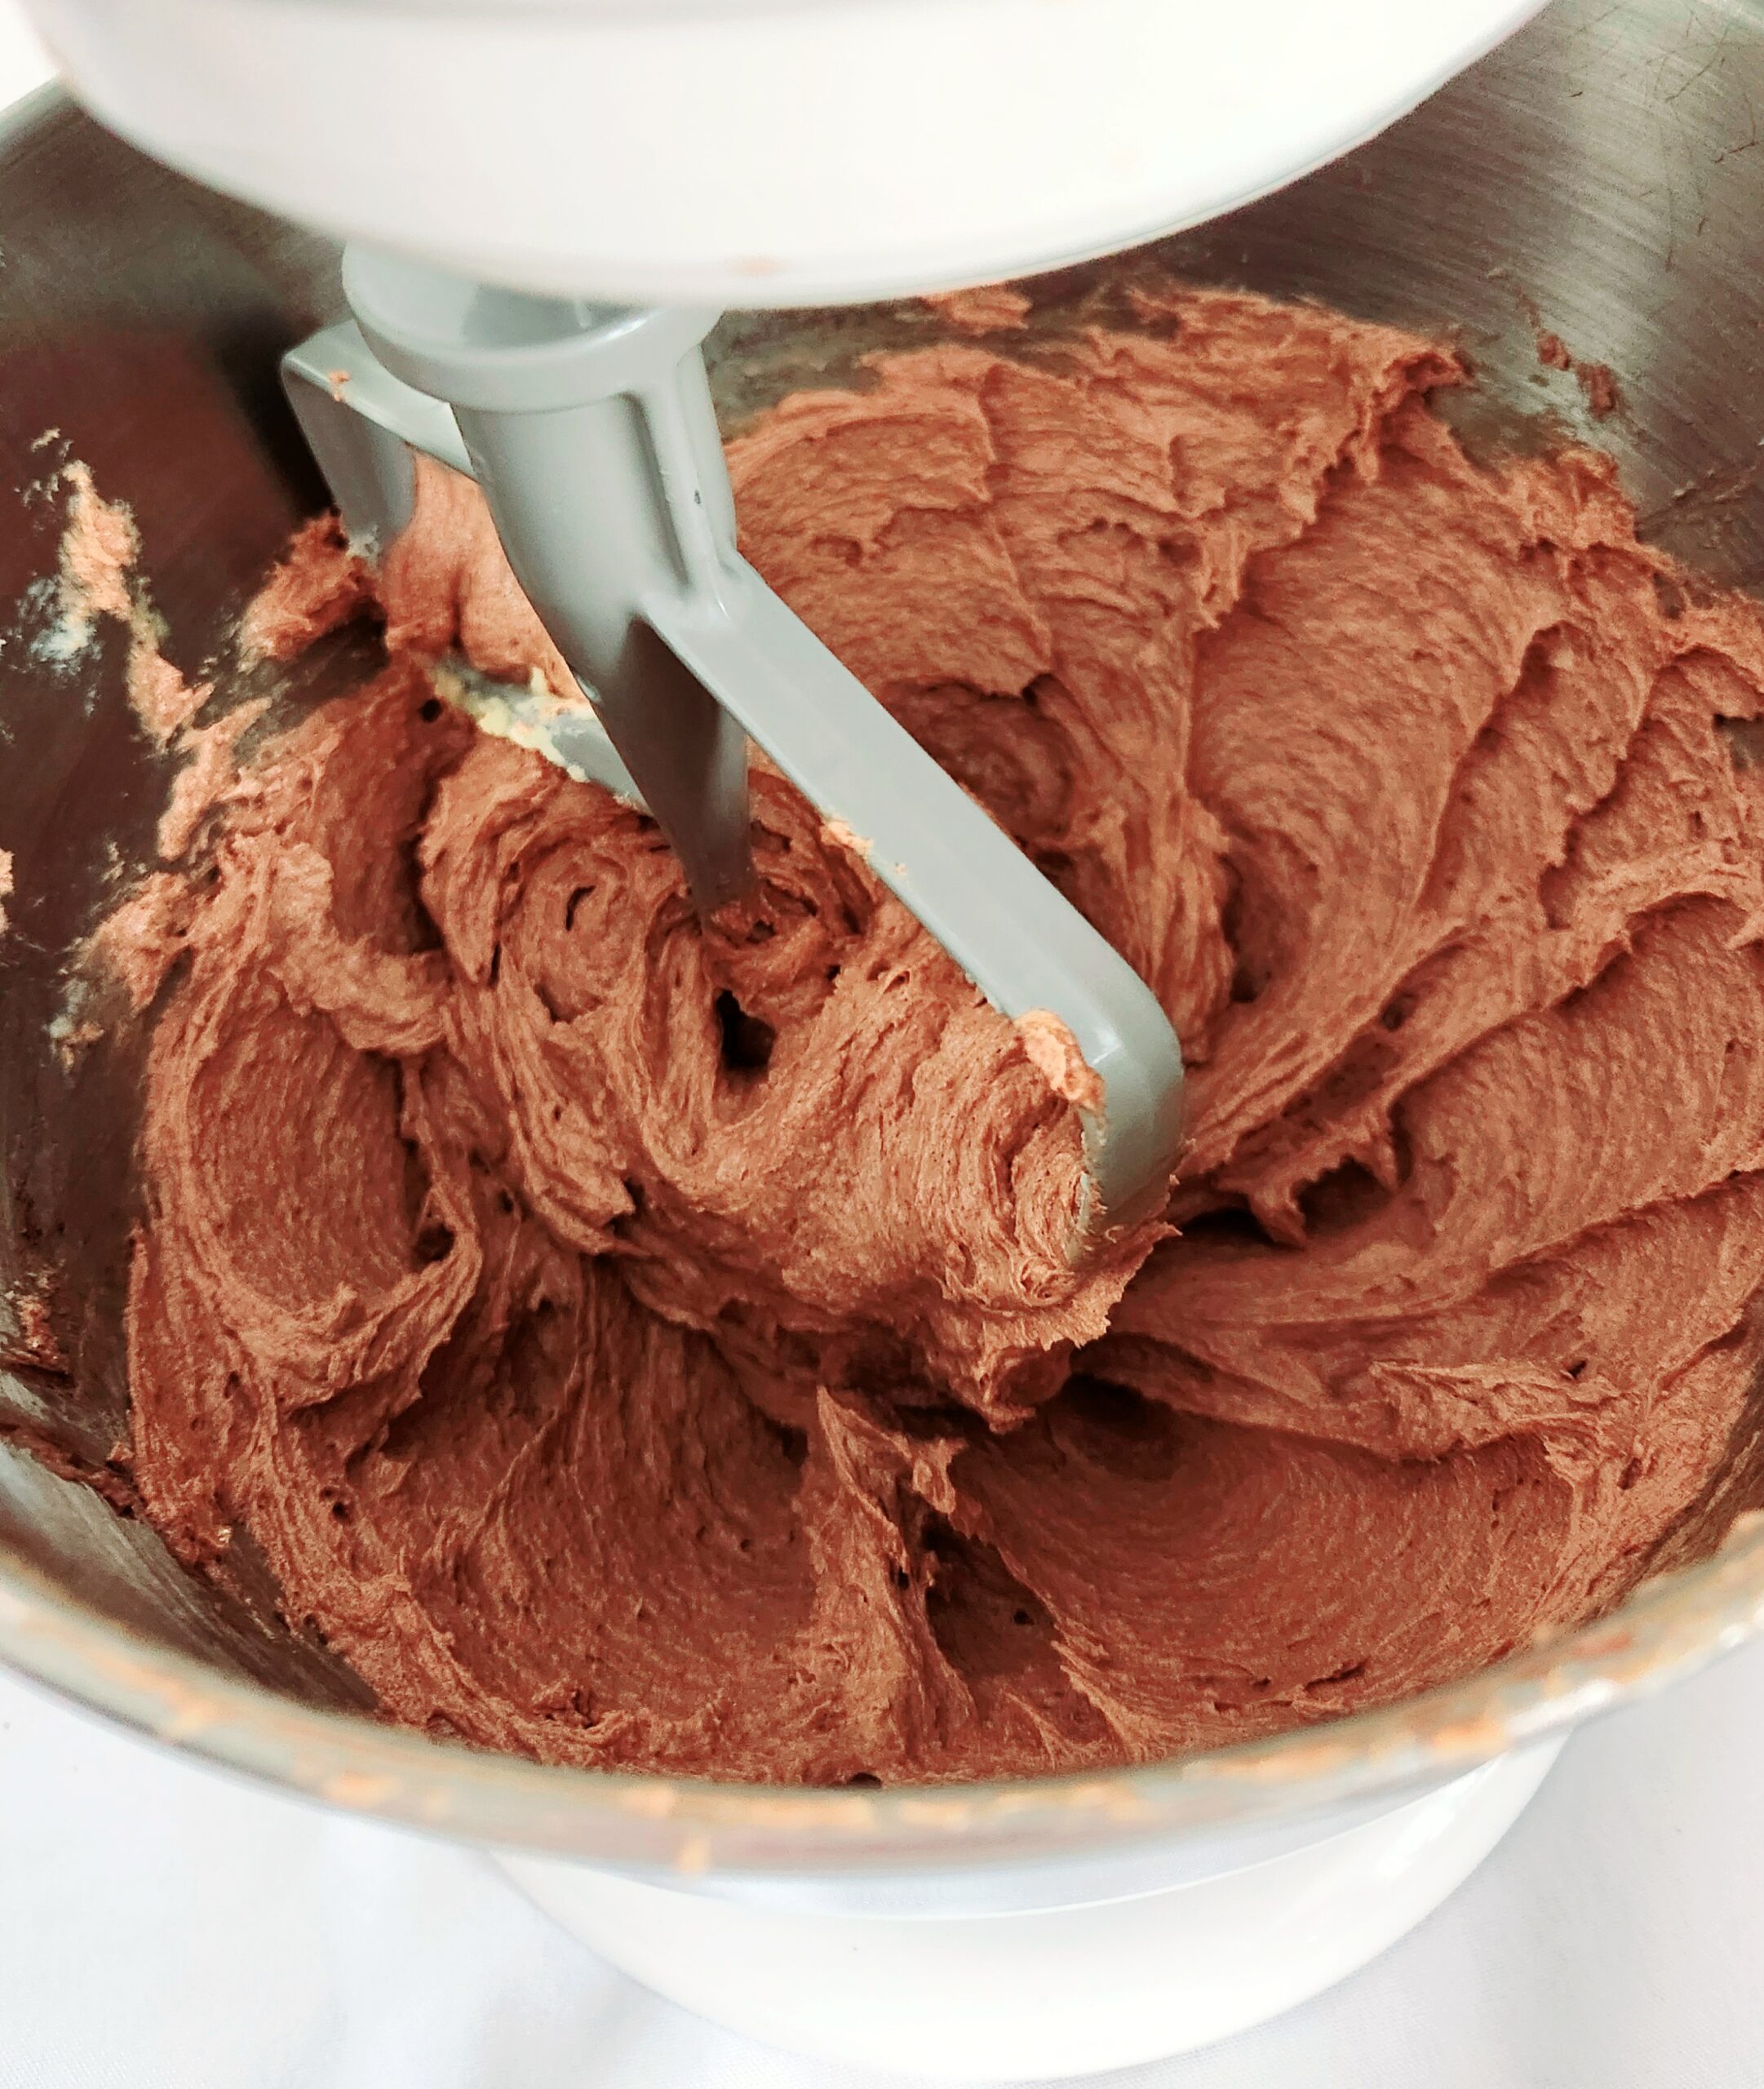
Pour the cooled melted dark chocolate into the creamed butter and sugar. Take care to scrape in as much of the chocolate as you can using the rubber spatula. Beat the chocolate into the creamed butter on level 3 or 4 for a minute or two, until it’s incorporated.
Add the eggs one at a time. Make sure the first egg fully absorbs into the butter and chocolate mixture before adding the next one. Scrape down the sides of the bowl, and add in the vanilla. Beat until it’s one homogeneous mixture, 30 seconds-1 minute.
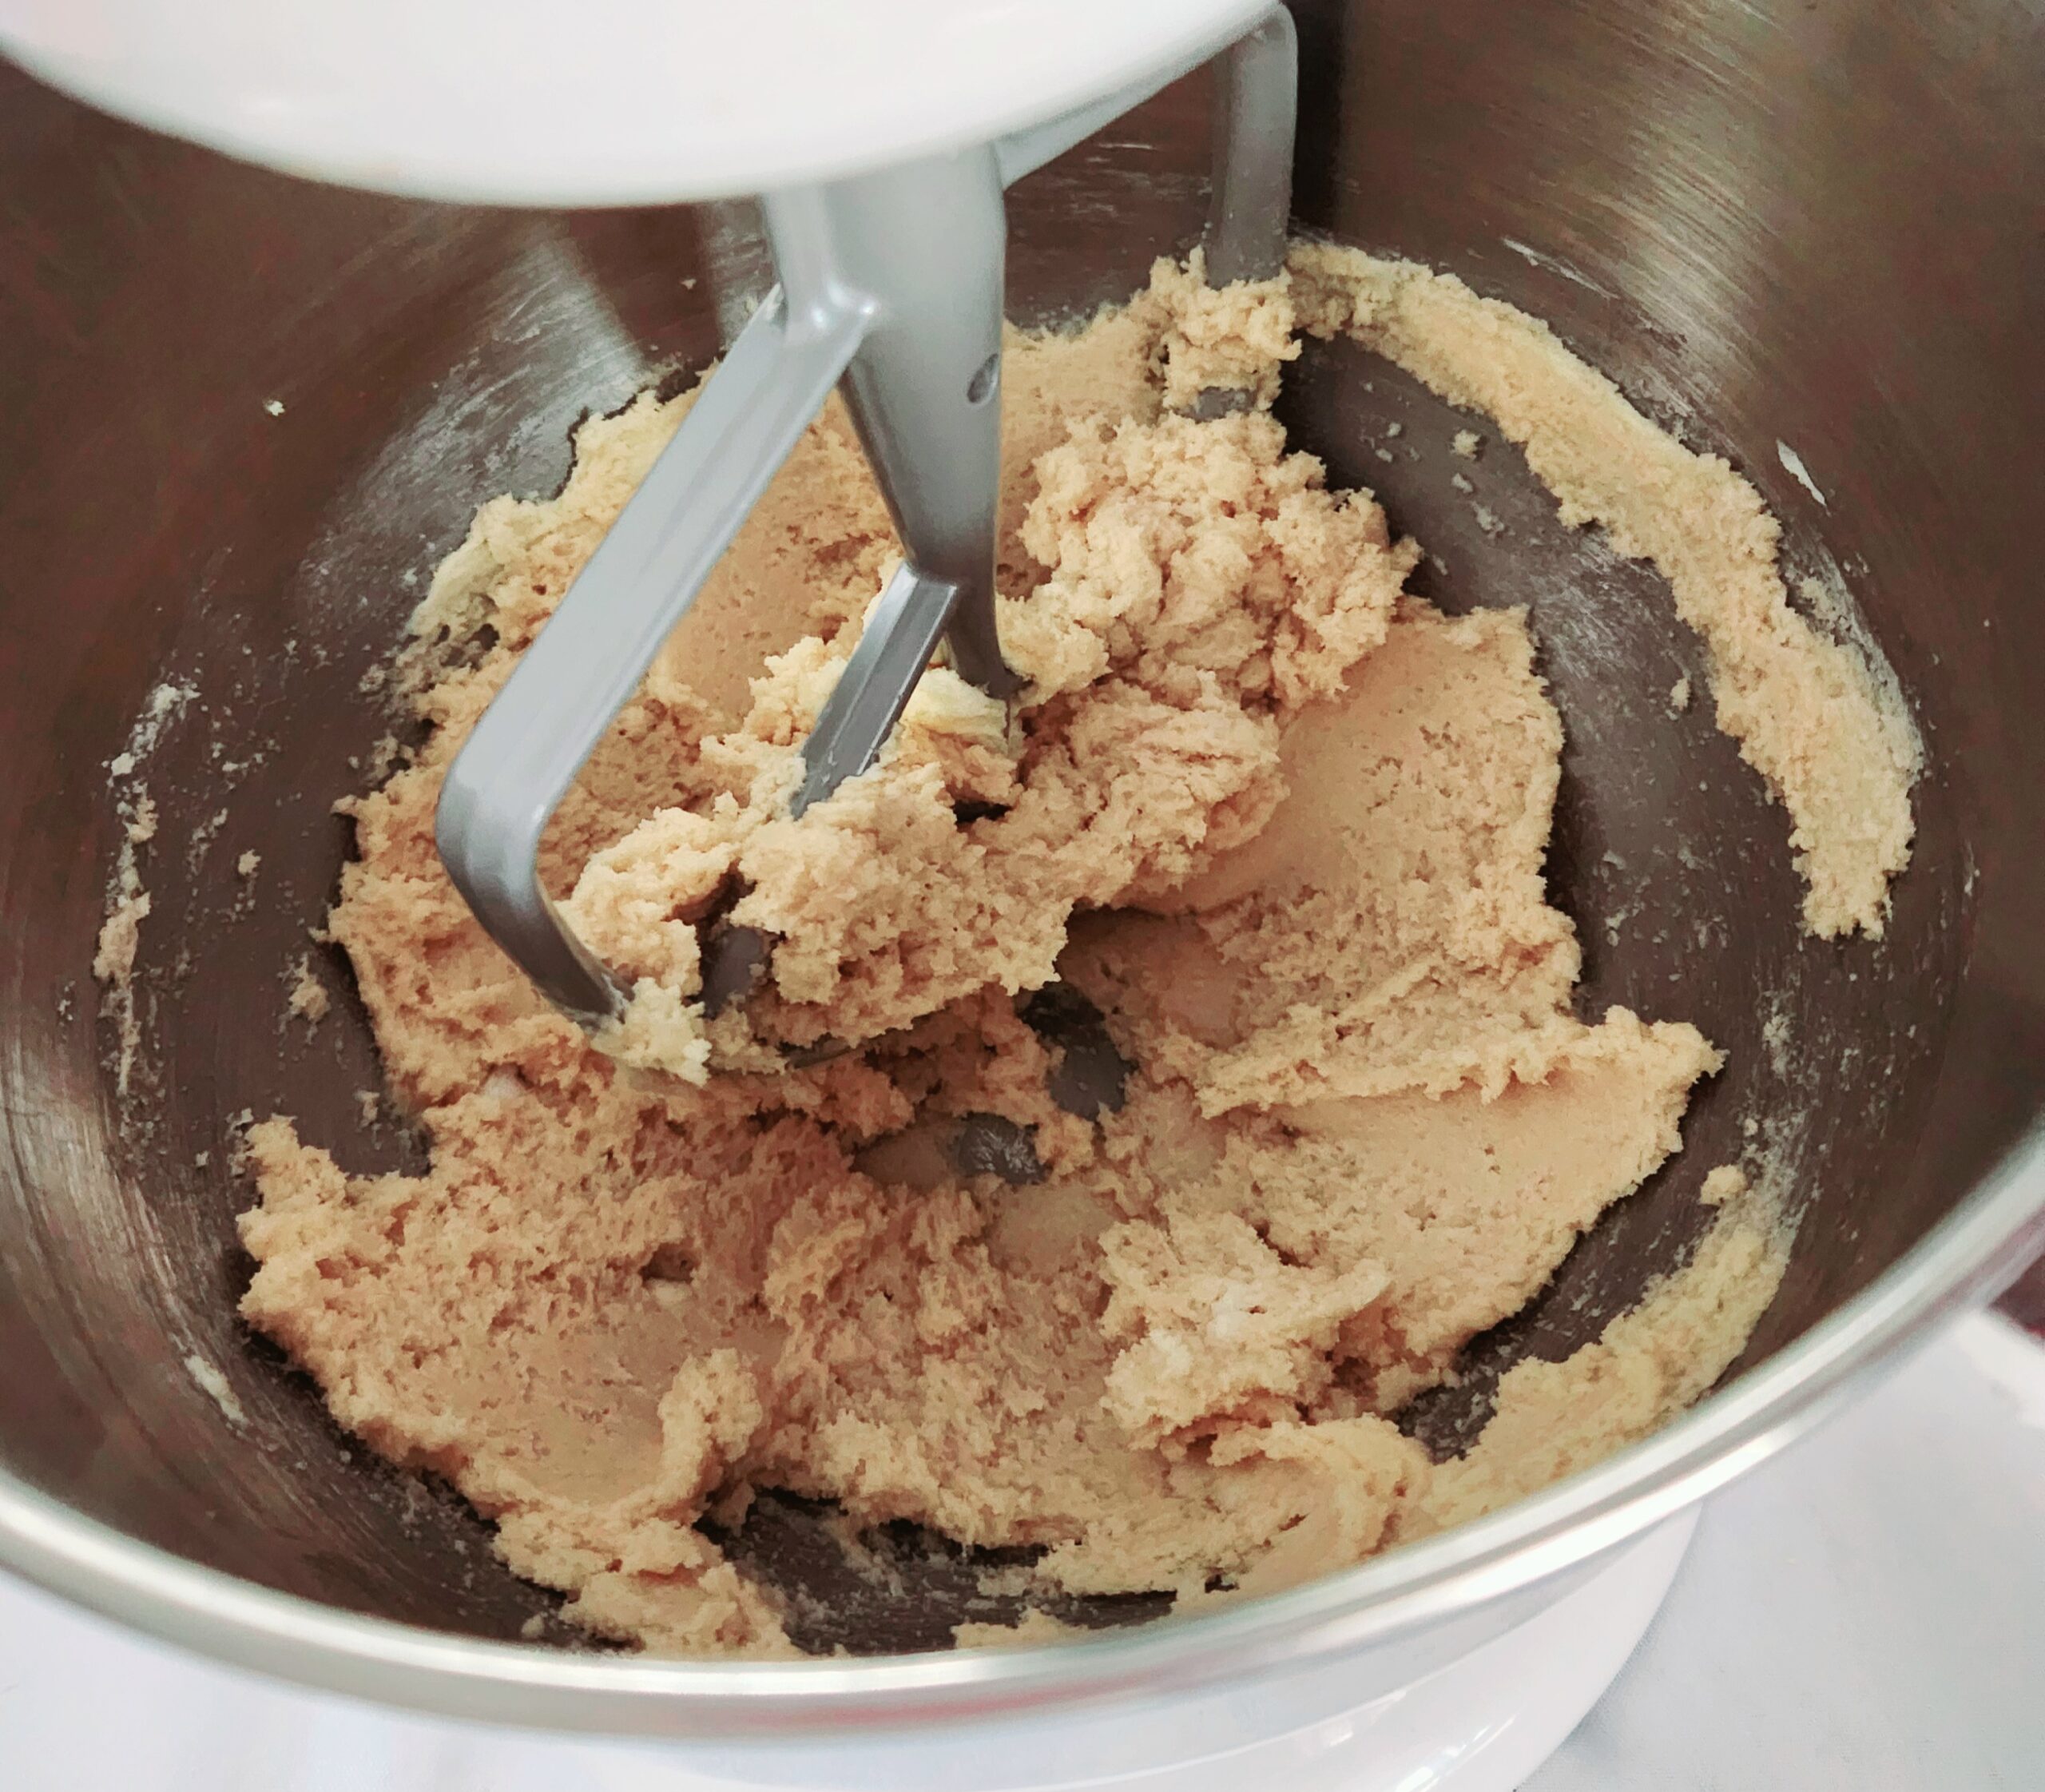
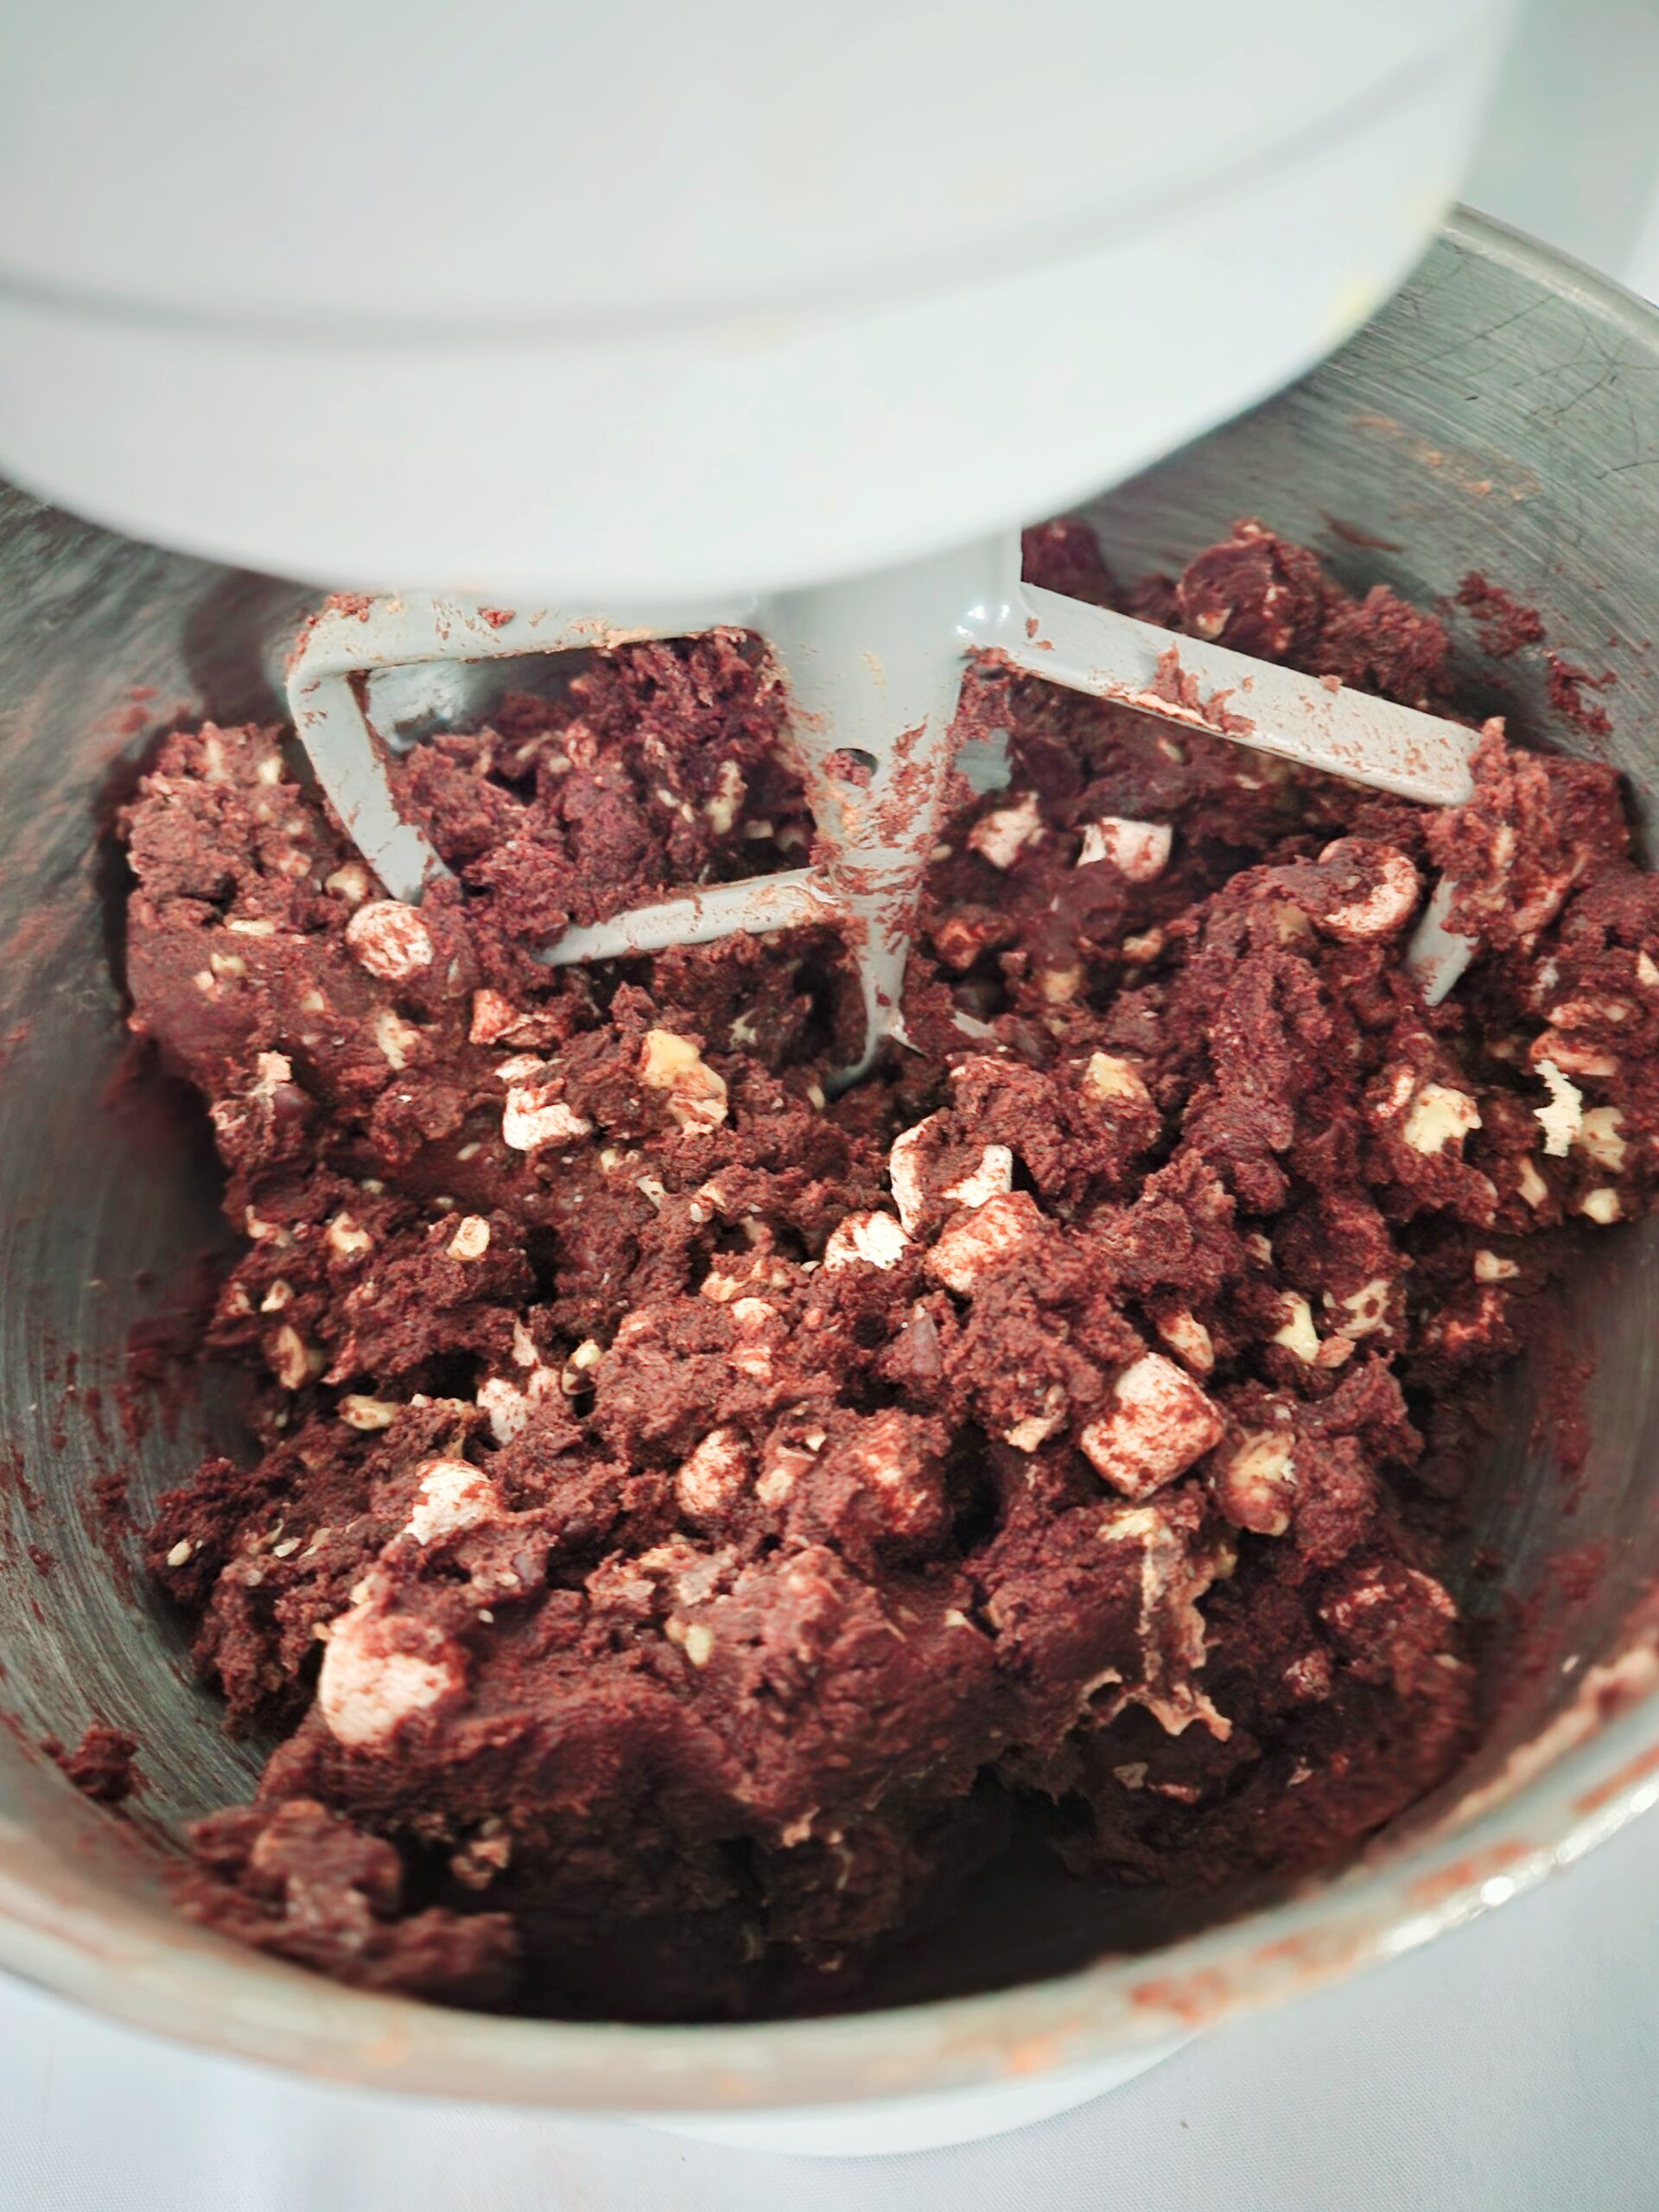
Pour the dry goods all at once into the stand mixer and beat on level 1 until it’s mostly absorbed into the dough, about a minute or so. You should still see a few streaks of flour, as shown below.
The streaks of flour offer a visual indication that you haven’t over-mixed the dough, so when you add in the final ingredients, you’ve got the leeway to mix them in without that risk factor. Over-mixing the dough produces a tough, bready texture due to too much gluten development. Definitely not what anyone wants in a cookie.
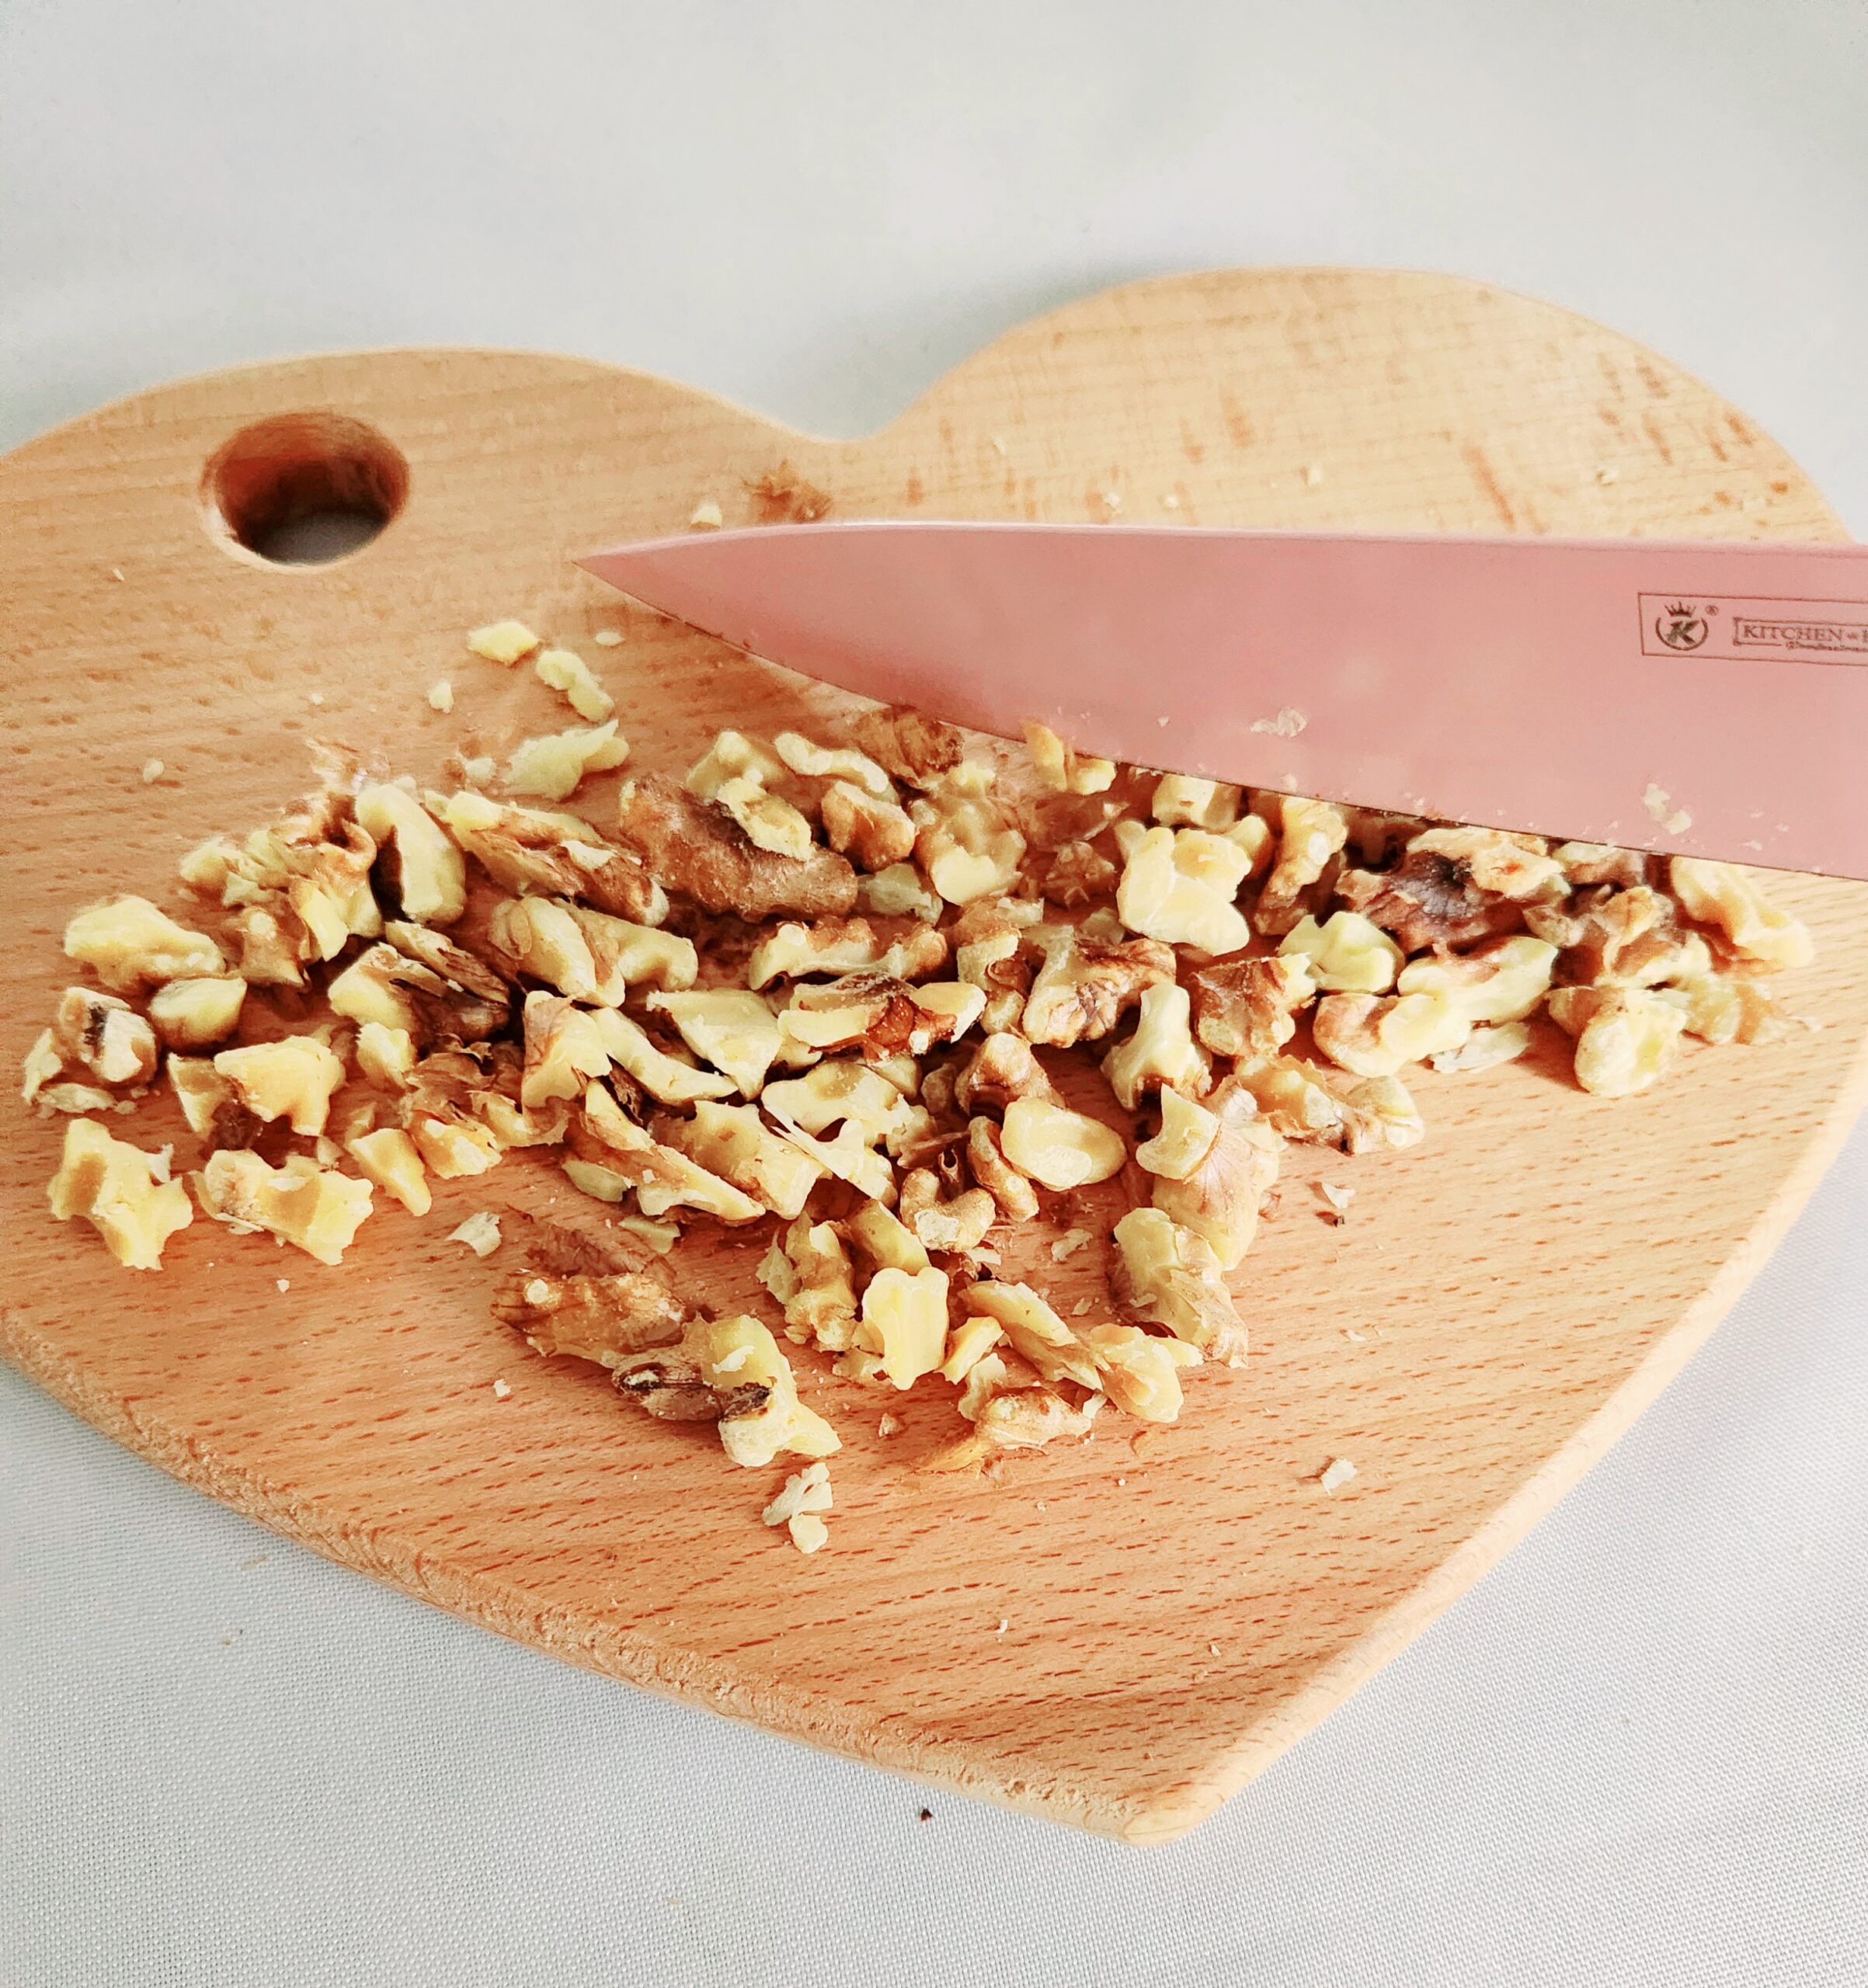
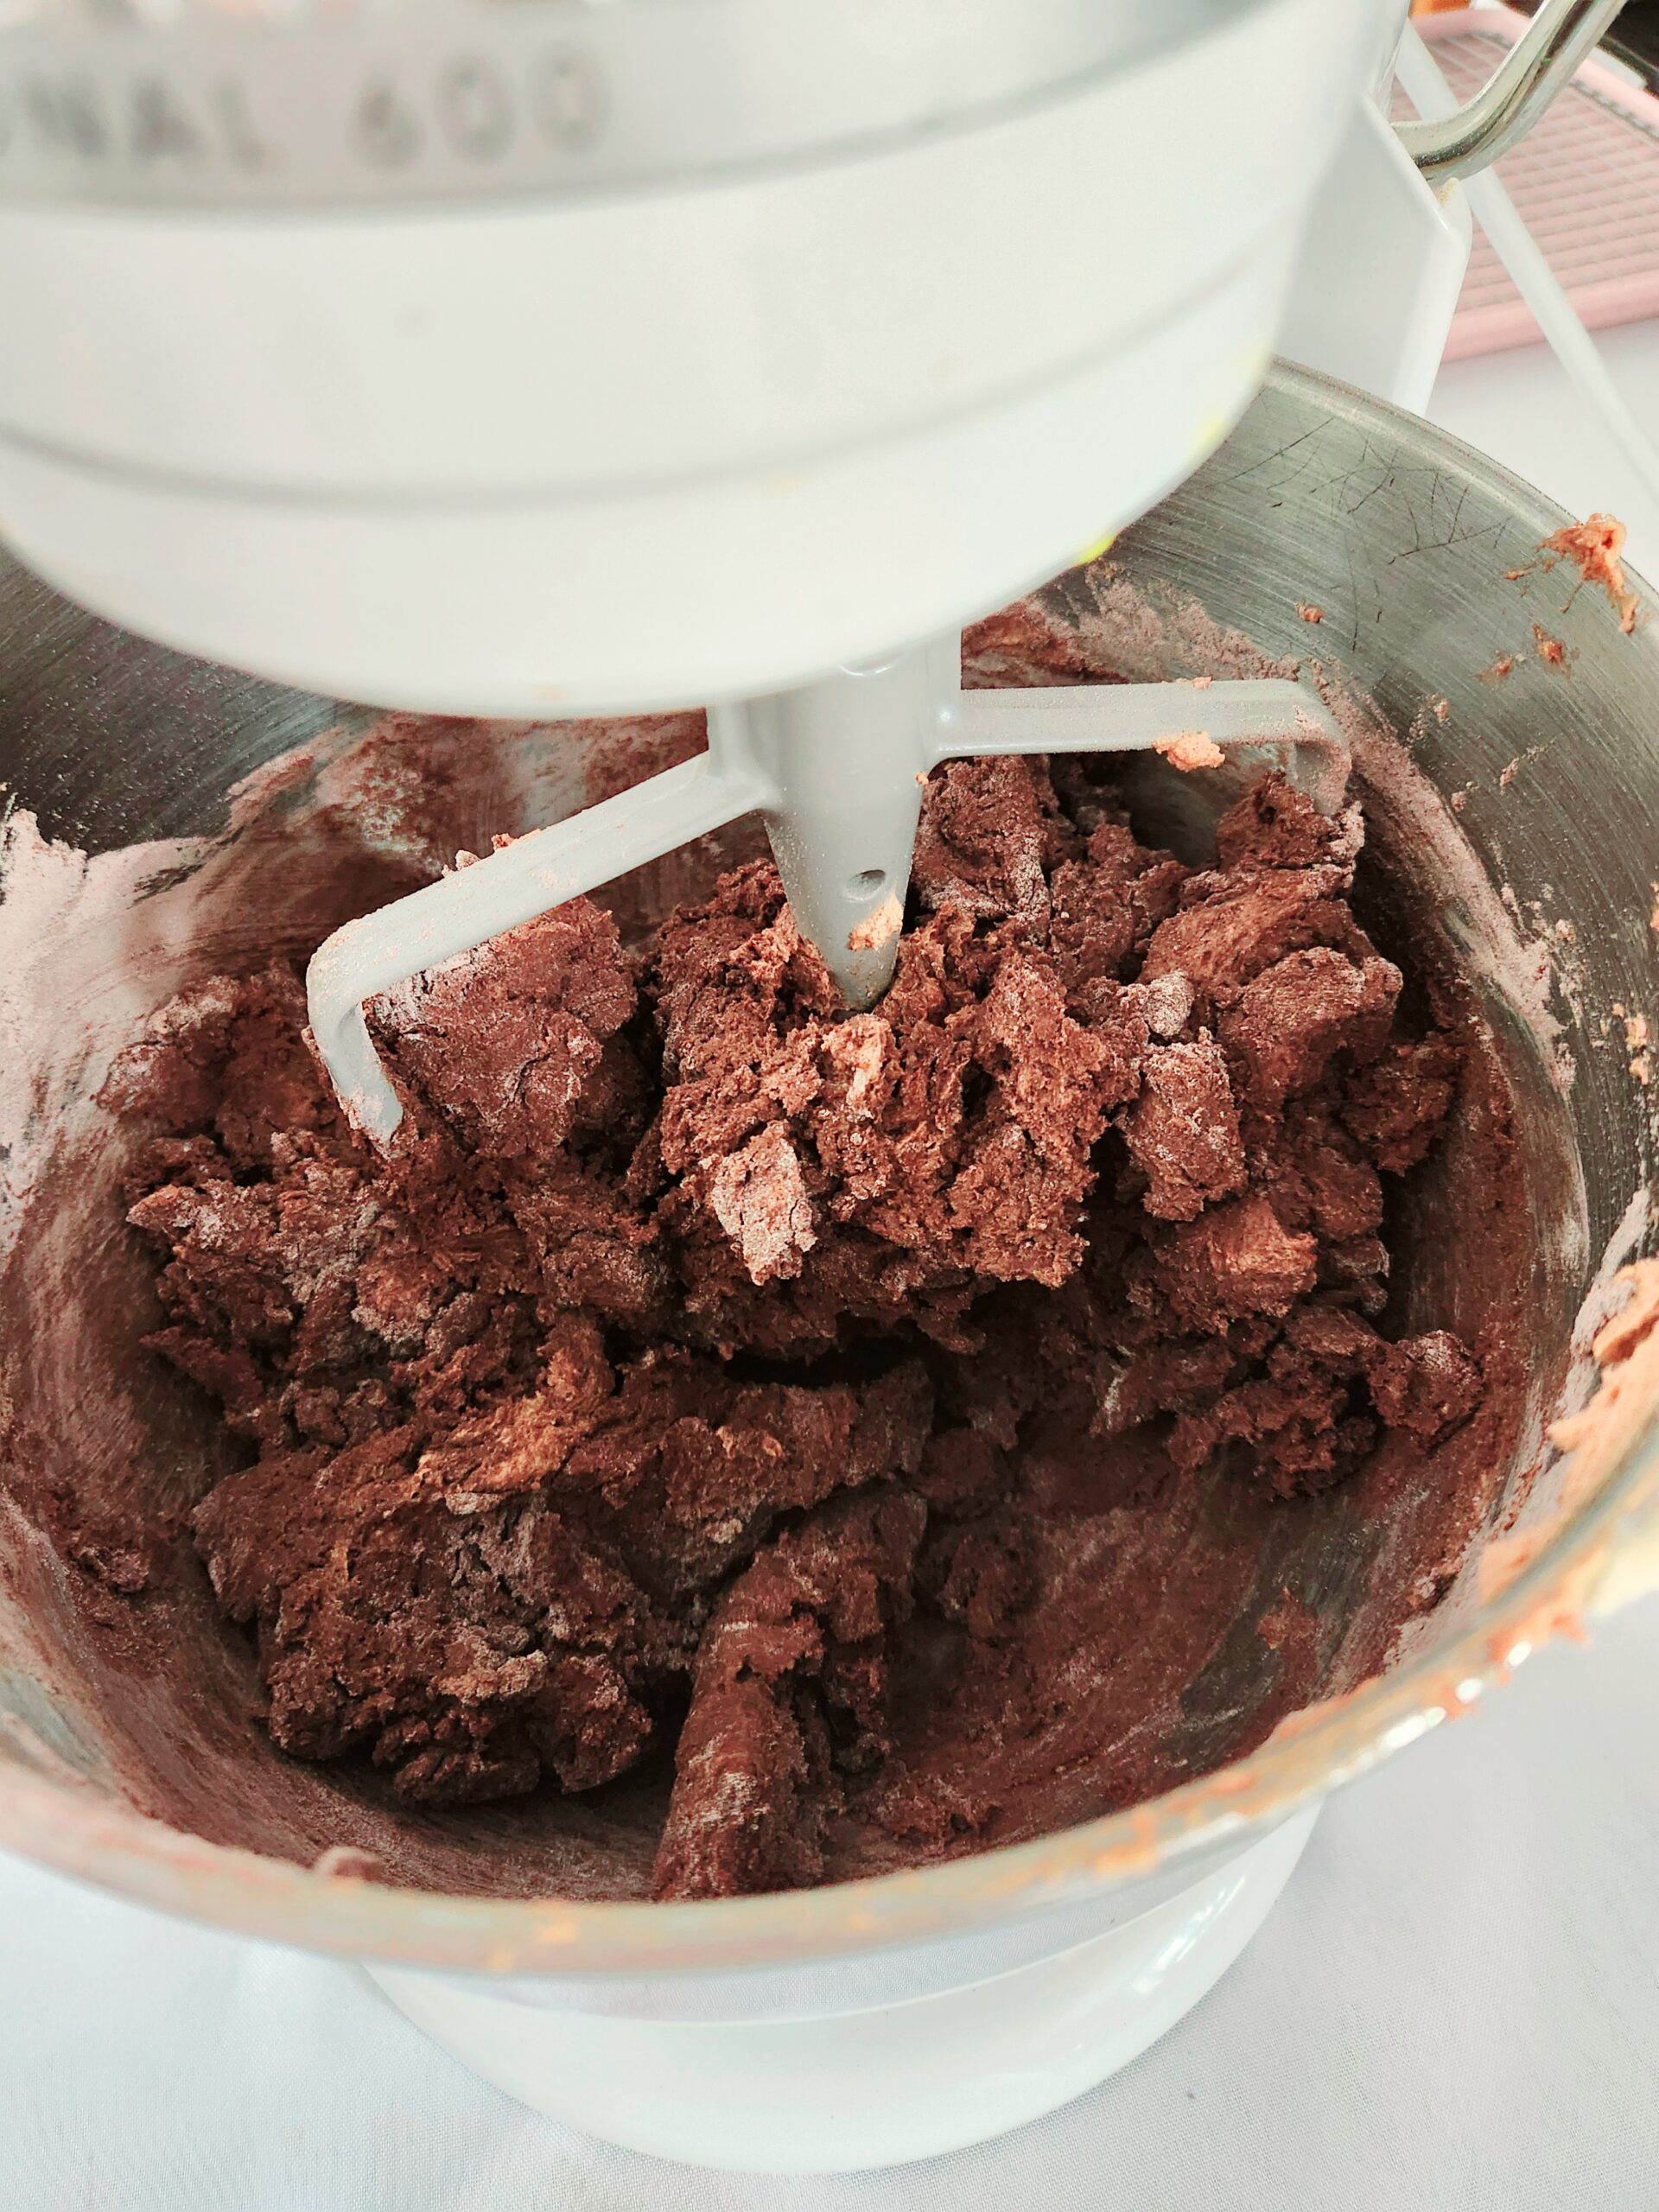
Finely chop the walnuts, and toss them into the dough along with the mini marshmallows and chocolate chips. Turn the mixer on level 1 for 30 seconds-1 minute, until the additions distribute evenly throughout the dough. If you’re concerned about whether or not the mixer can safely handle stirring in the additions, you can mix them in by hand using the rubber spatula.
Scrape the dough from the paddle attachment into the bowl of the stand mixer with the rest of the dough. Cover the top of the bowl tightly with plastic wrap.
Place the covered dough in the fridge to chill for 30 minutes, to make it easier to handle. It wont hurt anything to chill it for longer than that, but the longer it sits in the fridge, the firmer the dough will become. The firmness is just from the butter solids solidifying in the cold. Nothing to panic over, you’d just need to let it sit on the counter for a few minutes before portioning out.
As the dough chills, cut each of the large marshmallows in half, and set them aside. I tried baking these with a whole large marshmallow and while it was still good, the marshmallow just expanded more than I was looking for. Half of a marshmallow is a better ratio.
Remove the dough from the fridge and grab one of the prepared baking sheets. Scoop 4 Tablespoons (¼ cup) worth of dough per cookie, placing 5 cookies on each sheet. If you aren’t attached to the cookies looking beautiful, feel free to squeeze another 1-2 per pan. Roll the portioned dough into balls, and flatten them slightly with around 2 inches of space between each.
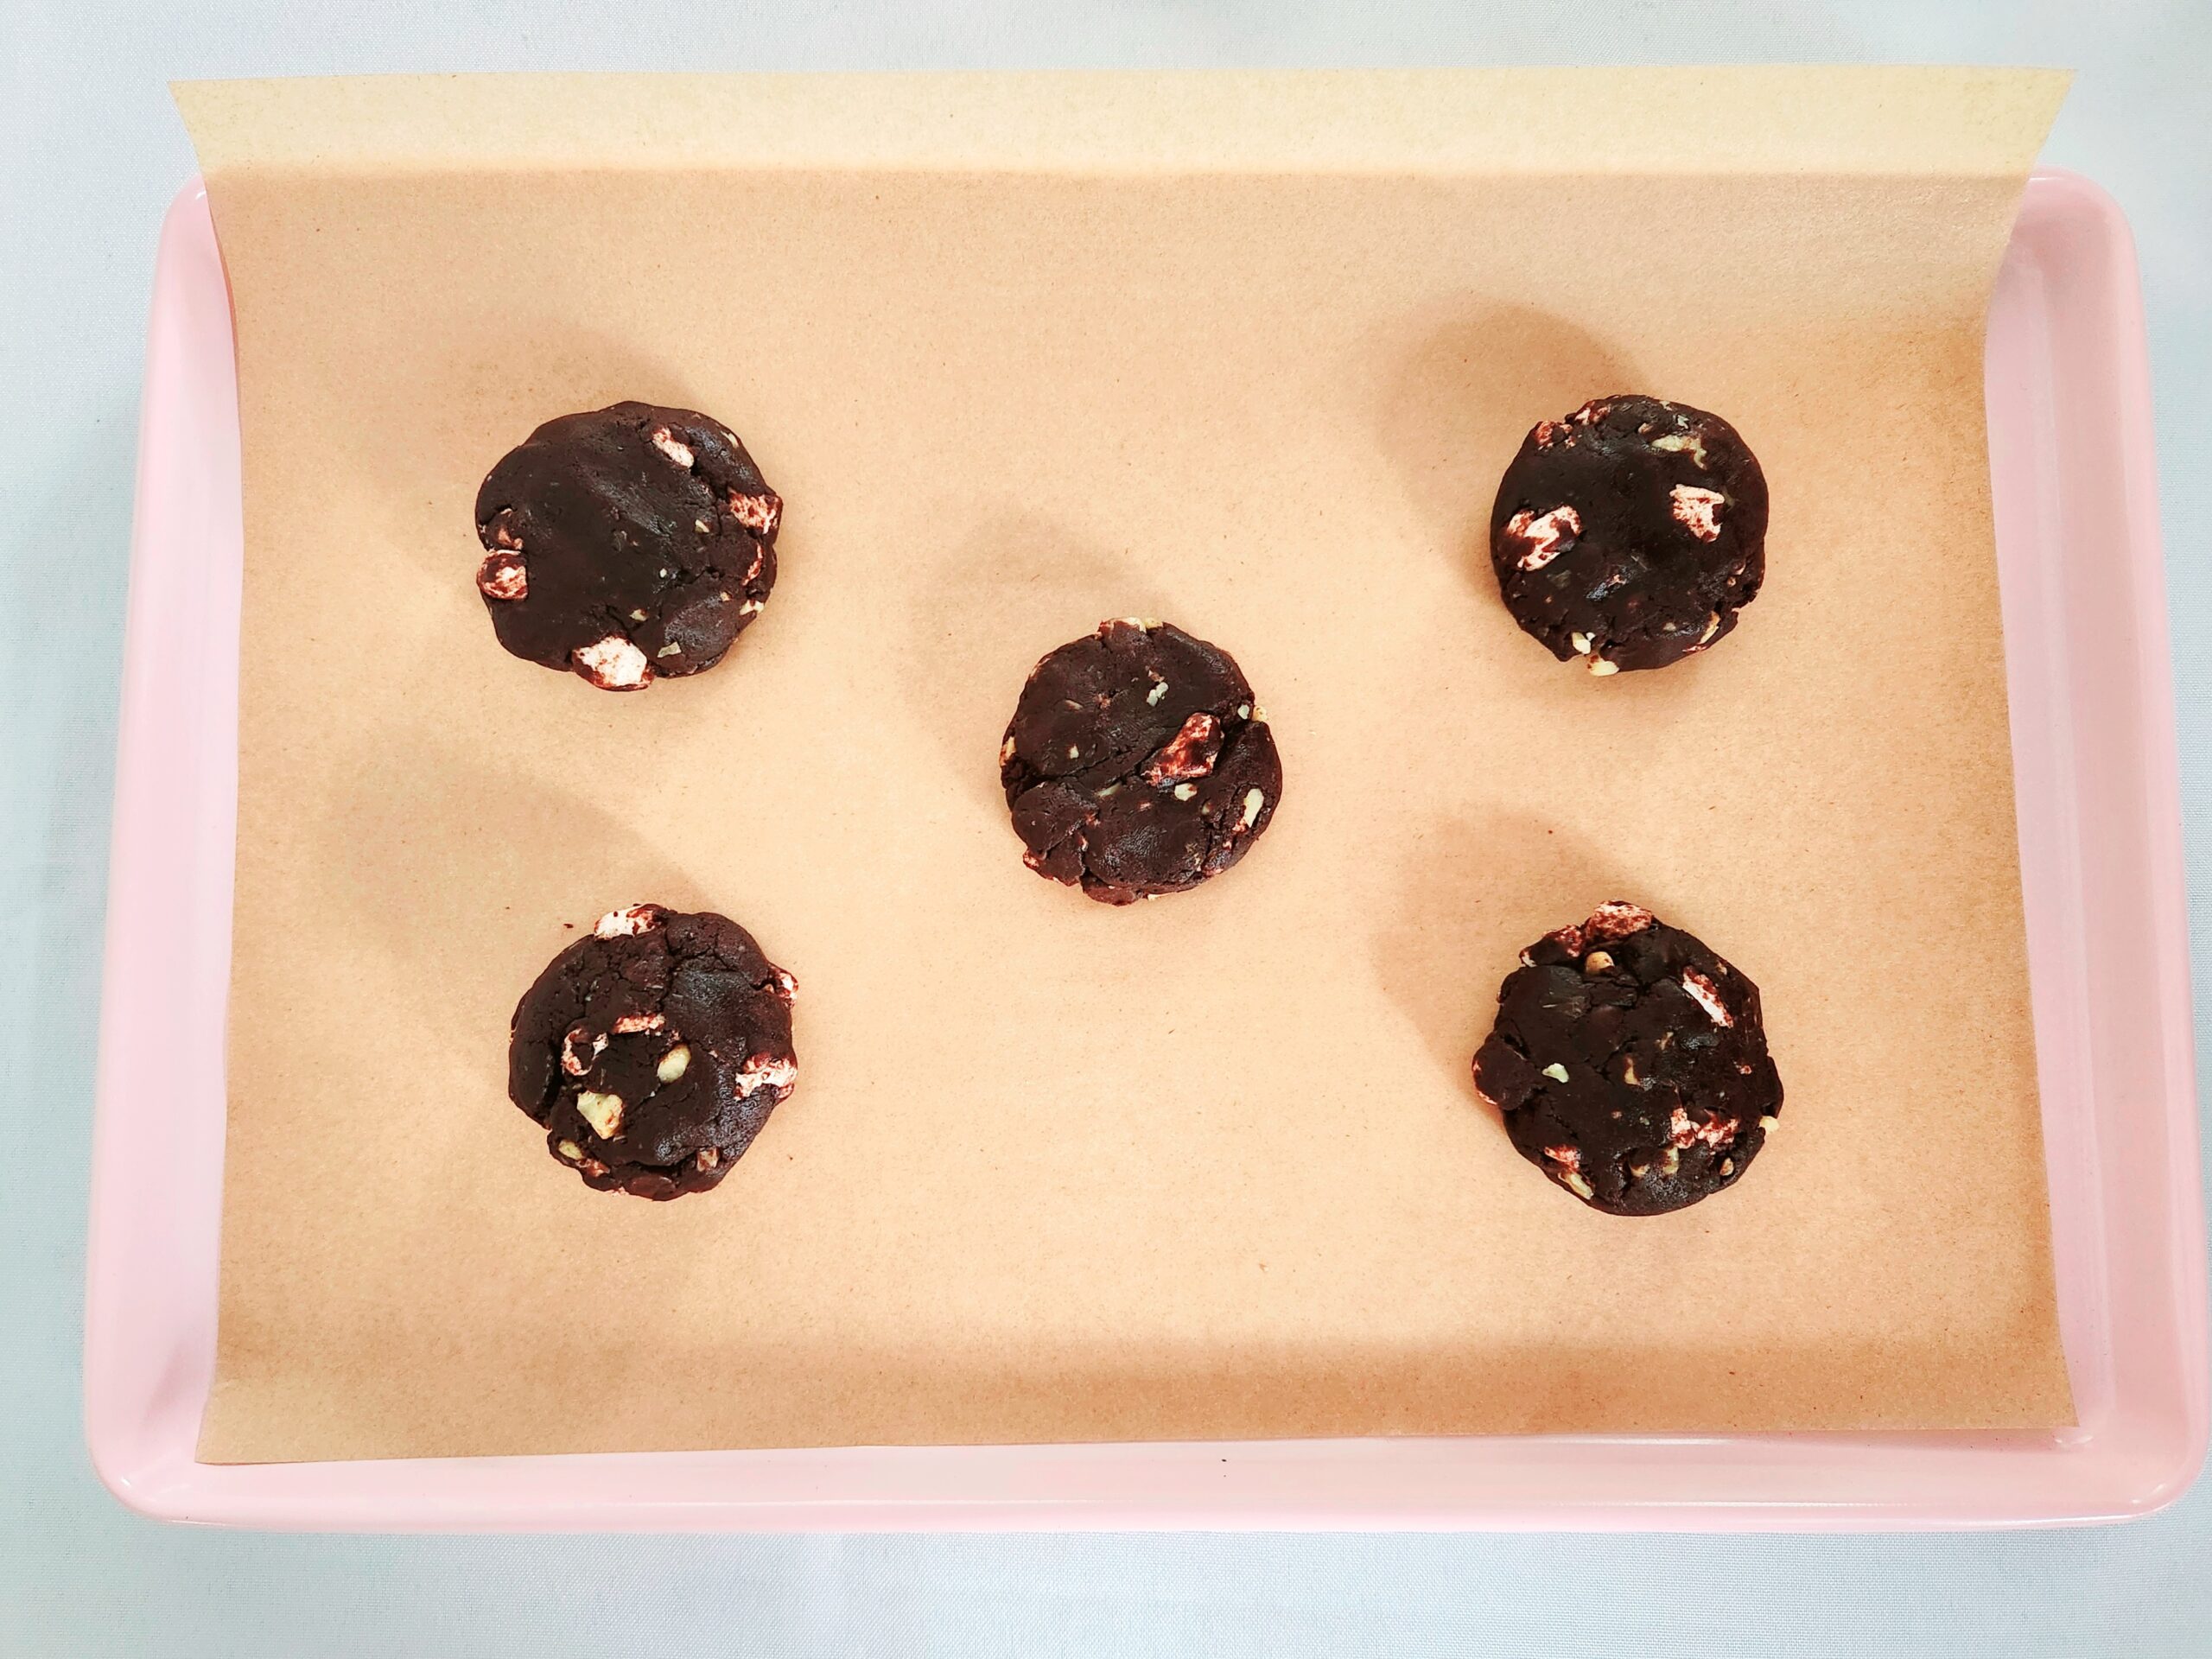
Bake the cookies for 9 minutes, then flip the pan around and place one marshmallow half on each cookie.
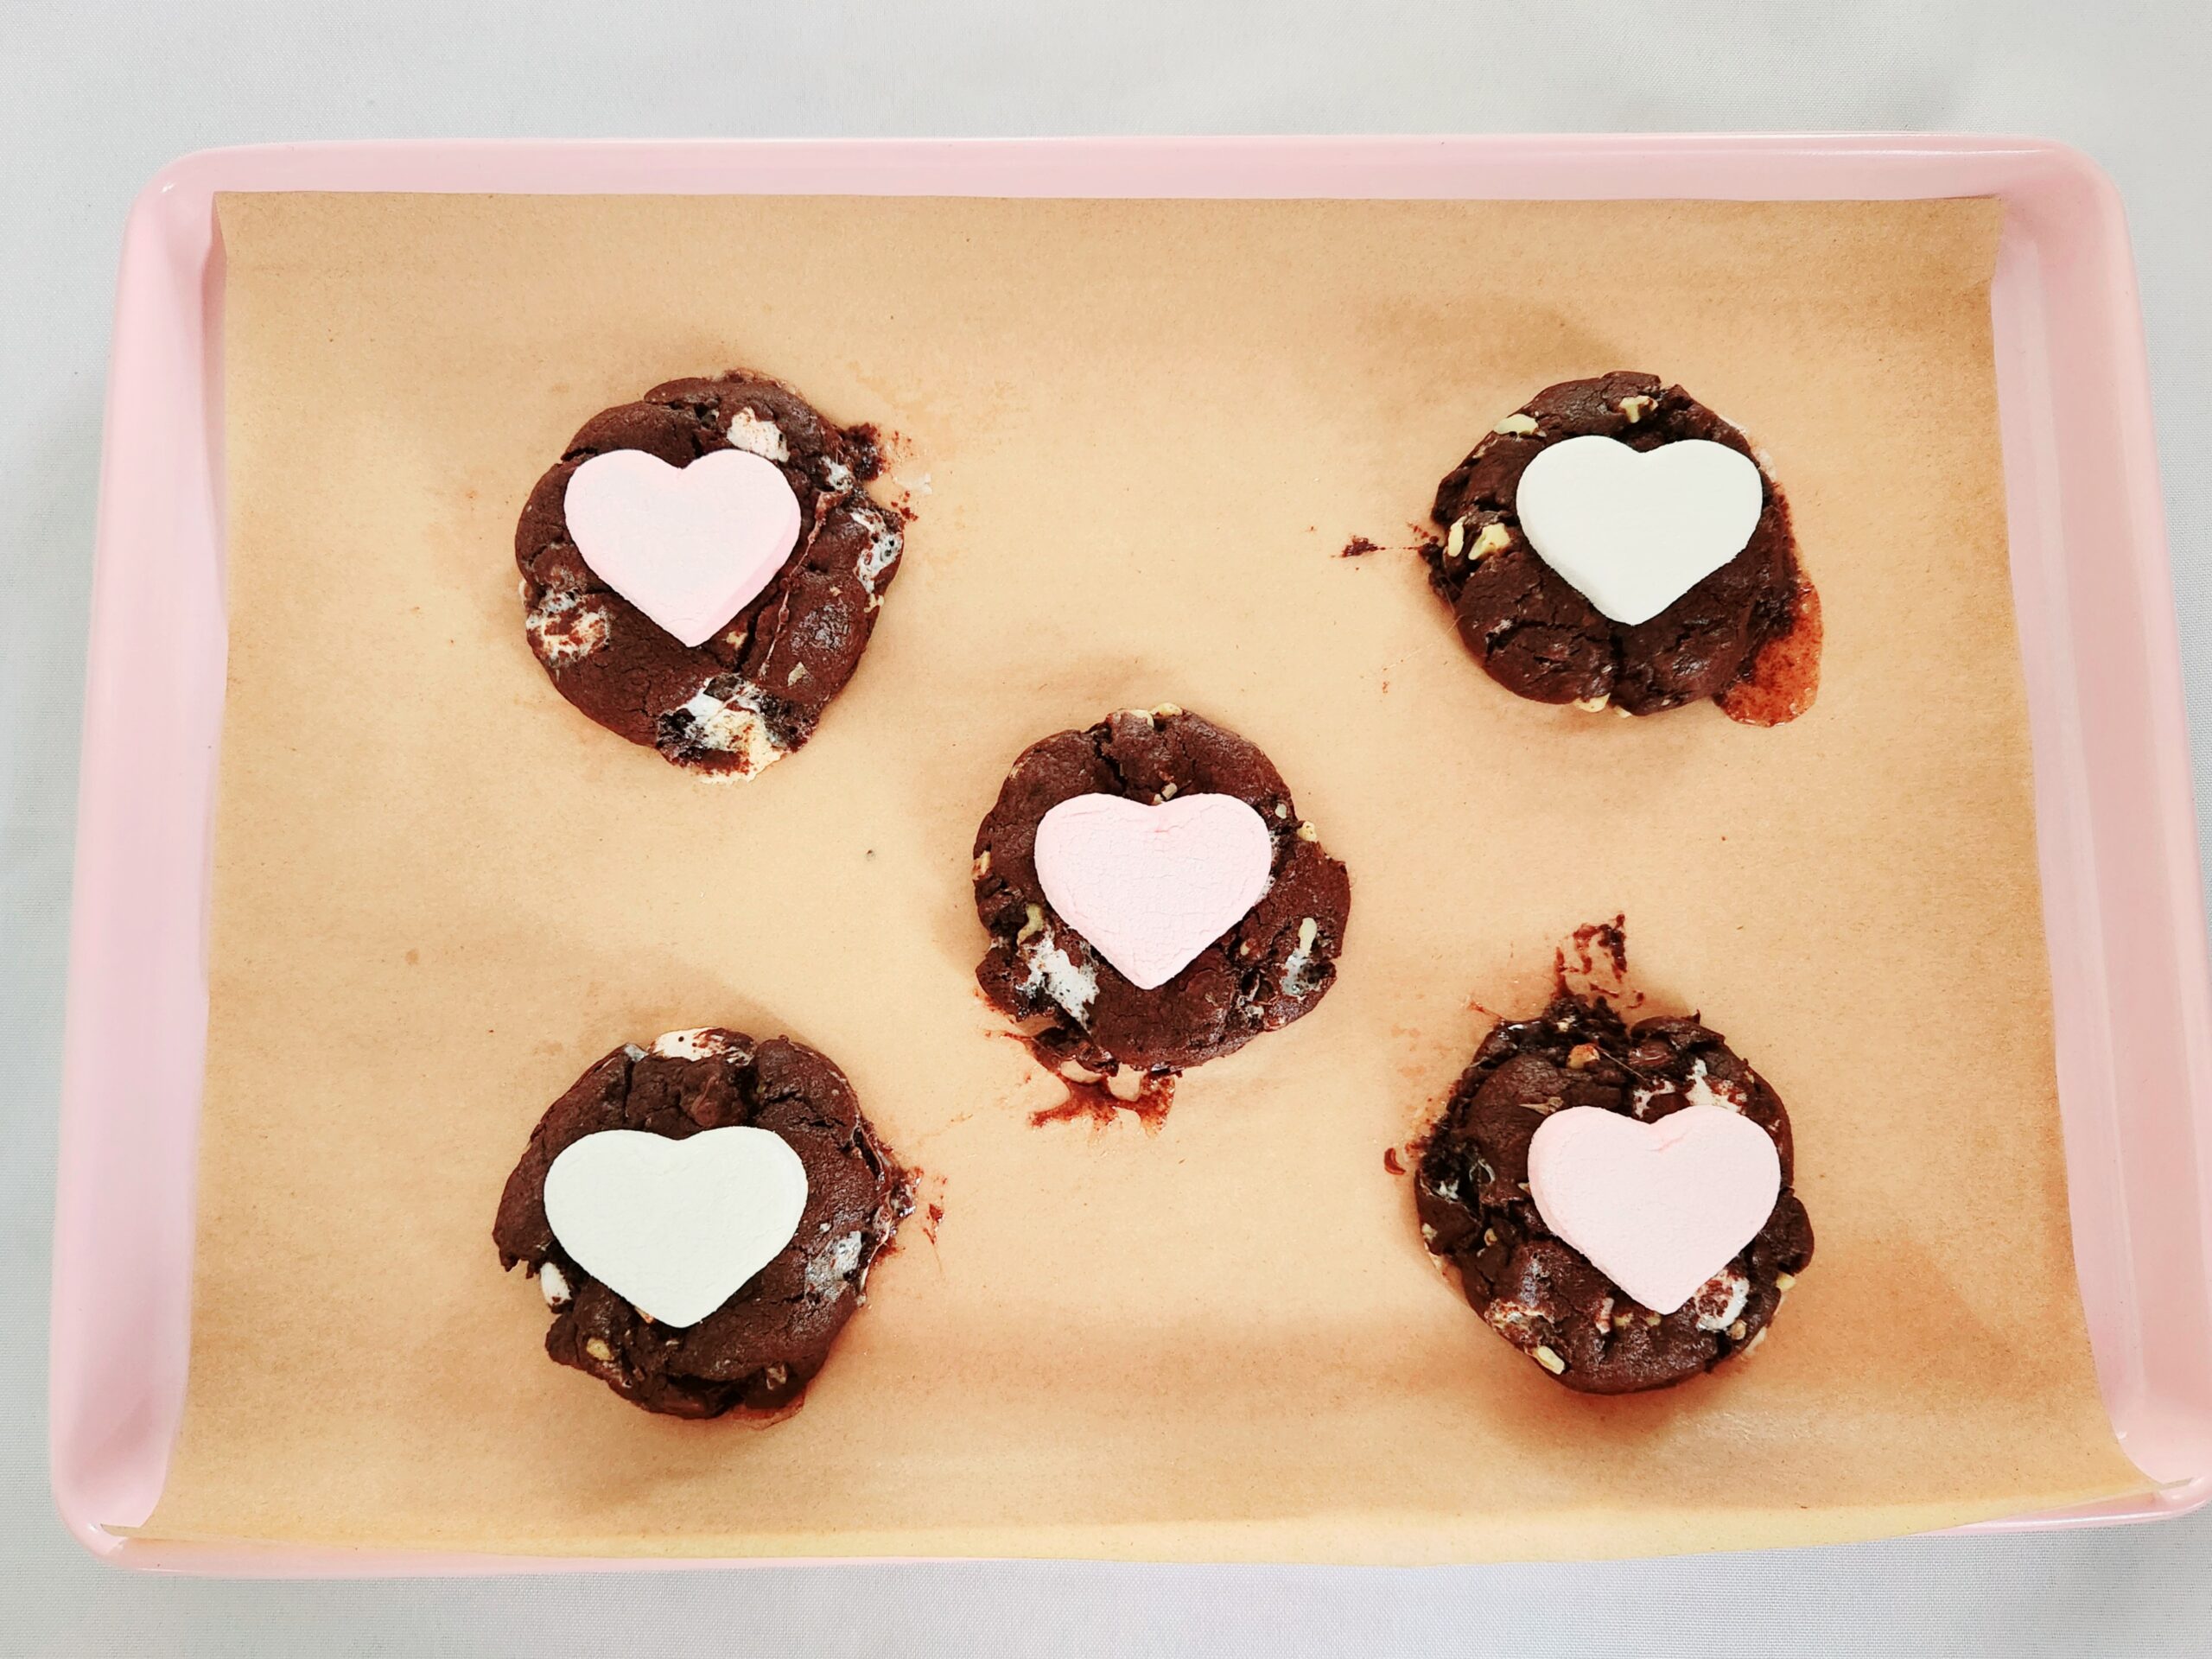
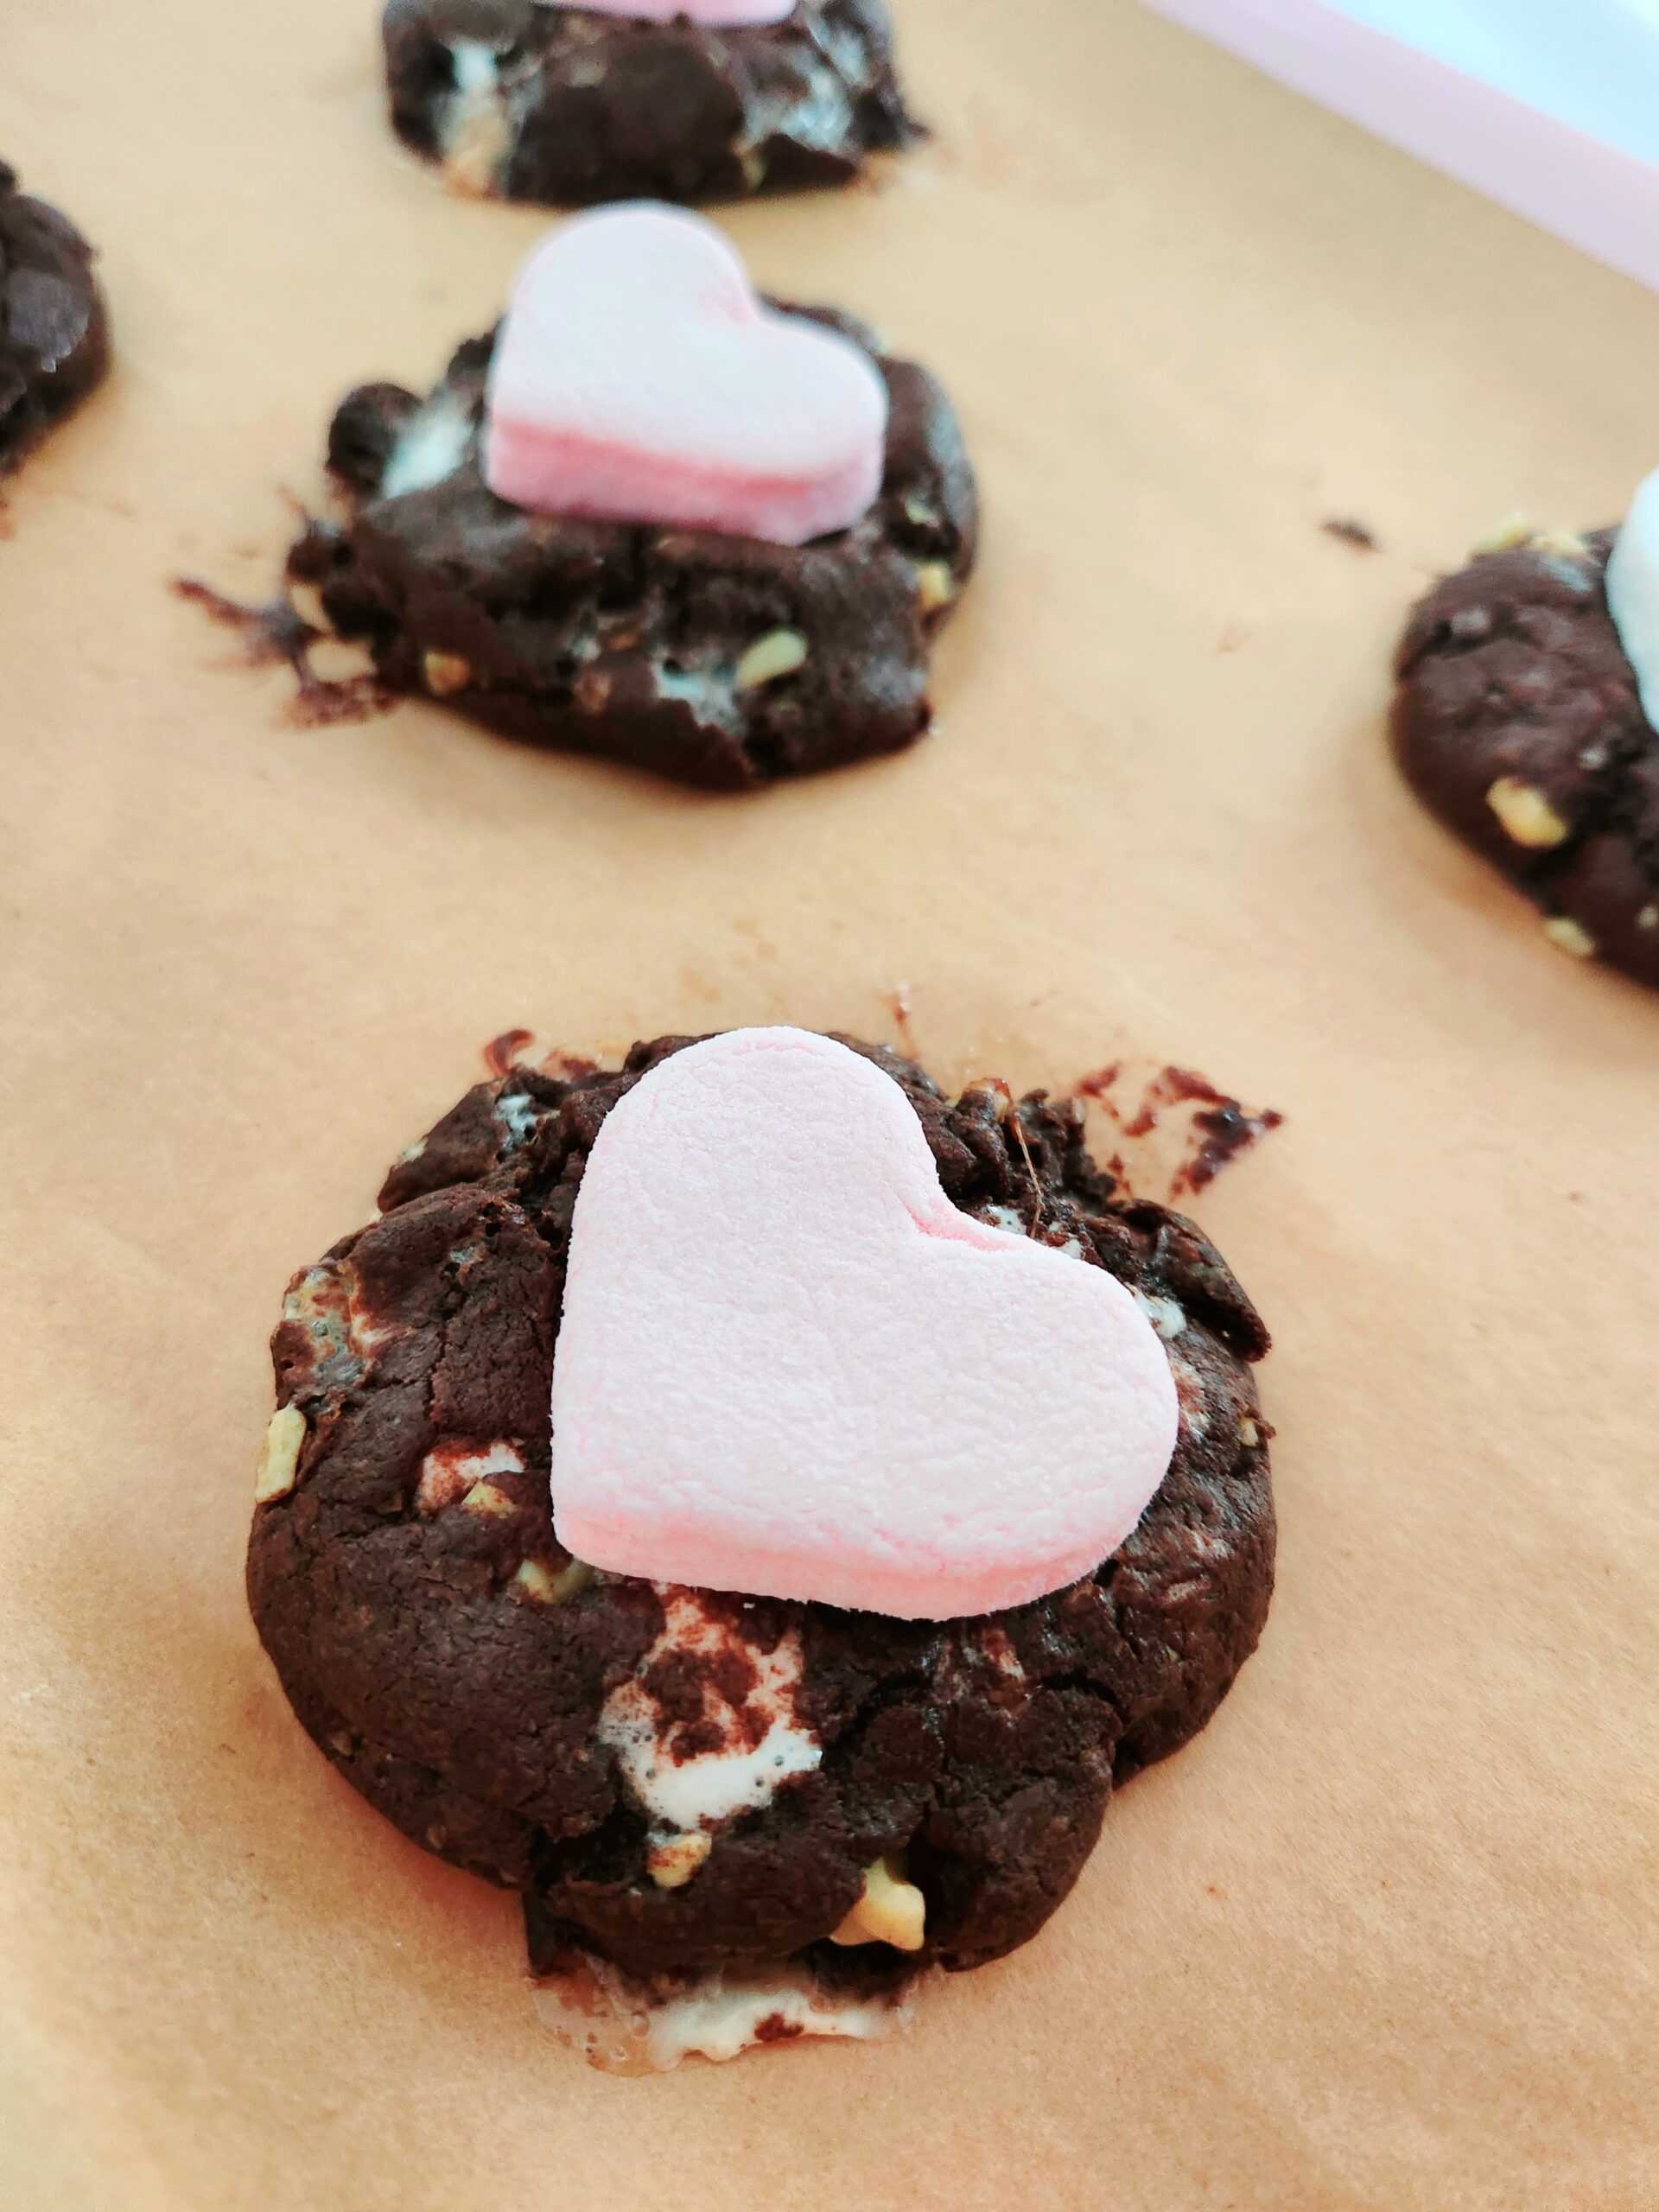
Bake for another 9 minutes, and remove them from the oven when the marshmallows are lightly toasted.
Allow the cookies to cool on the baking sheet for 5 minutes, then transfer them over to a cooling rack to finish coming down to room temperature. Sitting on the baking sheet for a few minutes after coming out of the oven allows them to structurally set enough that they wont fall apart on transfer.
Store the cookies in an airtight container or gallon zip top bag at room temperature for up to two days, and enjoy!

Rocky Road Cookies
Bake Time: 350F for 18 minutes
Servings: 20 Cookies
Total Time: 2 hour 30 minutes
Prep Time: 40 Minutes
Ingredients
- 2 ½ cups all-purpose flour
- ¾ cup dutch processed cocoa powder
- 1 teaspoon baking soda
- 1 teaspoon salt
- 16 Tablespoons unsalted butter, softened
- ¾ cup light brown sugar
- ¾ cup granulated sugar
- ⅔ cup dark chocolate, melted
- 2 large eggs, room temperature
- 1 teaspoon vanilla extract
- 1 ½ cups whole walnuts, toasted and chopped
- 1 cup dark chocolate chips
- 2 cups mini marshmallows
- 10 large marshmallows, cut in half
Directions
- Preheat the oven to 350F, on the convection setting if possible. Line 2 baking sheets with parchment paper or silicone baking mats, and set them aside. In a large mixing bowl, whisk together the flour, cocoa powder, baking soda, and salt. Set the dry goods aside.
- Once the oven finishes heating, spread the walnuts out evenly on a baking sheet and toast them for 7-10 minutes. Stir them halfway through. Watch them carefully, or they’ll burn. Set the toasted nuts aside to cool.
- Melt the dark chocolate in either a microwave in 30 second intervals, stirring with a rubber spatula in between each, or over a double boiler on the stove top. Set it aside.
- In the bowl of a stand mixer using the paddle attachment, cream together the softened butter, brown sugar, and granulated sugar on level 3 or 4 for 4-5 minutes. It should go from a beige color to almost white and very fluffy. Scrape down the sides of the bowl with a rubber spatula.
- Pour the now cooled melted chocolate into the stand mixer, using the rubber spatula to scrape in as much as you can. Beat the butter and chocolate together on level 3 or 4 for a minute or two, until the chocolate is fully incorporated. Scrape down the sides of the bowl.
- Add the eggs in one at a time, beating them in after each addition. Scrape down the sides of the bowl, and add in the vanilla. Beat to incorporate, 30 seconds-1 minute. Scrape down the sides of the bowl.
- Take the dry goods and add them all at once to the stand mixer. Beat on level 1 until the flour is mostly incorporated, a minute or two. There should still be a few streaks of flour remaining.
- Finely chop the walnuts, then add them to the stand mixer along with the chocolate chips and mini marshmallows. Turn the mixer on level 1 and beat the dough for another minute, until everything is evenly distributed. Scrape all of the dough from the paddle back into the bowl, and cover it tightly with plastic wrap. Chill the dough for 30 minutes, to make it easier to handle.
- While the dough chills, cut each large marshmallow in half and set them aside. Remove the dough from the fridge and grab one of the lined baking sheets. Scoop 4 Tablespoons (¼ cup) worth of dough per cookie, placing 5 cookies on each sheet. Roll the portioned dough into balls, and flatten them slightly. Place them spaced about 2 inches apart.
- Bake the cookies for 9 minutes, then flip the pan around and place one marshmallow half on each cookie. Bake for another 9 minutes, and remove them from the oven.
- Allow the cookies to sit on the baking sheet for 5 minutes before transferring them over to a cooling rack using a spatula. Once they’ve cooled down to room temperature, chow down and enjoy! Store them in an airtight container or gallon zip top bag for up to 2 days.
Tips
- Freeze raw cookie dough for up to 3 months to bake off at your leisure. Follow the recipe through step 9, but portion out the entire batch of dough. Place the dough slightly spaced out on a baking sheet that fits comfortably in your freezer. Once the dough is frozen solid, transfer the cookies to a freezer bag for easy storage. Bake the frozen dough, 2 inches of space between each cookie, at 350 for 10 minutes. Flip the pan around, add a marshmallow half to the top, and bake a final 10 minutes.


0 Comments