

Oh, M&M cookies. I like to think of them as the whimsical sister of the chocolate chip cookie. Same basic brown sugar dough with bits of chocolate throughout, just with a little more pizzazz. Though M&Ms themselves have been around since 1941, to treat the soldiers of WWII in a way that wouldn’t coat everyone in chocolate, adding them to baked goods didn’t become popular until the 1960s. And for good reason! They’re colorful, eye-catching, and tasty, the perfect addition to any cookie.
These cookies don’t disappoint. They’re chewy, just the right level of sweet, and absolutely packed with the beloved candy coated chocolate pieces. Use whichever blend, or flavor, of M&M tickles your fancy. I’m partial to the cupid’s blend they release at Valentine’s day (for very obvious and pink reasons), but the seasonal releases make these super easy to customize for any occasion. Red and green for Christmas, blue and white for Hannukah, pastel for Easter or anything happening in spring, cupid’s blend for the pink girlies just for the joy of it. They’re quick, they’re easy, and just like a chocolate chip cookie, there’s mass appeal for all ages.
FAQs and Science
How can the butter be softened?
I prefer using the handy dandy microwave for this task. Place the butter, uncovered, on a heat safe plate. Microwave it for 9-11 seconds, then flip it upside down. Heat it for another 9-11 seconds, turn it on its side. Once again, heat is for 9-11 seconds, flip it upside down again. Heat it for a final 9-11 seconds, then use a rubber spatula to scrape it into the bowl of the stand mixer.
Does it really matter if the eggs are room temperature? Can they be brought up to room temperature quickly?
Yes, it definitely makes a difference. Remember, baking is a science! Delicious, delicious science. To do this quickly, take the eggs at the very beginning of the recipe and place them into a bowl. Cover the eggs with the hottest water that will come out of your tap, so it’s around an inch above the eggs. By the time the dough is ready for the eggs, they’ll be at the perfect temperature!
Why bother with chilling the dough?
Chilling the dough primarily affects the texture of the dough. A cold, firm dough makes for a more chewy cookie.
Can different flavors of M&Ms be substituted for plain?
Absolutely! You are the captain of your cookies, so have fun with it. Peanut butter, caramel, pretzel, whatever flavor speaks to you, give it a try.
Could these cookies be frozen?
Yes they can! See the Tips section for instructions on freezing and baking from frozen.
What You’ll Need

- Parchment paper
- Plastic wrap
- Stand mixer fitted with paddle attachment OR electric hand mixer
- Medium mixing bowl
- Dry measuring cups
- Measuring spoons
- Whisk
- Rubber spatula
- Two baking sheets
- Spatula
- Cooling rack
- Cookie scoop (optional)
The Process
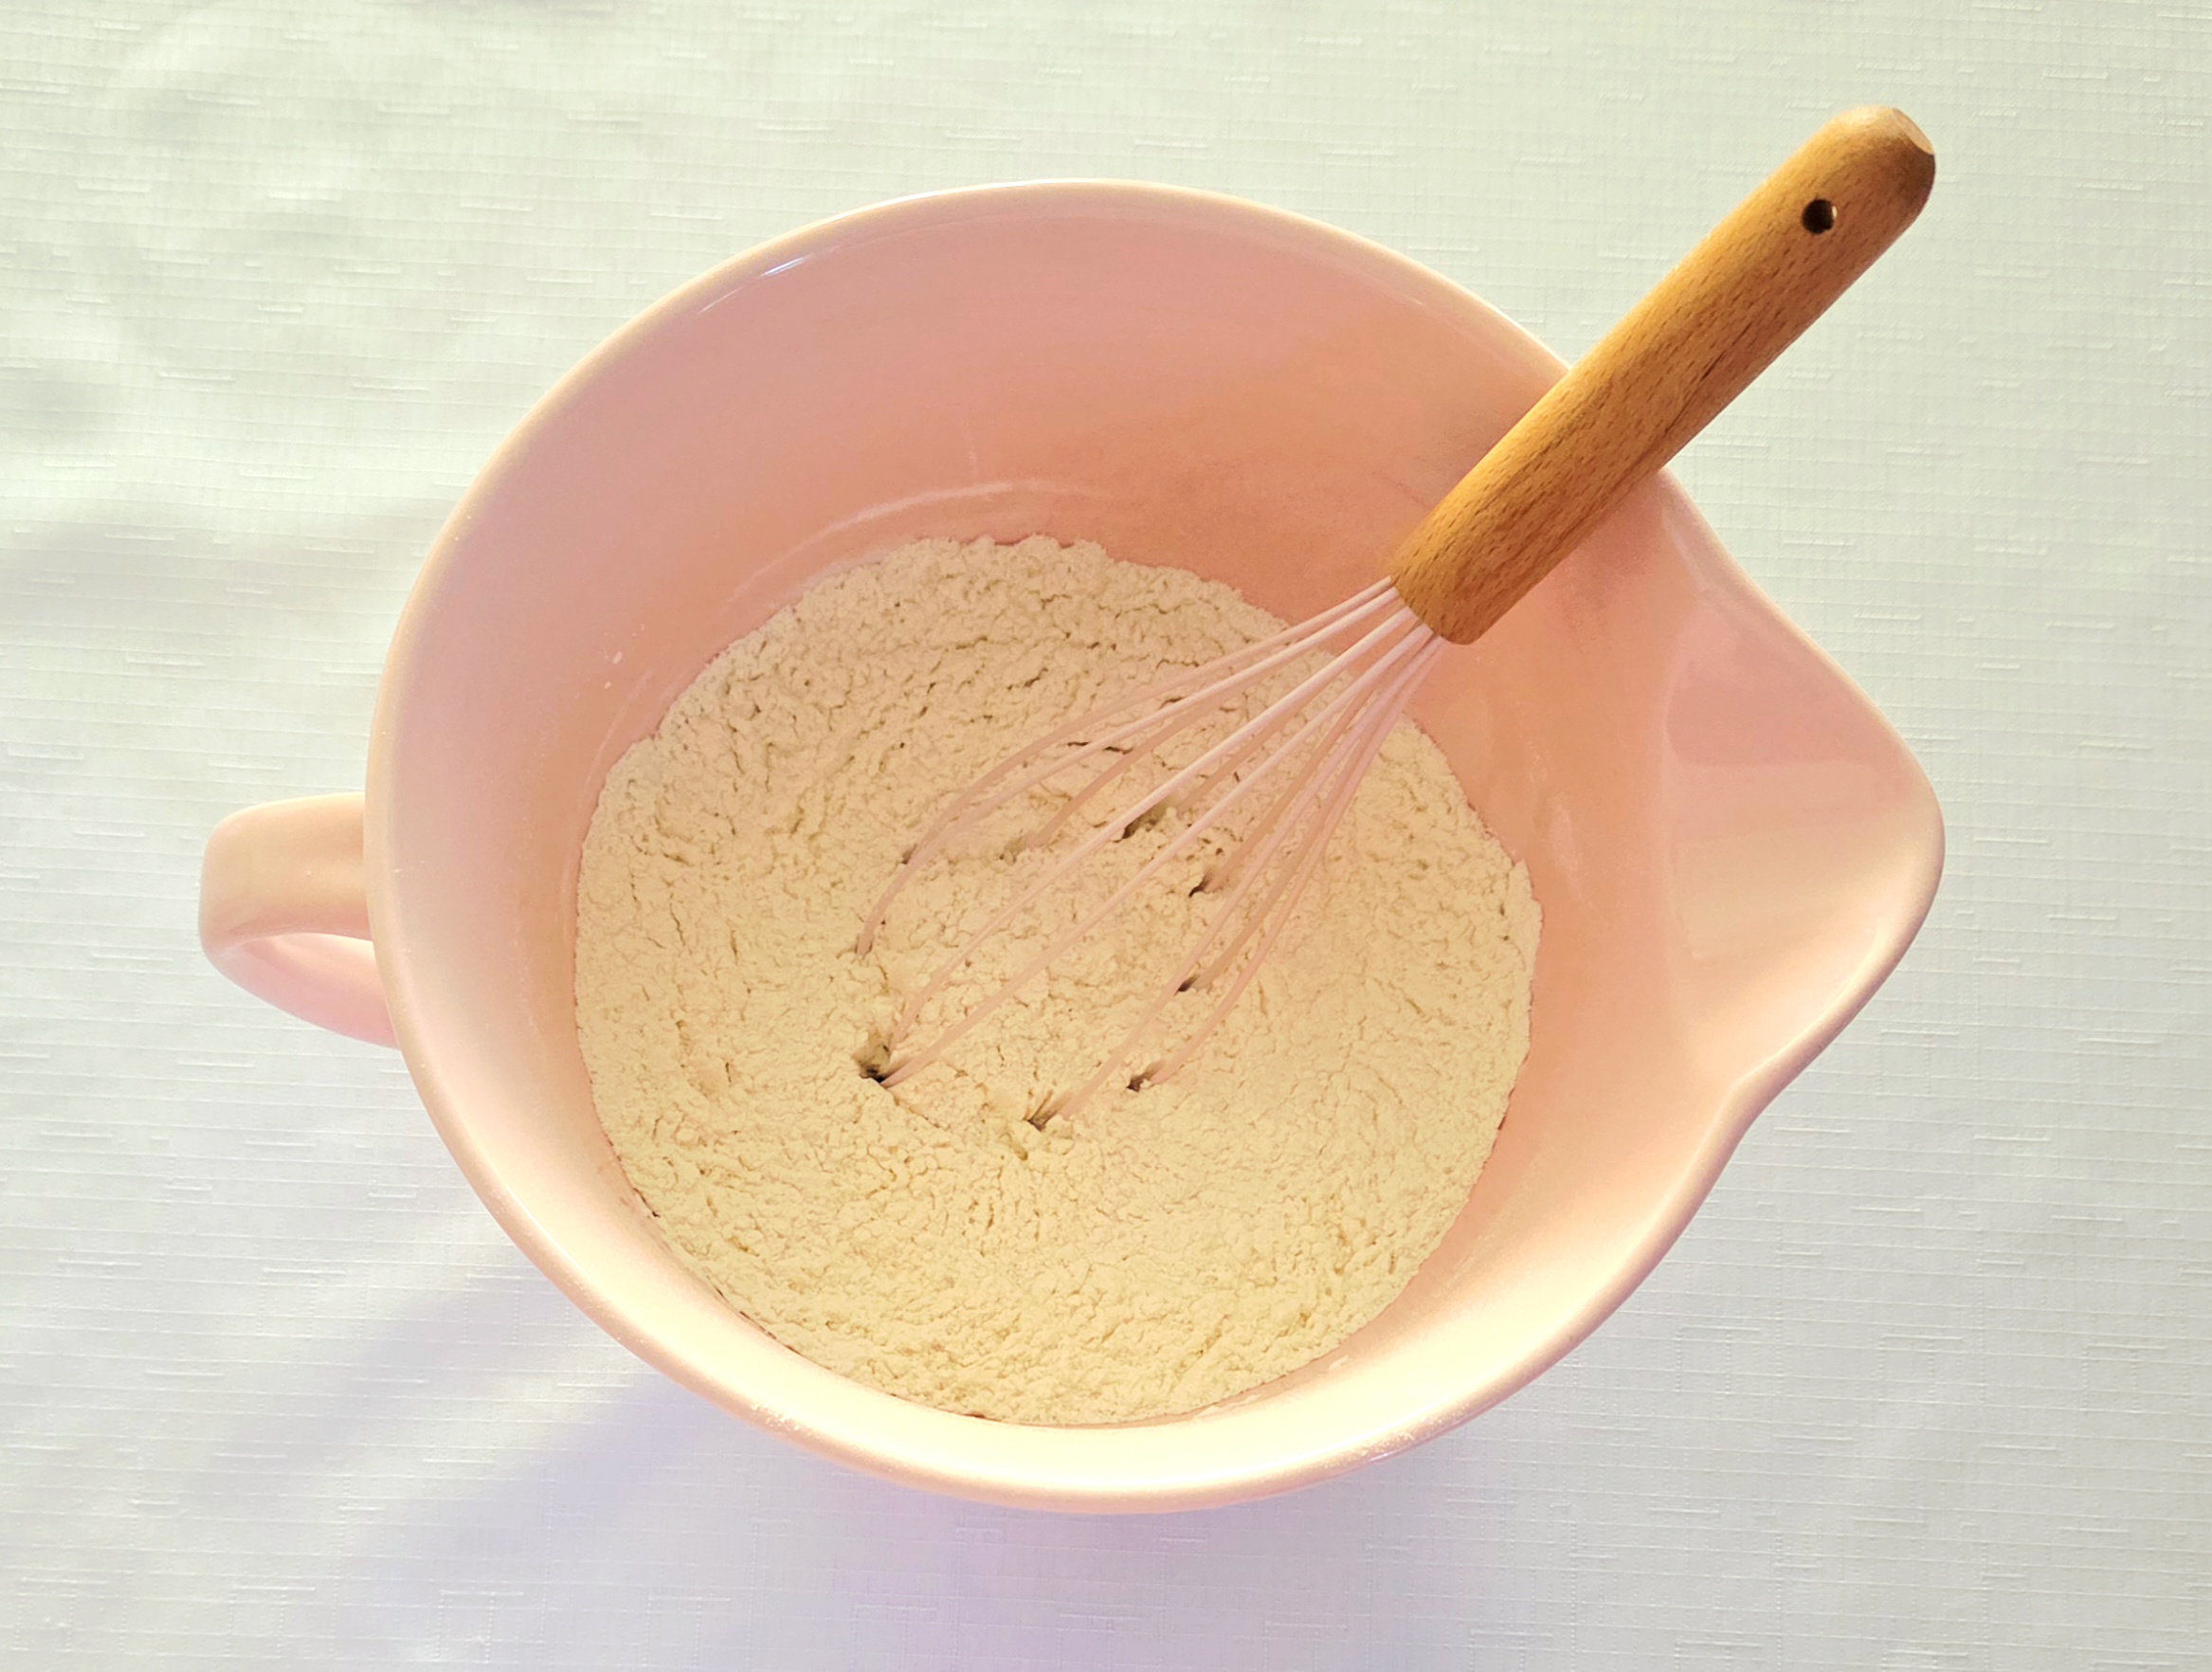
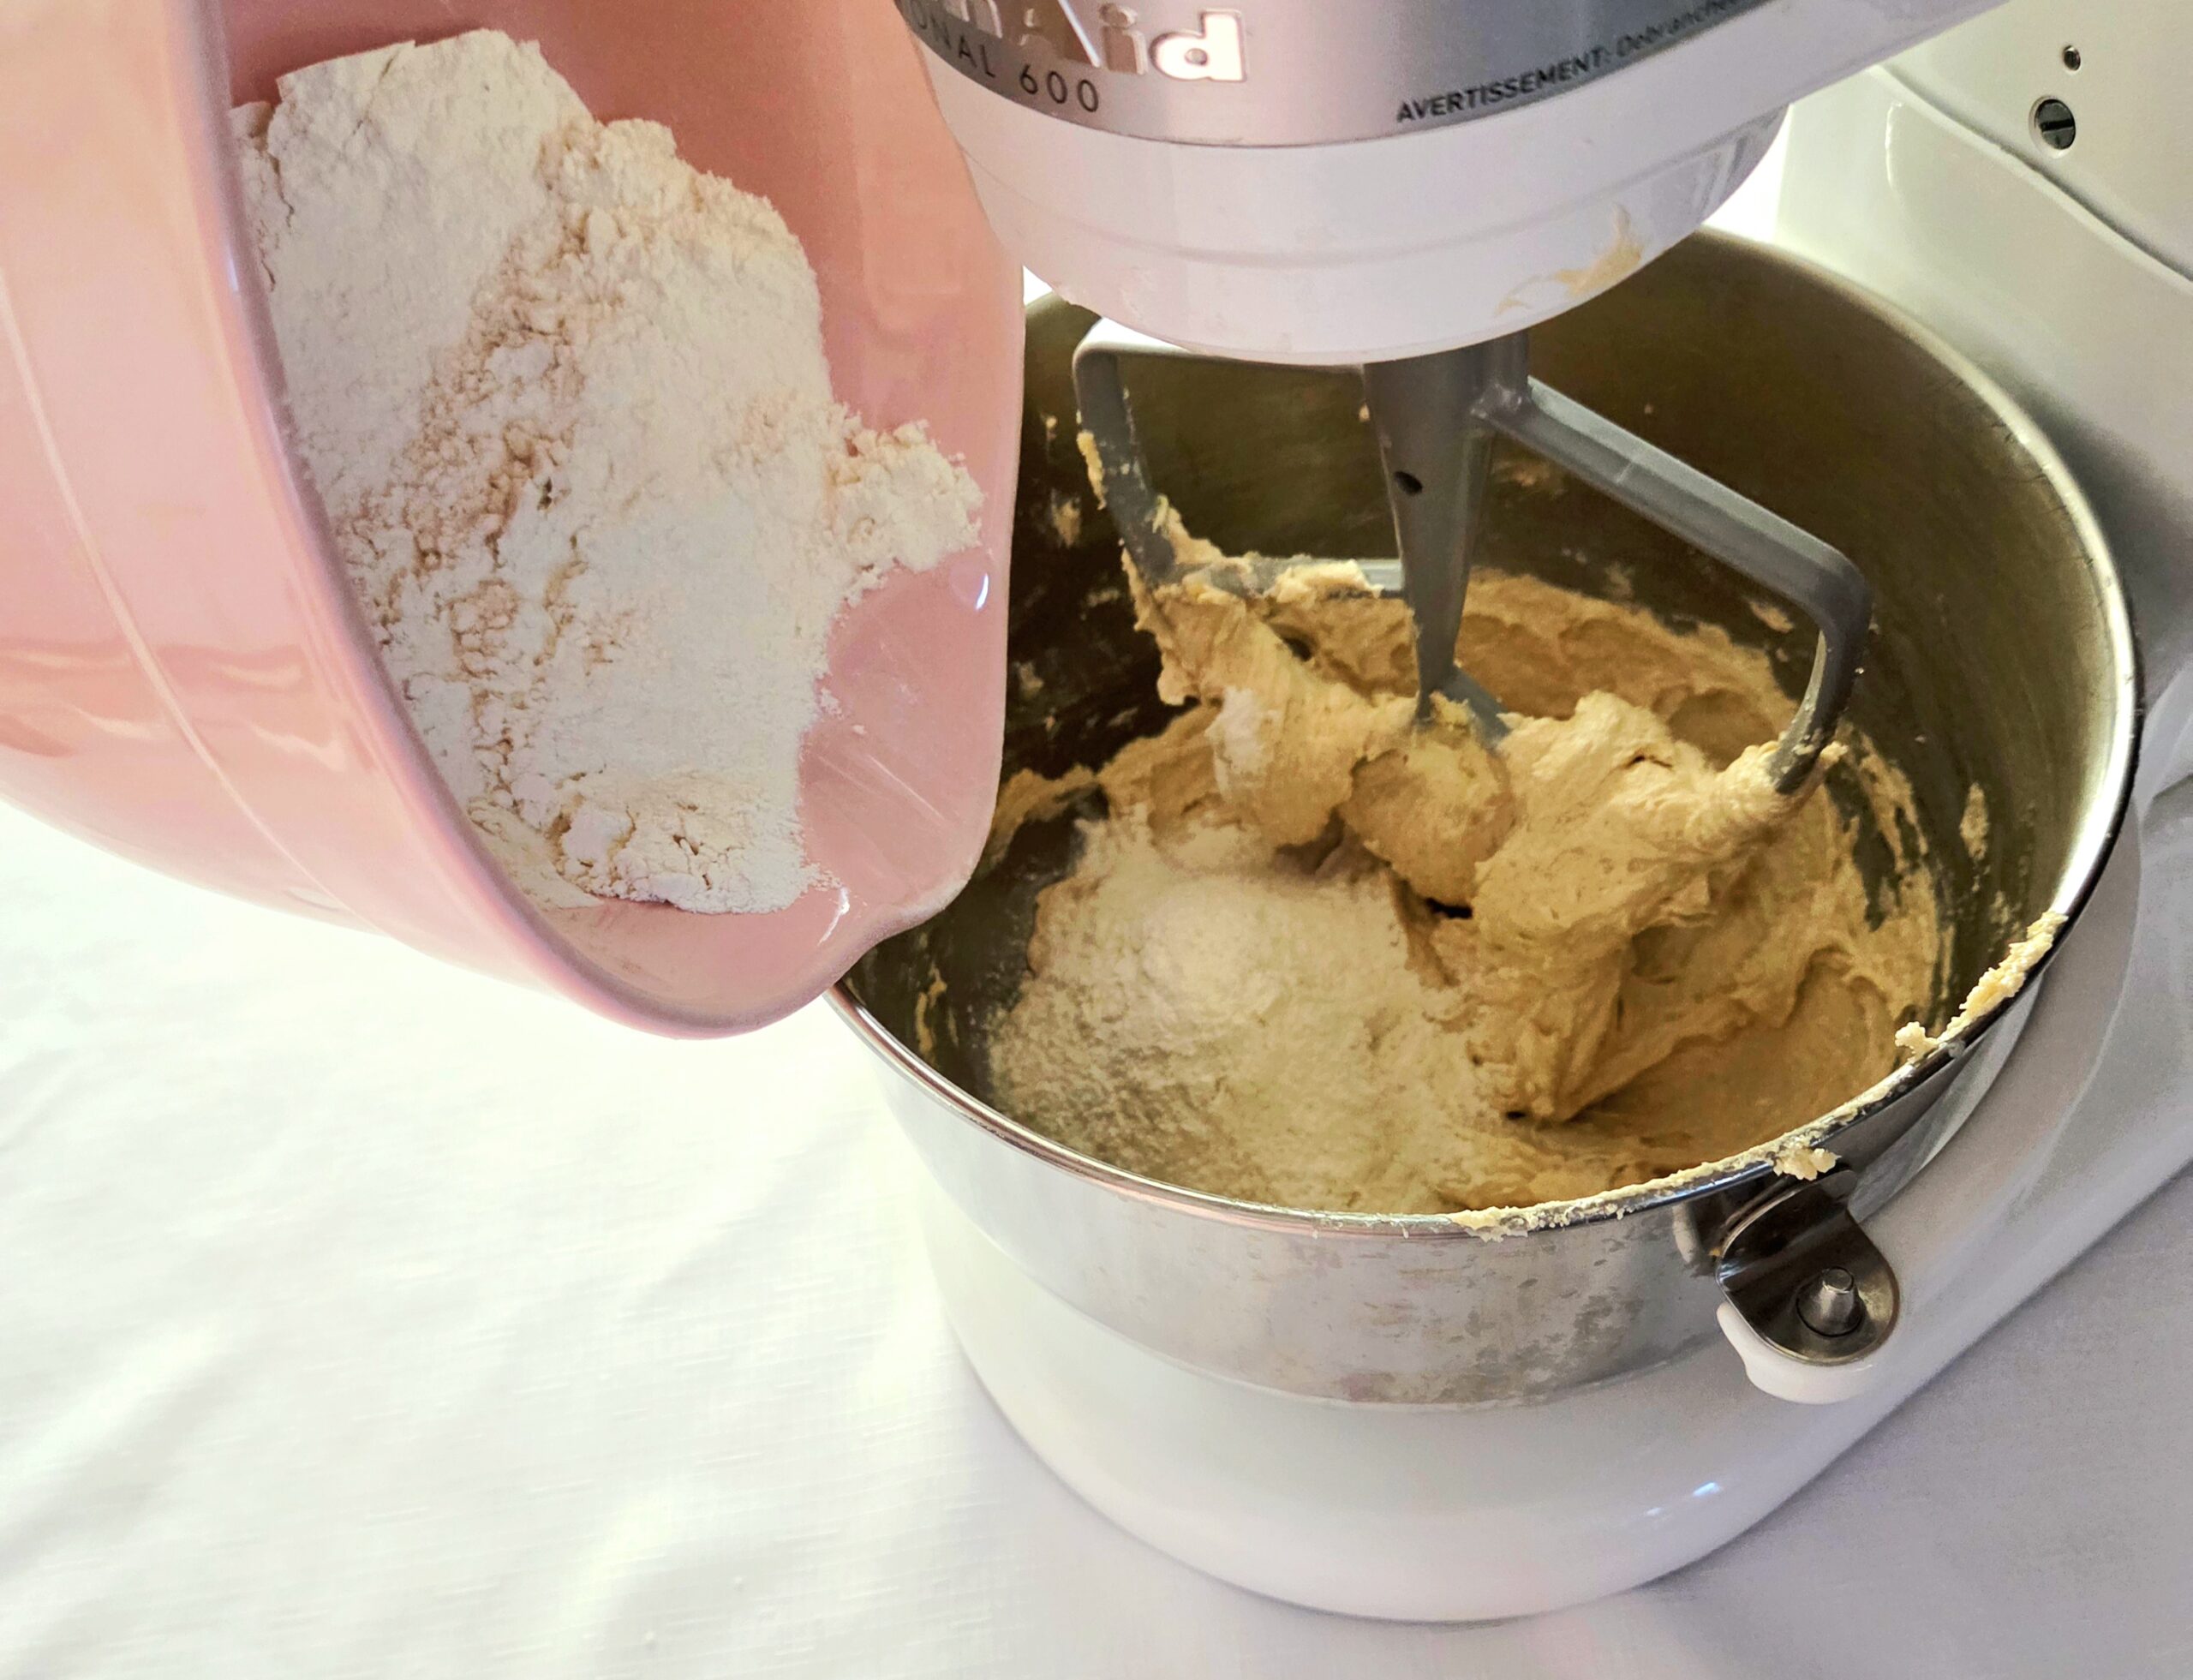
As the cookie dough will need time to chill once it’s prepared, let’s jump right into making it! Whisk together the flour, baking powder, and salt in a medium mixing bowl. Yes, I know, it’s tempting to skip this step and just dump them all in separately when it’s time for dry goods. Ignore that urge. The purpose of pre-mixing all of the dry goods is to make sure they’re evenly distributed throughout the final product. No one wants to bite into a pocket of salt. Take the 30 seconds and whisk.
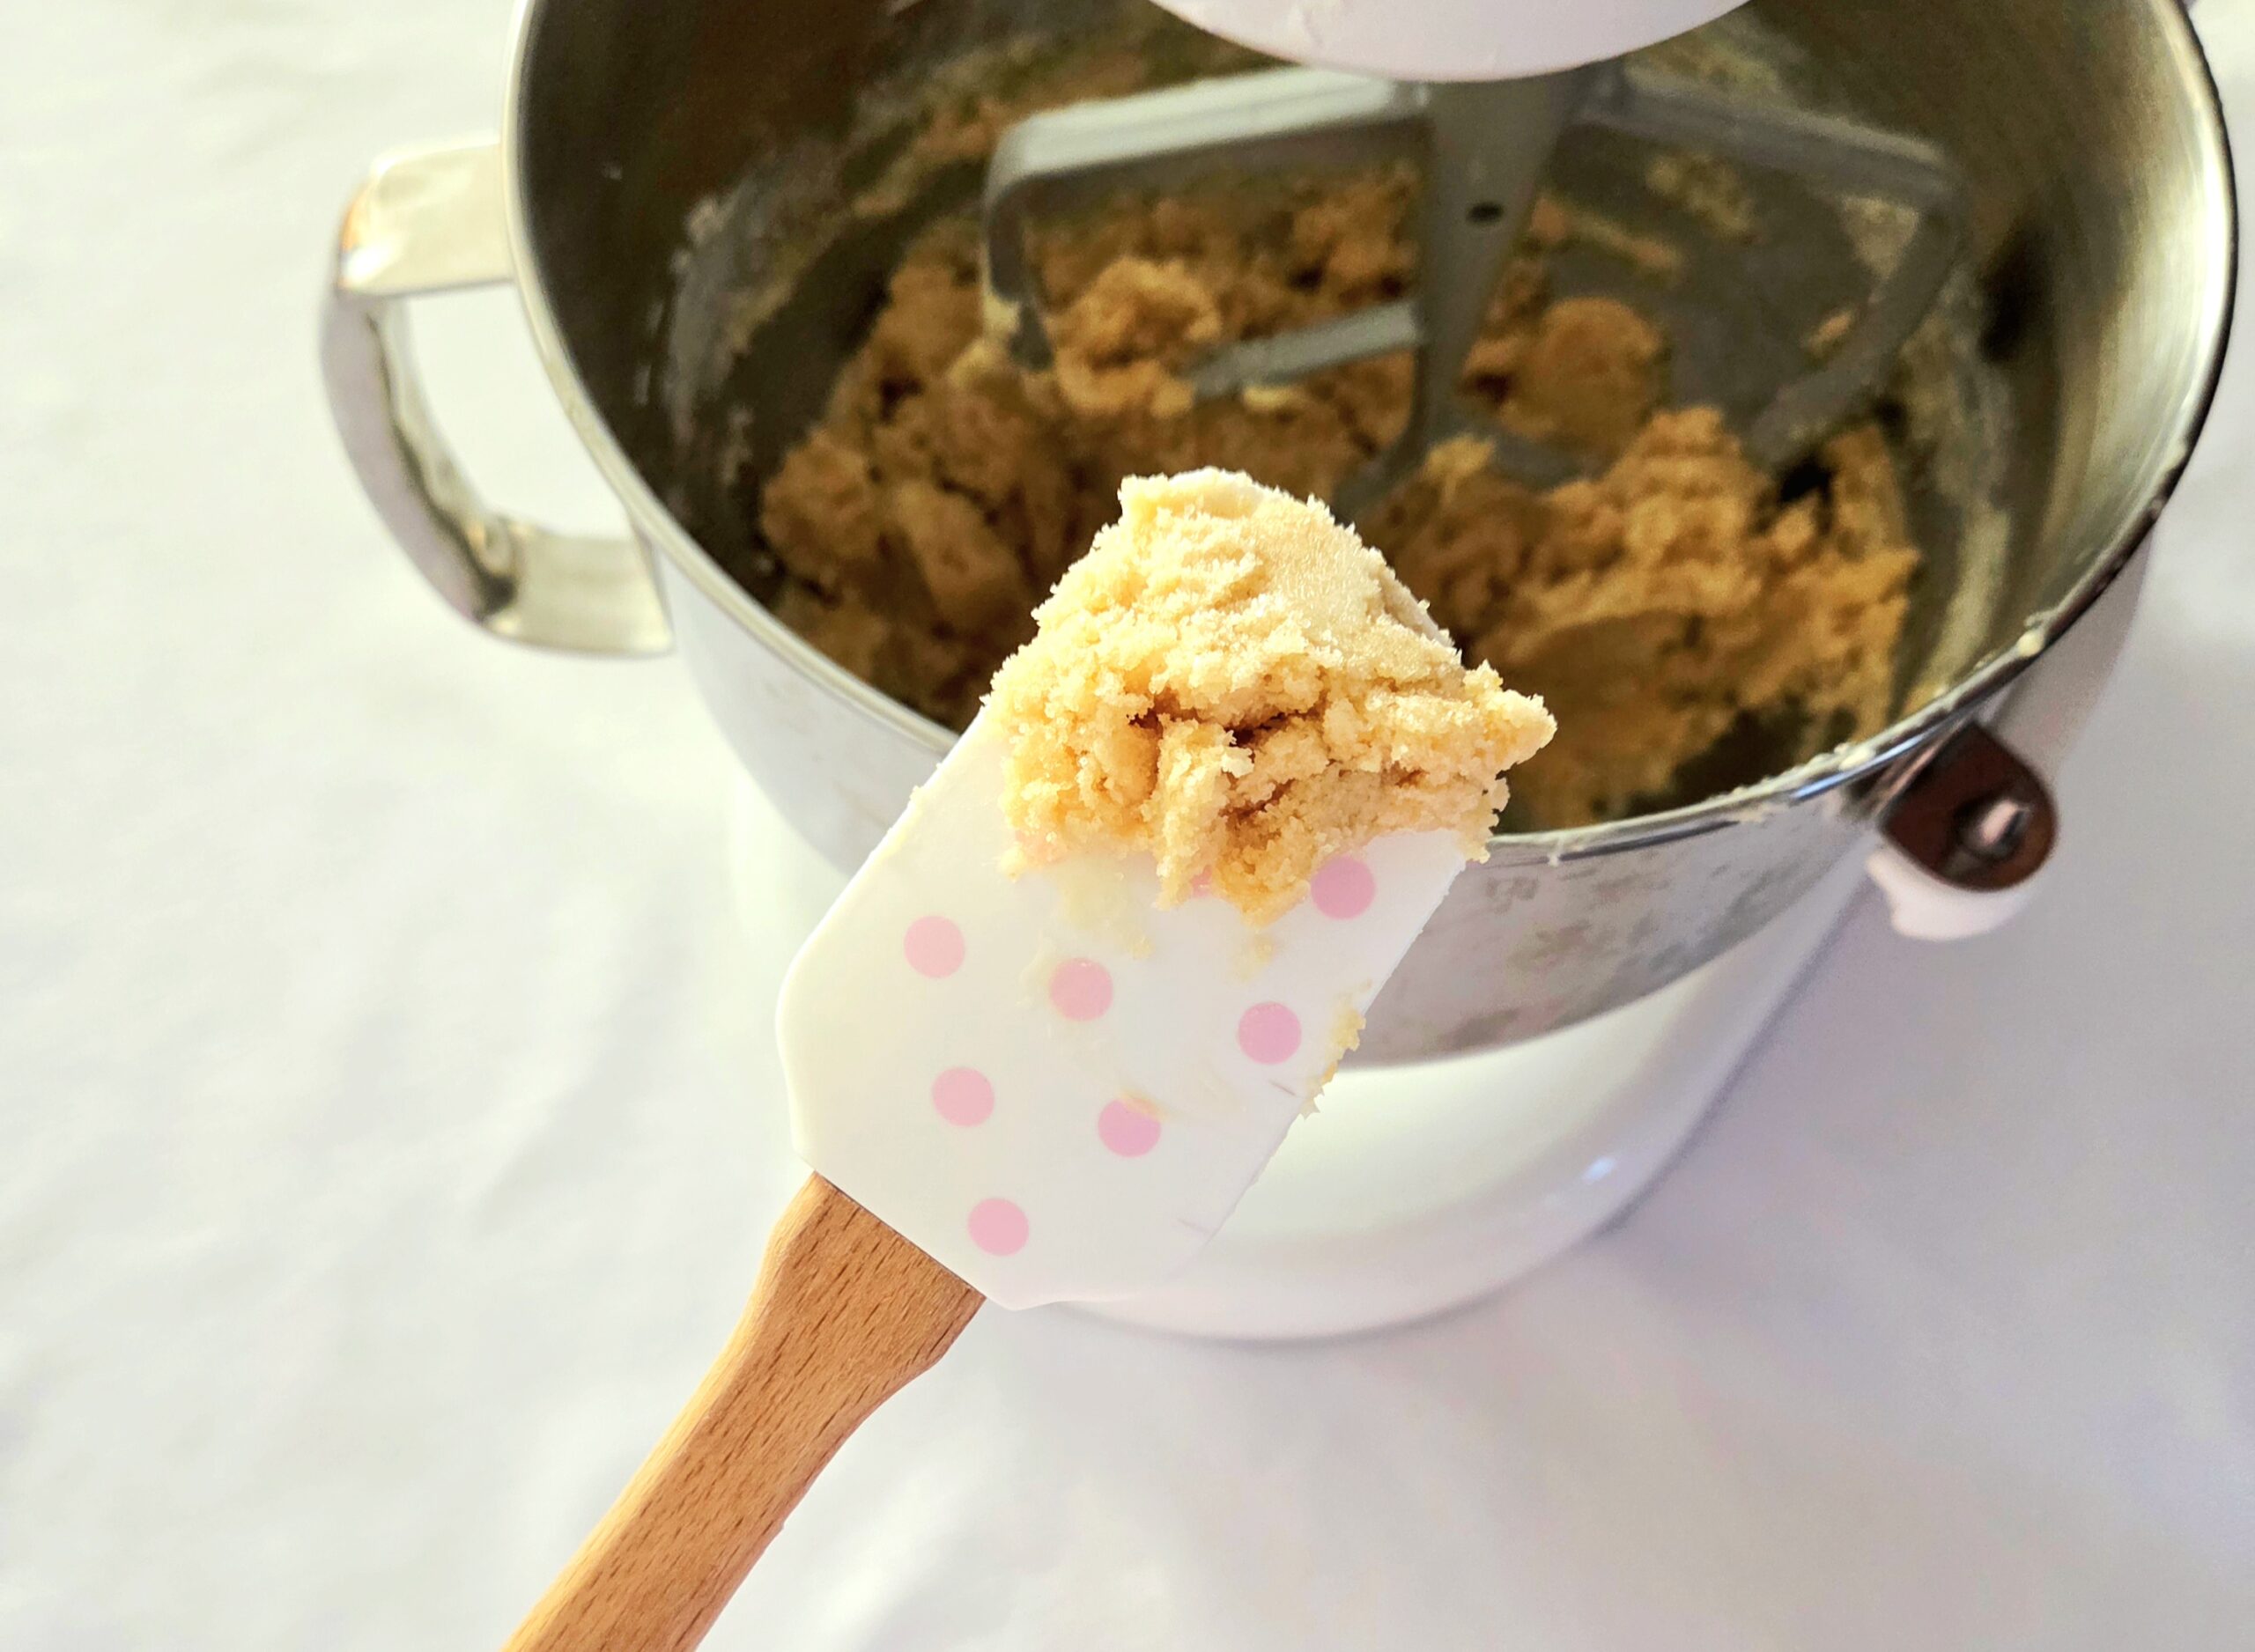
In a stand mixer fitted with the paddle attachment, or using an electric hand mixer, cream together the softened butter, brown sugar, and granulated sugar. Beat them at medium speed (level 3 or 4) until they go from a mid-brown to a light beige color and very fluffy. This’ll take around 5 minutes or so. When the mixture is fully creamed, use a rubber spatula to scrape down the sides of the bowl.
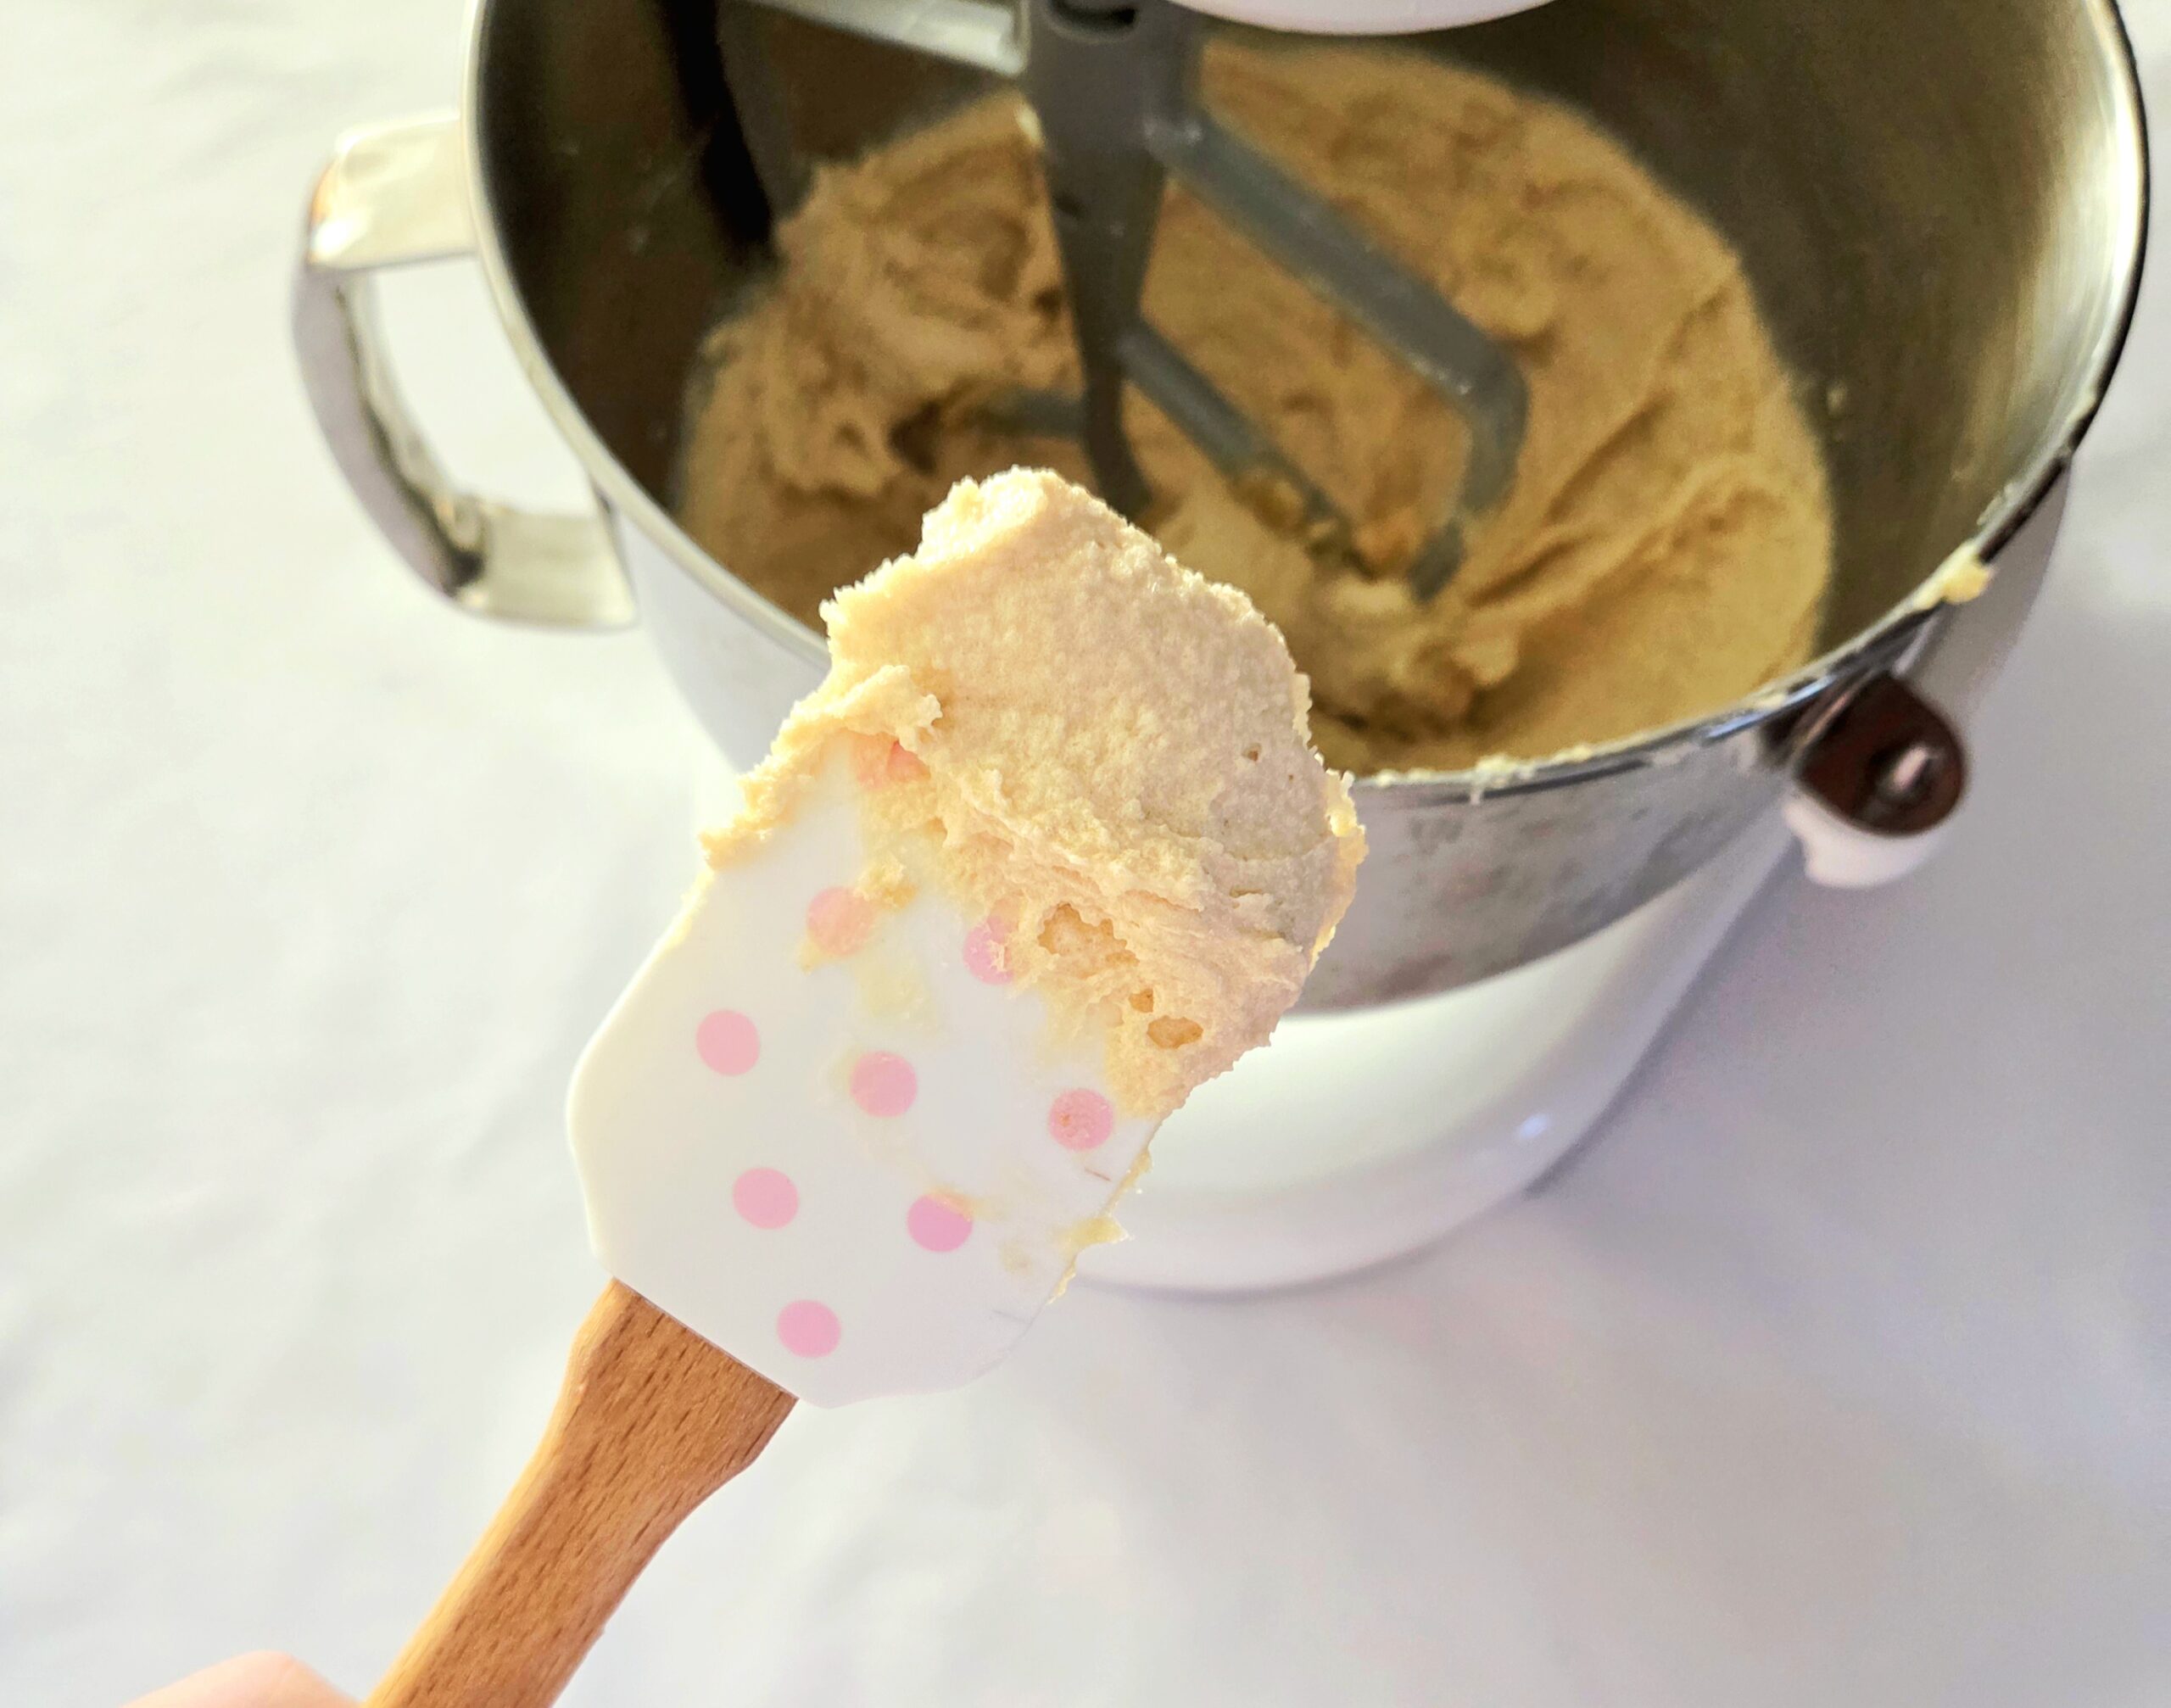
Now, for the eggs! Crack in the first egg and turn the mixer back to a medium speed. Once it’s fully absorbed into the dough, scrape down the sides of the bowl and add the egg white and vanilla extract. Beat them in until the egg white has been absorbed, for about a minute or so. Scrape down the sides of the bowl.
All at once, dump the bowl of mixed dry goods into the dough. Turn the mixer onto low, until everything is almost combined but a few streaks of flour remain. The flour streaks will help prevent you from overmixing the dough once the M&Ms get thrown into the mix. Overmixed cookie dough means too much gluten development, leading to tough cookies. No one wants to eat a tough cookie. Toss the M&Ms into the dough.
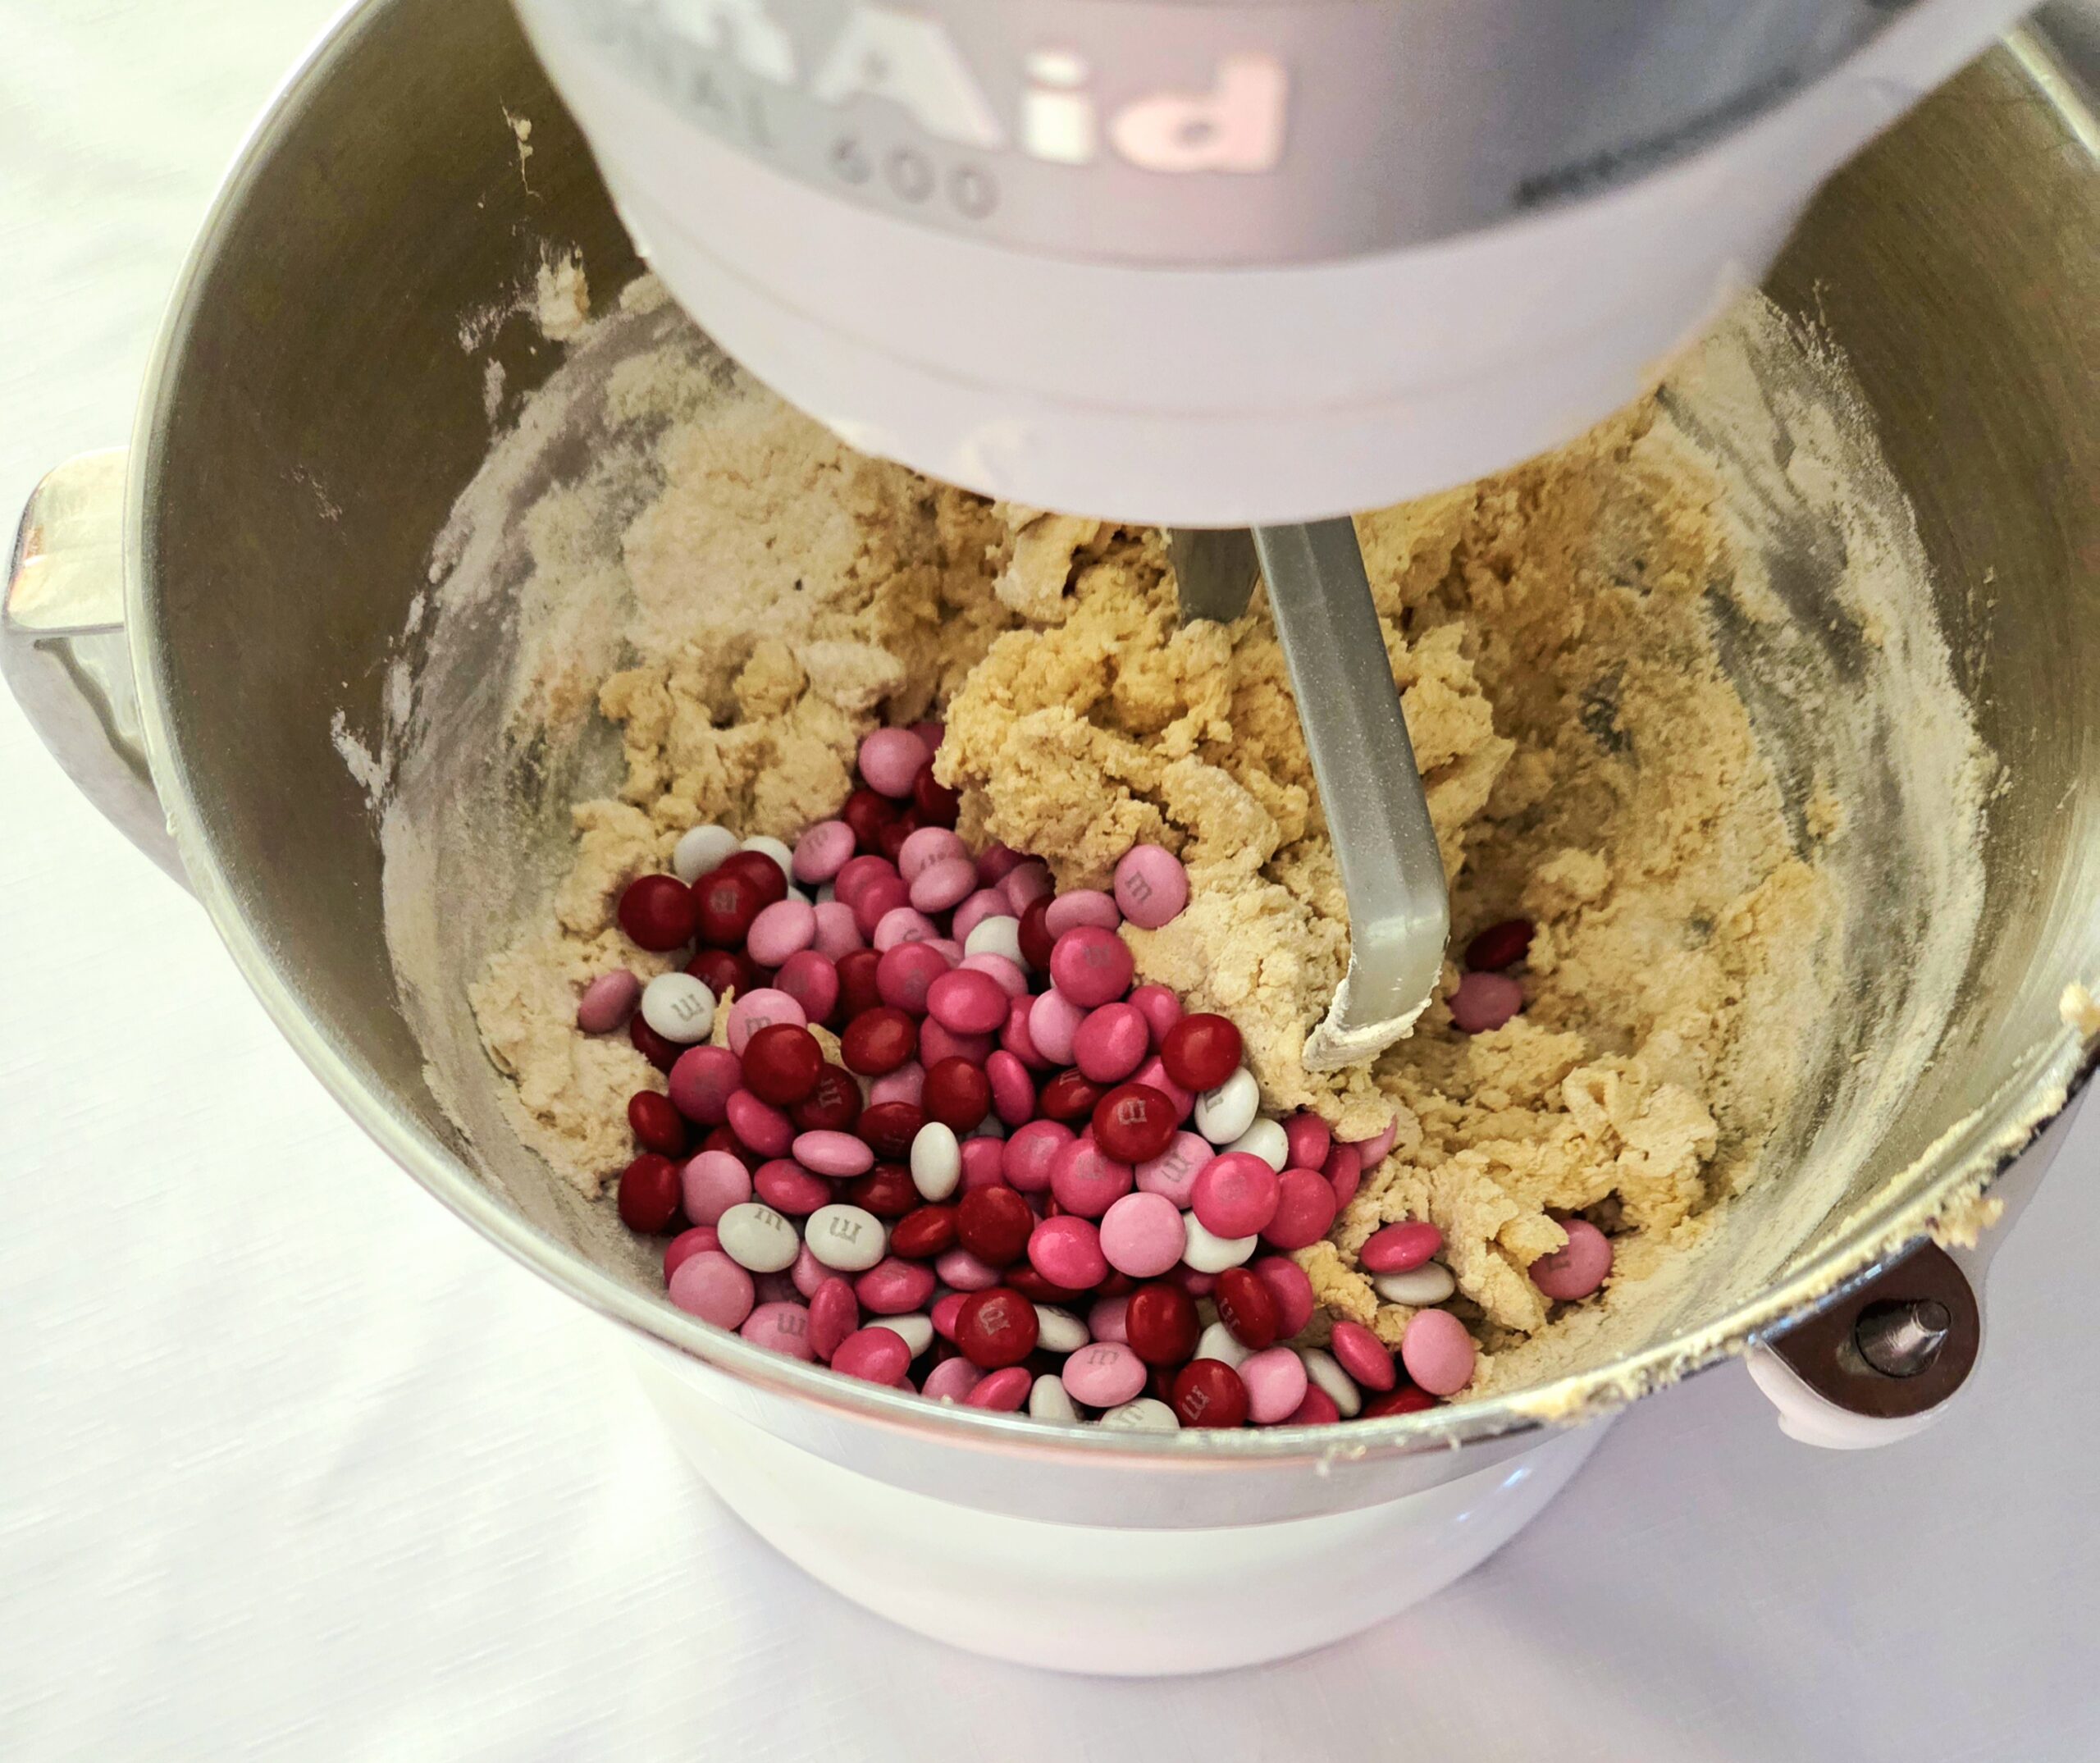
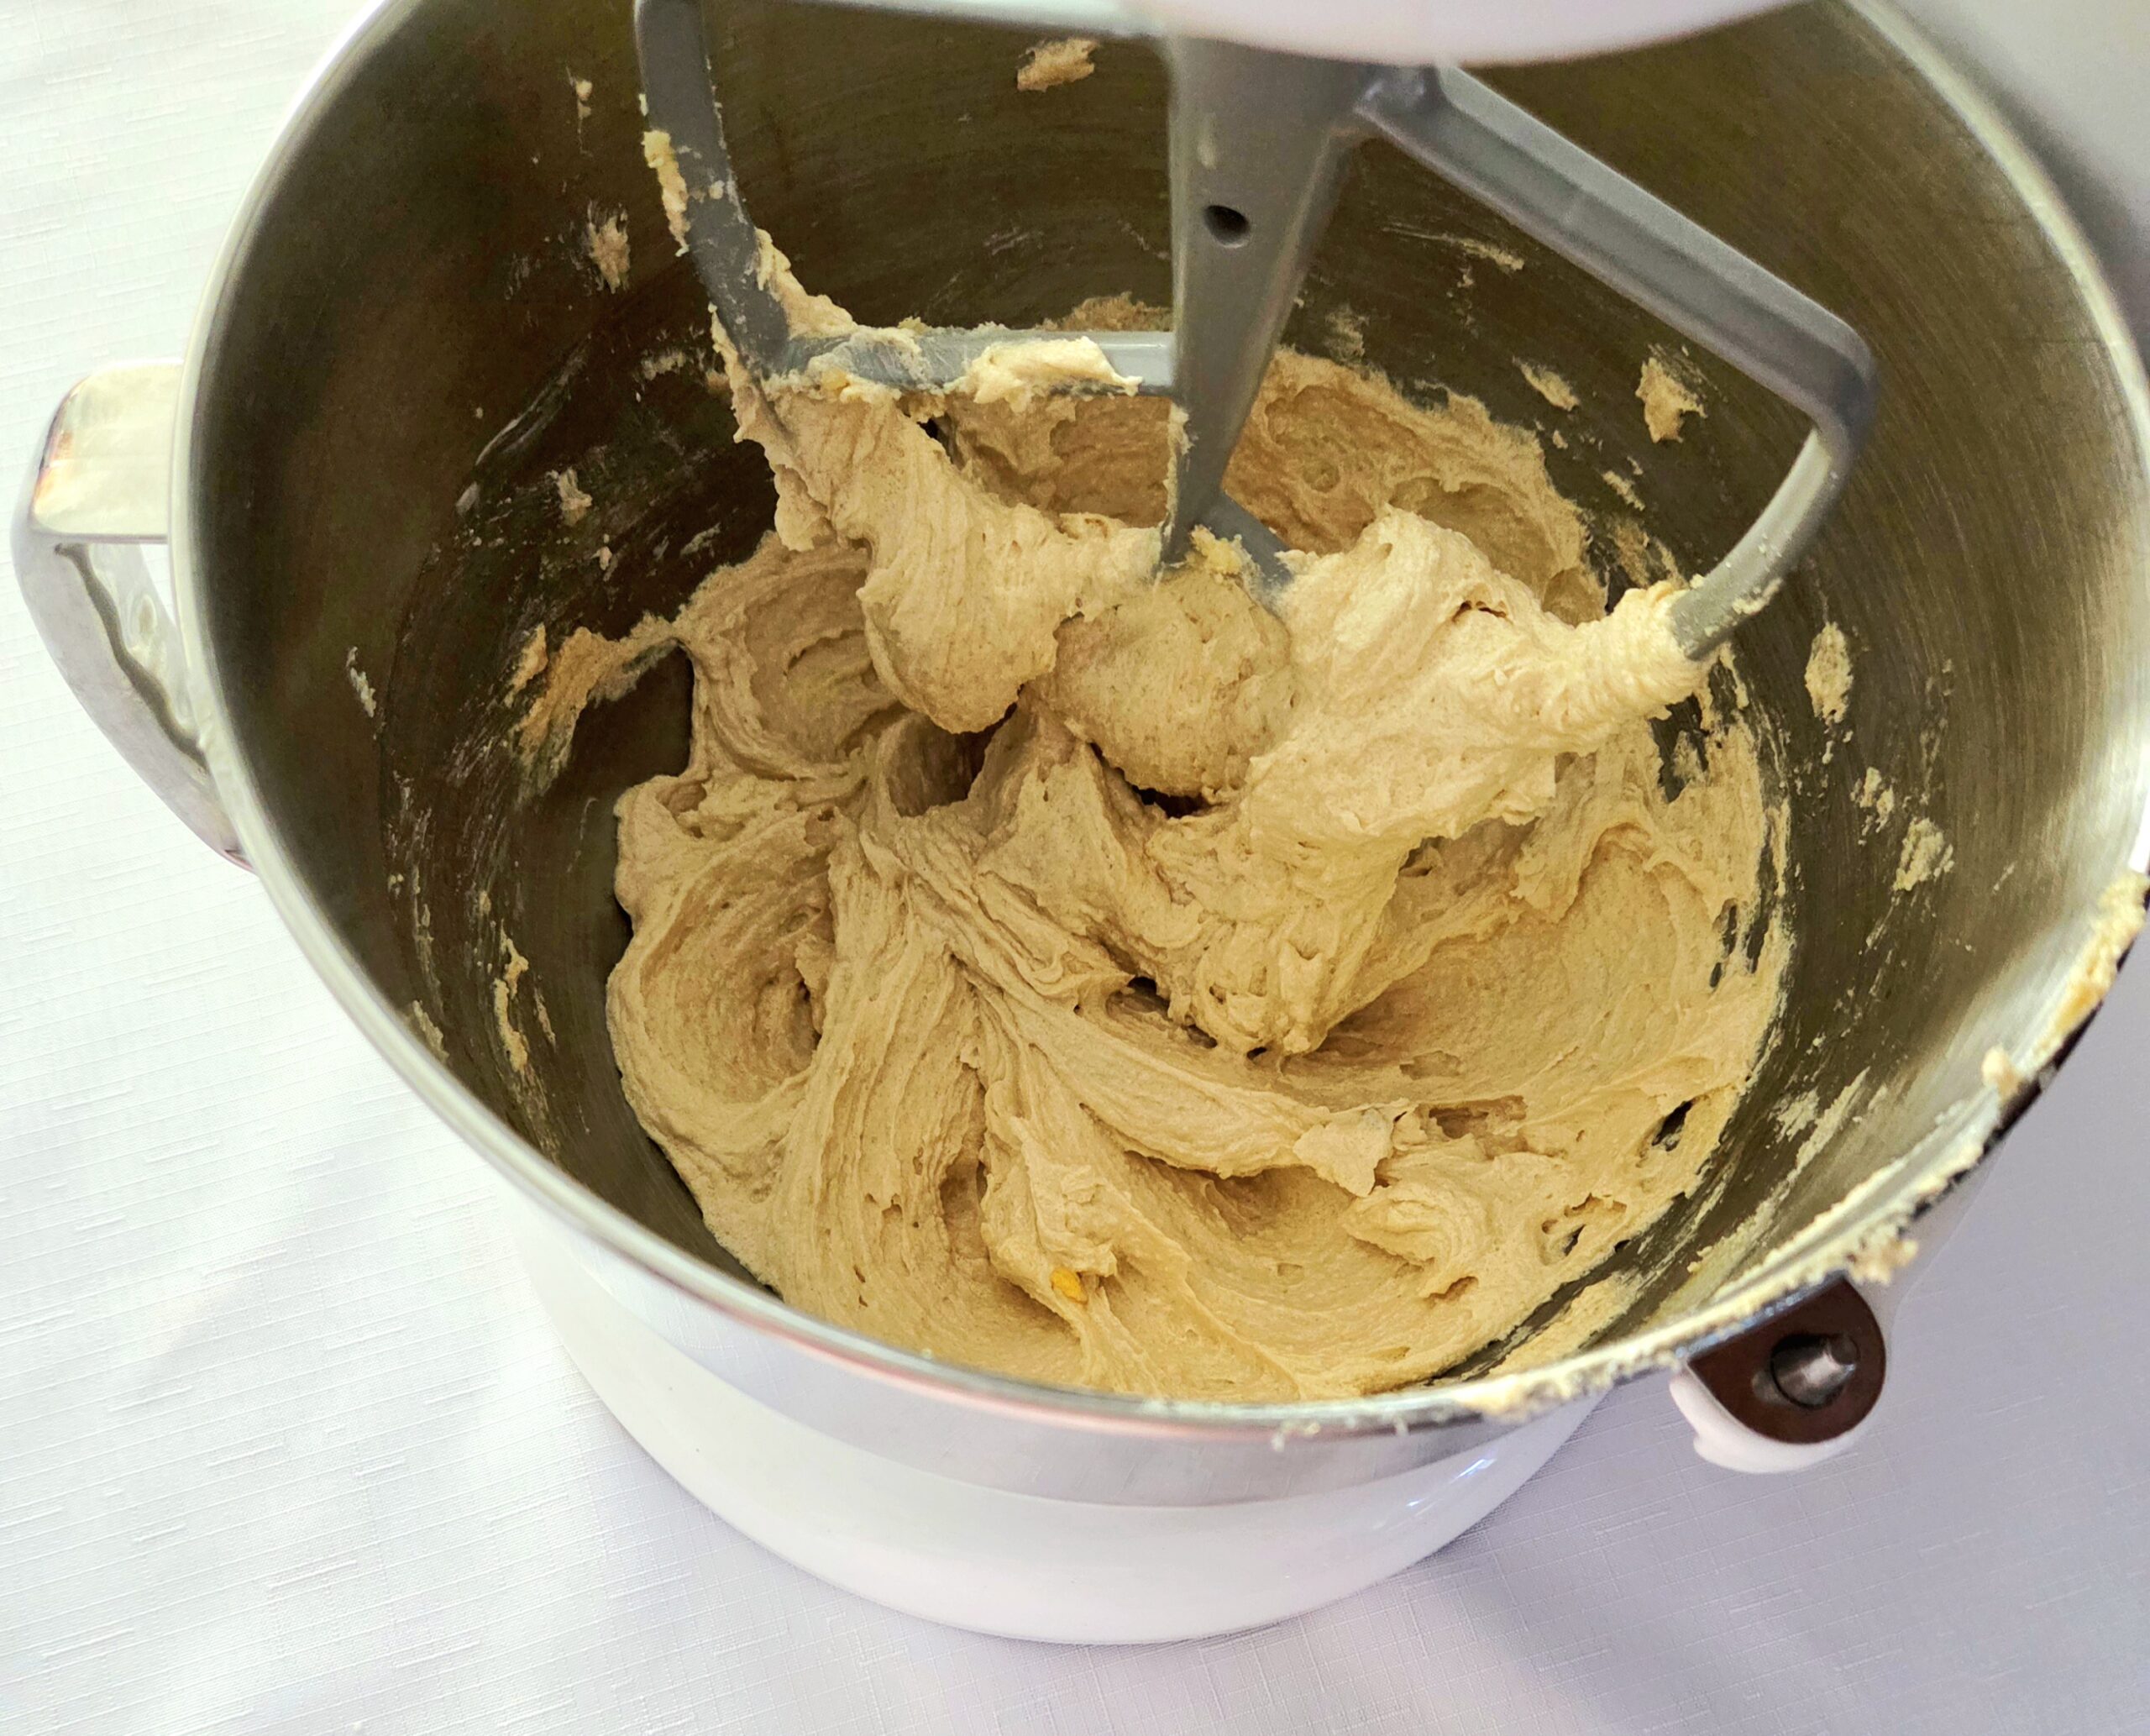
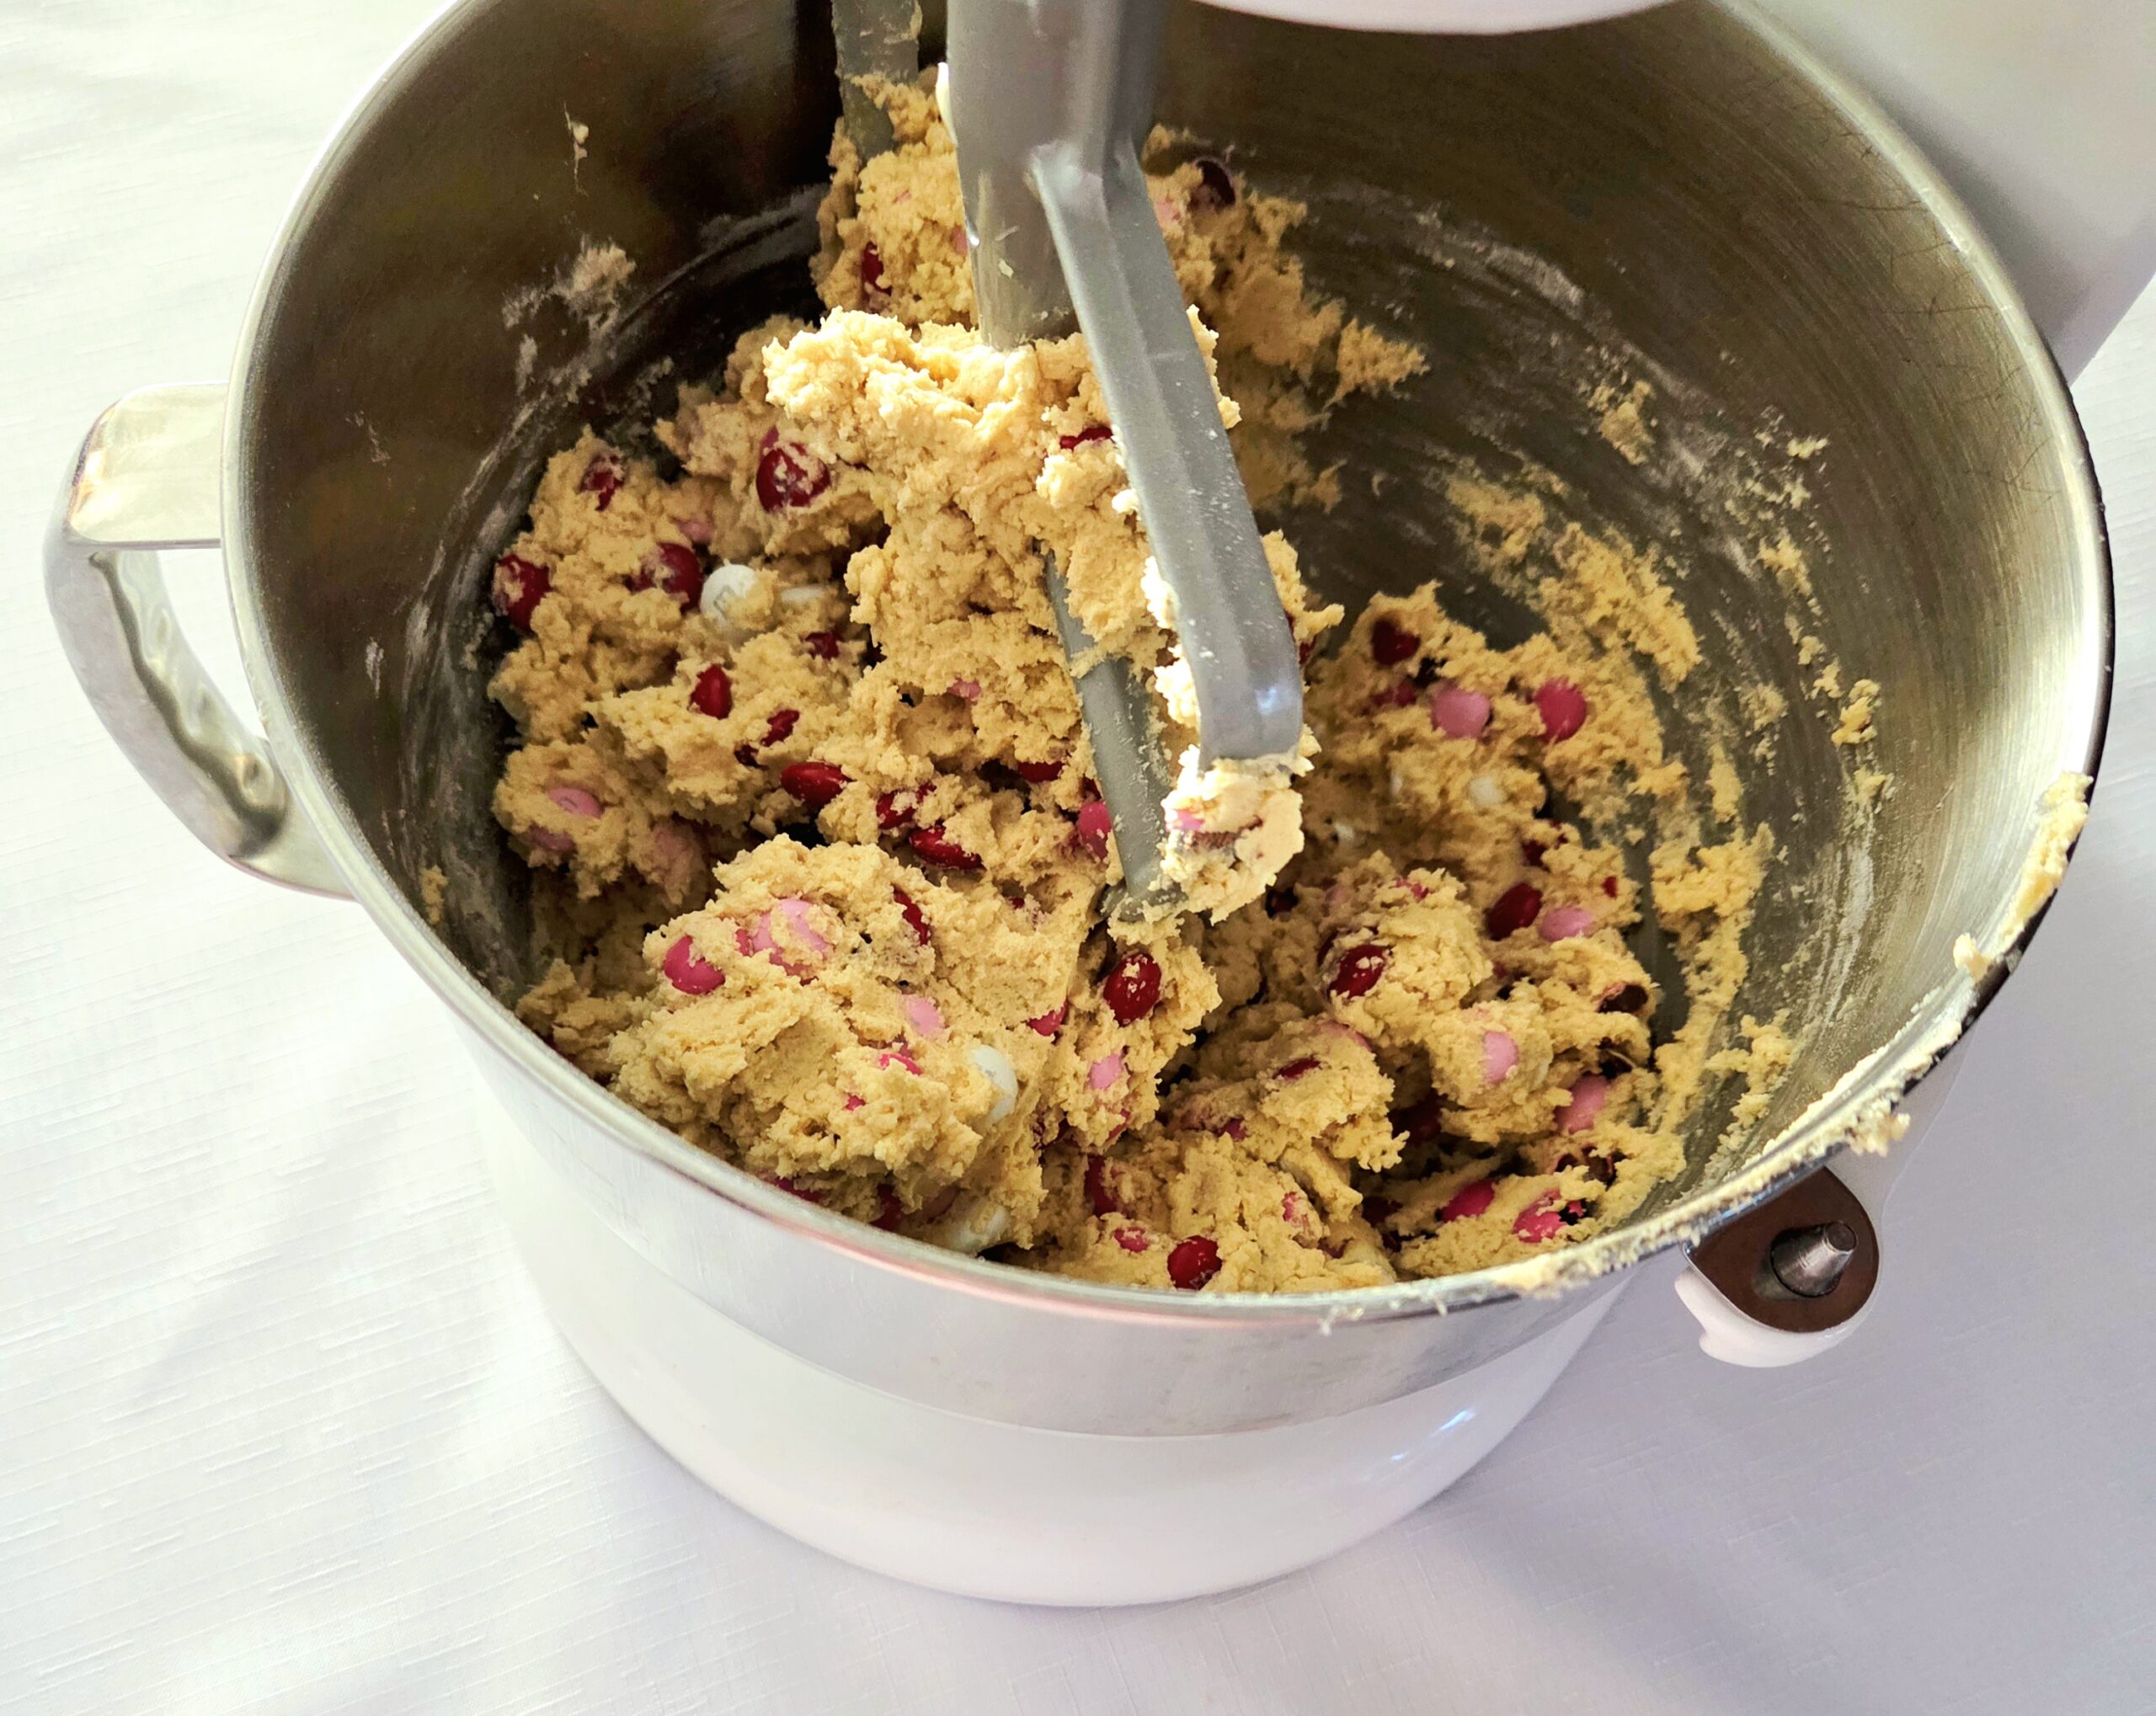
Turn the mixer back onto low for about a minute, or until the flour completely absorbs into the dough and the M&Ms have evenly distributed throughout. Scrape the dough off of the paddle, using the rubber spatula. Cover the bowl with plastic wrap and place it in the fridge. Chill the dough for a minimum of one hour, or up to two days.
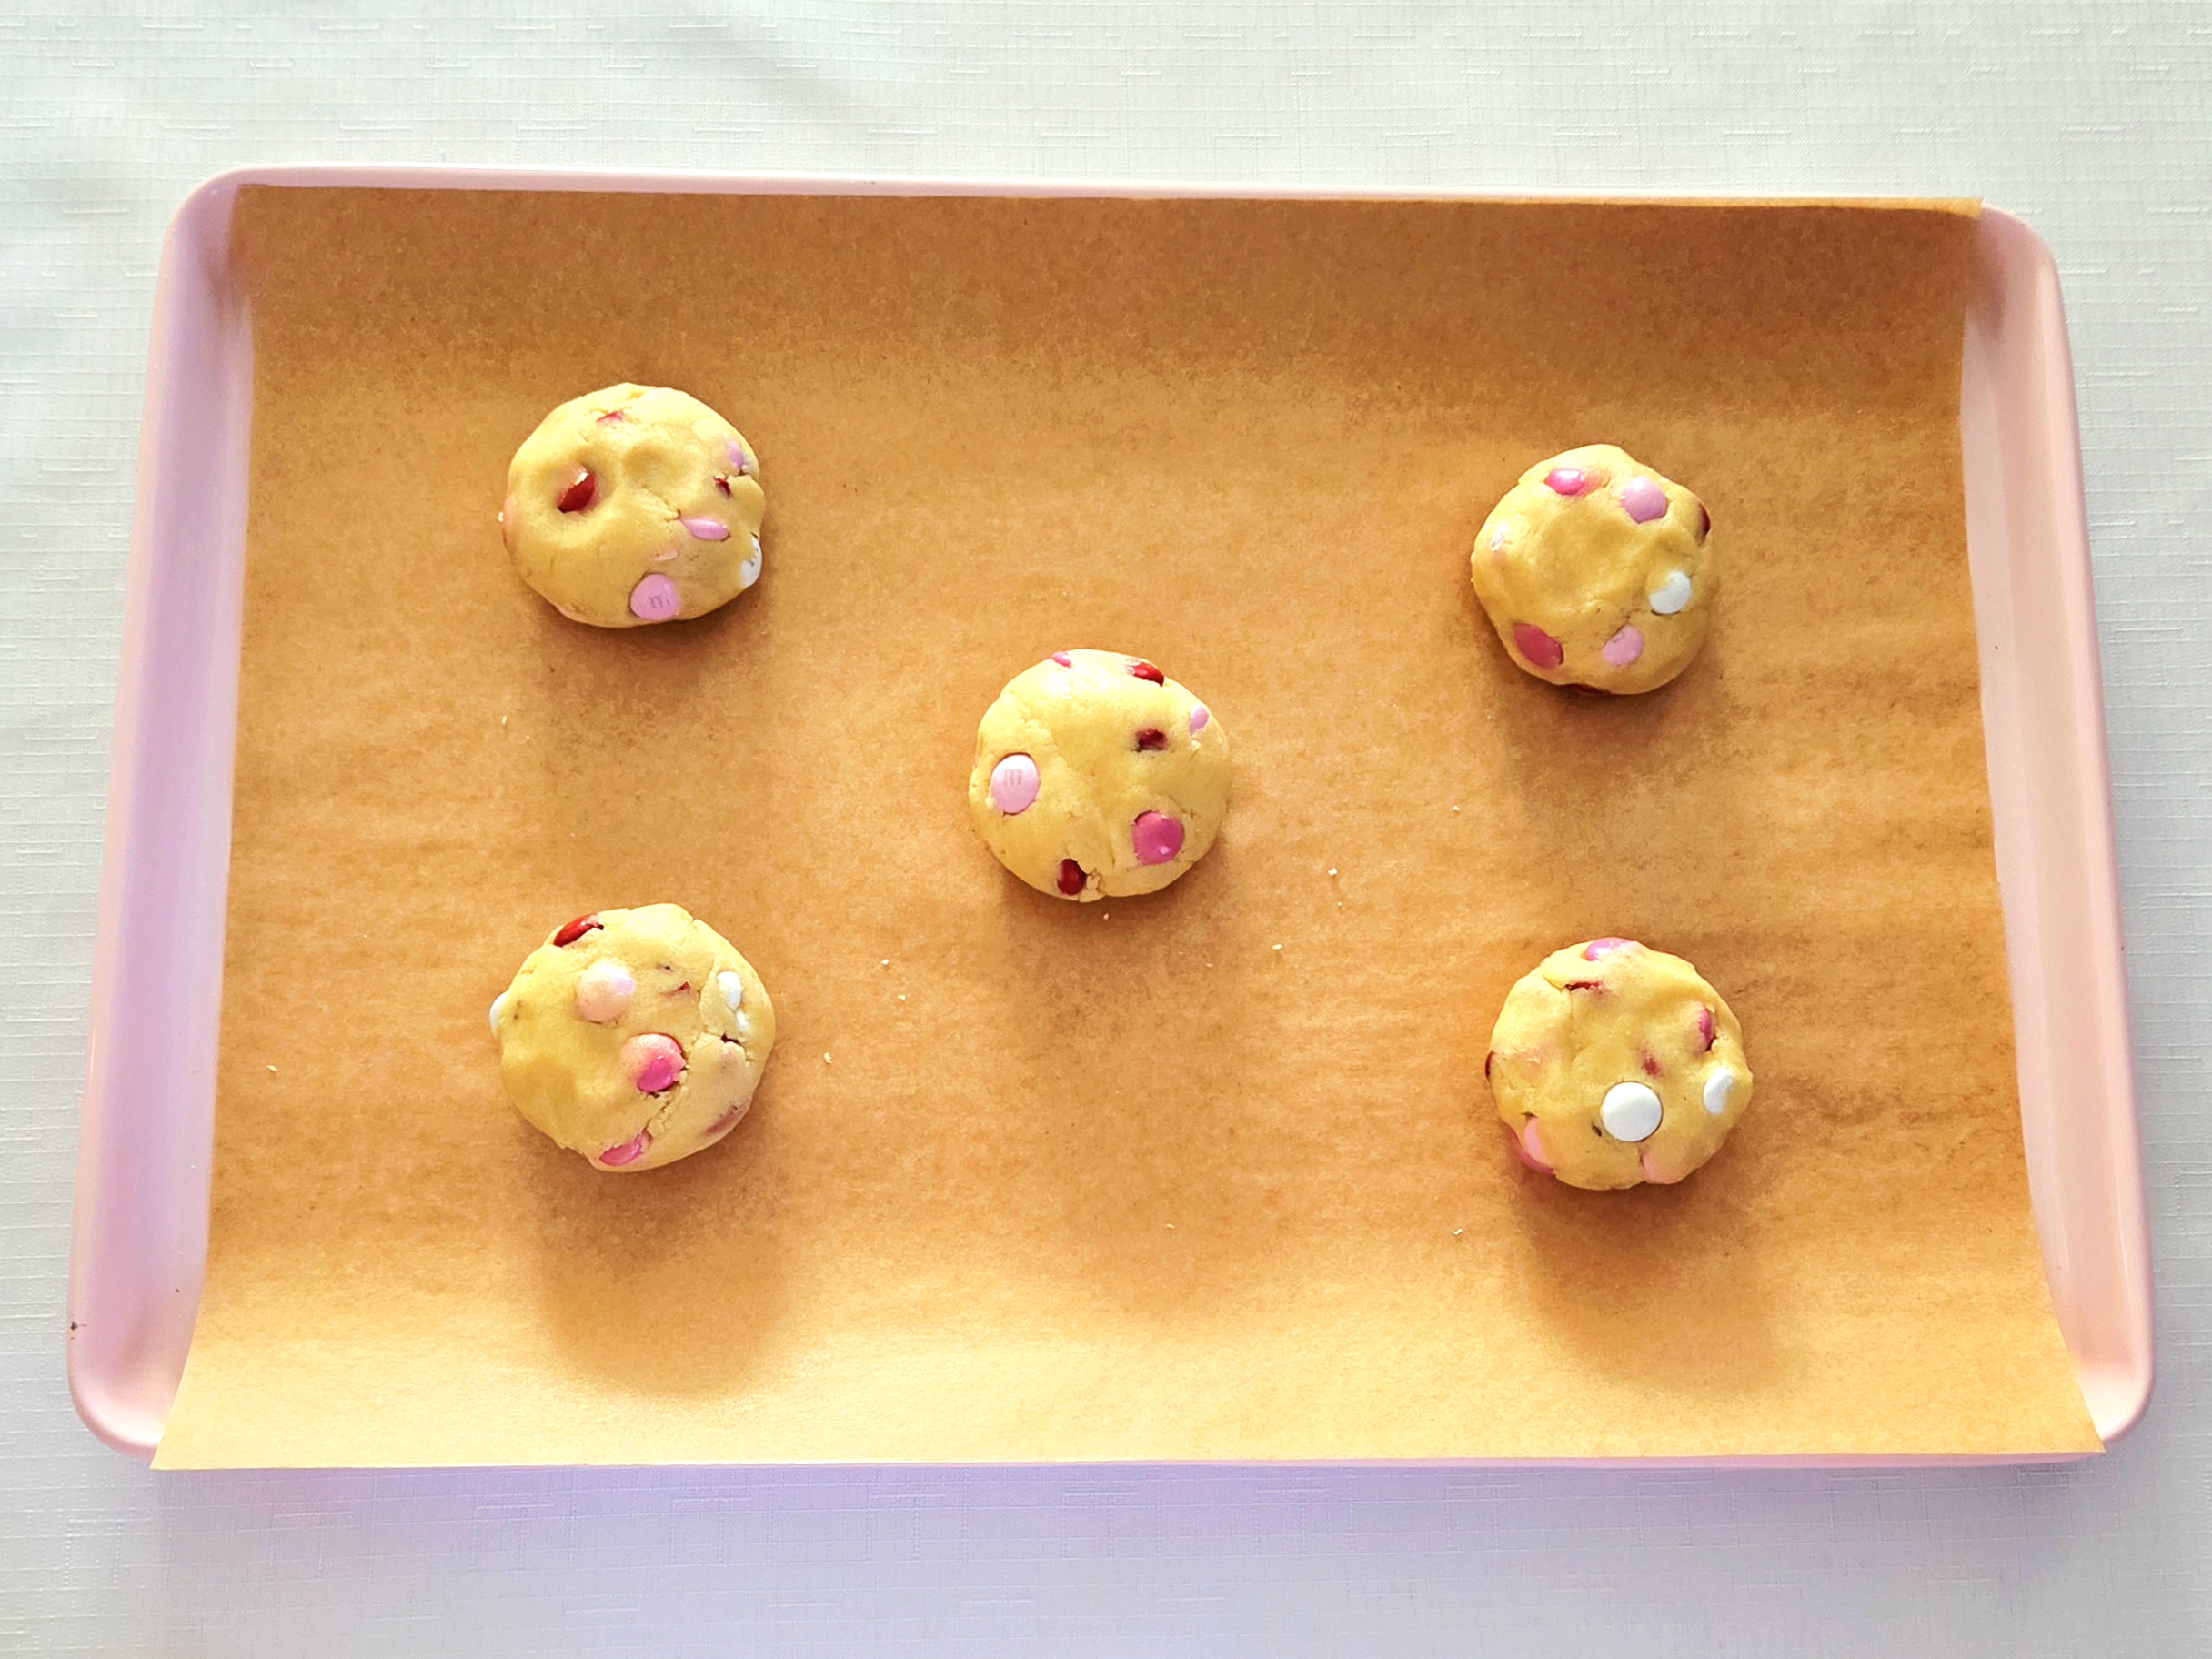
About half an hour or so before you’re ready to bake, heat the oven and prepare the baking sheets. Heat the oven to 350F, on the convection setting if possible, and line both sheets with parchment paper, or silicone baking mats. Scoop 5 4-Tablespoon (¼ cup) portions of dough onto one pan. Cover the rest of the dough and return it to the fridge for now.
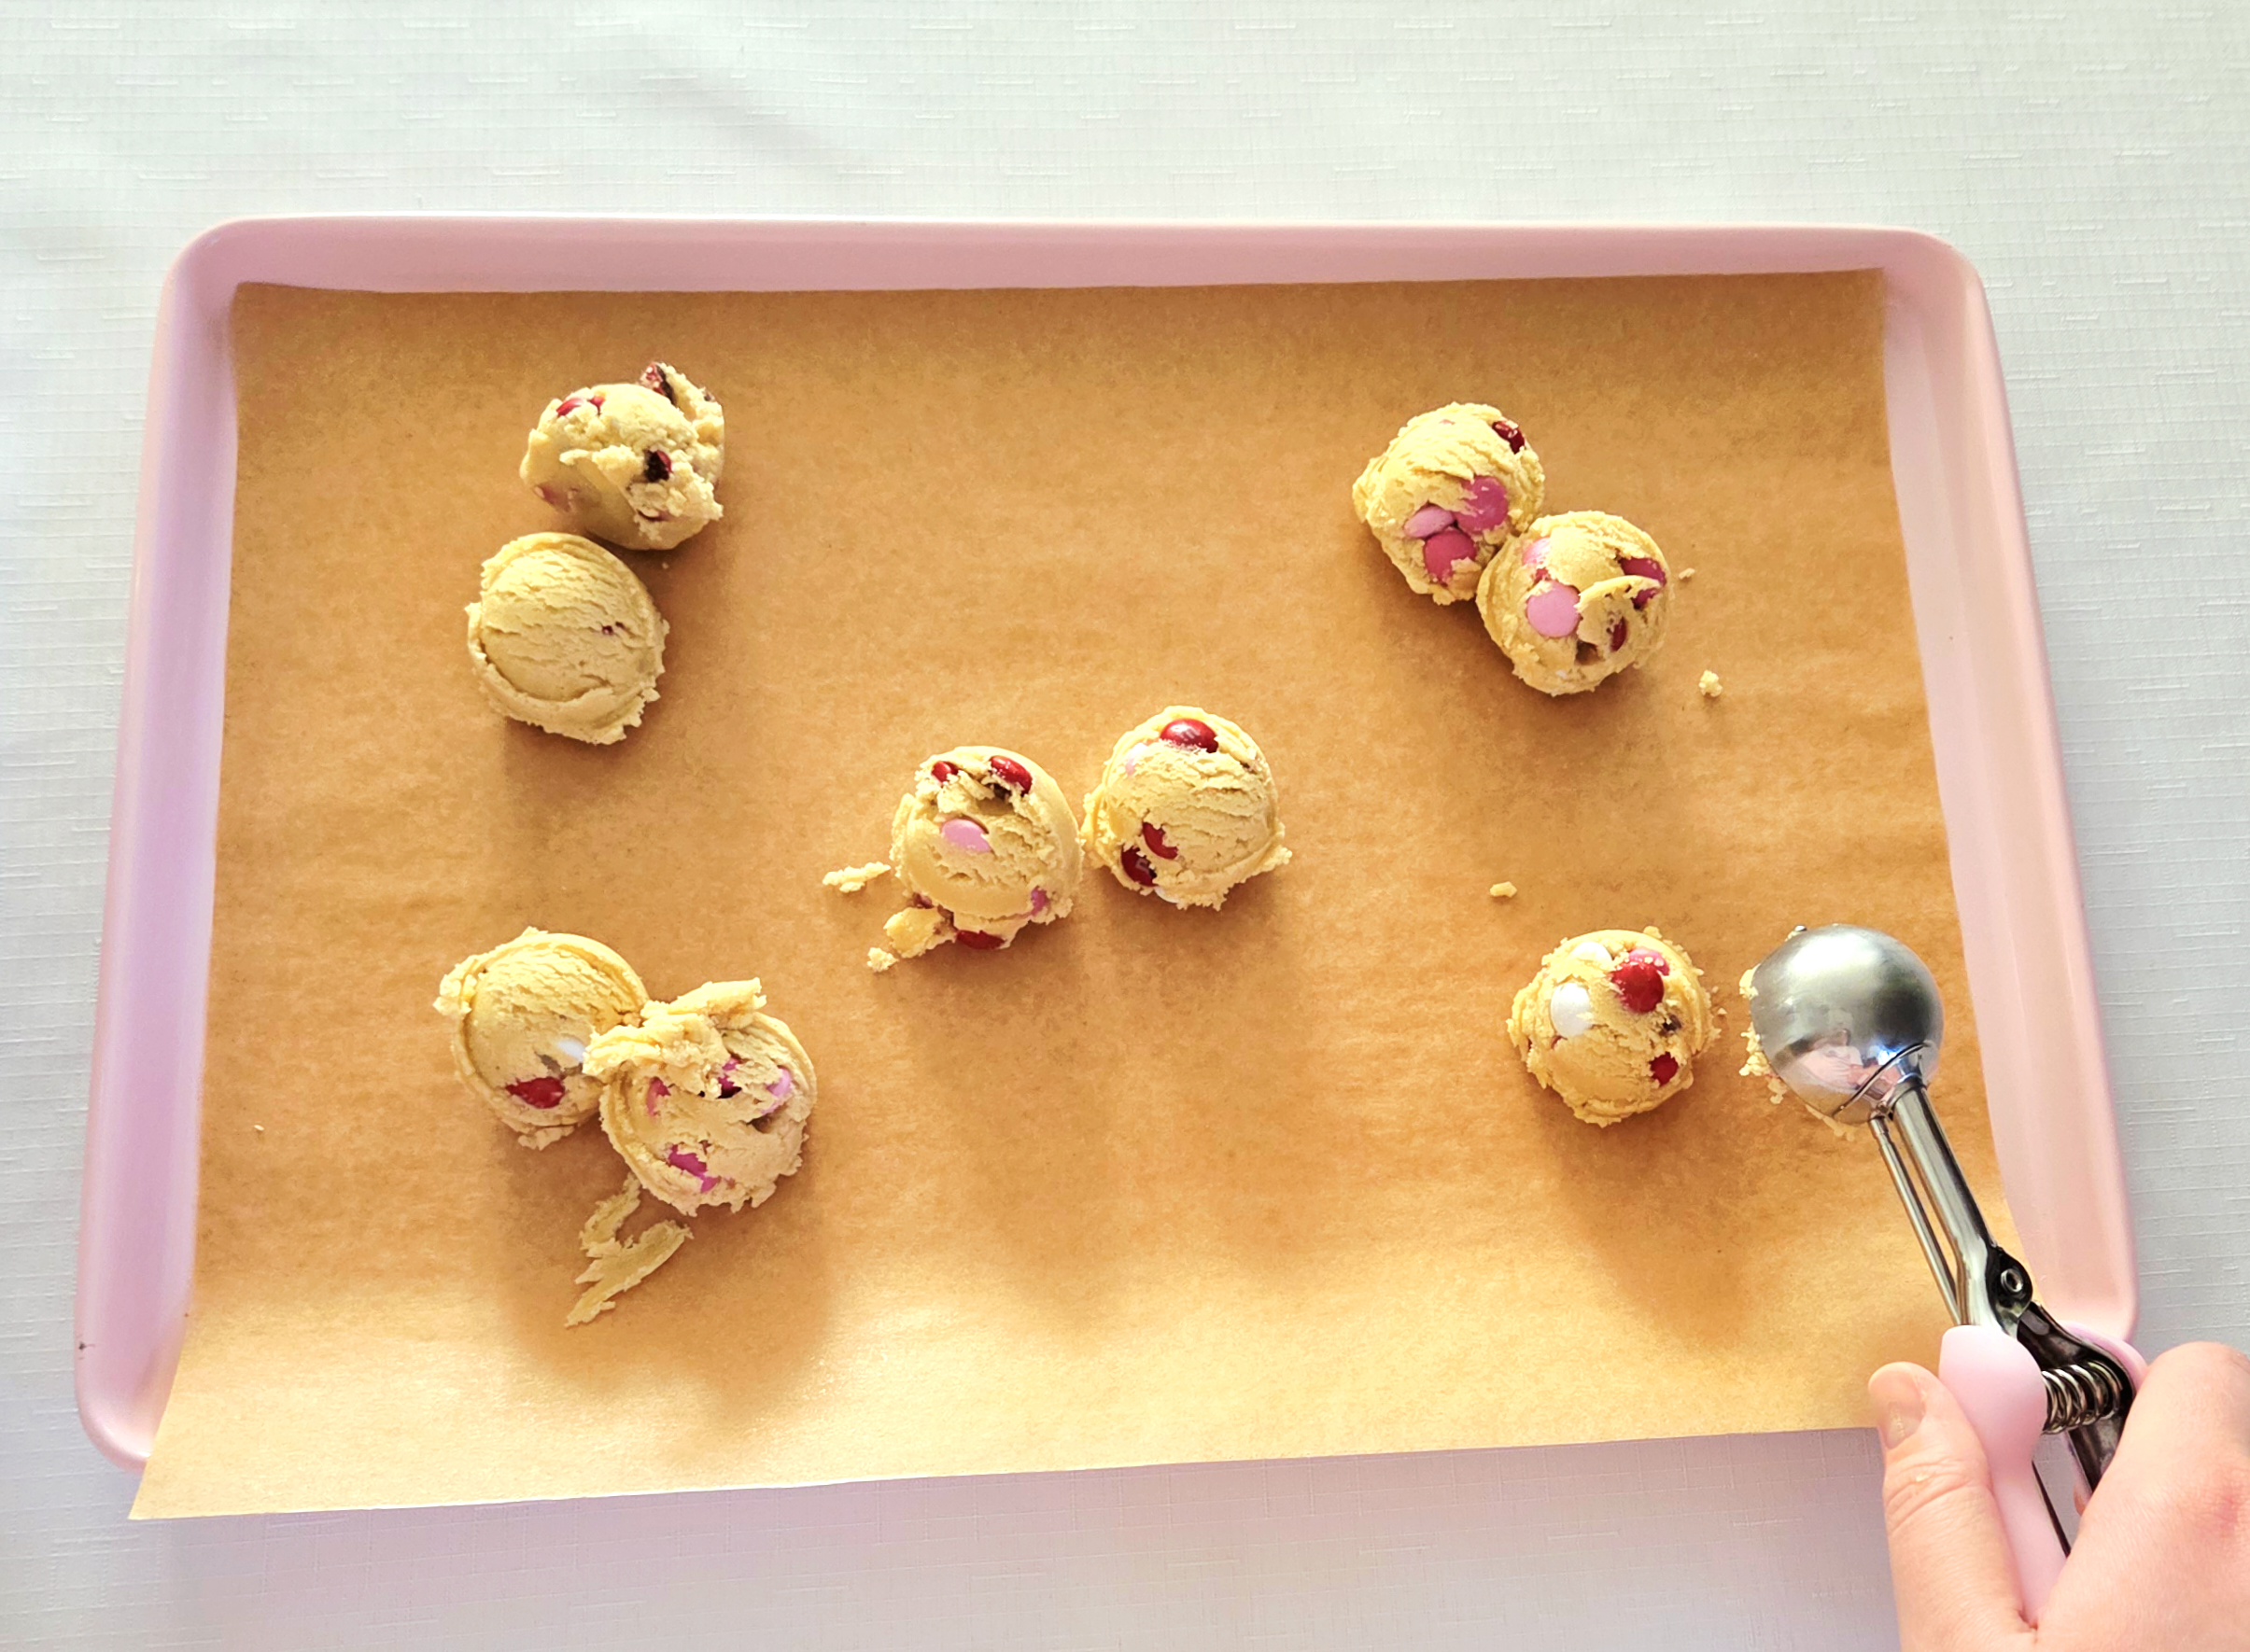
Roll each portion into a ball, then lightly smush them down. They should be a puck shape, around 1-inch thick. Space them around 2 inches apart on the sheet, so they won’t bake into each other. Bake the cookies on the center rack of the oven for 14 minutes, flipping the pan halfway through. Repeat with the rest of the dough, switching between the two pans.
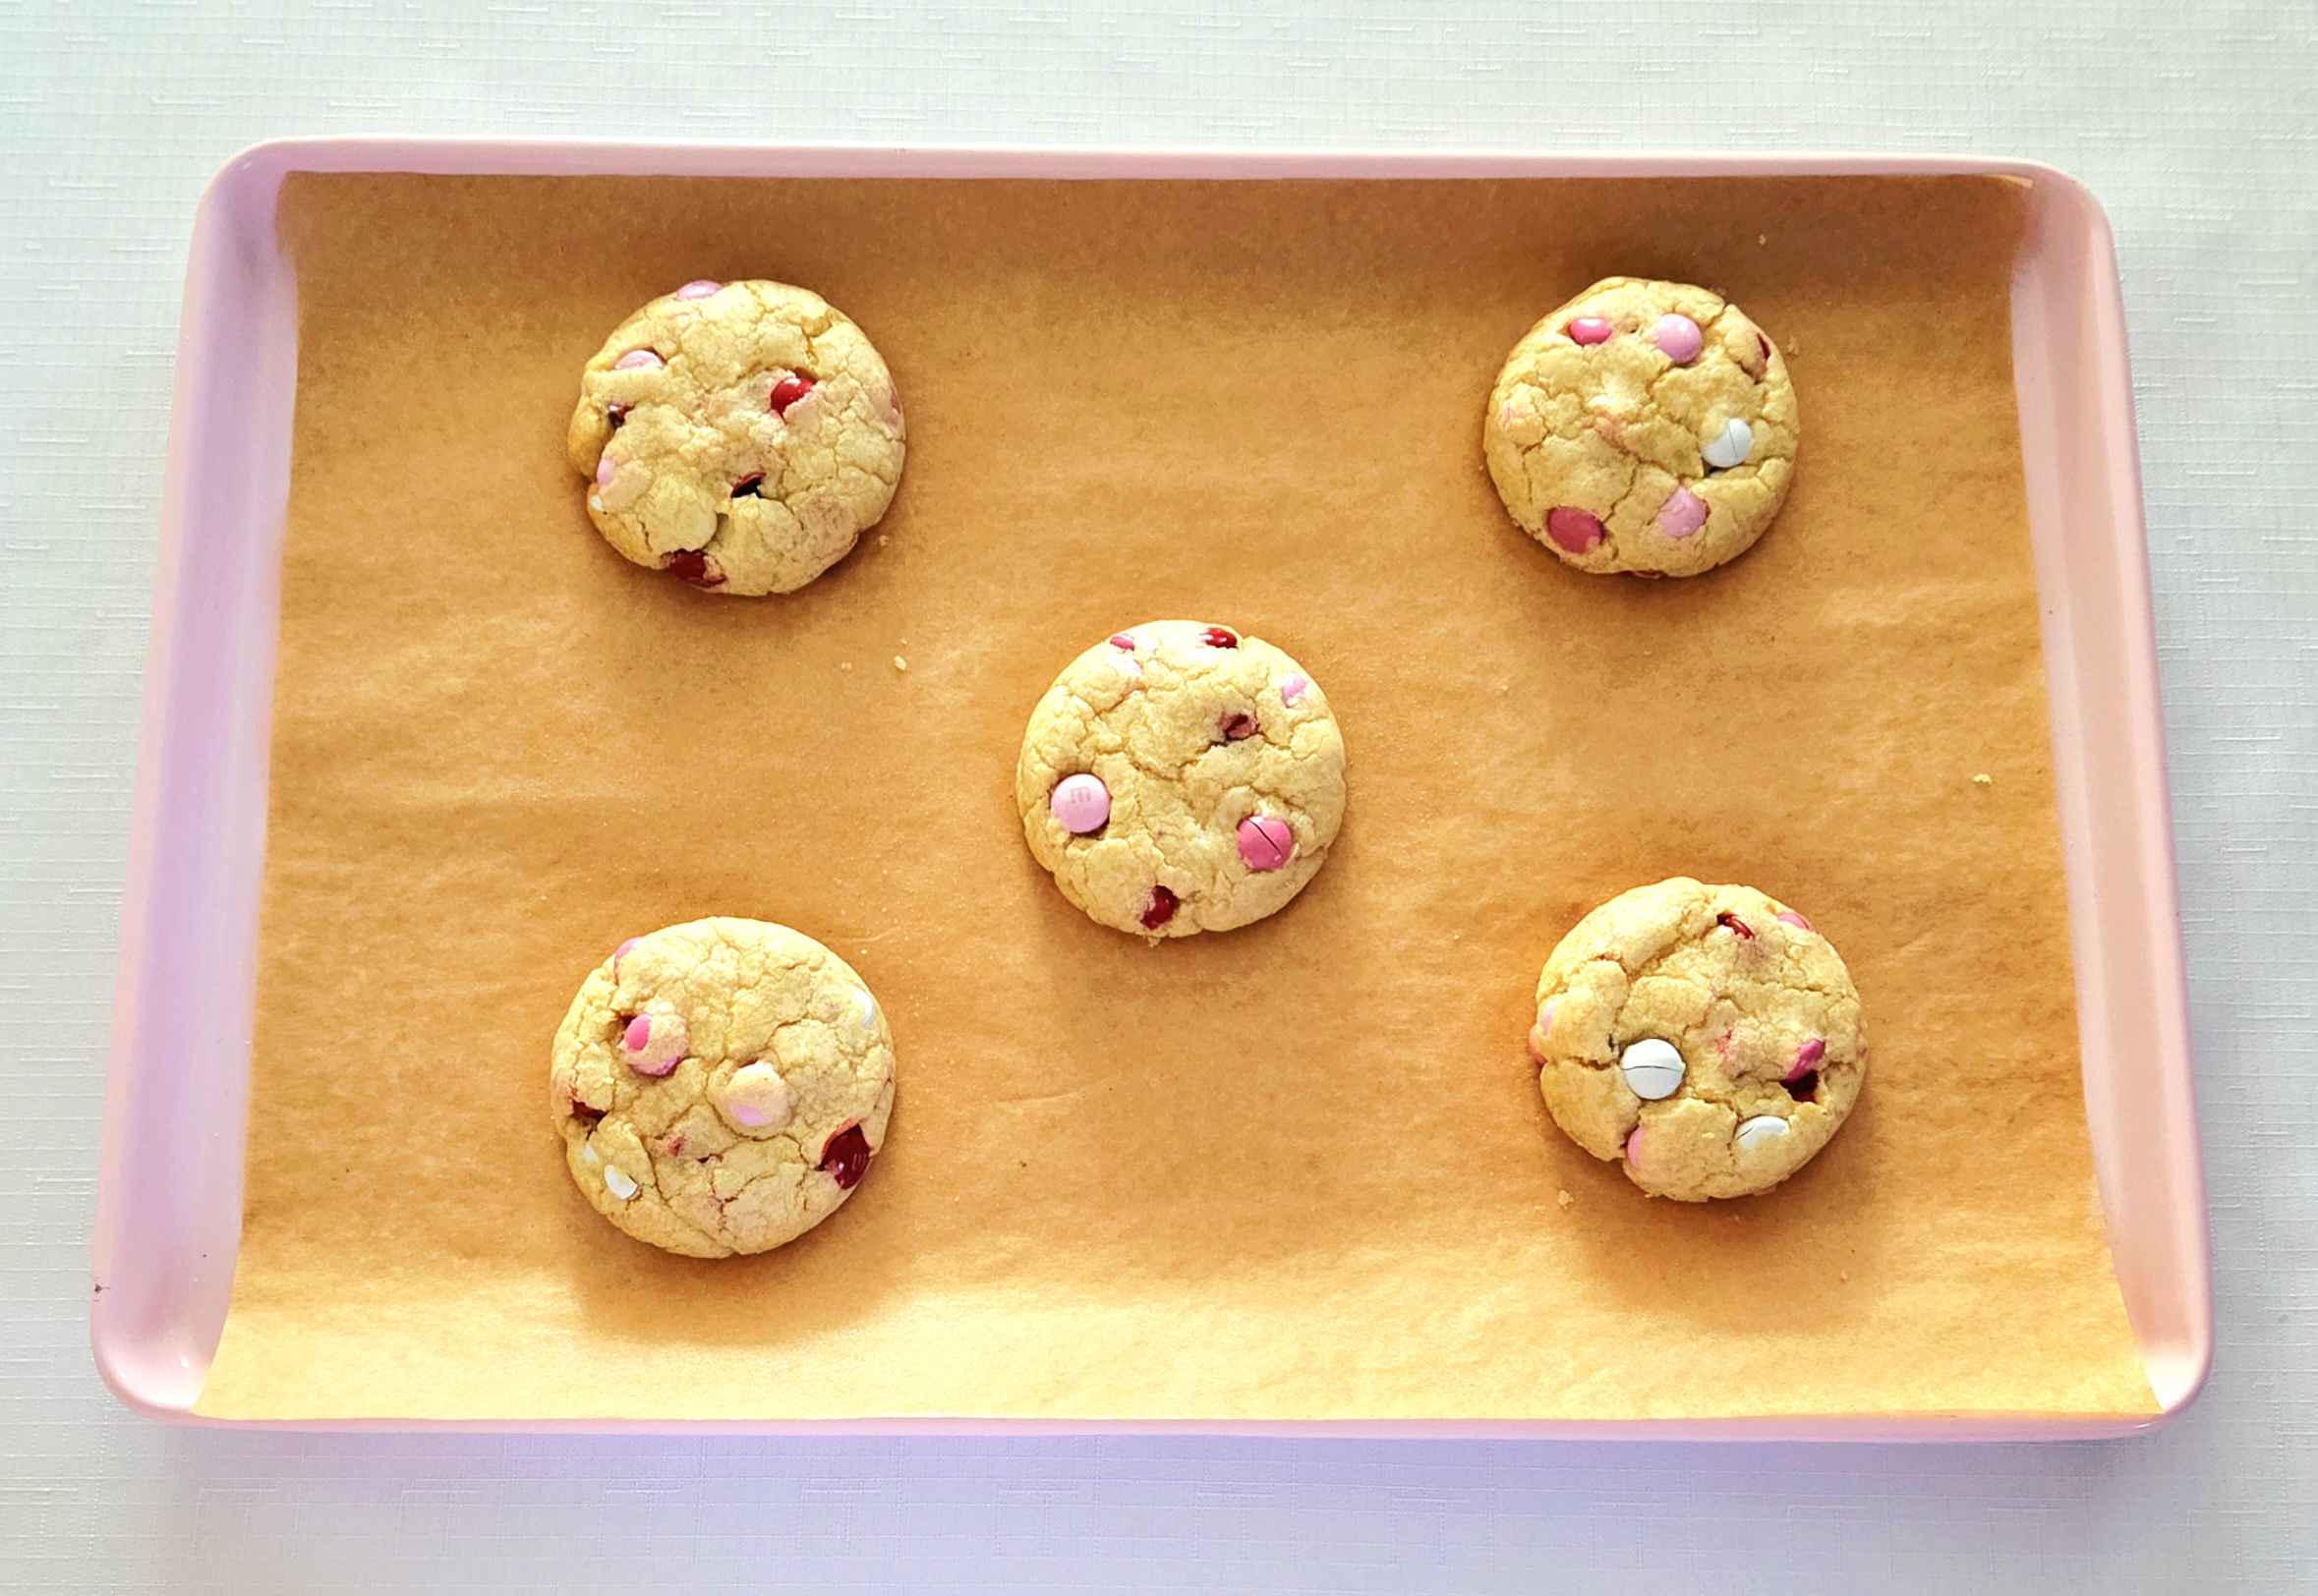
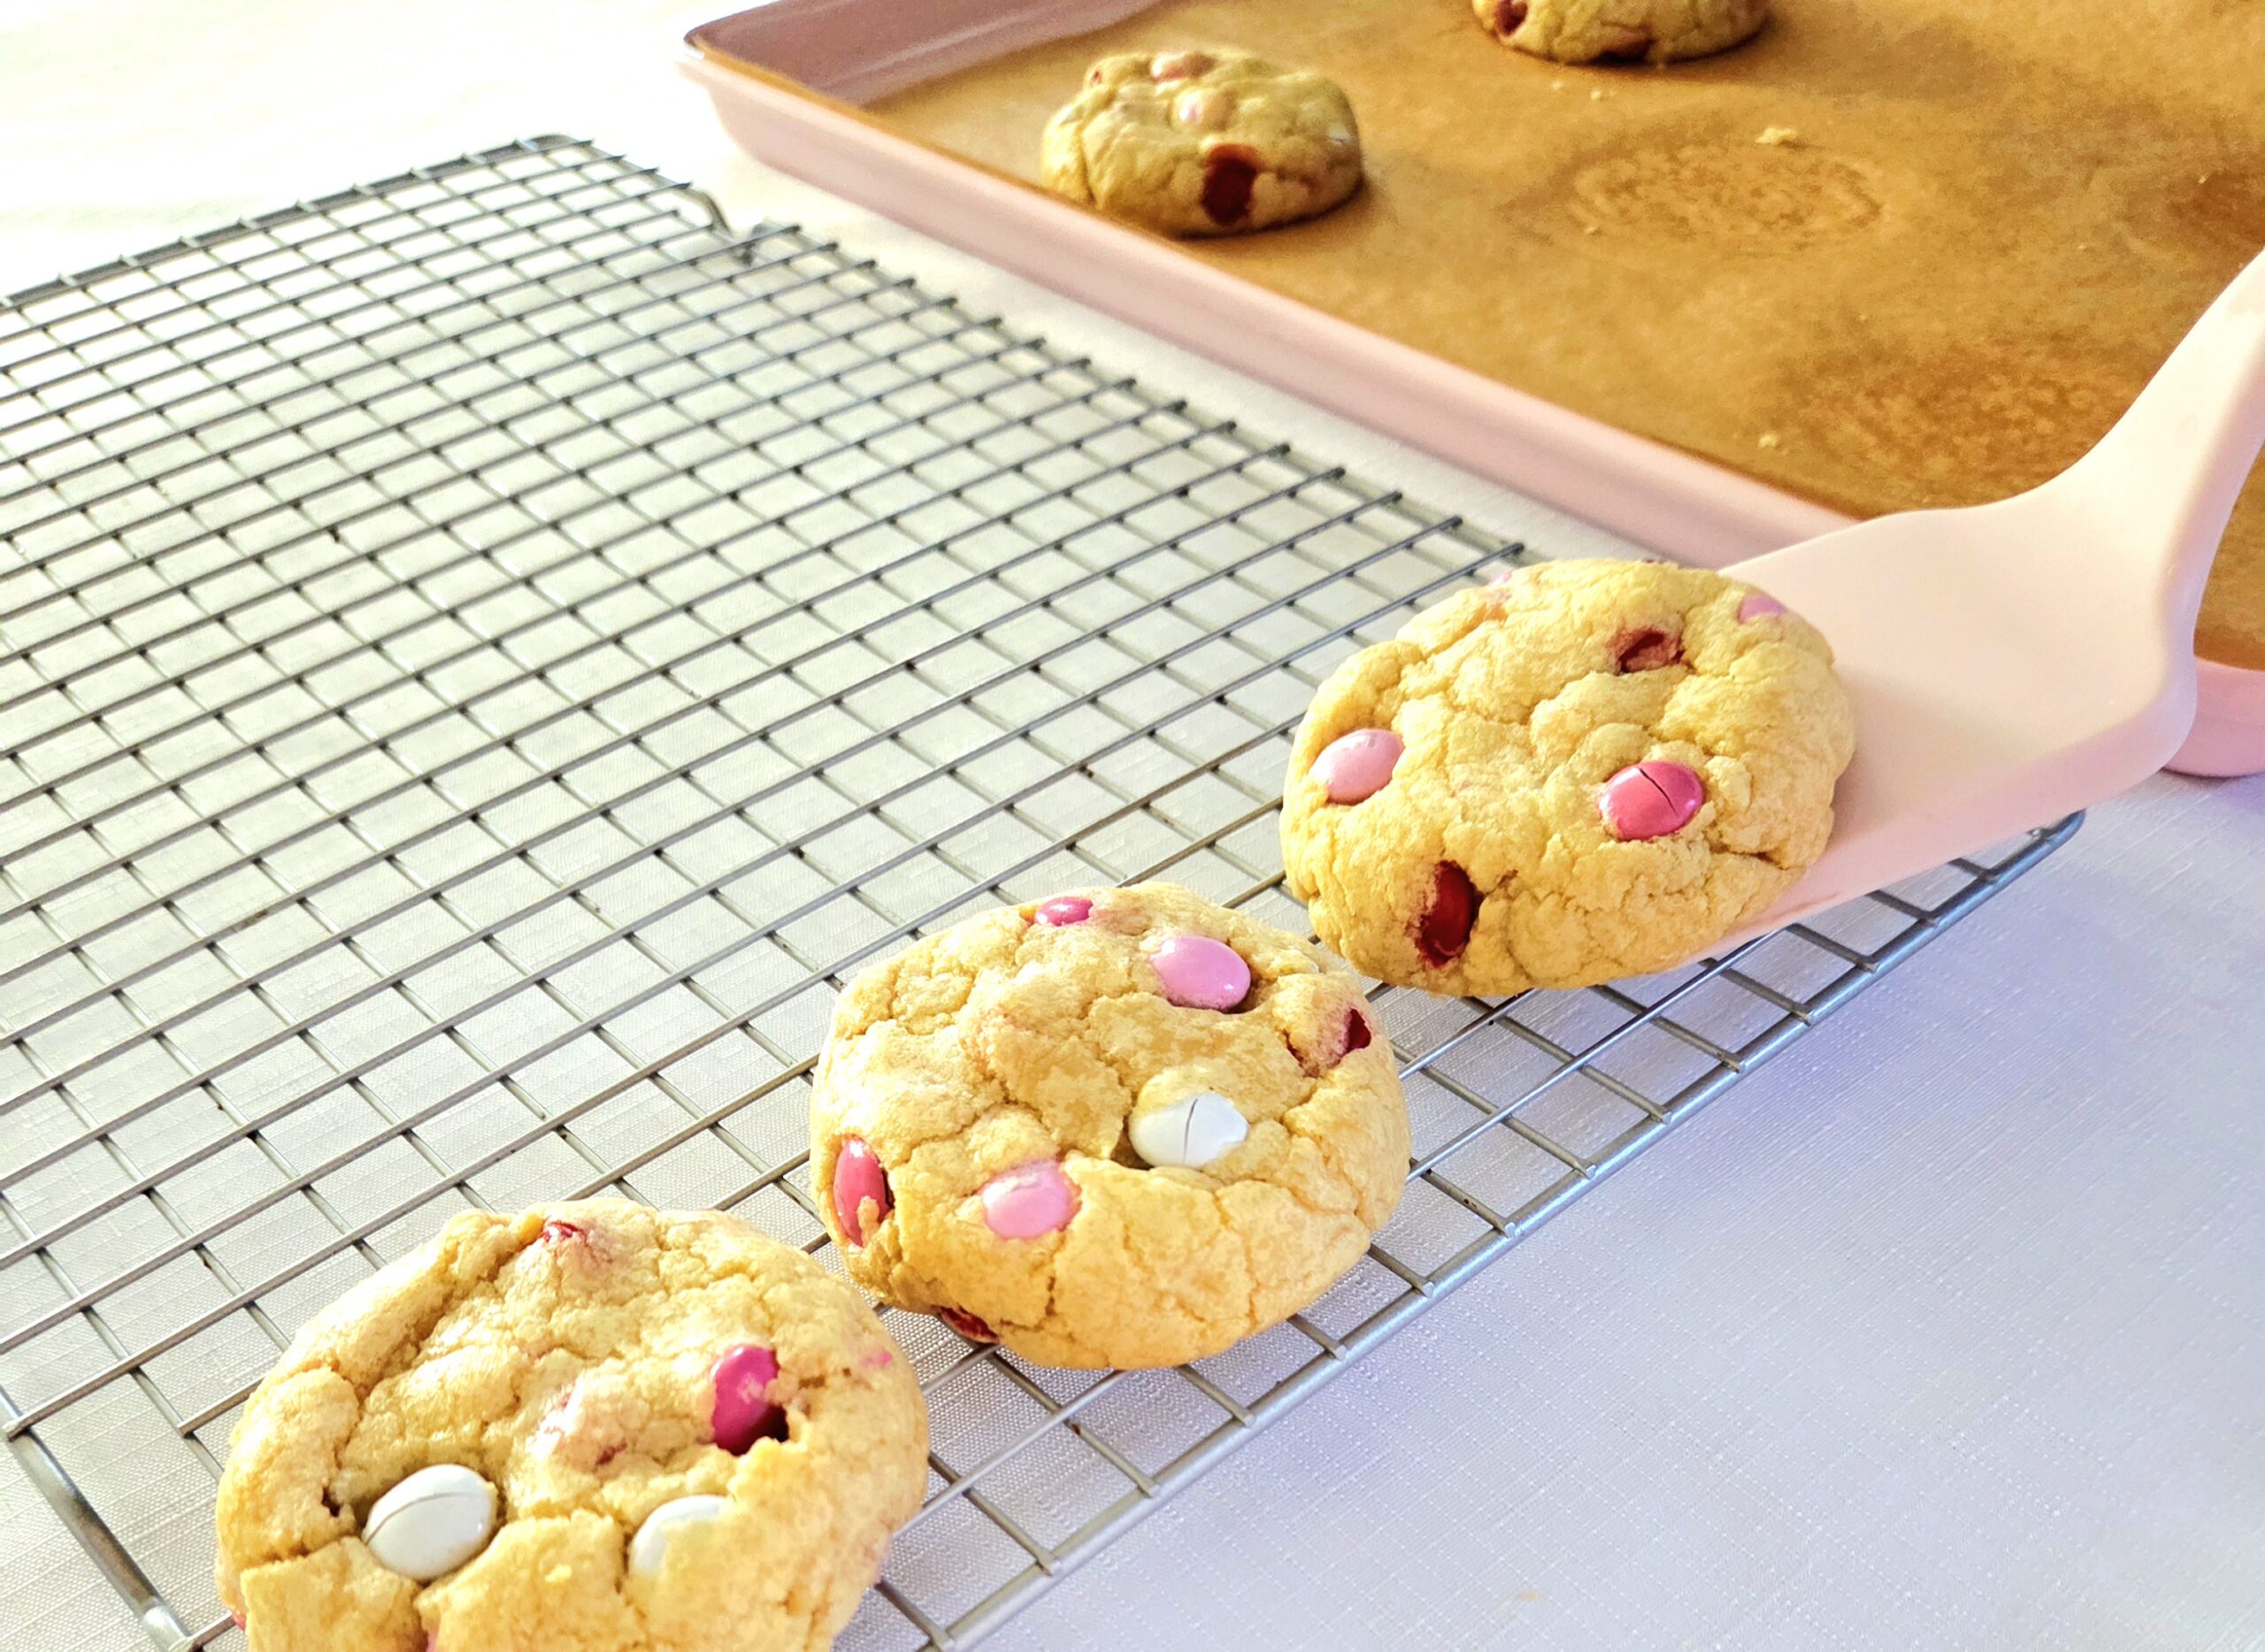
Allow the cookies to rest on the pan for a few minutes before transferring them. If you try to move them too soon, they’ll fall apart. However, if you’re type-A like I am and want your cookies to be perfectly round and symmetrical, now is the time to make it happen!
Take an upside down glass with a circumference larger than the cookies and place it on top of one. Spin the cookie around in the upside down glass for a few seconds, then move onto the next. Do this quickly, they’re only malleable for a minute or so after coming out of the oven.
Once the cookies cool, dig in and enjoy! Store any left over in a gallon-sized zip top bag or airtight container for up to two days.


M&M Cookies
Bake Time: 350F for 14 minutes
Servings: 20 bars
Total Time: 2 hour 30 minutes
Prep Time: 1 hour
Ingredients:
- 2 ½ cups all-purpose flour
- 1 teaspoon baking powder
- 1 teaspoon salt
- 12 Tablespoons unsalted butter
- ¾ cup light brown sugar
- ¾ cup granulated sugar
- 1 large egg, room temperature
- 1 large egg white, room temperature
- 2 teaspoons vanilla extract
- 2 cups M&Ms
Directions:
- Begin by combining the dry goods. In a medium mixing bowl, whisk together the all-purpose flour, baking powder, and salt. Set this bowl aside.
- Using a stand mixer fitted with the paddle attachment or electric hand mixer, cream together the softened butter, brown sugar, and granulated sugar. Beat it on level 3 or 4 for 5 minutes or so, or until the mixture goes from a medium brown to a light beige color, and becomes very fluffy. Turn the mixer off and, using a rubber spatula, scrape down the sides of the bowl, bringing everything to the center of the bowl.
- Add the egg, then the egg white and vanilla extract to the dough on medium speed. Wait for the mixture to fully absorb the egg before cracking in the white. Pause the mixer and scrape down the sides of the bowl in between, or as needed.
- Dump the dry goods all at once into the dough. Turn the mixer on to level 1, and when only a few streaks of flour remain, turn it off once more. Pour in the M&Ms, then turn it back on to level 1 for 30 seconds or so, until the candy is evenly distributed and the flour is fully absorbed.
- Scrape the dough off of the paddle or beaters, so it can join the rest of the dough in the bowl. Cover the dough in plastic wrap, and chill it in the fridge for a minimum of 1 hour or up to 2 days.
- About half an hour or so before you’re ready to bake, heat the oven and prepare the pans. Set the oven to 350F, on the convection setting if possible, and line two baking sheets with parchment paper.
- Portion out 5 4-Tablespoon (¼ cup) cookies per pan, covering the rest of the dough and returning it to the fridge. Roll the dough into a ball, then gently flatten it a bit, so you end up with pucks of dough around 1-inch thick. Space them about 2 inches apart.
- Bake the cookies on the middle rack of the oven for 14 minutes, flipping the pan halfway through. Allow them to rest on the baking sheet for a few minutes before transferring them over to a cooling rack. Once the cookies have fully cooled, store any left over in a gallon-sized zip top bag or airtight container for up to 2 days and enjoy!
Tips
- These cookies can be frozen! Follow the recipe up through step 5. Portion out all of the dough into 4-Tablespoon (¼ cup) servings, then roll them all into balls. Gently press each into the thick puck shape, and place them all on a parchment lined baking sheet. Place the sheet of raw cookies in the freezer until solidified. Once solid, transfer the cookies over to a gallon-sized freezer safe bag. Bake the desired amount at 350F, still frozen and spaced two inches apart, for 16 minutes or until the edges are a light golden brown.
- If you’d like perfectly symmetrical cookies, utilize the glass trick! As soon as a sheet of cookies comes out of the oven, take an upside down glass whose opening is larger than the cookies and place the opening on top of a cookie. Spin the cookie around for a few seconds, then allow them to rest on the baking sheet for a few minutes before transferring them to a cooling rack. Be quick about it, though! Once the cookies cool down, this can’t be done.


0 Comments