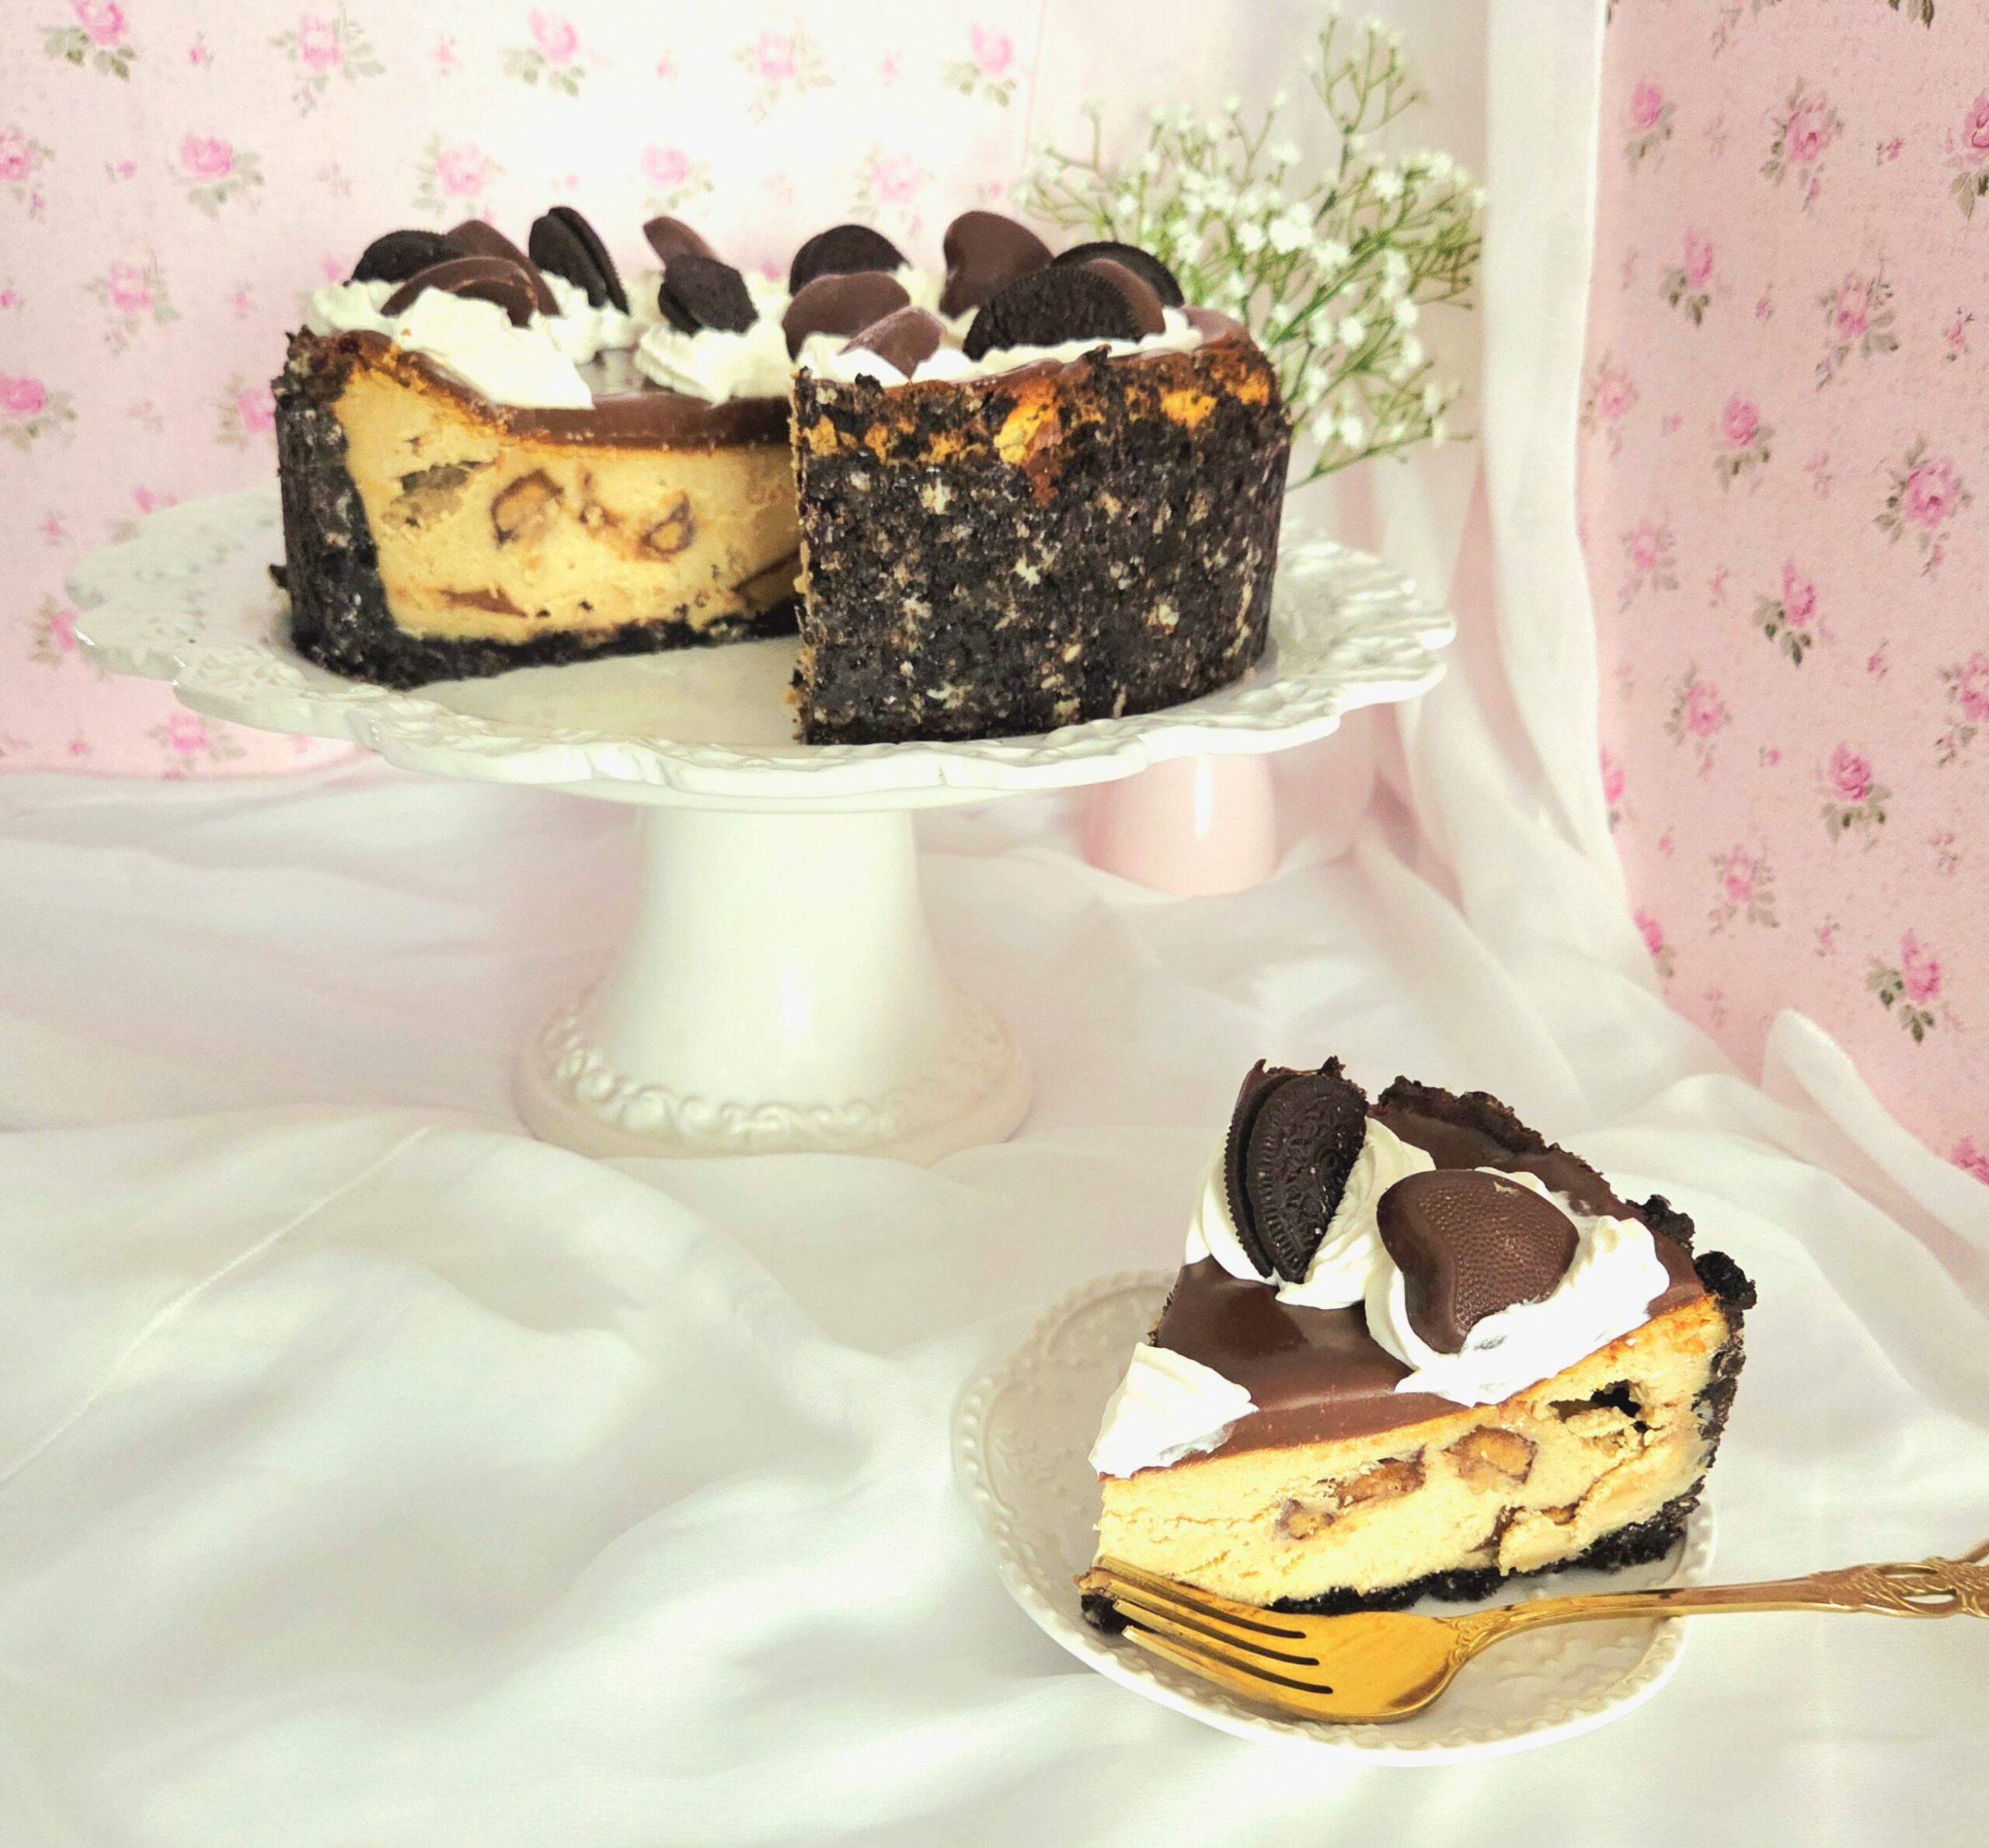

Anyone who knows me and my tastes knows that I’m a decadent queen. Chocolate, caramel, nuts, and especially peanut butter. For almost any dessert, if it comes in a peanut butter flavor, that’s what I’m gravitating towards. Ice cream, mousse, candy, it’s all drastically improved by peanut butter! My one problem? Most of the time, the peanut butter flavor is just too subtle. If it says peanut butter, I shouldn’t be hunting to find it.
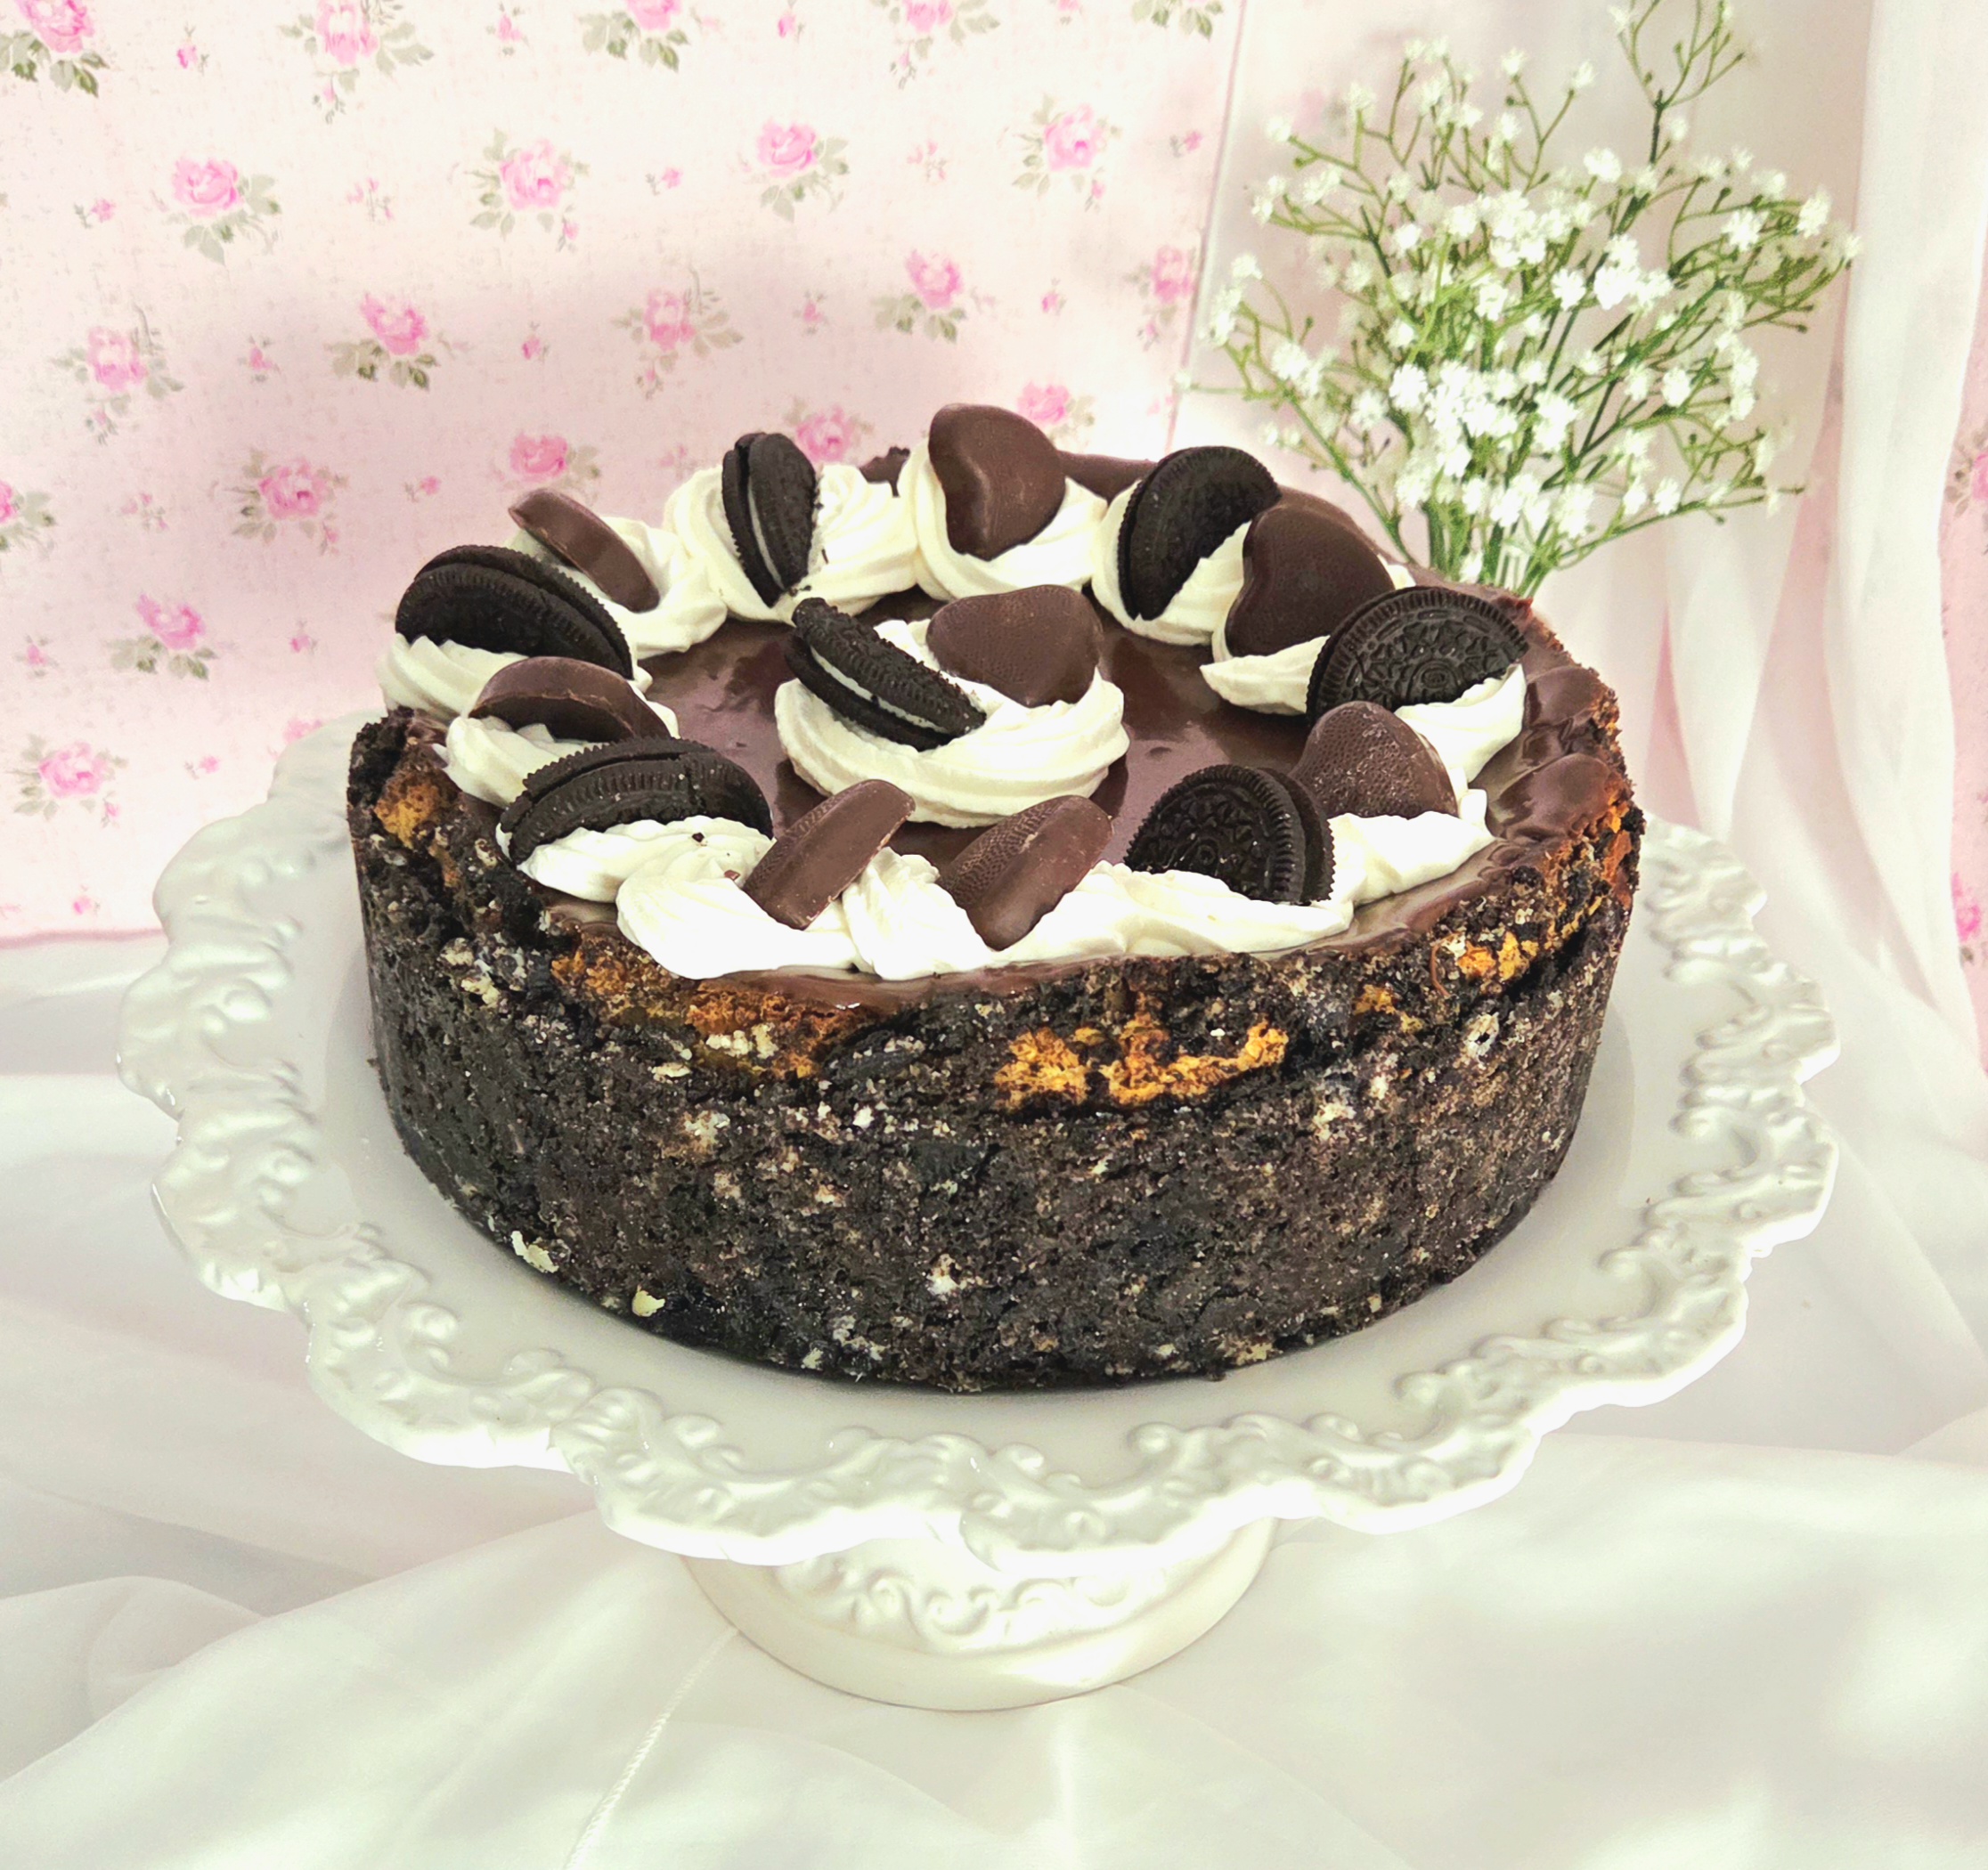
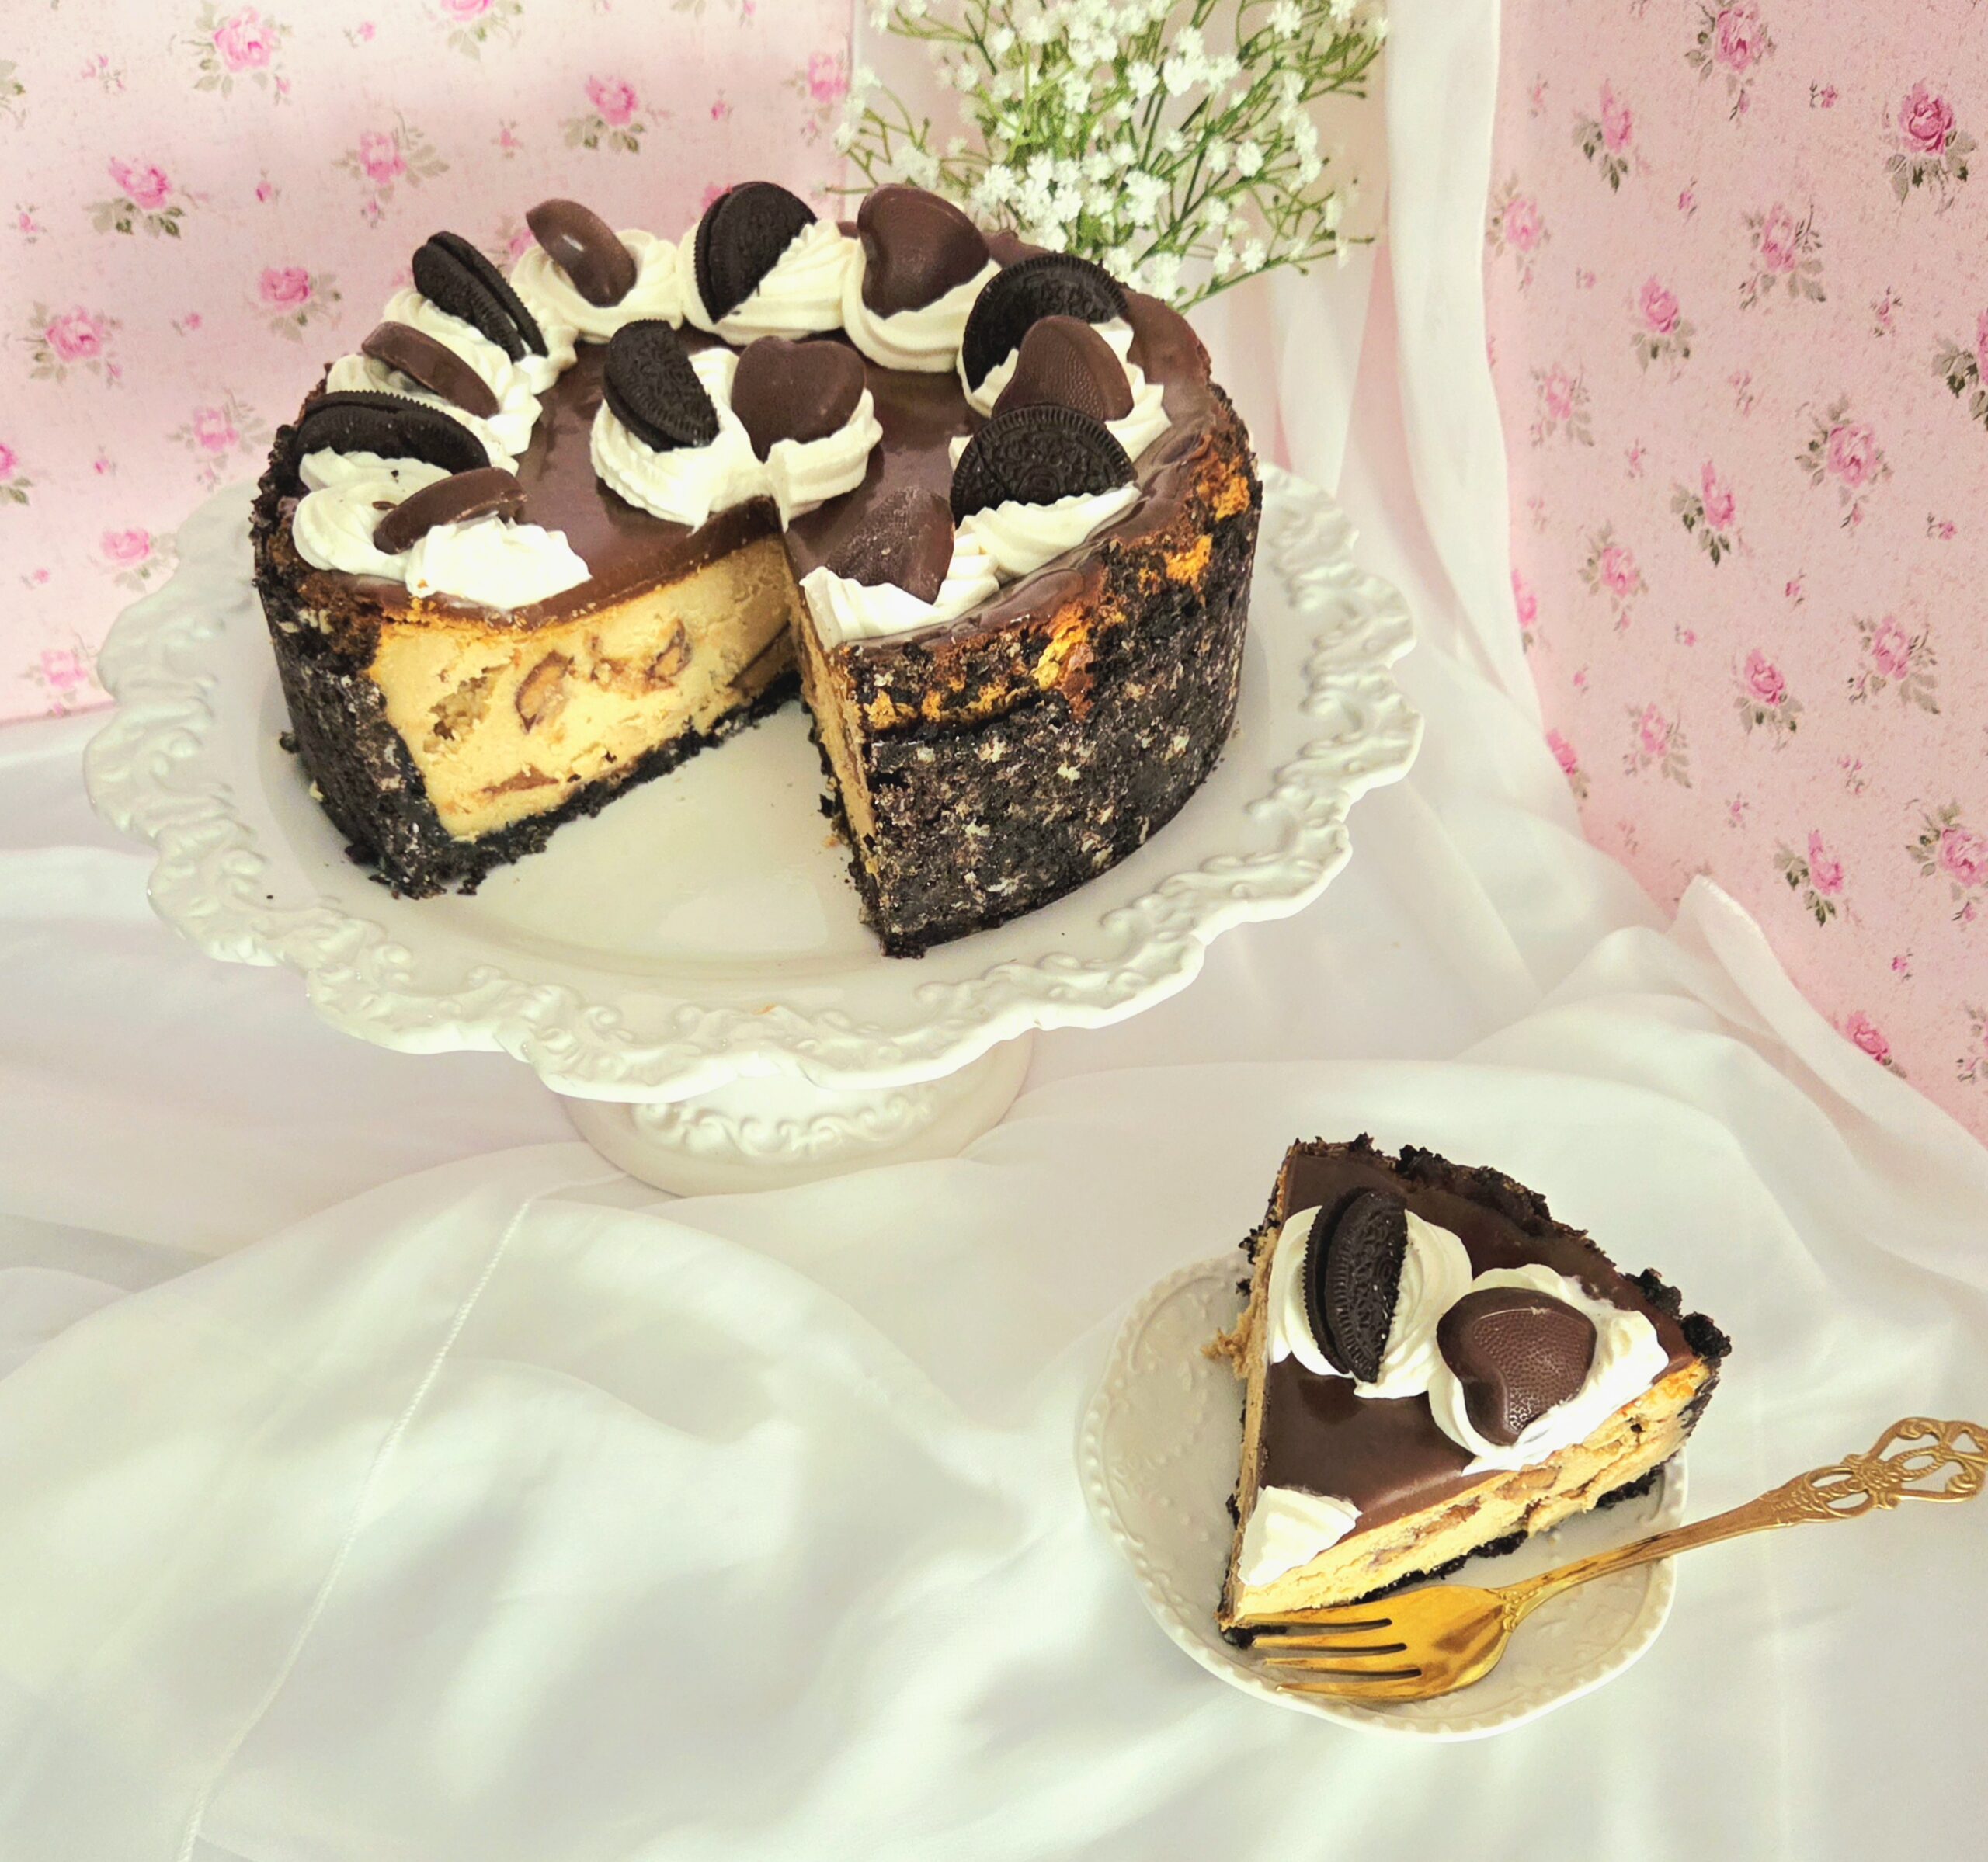
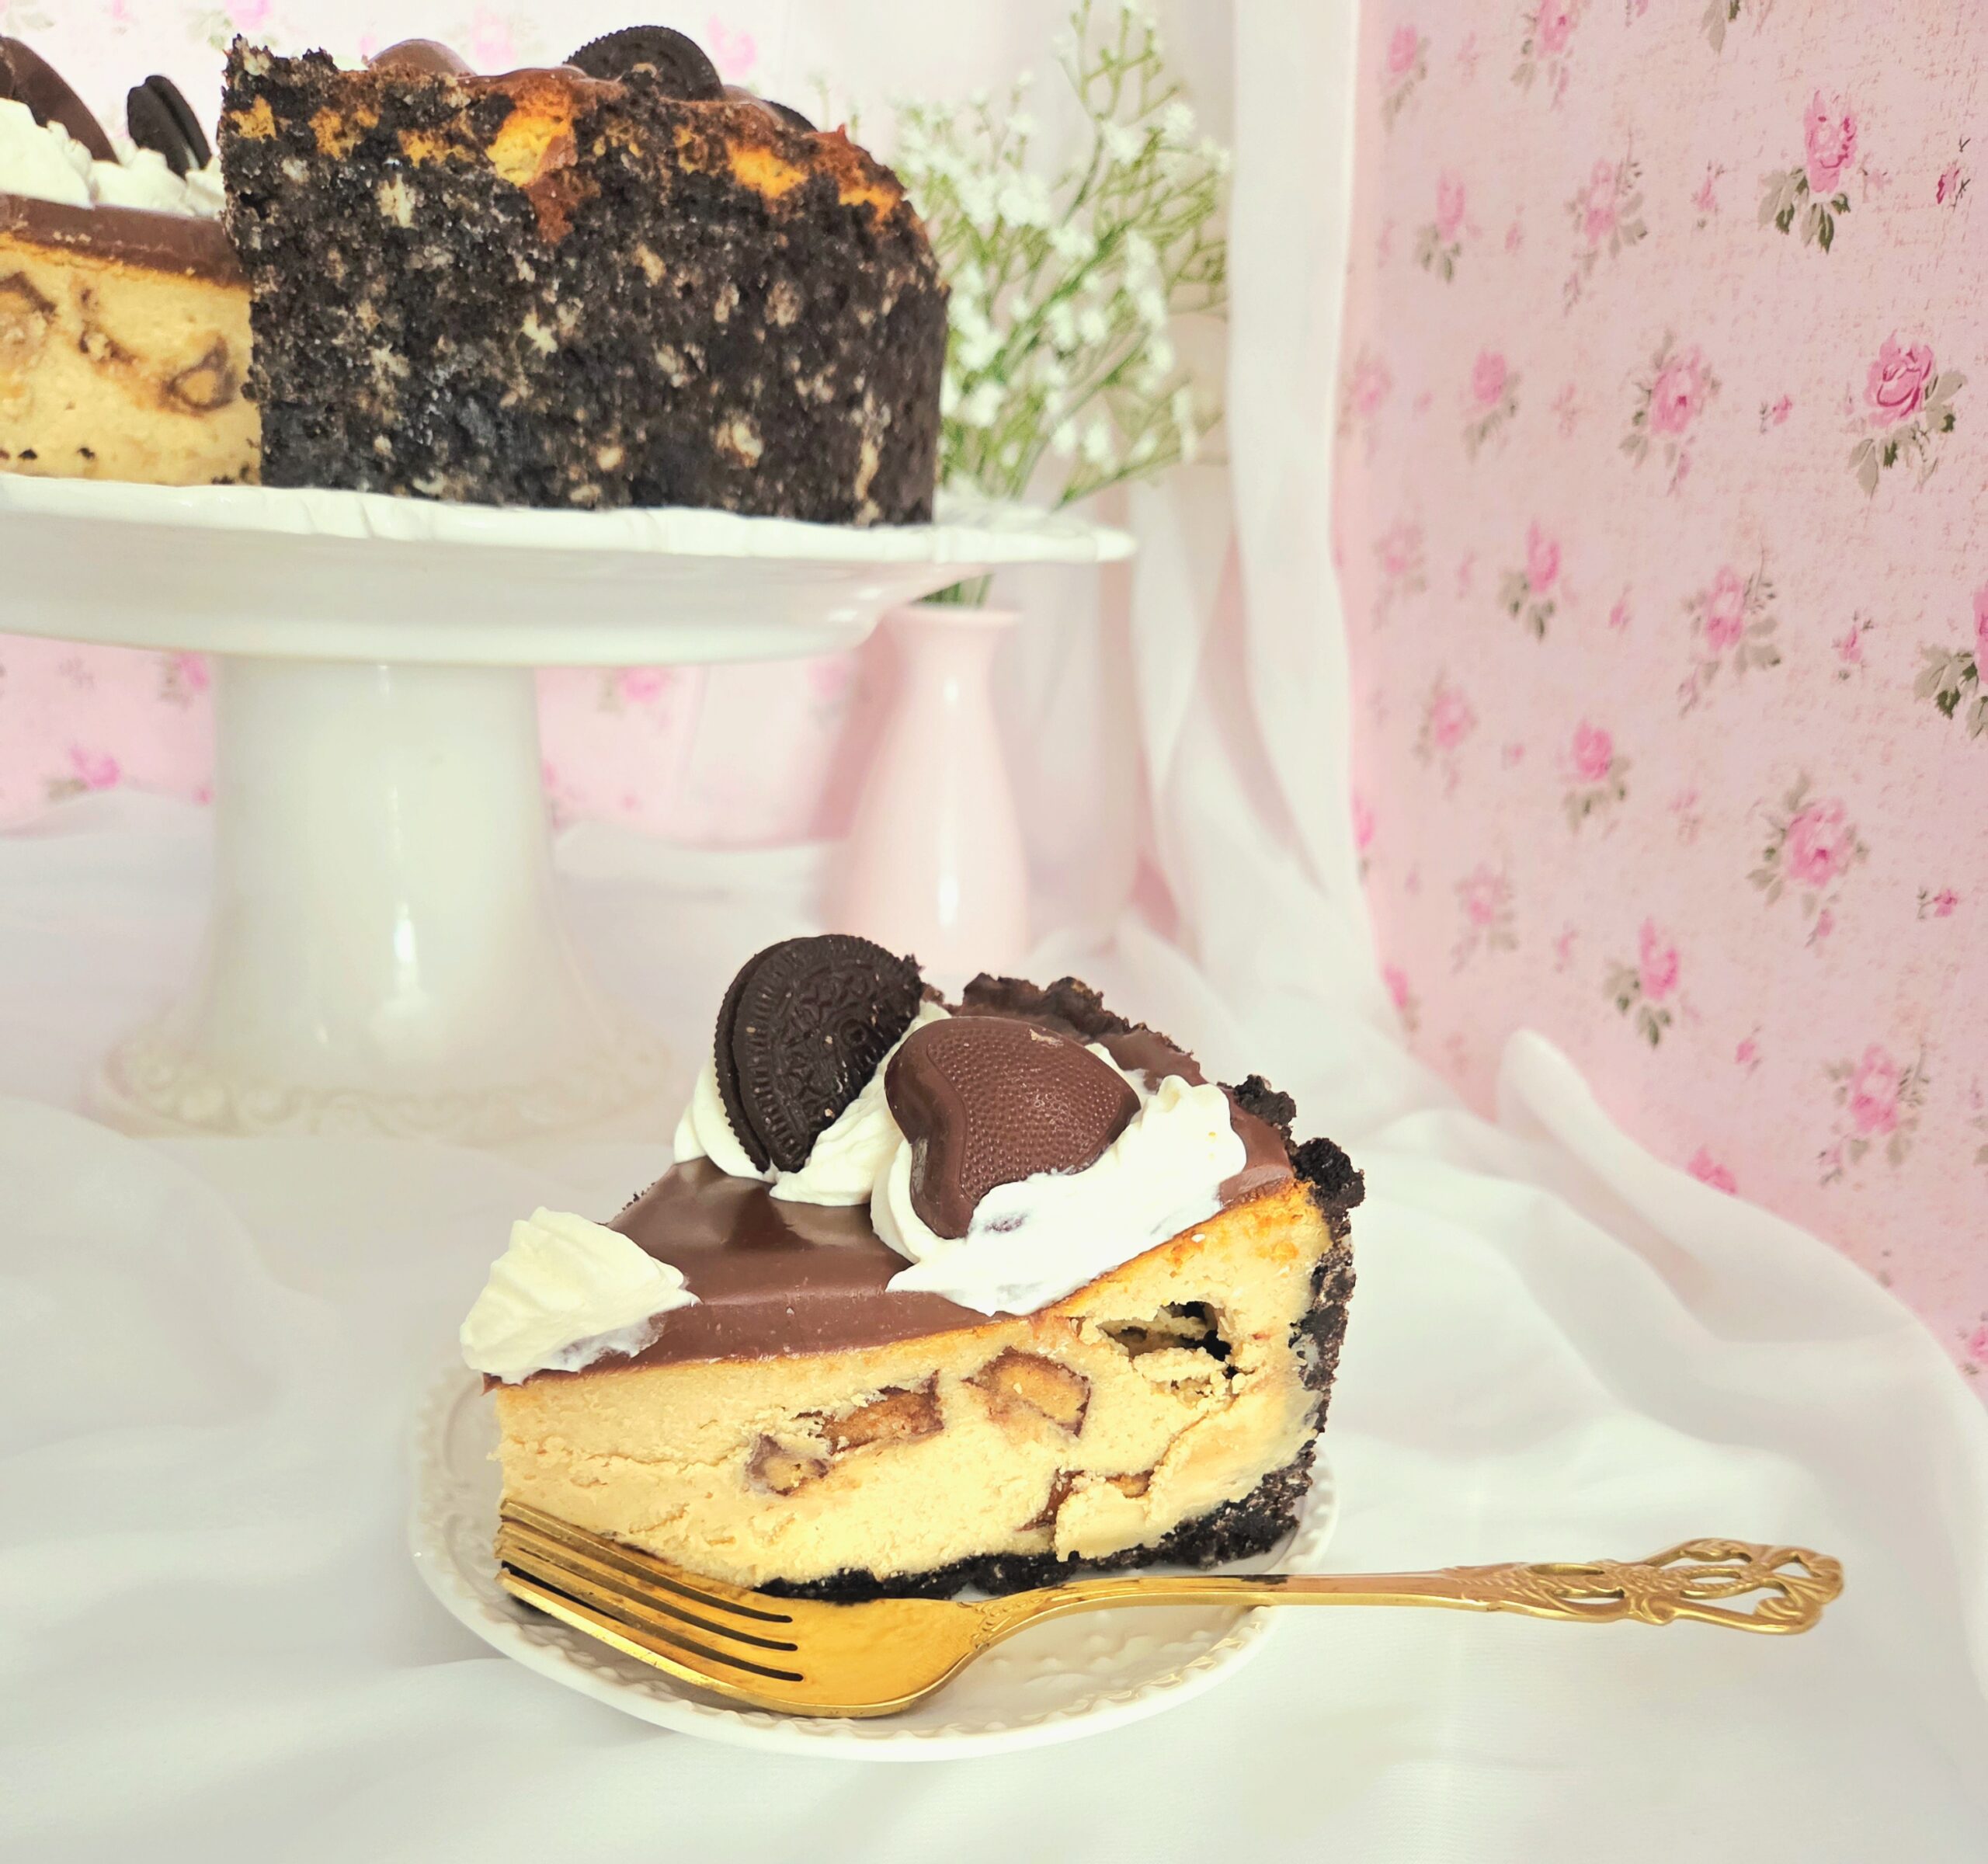
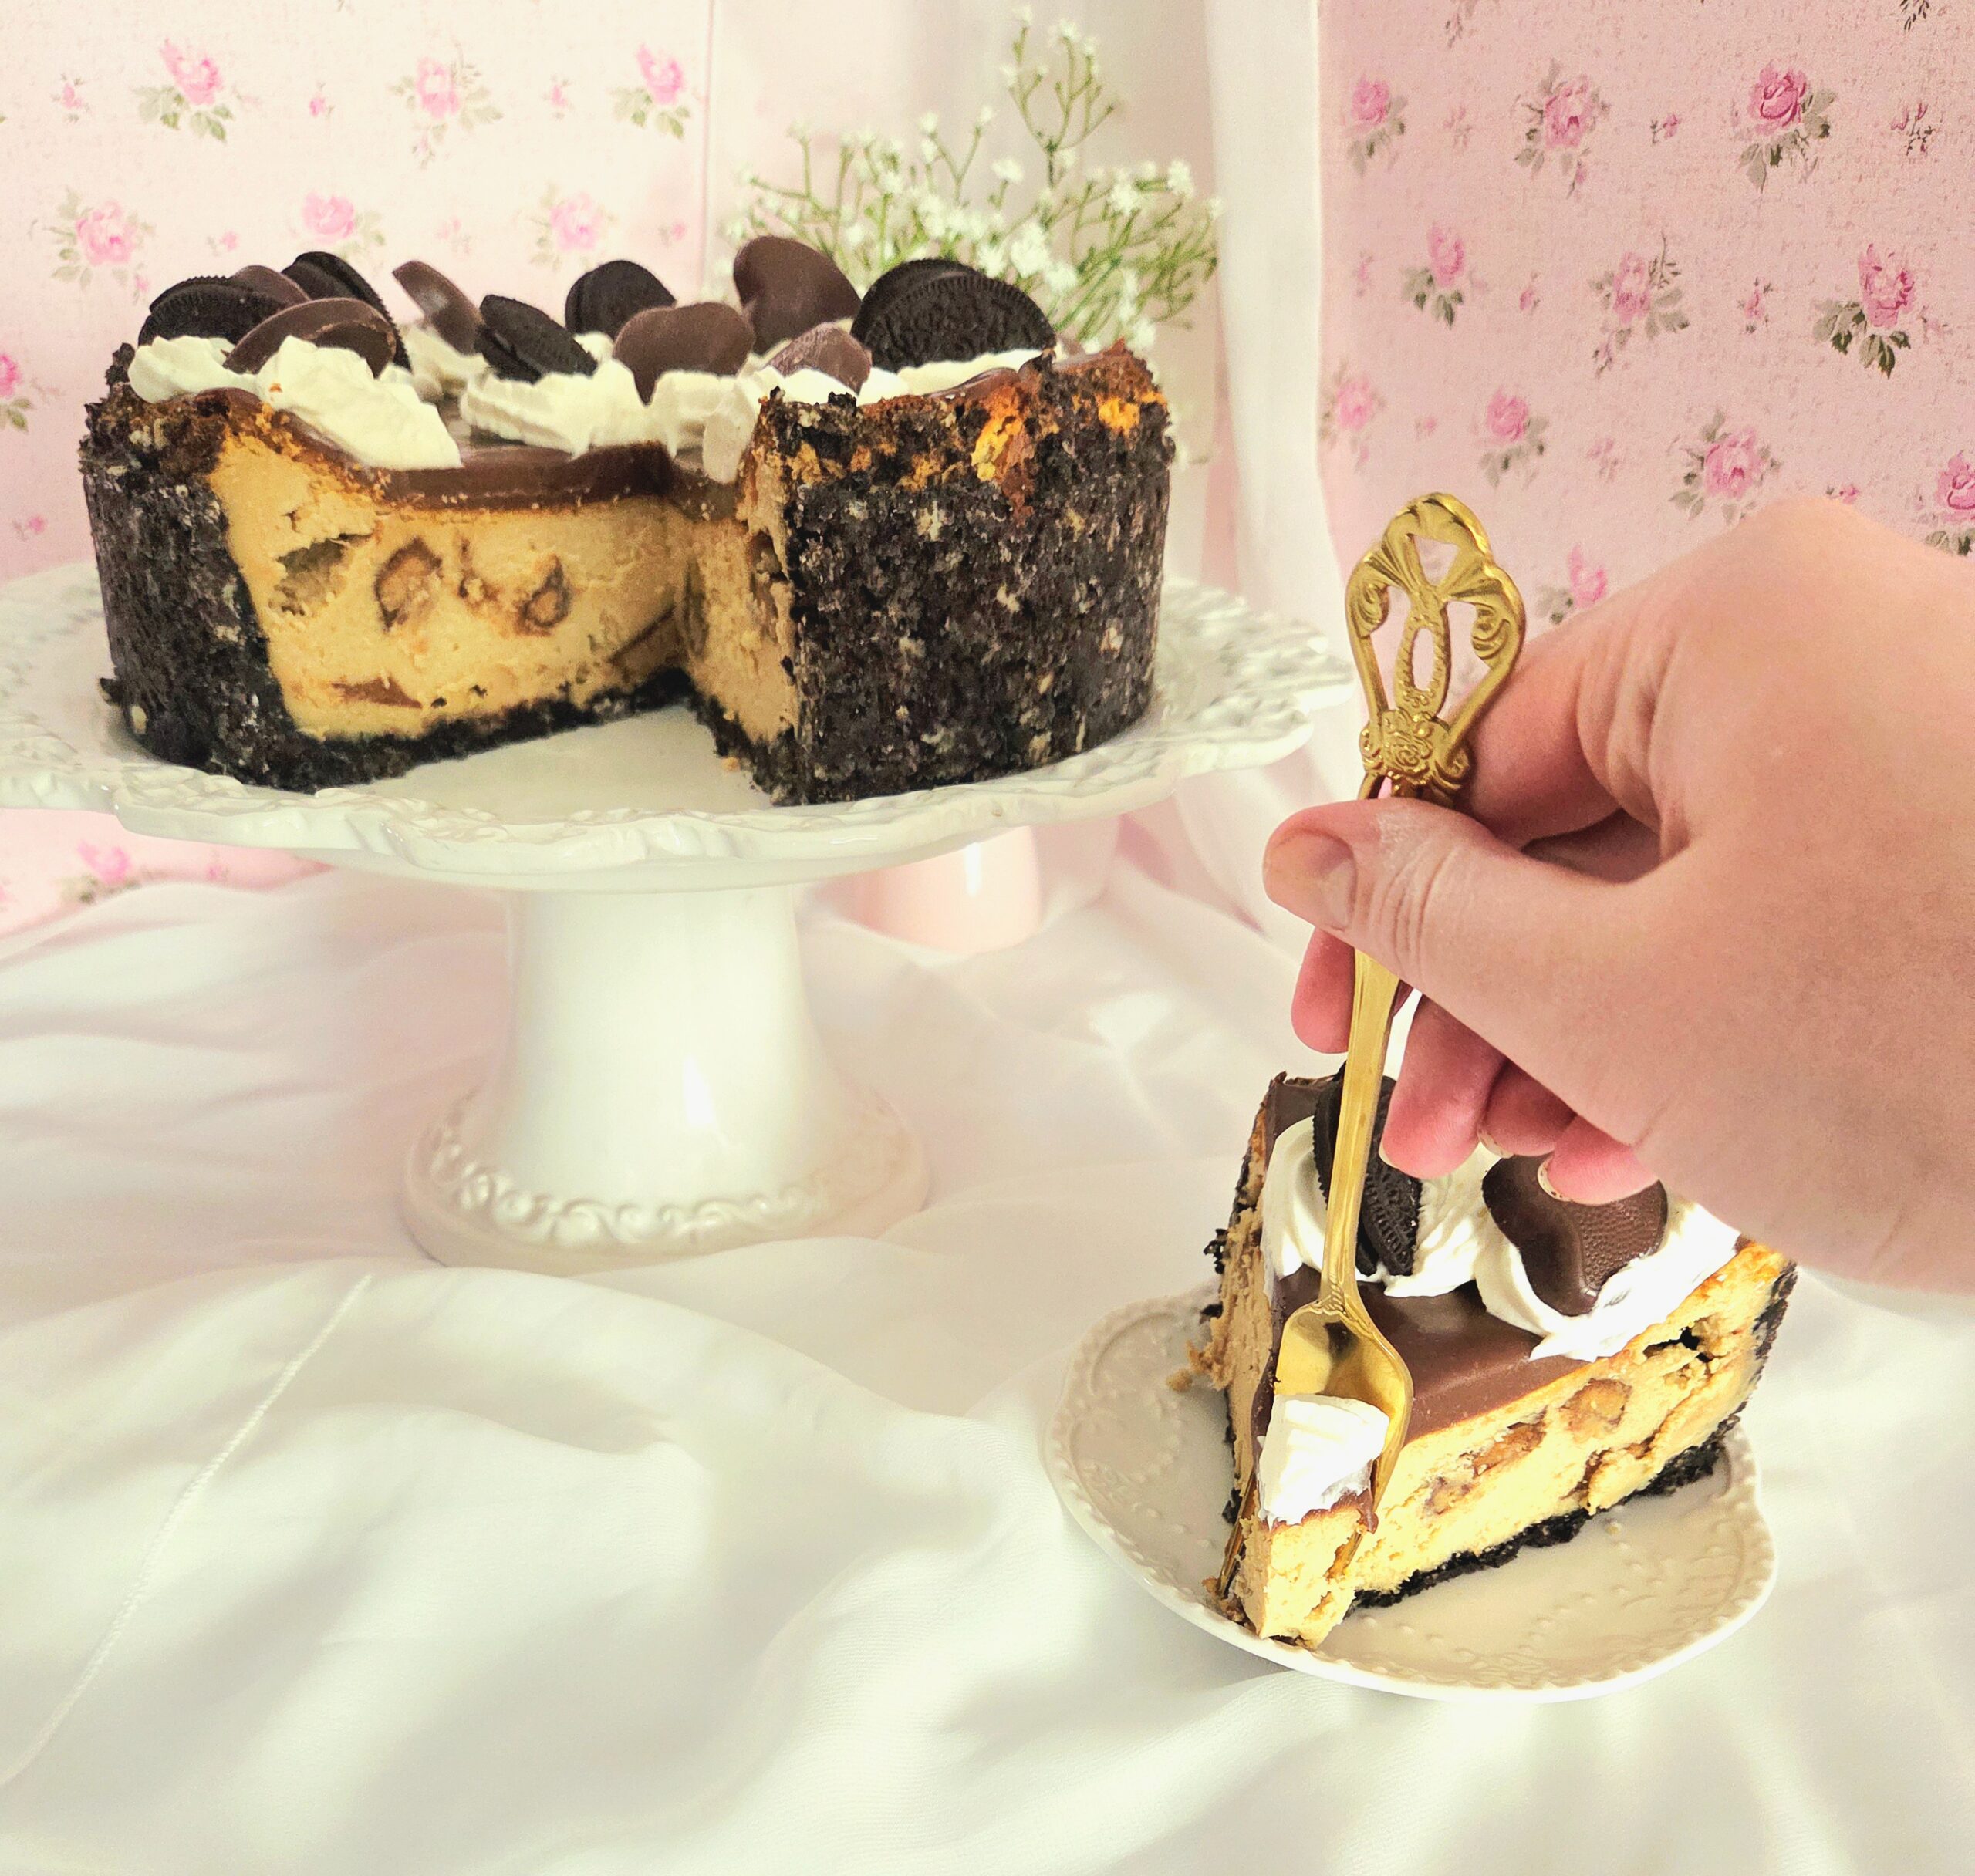
So I look matters into my own hands, and did that ever pay off! This peanut butter cheesecake is rich and creamy, the perfect balance of sweet and salty. The chocolate crust and ganache are the perfect compliment, with plenty of chopped up peanut butter cups strewn throughout the filling. Bake this for the peanut butter lover in your own life, especially if that person is you!
FAQs and Science
Can natural peanut butter be used in the filling?
No, this recipe was designed using processed, emulsified peanut butter. The natural peanut butter that separates does not behave in the same way, and you won’t get my same results if you choose to use it anyways.
Could low-fat cream cheese be substituted for full fat?
I really wouldn’t recommend it. Fat is both flavor and texture in a dish, and reducing the amount from what I use will result in a different cheesecake than the one I’ve made.
Do I need to scrape the filling out of the chocolate sandwich cookies before crushing them into crumbs?
If you want a cleaner look in the end, go for it! I’m lazy, and you can see the end result of my decision to leave the cream filling in.
Can I use chocolate chips instead of chocolate bars?
Chocolate chips contain additives designed to allow them to keep their shape while baking. Because of that, they don’t make the best choice for something that requires melted chocolate, like a ganache. I strongly recommend chopping up chocolate bars.
What You’ll Need
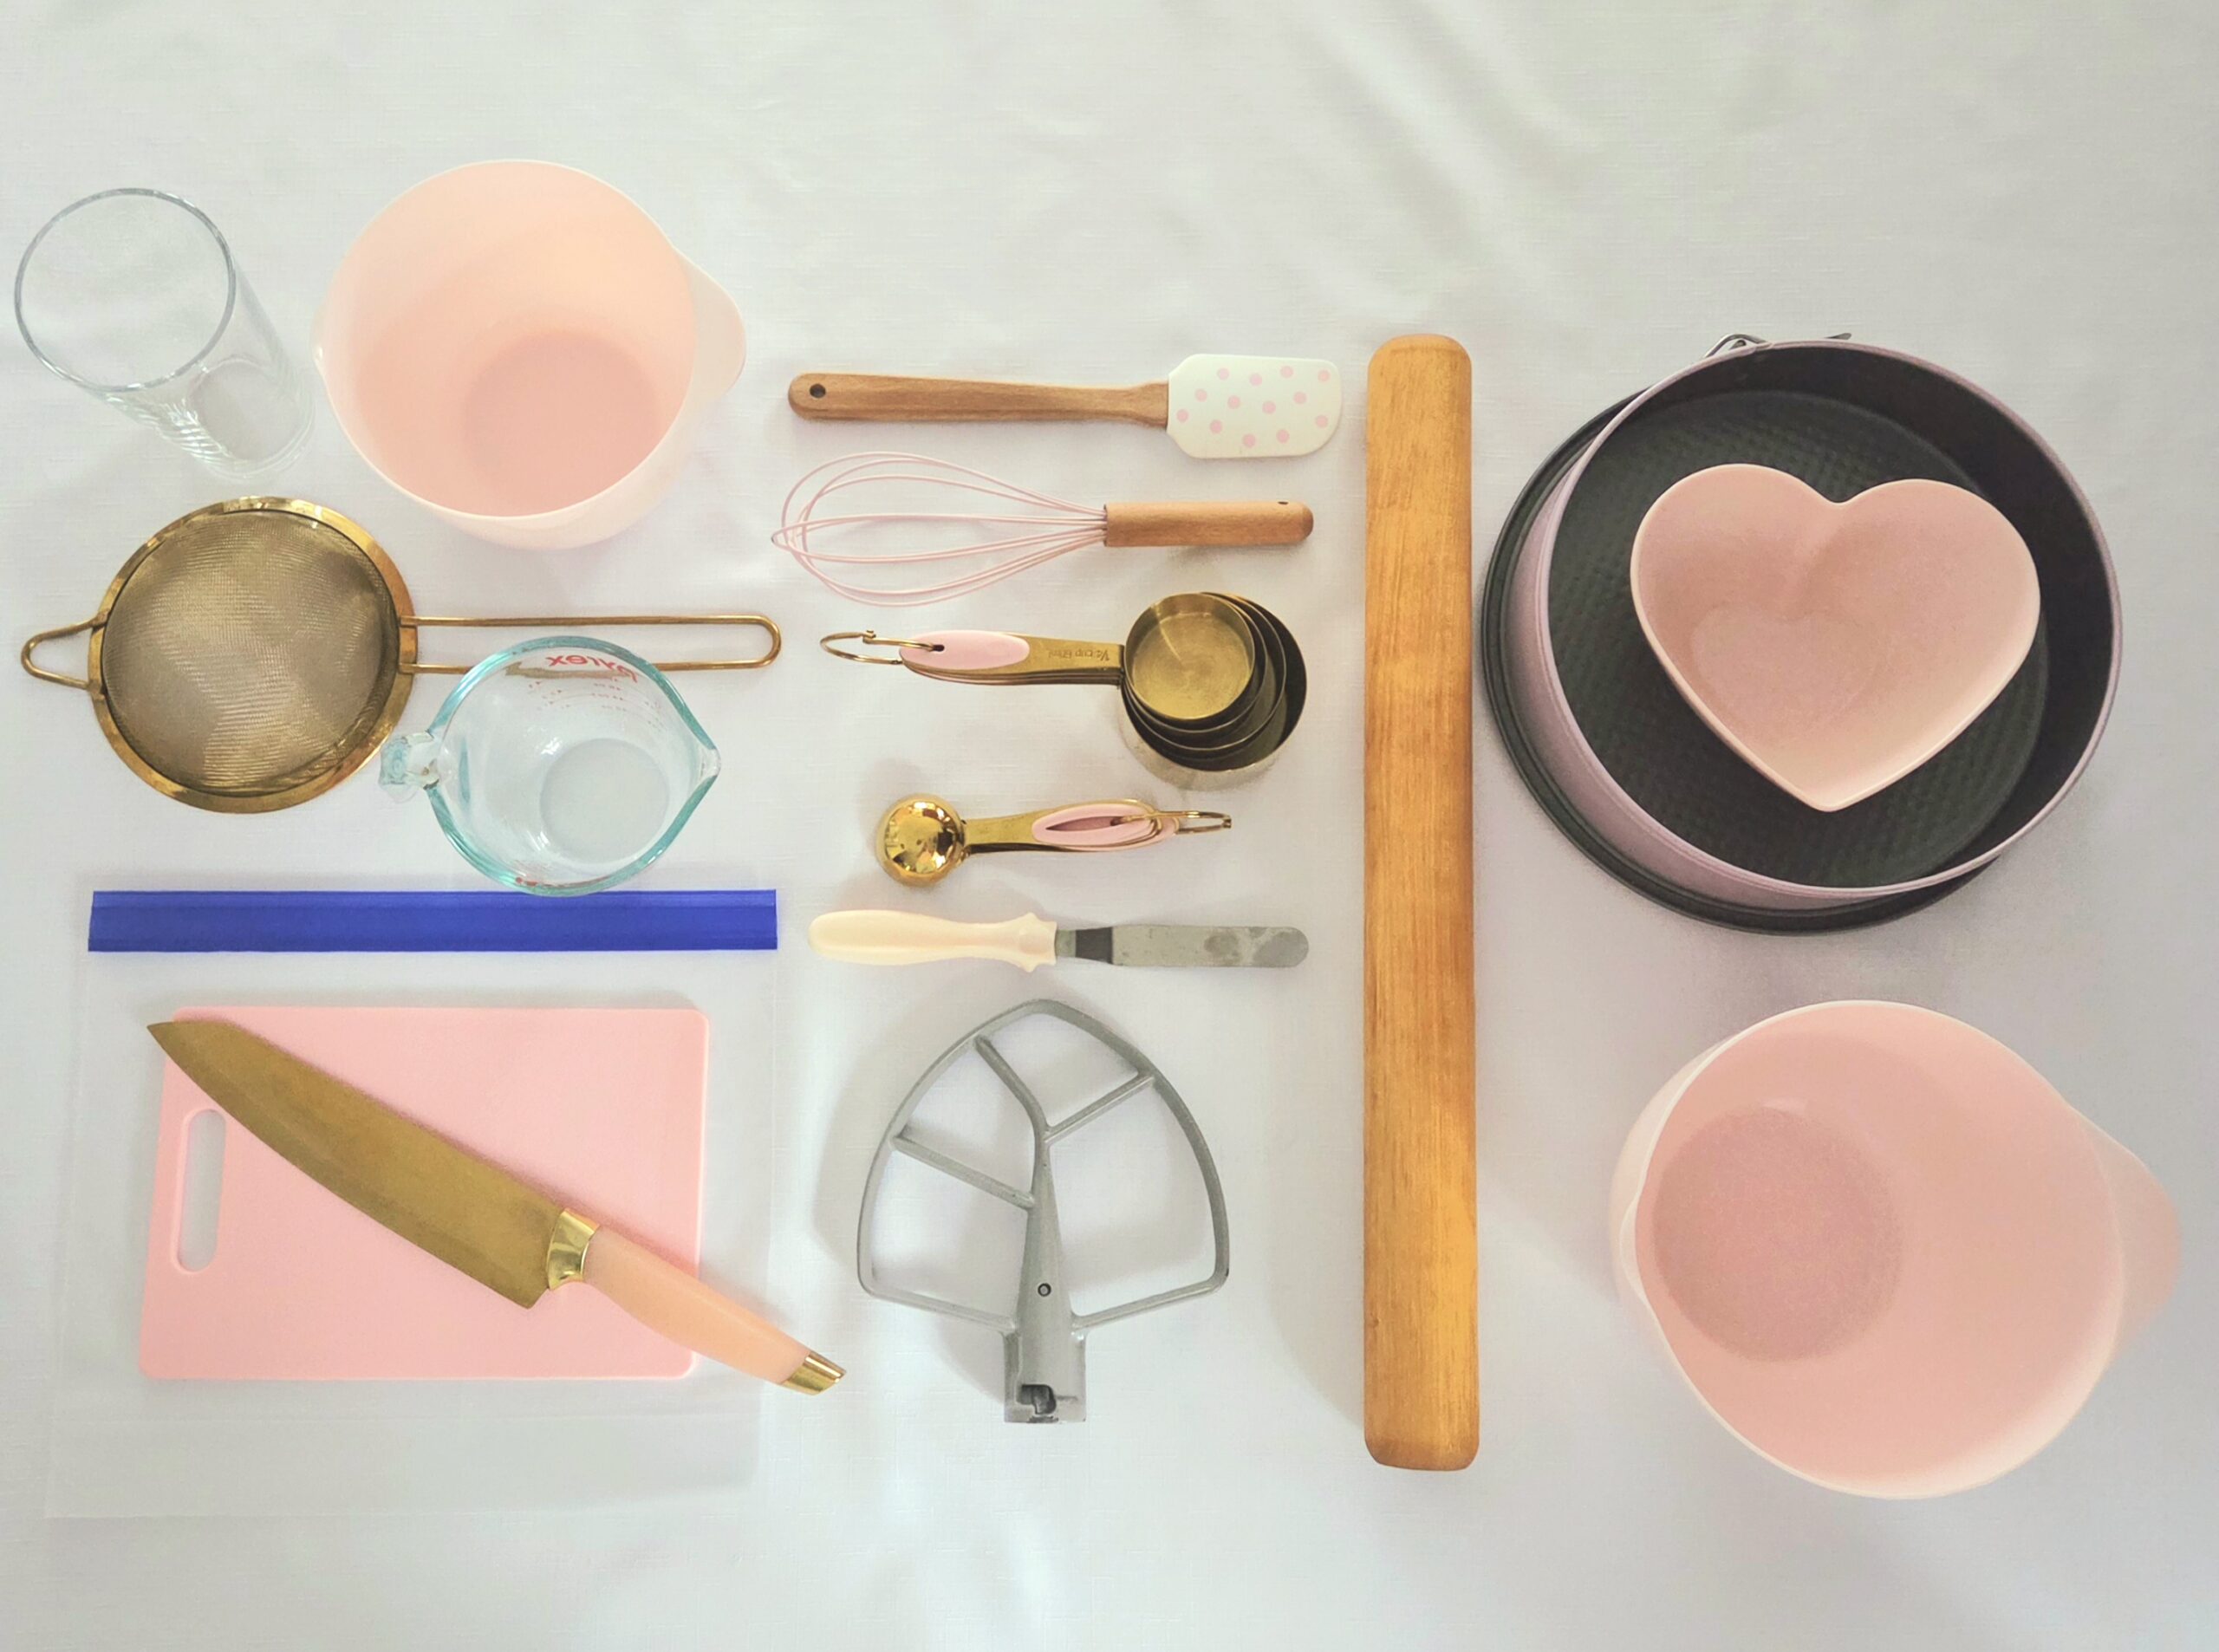
- Standard springform pan
- Stand mixer fitted with the paddle attachment and whisk attachment
- Parchment paper
- Food processor OR gallon sized zip top bag and rolling pin
- 2 small heat safe mixing bowls
- Liquid measuring cup
- Dry measuring cups
- Measuring spoons
- Flat bottomed glass
- Rubber spatula
- Offset spatula
- Piping bag
- Star piping tip
- Sieve or sifter
- Chef’s knife
- Cutting board
The Process
For the Crust
Begin by preparing the oven. Move the rack to the center of the oven, if it’s not there already, and preheat the oven to 350F, on the convection setting if there is one. Line the bottom of a springform pan with parchment paper before securing the outer rim. Set the pan aside.
Crush the cookies. You can use either a food processor to pulverize them into crumbs, or take out some aggression by smashing them in a large zip-top bag by hand with a rolling pin or other heavy tool. This is also a great step to delegate to a kid! If you used a food processor, pulse in the sugar and salt.
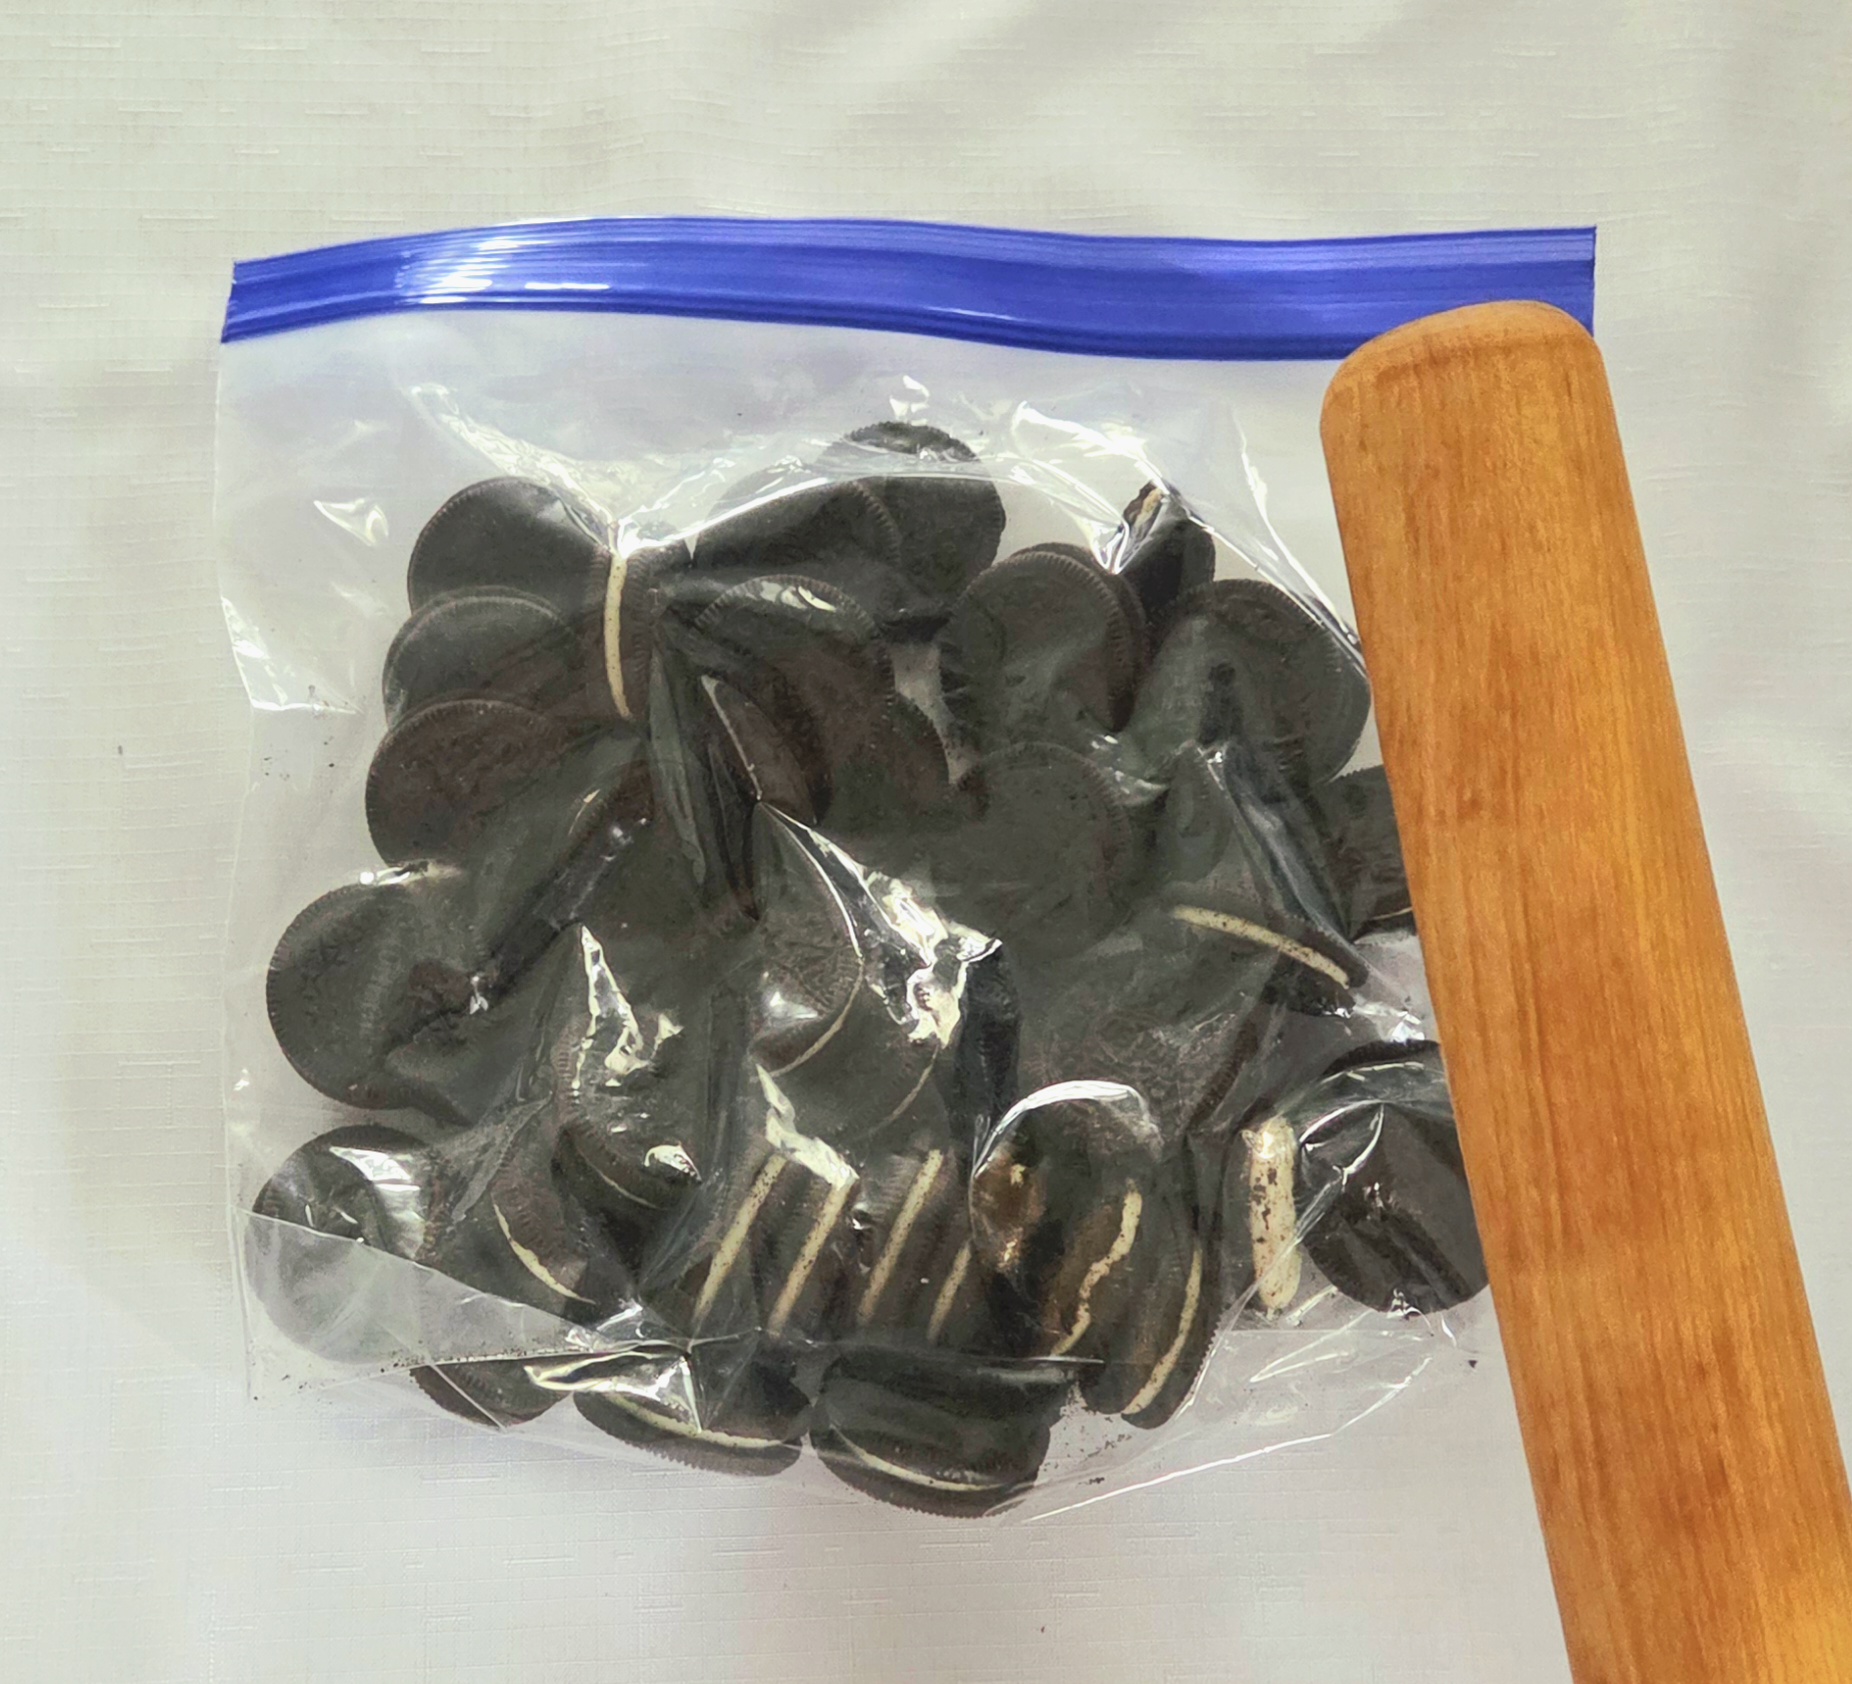
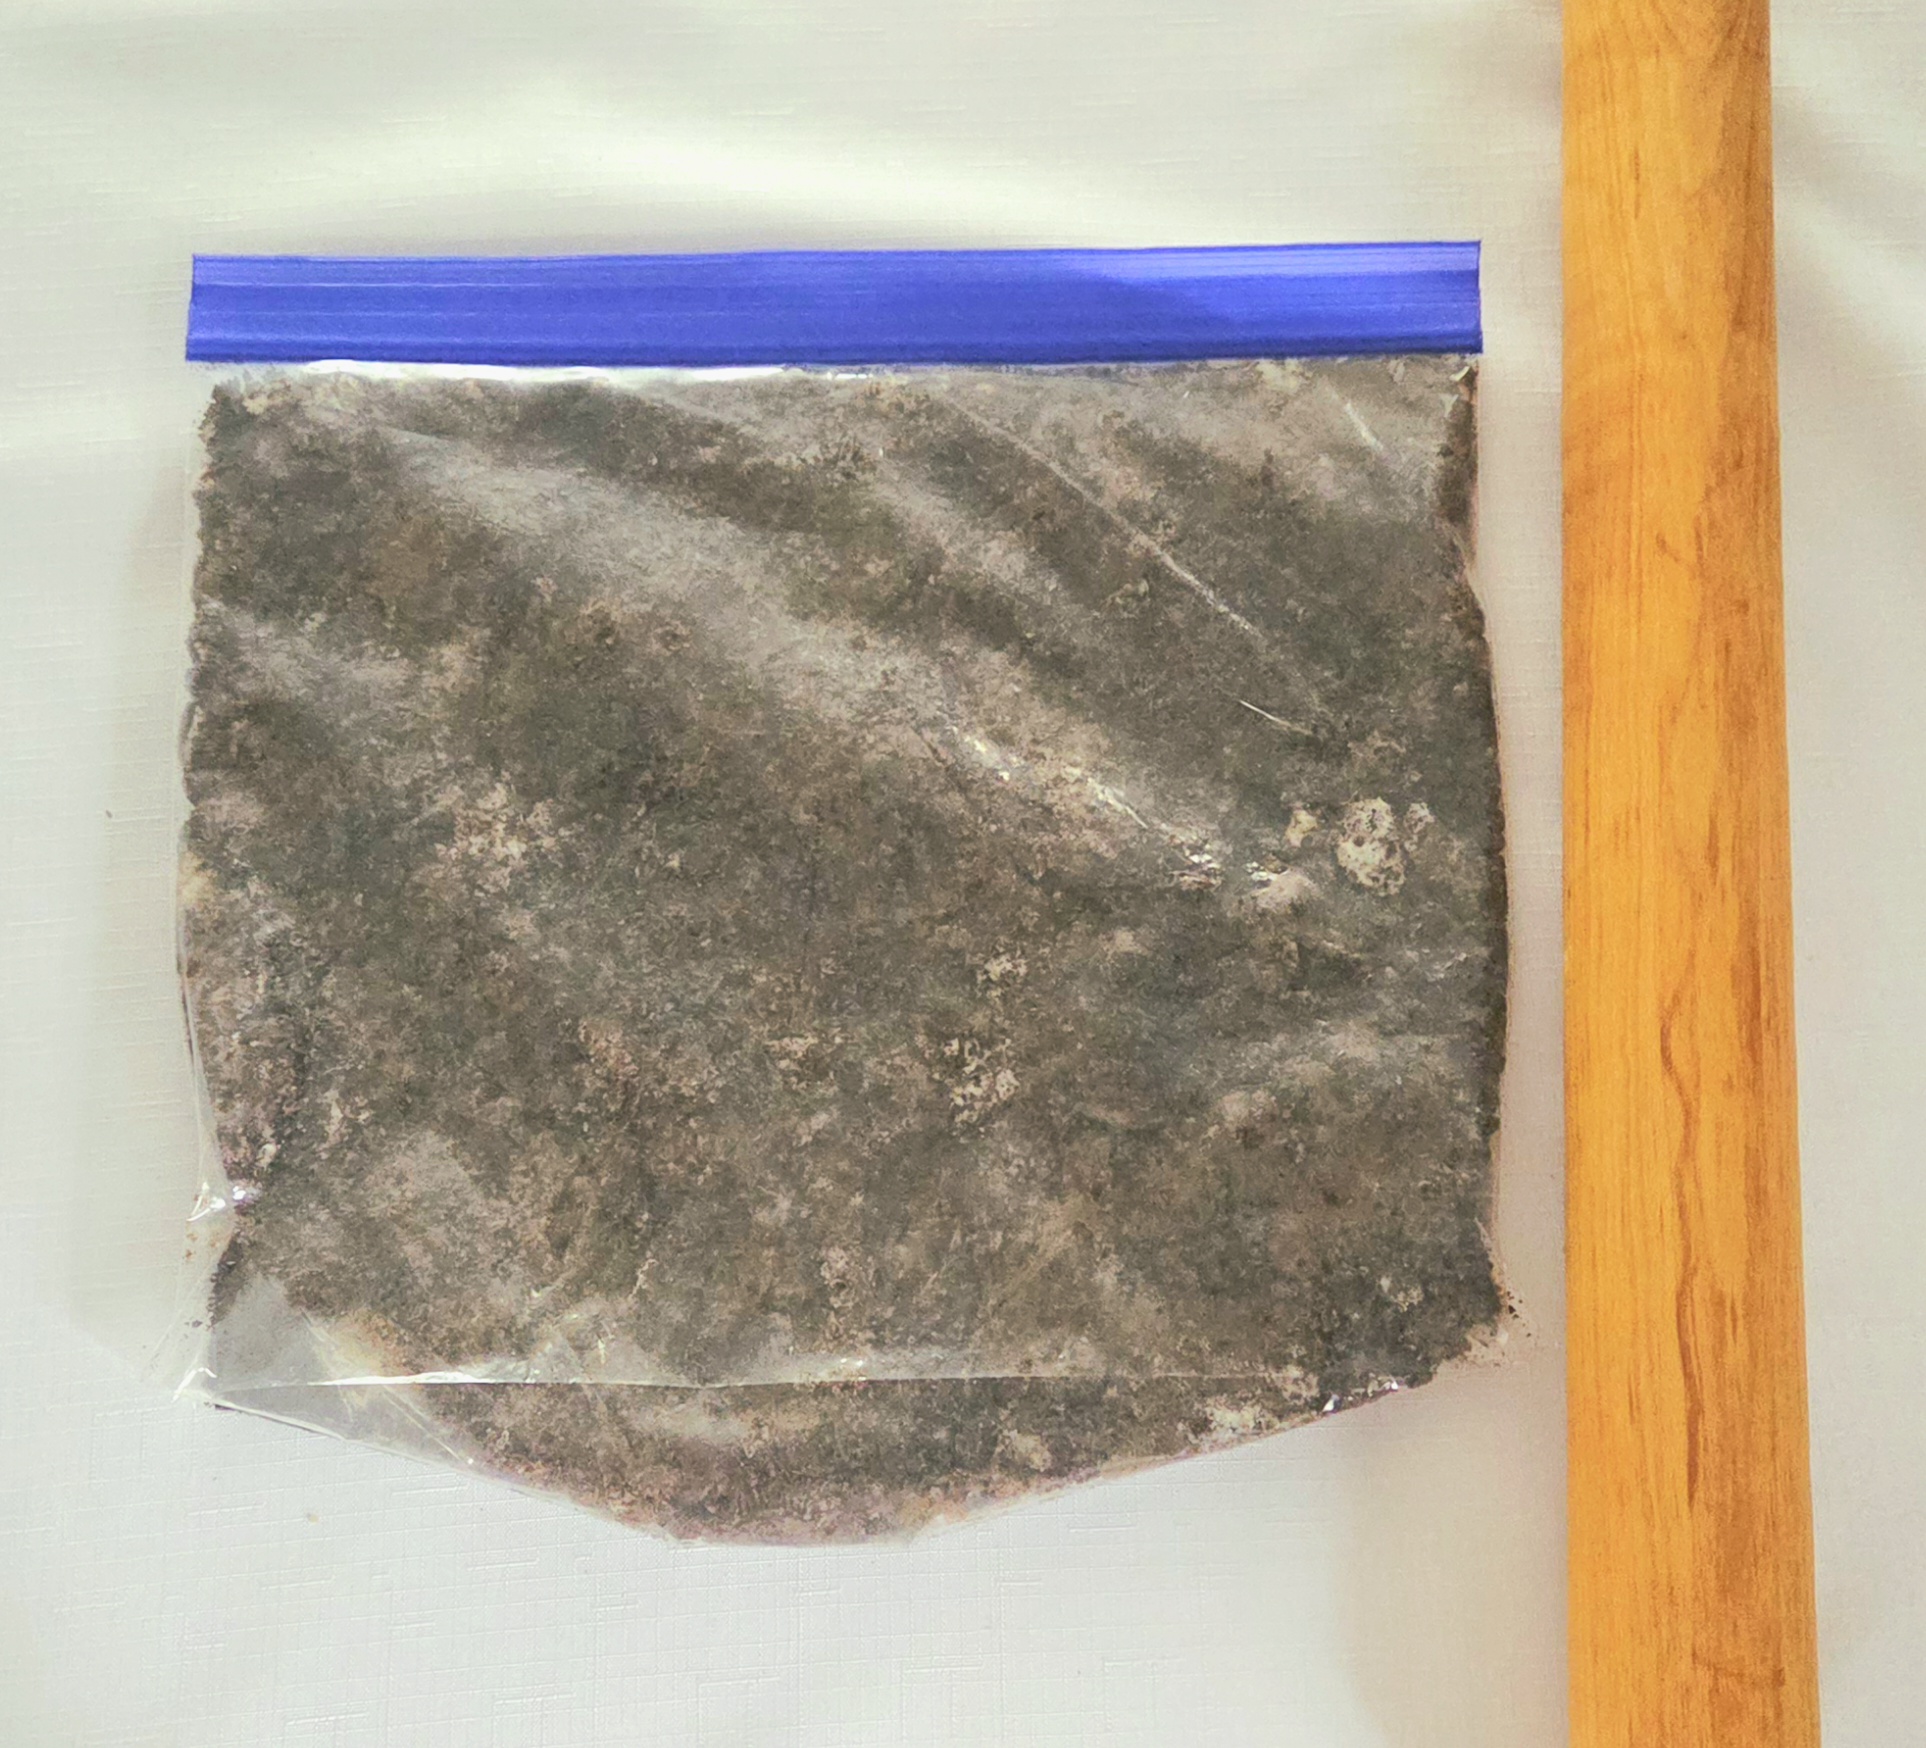
Now, to melt the butter. You can either microwave it in a small heat safe bowl, or if the microwave isn’t an option for whatever reason, melt it in a small saucepan on the stove. If you used a food processor, pour the melted butter over the crushed crumbs. Pulse the butter and crumbs together. If you crushed the cookies by hand, pour them into the butter along with the sugar and salt. Stir them all together using a rubber spatula. They should hold together when you pinch a clump.
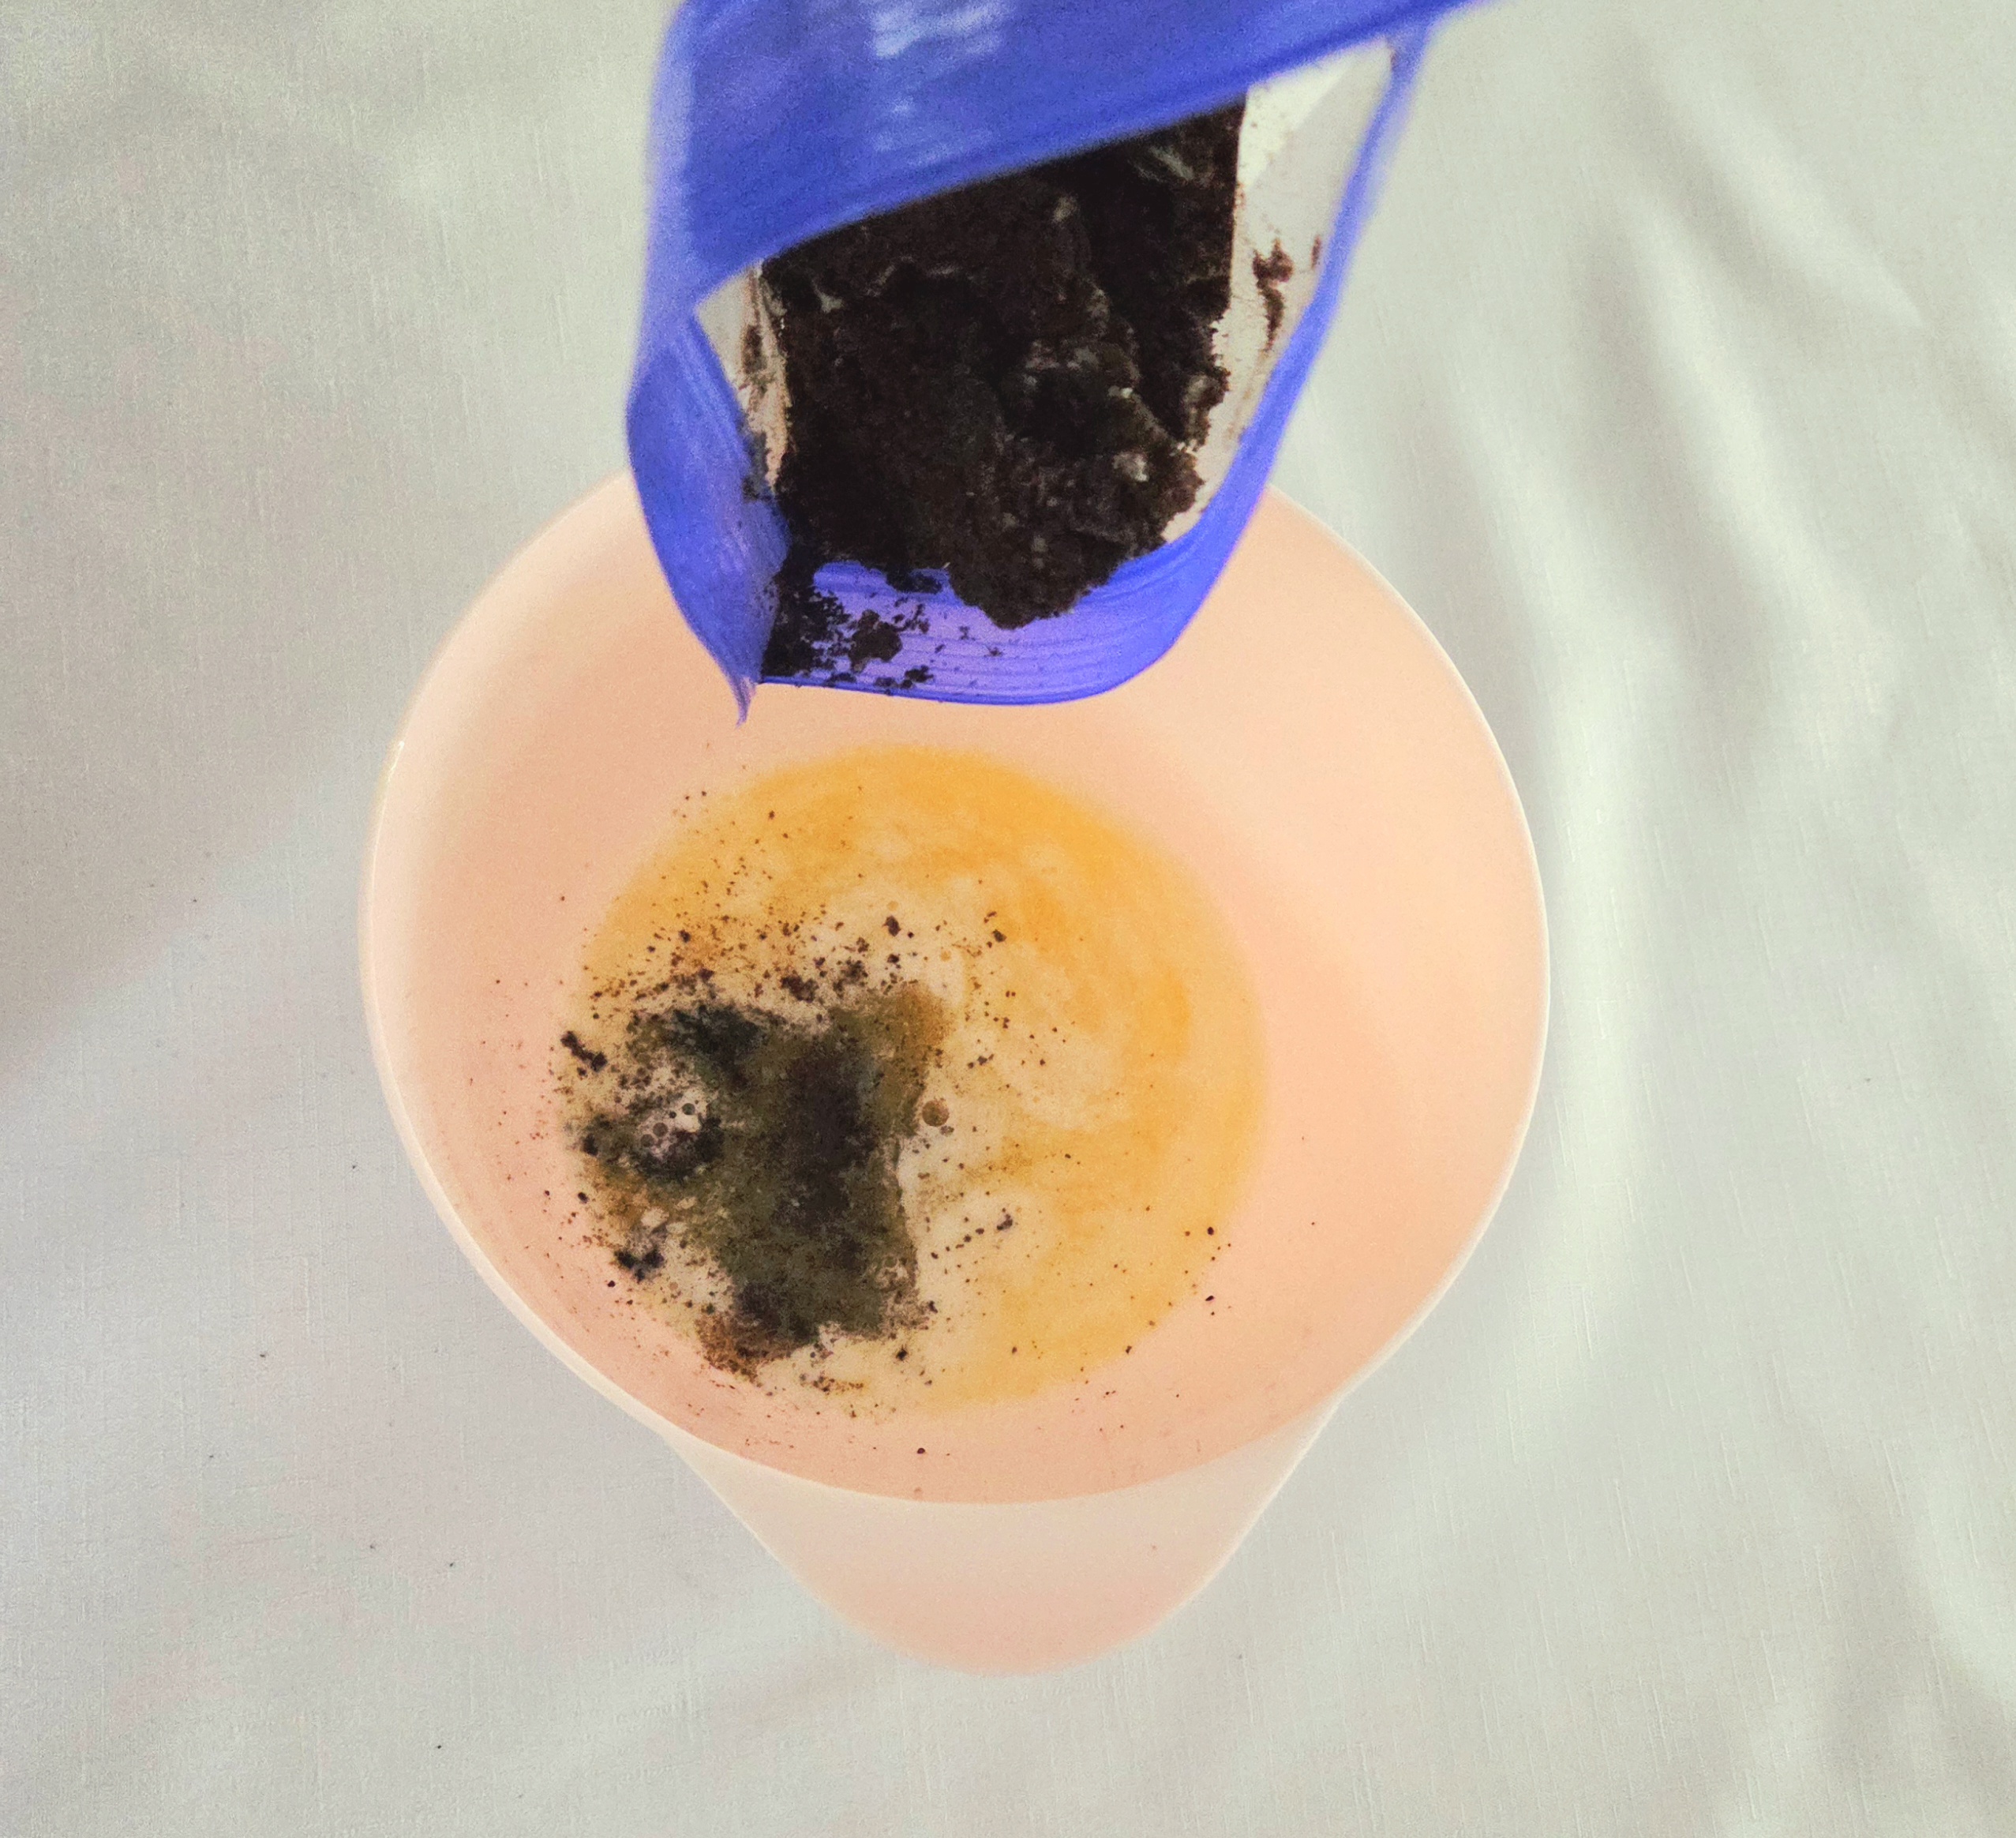
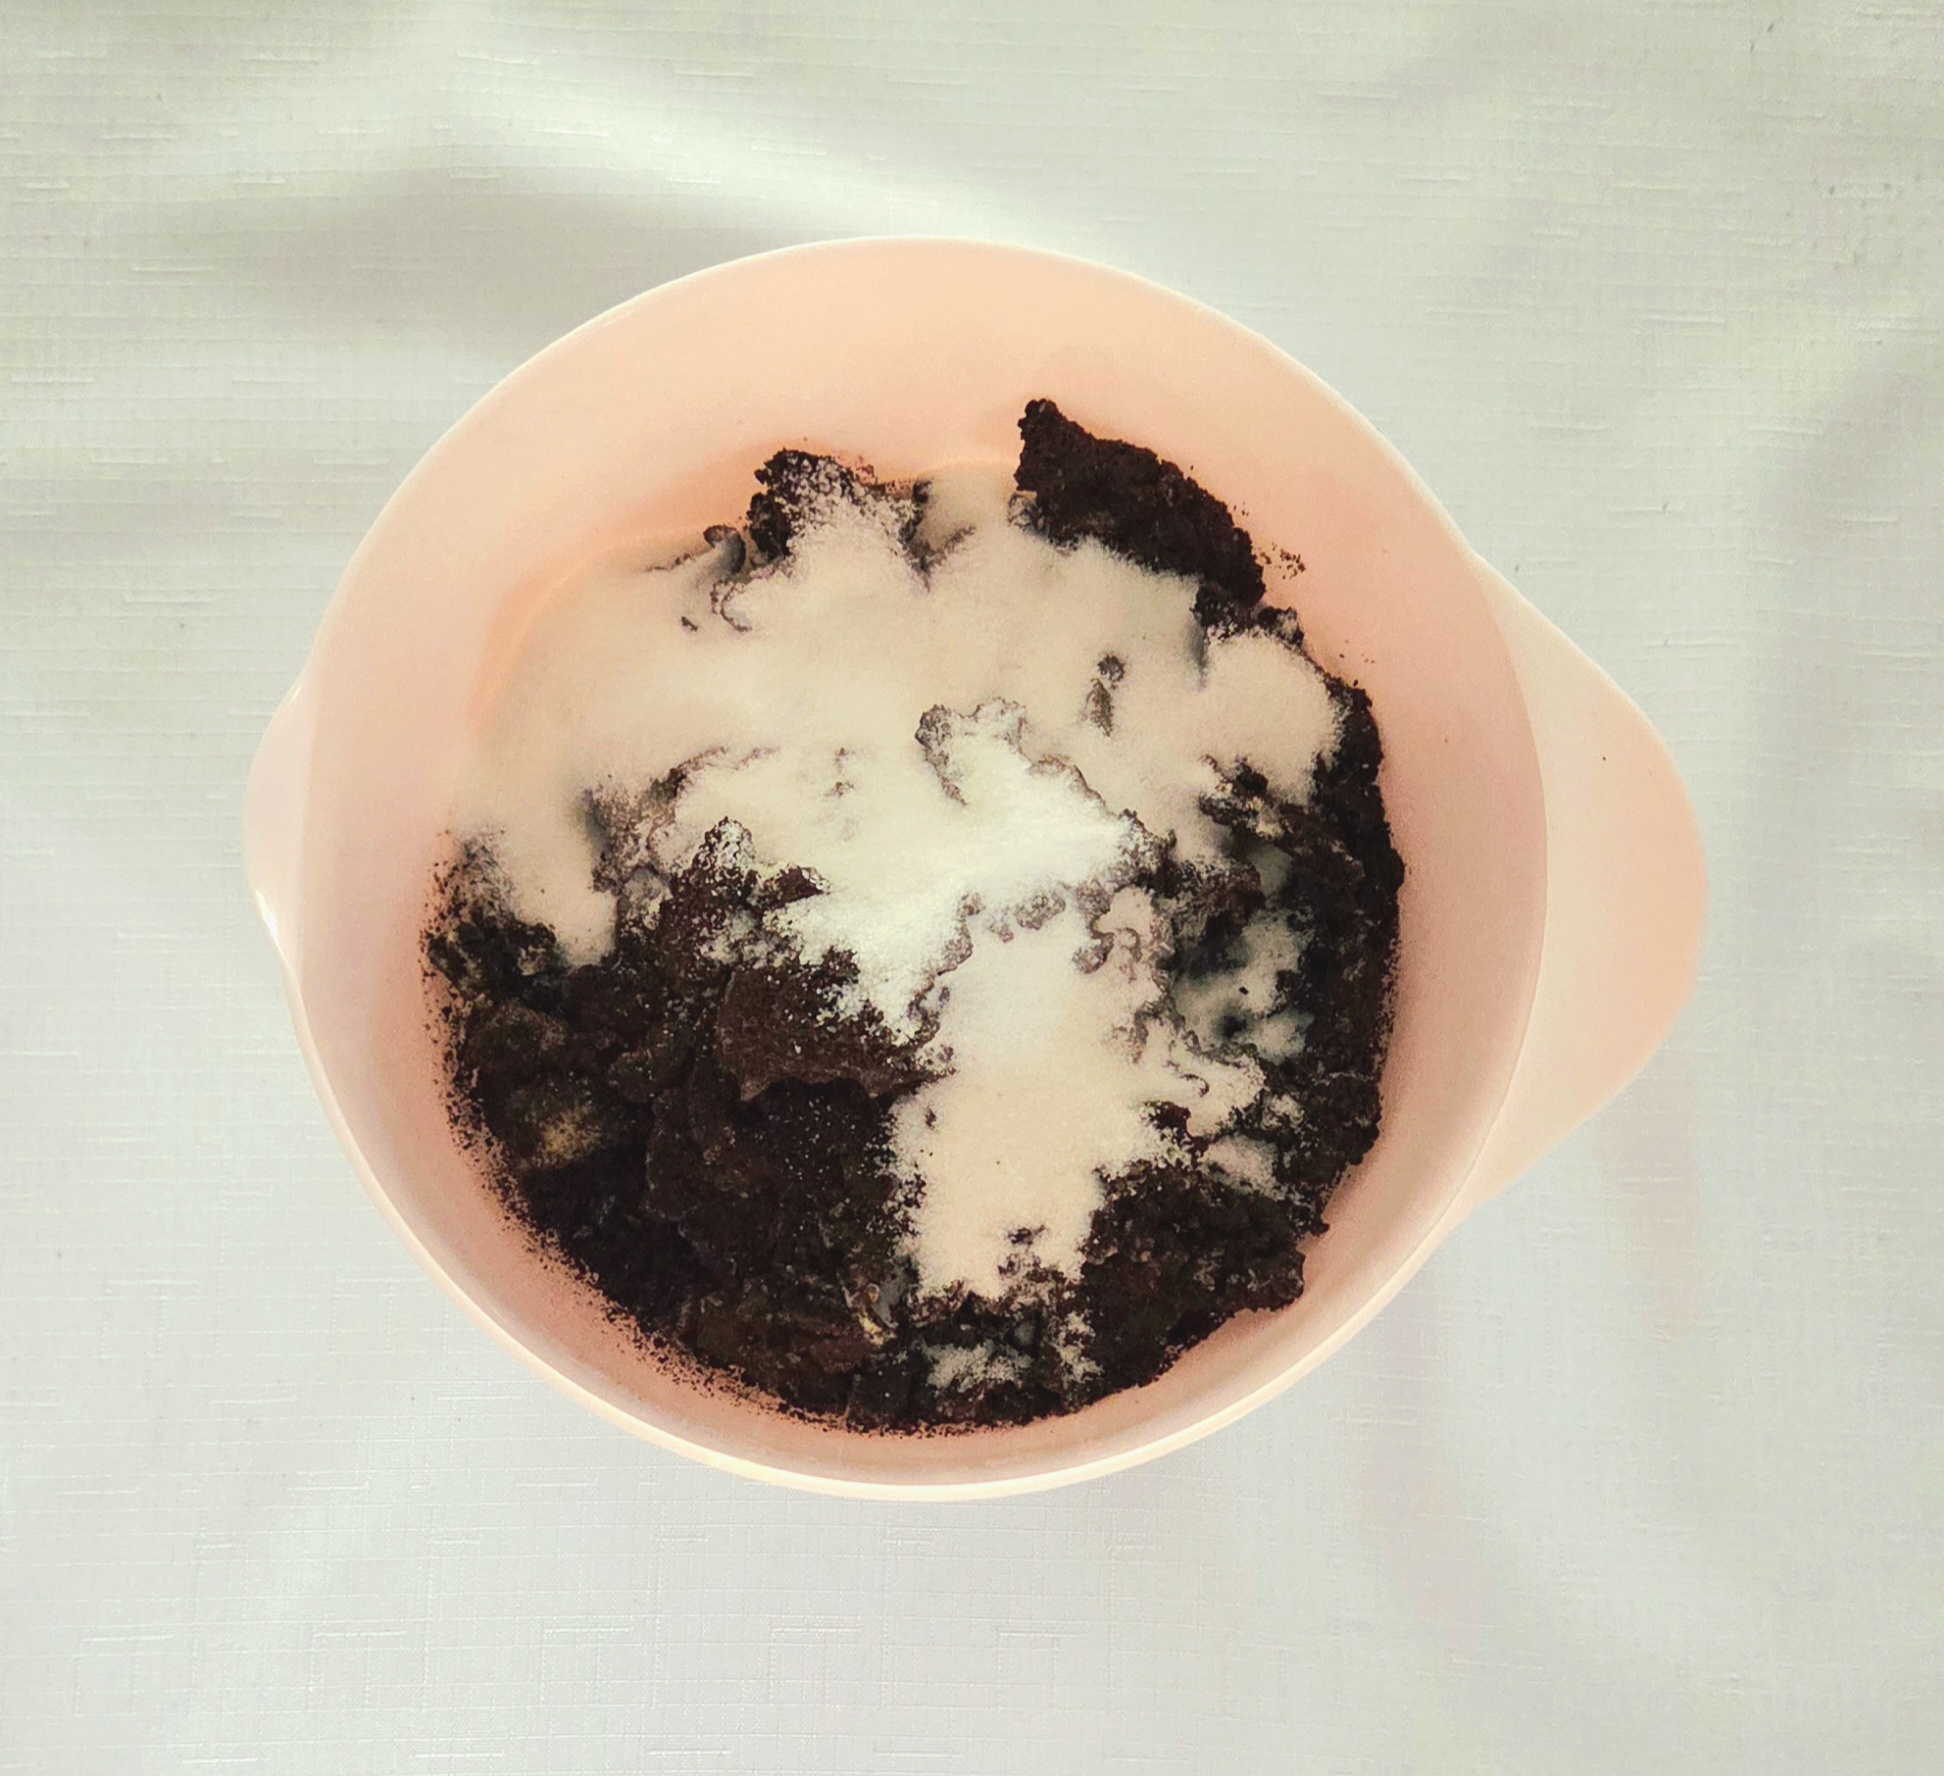
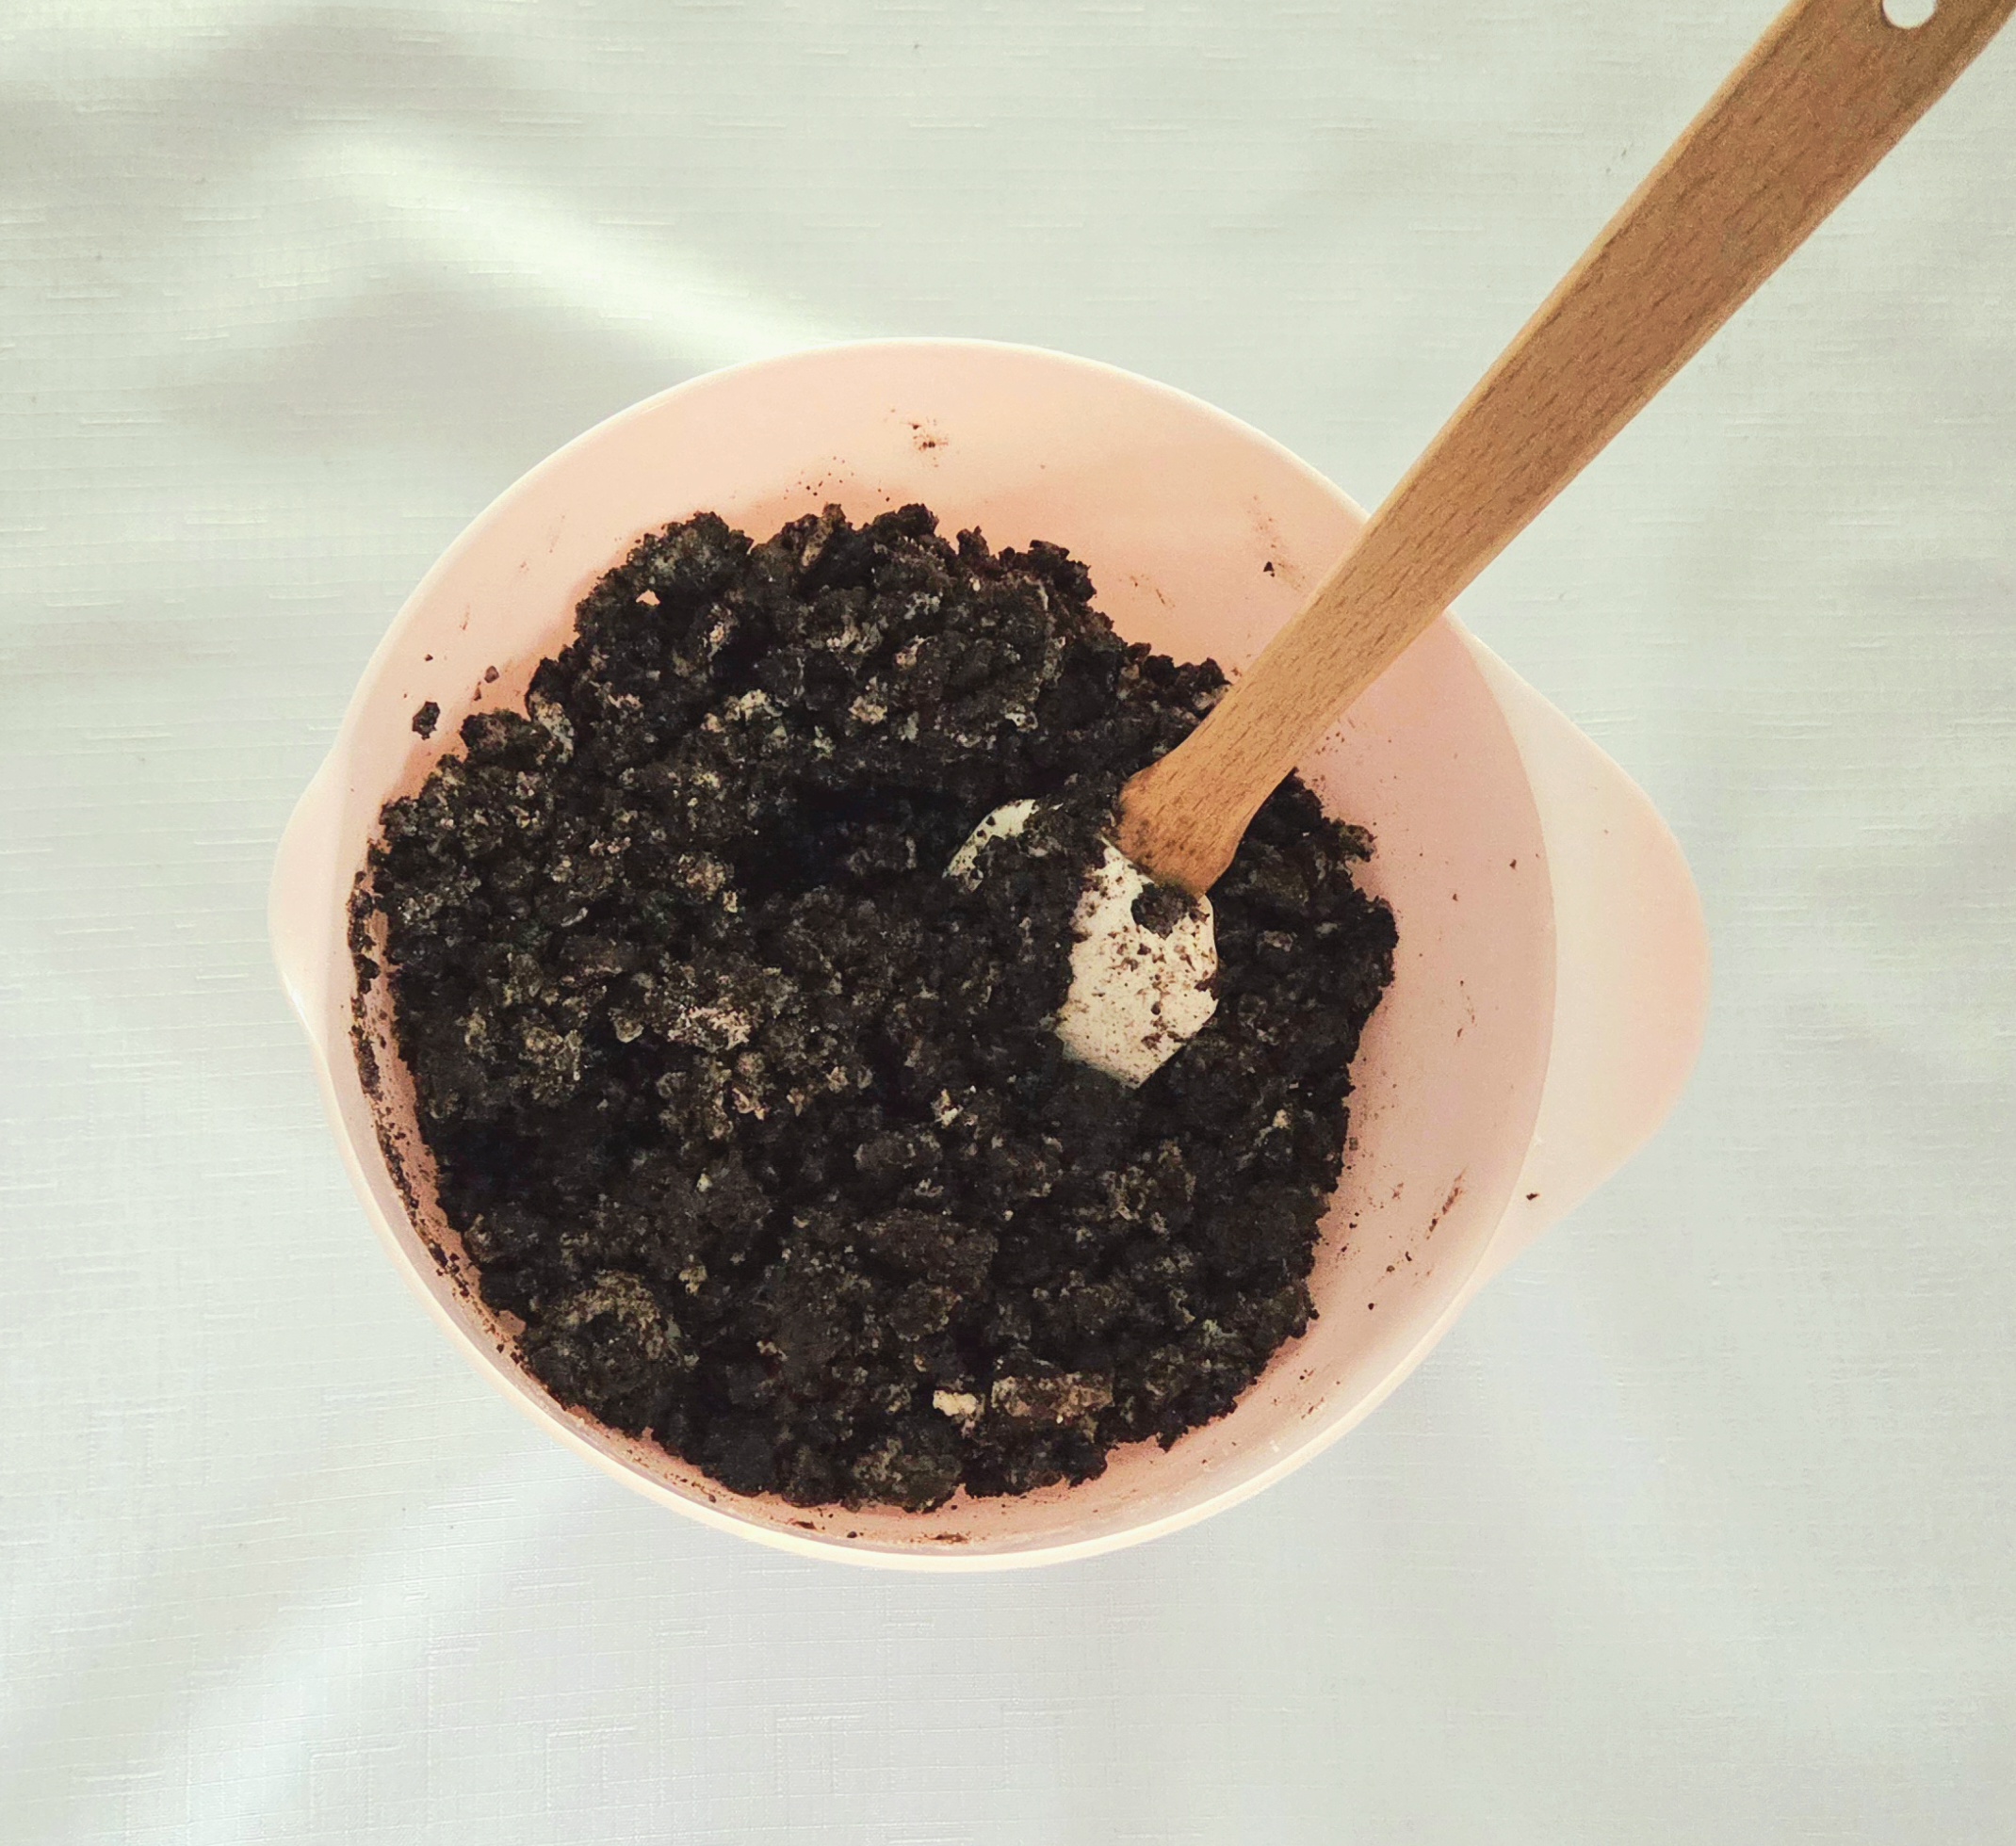
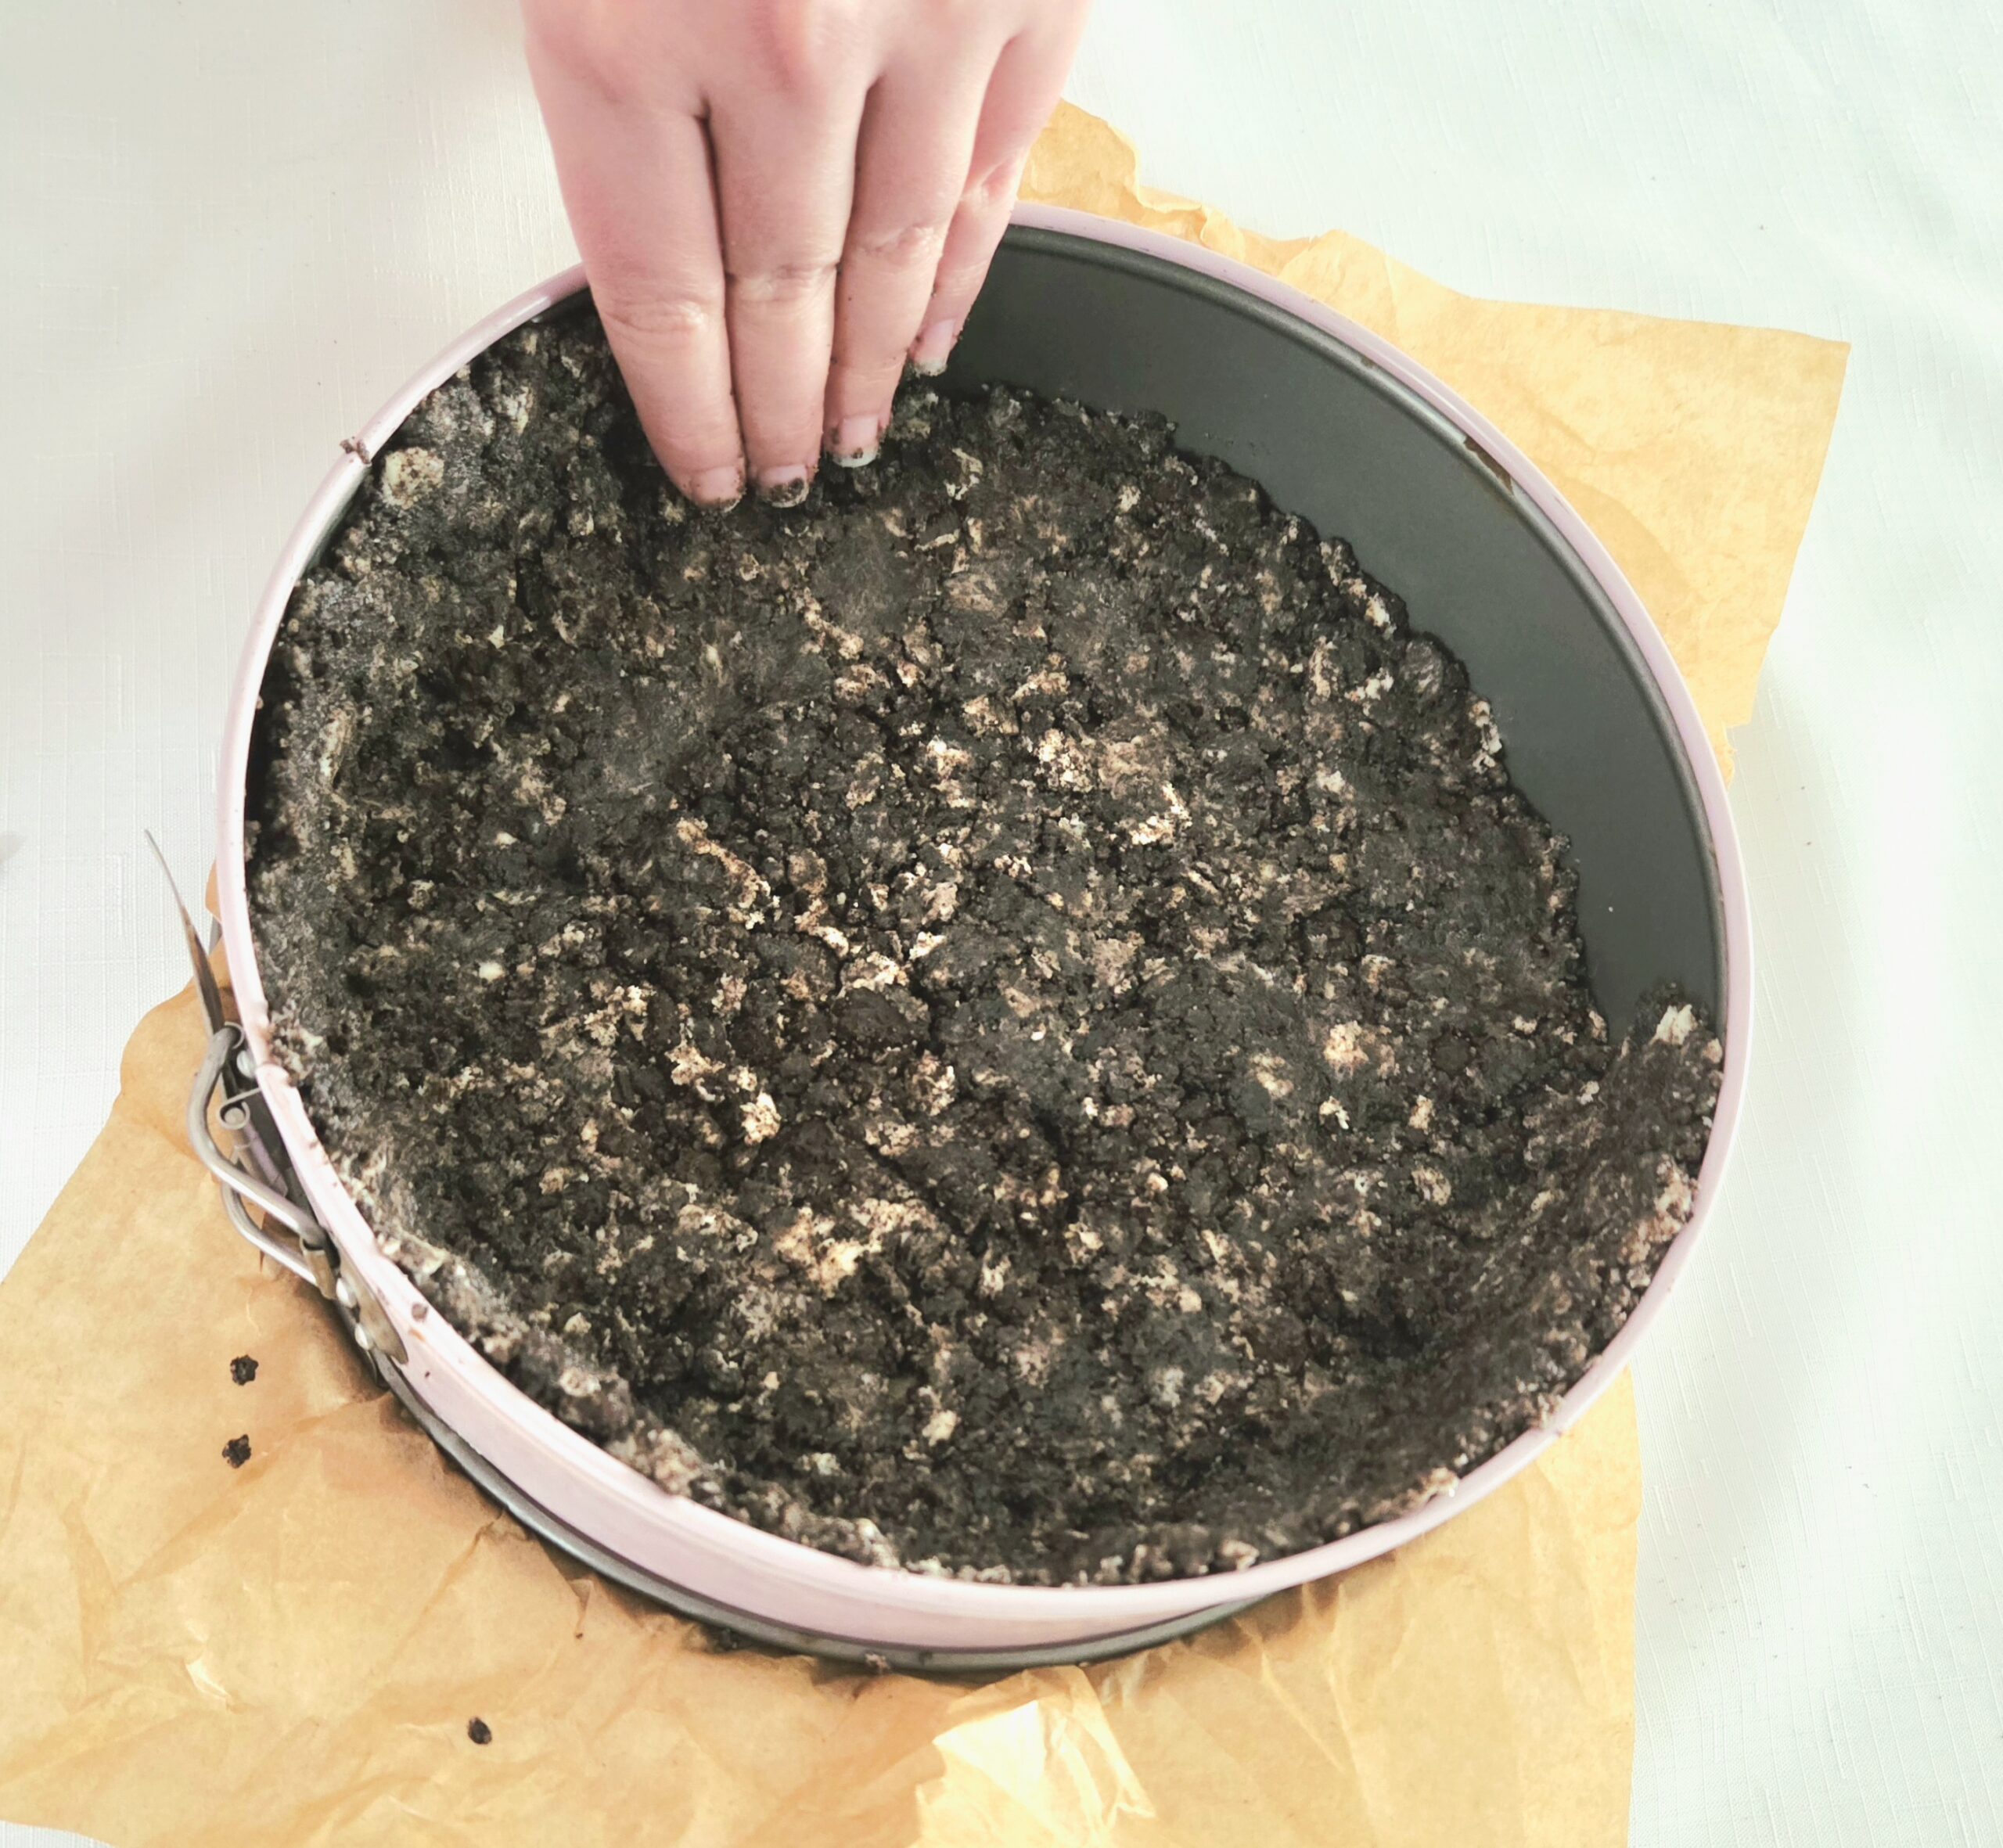
Begin lining the springform pan with the crust. Dump about ½ of the mixture into the pan. Spread it out, then take a flat bottomed glass and press it firmly onto the bottom and into the crevices of the pan.
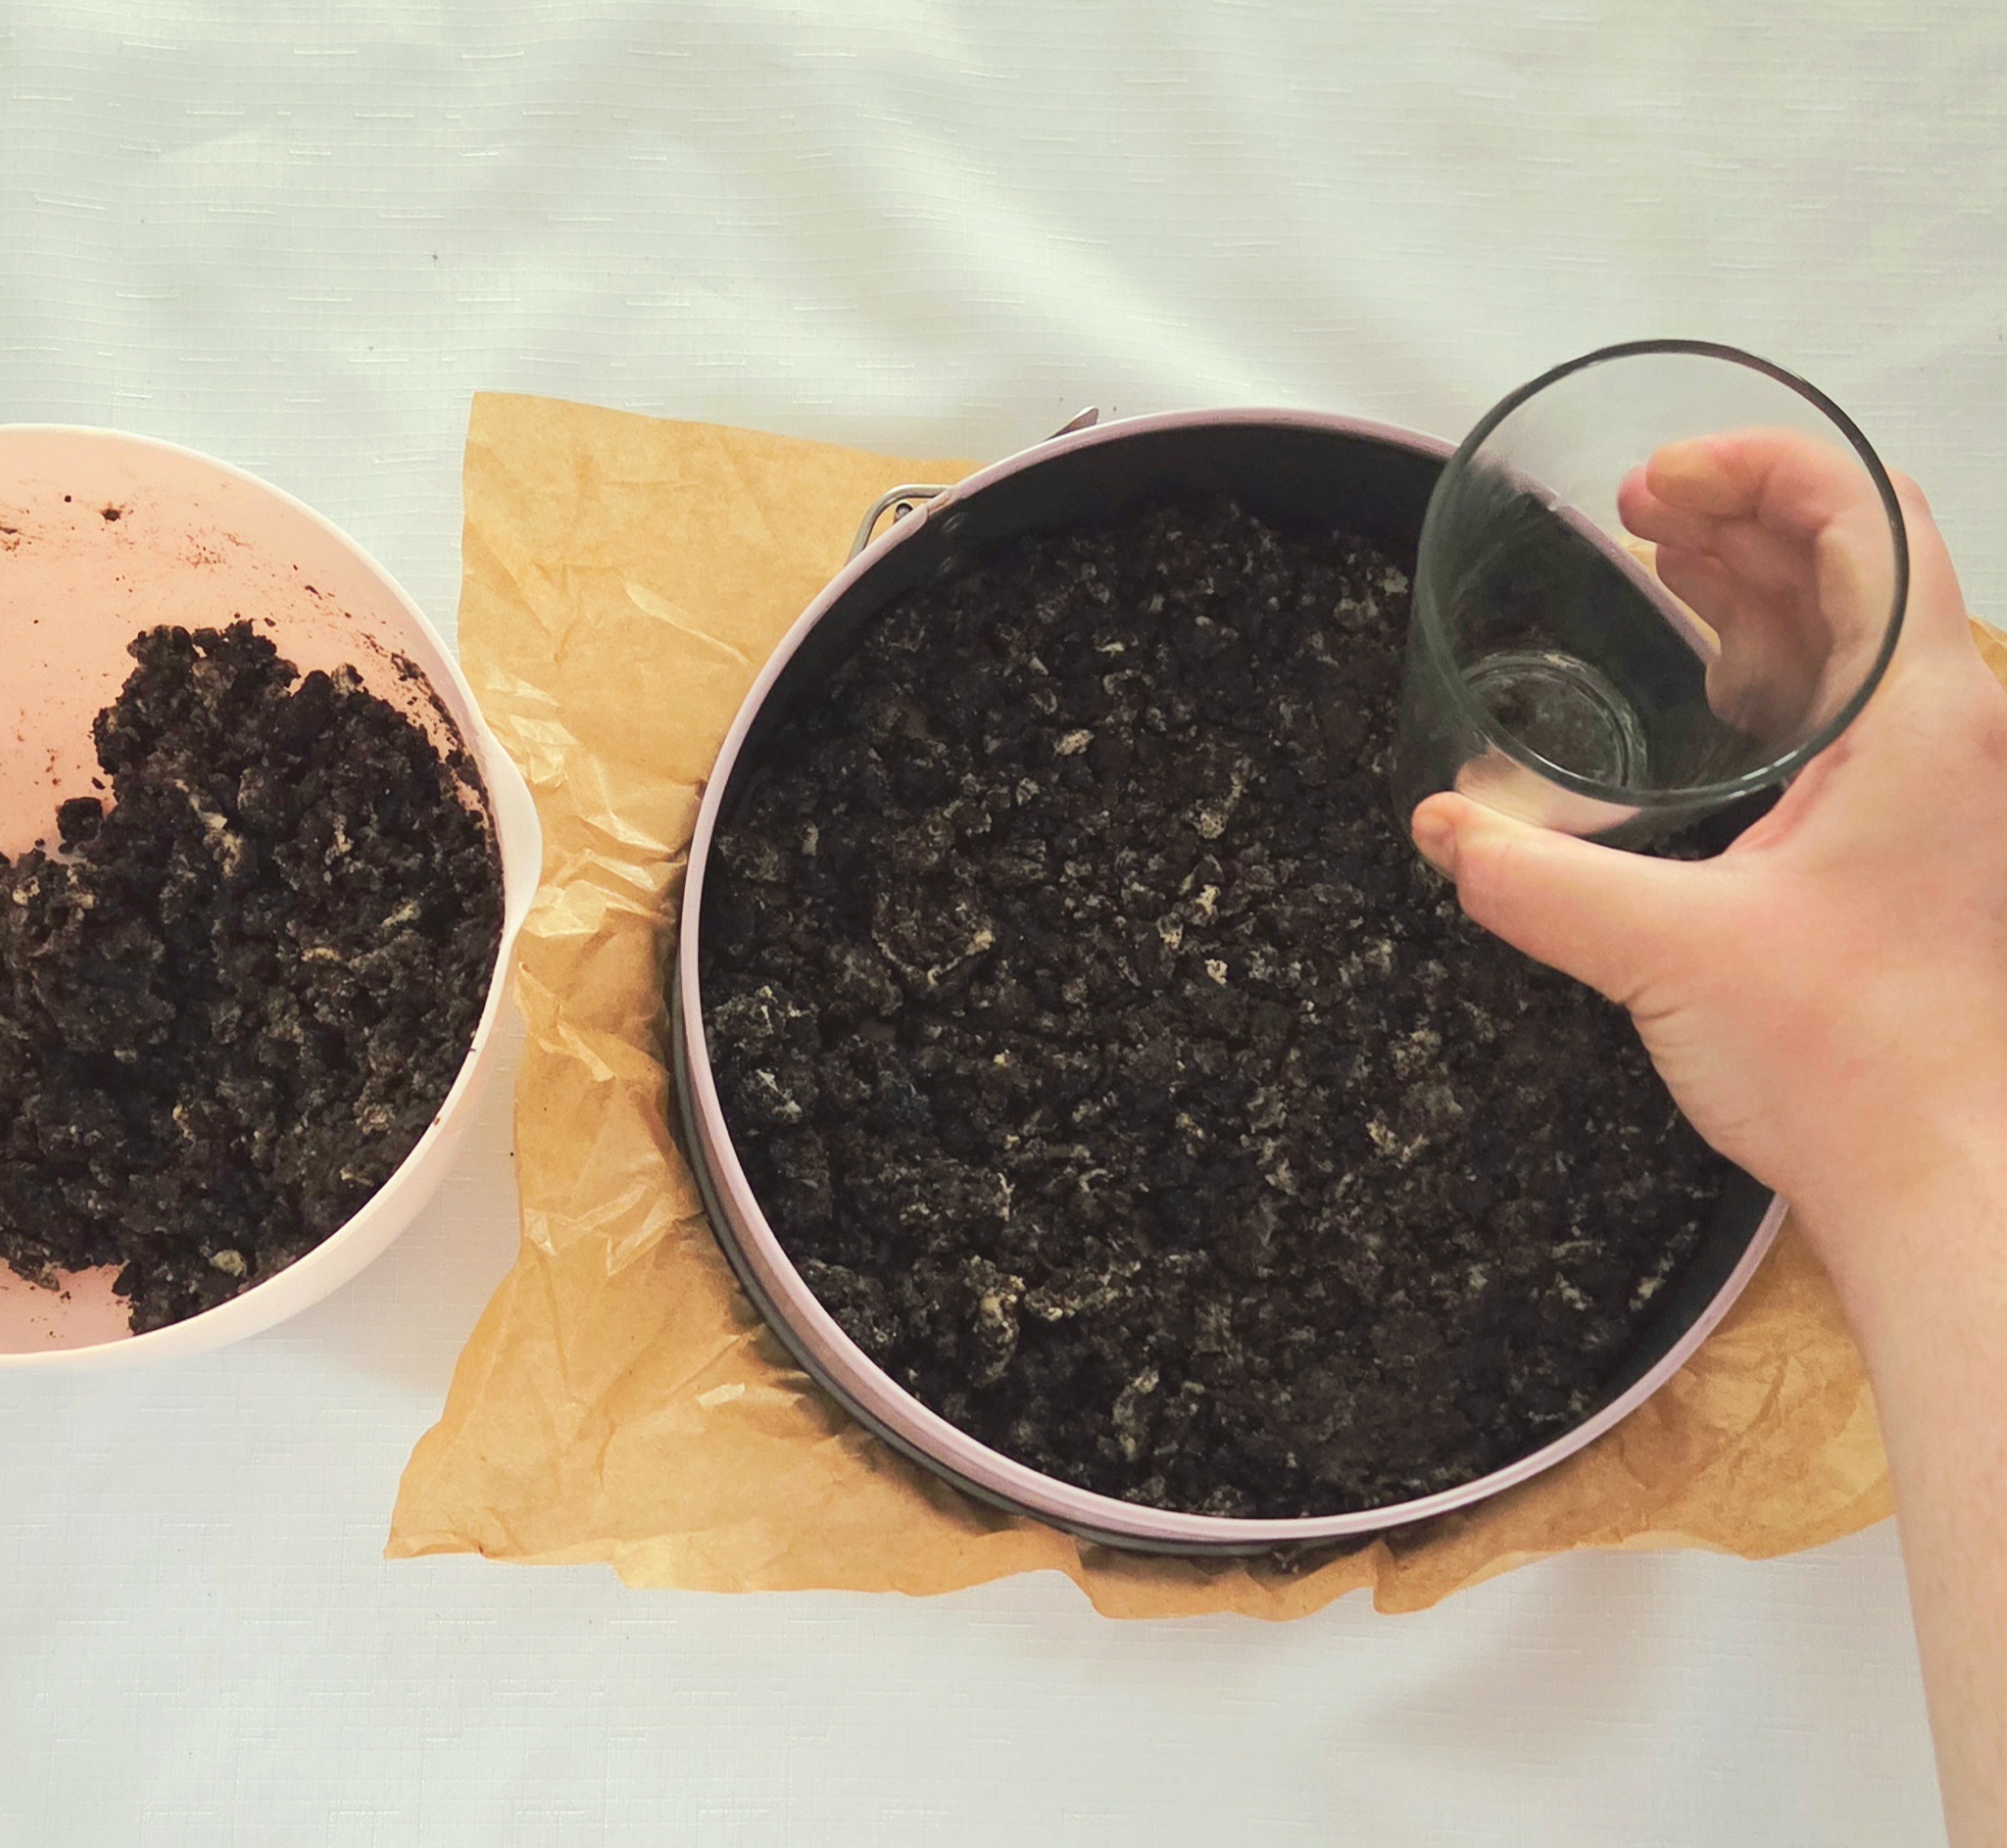
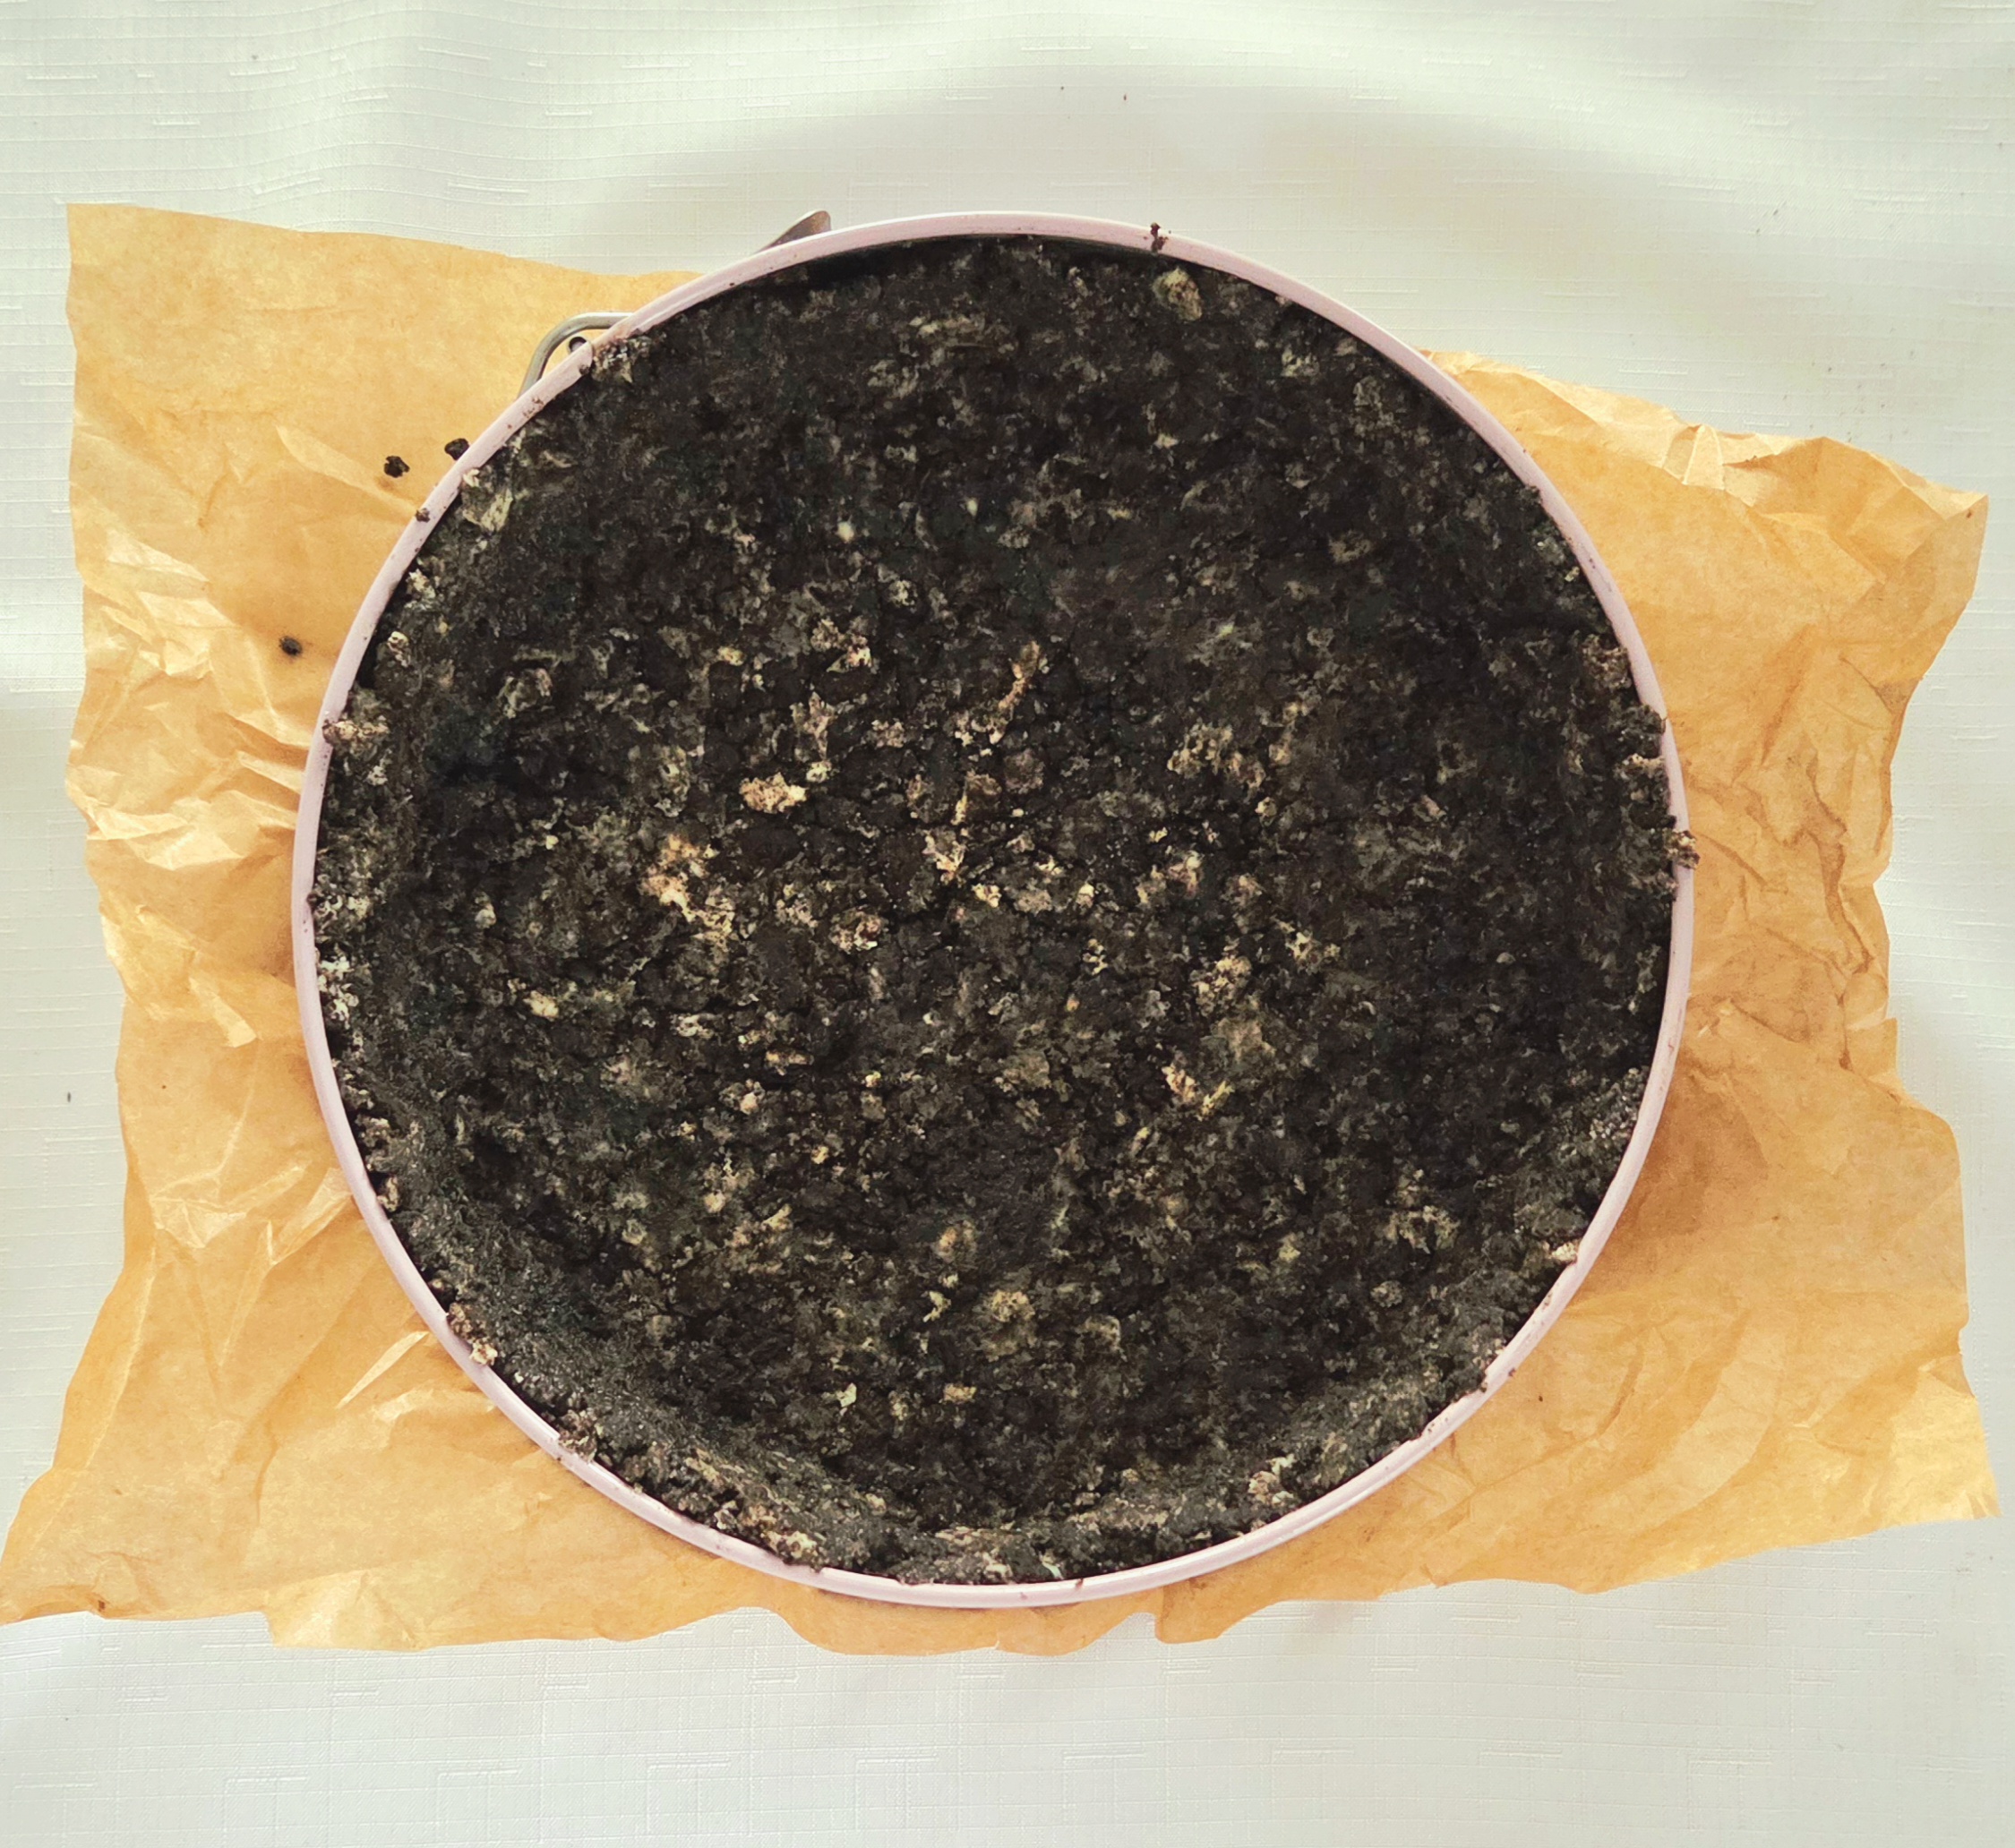
Add the rest of the mixture into the pan and press it firmly up the sides of the pan using your hands. Transfer the crust lined pan over to the fridge to set while you move on to the filling.
Prepare the Filling
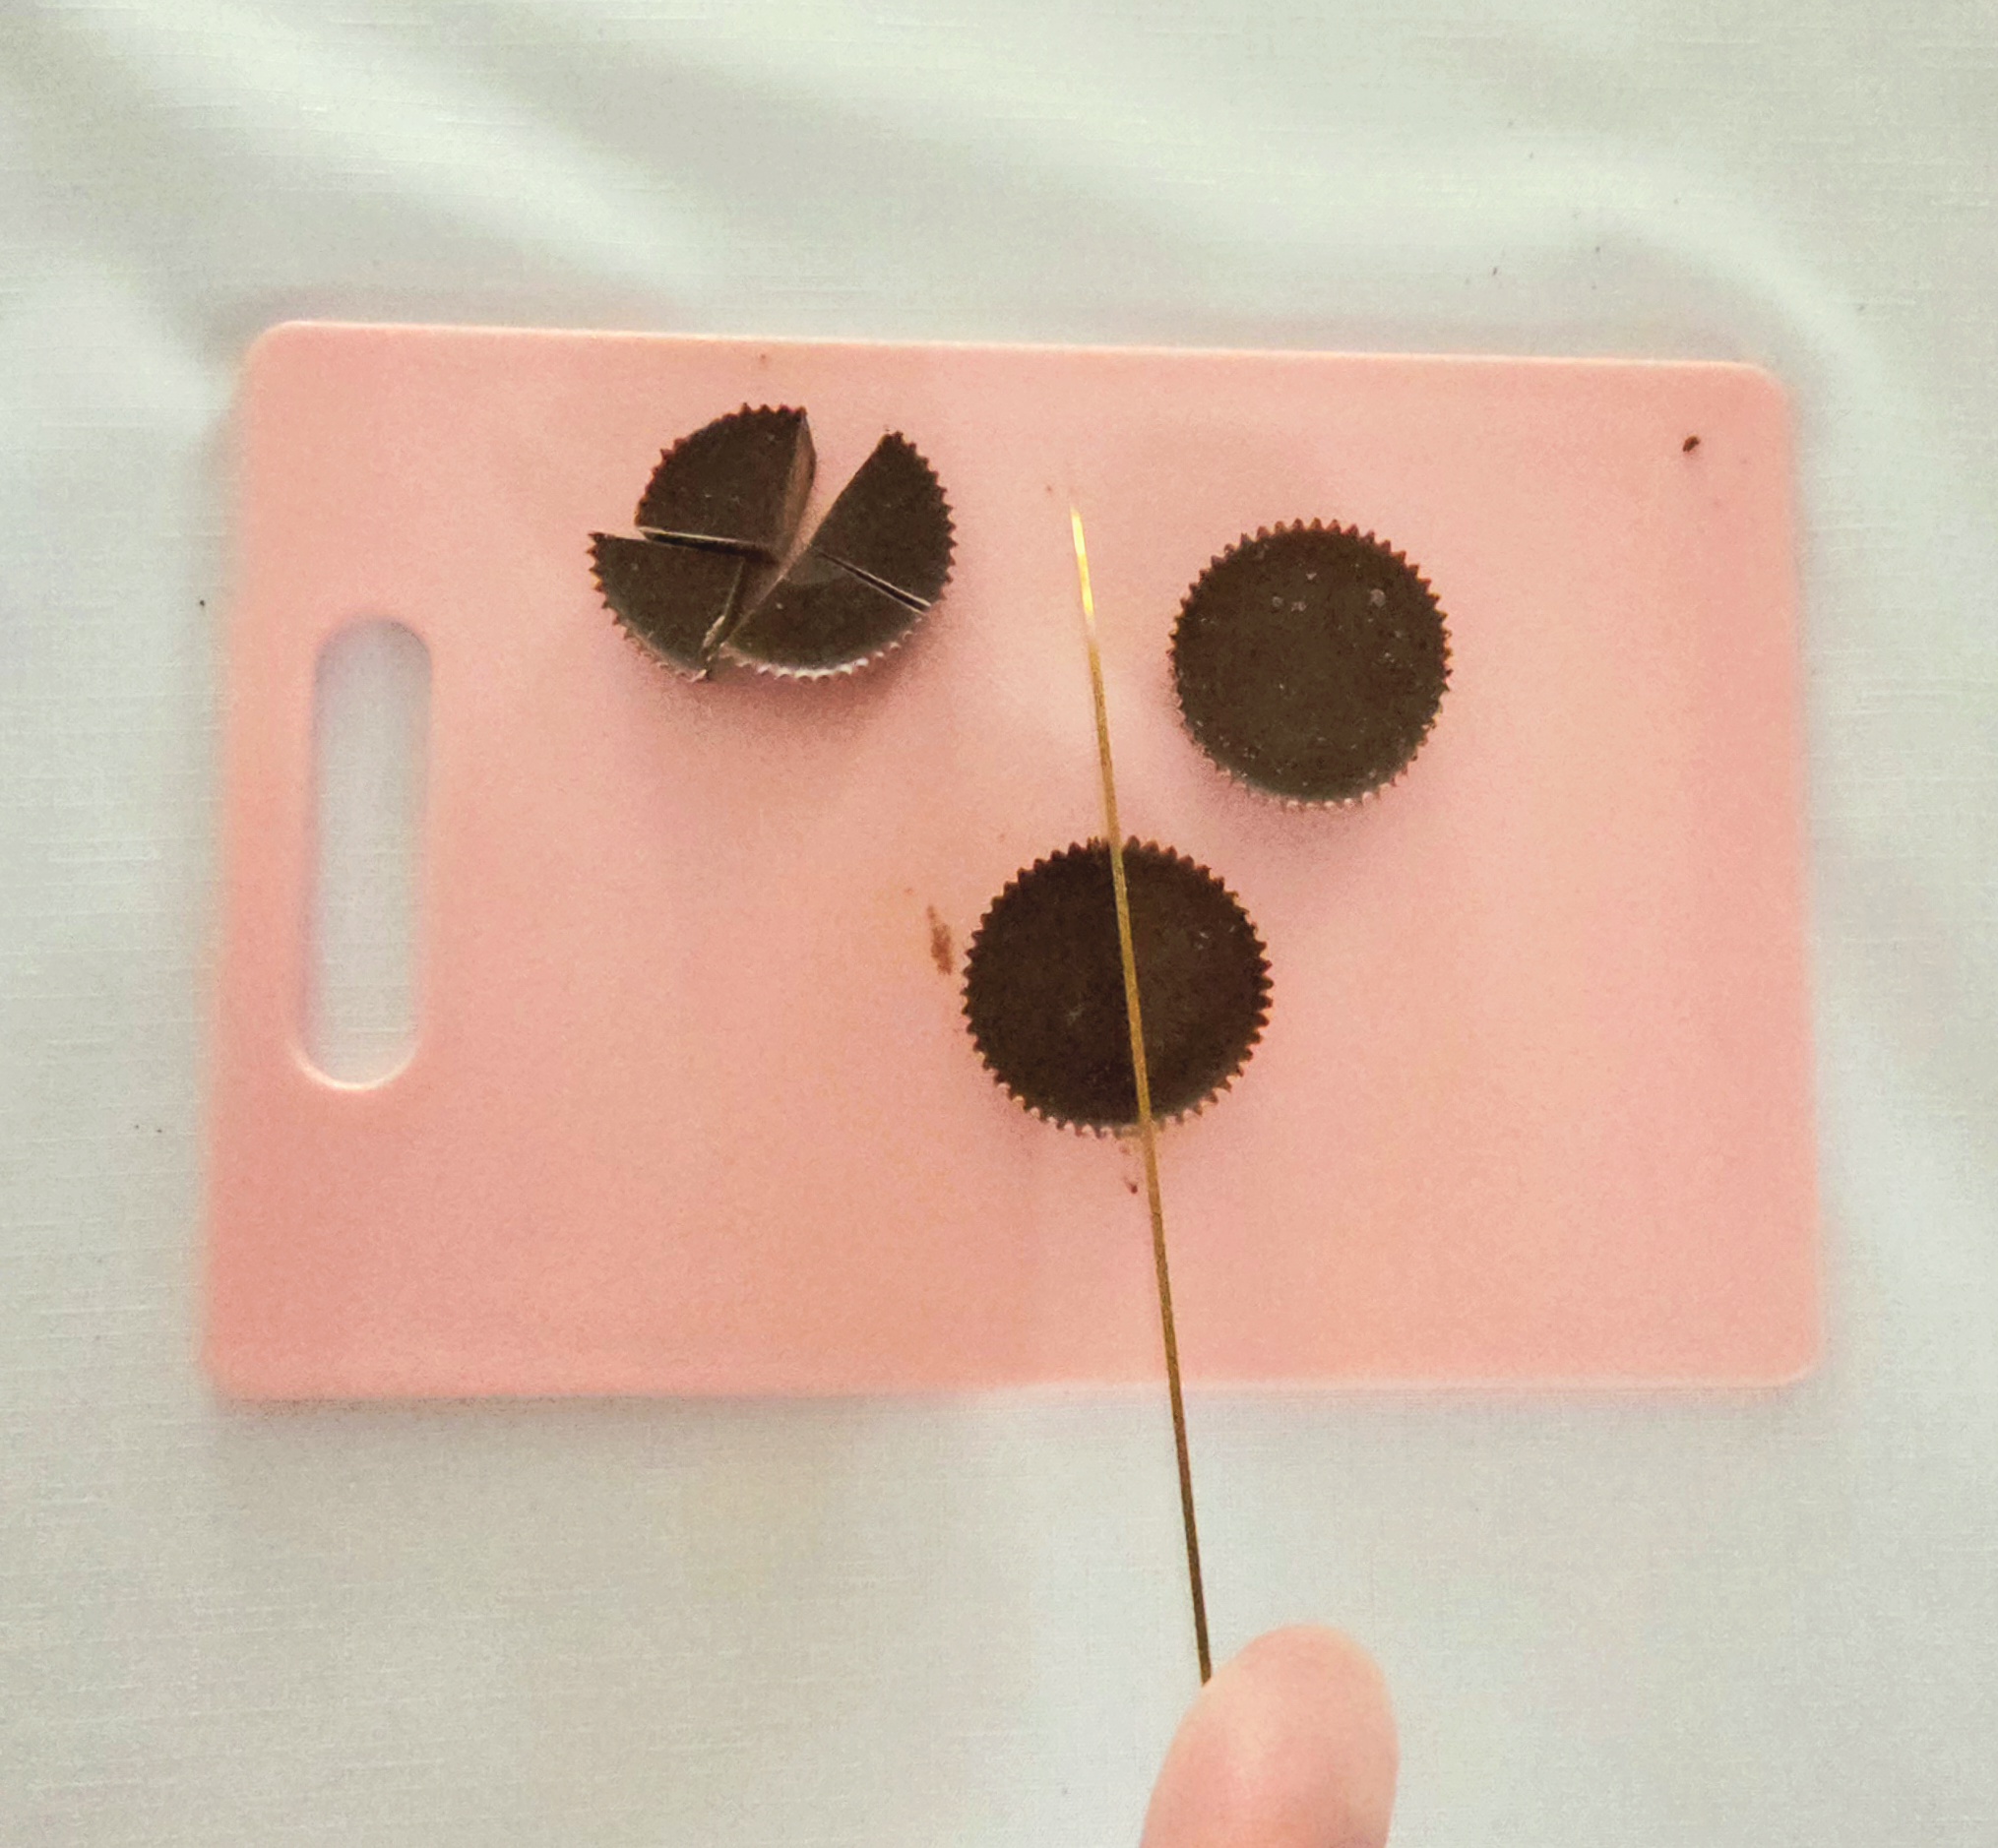
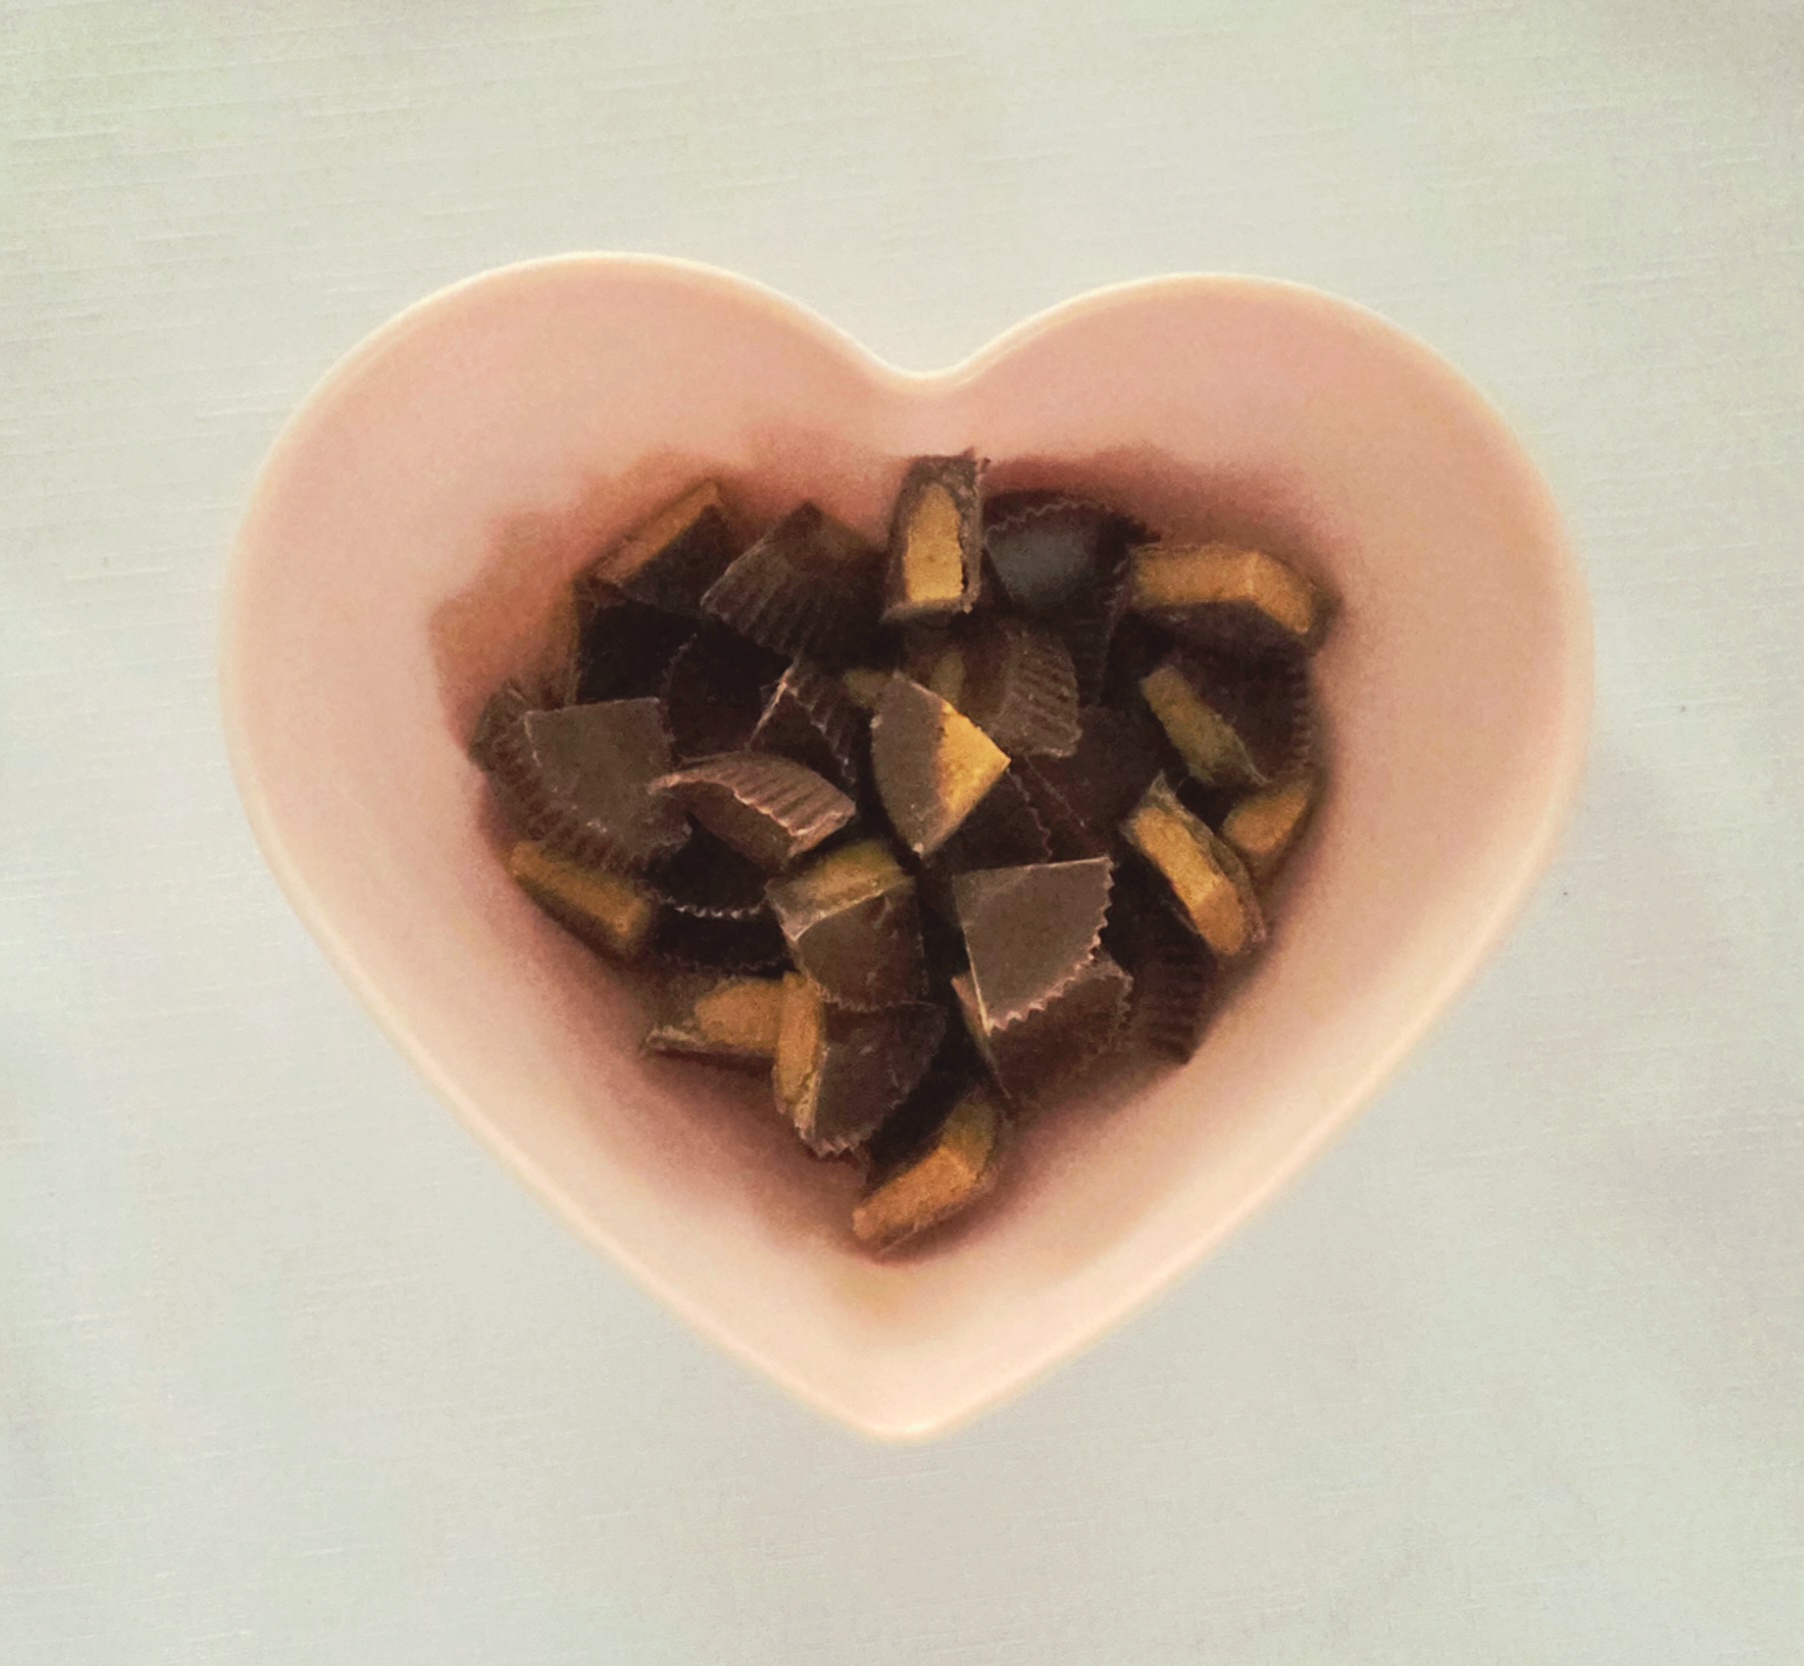
Chop the peanut butter cups so they’re ready to go when the filling is ready for them. I prefer to use Reeses cups, which I quarter, but you’re welcome to use whichever your favorite brand of peanut butter cups are.
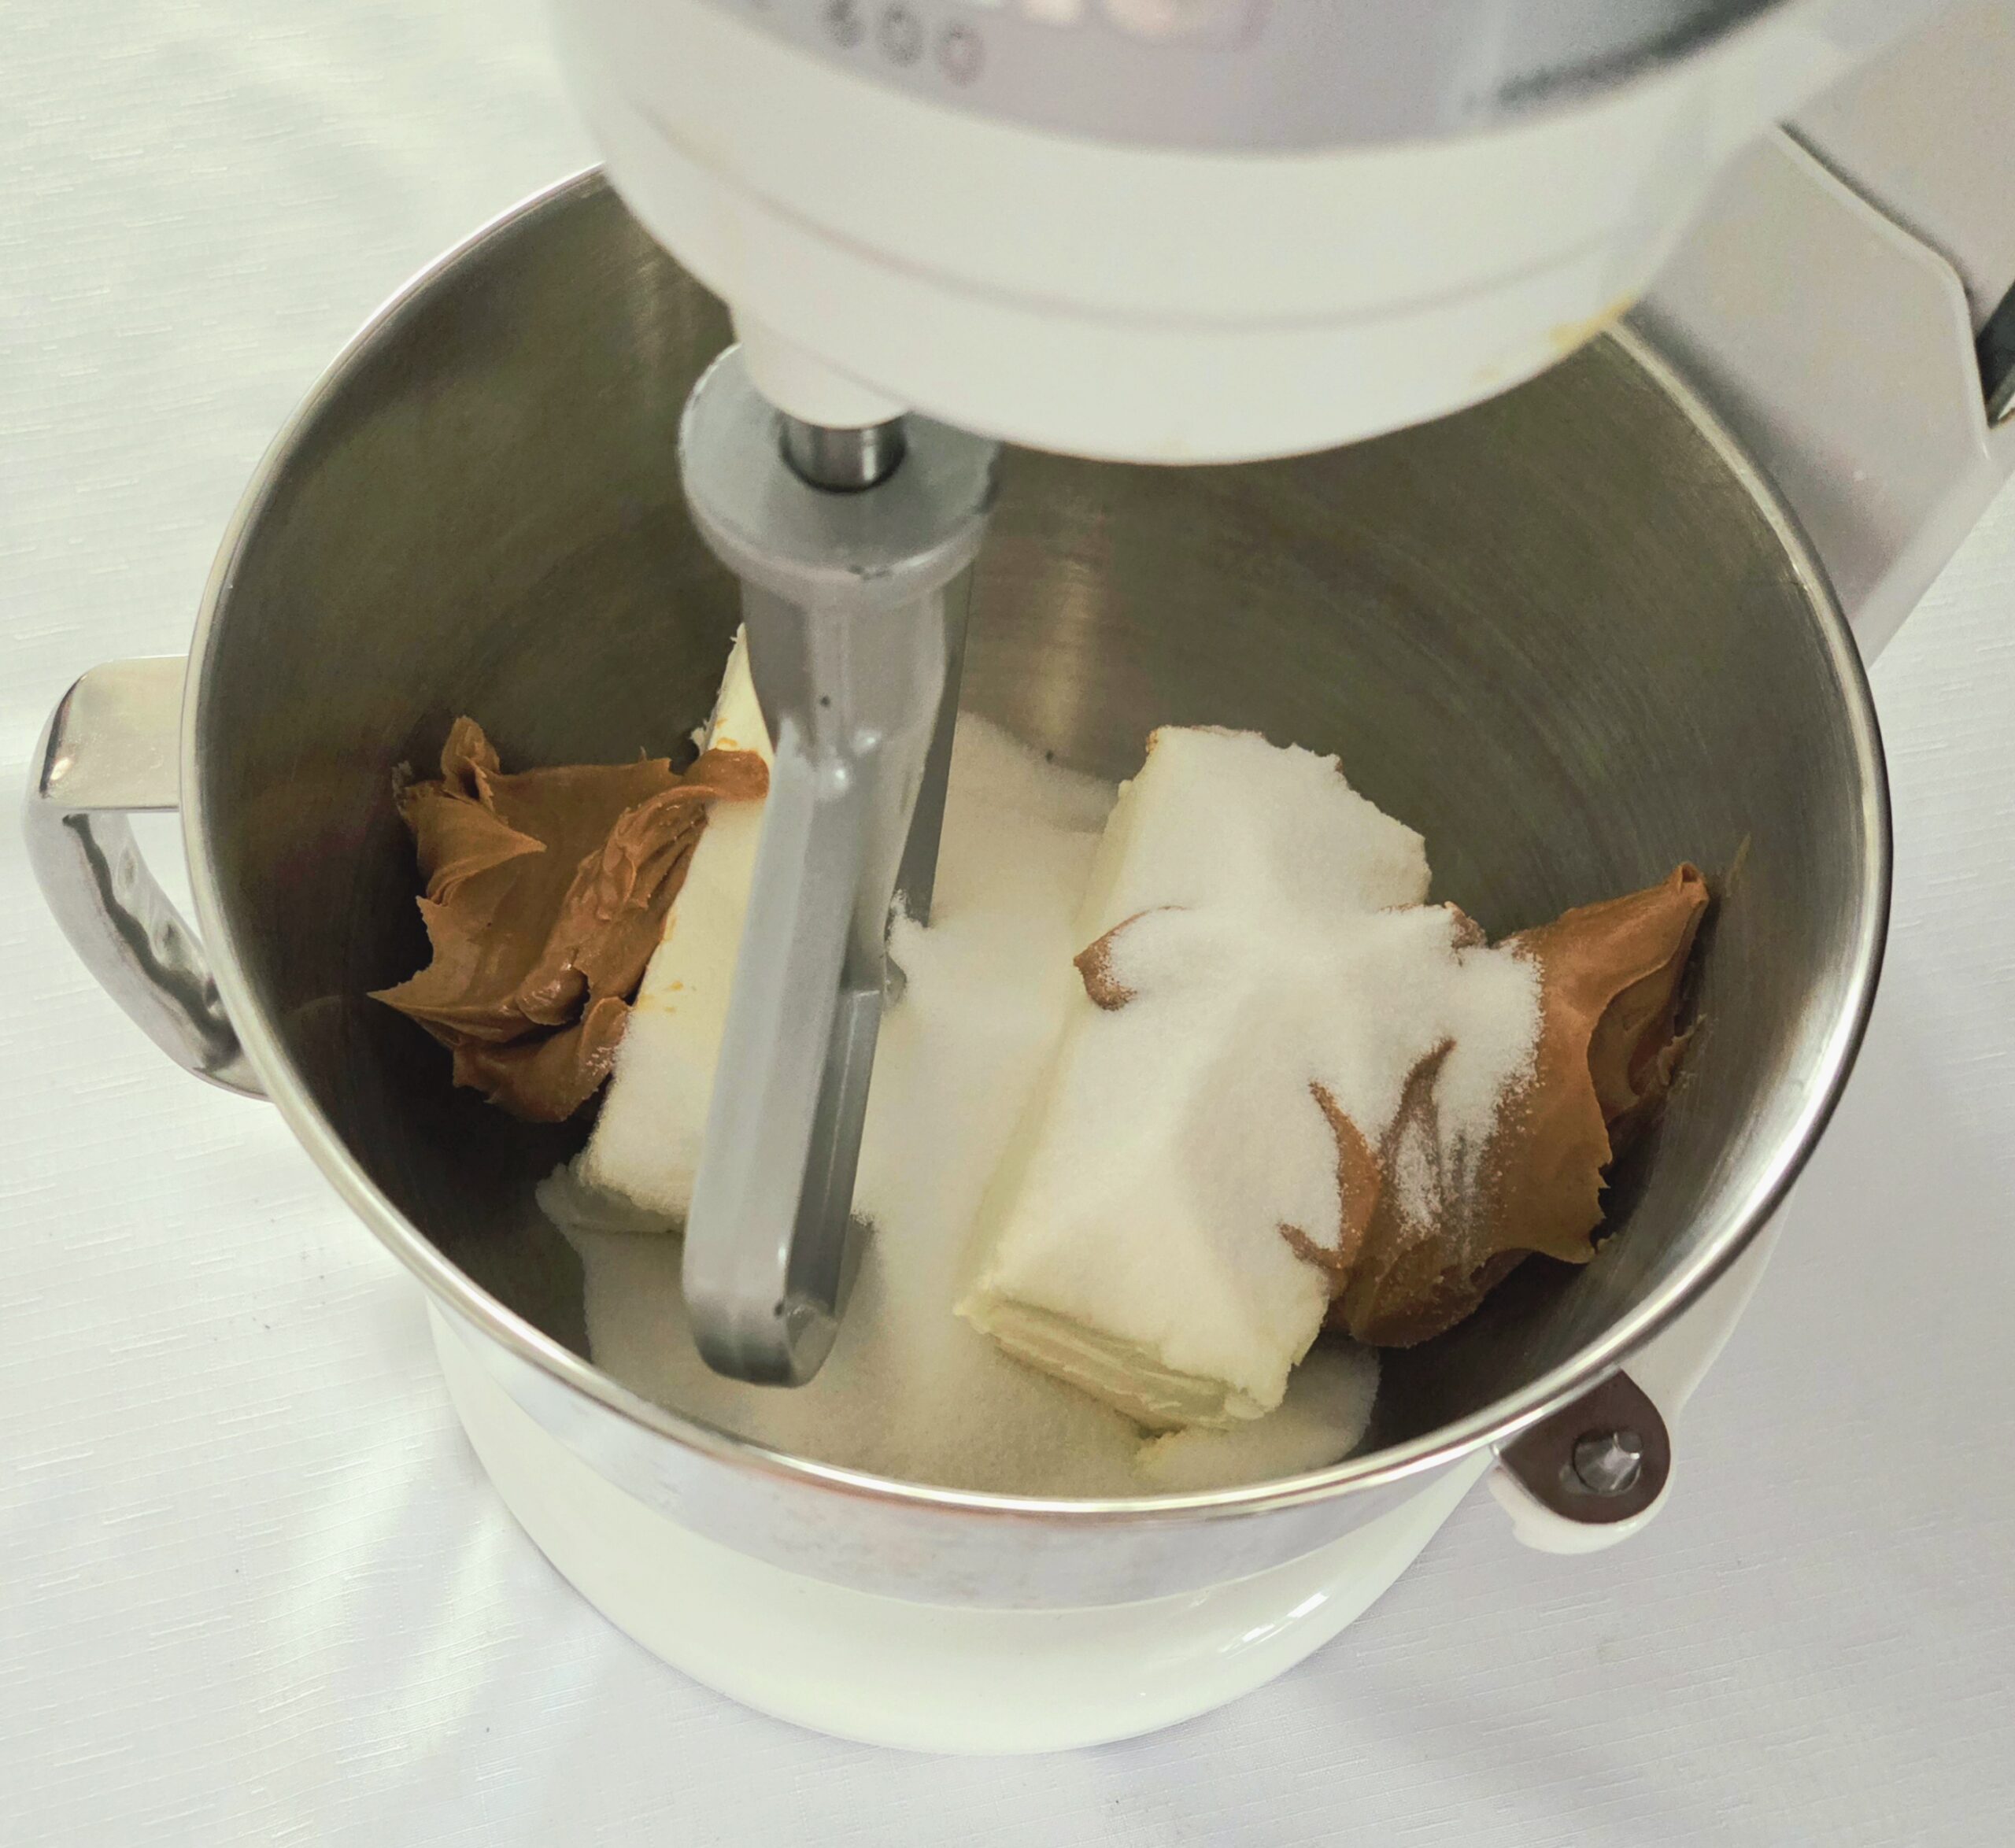
In a stand mixer fitted with the paddle attachment, cream together the cream cheese, peanut butter, and sugar on level 3 for 5 minutes or so. The sugar granules will help smooth out the cream cheese nicely. Using a rubber spatula, scrape down the sides of the bowl.
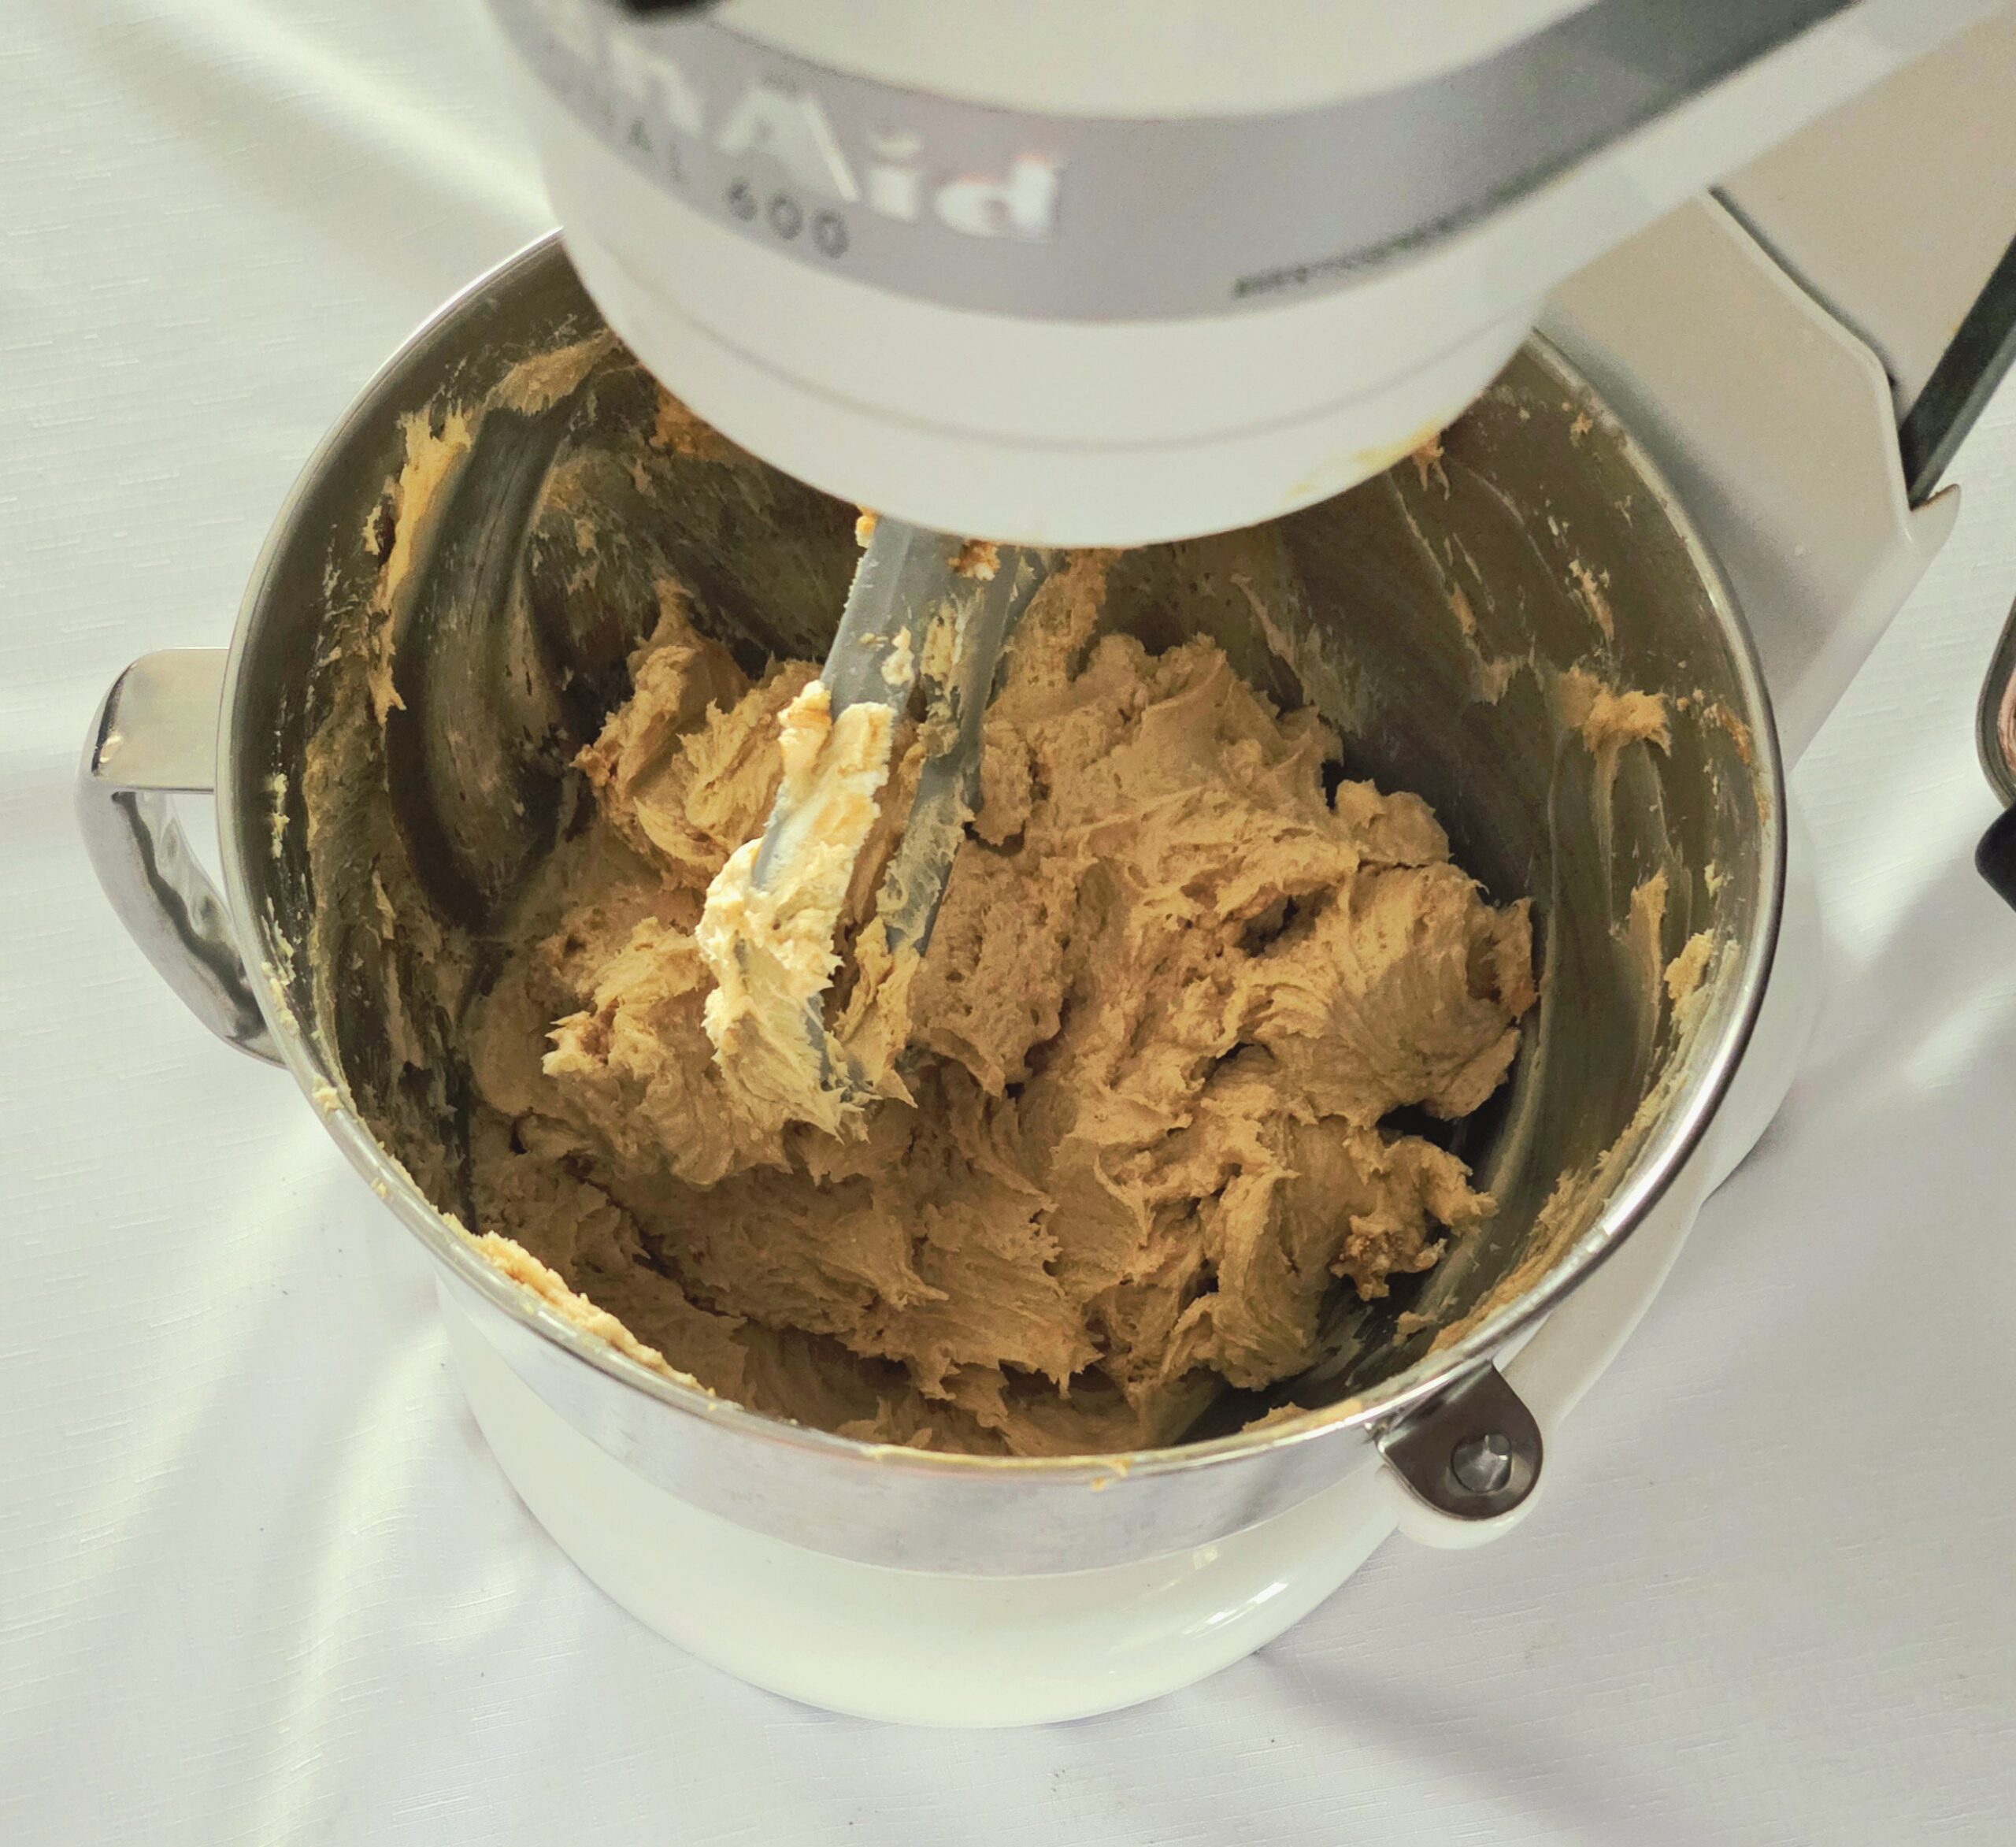
Onto the eggs. One at a time, crack in an egg and beat the mixture on level 3 for a minute or so. The first egg needs to fully absorb into the filling before you add in the next, or you’ll have a lot of difficulty keeping the batter emulsified. Scrape down the sides of the bowl in between each egg, or as you see fit.
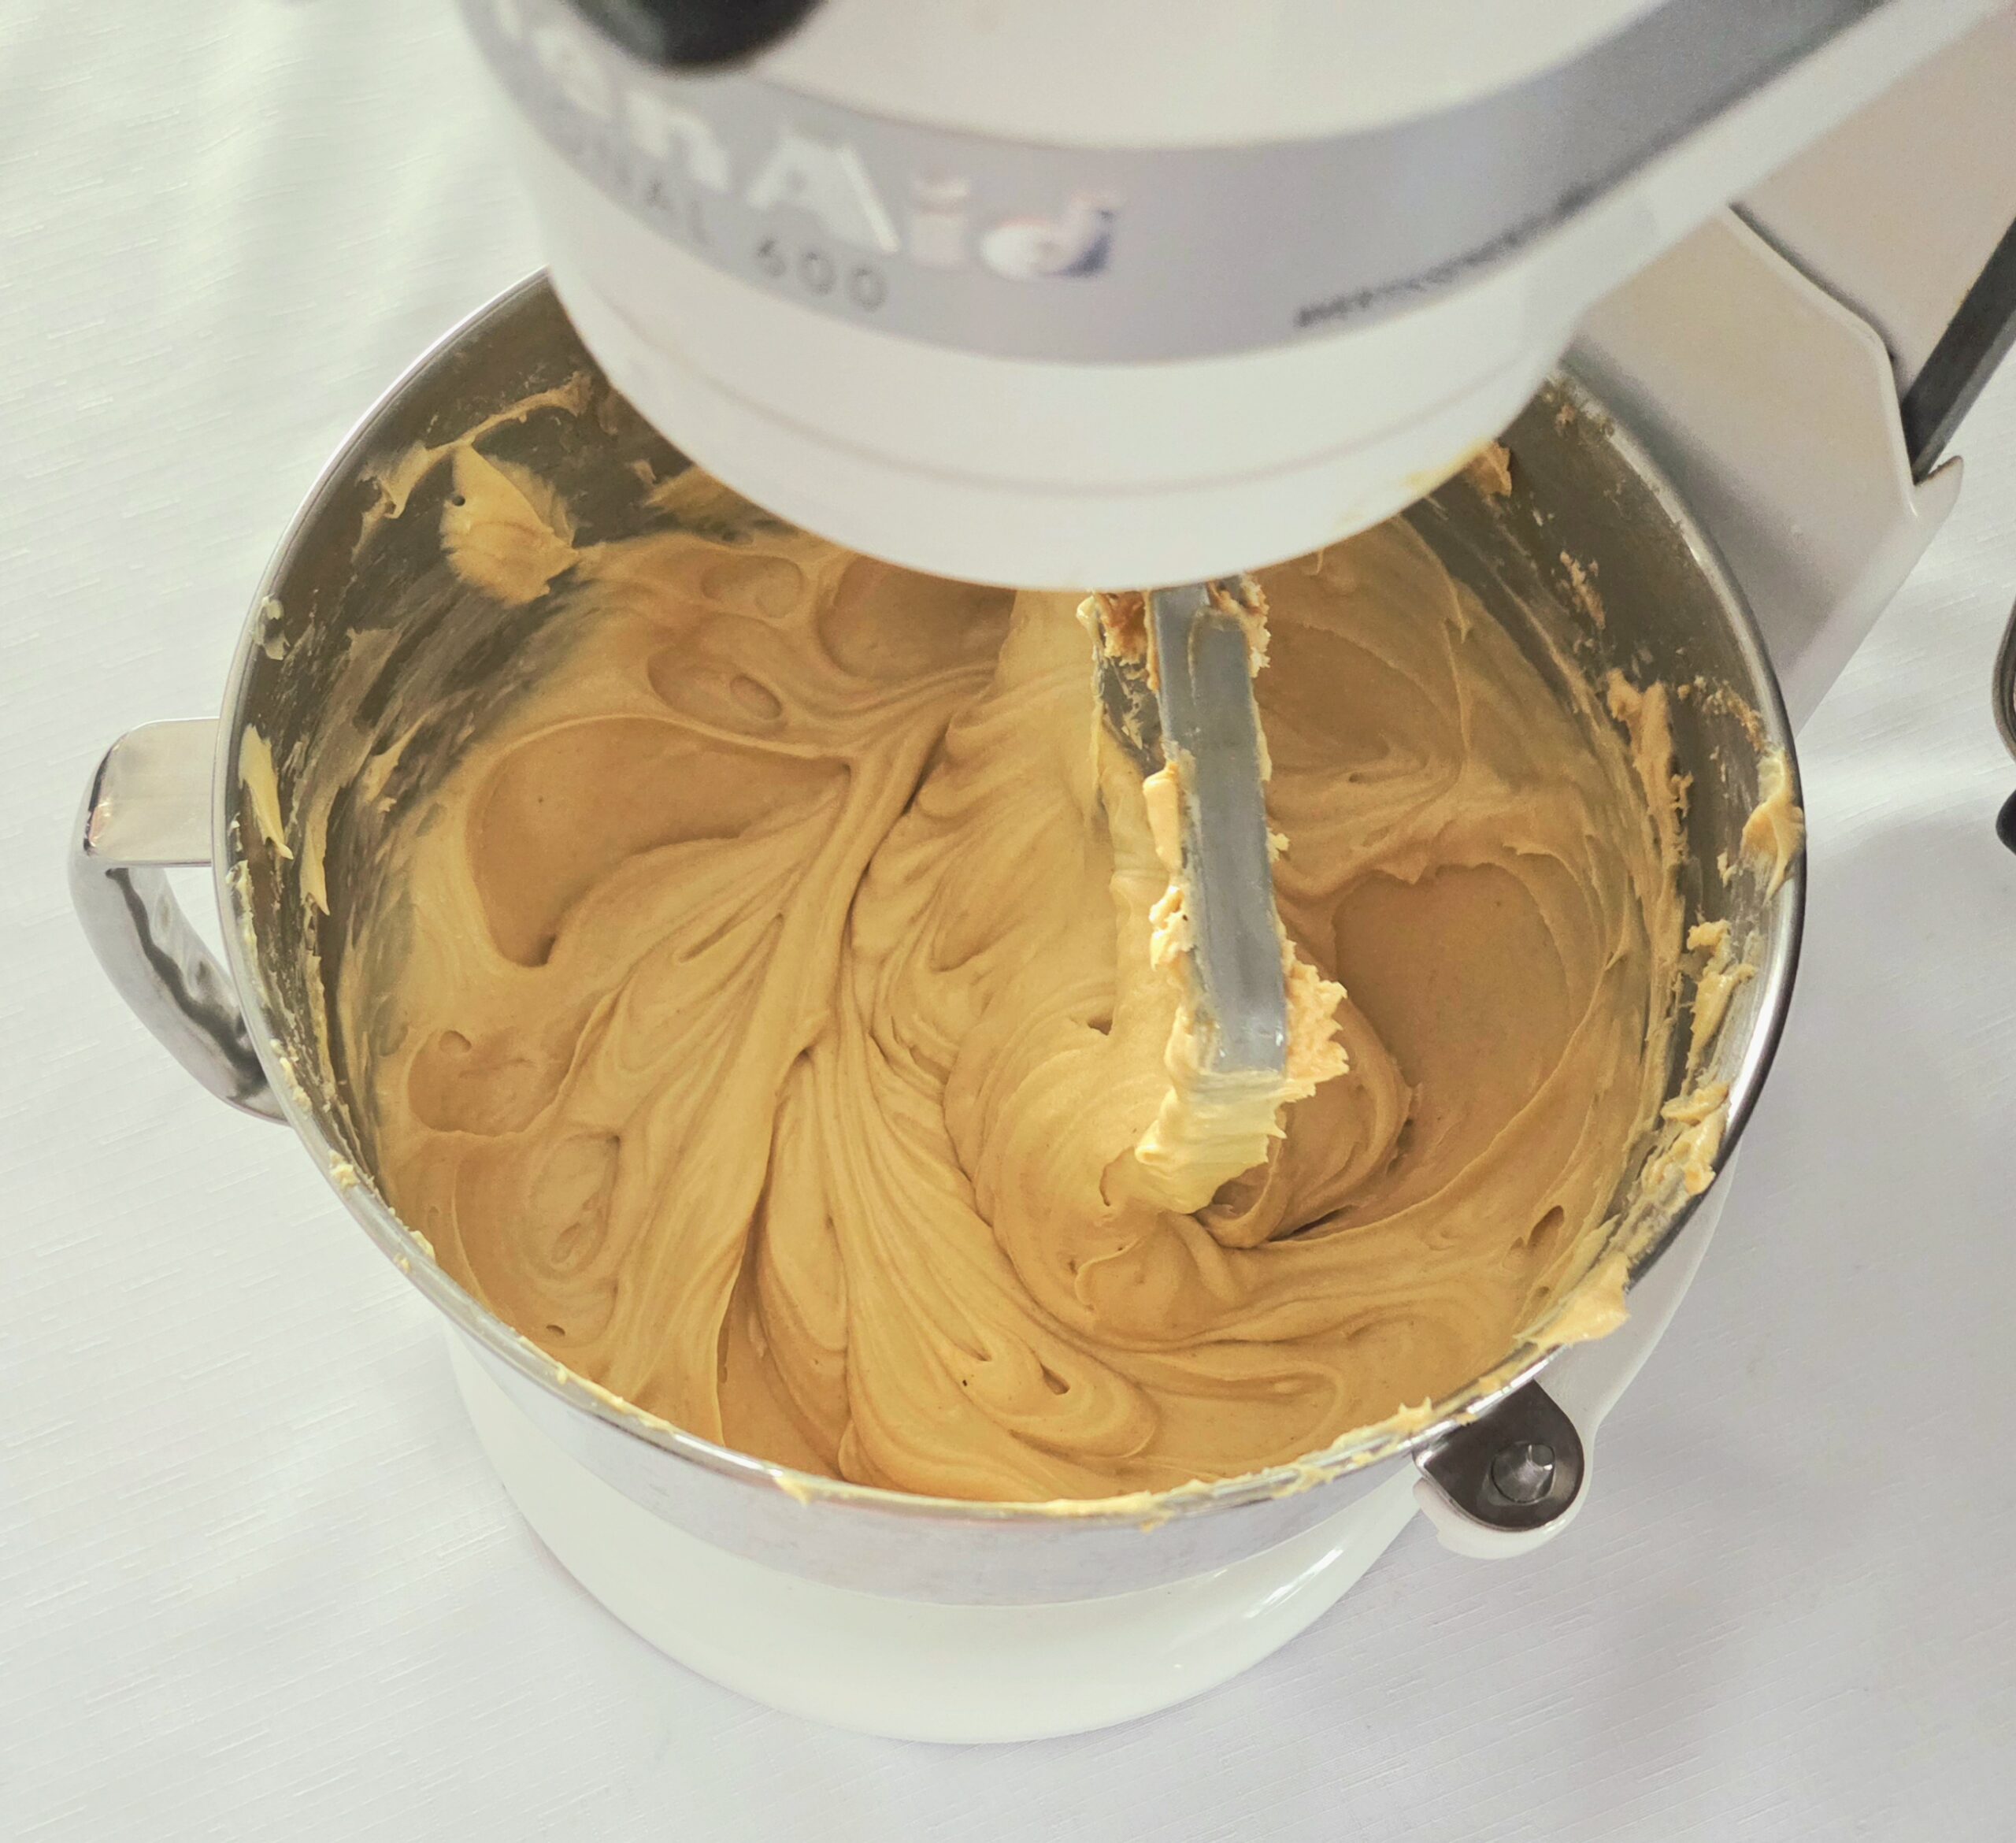
Add the salt and vanilla extract, beat the batter on low for a minute to evenly distribute. Shut the mixer off and fold in the chopped peanut butter cups by hand, using the rubber spatula. Using the mixer would risk crushing the candy, and we want the pieces on the larger side in the cheesecake.
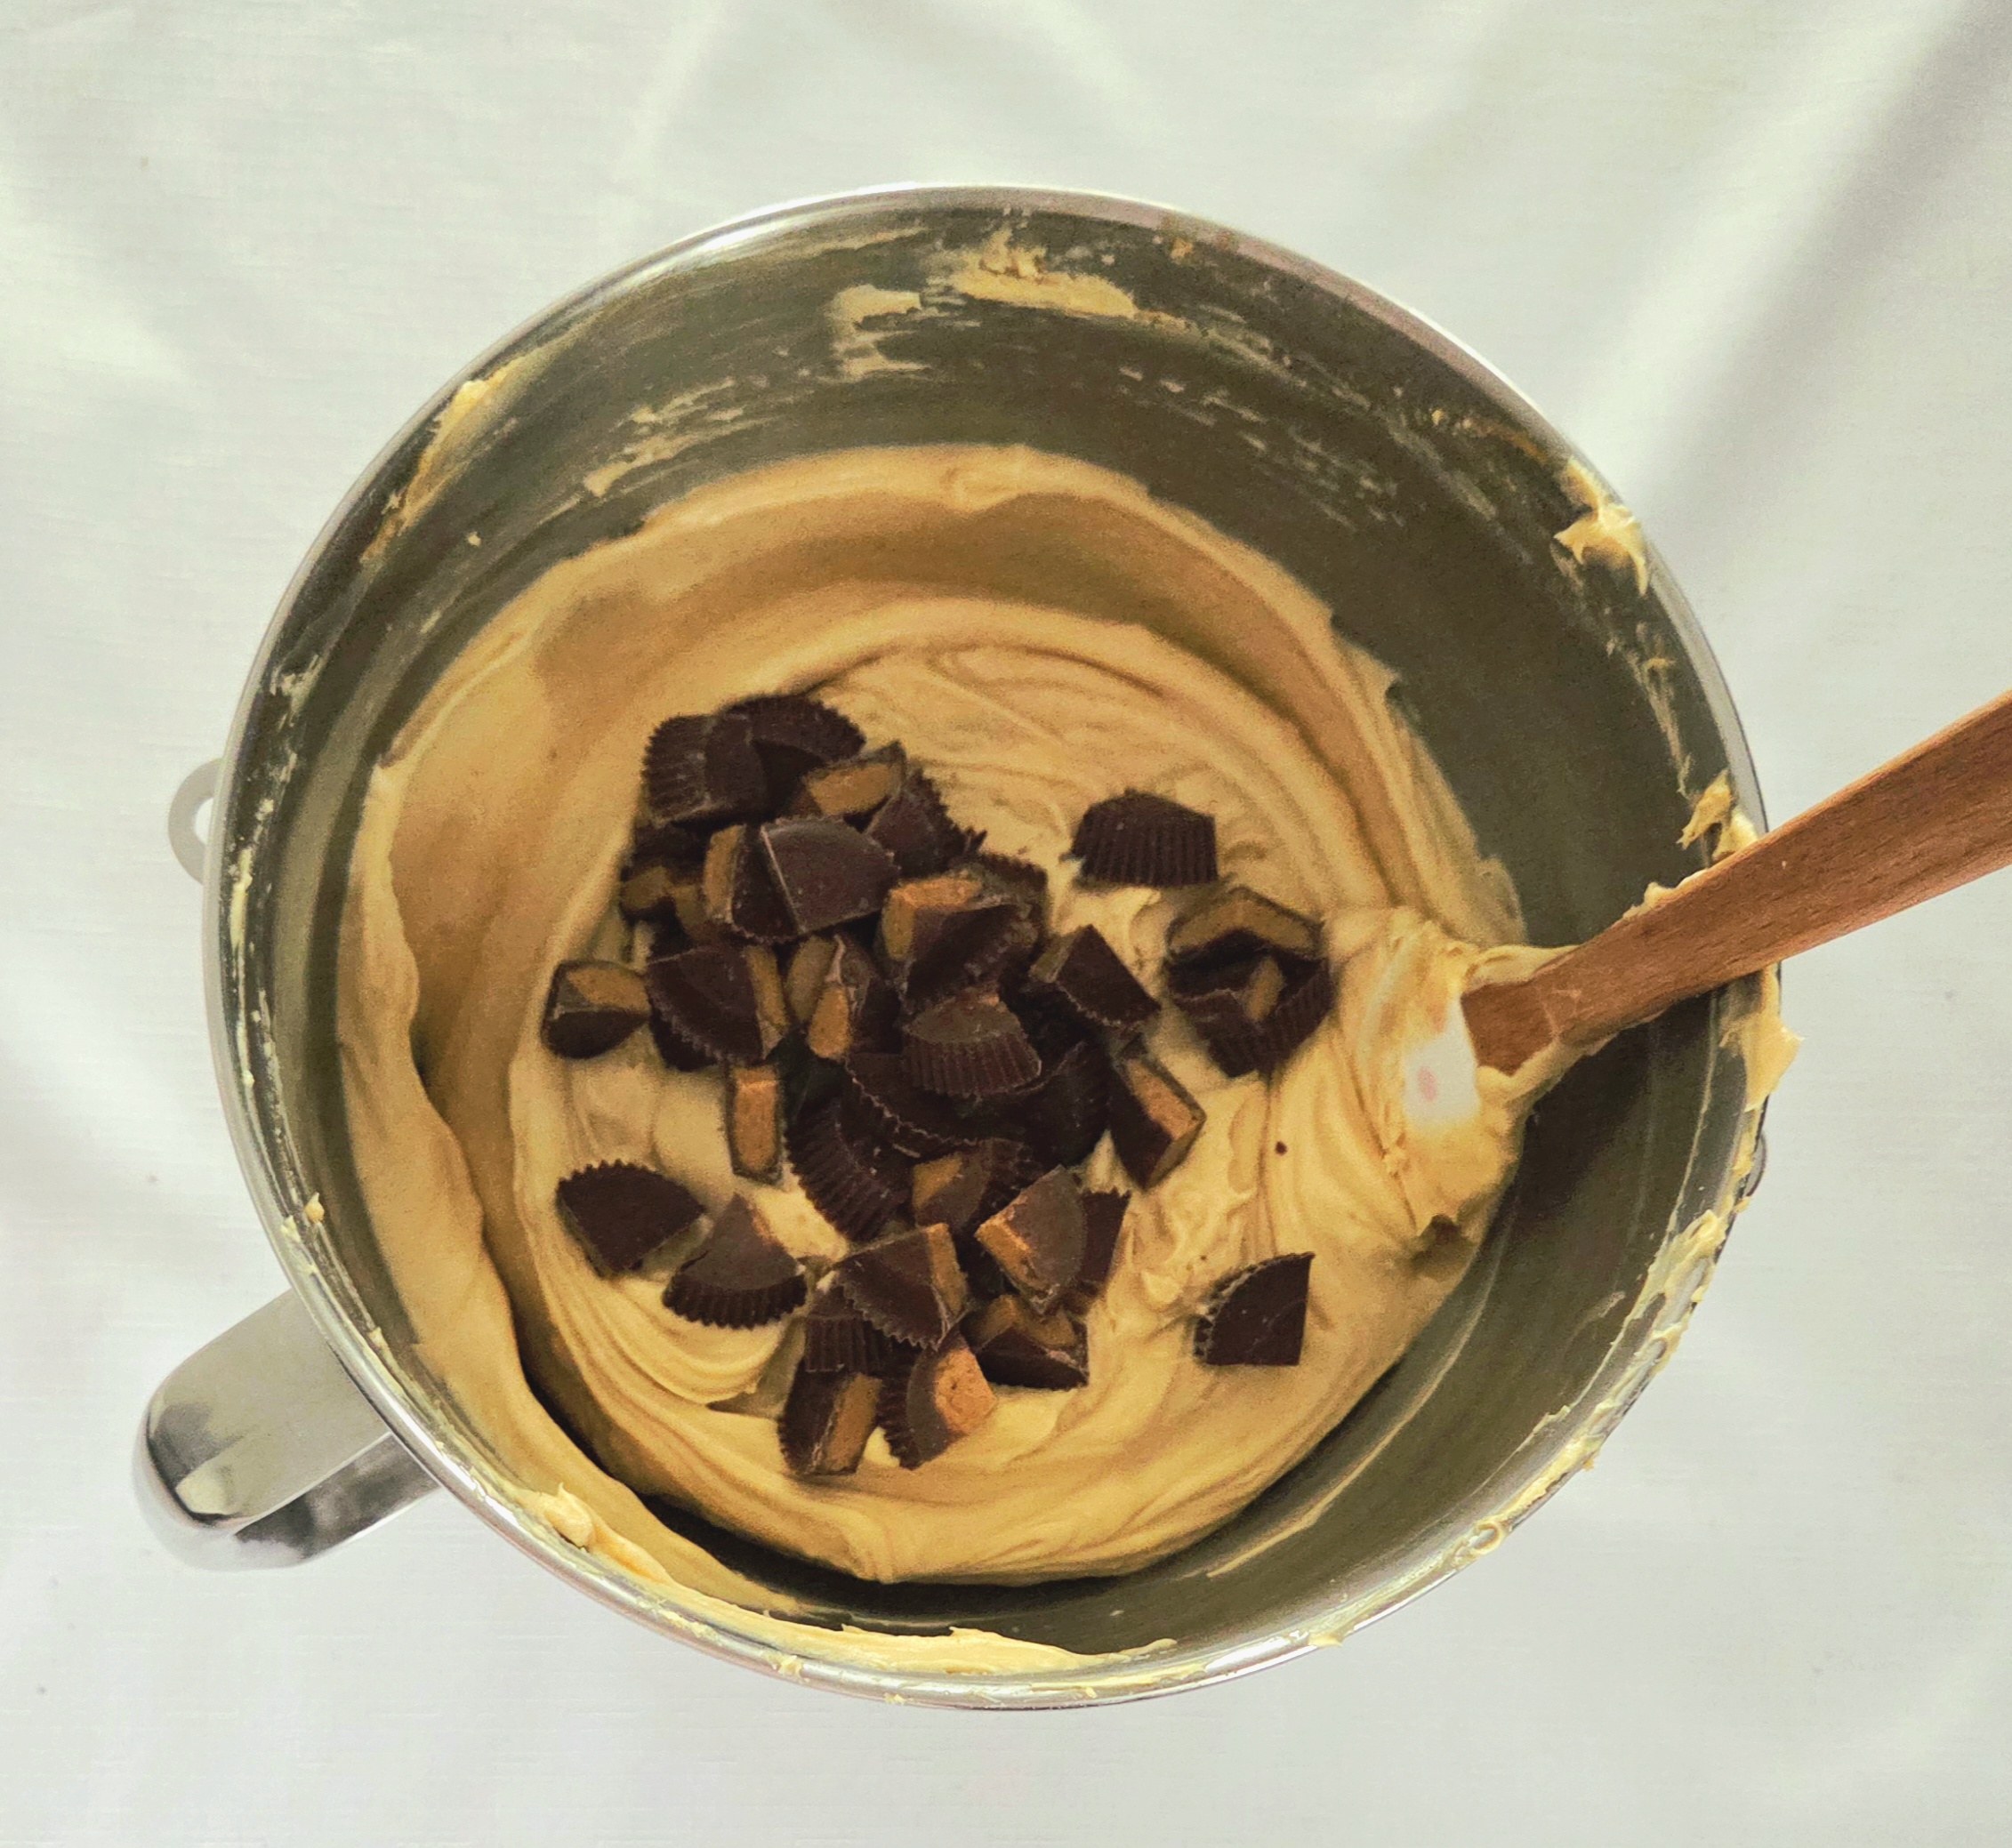
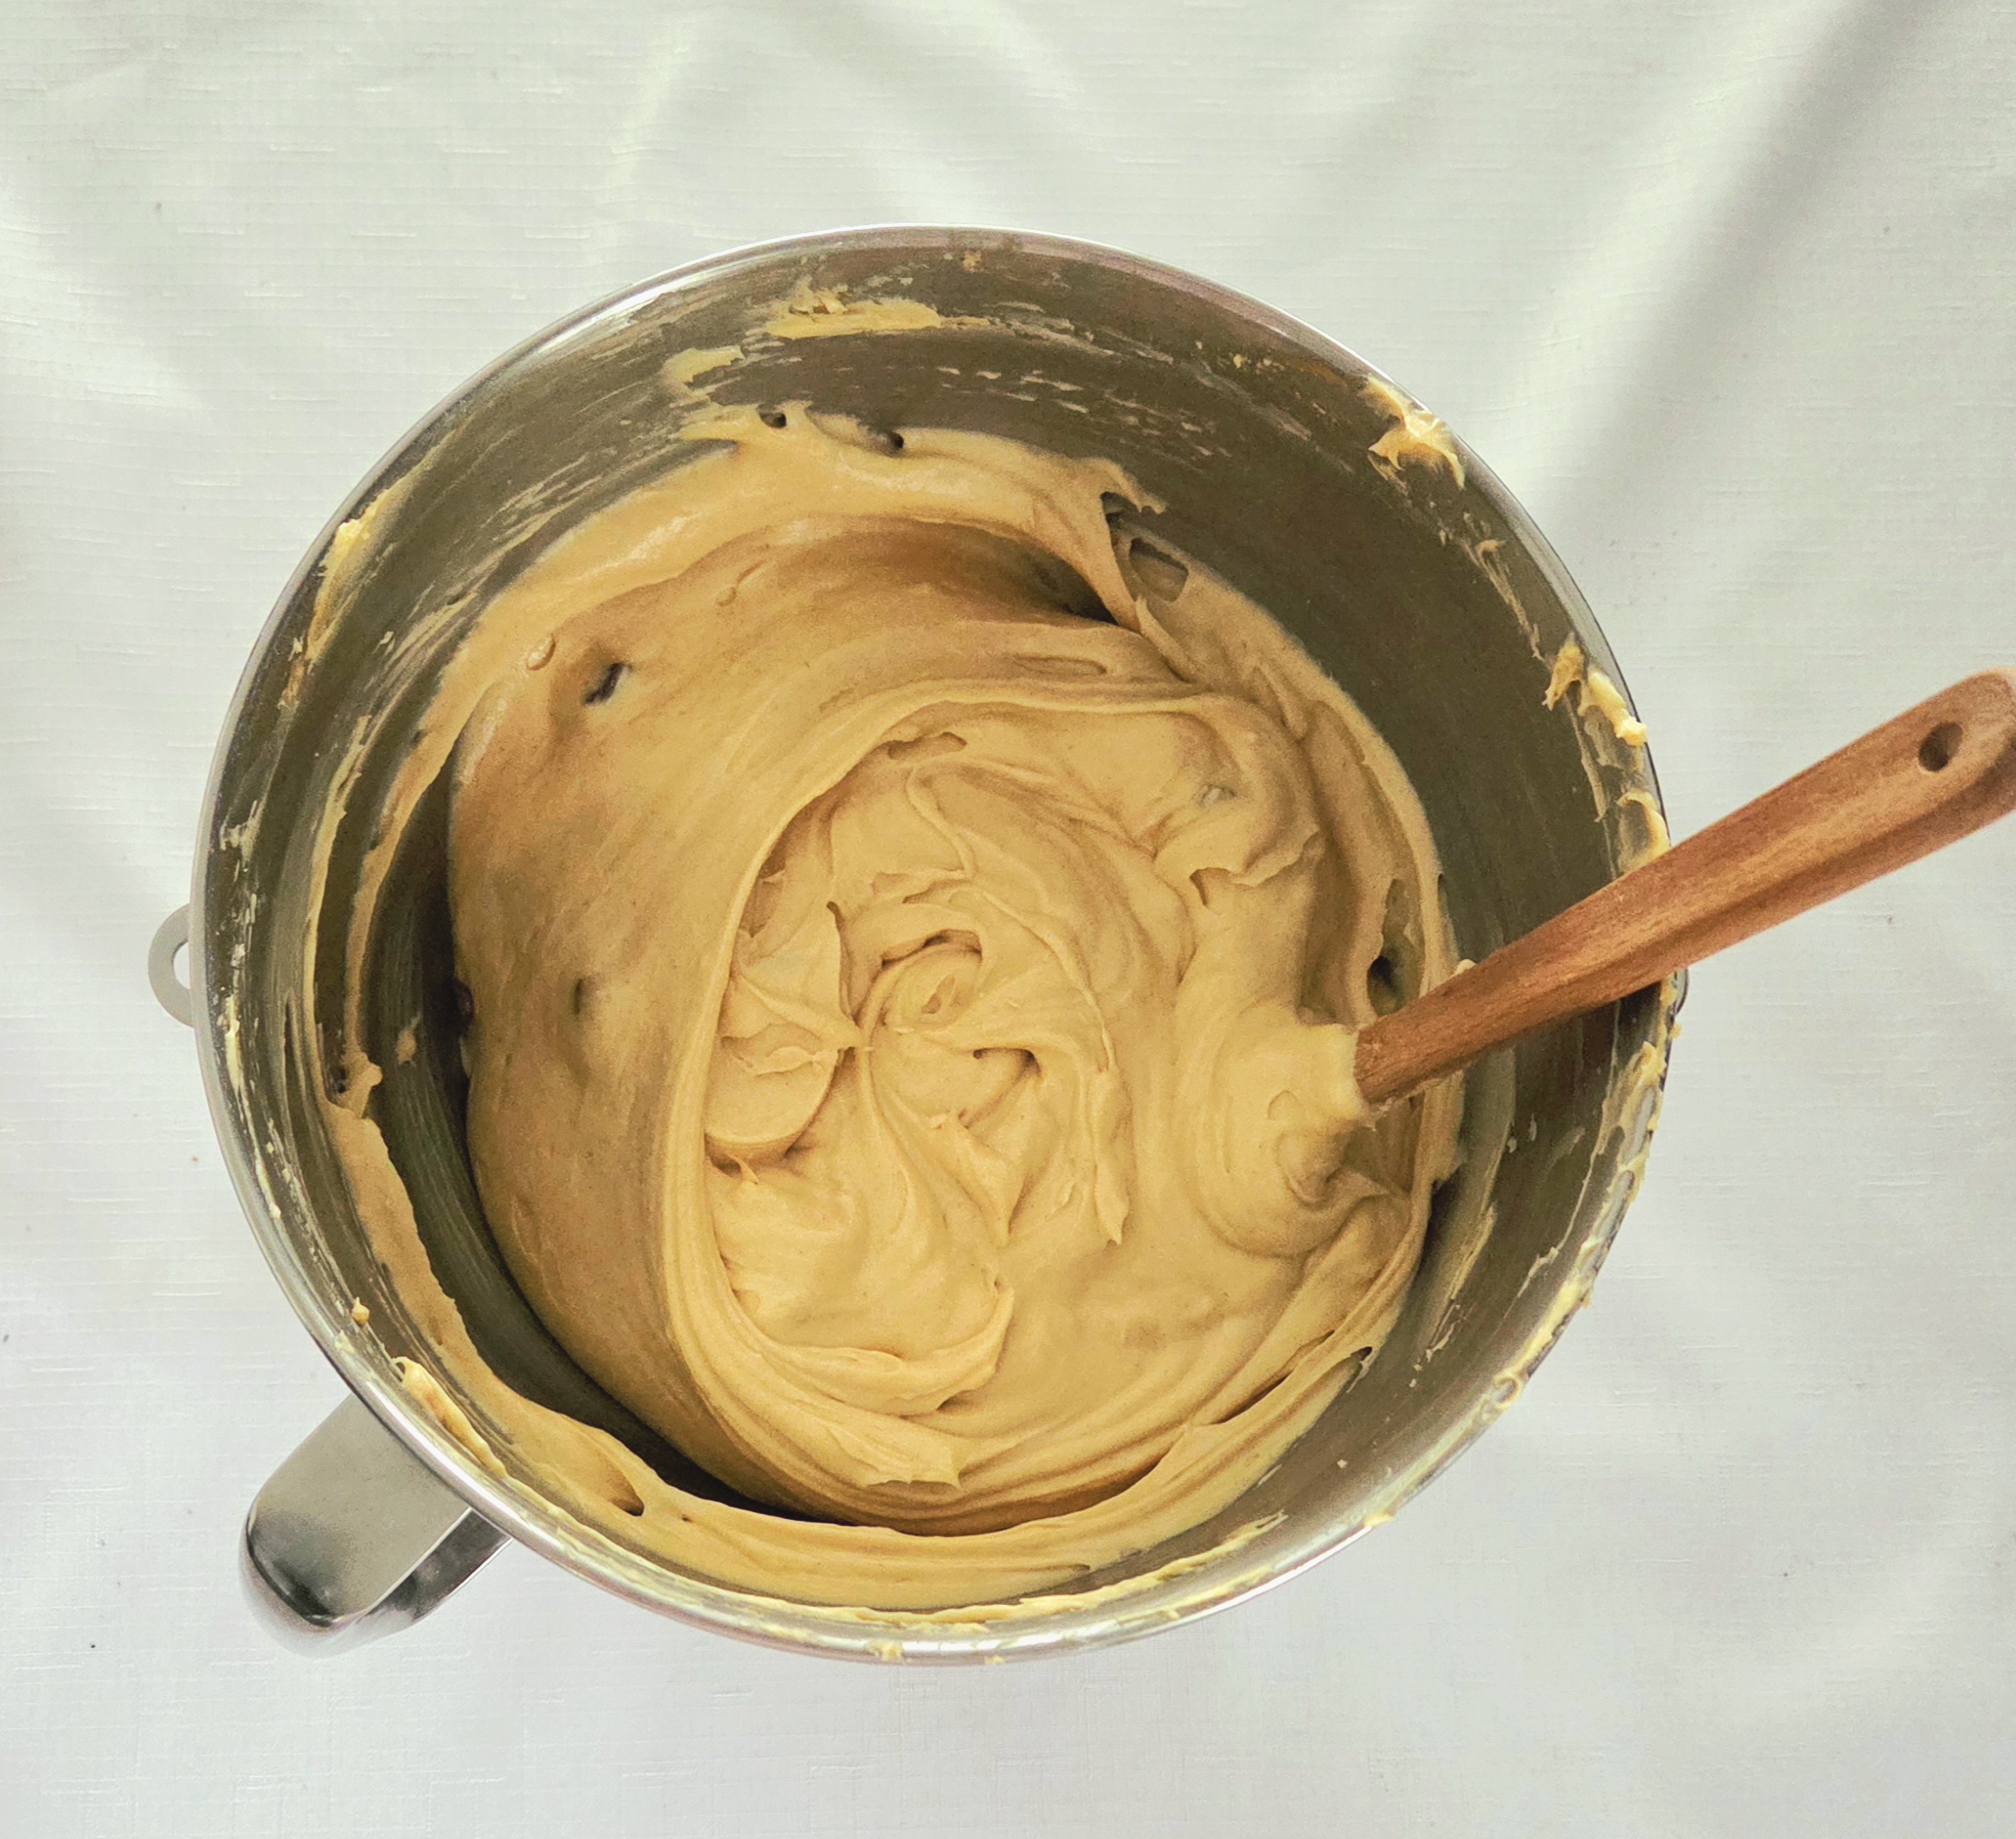
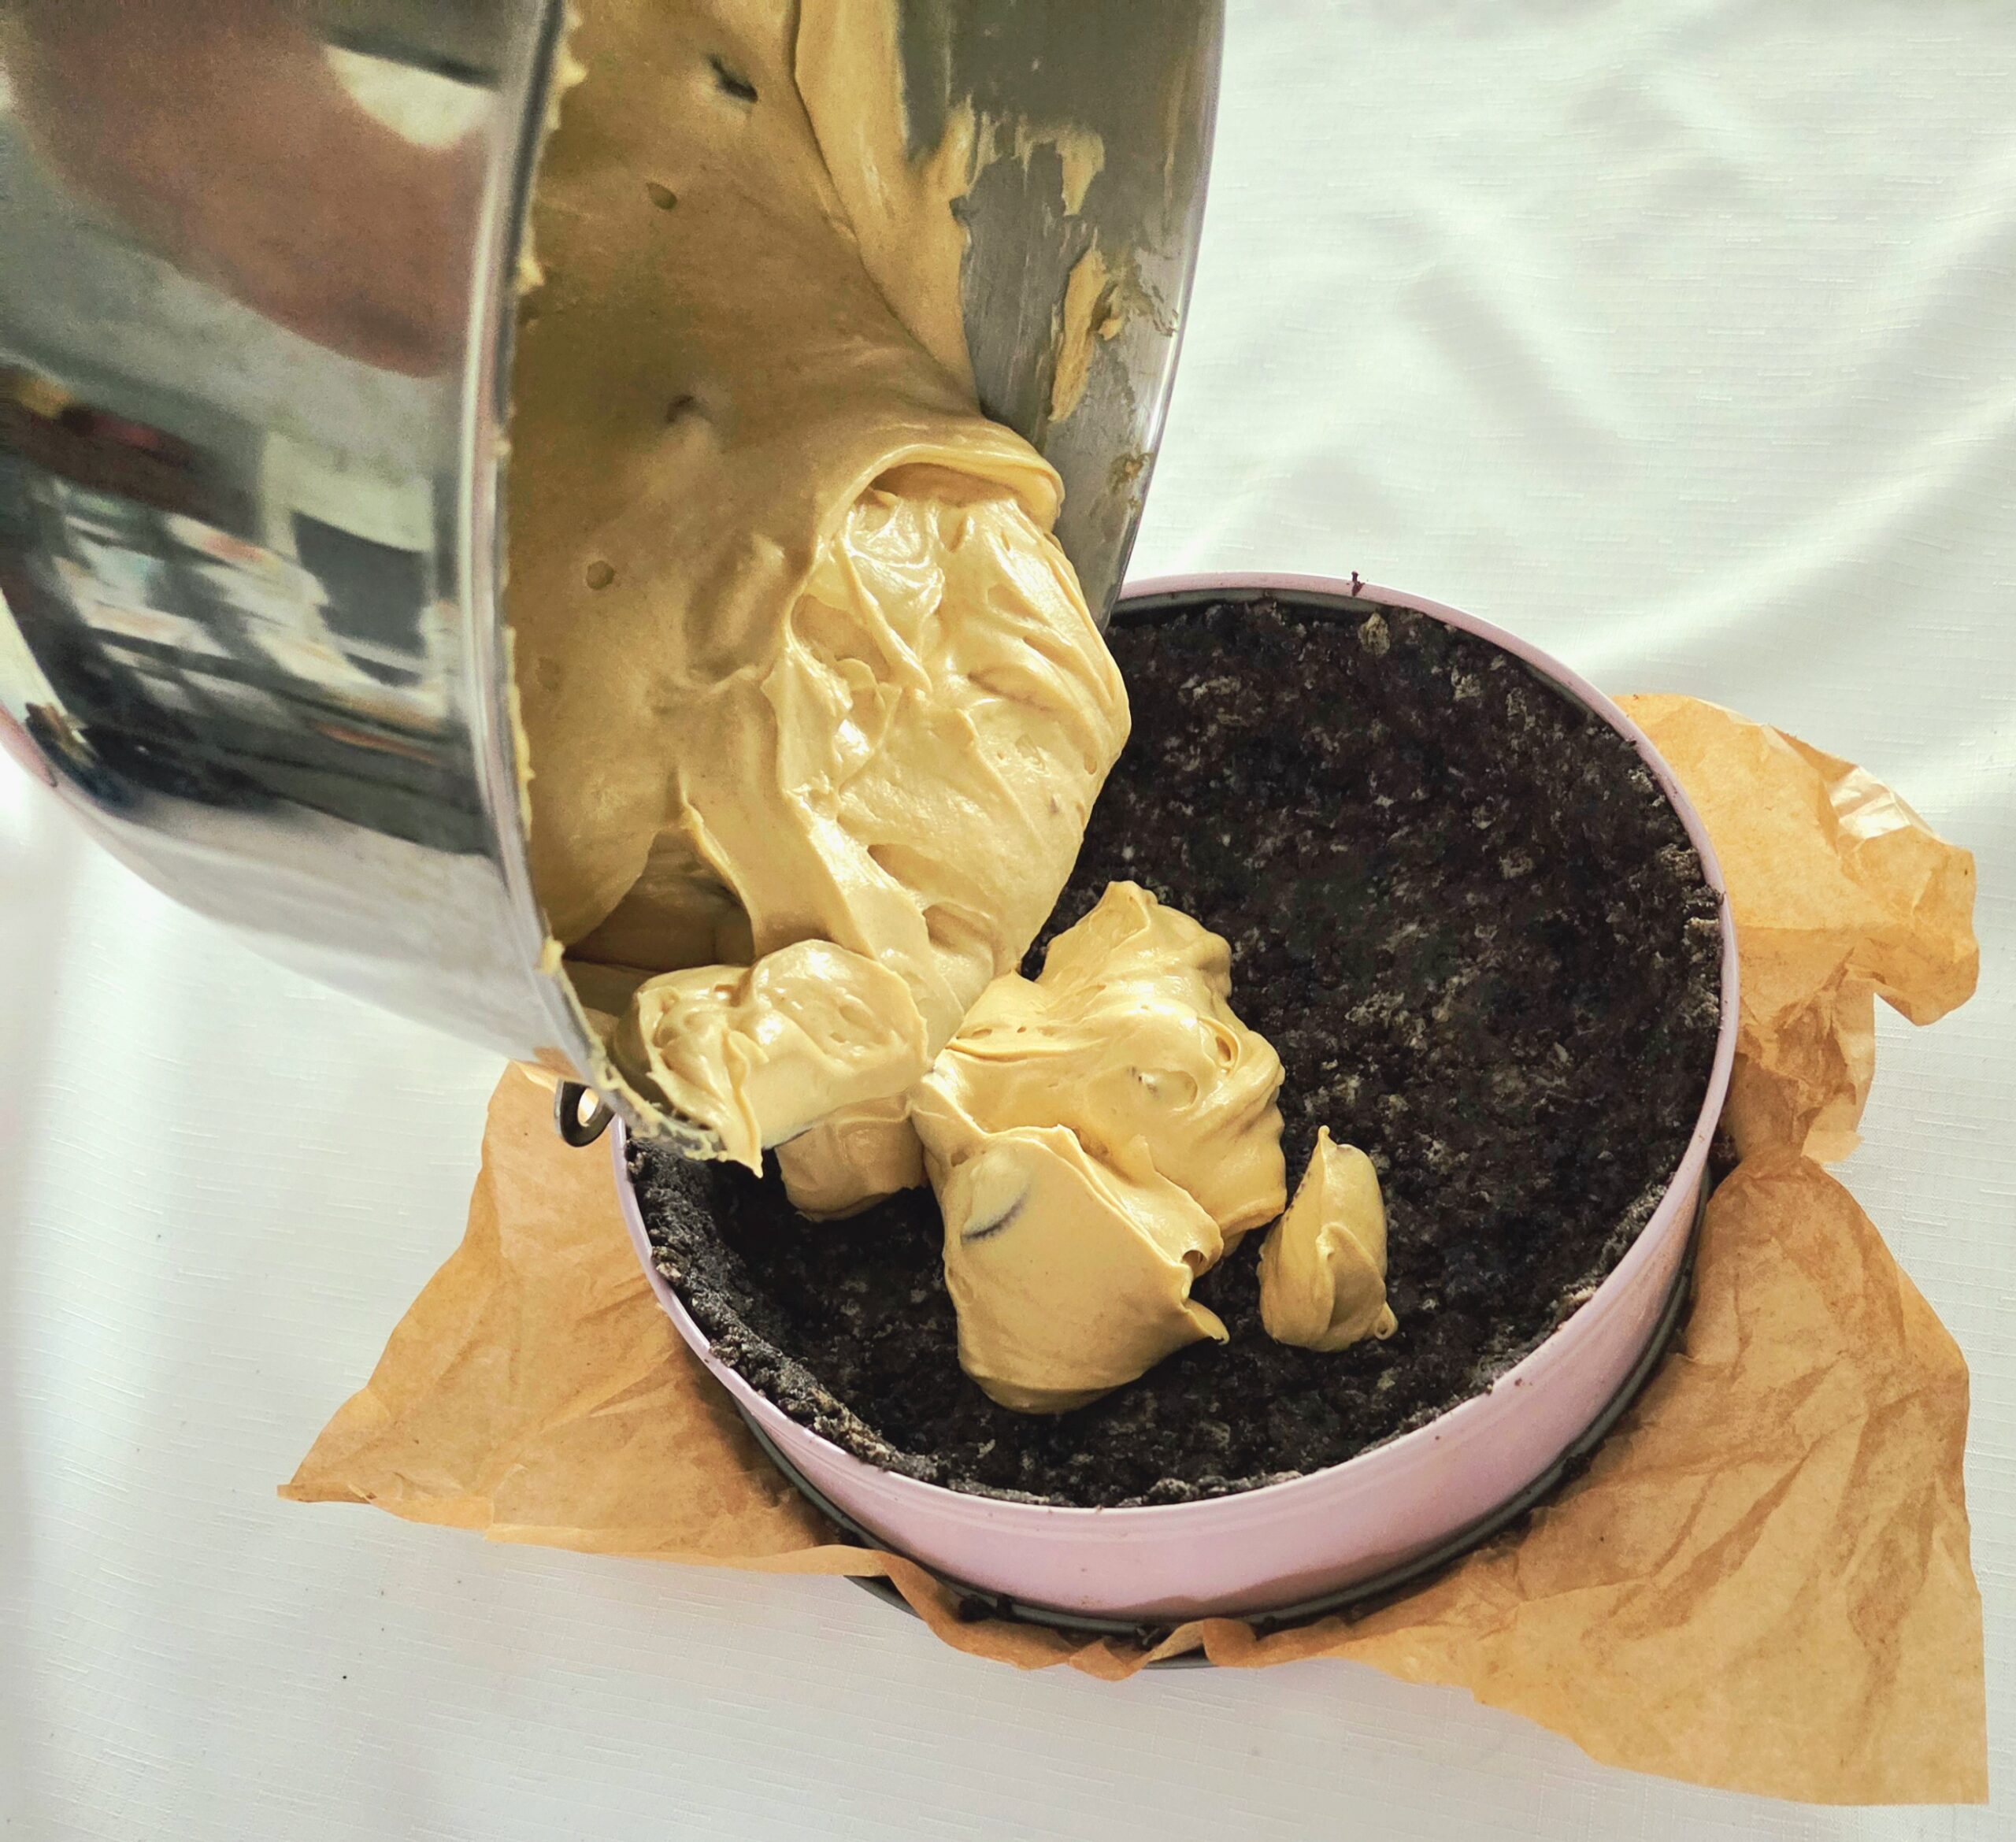
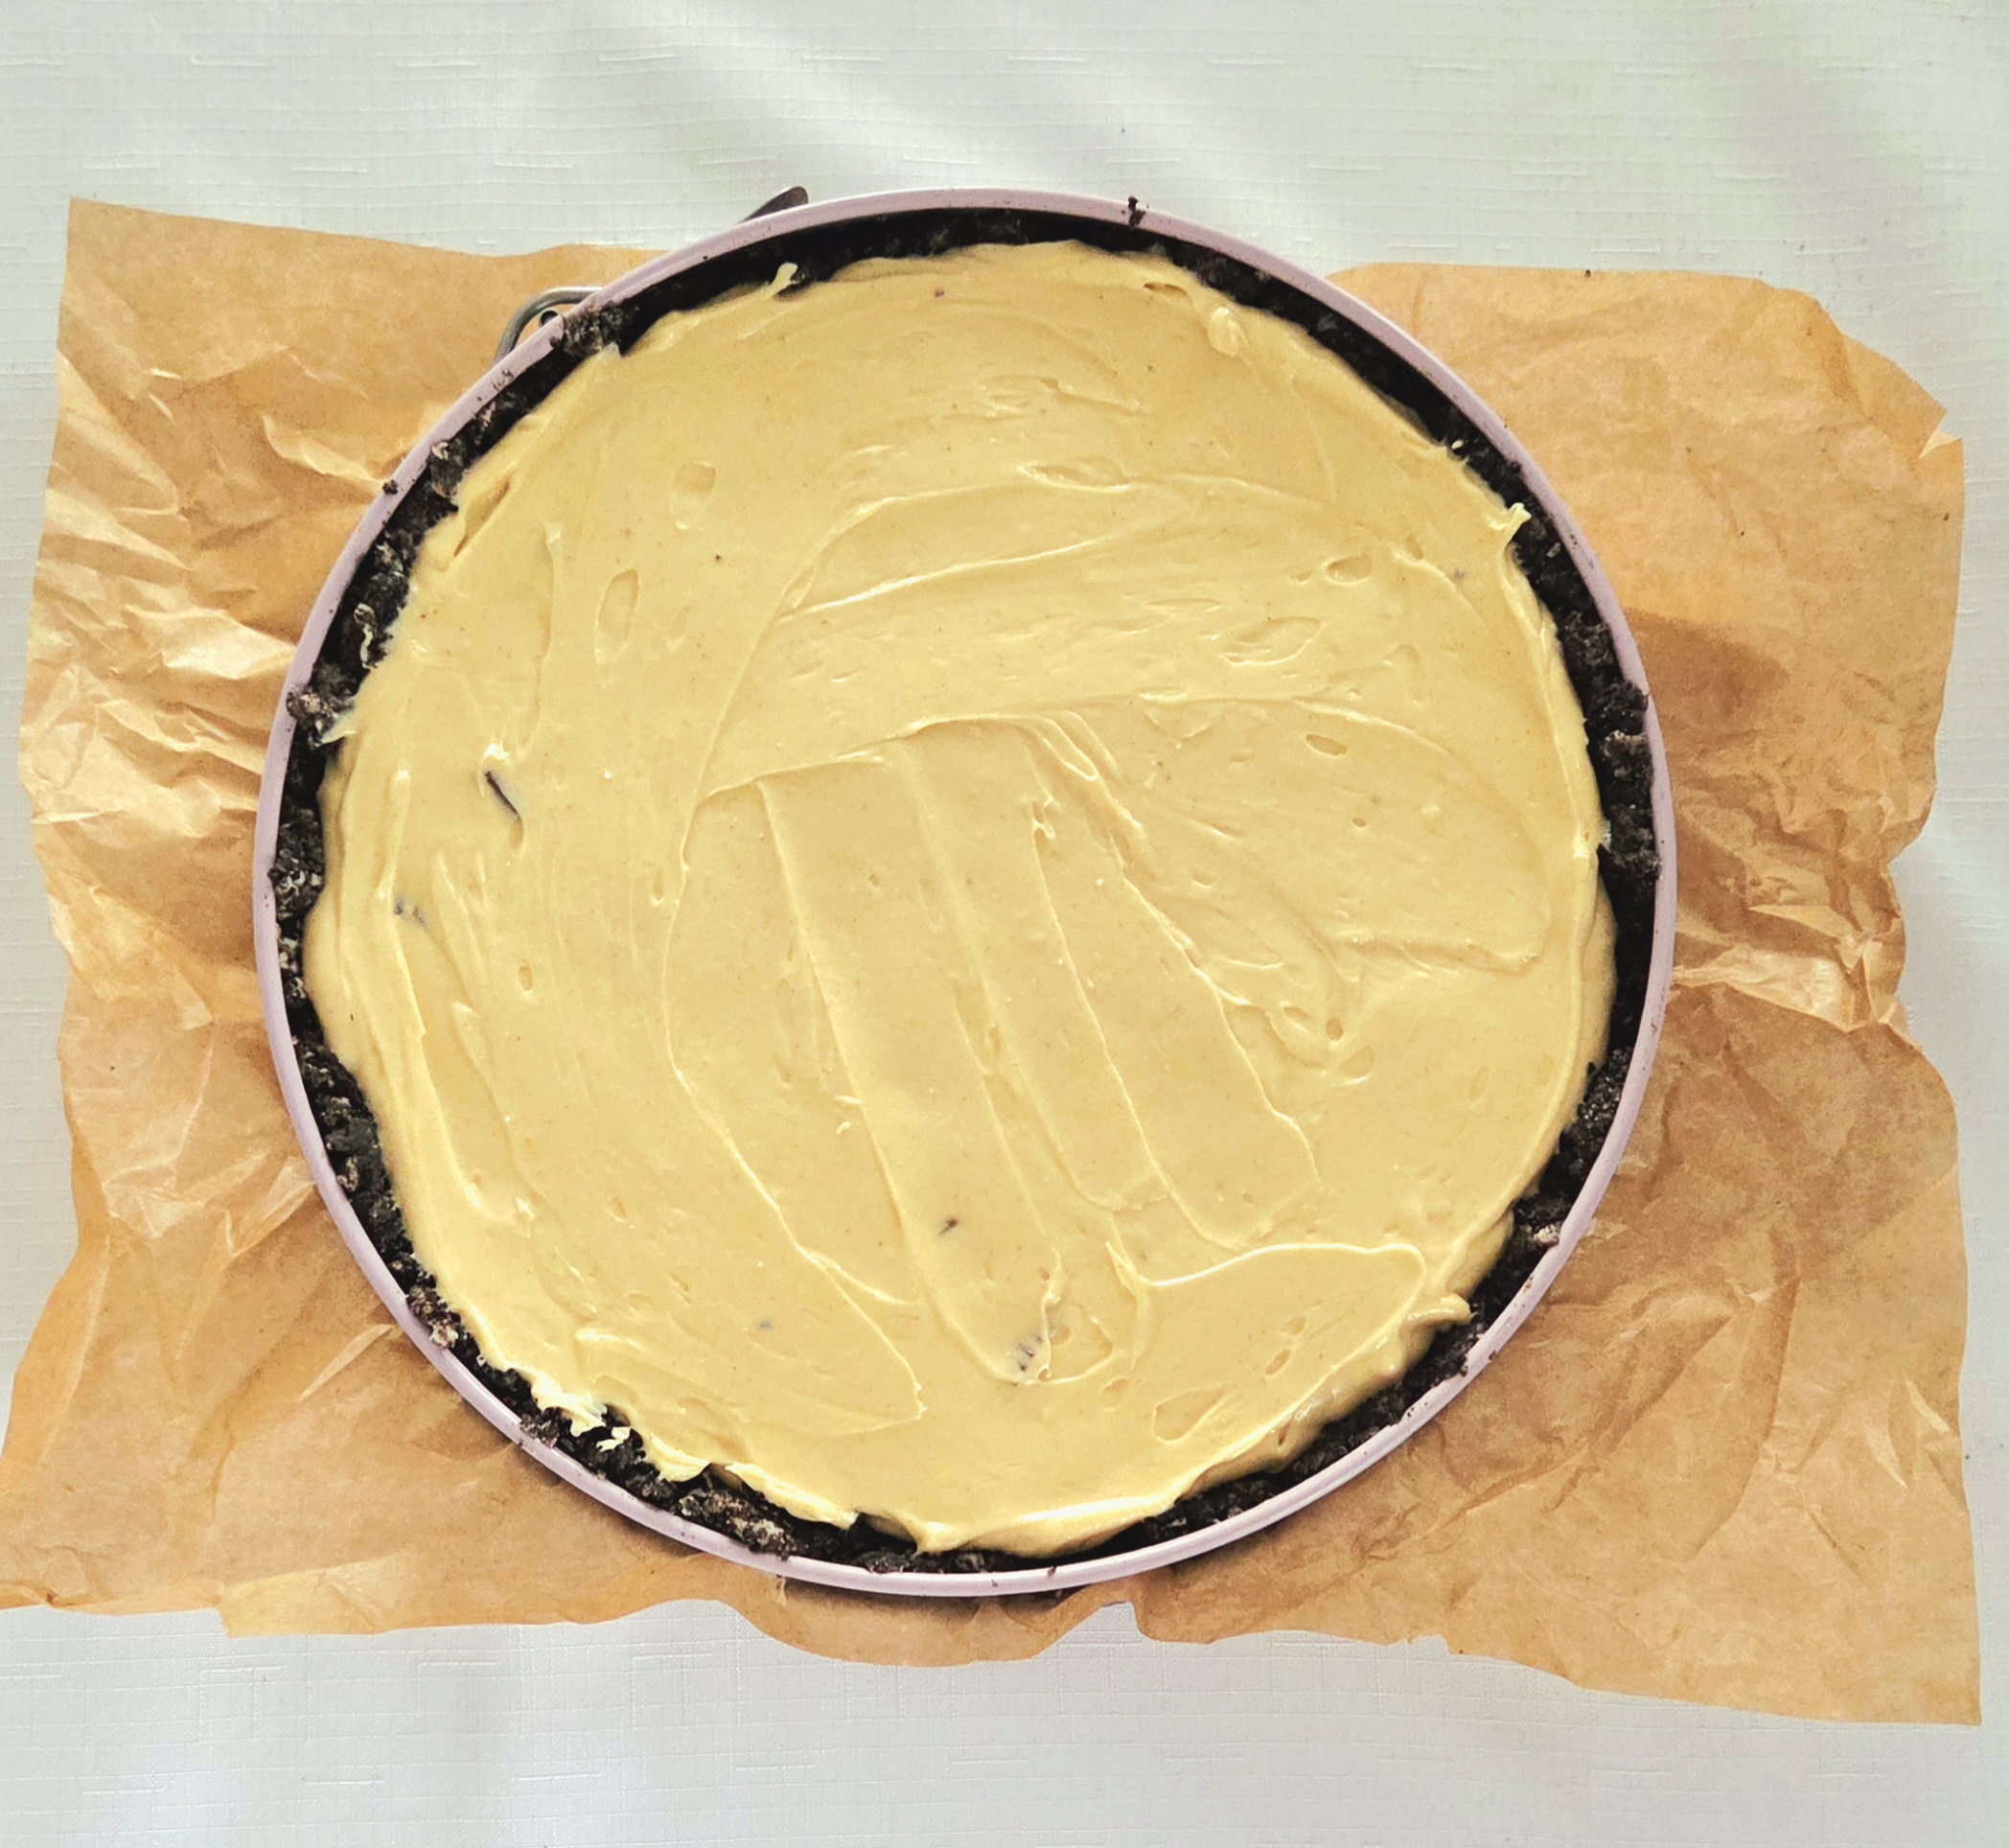
Take the chilled crust back out of the fridge. Pour the filling into the crust and spread it out evenly, smoothing the top of the cake. Place the cheesecake on a baking sheet and place it into the heated oven for 75-80 minutes, flipping the cake halfway through, until it slightly jiggles when you jostle the pan.
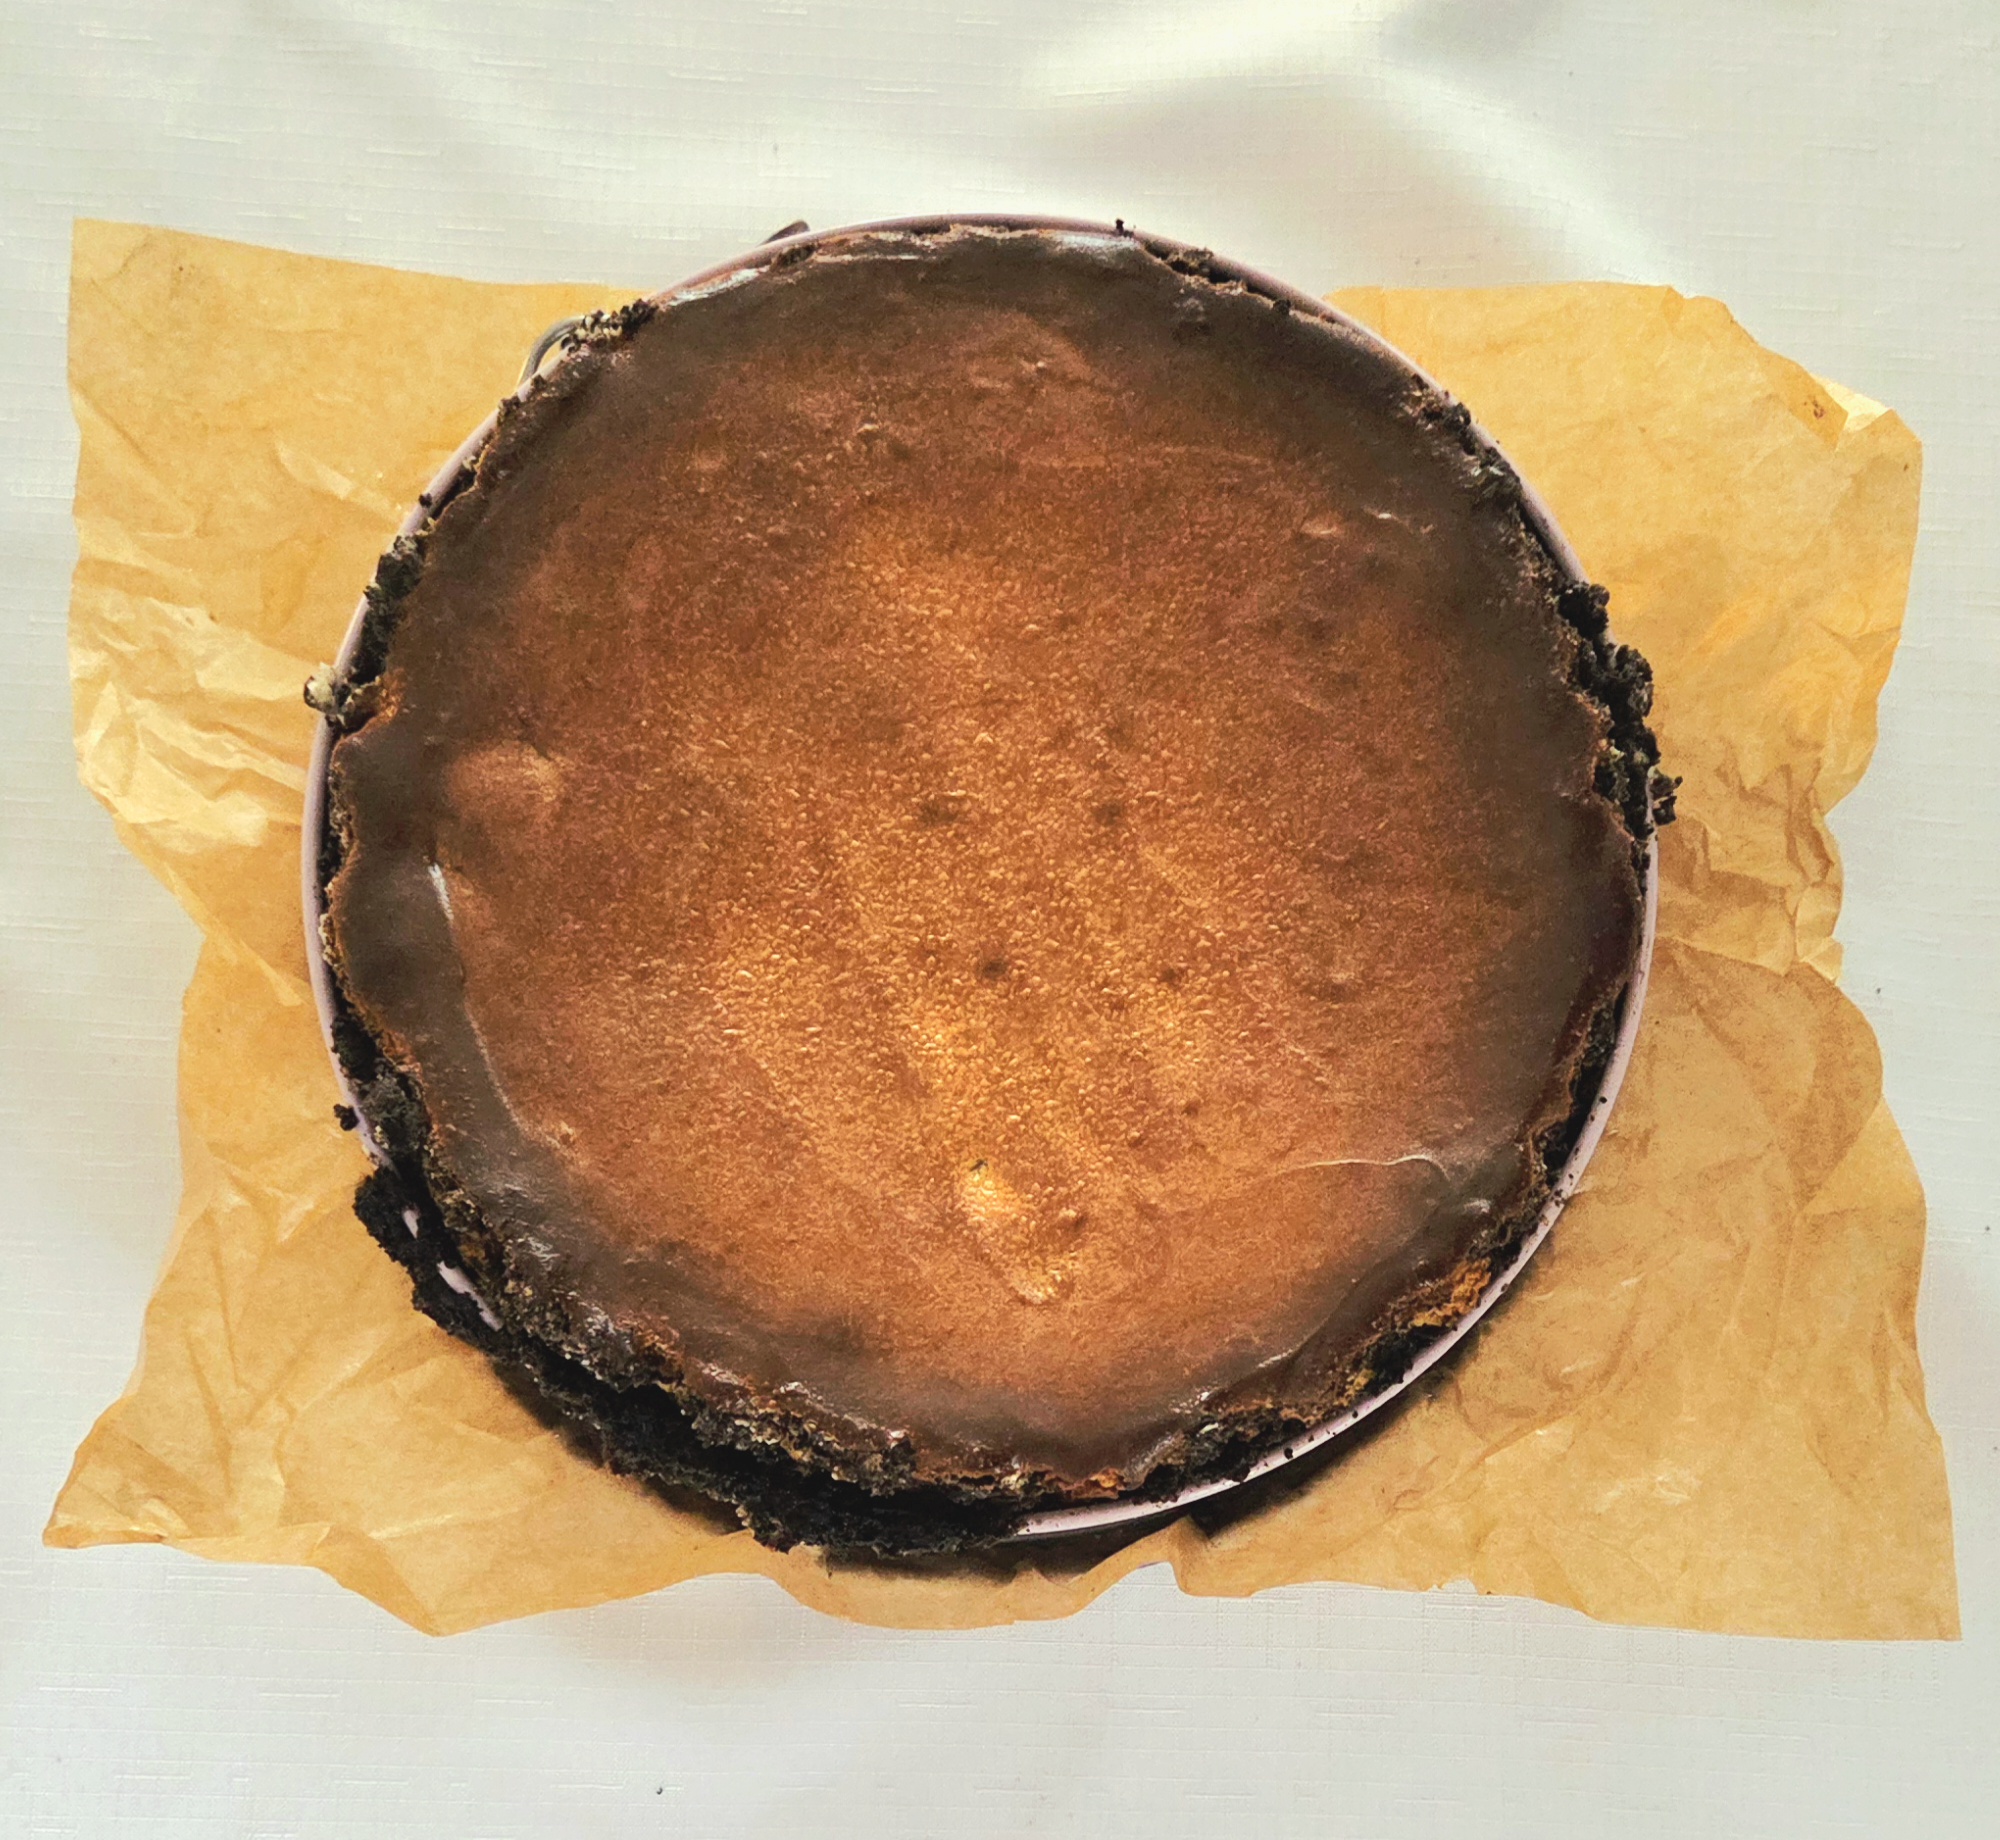
Allow the cheesecake to cool for about an hour, then transfer it over to the fridge. It needs to chill thoroughly, for a minimum of 4 hours or more ideally, overnight.
For the Ganache
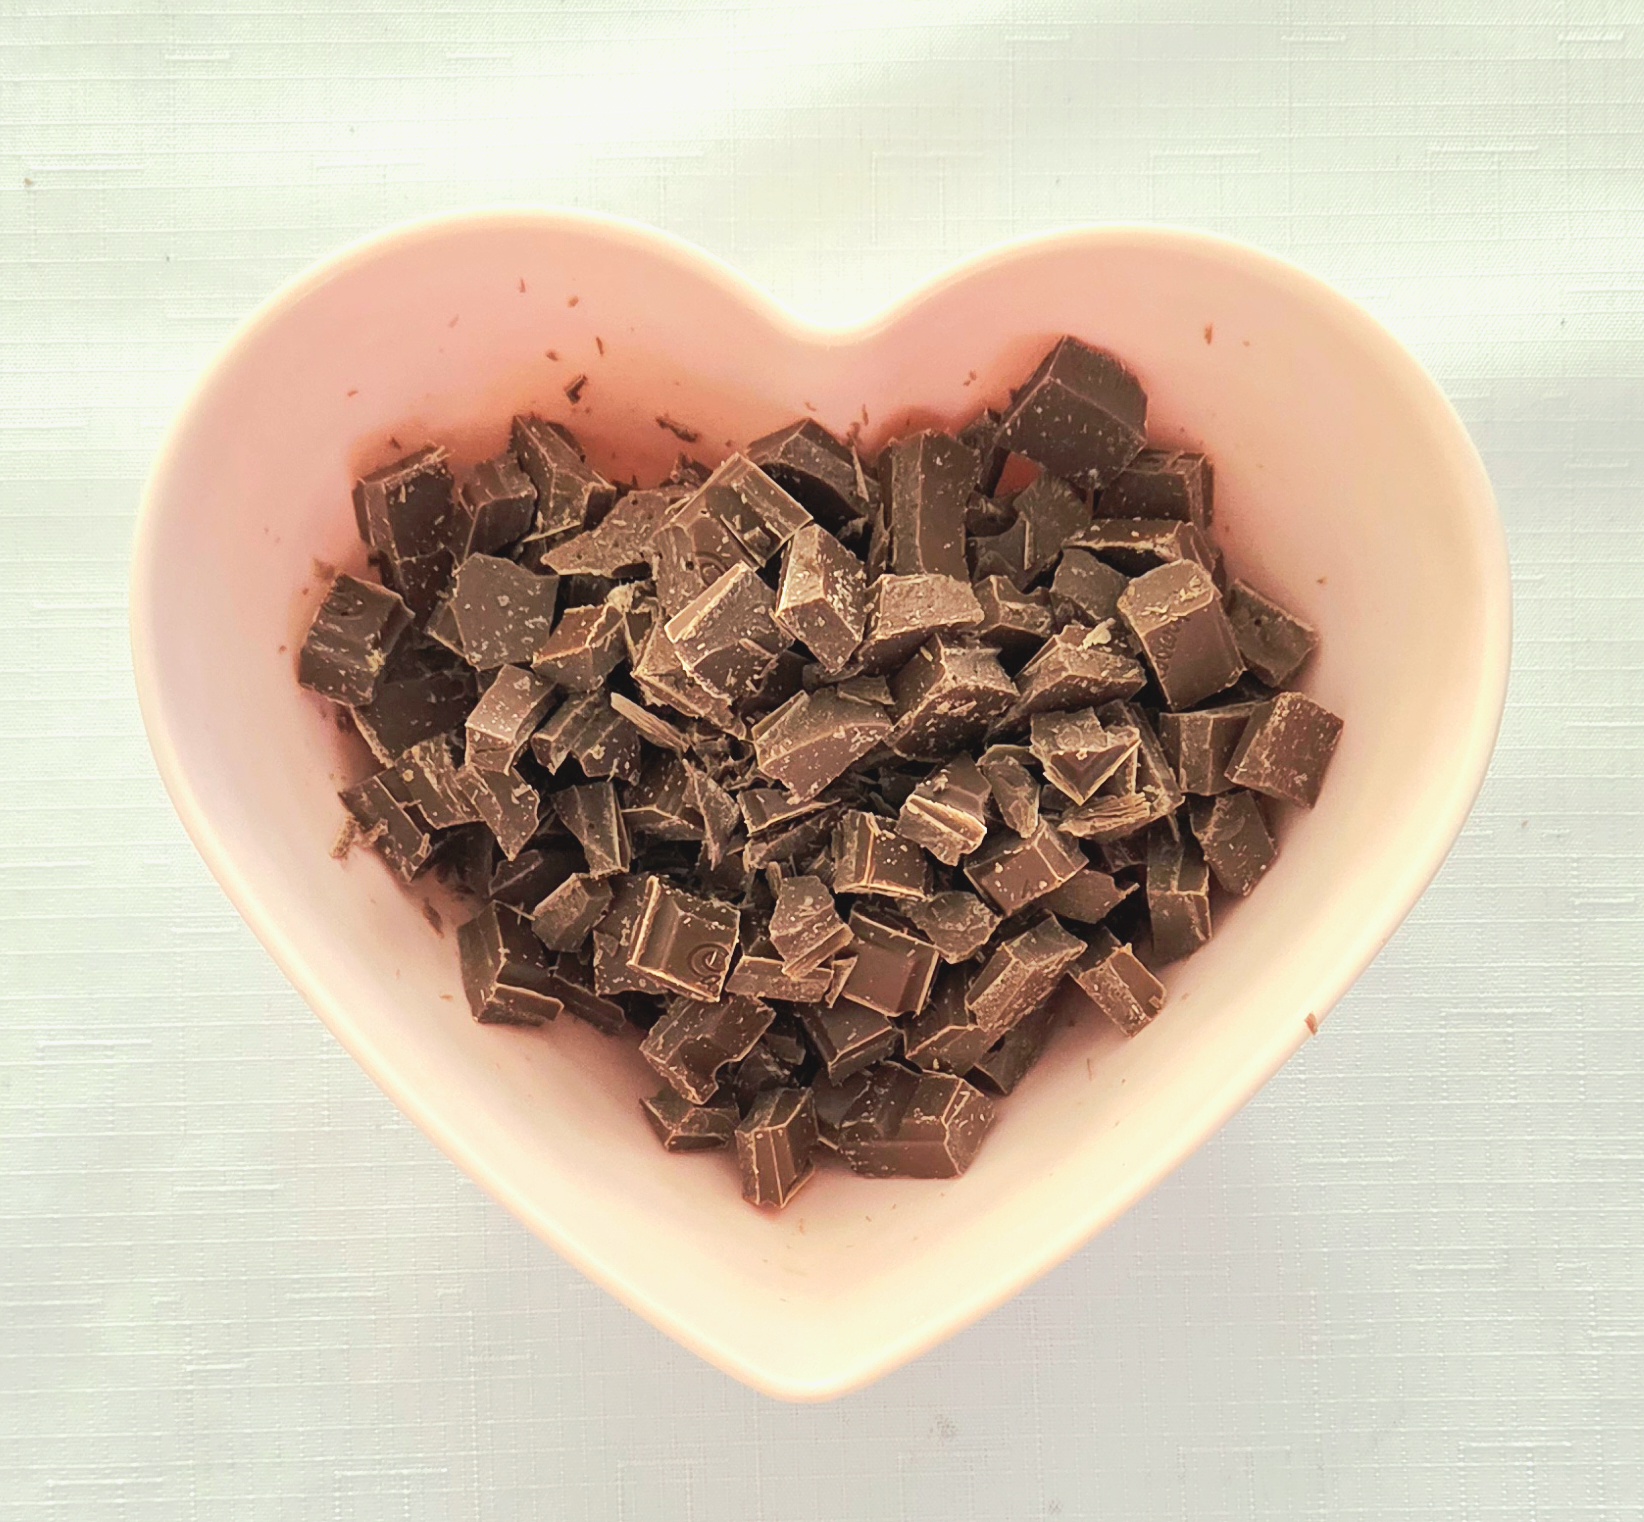
Once the cheesecake has finished chilling, prepare the ganache. Chop the milk chocolate into small pieces and place them into a small, heat-safe mixing bowl.
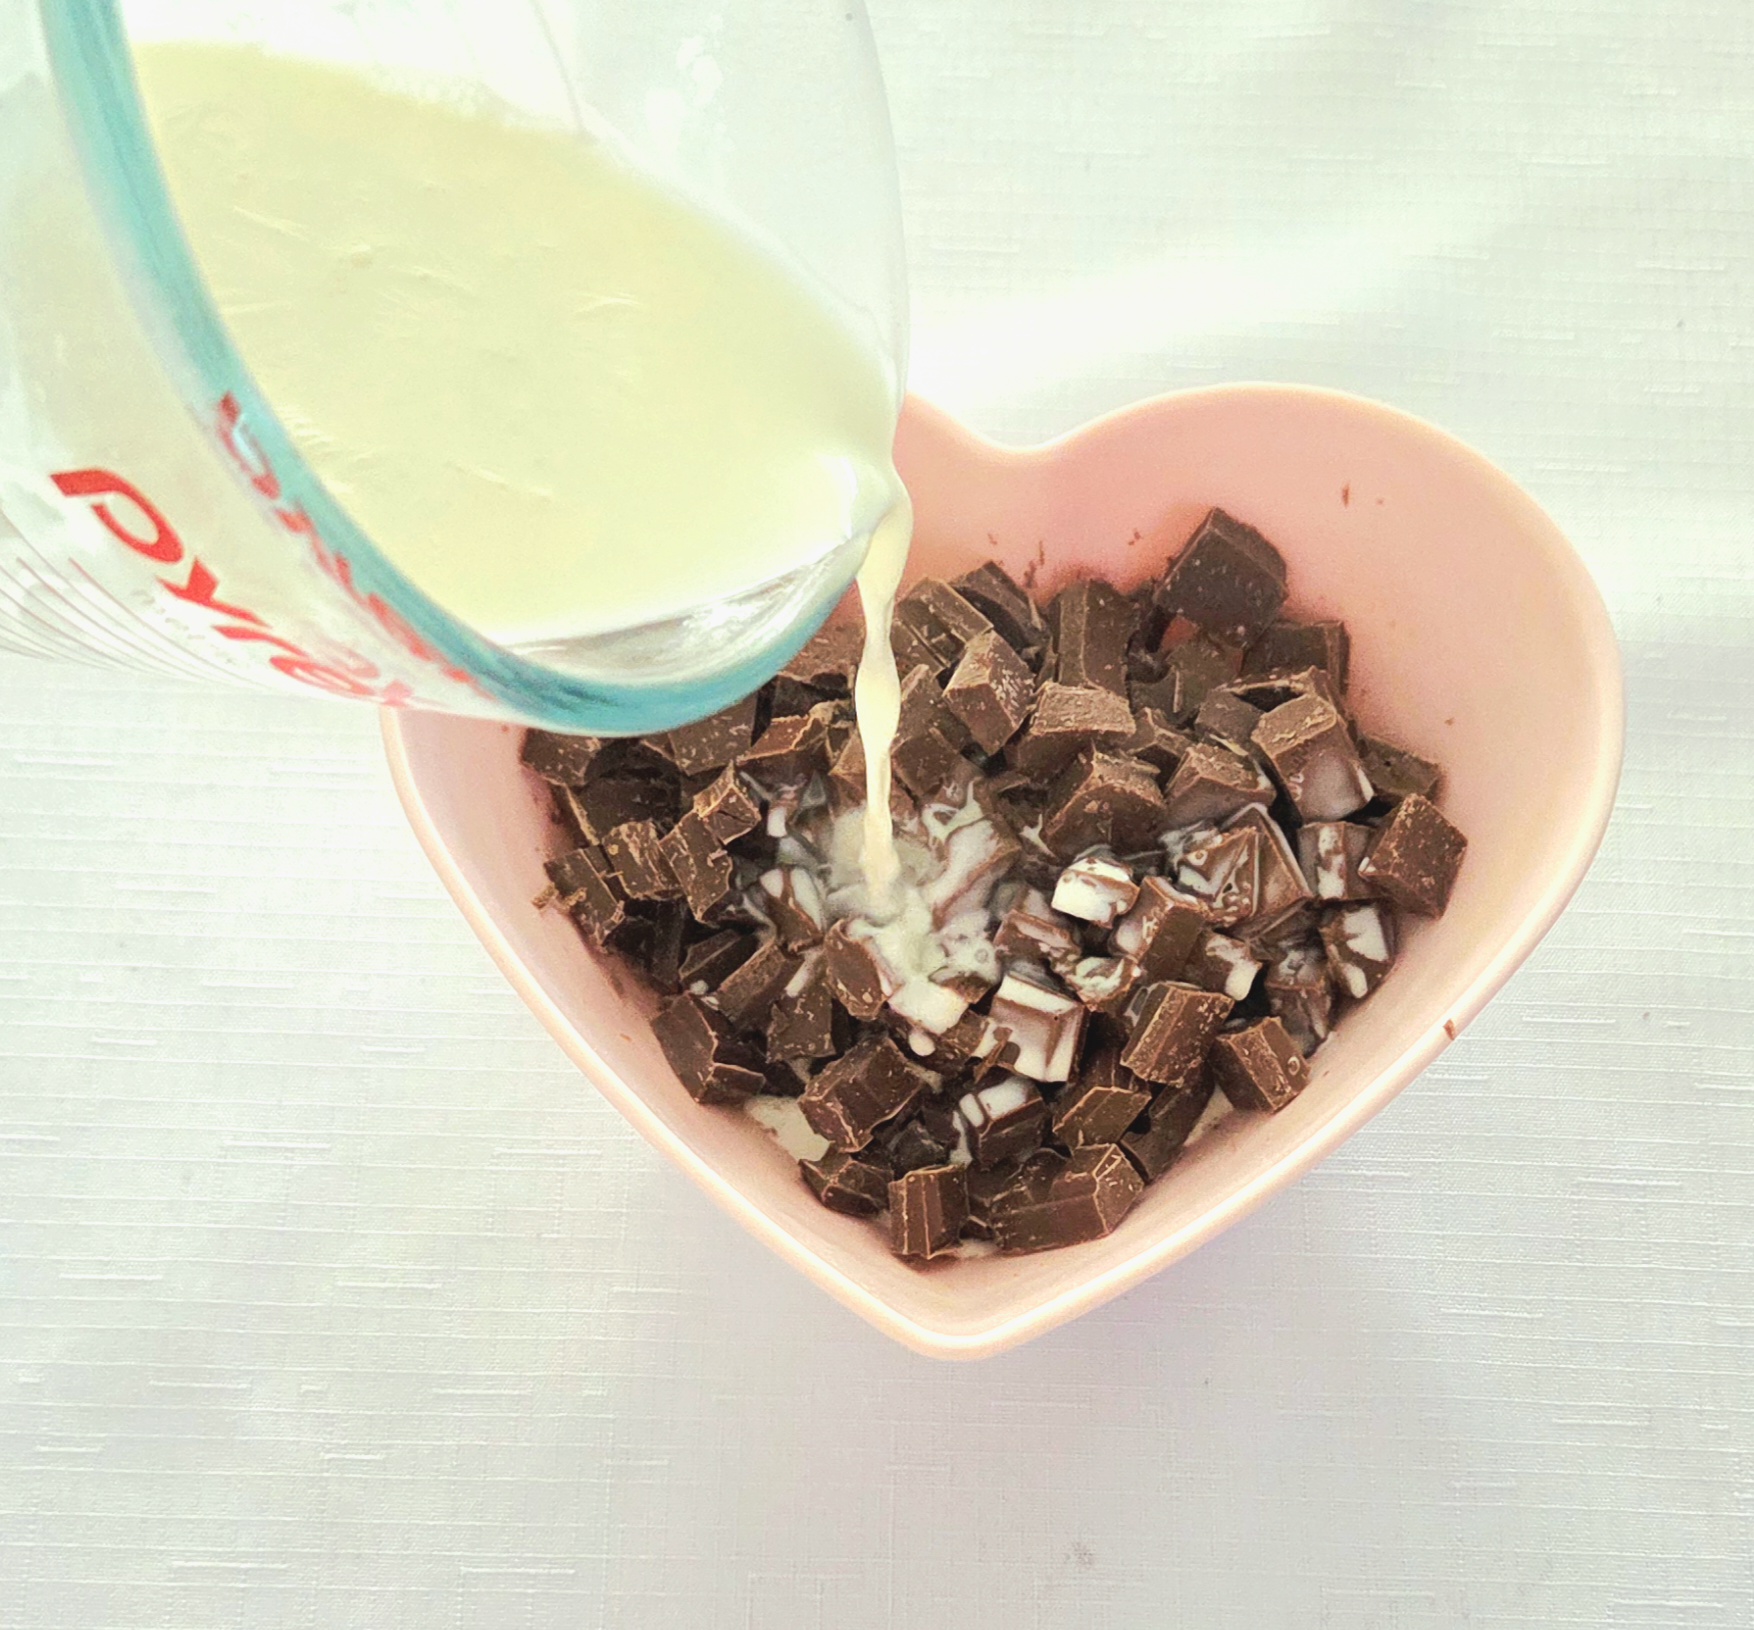
When I’m using such a small amount of cream and need it to come to a boil, I prefer to do so in the microwave. But if you’d prefer, you could do so in a small saucepan on the stove. Be sure to stand there and watch it the entire time. When dairy comes to a boil, it very quickly bubbles up over the sides. The laws of the universe dictate that the second you decide to take your eyes off of that cream, it’s guaranteed to boil over. So keep them glued to that cup. Once boiling, remove it from the microwave and pour the cream over the chocolate.
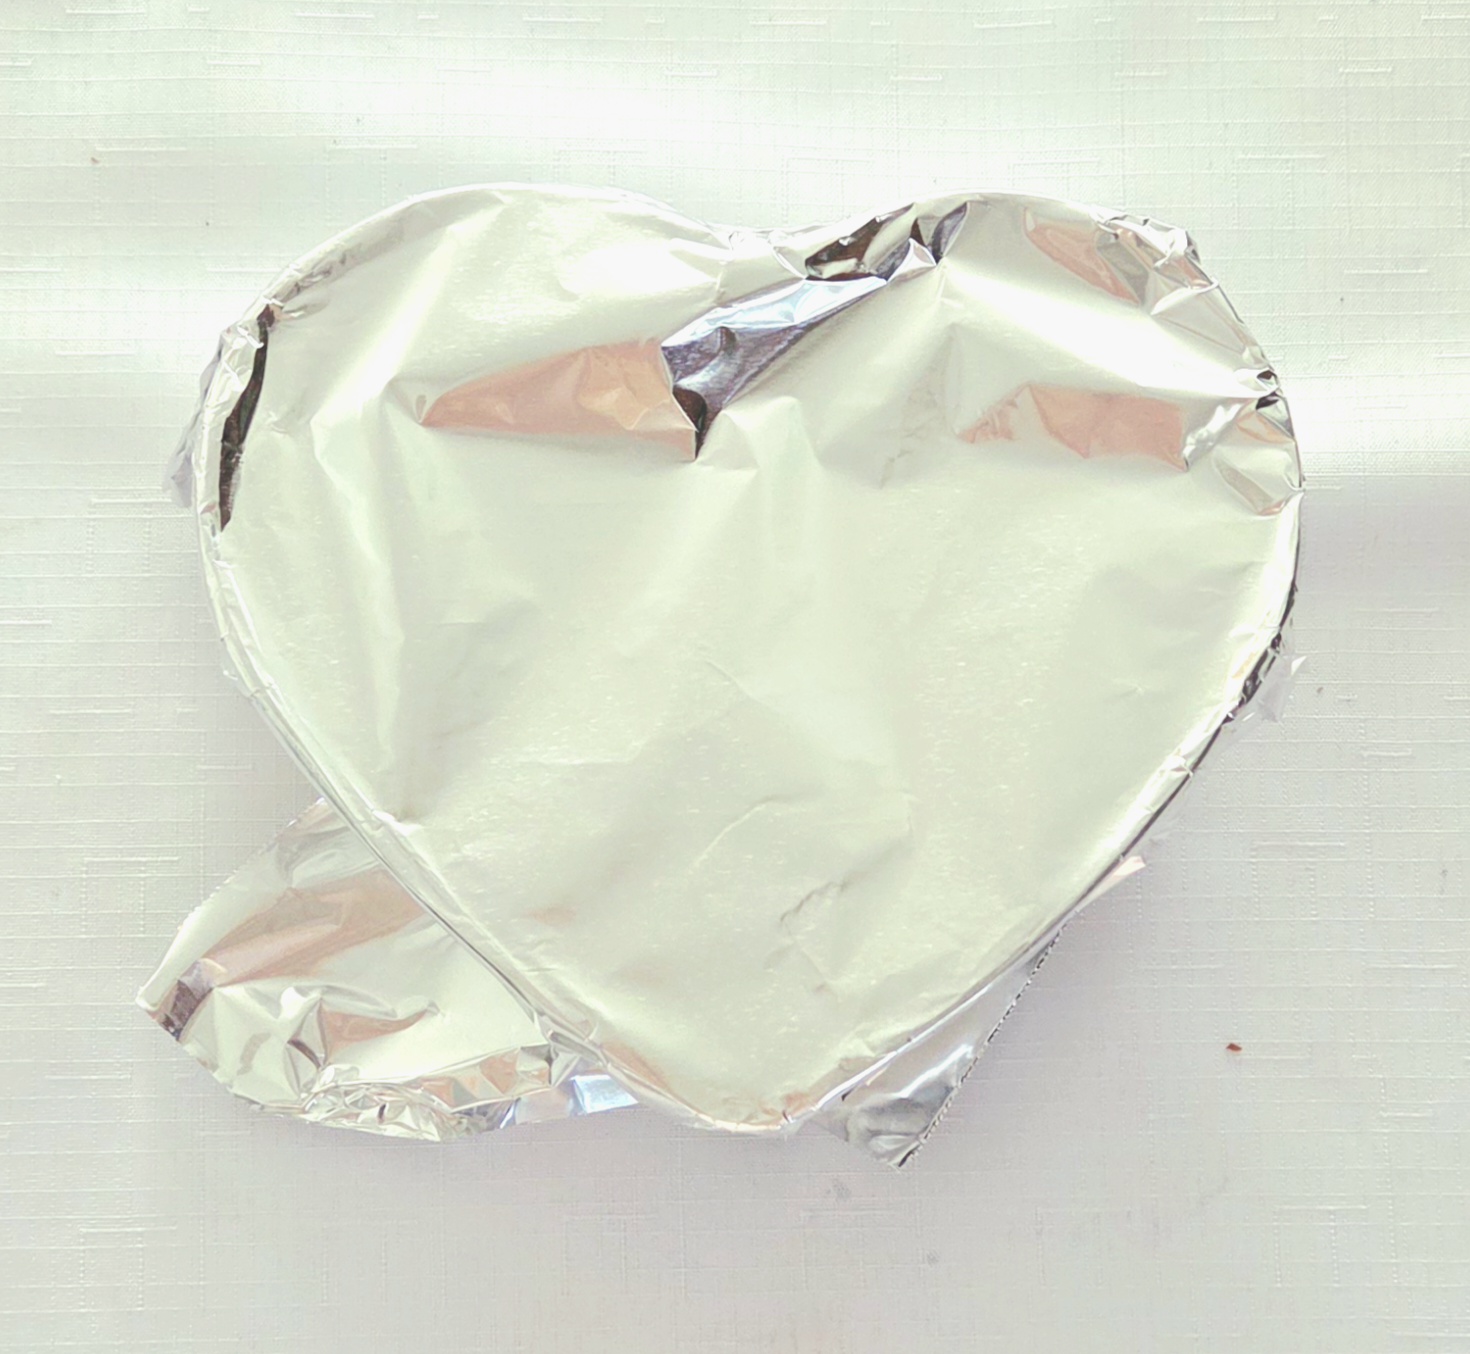
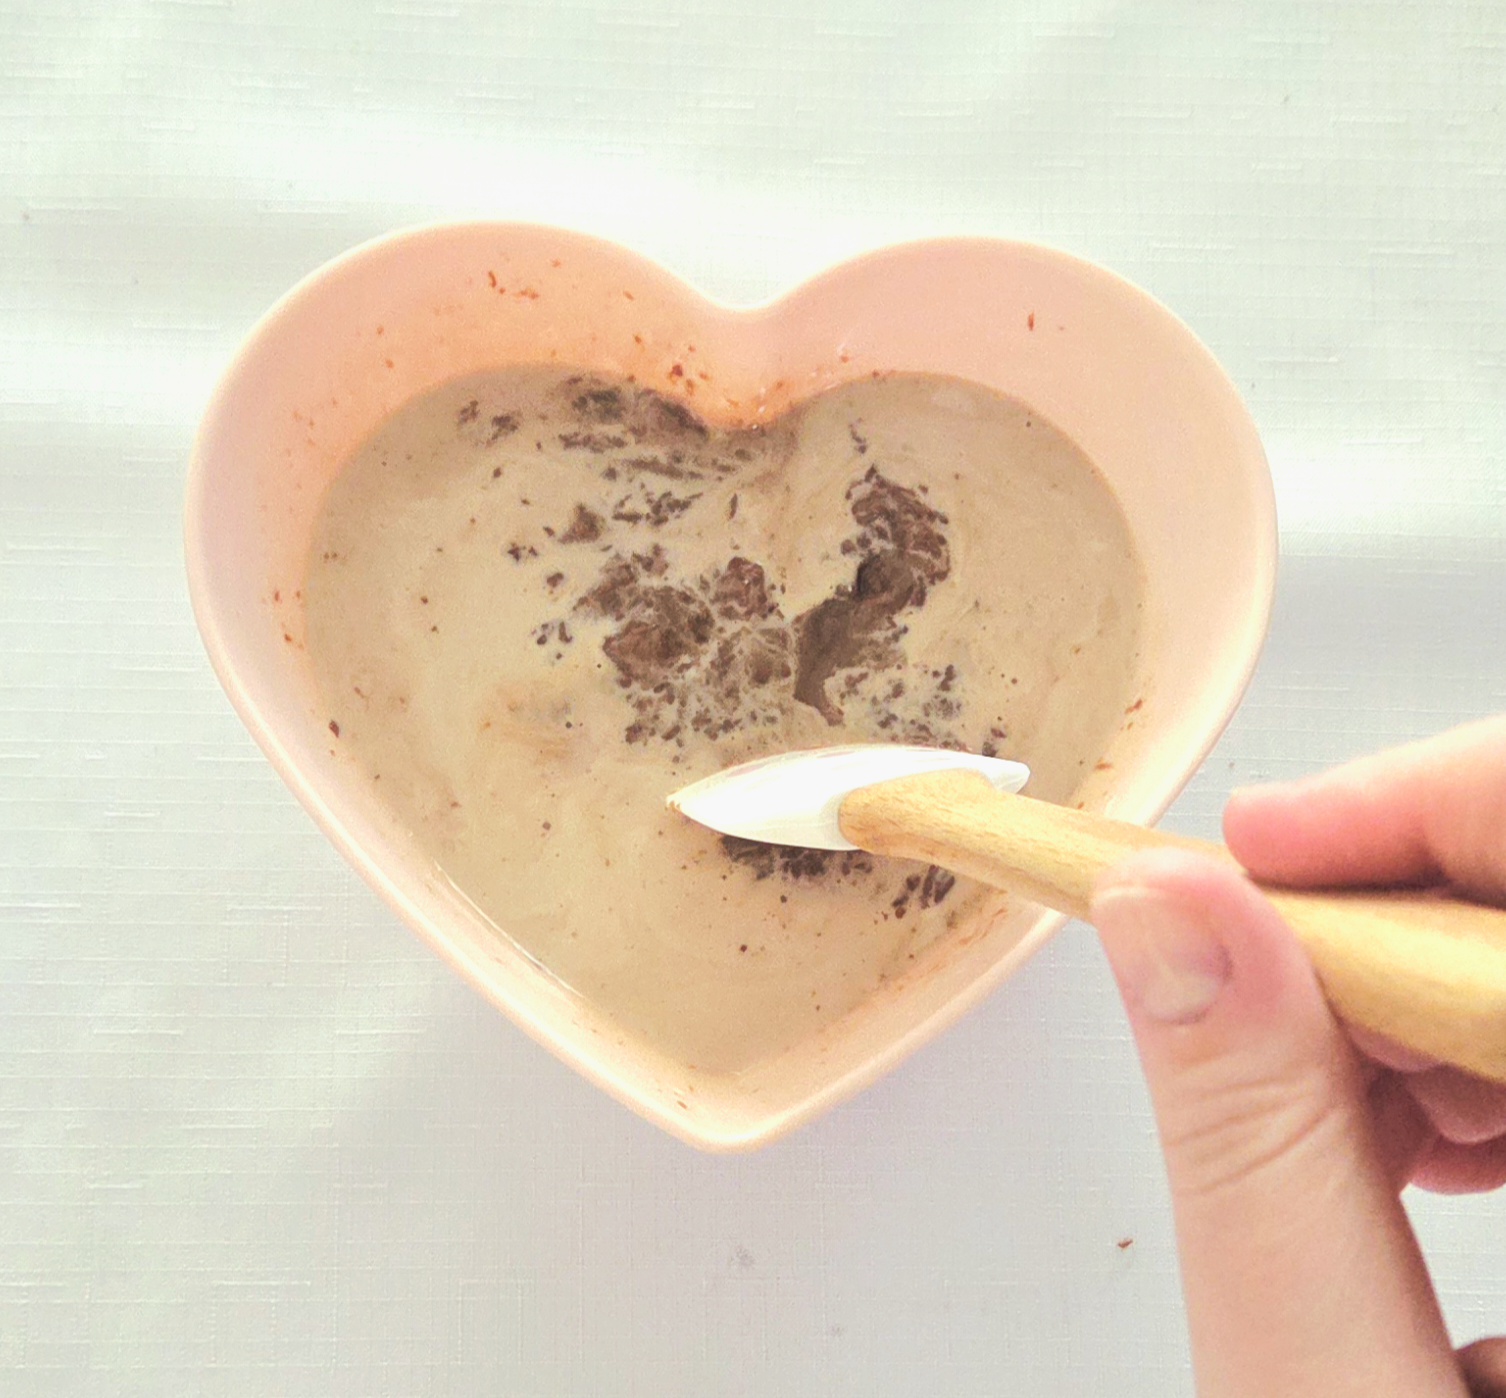
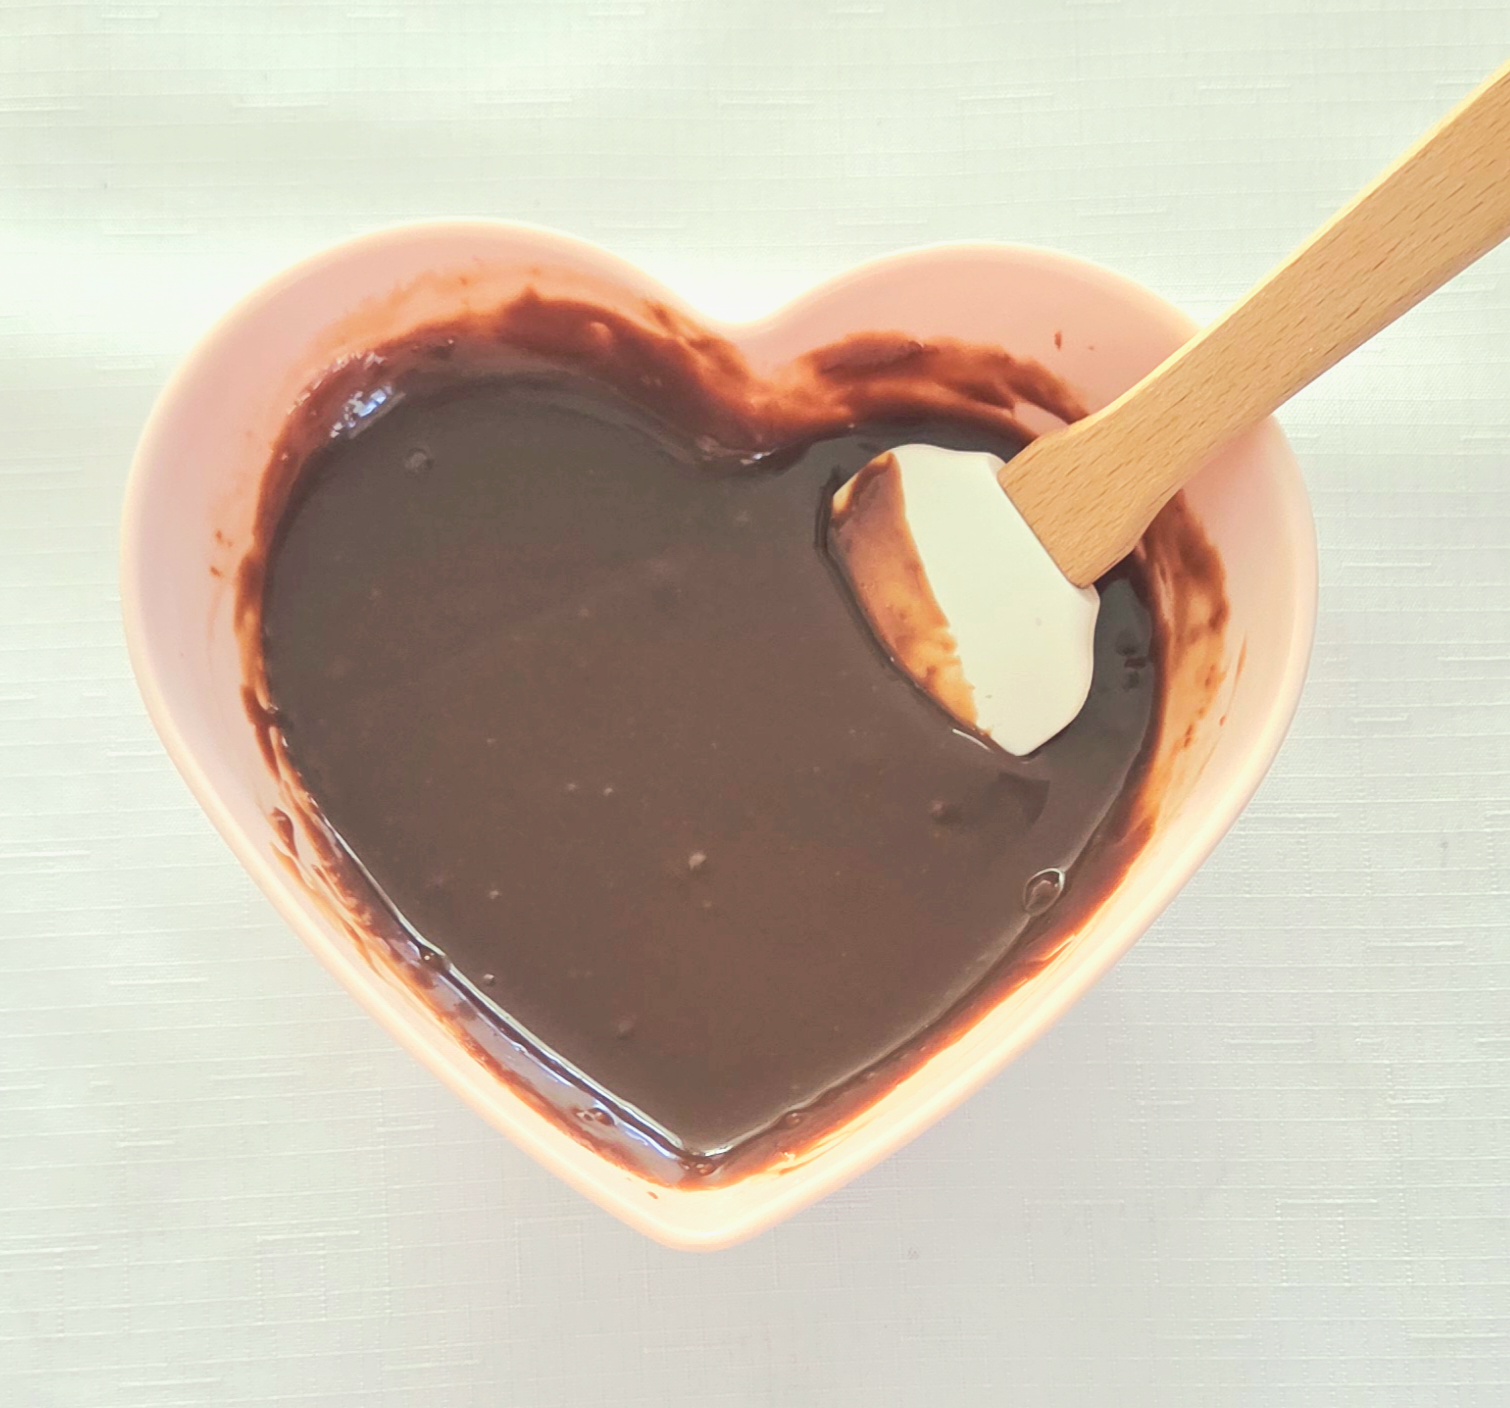
Cover the bowl using either a plate or aluminum foil for a few minutes. The cover traps the heat, forcing the chocolate to melt. Uncover the bowl again and, using a rubber spatula, begin stirring the cream and chocolate together in small circles in the center of the bowl. As you see the ganache begin to come together, speed up your mixing a bit until everything is smooth and homogeneous.
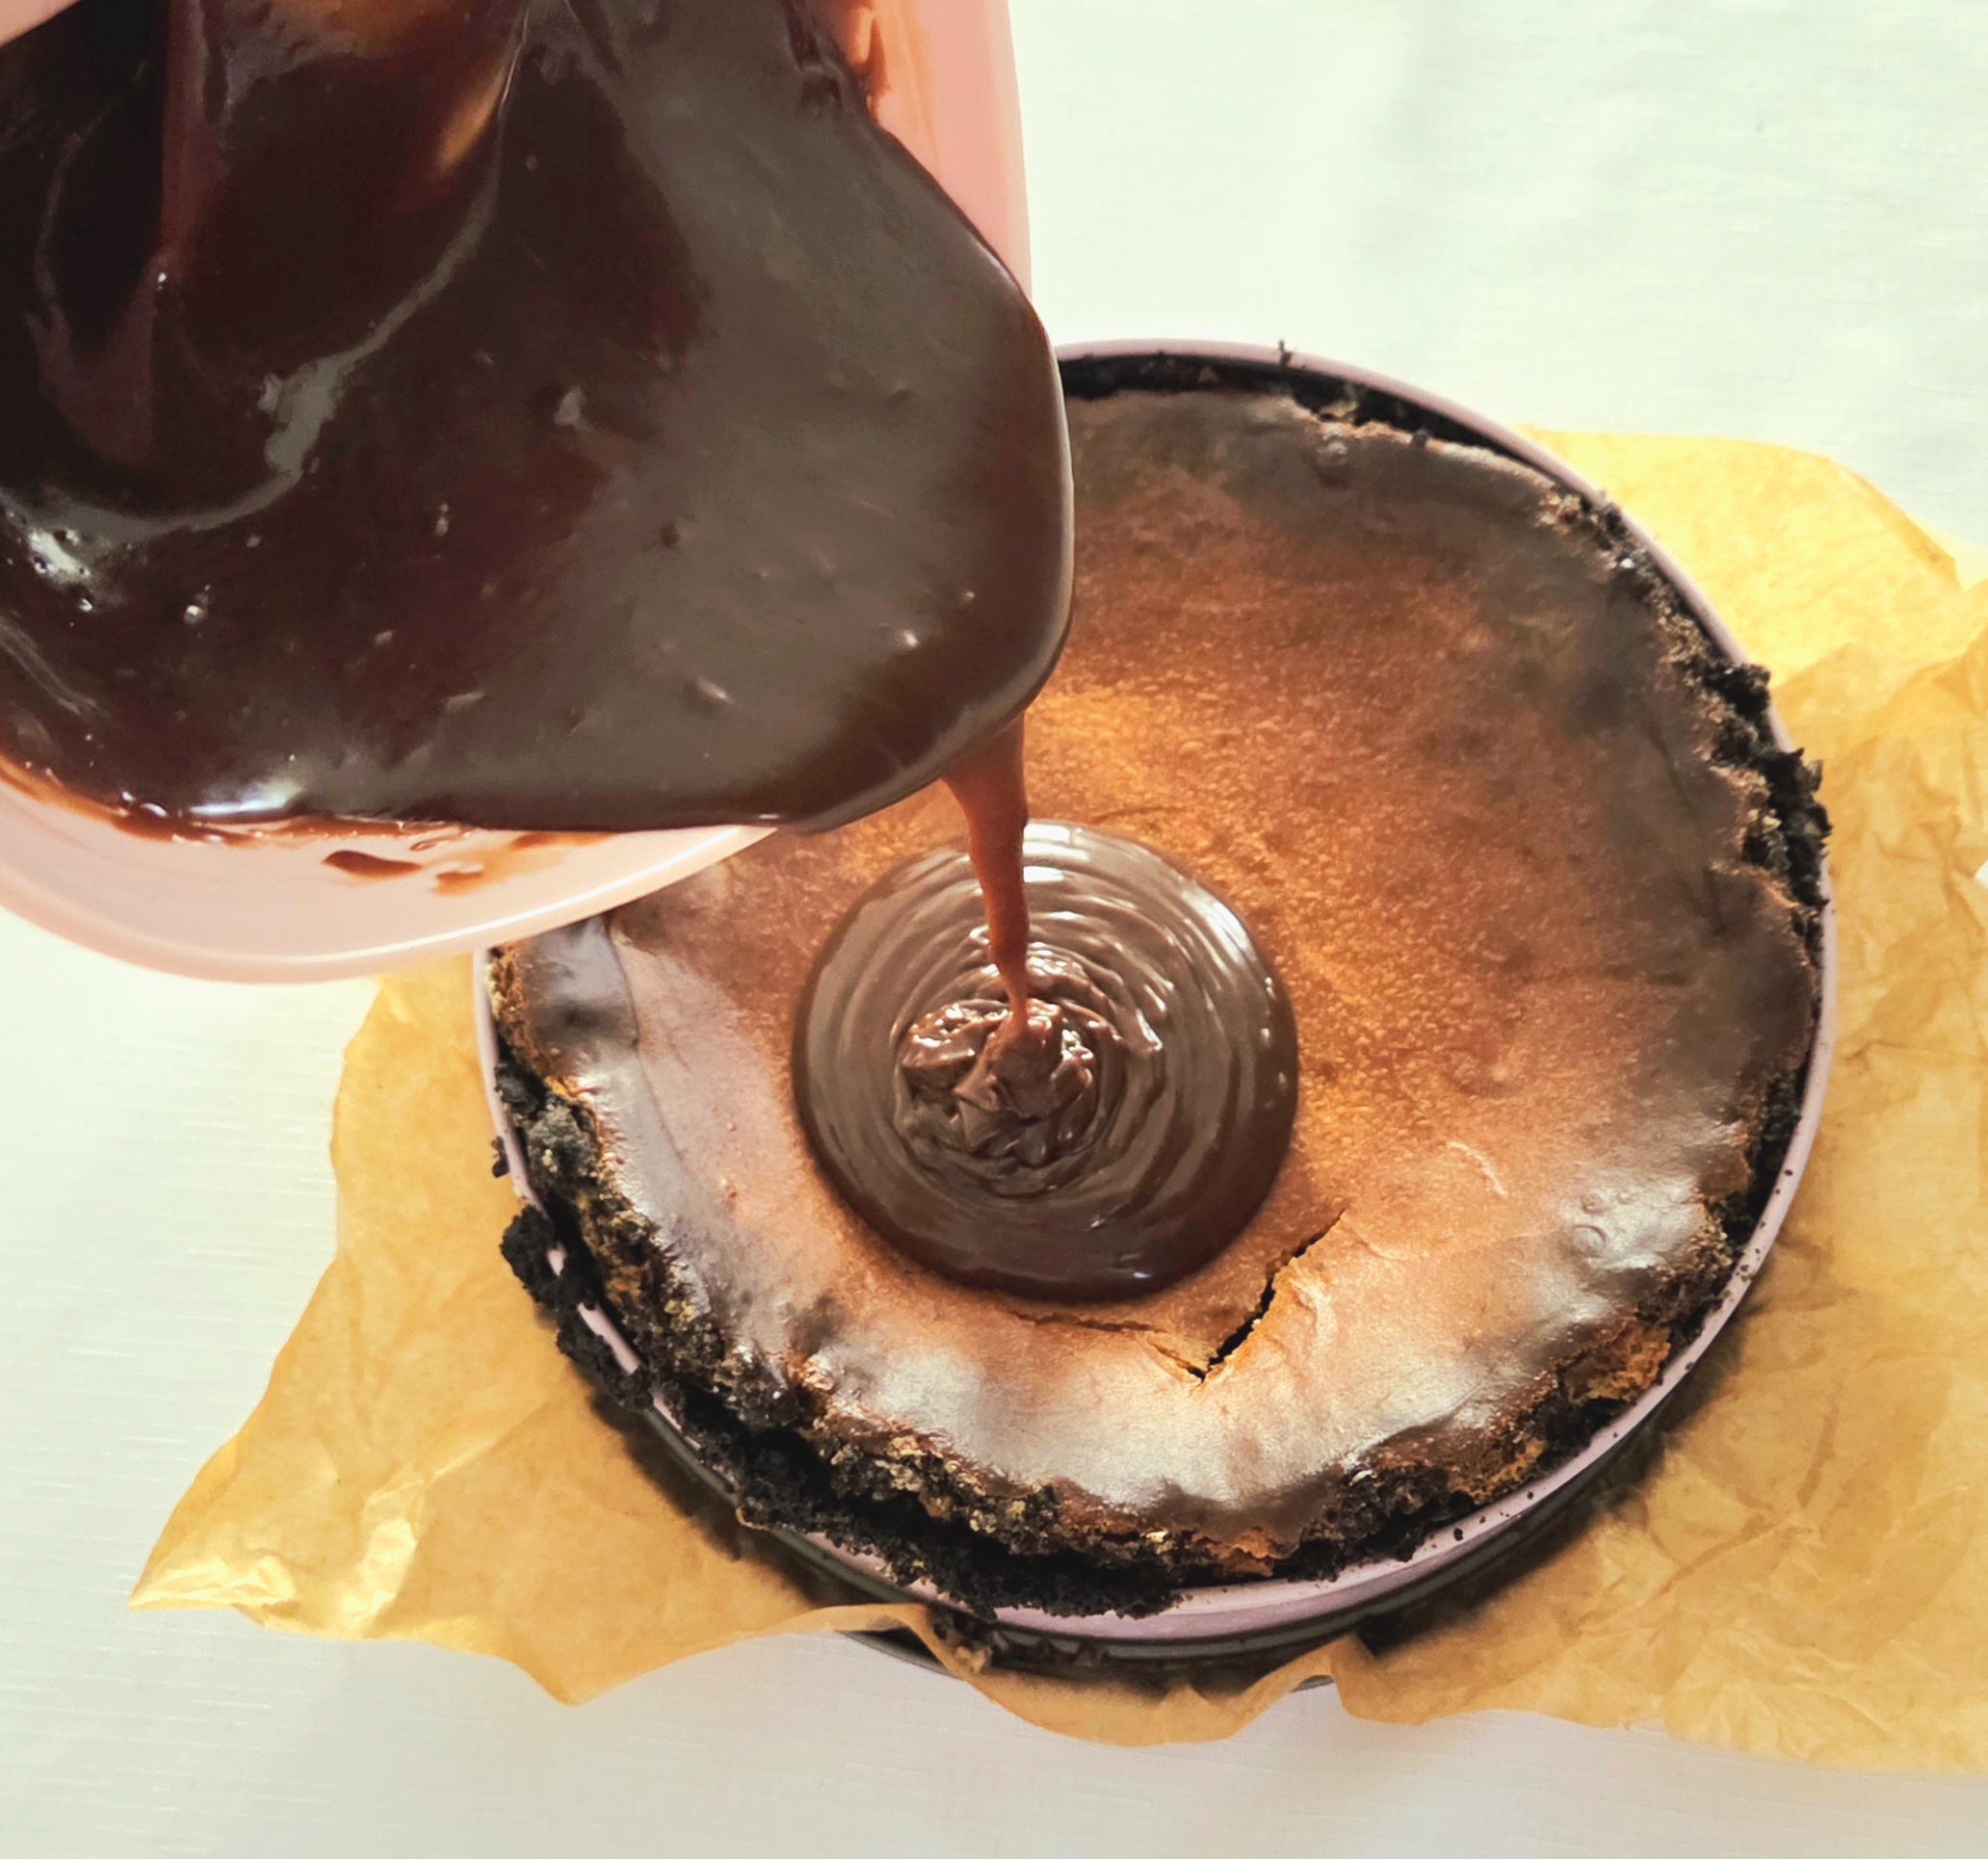
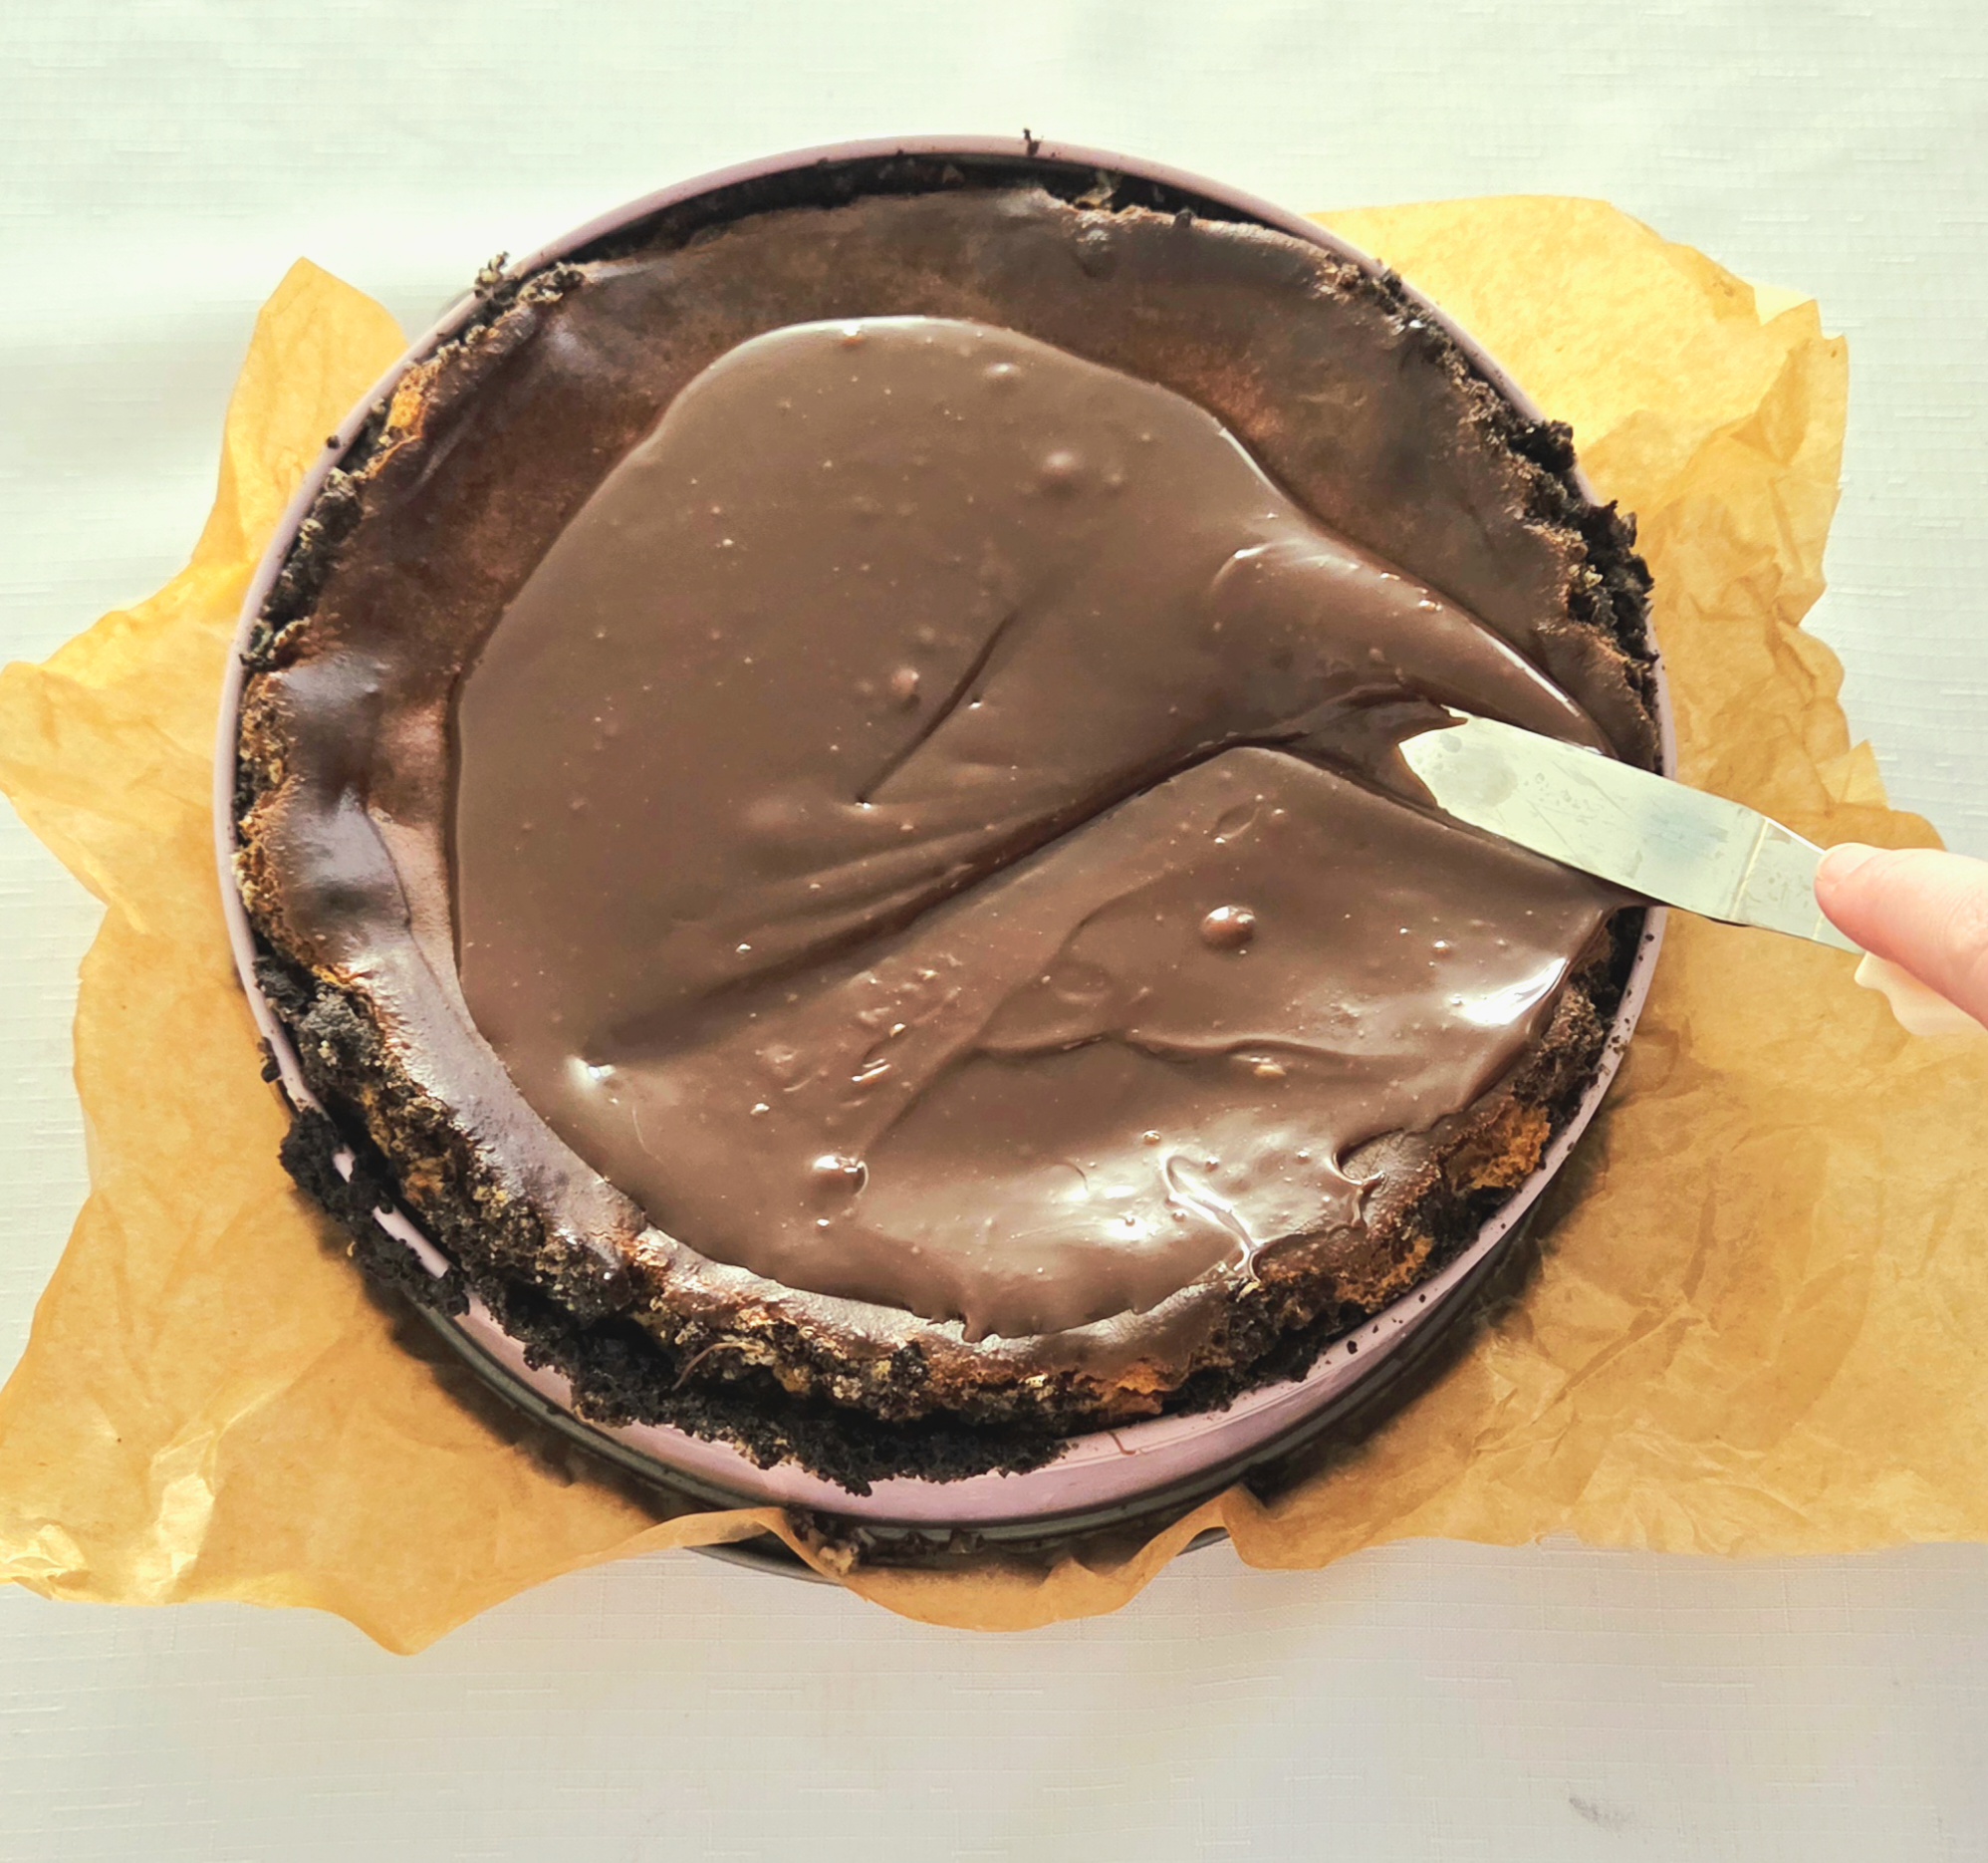
Starting in the center of the cheesecake, pour the ganache on top. Using an offset spatula or the back of a spoon, spread the ganache so it’s covering the entire top of the cheesecake. If your cake happened to crack in the baking process, this is the perfect way to disguise that mishap.
Whip the Cream
Now, making whipped cream can be done either using a mixer or, with a little elbow grease, using a whisk and a dream. I’ve done both, depending on the equipment at my disposal. Your arm will be sore, but your pride will be high.
Though assuming you aren’t in a masochistic mood, pour the cold cream into the bowl of your stand mixer. Using the whisk attachment, whip the cream starting on level 1 and slowly increase the speed for 4-5 minutes. It should get thick, but not be able to hold a peak yet.
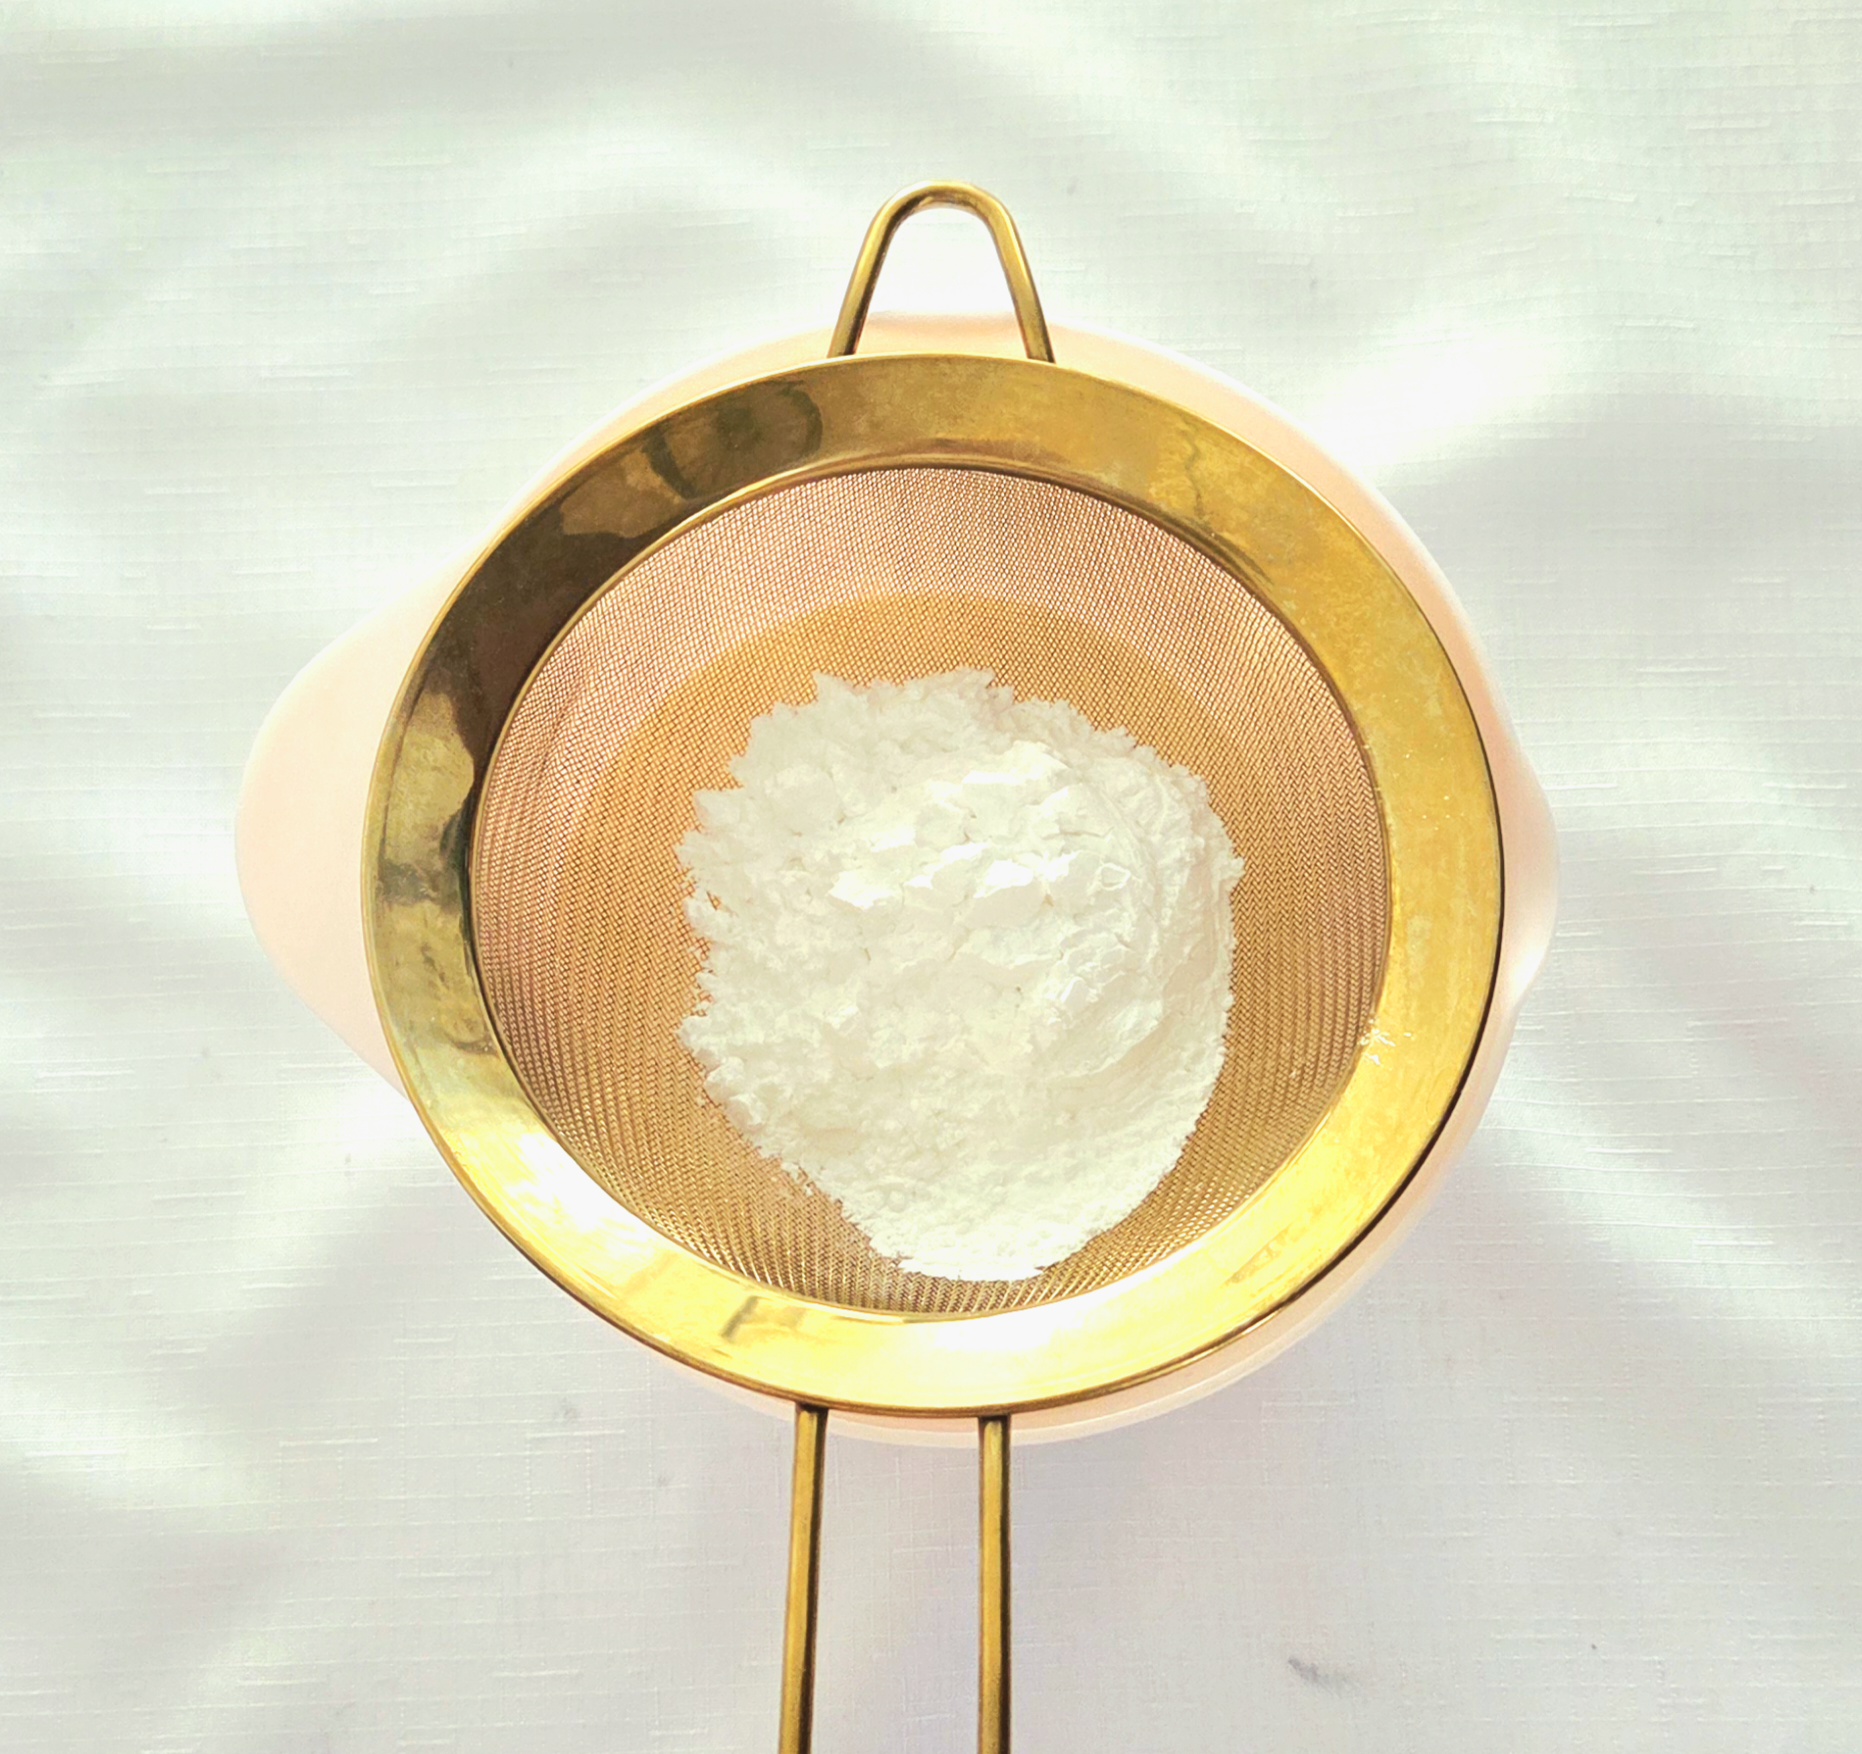
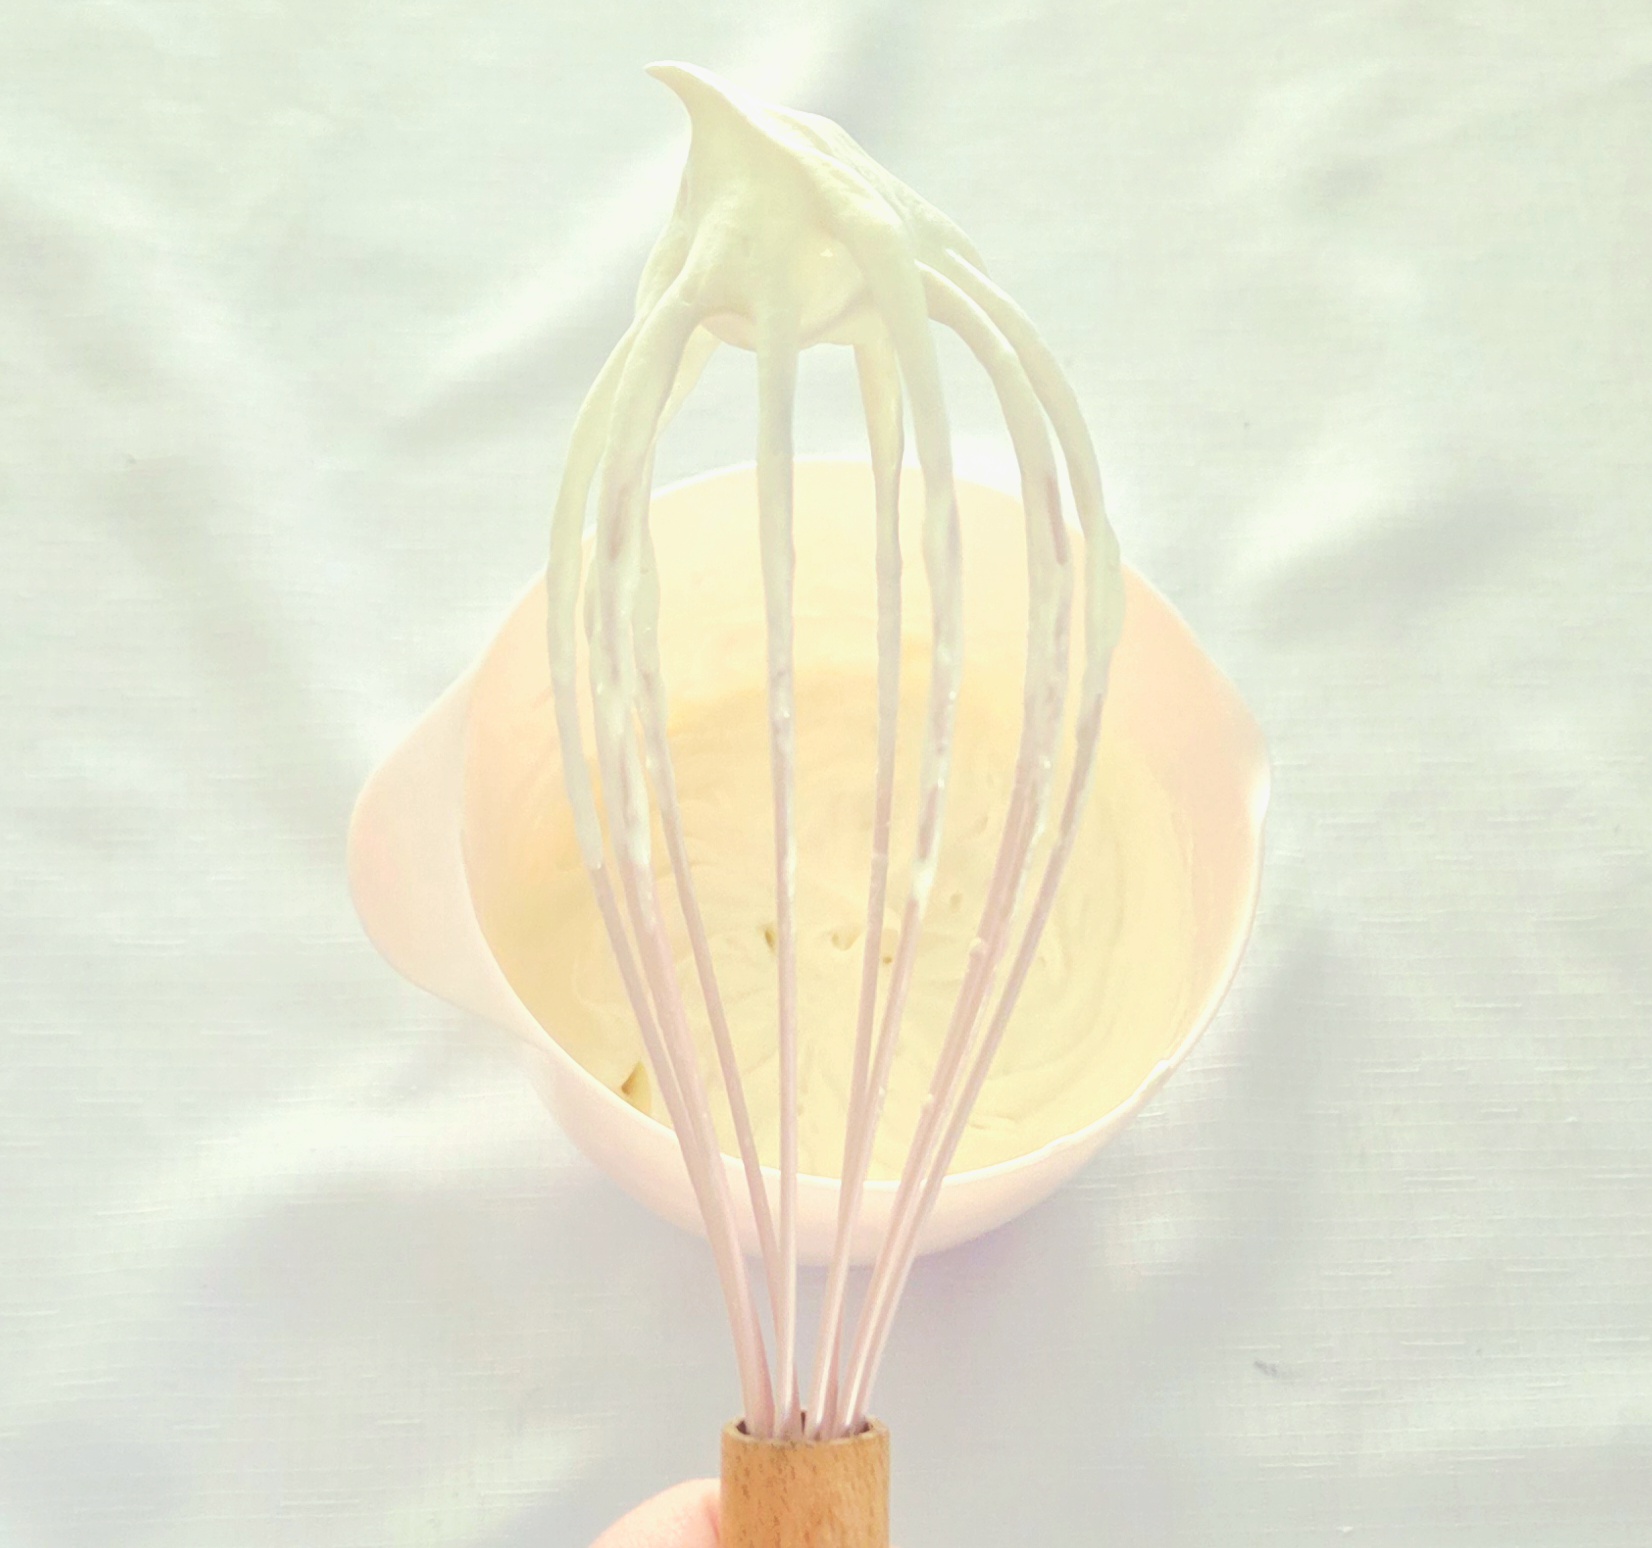
Briefly turn the mixer off and remove the bowl from the stand. Sift the powdered sugar over the cream, then add the salt and vanilla extract. Return the bowl to the stand and slowly bring the speed back up to high again until the whipped cream has reached medium peak stage.
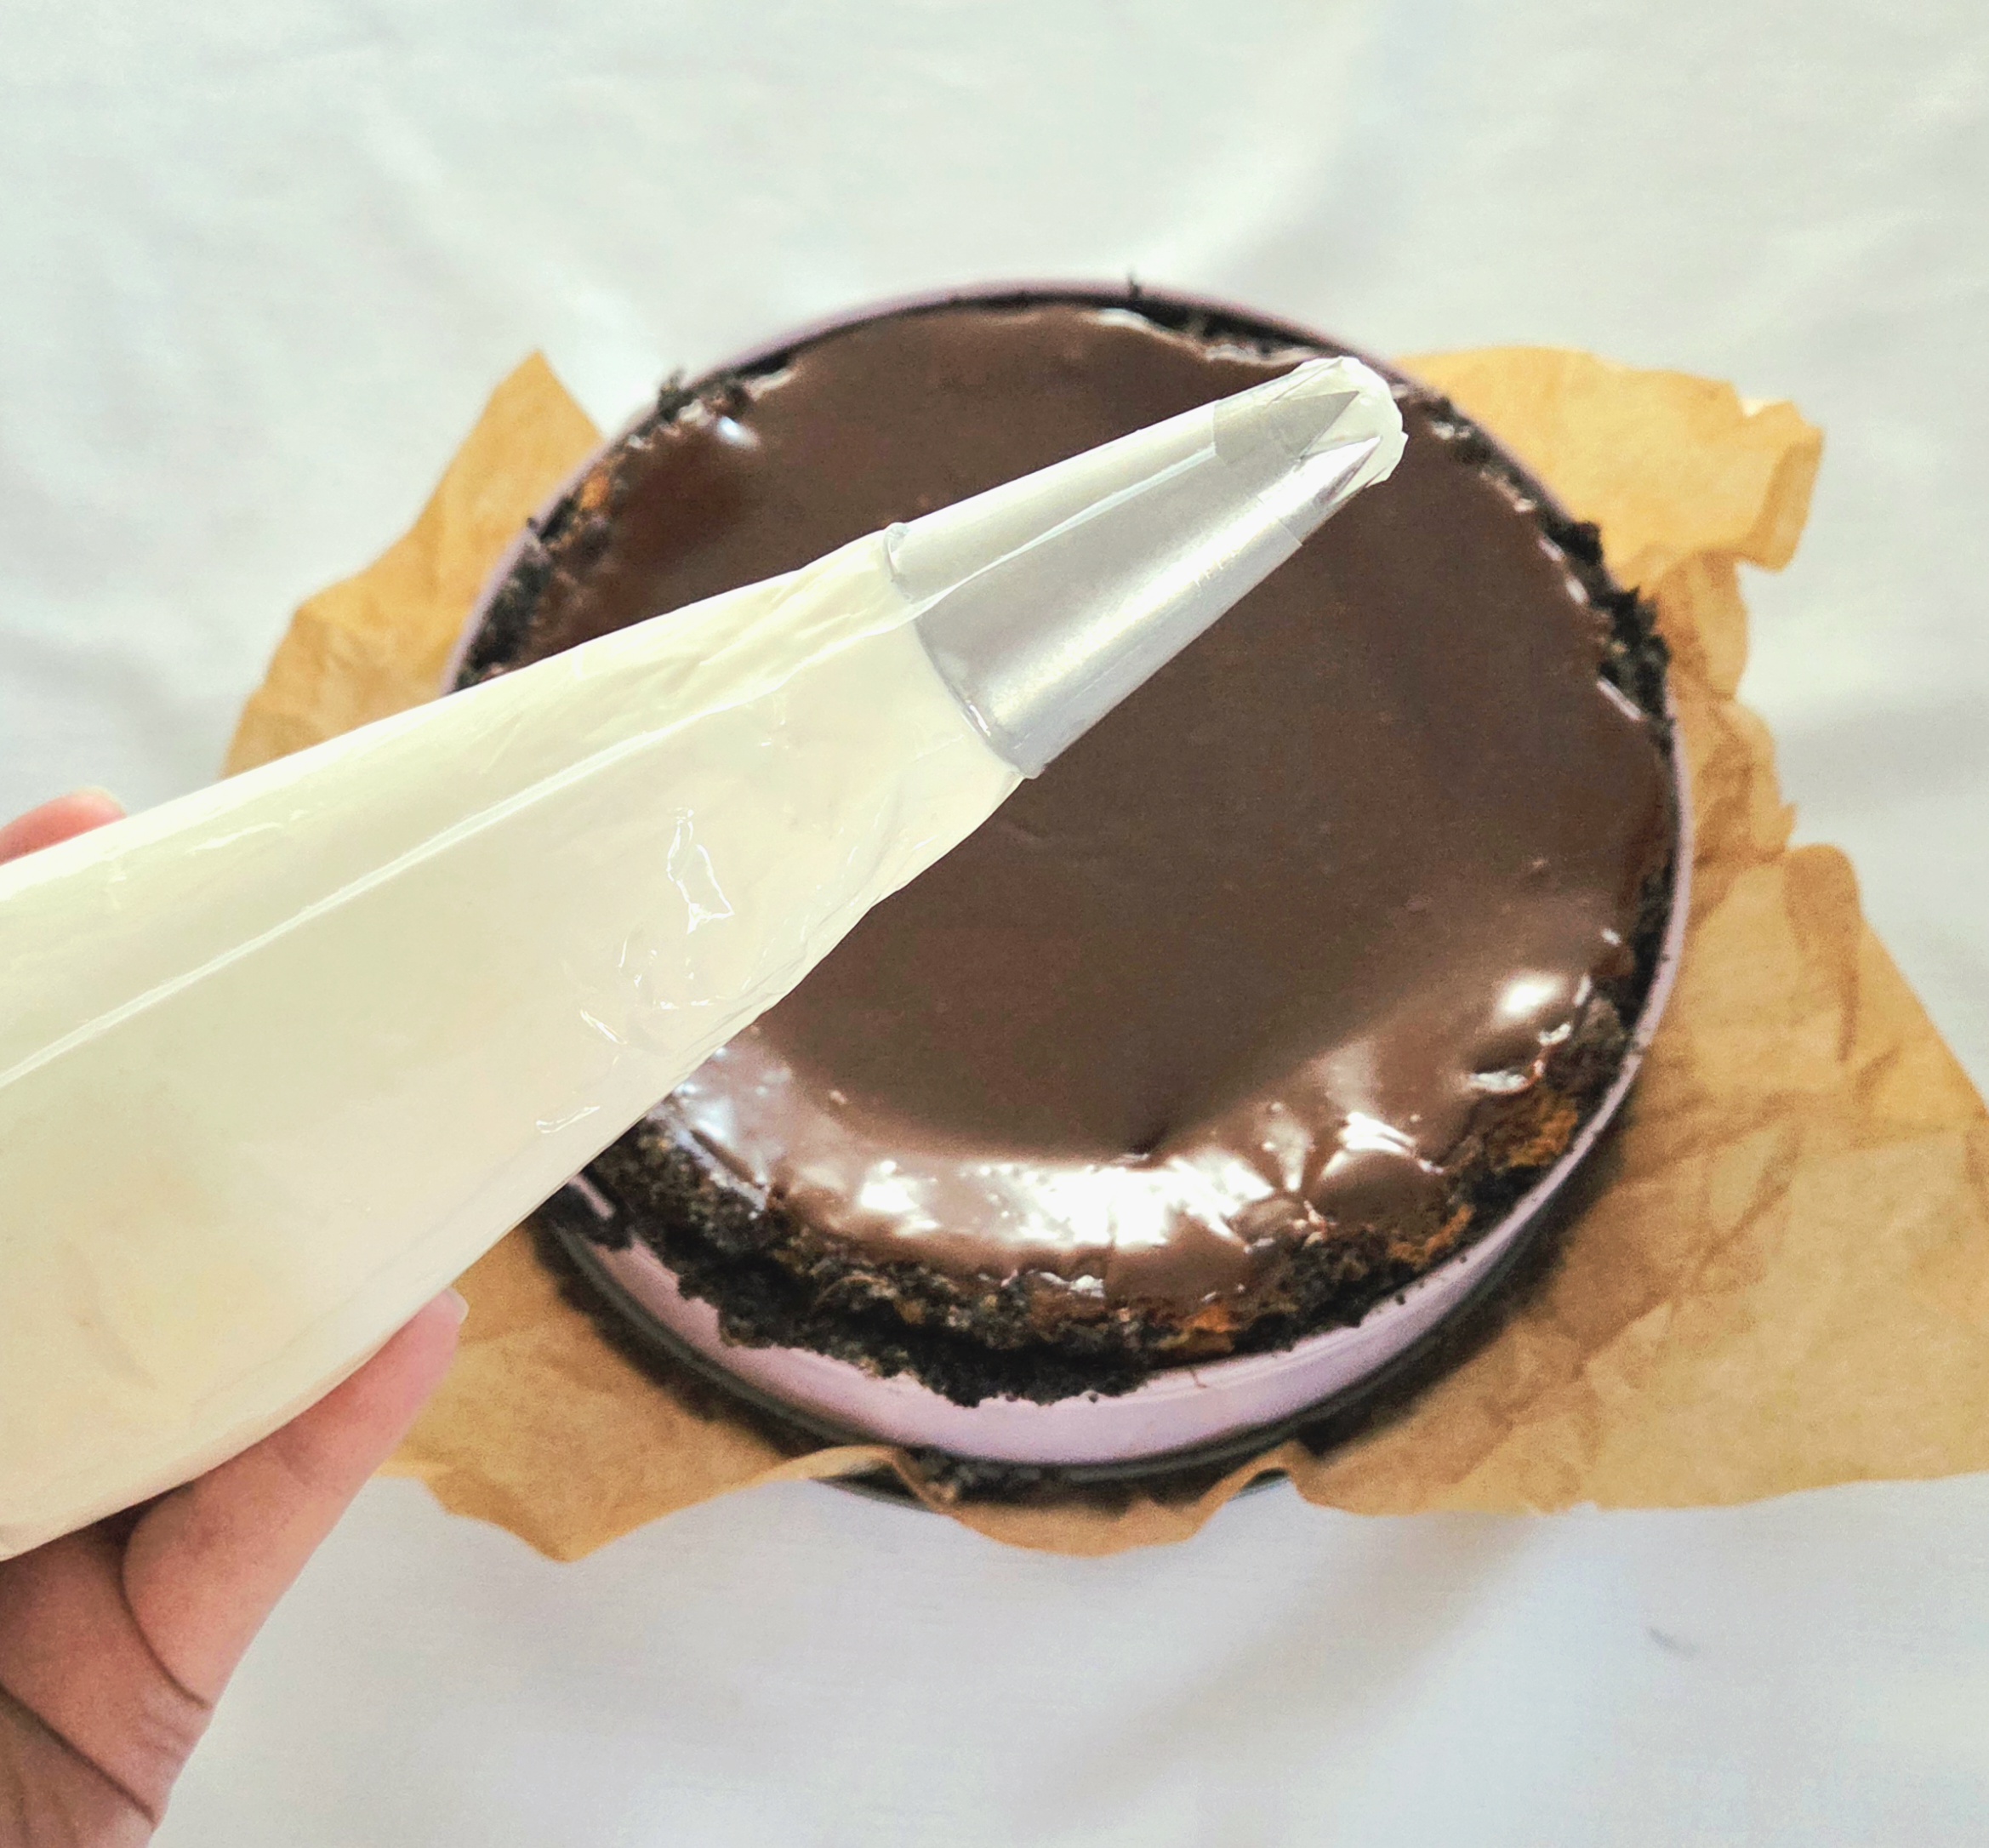
Fit a large piping bag with a star tip and transfer the whipped cream into it. Pipe 16 rosettes around the rim of the cheesecake, or however many you’d like to.
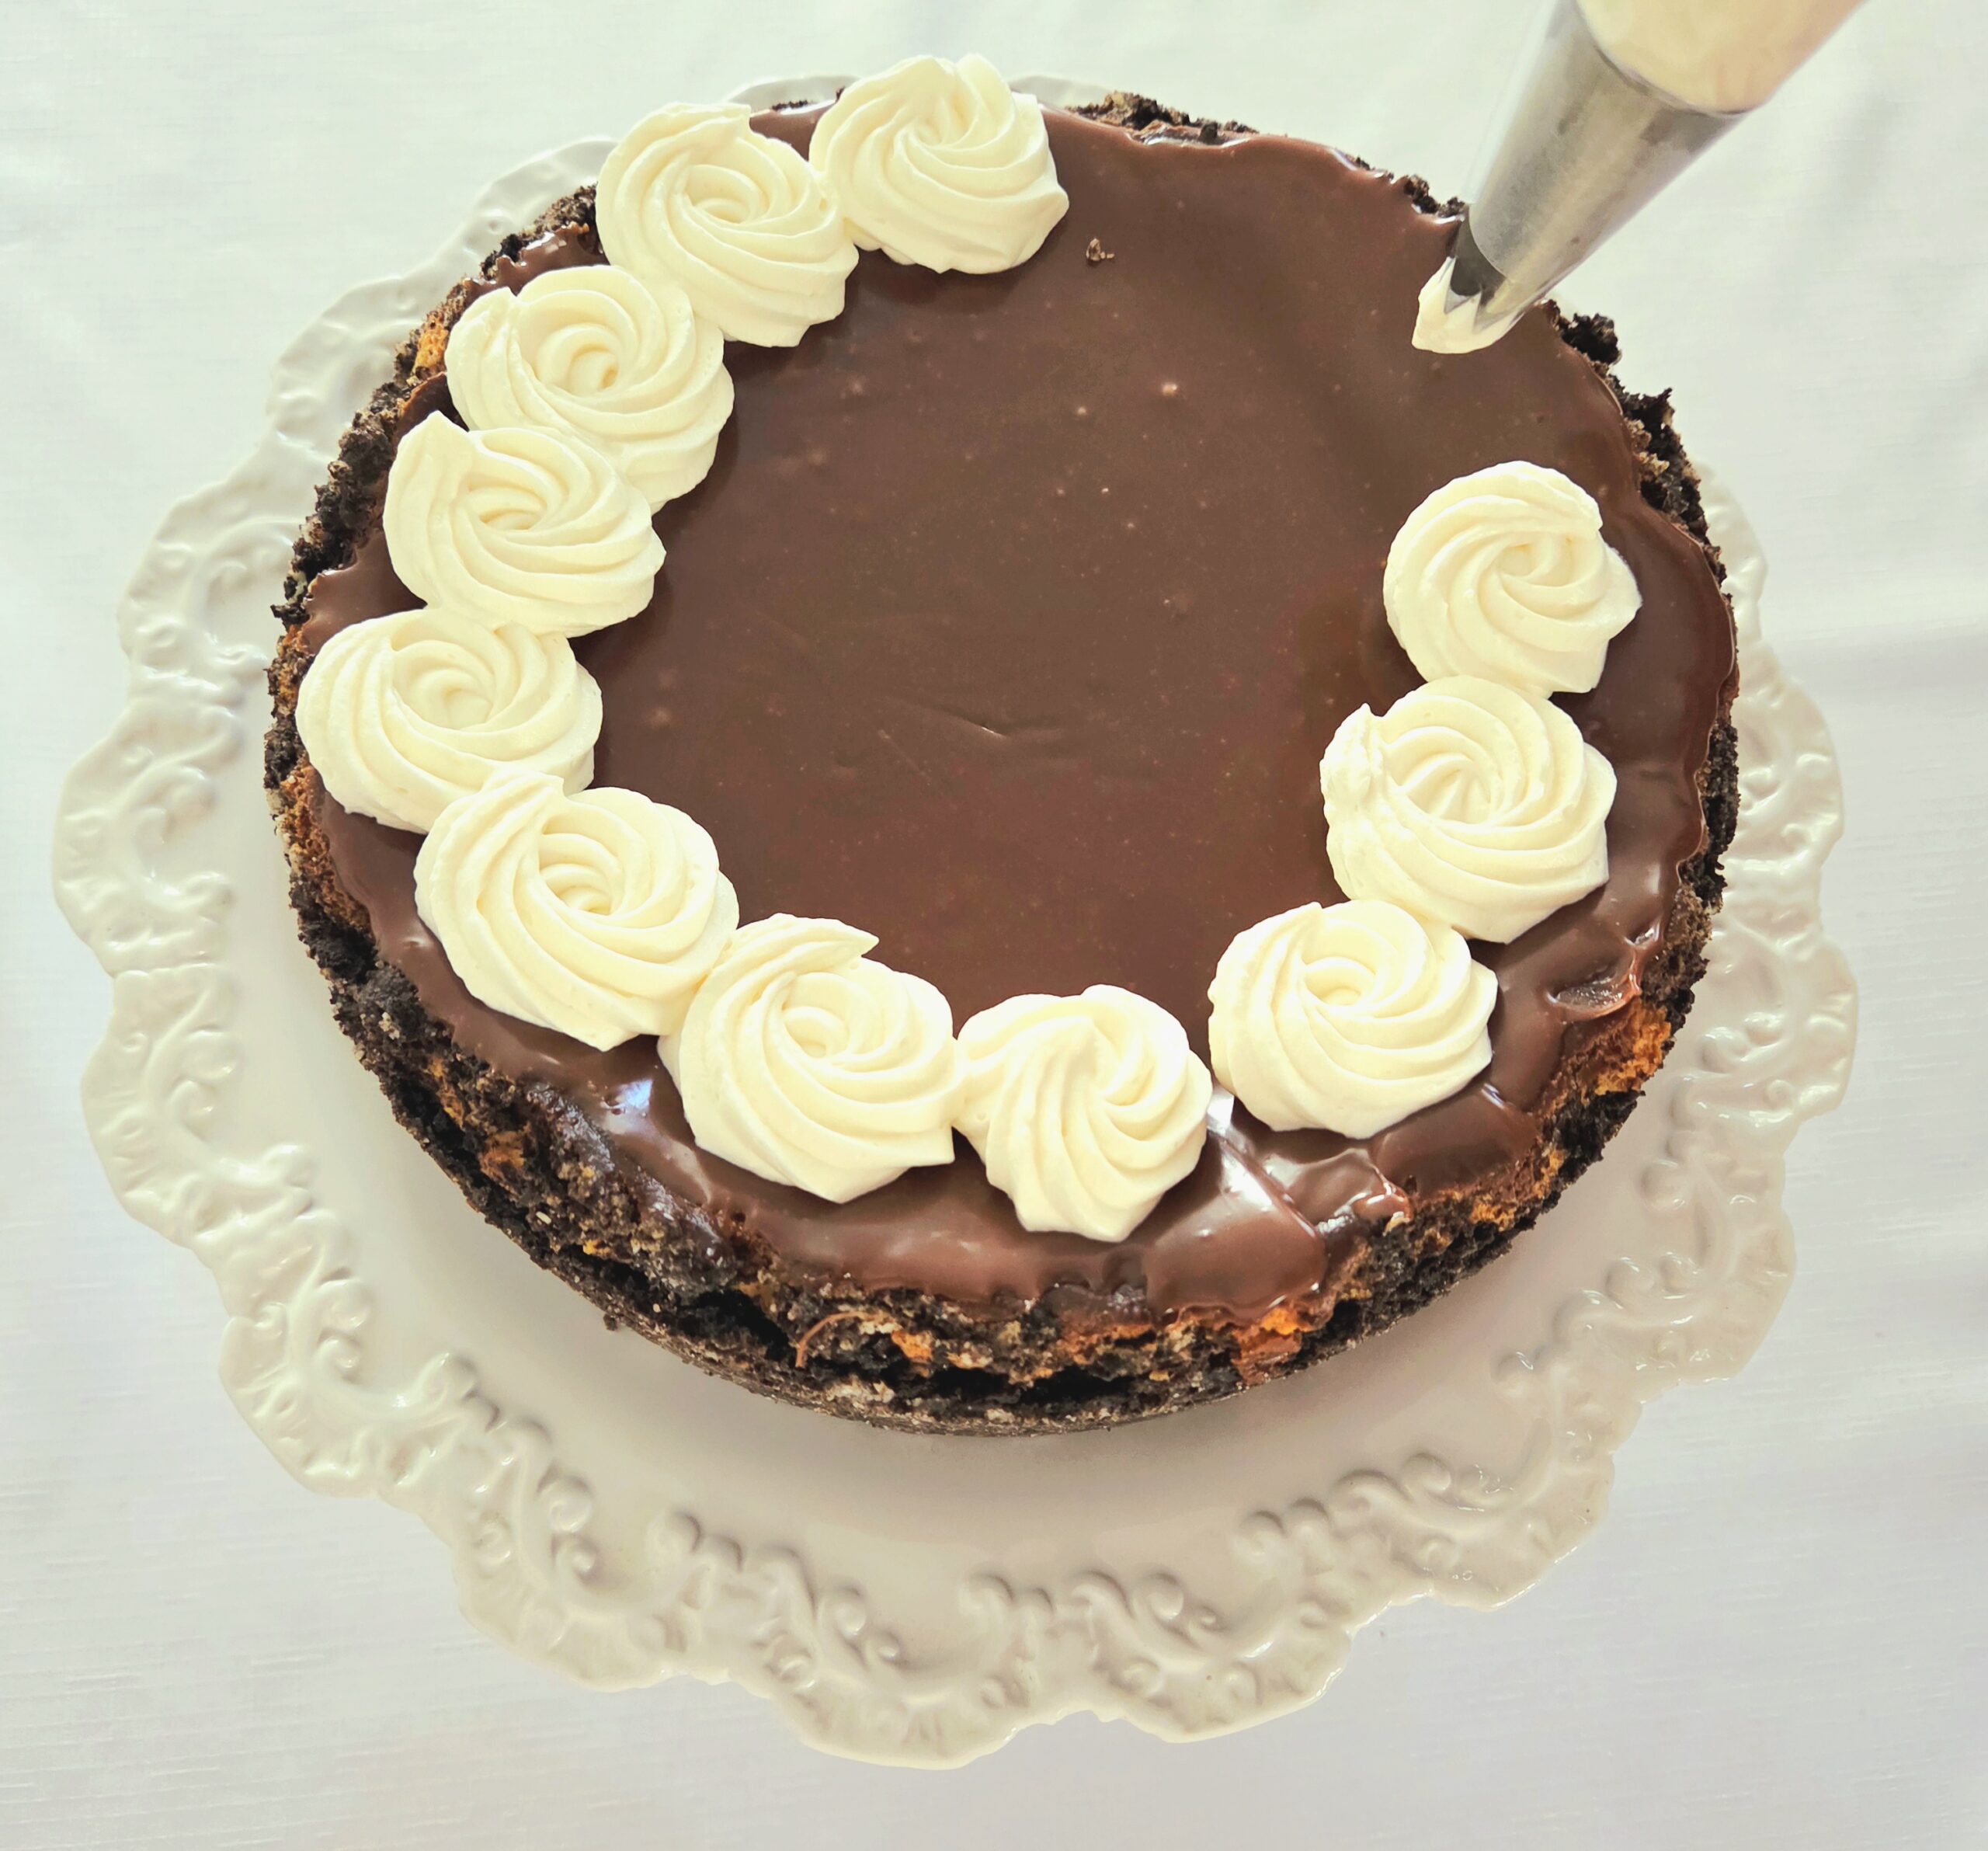
Garnish each rosette with either a peanut butter cup or chocolate sandwich cookie. I’m partial to alternating between the two, but whatever tickles your fancy is best.
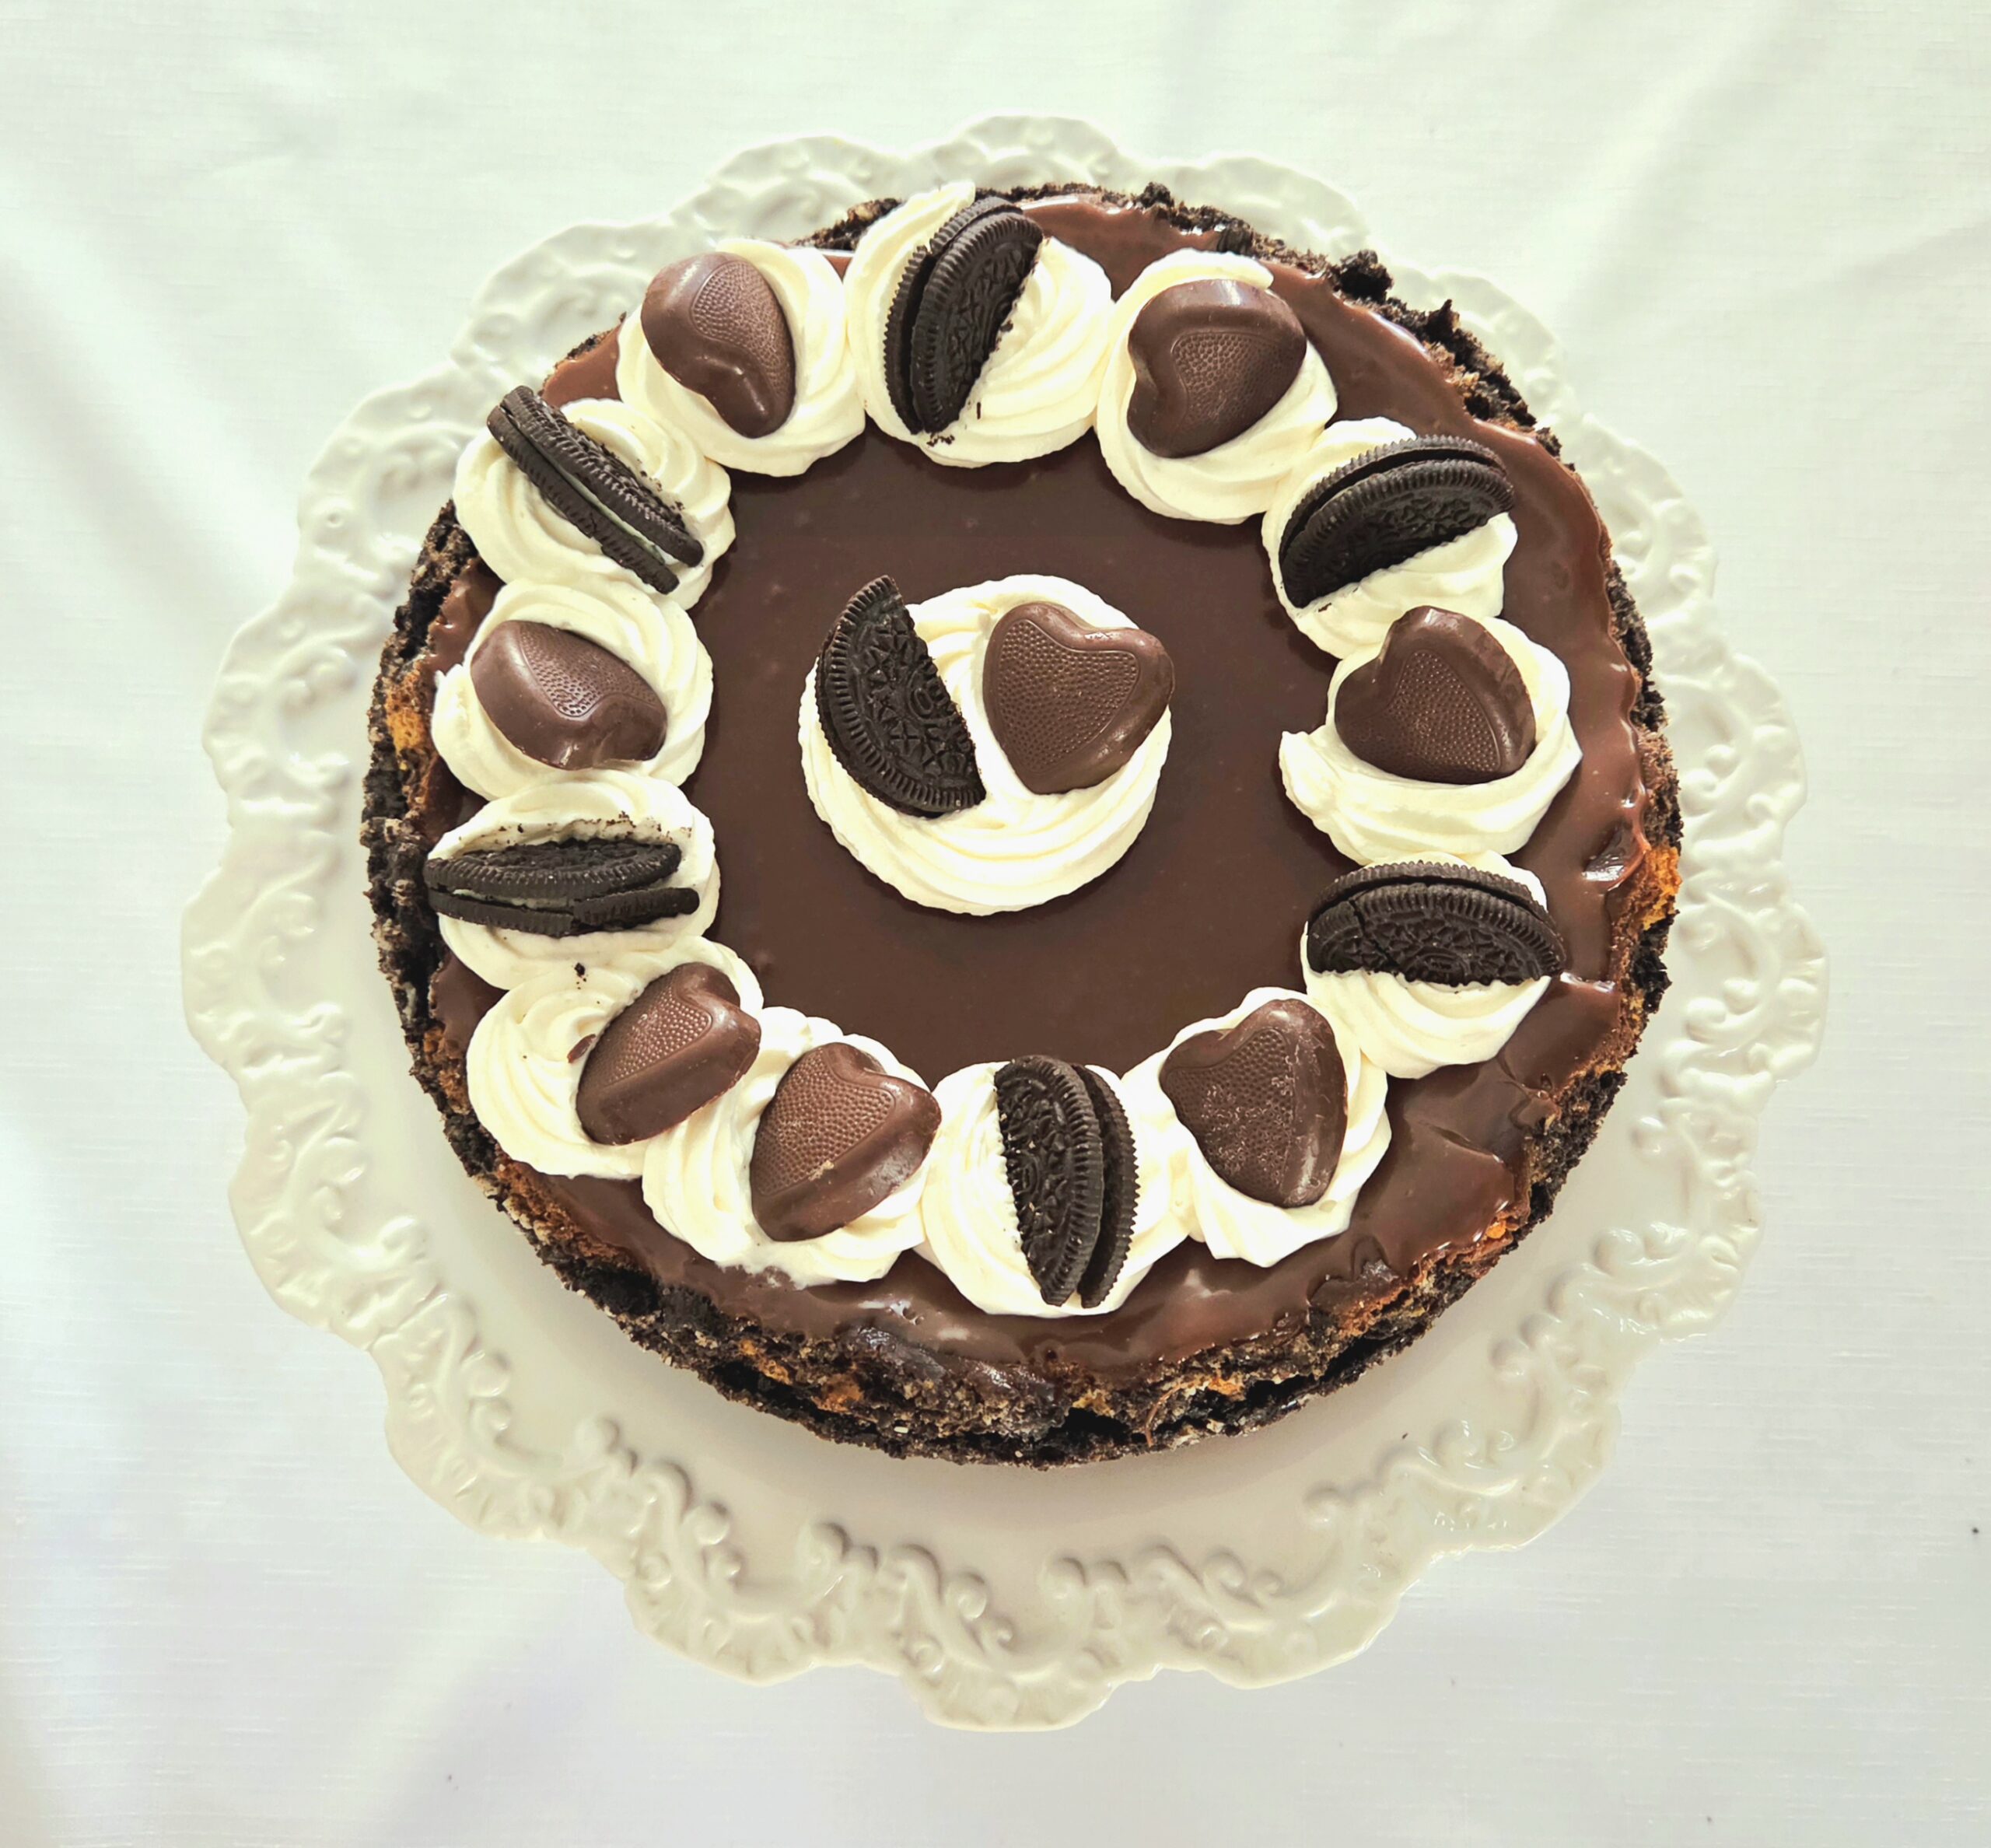
Slice the cheesecake into 16 portions, or however many you’d like to. Serve and enjoy! Store any leftover cheesecake in an airtight container in the fridge for up to 3 days.
Peanut Butter Cheesecake
Bake Time: 350F for 70-75 minutes
Servings: 16 slices
Total Time: 6 hour 30 minutes
Prep Time: 1 hour
Ingredients
Crust:
- 3 sleeves of chocolate sandwich cookies
- 10 Tablespoons unsalted butter
- 1/3 cup granulated sugar
- 1 teaspoon salt
Batter:
- 4 8-oz packages full fat cream cheese, room temperature
- 1 cup creamy peanut butter
- 1 1/3 cup granulated sugar
- 5 large eggs, room temperature
- 1 teaspoon vanilla extract
- 1 teaspoon salt
- 12 peanut butter cups
Ganache:
- 10 oz milk chocolate
- 7.5 oz heavy cream
Whipped Cream:
- 2/3 cup heavy cream
- 1/3 cup powdered sugar
- Pinch salt
- 1/2 teaspoon vanilla extract
Other:
- 8 chocolate sandwich cookies
- 8 peanut butter cups
Directions:
Crust:
- Preheat your oven to 350F, on the convection setting if possible, and prepare the pan. Line the bottom of a springform pan with parchment paper then attach the outer rim, securing the paper in place, as shown above. Set the pan aside.
- Crush the cookies either in a food processor on a low setting for 30 seconds or so, or in a large zip top bag with a heavy tool, until they’ve mostly turned to crumbs.
- In a small microwave safe bowl, melt the butter. If the crushed cookies are in the food processor, Pour in the melted butter and pulse the crumbs until the butter has distributed and the crumbs hold together when pinched. If they were crushed by hand, dump the crumbs, sugar, and salt into the bowl of melted butter and stir them together using a rubber spatula.
- Dump ½ of the crust into the prepared springform pan, spreading it evenly across the bottom. Using a flat bottomed glass, press the crust firmly into the bottom of the pan. Place the rest of the crust mixture into the springform pan and, using clean hands, firmly press it up the entire rim of the pan, as shown above. Place the pan in the fridge to chill while you make the filling.
Filling:
- Cut the peanut butter cups into quarters, then set them aside in a small bowl.
- In the bowl of a stand mixer fitted with the paddle attachment, beat the cream cheese on level 3 for 1-2 minutes. Scrape down the sides of the bowl using a rubber spatula and add in the peanut butter. Once again, beat on level 3 for another 1-2 minutes, until everything has combined smoothly. Scrape down the sides of the bowl.
- Add the sugar and once more, beat the mixture on level 3 for 1-2 minutes, or until homogeneous. Scrape down the sides of the bowl.
- One at a time, beat in each egg on level 3 until it’s been fully absorbed by the batter, scraping down the sides of the bowl and paddle attachment after each one or as needed. Pour in the salt and vanilla extract, and beat the batter for a final 30 seconds.
- Scrape the batter from the paddle into the bowl of batter. Fold the chopped peanut butter cups into the batter, then pour it into the chilled crust, spreading the top evenly.
- Place the springform pan onto the center rack of the preheated oven. Bake for 75-80 minutes, or until the top has lightly browned, the edges have set, and the center still has a jiggle resembling that of set jello.
- Remove the cheesecake from the oven and allow it to rest at room temperature for 45-60 minutes, then transfer to the fridge to chill for a minimum of 4 hours.
Ganache:
- After the cheesecake has completely chilled, prepare the ganache. Chop the chocolate and place it into a small heat safe bowl. Set the chocolate aside.
- Heat the cream in the microwave until it’s reached boiling point, between 1-2 minutes. Pour the hot cream immediately over the chopped chocolate. Cover the bowl with a plate, lid, or aluminum foil and allow it to sit for 5 minutes.
- Using a high heat rubber spatula, begin in the center of the hot cream and chocolate and gently stir in small circles. Gradually, the chocolate will become visible on the surface. Keep gently stirring until the chocolate and cream have completely combined.
- Release the outer rim from around the cheesecake. Transfer it to a serving dish, then pour the ganache over the top of the cheesecake. Spread the ganache evenly using either an offset spatula or the back of a spoon. Place it back in the fridge to set for a minimum of 60 minutes.
Whipped Cream:
- In the bowl of a stand mixer fitted with the whisk attachment, or a medium mixing bowl using a hand mixer, pour in the chilled cream. Beat the cream on level 4-5 until the cream begins to thicken but soft peaks haven’t formed yet.
- Sift the powdered sugar directly onto the thickened cream, and add in the salt and vanilla extract. Resume beating the cream until it’s reached medium stiff peaks, as shown above.
- Transfer the whipped cream to a piping bag fitted with a star tip, or a gallon sized zip top bag fitted with a star tip. Pipe rosettes and garnish each one with a peanut butter cup or chocolate sandwich cookie. Slice into 16 portions, or however many you desire, and enjoy! Store any leftover cheesecake in an airtight container in the fridge for up to 3 days.
Tips
- Bake the cheesecake in a water bath to decrease the chances of the top of the cake cracking. Line the outside of the springform pan with aluminum foil, then place it in a large casserole dish. Place them into the oven, then carefully pour boiling water into the casserole dish so it’s about an inch deep or so. Bake as instructed.
- To remove the outer rim of the springform pan more easily, rub a hot, wet towel around the outside of it before releasing the lever. This will melt the butter touching the pan, so it willingly lets go.

0 Comments