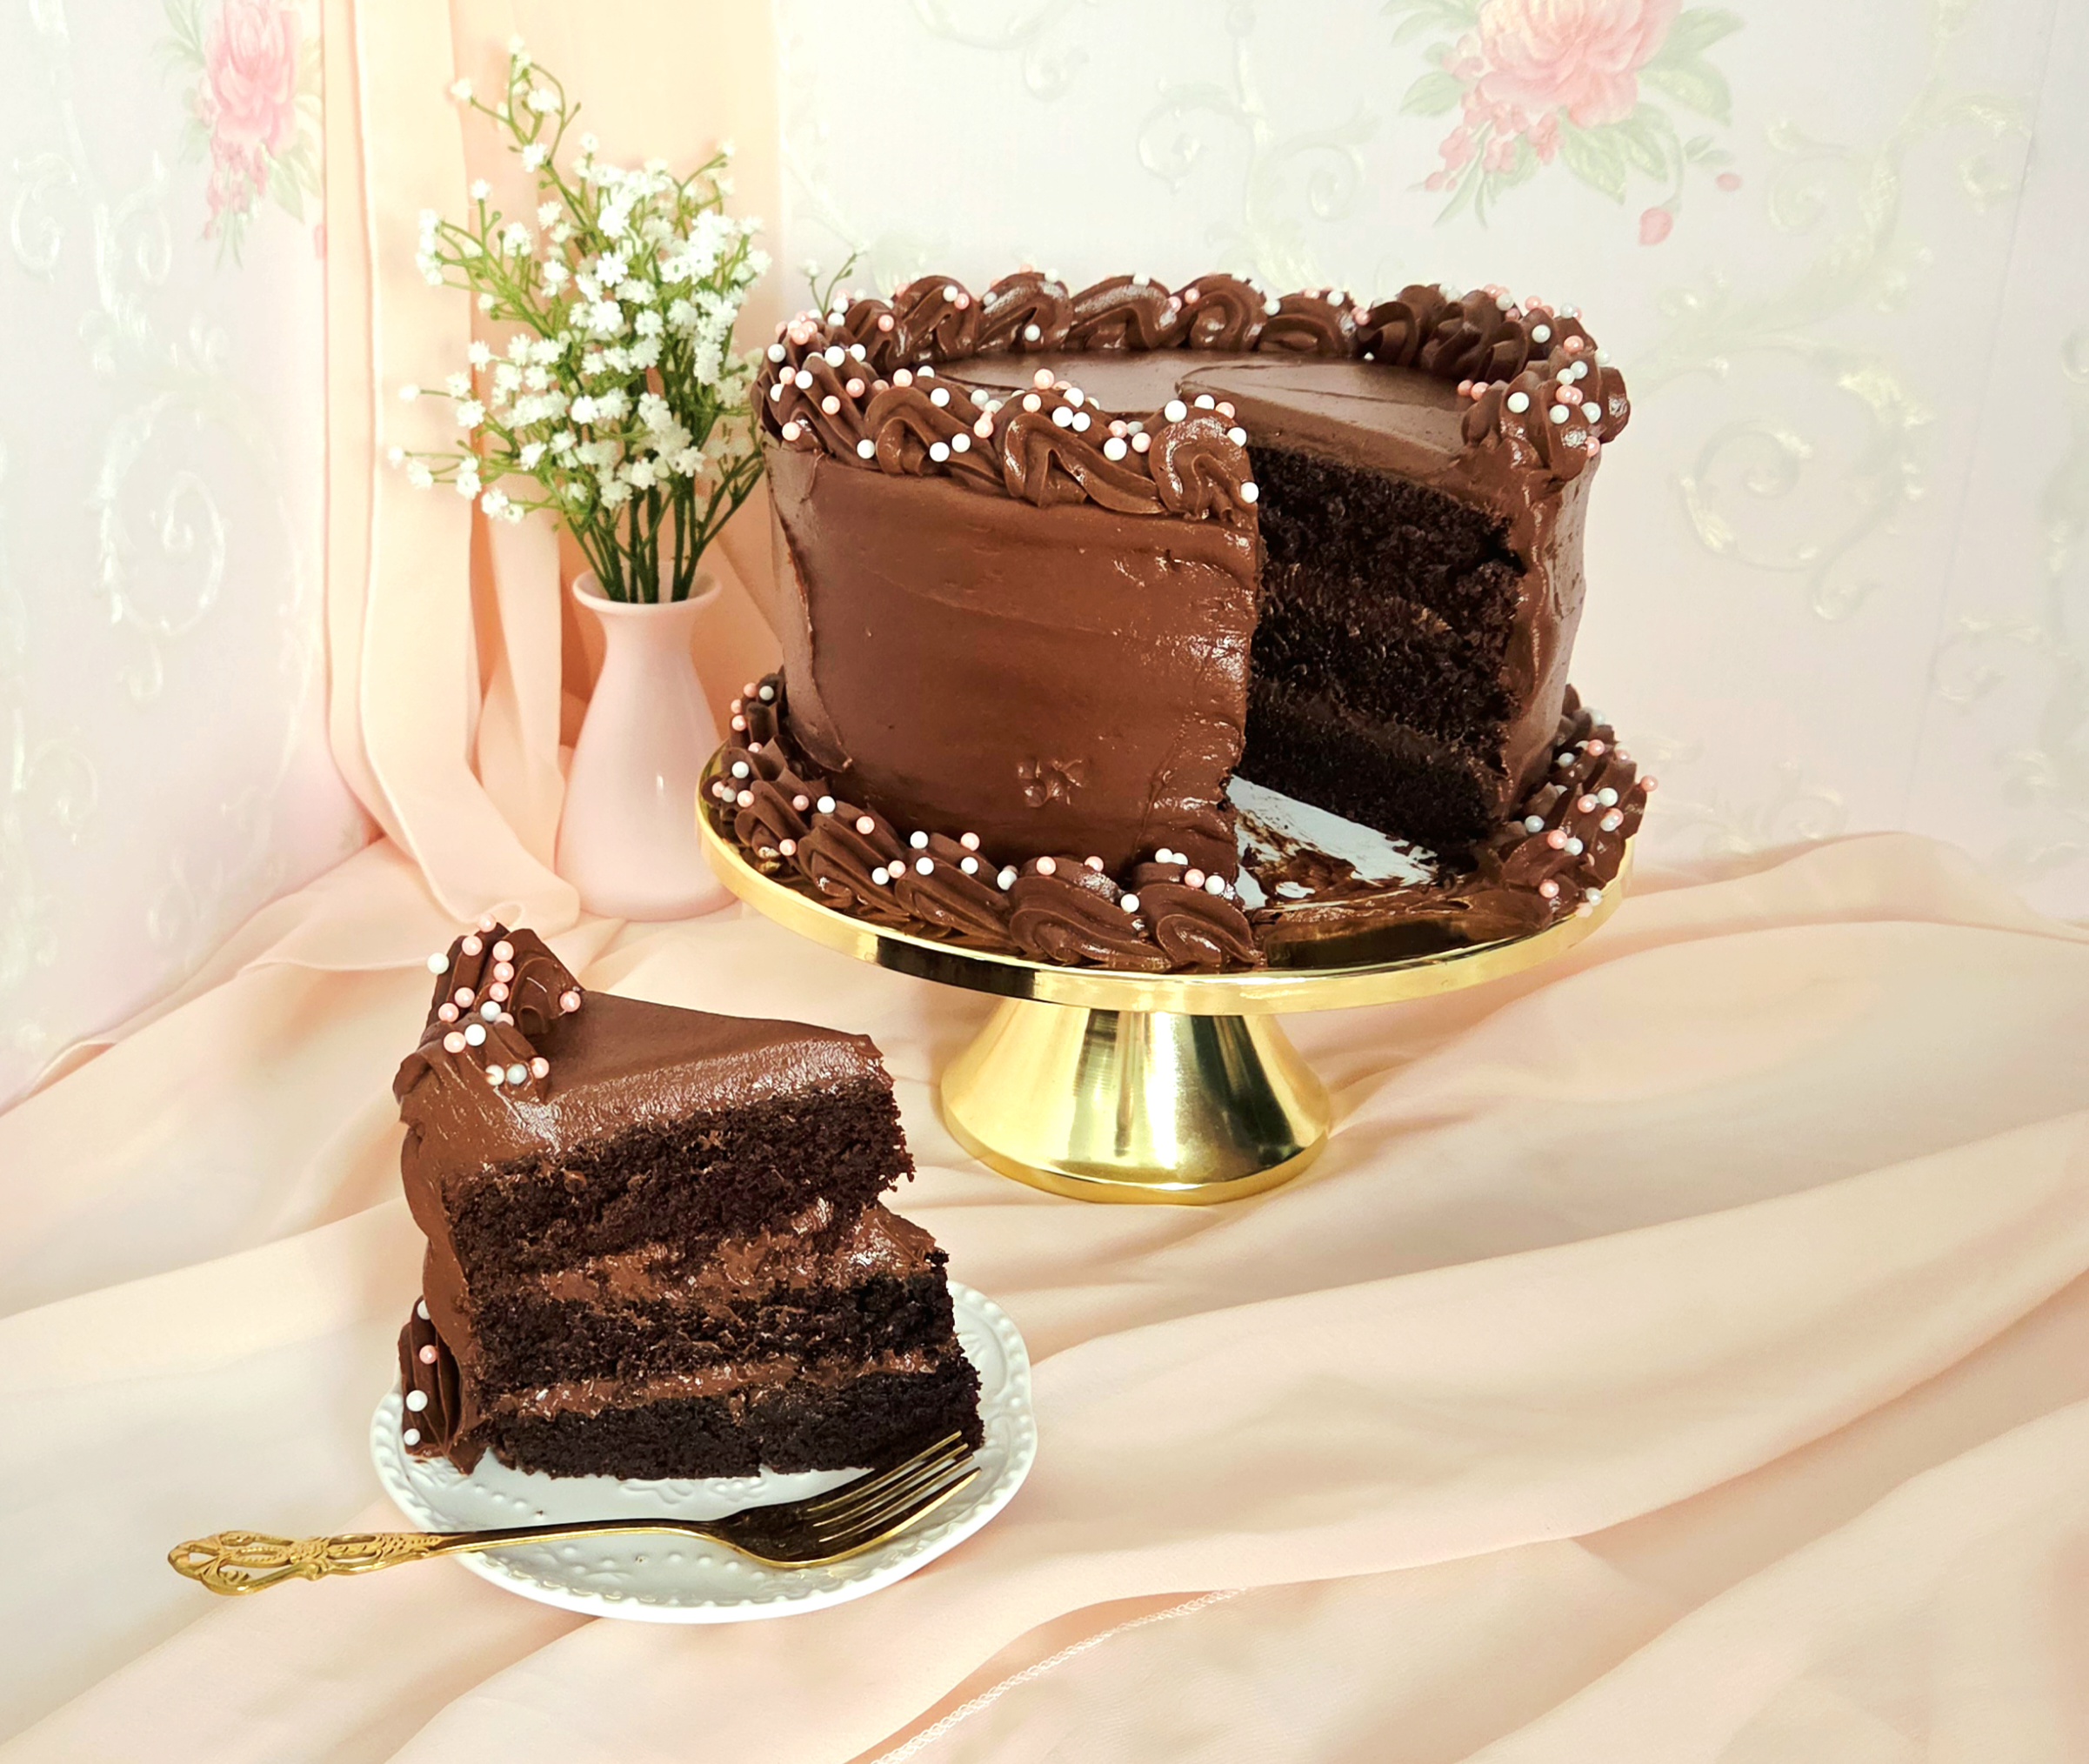

Honestly, I’m not usually a chocolate cake person. Don’t get me wrong, I’m a big chocolate girl! But chocolate cake typically just doesn’t do it for me. Most chocolate cakes end up being weirdly bland and tasting more of sugar than anything else. They rely heavily on frosting to make the cake genuinely palatable. While this is a pro-frosting household, it shouldn’t be needed for someone to want to swallow your cake. But with a chocolate cake fiend of a child to raise, something had to be done. It was going to be a part of my life, so I had to make it work.
Well, I did it. After many hours of effort and development, of shedding (mostly figurative) blood, sweat, and tears, this devil’s food cake recipe has been perfected into a chocoholic’s dream. It’s soft, rich, moist (I know, but there’s really no substitute for this descriptor). There’s just the right level of sweetness, and a massive depth of chocolatey flavor. Whether it’s someone’s birthday, your anniversary, your best friend earned a promotion at work, or it’s just a day when you’re in the mood for cake, this one is the perfect choice to bake. Every cake lover I’ve ever served this to has been eyes-rolled-back happy after having a slice. The labor of love that baking a layer cake inevitably ends up being will absolutely be worth it in the end with this recipe.
FAQs and Science
What is “blooming” the cocoa powder? Why do it?
Blooming cocoa powder is just mixing it with a hot liquid or fat source, such as water, coffee, warmed oil, or melted butter. The reason to bloom the cocoa powder when you can is that it enhances the flavor, making your cake more chocolatey in the end!
Do I have to use dutch processed cocoa powder?
If you have access to it, I’d recommend dutch processed cocoa powder in this instance. It has less acidity, and offers a more sweet profile as a result. However, as a proponent of “use what you’ve got on hand or can afford” above all else, using natural cocoa powder will work just fine. Don’t stress on trying to force the dutch processed cocoa to happen. The flavor will be slightly altered, but you’ll still end up with a tasty creation!
Can I use instant coffee?
Usually, with something like baking with coffee or alcohol, I’d be pushing for you to only use what you’d actually drink on its own. However, in this instance, the coffee is just there to enhance the chocolate flavor. It isn’t the star of the show. If all you have is instant coffee, it will work just fine!
Why does it matter that my eggs aren’t cold?
A cake batter is an emulsified substance. In order for that emulsification to take place, everything needs to be of a similar temperature. That’s why if you add in cold eggs to your creamed butter and sugar, it can easily curdle the mixture and you’re going to have a bad time.
Why are you asking me to use the paddle attachment instead of the whisk on my stand mixer? Wouldn’t the whisk be faster?
The whisk should only be used for something you’re trying to beat a ton of air into, like a meringue or whipped cream. This particular cake batter doesn’t need that air, it gets its lift from a chemical leavening agent as it bakes, baking soda! The paddle attachment, on the other hand, is designed for bringing this kind of batter together. With the shape and amount of contact it gives does a better job of blending ingredients so you end up with a beautifully homogeneous batter.
Are there instances where you would use the whisk attachment for a cake? Yes, some cakes depend on the mechanical leavening of incorporating a lot of air, like a genoise, a chiffon, or an angel food cake. But I will always tell you what specific equipment is required for a recipe, so you’ll never have to guess what tools you need to succeed!
Can I skip sifting the powdered sugar and cocoa powder?
If you skip this step, you’re going to end up with lumps of cocoa powder or powdered sugar in your batter or frosting. It’s worth taking the extra 30 seconds to sift, trust me.
Why include corn syrup in the frosting?
It makes for a smoother mouthfeel than powdered sugar alone, which can make for a slightly gritty texture in American buttercream.
Do I have to wait for the cake to completely cool before I start assembling and frosting it?
Yes, you need to make sure the cake is at room temperature before finishing the cake. Dividing a layer in half too early can compromise the structural integrity, causing it to fall apart. If you fill or frost it too soon, the buttercream will melt and go all over the place. It’s frustrating to have to wait, but you’ll regret it if you don’t. To speed up the process, you can place the cake layers into the fridge.
What You’ll Need
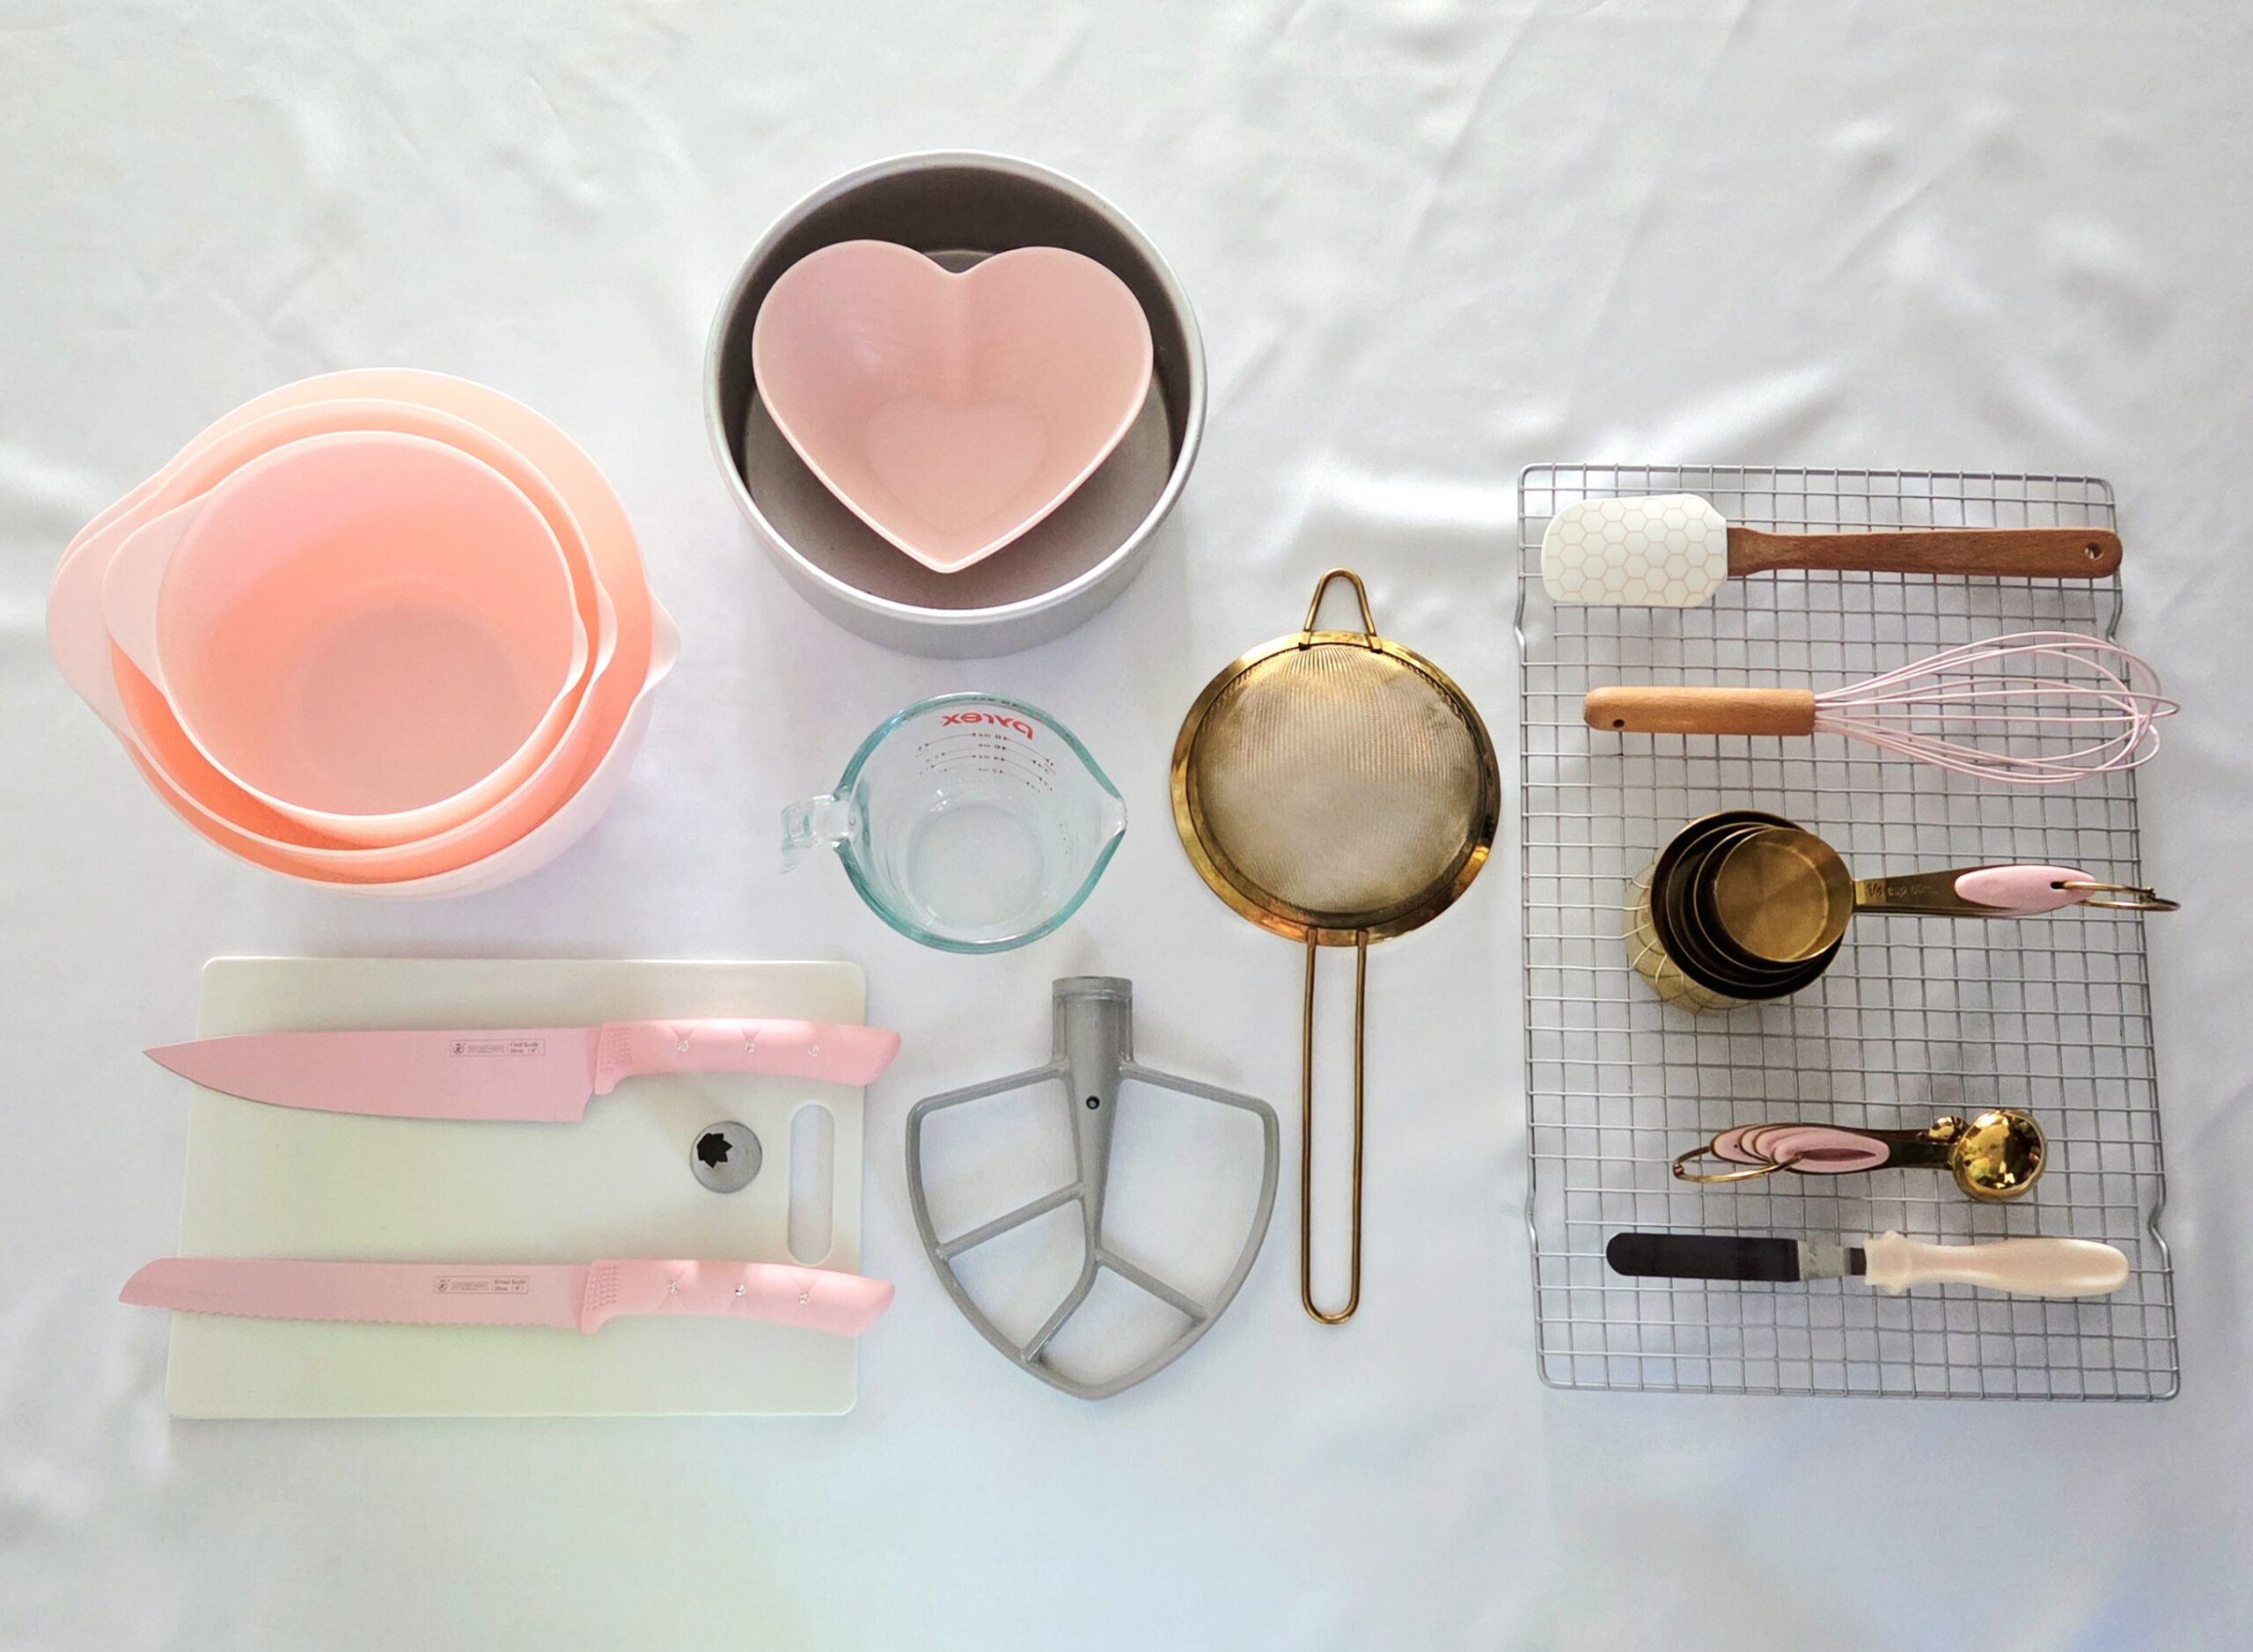
- 3 single layer 8-inch cake pans (less than 2 inches high) OR 1 single layer and 1 double layer 8-inch cake pan (at least 3 inches high)
- Parchment paper
- Nonstick baking spray
- Stand mixer with paddle attachment
- 2 medium mixing bowls
- 2 small mixing bowls (1 heat safe)
- Dry measuring cups
- Liquid measuring cup
- Measuring spoons
- Whisk
- Sieve or sifter
- Rubber spatula
- Offset spatula or butter knife
- Cooling rack
- Large serrated knife
- Piping bag or gallon sized zip-top bag
- Star or round piping tip
The Process
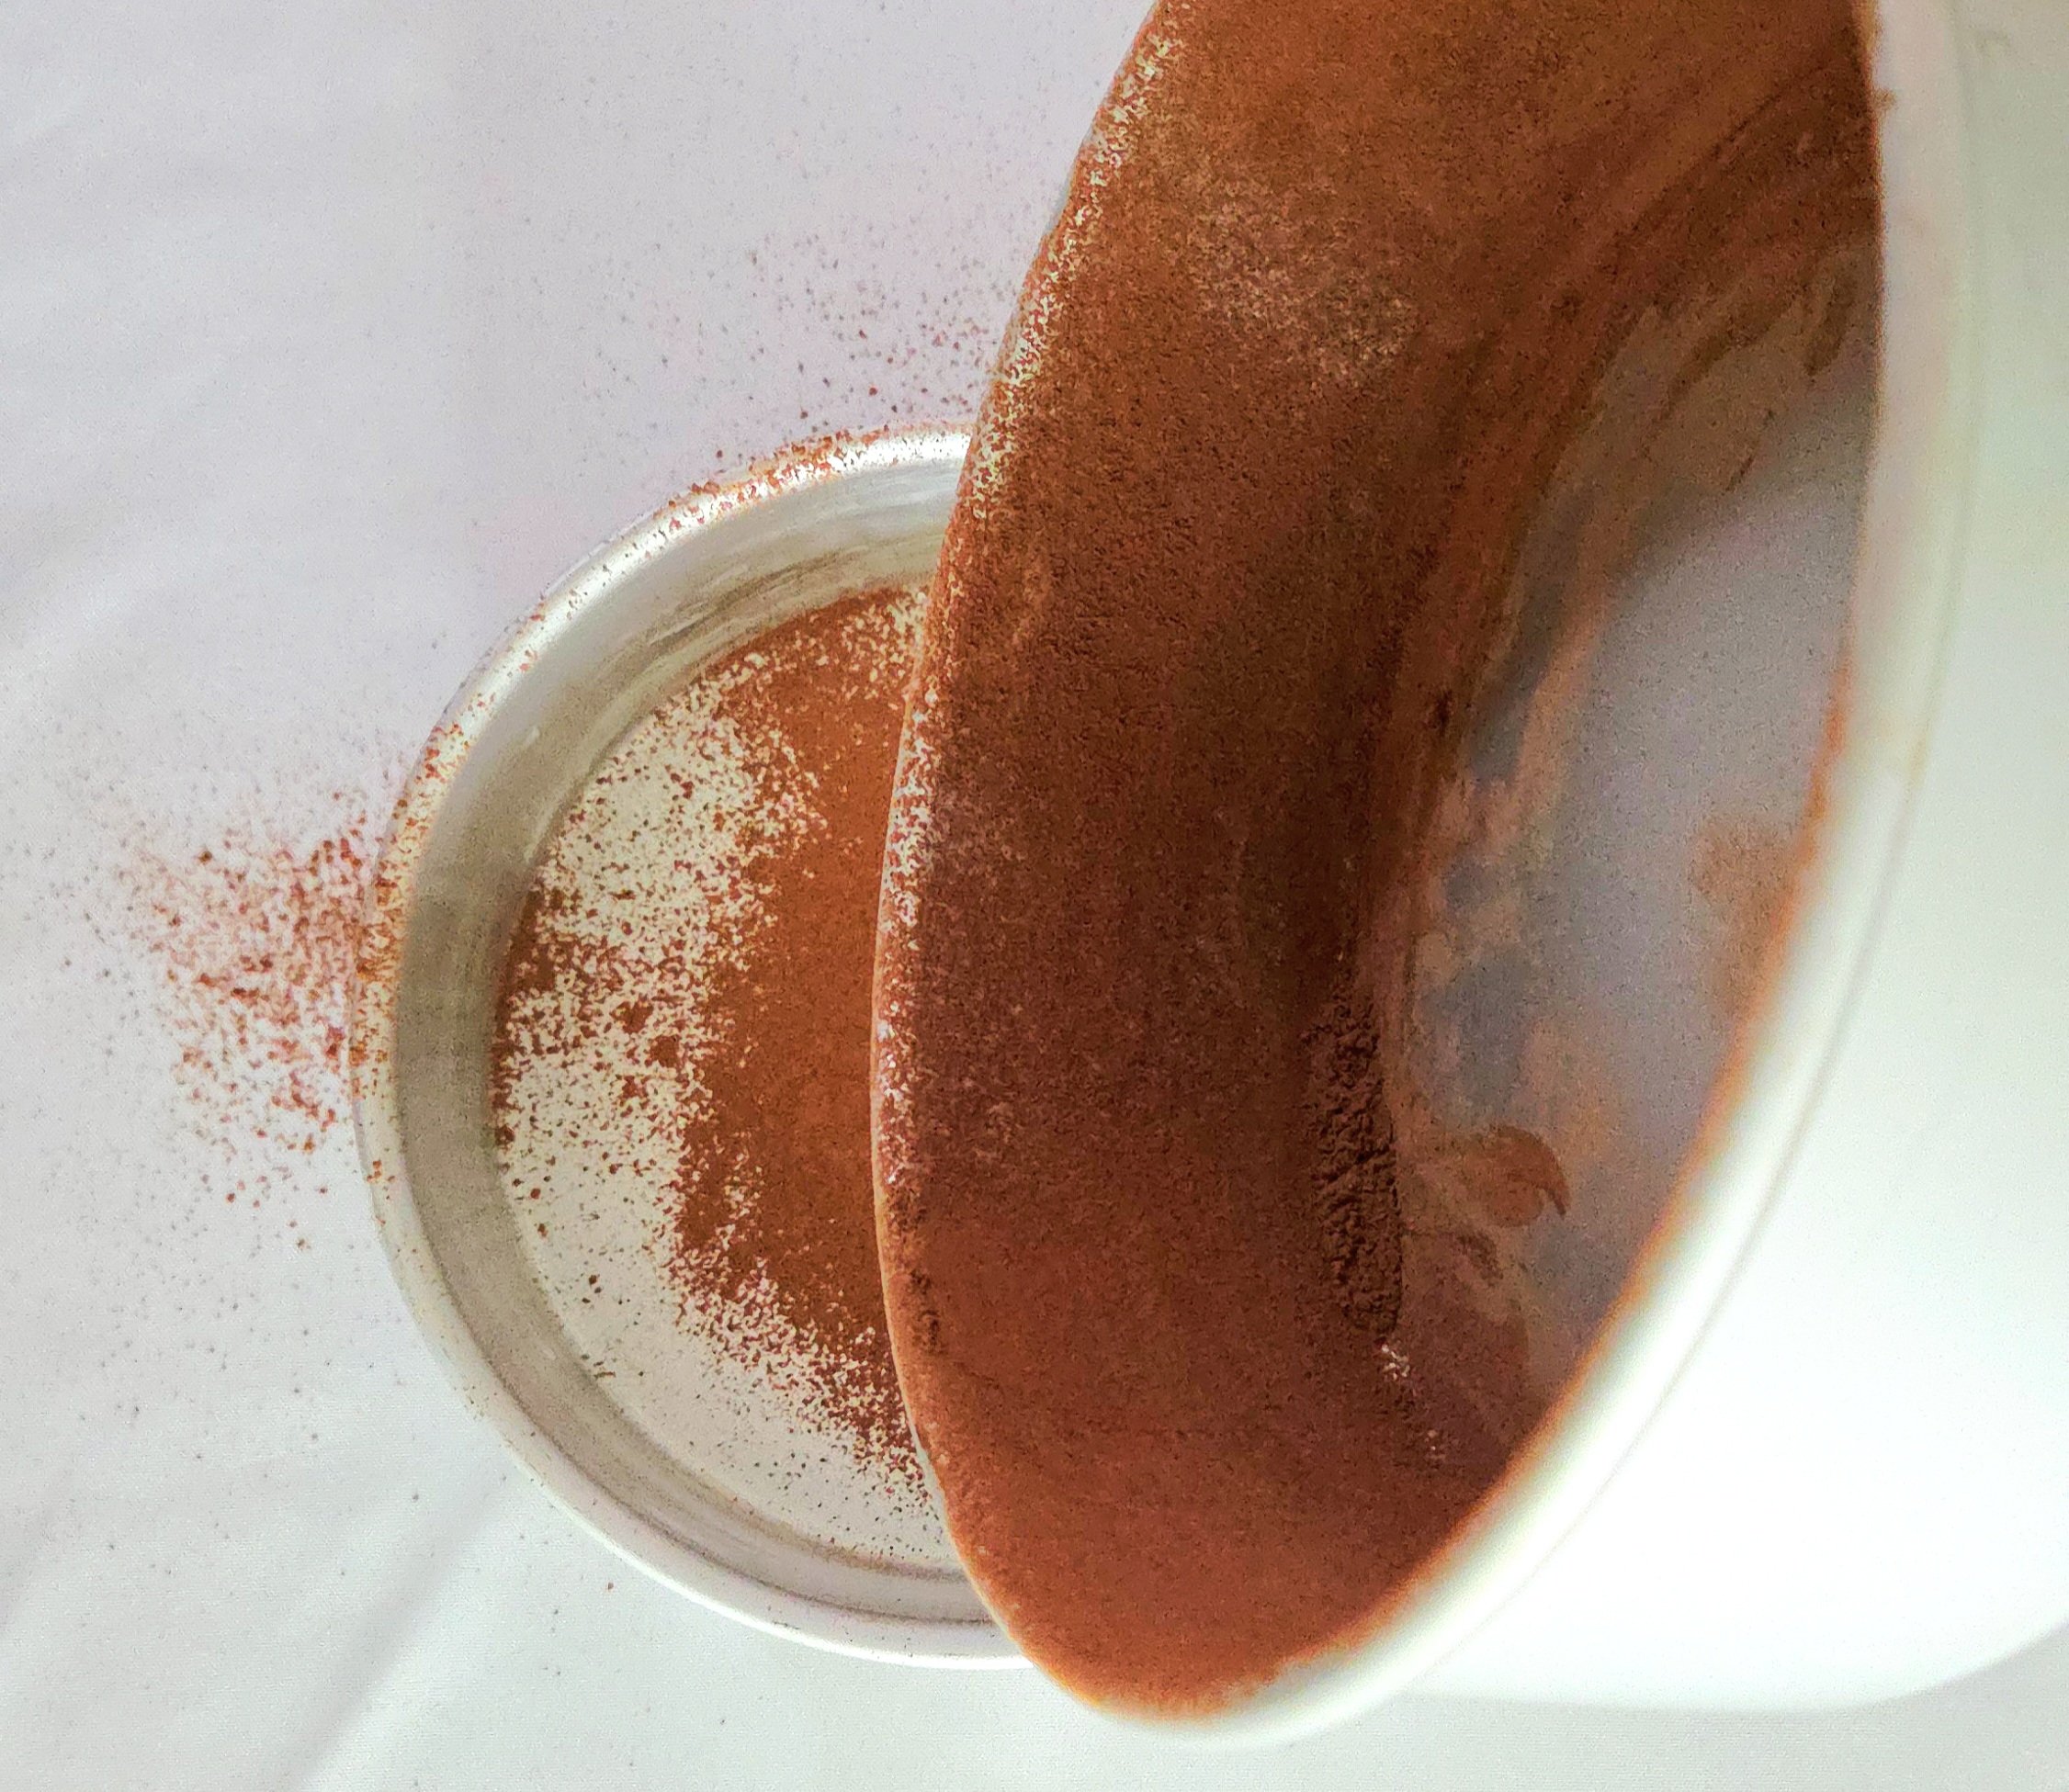
Begin by preparing the sponge of the cake. Preheat the oven to 350F, on the convection setting if possible, and prepare the pans. Grab either 3 single layer (less than 2 inches high) or 1 single layer and 1 double layer (at least 3 inches high) 8-inch cake pans. Coat the inside with melted butter, then dust them with cocoa powder. I like to keep the second pan underneath to catch the excess as you tap it out, to prevent waste.
Cut out the same number of circles of parchment paper as pans you’re using to line the bottom of each pan. You could either trace the bottom rim of the pan, cut out the circle, and place it in the pan marker side down, so it won’t actually touch the batter.
Alternatively, you could use my preferred method for cutting out the parchment circle, as it’s a bit quicker! Fold up the parchment paper 3 times. Next, line the folded corner up with the approximate center of the pan. Cut the edge of the parchment flush to the edge of the pan, with a slight curve so it becomes a circle. Unfold the parchment and place it into the bottom of the pan.
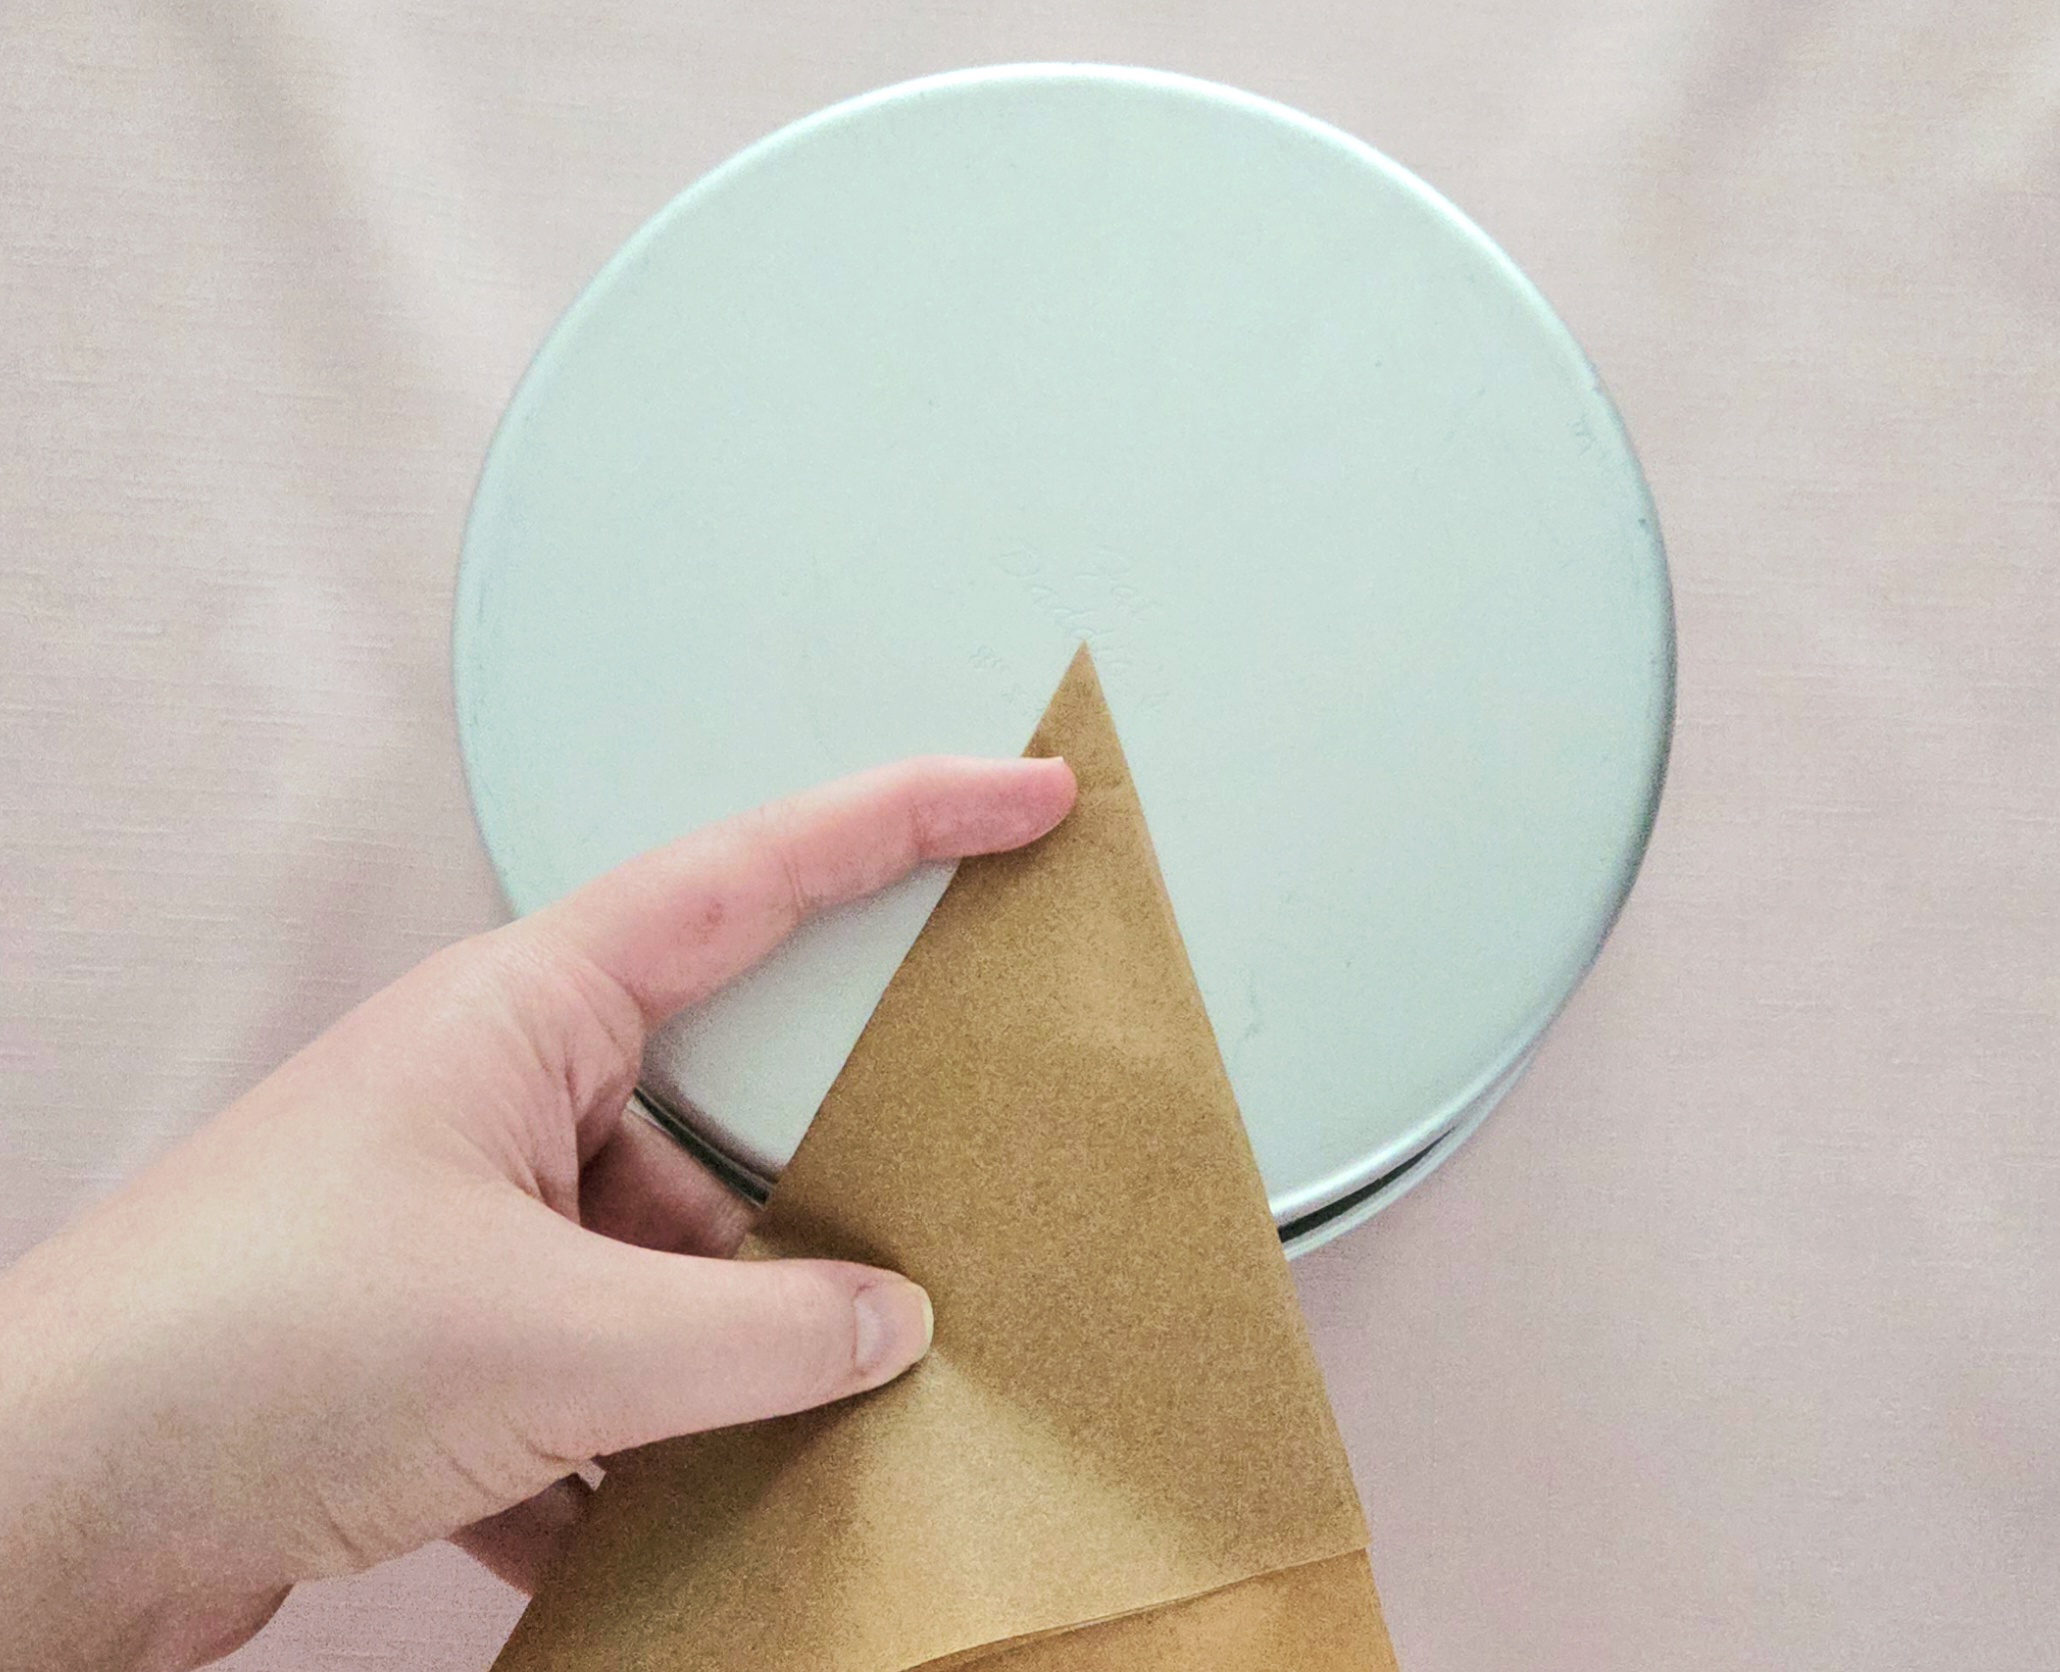
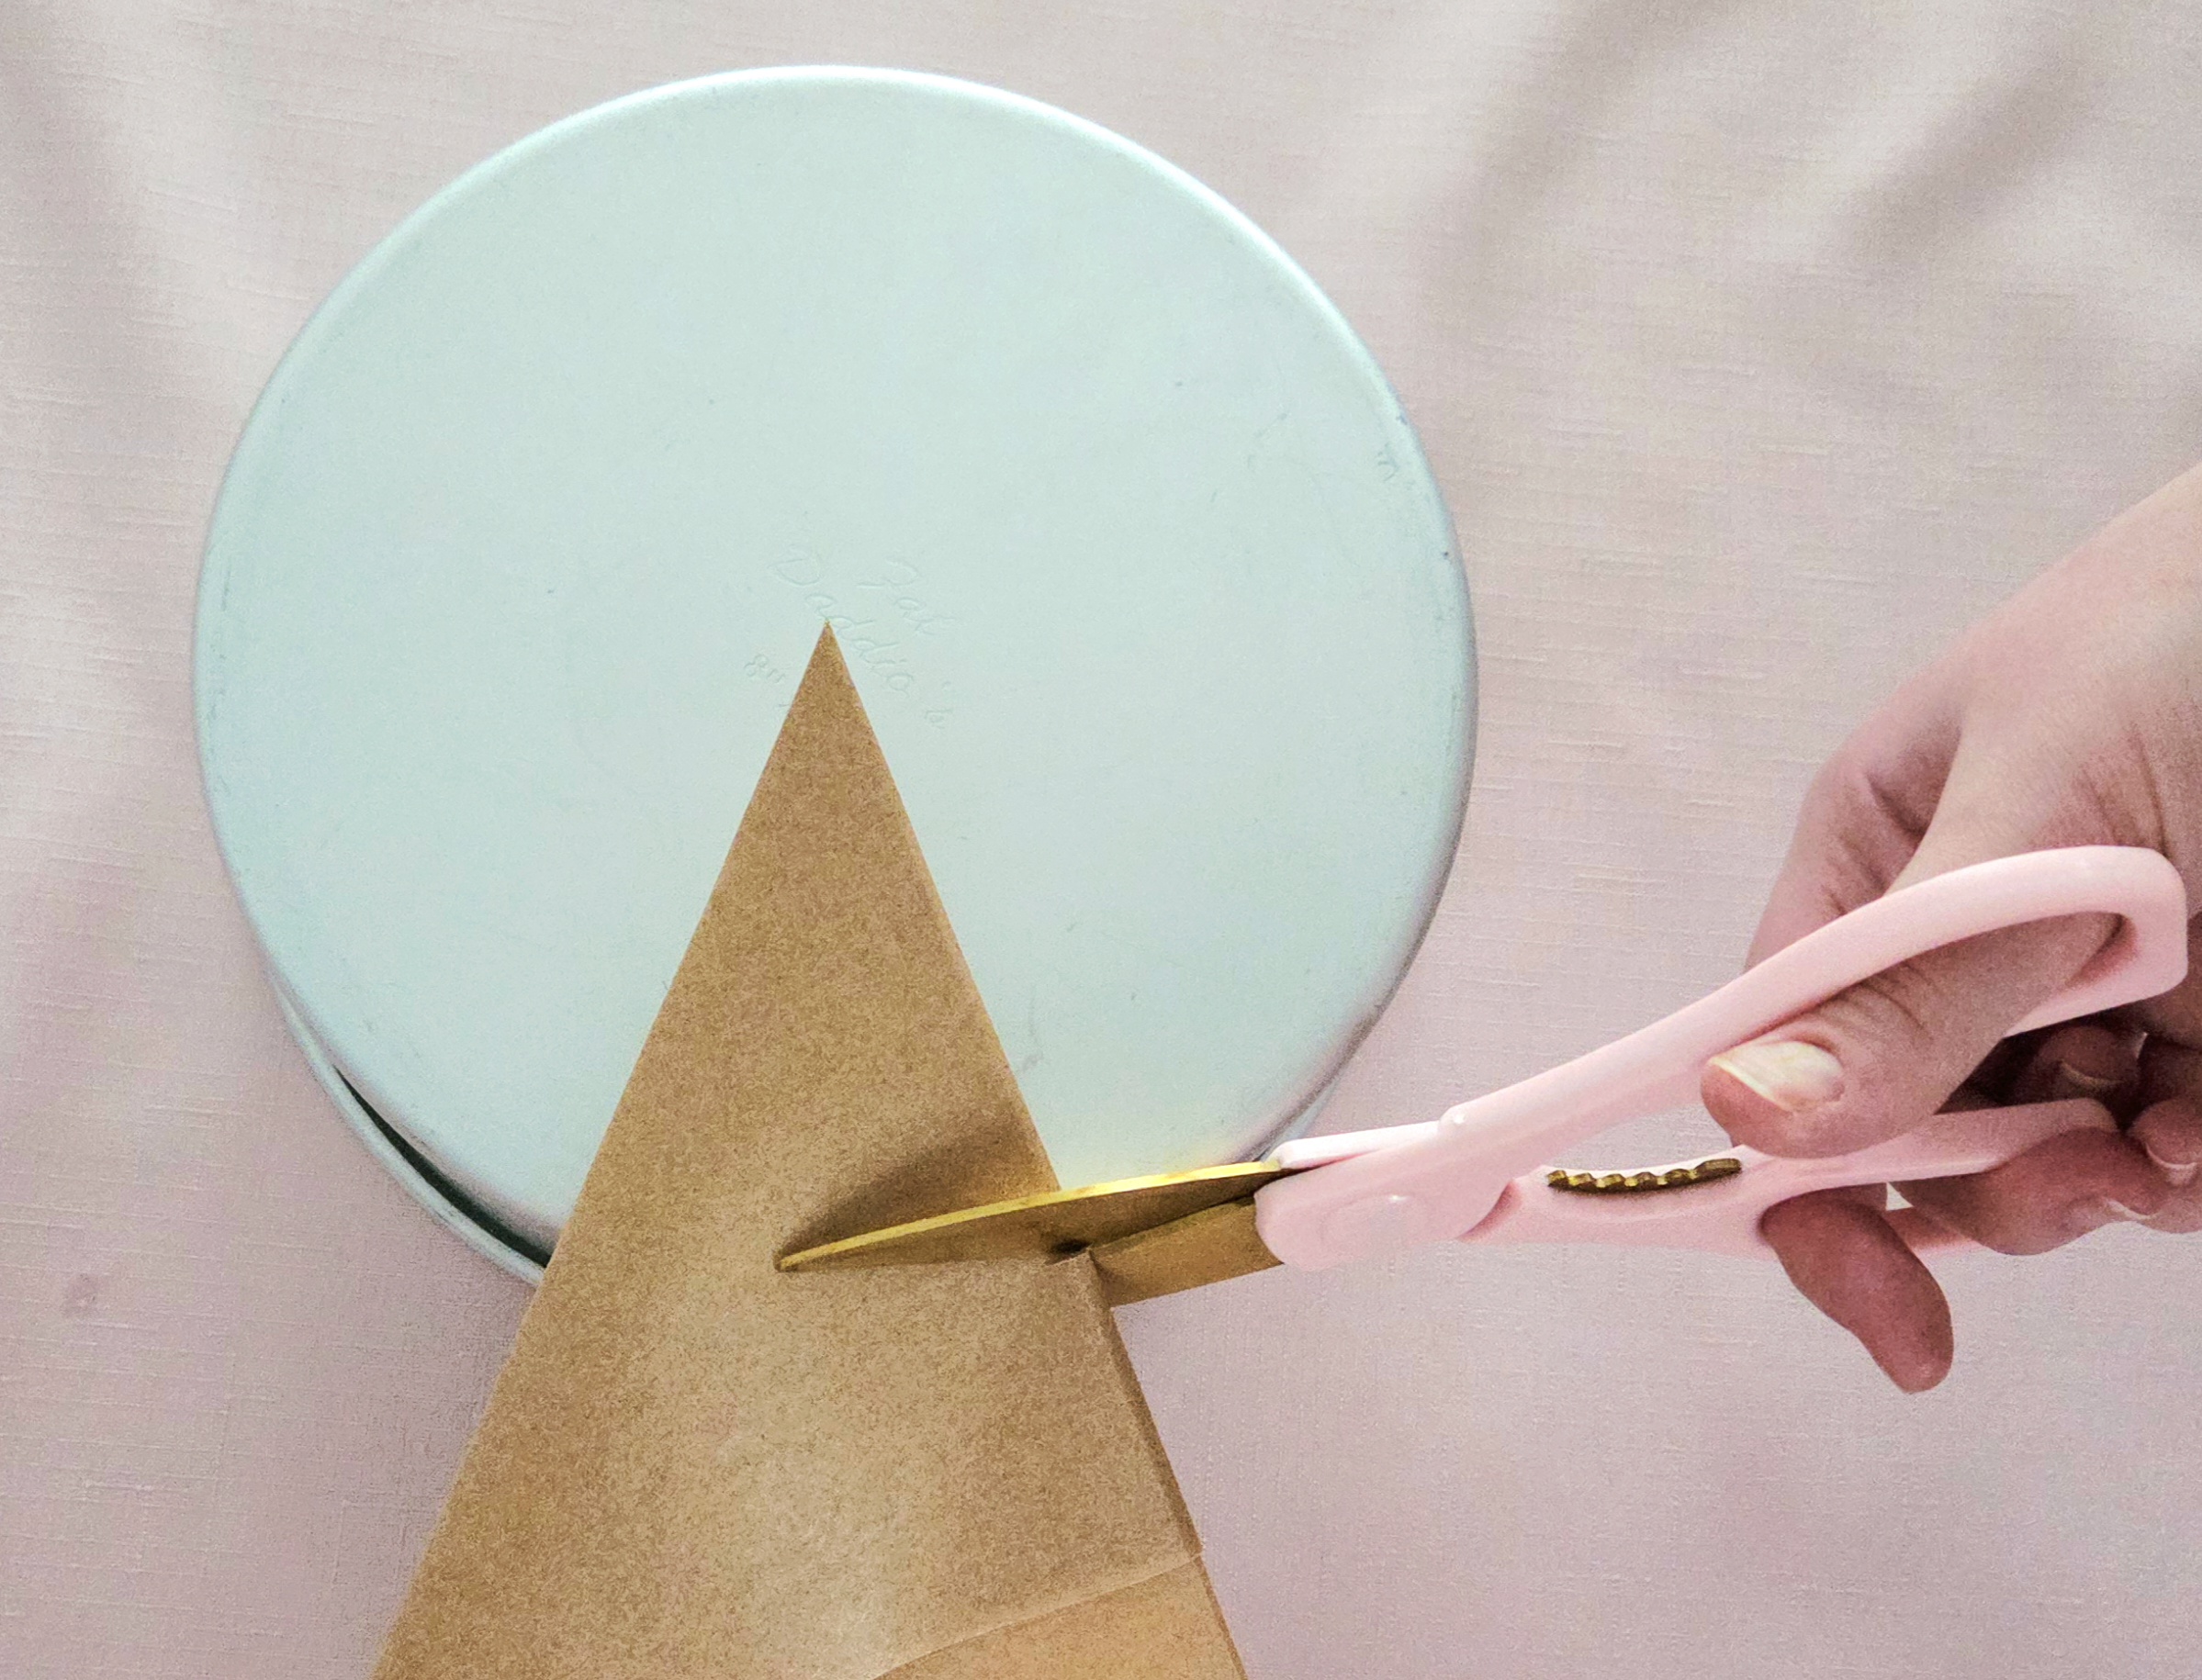
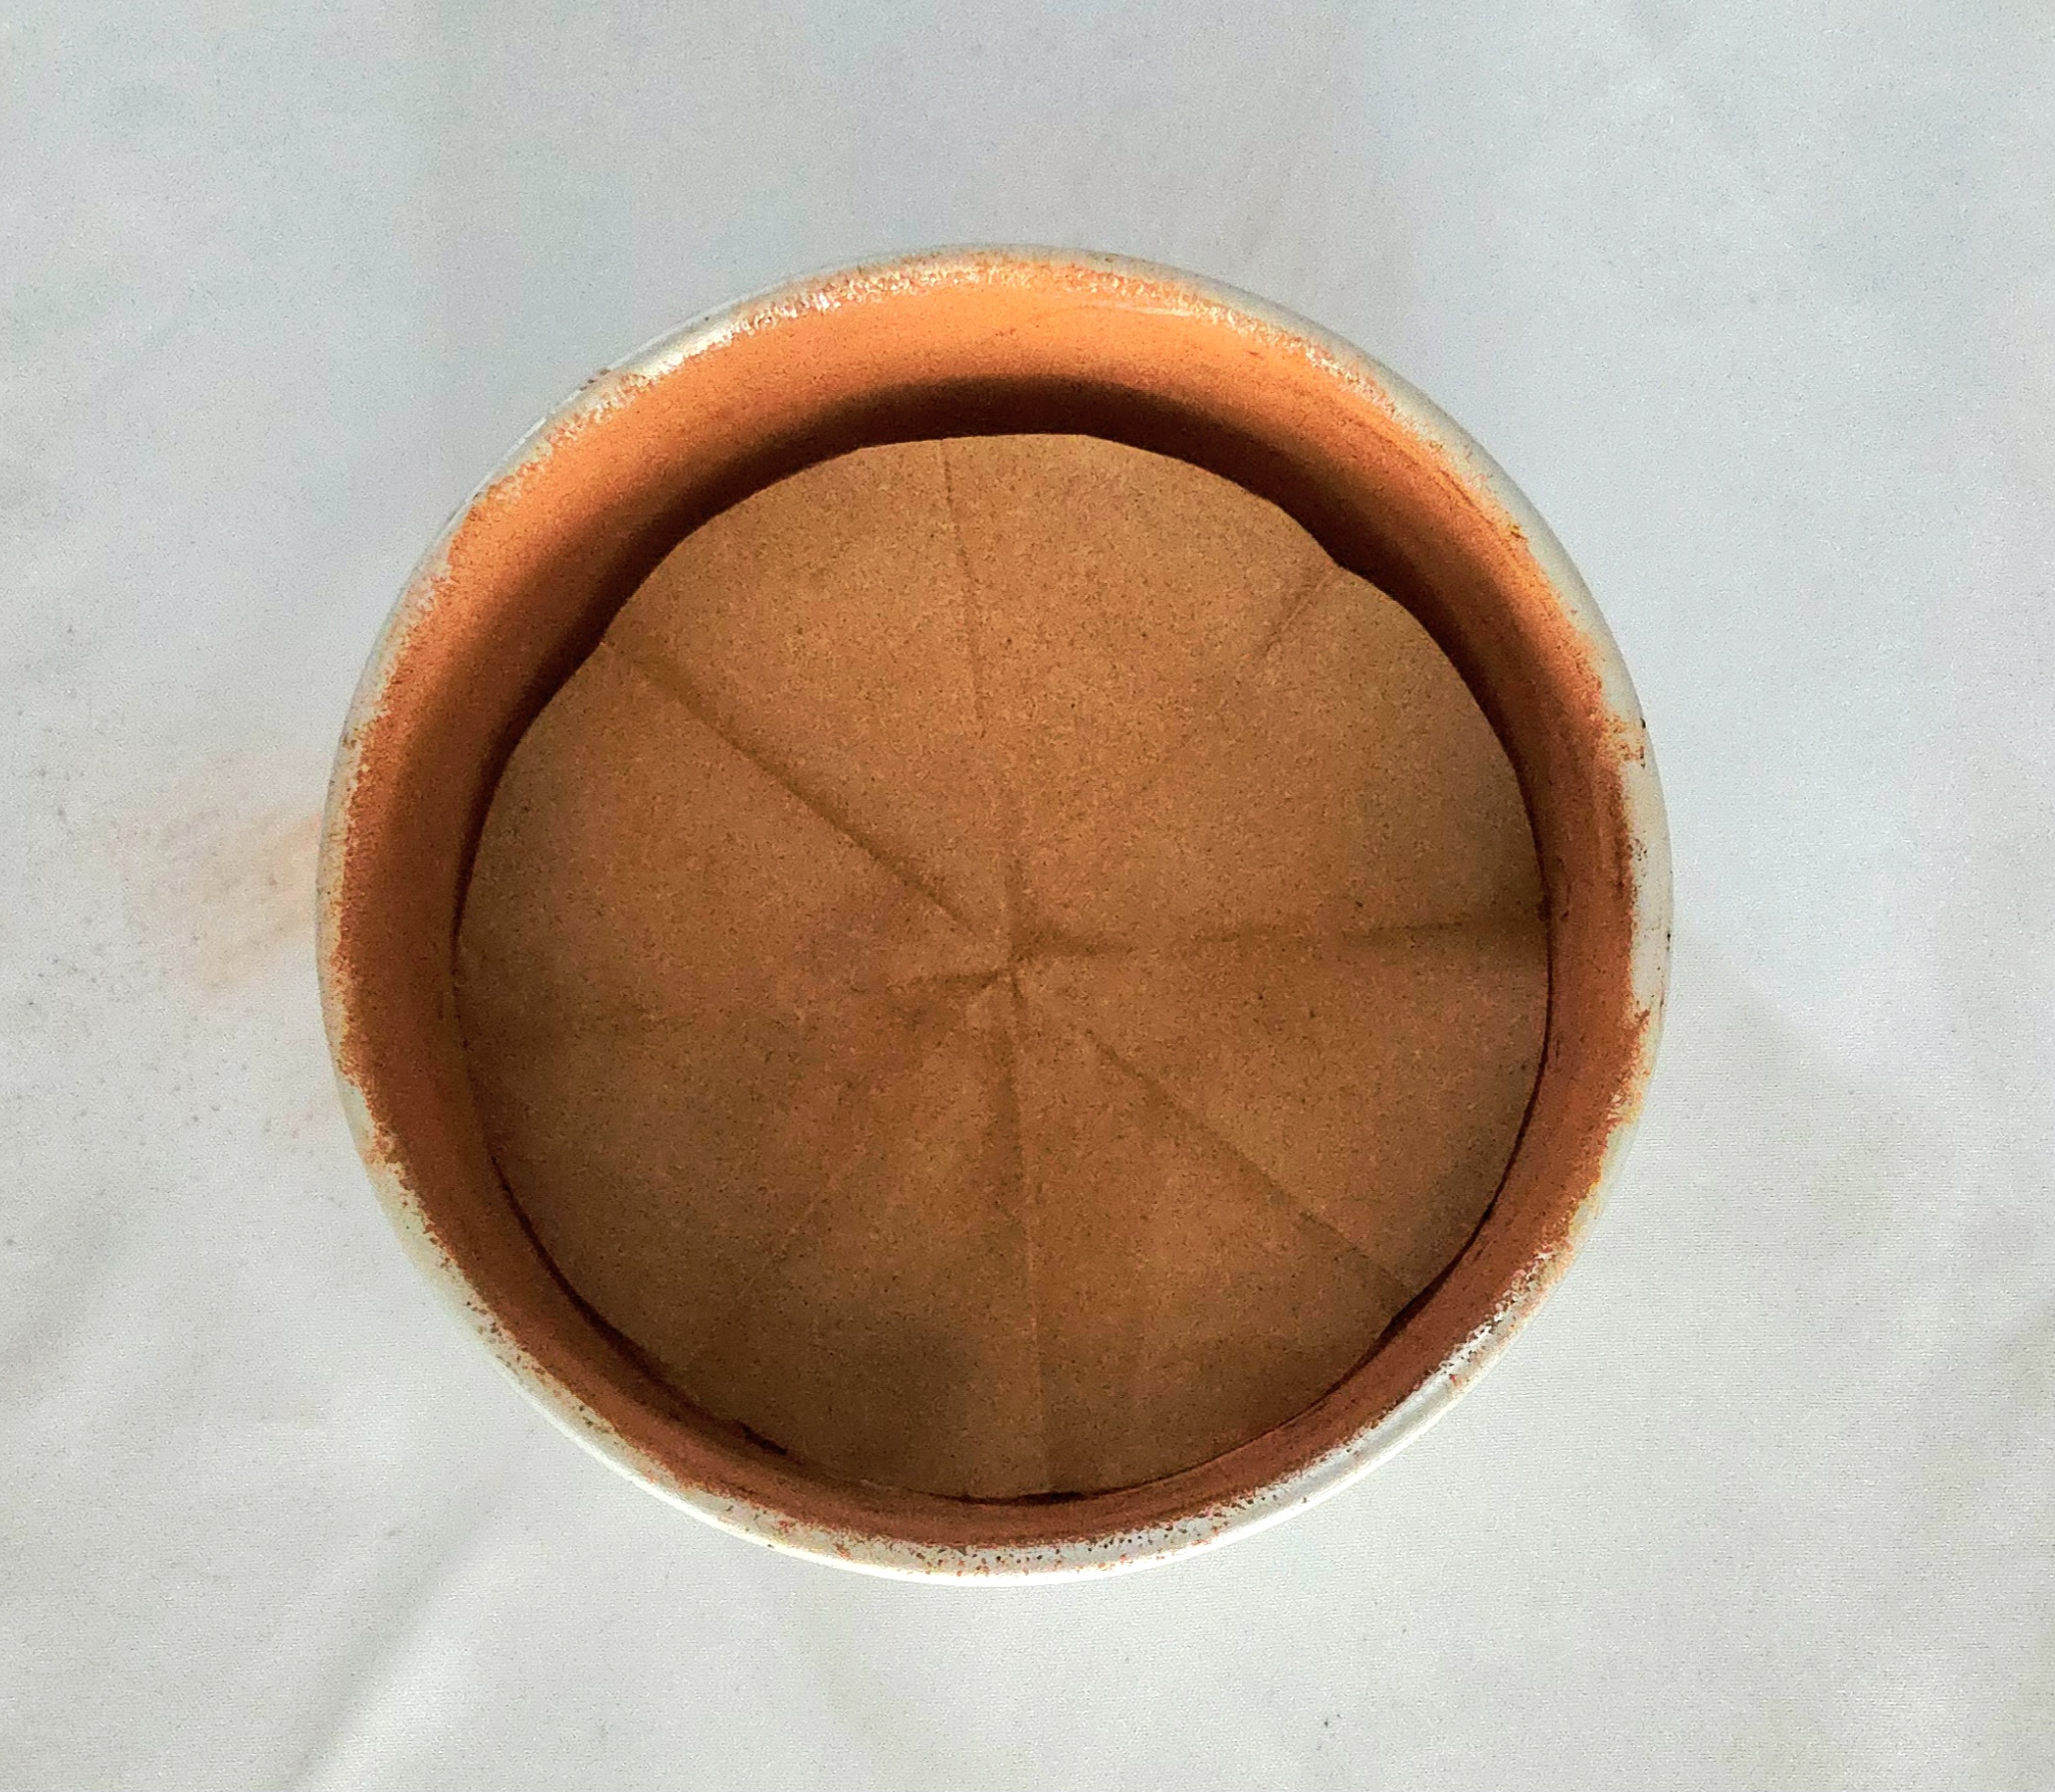
If it’s too big for the pan, just refold the paper and trim it a bit more until it fits. Don’t worry if it’s slightly too small, it will still release from the pan just fine.
In a small heat-safe mixing bowl, sift the cocoa powder. Pour the hot coffee and the boiling water over the cocoa powder and whisk them together.
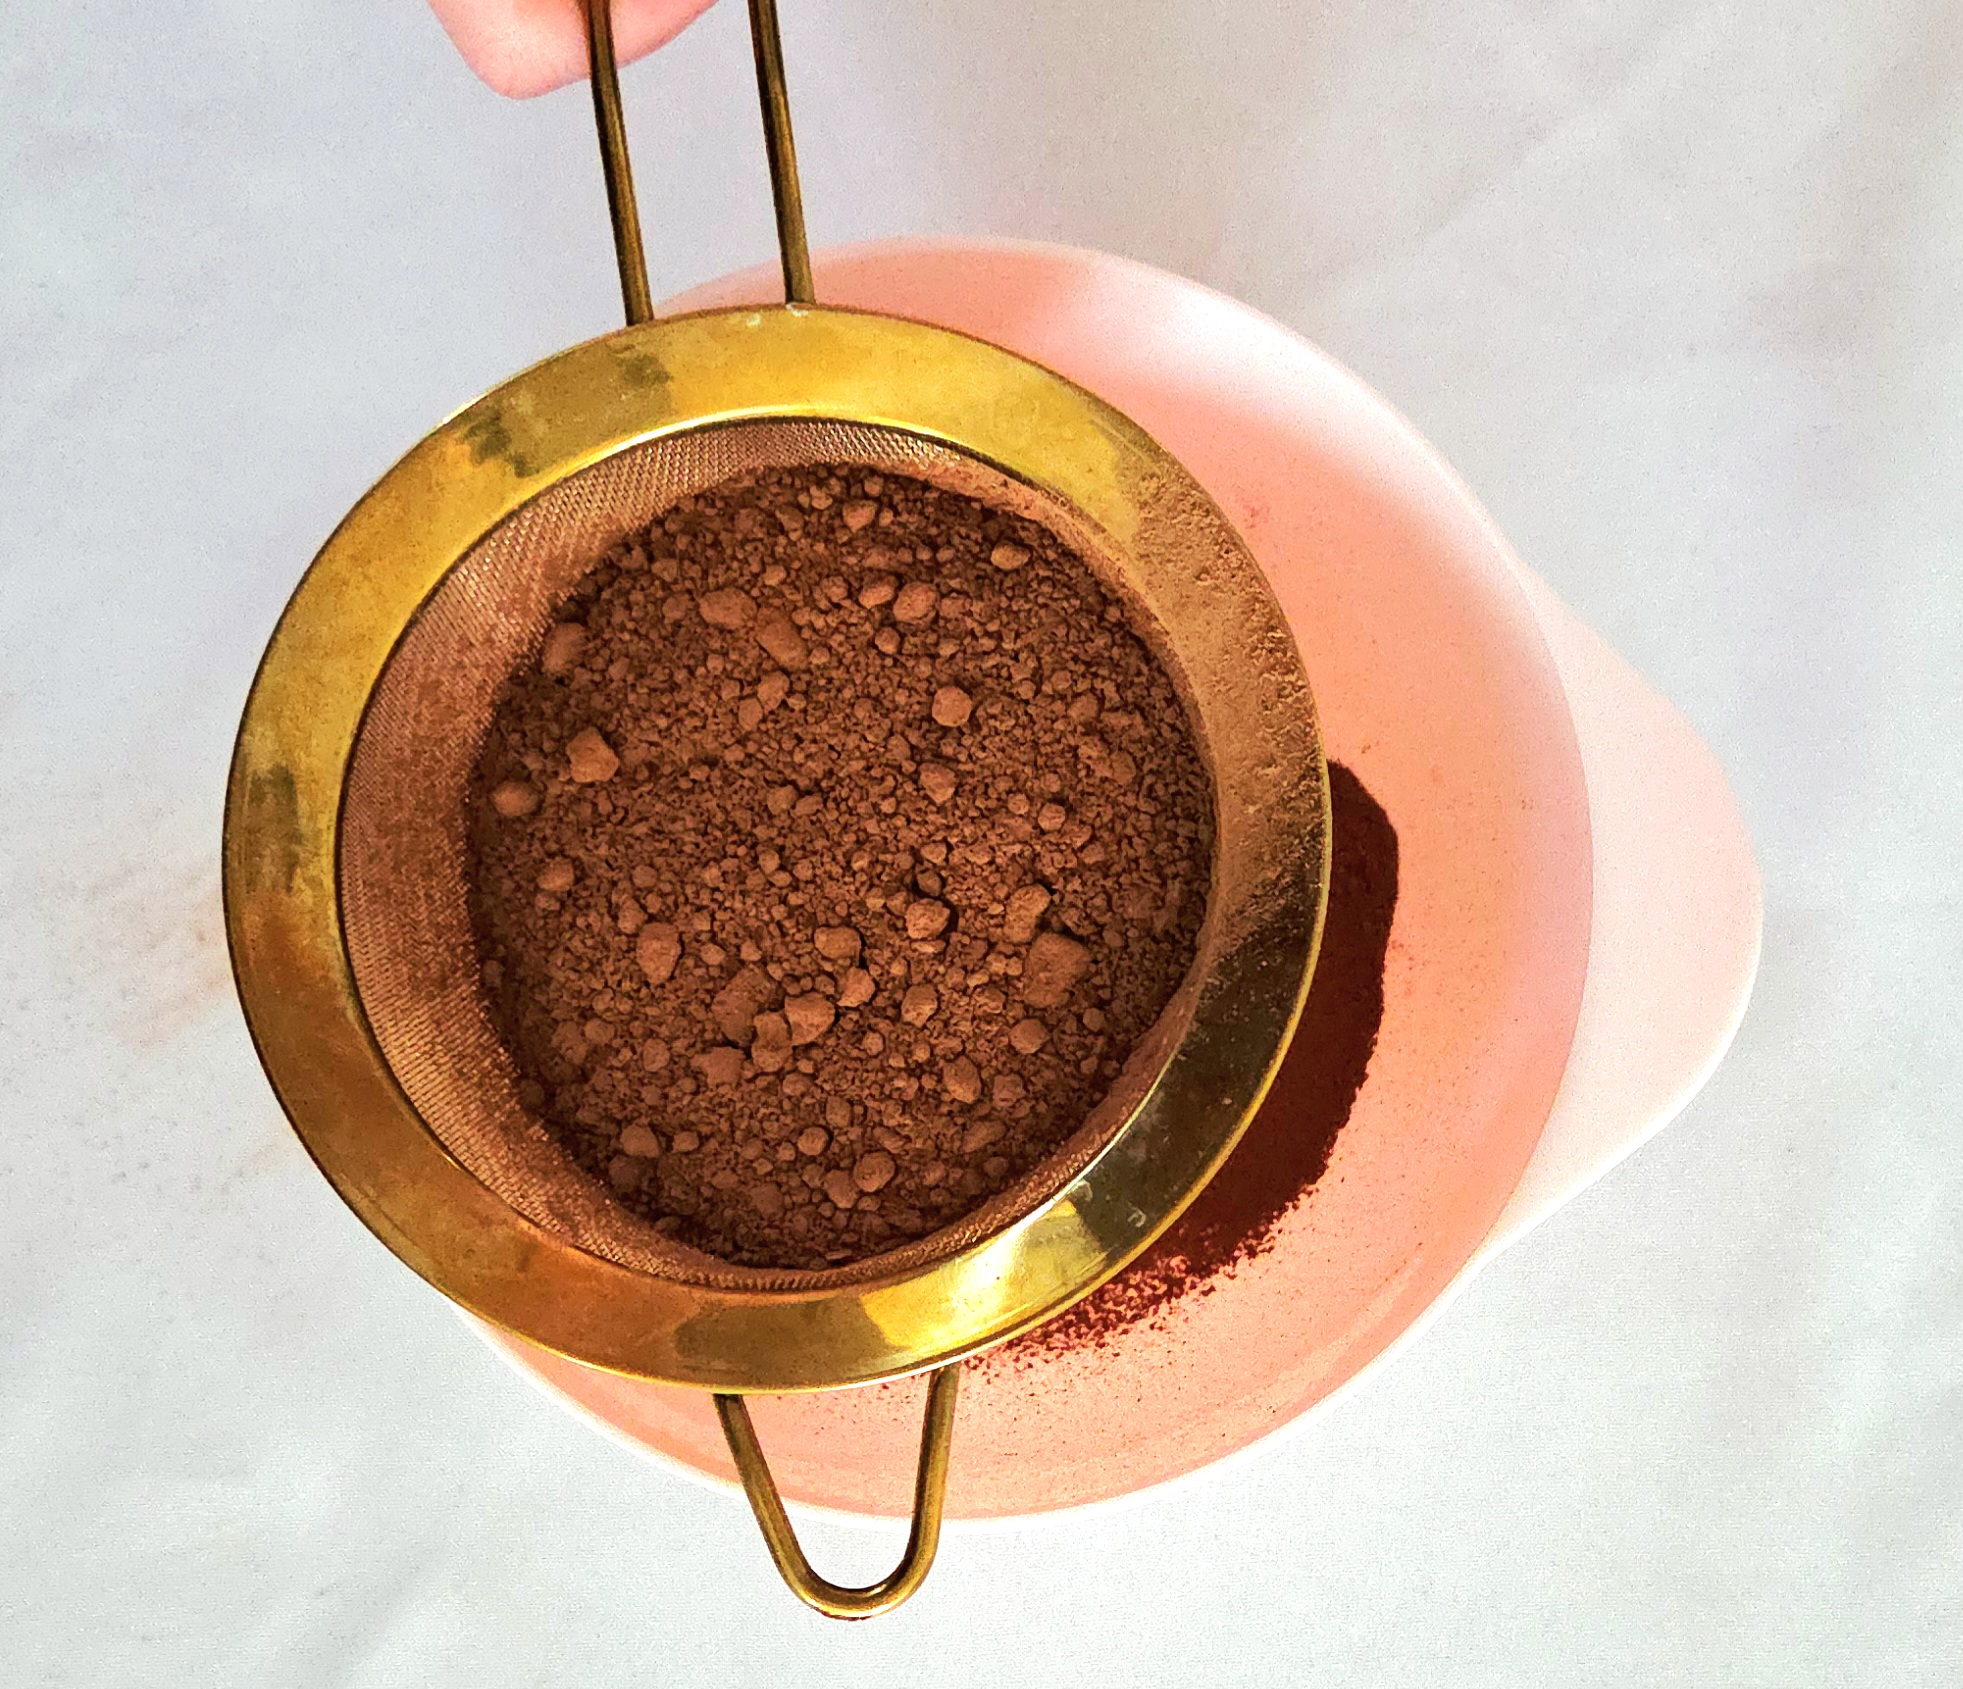
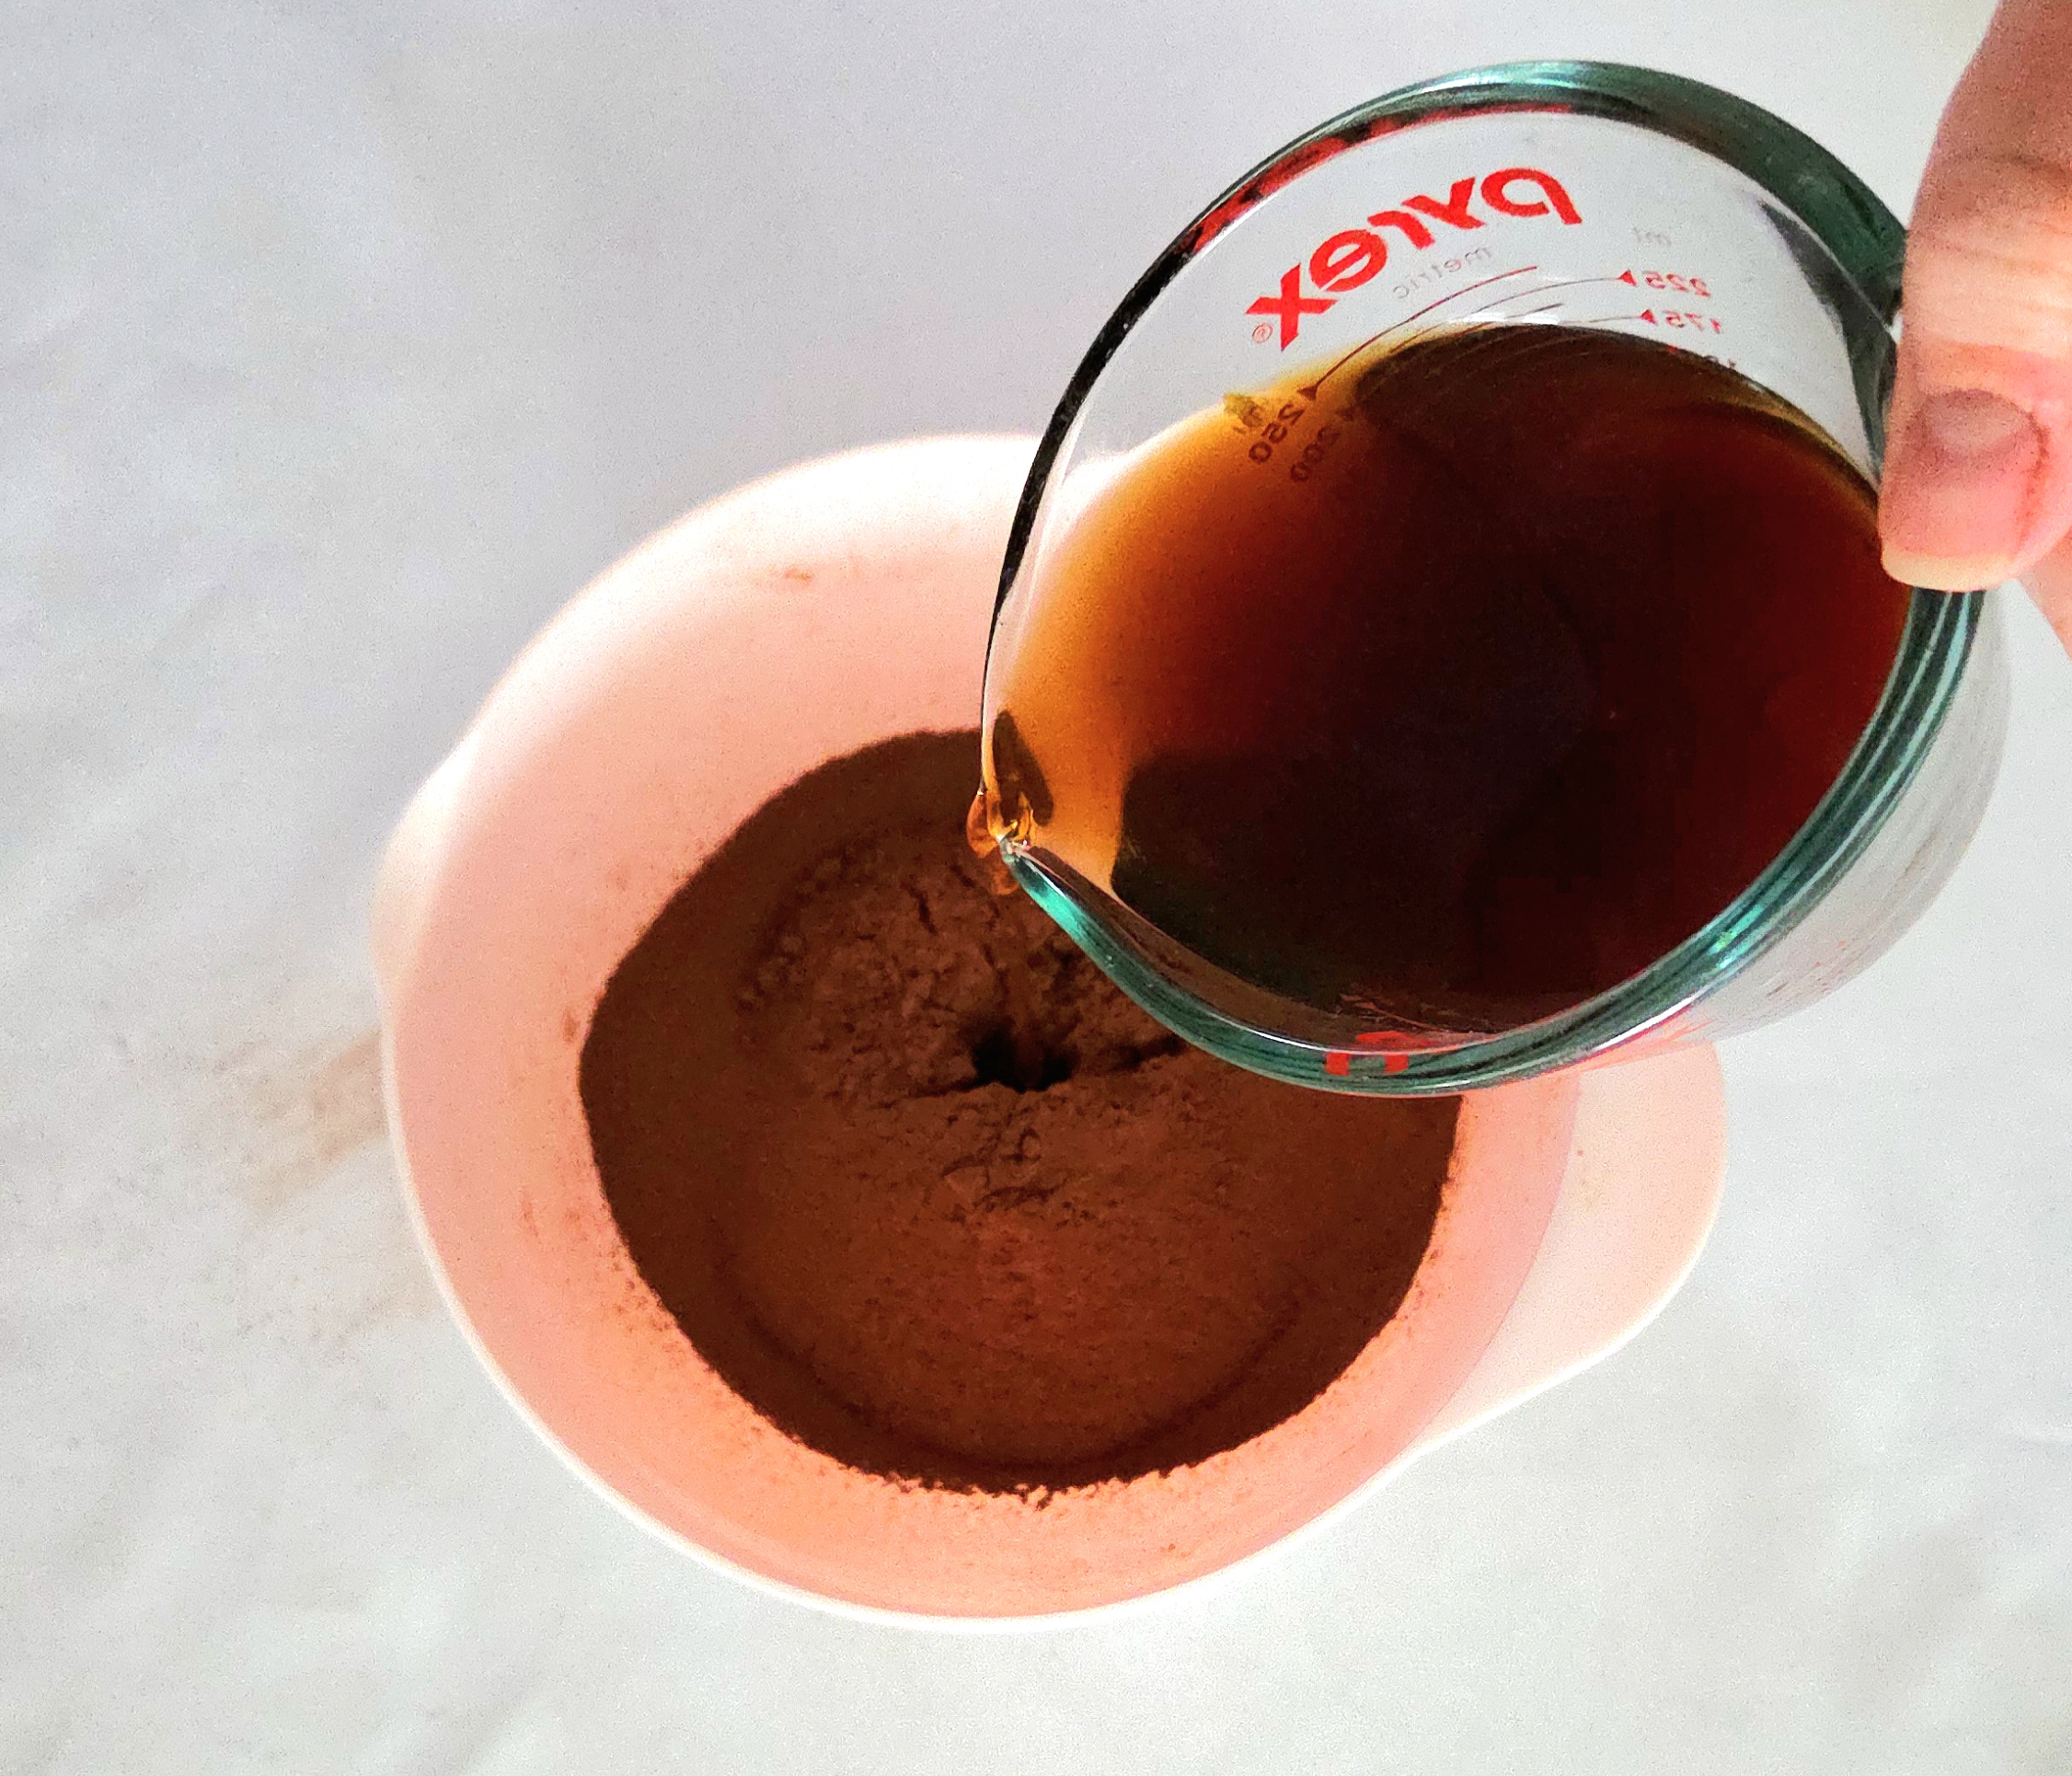
Cover the bowl with foil or a plate, and set this bowl aside for 5 minutes to bloom the cocoa powder. Blooming the cocoa will intensify the flavor, making for a more deeply chocolatey cake in the end.
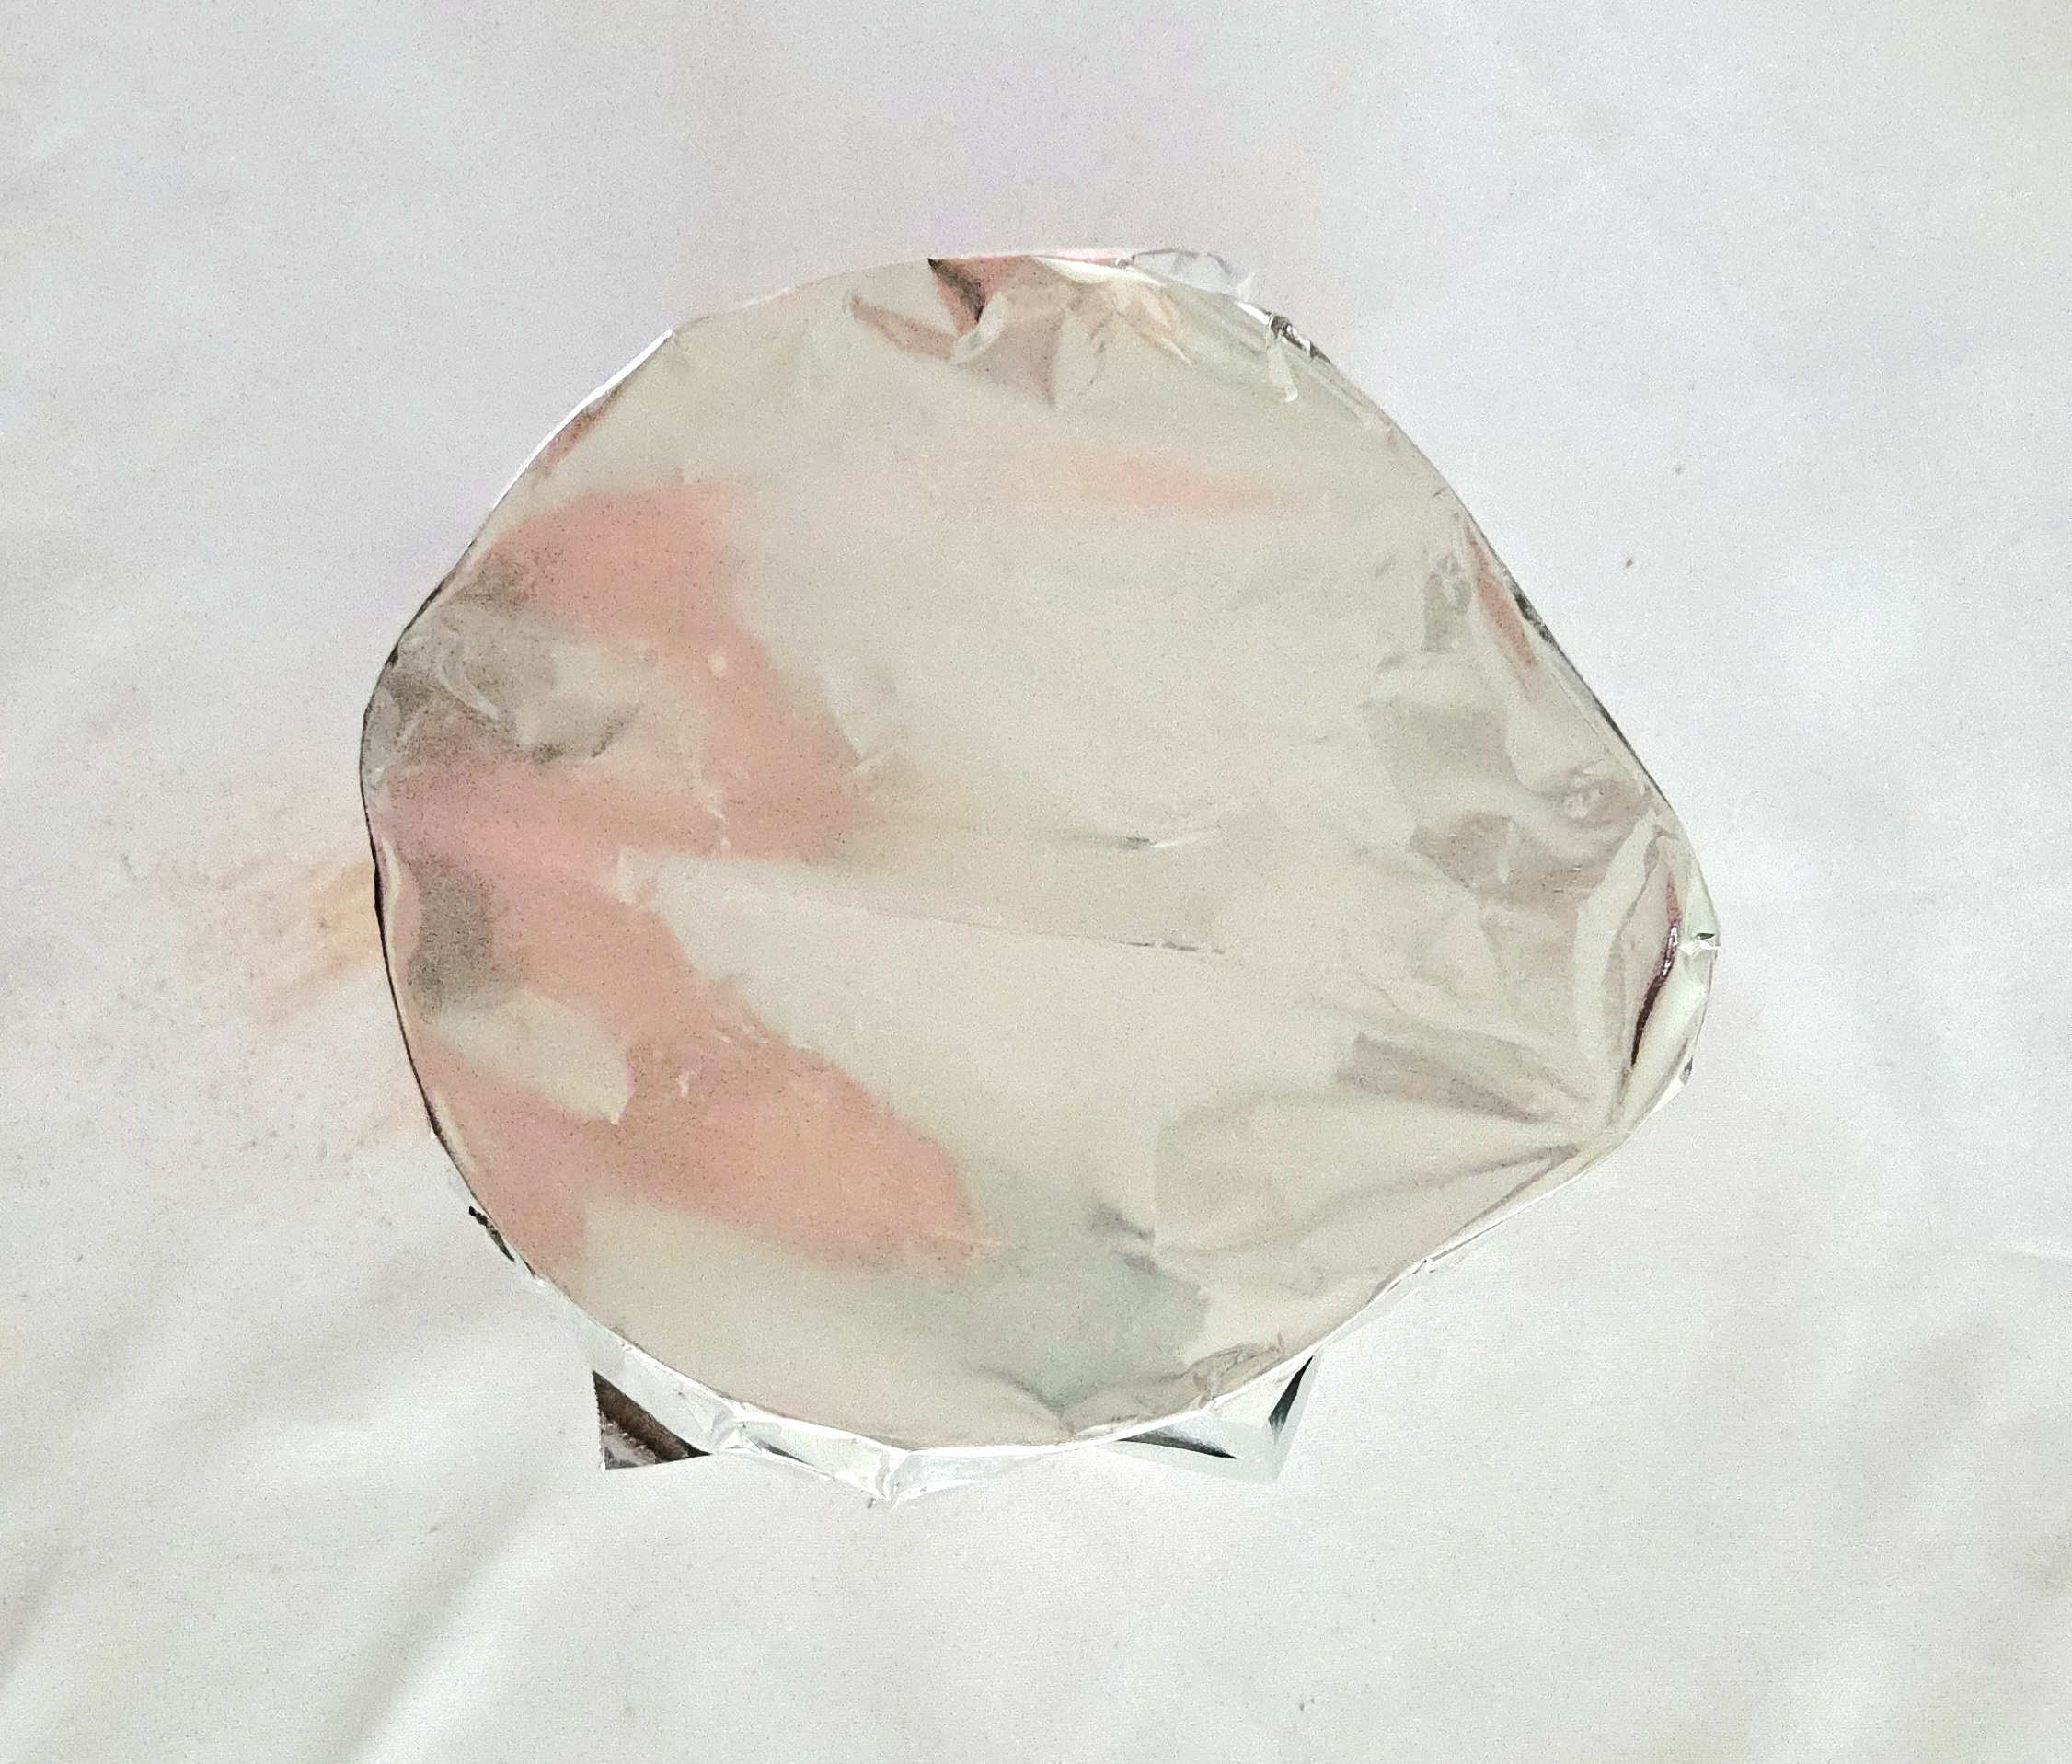
After 5 minutes, uncover the bowl and place it in the fridge to help it cool down by the time you’re ready to use it in the rest of the batter.
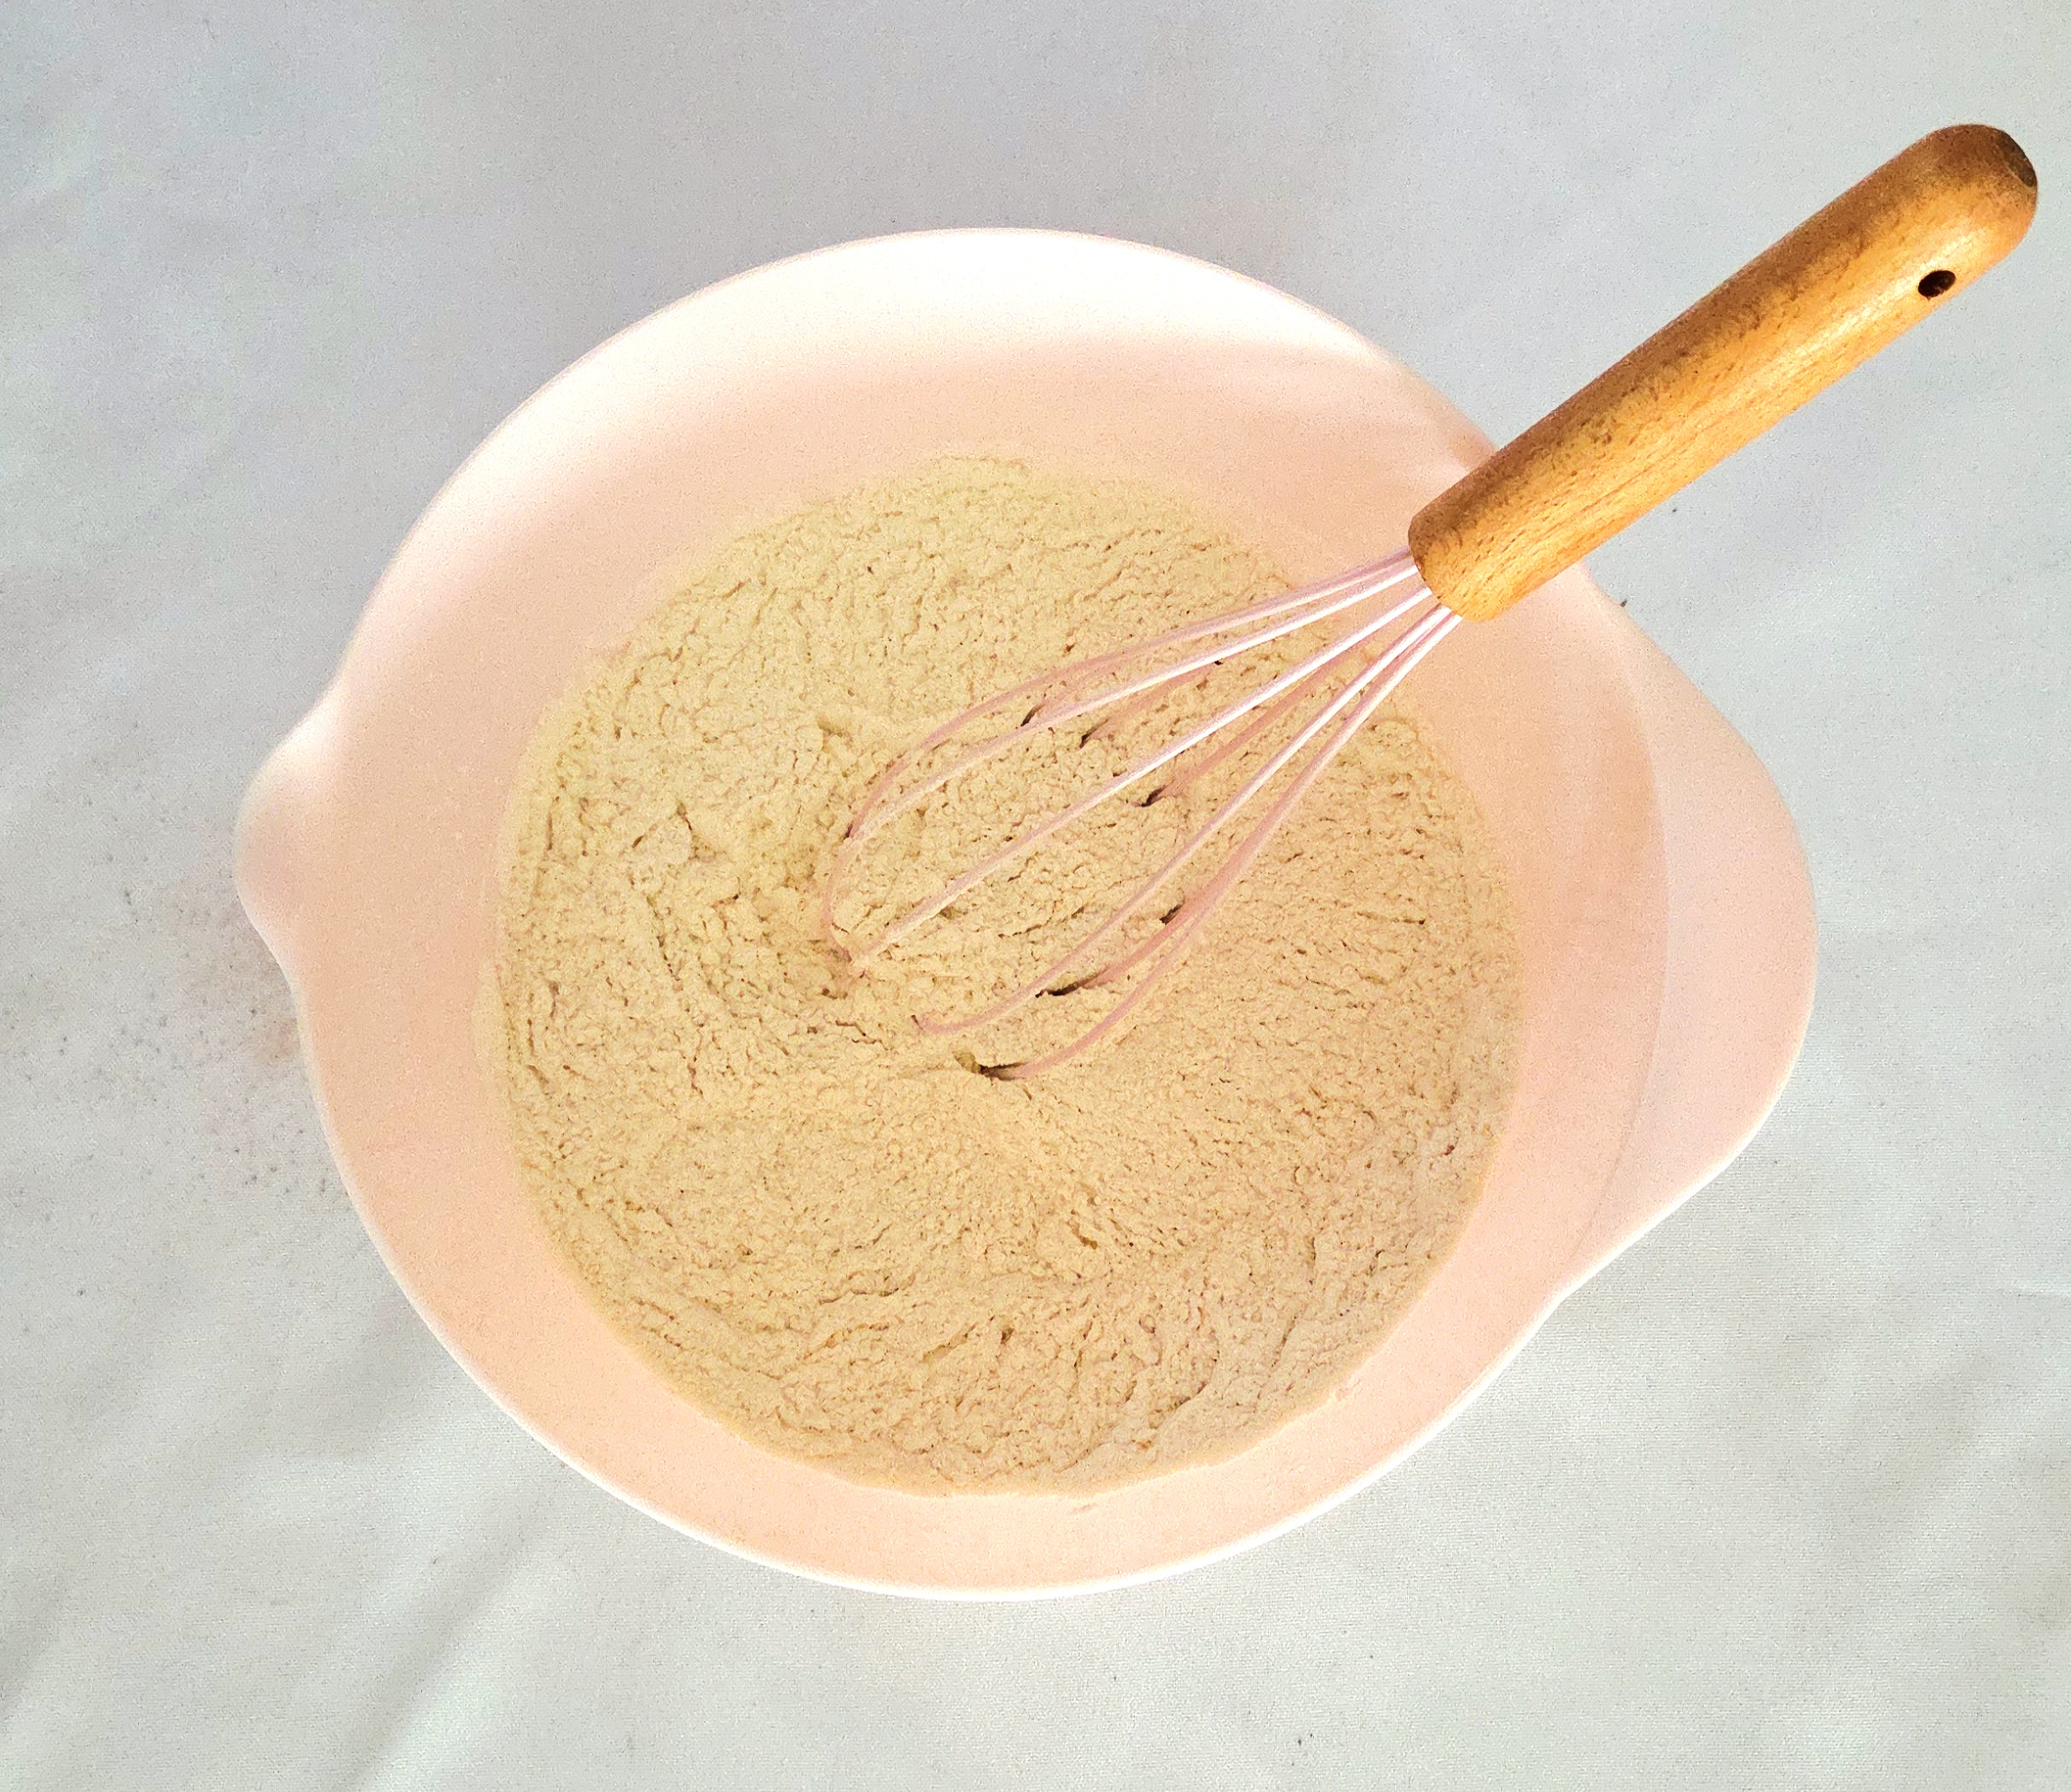
In a medium mixing bowl, whisk together the flour, baking soda, and salt. Set this bowl aside.
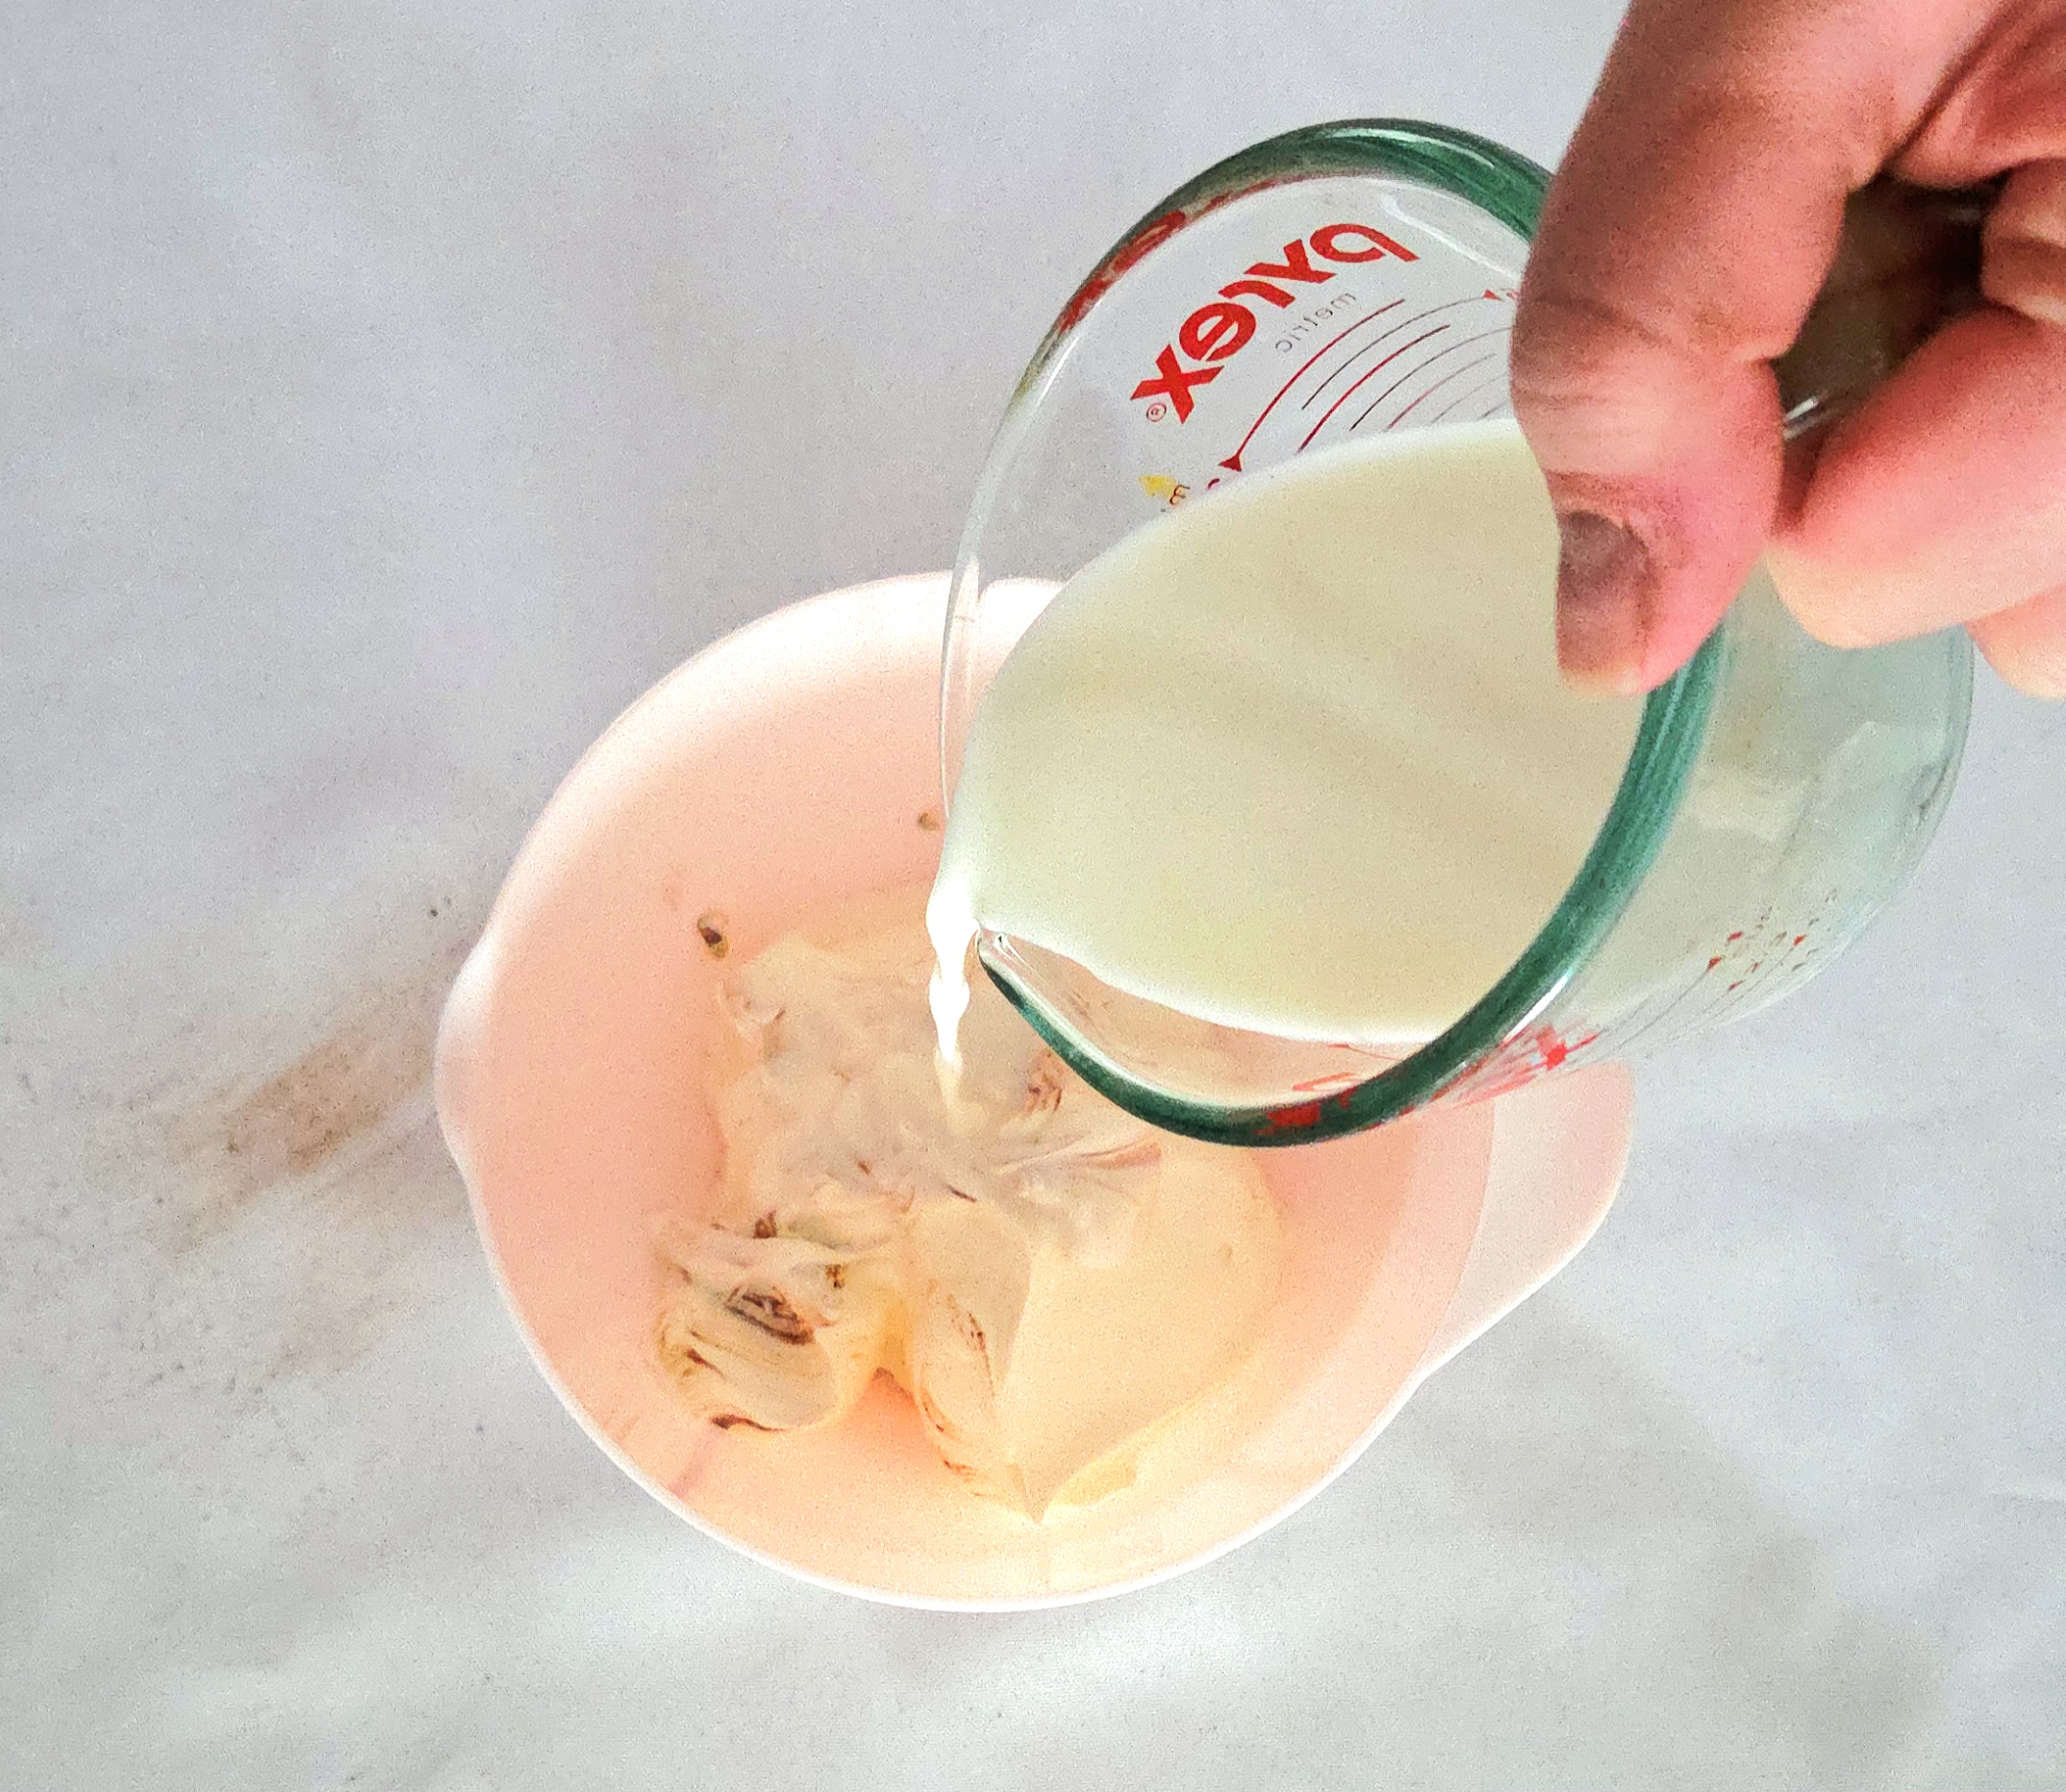
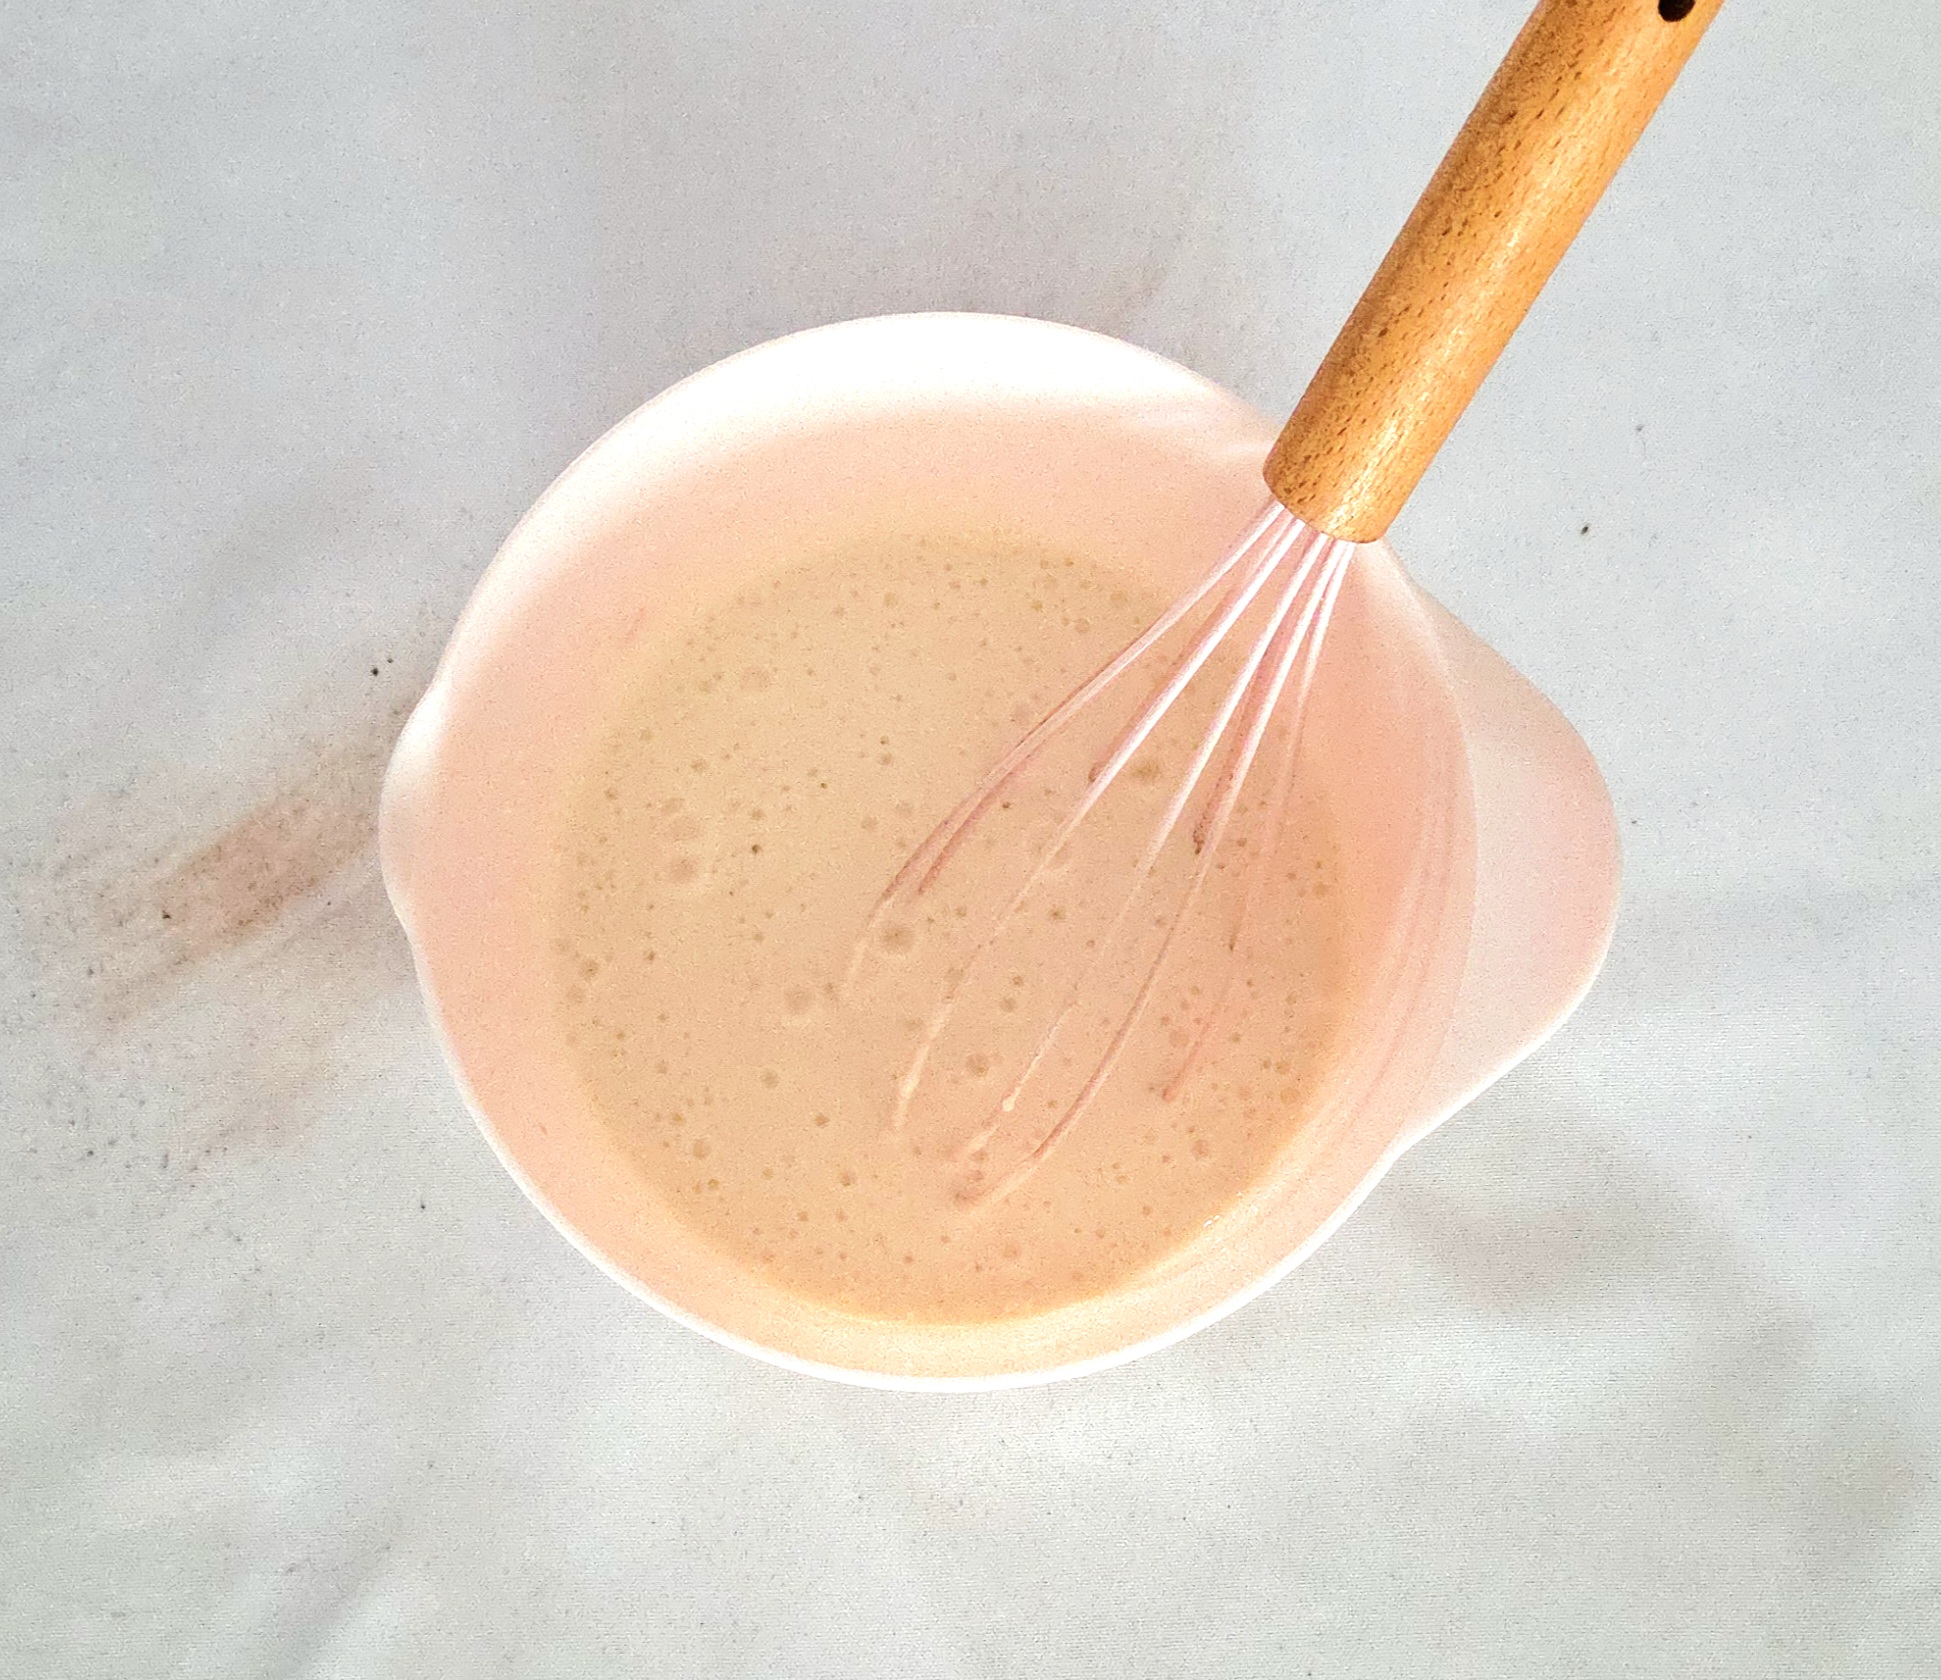
Whisk together the sour cream and whole milk in a small mixing bowl. Thinning the sour cream with the milk before mixing them both in will help eliminate any lumps from the sour cream, making for a smoother batter. Set this bowl aside.
In the bowl of a stand mixer using the paddle attachment, cream together the butter, granulated sugar, and brown sugar on level 3 for 4-5 minutes. It wont get white and fluffy like it typically would, because of the ratio of butter to sugar. Just do the best you can. Scrape down the sides of the bowl, using a rubber spatula.
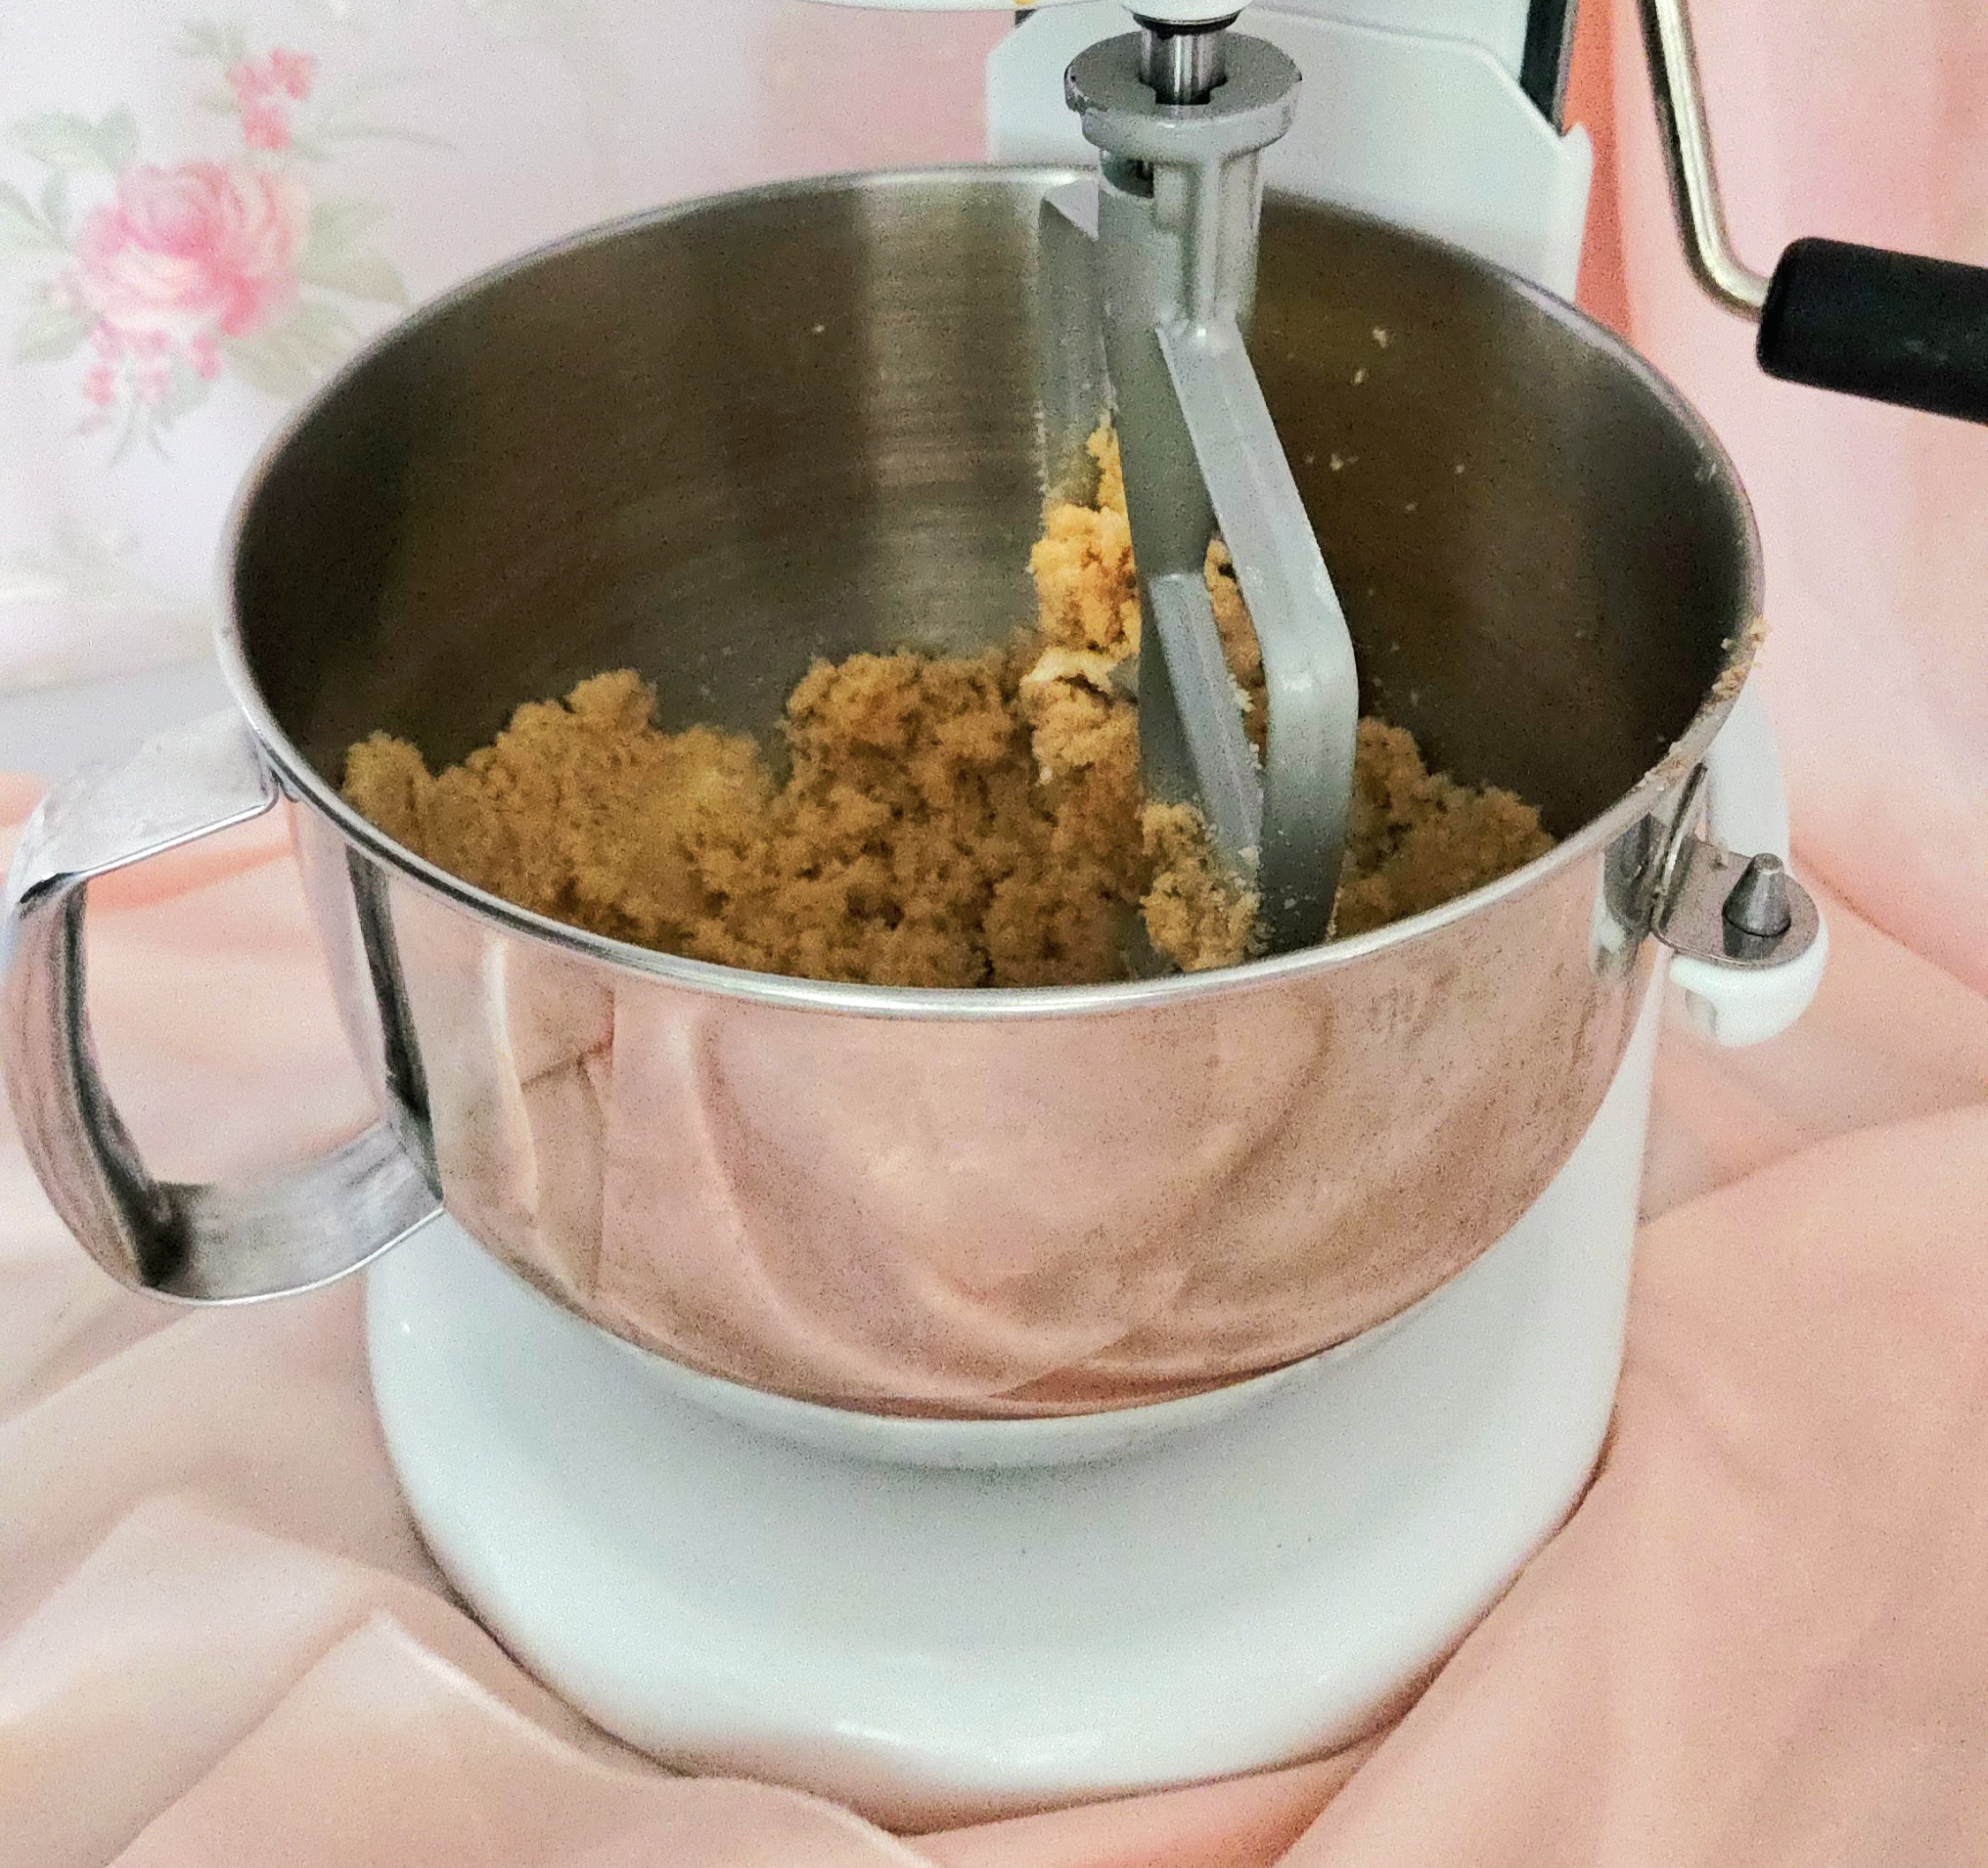
Add the eggs one at a time. Beat each egg into the creamed butter mixture on level 3, until it’s been fully absorbed. Only add in the next egg once the previous has disappeared into the batter. It’s important for this step that your eggs be at room temperature, as it makes keeping the batter emulsified much easier. For my tips on how to quickly warm the eggs, see the FAQs and Science Section above!
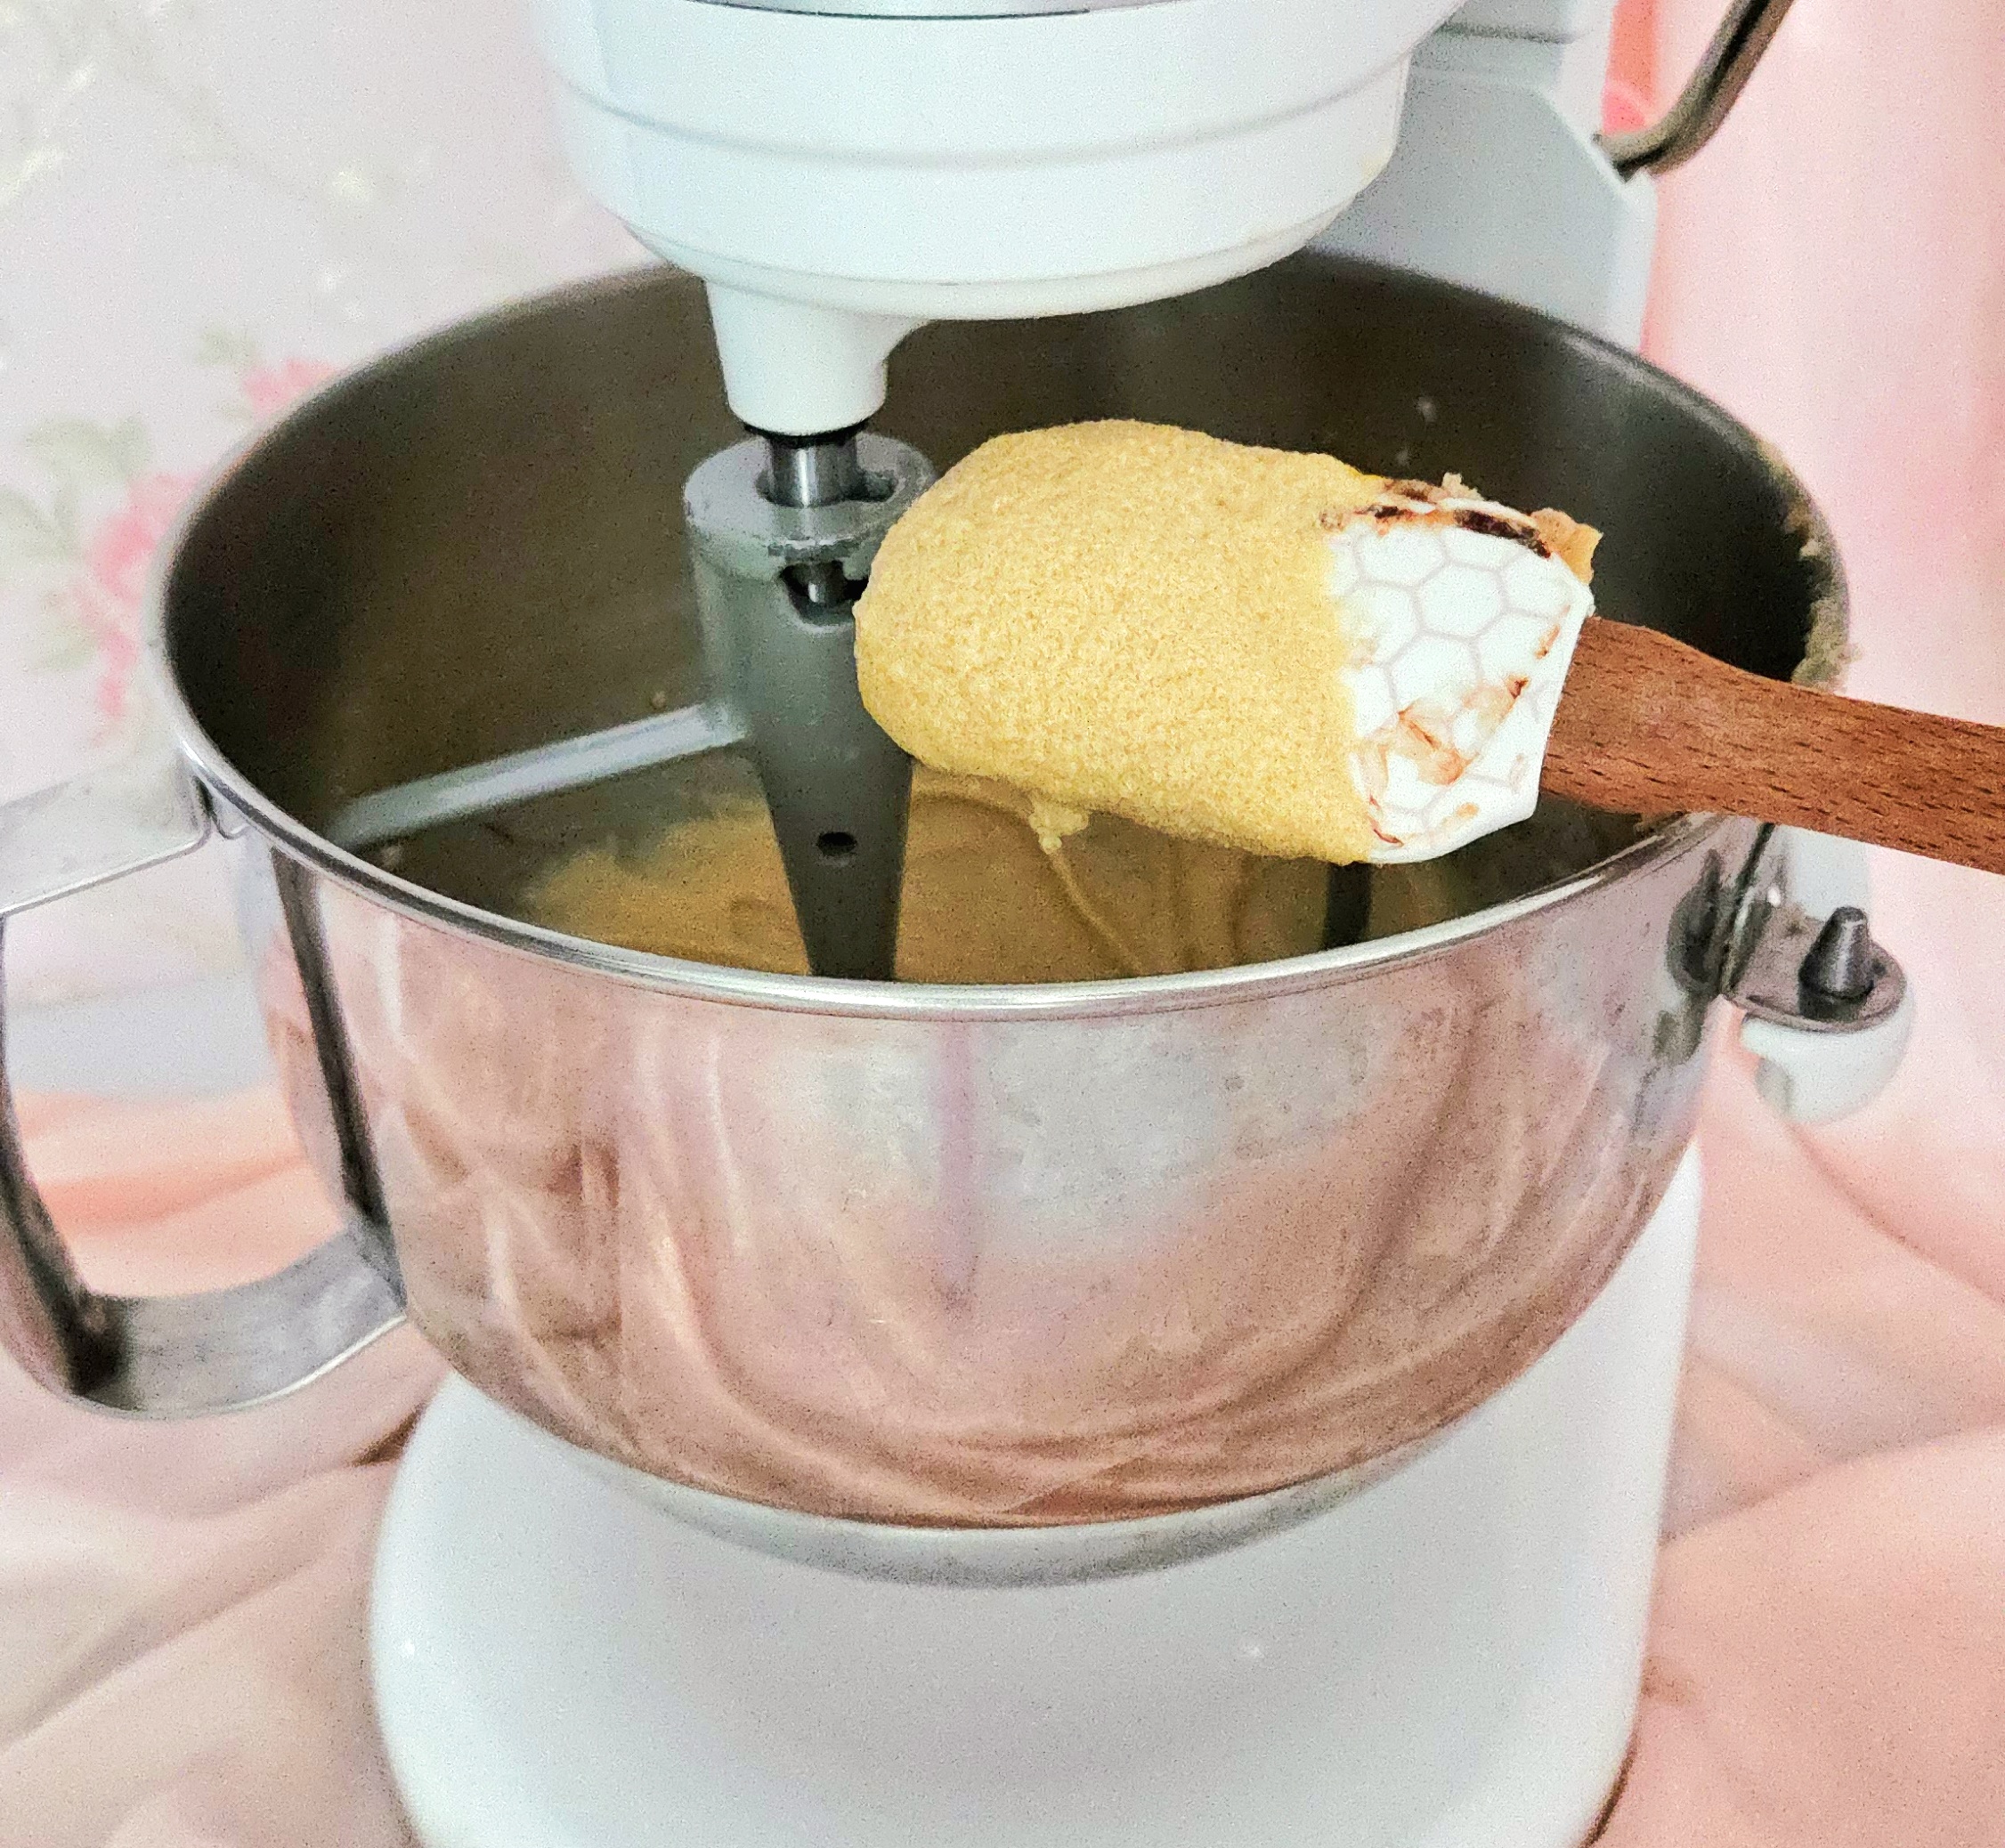
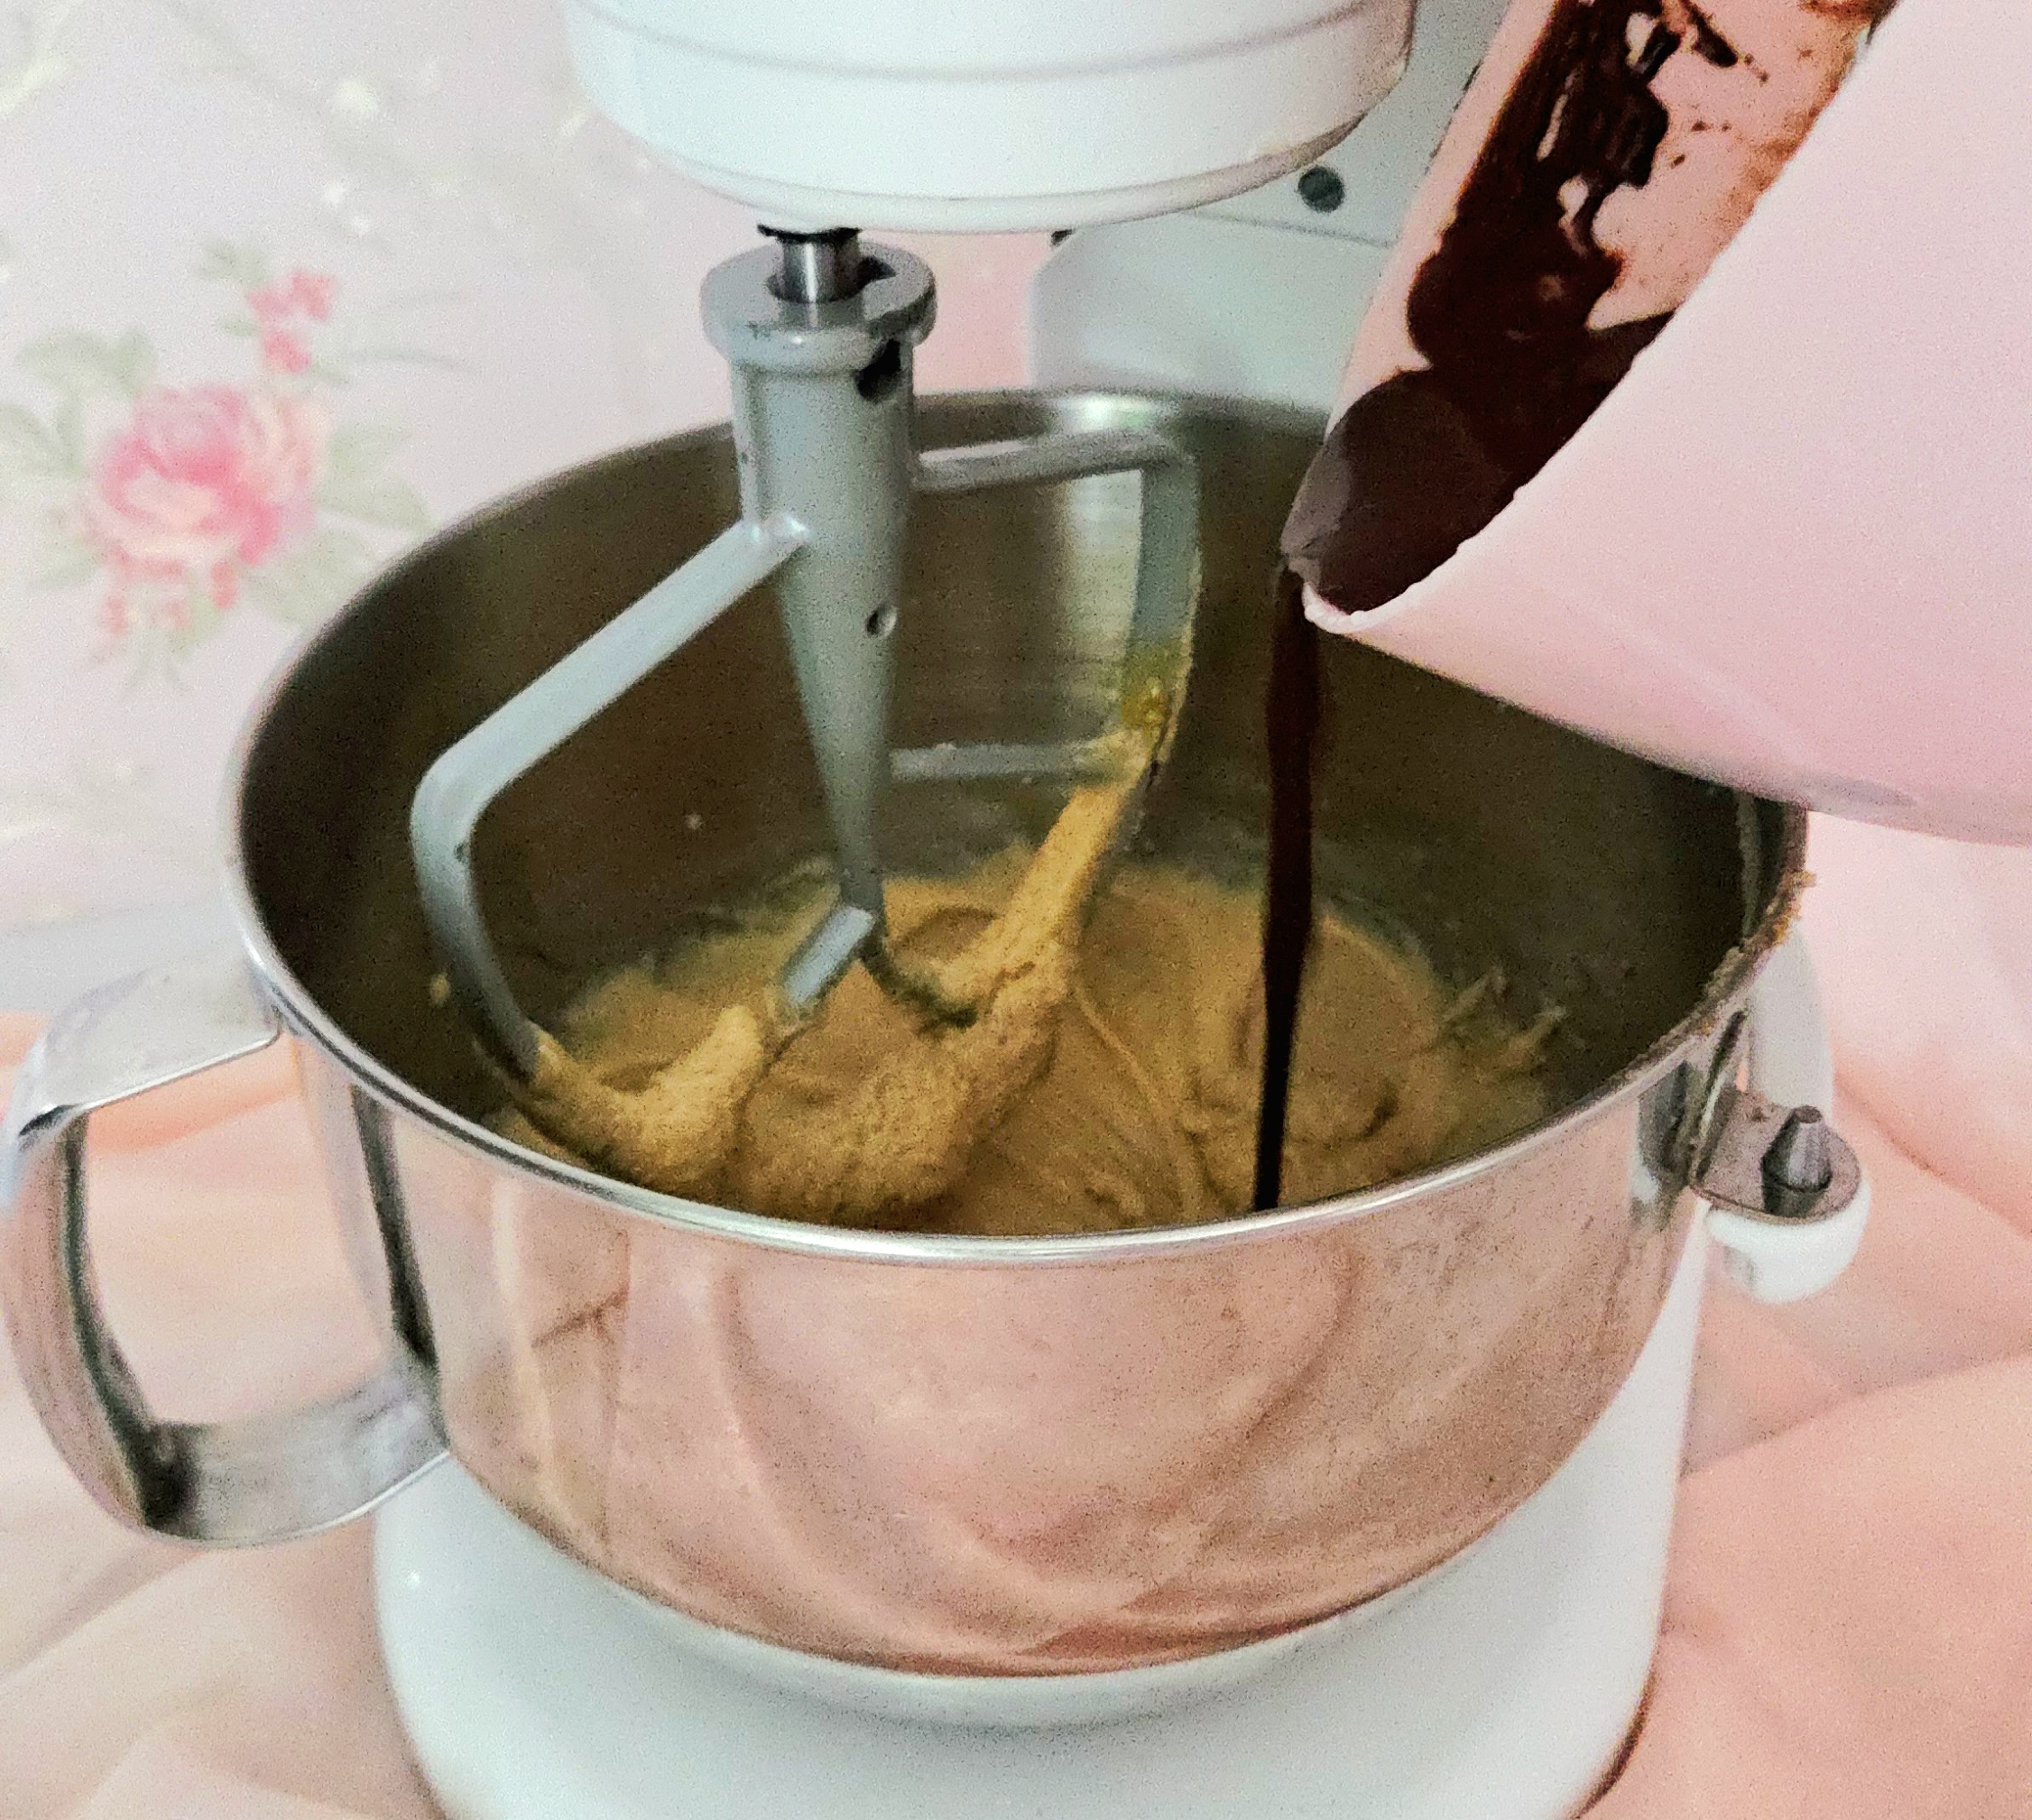
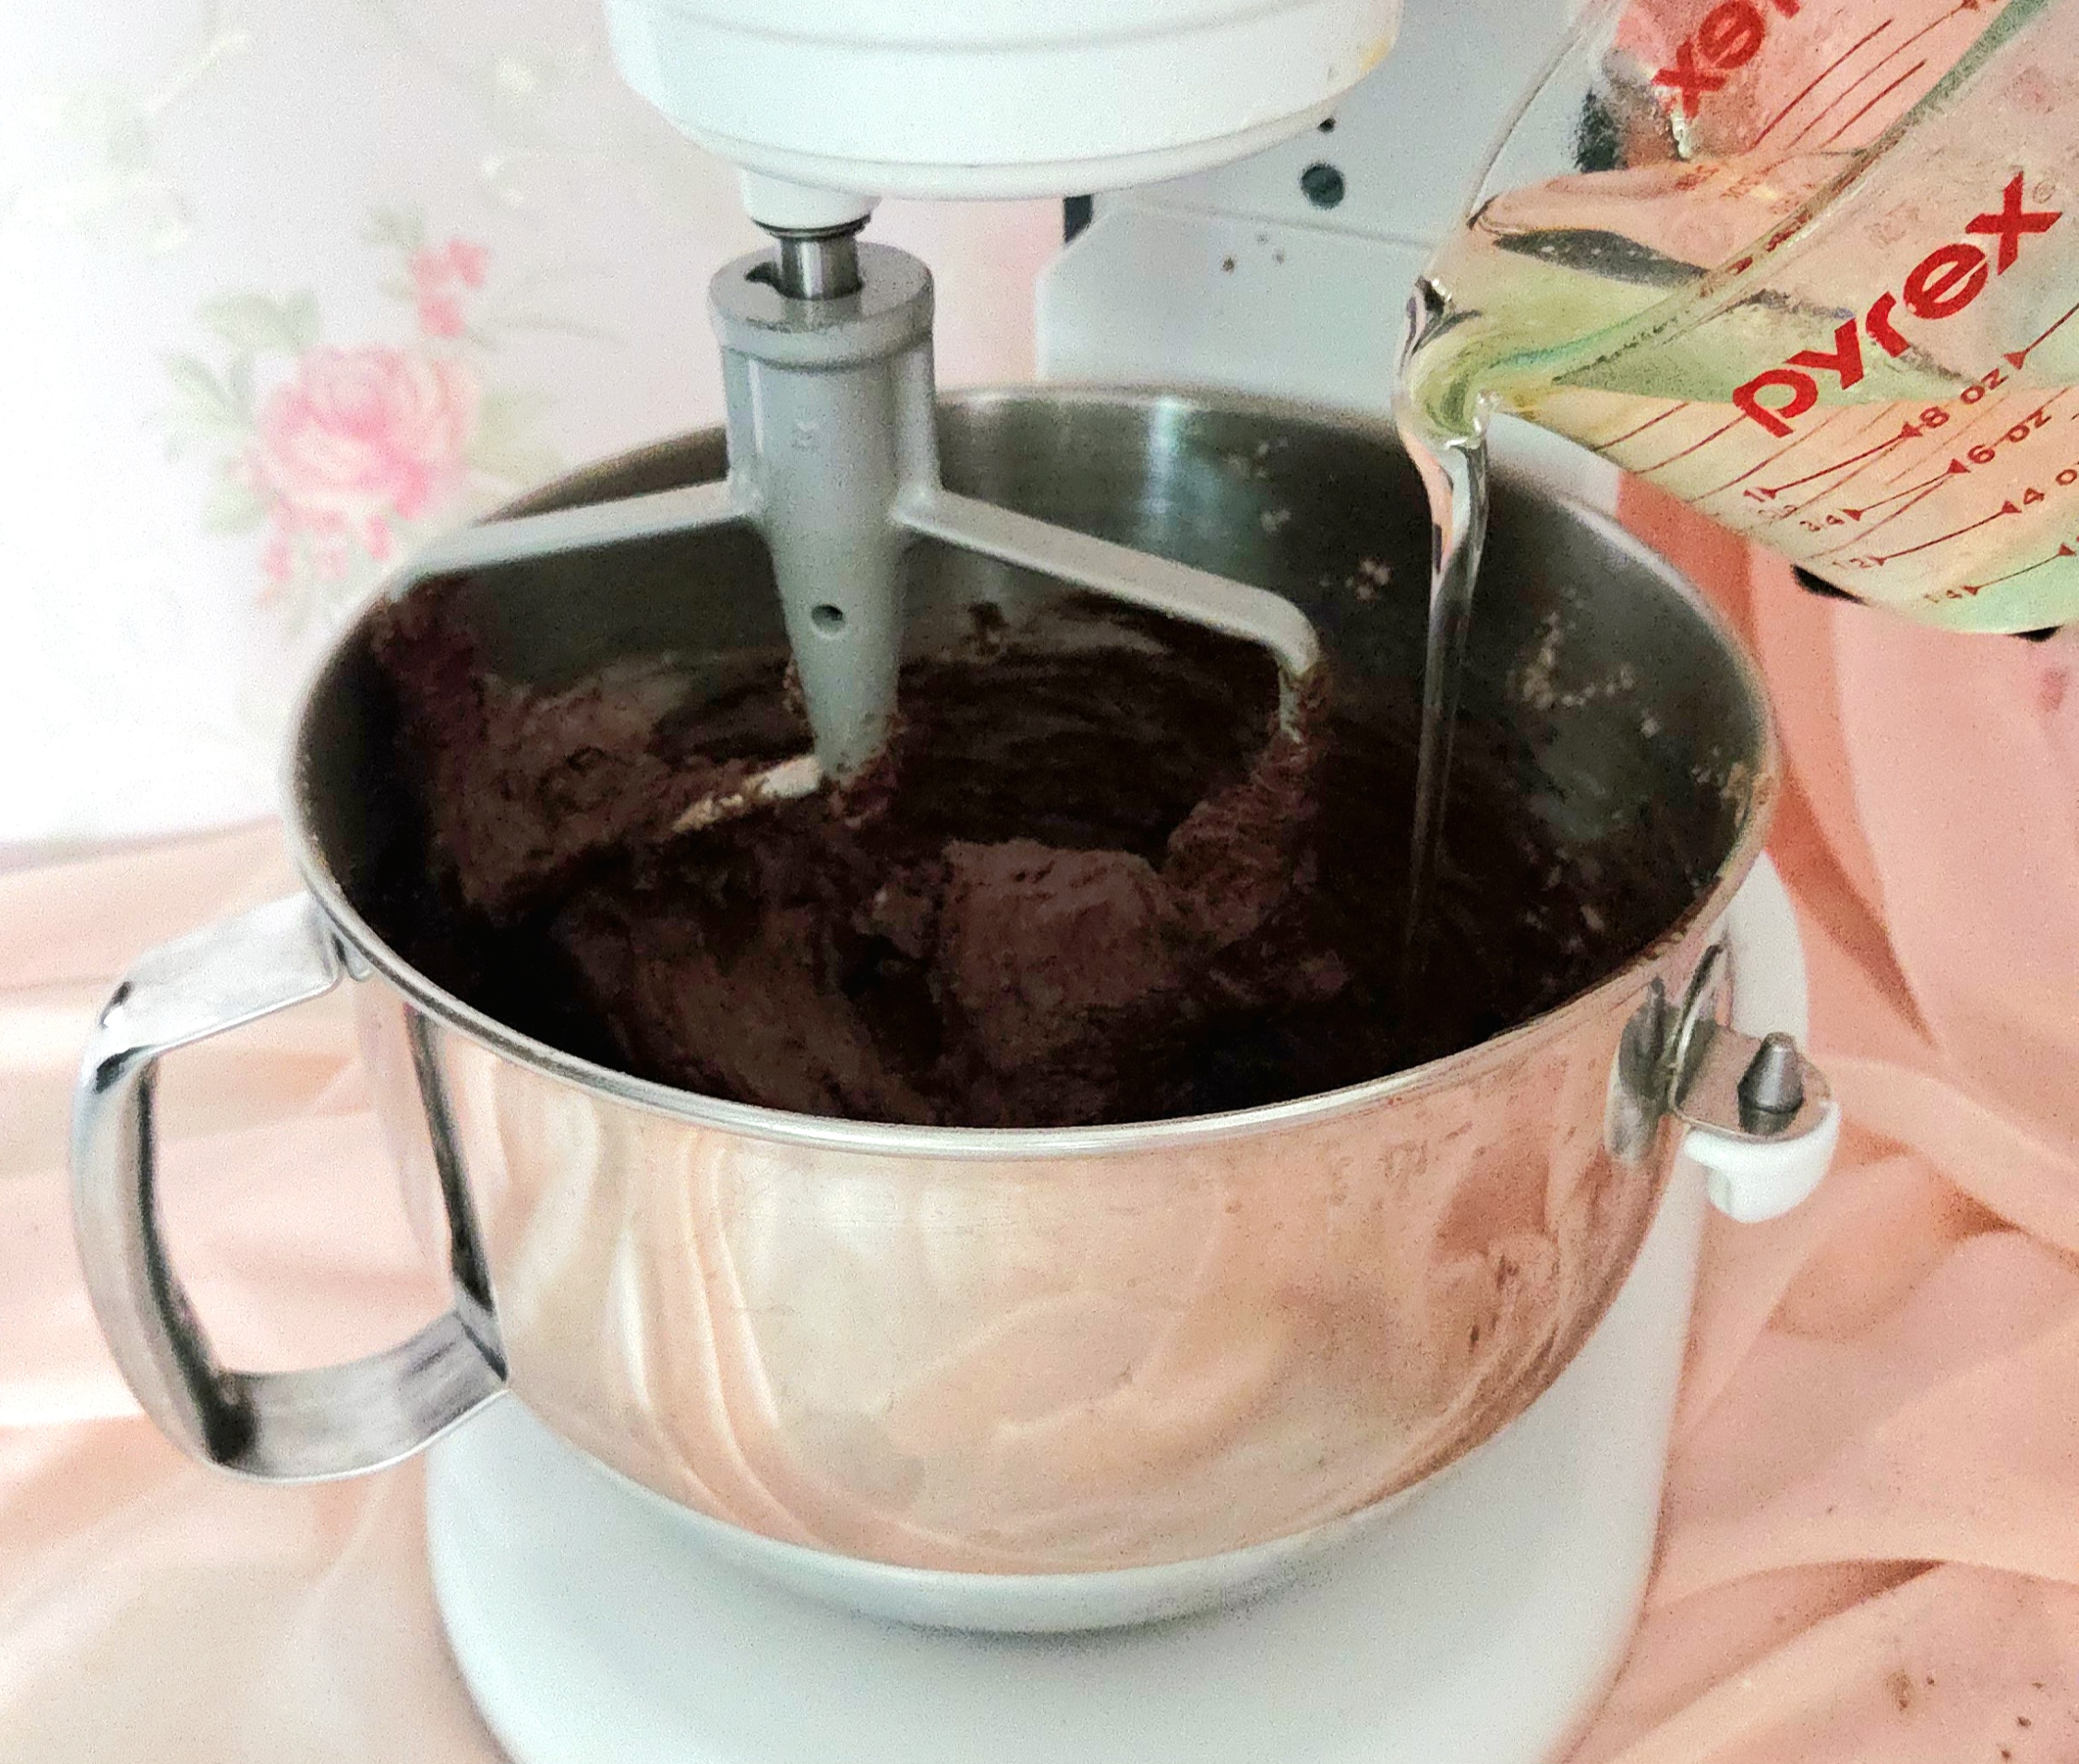
Pour the vanilla extract and cooled bloomed cocoa into the batter. Beat the batter on level 3 until it becomes homogeneous, around 2-3 minutes. At least once, scrape the sides of the bowl part way through mixing, to make sure the chocolate fully incorporates.
Turn off the mixer and add ⅓ of the dry goods to the batter. Beat on level 1.
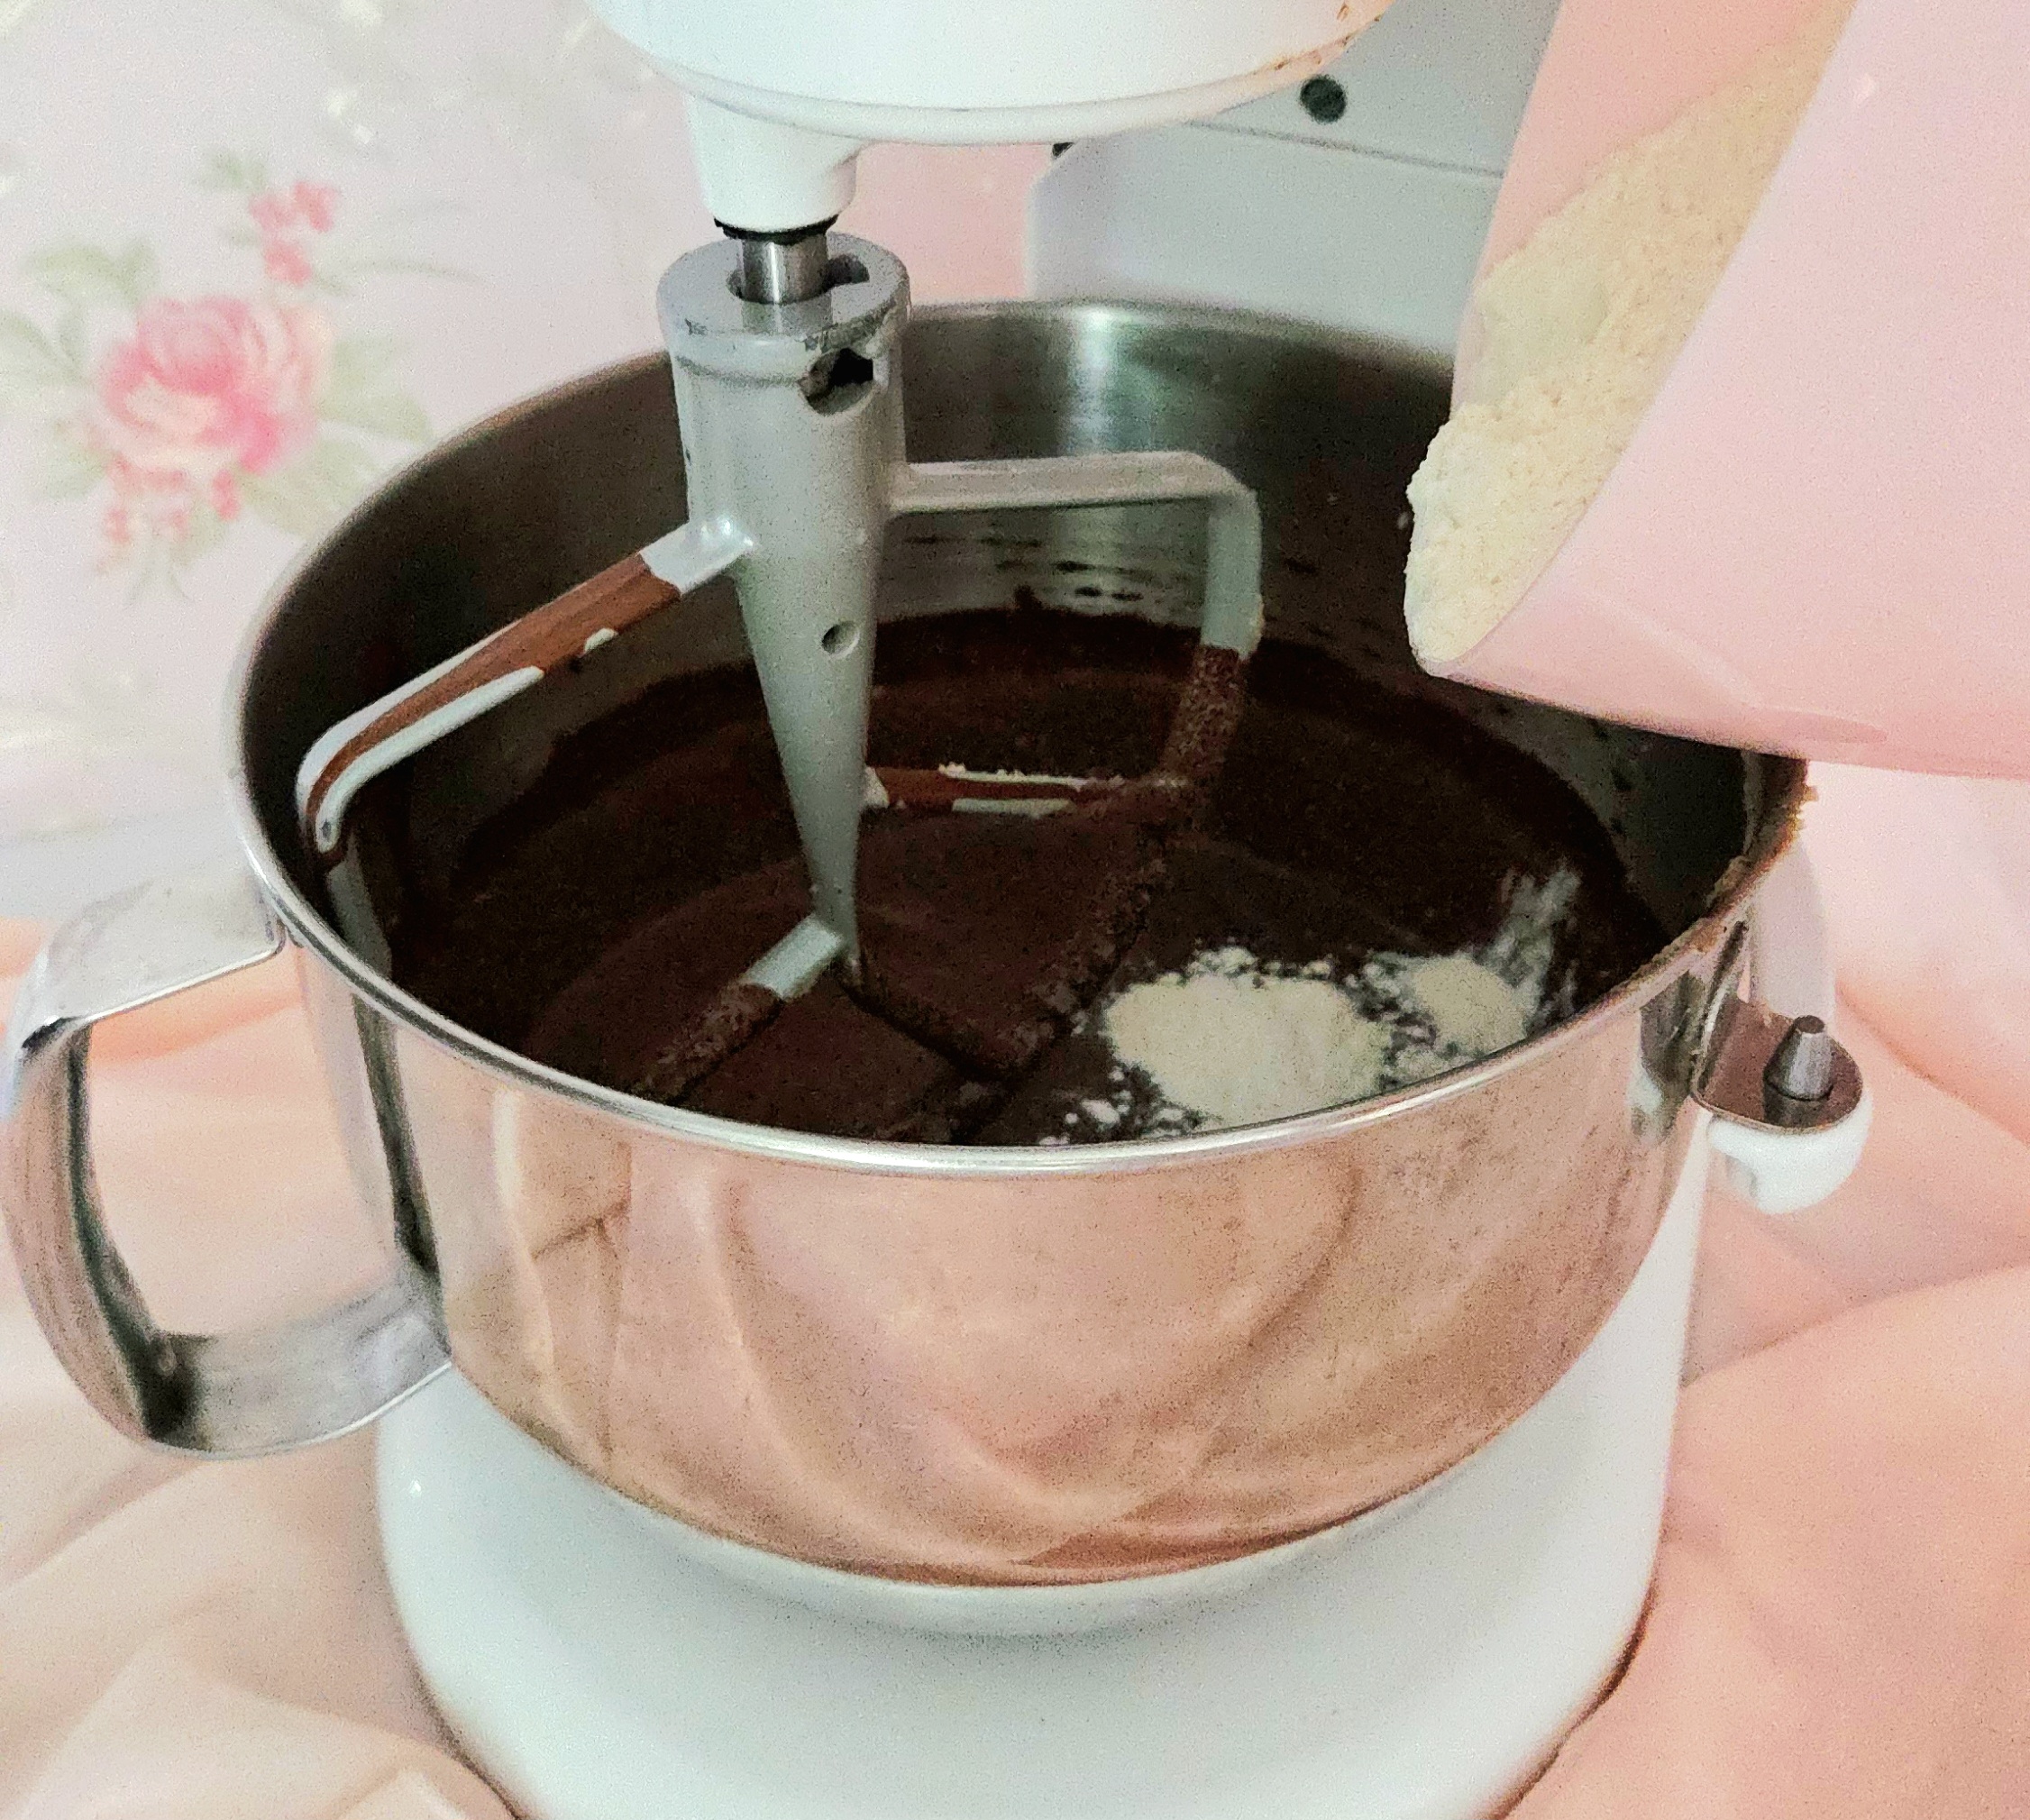
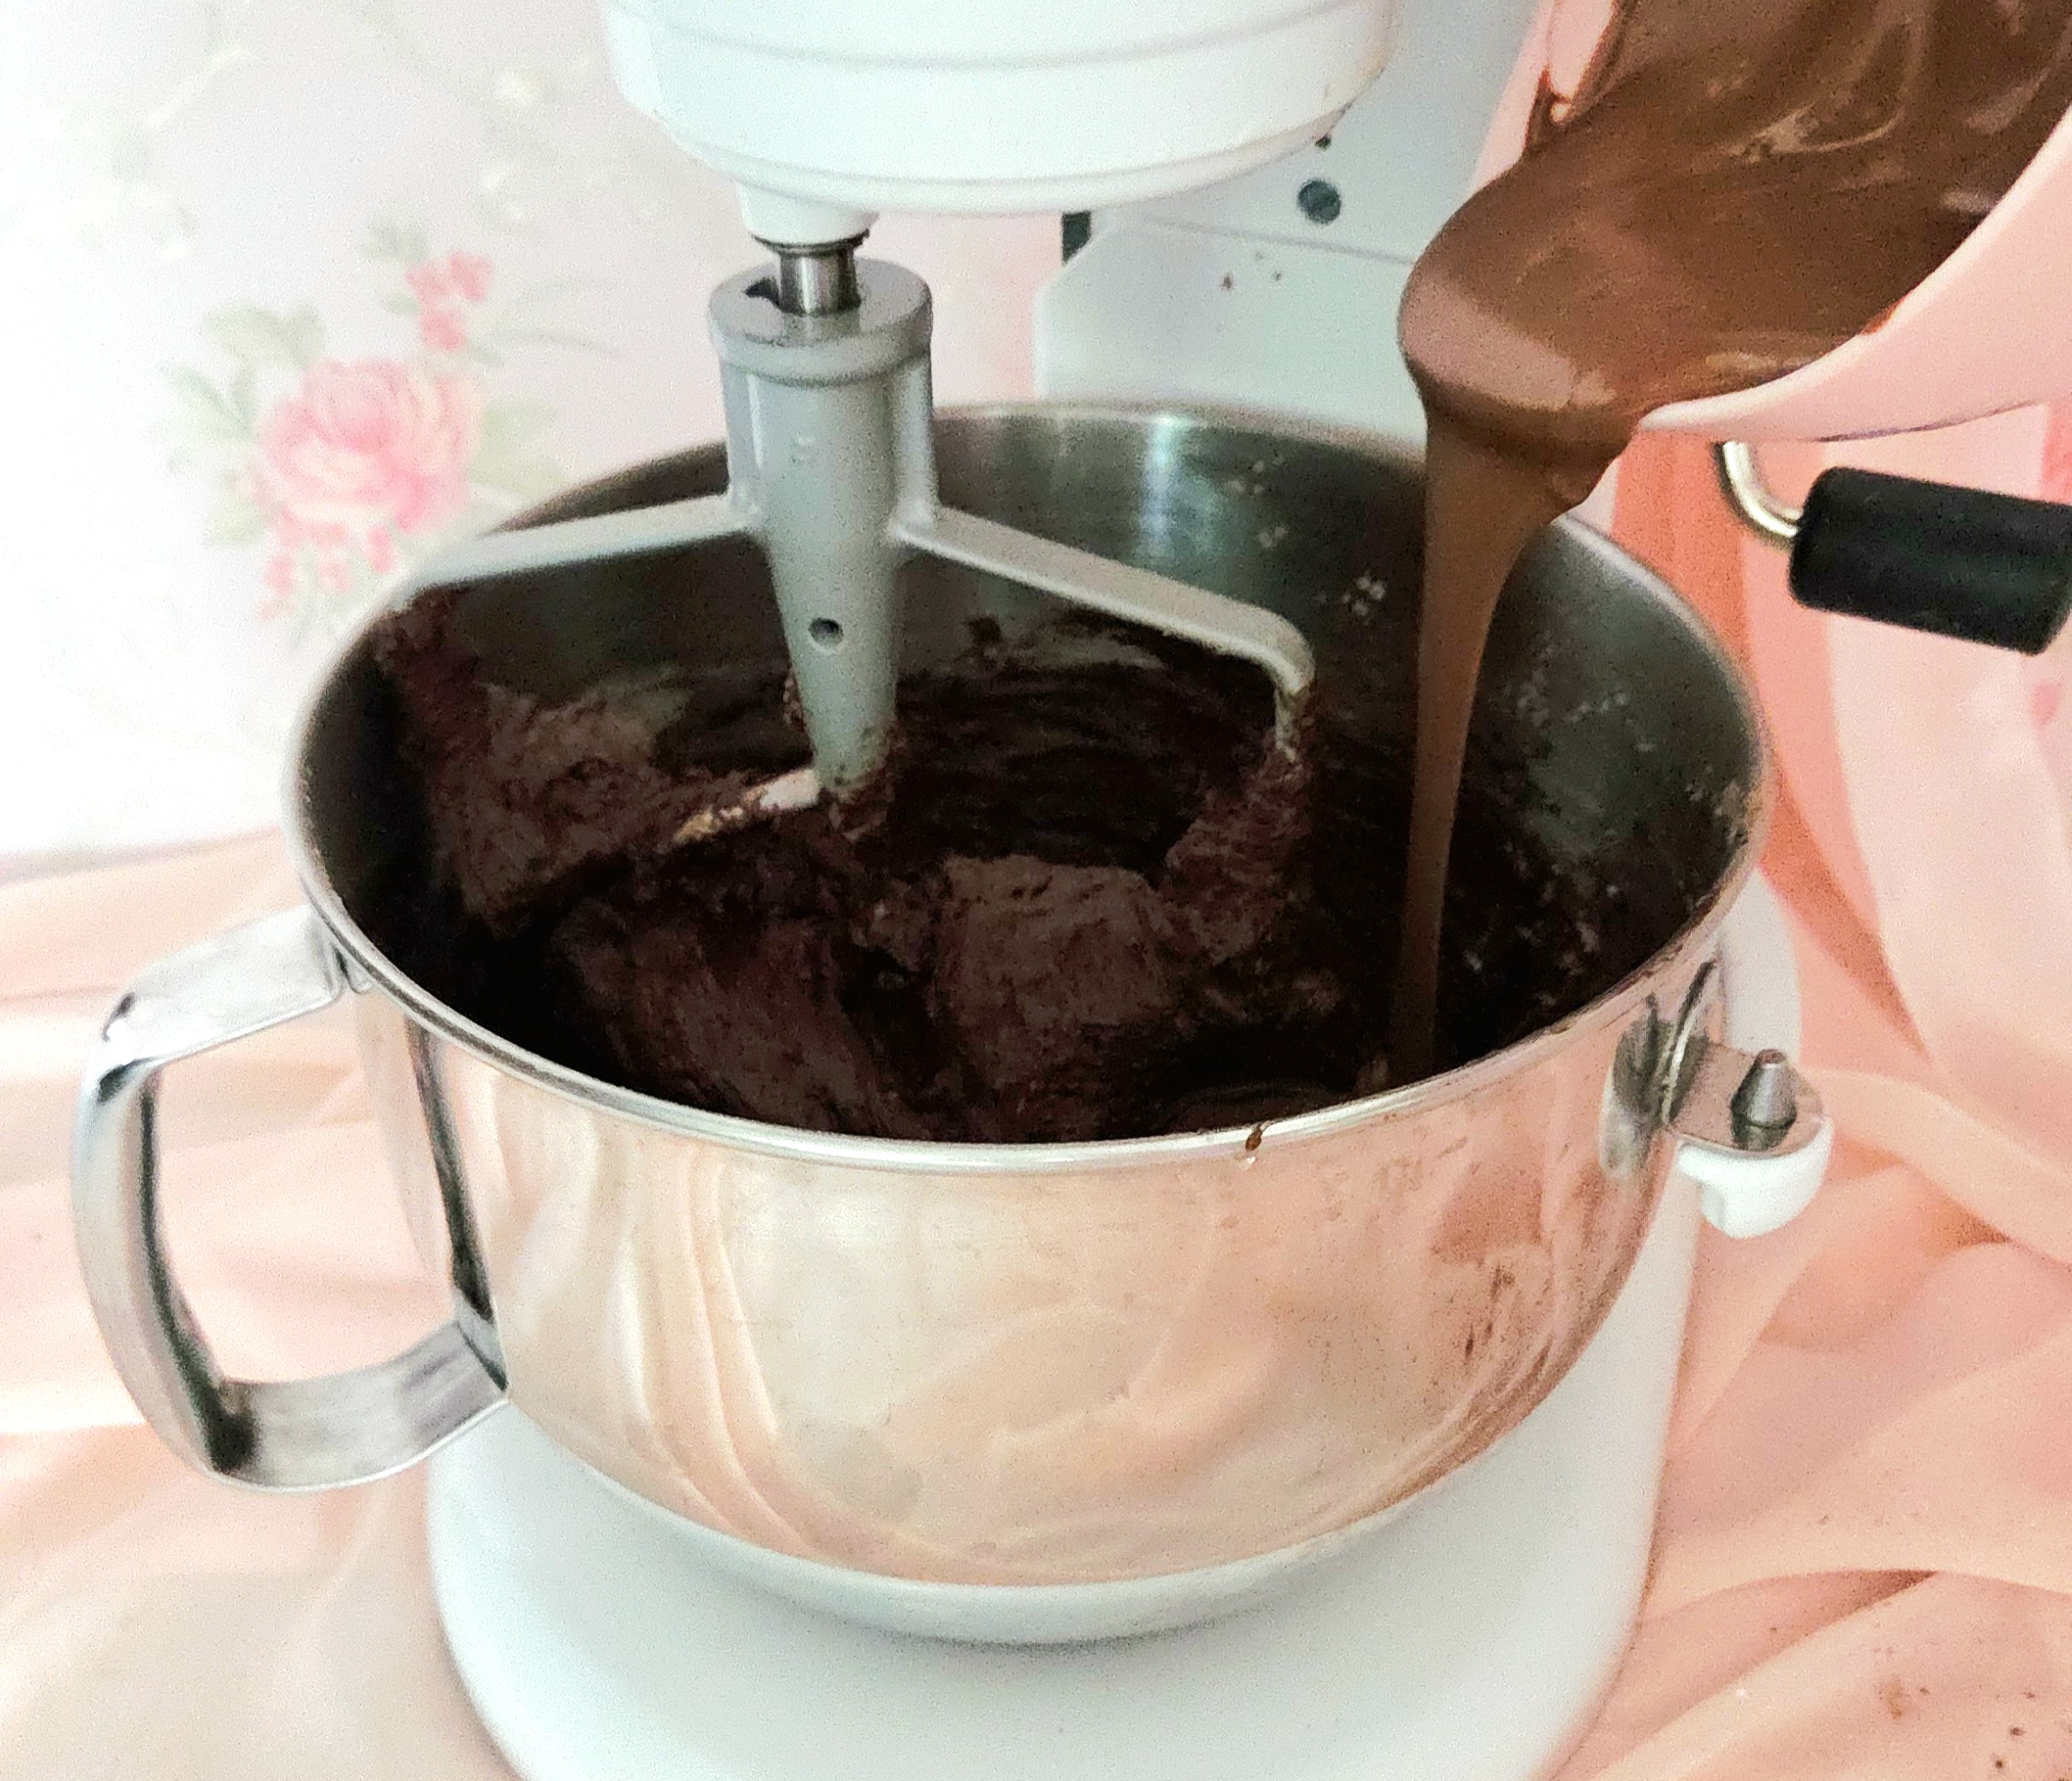
When most of the dry goods have been absorbed but a few streaks of flour remain, add in ½ of the milk mixture. Beat on level 1 until it’s been mostly absorbed, then turn off the mixer once more.
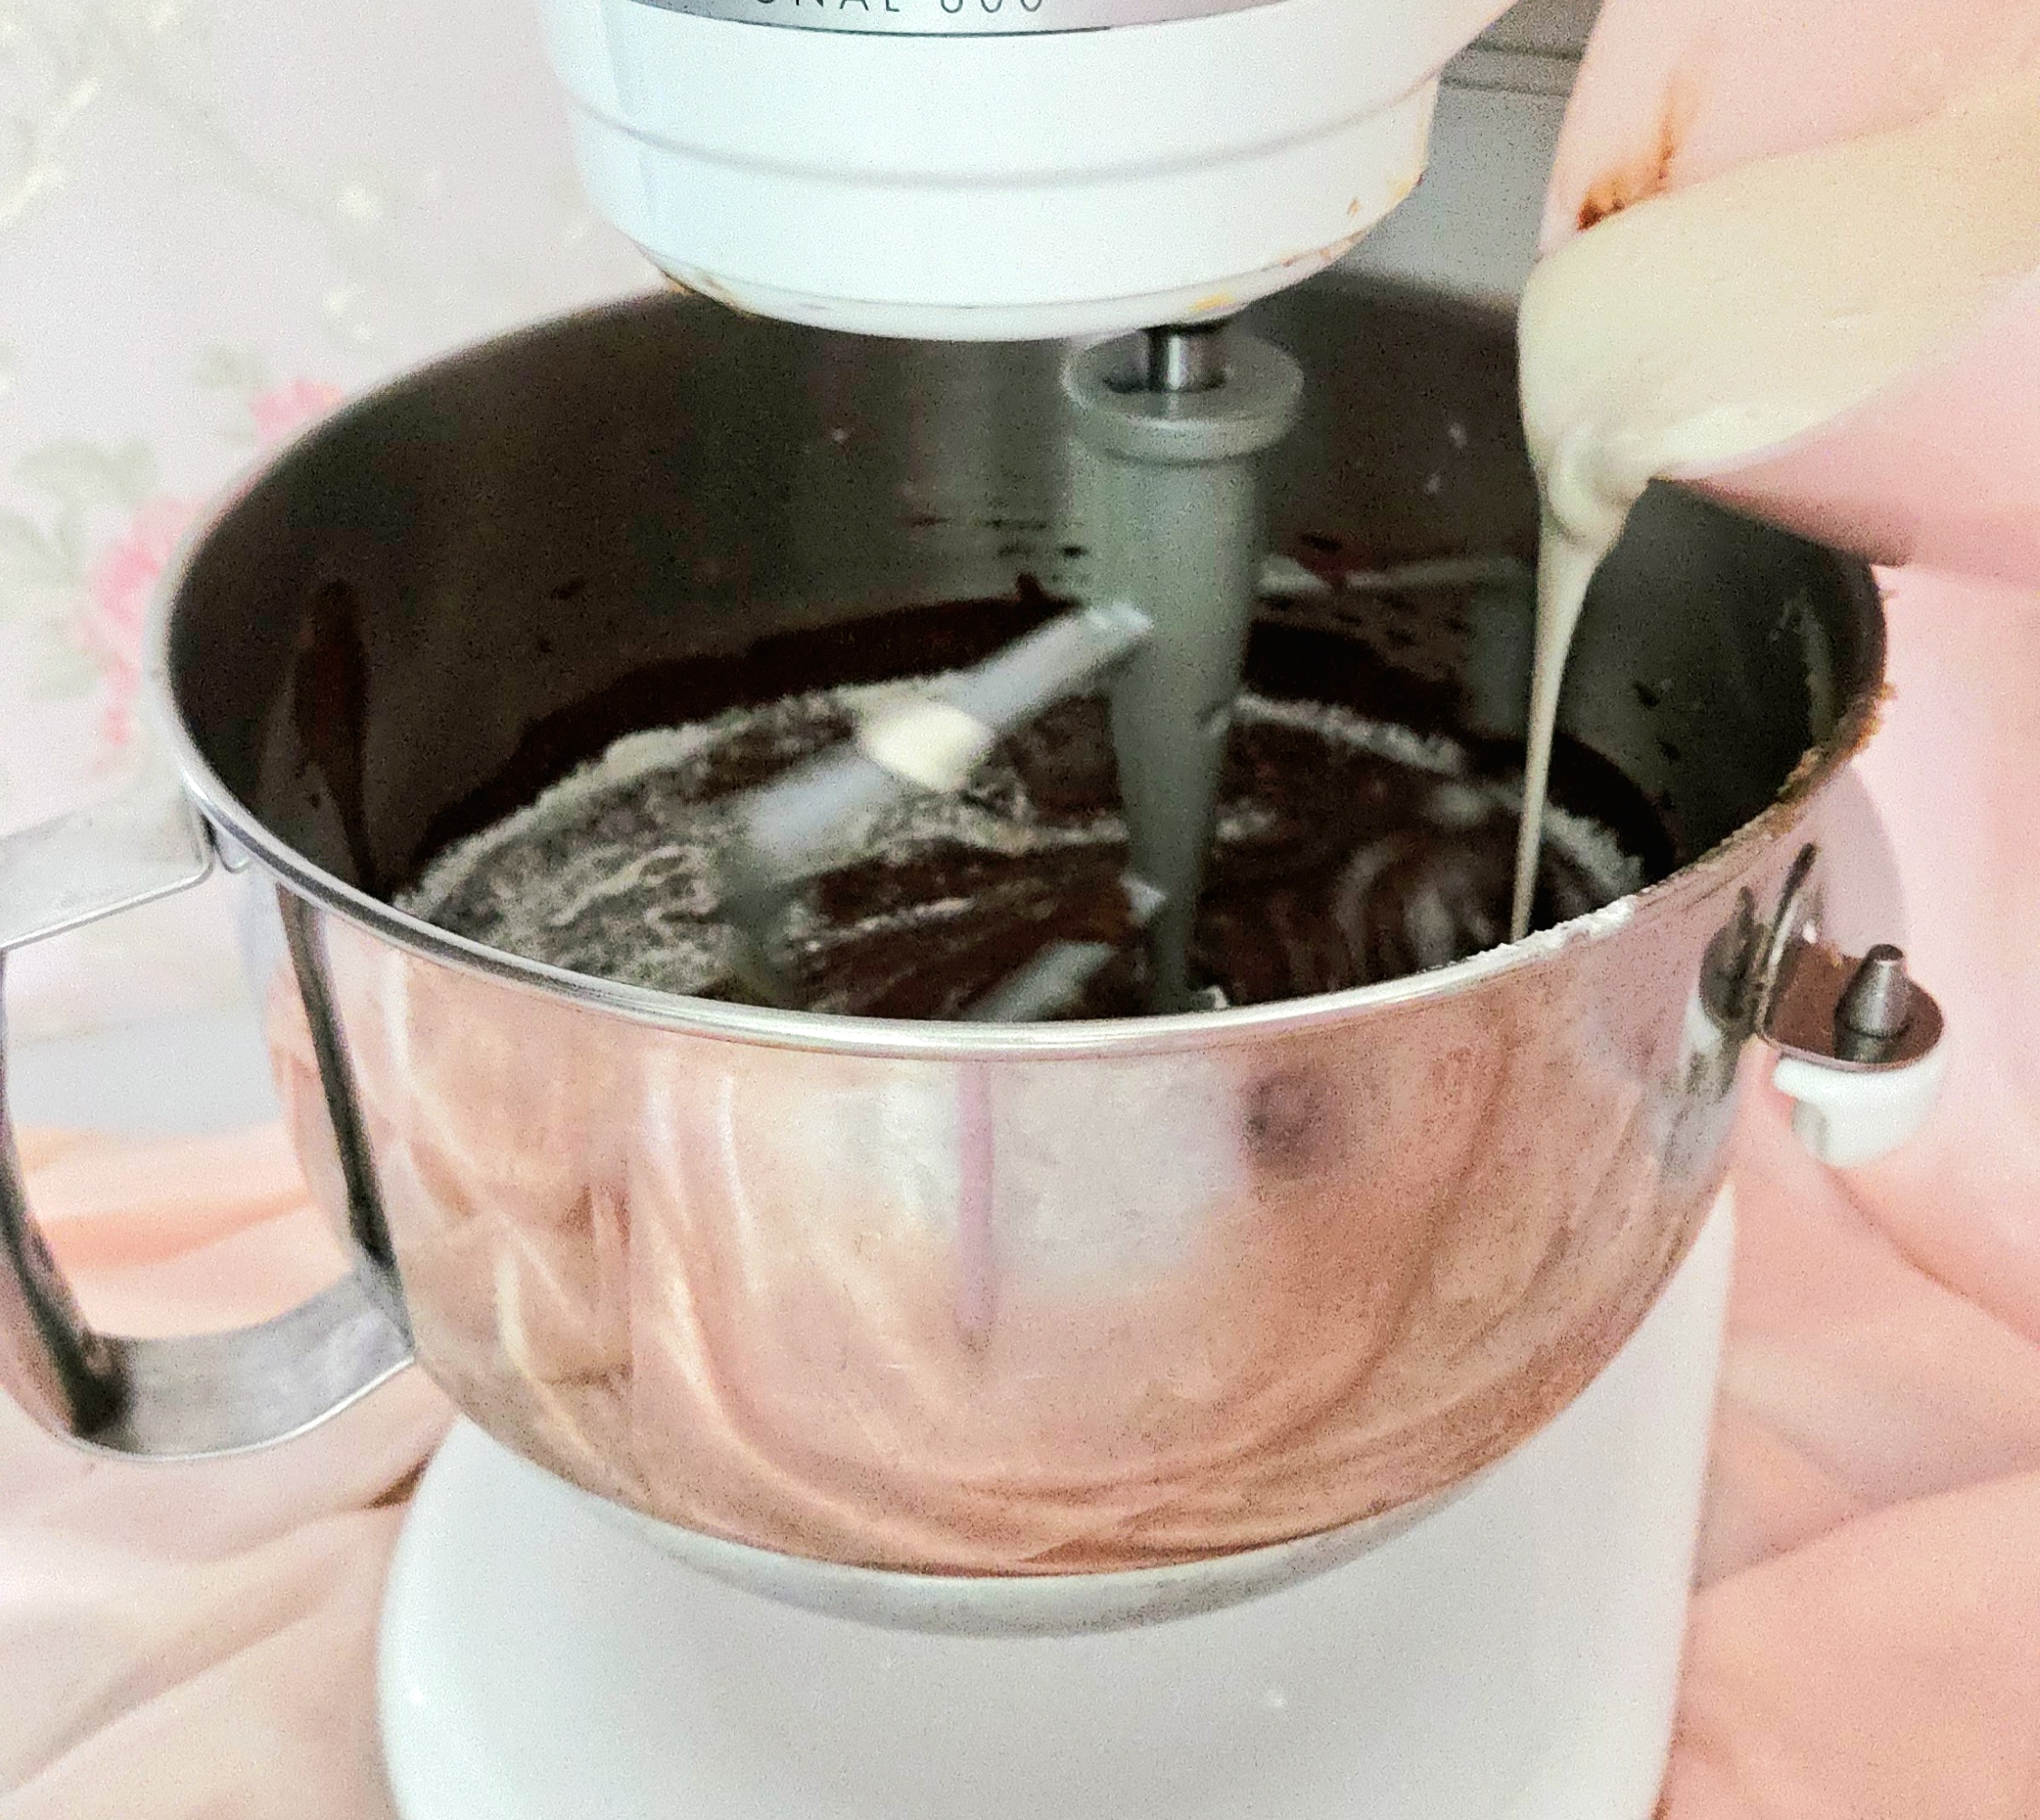
Add another ⅓ of the dry goods, and continue switching between adding the milk mixture and dry goods until everything is added. Be sure to end on dry goods. It’s better for a well emulsified cake batter to both begin and end on adding the dry goods when alternating with a liquid.
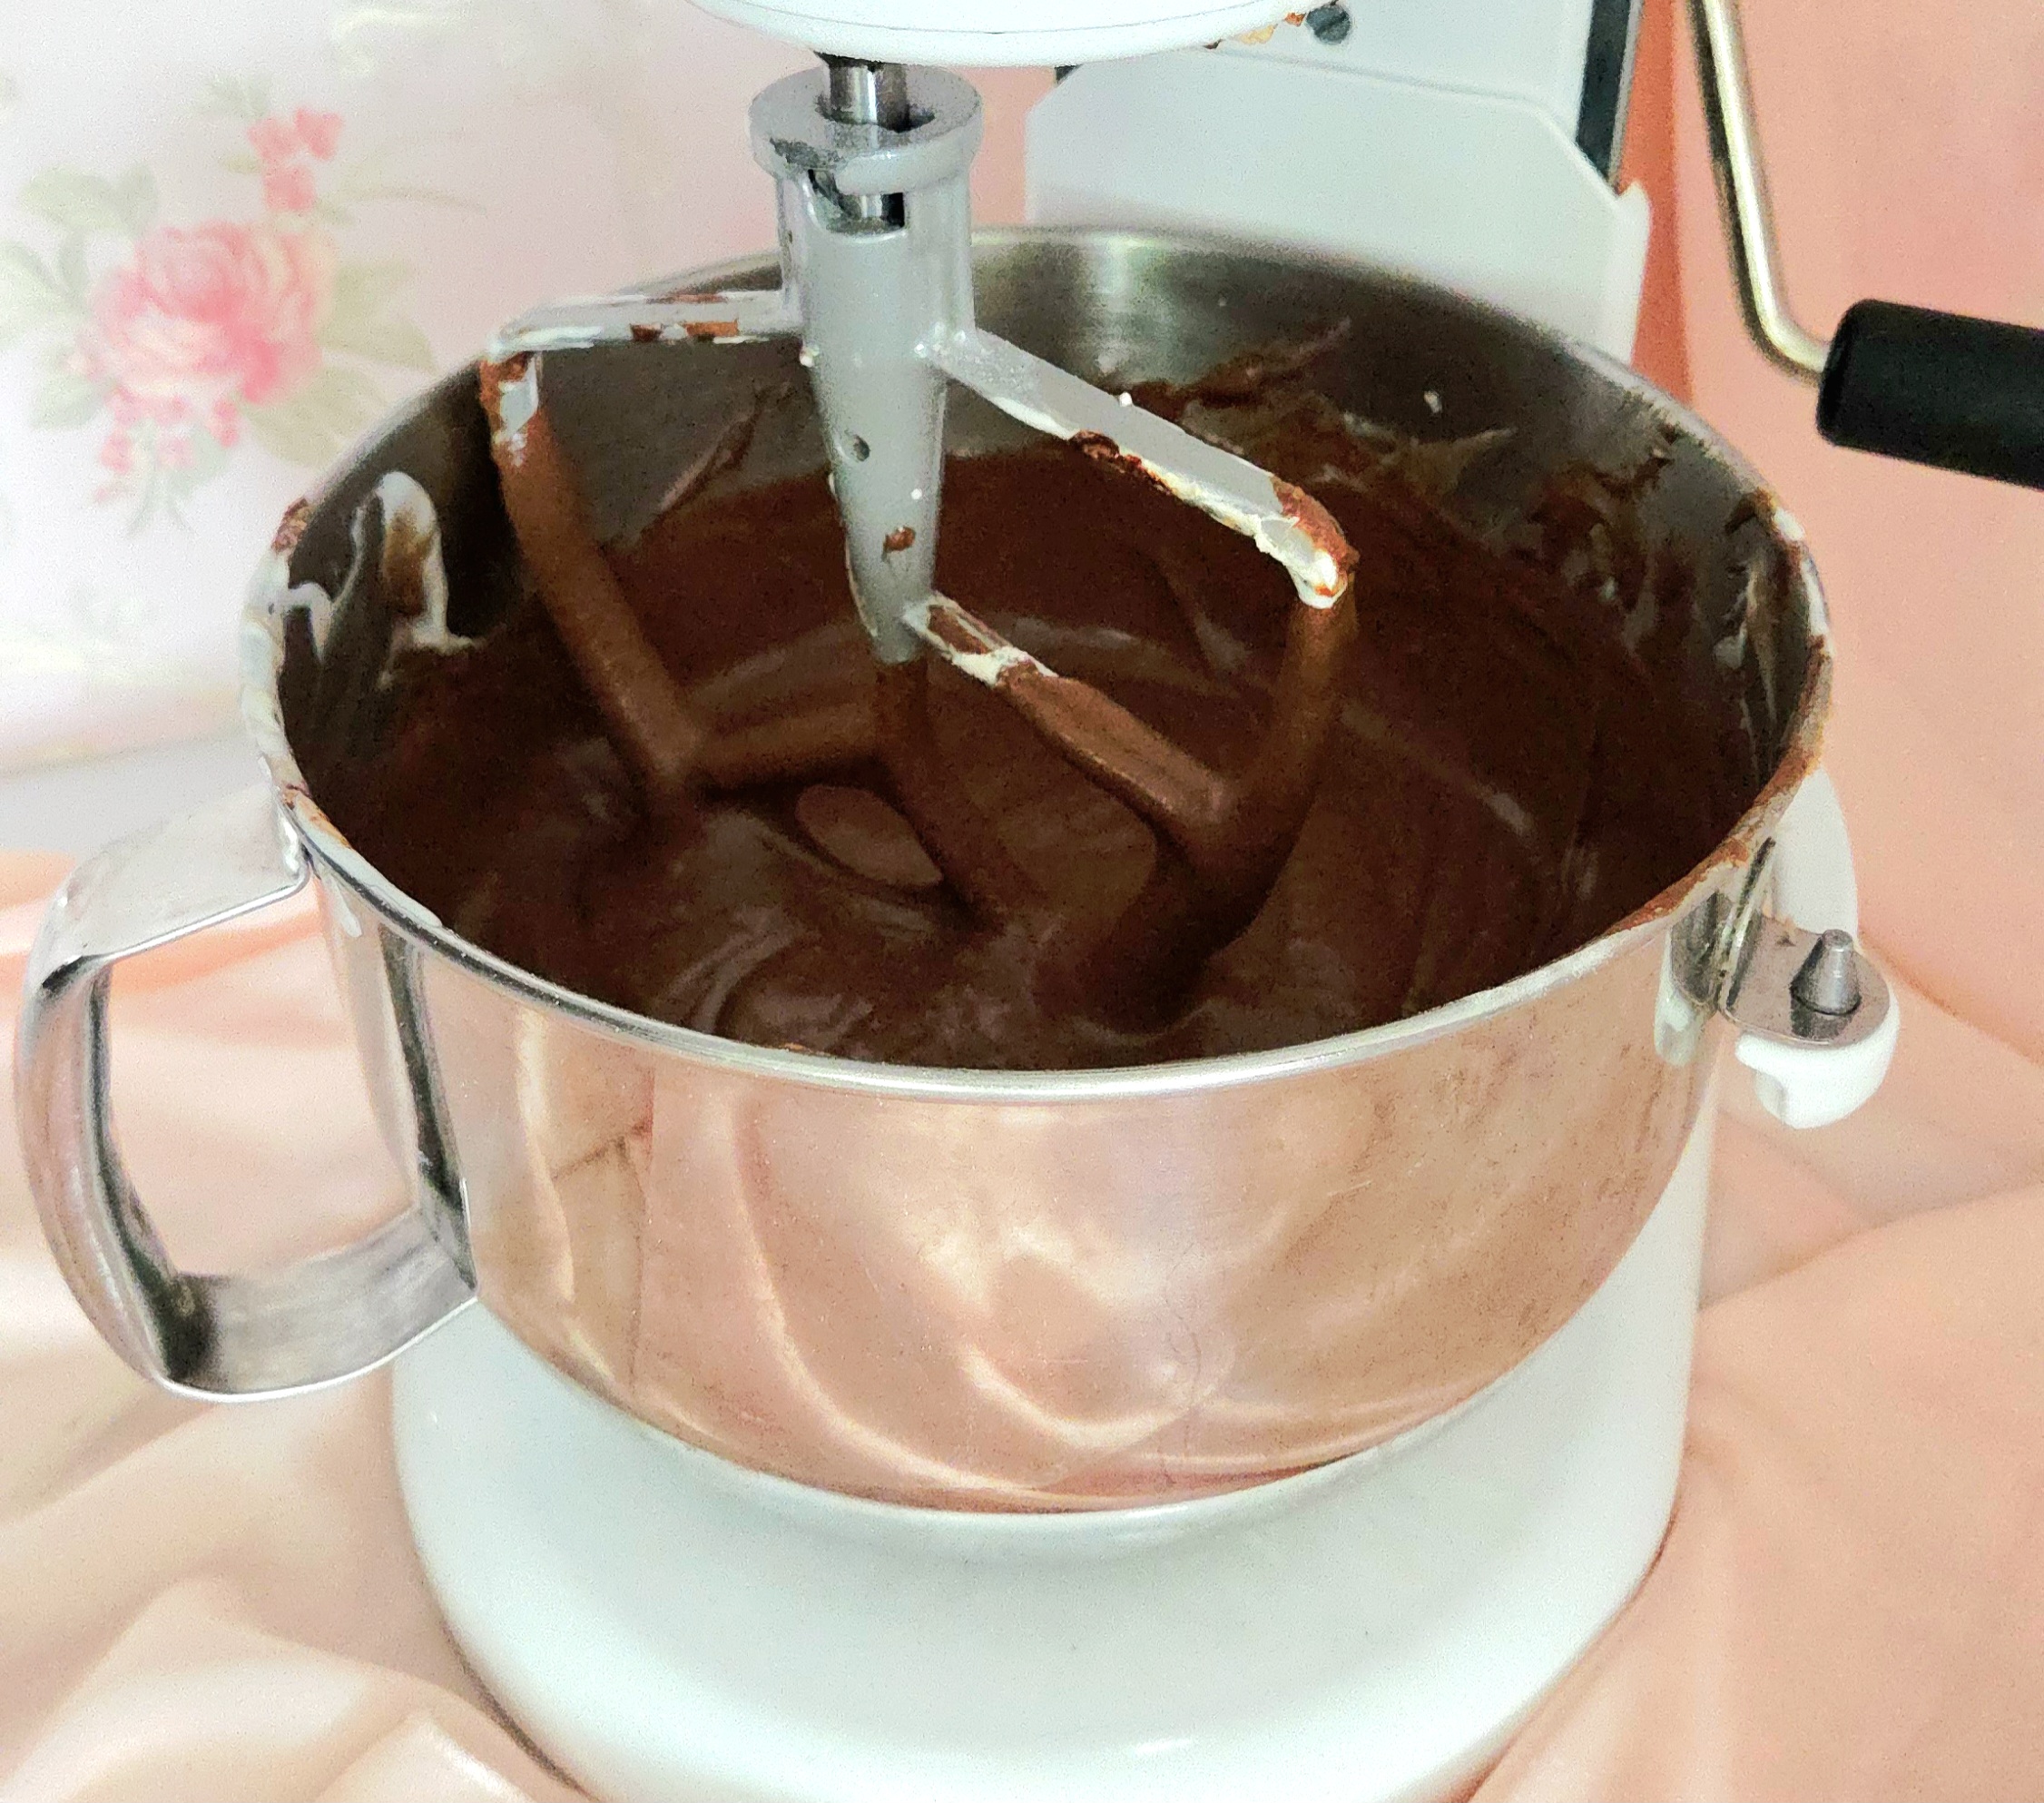
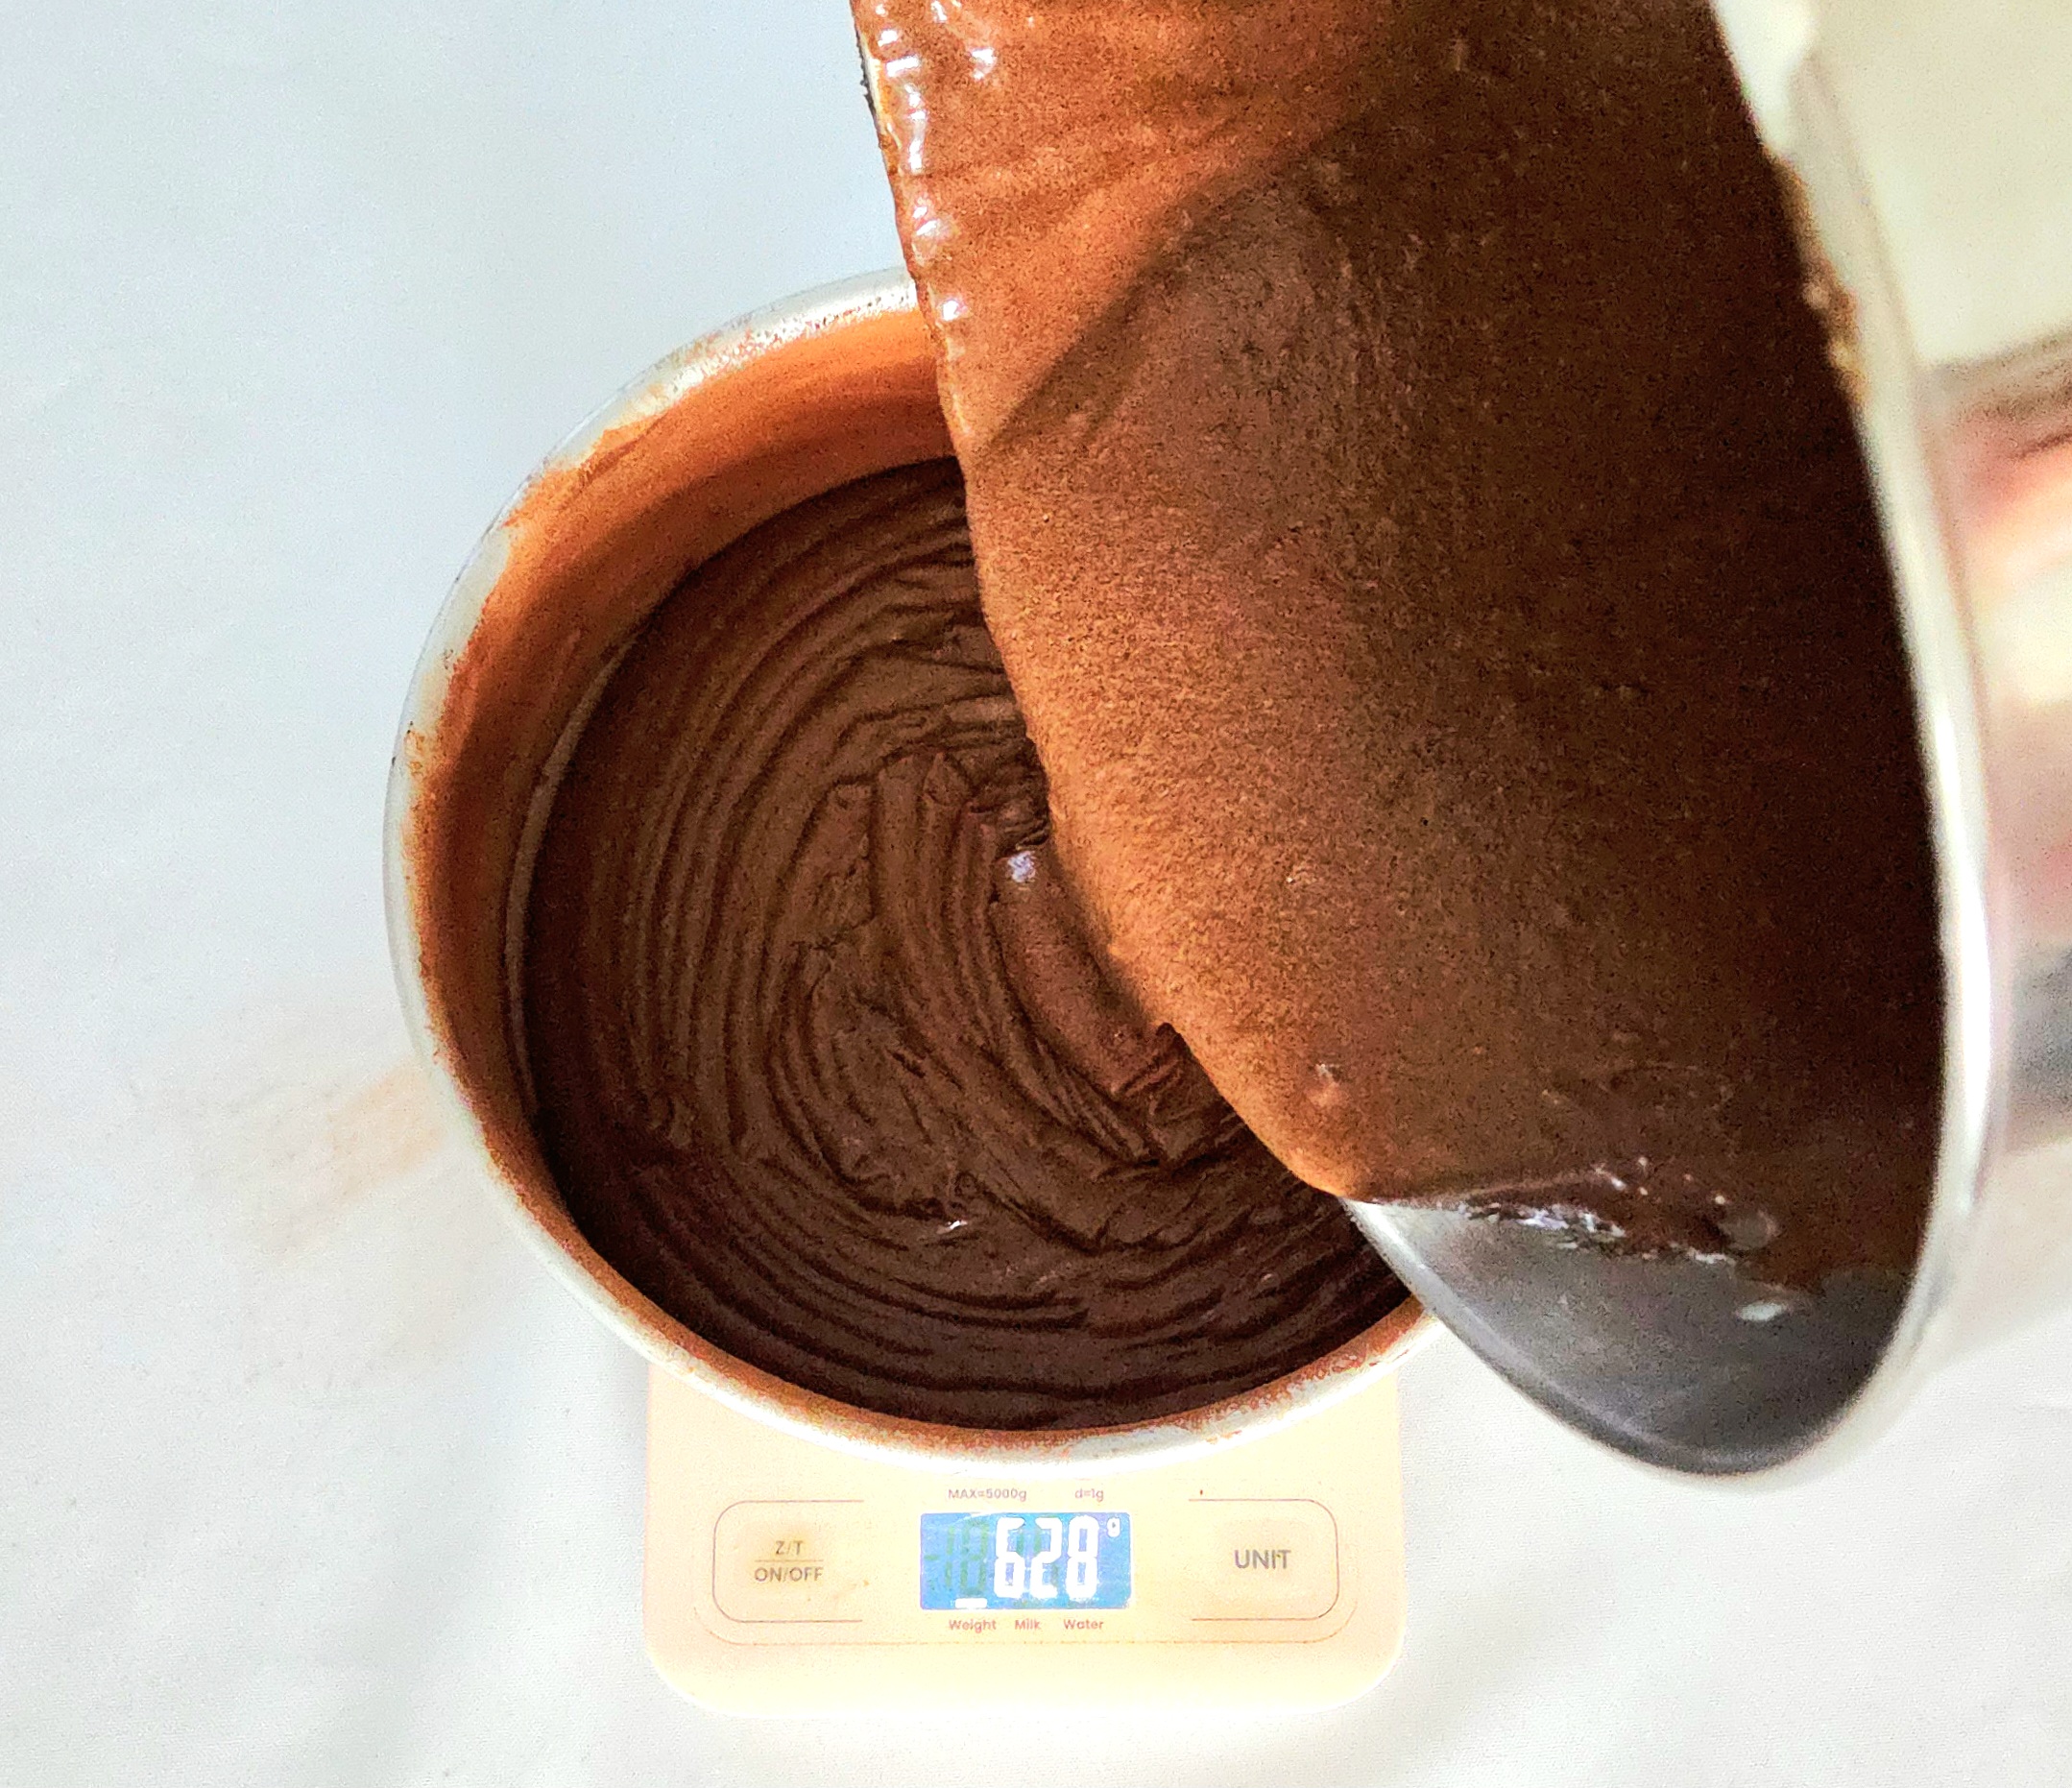
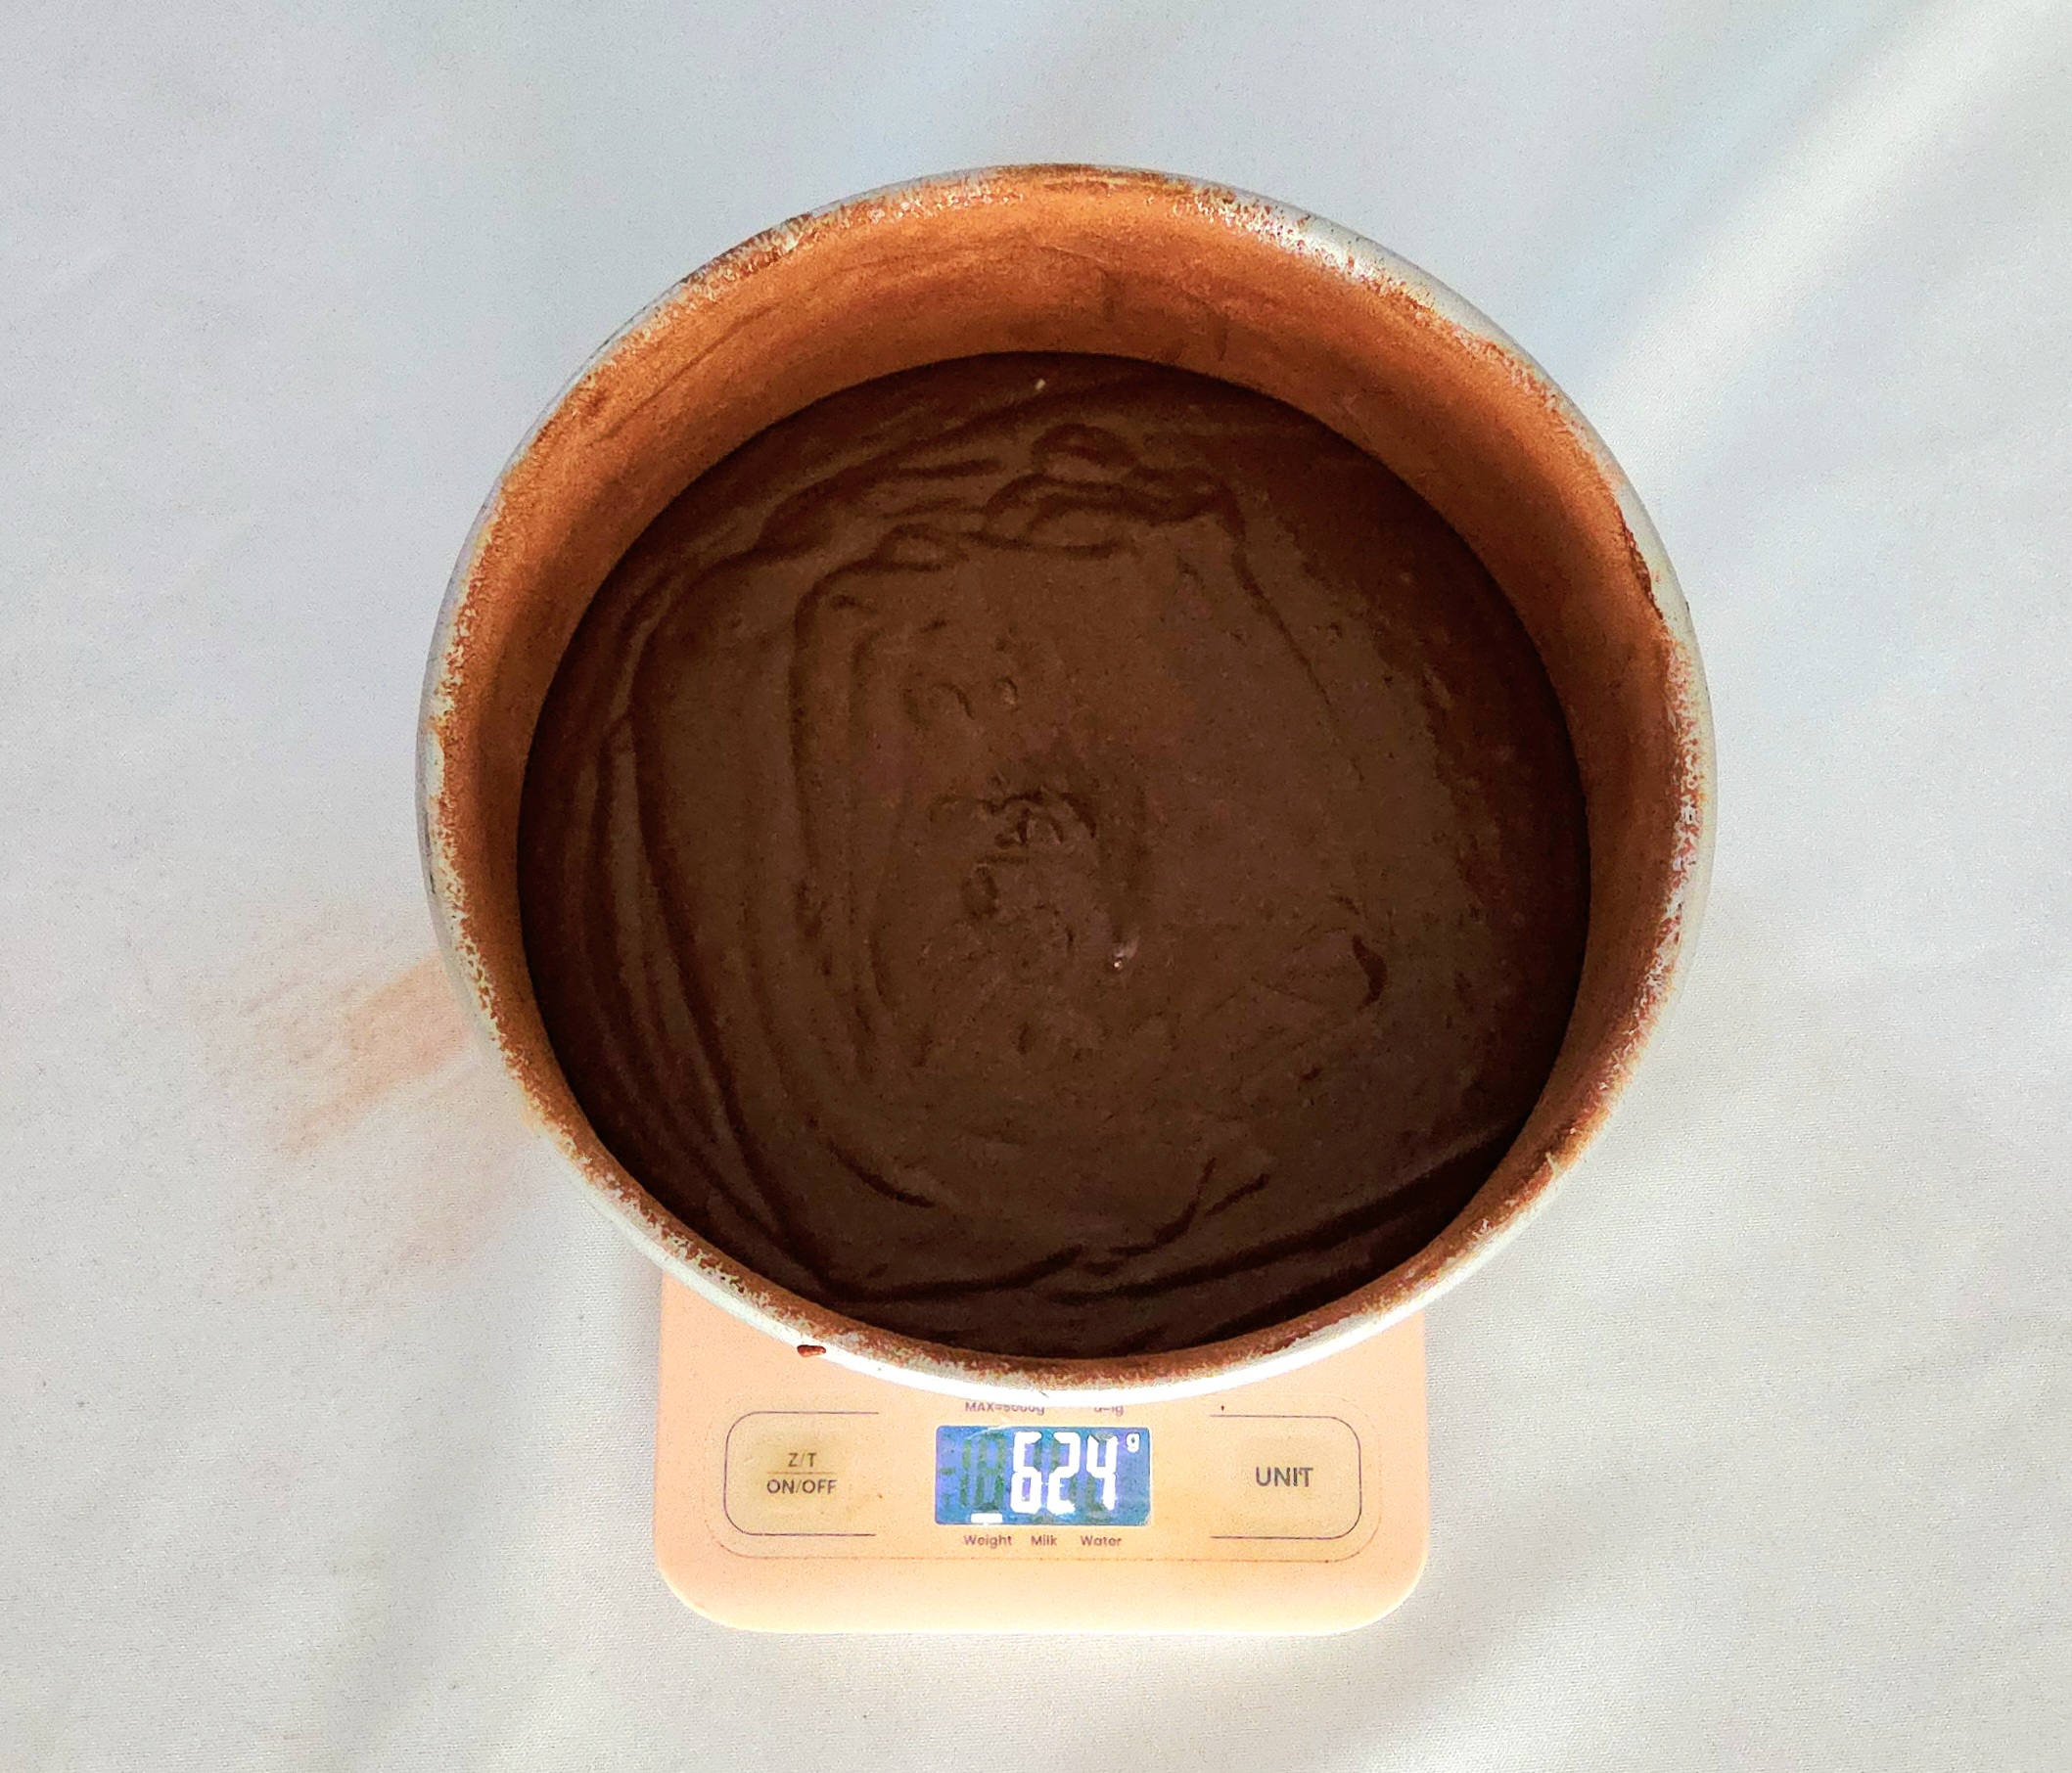
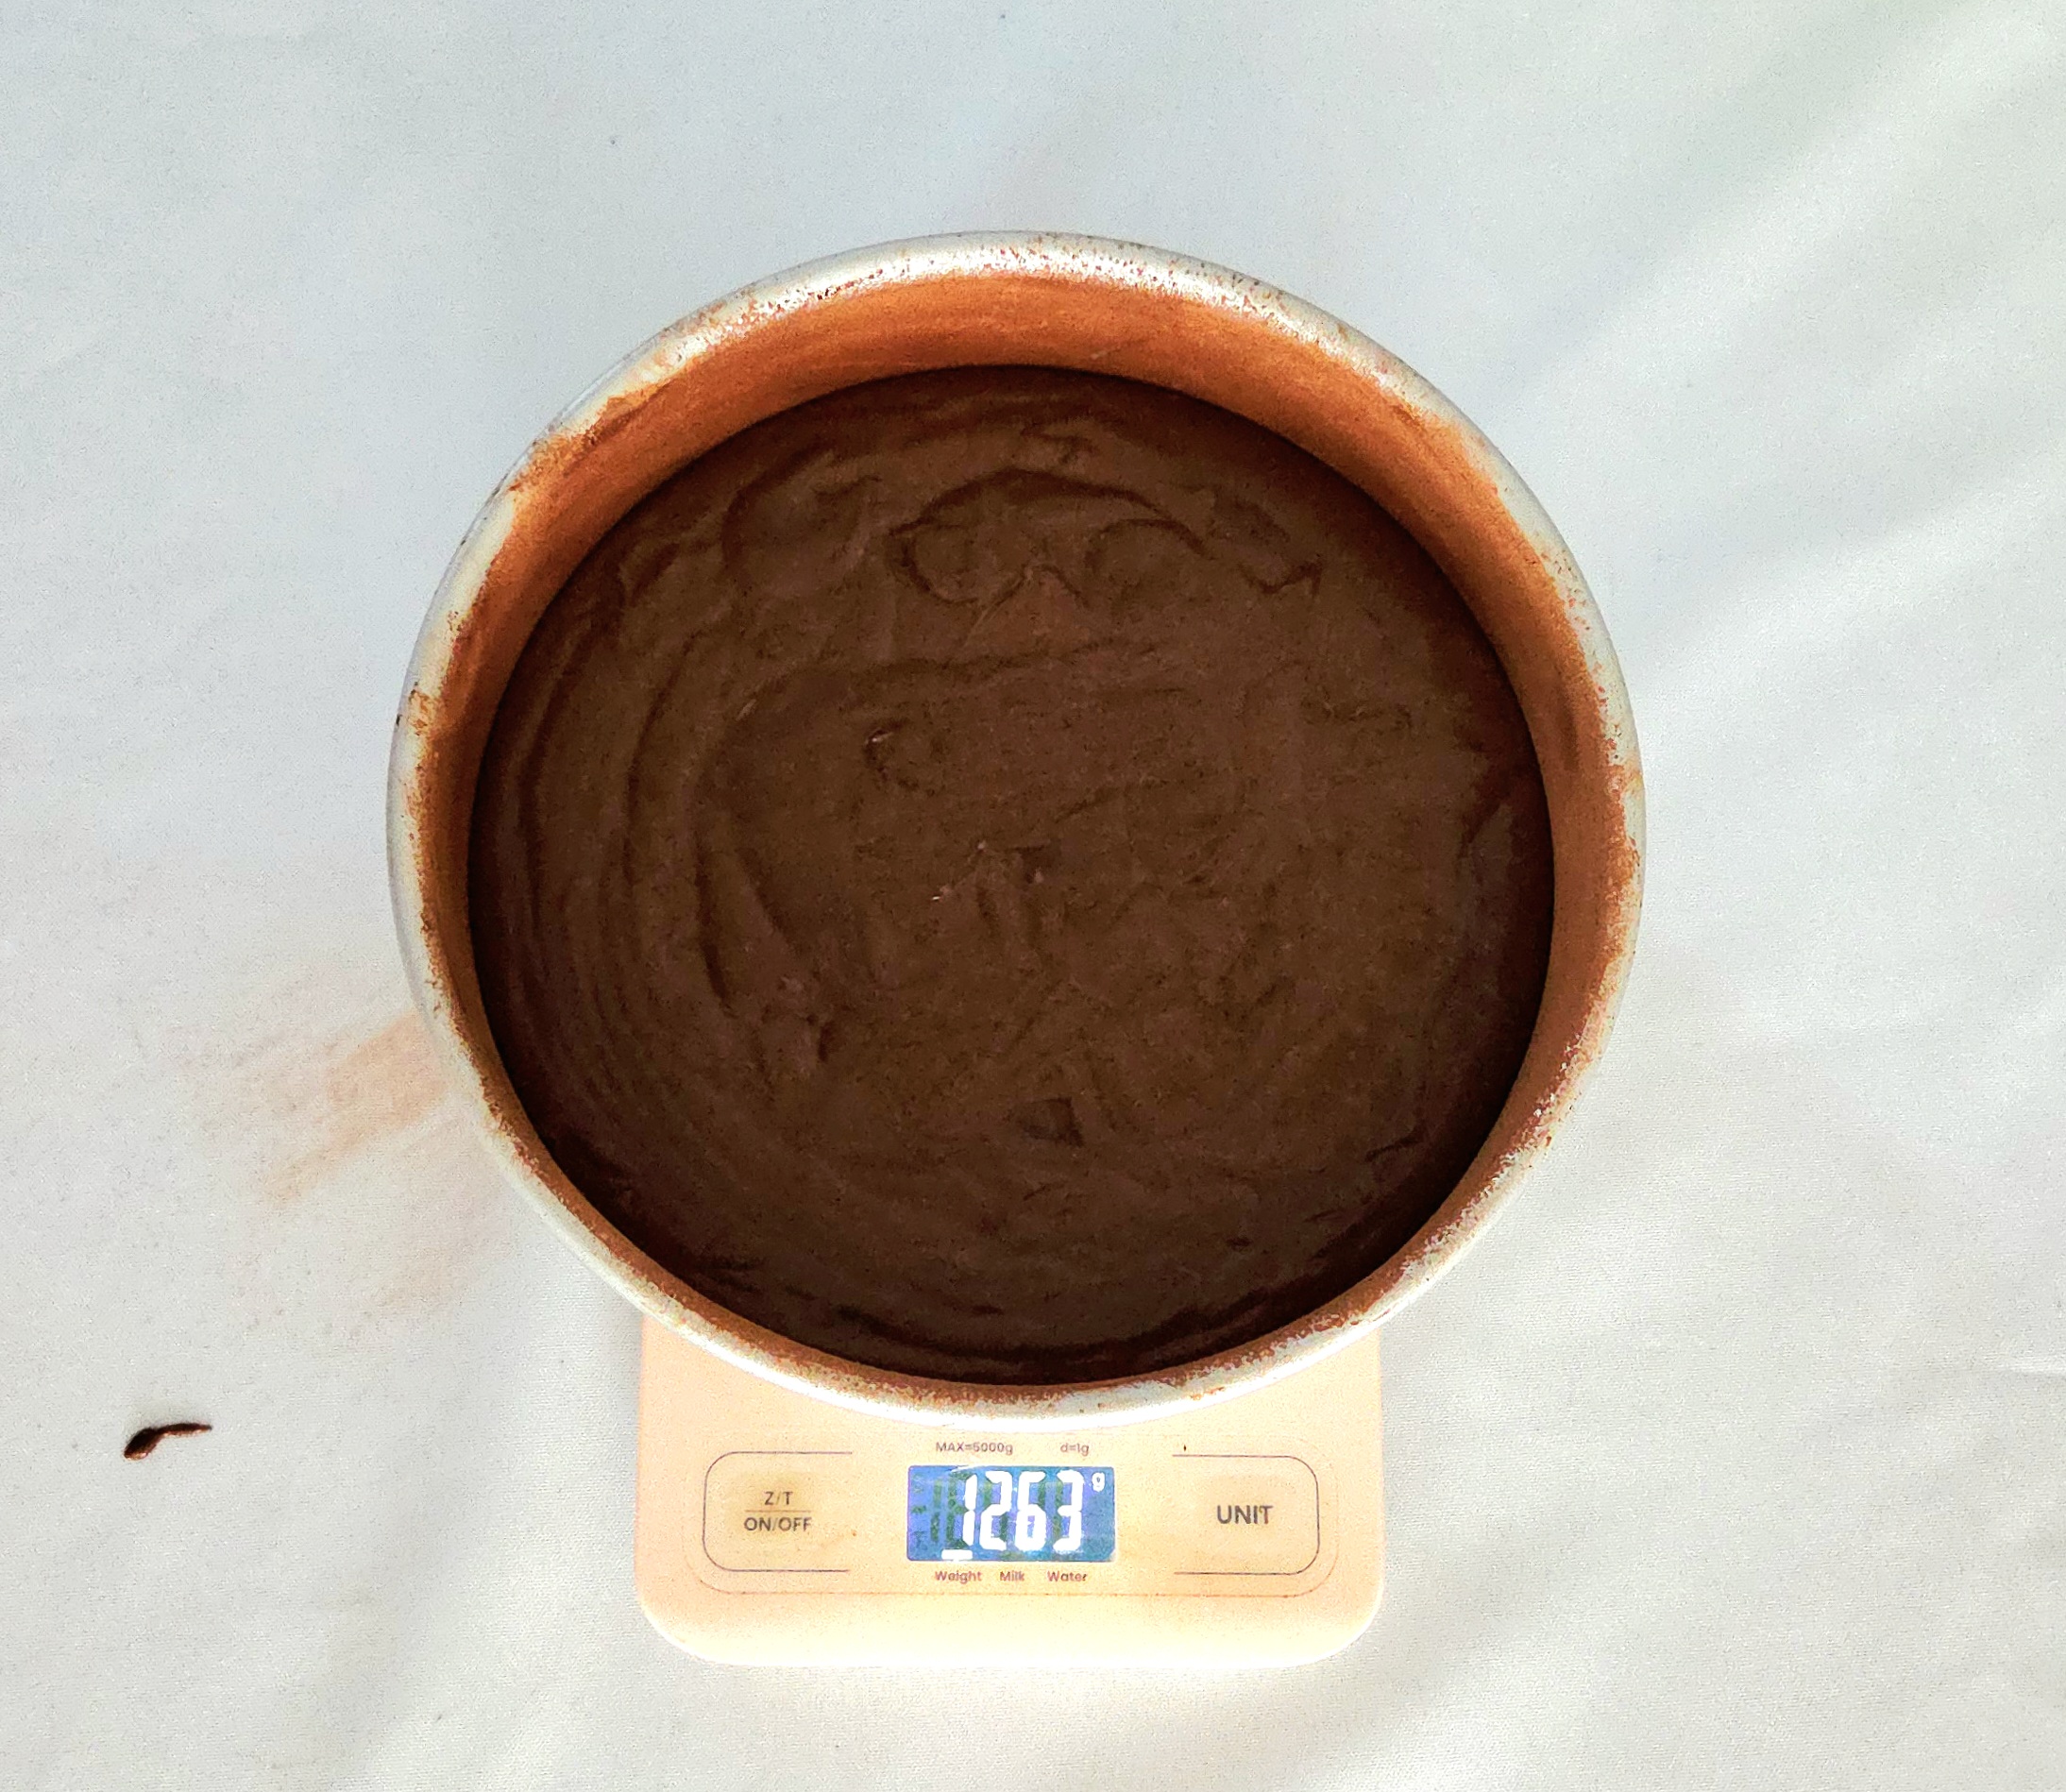
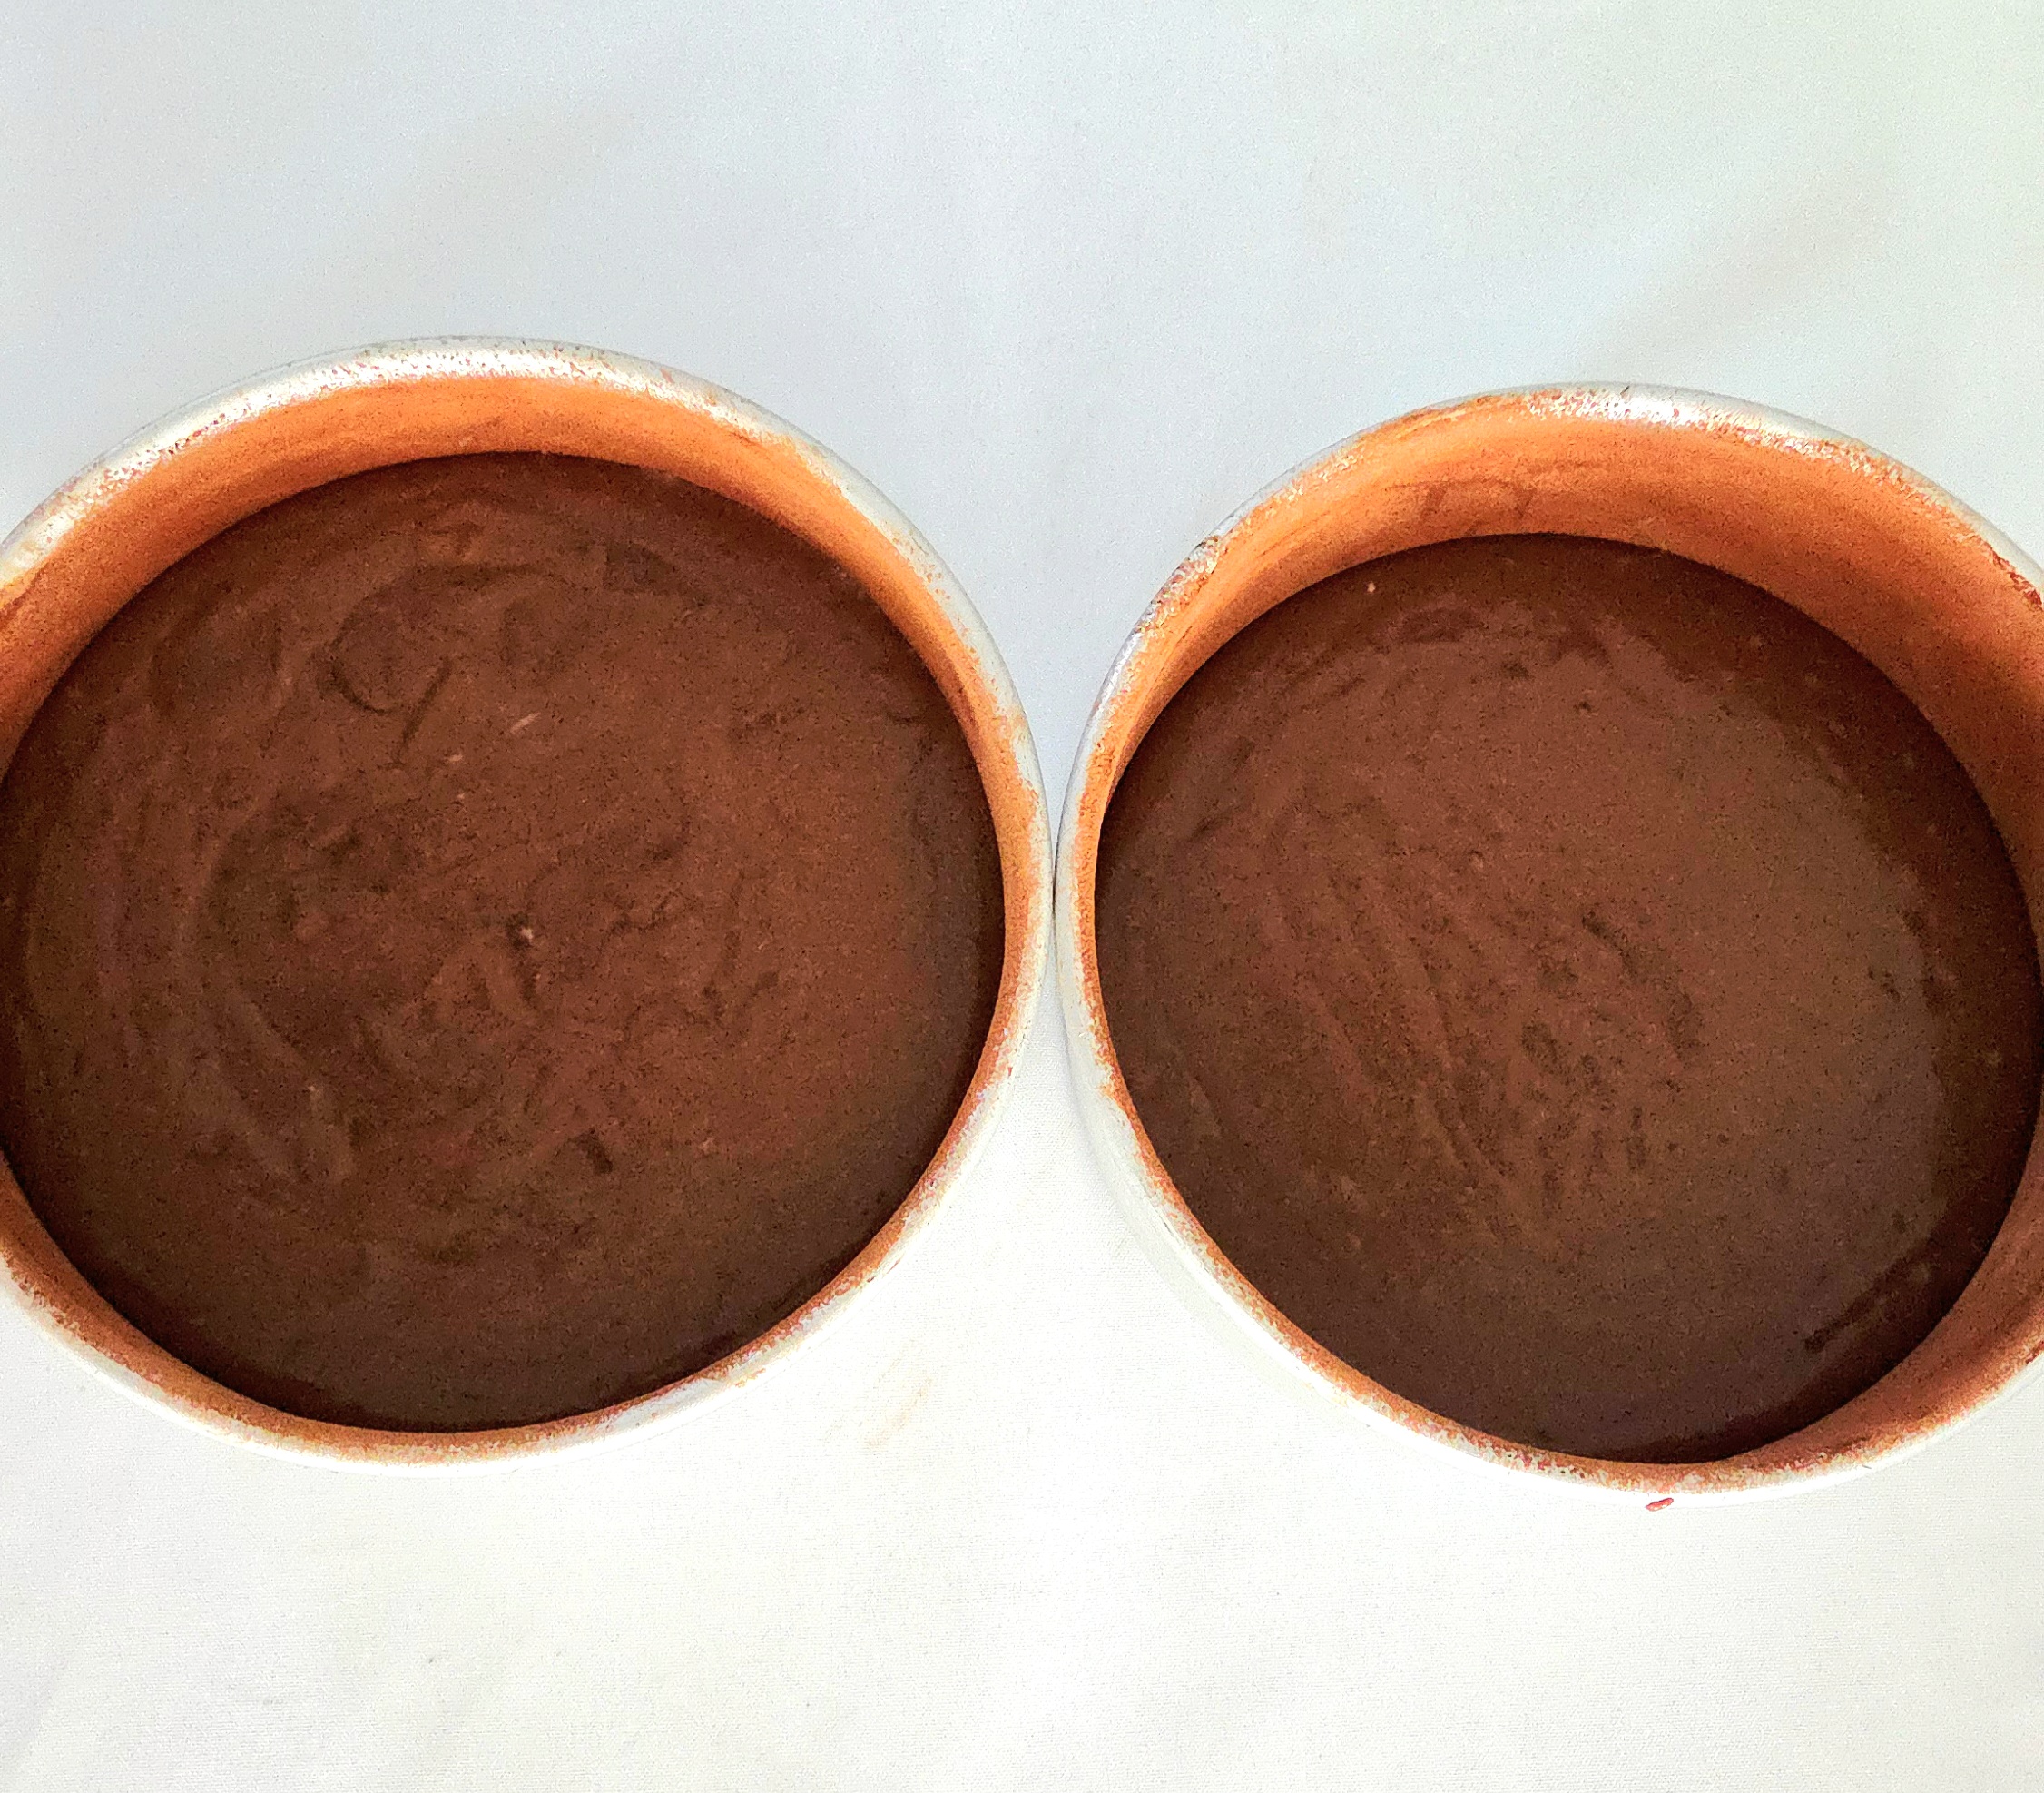
When using 3 single layer pans, evenly divide the batter between the 3 prepared pans. If you’re using 1 single layer and 1 double layer pan, pour ⅓ of the batter into the single layer pan and the other ⅔ into the double layer pan. Now, I’m a bit of a perfectionist where I can be, so I like to weigh out the batter to be sure. But you can carefully eyeball it, if you don’t own a kitchen scale.
Place two pans in the center rack of the oven, and if there’s a third, place it on the lower rack beneath. Bake the SINGLE layers for 40 minutes and the DOUBLE layer for 55 minutes or until a toothpick poked in the center of the cake comes out clean of batter, with only a few crumbs stuck to it, flipping halfway through.
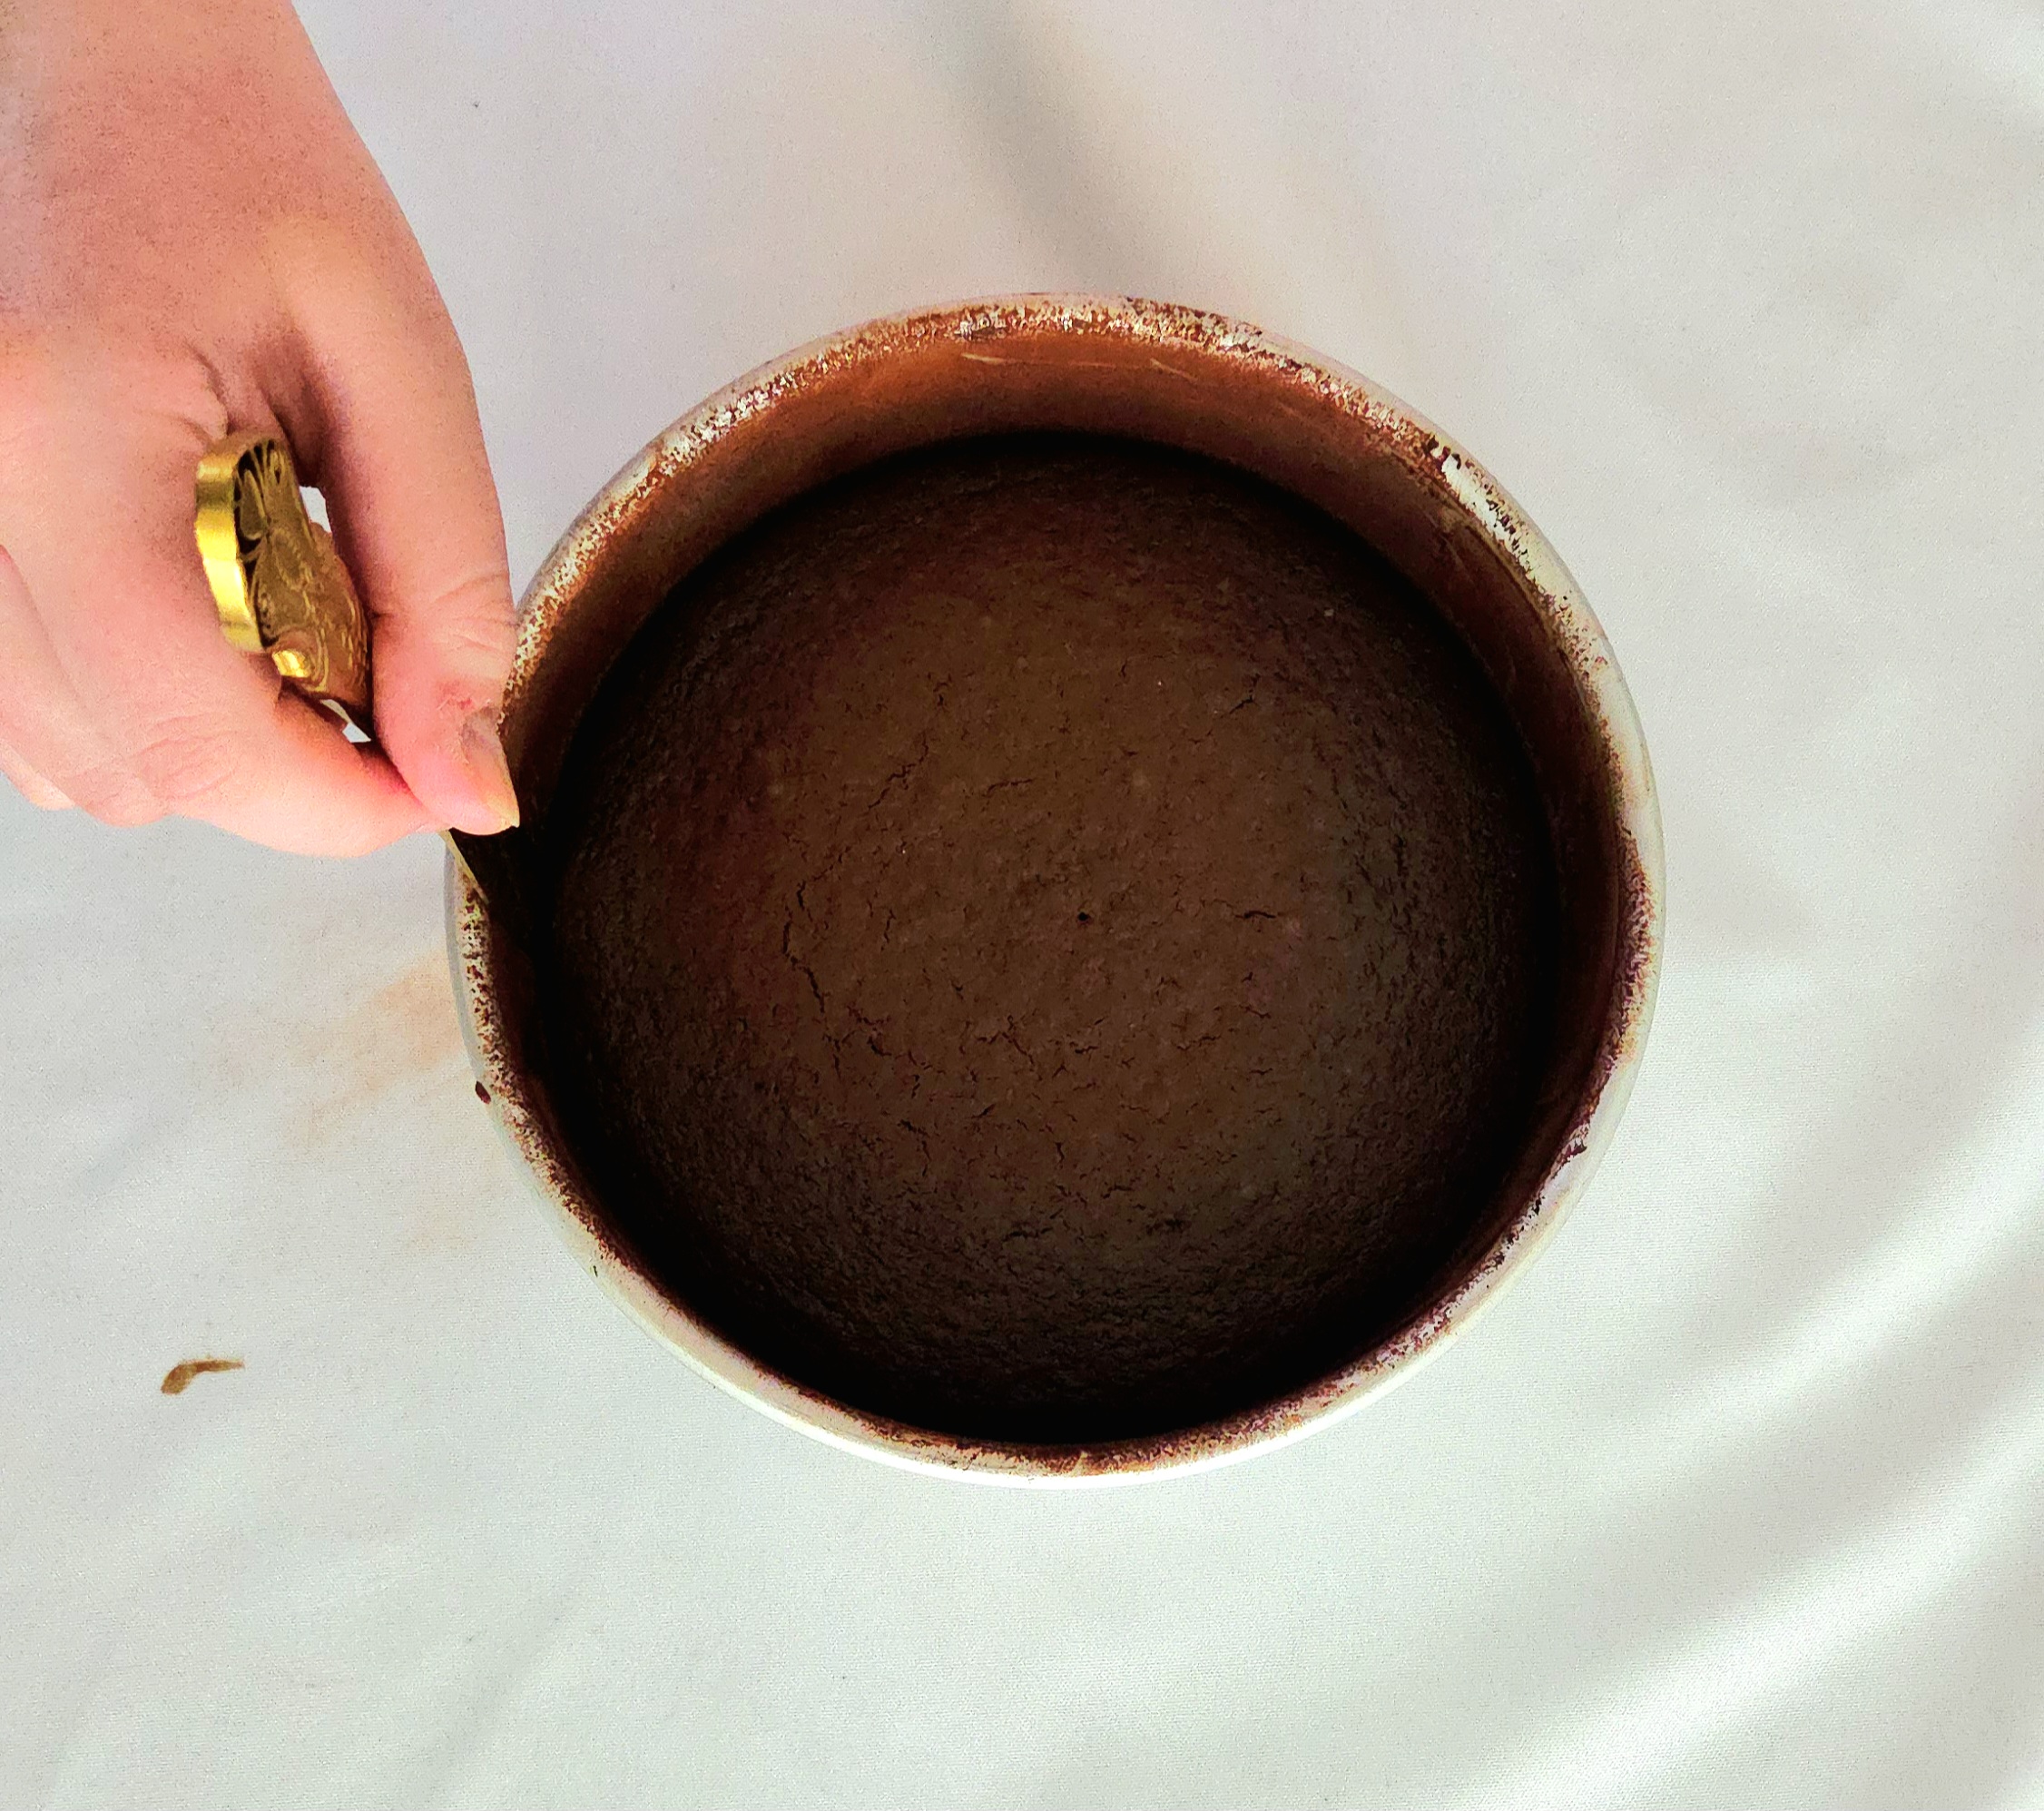
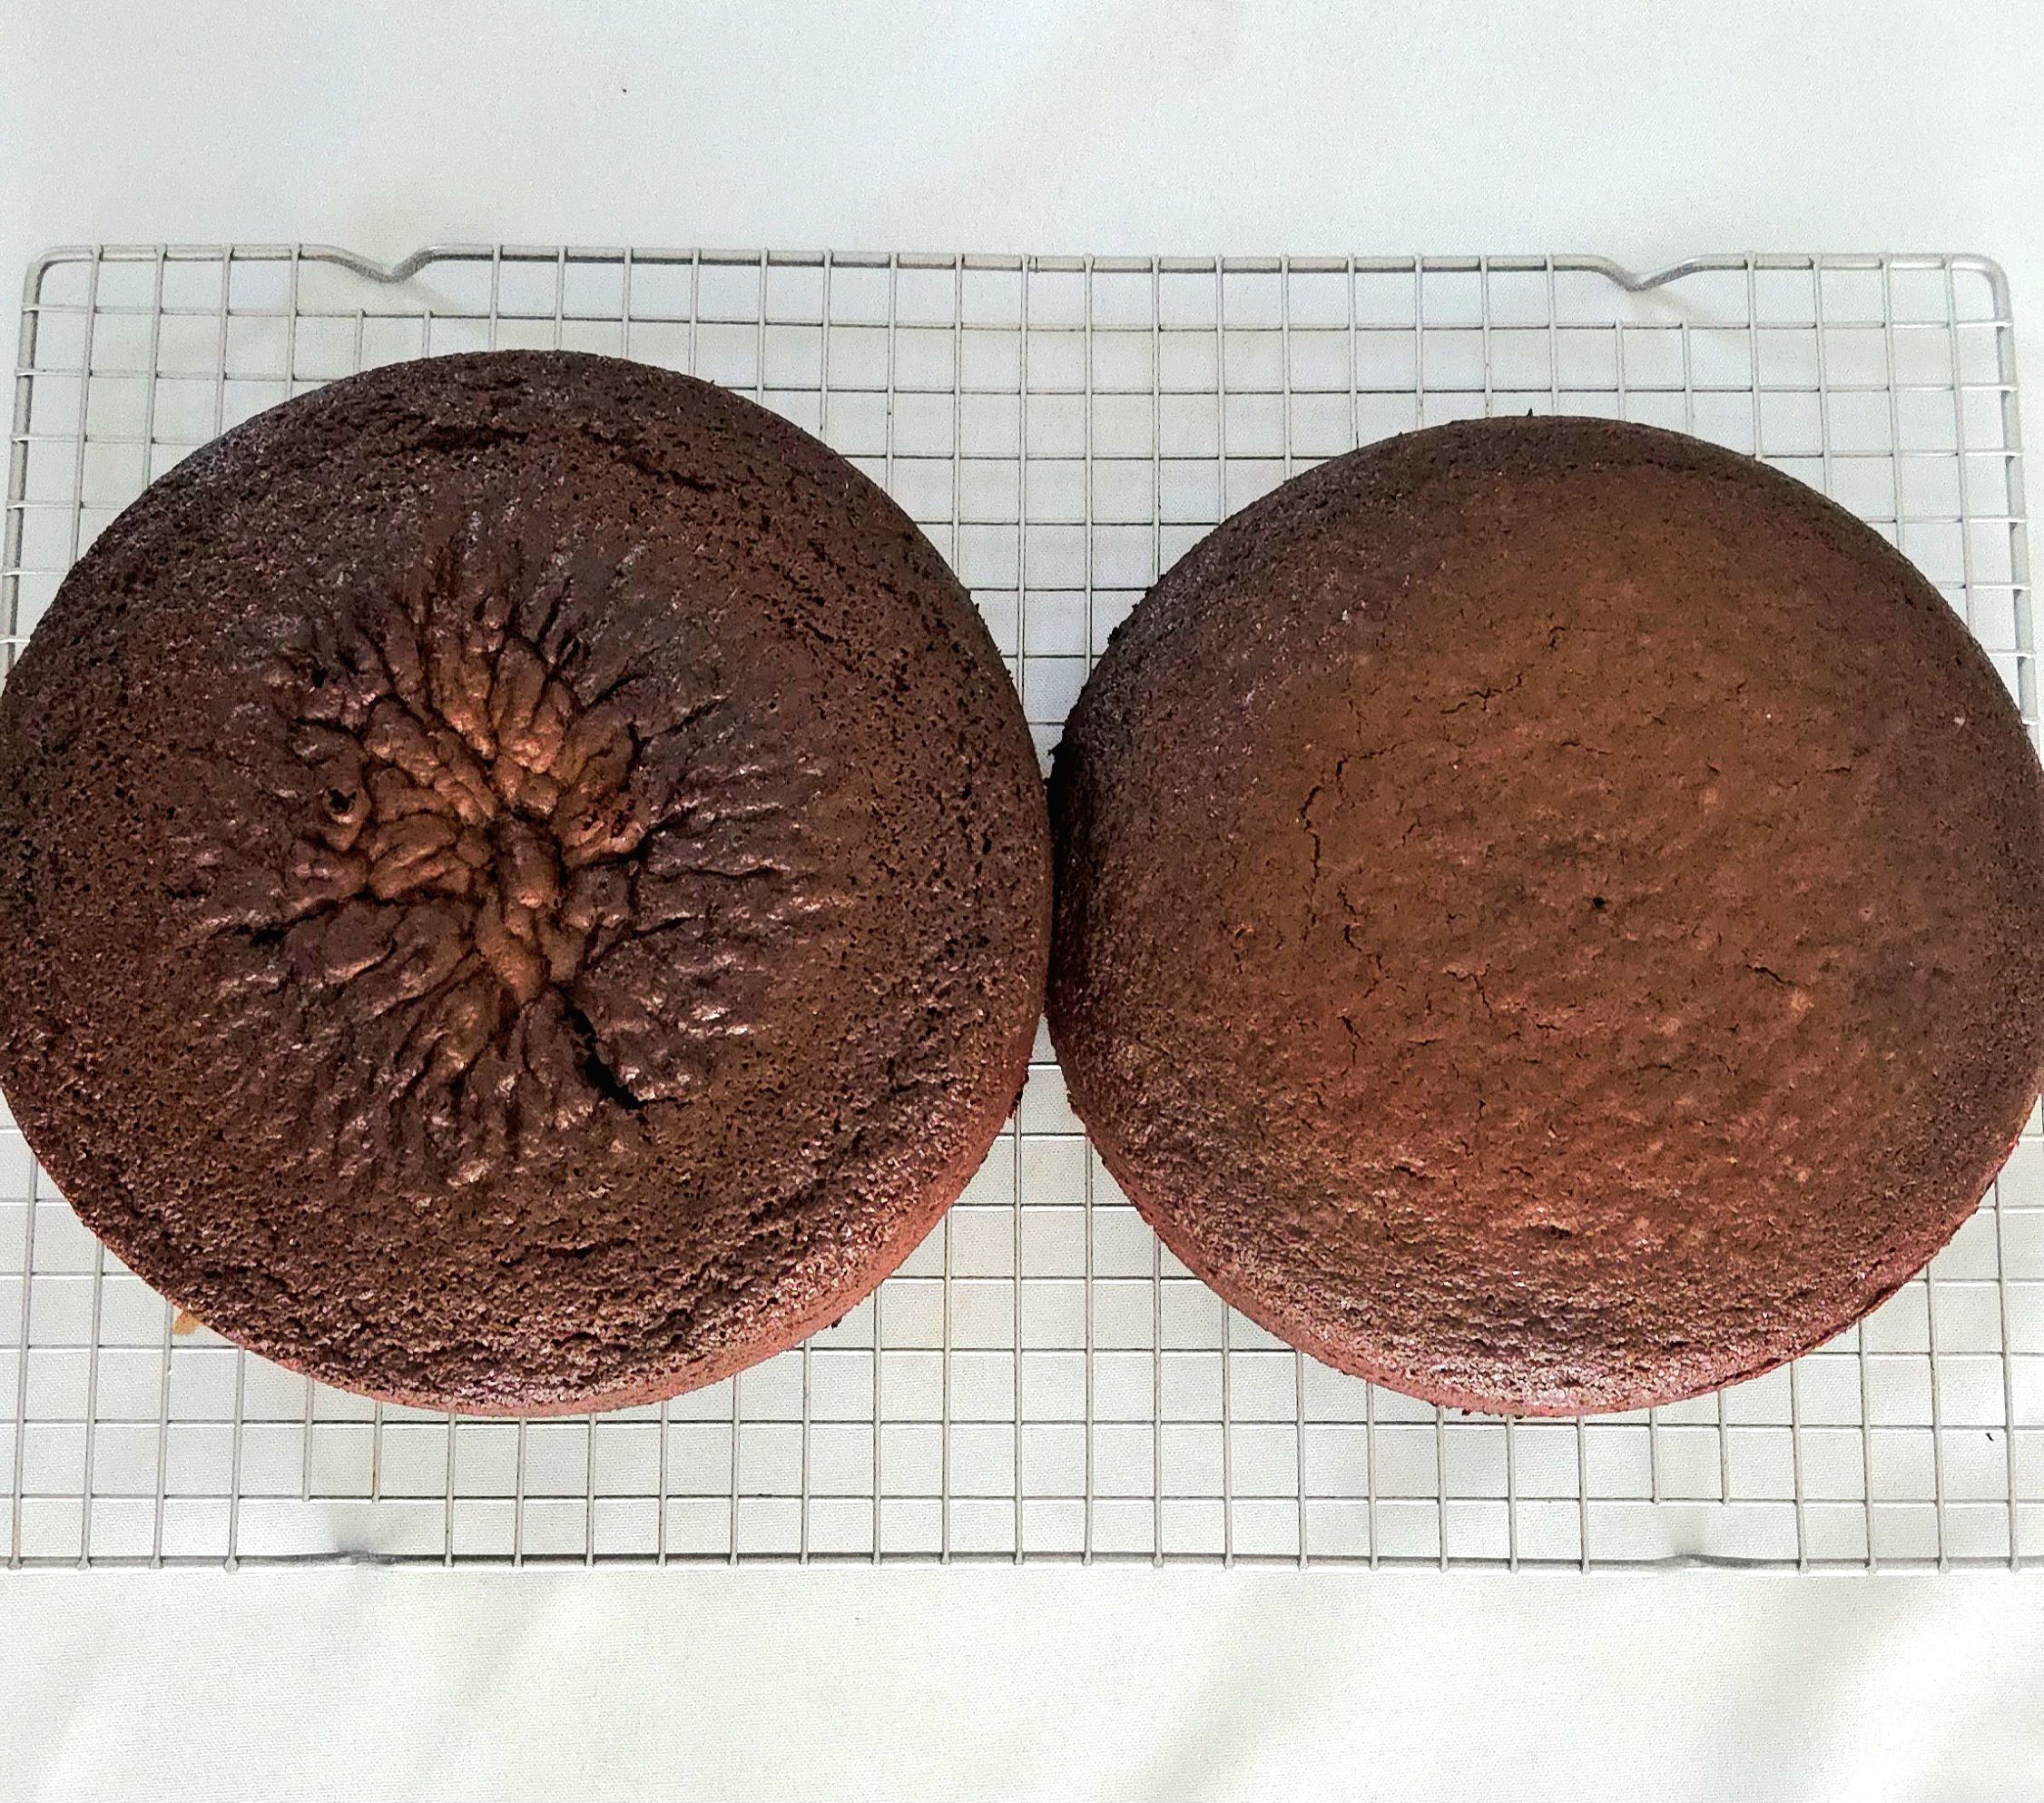
Let the finished cakes rest in their pans for 5-10 minutes. Run a butter knife or offset spatula around the rim of each layer against the pan to help release it. Turn the cakes out onto a cooling rack and peel the parchment off the bottoms. Flip the cakes once more, so the bottoms are touching the rack to finish cooling.
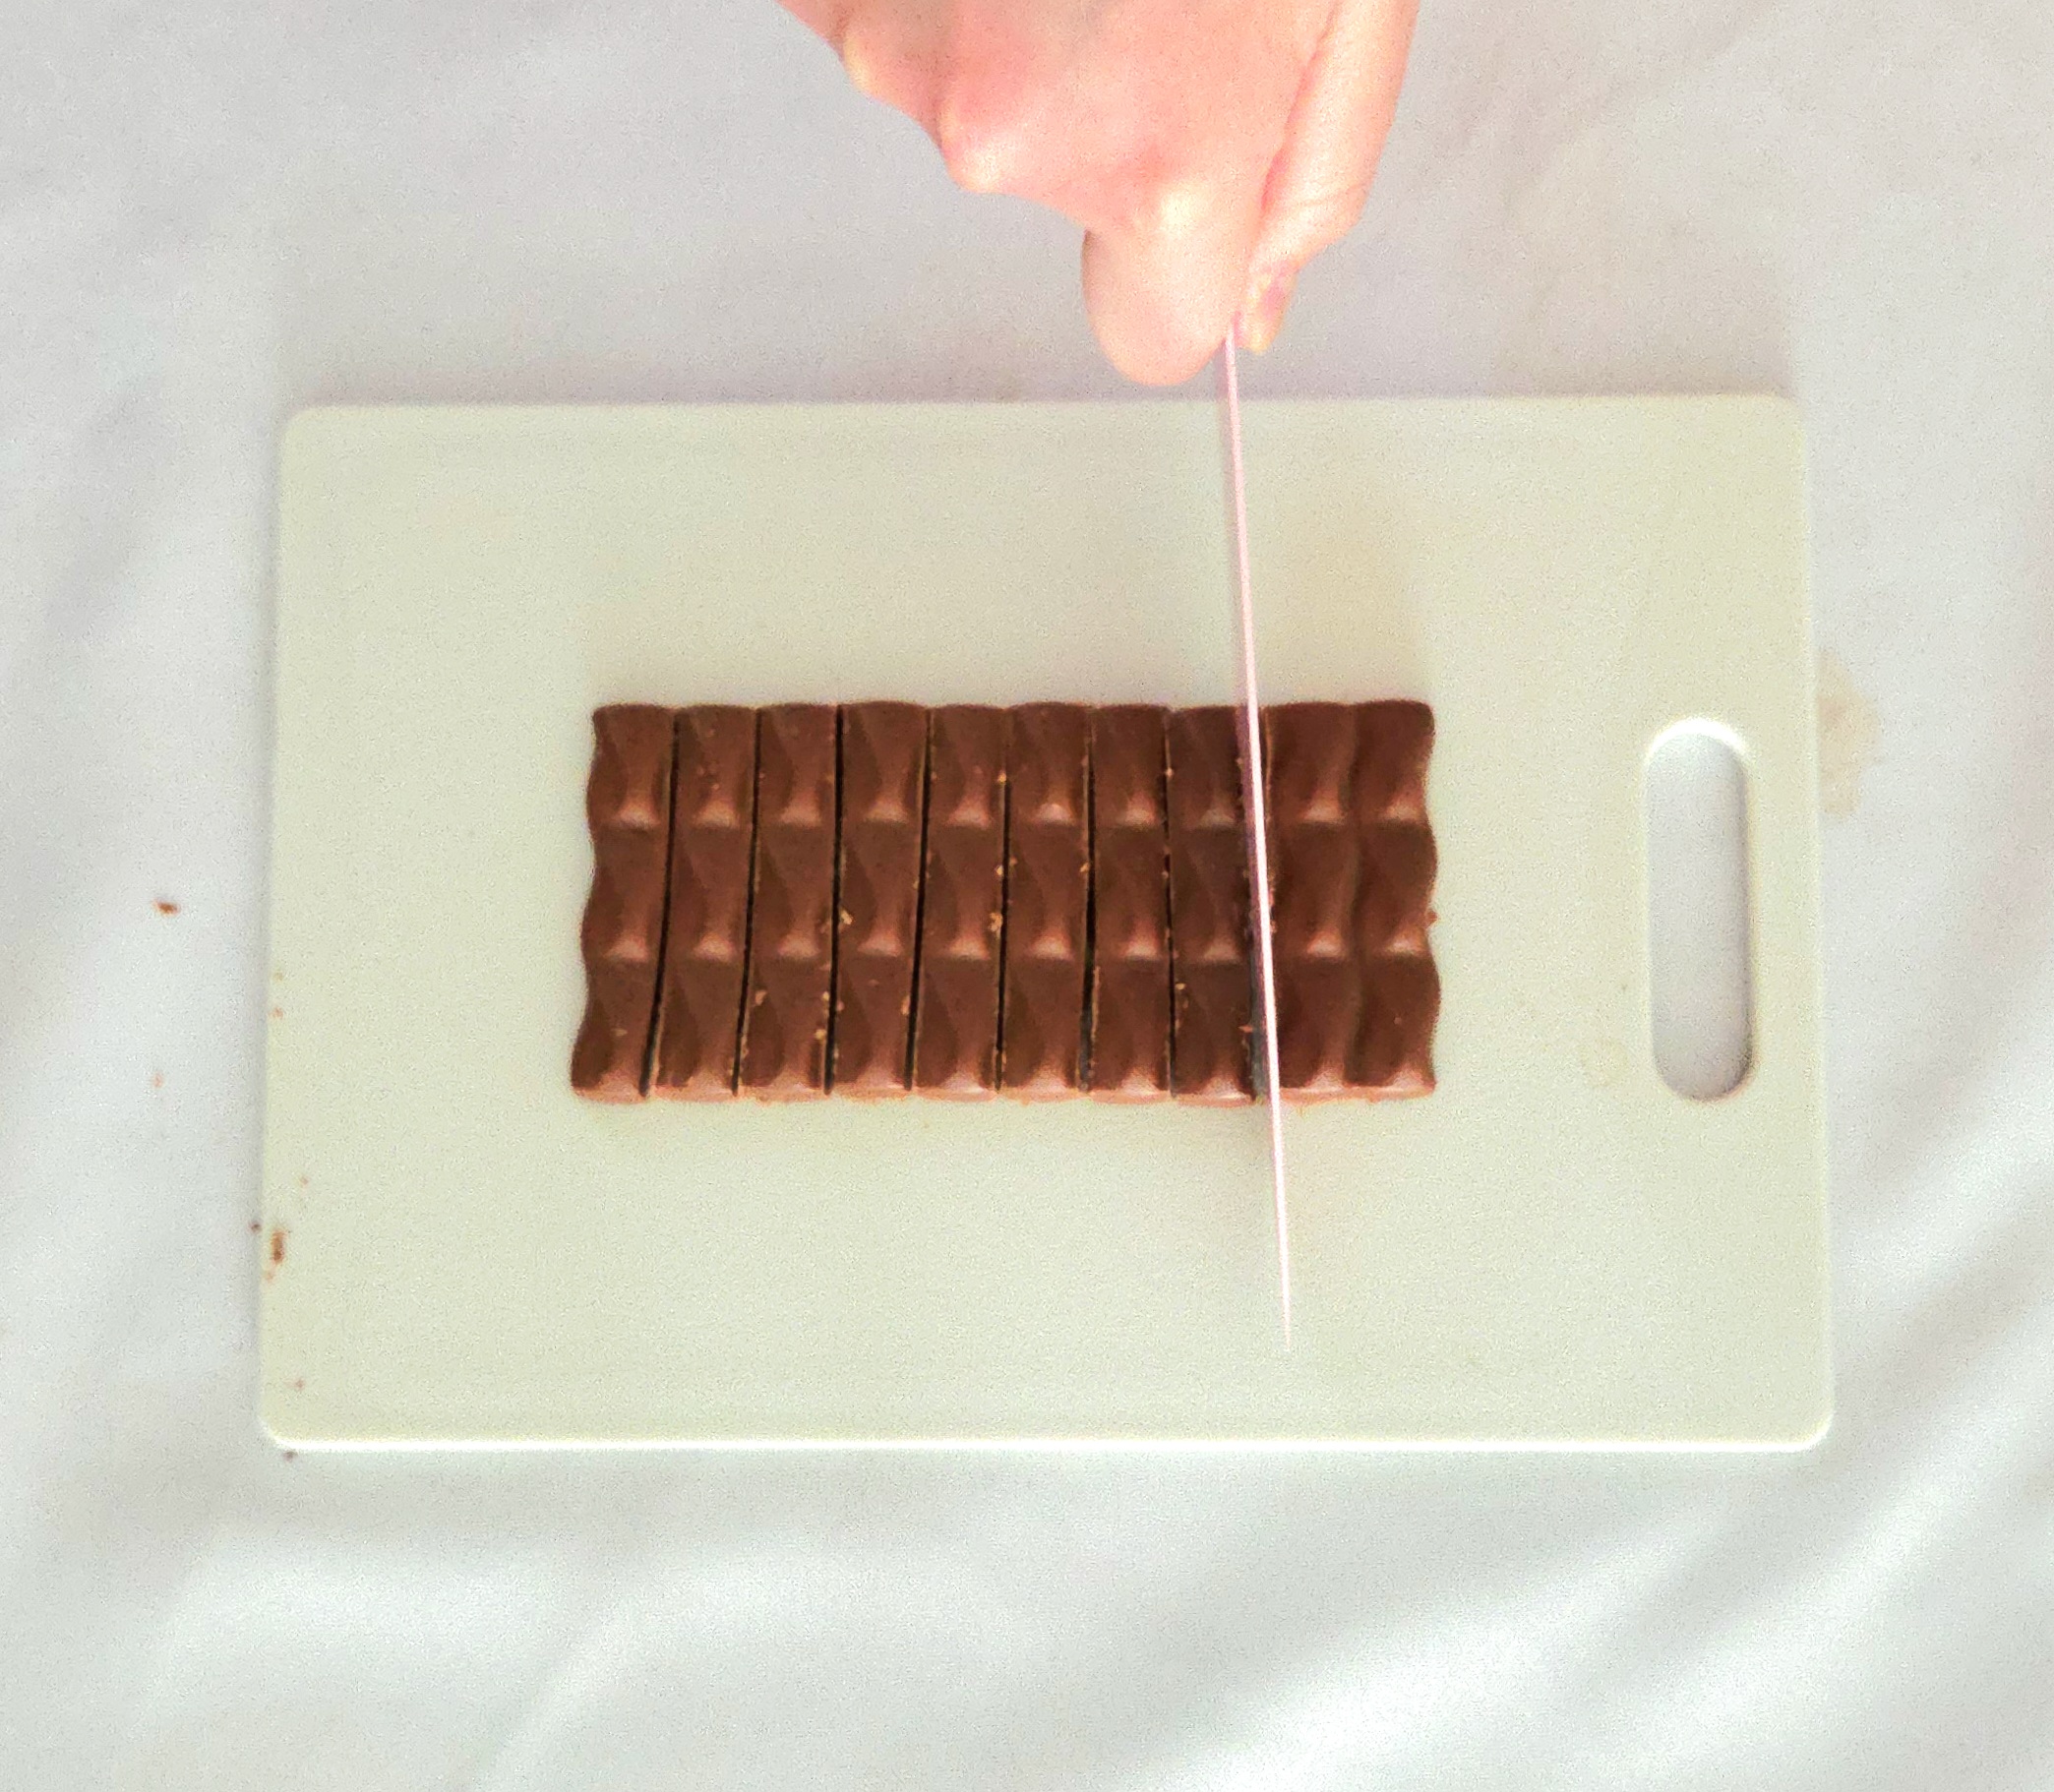
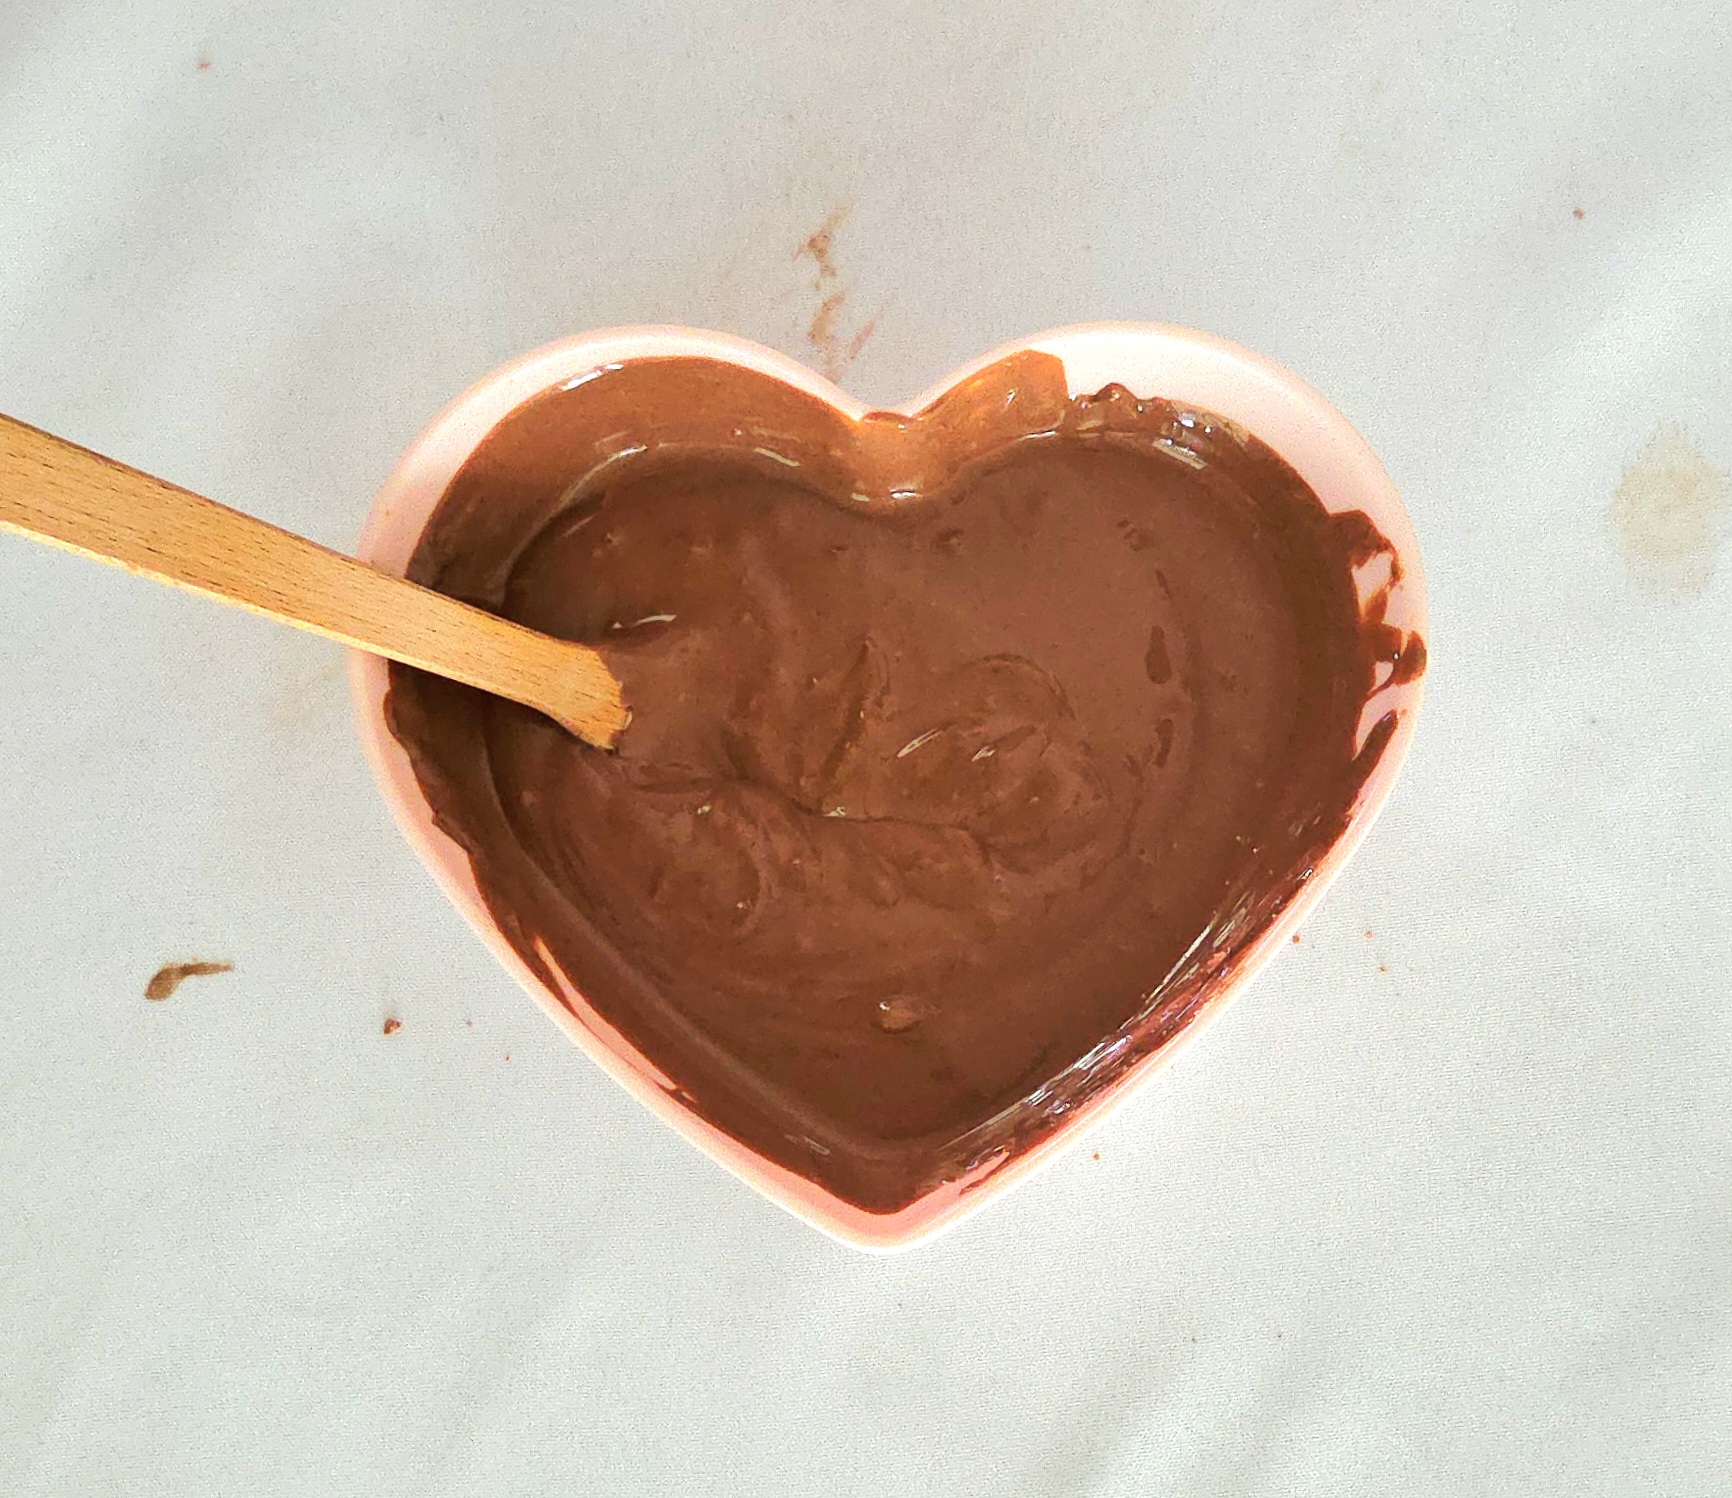
While the fully baked cake layers cool, prepare the frosting. Break up the chocolate and place it in a small heat-safe bowl. Heat it in the microwave in 30 second increments, mixing with a spoon in between, until it’s completely melted. Set this melted chocolate aside to cool.
In the bowl of a stand mixer fitted with a paddle attachment, begin to cream the softened butter on level 3 of your mixer. Once it starts to smooth out after a minute or so, turn the mixer off and sift in the cocoa powder, powdered sugar, and salt.
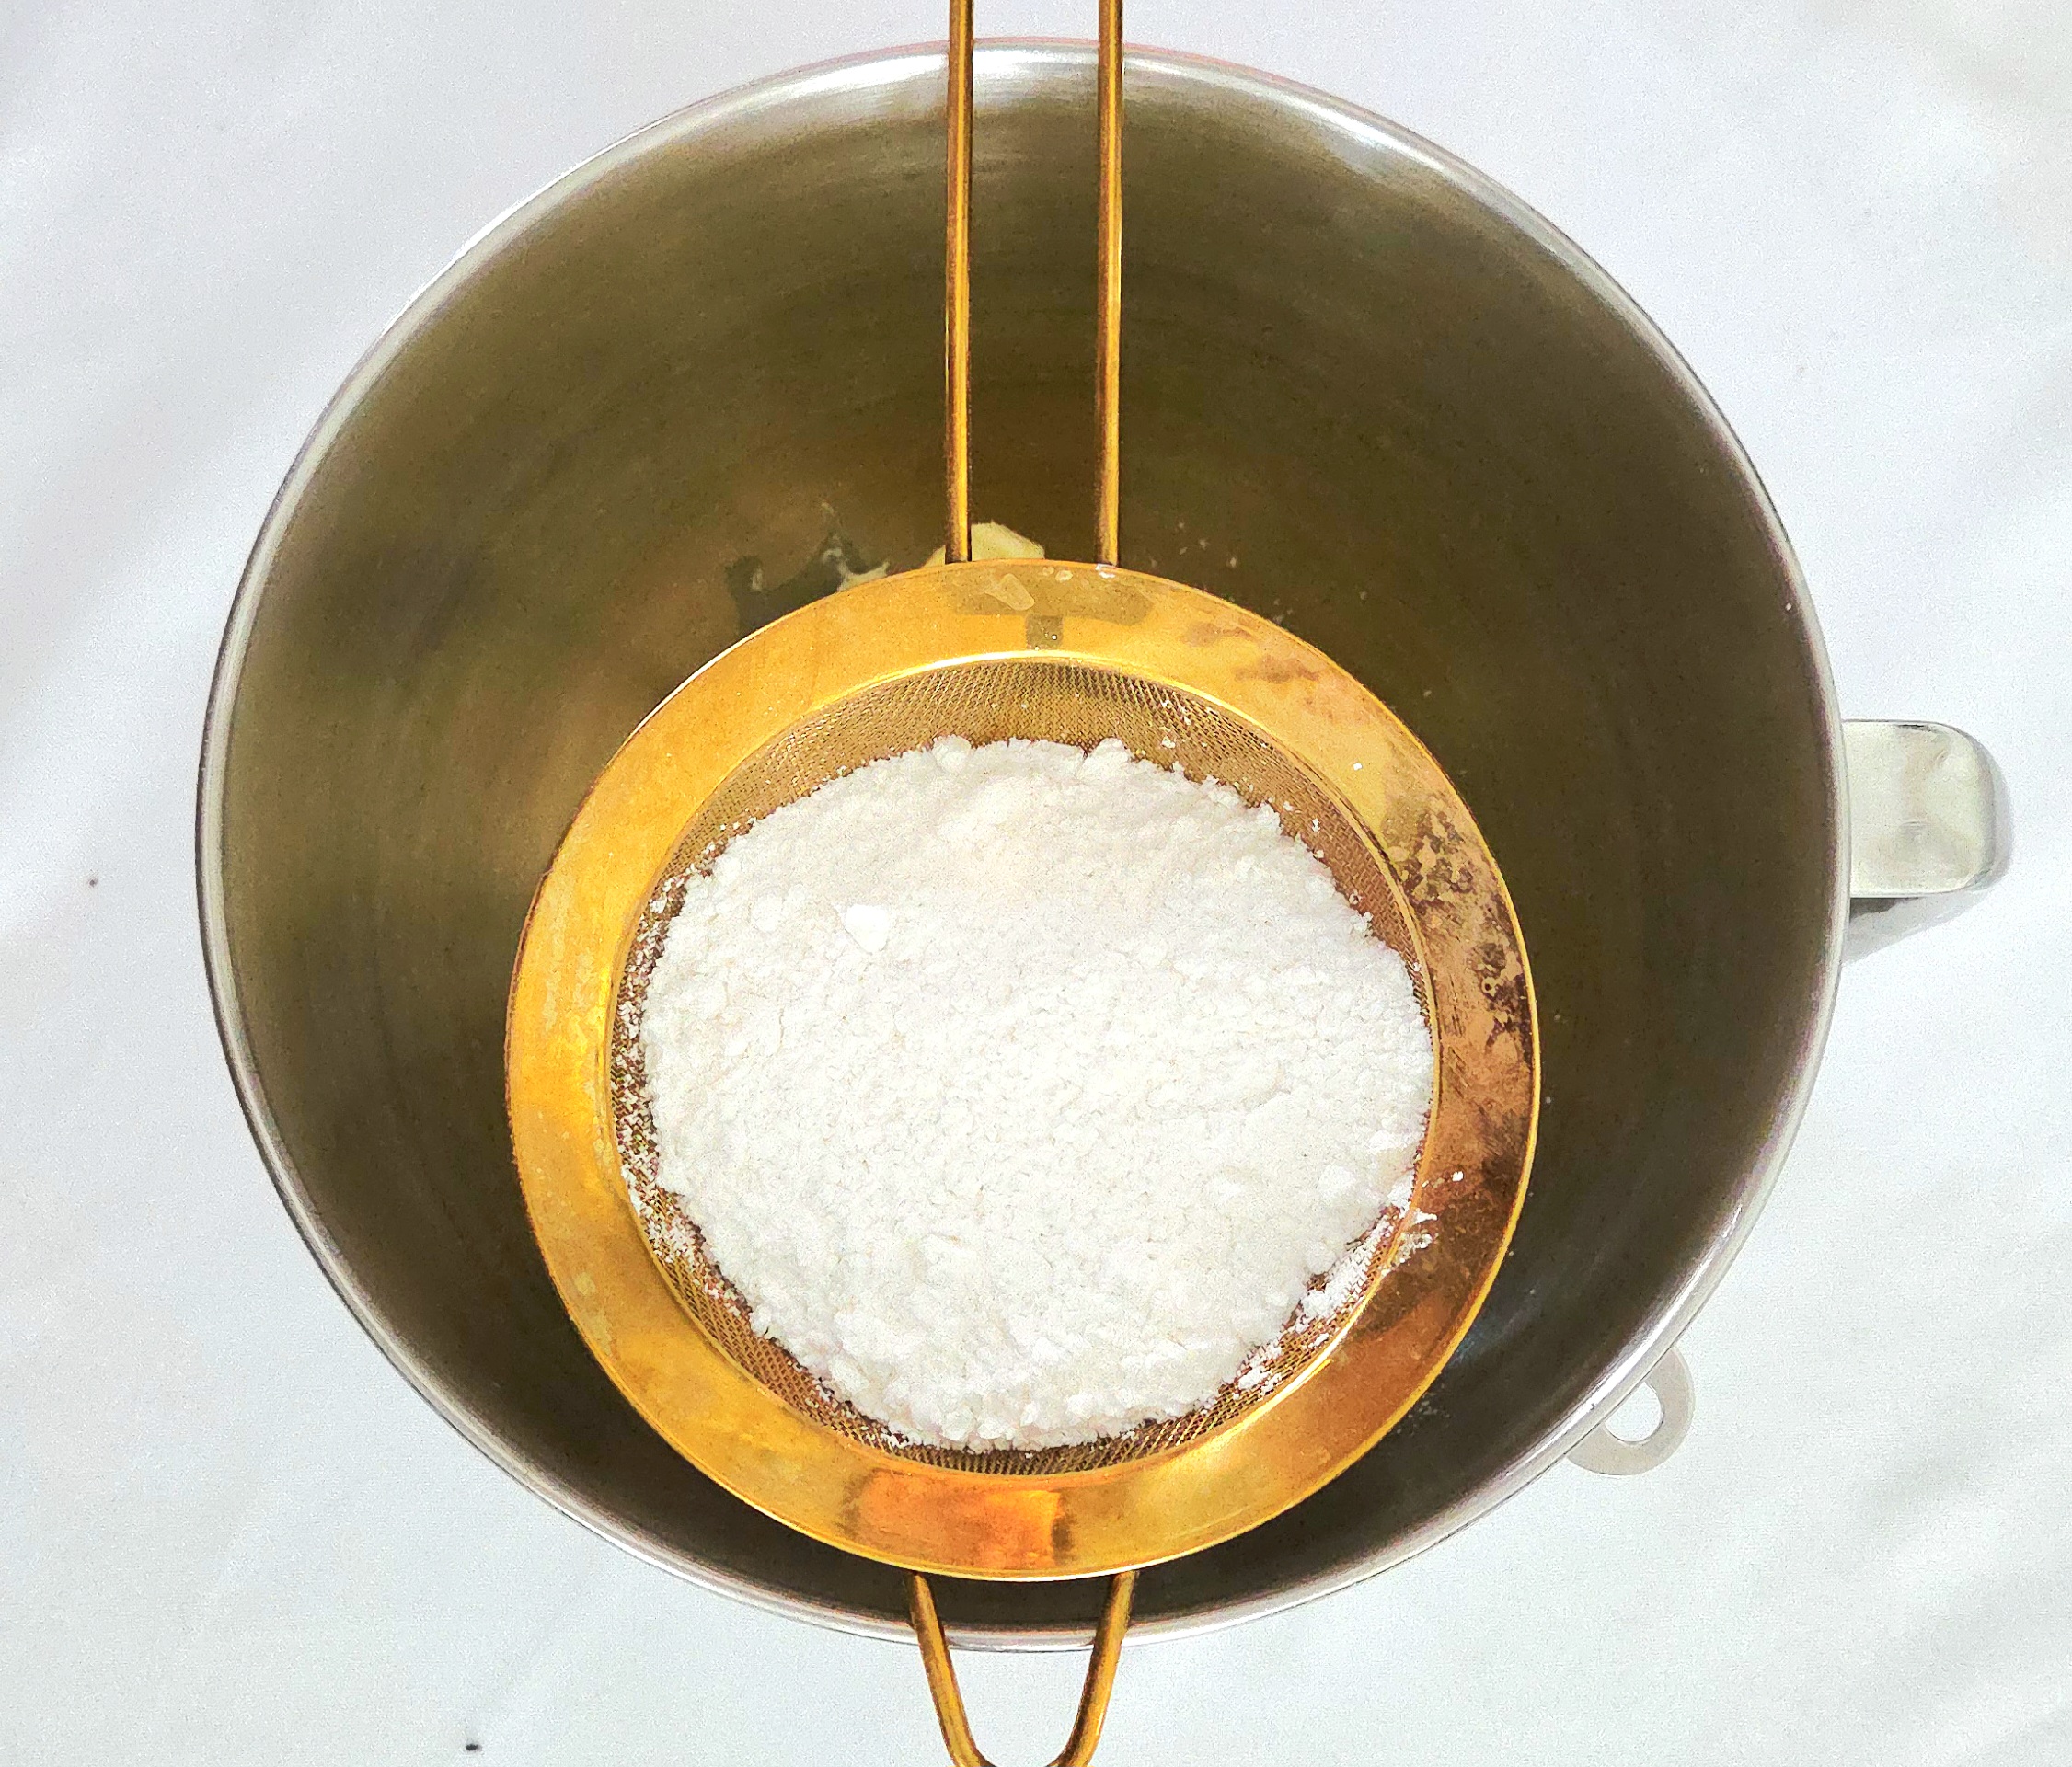
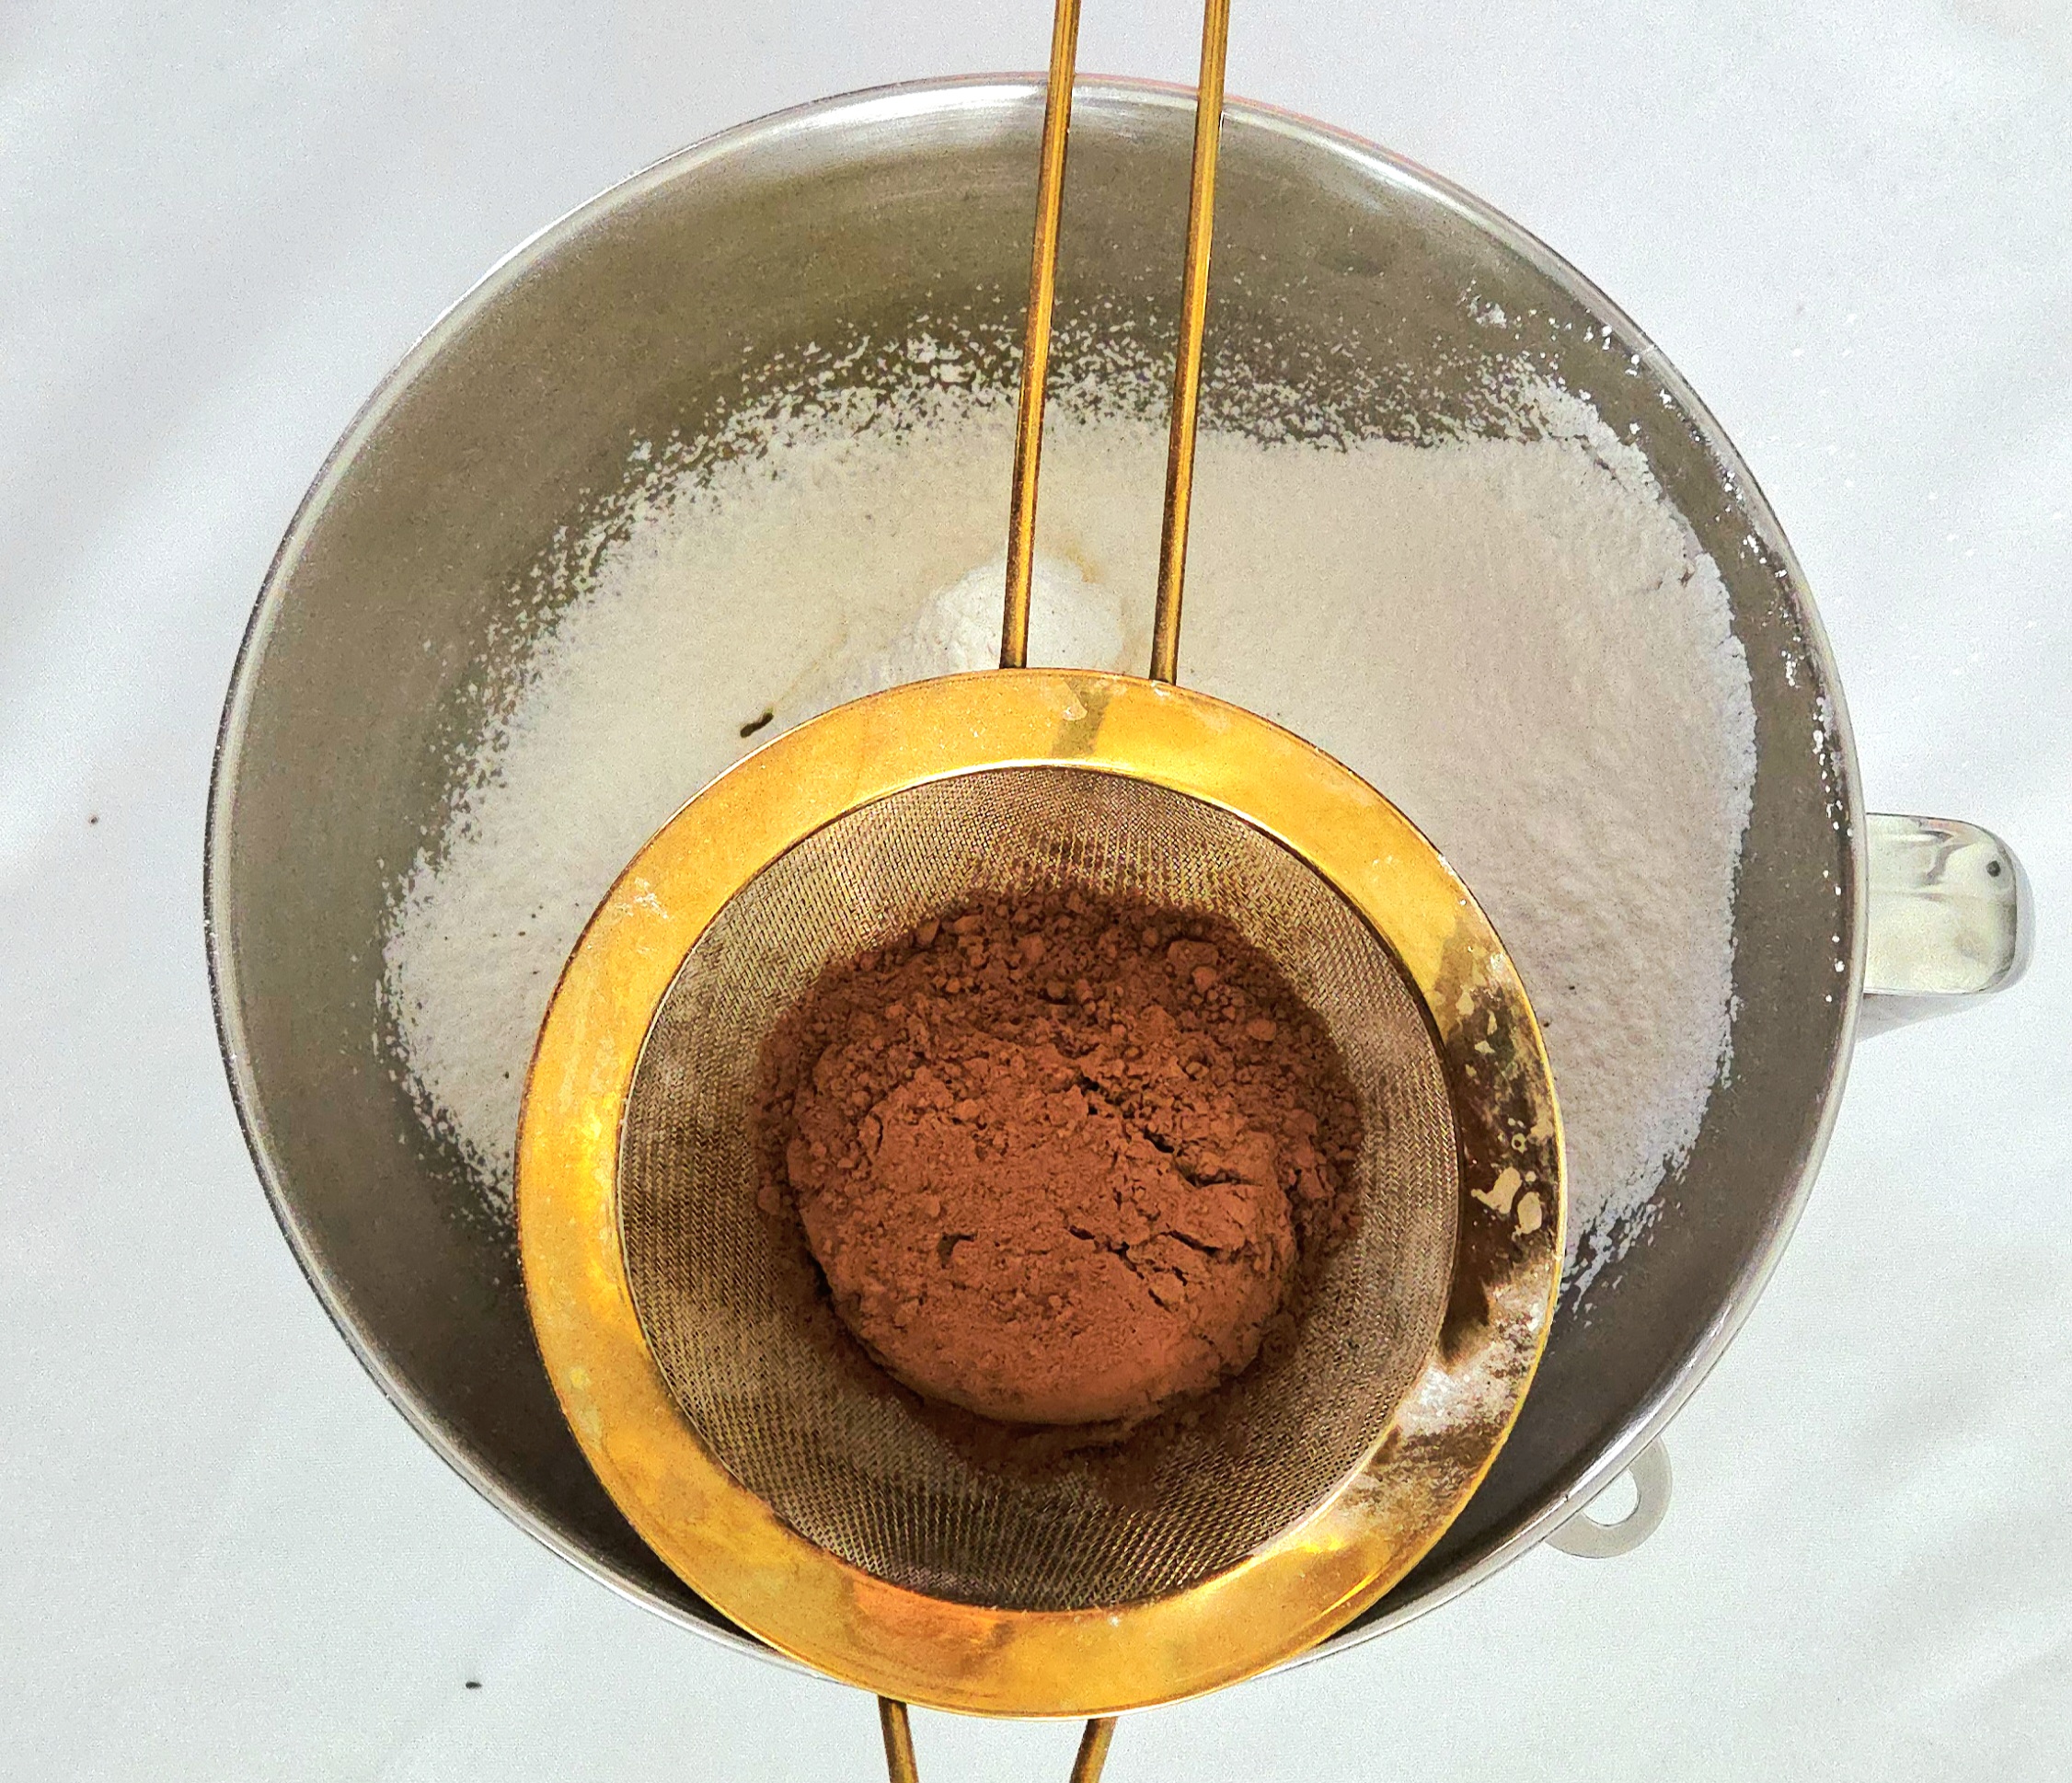
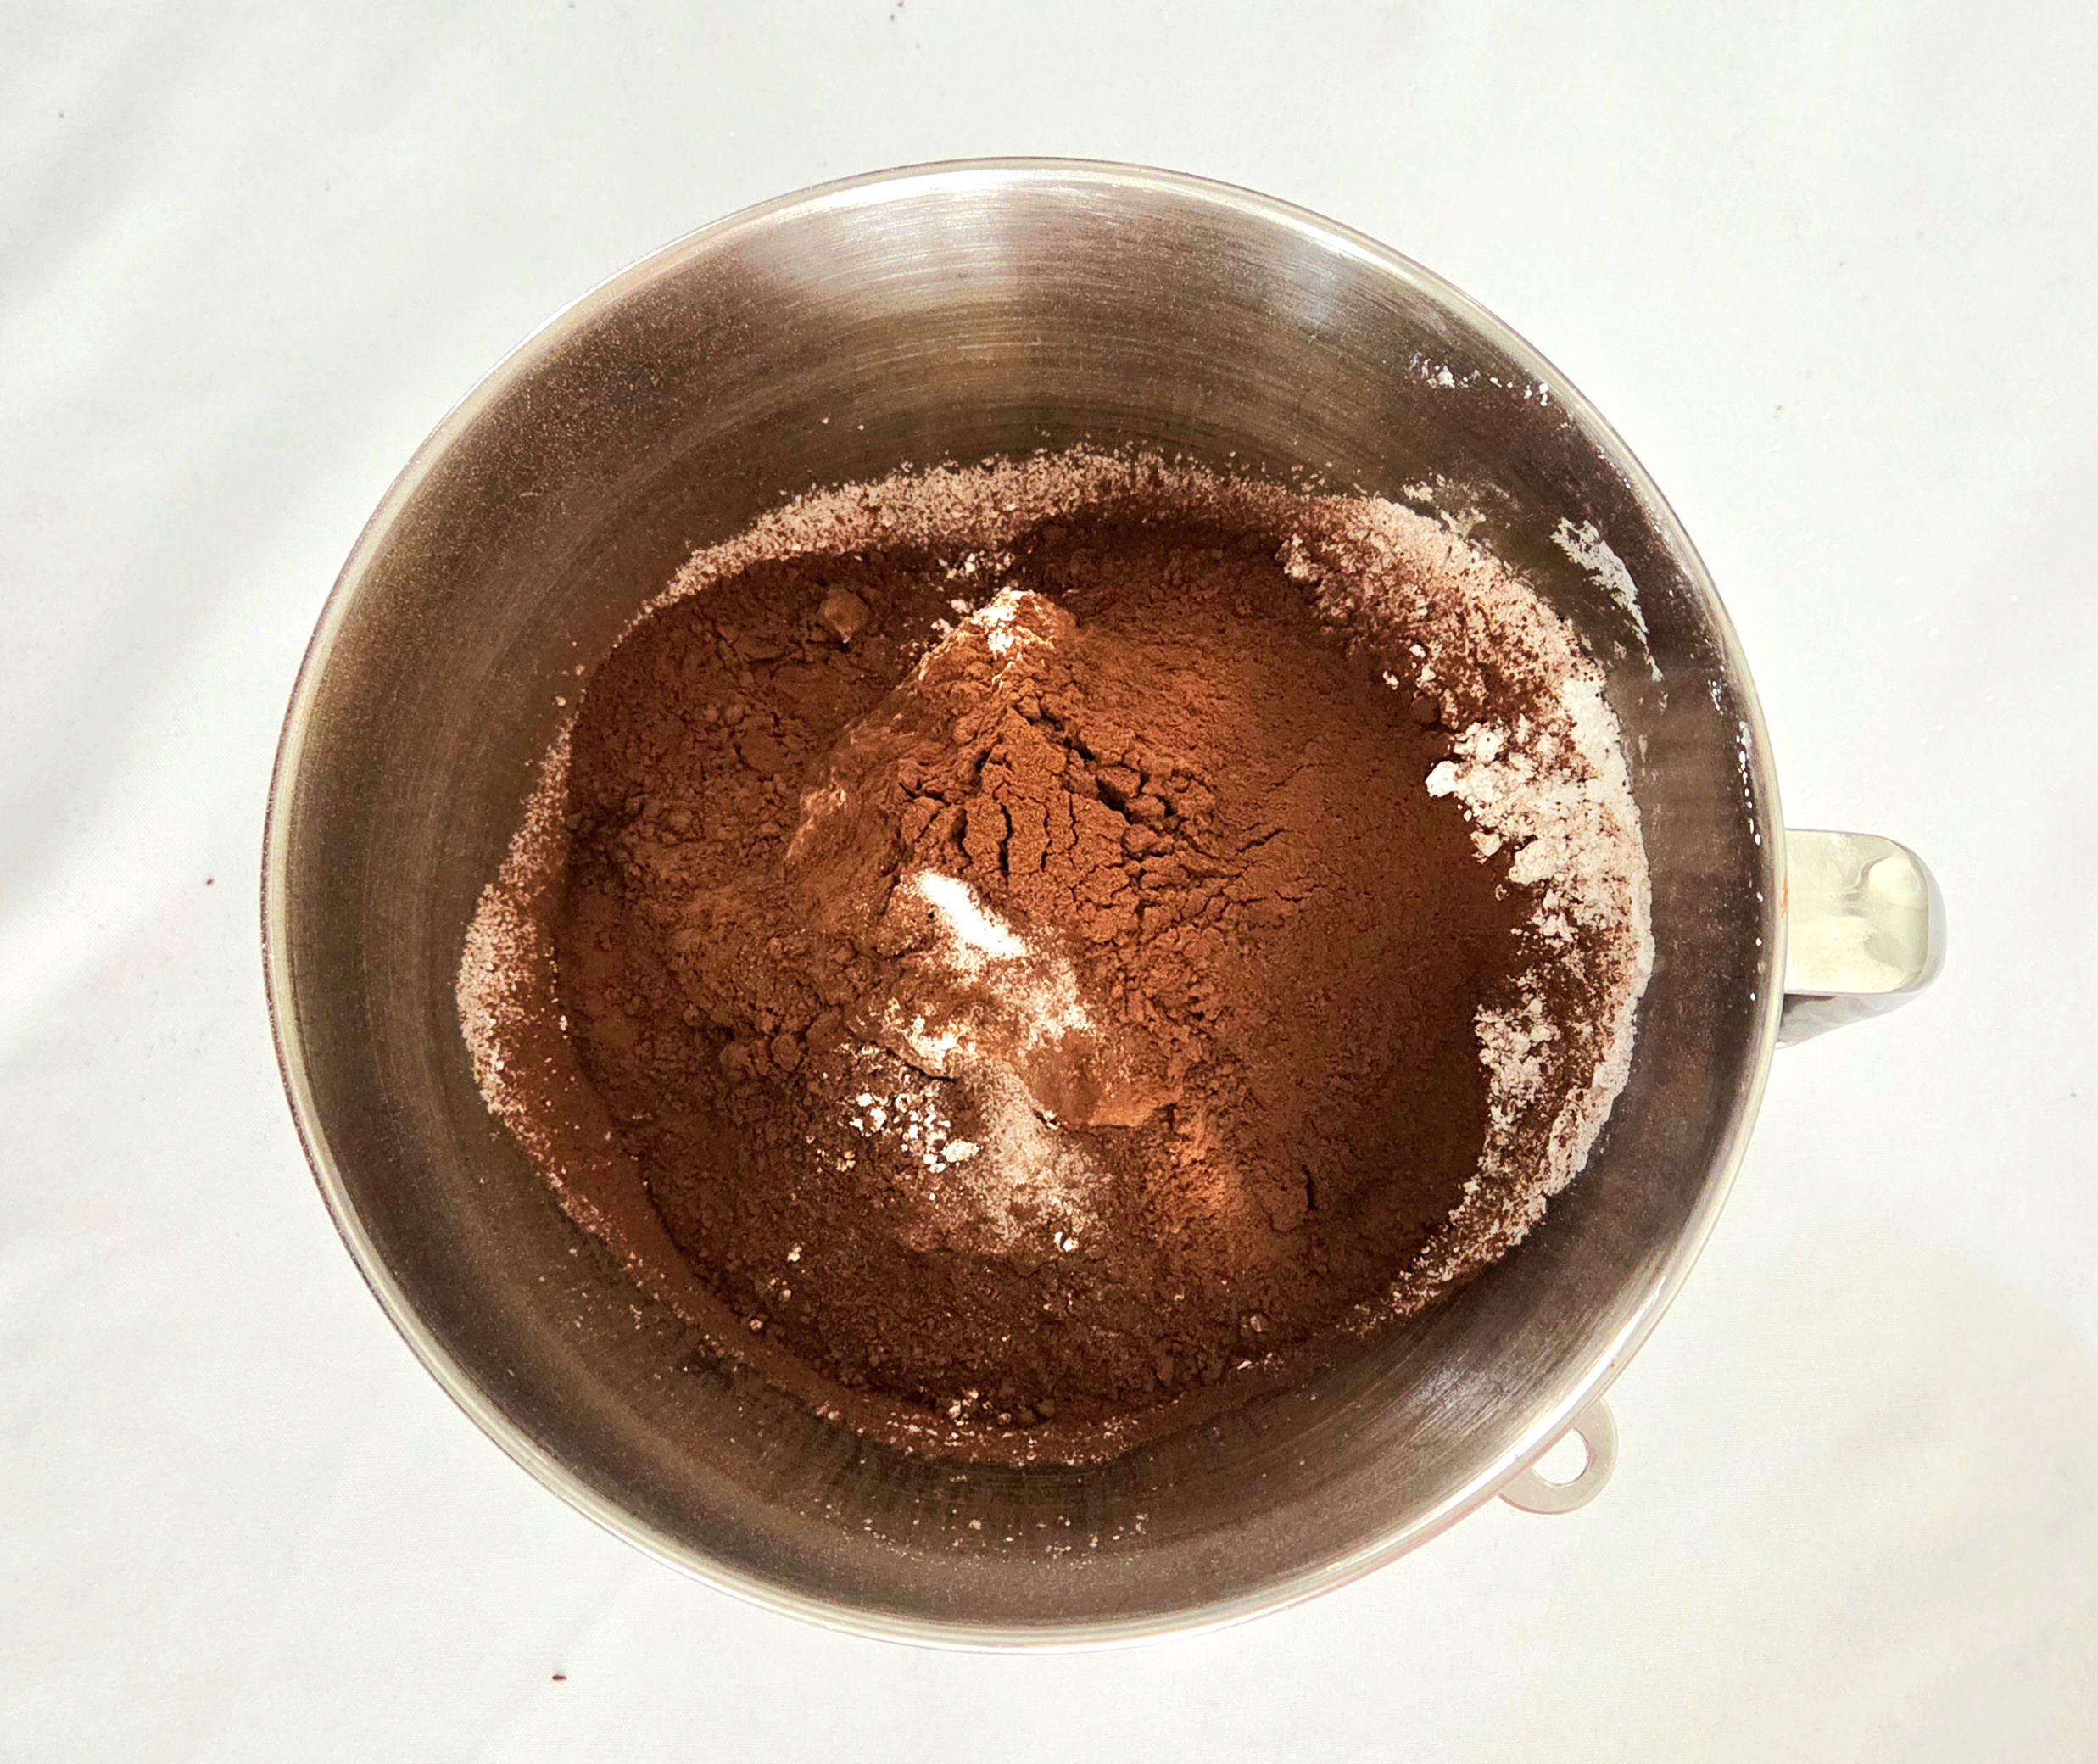
Turn it back on to level 1, then as the dry goods get absorbed into the butter, turn the mixer back up to level 3 and cream them together for 4-5 minutes. If you jump straight to level 3 first, expect to be cleaning up a cloud of cocoa and sugar powder. Scrape down the sides of the bowl using a rubber spatula.
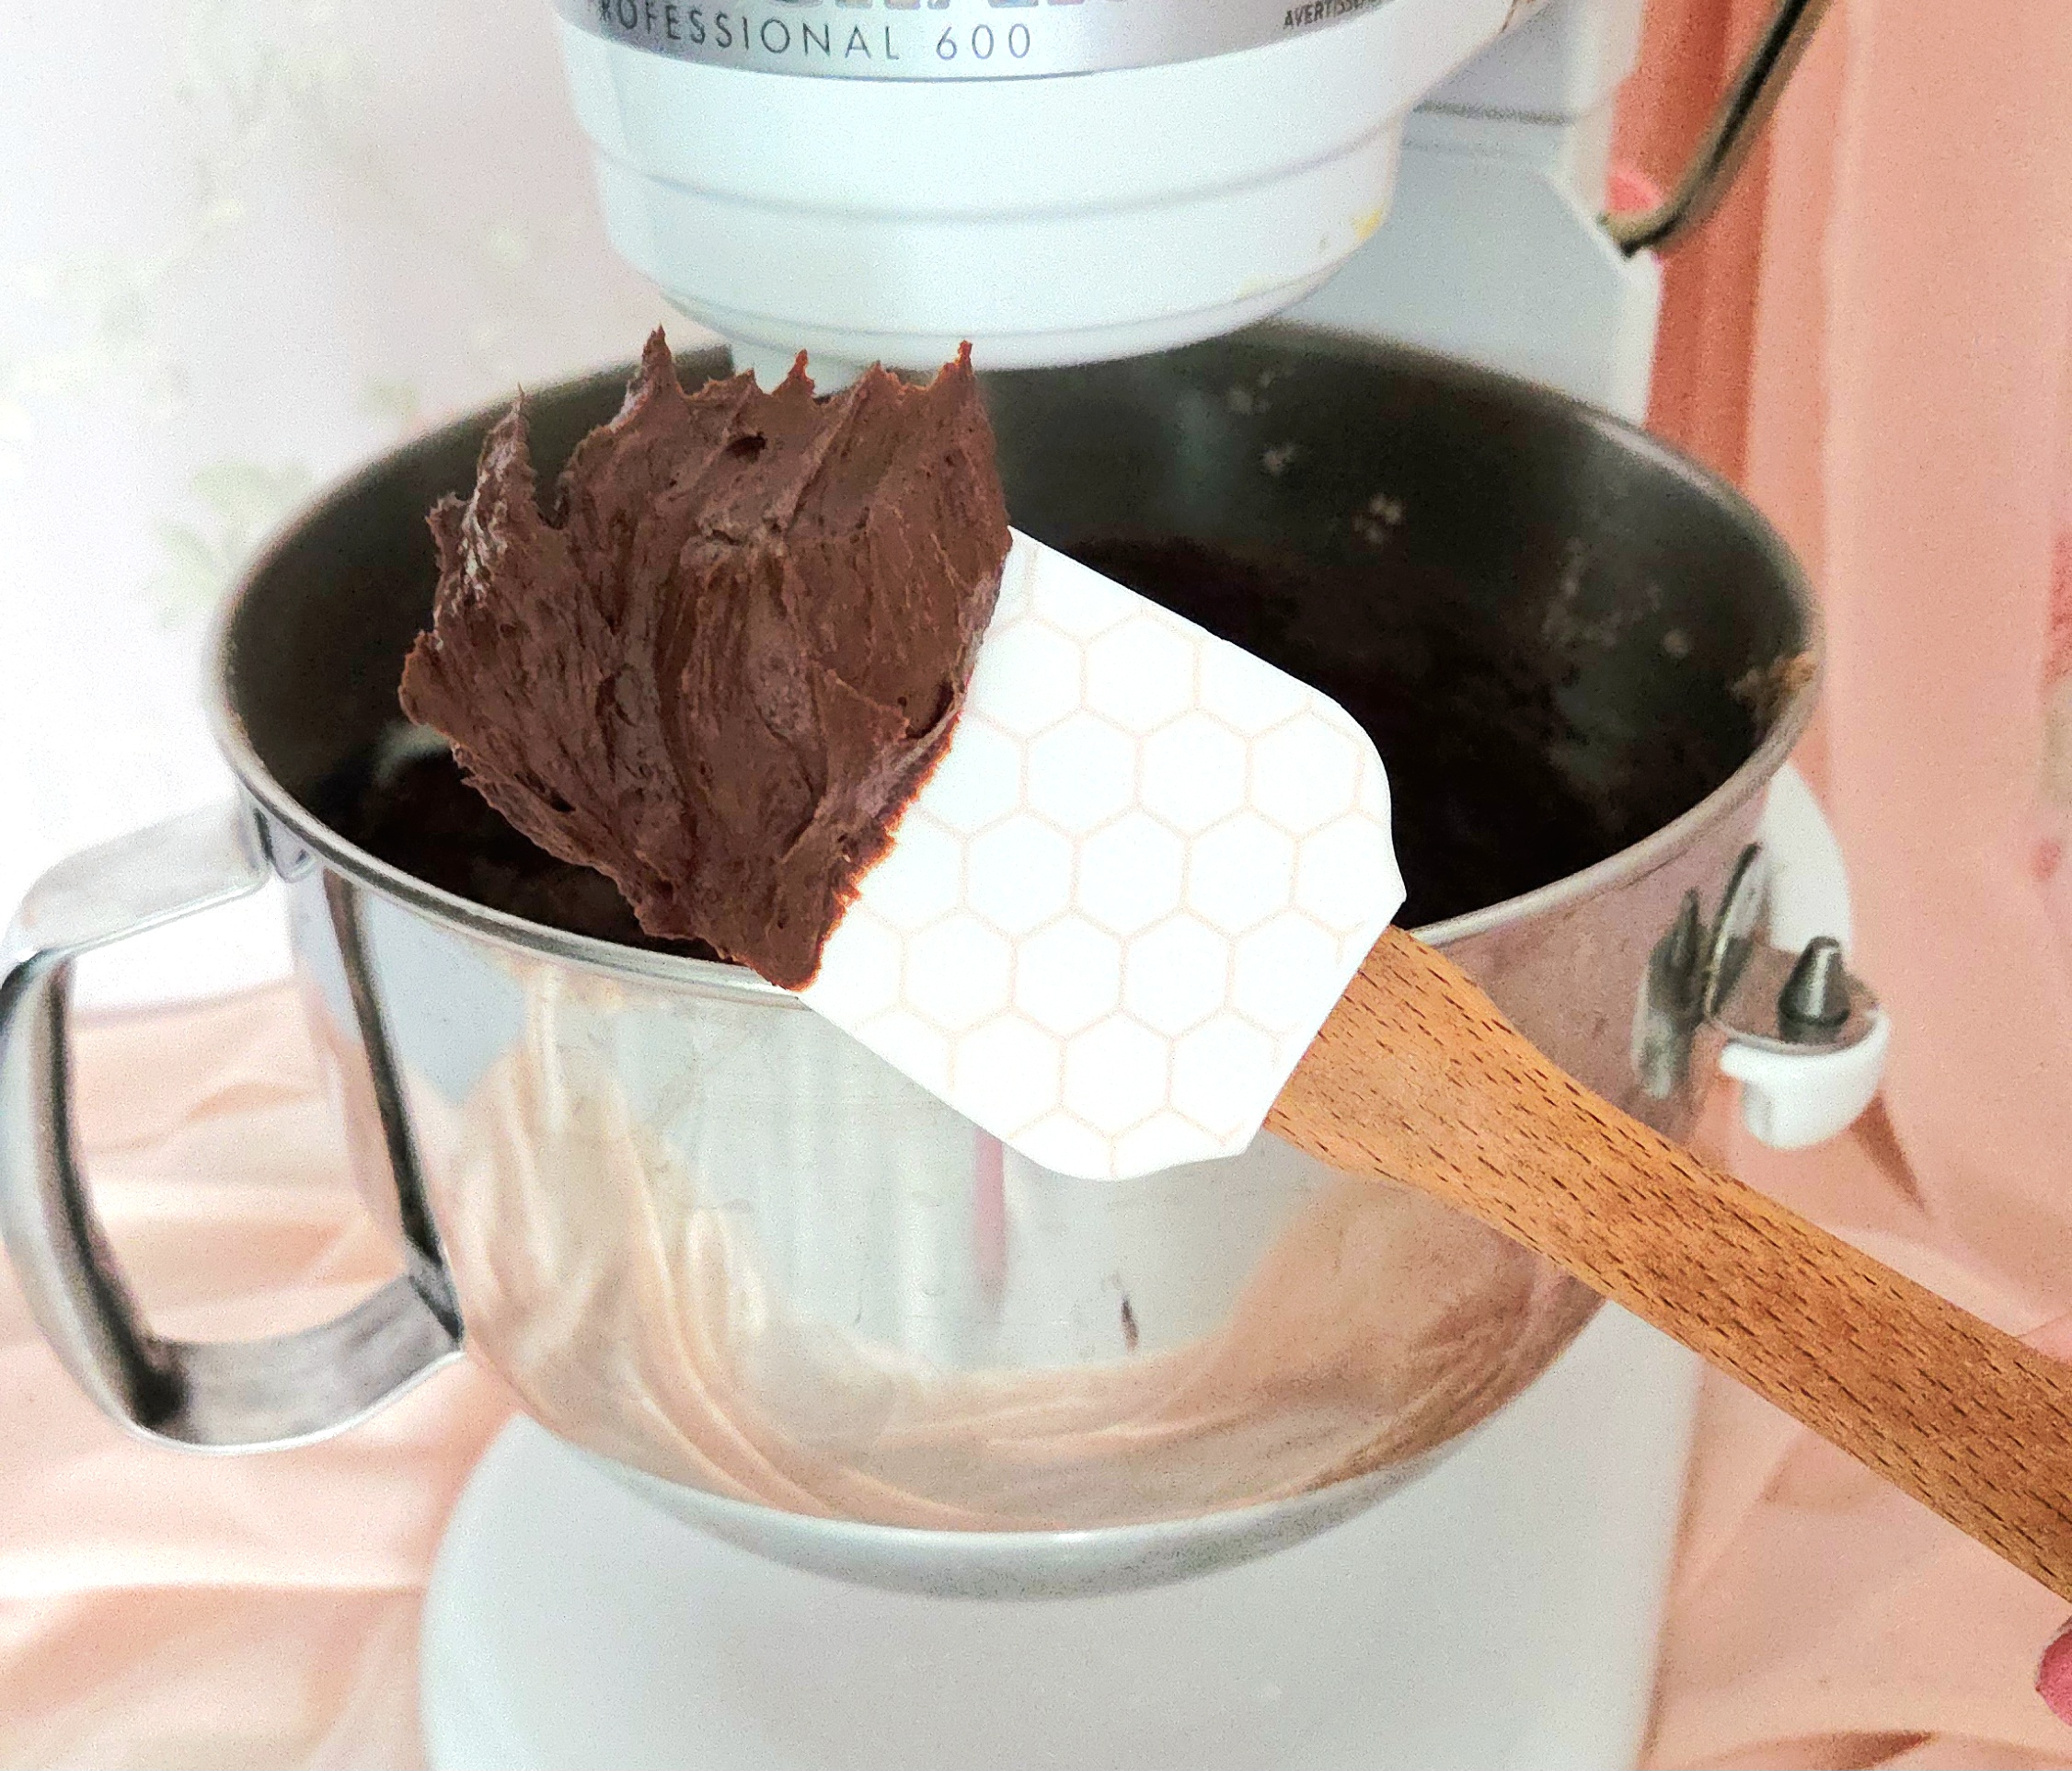
Add the corn syrup, vanilla, and cooled melted chocolate to the mixer. Beat them together on level 3 until the frosting has come together, scraping down the sides of the bowl as needed. Place the frosting aside until the cake has completely cooled and you’re ready to assemble.
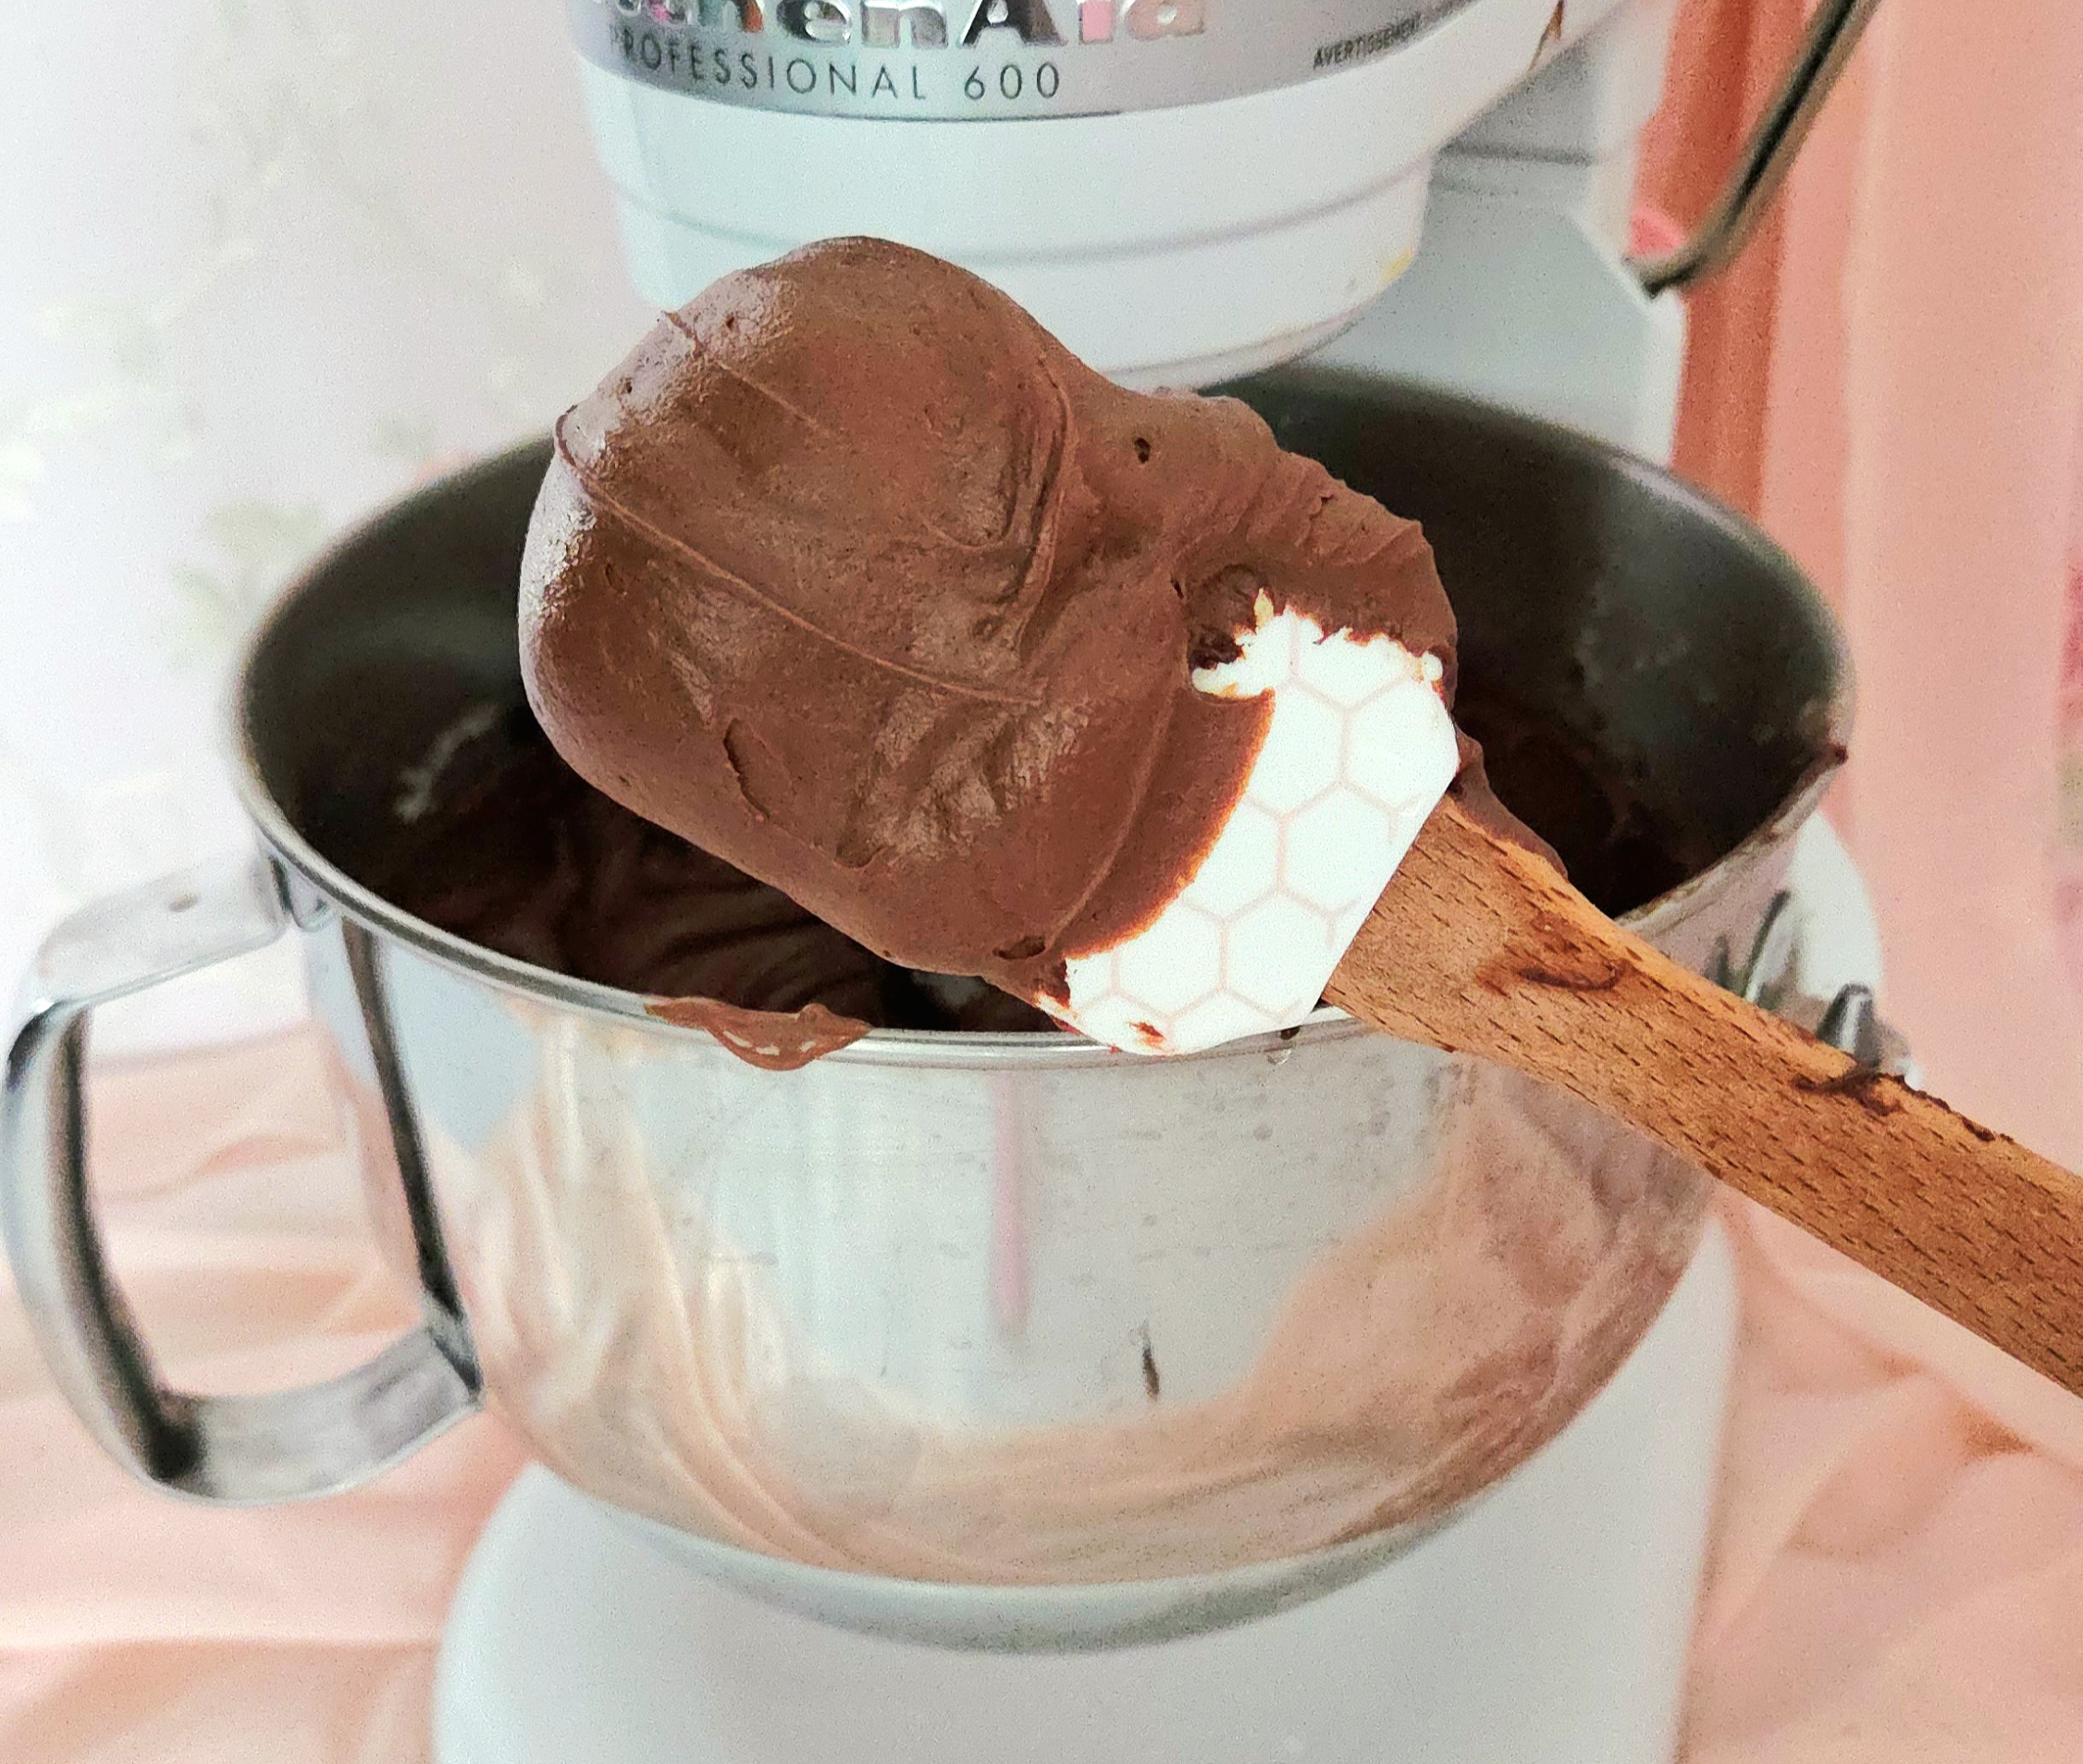
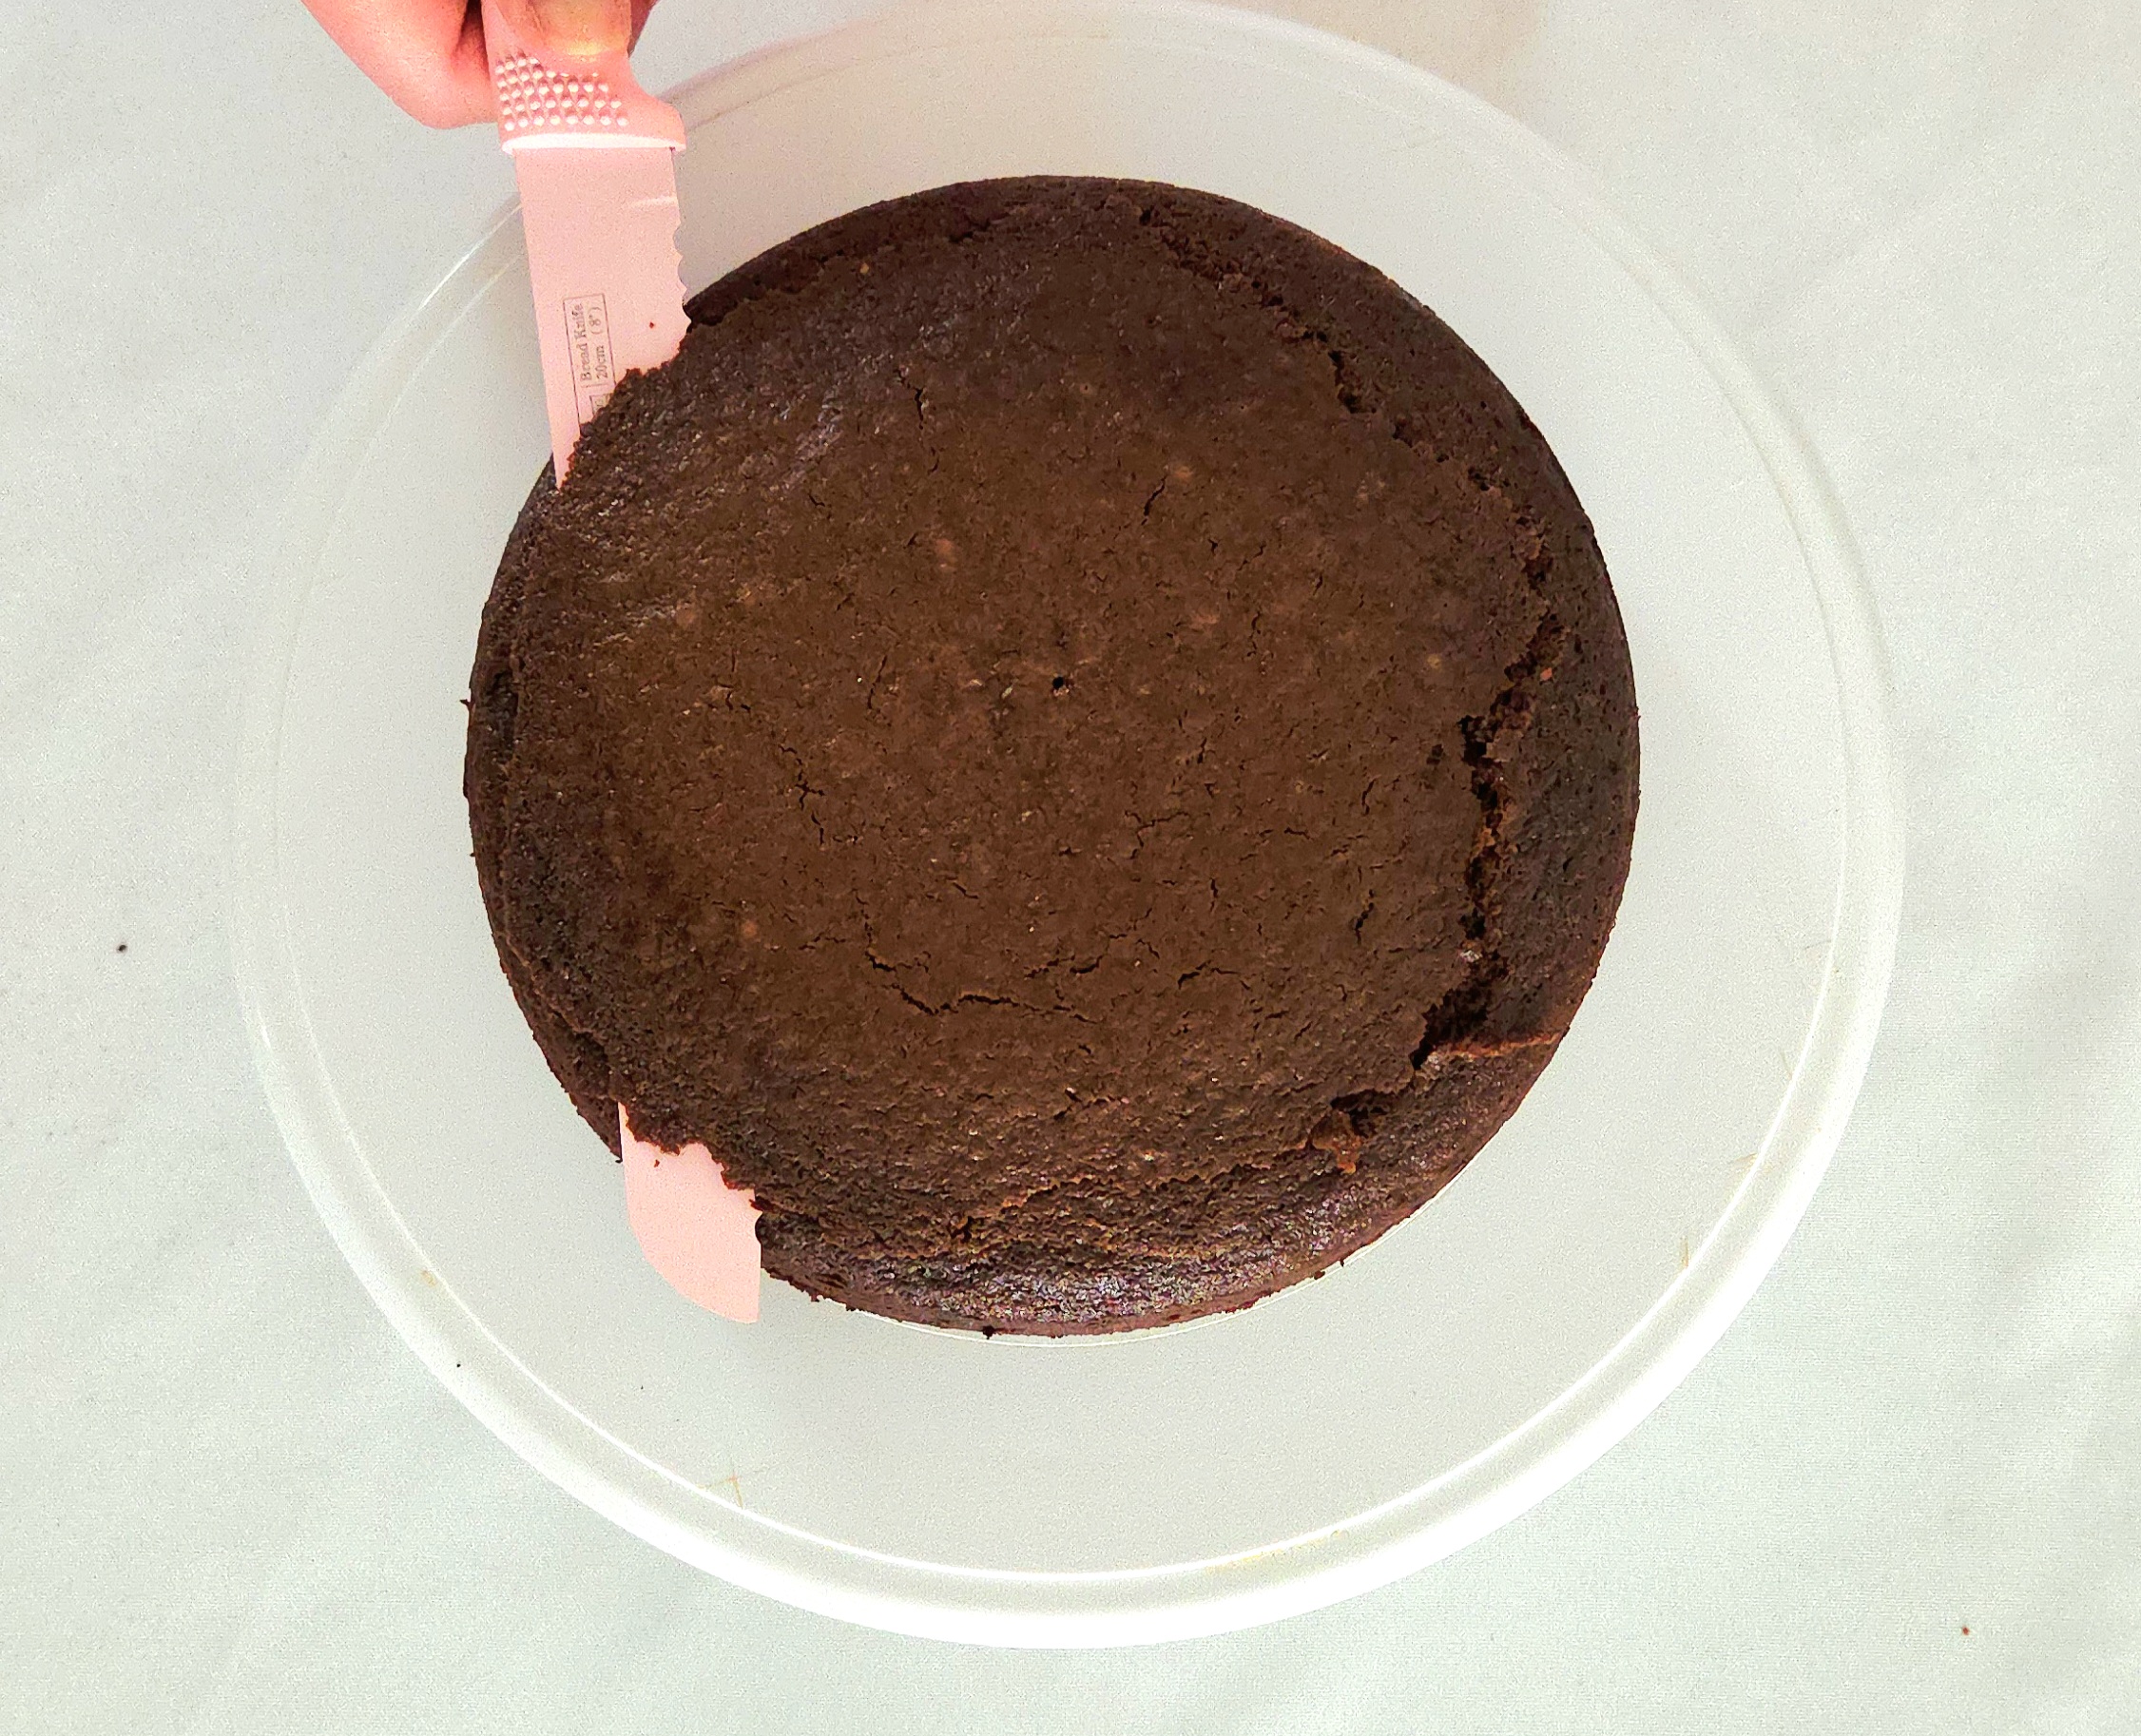
Once the layers have cooled, it’s time to assemble the cake. If your layers aren’t flat (or mostly flat), using a long serrated bread knife, carefully slice off the hump to make them flat.
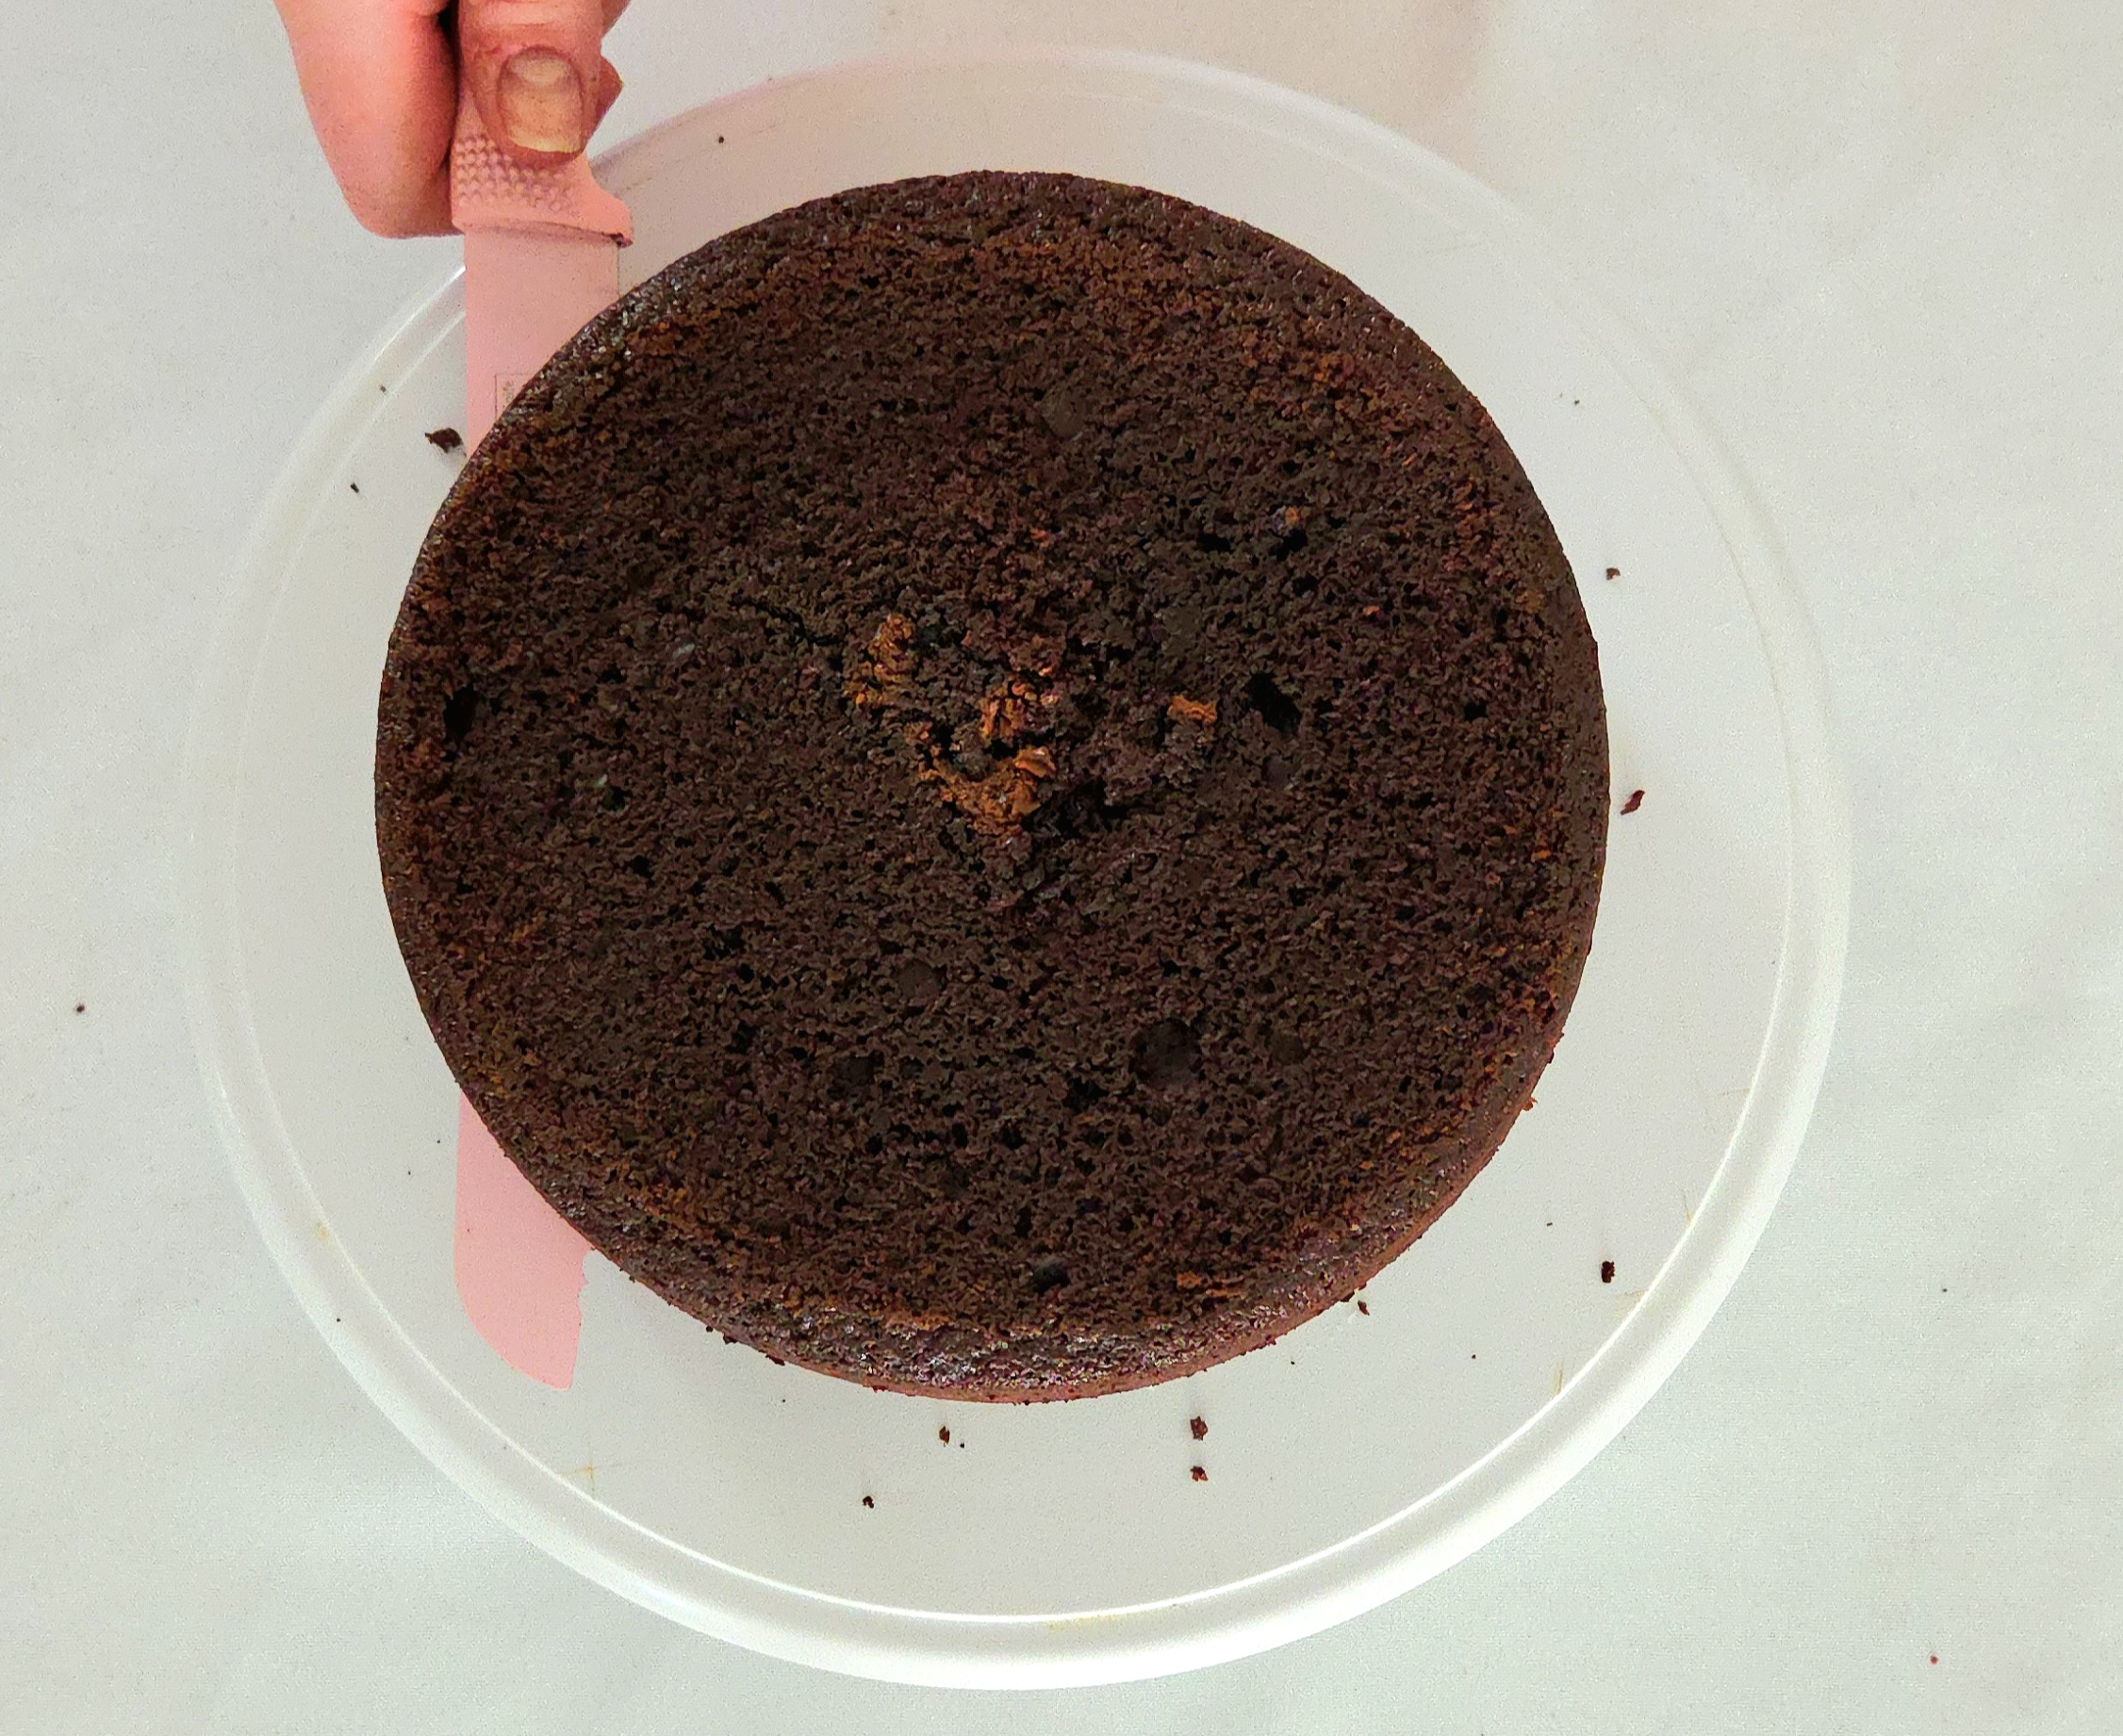
If you’ve made all single layers, move onto the next step now. But if you’ve made a double layer, carefully divide it in half using the serrated knife. This is easiest to do with the aid of a turntable, if you have one. Hold the layer securely in place on top, turning it with one hand while the other wields the knife. Move gently and slowly, slicing into the center as it turns.
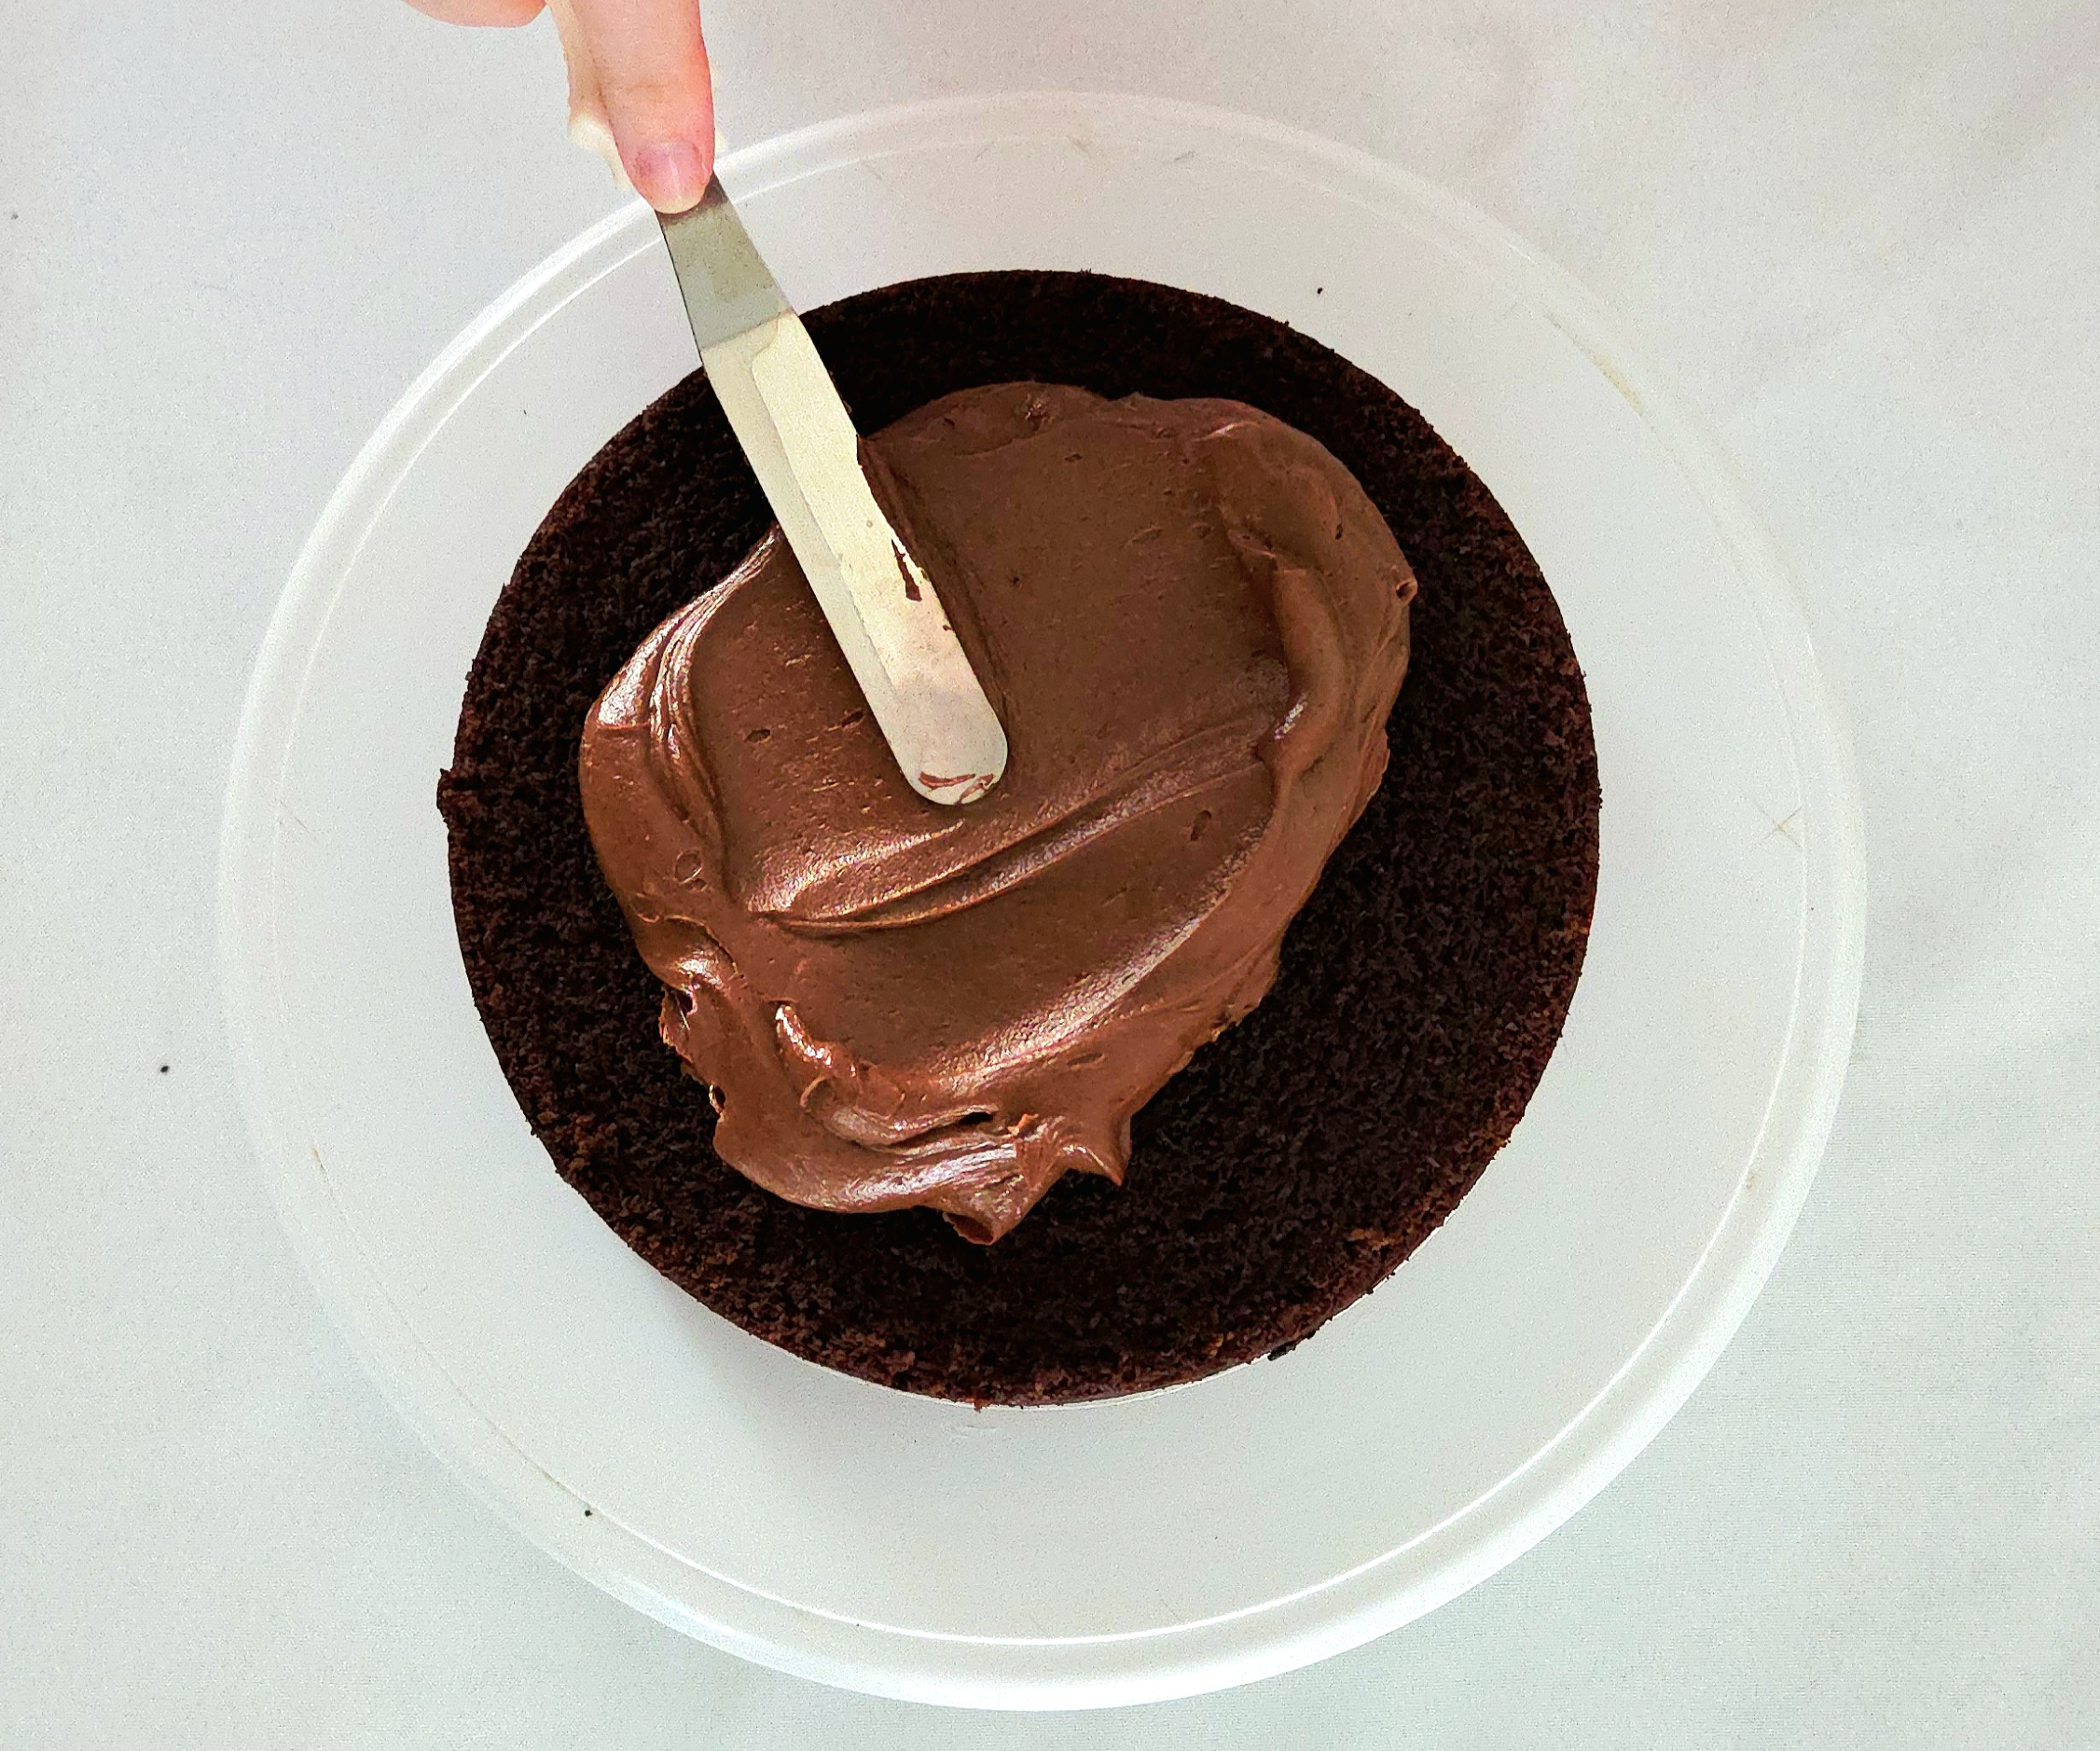
Place the layer you’ll use for the bottom on a cake board, plate, or cake stand. It’s best to use a single layer for this position, for the best structural integrity. Place about a cup of frosting onto the center of the layer and, using a butter knife or offset spatula, spread the frosting evenly over the layer.
Cover the frosted layer with the cake you’ll use as the center layer. If you’ve baked a double layer and sliced that in half, it’s best to use the top half for the center layer. It’s the weakest layer structurally speaking, so will fair best in the middle.
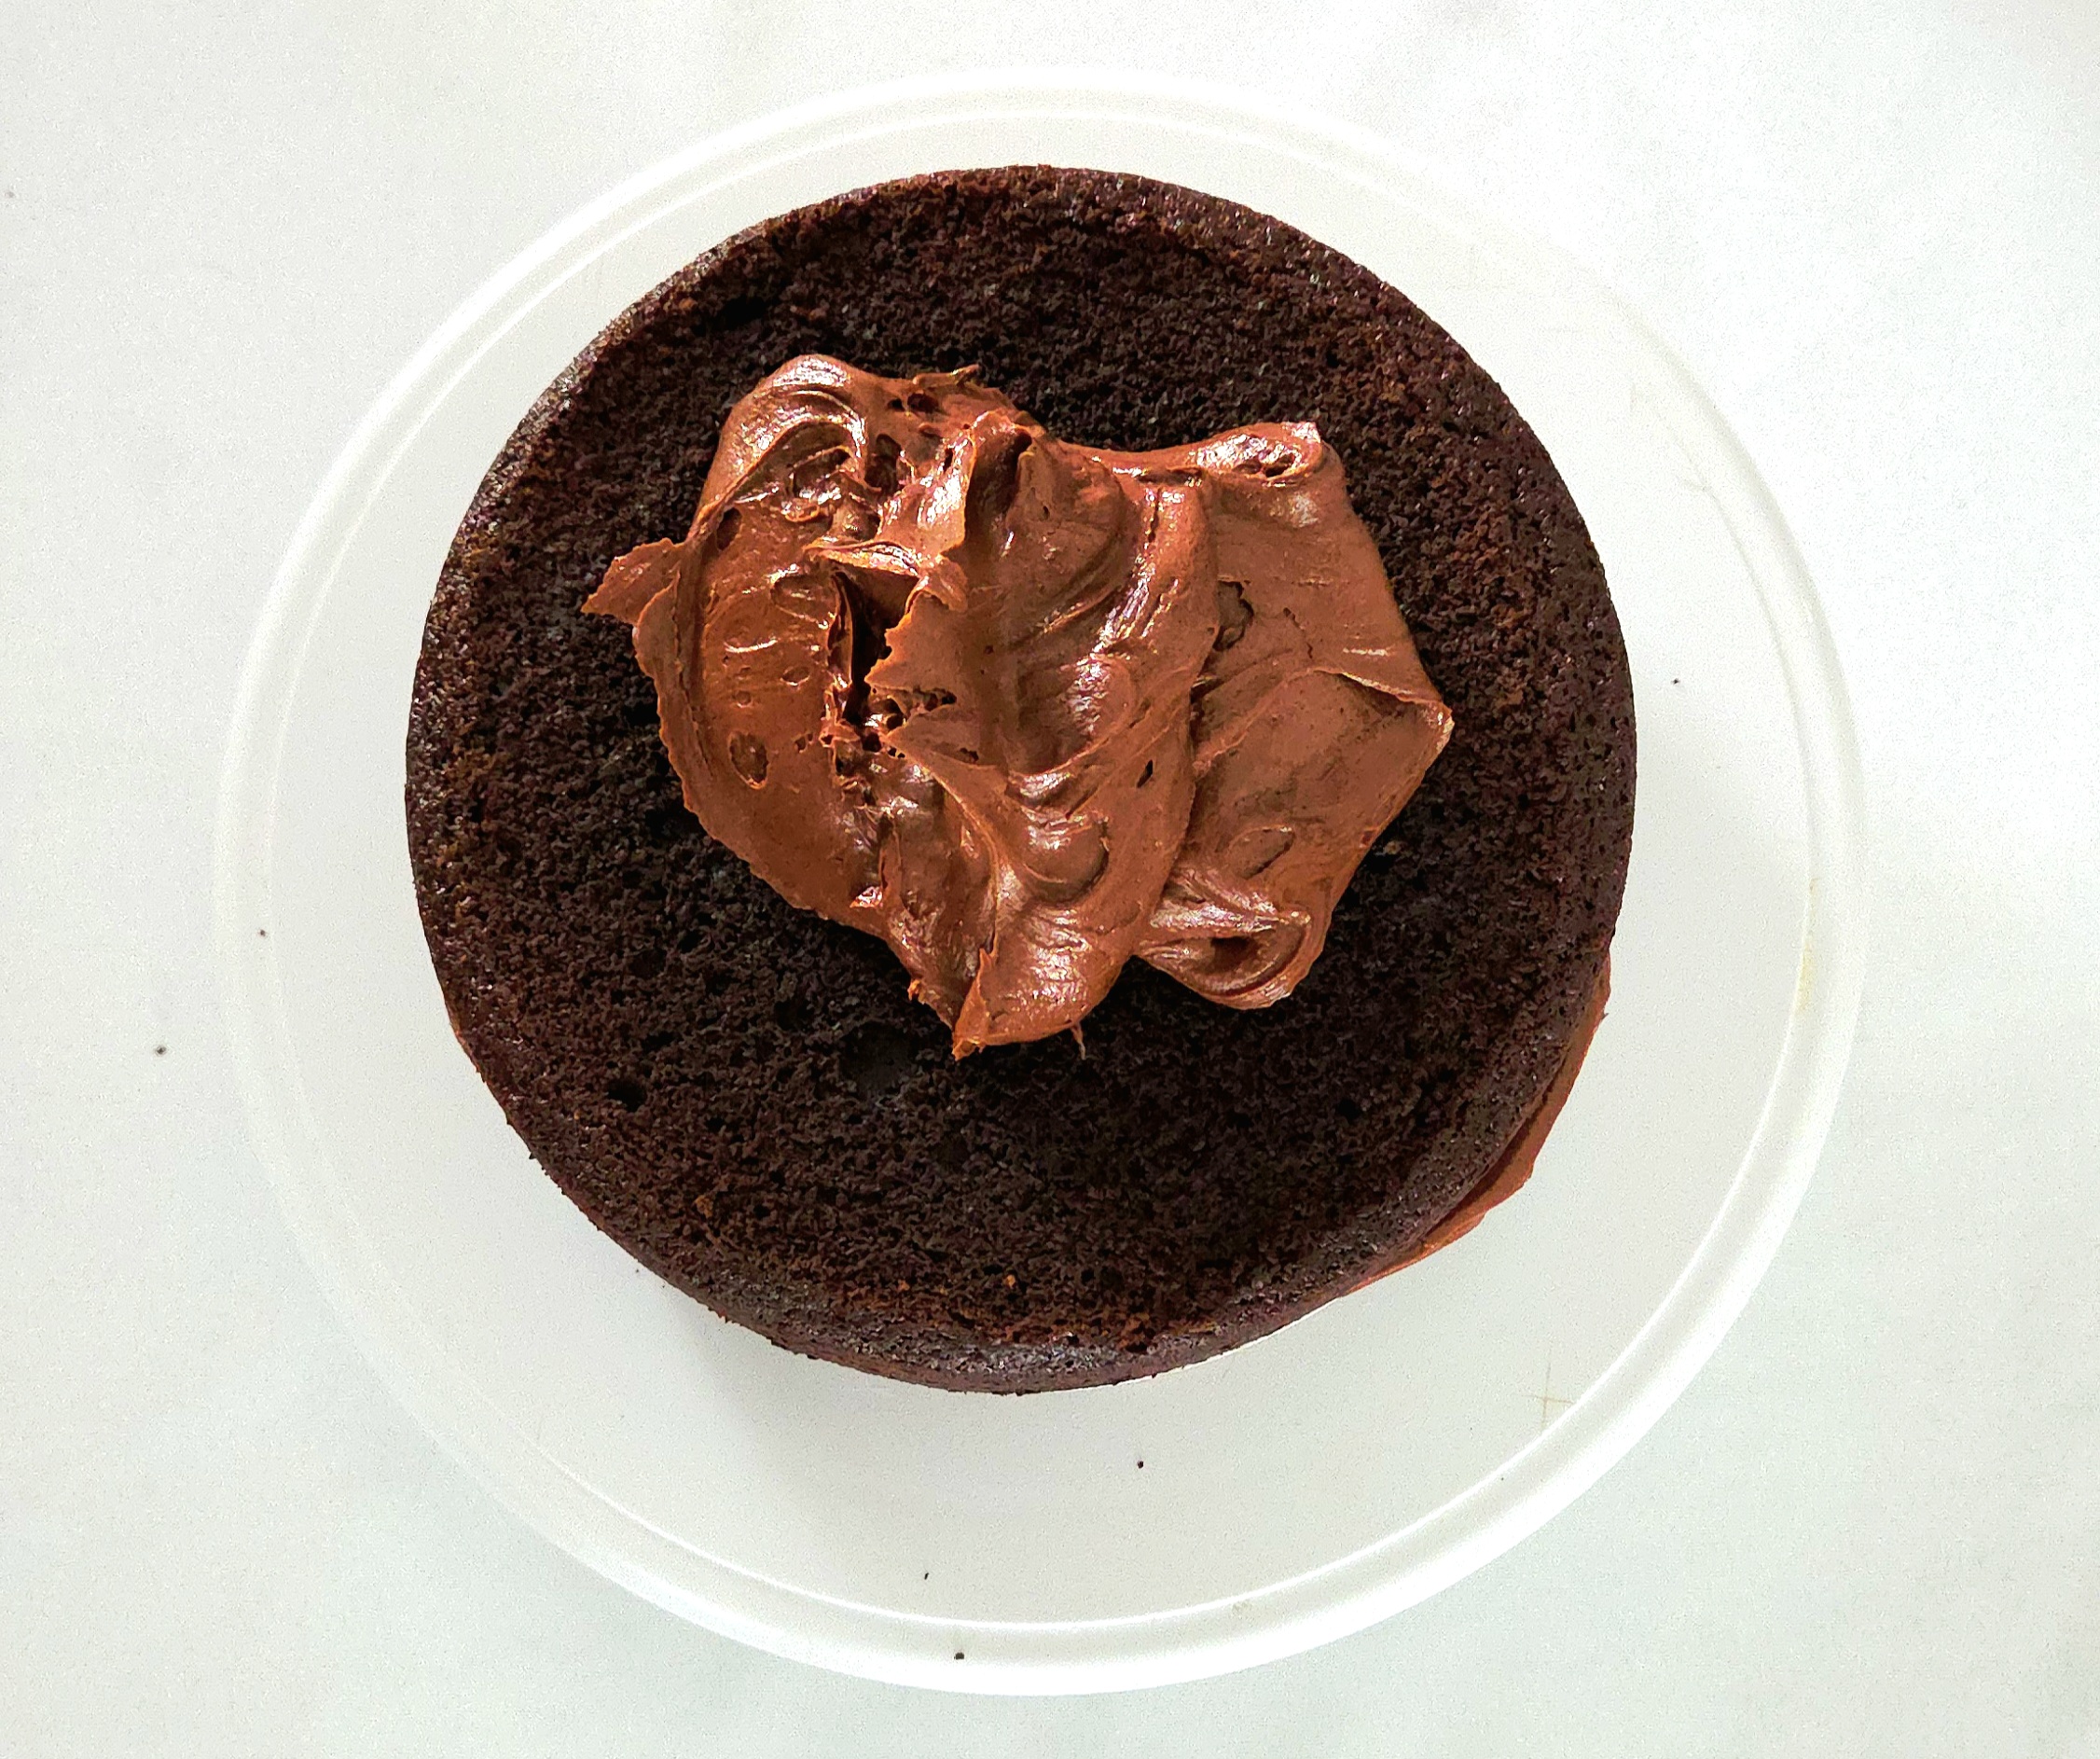
Scoop another cup of frosting onto the center, spread it out with the butter knife or offset spatula, then top it off with the final layer of cake. This should be the bottom half of the double layer, flipped upside down so the perfectly flat bottom now becomes the top of the cake.
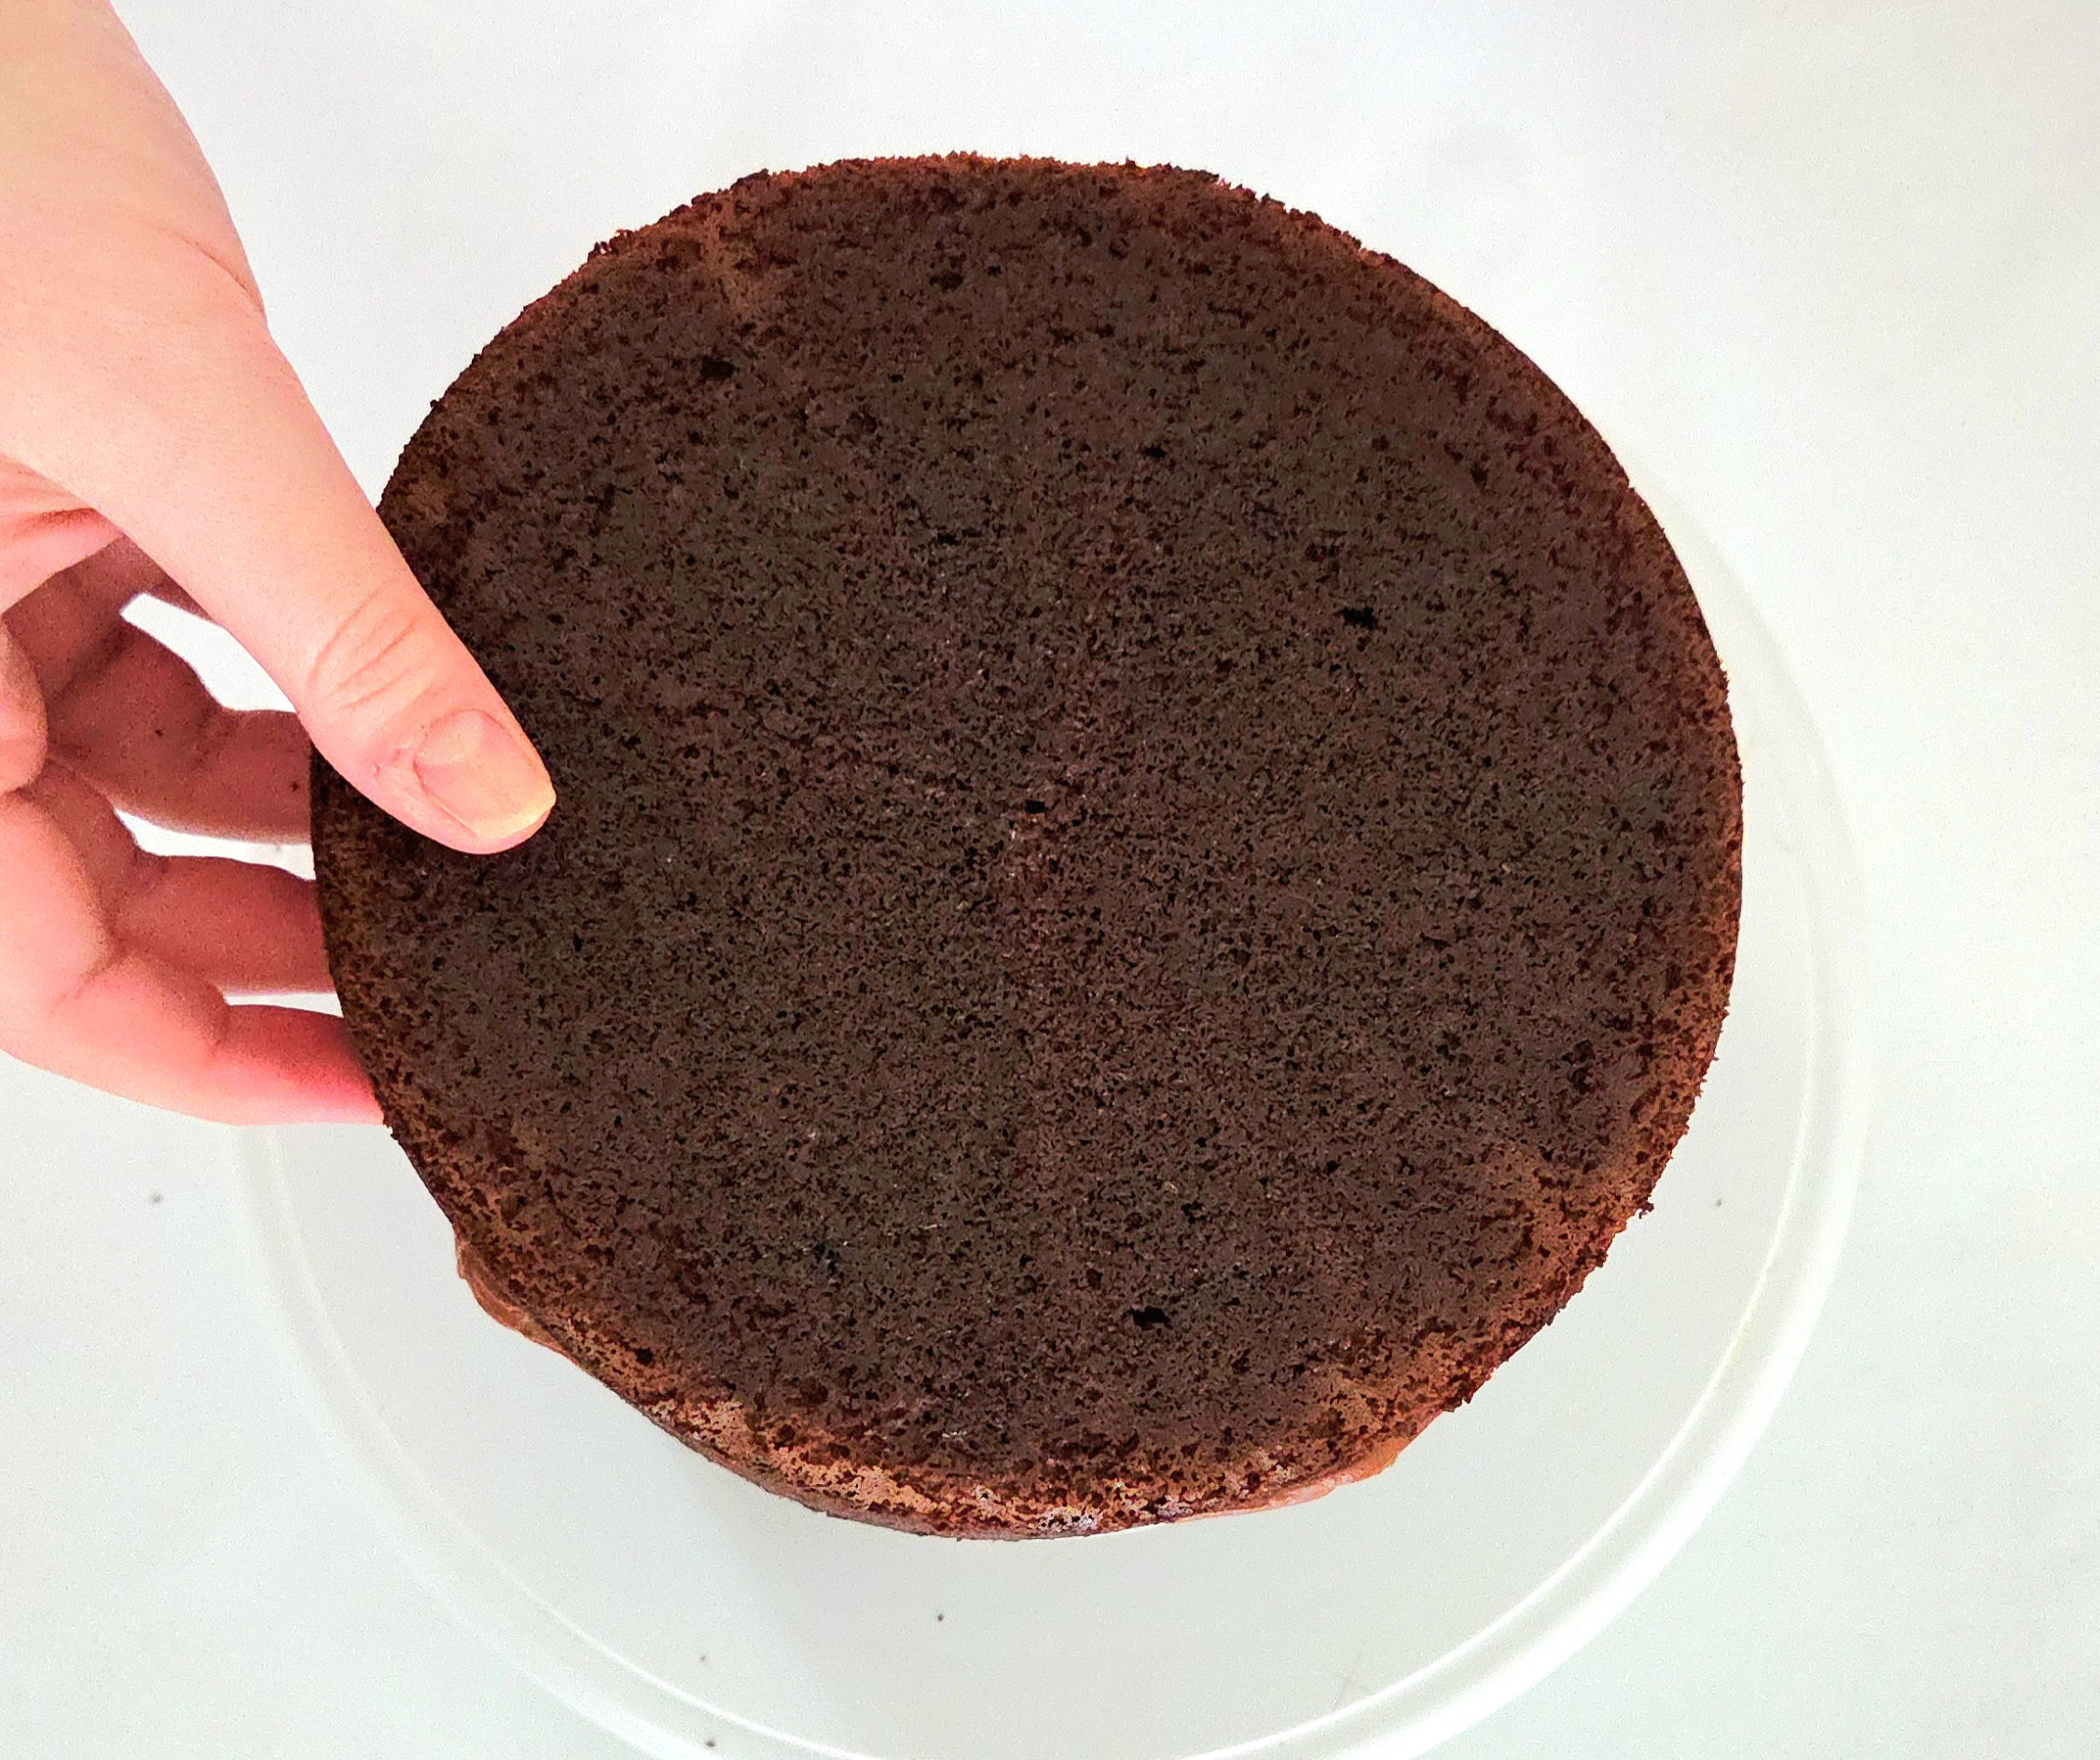
Take about a quarter of the remaining frosting and spread a thin layer over the entire cake using the offset spatula or butter knife. In other words, give it a crumb coat. Place the crumb coated cake in the fridge for a minimum of 30 minutes to set the coat.
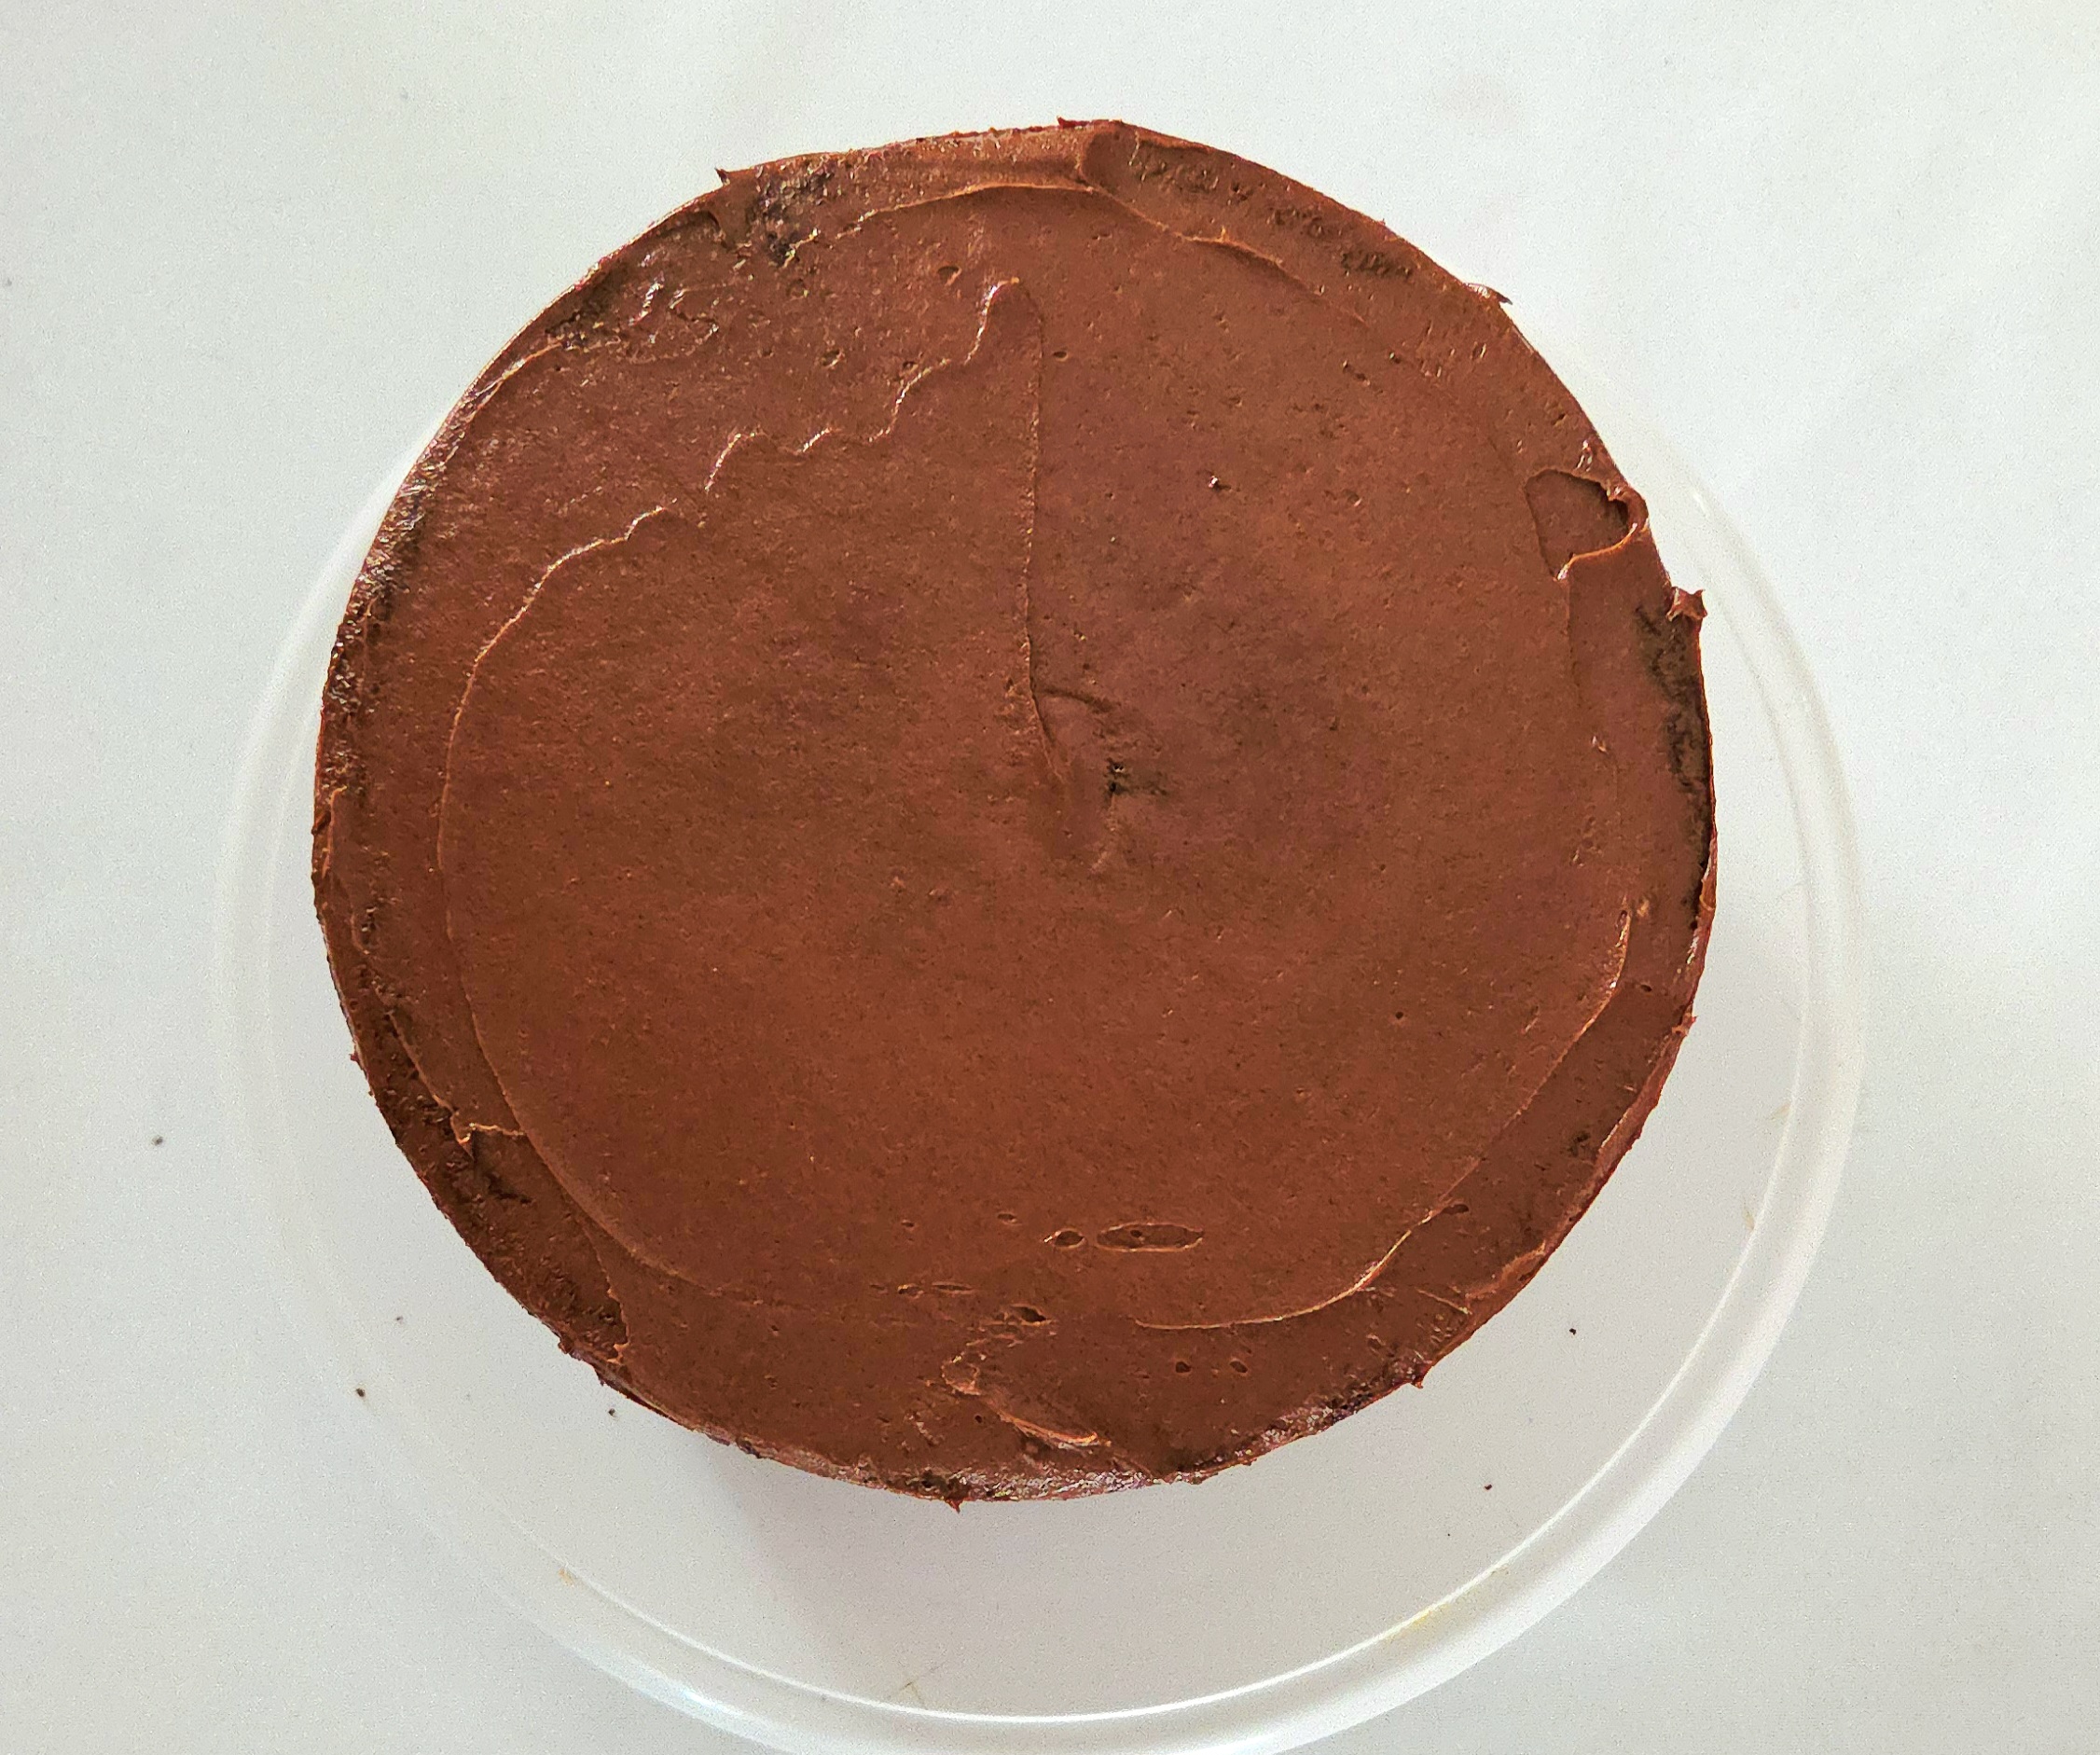
Once the crumb coating has set, spread about ¾ of the remaining frosting over the entirety of the cake.
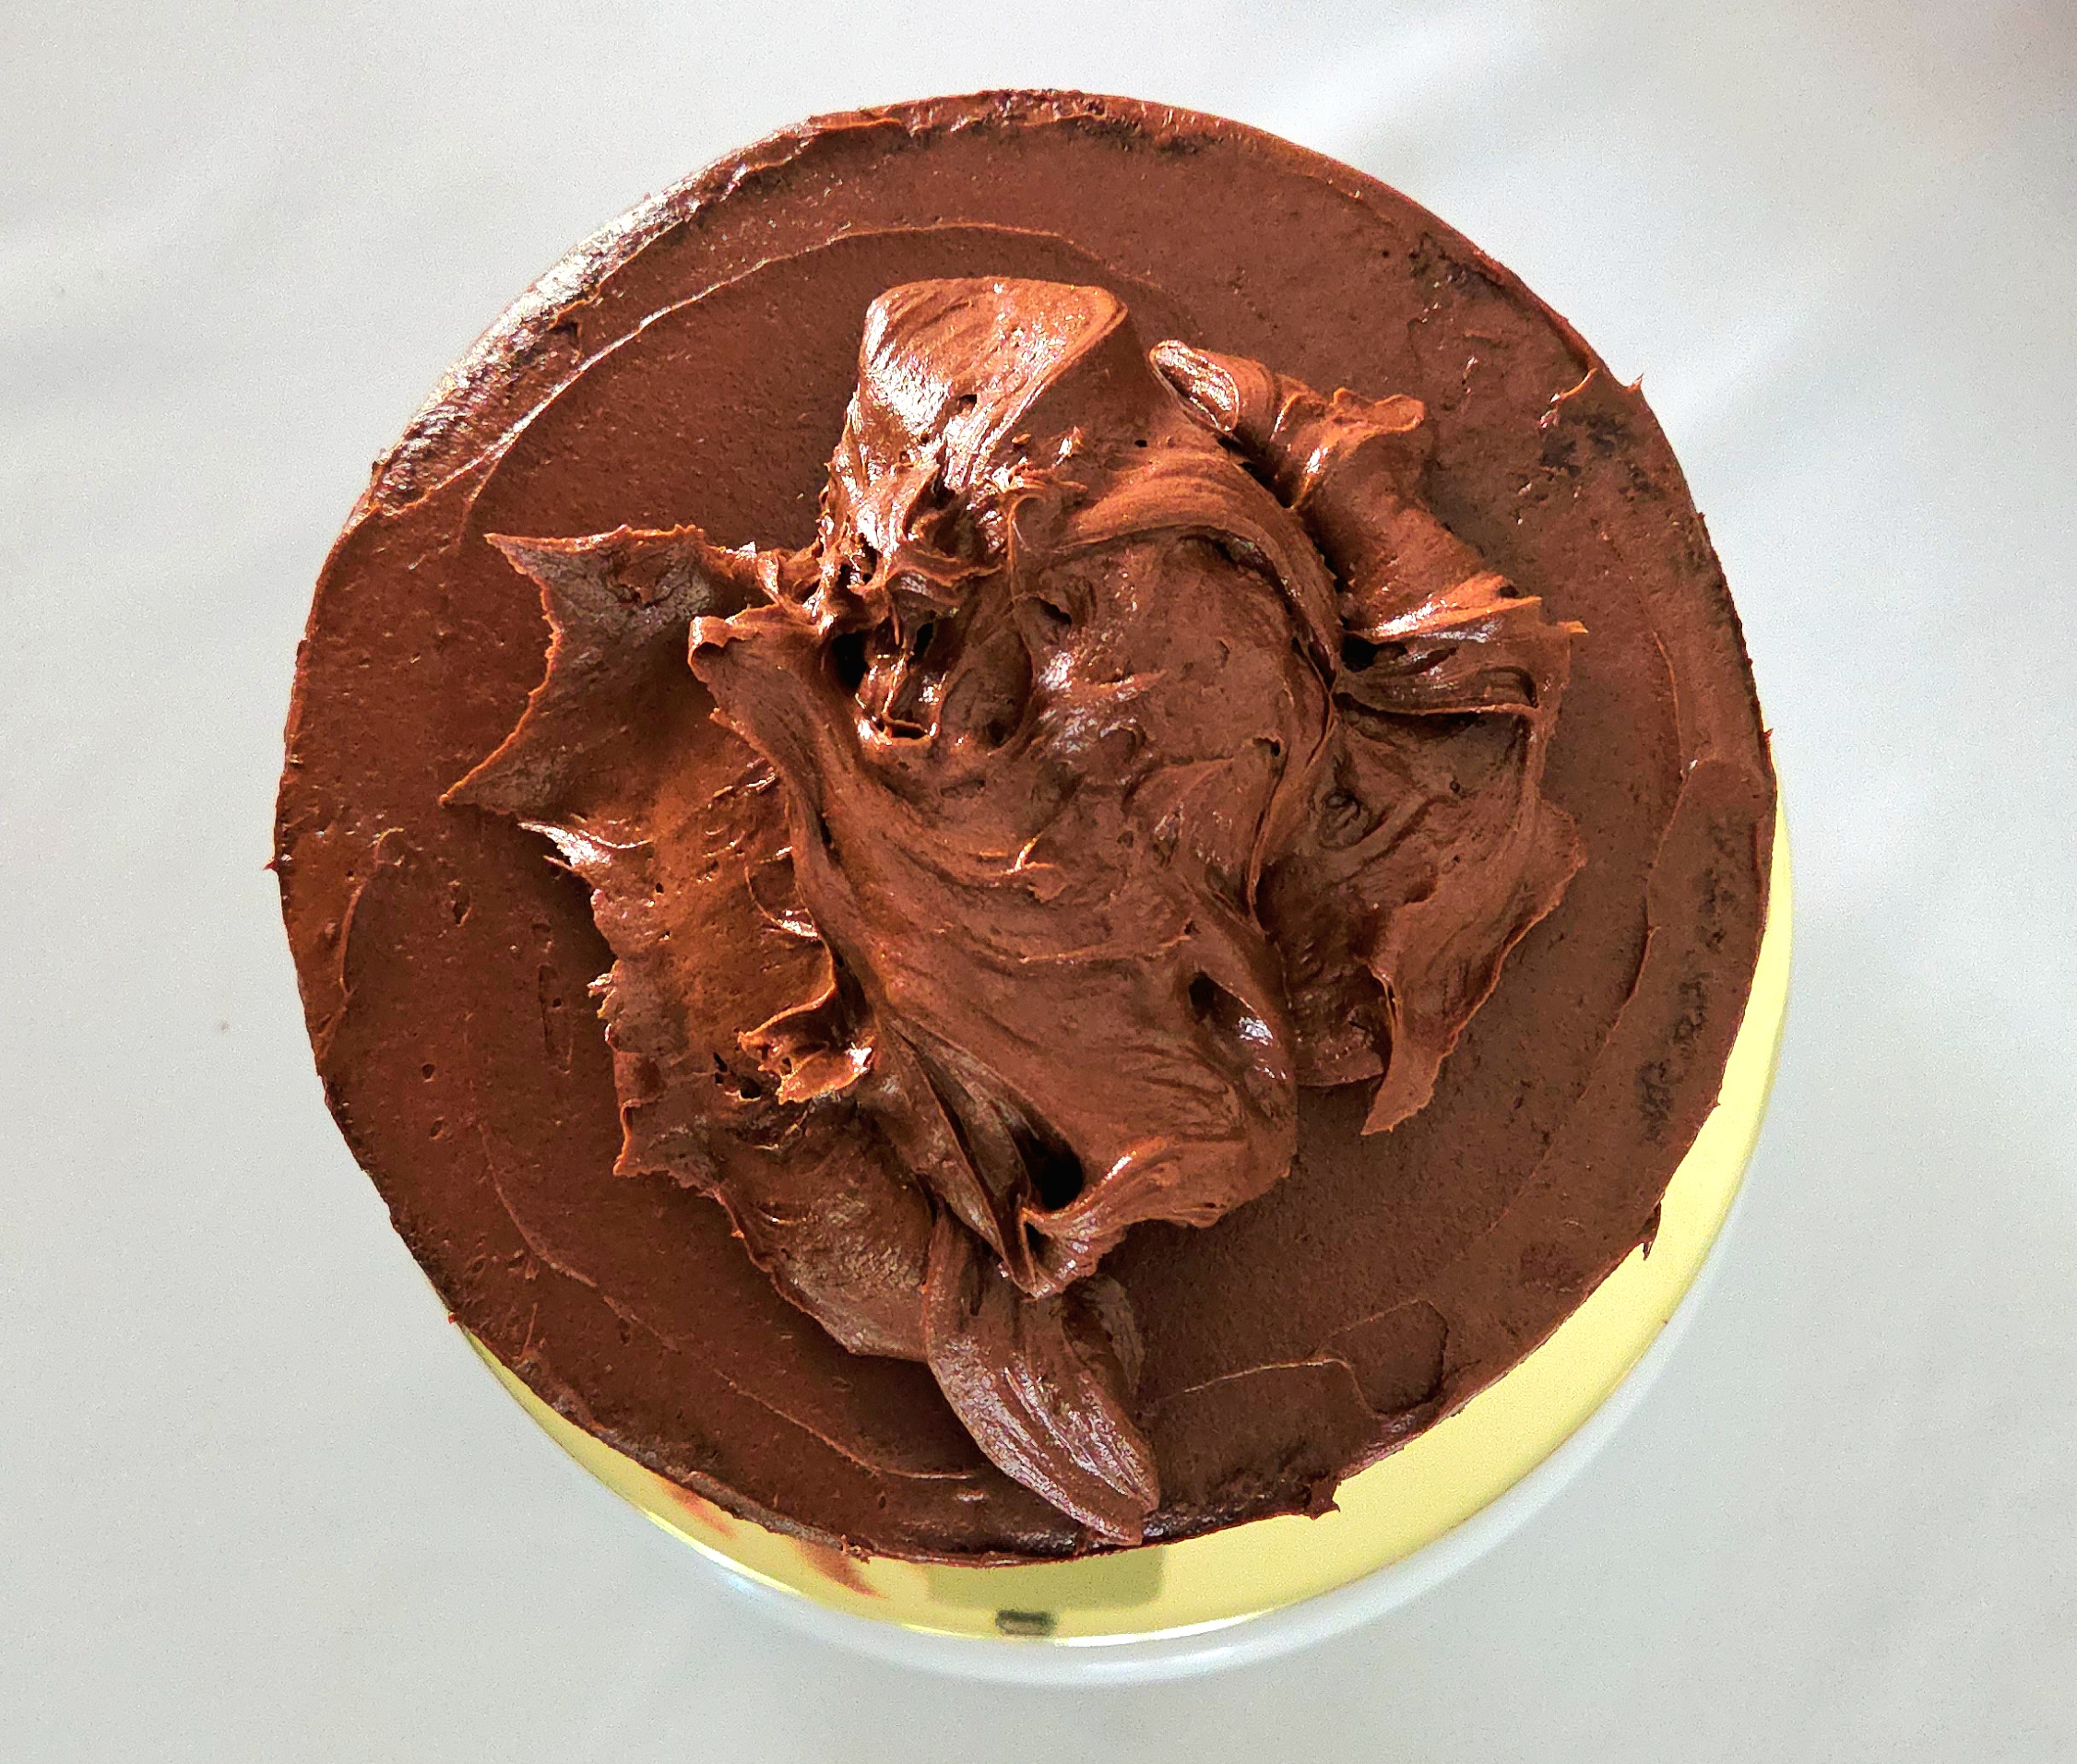
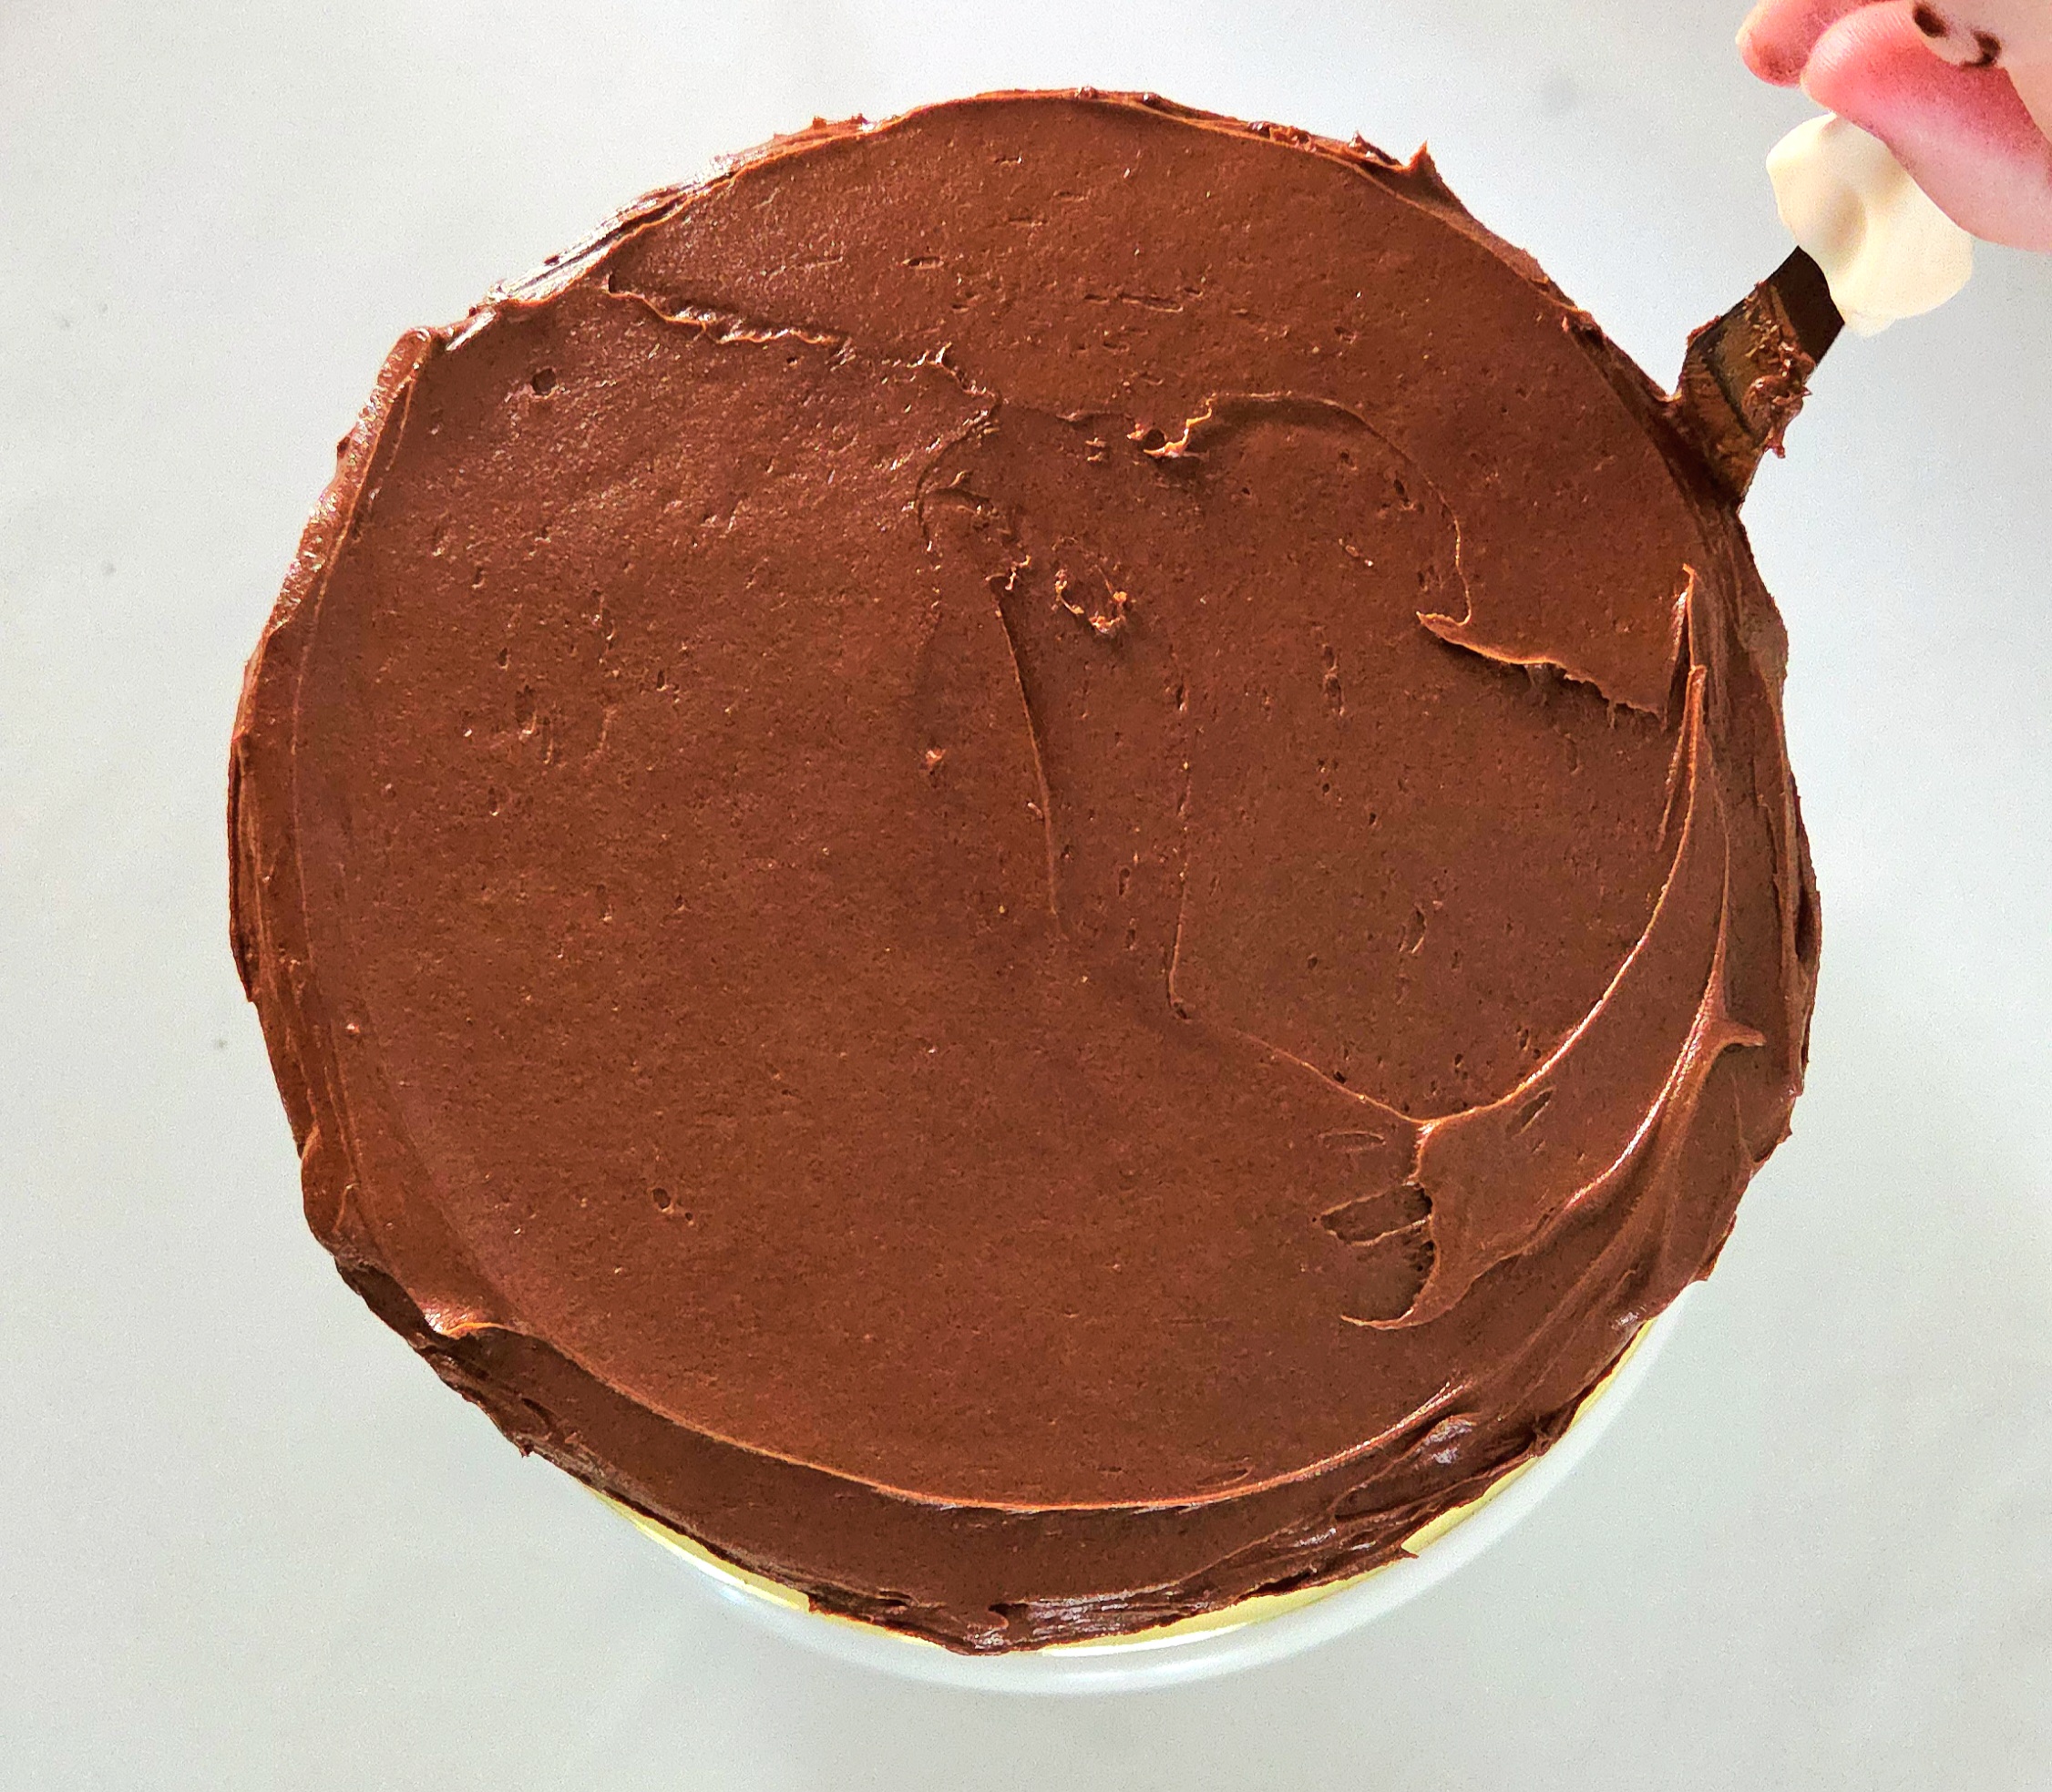
Optionally, place the last remaining frosting into either a piping bag or zip top bag fitted with a piping tip and pipe a decorative border around the bottom rim of the cake. Snip a hole at the corner just big enough for the mouth of the piping tip to peek out of, but still small enough that the rest of the tip fits snugly and doesn’t fall through the hole.
To make it easier to fill the bag, place it into a large cup and flip the top 3 inches of the bag over the rim of the cup. Using a rubber spatula, scoop as much frosting as you can comfortably fit into the bag, then set any extra aside.
Lift the top of the bag that you had flipped over the rim of the cup and straighten them out once more. Bring them together and twist 2 or 3 times, closing off the opening so the frosting will be forced to exit through the tip at the bottom. Hold the twisted top securely with your thumb and using the rest of your hand, push the frosting out of the tip in the decorative pattern of your choosing on the cake.
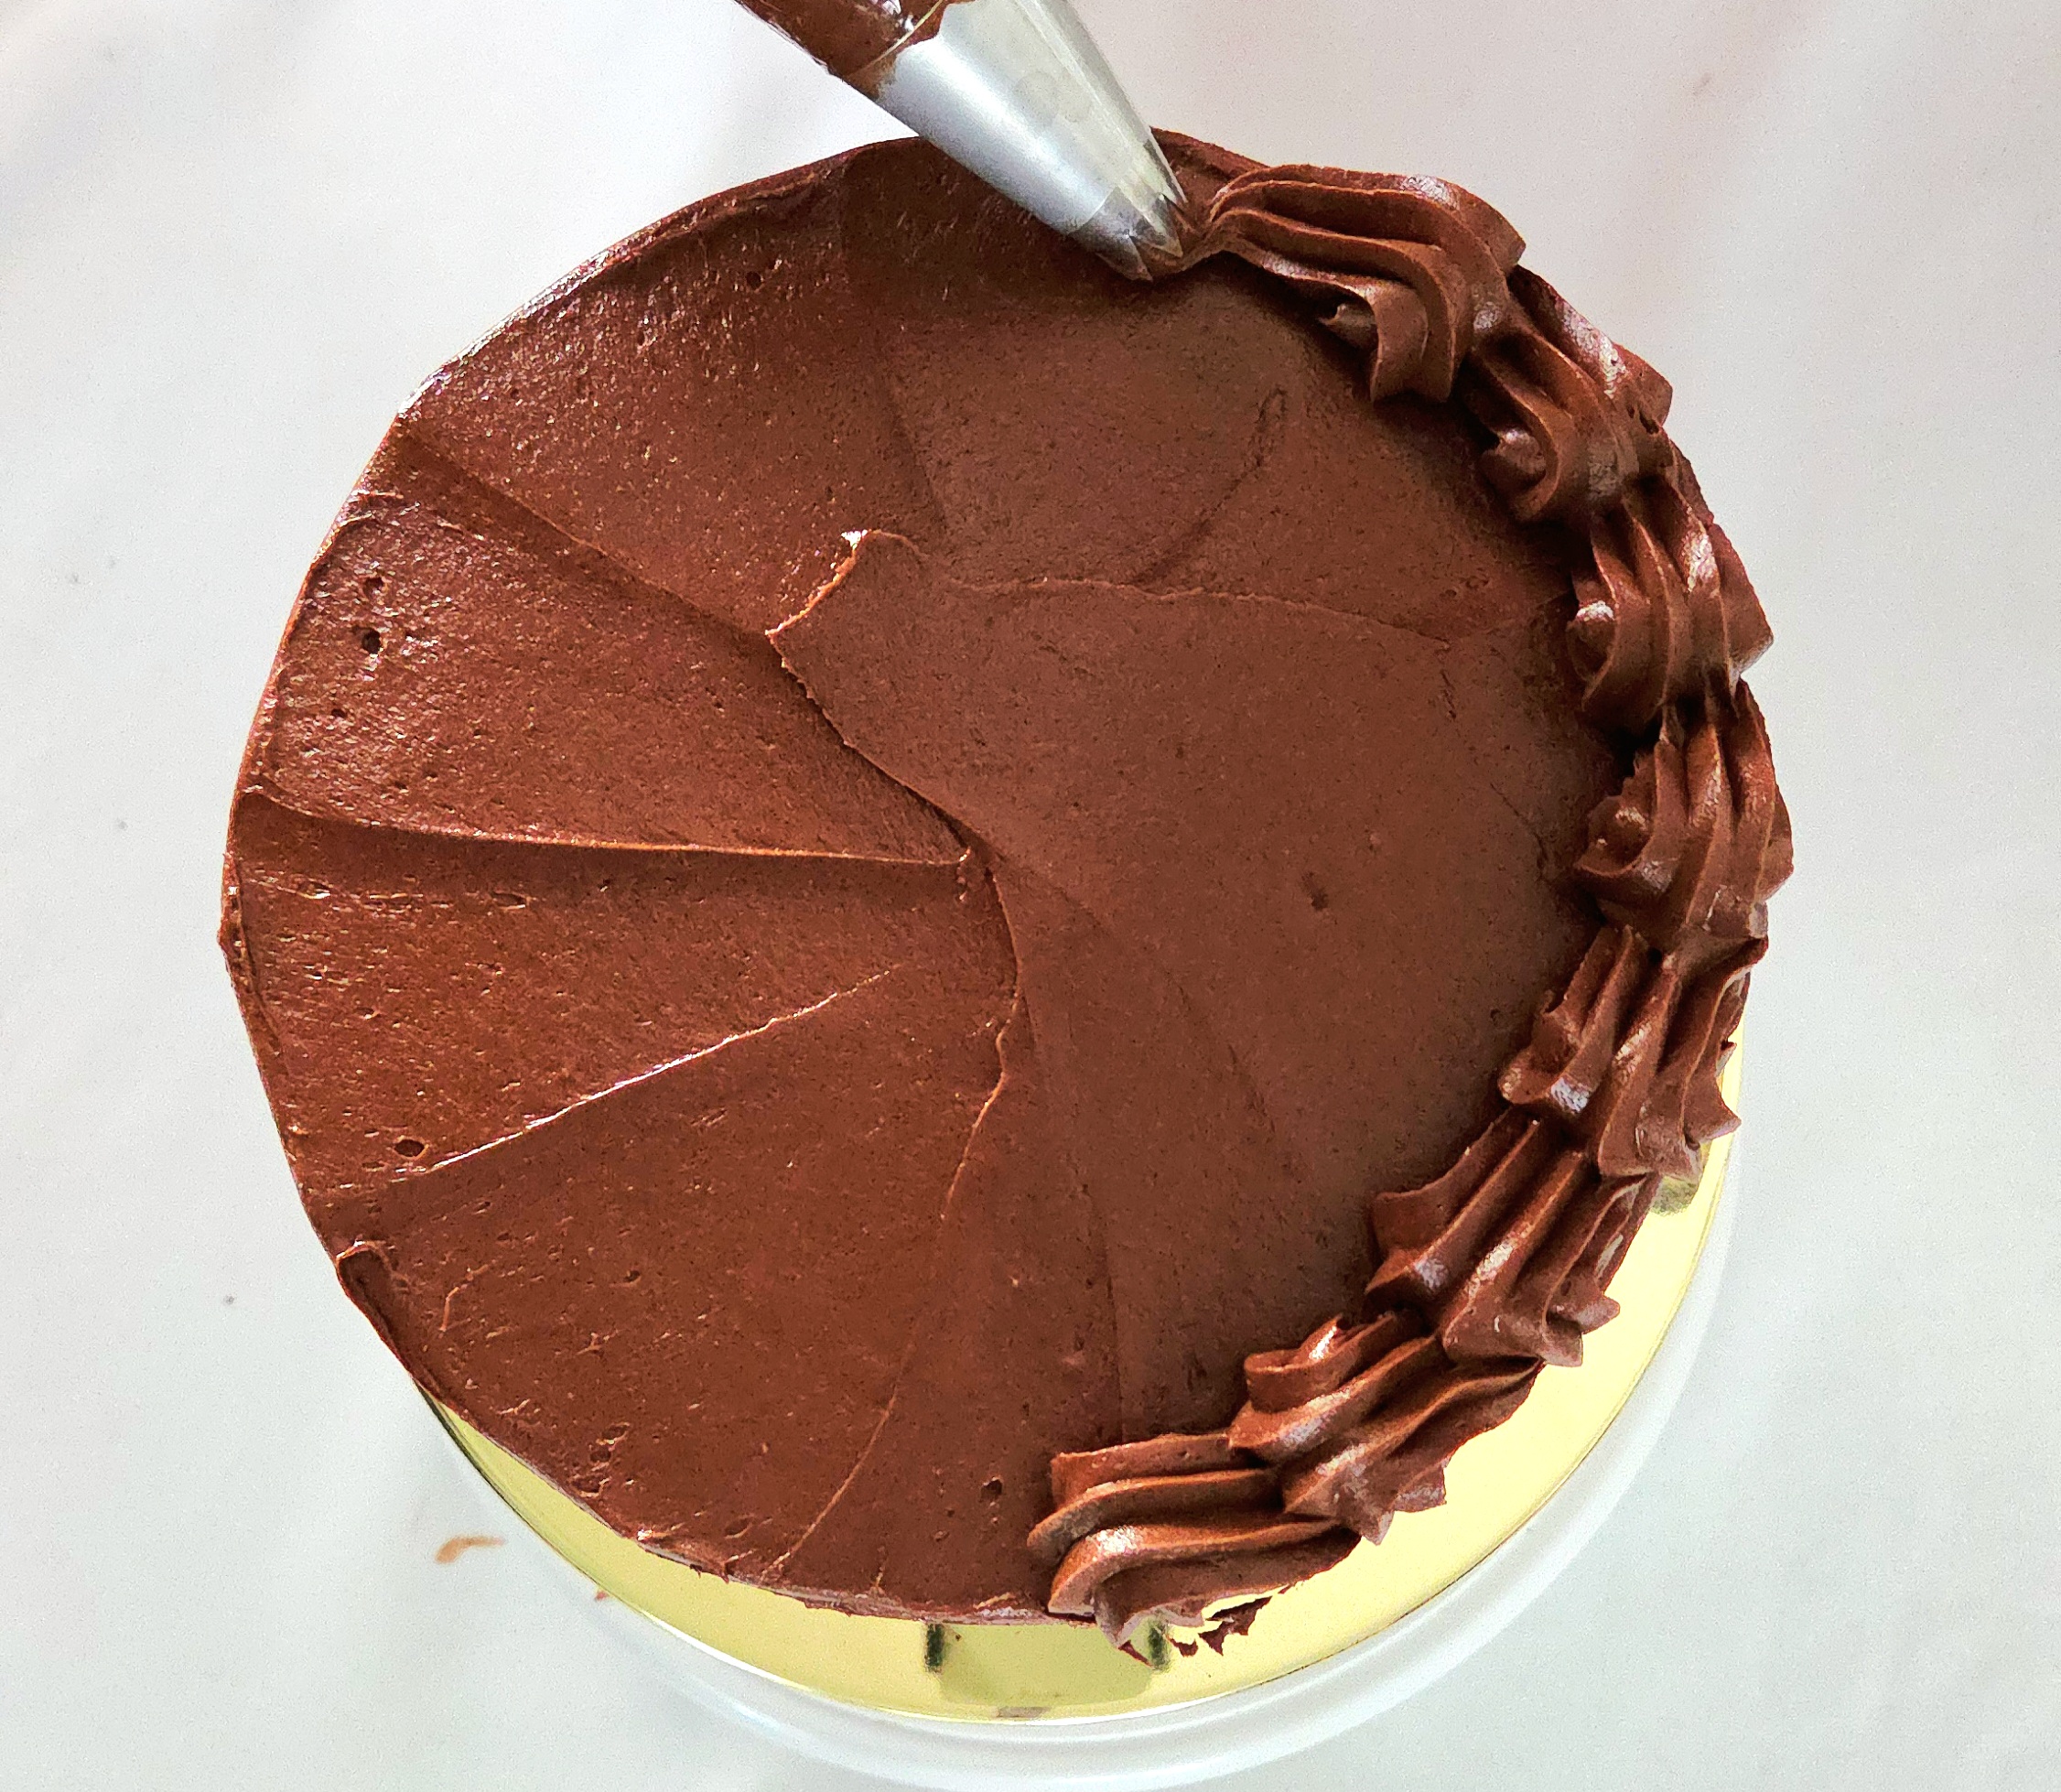
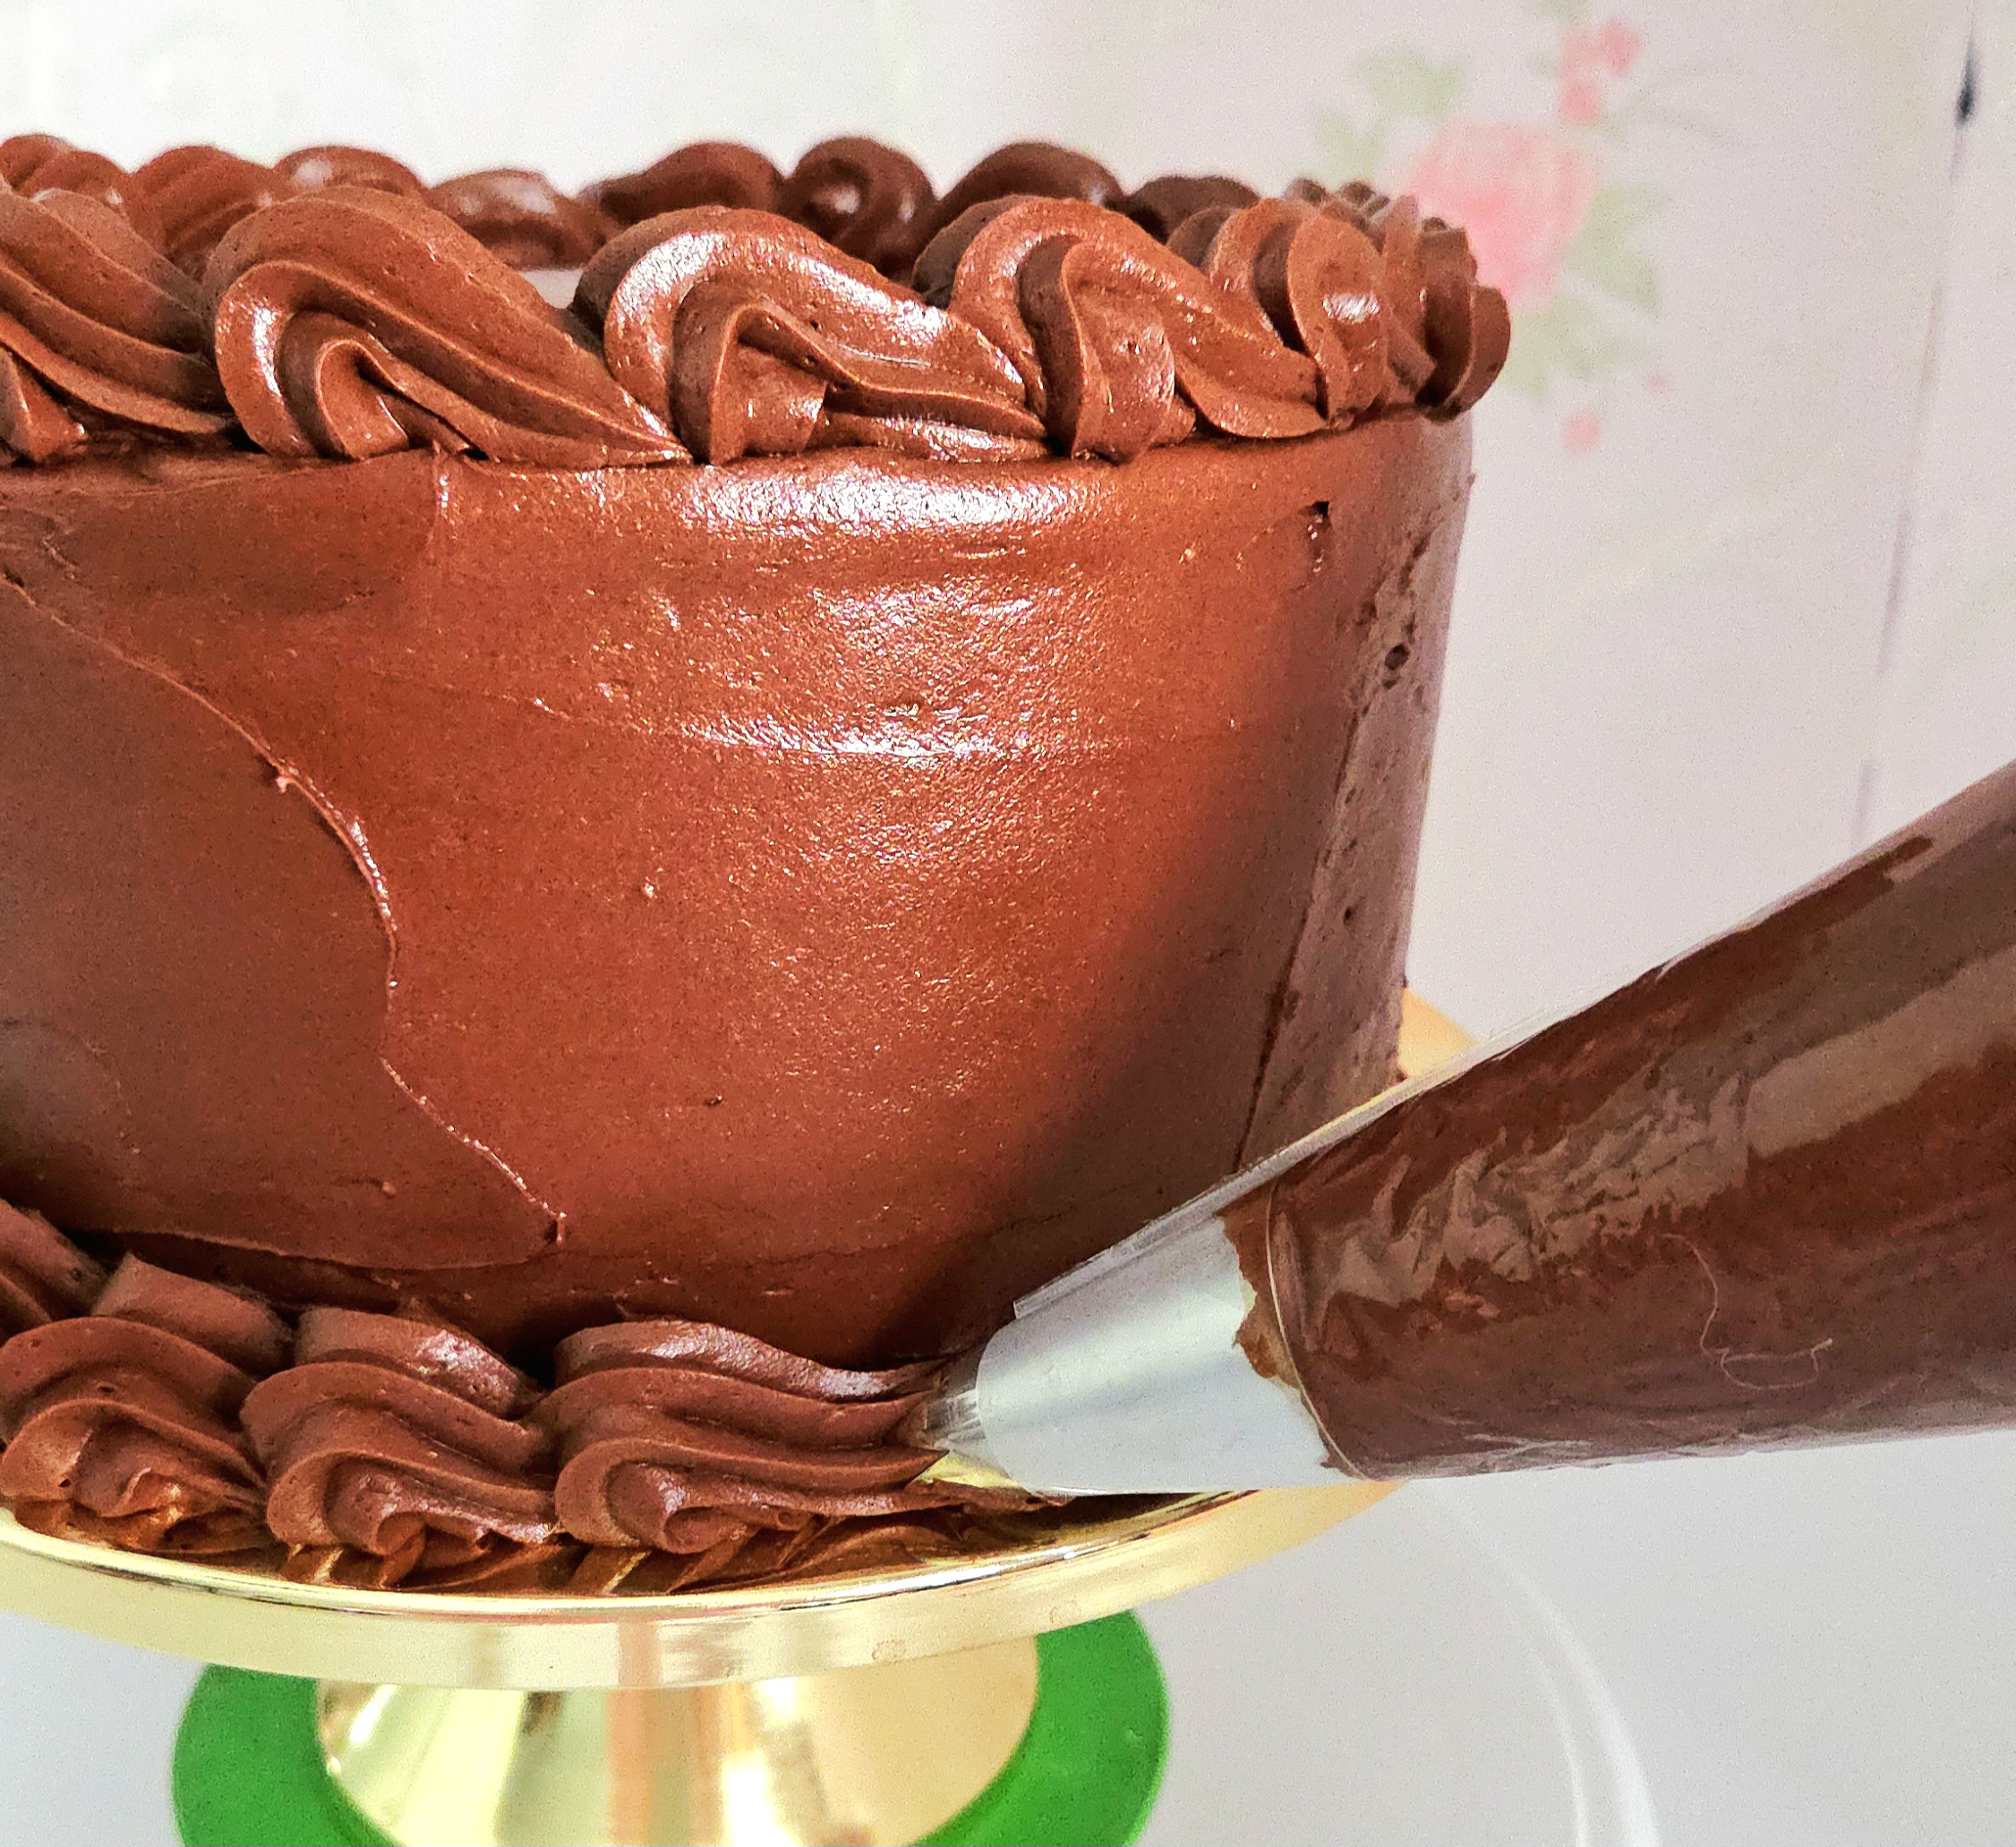
You could also use sprinkles, candy, or sculpted gumpaste or fondant decorations to finish off the cake.
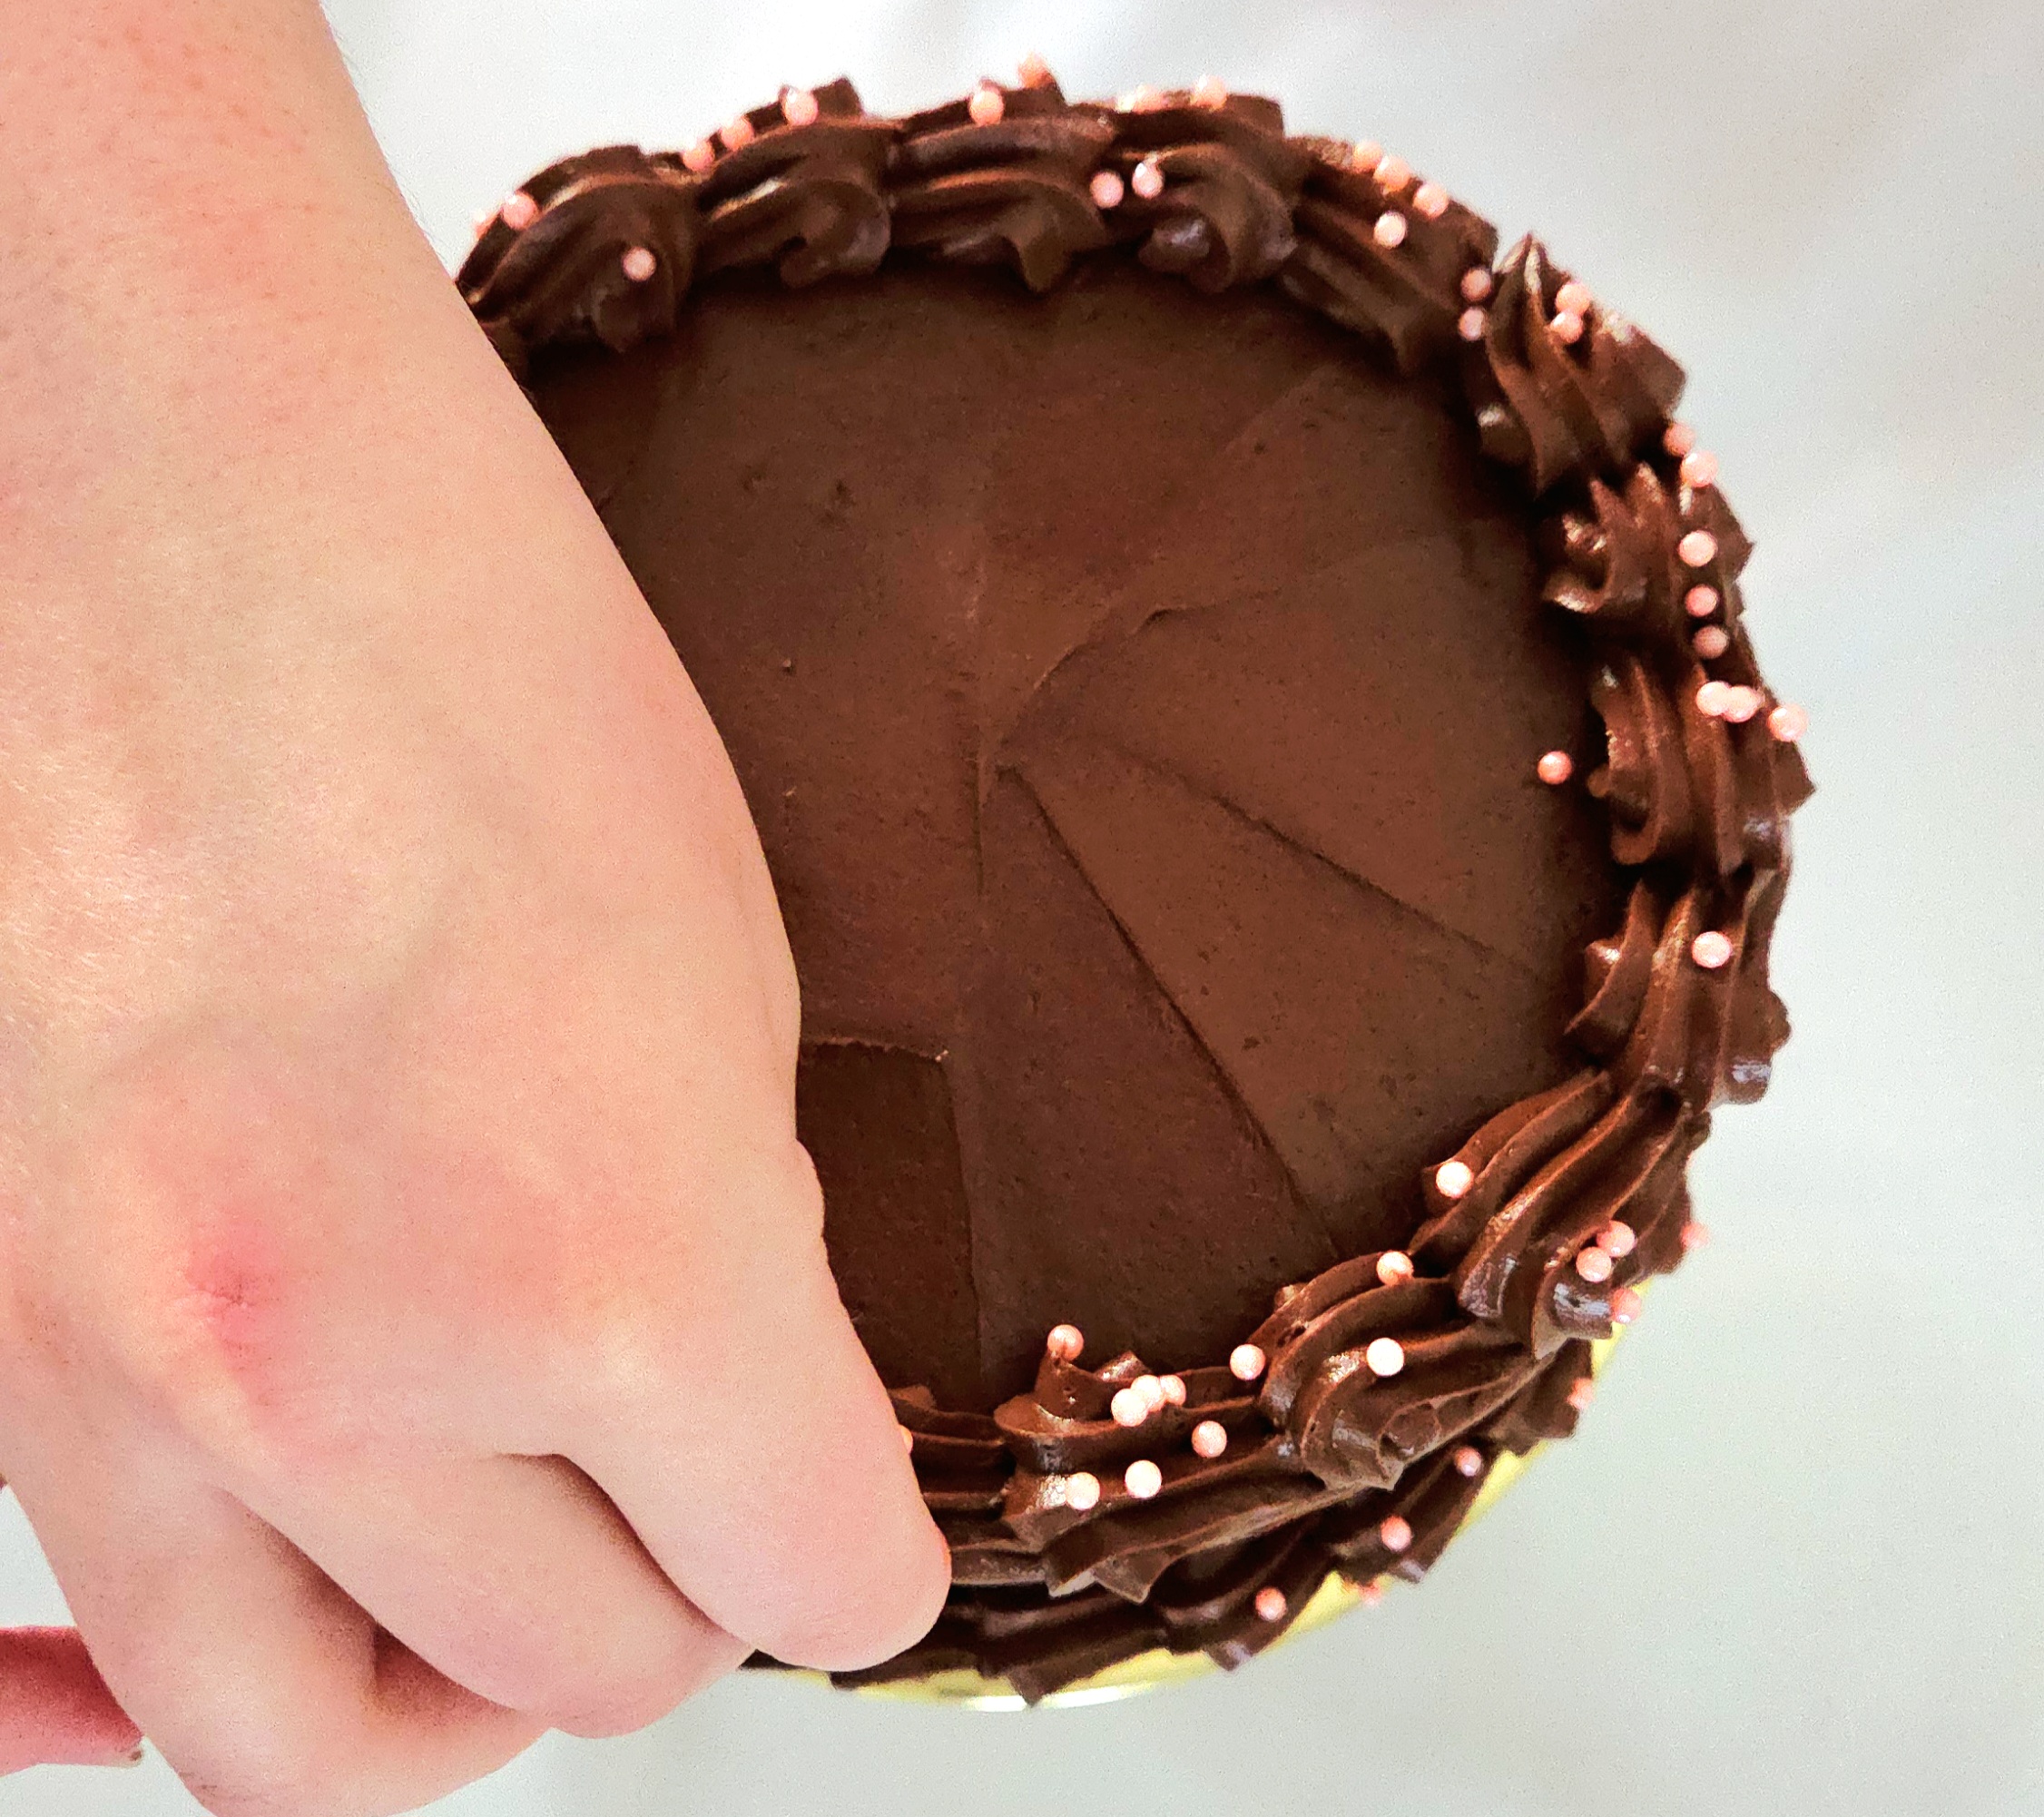
Slice the cake into 16 servings, or however many you’d like to, and store it in an airtight container in the fridge for up to 3 days. Enjoy!
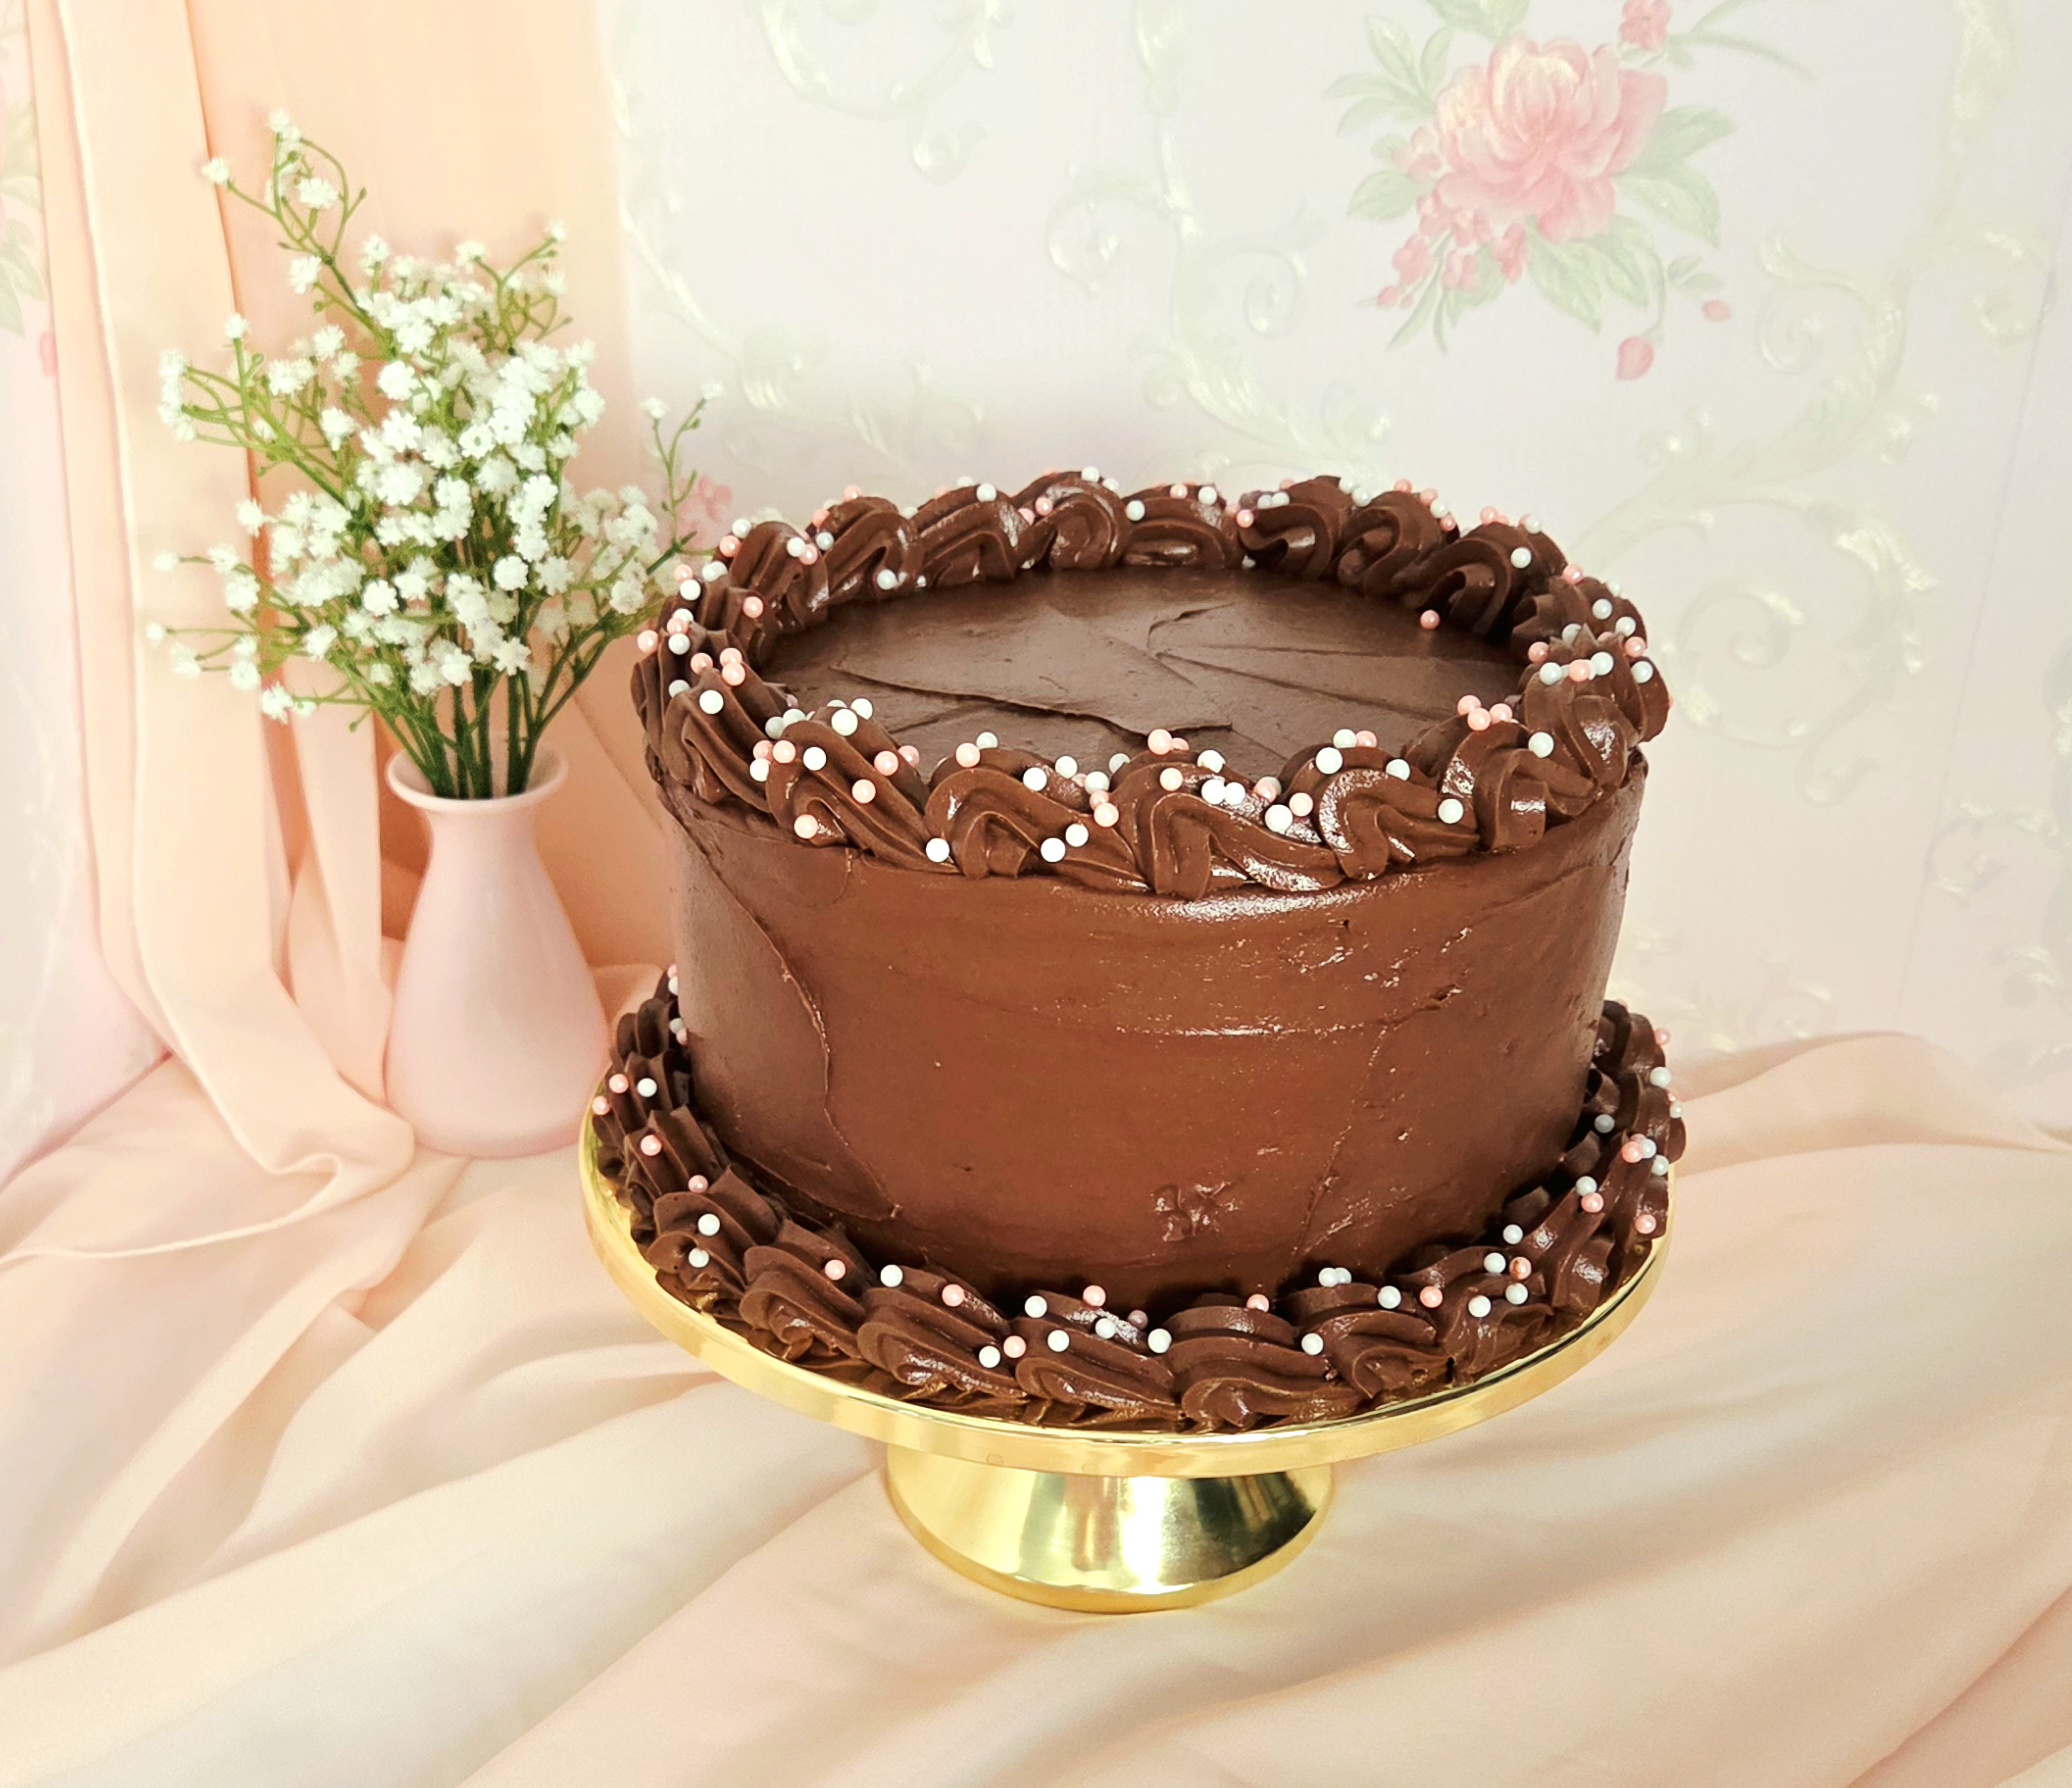
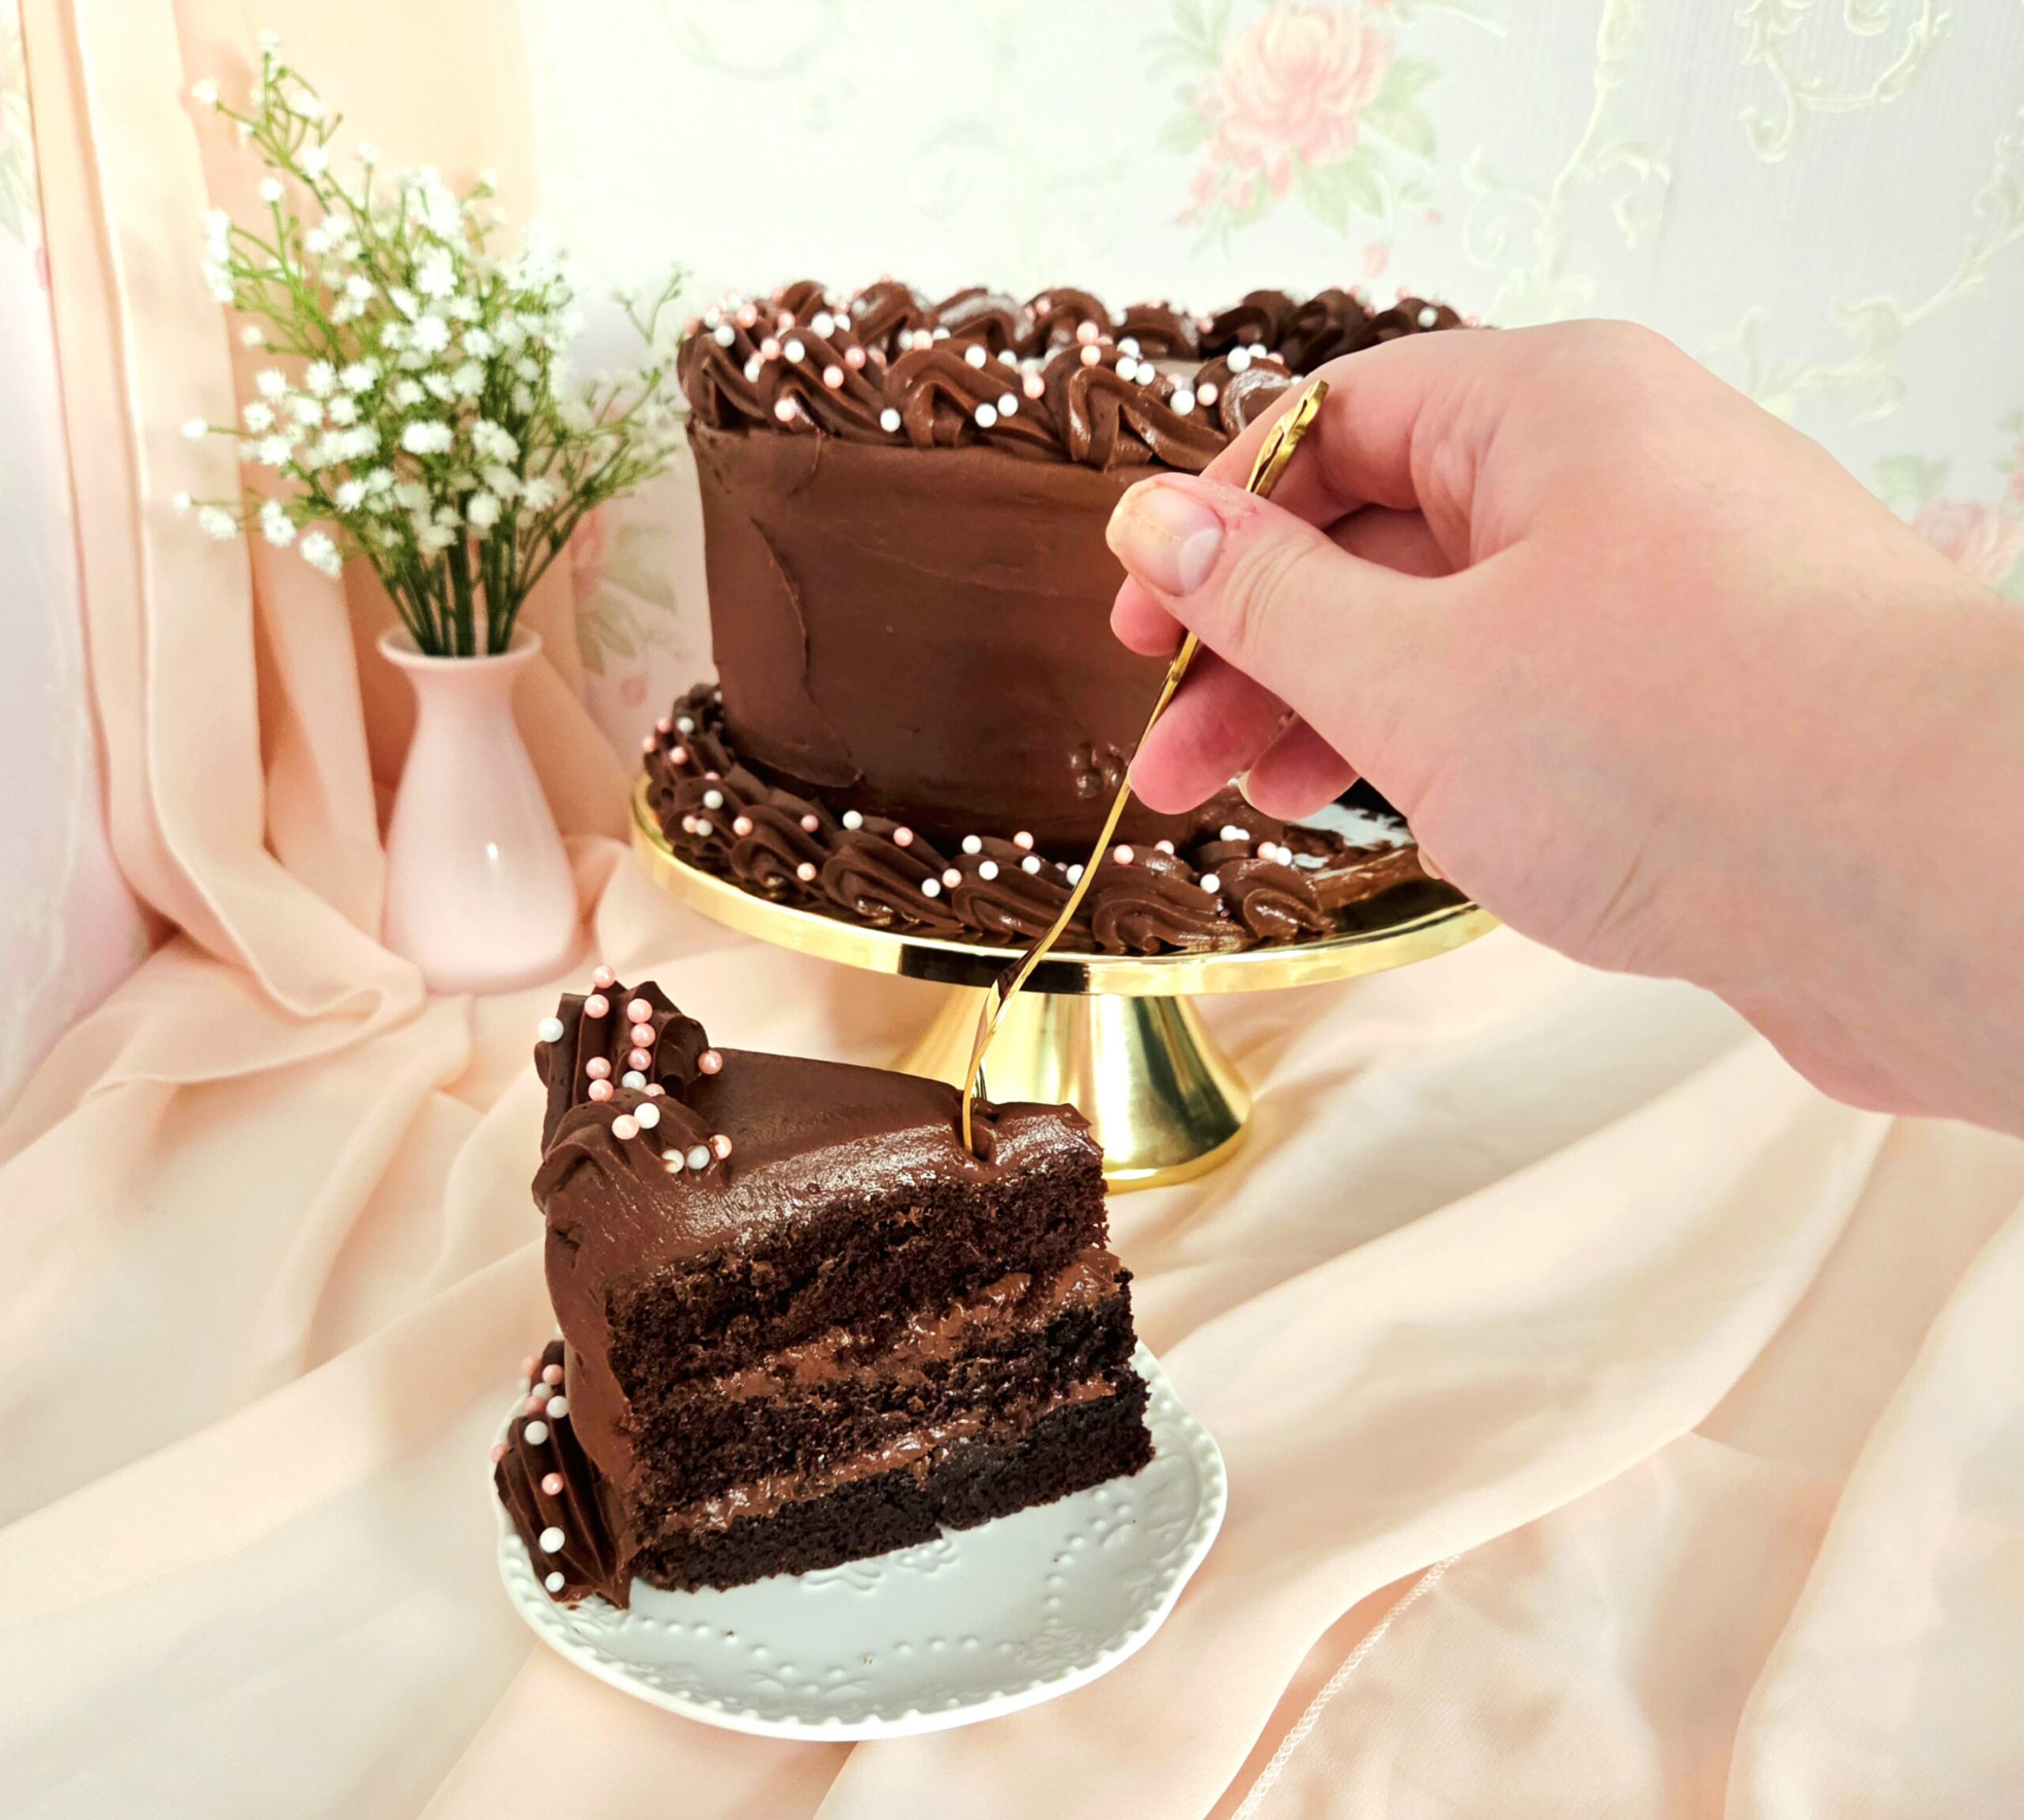
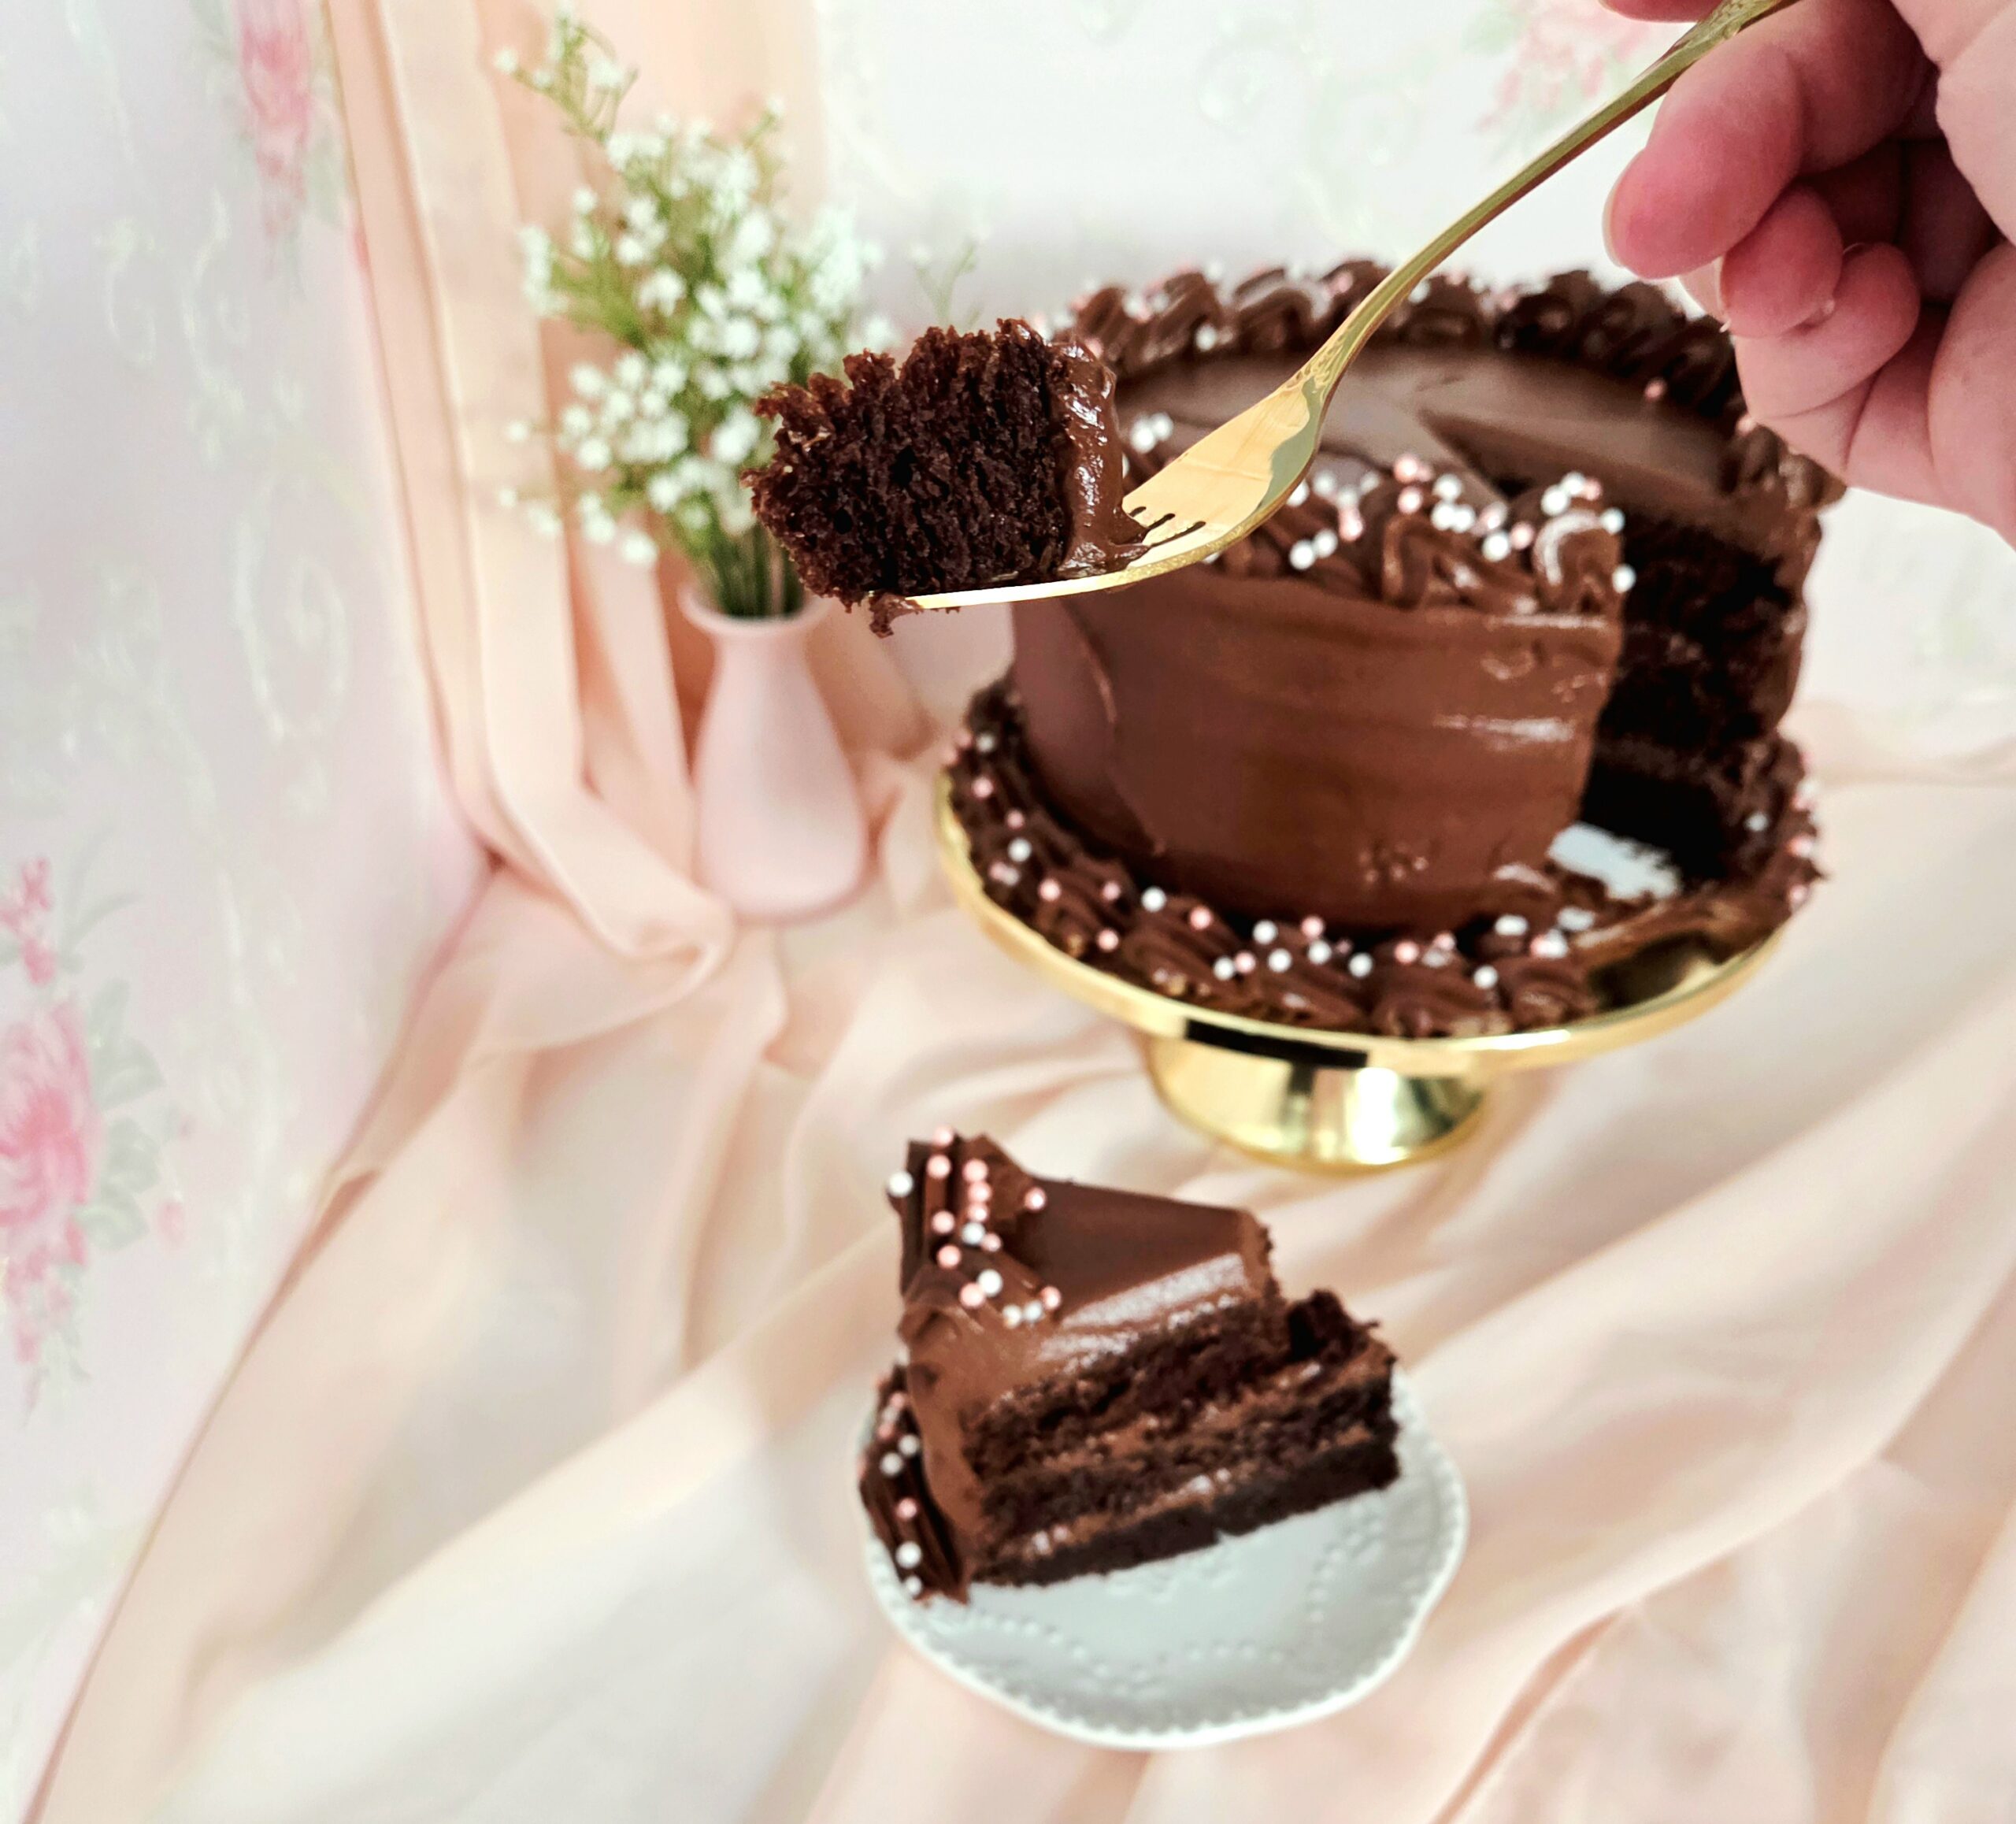
Devil’s Food Layer Cake
Bake Time (single layer): 350F for 40 minutes
Bake Time (double layer): 350F for 55 minutes
Servings: 12 slices
Total Time: 3 hours
Prep Time: 1 hour 30 minutes
Ingredients
Cake Batter:
- 1 cup dutch processed cocoa powder
- ½ cup hot coffee
- ½ cup boiling water
- 2 cups all-purpose flour
- 2 teaspoons baking soda
- 1 teaspoon salt
- 8 Tablespoons unsalted butter, softened
- 1 ½ cups granulated sugar
- 1 cup light brown sugar
- 3 large eggs, room temperature
- 2 teaspoons vanilla extract
- 1 cup full fat sour cream
- ½ cup whole milk
Frosting:
- 16.25 oz milk chocolate
- 2 cup powdered sugar
- 1 ½ cups dutch processed cocoa powder
- ¾ teaspoon salt
- 2 ½ cups (40 Tablespoons) unsalted butter, softened
- 1 ½ cup corn syrup
- 1 Tablespoon vanilla extract
Directions:
Cake Batter:
- Preheat the oven to 350F, on the convection setting if possible, and prepare the pans. Coat 3 single layer (less than 2 inches high) or 1 single layer and 1 double layer (at least 3 inches high) 8-inch cake pans with melted butter. Dust each pan with cocoa powder. Line the bottom of each pan with a circle of parchment paper (see above for detailed instructions on how to do so), and set them aside.
- In a small heat-safe mixing bowl, sift the cocoa powder. Pour the hot coffee and the boiling water over the cocoa powder and whisk them together. Cover the bowl with foil or a plate, and set this bowl aside for 5 minutes to bloom the cocoa powder. After 5 minutes, uncover the bowl and place it in the fridge to help it cool down by the time you’re ready to use it.
- In a medium mixing bowl, whisk together the flour, baking soda, and salt. Set this bowl aside.
- Whisk together the sour cream and whole milk in a small mixing bowl. Set this bowl aside.
- In the bowl of a stand mixer using the paddle attachment, cream together the butter, granulated sugar, and brown sugar on level 3 for 4-5 minutes. With this ratio, it won’t get light and fluffy, so don’t panic when it looks dense. Scrape down the sides of the bowl, using a rubber spatula.
- Add the eggs one at a time. Beat each egg into the creamed butter mixture on level 3. Once the previous egg has been fully absorbed, add in the next egg. Scrape down the sides of the bowl in between each addition or as needed.
- Pour the vanilla extract and cooled bloomed cocoa into the batter. Beat the batter on level 3 until it becomes homogeneous, around 2-3 minutes. Scrape down the sides and bottom of the bowl at least once part way through, to make sure the chocolate has been mixed in completely.
- Turn off the mixer and add ⅓ of the dry goods to the batter. Beat on level 1. When most of the dry goods have been absorbed but a few streaks of flour remain, add in ½ of the milk mixture. Beat on level 1 until it’s been mostly absorbed, then turn off the mixer once more. Scrape down the sides of the bowl. Add another ⅓ of the dry goods, and continue on alternating between the milk mixture and dry goods until everything has been added. End on the dry goods.
- If you’re using 3 single layer pans, evenly divide the batter between the 3 prepared pans. If you’re using 1 single layer and 1 double layer pan, pour ⅓ of the batter into the single layer pan and ⅔ into the double layer pan. Place two pans in the center rack of the oven, and if there’s a third, place it on the lower rack beneath. Bake the SINGLE layers for 40 minutes and the DOUBLE layer for 55 minutes, flipping halfway through. A toothpick poked in the center of the cake should be clean of batter, with only a few crumbs stuck to it.
- Allow the fully baked cakes to rest in their pans for 5-10 minutes. Then, run a butter knife or offset spatula around the rim of each layer against the pan. Flip them out onto a cooling rack, remove the parchment paper. Then, flip them again so the flat side is on the bottom of the rack to cool completely.
Frosting:
- While the fully baked cake layers cool, prepare the frosting. In a small microwave safe bowl, break up the chocolate and heat it in the microwave in 30 second increments. Mix the chocolate with a spoon in between, until it’s completely melted. Set this melted chocolate aside to cool.
- In the bowl of a stand mixer fitted with a paddle attachment, begin to cream the softened butter on level 3 of your mixer. Once it starts to smooth out, remove the bowl and sift in the cocoa, powdered sugar, and salt. Turn the mixer to level 1, to allow the dry goods to slowly absorb. Increase the mixer to level 3 and cream them together for 4-5 minutes. Scrape down the sides of the bowl using a rubber spatula.
- Add the corn syrup, vanilla, and cooled melted chocolate to the mixer. Beat them together on level 3, until the frosting has come together. Scrape down the sides of the bowl as needed.
Assembly:
- Once the layers have completely cooled, it’s time to assemble the cake. In the likelihood that your layers aren’t flat, using a long serrated knife, carefully slice off the hump to flatten the tops. If you’ve made all single layers, move onto the next step now. If you’ve made a double layer, carefully slice it in half using the serrated knife.
- Place the bottom layer on a cake board, plate, or cake stand. Scoop about a cup of frosting onto the center of the layer. Using a butter knife or offset spatula, spread the frosting evenly over the layer.
- Cover the frosted cake with the middle layer, and then scoop another cup of frosting onto the center. Spread it out with the butter knife or offset spatula, then top it off with the final layer of cake.
- Take about a quarter of the remaining frosting and spread a thin layer over the entire cake, using the offset spatula or butter knife. This is the crumb coat. Place the crumb coated cake in the fridge for a minimum of 30 minutes to set the coat.
- Once the crumb coating has set, spread about ¾ of the remaining frosting over the whole cake. Optionally, place the last remaining frosting into either a piping bag or zip top bag fitted with a piping tip. Pipe a decorative border around the bottom rim of the cake. You could also use sprinkles, candy, or sculpted gumpaste decorations to finish off the cake.
- Slice the cake into 12 servings, or the desired amount, and store it in an airtight container for up to 3 days. Enjoy!
Tips
- To keep the cake fresher for longer, don’t pre-slice the entire thing. Only cut slices as you’re ready to serve them, keeping the rest of the cake intact. Cover the cut exposed leftover cake with plastic wrap.
- Fully baked cake layers can be frozen! Follow the recipe through step 10 in the cake batter section. Once the layers have completely cooled, wrap each layer individually in plastic wrap, so they’re airtight. Wrap each wrapped layer in a final layer of tin foil, and place them onto a flat surface in your freezer for up to 3 months. The night before you’re ready to assemble the cake, thaw the cake on the counter. Continue on with the recipe as written.
0 Comments