

Sometimes, you’re just in the mood for chocolate covered fruit. It’s not valentine’s day, nobody is getting married, your anniversary is nowhere near now, but you just want it. Why does chocolate covered fruit have to be reserved for special, romantic occasions?
That was a trick question. It doesn’t. Any day can be a chocolate covered fruit kind of day. The only problem? Where are you going to find chocolate covered cherries on a random Thursday in May? You and I know that just getting through a rough day is enough of a reason to treat yourself, but manufacturers haven’t seemed to catch up to this vital information. Not without a drastic price increase, at least.
So what can you do? Just dip your own cherries into melted chocolate? Technically, yes. But to get close to what the pros make, that requires patience to figure out how to temper your own chocolate at home, along with the specialty ingredients needed to make real cherry cordials. Those require liquid fondant, which in turn takes weeks to break down into that gooey cherry juice. I know I certainly don’t have the patience for that.
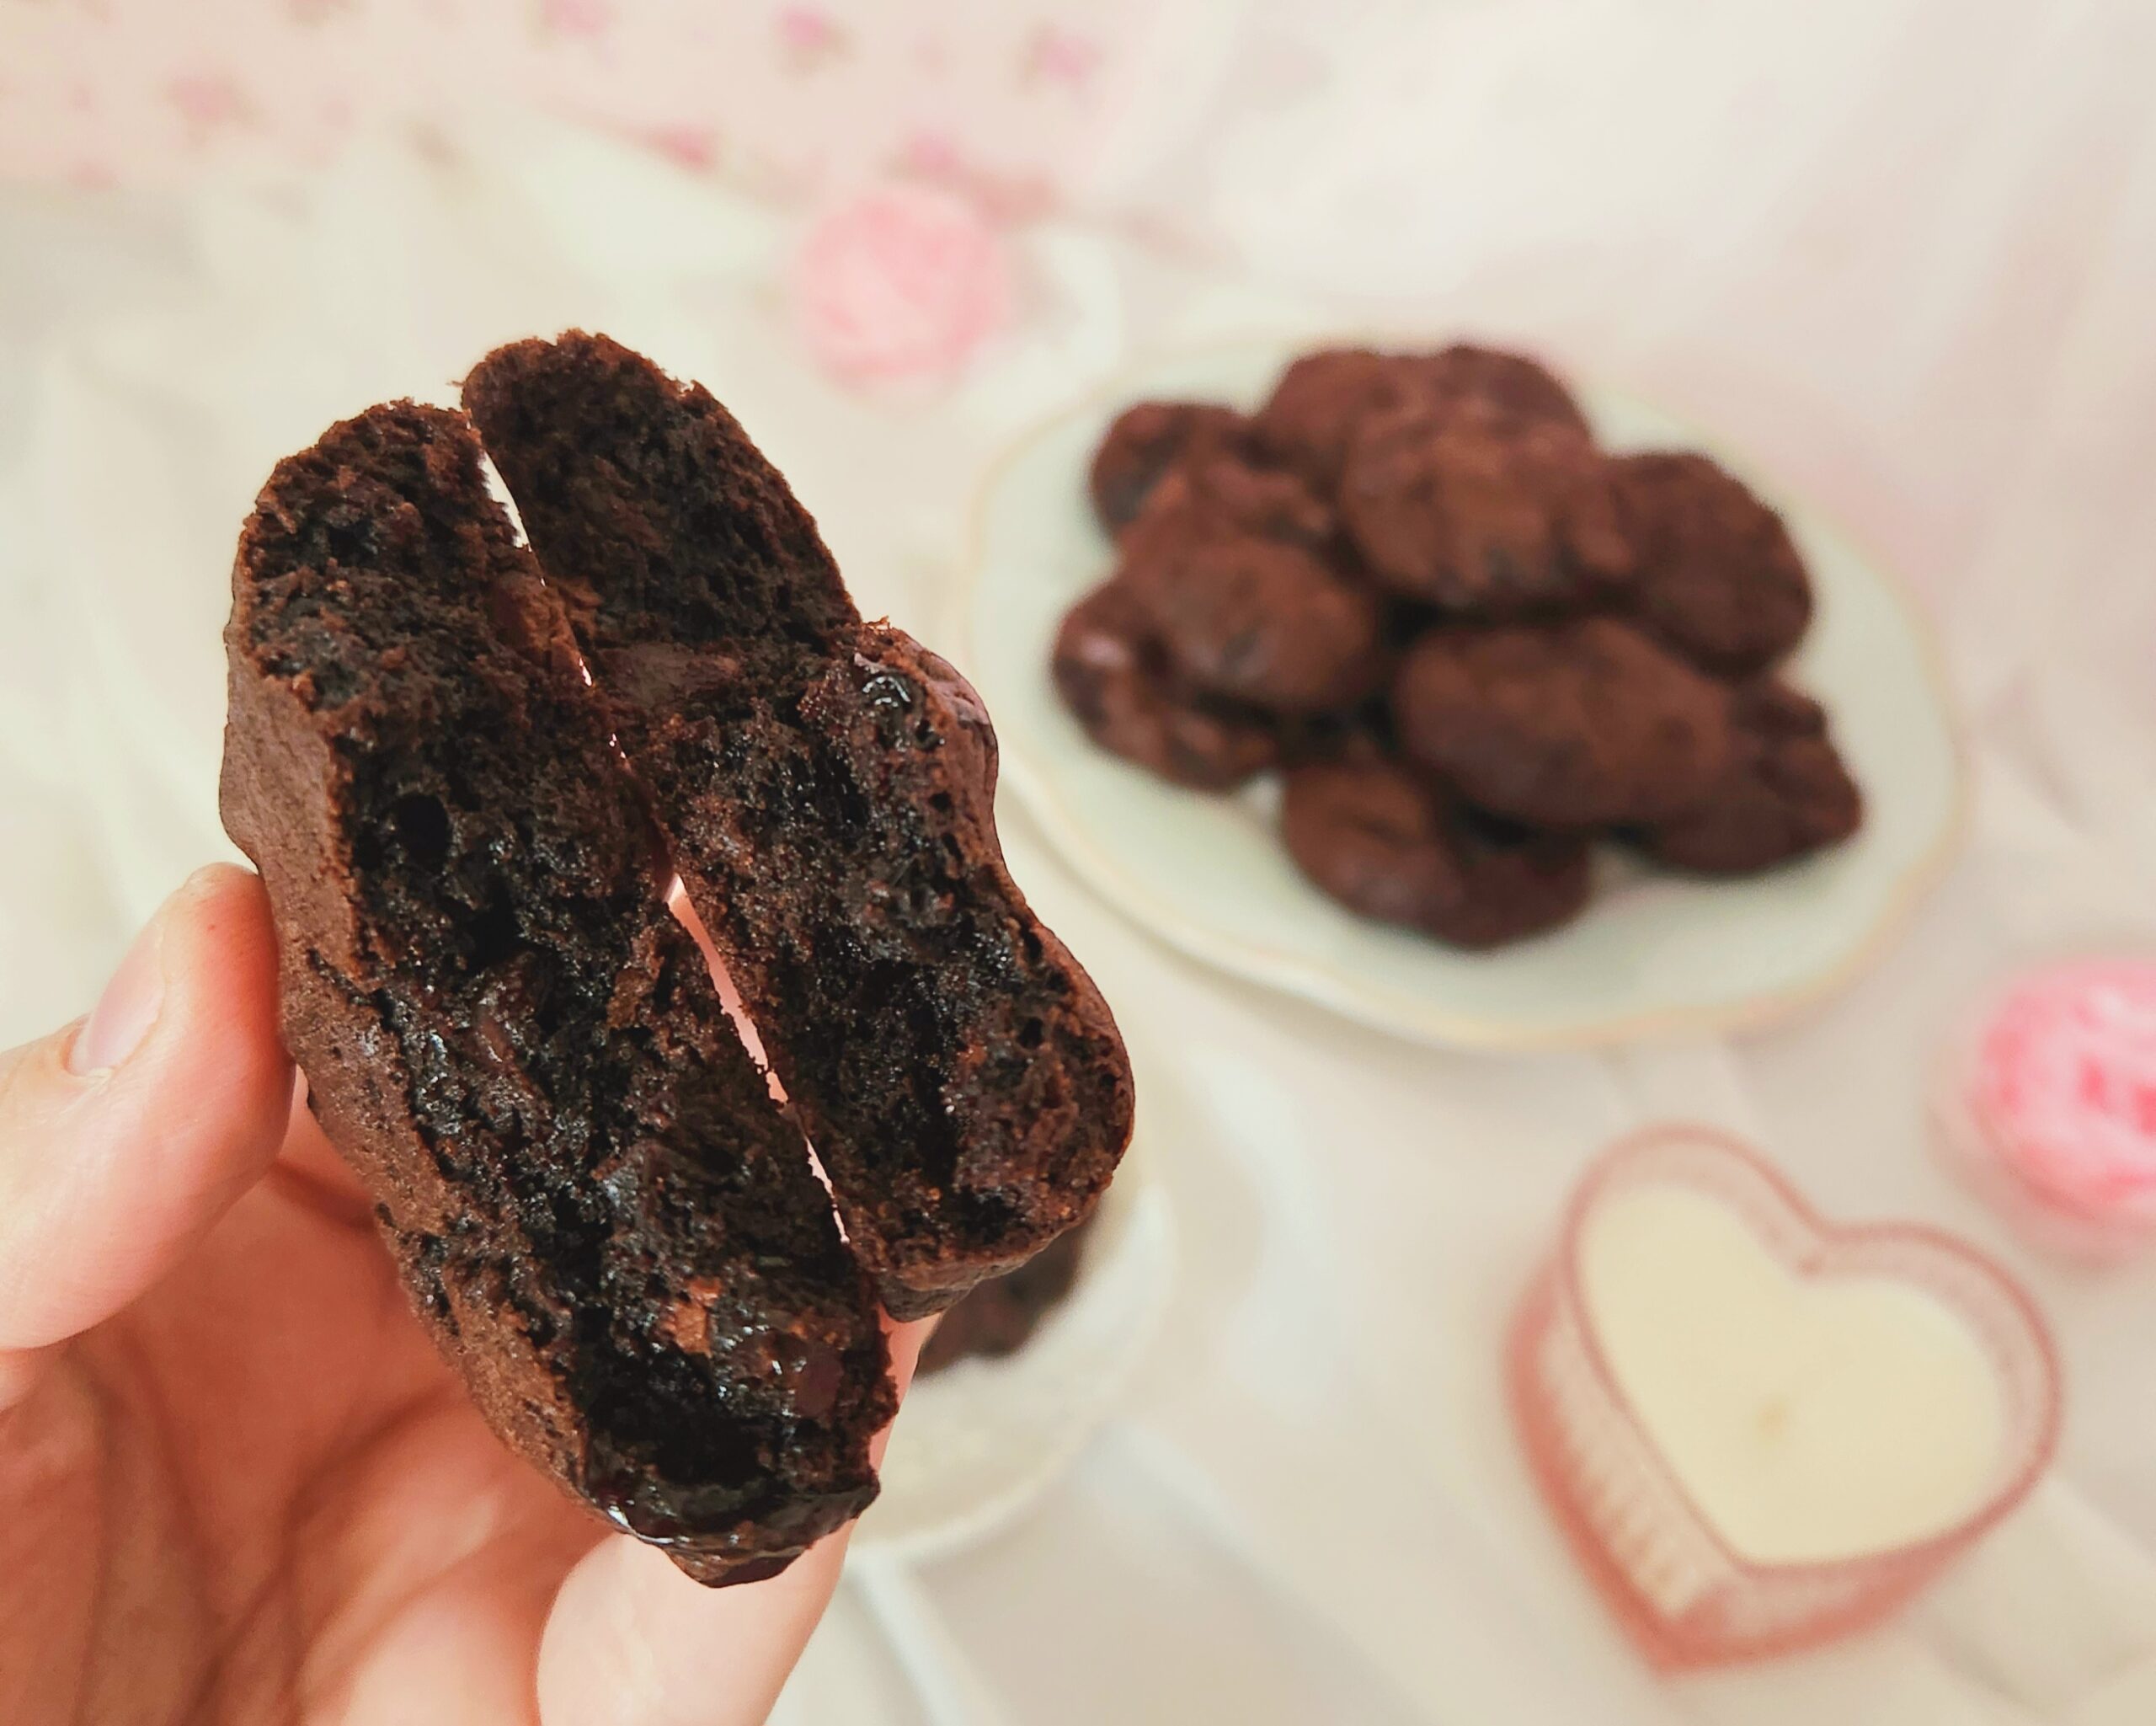
Here’s where these chocolate cherry cookies come in. They may not be a cherry cordial, but they do hit that chocolate and cherry spot. The dough is soft, the chocolate flavor is intense, the cherries are tart and slightly chewy. The perfect casual bake to satisfy that craving. They’re also very beginner friendly, no expensive or specialty equipment in sight! Just a bowl, a spatula, and a little elbow grease to get you in the cookie business here.
FAQs and Science
What does it mean to “bloom” the cocoa powder? Blooming your cocoa powder just means you’re adding a hot liquid, such as freshly brewed coffee, boiled water, or melted butter to it. We do this to intensify the rich chocolate flavor it provides! Almost like steeping tea.
What is “dutch processed” cocoa powder? In short, dutch processed cocoa powder uses beans that have been washed in an alkaline solution to neutralize the acidity. Because of this neutrality, when you bake with dutch processed cocoa powder, your end product is less on the bitter side and more on the sweeter side!
I only have natural cocoa powder. Can I just use what I have instead? By all means, if all you have is natural cocoa powder, use it. The chemistry of the recipe won’t be hurt in the slightest, it will just have a slightly different flavor than what dutch processed would produce. Why spend the extra money if you don’t have to?
Can I substitute dried cherries for fresh? Unfortunately, though fresh cherries may be an easier find, they won’t work in this recipe. The extra moisture from the fresh fruit will make your cookies soggy, which isn’t a descriptor anyone is looking for in a cookie. I find my dried cherries at Costco or on Amazon! If you think your dried cherries are particularly dry, see the tips section below.
Can these cookies be frozen? Absolutely! For the best results, freeze portioned out pucks of dough on a sheet tray, then once solid transfer them over to a freezer safe bag. Pull and bake the desired amount from a frozen state at 350F for 16-18 minutes, spaced 2 inches apart on a parchment lined baking sheet, flipping the pan halfway through. This way, you’ll still end up with fresh baked cookies whenever you’re in the mood for one.
What You’ll Need

- 2 baking sheets
- Parchment paper or 2 silicone baking mats
- Aluminum foil
- Plastic wrap
- 2 small mixing bowls (1 heat safe)
- Large mixing bowl
- Whisk
- Rubber spatula
- Dry measuring cups
- Measuring spoons
- Sieve
- Chef’s knife
- Cutting board
- Spatula
- Cooling rack
The Process
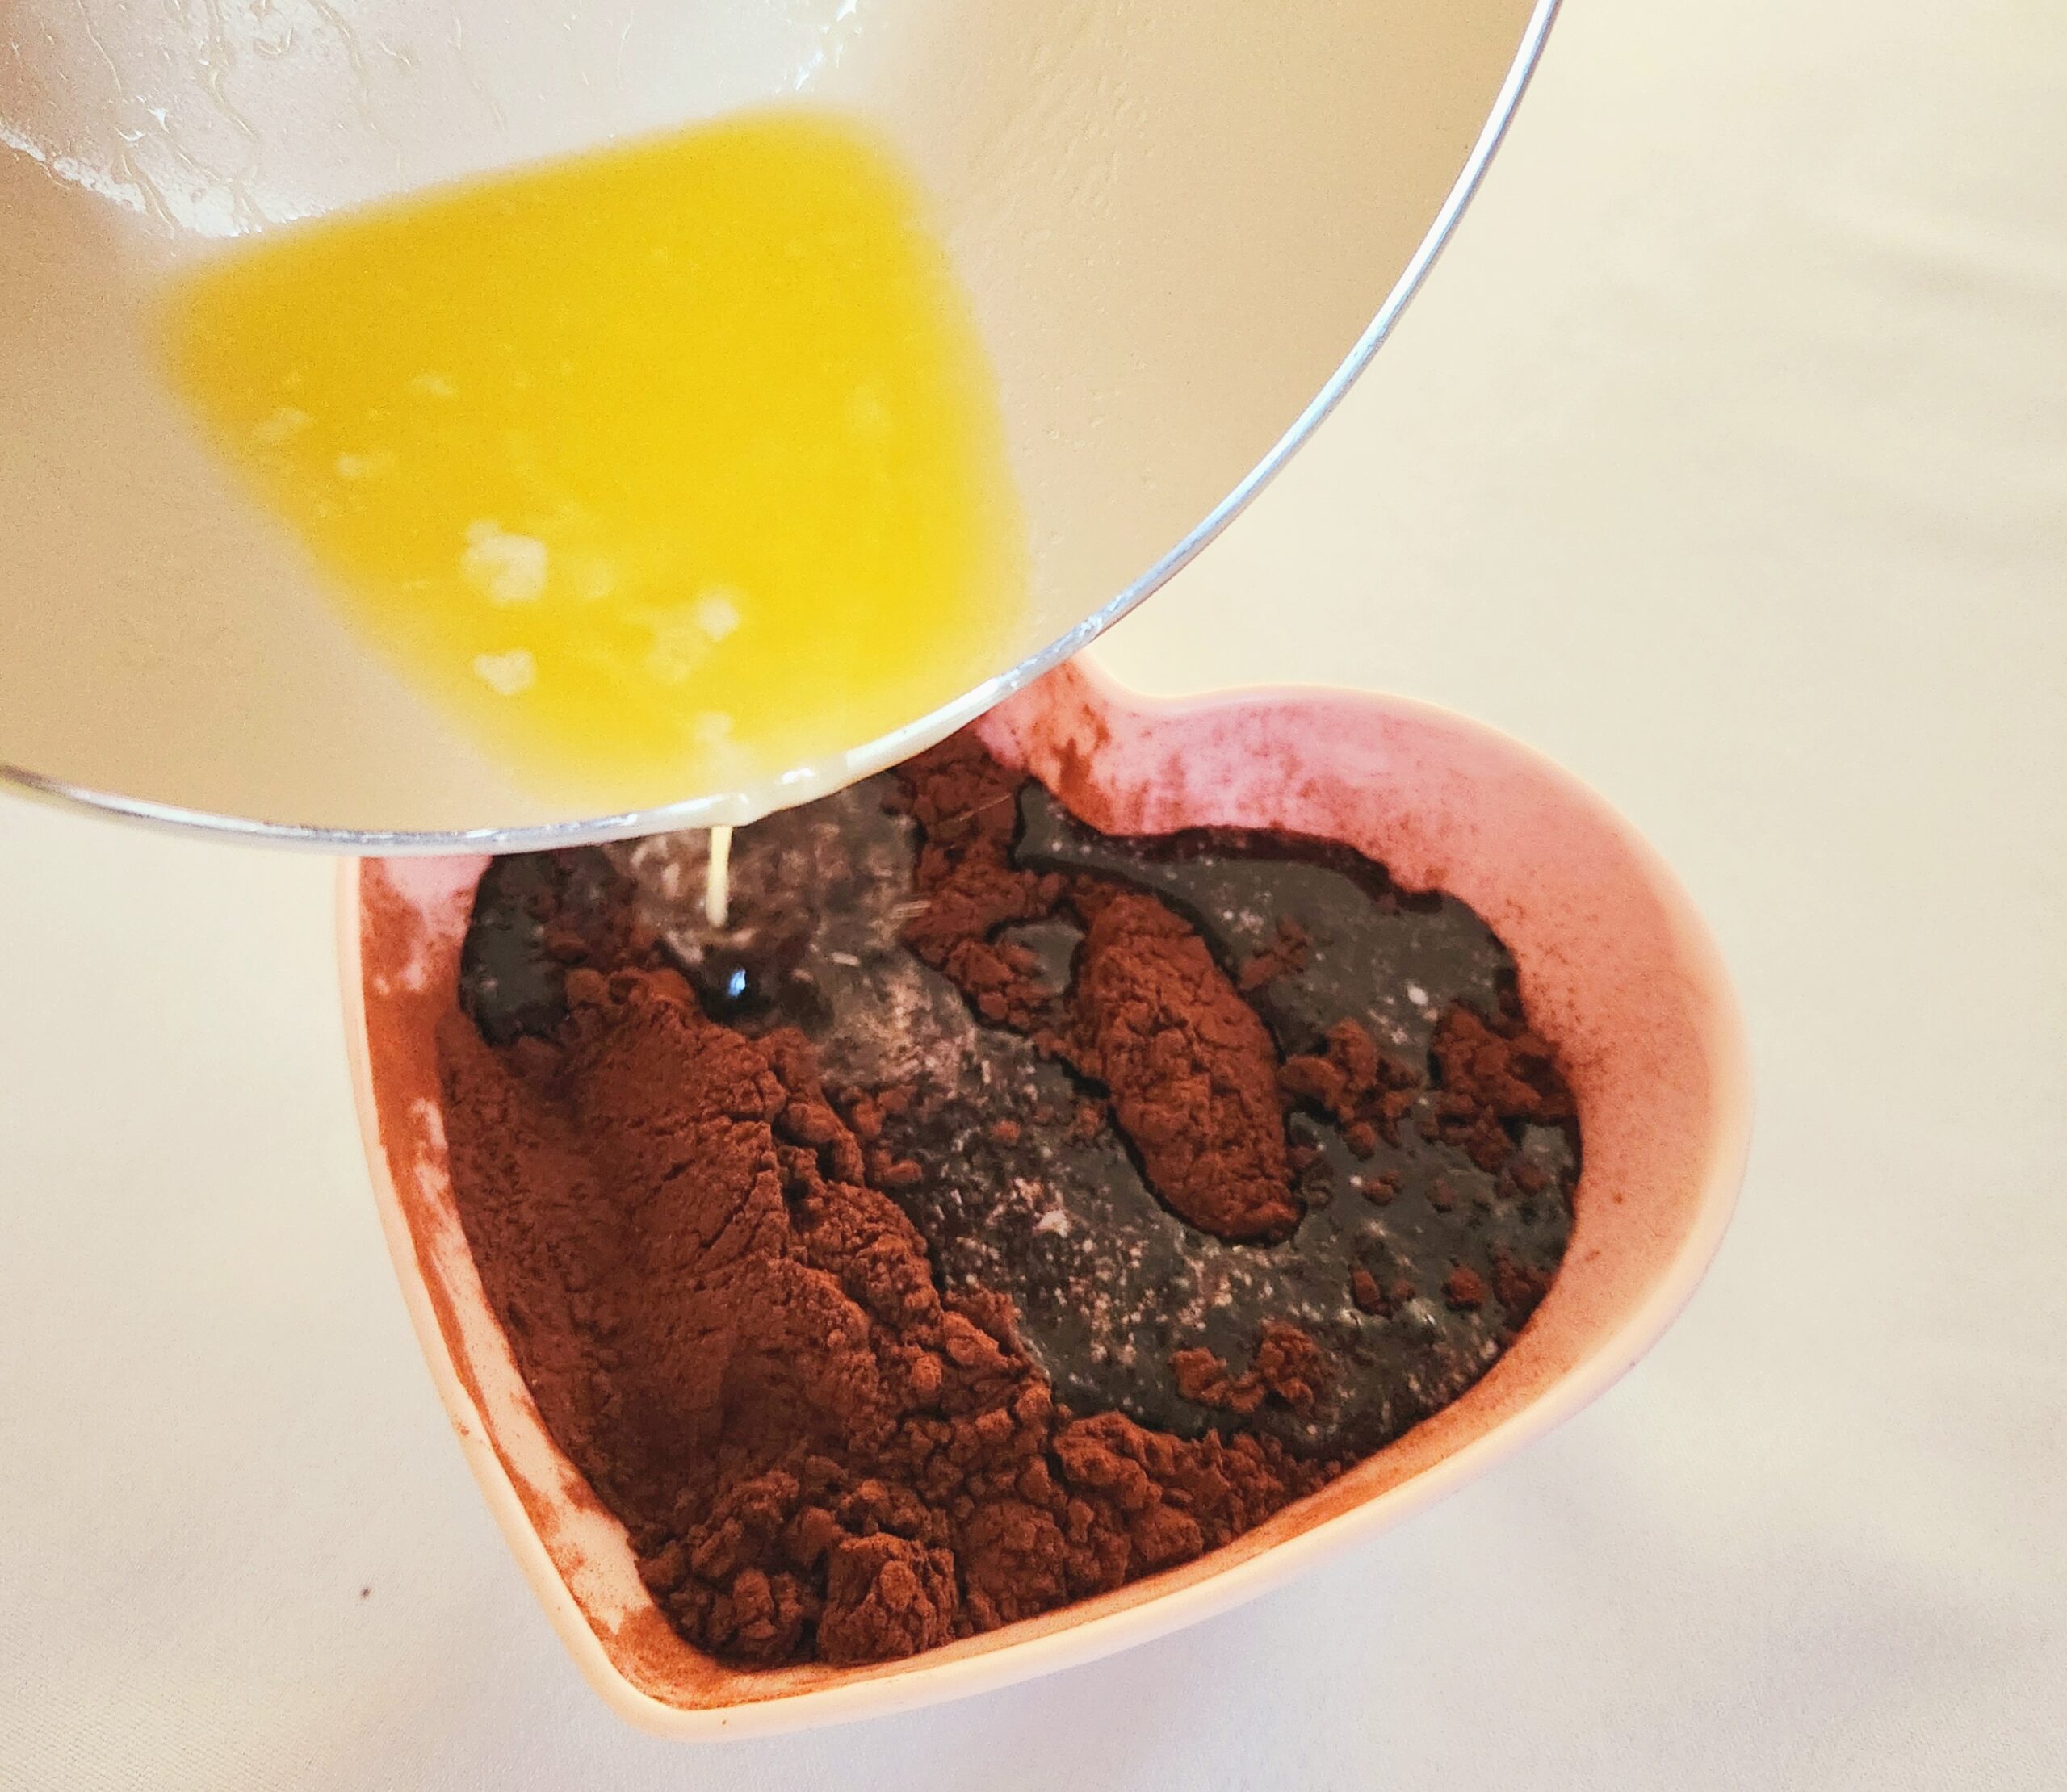
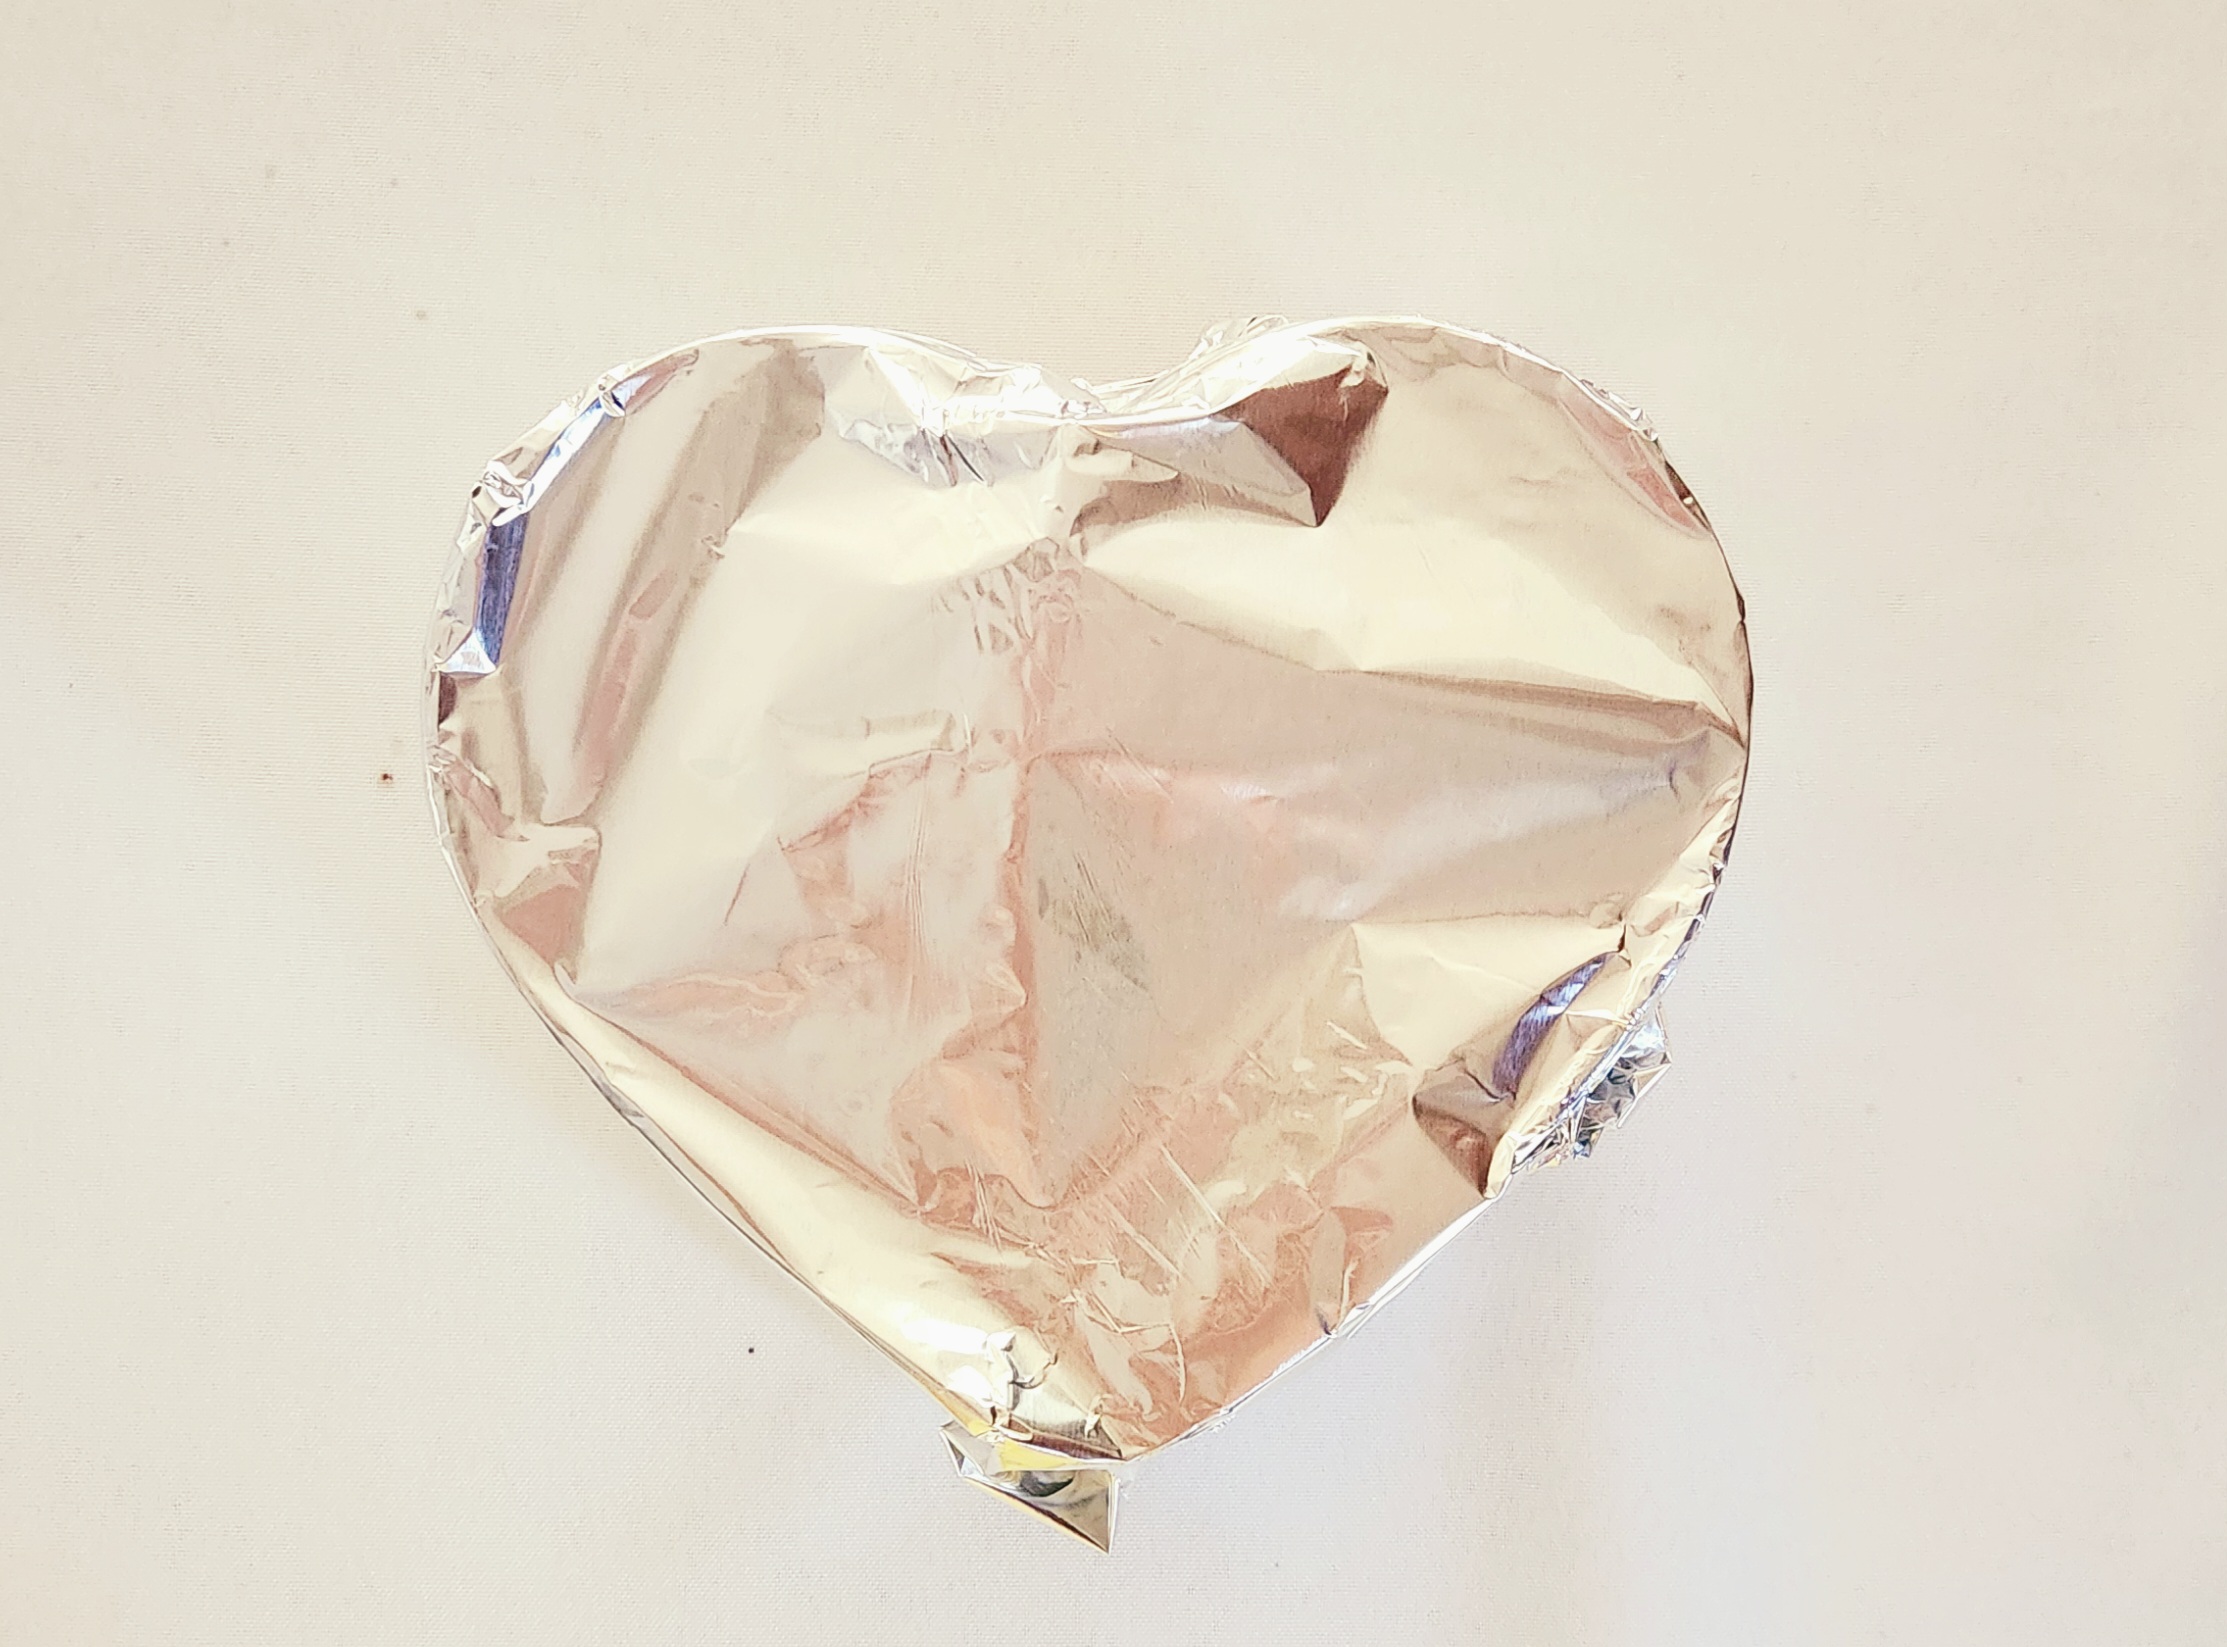
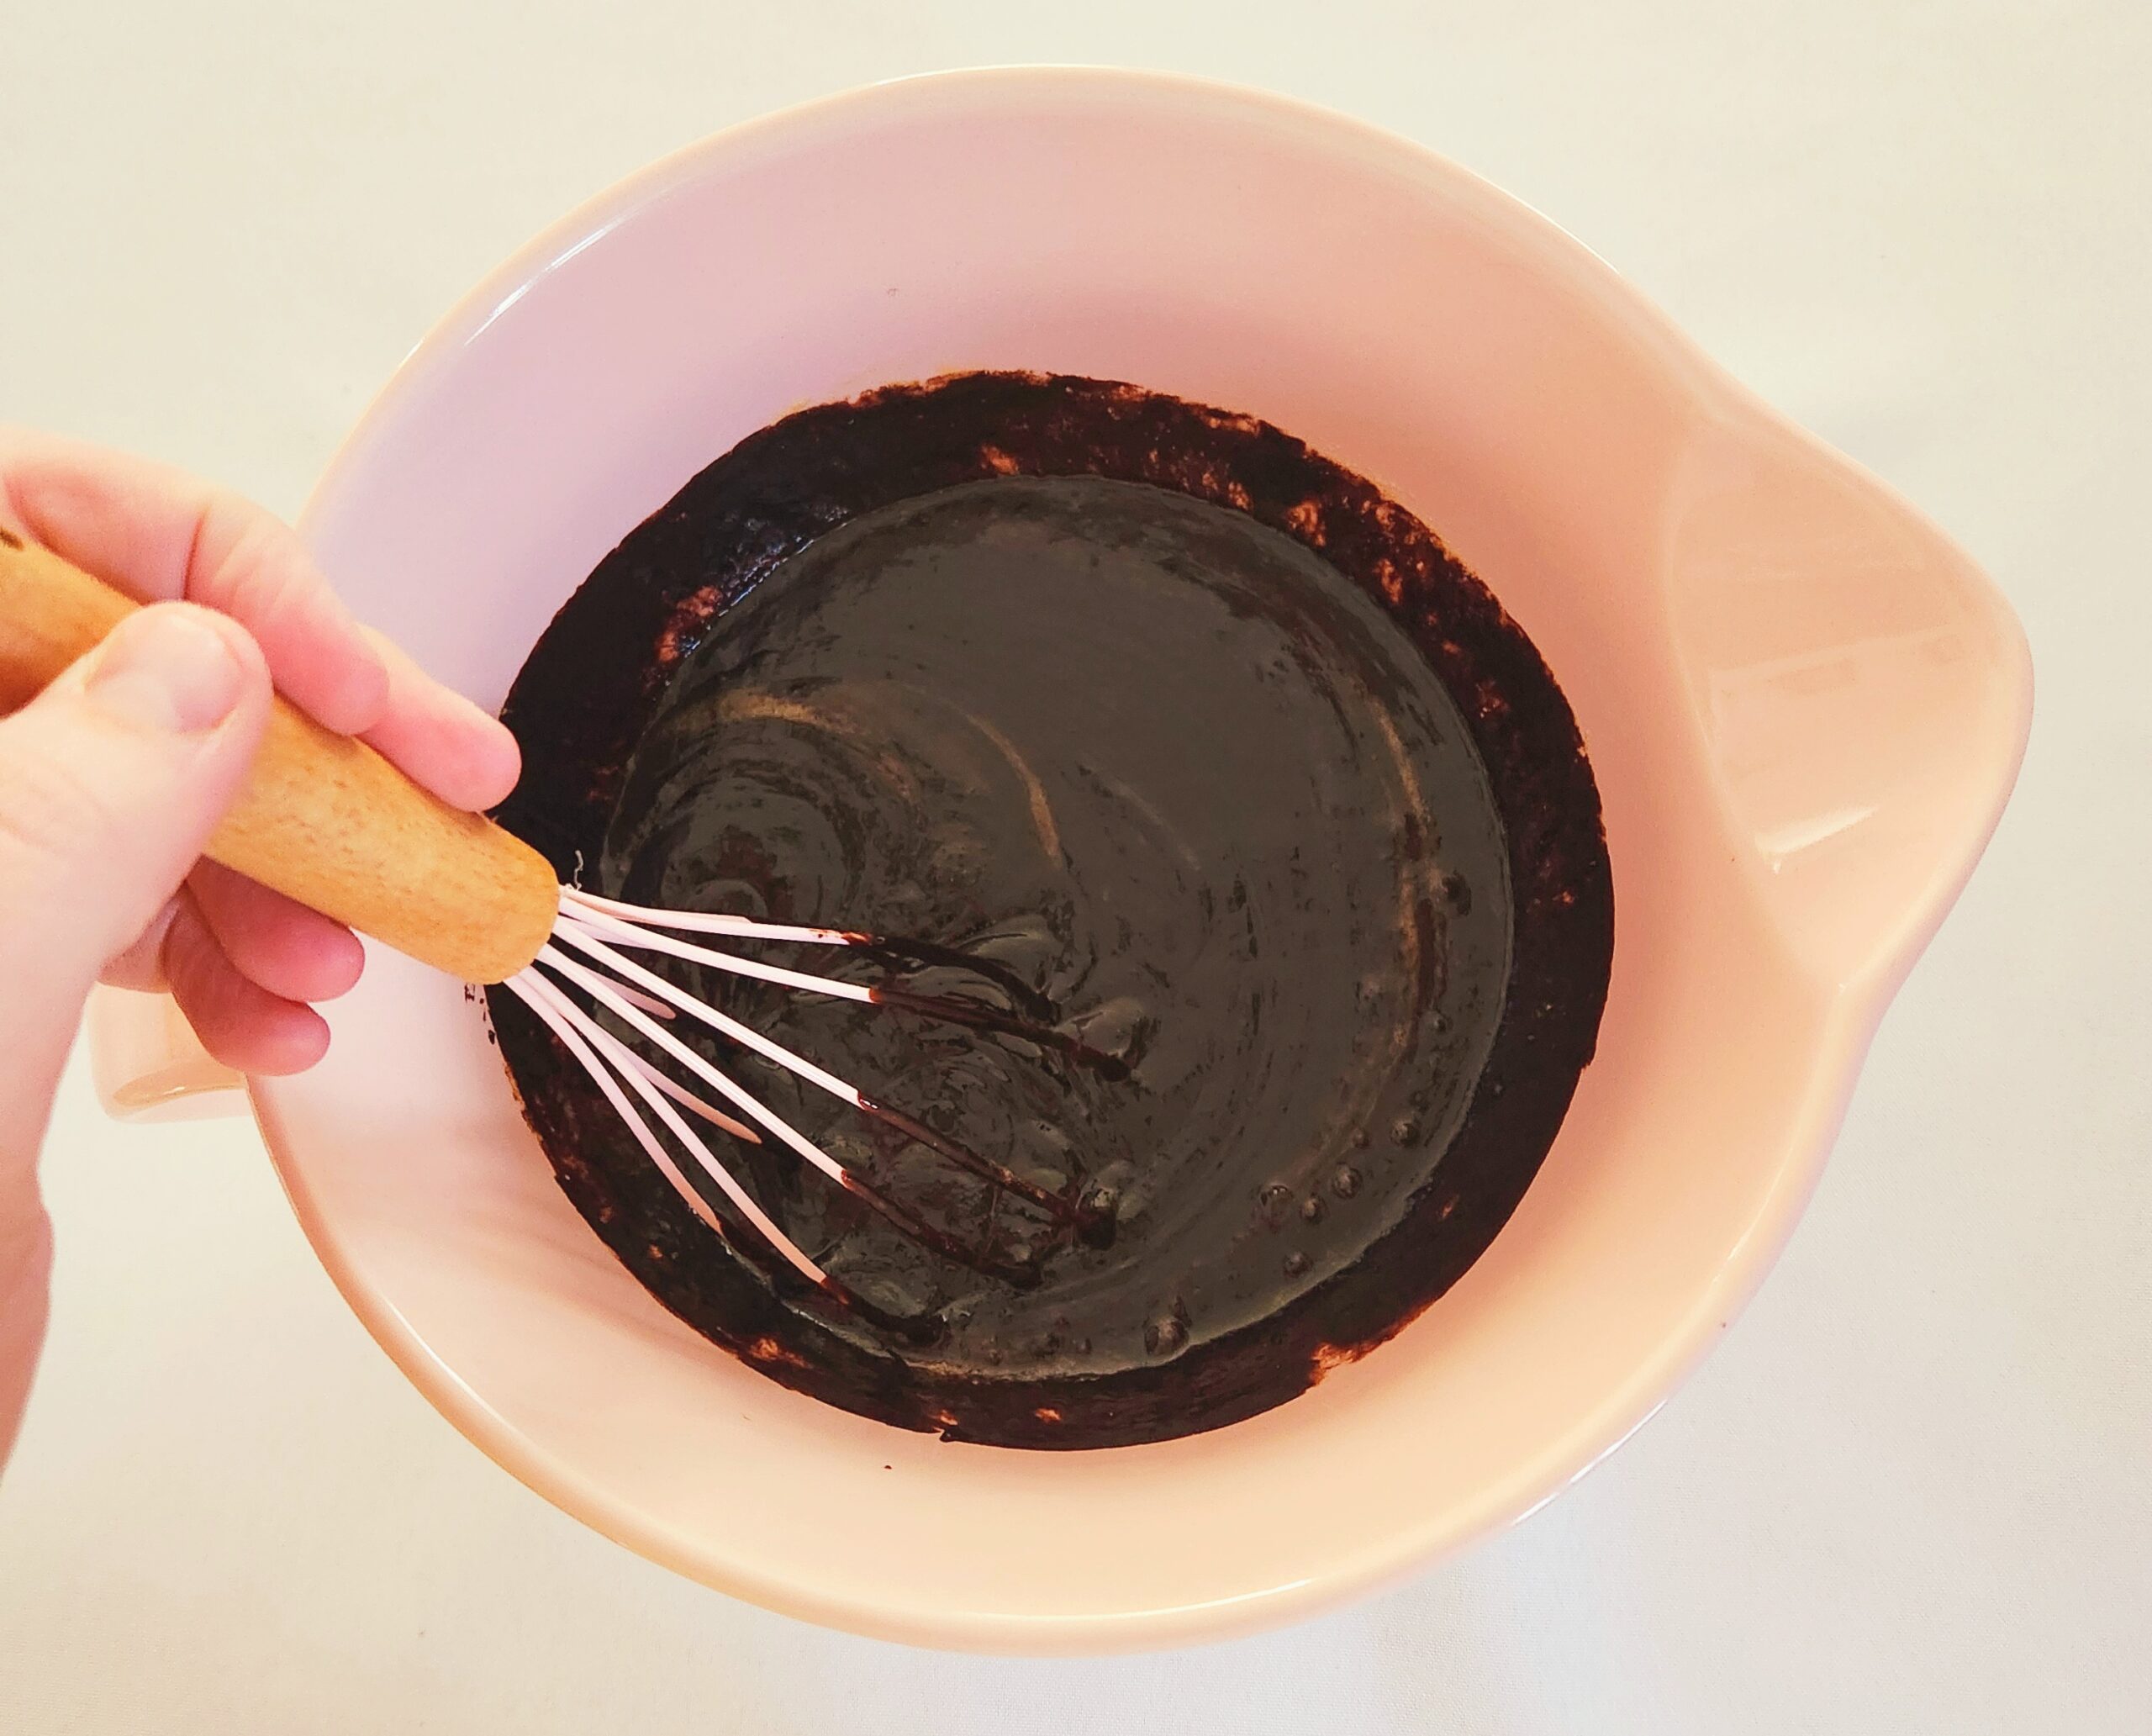
To begin, bloom the cocoa powder. In a small heat safe mixing bowl, add the chopped dark chocolate bar and sift in the cocoa powder. Place the butter in a small sauce pan and heat it on the stove top until it melts and begins to bubble. Typically, I’m all for using the microwave for melting butter, but since hot melted butter is needed, a saucepan on the stove top is a necessary evil. Immediately pour the hot butter over the chocolate and cocoa powder, cover the bowl (I use a large plate or aluminum foil) and allow it to sit for 5 minutes.
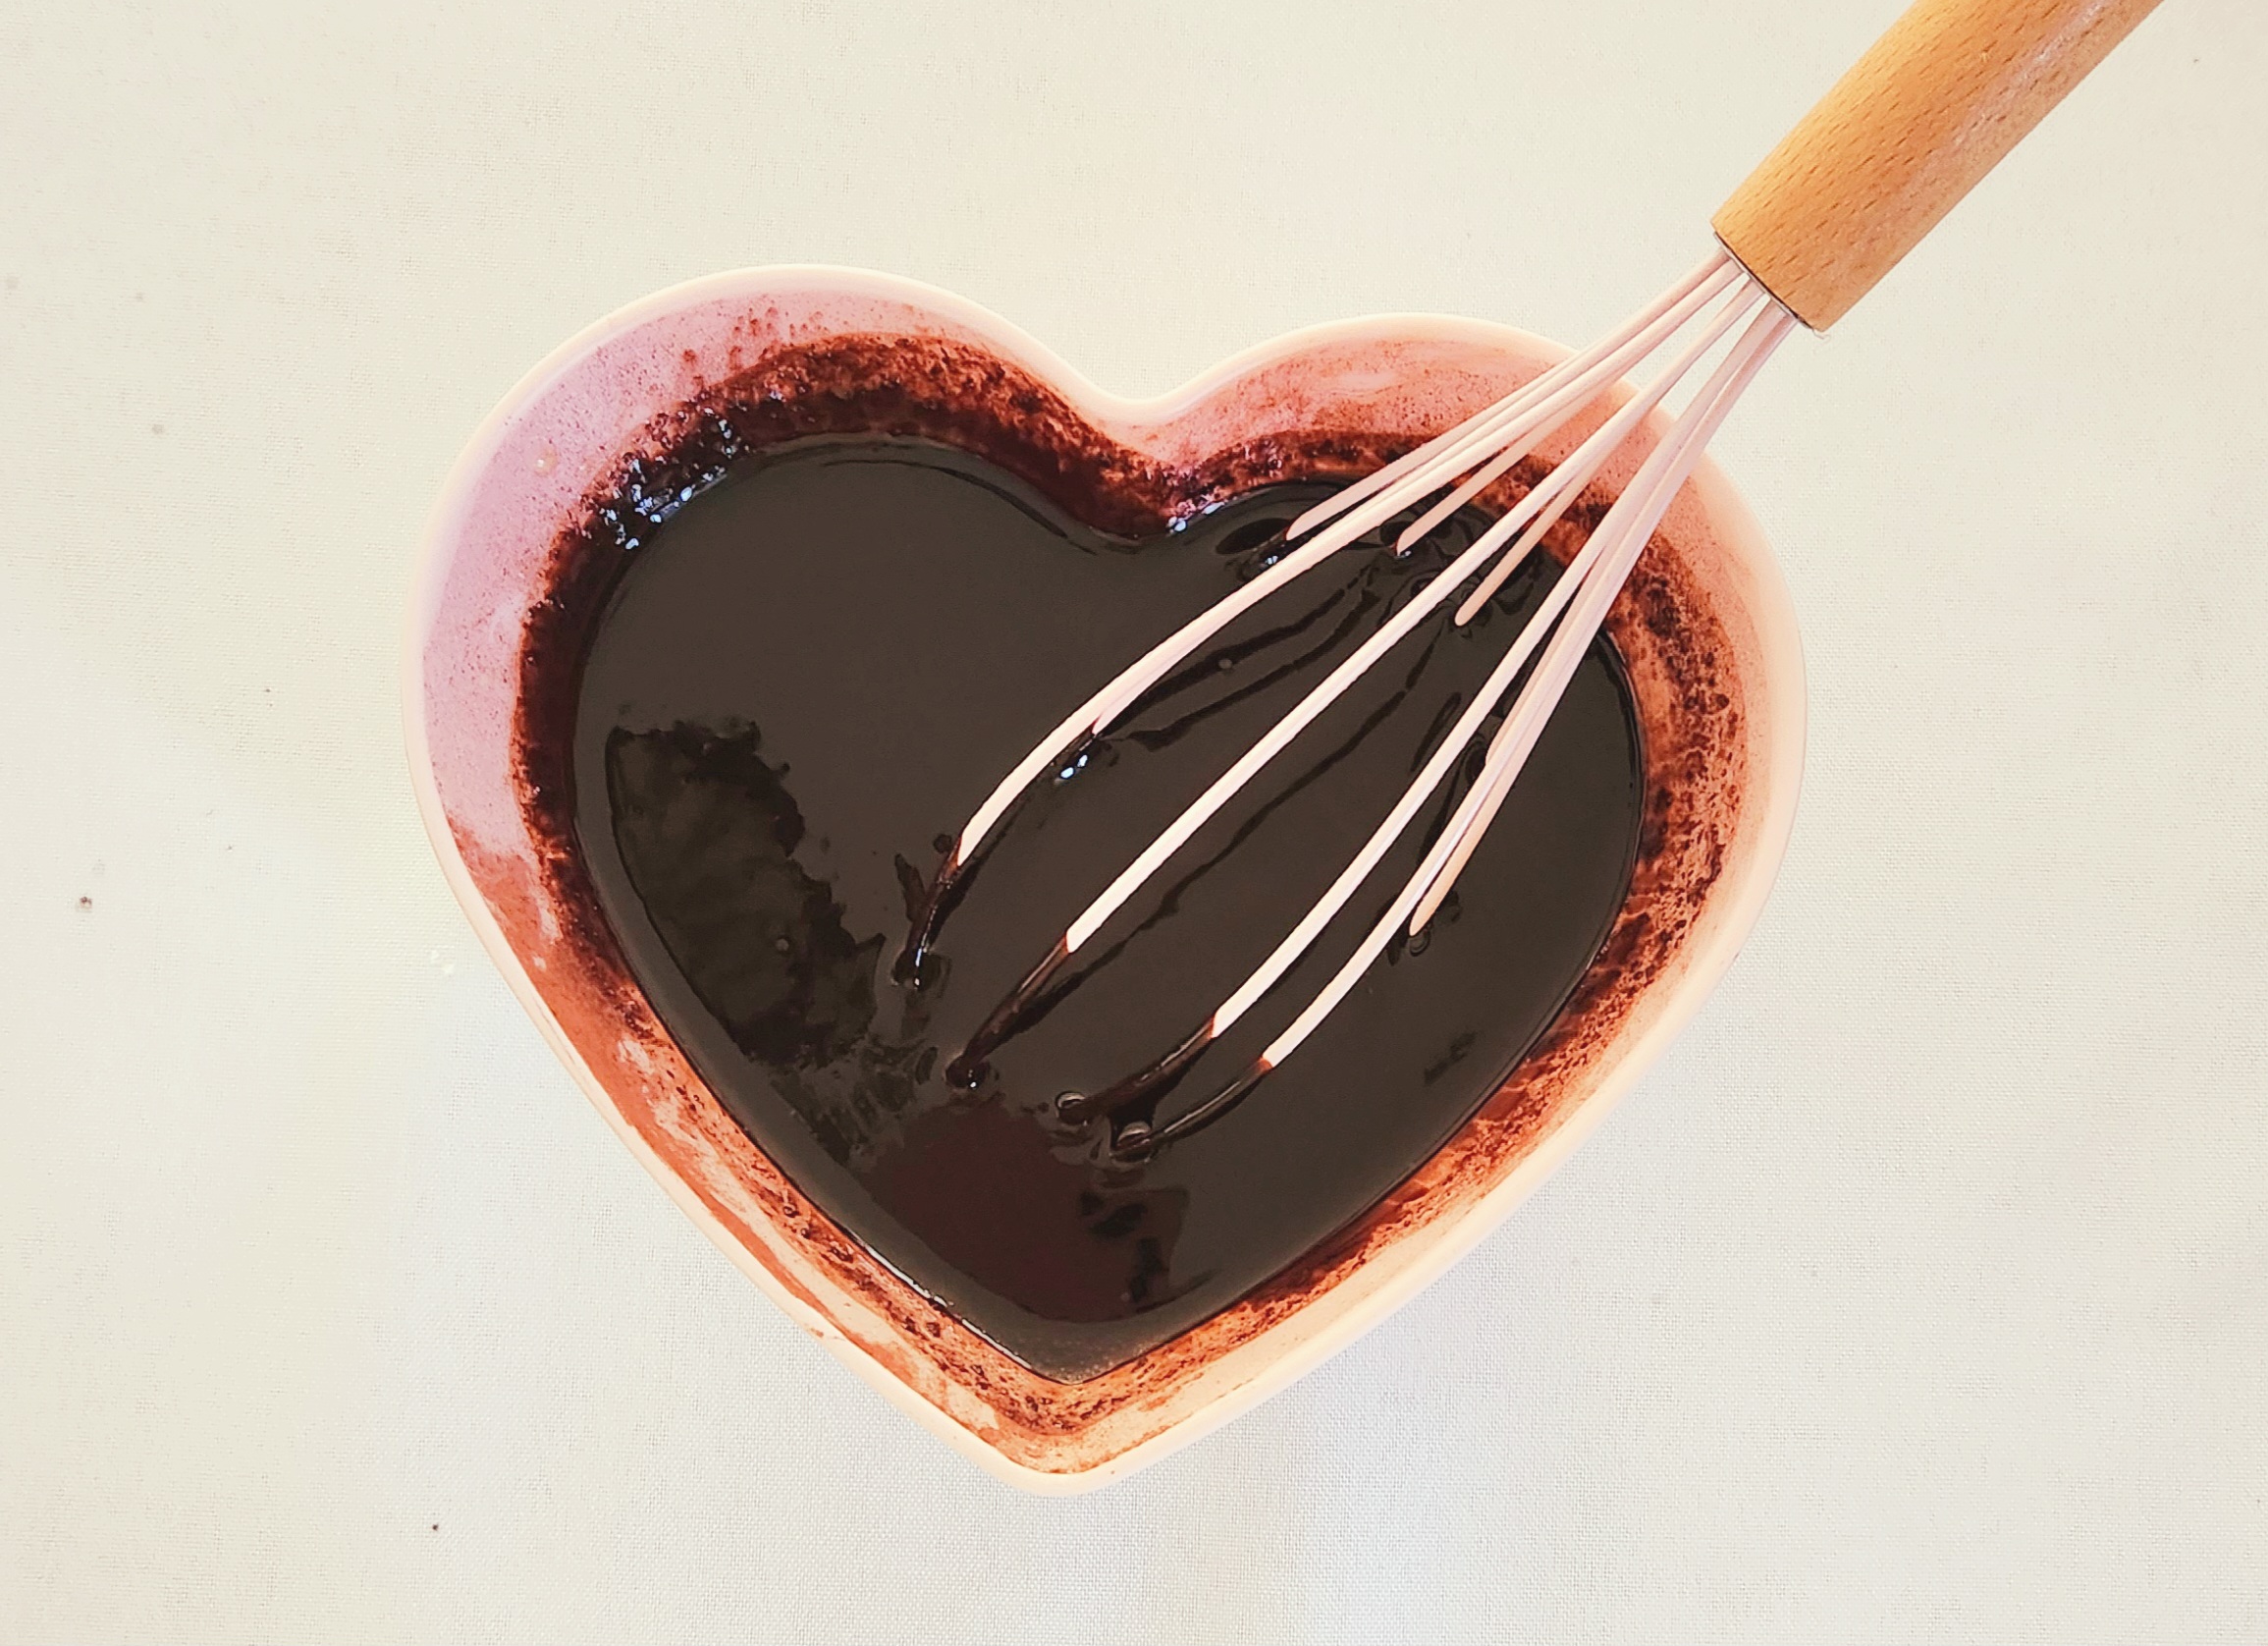
In a small mixing bowl, whisk together the flour, salt, baking powder, and baking soda. Set the dry goods aside. Uncover the blooming chocolate bowl, and gently stir the contents together using a rubber spatula until they come together in one homogeneous, glossy mixture. Set this aside to cool down for around 5 minutes, uncovered.
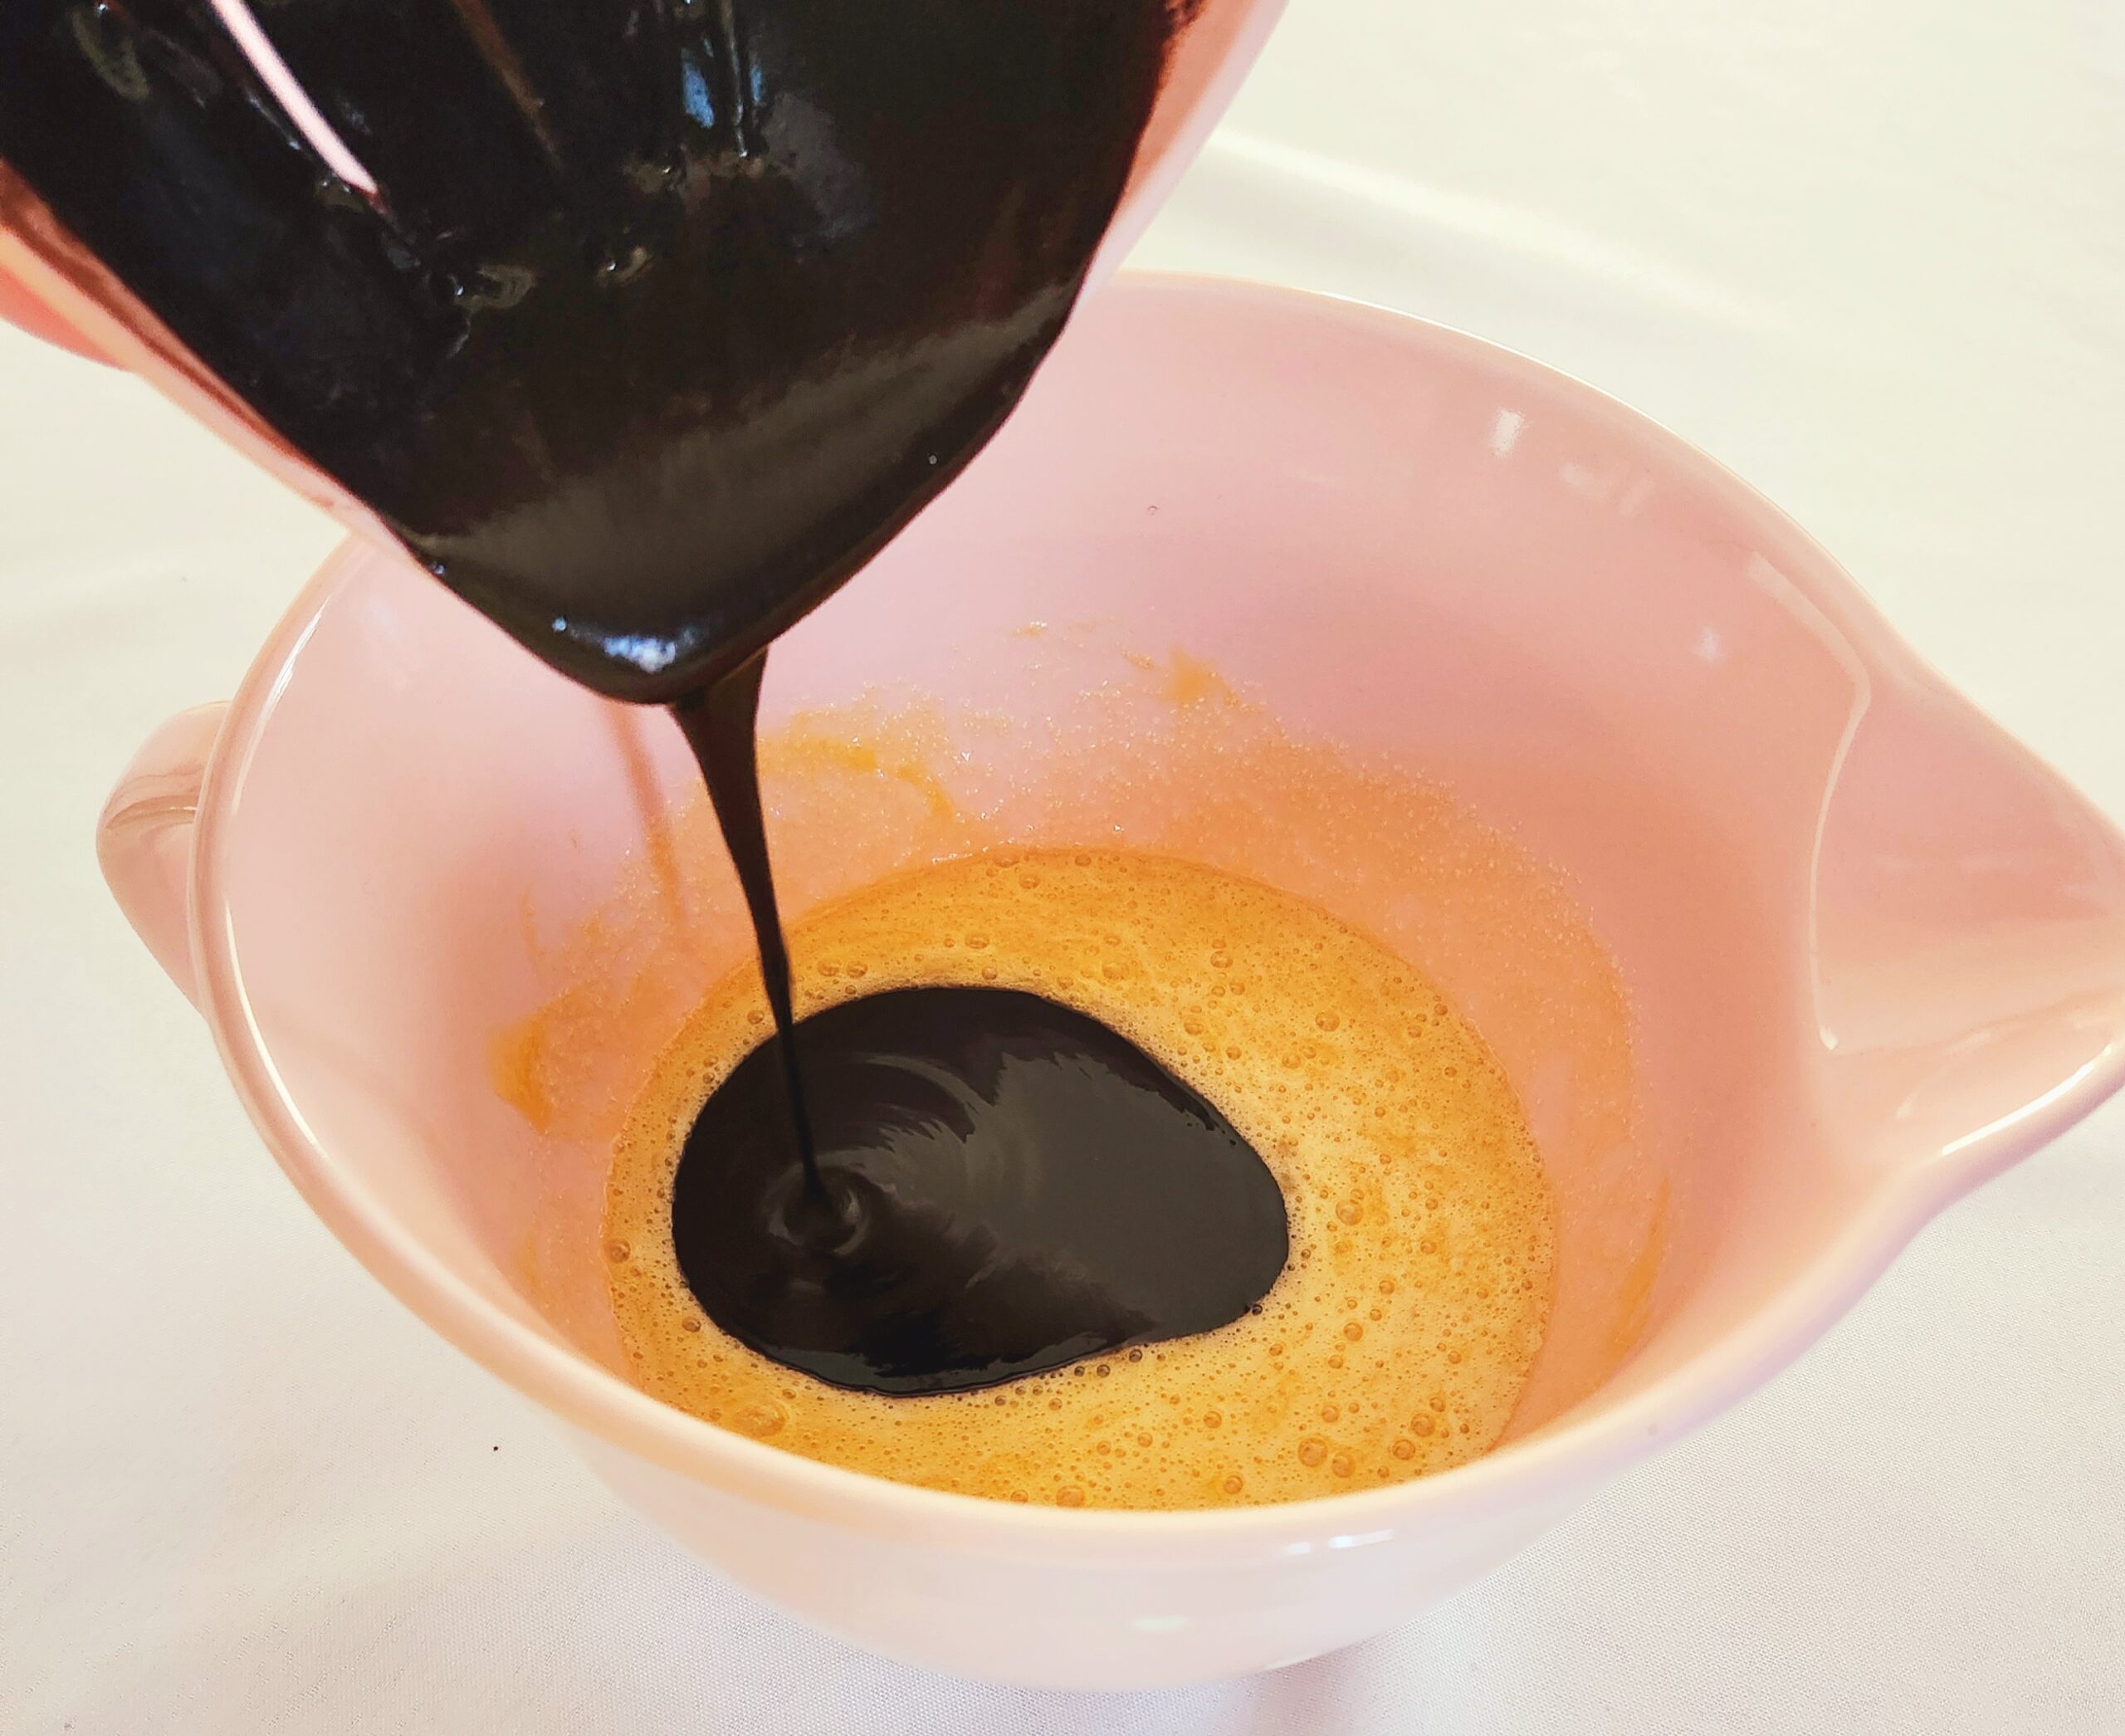
In a large mixing bowl, whisk together the sugar, vanilla, and room temperature eggs. See the tips below for a trick on quickly bringing your eggs up to room temperature! Pour the chocolate and butter mixture into the egg mixture, scraping the sides with a rubber spatula to add as much as you can get in there, and gently whisk it together.
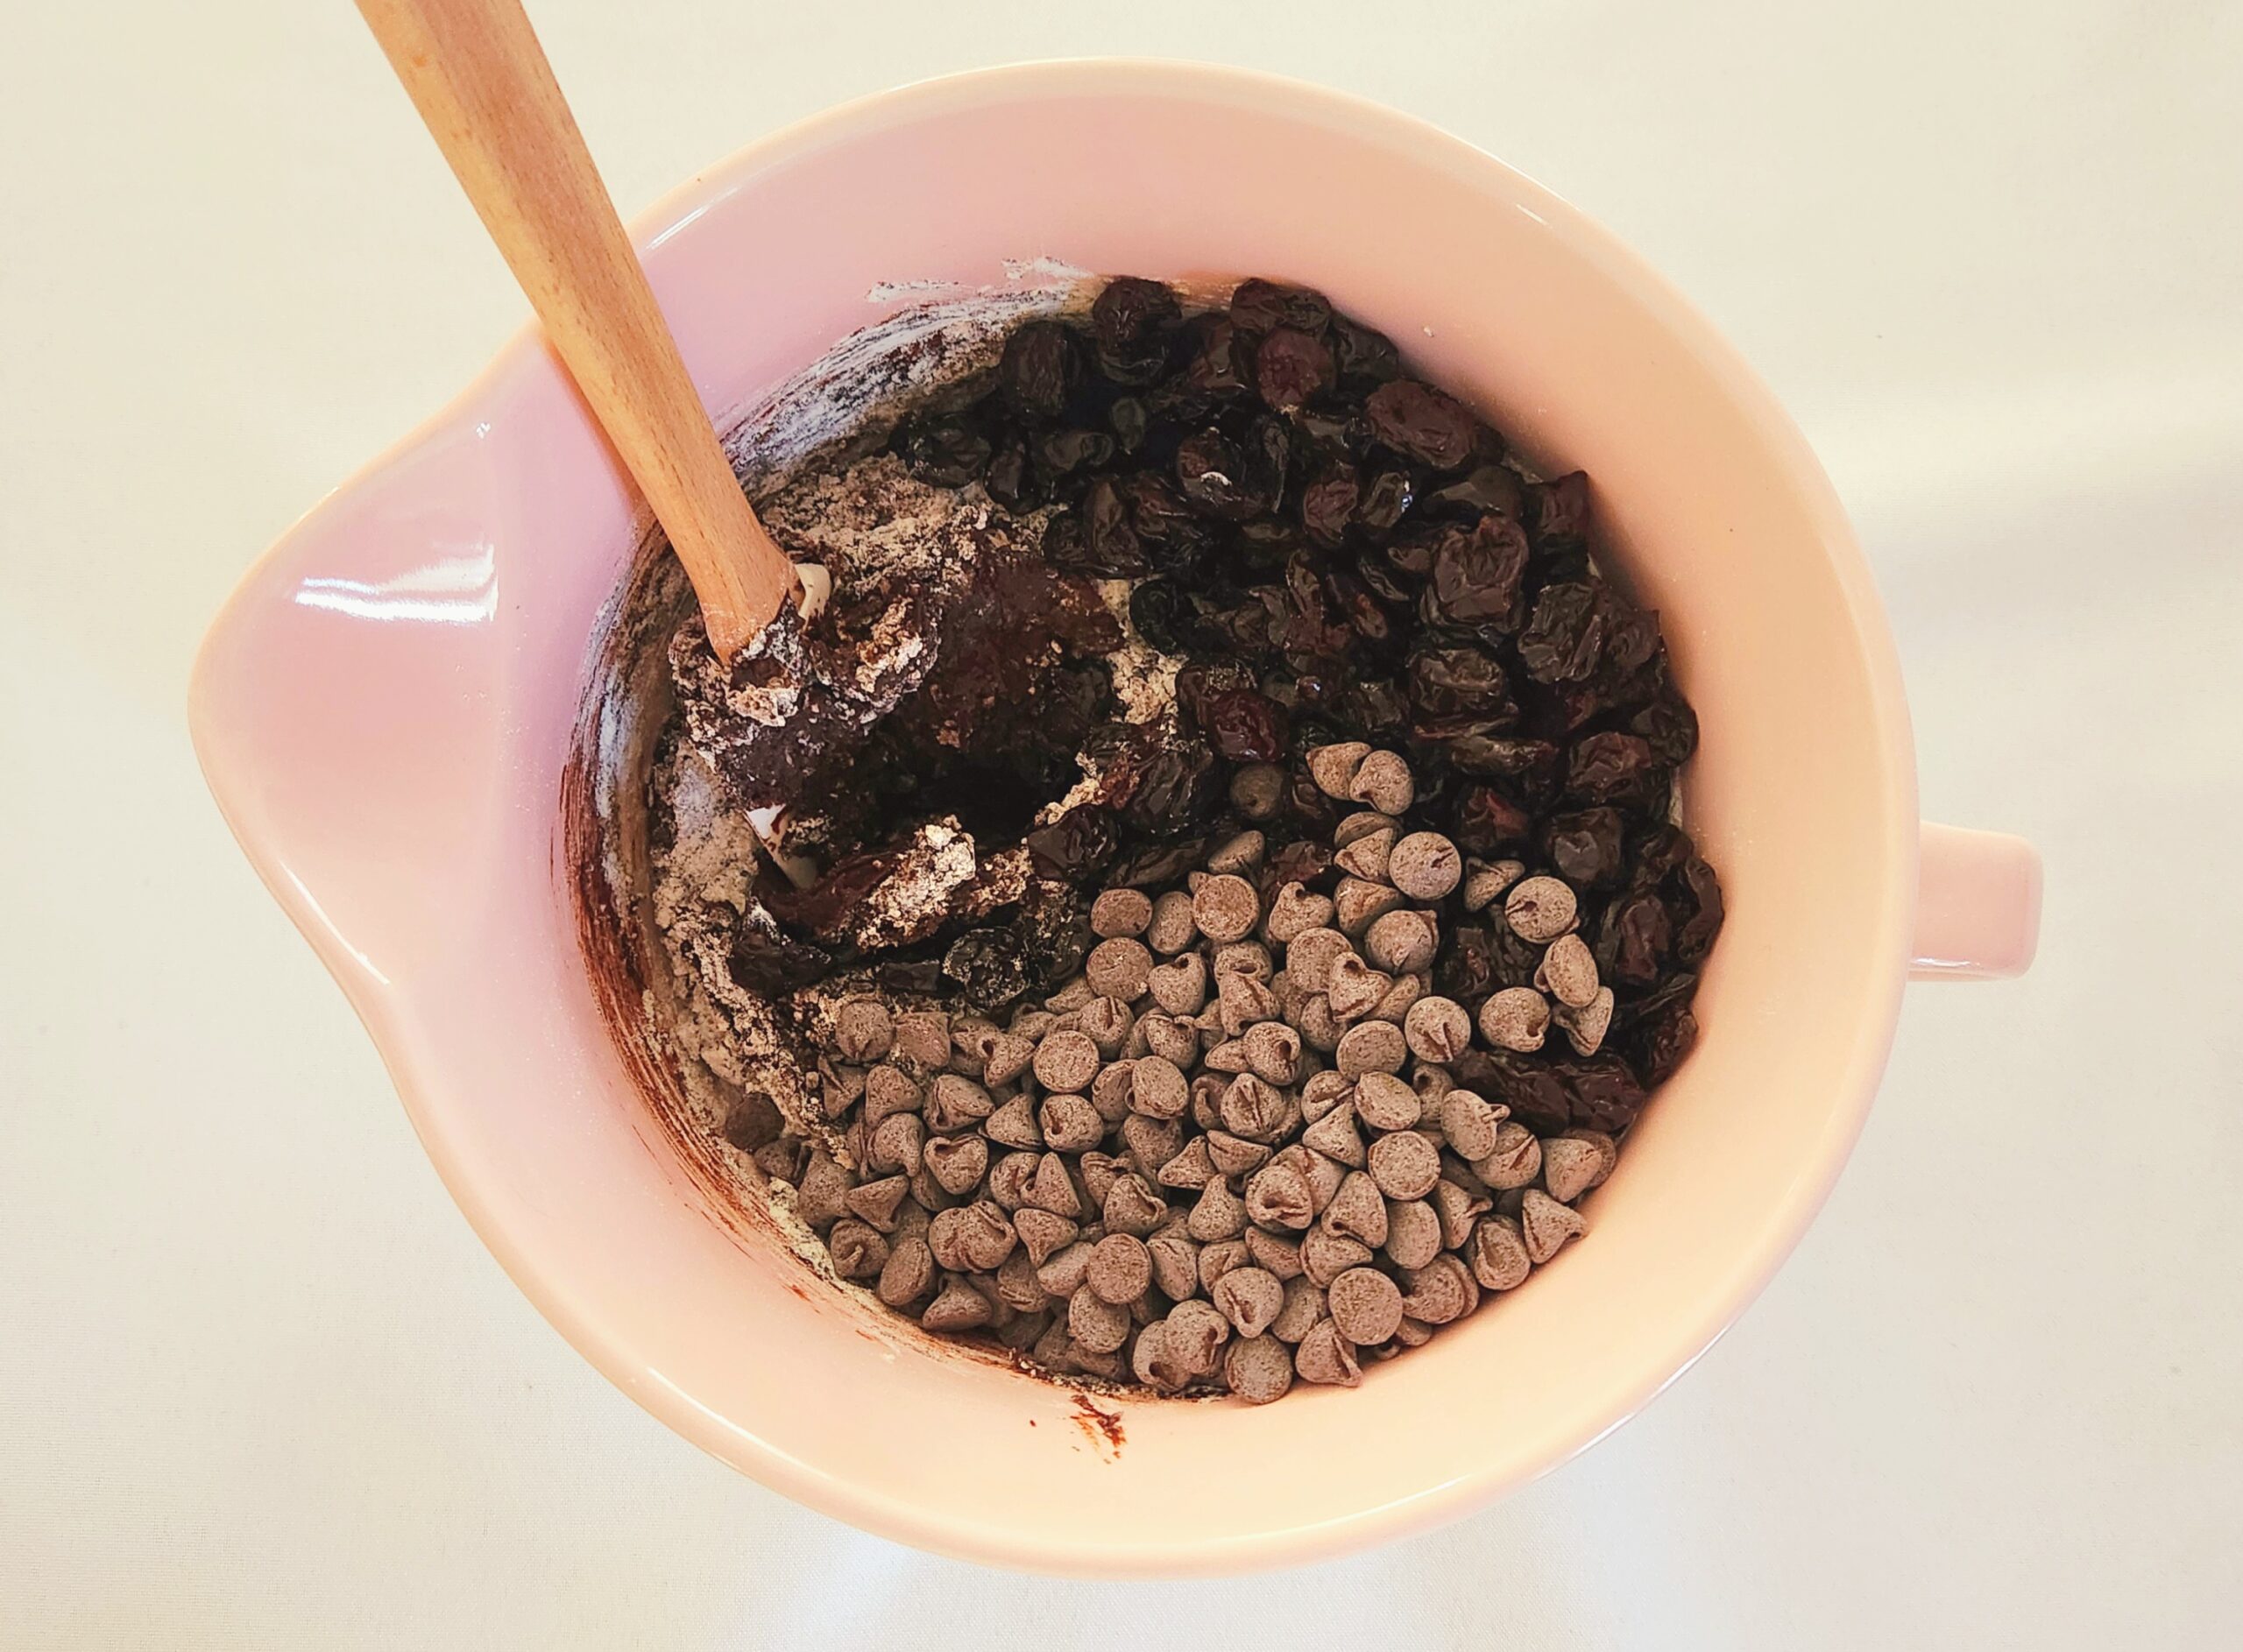
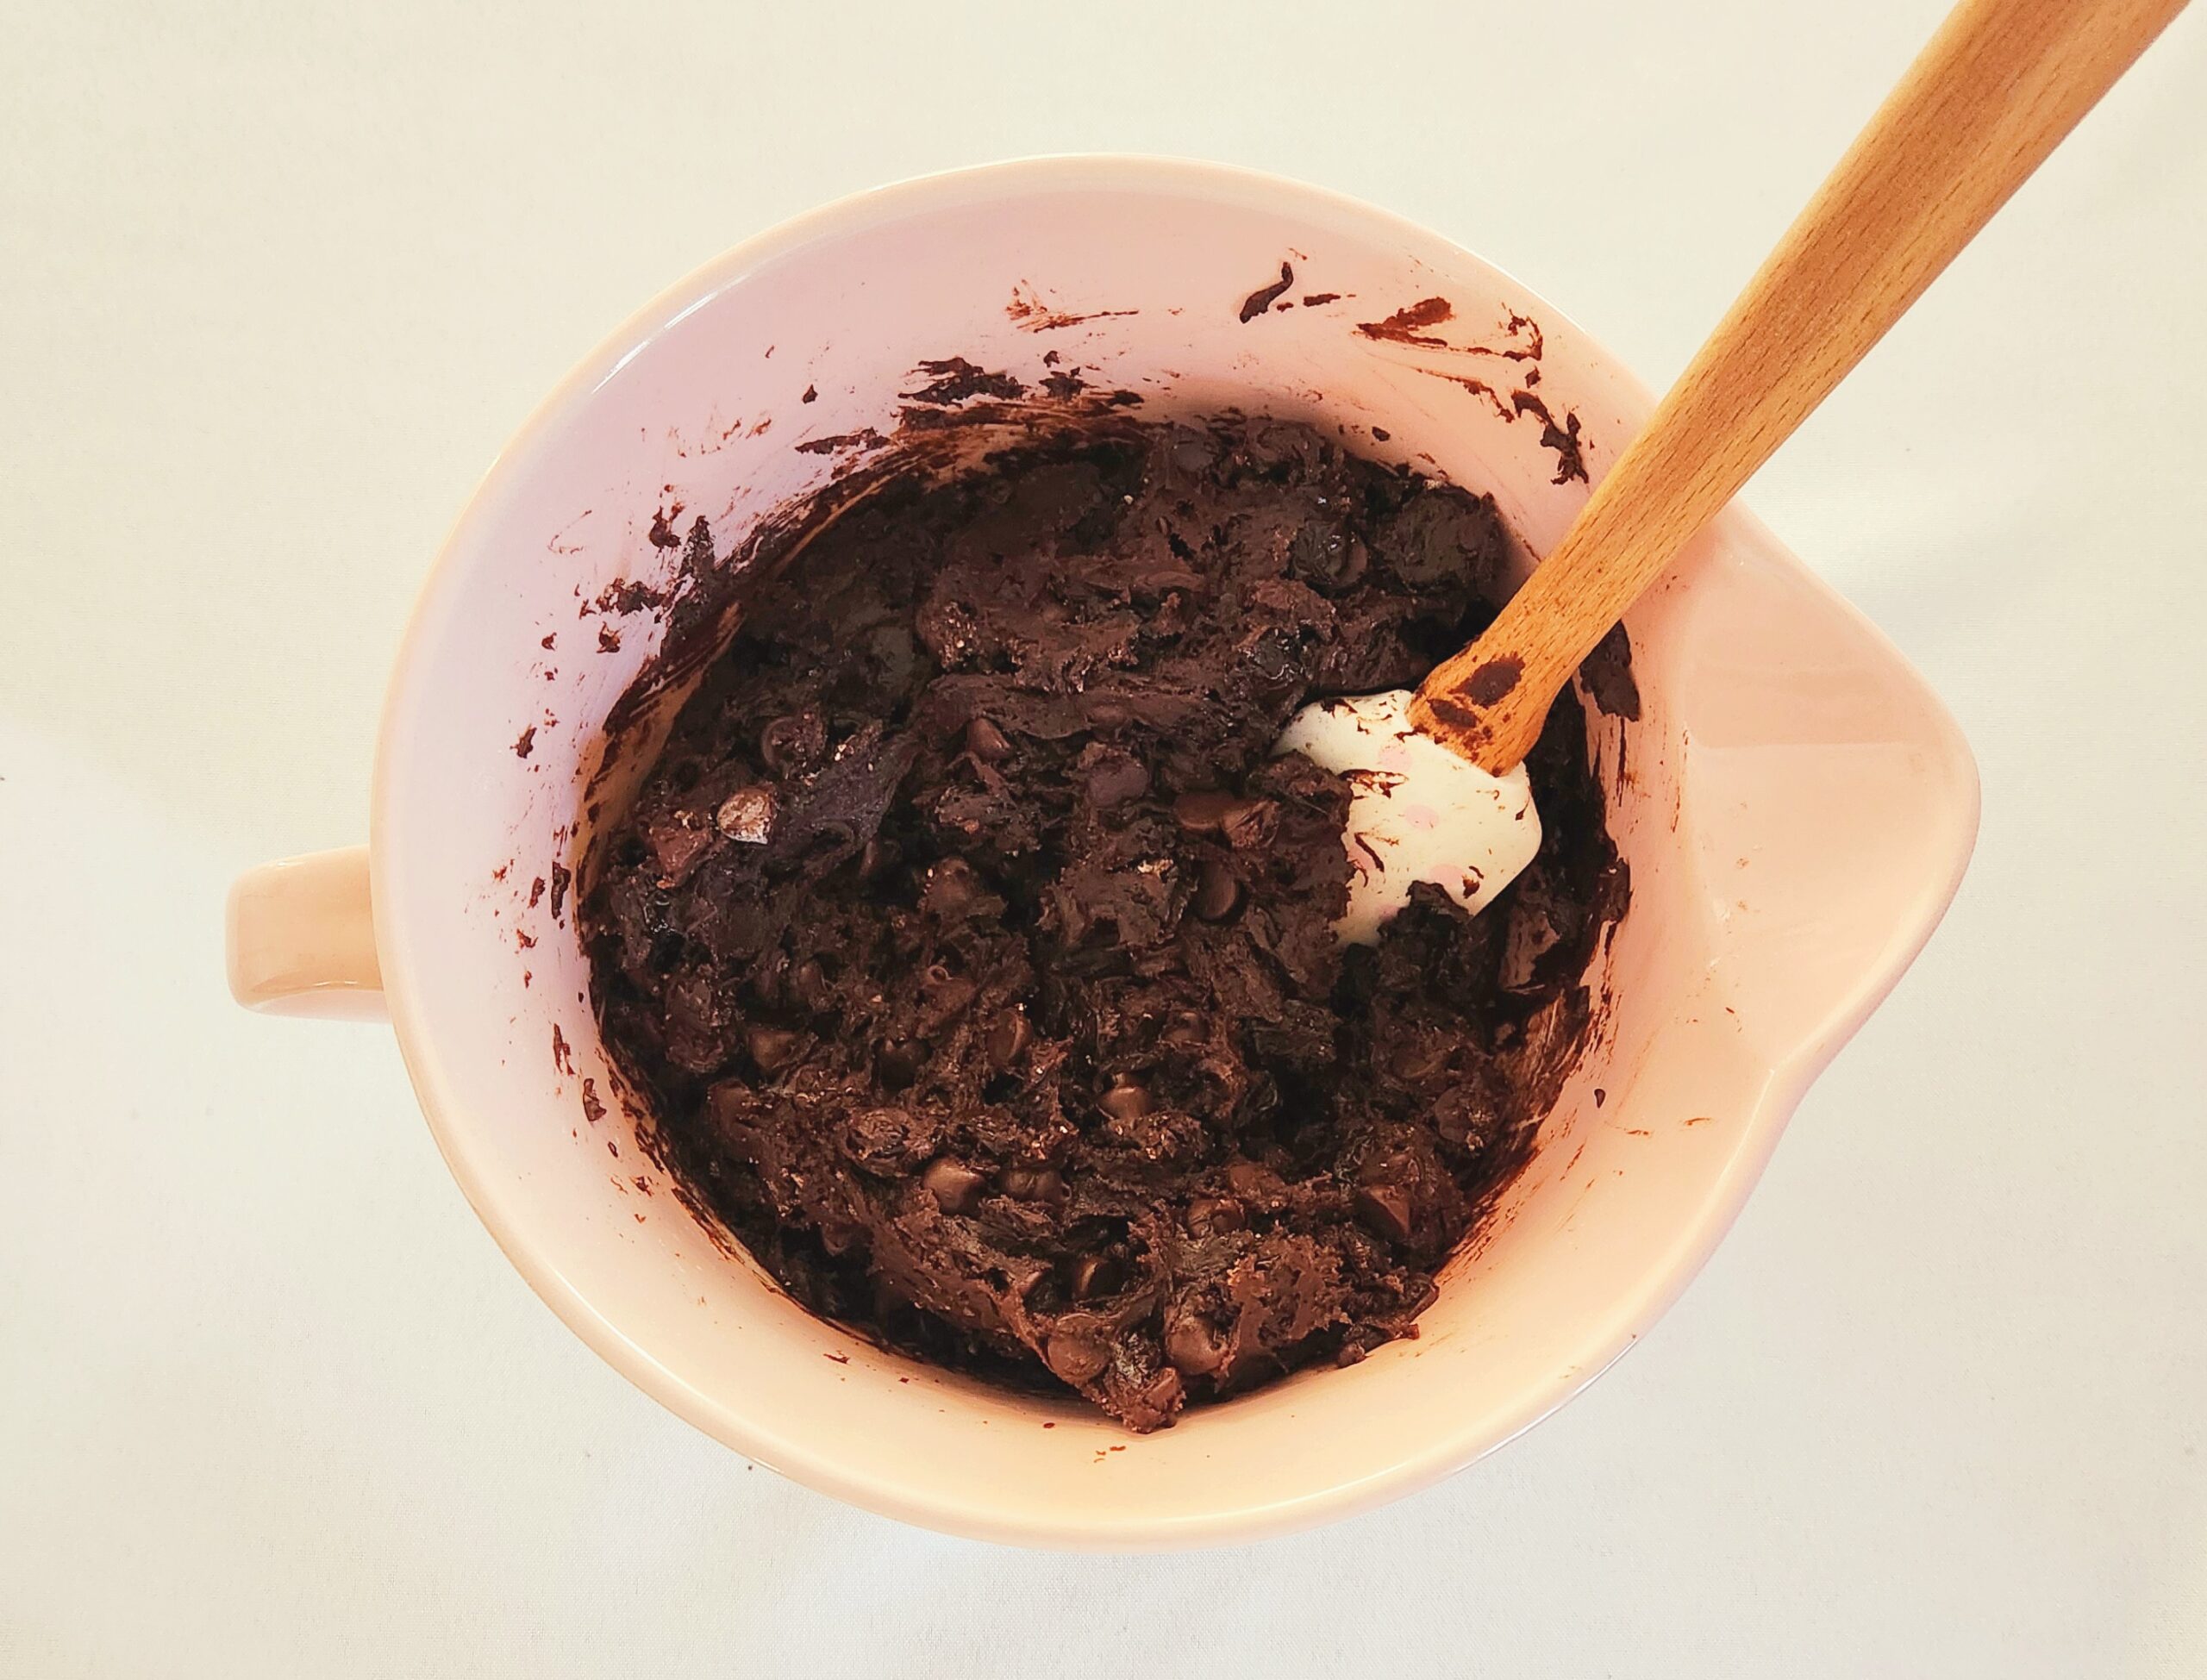
Toss the dry goods into the chocolate mixture and gently stir them together with a rubber spatula to form the dough. Once a few streaks of flour remain, add in the chocolate chips and dried cherries. Fold them into the dough, then cover the bowl with plastic wrap in refrigerate it for at least 1 hour, or up to 2 days.
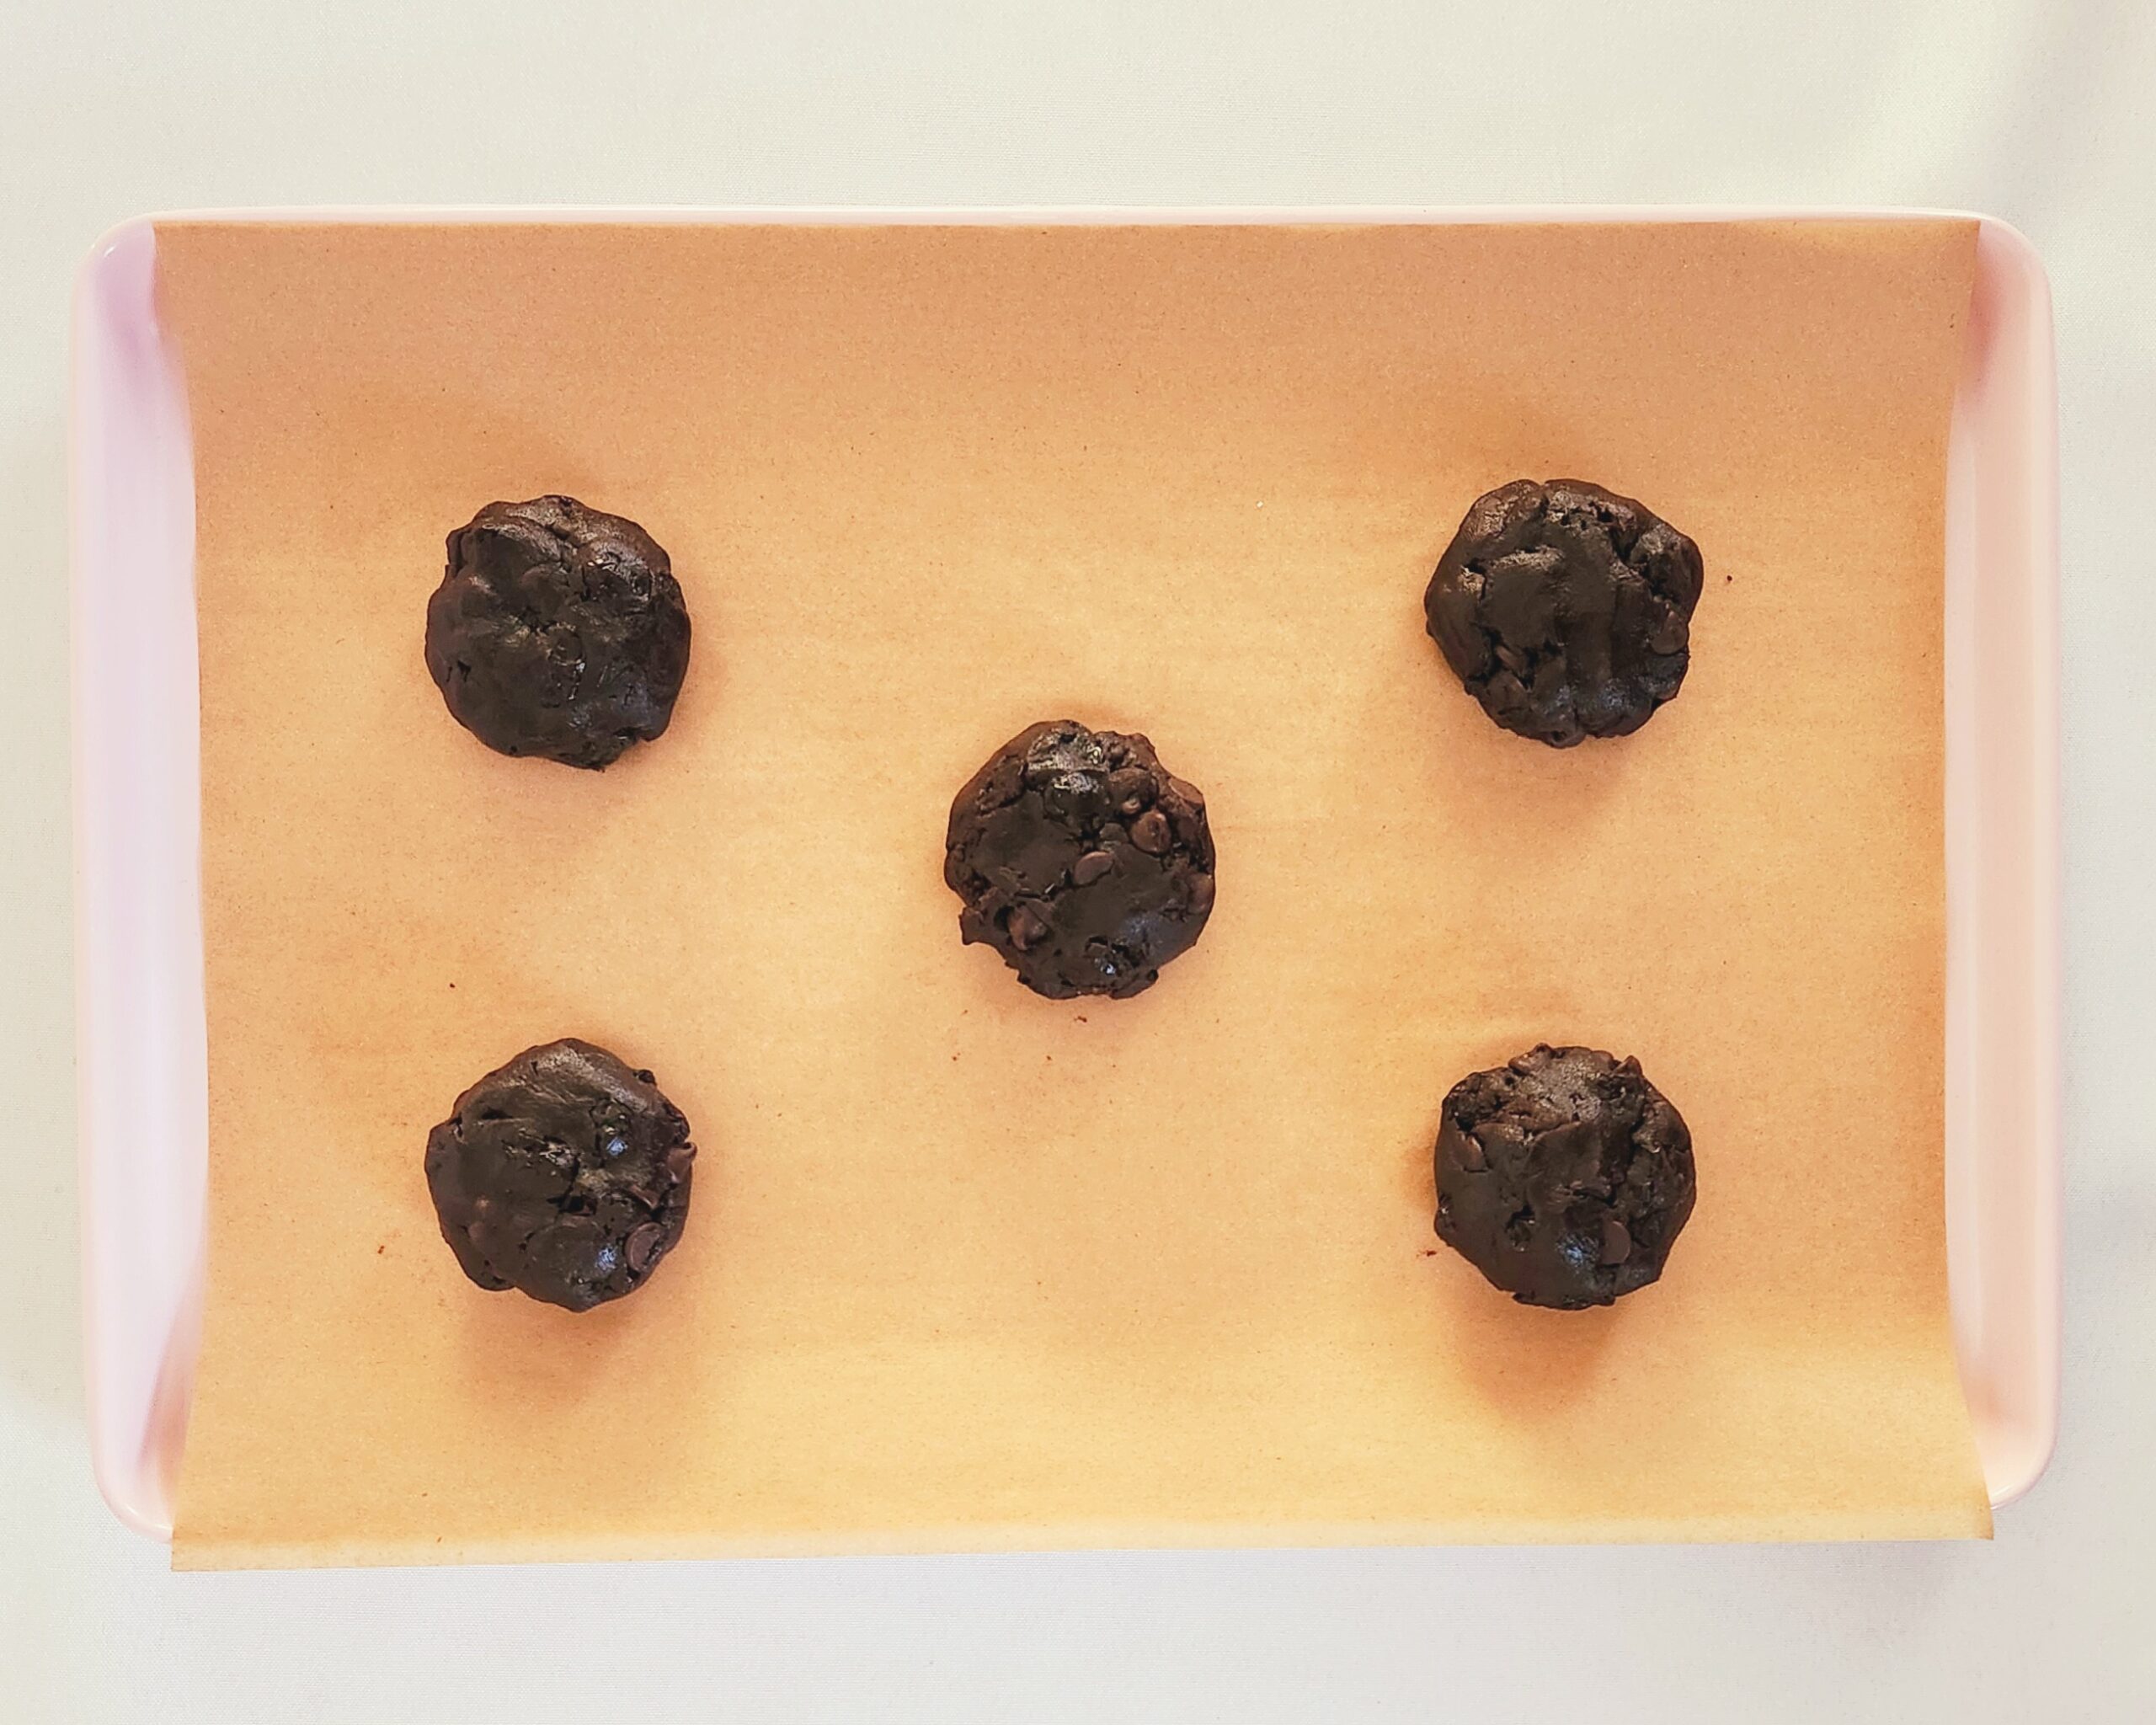
Preheat the oven to 350F, and line two baking sheets with either parchment paper or silicone baking mats. Scoop 6 4-Tablespoon (1/4 cup) portions of dough onto each baking sheet. Roll each portion into a ball, then flatten that ball slightly into a 1-inch thick puck. Space the pucks around 2 inches apart, and place one sheet at a time in the oven.
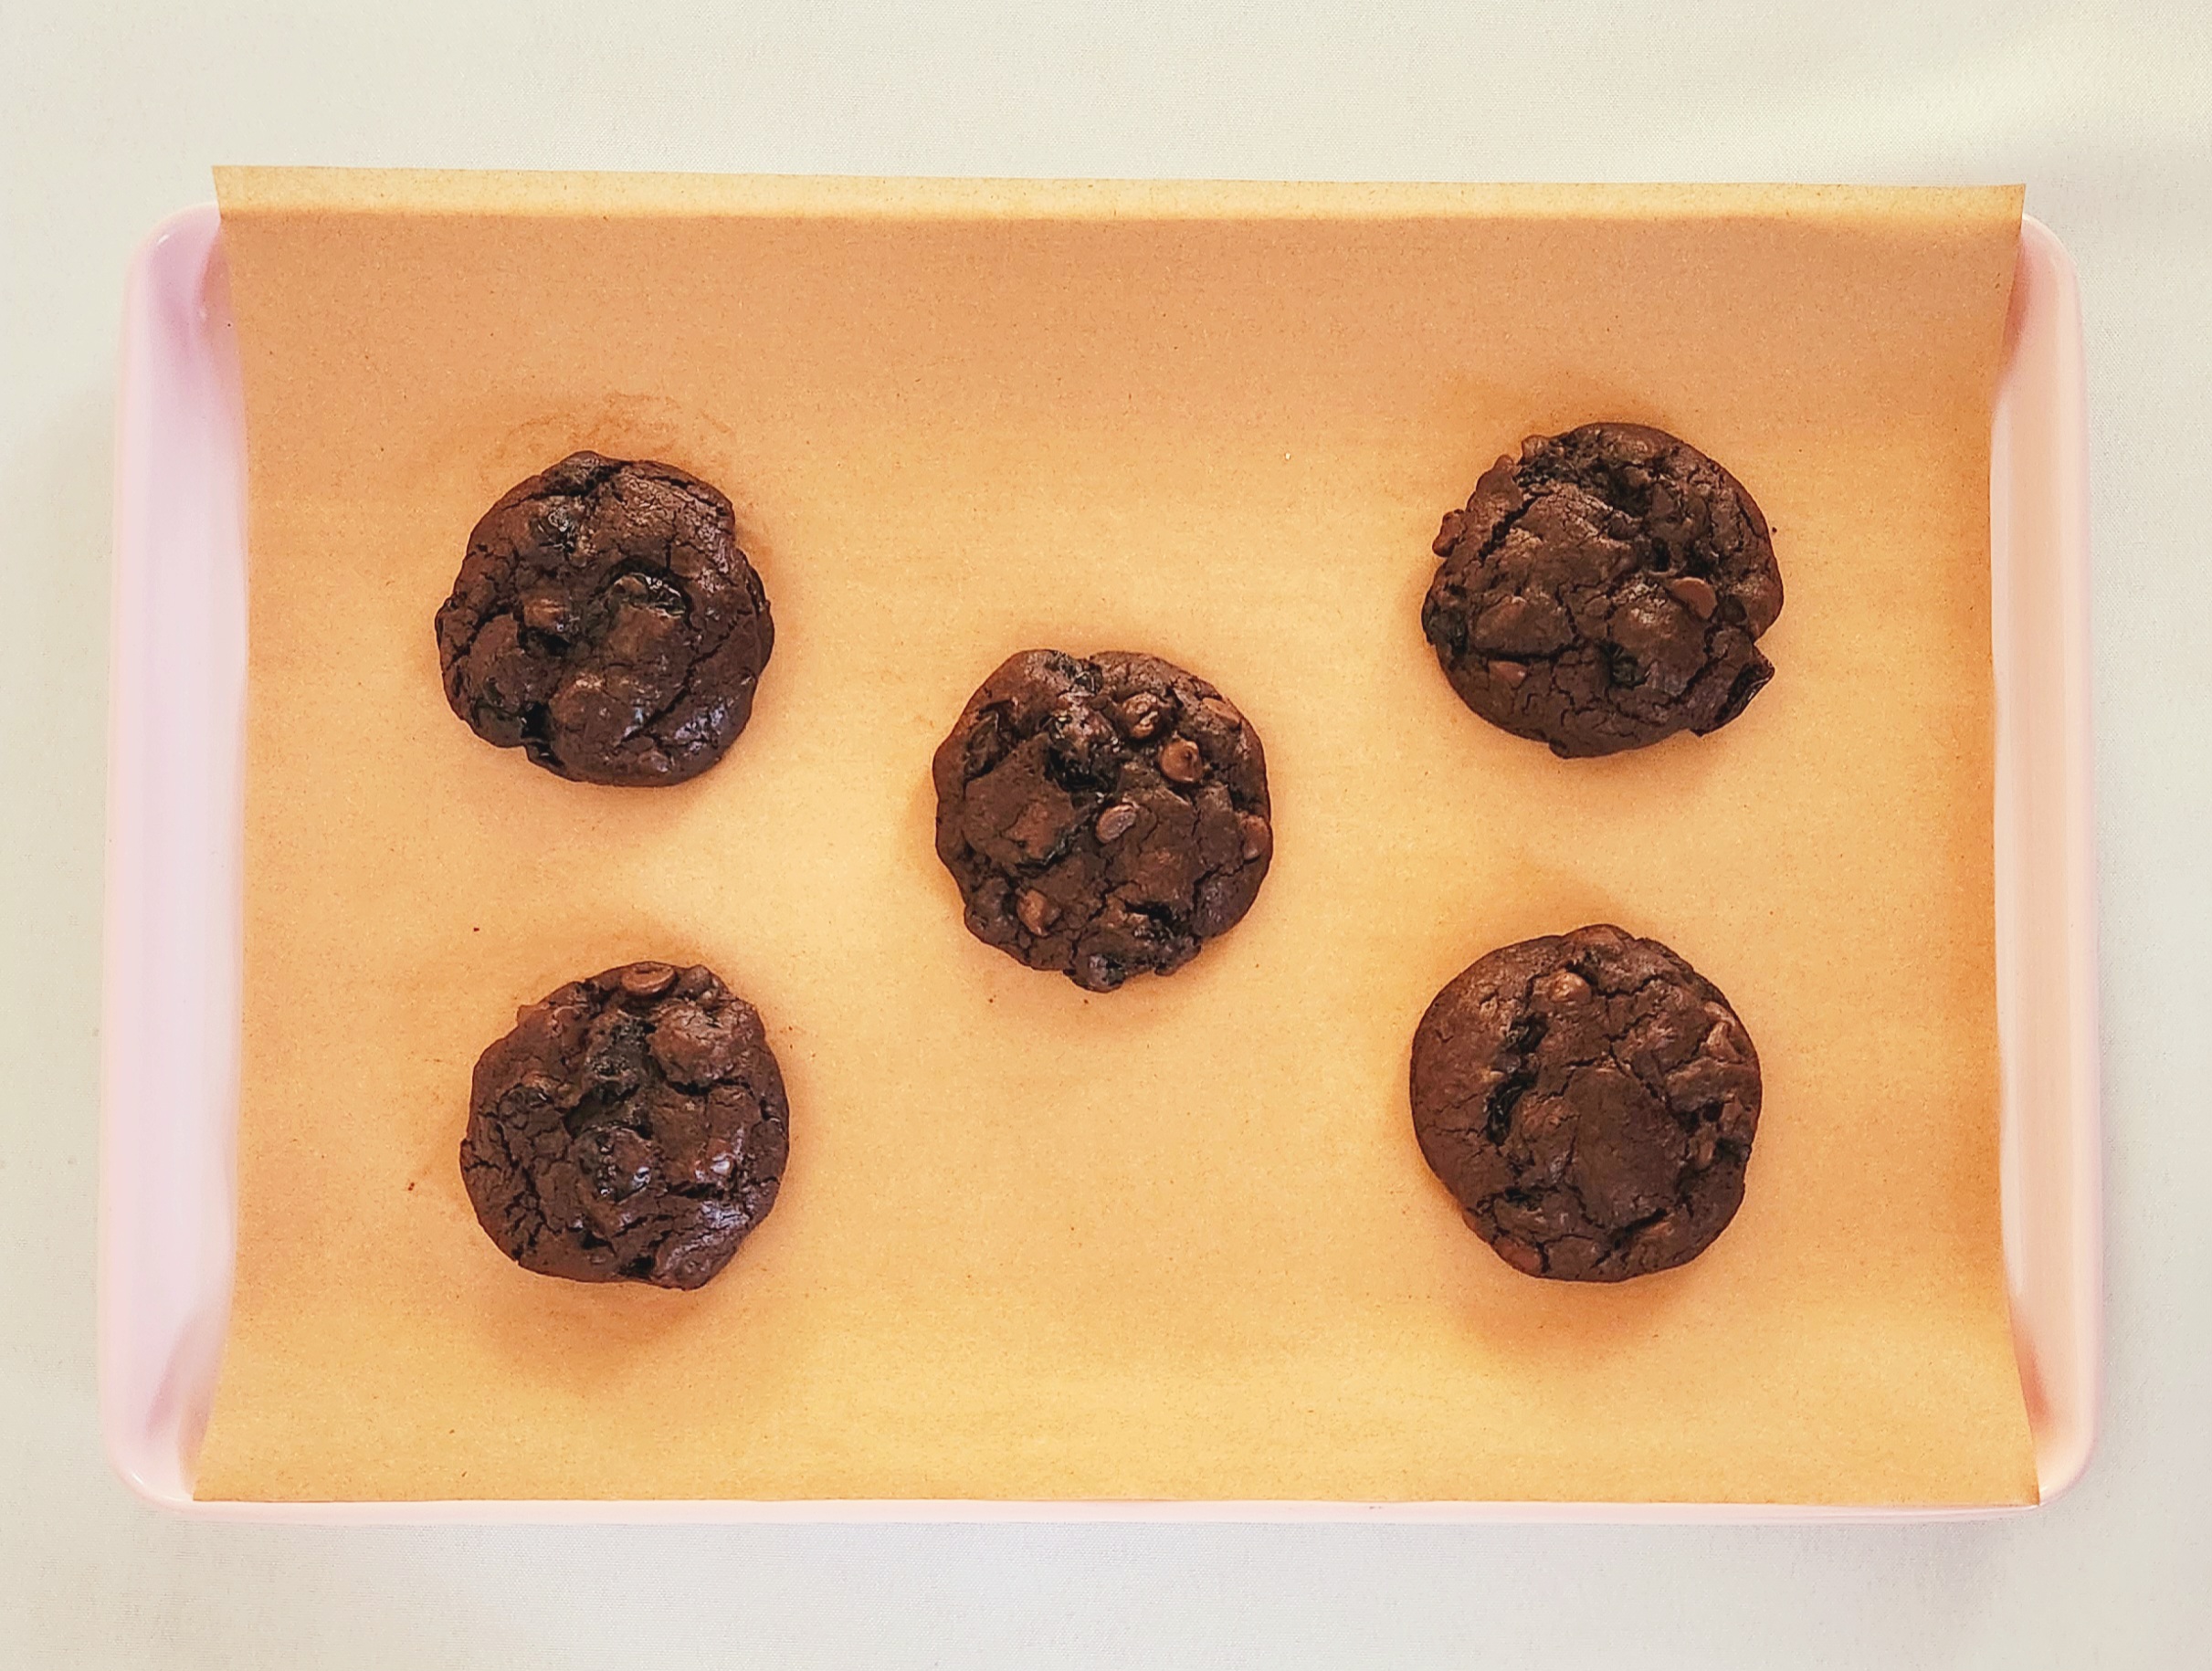
Bake for 7 minutes, then flip the pan around and bake for another 7 minutes before removing from the oven. Allow the cookies to rest on the pan for 2-3 minutes before transferring them to a cooling rack.
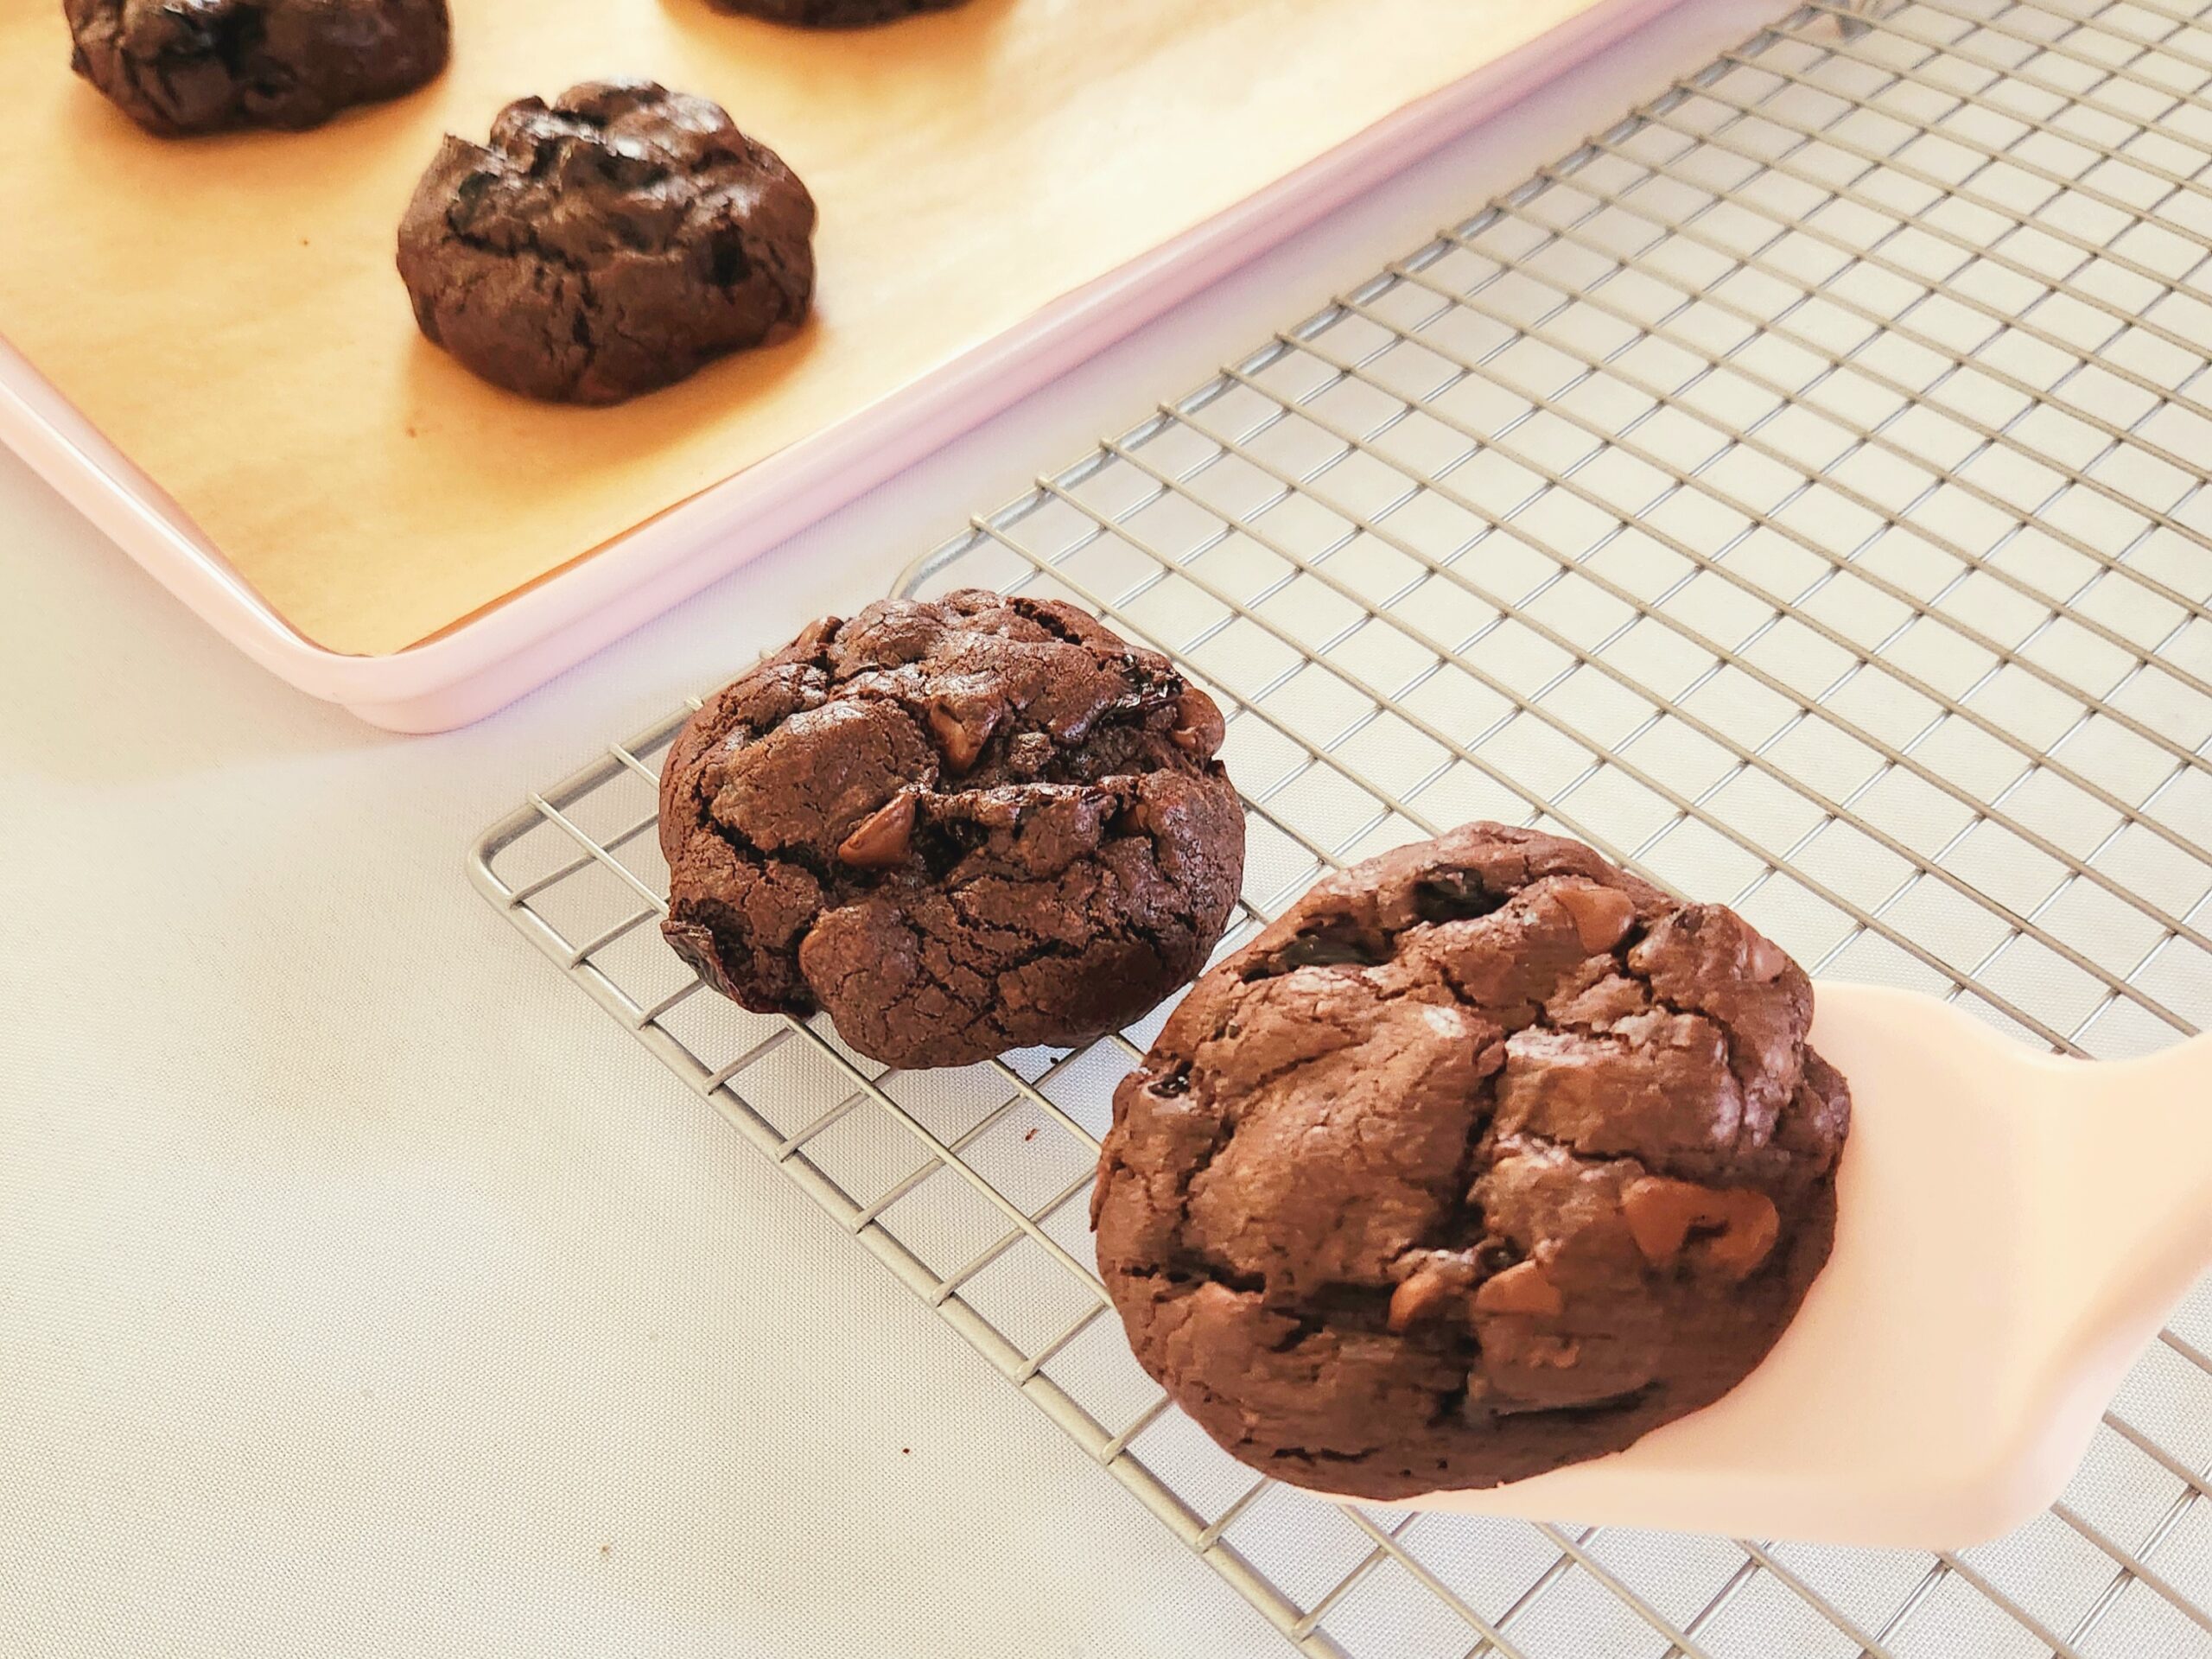
Allow the cookies to cool down to room temperature, and enjoy! Store them in either an airtight container or zip top gallon bag for up to 3 days.


Chocolate Cherry Cookies
Bake Time: 350F for 14 minutes
Servings: 18 Cookies
Total Time: 2 hours 12 minutes
Prep Time: 30 Minutes
Ingredients:
- 2/3 cup dutch processed cocoa powder
- 3.5 oz dark chocolate bar, chopped
- 12 Tablespoons unsalted butter
- 2 cups all-purpose flour
- 1 teaspoon salt
- 1 teaspoon baking powder
- 1/2 teaspoon baking soda
- 1 cup granulated sugar
- 3 large eggs, room temperature
- 1 teaspoon vanilla
- 1 1/2 cups semisweet chocolate chips
- 2 cups dried cherries
Directions:
- Begin by blooming the cocoa powder. In a small heat safe mixing bowl, add the chopped dark chocolate bar and sift in the cocoa powder. Place the butter in a small sauce pan and heat it on the stove top until it melts and
- begins to bubble, then immediately pour the hot butter over the chocolate and cocoa powder. Cover the bowl (I use a large plate or aluminum foil) and allow it to sit for 5 minutes.
- In a small mixing bowl, whisk together the flour, salt, baking powder, and baking soda. Set this aside.
- Uncover the blooming chocolate bowl, and gently stir the contents together using a rubber spatula until they come together in one homogeneous, glossy mixture. Set this aside to cool down for around 5 minutes, uncovered.
- In a large mixing bowl, whisk together the sugar, vanilla, and room temperature eggs. Pour the chocolate and butter mixture into the egg mixture, scraping the sides with a rubber spatula to add as much as you can get in there, and gently whisk it together.
- Toss the dry goods into the chocolate mixture and gently stir them together with a rubber spatula to form the dough. Once a few streaks of flour remain, add in the chocolate chips and dried cherries. Fold them into the dough, then cover the bowl with plastic wrap in refrigerate it for at least 1 hour, or up to 2 days.
- Preheat the oven to 350F, and line two baking sheets with either parchment paper or silicone baking mats.
- Scoop 6 4-Tablespoon (1/4 cup) portions of dough onto each baking sheet. Roll each portion into a ball, then flatten that ball slightly into a 1-inch thick puck. Space the pucks around 2 inches apart, and place one sheet at a time in the oven.
- Bake for 7 minutes, then flip the pan around and bake for another 7 minutes before removing from the oven. Let the cookies rest on the pan for 2-3 minutes before transferring them to a cooling rack. Allow the cookies to cool down to room temperature, and enjoy! Store them in either an airtight container or zip top gallon bag for up to 3 days.
Tips
- If your dried cherries are so dry they’re like little rocks, they can be re-hydrated! Place the desired amount of cherries in a heat safe bowl and cover them in boiling water. Allow them to sit for 2-3 minutes, then drain the hot water out. Cool them down quickly by rinsing them in cold water, then drain and empty them onto a thick layer of paper towels or a kitchen towel. Cover the top with another layer of paper towels or kitchen towel to pat them dry and voila, salvaged overly dried fruit!
- Freeze the dough to pull and bake at your discretion whenever the mood for a freshly baked cookie strikes you! Freeze portioned out pucks of dough on a sheet tray, then once solid transfer them over to a freezer safe bag. Pull and bake the desired amount from a frozen state at 350F for 16-18 minutes, spaced 2 inches apart on a parchment lined baking sheet, flipping the pan halfway through.
- To quickly bring your eggs up to room temperature, place them in a bowl and cover them with the hottest water that will come out of your tap, making sure the water reaches about an inch or so above the top of the eggs. Do this at the very beginning of your baking journey, and by the time you need them, they’ll have reached the required temperature!


0 Comments