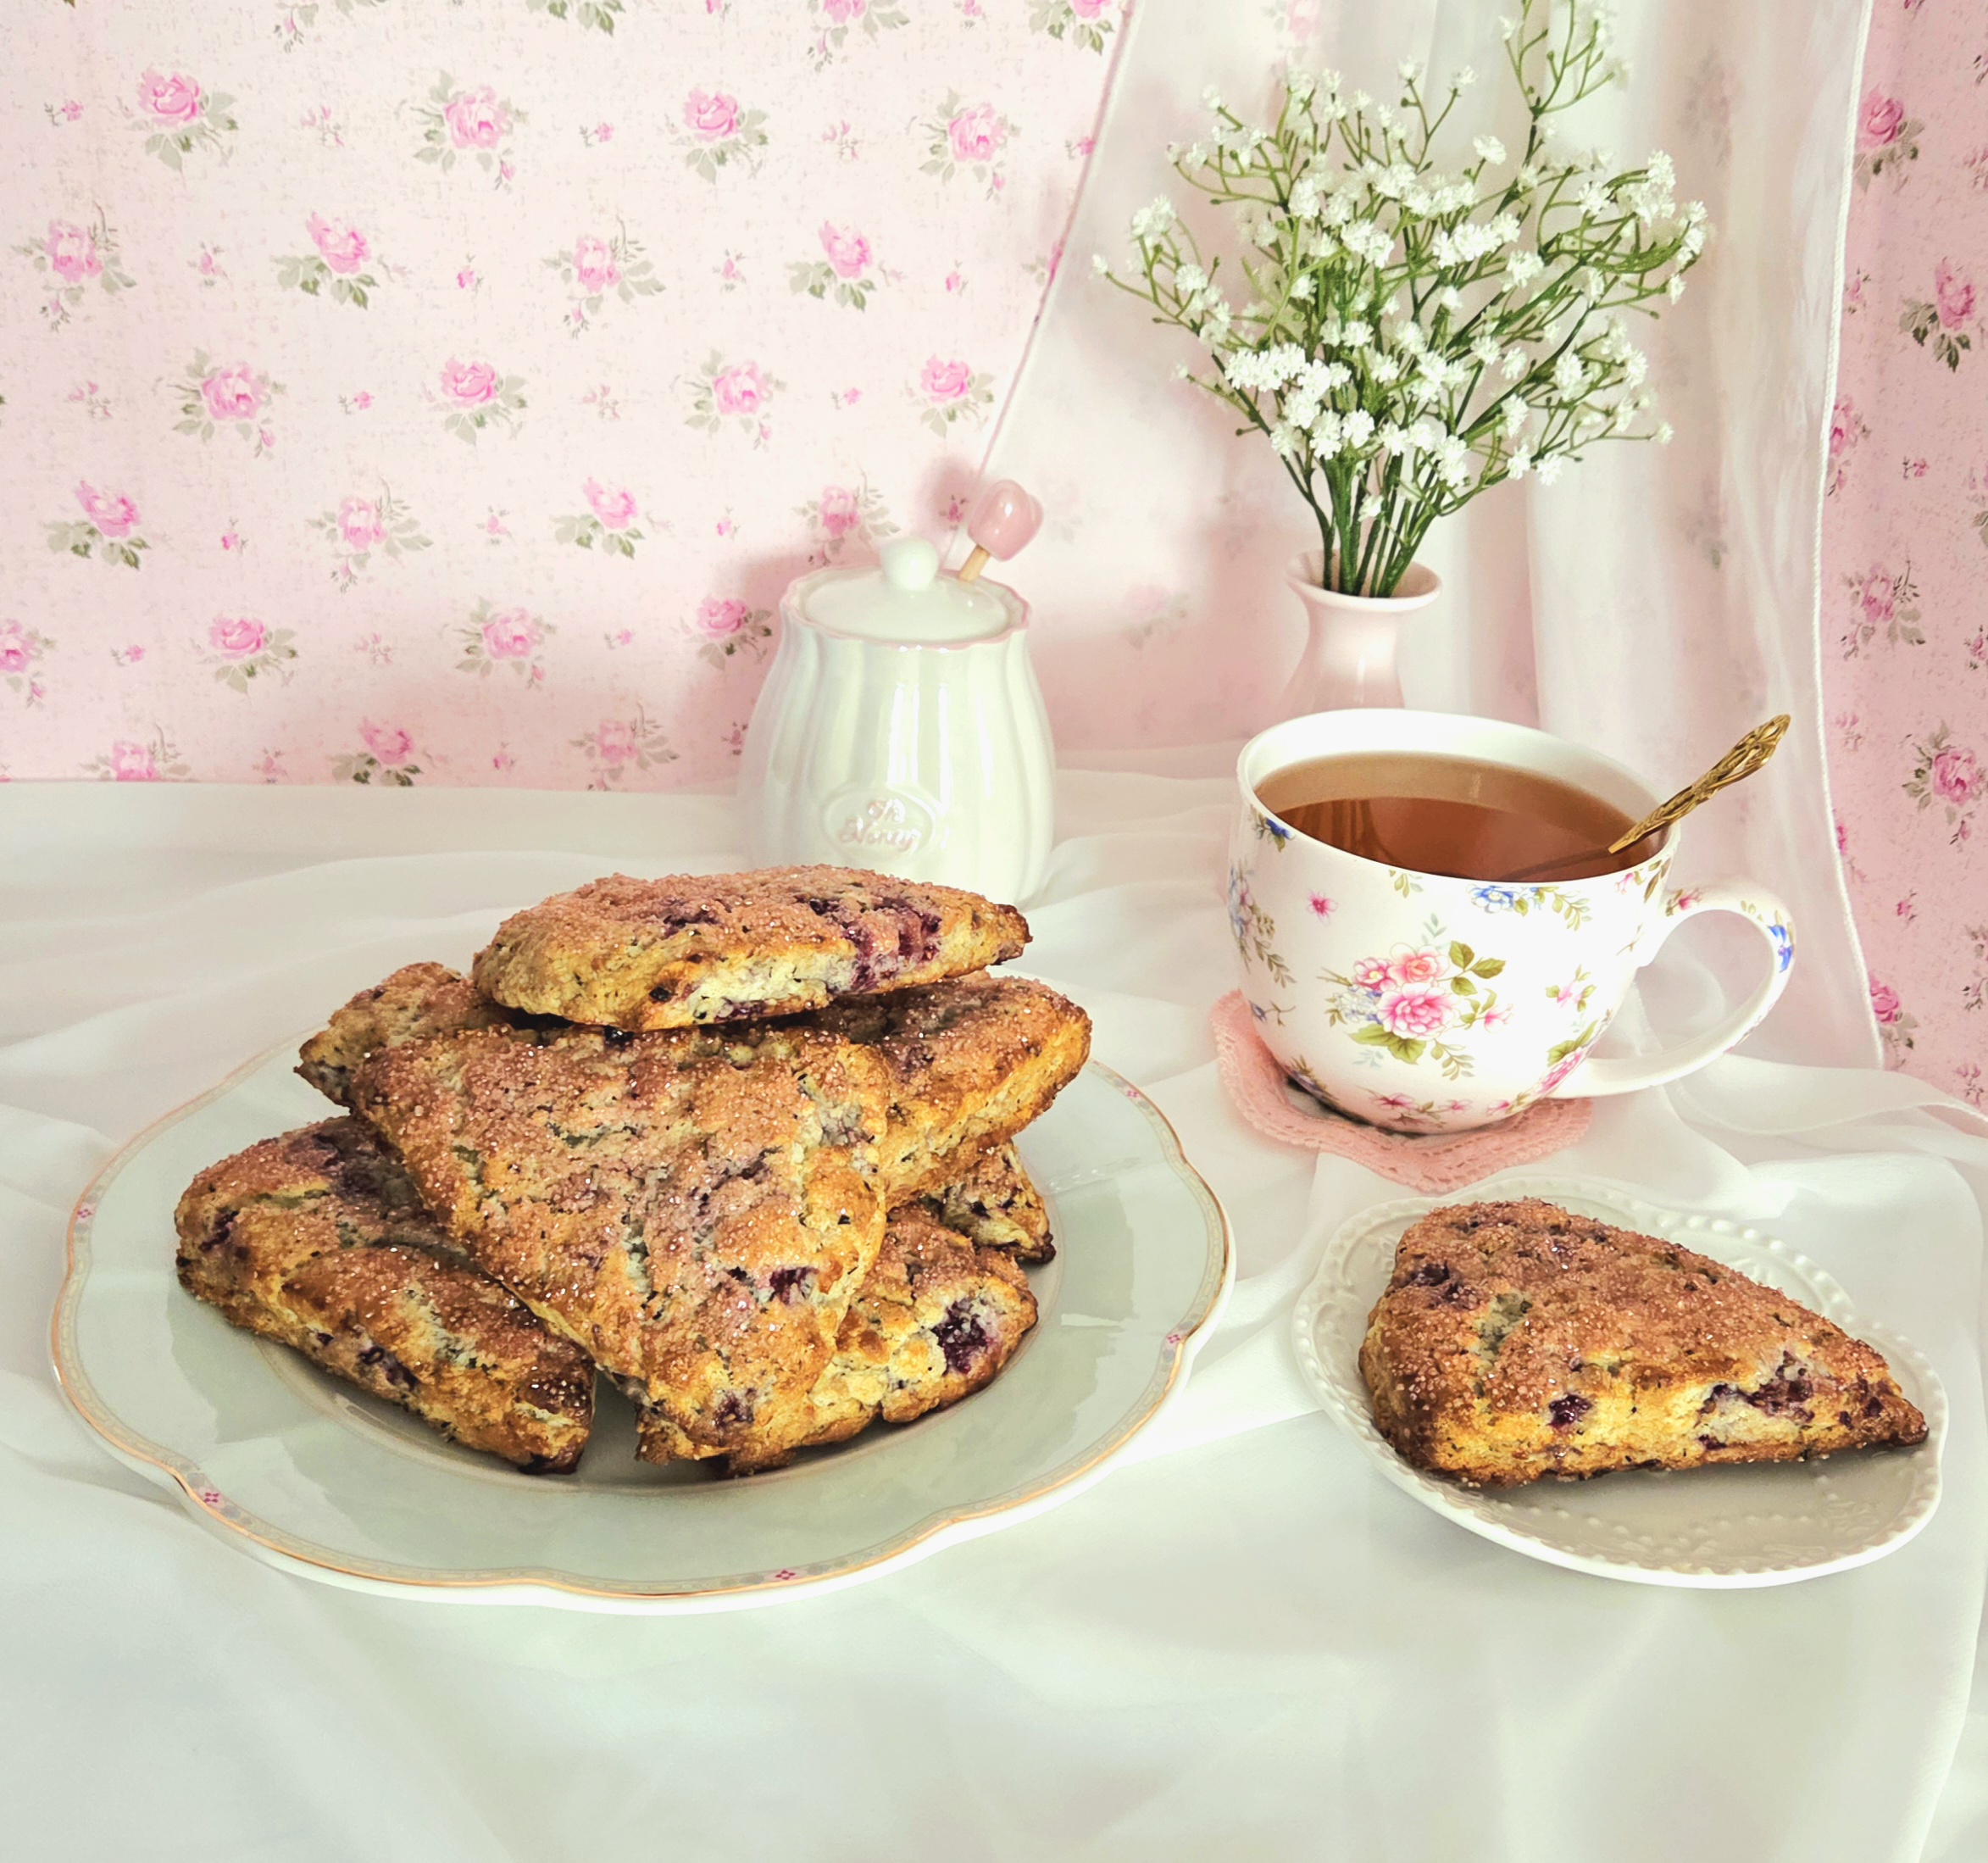

Anyone who knows me can tell you, I love to feel fancy. From the silk robe I wear to get ready for my day all the way to the beautiful dishware I use every day, I love to romanticize my life. Anything that leads to my feeling chic, elegant, and expensive. I don’t believe in saving the best that you have for a special occasion, you are the special occasion.
One of the romantic activities I like to do that’s easier than you may think? Preparing a high tea for myself (though with lemonade, not tea. I just can’t do it.) Finger sandwiches, madelines, petit fours, and of course, scones. Some elements, like macarons, I completely understand purchasing rather than preparing yourself. It’s more advanced and when you’re just trying to have a cozy, relaxing afternoon to yourself or with a few friends, you may not want the headache. But scones? Now, those are better made at home from scratch every time. And these earl grey blackberry scones definitely fit the fancy bill.
Store bought scones, even if they come from a bakery, are often incredibly dry and crumbly. They heavily rely on additives like clotted cream and jam, or a drink to dip them into like tea, to be edible. If a pastry can’t be enjoyed on its own without hefty support, can you really say it’s good? These scones are anything but dry. They’re moist and tender, with a crisp exterior and soft, fragrant interior. The burst of juicy blackberries pairs beautifully with the aromatic tea. The perfect pastry to serve at your own high tea, brunch, or picnic.
FAQs and Science
Why chill the cream while the tea steeps?
It’s important for the butter in the dough to stay cold. If the cream is warm when you add it in, it will melt the butter, which will make for a heavy, greasy scone later on.
I don’t own a pastry blender, is there another technique I could use for the butter?
Absolutely! If you own a food processor, you could pulse the butter into the dry goods using that. You could also freeze the butter and grate it into the dough. I’m not big on this technique, as I was cursed with very warm hands so the butter ends up melting on the outside halfway through grating. But if your hands are on the cooler side, this technique works fine!
Is there a reason to chop the blackberries before adding them into the dough?
Yes! Fresh fruit in any baked good means a pocket of moisture in that spot. If the pieces are too large, your scones will end up soggy. No one wants a soggy pastry.
Could these be cut into circles, instead of triangles?
Technically, that’s the traditional method for making scones. So if it’s important to you for them to be circular instead of triangular, they’re your scones and you can do what you want. I prefer doing triangles because I don’t have to keep rerolling the dough, which makes for a tougher dough every time you do. I just make one circle and cut the one circle into 8 scones, leaving the inside soft and tender.
What does brushing the tops with more cream do?
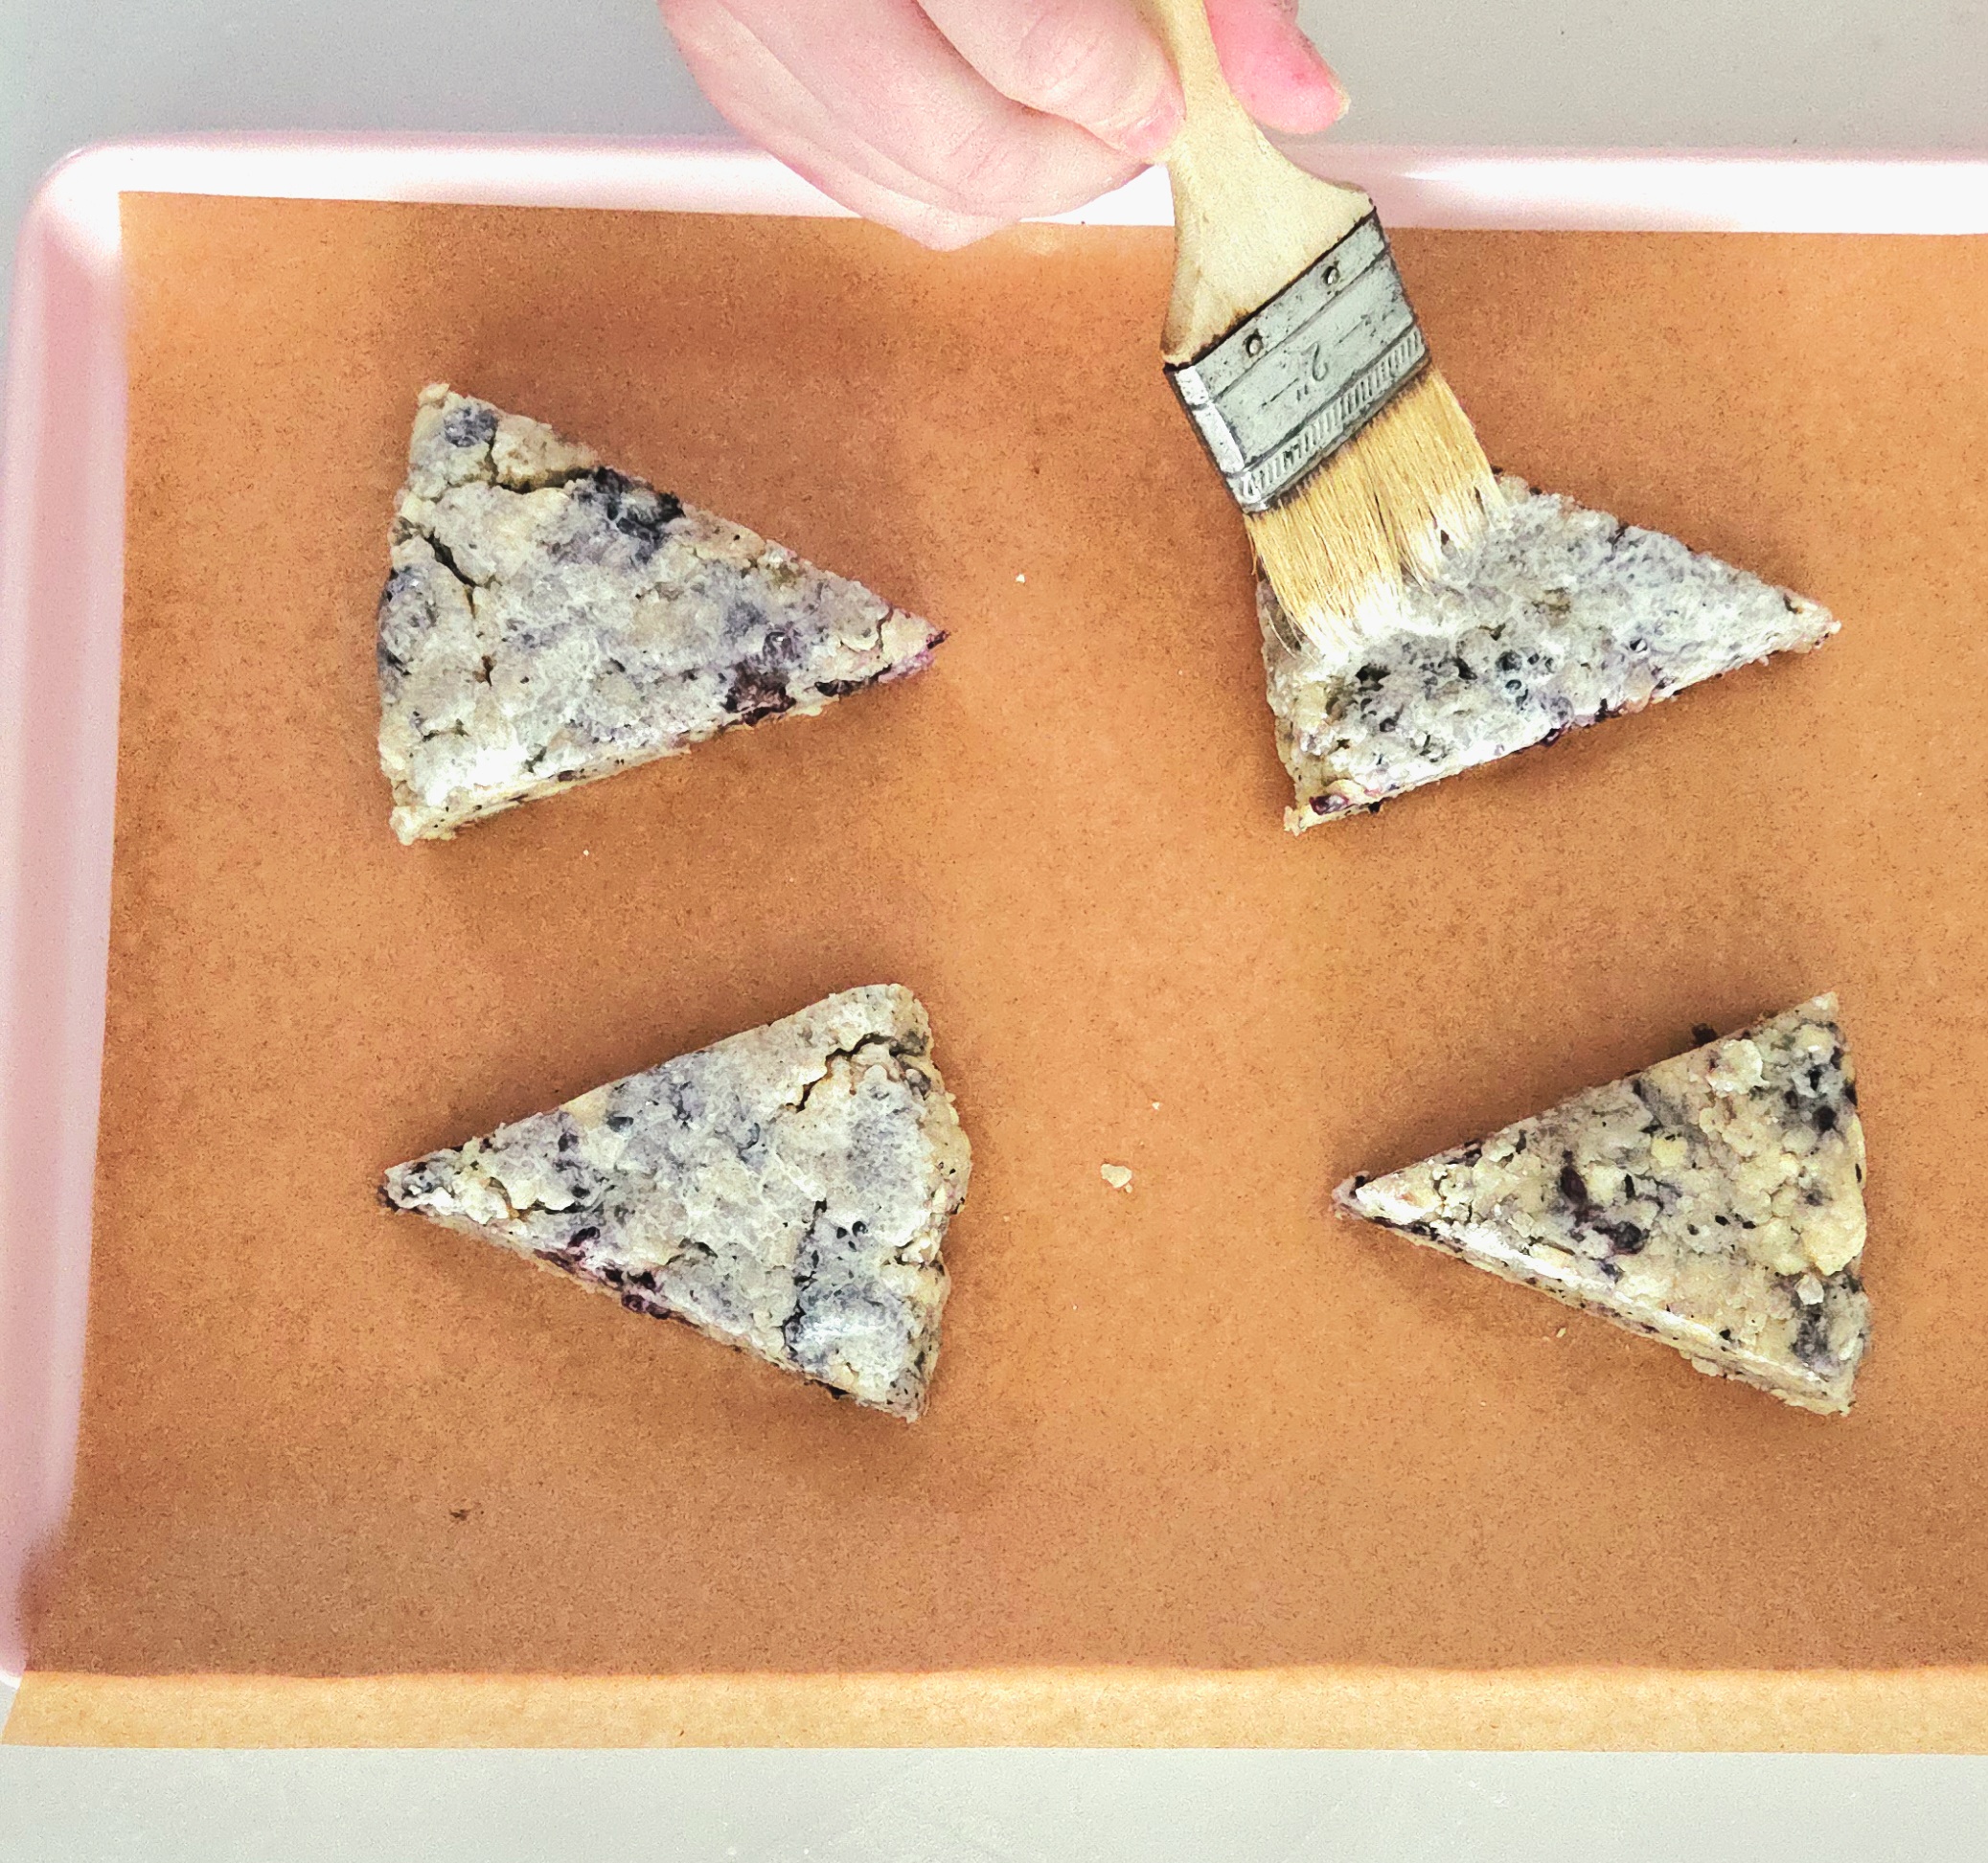
Brushing the tops with a bit of cream helps the scones to brown, and if you’re adding sparkling sugar, gives that something to stick to.
What You’ll Need
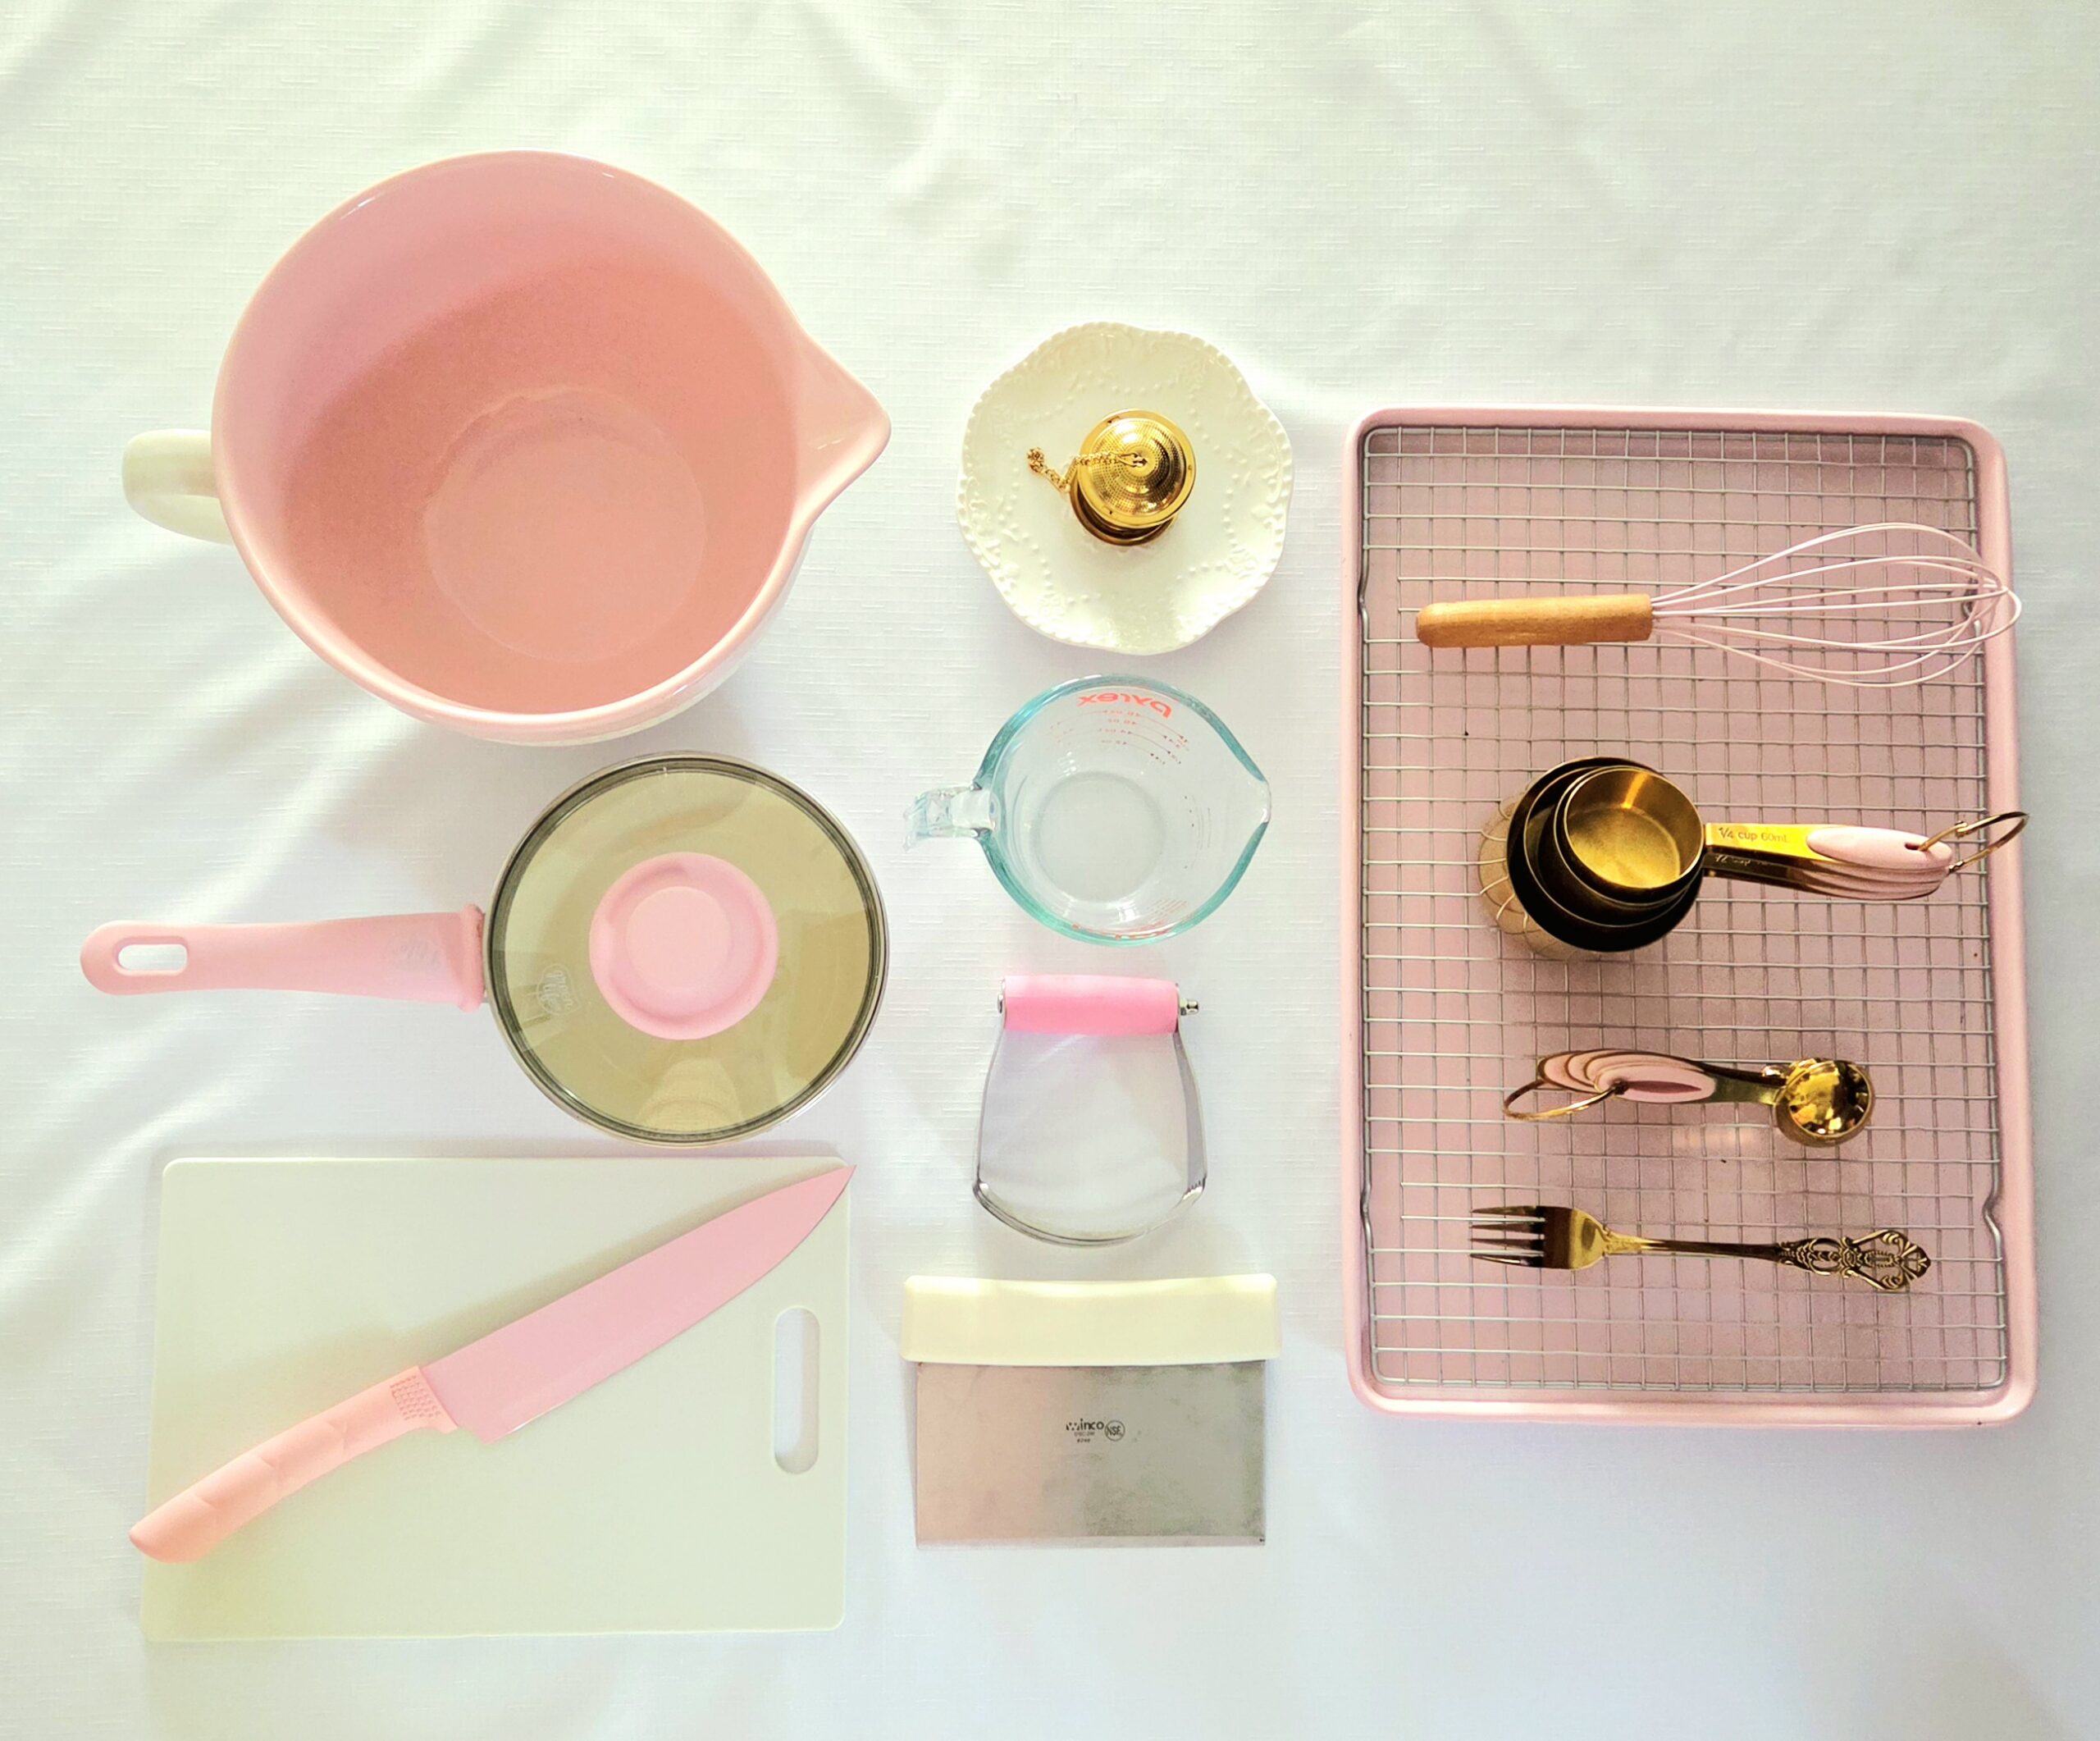
- 2 baking sheets
- Parchment paper or 2 silicone baking mats
- Plastic wrap
- Large mixing bowl
- Small saucepan
- Small dish
- Dry measuring cups
- Liquid measuring cup
- Measuring spoons
- Whisk
- Pastry blender
- Pastry brush
- Chef’s knife
- Bench scraper
- Cutting board
- Spatula
- Fork
- Cooling rack
The Process
Begin by infusing the tea into the cream. It will take a while for the flavor to develop, but it will be worth it in the end. Heat the cream in a small saucepan over medium low heat, until it’s simmering but hasn’t come to a full boil. Anyone who’s boiled dairy knows it will end up everywhere. Remove the cream from the heat, place two teabags into the hot cream, cover it, and place it in the fridge.
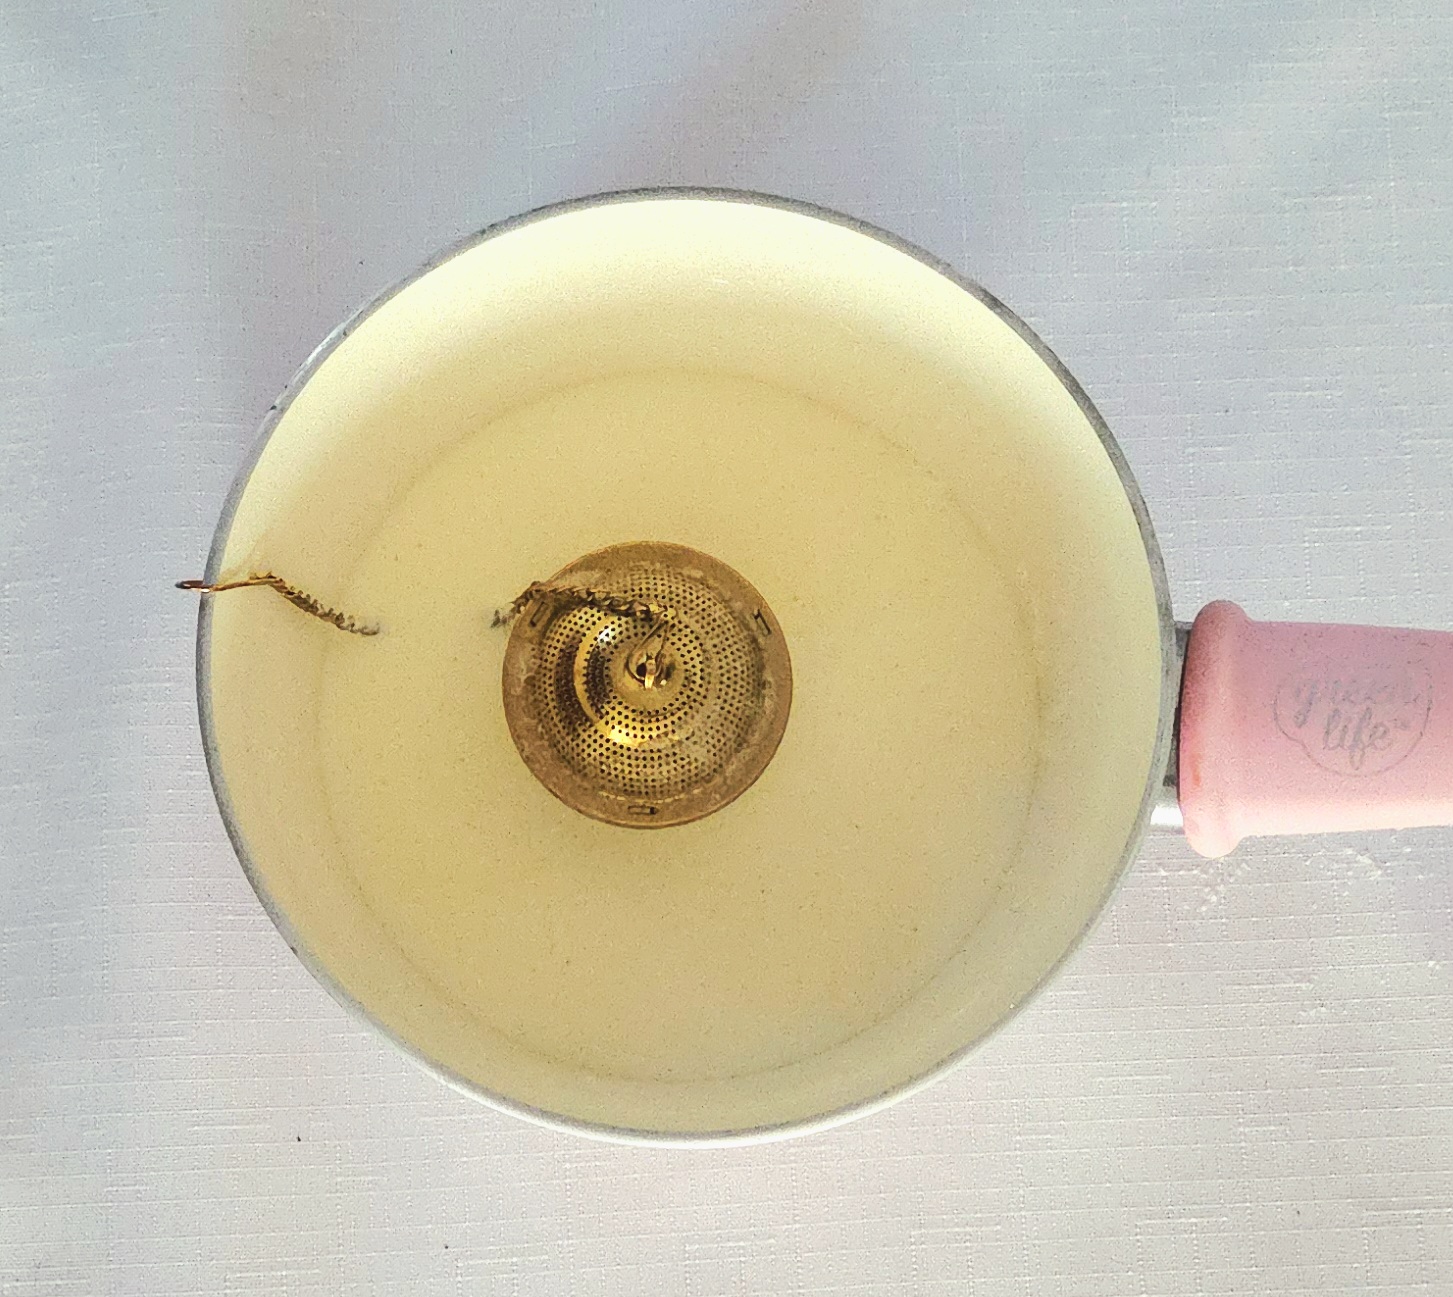
It needs to steep and chill for a minimum of 1 hour for flavor development, but could take longer to chill completely. It’s important for the cream to be cold before adding it to the dough, otherwise the butter will melt and the scones will end up greasy.
Once the cream is finished chilling, preheat the oven to 425F, on the convection setting if possible. Position the rack in the center of the oven. Line two baking sheets with either parchment paper or silicone baking mats, then set them aside.
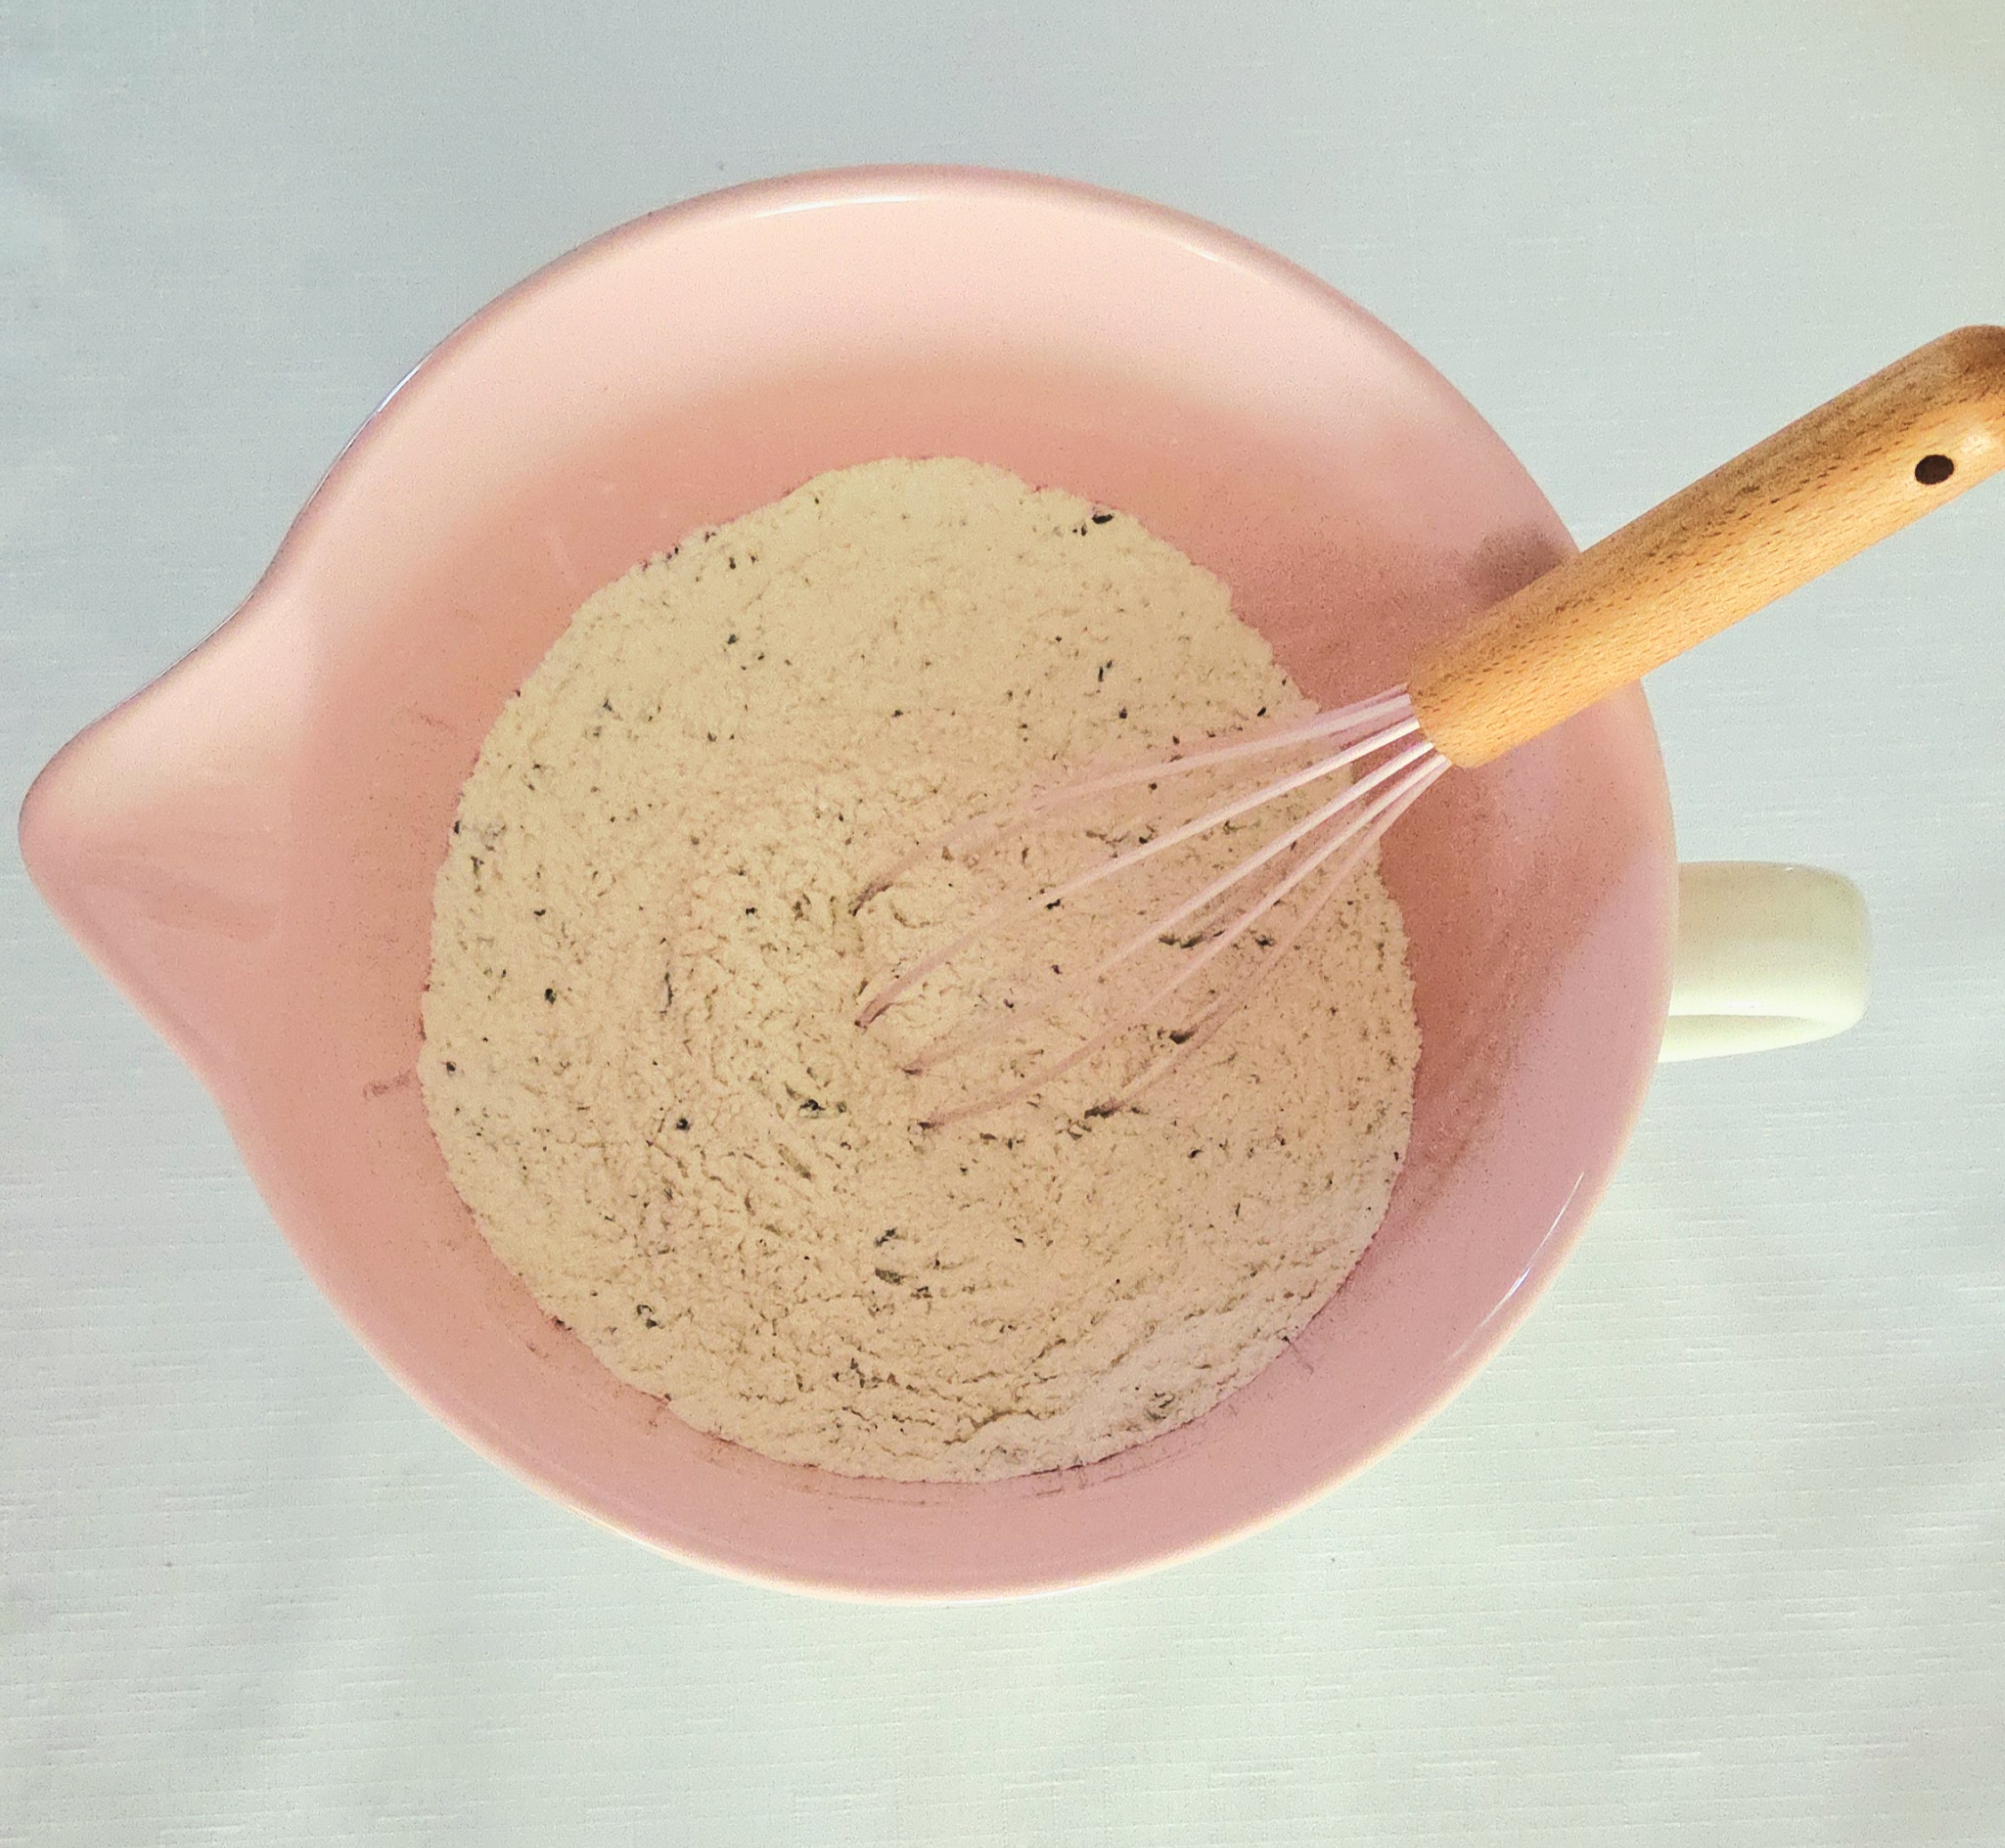
Whisk together the flour, sugar, baking powder, 1 Tablespoon of tea, and salt. Set the dry goods aside.
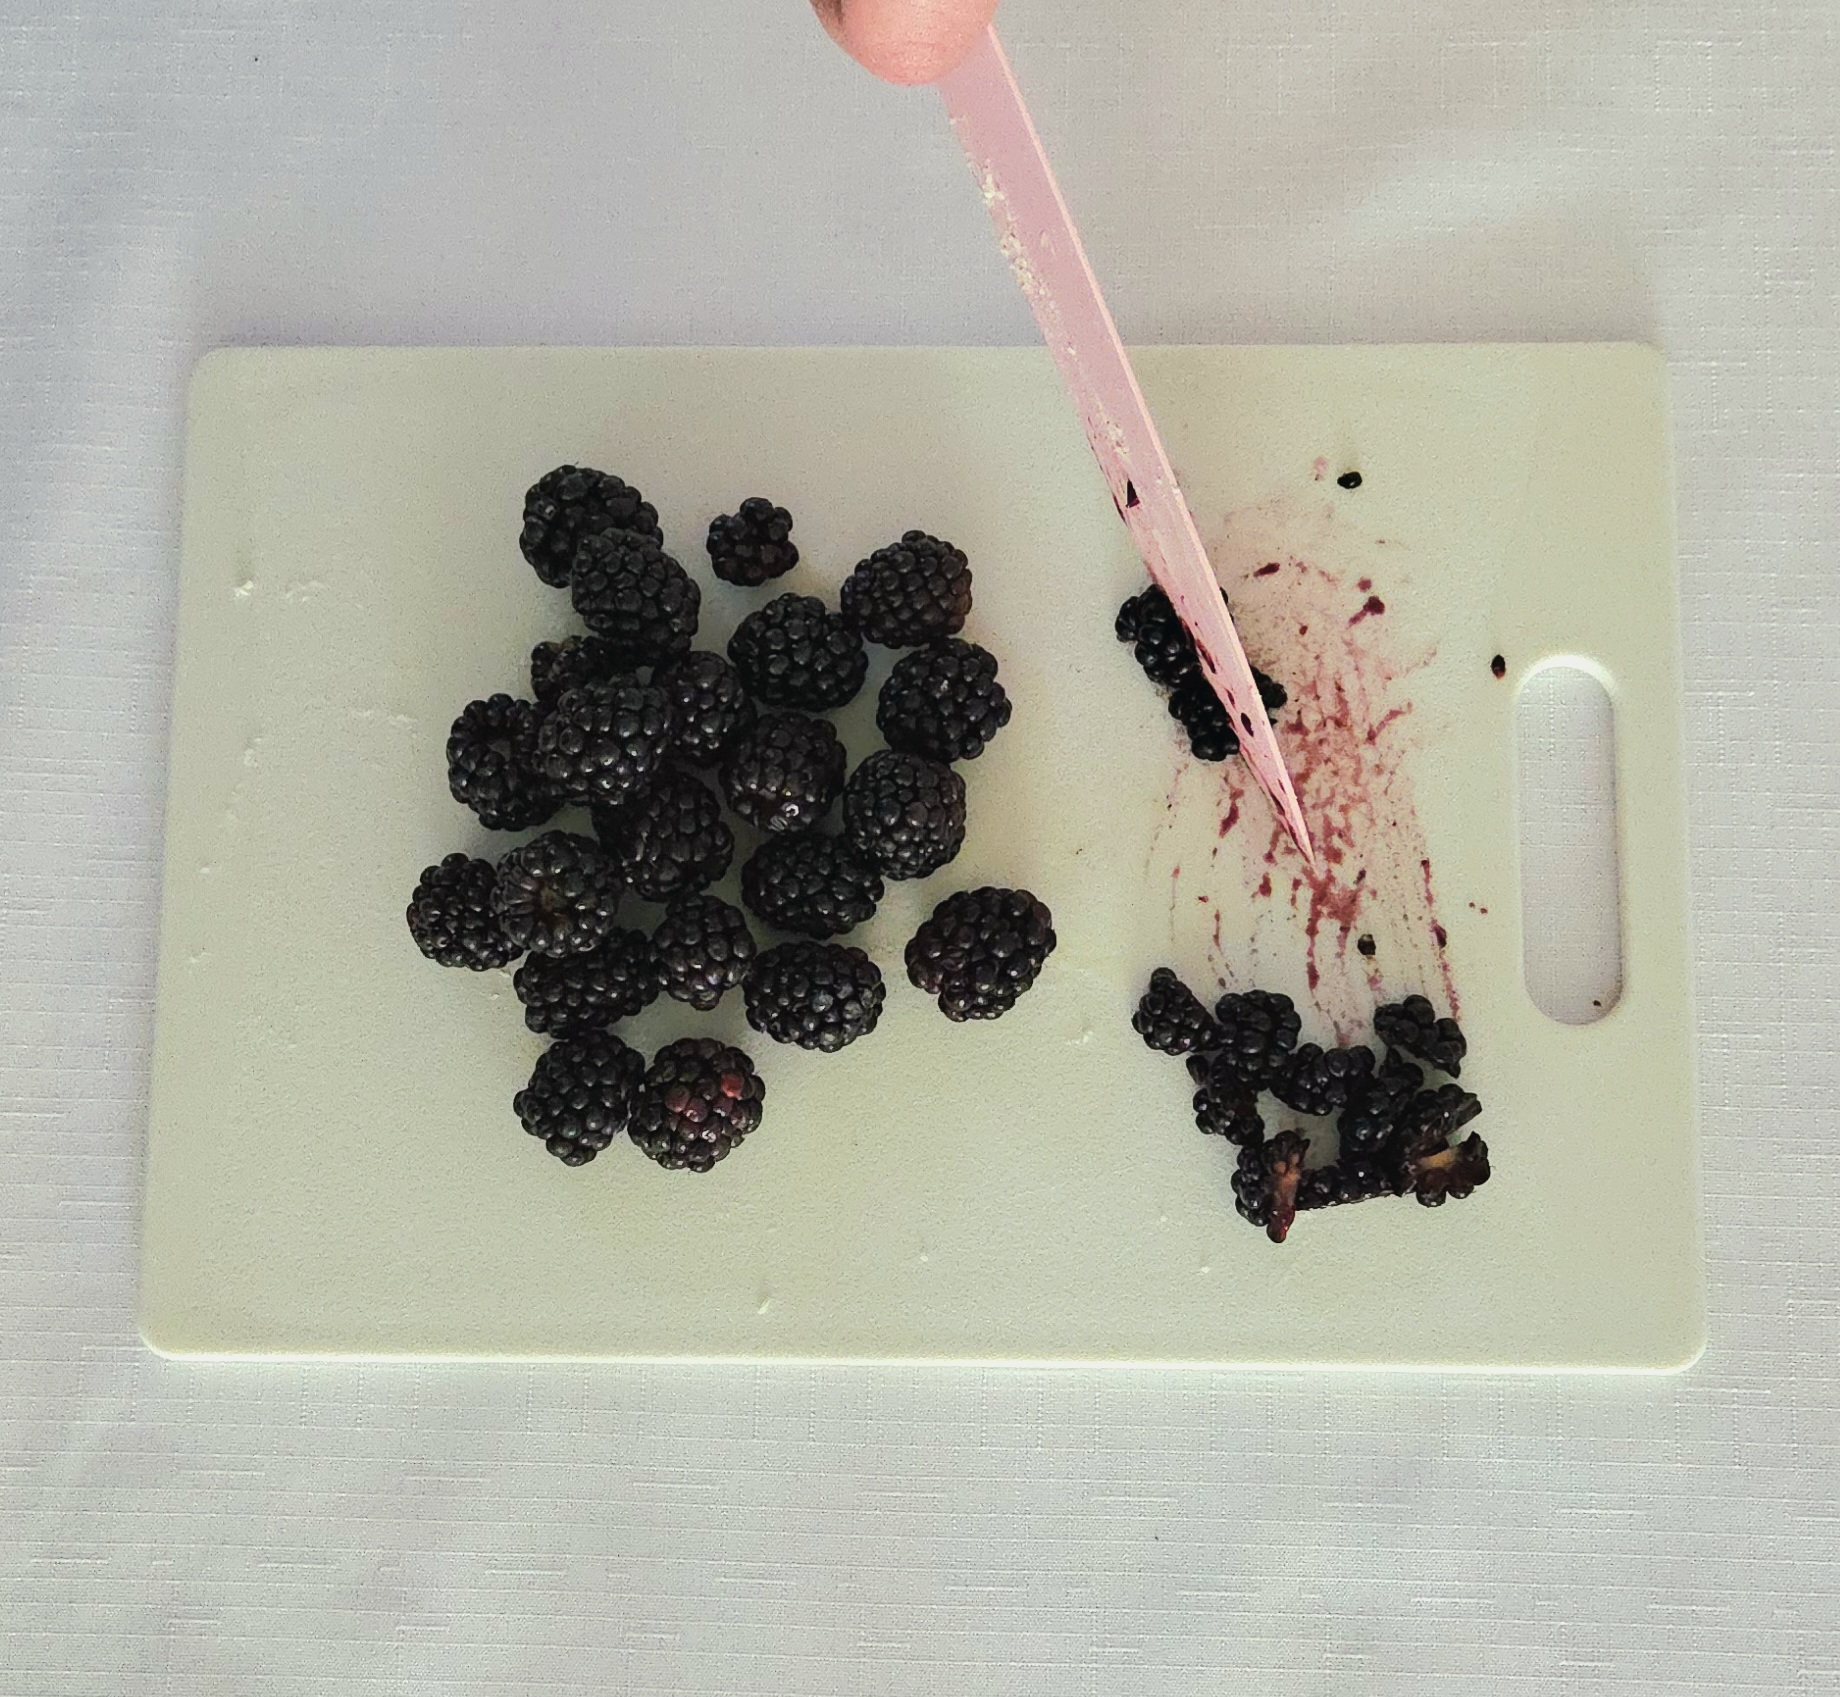
Give the berries a good chop, so the pieces are a tad bigger than the size of a chocolate chip. The smaller they are, the less moisture the blackberry can release in one spot. Lower concentration of moisture means a scone that isn’t wet. No one wants a wet scone, muffin, cookie etc. Put the blackberries in a bowl and keep them in the fridge until it’s time to add them in.
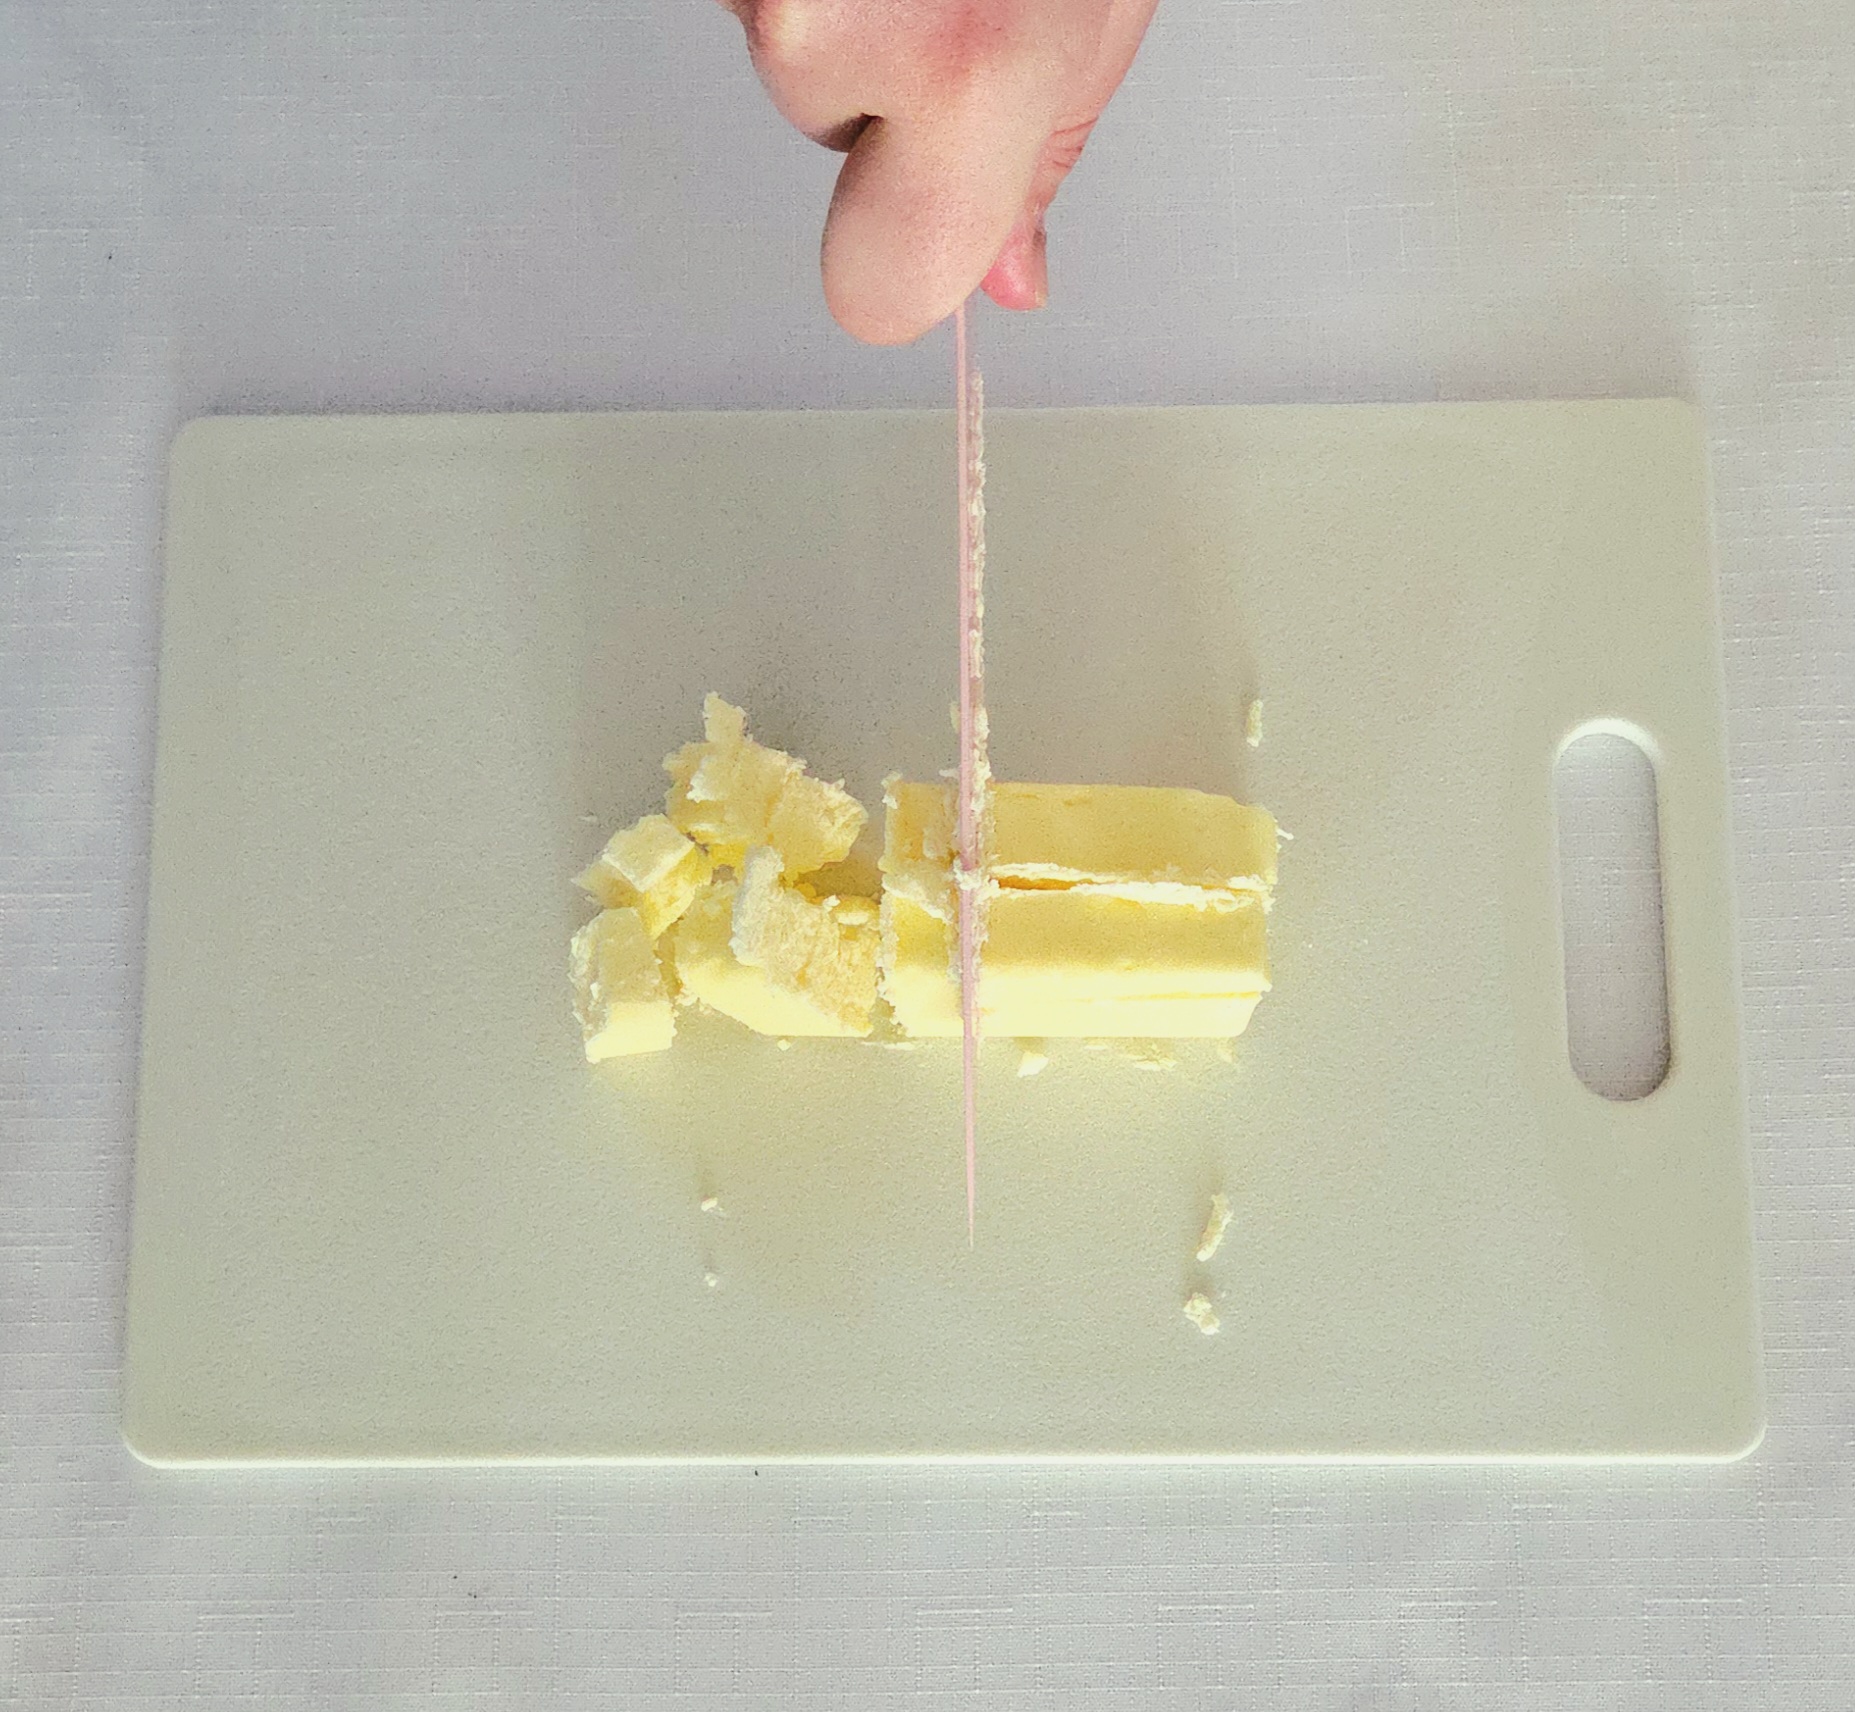
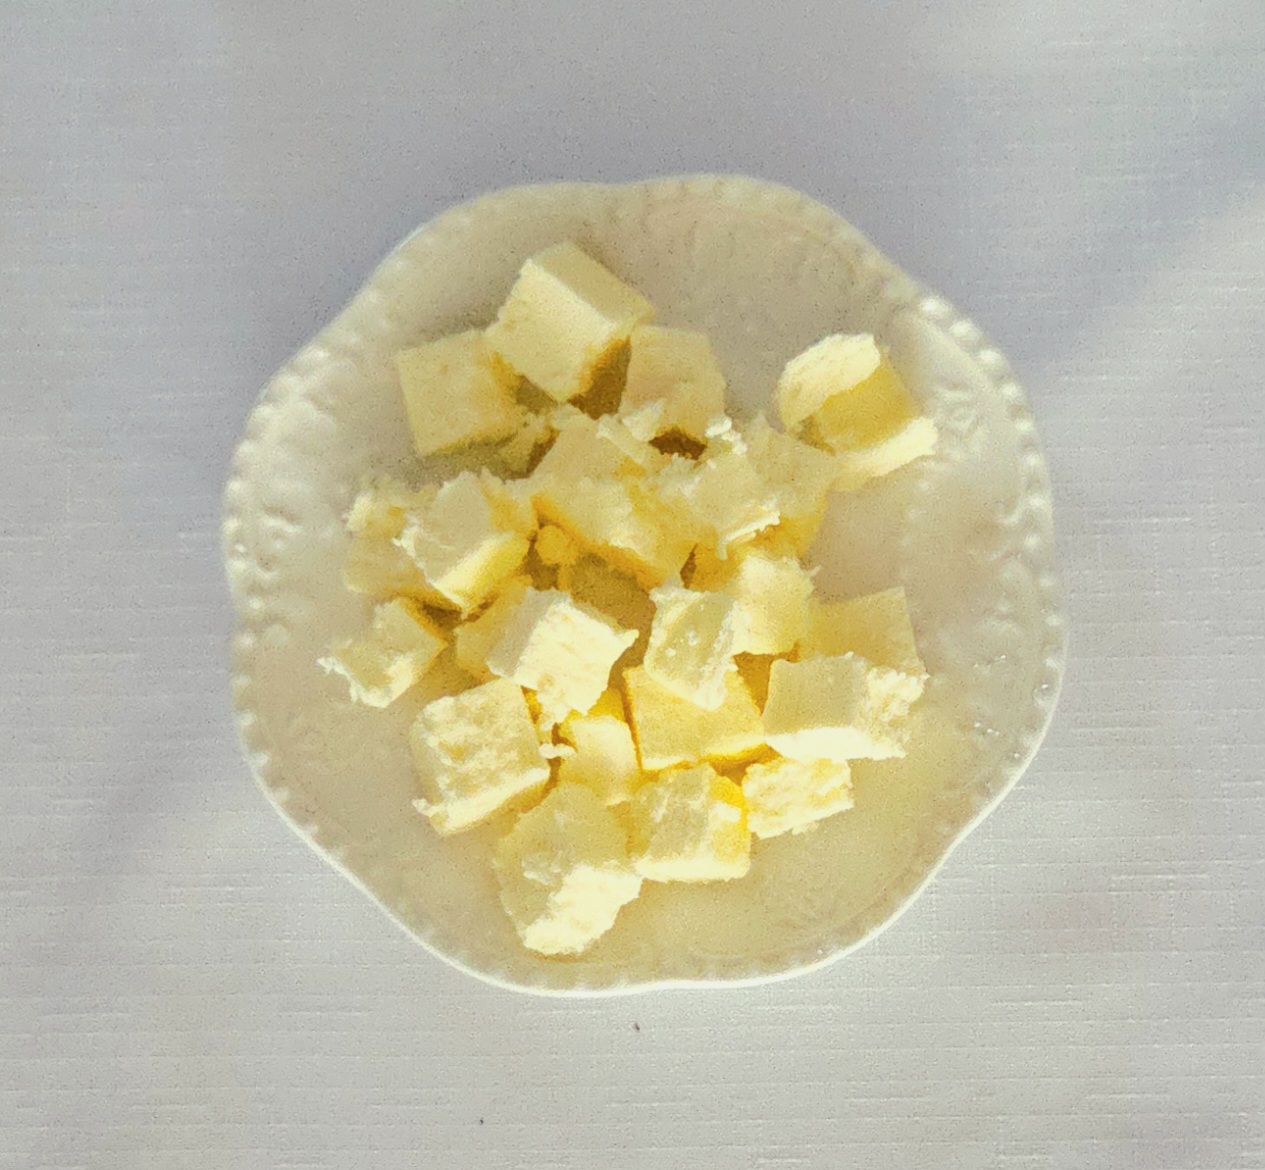
Now, for the butter. It’s important for it to stay cold, for the sake of the final texture of the scones. Cube the cold butter, then assuming it’s stayed cold, toss it into the dry goods. If, however, your kitchen is particularly warm so it’s begun to melt, place it into the freezer for a good 20 minutes to firm quickly.
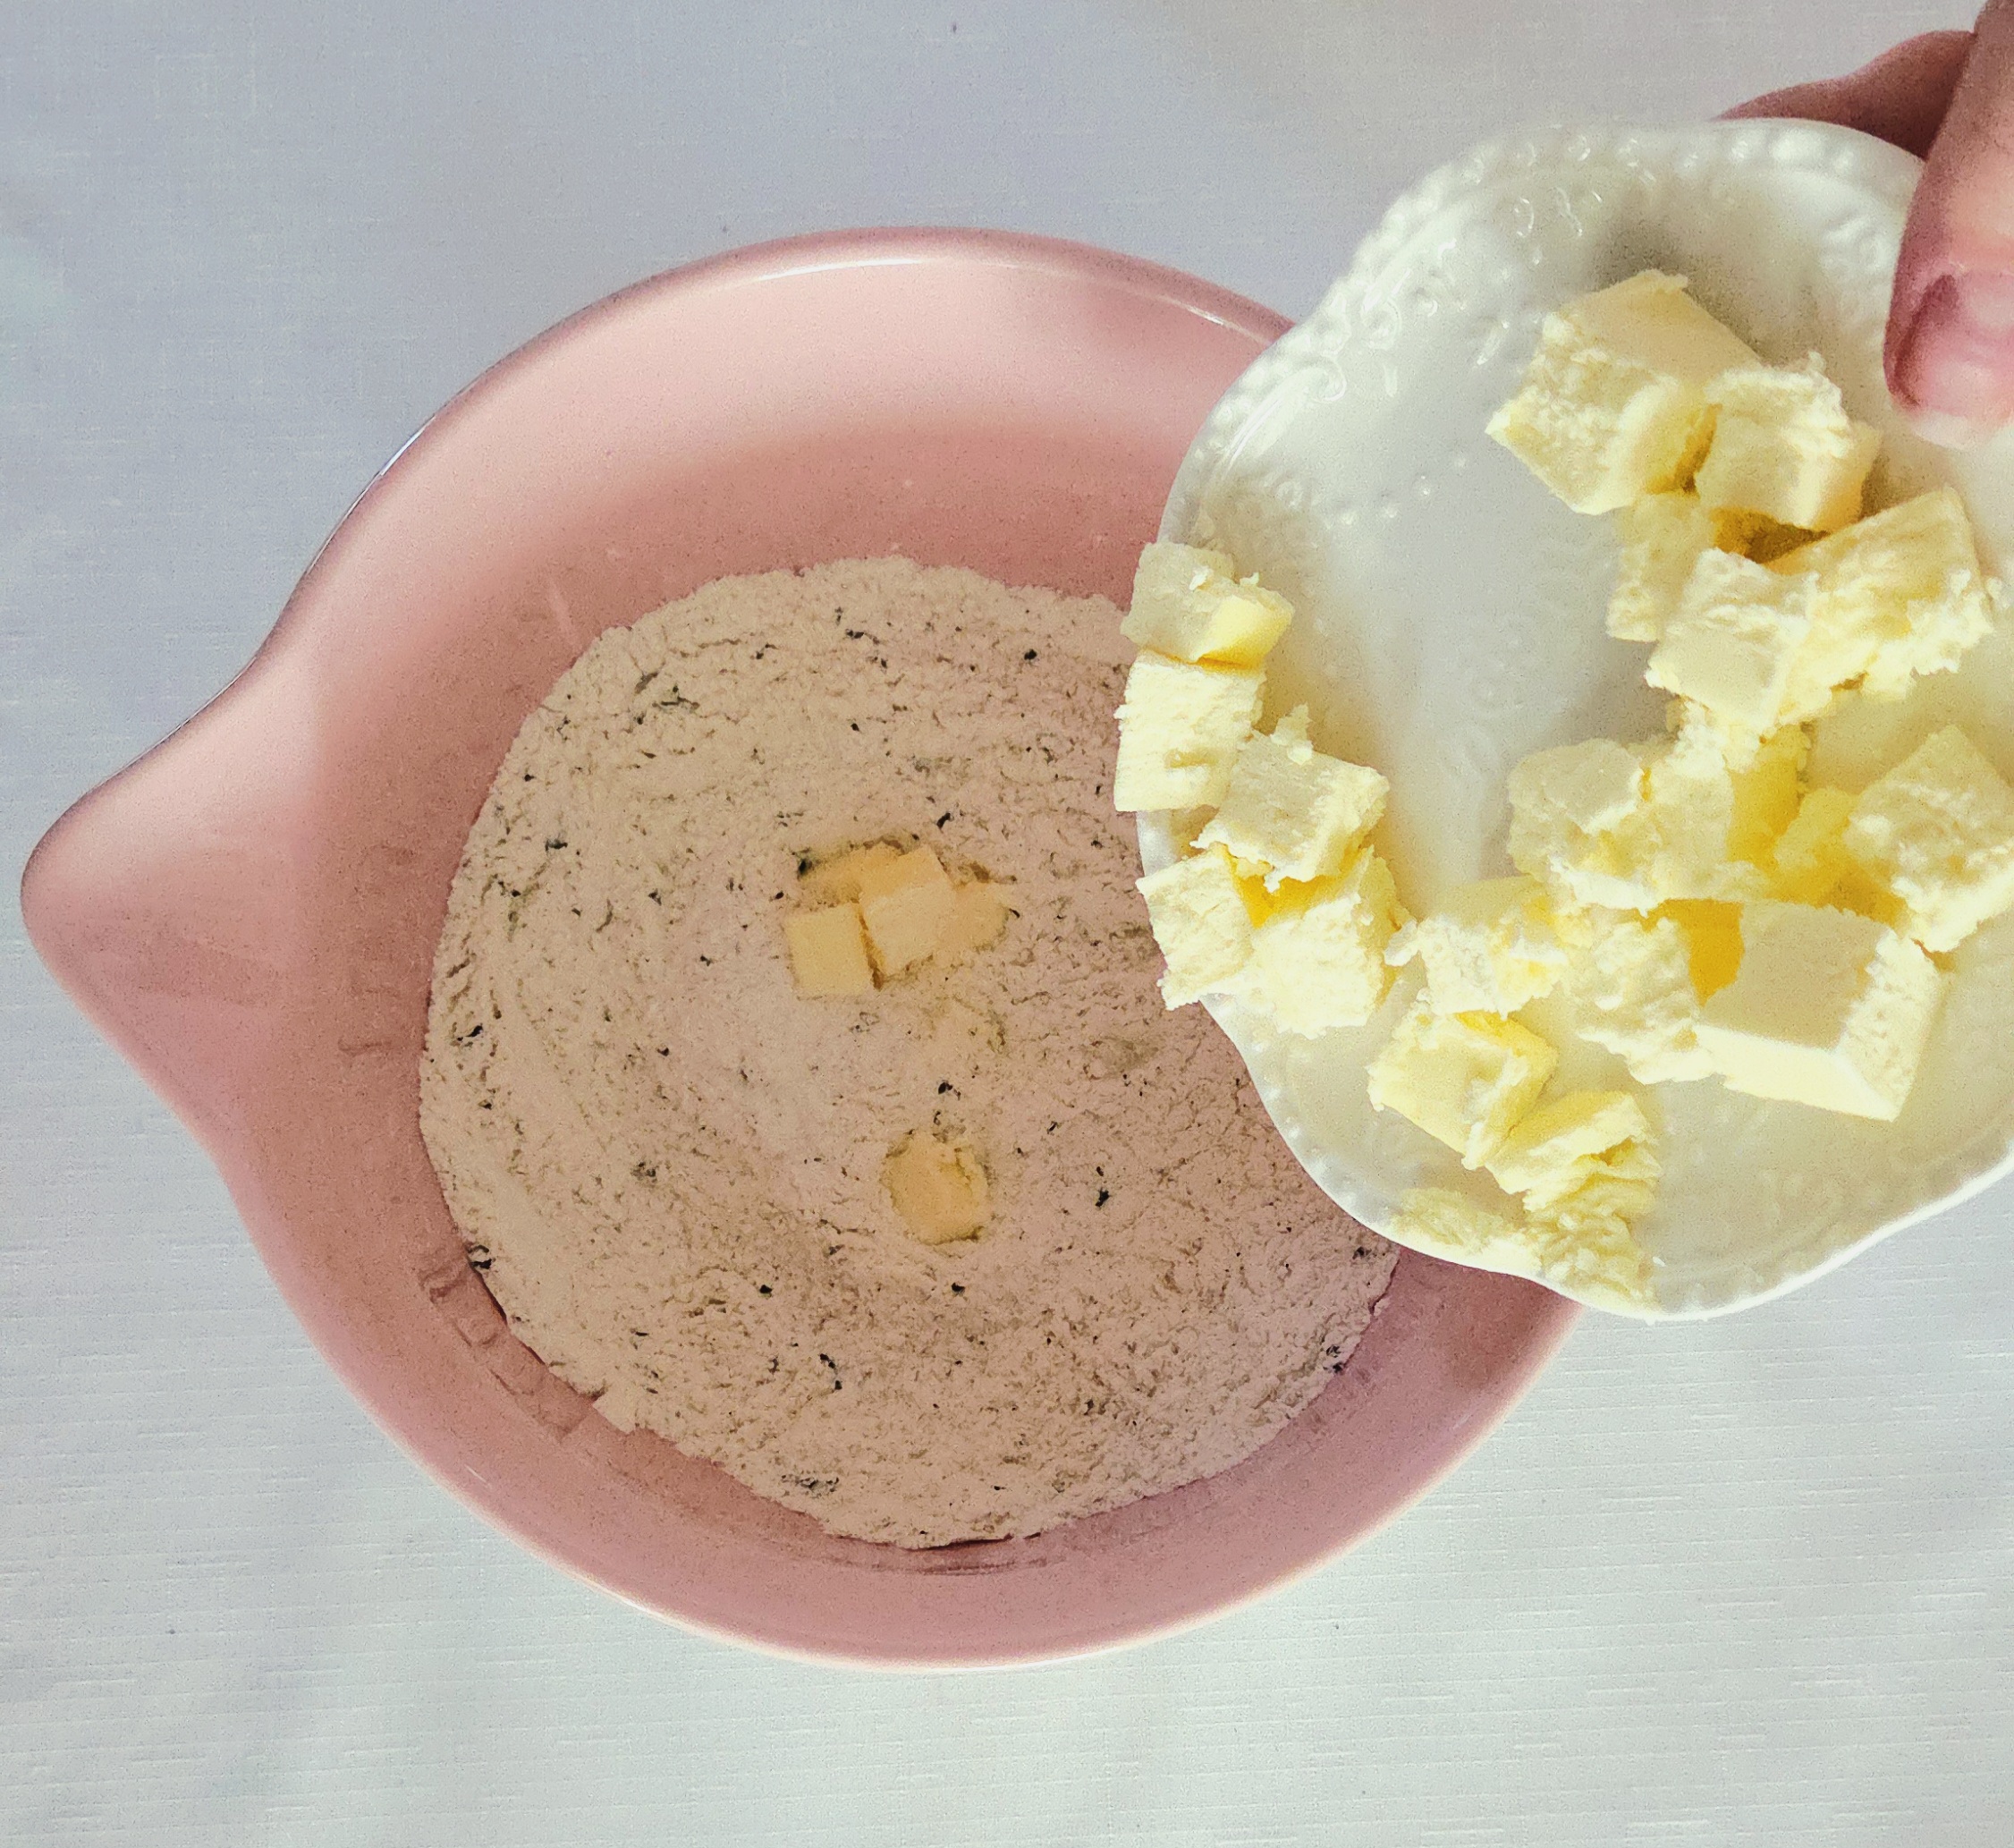
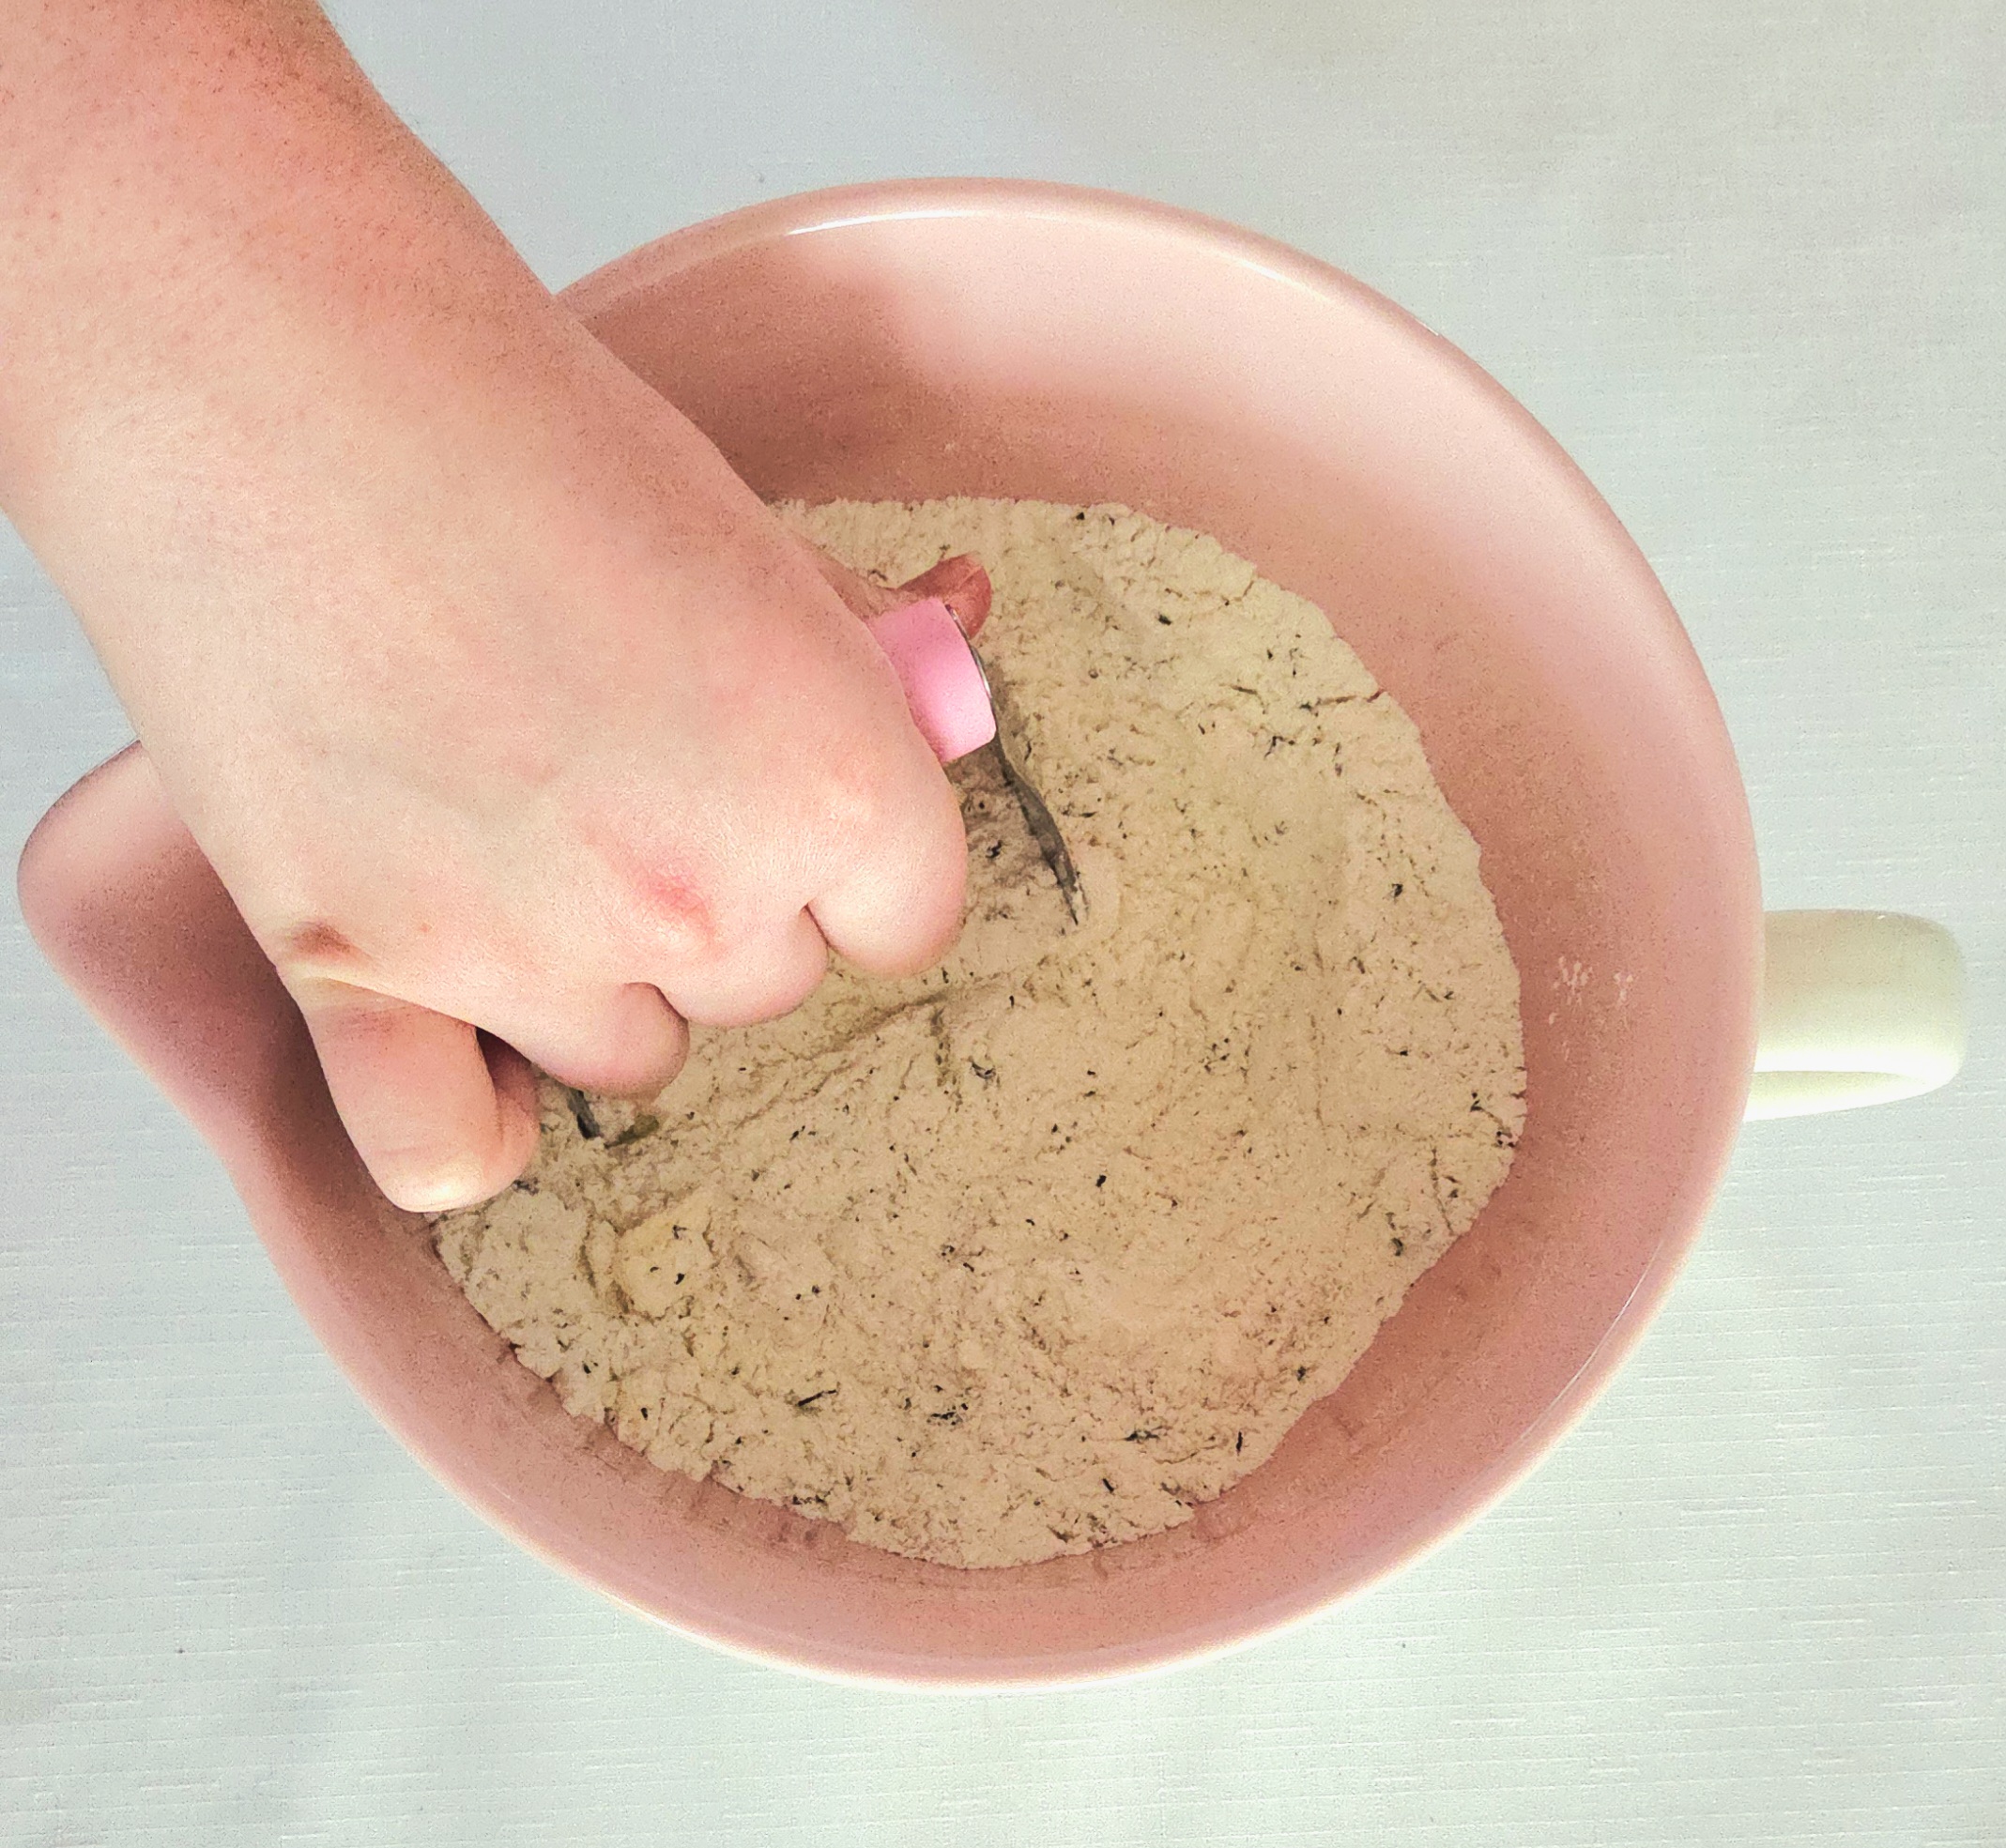
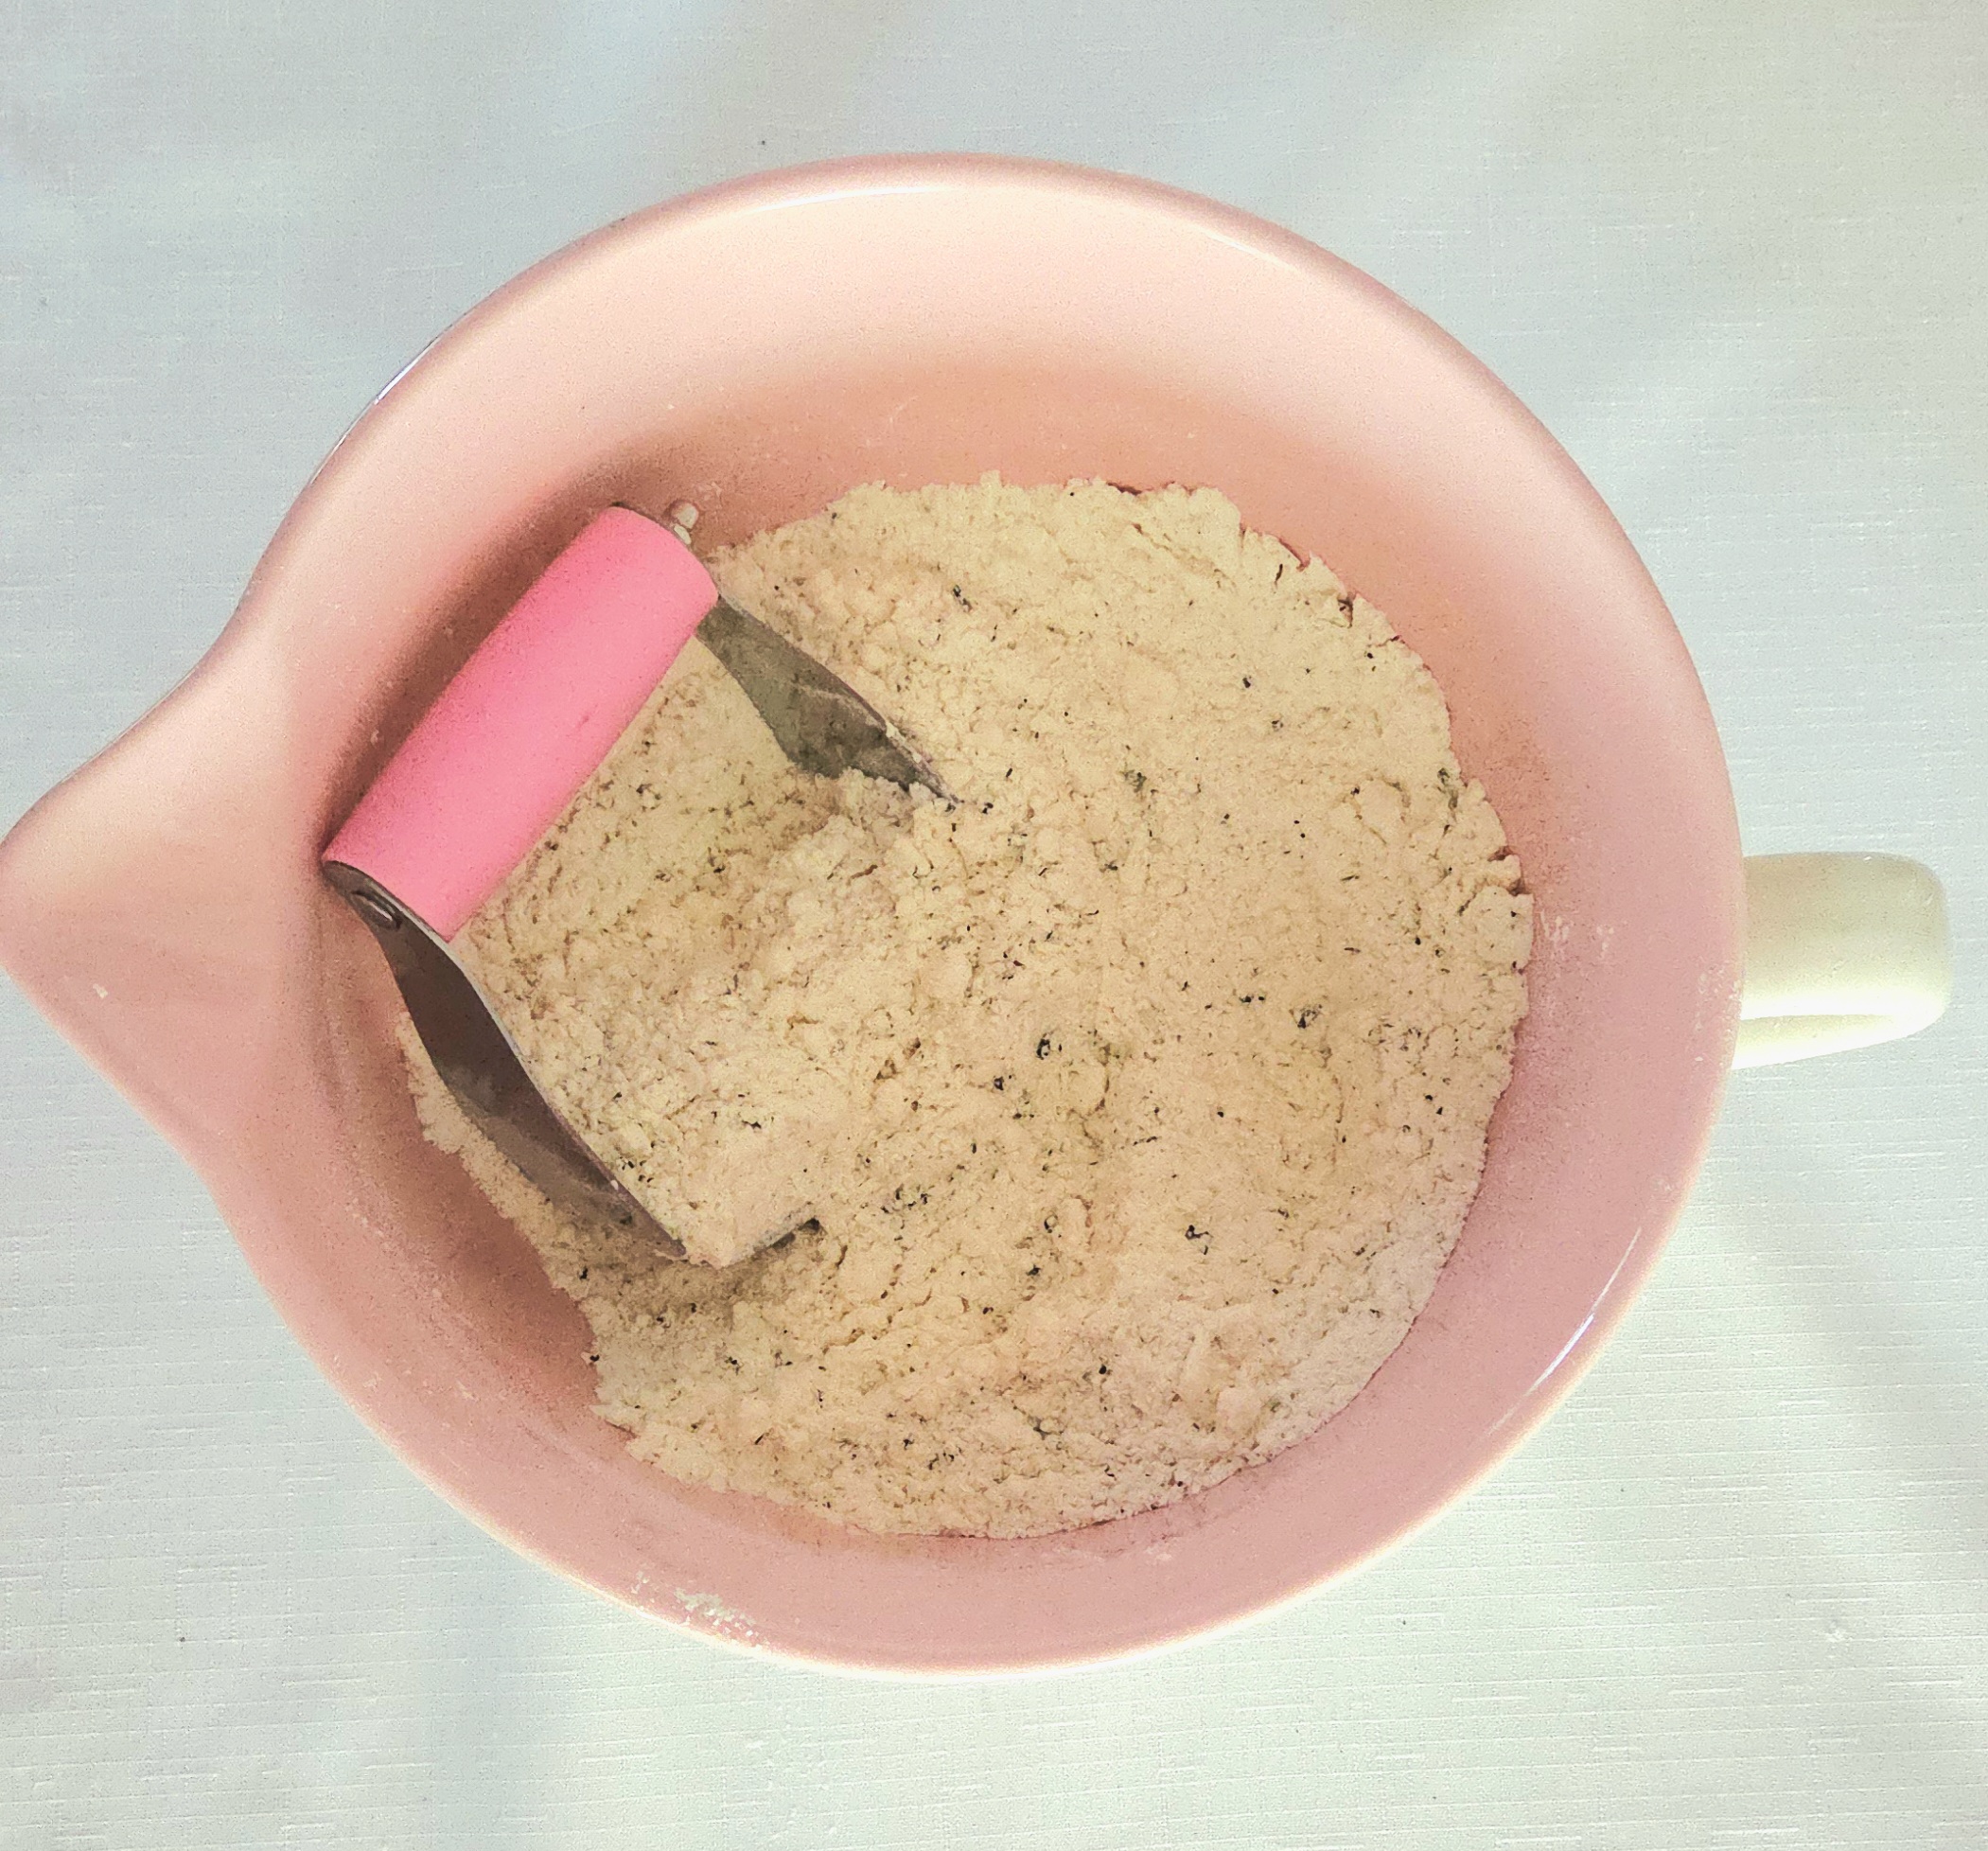
Take the pastry blender and cut the cubes of butter into the dry goods. If this is your first time using one of these, it does take a bit of elbow grease but it’s an easy tool to use! Grip the handle and press the blades firmly down onto the butter in the dry goods. Keep doing this over and over again, until the cold butter is cut into the flour mixture with any remaining visible pieces no bigger than a pea.
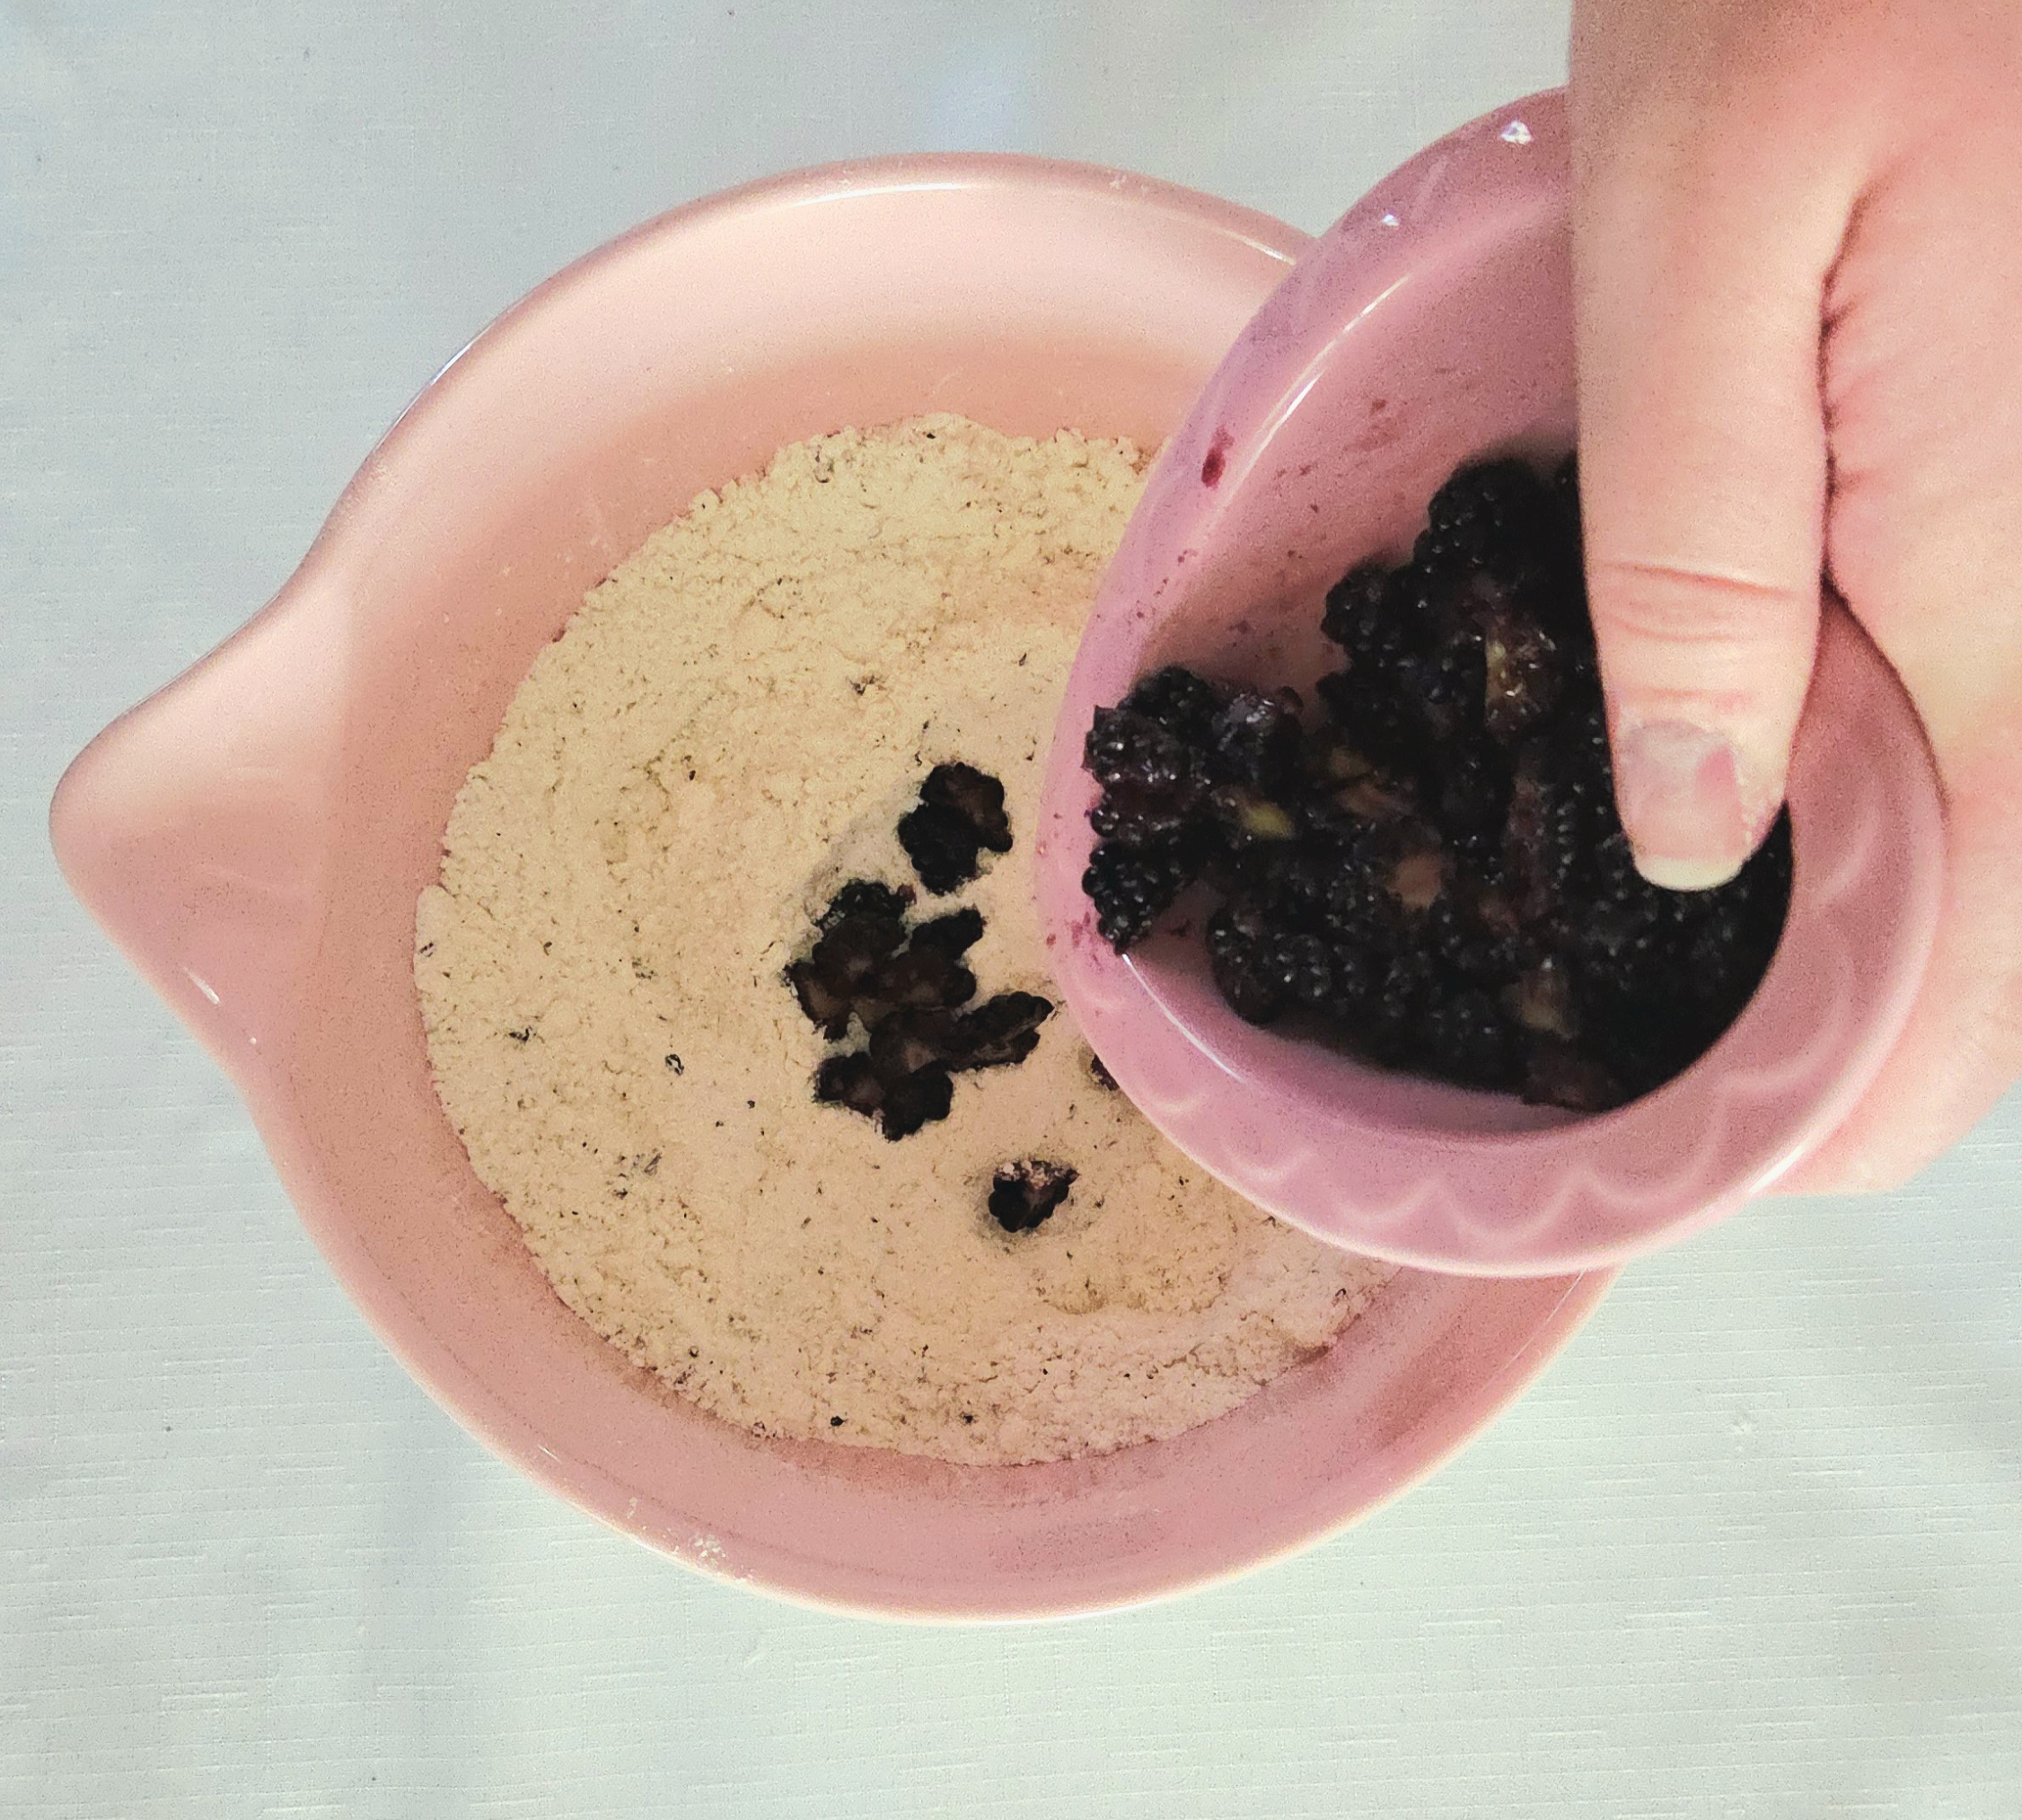
Take the chopped berries from the fridge and toss them into the dough using a fork. Make a well in the center of the bowl, using a dry measuring cup, the fork, or even just your hand.
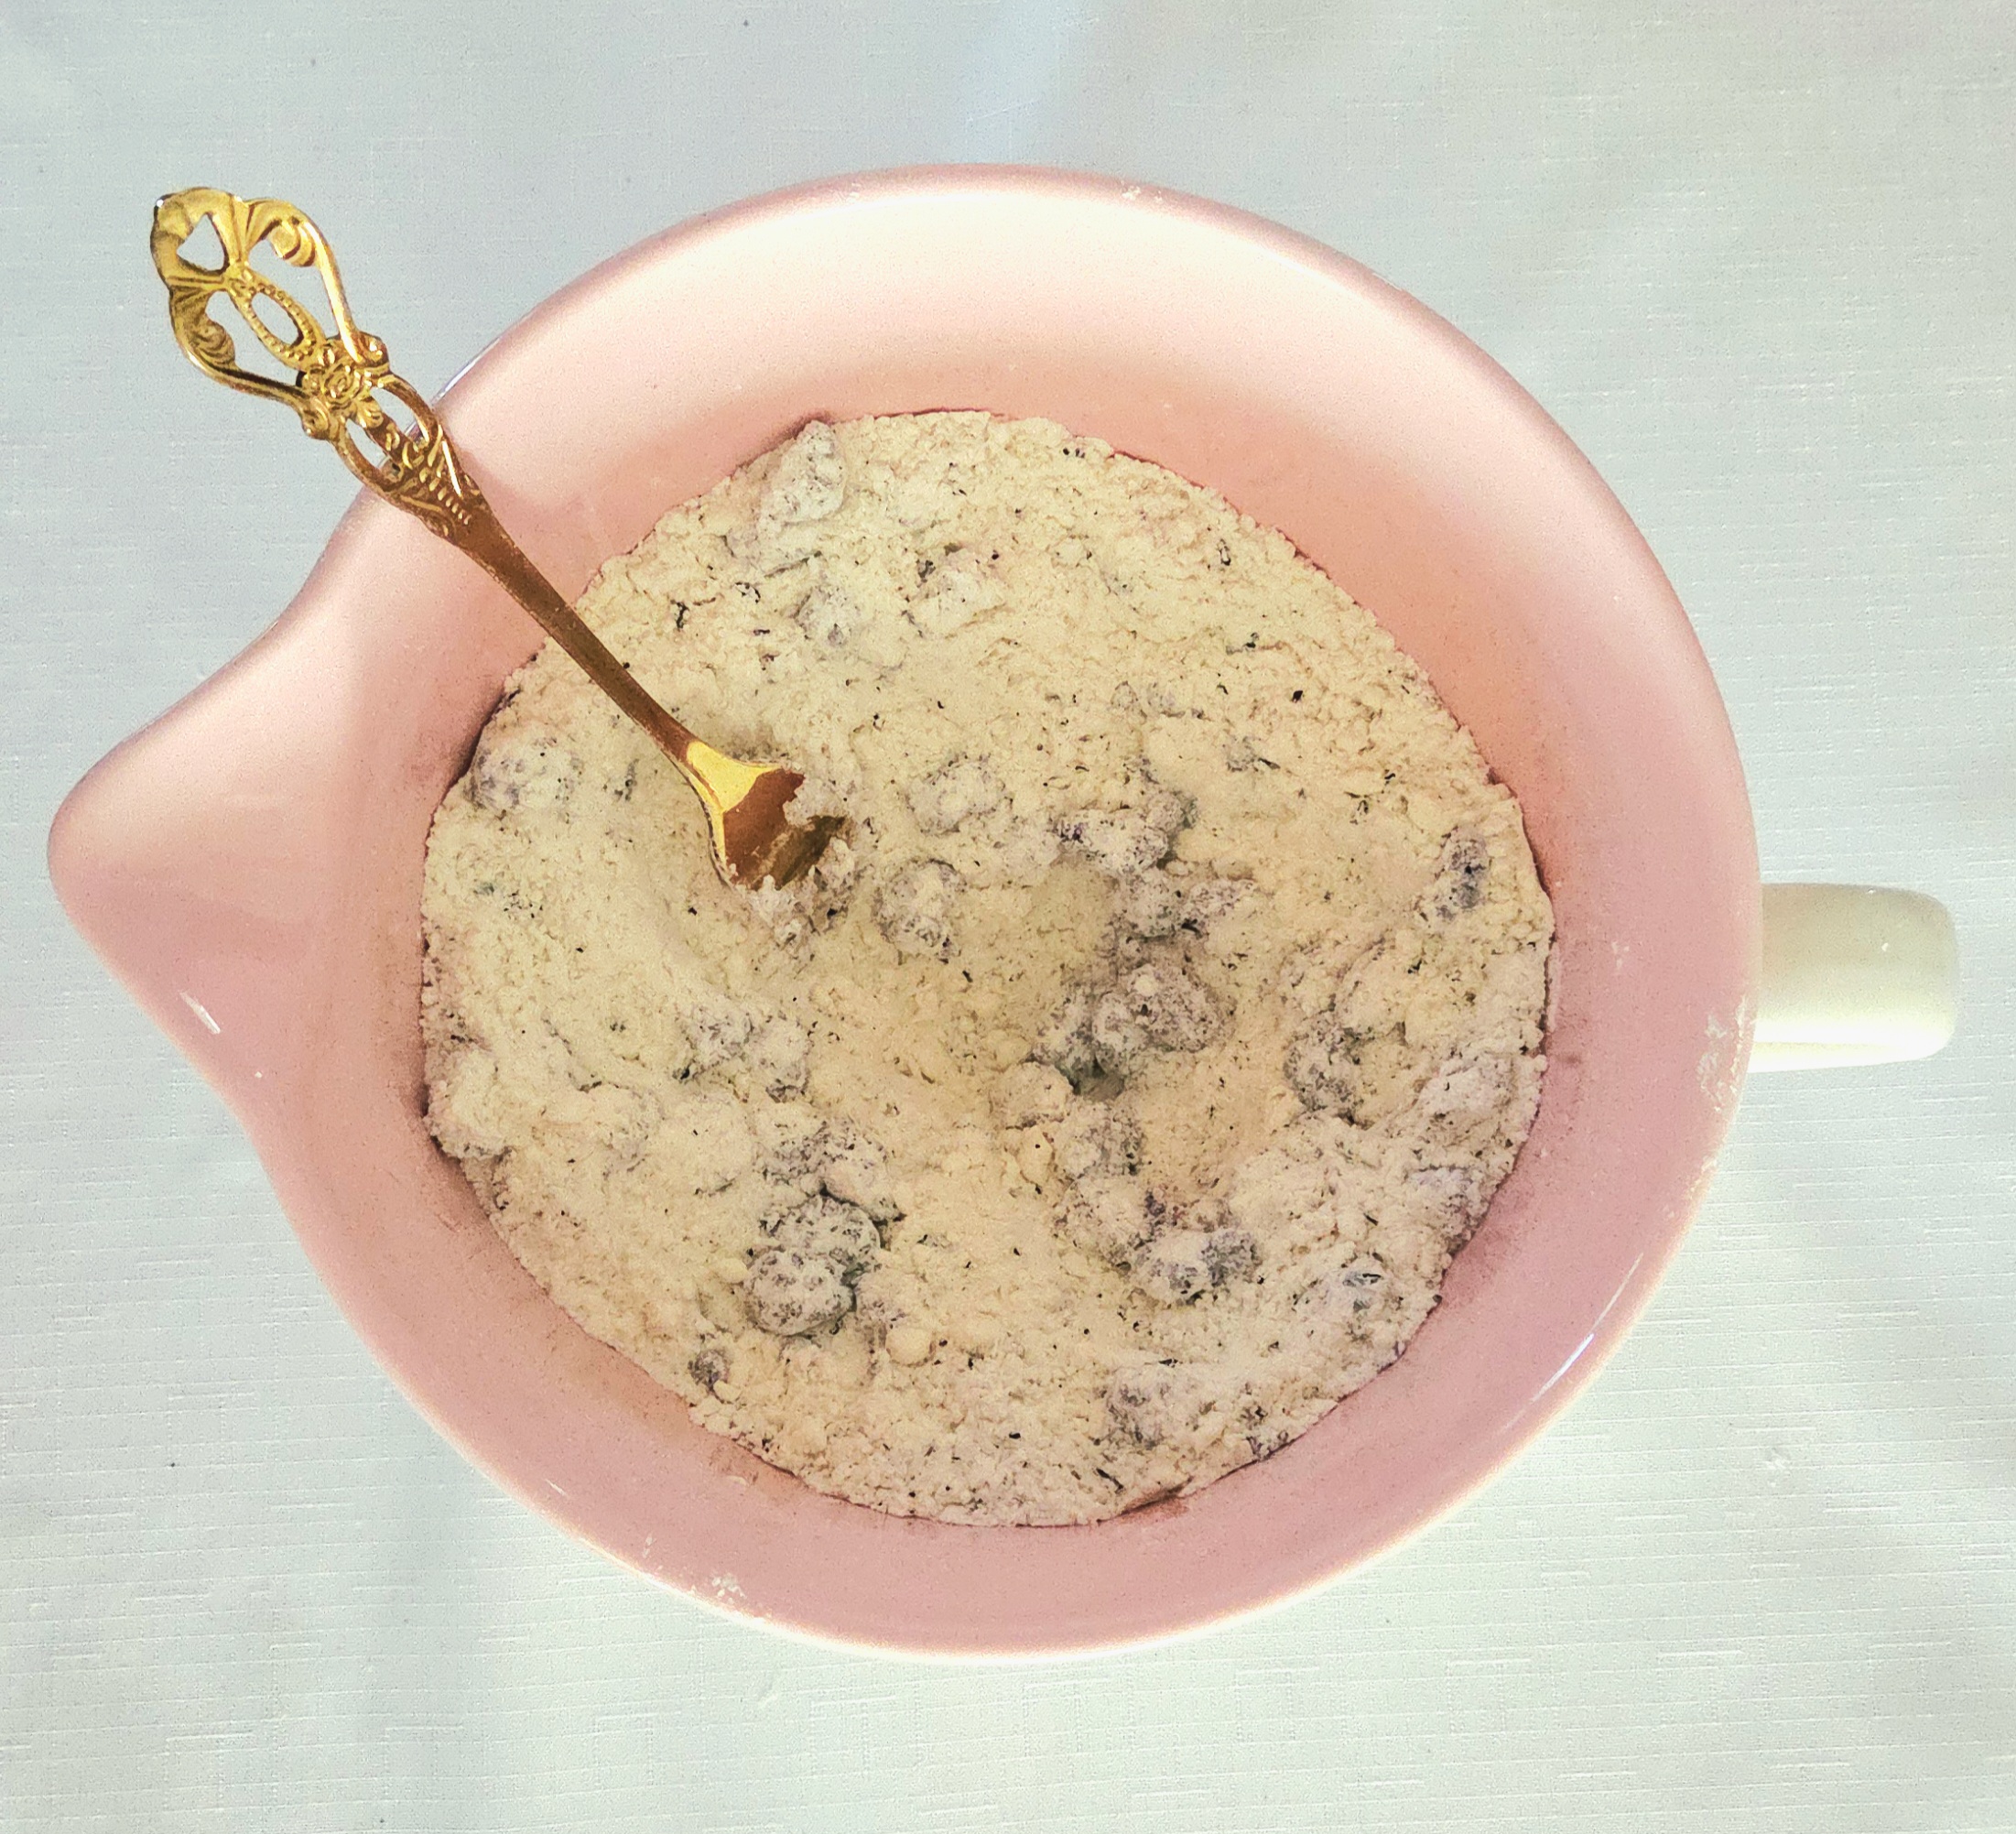
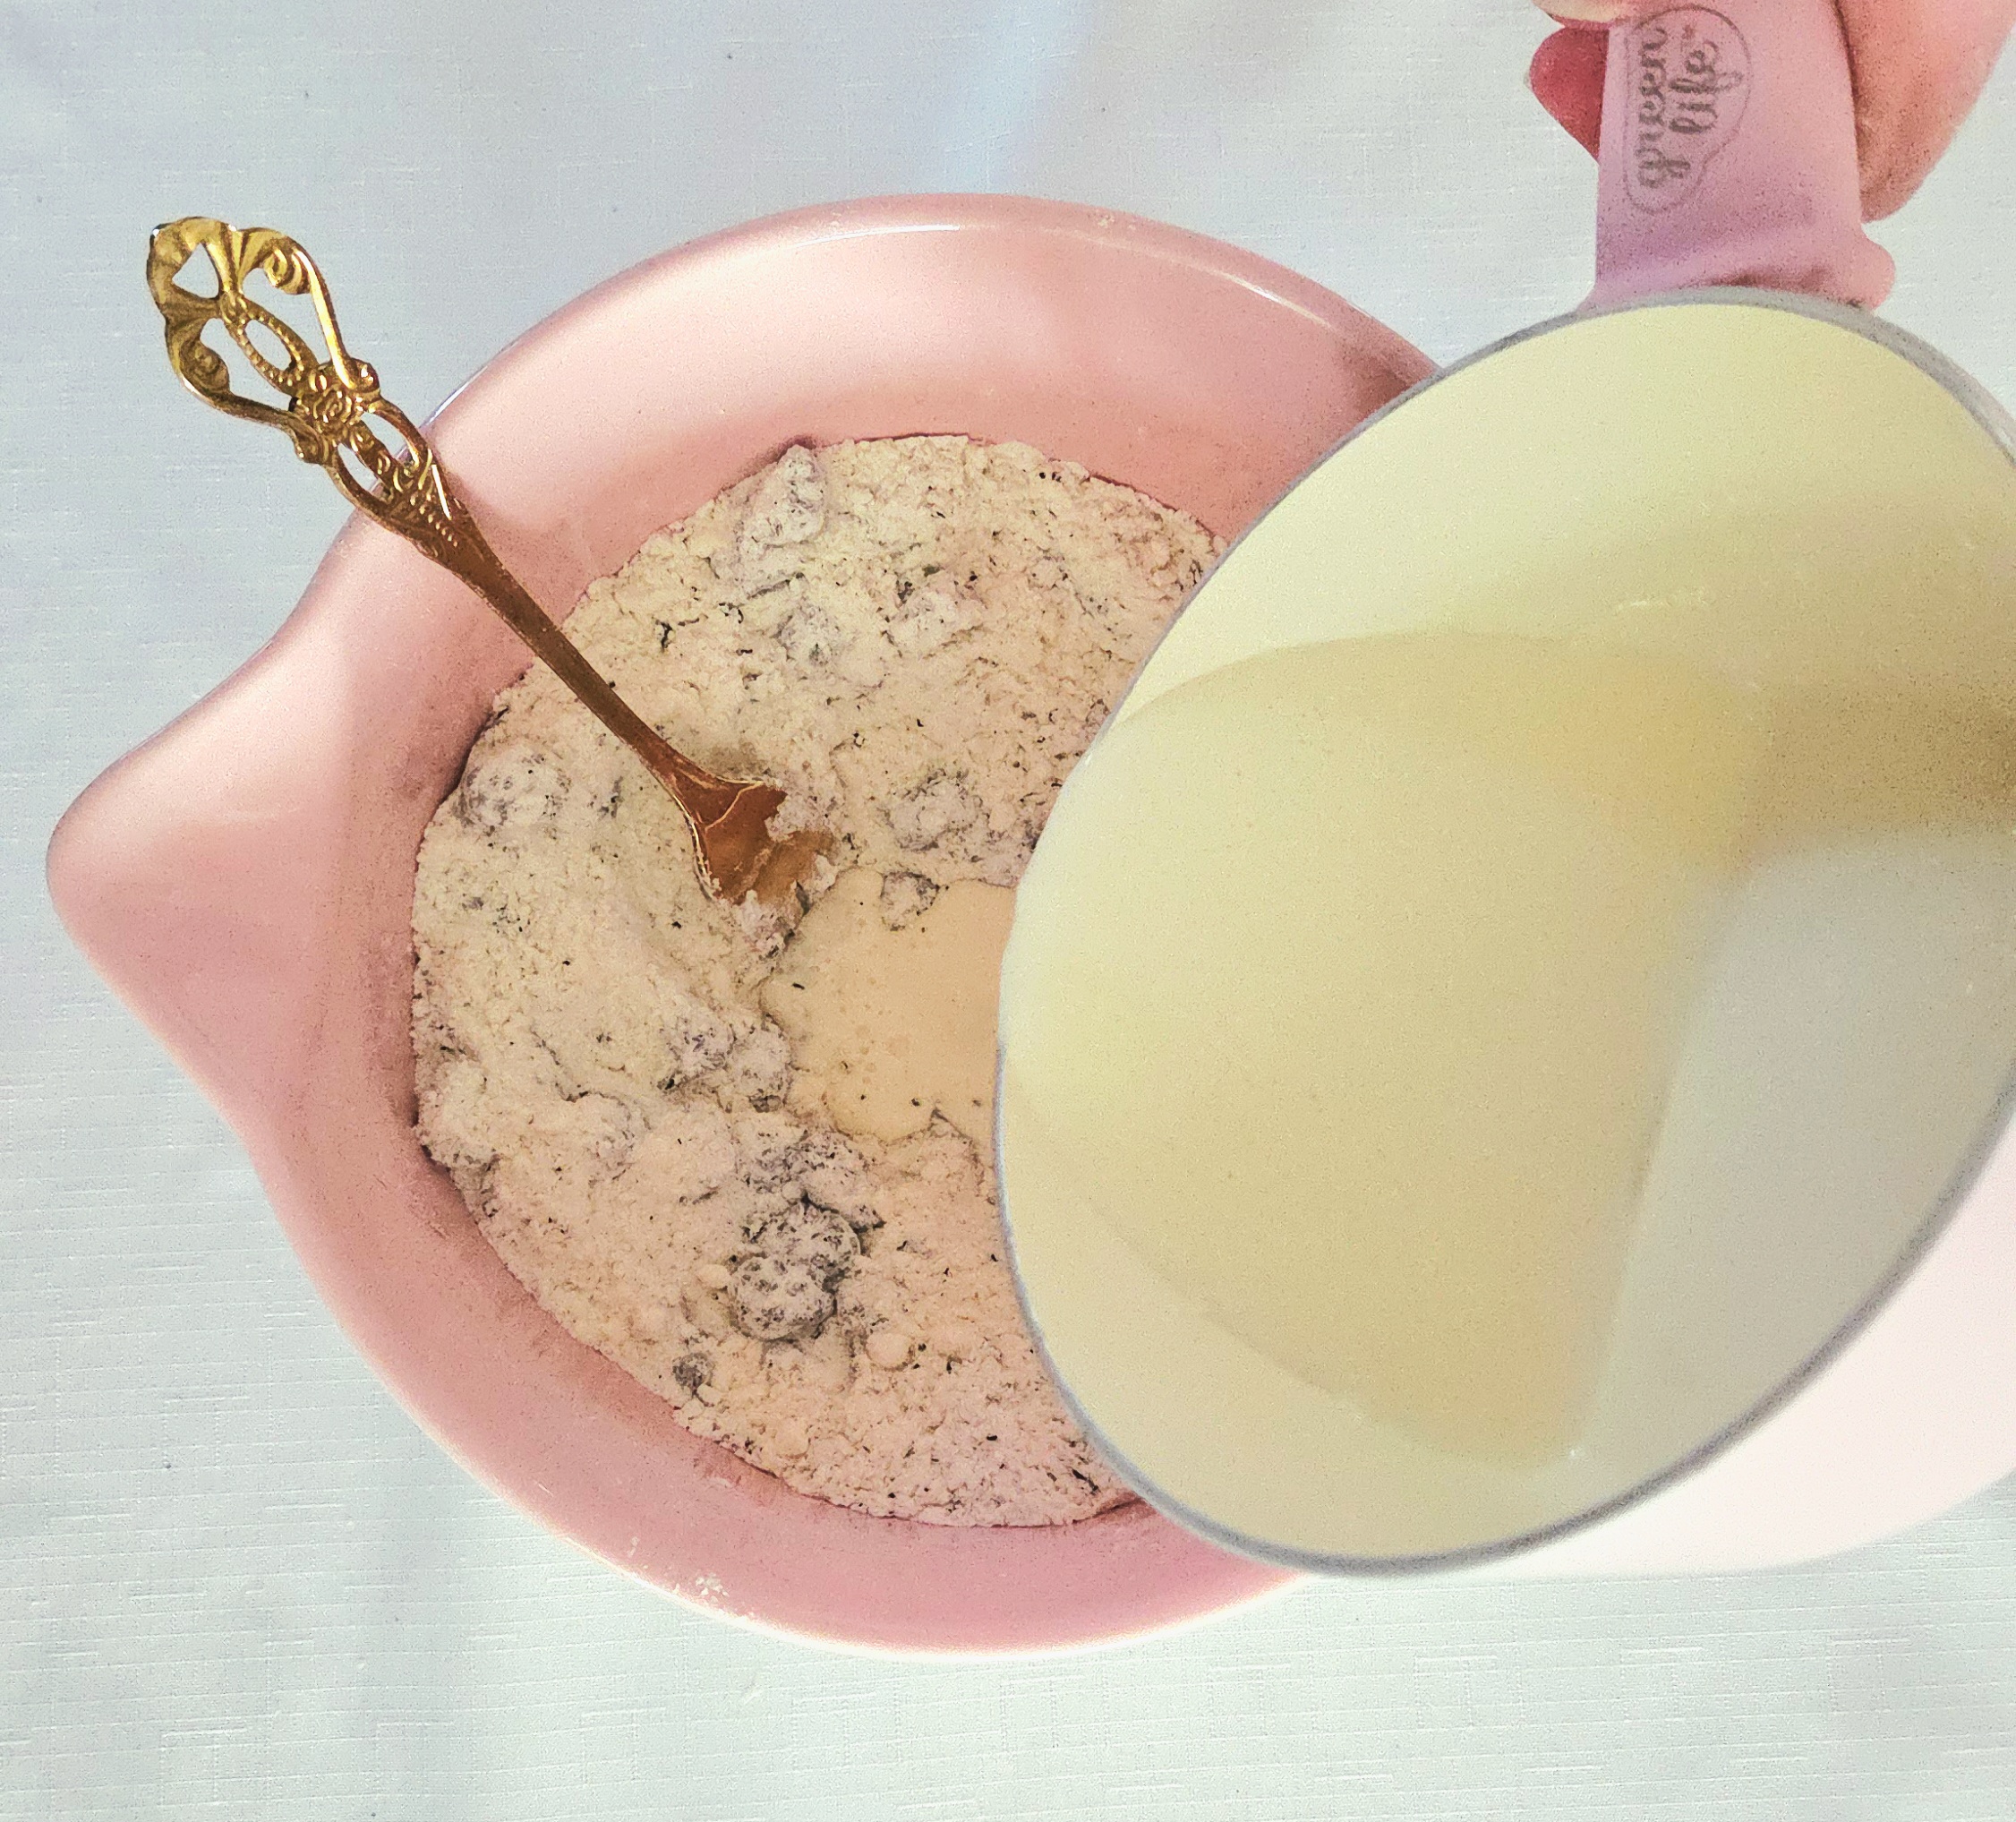
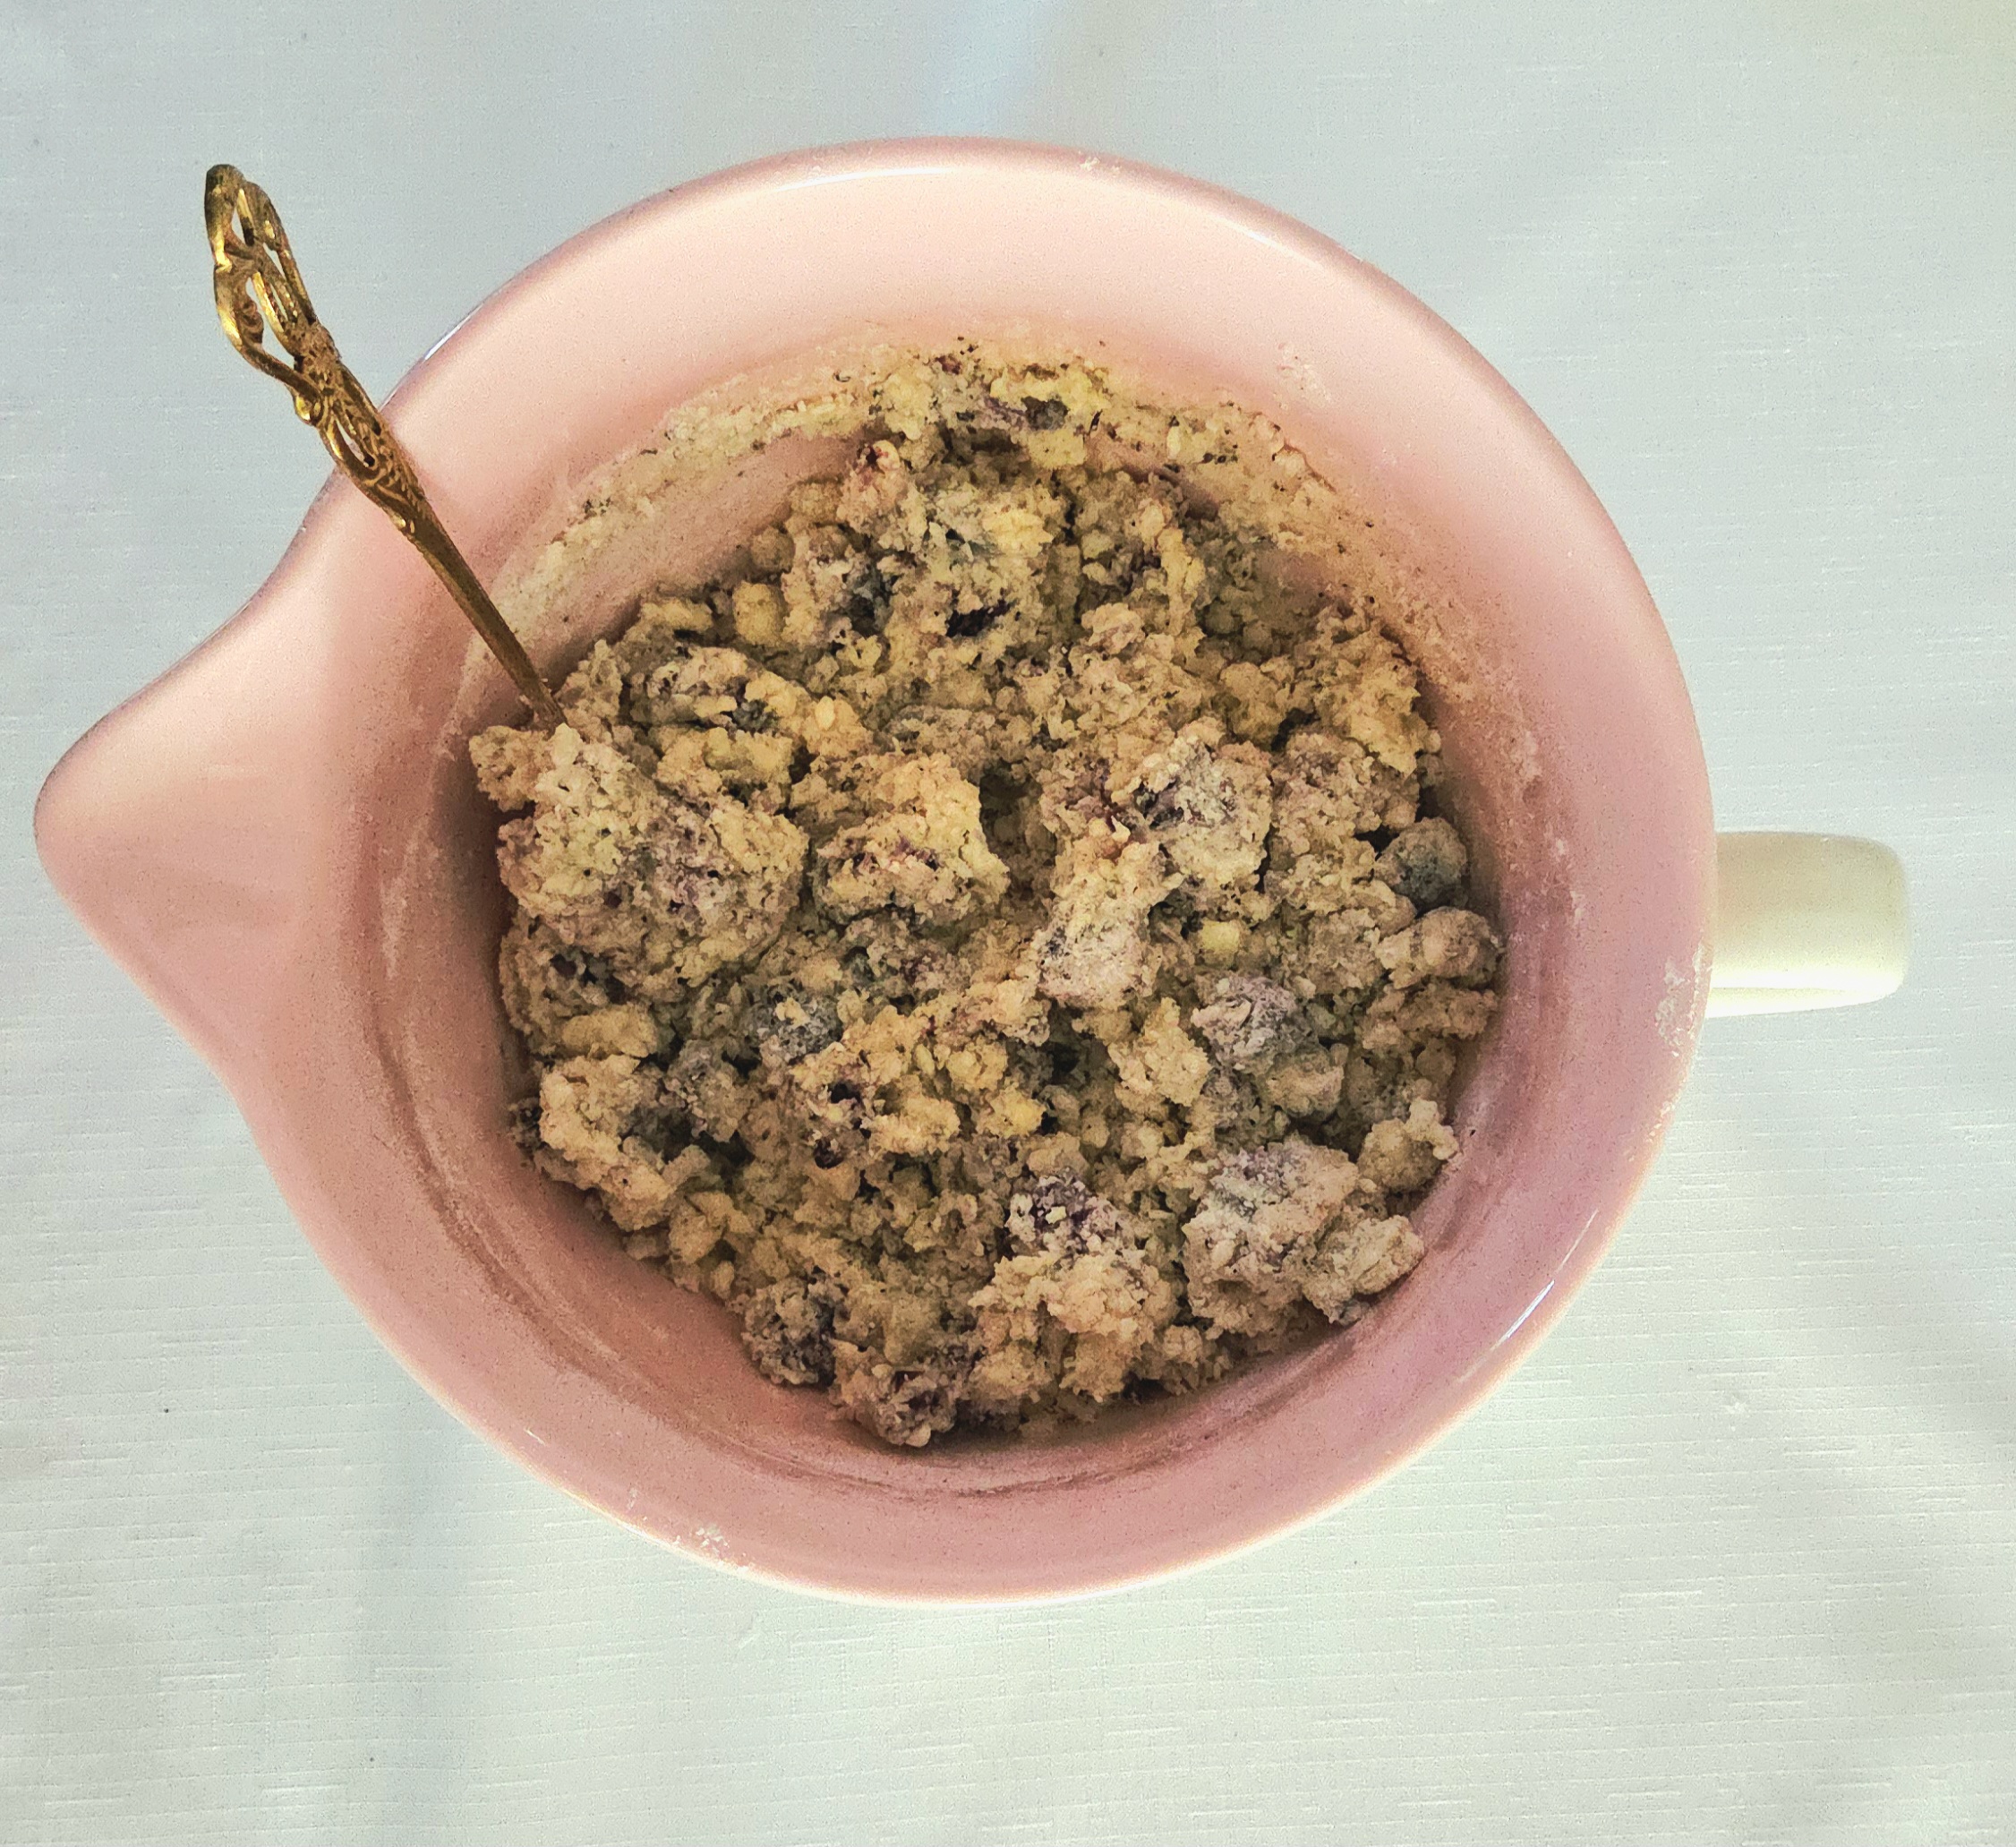
Get the infused cream from the fridge. Dispose of the tea bags and pour the cold cream into the well you carved out of the dry goods. Use the fork to mix everything together, until a shaggy dough forms.
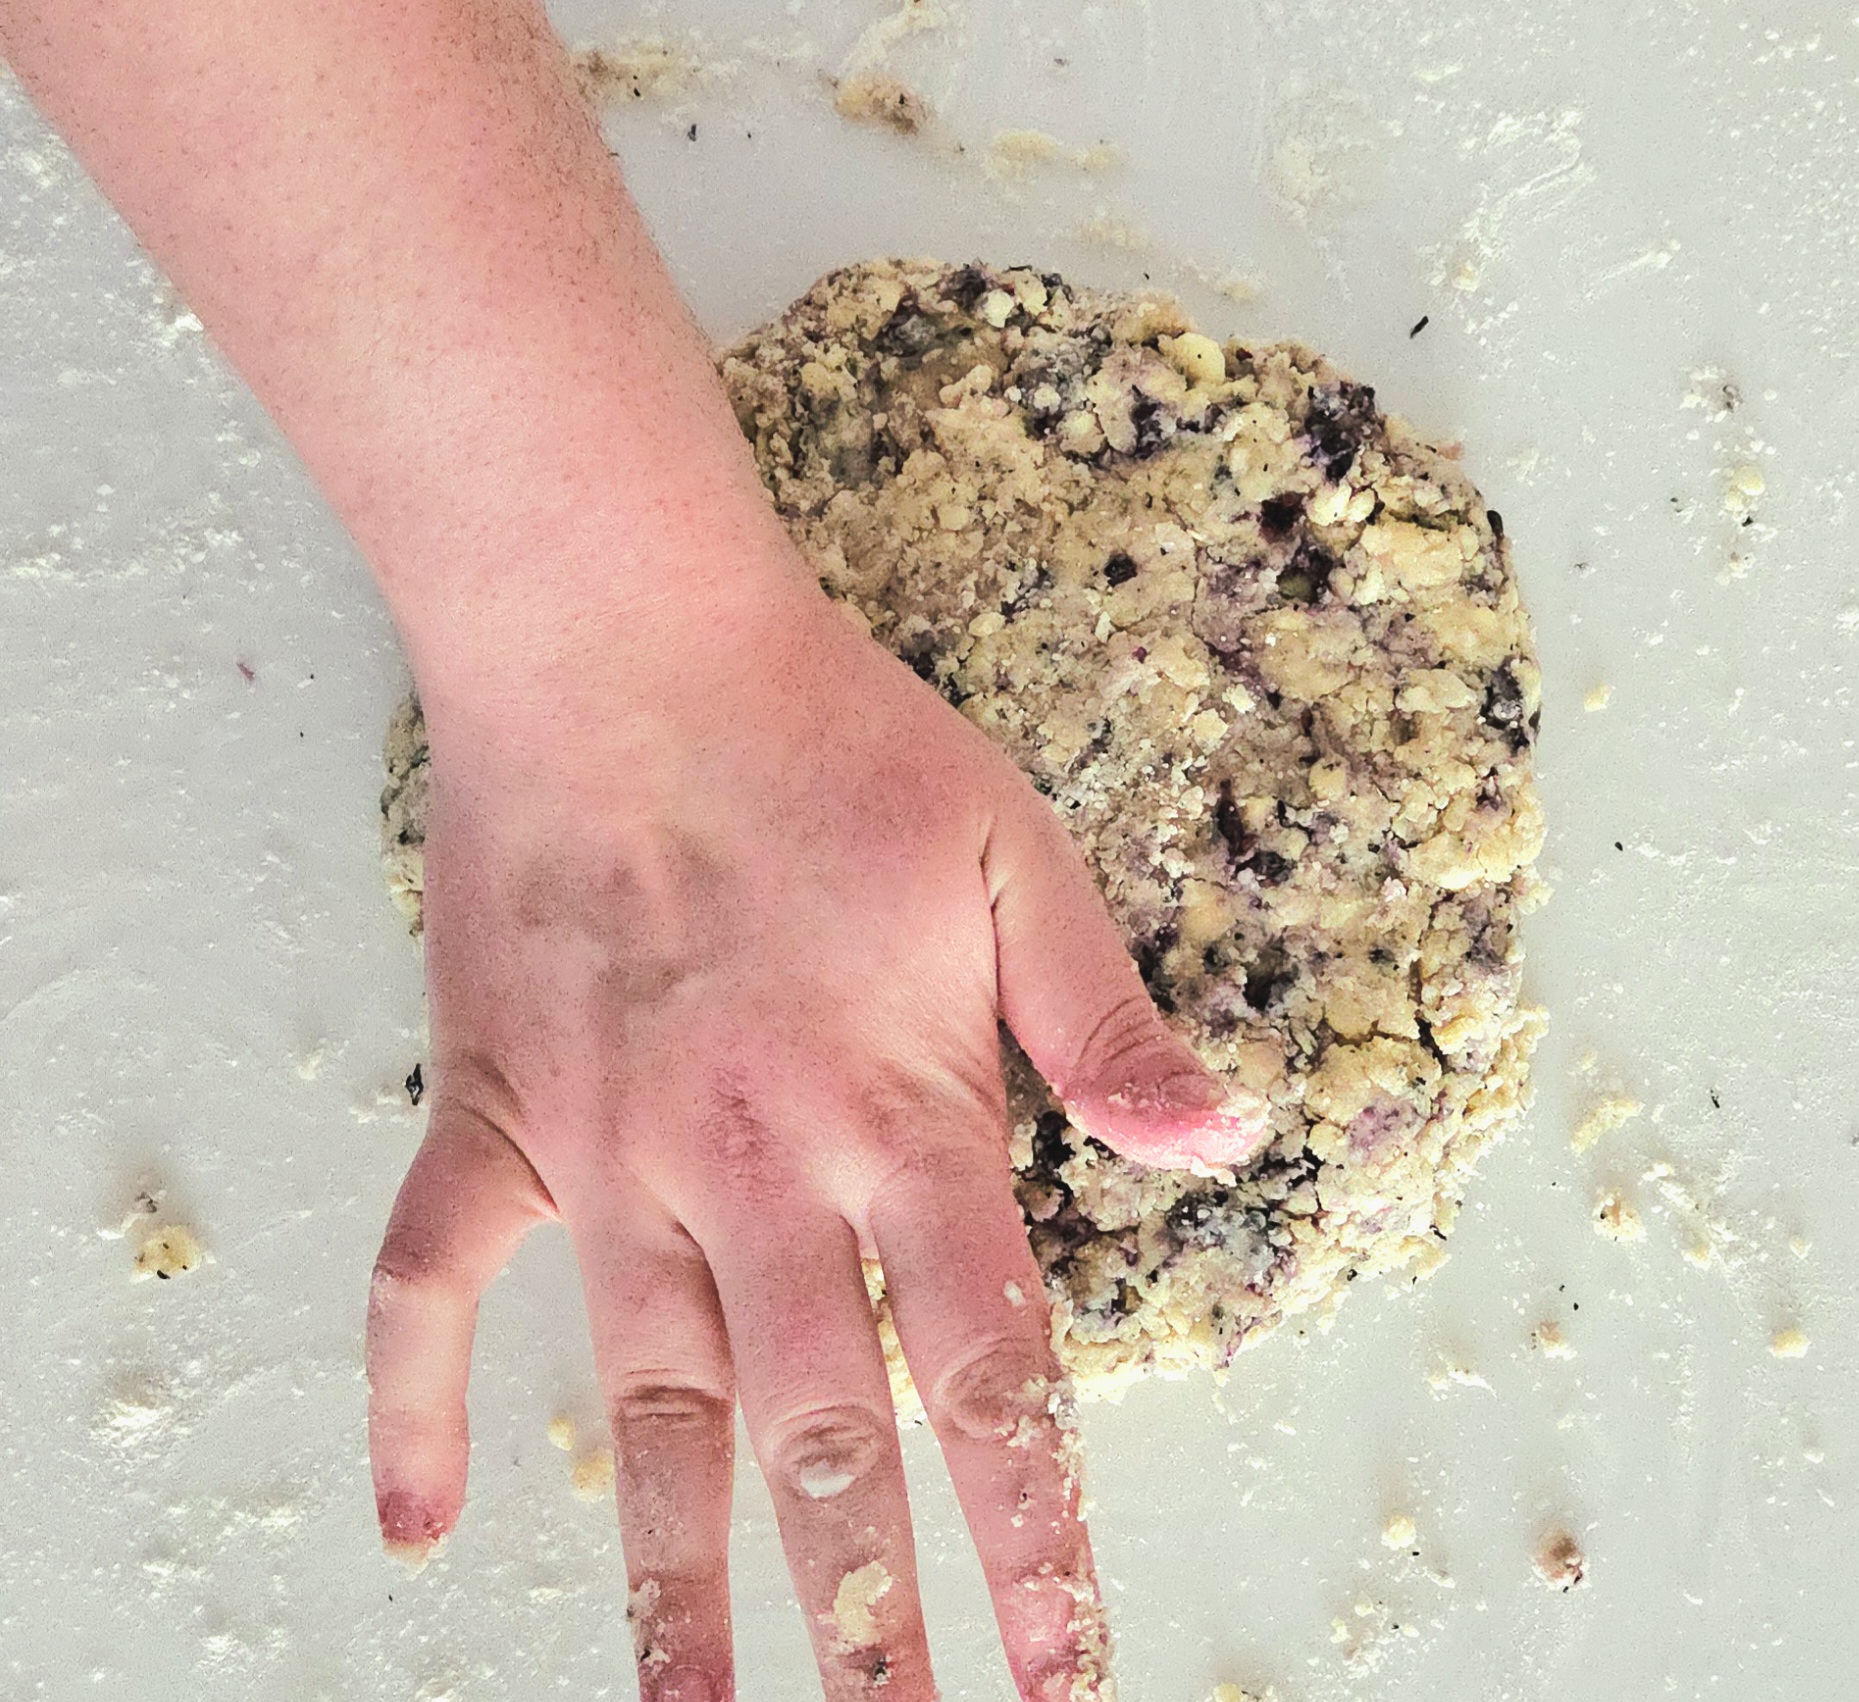
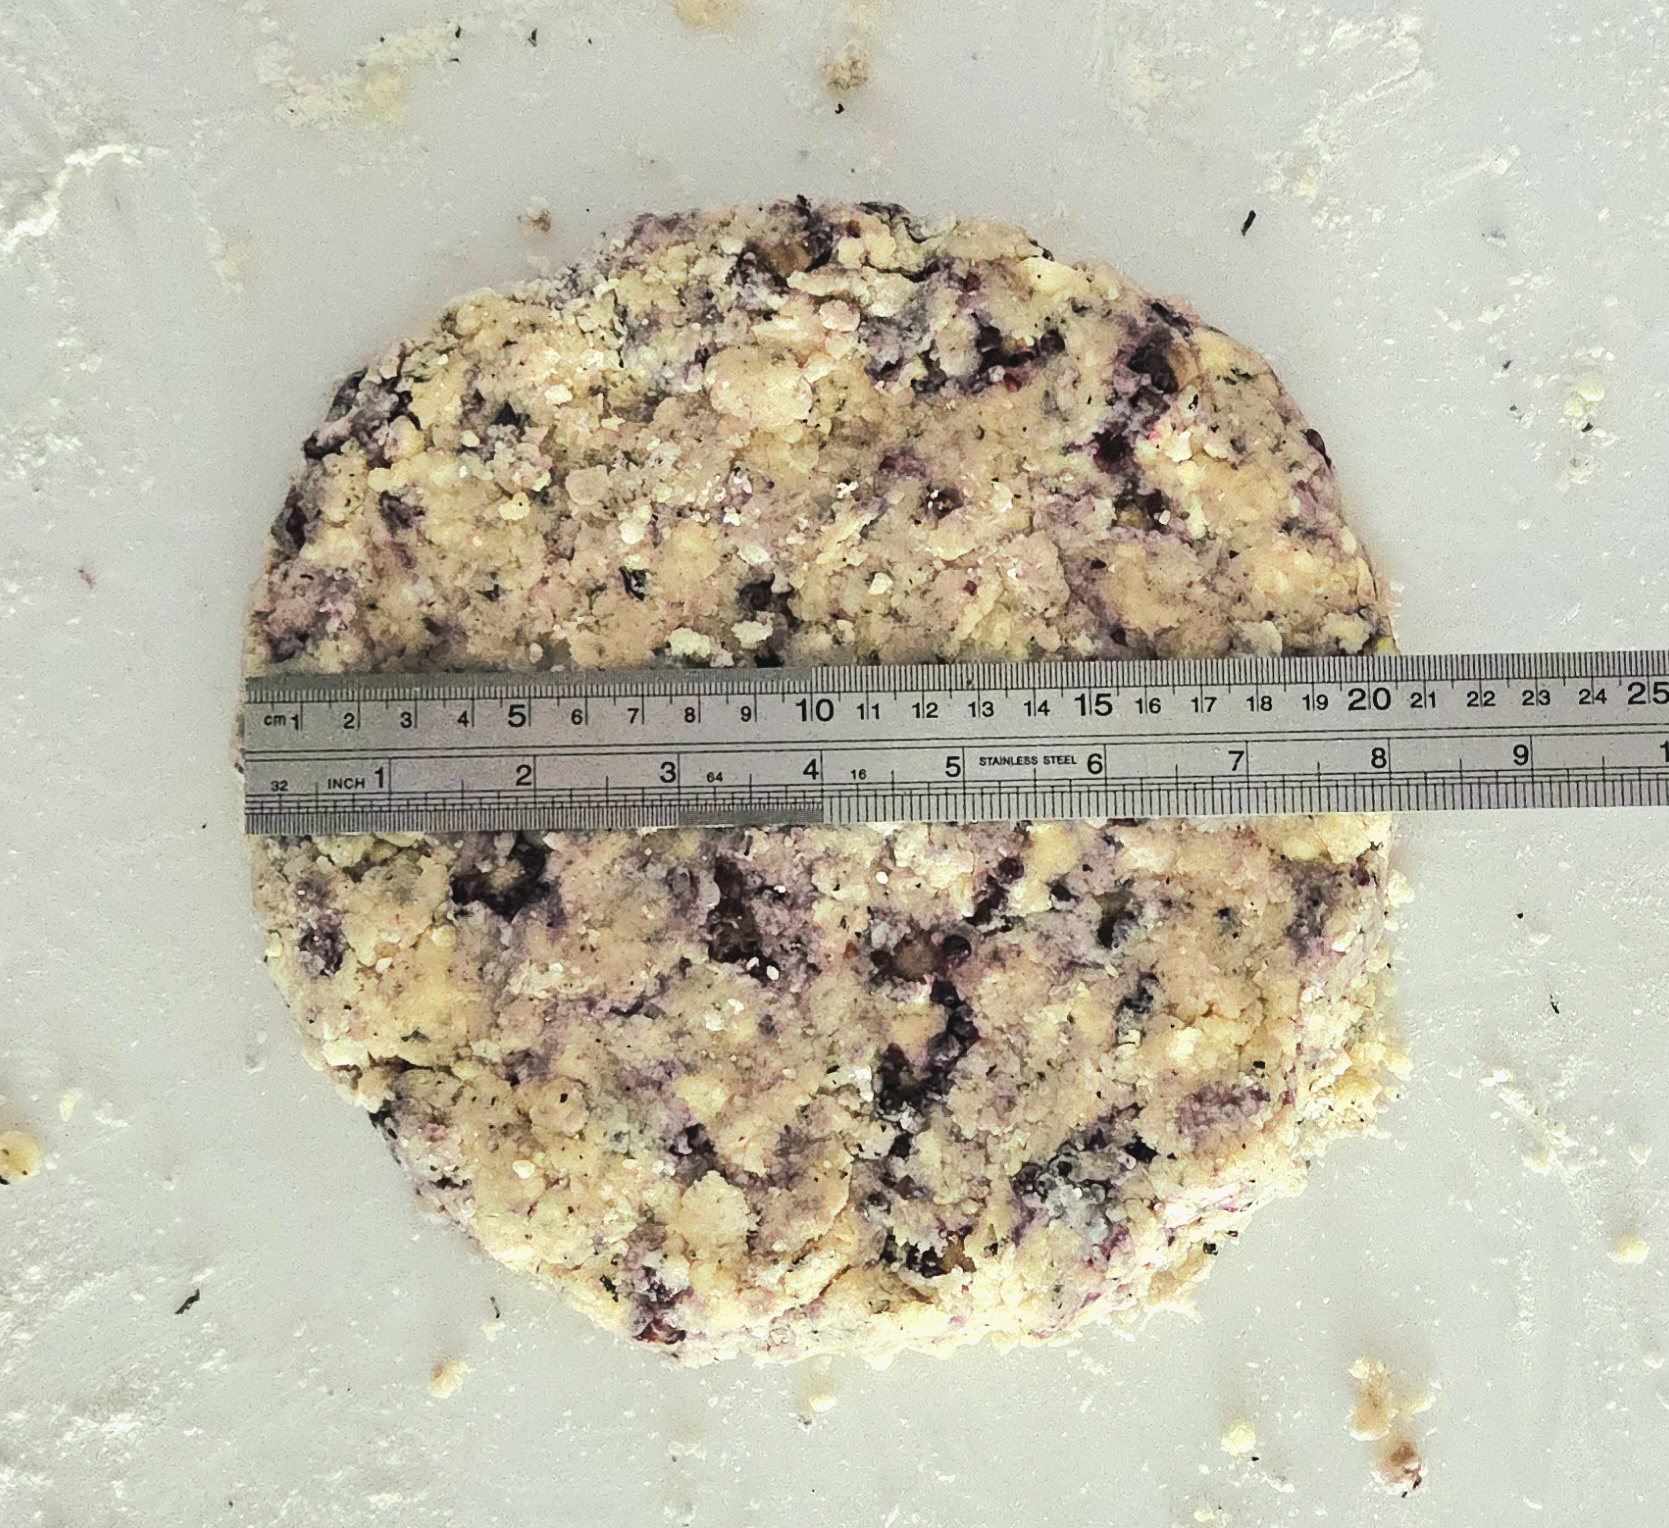
Dump the dough out onto a clean counter. Using your hands, form the dough into an 8-9 inch diameter circle that’s about an inch thick. Use the heel of your hand to pat the top of the circle relatively smoothed out. Wrap the dough so it’s airtight in plastic wrap, then transfer it to the fridge to chill for at least an hour, or up to one night.
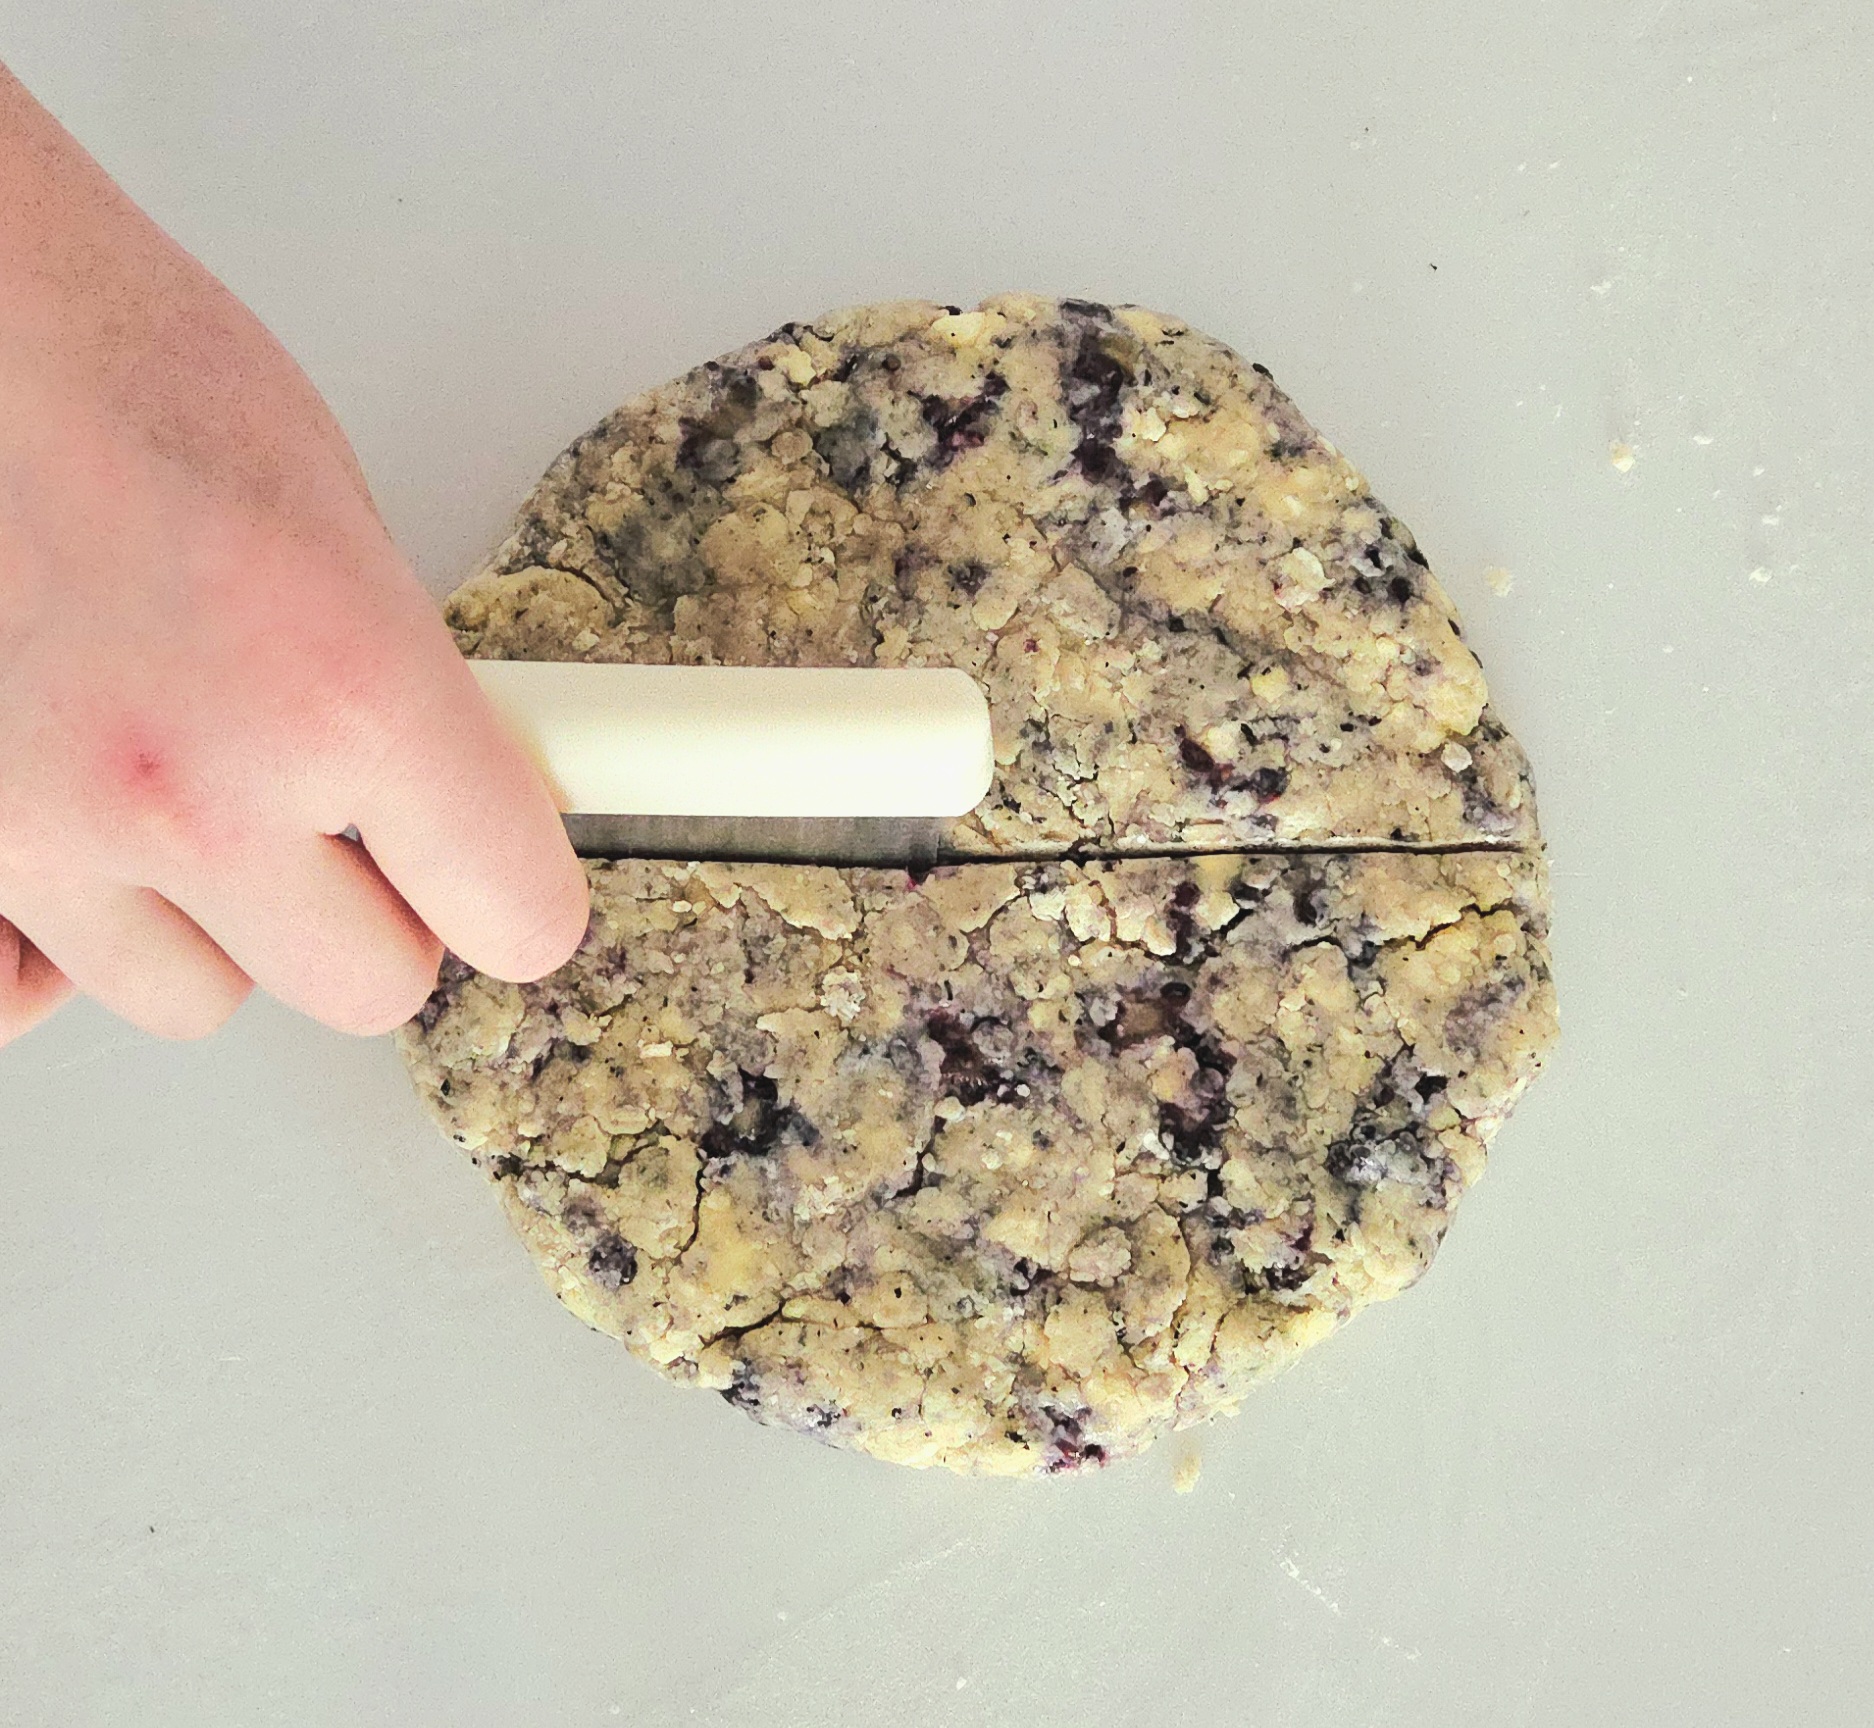
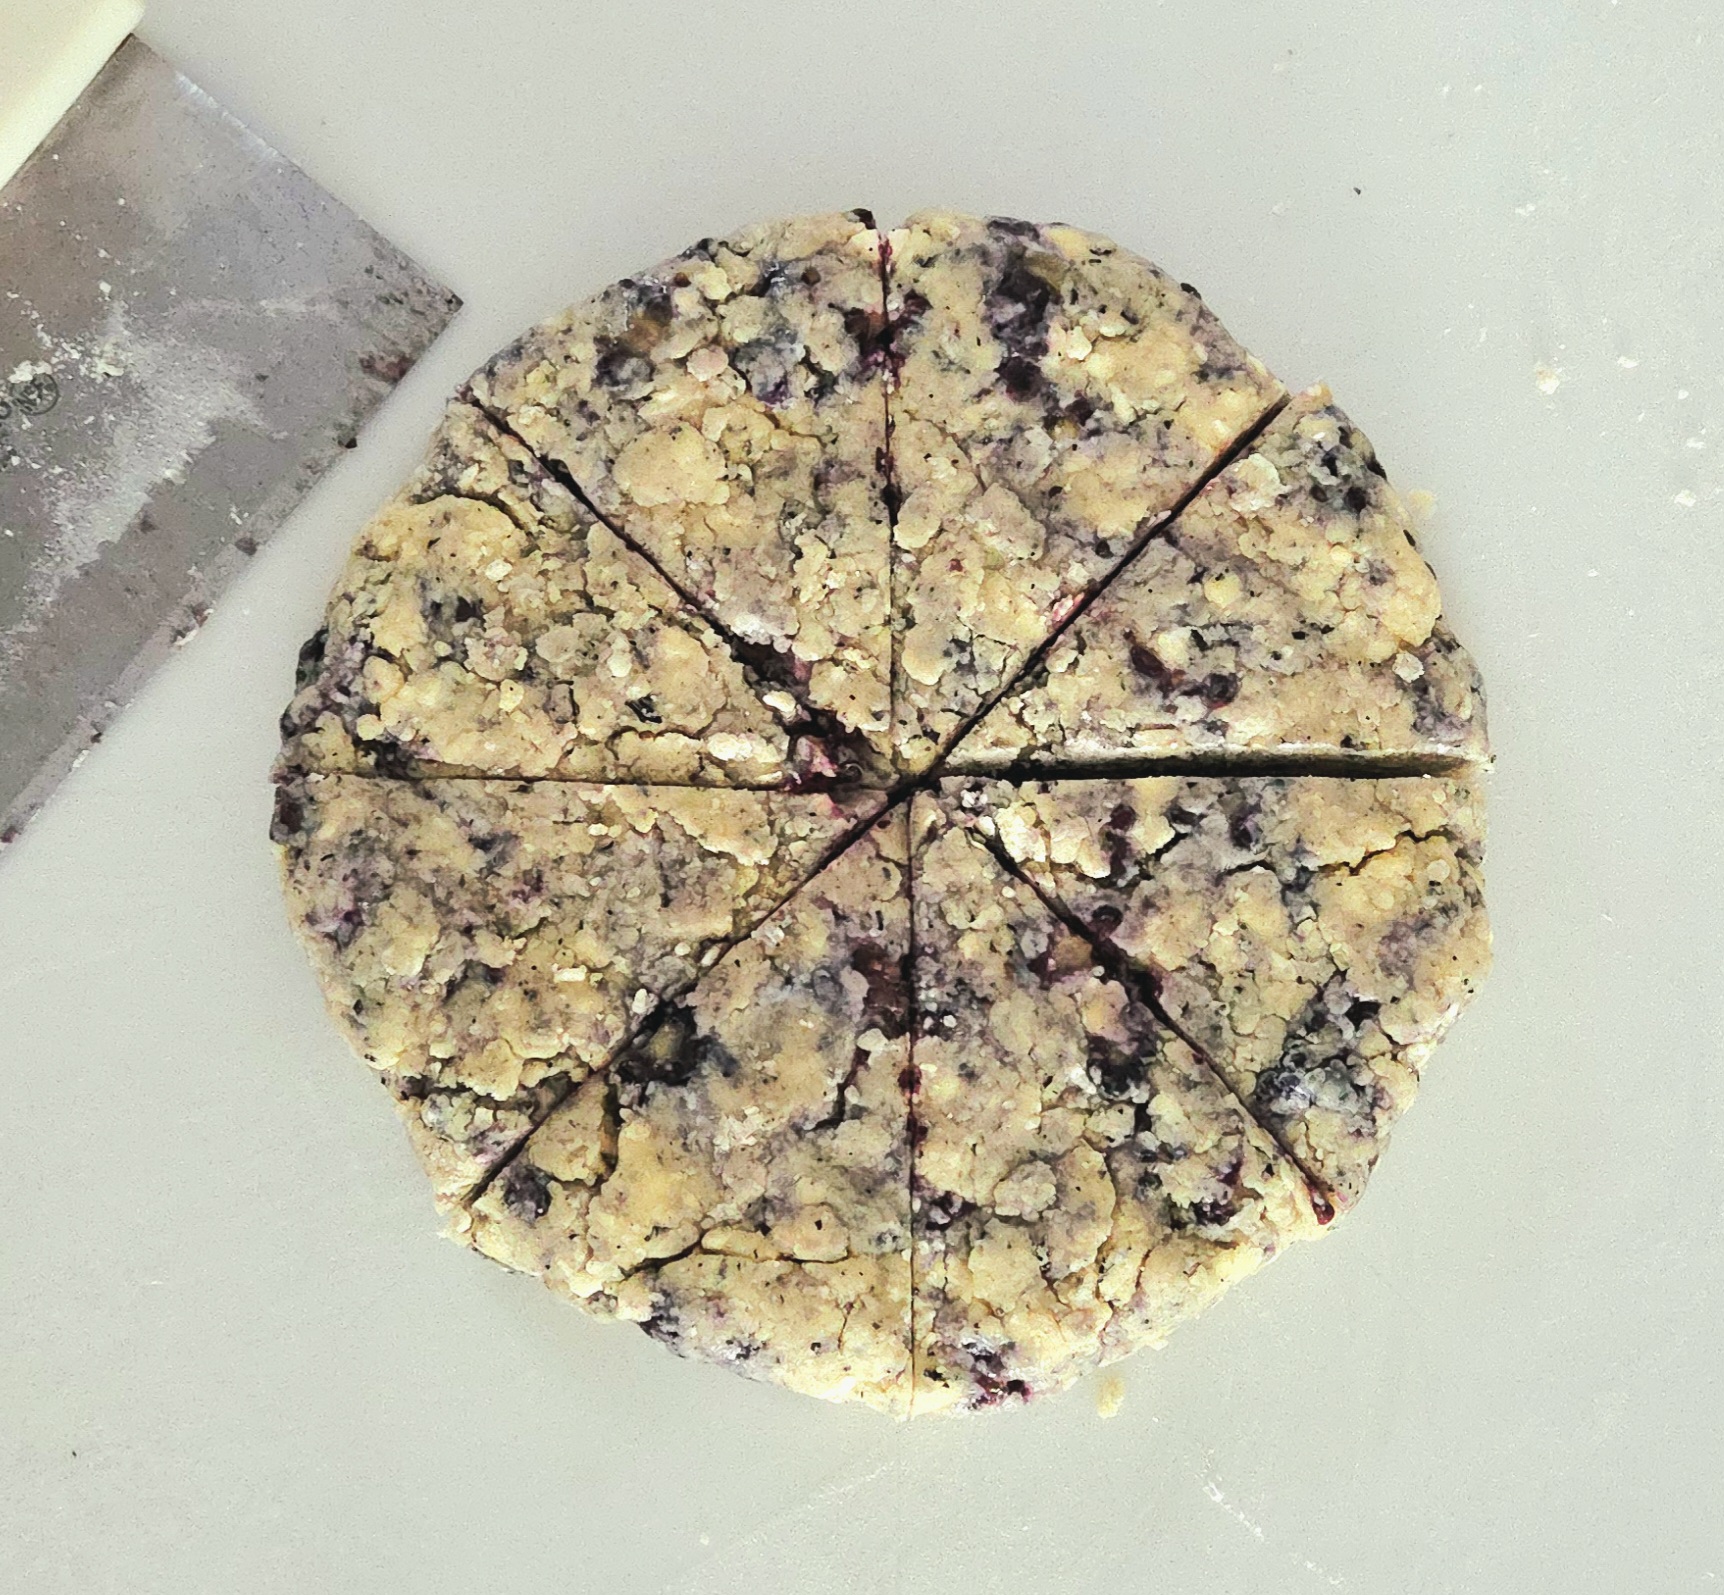
Cut the circle into 8 relatively equal wedges, using either a chef’s knife or a bench scraper. It needs to be bluntly cut, not dragged. I find it easiest to do this by first cutting the circle in half one way, then cutting it in half the other way, so you have 4 quadrants. Finally, cut each quadrant in half, leaving you with 8 similarly sized triangles.
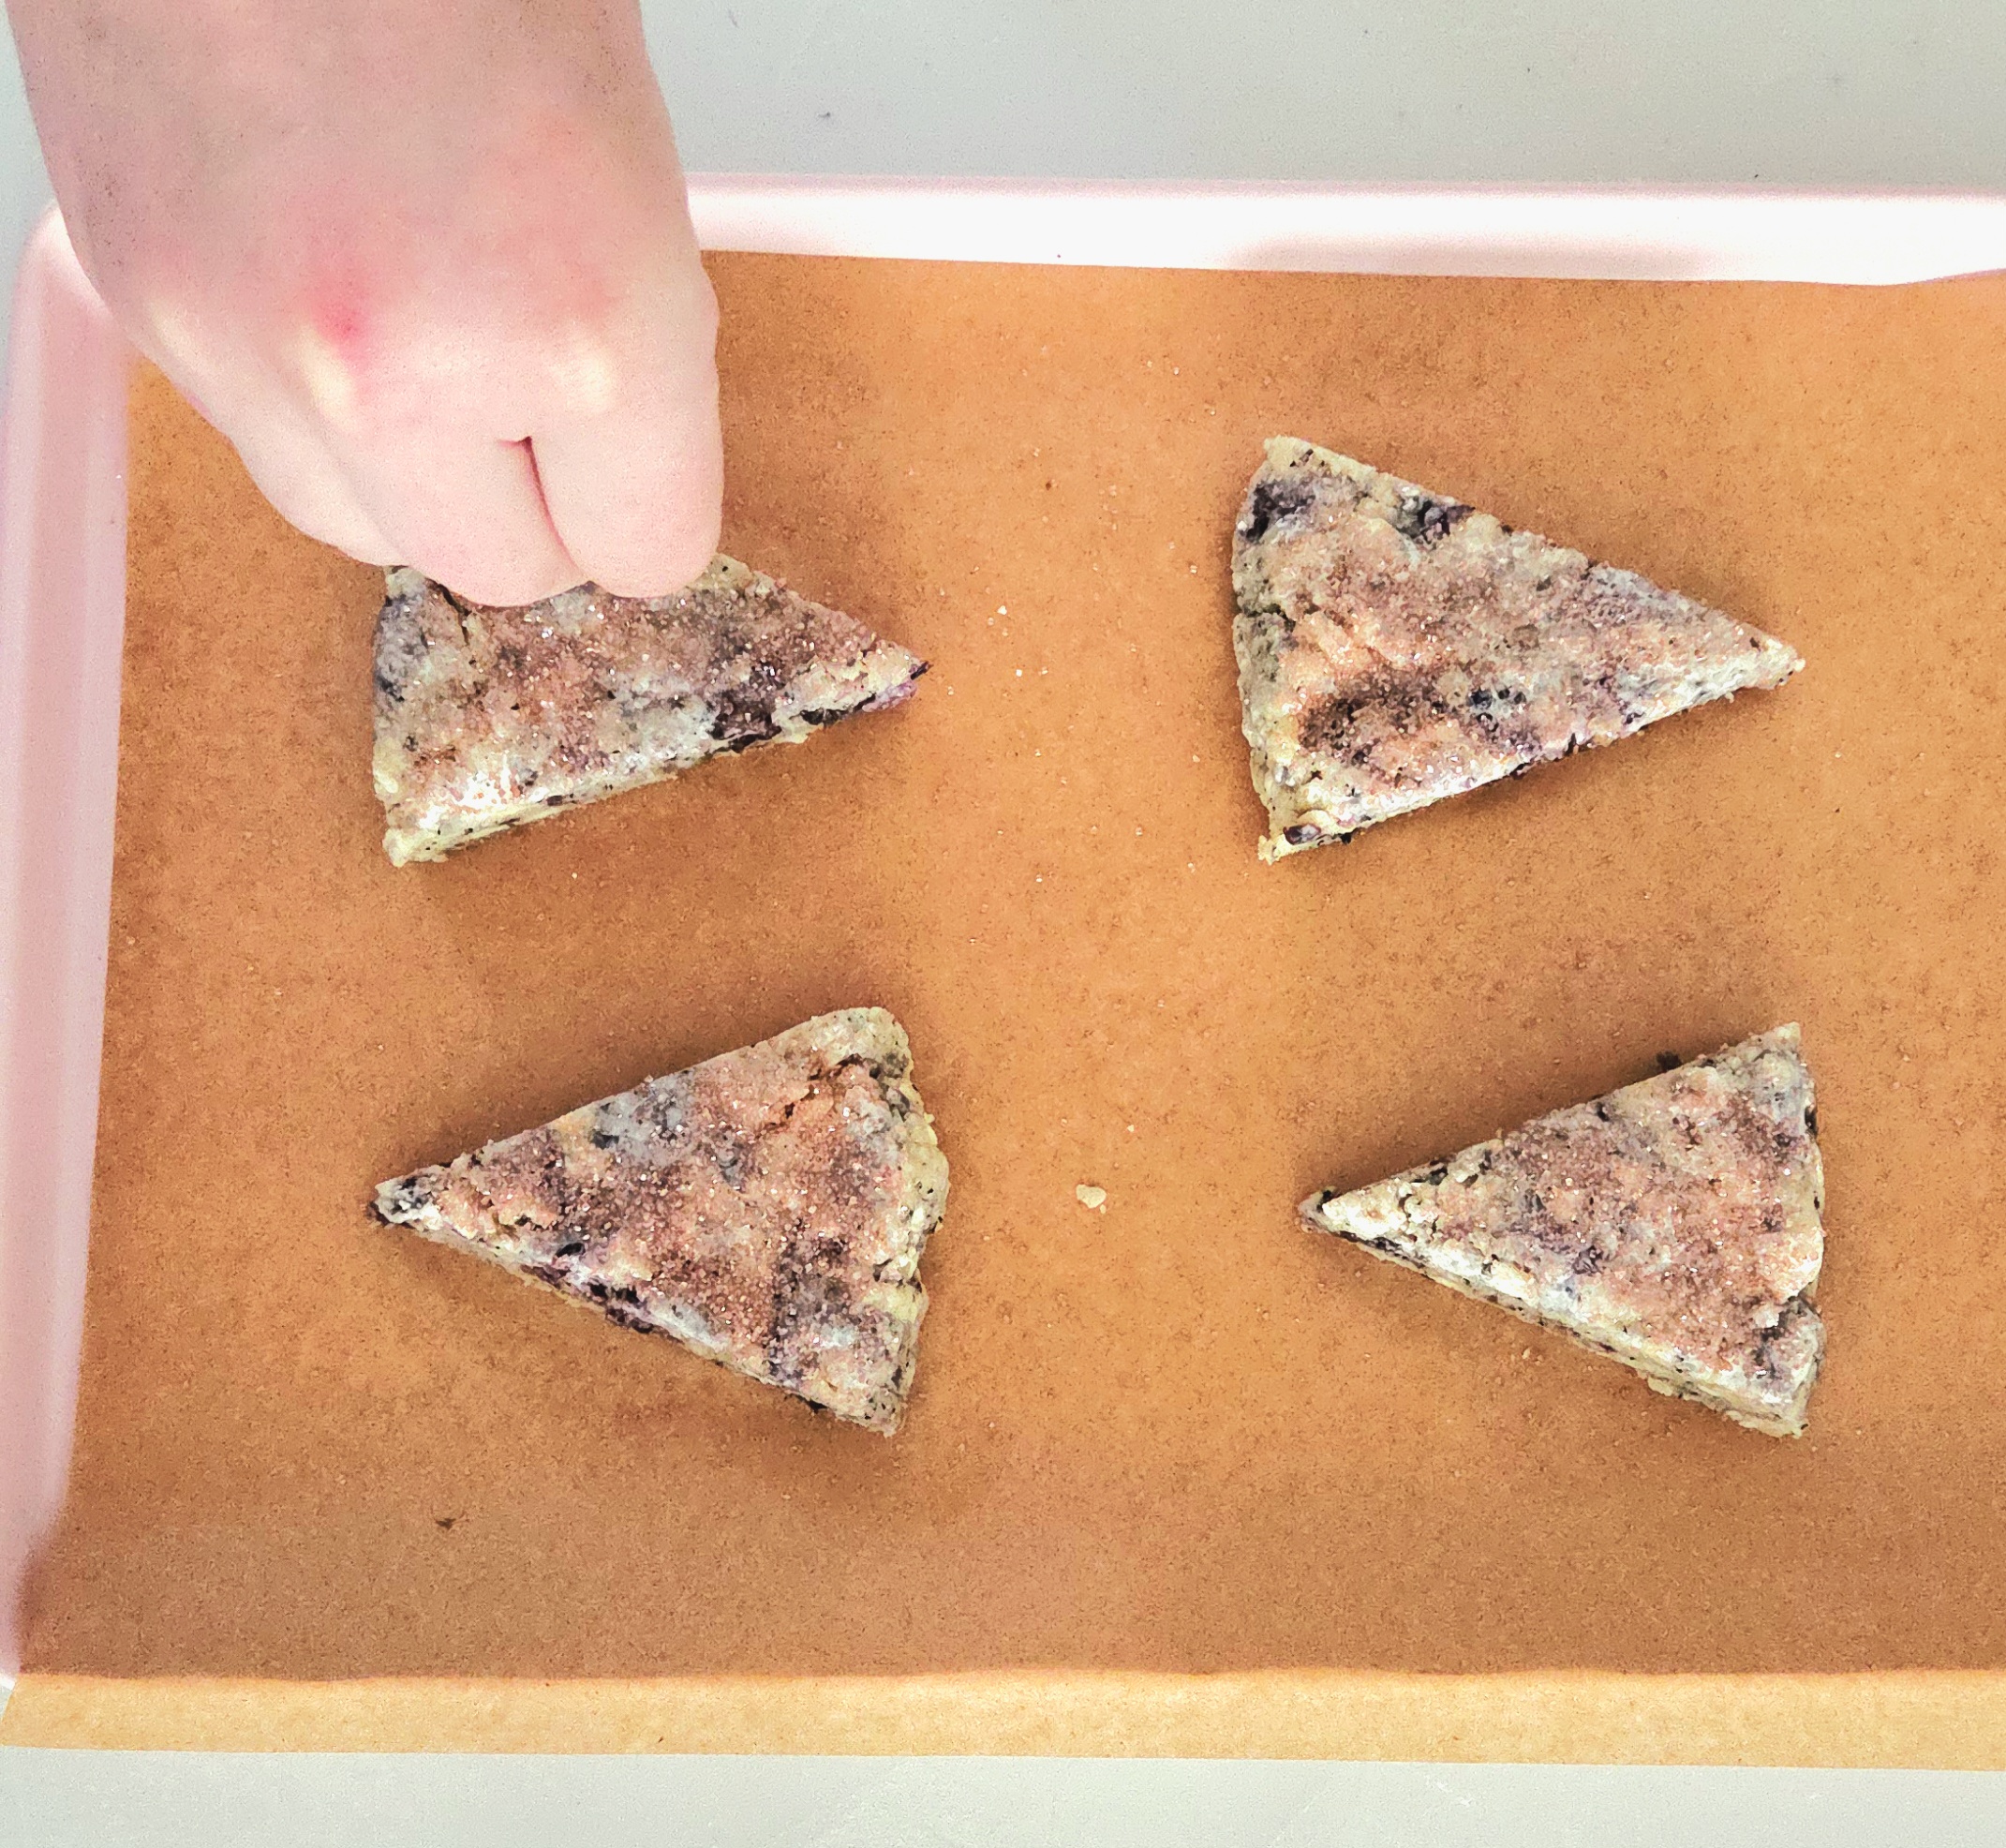
Place 4 triangles on each sheet pan, well spaced out. Cover one pan with plastic wrap and place it into the fridge while you bake the other pan. Pour the last 2 Tablespoons of cream into a small dish and, using a pastry brush, brush a thin layer of heavy cream on top of each scone. If you’d like, you can sprinkle on some sparkling sugar for extra crunch and whimsy.
Bake the first tray of scones on the center rack of the hot oven for 12-14 minutes, or until they’re a beautiful golden brown color. Flip the tray halfway through baking, for a more even bake. Once it’s finished, repeat this process with the second pan.
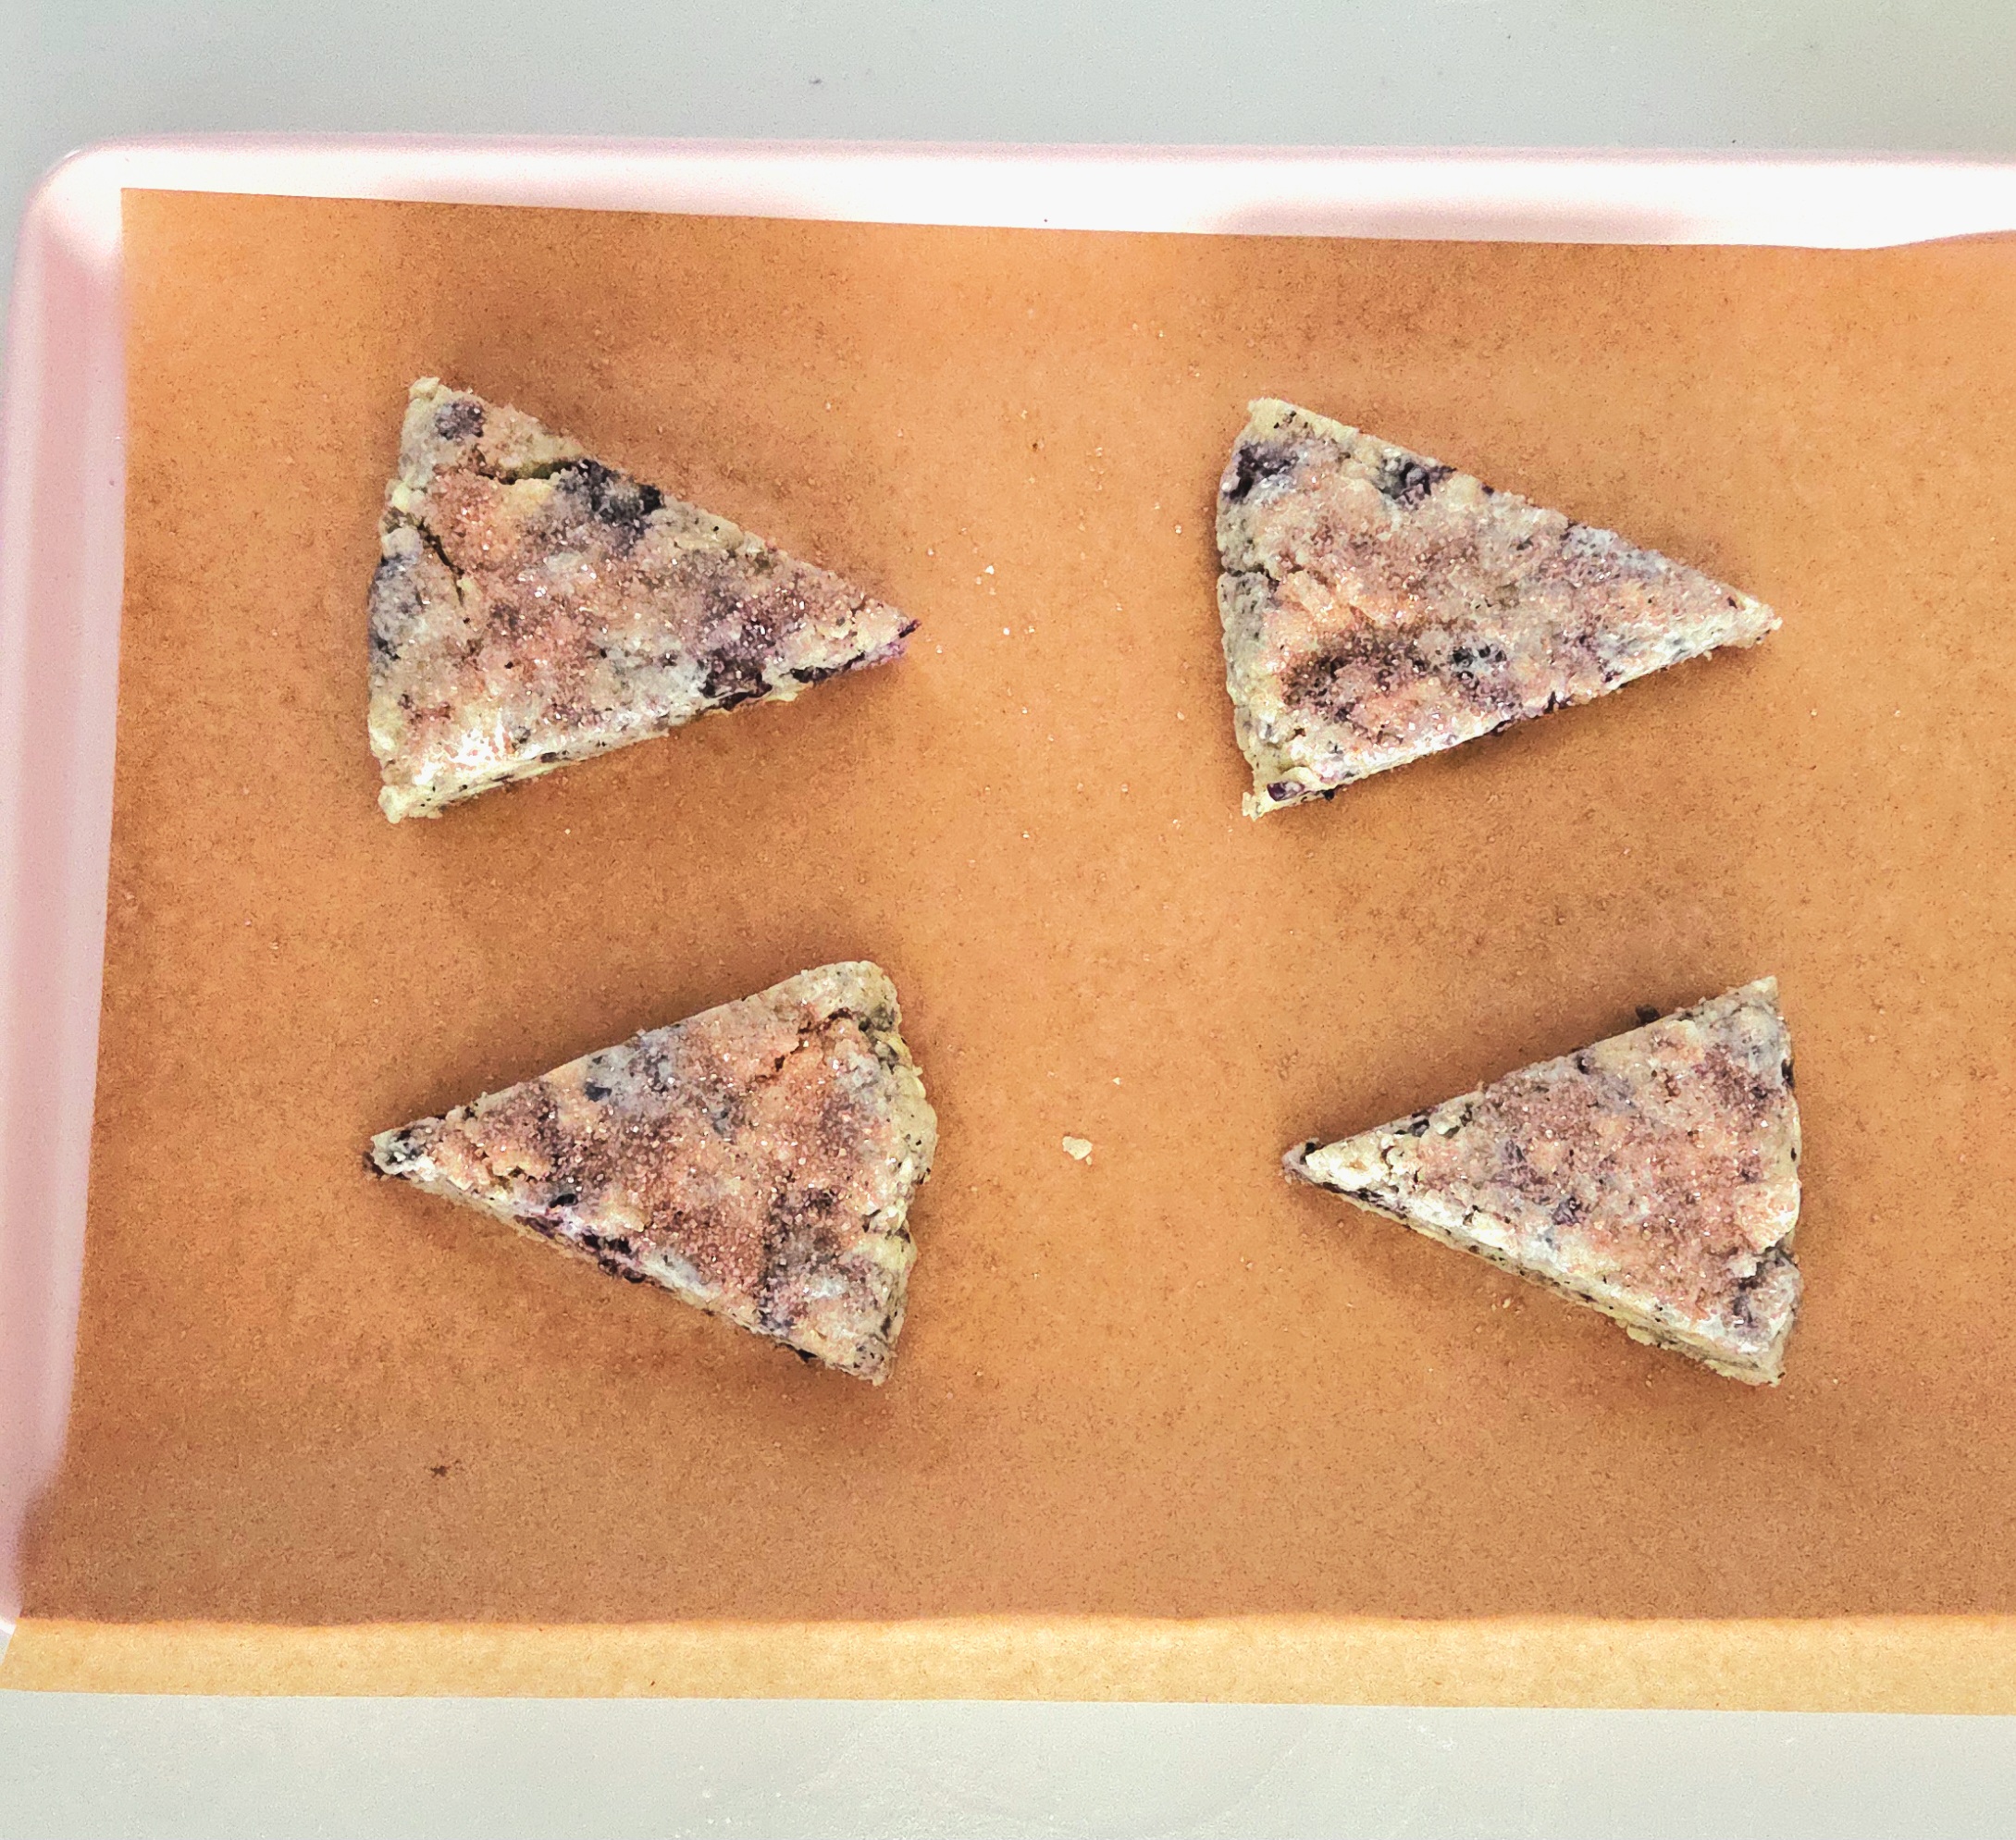
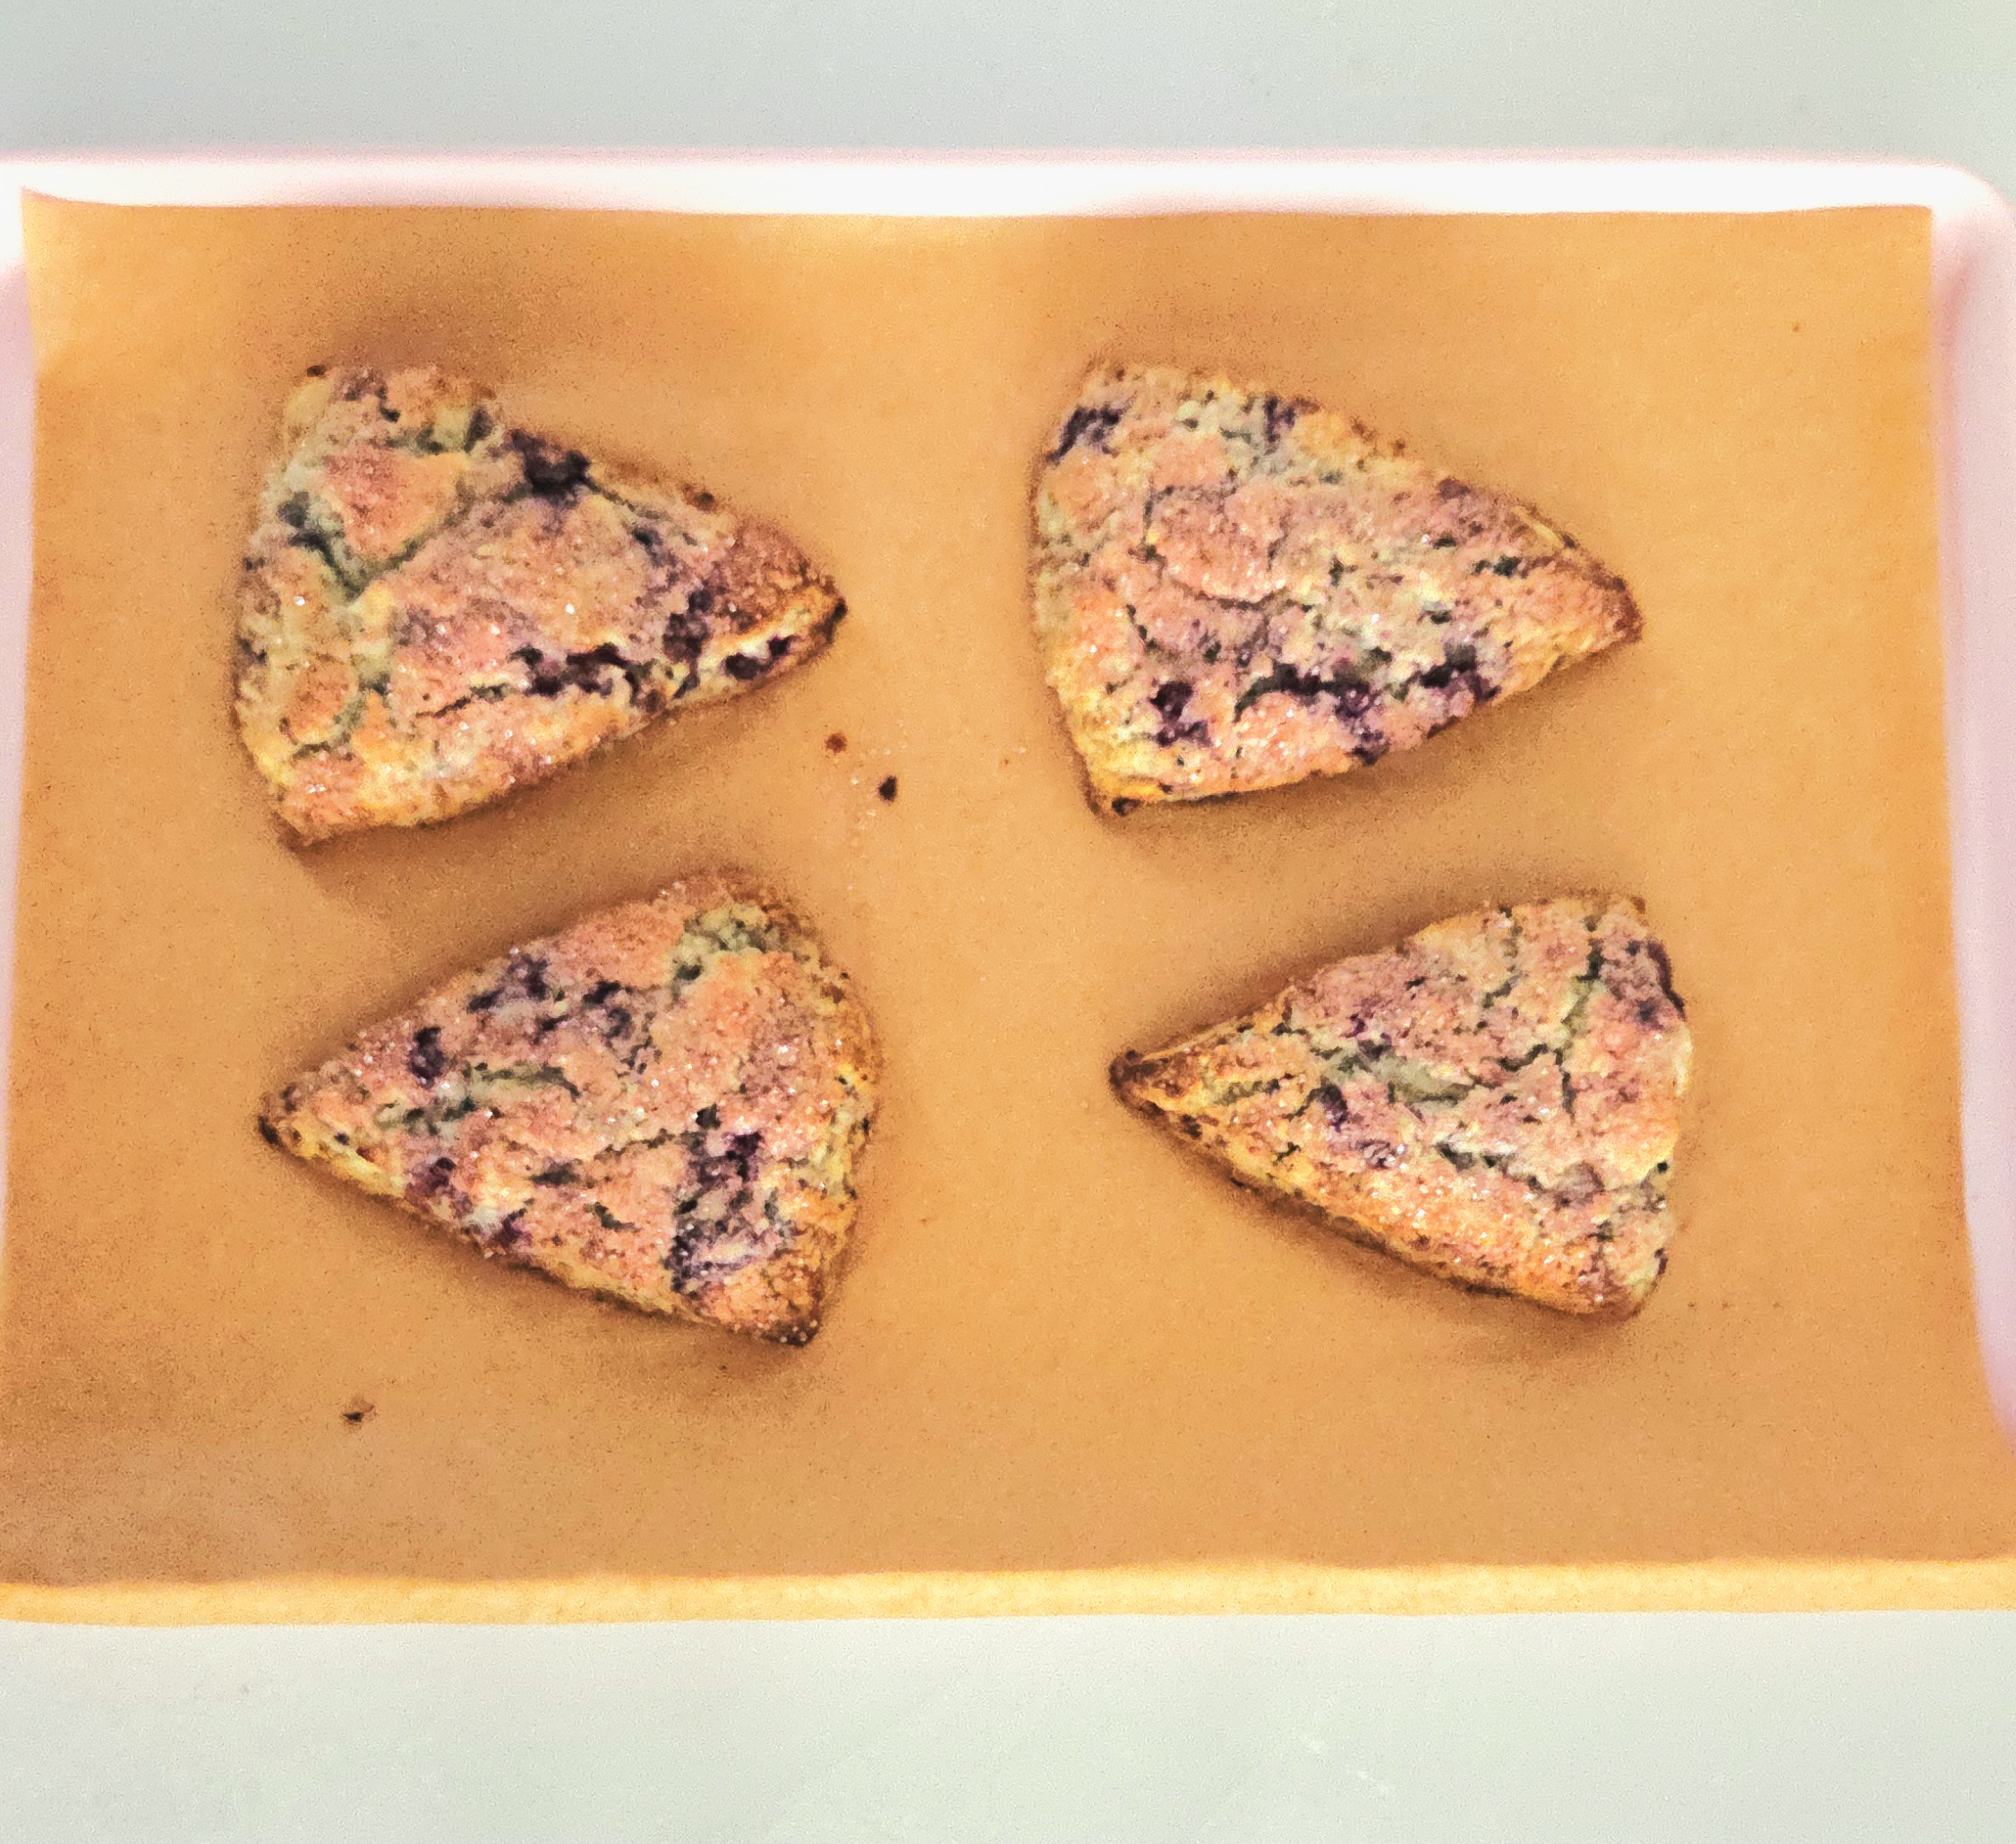
Give the freshly baked scones a few minutes to rest on the hot pan after you pull them from the oven. If you try to move them immediately, they’re going to fall apart. Pastries develop more structural integrity as they cool, so it’s a crucial step to just wait before moving them to a cooling rack.
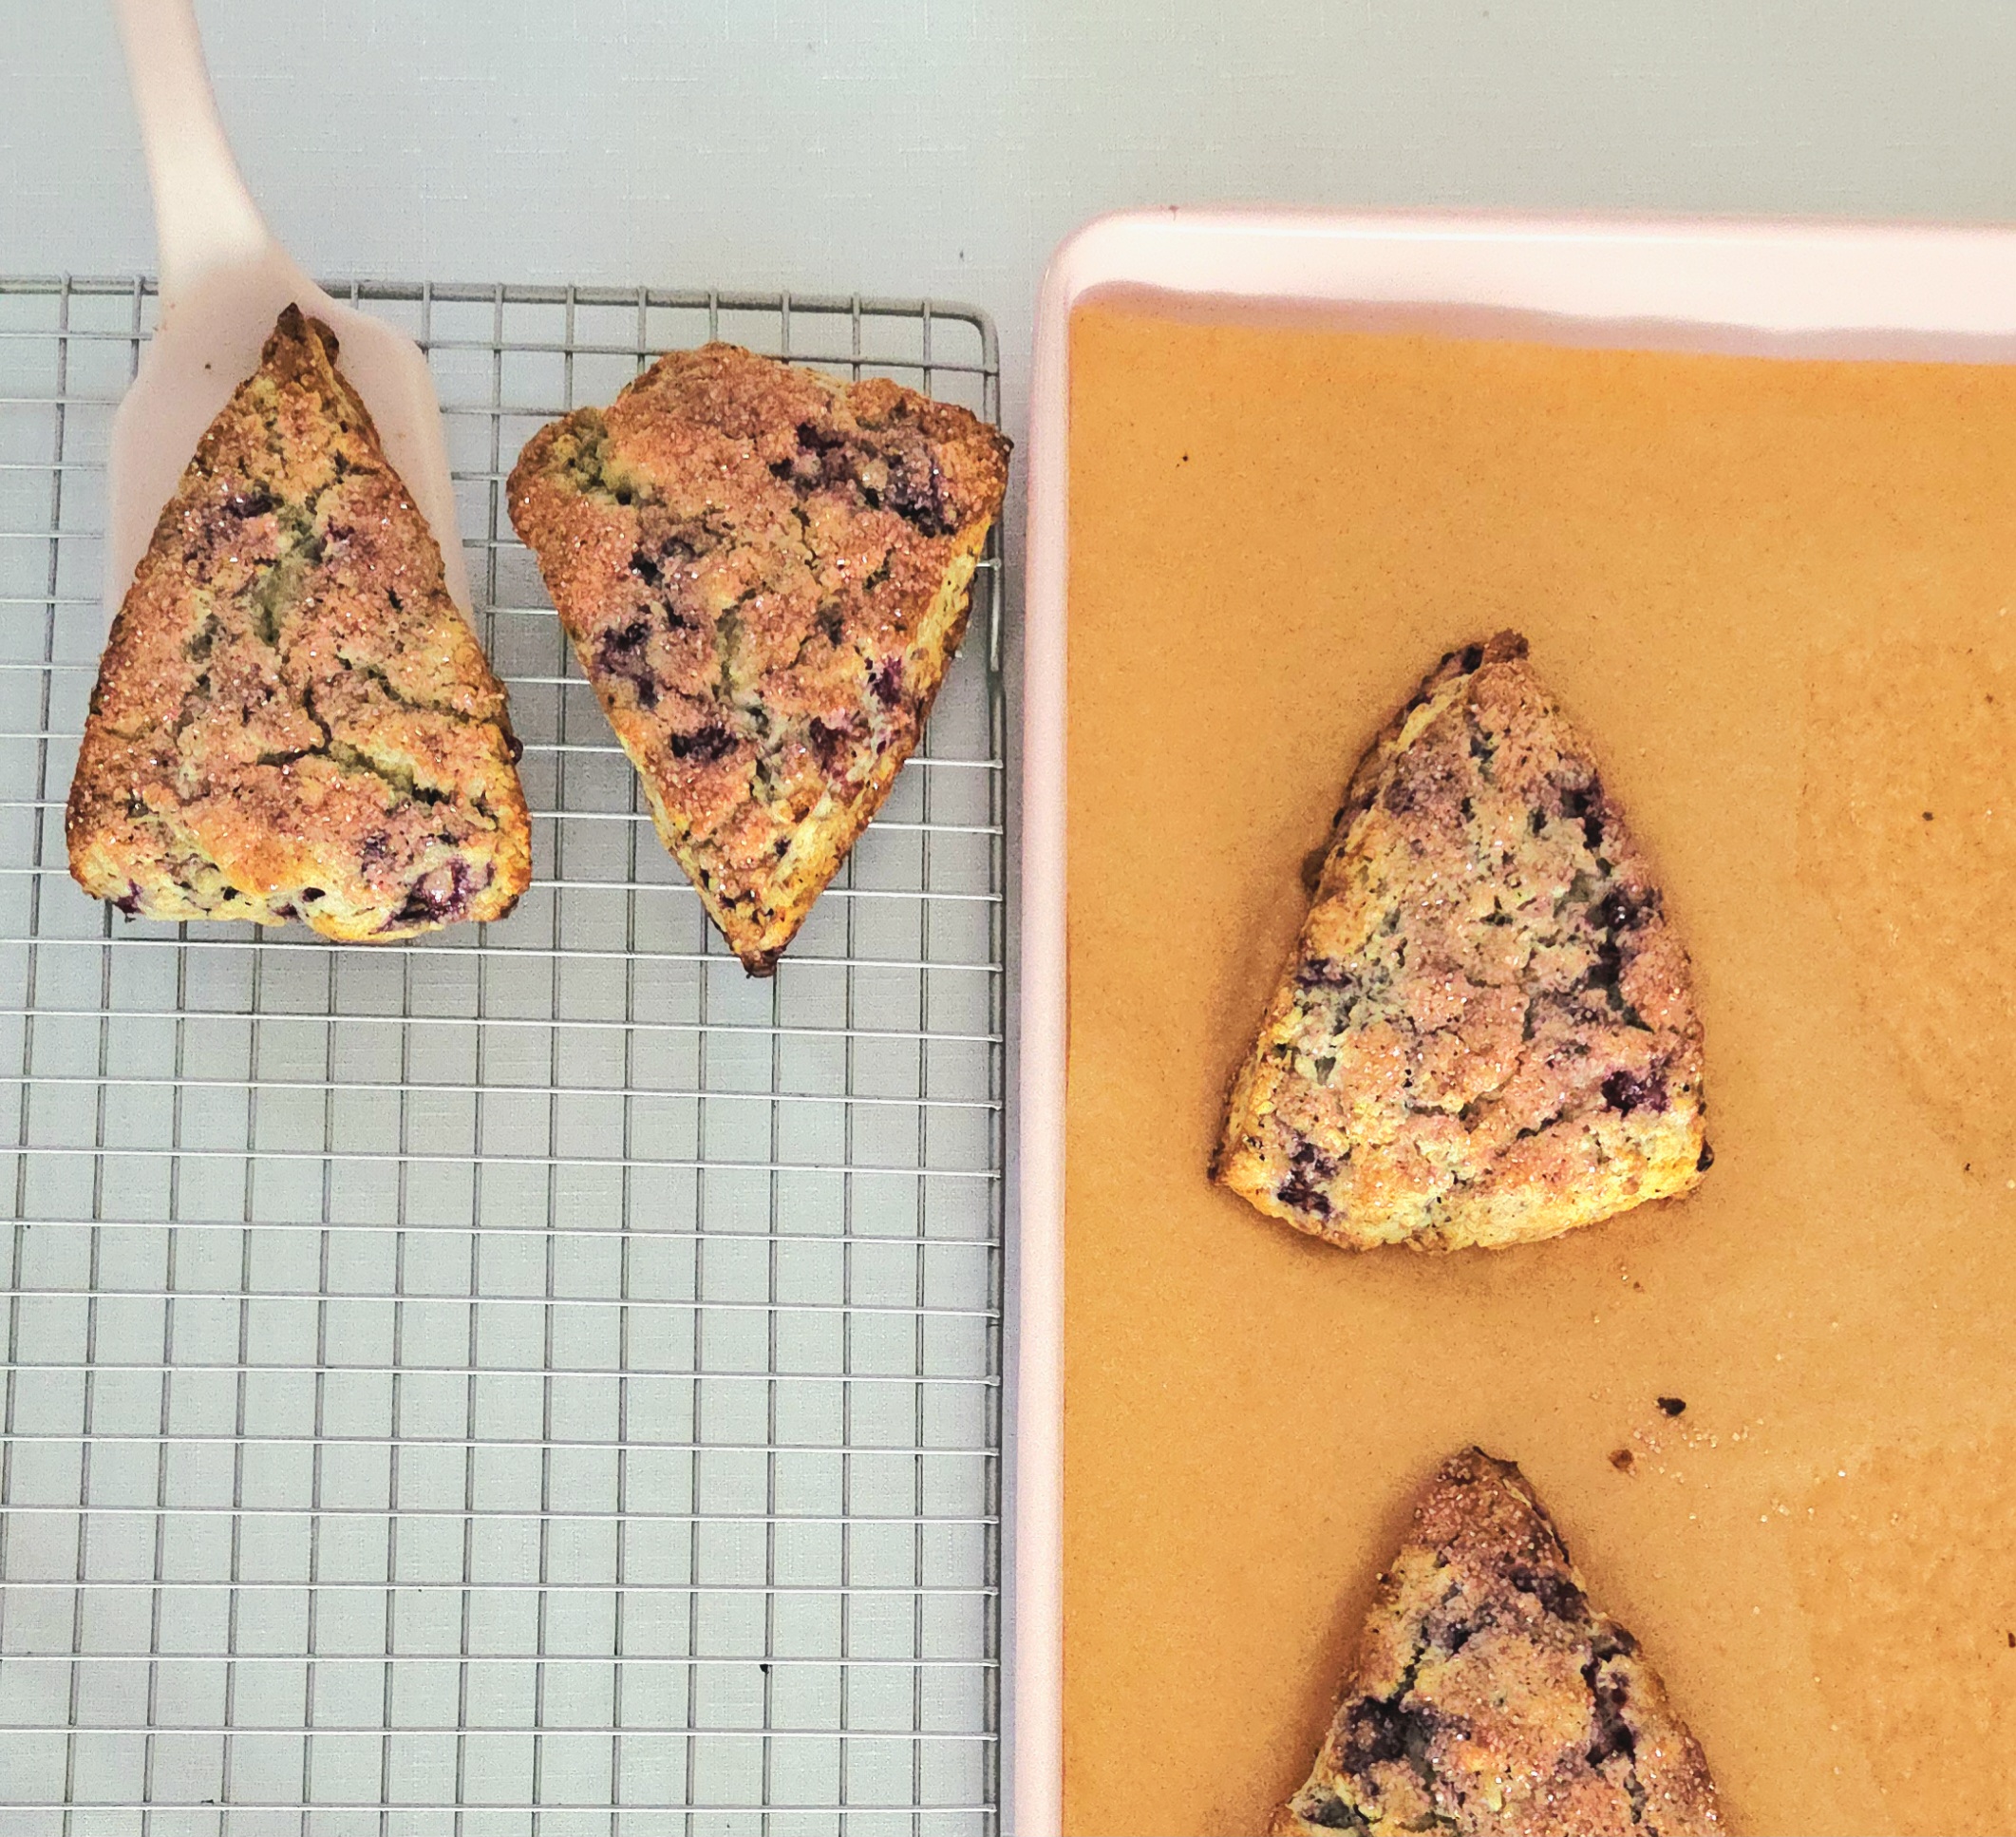
When the scones have cooled to room temperature, dig in and enjoy! Serve them up with some clotted cream, jam, and a hot cup of tea. Any leftover scones you have should be stored in an airtight container for up to one day.
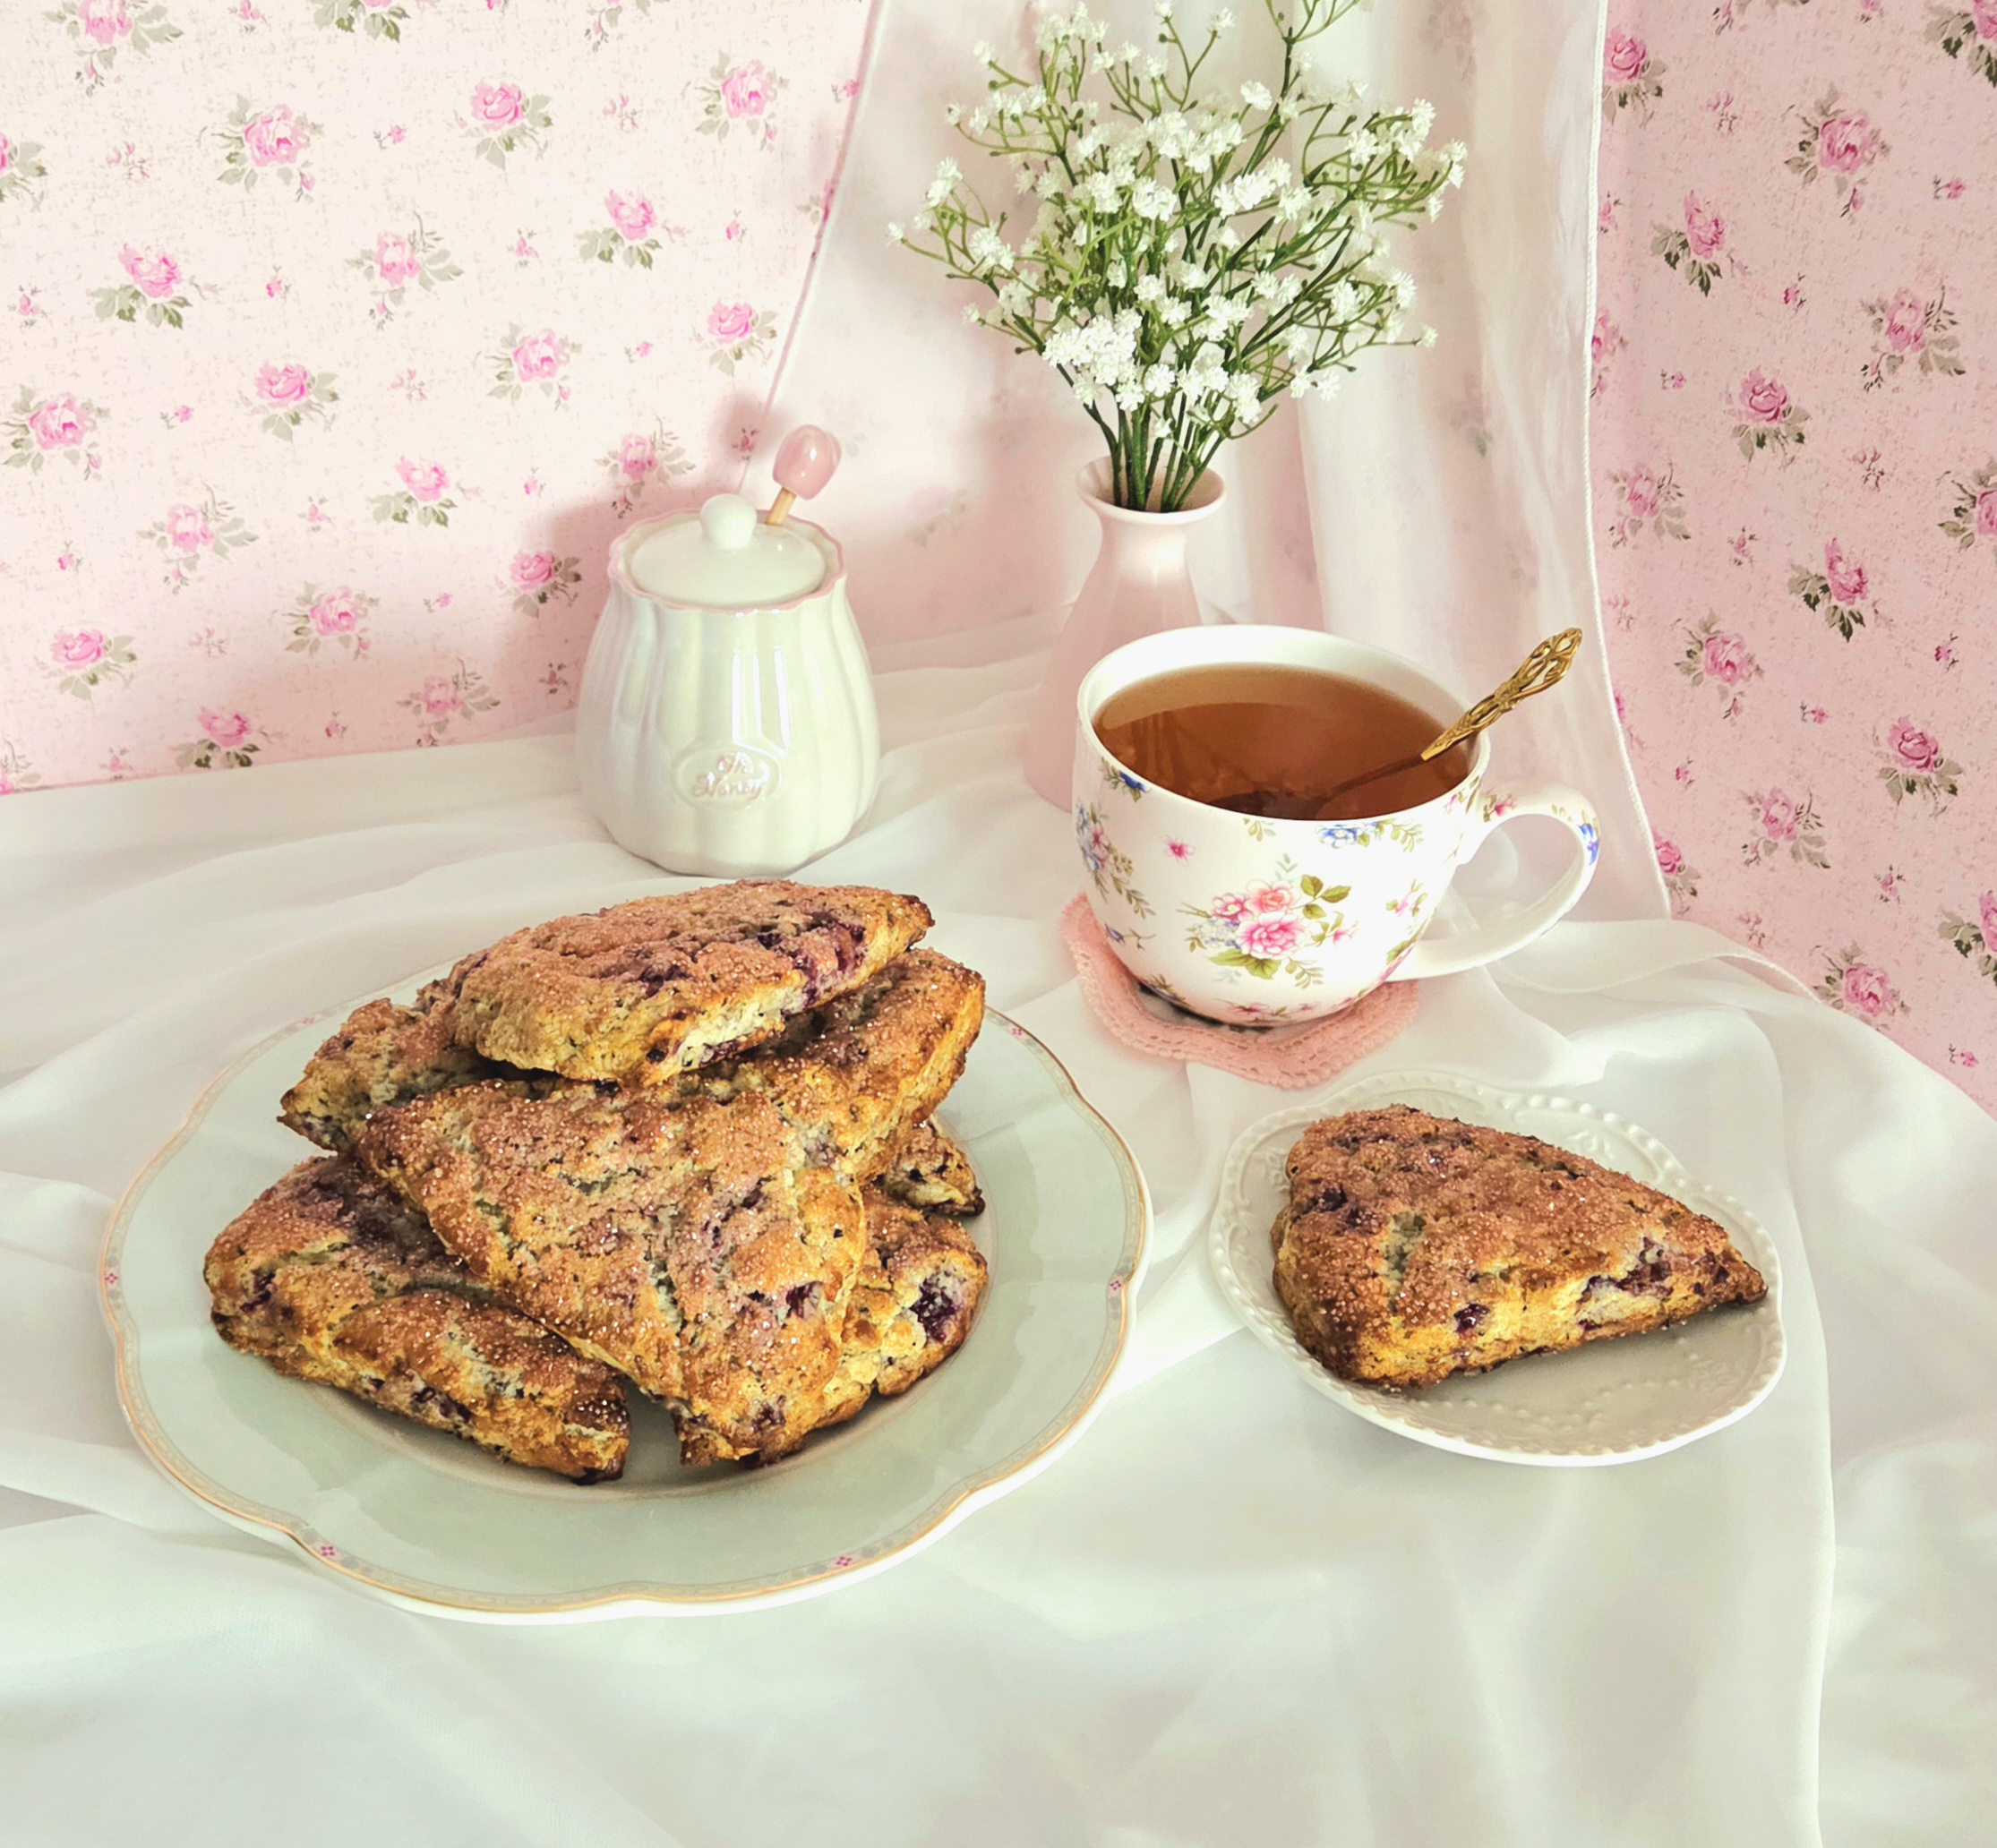
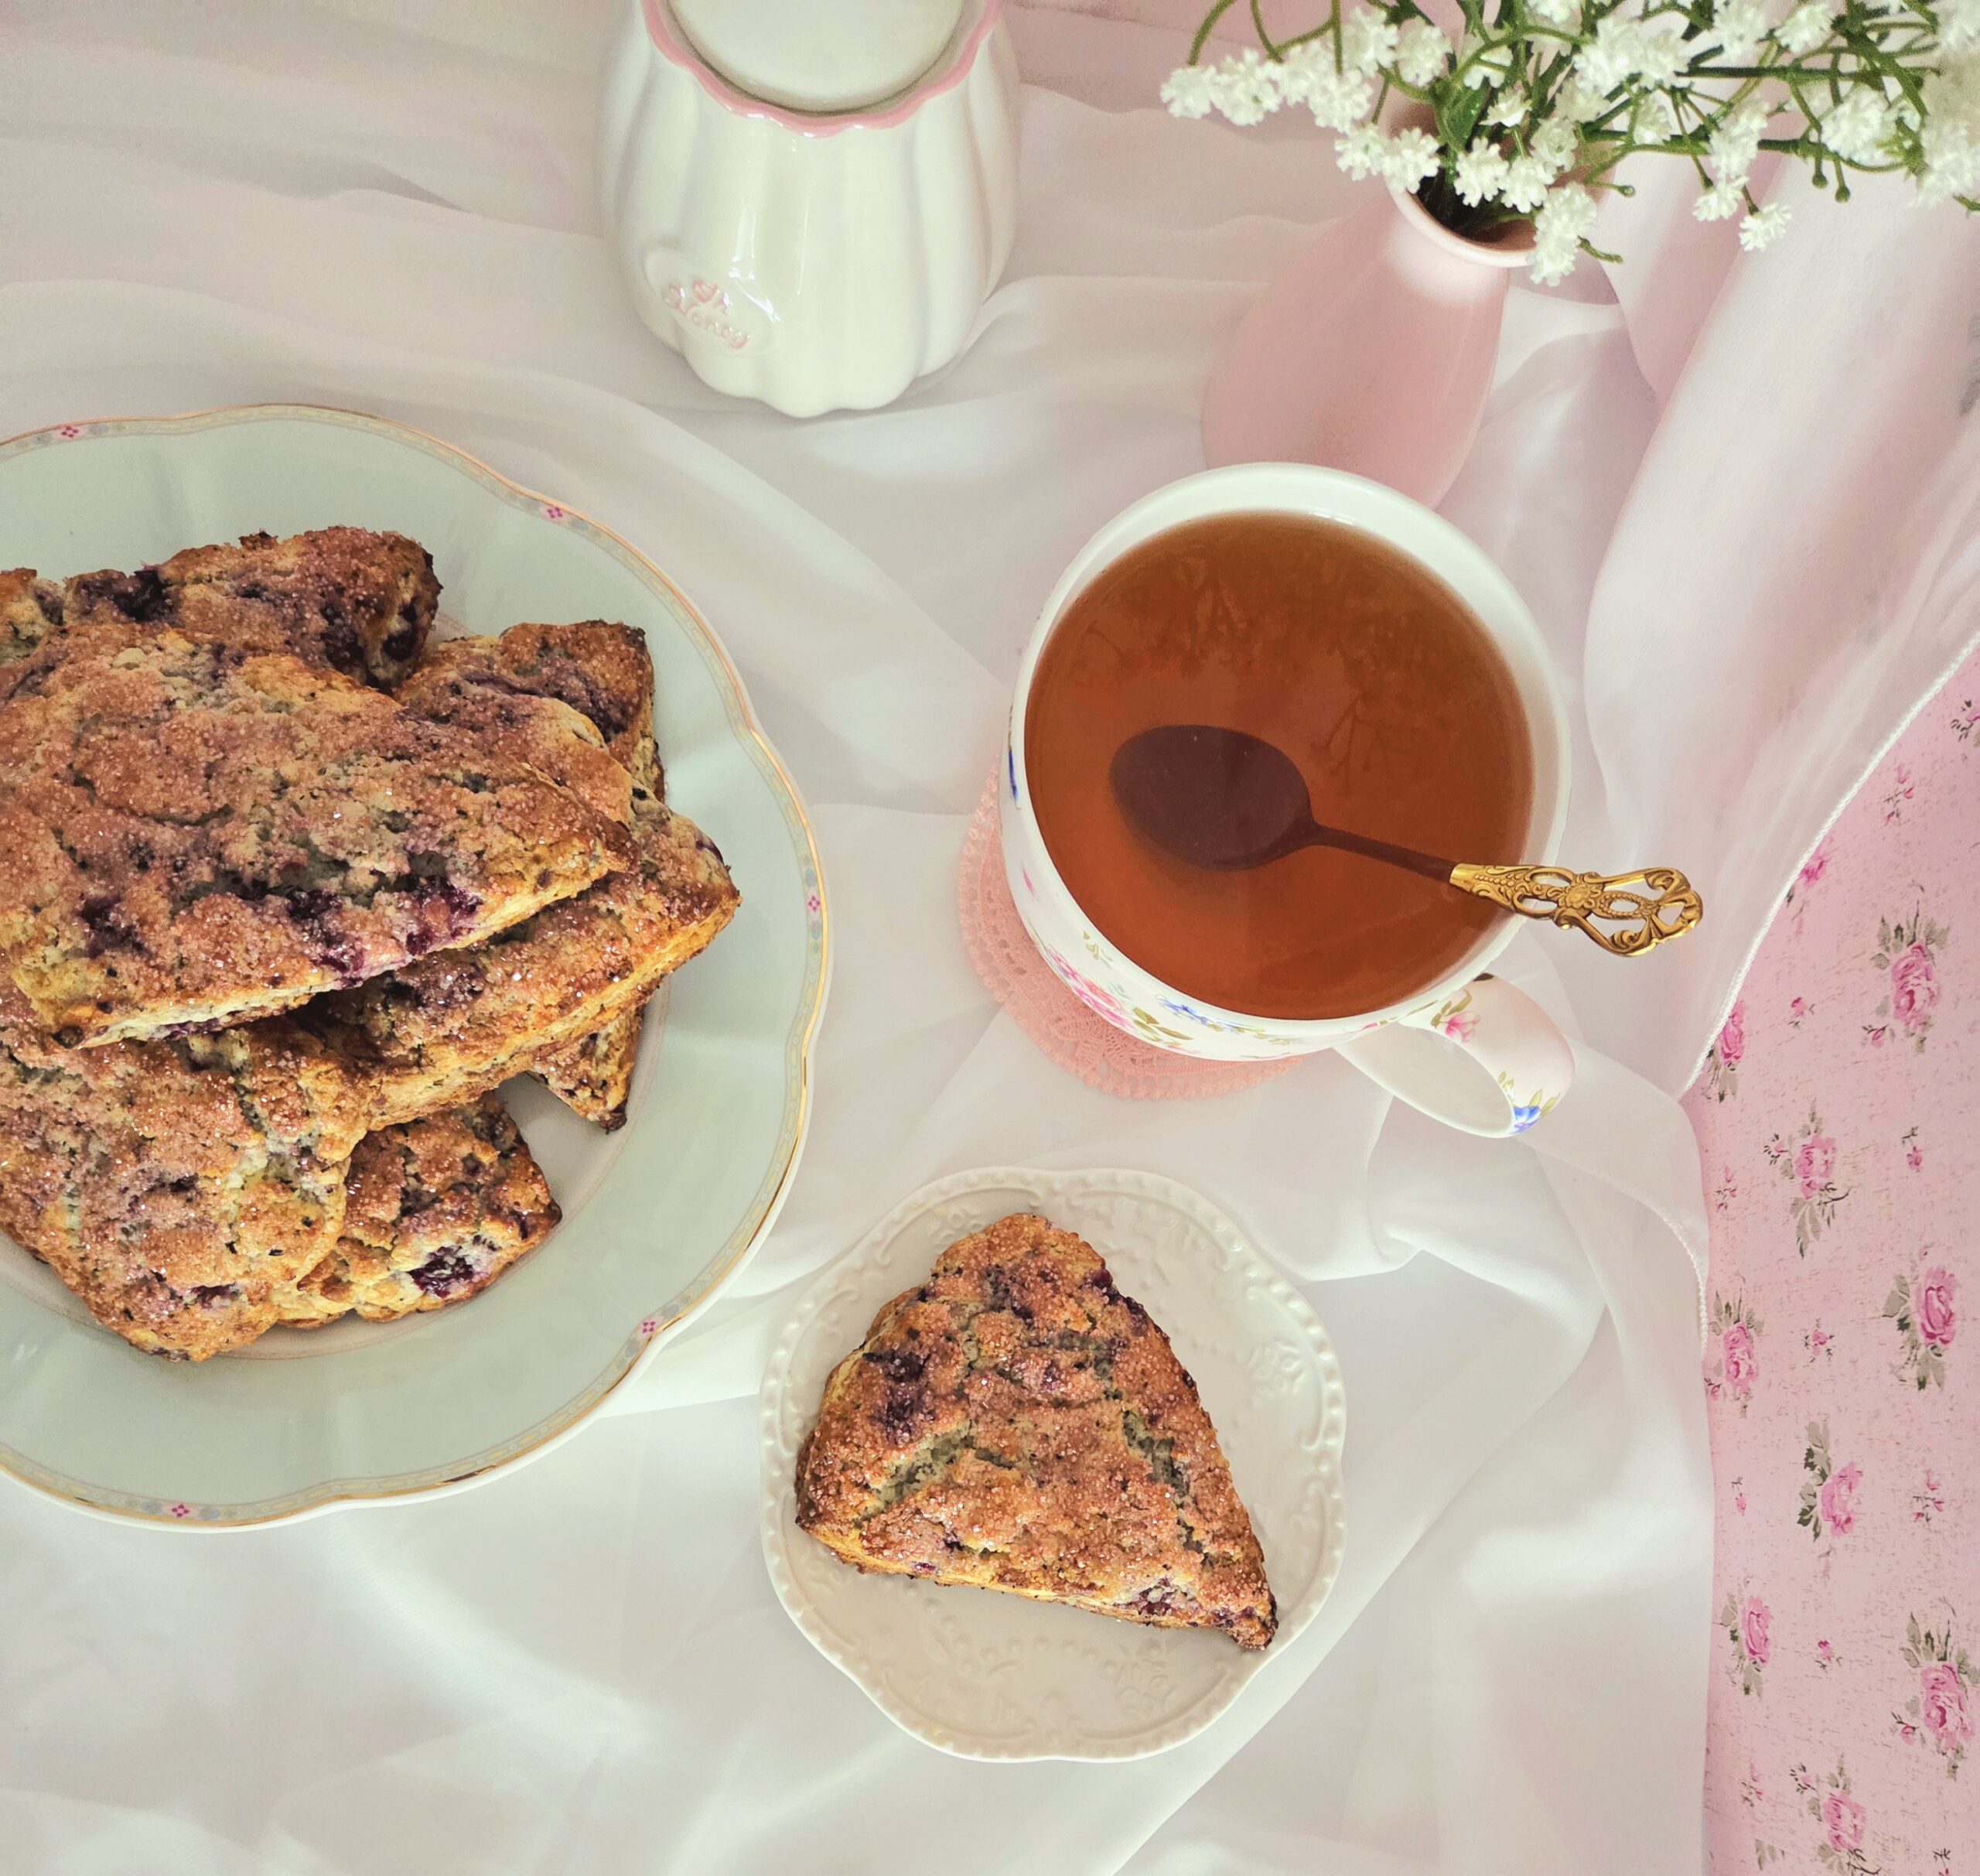
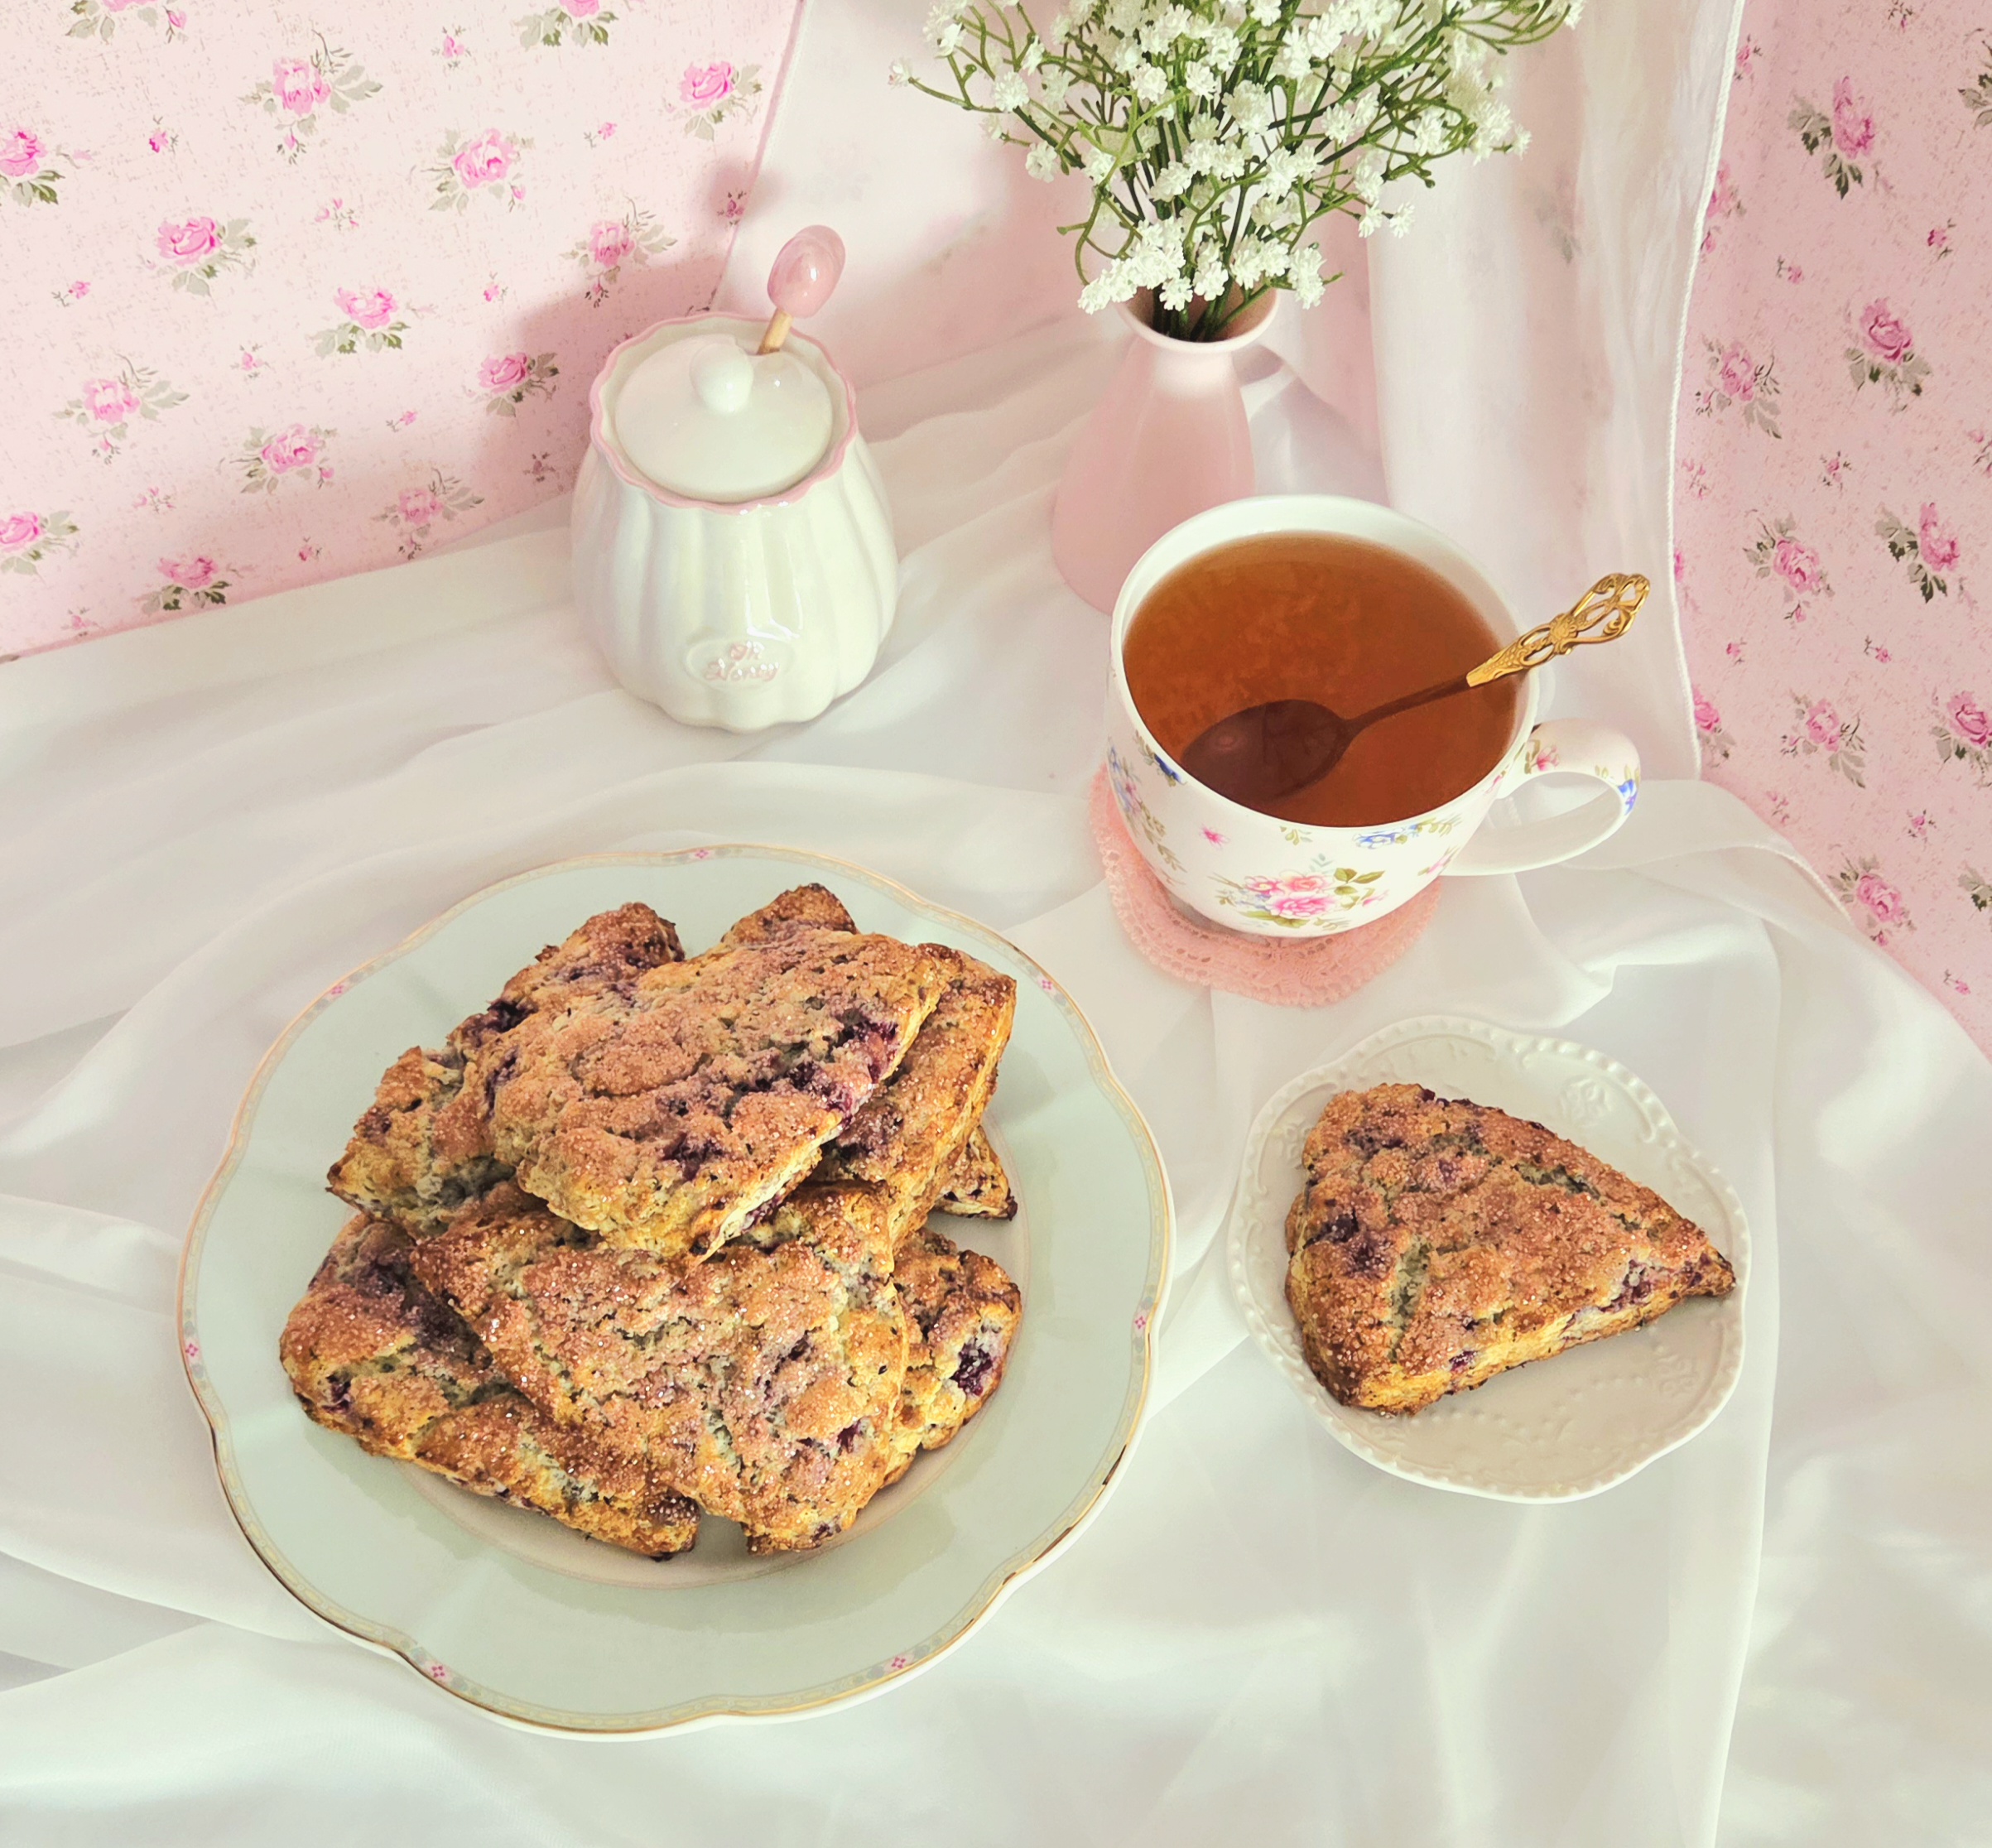
Blackberry Earl Grey Scones
Bake Time: 425F for 12-14 minutes
Servings: 8 scones
Total Time: 3 hours
Prep Time: 45 Minutes
Ingredients:
- 2 bags + 1 Tablespoon earl grey tea, divided
- 1 cup + 2 Tablespoons heavy cream, divided
- 2 cups all-purpose flour
- ¾ cup granulated sugar
- 1 Tablespoon baking powder
- ¾ teaspoon salt
- 6 Tablespoons unsalted butter
- 1 cup fresh blackberries
- Sparkling sugar, for garnish
Directions:
- Heat 1 cup of the heavy cream in a small saucepan until it’s simmering. Place the 2 bags of early grey tea in the hot cream, cover it, and place the saucepan into the fridge. Steep the tea in the cream for a minimum of 1 hour, or up to overnight.
- Preheat the oven to 425F, on the convection setting if possible, arranging the rack so it’s in the center of the oven. Line two baking sheets with parchment paper, set them aside.
- In a large mixing bowl, whisk together the flour, sugar, baking powder, 1 Tablespoon of earl grey tea, and salt. Set the bowl aside
- Cut the blackberries into small pieces, a bit bigger than a chocolate chip. Place them into a bowl and transfer them to the fridge until the dough is ready for them.
- Cube the cold butter, then sprinkle it over the dry goods. Cut the butter into the dry mix using a pastry blender until the pieces are no larger than a pea. If you don’t own a pastry blender, see the FAQs and Science section for alternative methods.
- Grab the chopped blackberries from the fridge. Dump them into the dough and mix them in with a fork, then carve out a well in the center of the bowl. Pour the cold infused cream into the well, then mix it with the fork again until a shaggy dough has formed.
- Transfer the dough to a clean counter and form it into a thick circle, between 8-9 inches in diameter and 1 inch thick. Wrap the circle in plastic wrap and place the dough into the fridge for a minimum of 1 hour, or up to overnight.
- After the dough has chilled, remove it from the fridge and unwrap it. Cut the circle into 8 equal wedges using a bench scraper or chef’s knife. Place 4 of the wedges onto each baking sheet, spacing them well. Cover one of the sheets in plastic wrap to wait in the fridge while the other pan bakes.
- Pour the remaining 2 Tablespoons of heavy cream into a small dish and brush a thin layer on top of the scones about to go into the oven. If you’d like, sprinkle sparkling sugar on top of the scones. Place the pan onto the center rack of the hot oven and bake the scones for 12-14 minutes or until they’re a light golden brown, rotating halfway through. Repeat with the second pan.
- Let the hot scones rest for a few minutes on the pan after they’ve come out of the oven, then transfer them over to a cooling rack. Once they’ve come down to room temperature, serve them up with clotted cream and tea or all on their own and enjoy! Store any leftover scones in an airtight container for up to 1 day.
Tips
- Unbaked scones can be frozen to pull and bake fresh at your discretion! Follow the recipe as written through step 8, then place all the wedges of dough on a parchment lined baking sheet. They can be close together, but should not be touching. Cover them with a layer of plastic and place the tray of unbaked scones into the freezer. Once they’re frozen solid, transfer the wedges to a freezer safe bag for up to 3 months. Pull as many scones as you’d like to bake, brush them with a thin layer of cream, sprinkle with sparkling sugar if you’d like, and bake at 425F for 14-17 minutes.

0 Comments