
One of my favorite underrated classic combinations is an apple with cheddar cheese. The sweet, juicy apple just pairs perfectly with a sharp, salty cheddar. As part of a charcuterie board, in a grilled cheese, as a quick, healthy snack. Here in New England, you’ll even sometimes see us top off a slice of apple pie with cheddar. It’s an old, classic combo for a reason.
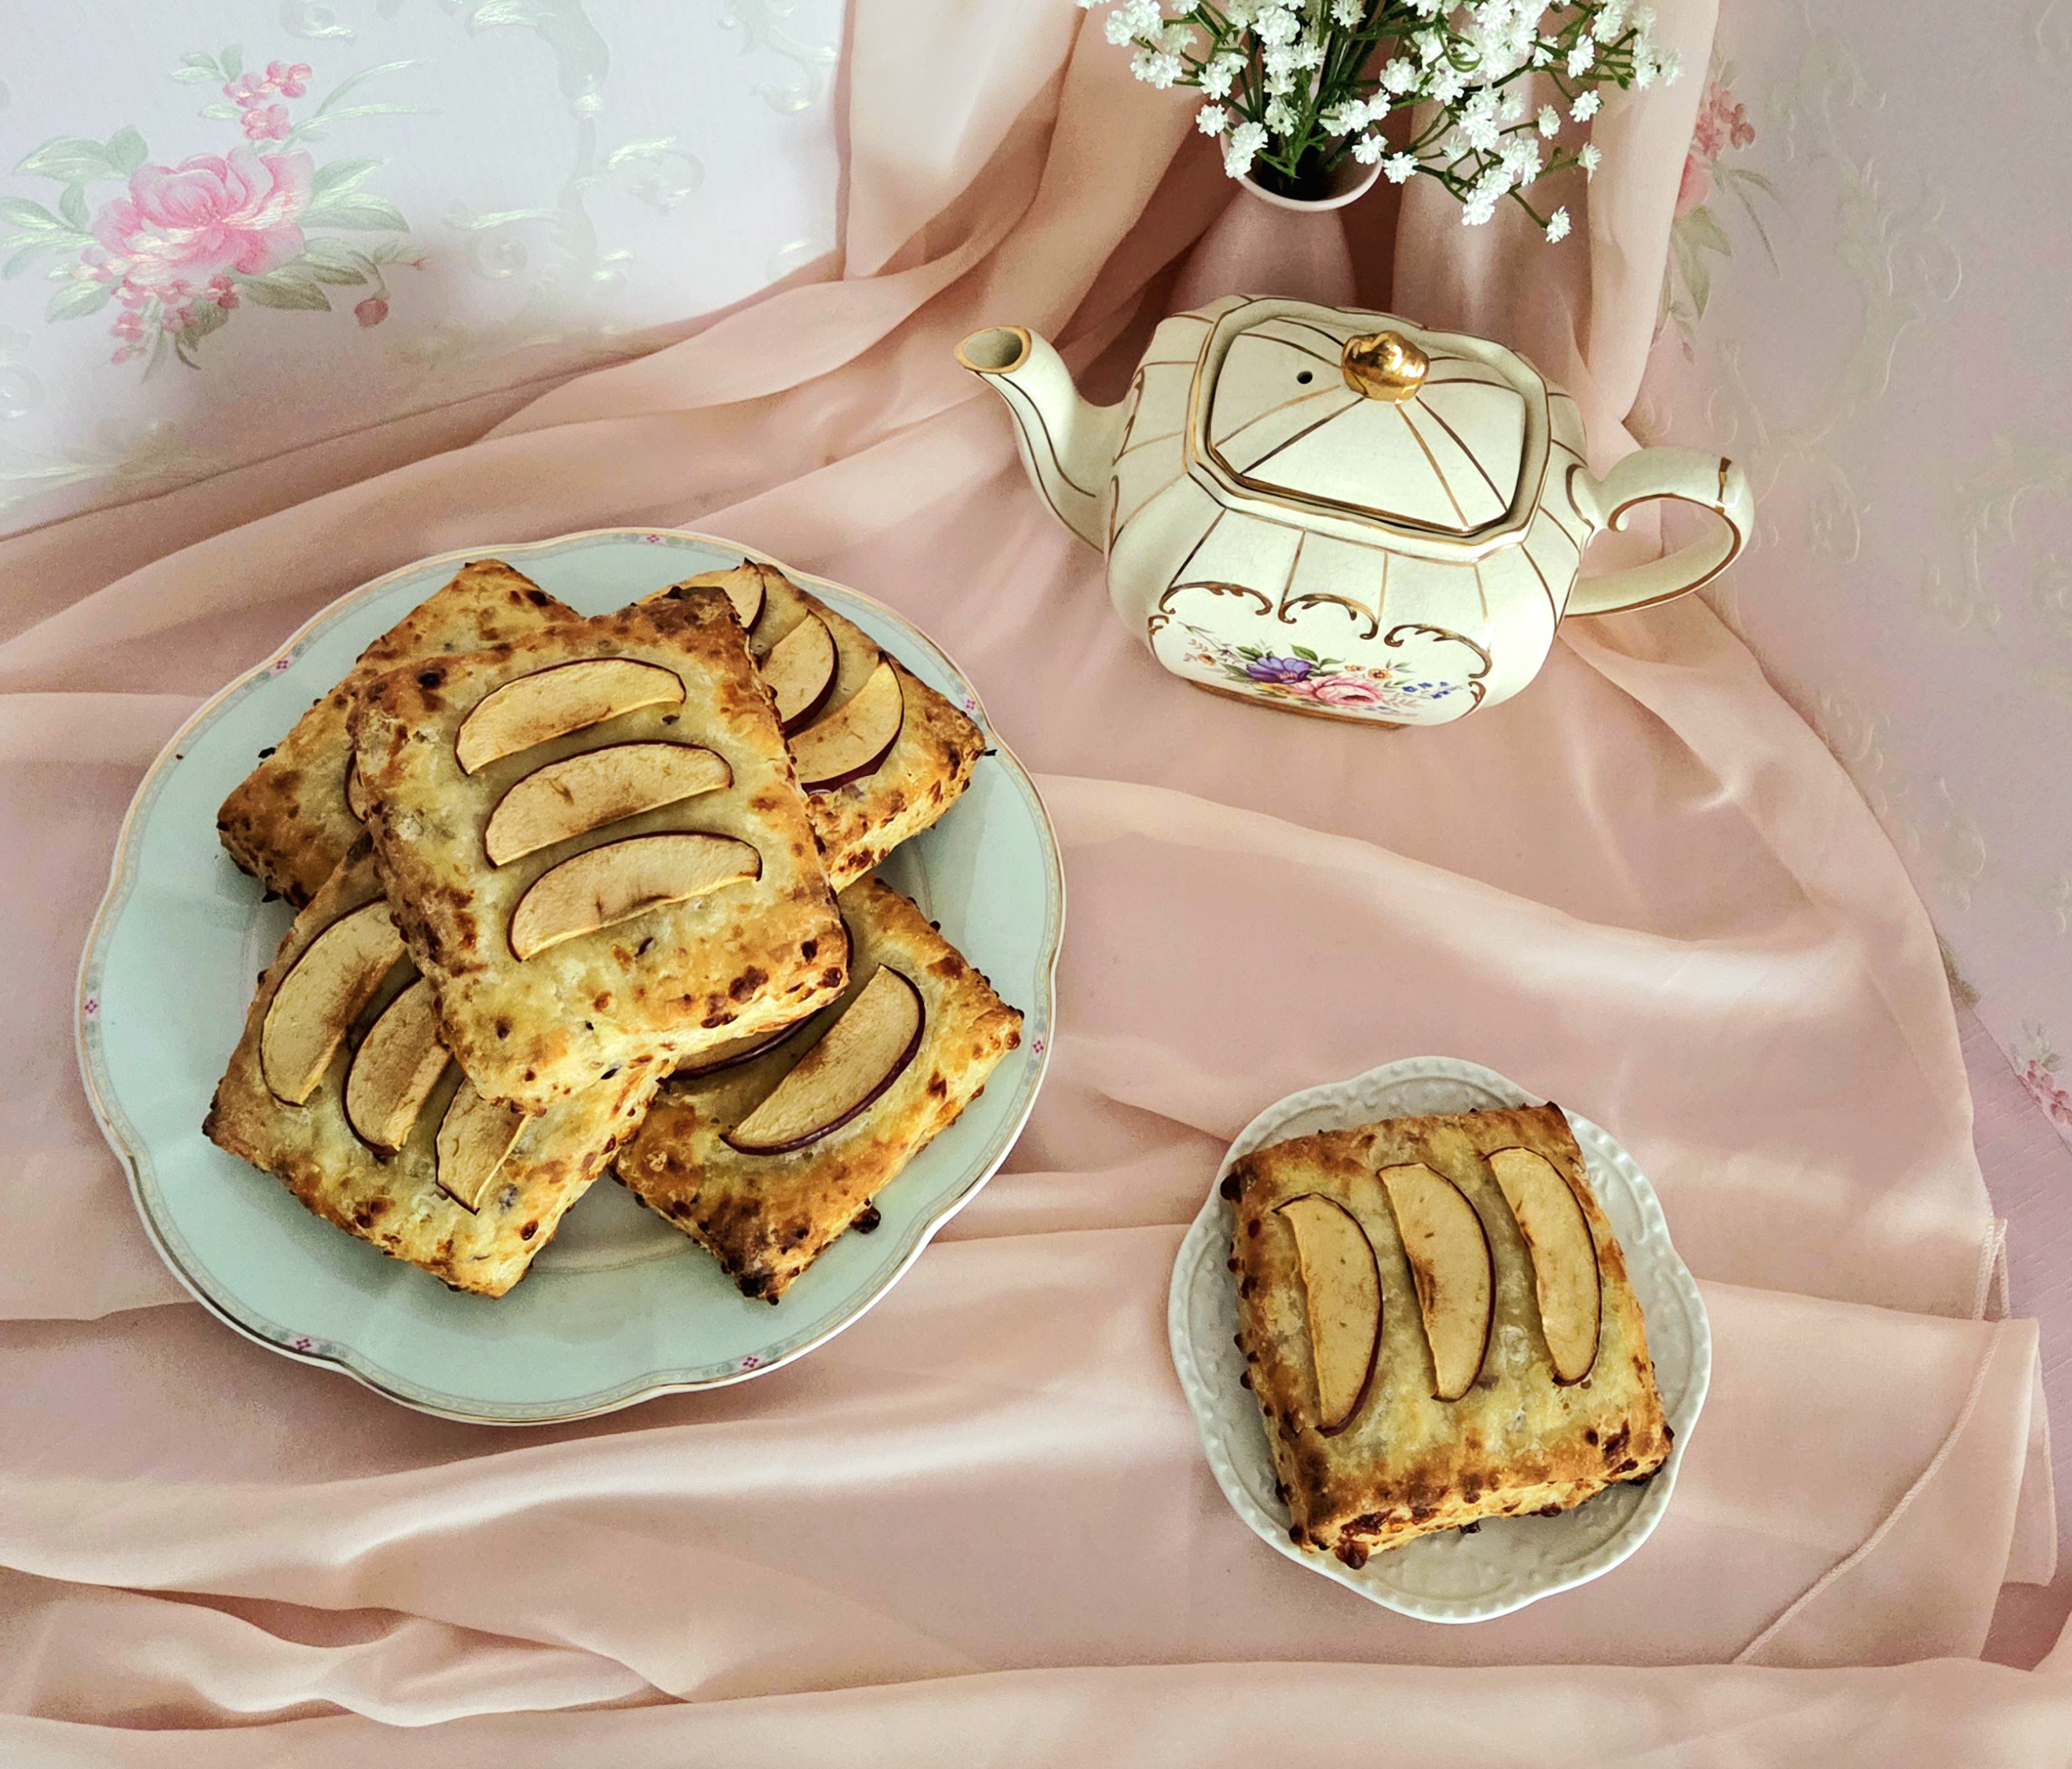
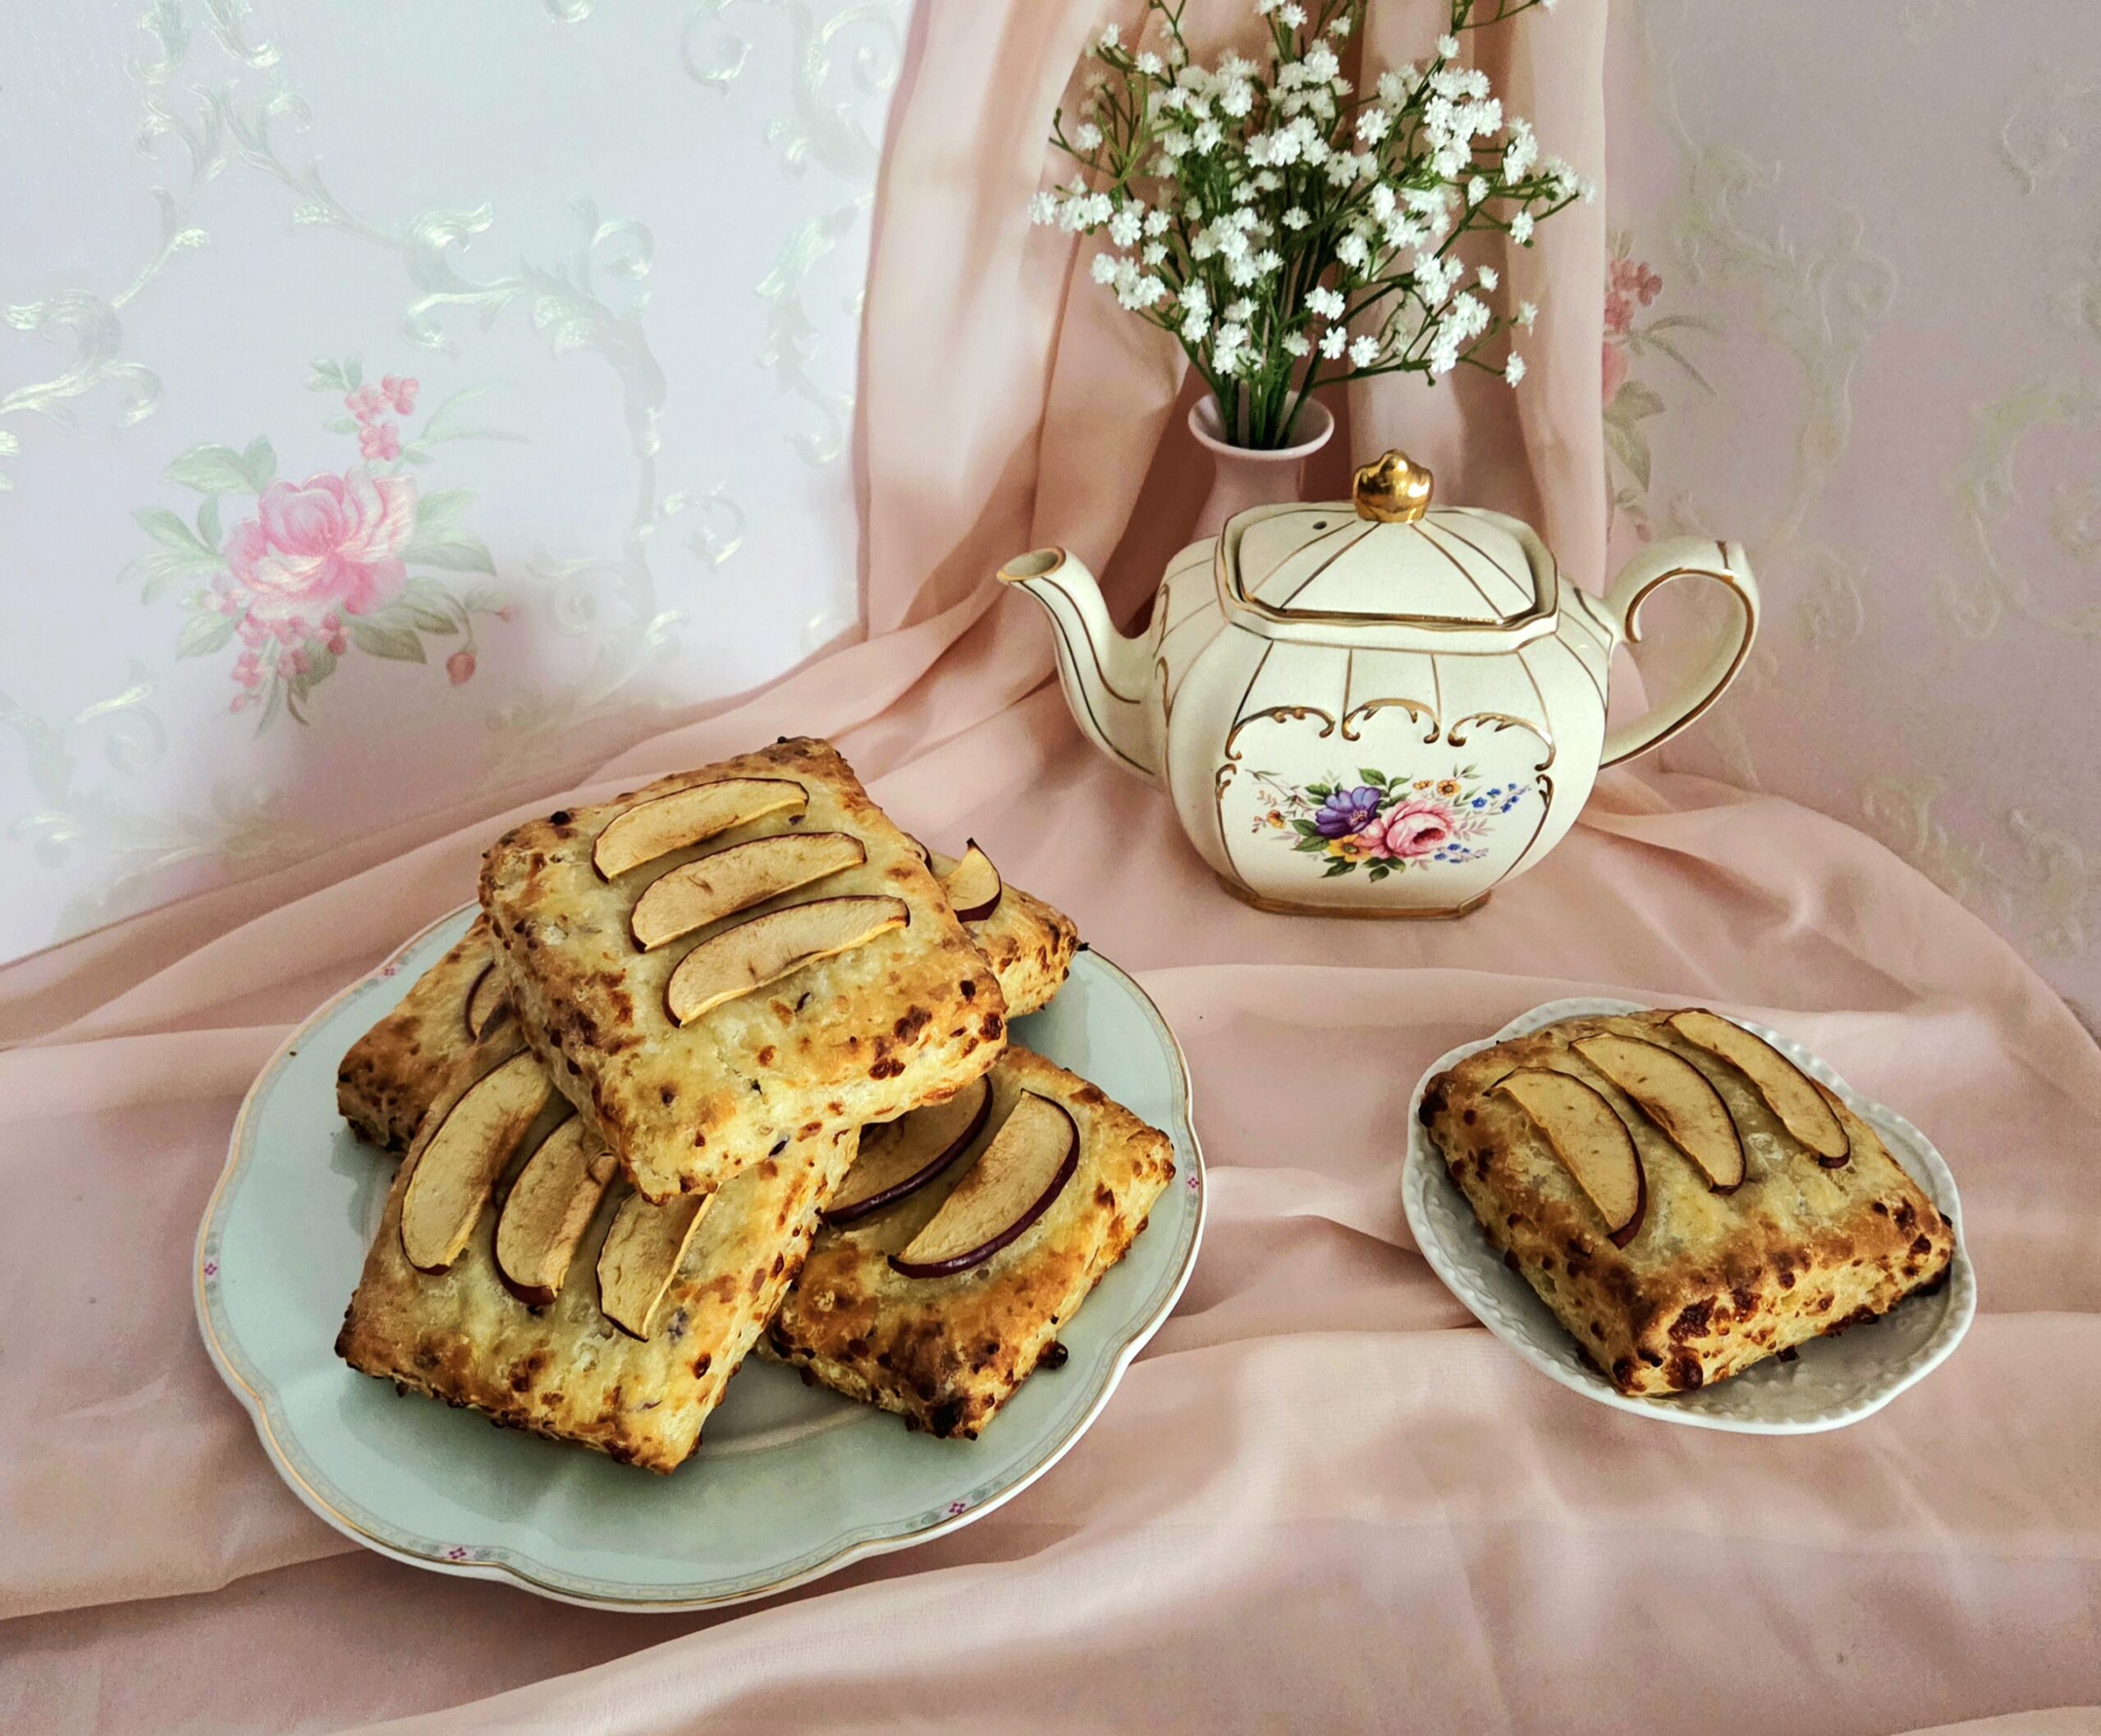
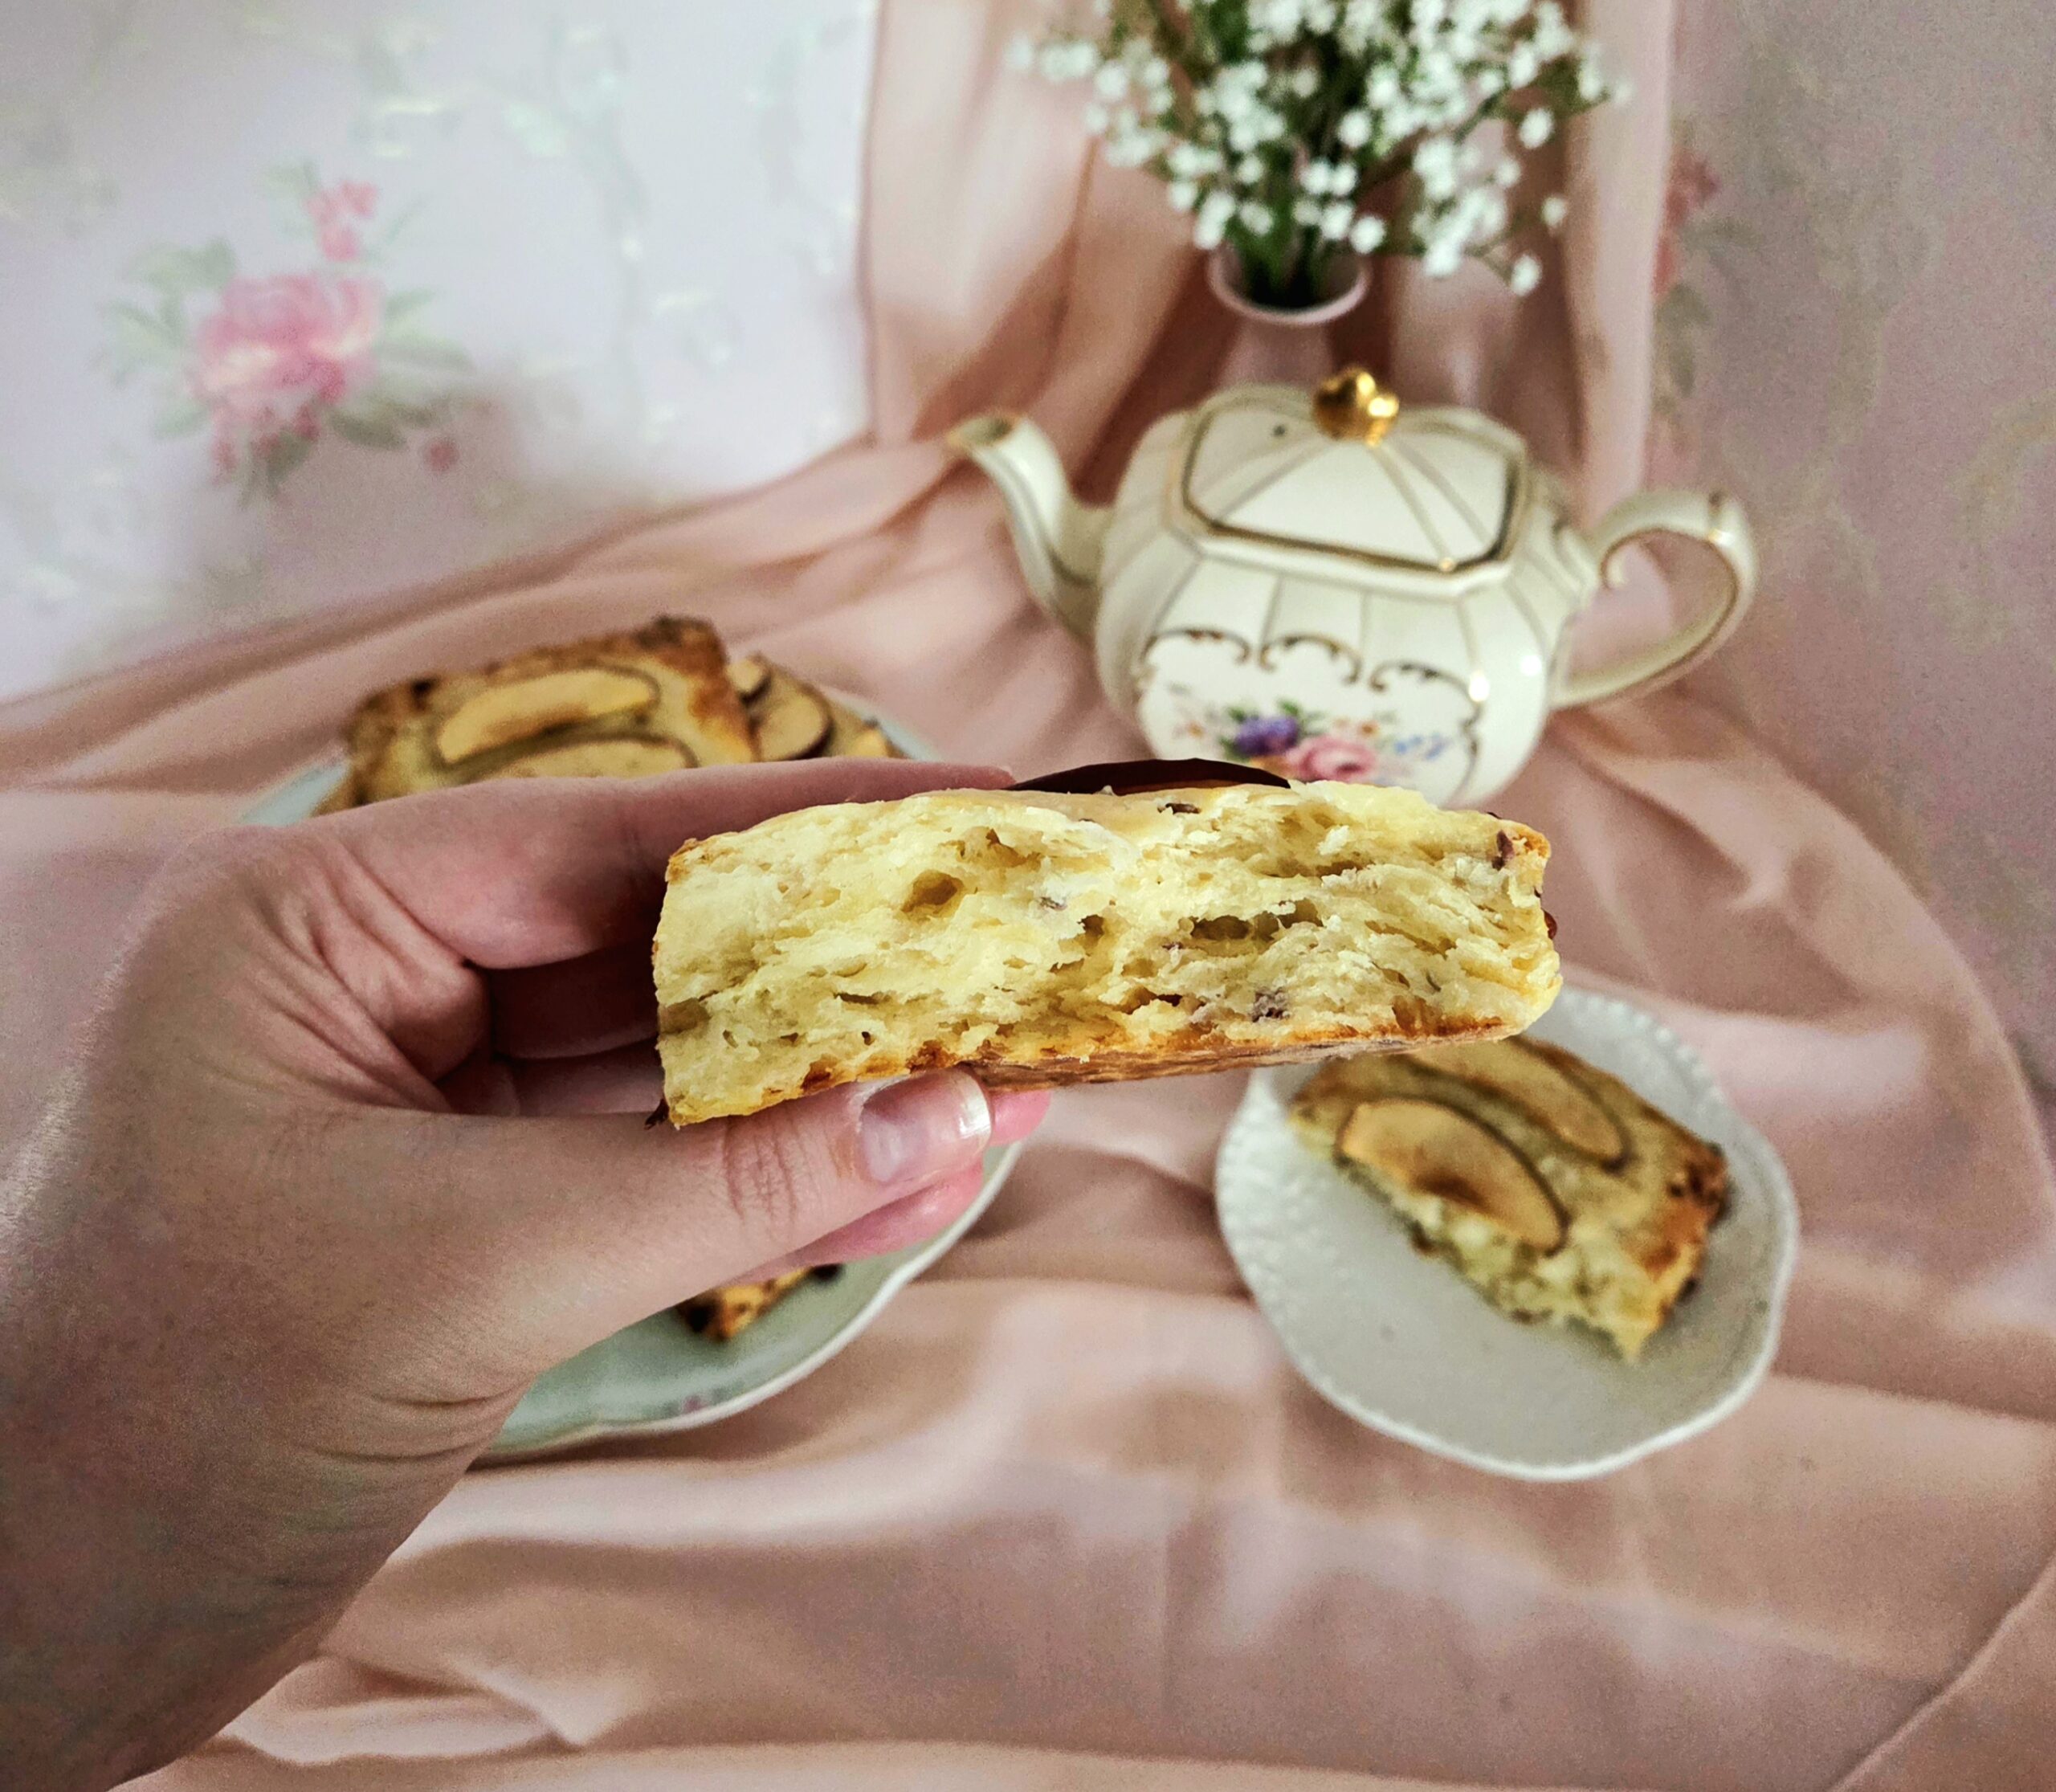
So now here we are, and the apple cheddar biscuits were born. They’ve got a crisp exterior and soft, flaky, buttery interior. The fruit is light and aromatic, cutting through that rich, sharp cheese. Both flavors prominently hold their own, providing incredible fragrance and depth. Eat these biscuits warmed on their own, or use them as the base of a more unique breakfast sandwich.
FAQs and Science
Why keep everything cold?
Cold is key for that signature crisp, flaky texture you get from a good biscuit! With the sudden temperature change that the thin layers of cold butter go through when they hit that hot oven, it creates a puff of steam. That steam causes a rise, and keeps the thin layers distinctly separate, creating the flakiness.
What is a pastry blender? If I don’t have one, is there anything else I can use?
A pastry blender is a handheld tool made up of 4-5 dull blades attached by one handle, used primarily for cutting cold butter into pastry. If you love to bake, I highly suggest investing in one if you don’t already own one on hand. They’re incredibly handy and very affordable!
However, there are a few options if you don’t own one currently. The butter could be pulsed into the flour using a food processor, so the pieces are around pea-sized. Or, you could freeze the butter and grate it using a large-hole cheese grater. This isn’t my favorite method, honestly. I happen to have particularly warm hands, so the outer layer always melts and gets slippery, which isn’t exactly ideal when blades are involved. But, it does work!
Does it matter what kind of apple I use?
I recommend something on the sweeter side that holds up structurally, like a honey crisp or fuji. That way, there’s a better contrast to the sharp, salty cheddar.
Why is the dough cut and folded so many times?
To create more layers in the biscuits!
Is the apple on top crucial?
Typically, I would say a garnish is optional, but in this case it really is necessary. The apple just needs a bit more umph to shine against the cheddar, and that’s what the slices give.
What You’ll Need

- Parchment paper
- Plastic wrap
- 2 baking sheets
- Large mixing bowl
- 2 small mixing bowls
- Dry measuring cups
- Liquid measuring cup
- Measuring spoons
- Whisk
- Rubber spatula
- Fork
- Large hole grater
- Pastry blender
- Bench scraper
- Chef’s knife
- Cutting board
- Rolling pin
- Cooling rack
The Process
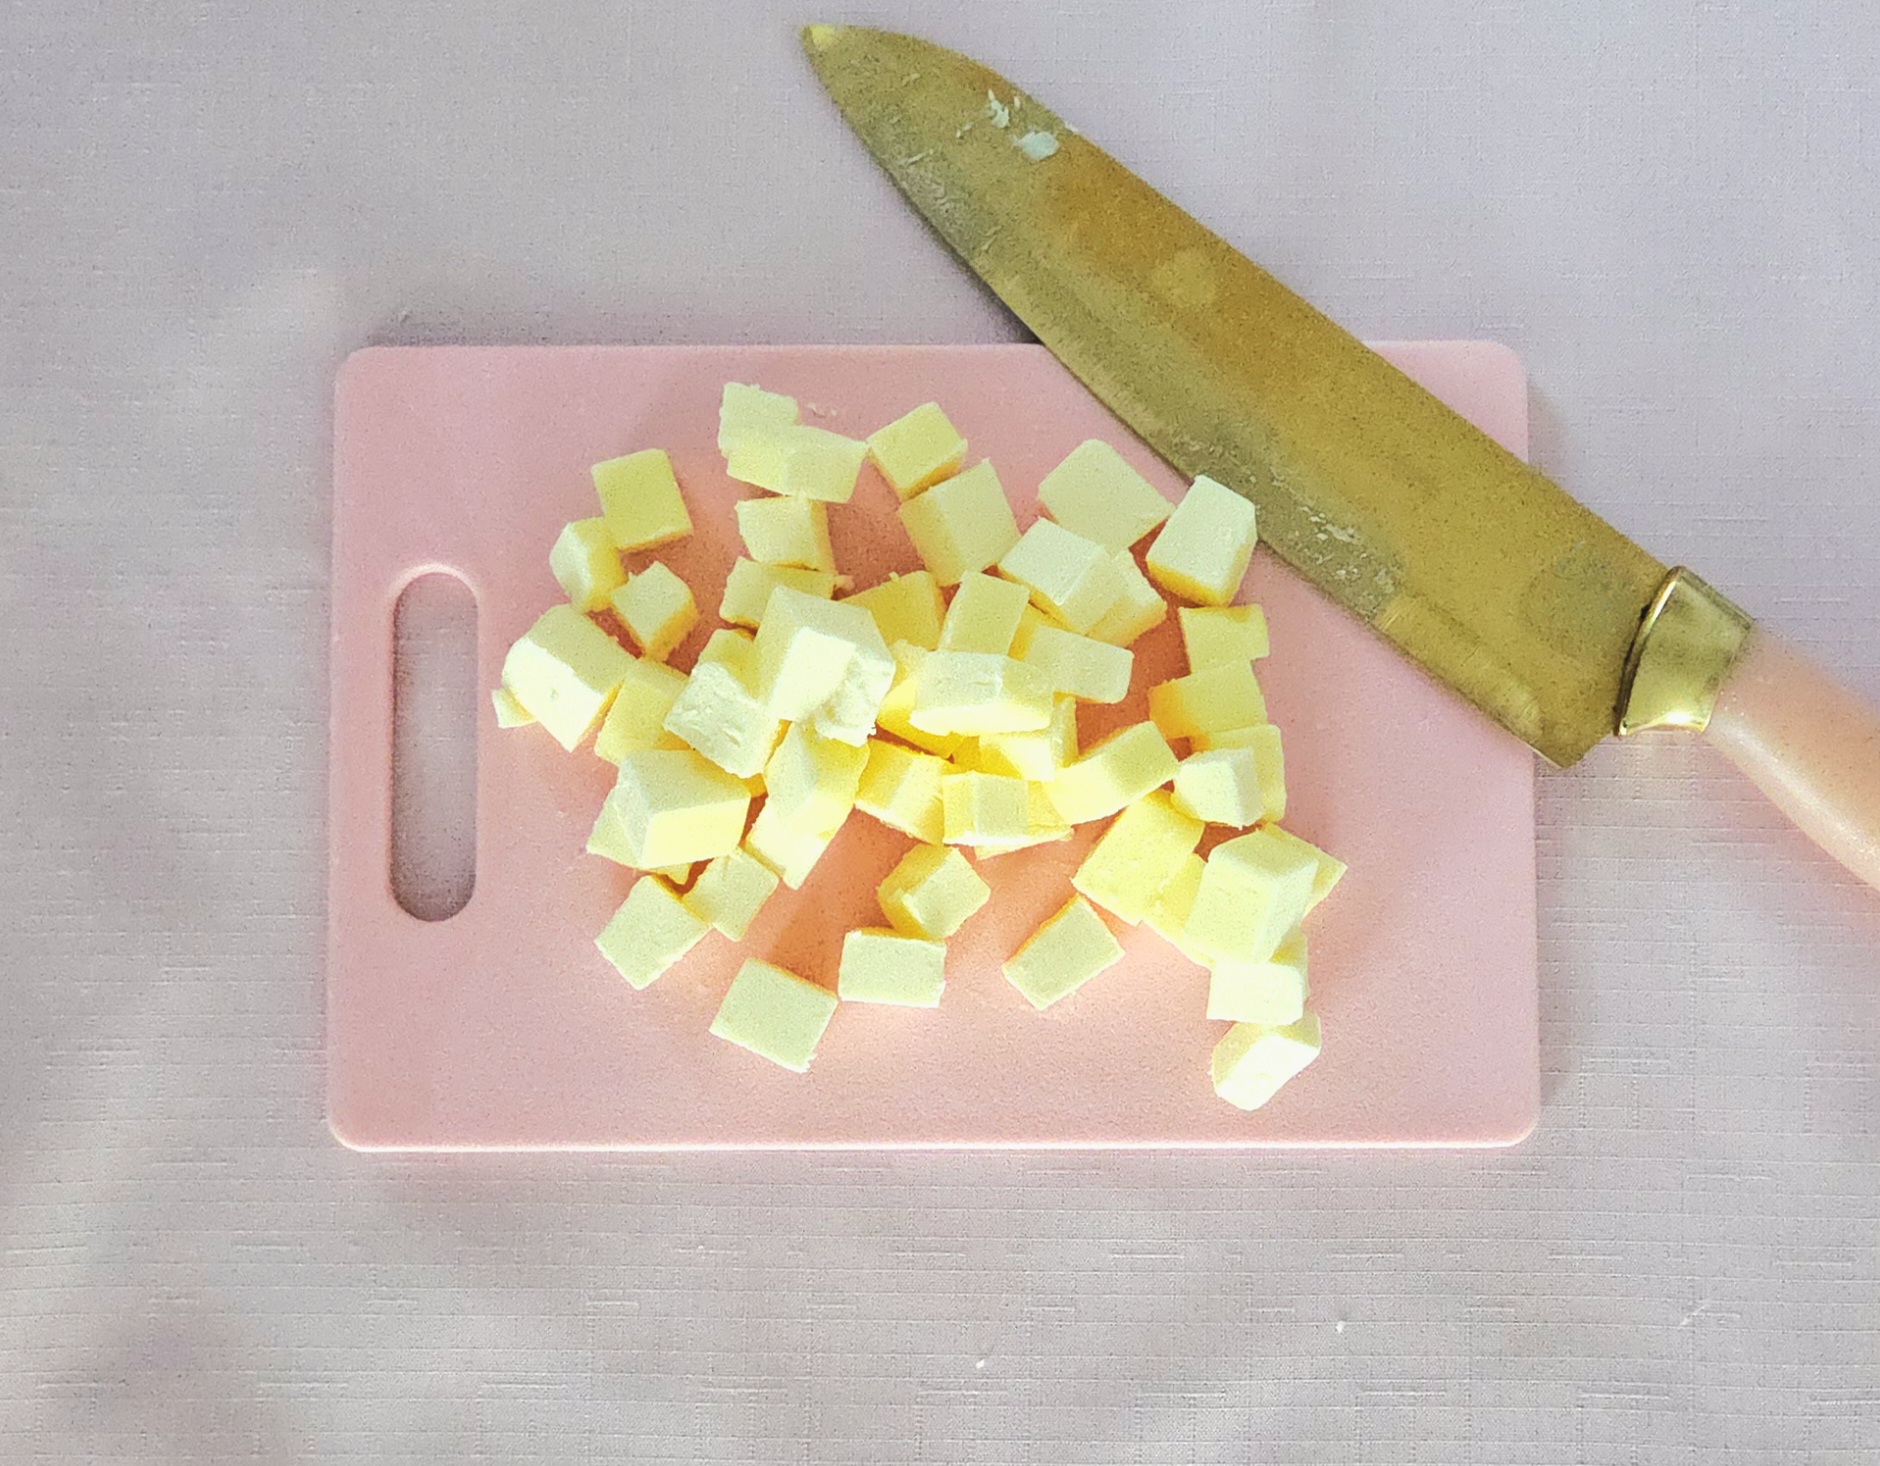
One of the key factors to baking good, flaky biscuits is to keep everything as cold as possible as you go. Because of this, we’re starting off by preparing the butter and the add-ins. That way, you can work more quickly and keep everything chilled. Cut the butter into ½ inch cubes, then place them on a plate in the fridge.
Onto the cheese and apple. Using a large hole grater, shred the cheddar into a small mixing bowl. Now, in most recipes, I’m a huge advocate for shredding your own cheese by hand like this. It’s cheaper, and it melts better because there’s no anti-caking agent coating it the way pre-shredded cheese has. However, in a recipe like this where the cheese will be coated in flour and mixed into dough, it’s less important. It is still cheaper to shred from a block, but if you’ve got the pre-shredded stuff, have at it.

Using that same grater, grate one of the apples into another small mixing bowl. Don’t be too finicky over how big or small the pieces of apple are, it will turn out delicious either way. Be careful not to cut yourself, since the apple will get more slippery as you grate it. Place the bowls of grated cheddar and apple into the fridge until needed.


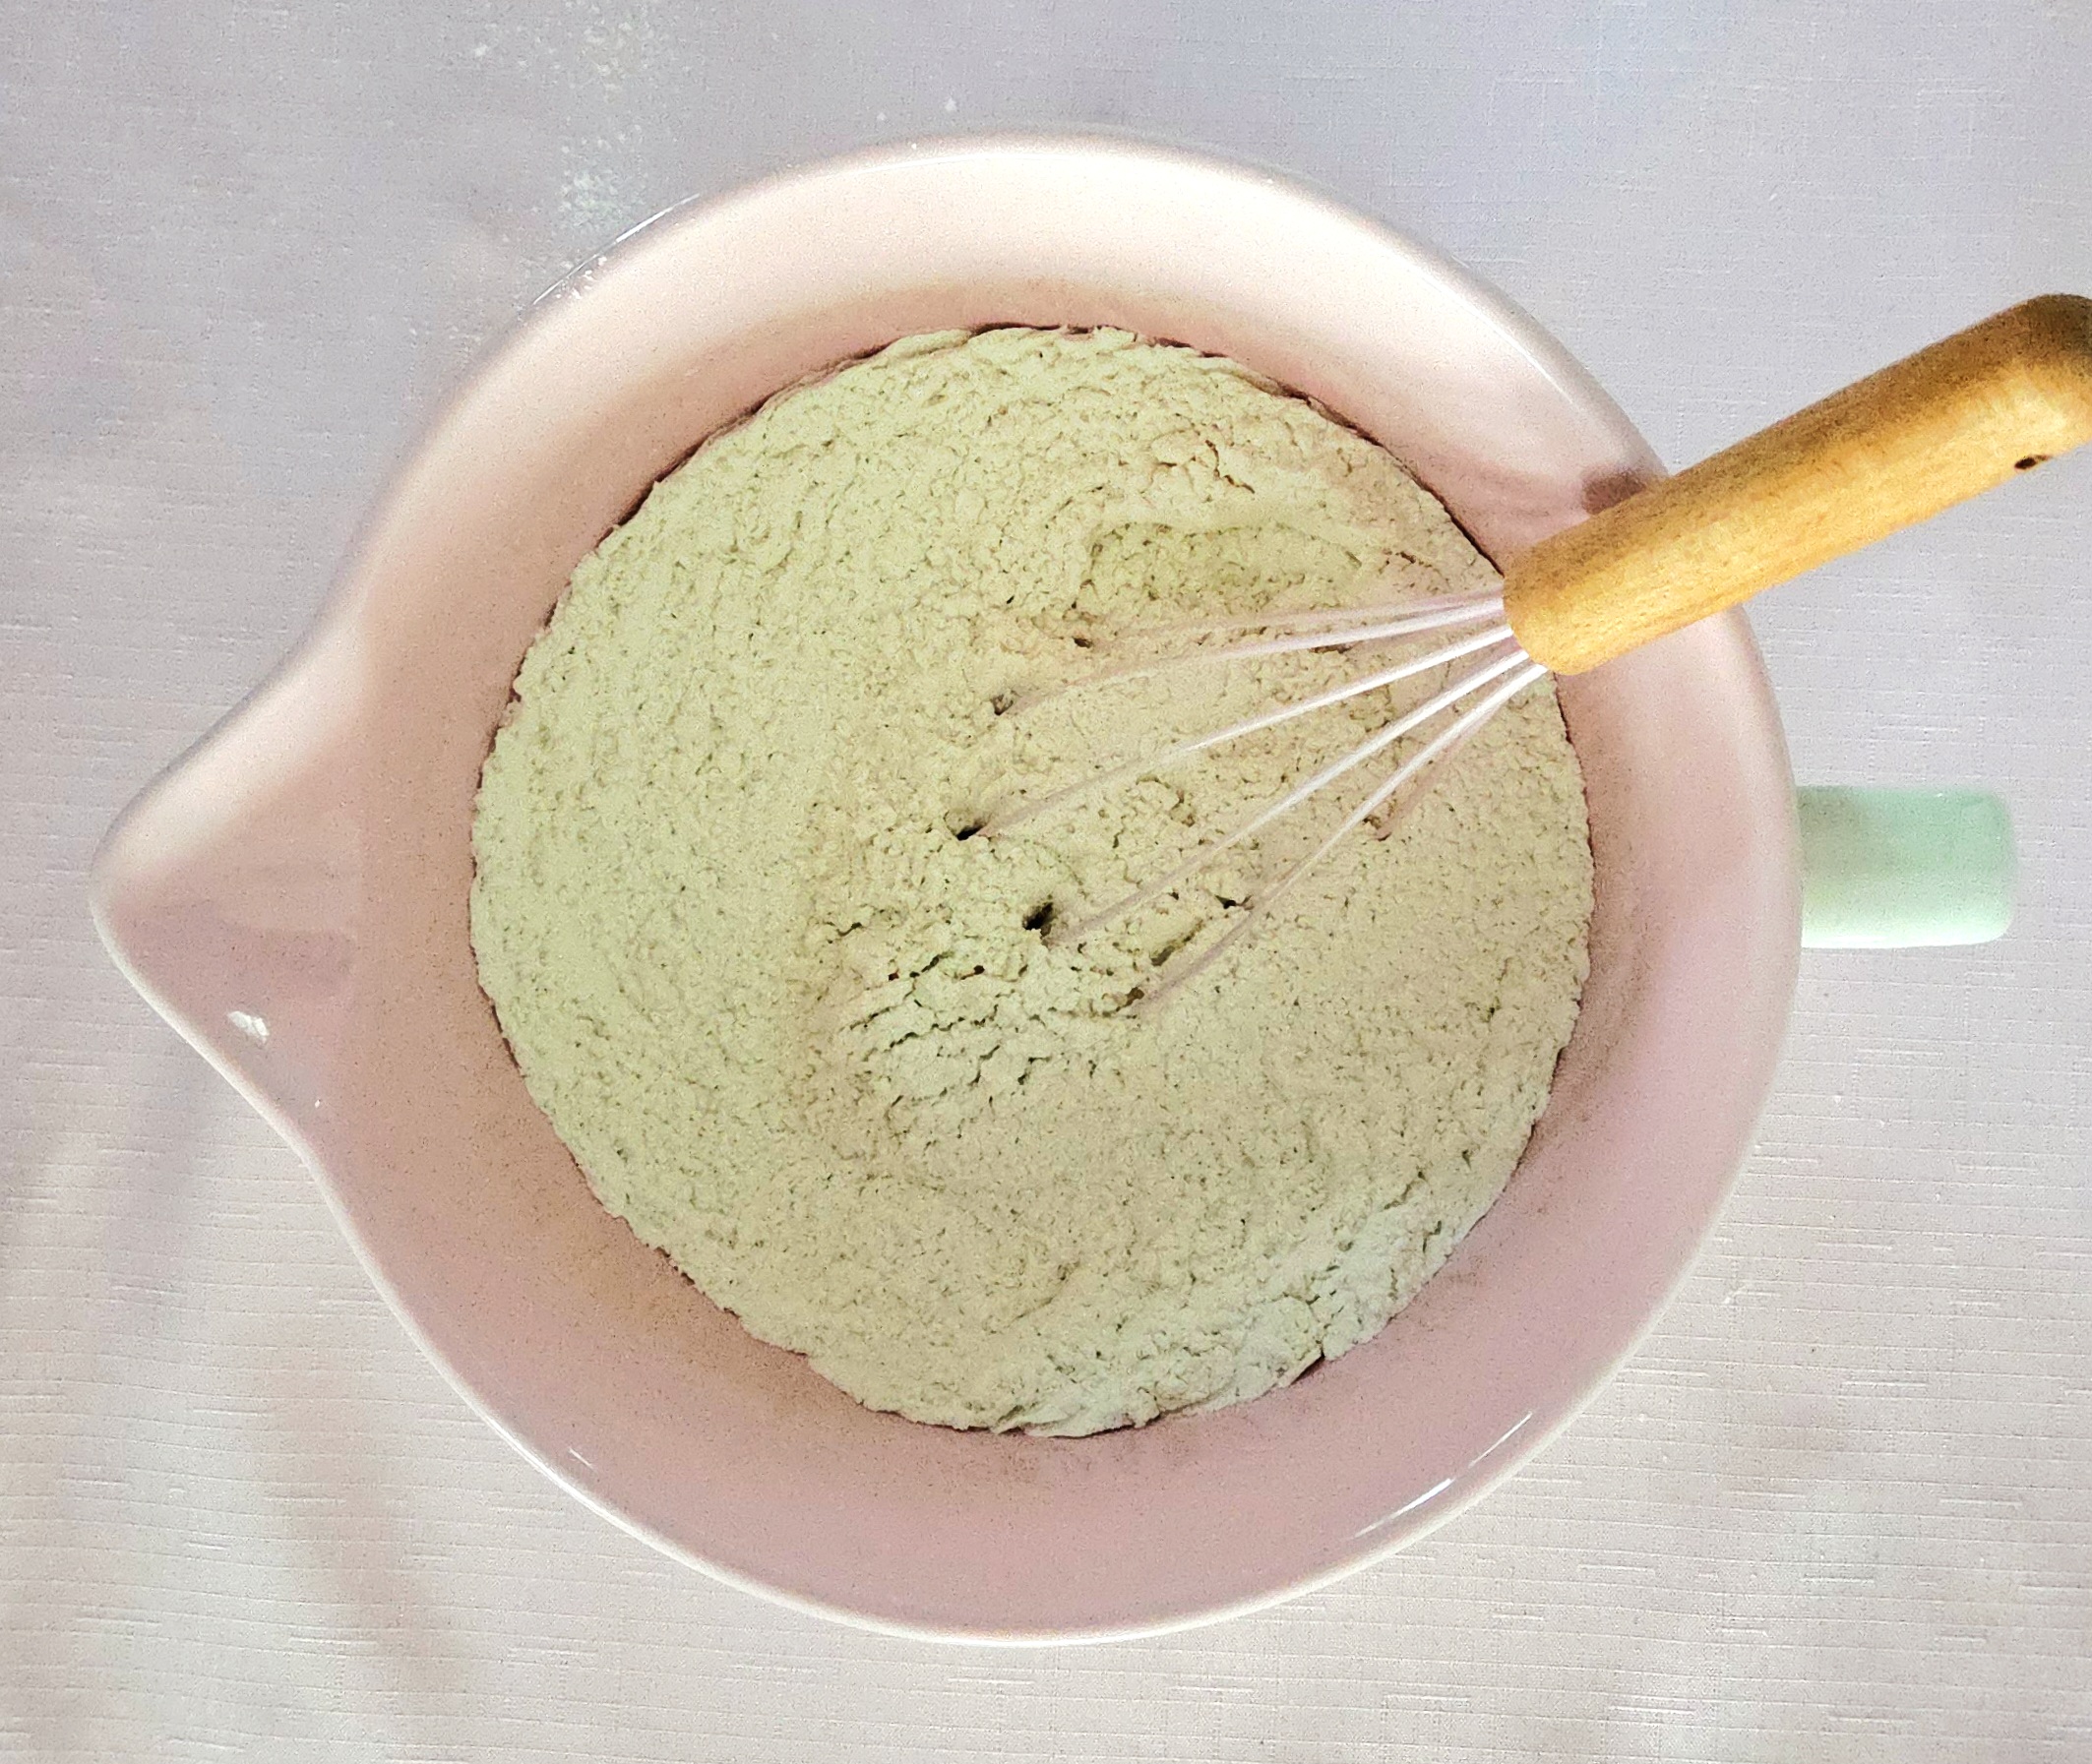
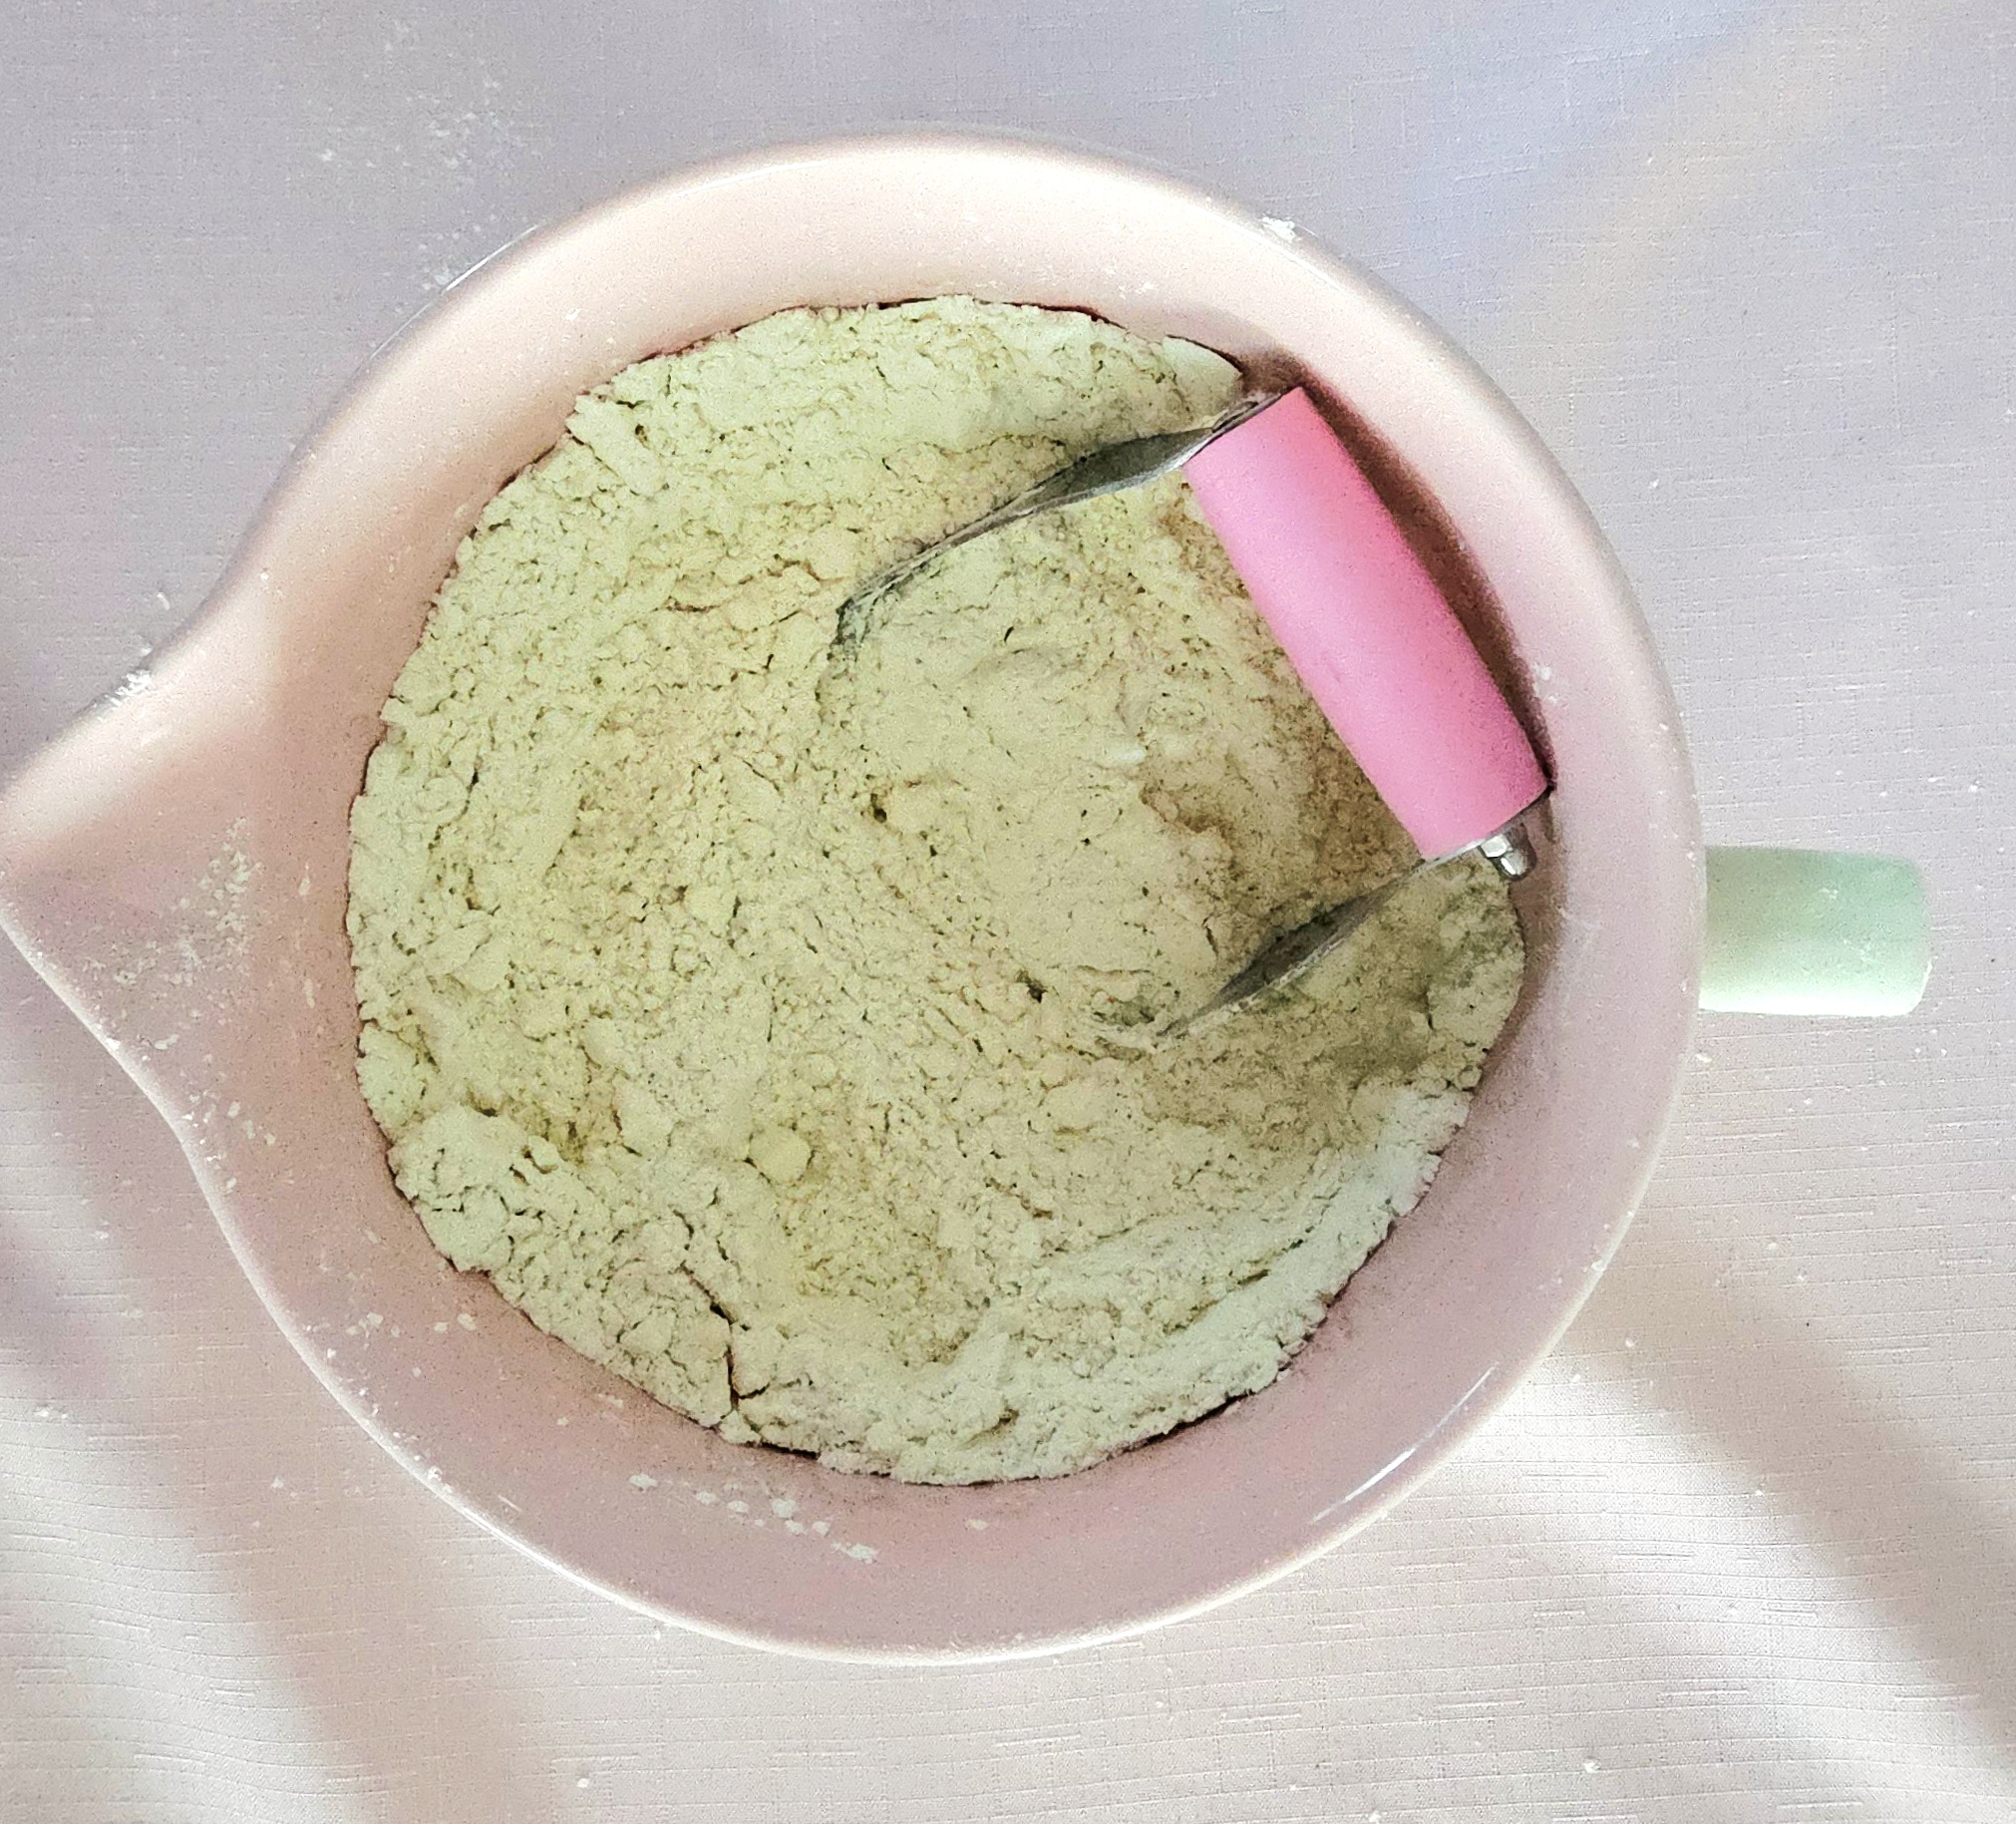
Whisk together the flour, sugar, baking powder, and salt in a large mixing bowl. Yes, it makes a difference if you whisk the dry goods together before combining them with the wet ingredients. This 20 second whisk ensures that every ingredient gets evenly distributed, so there’s no bland patch here or overly leavened patch there.
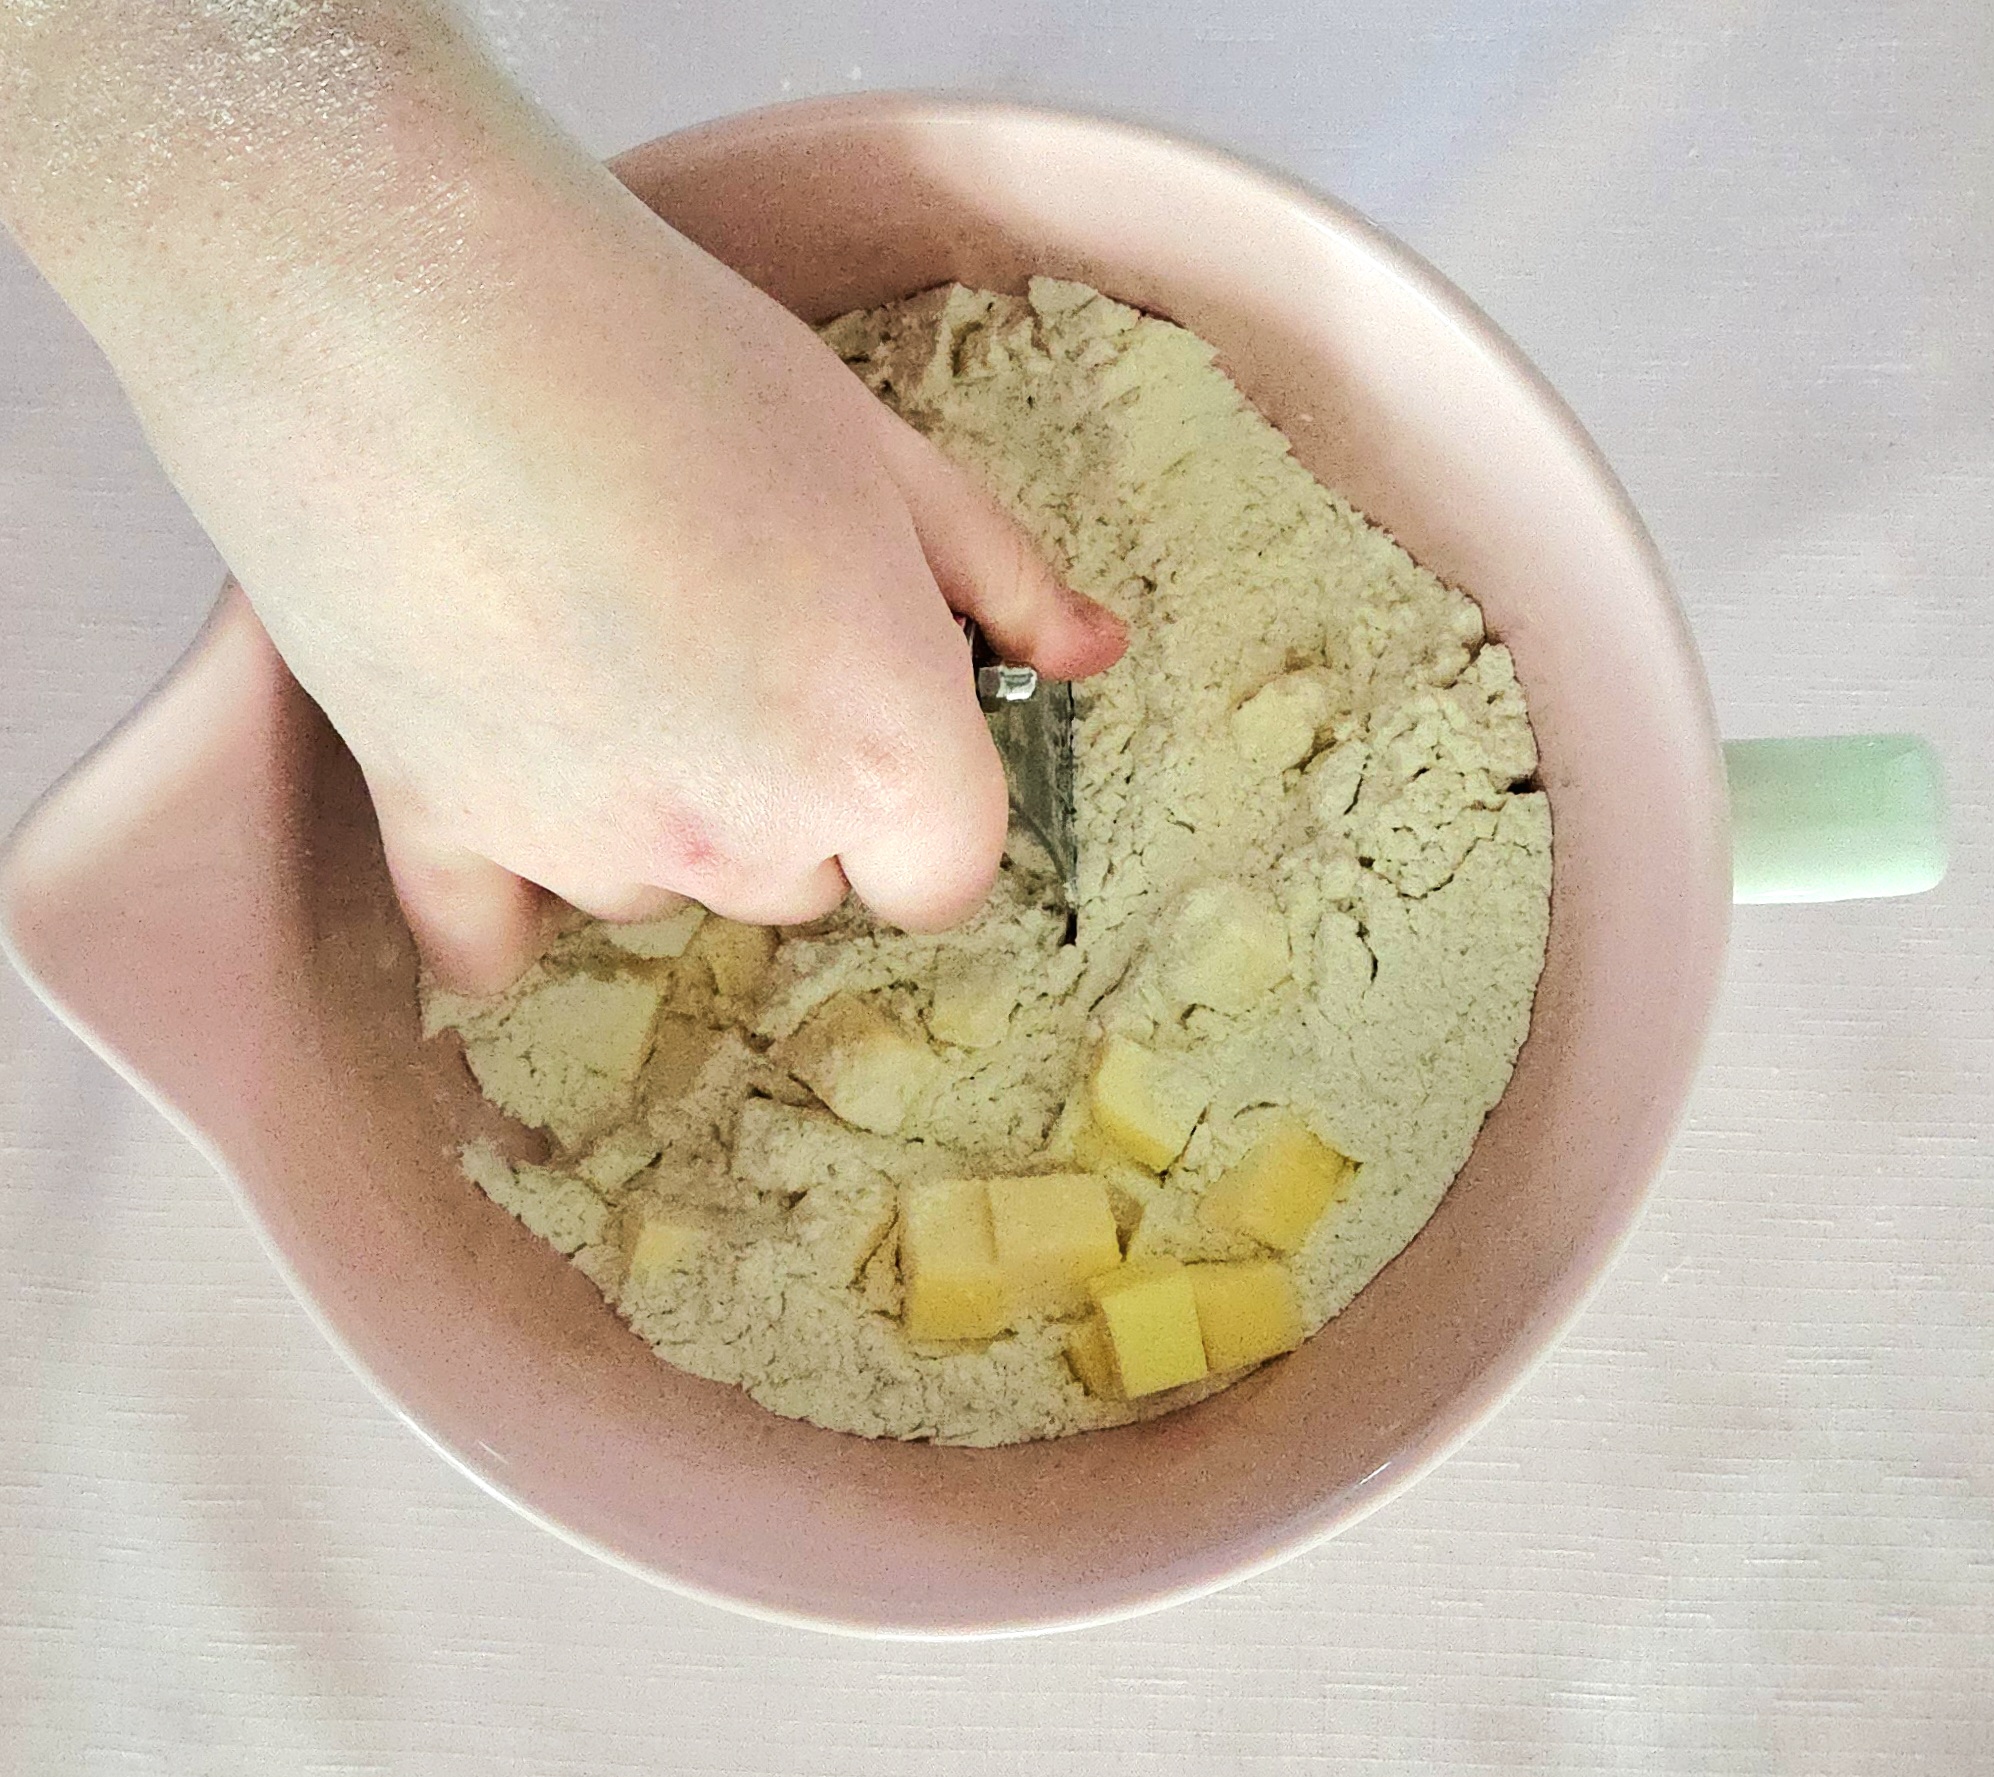
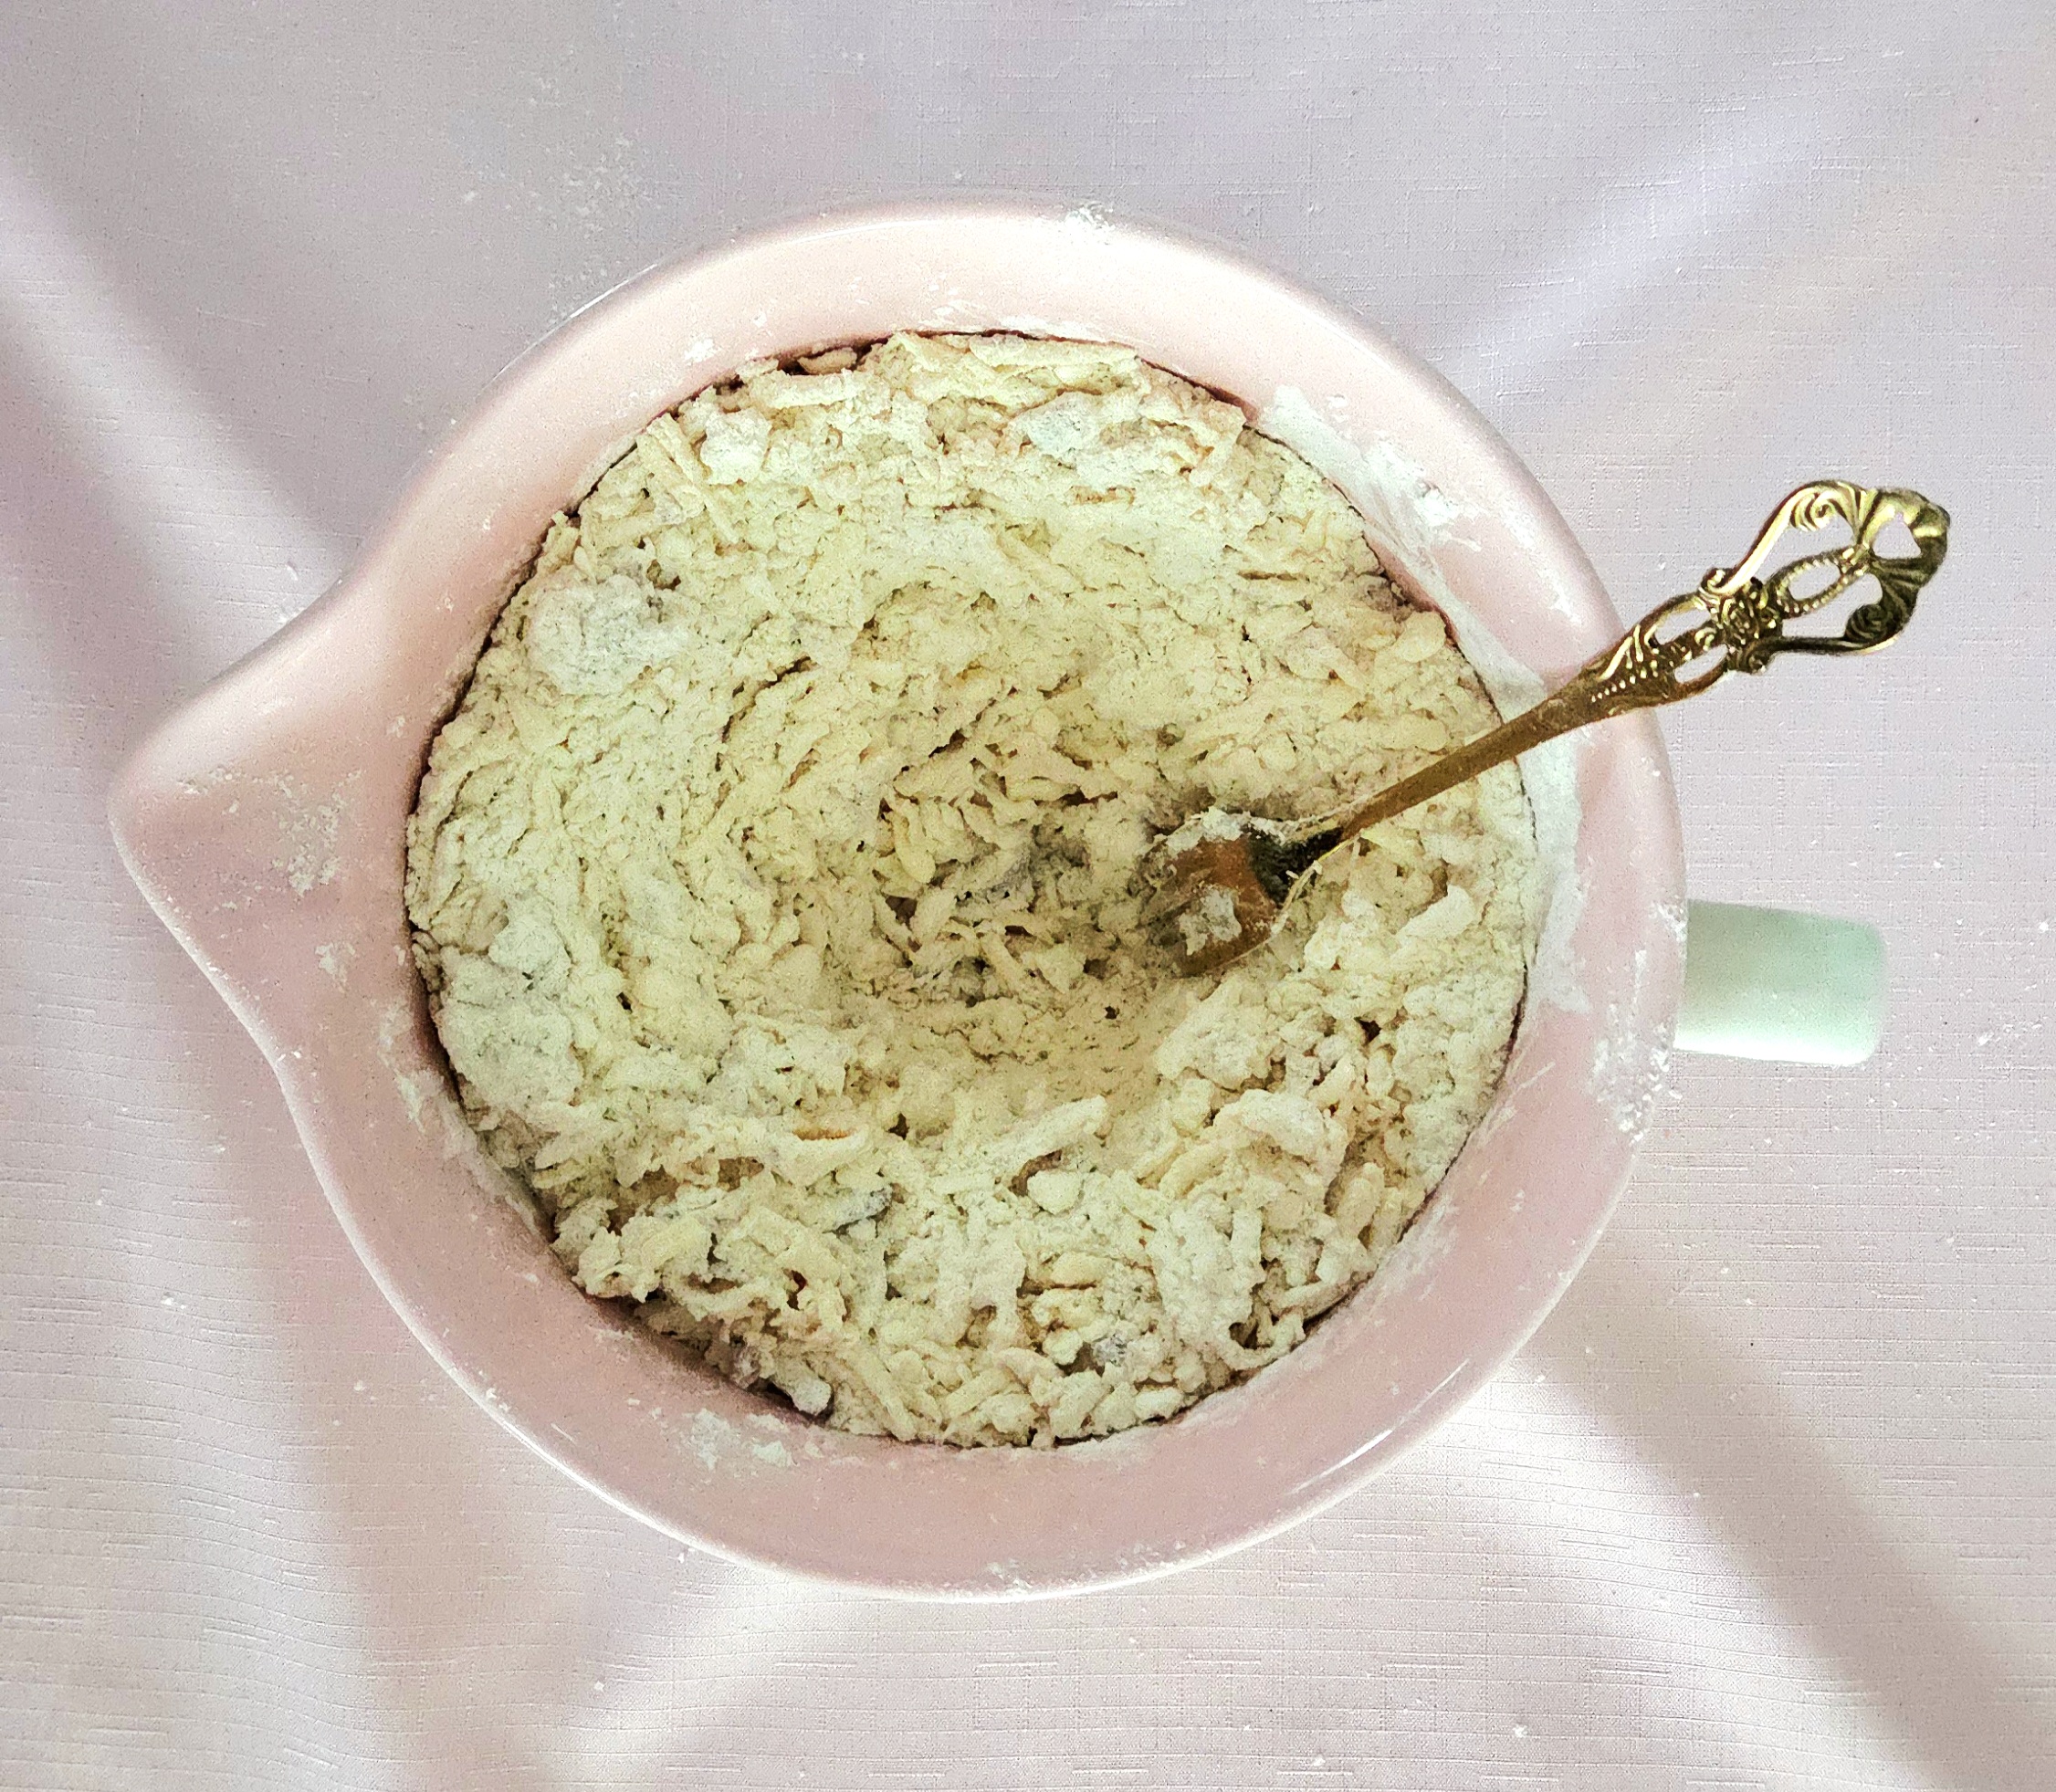
Grab the cold, cubed butter from the fridge and sprinkle it over the flour mixture. Using a pastry blender, cut the cold butter into the dry goods until it has a sandy texture, and the largest butter pieces are no bigger than a pea. If you don’t have a pastry blender, see the FAQs and Science section.
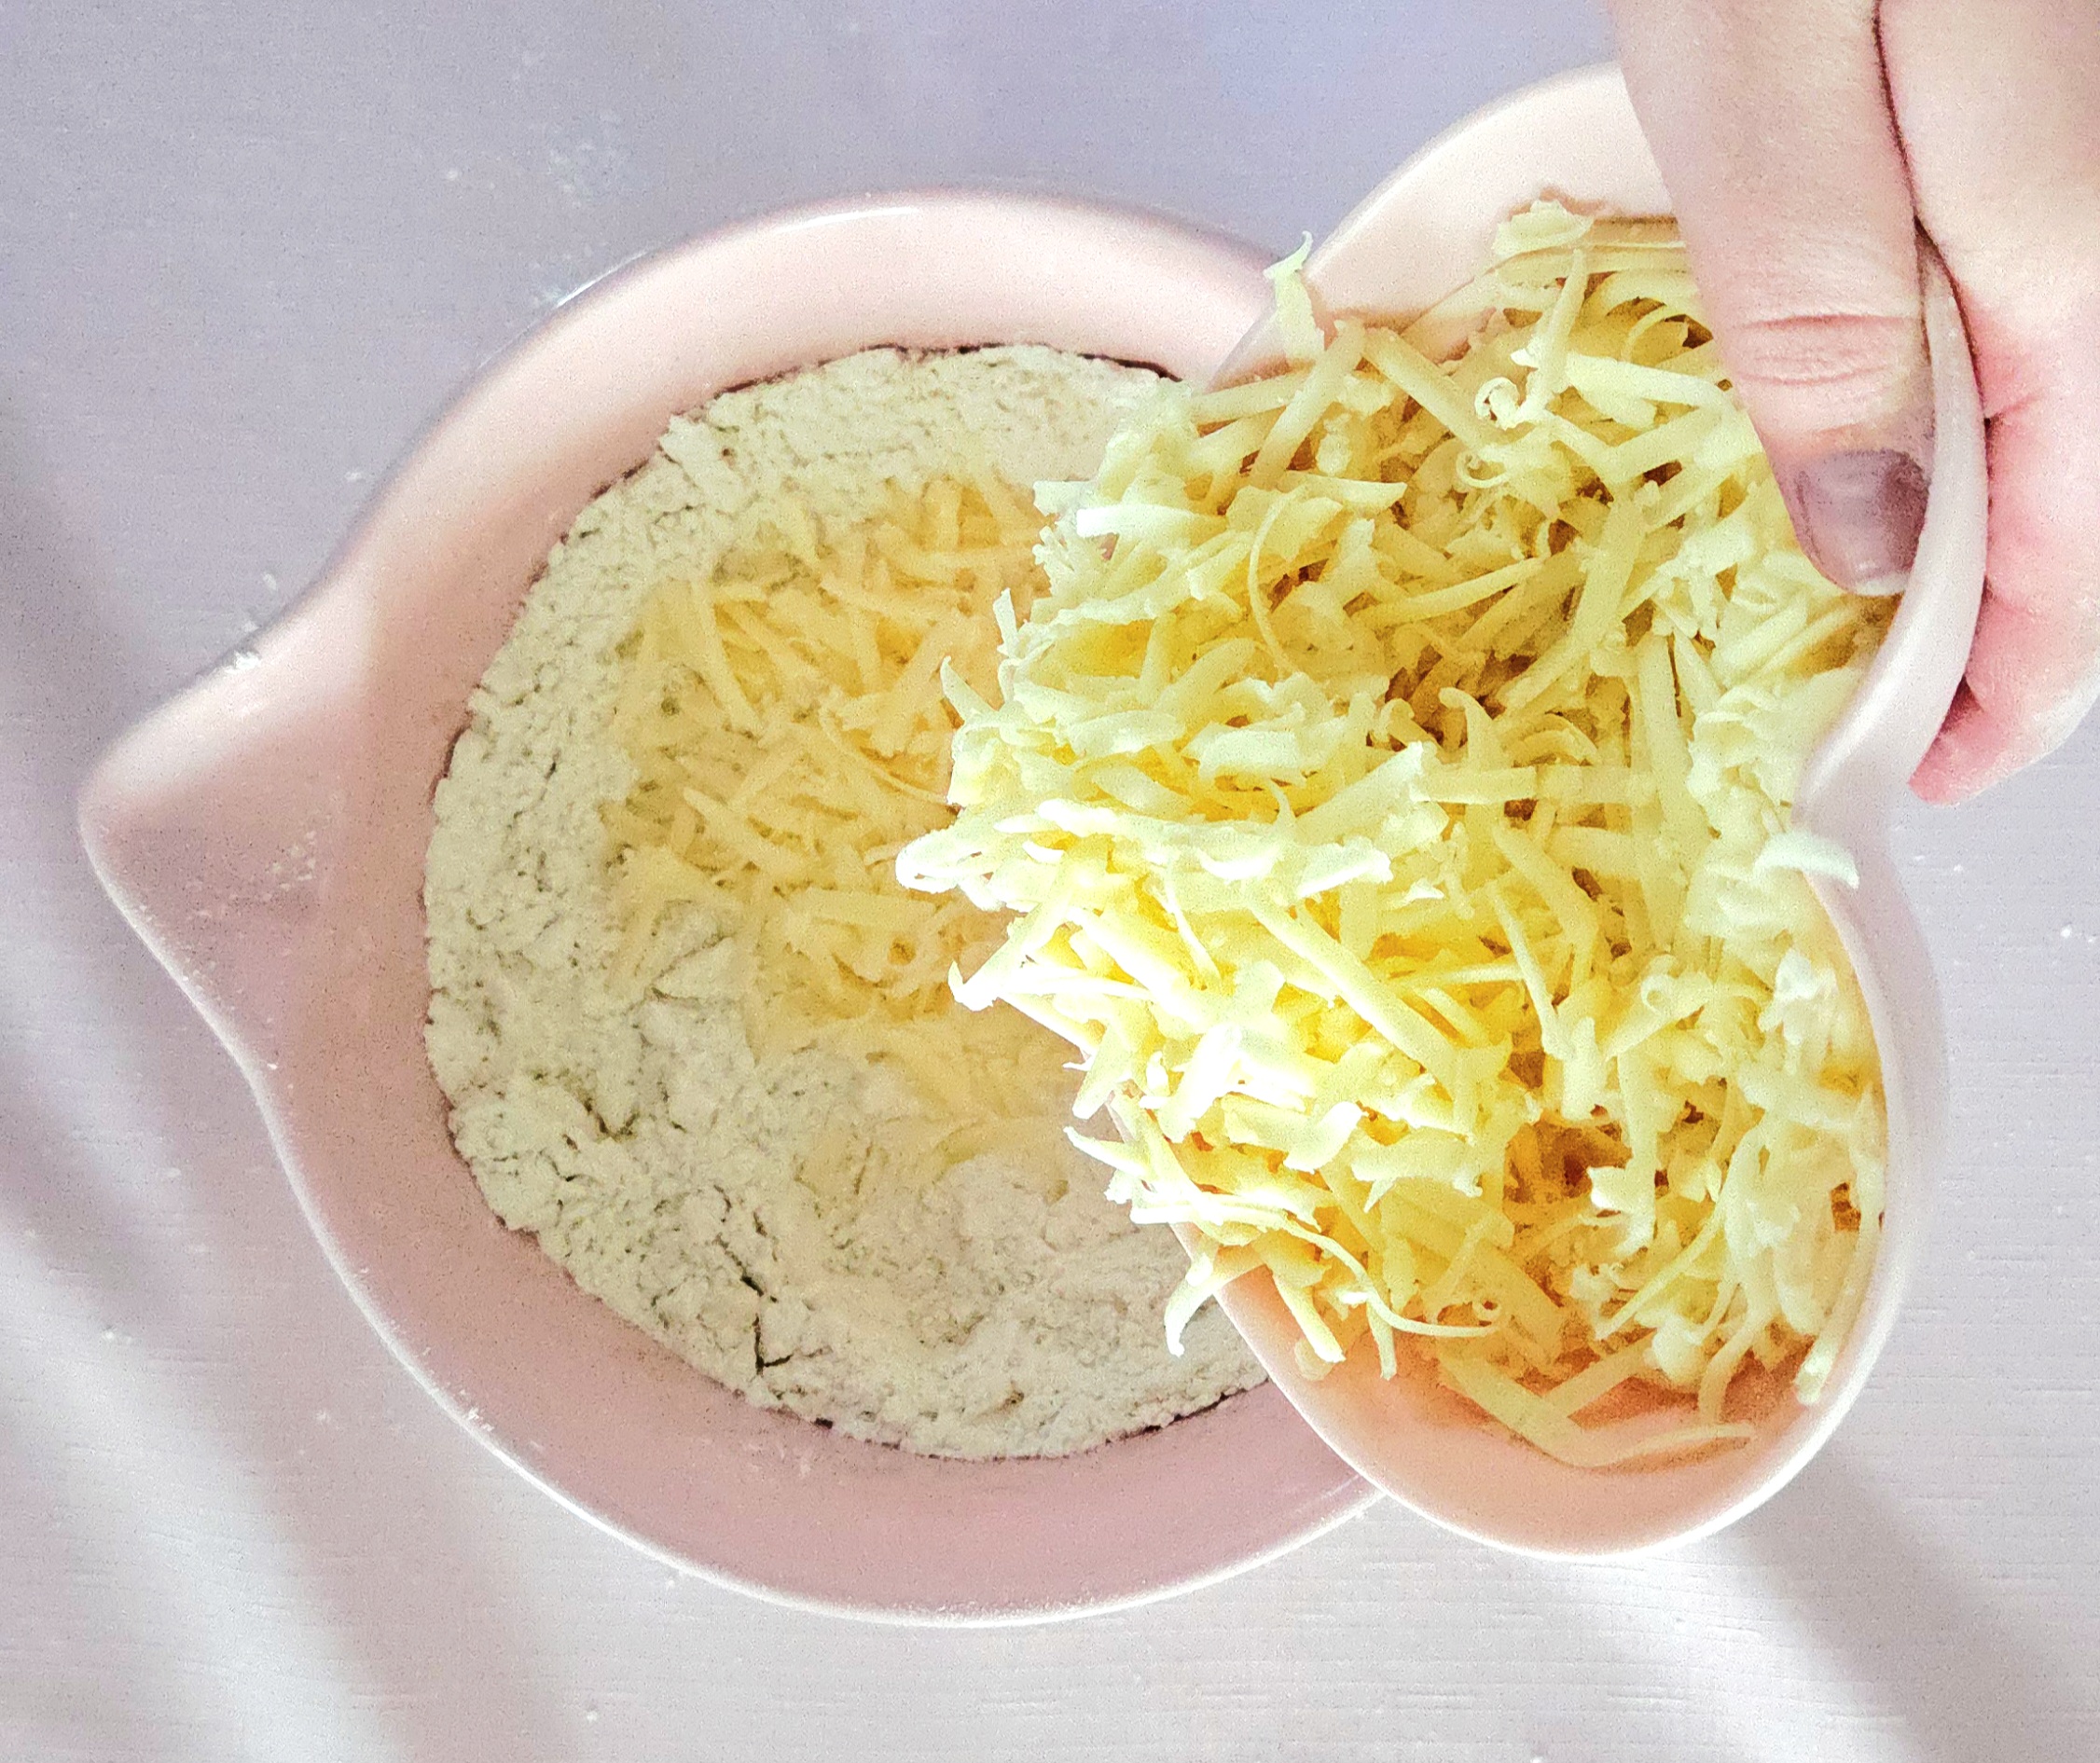
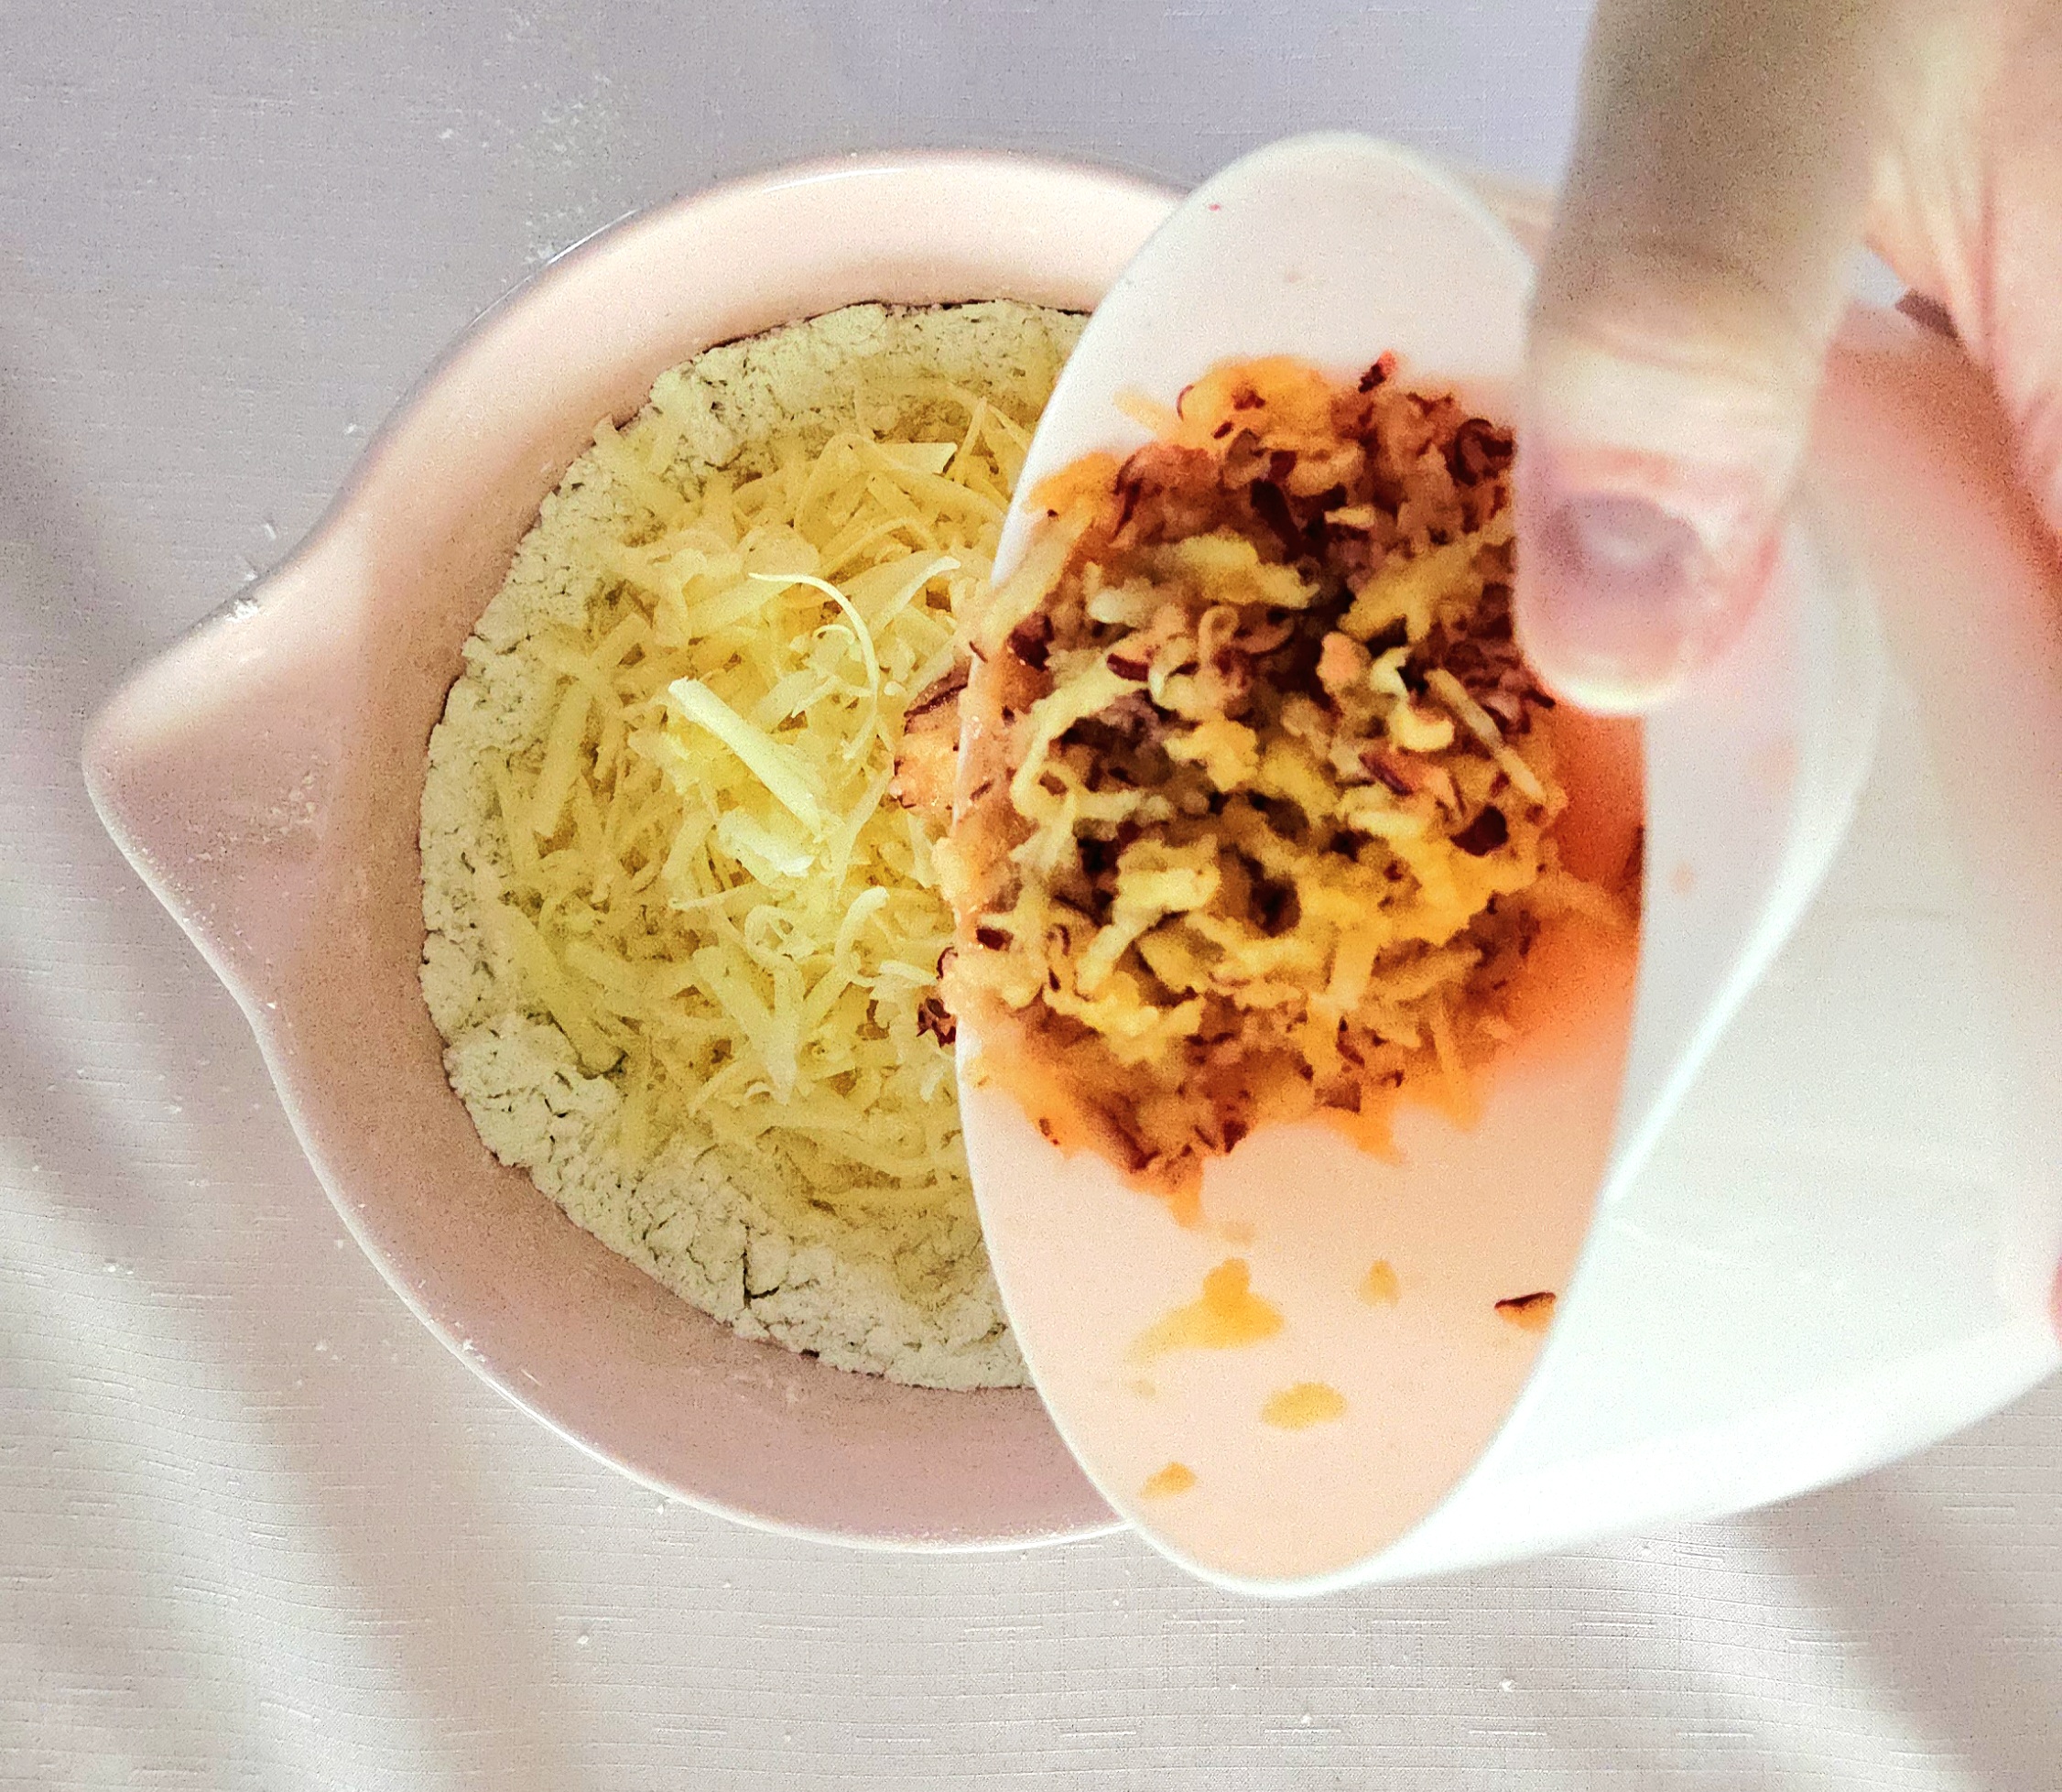
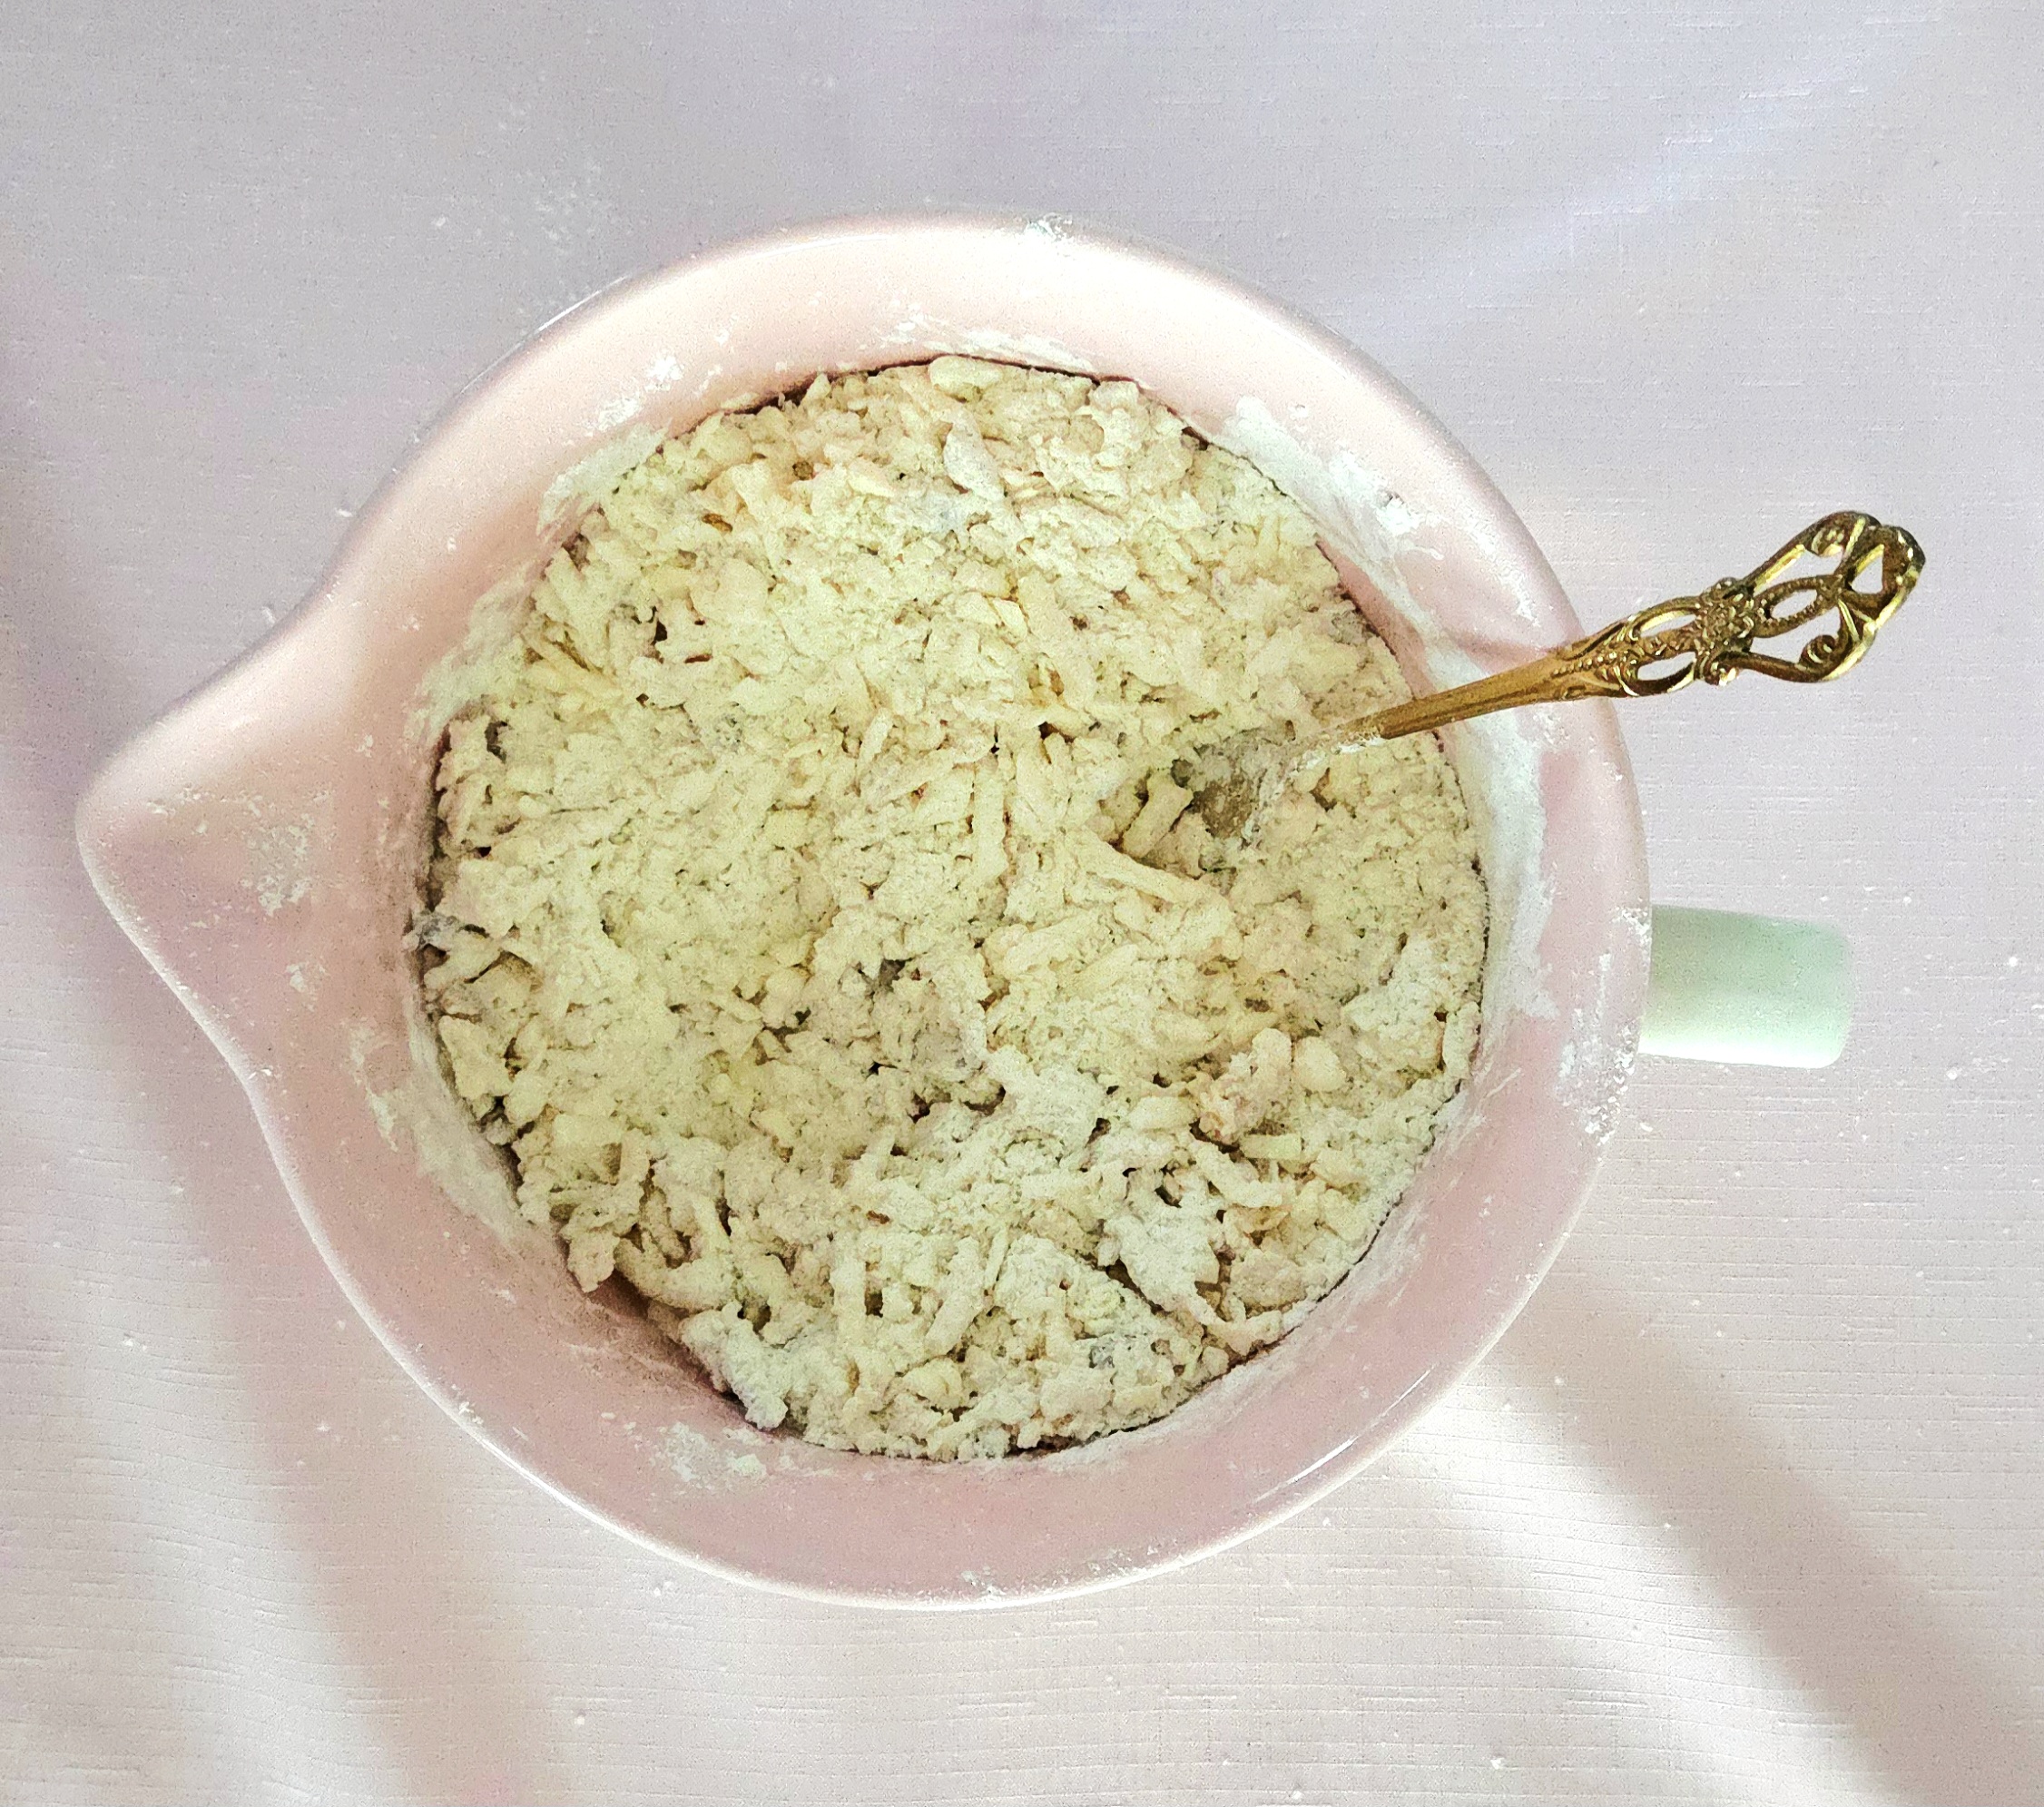
Dump both the grated apple and the grated cheddar over the flour-butter mixture. Using a fork, toss them all together until both the cheese and fruit are evenly distributed throughout. Use the fork to make a well in the center of the mixture.
Pour the buttermilk into the center of the well you’ve made. Use the fork to mix the dough together, ensuring that all of the flour is hydrated. If there’s somehow a significant amount of flour remaining afterwards, add in a Tablespoon of buttermilk at a time and mix it in.
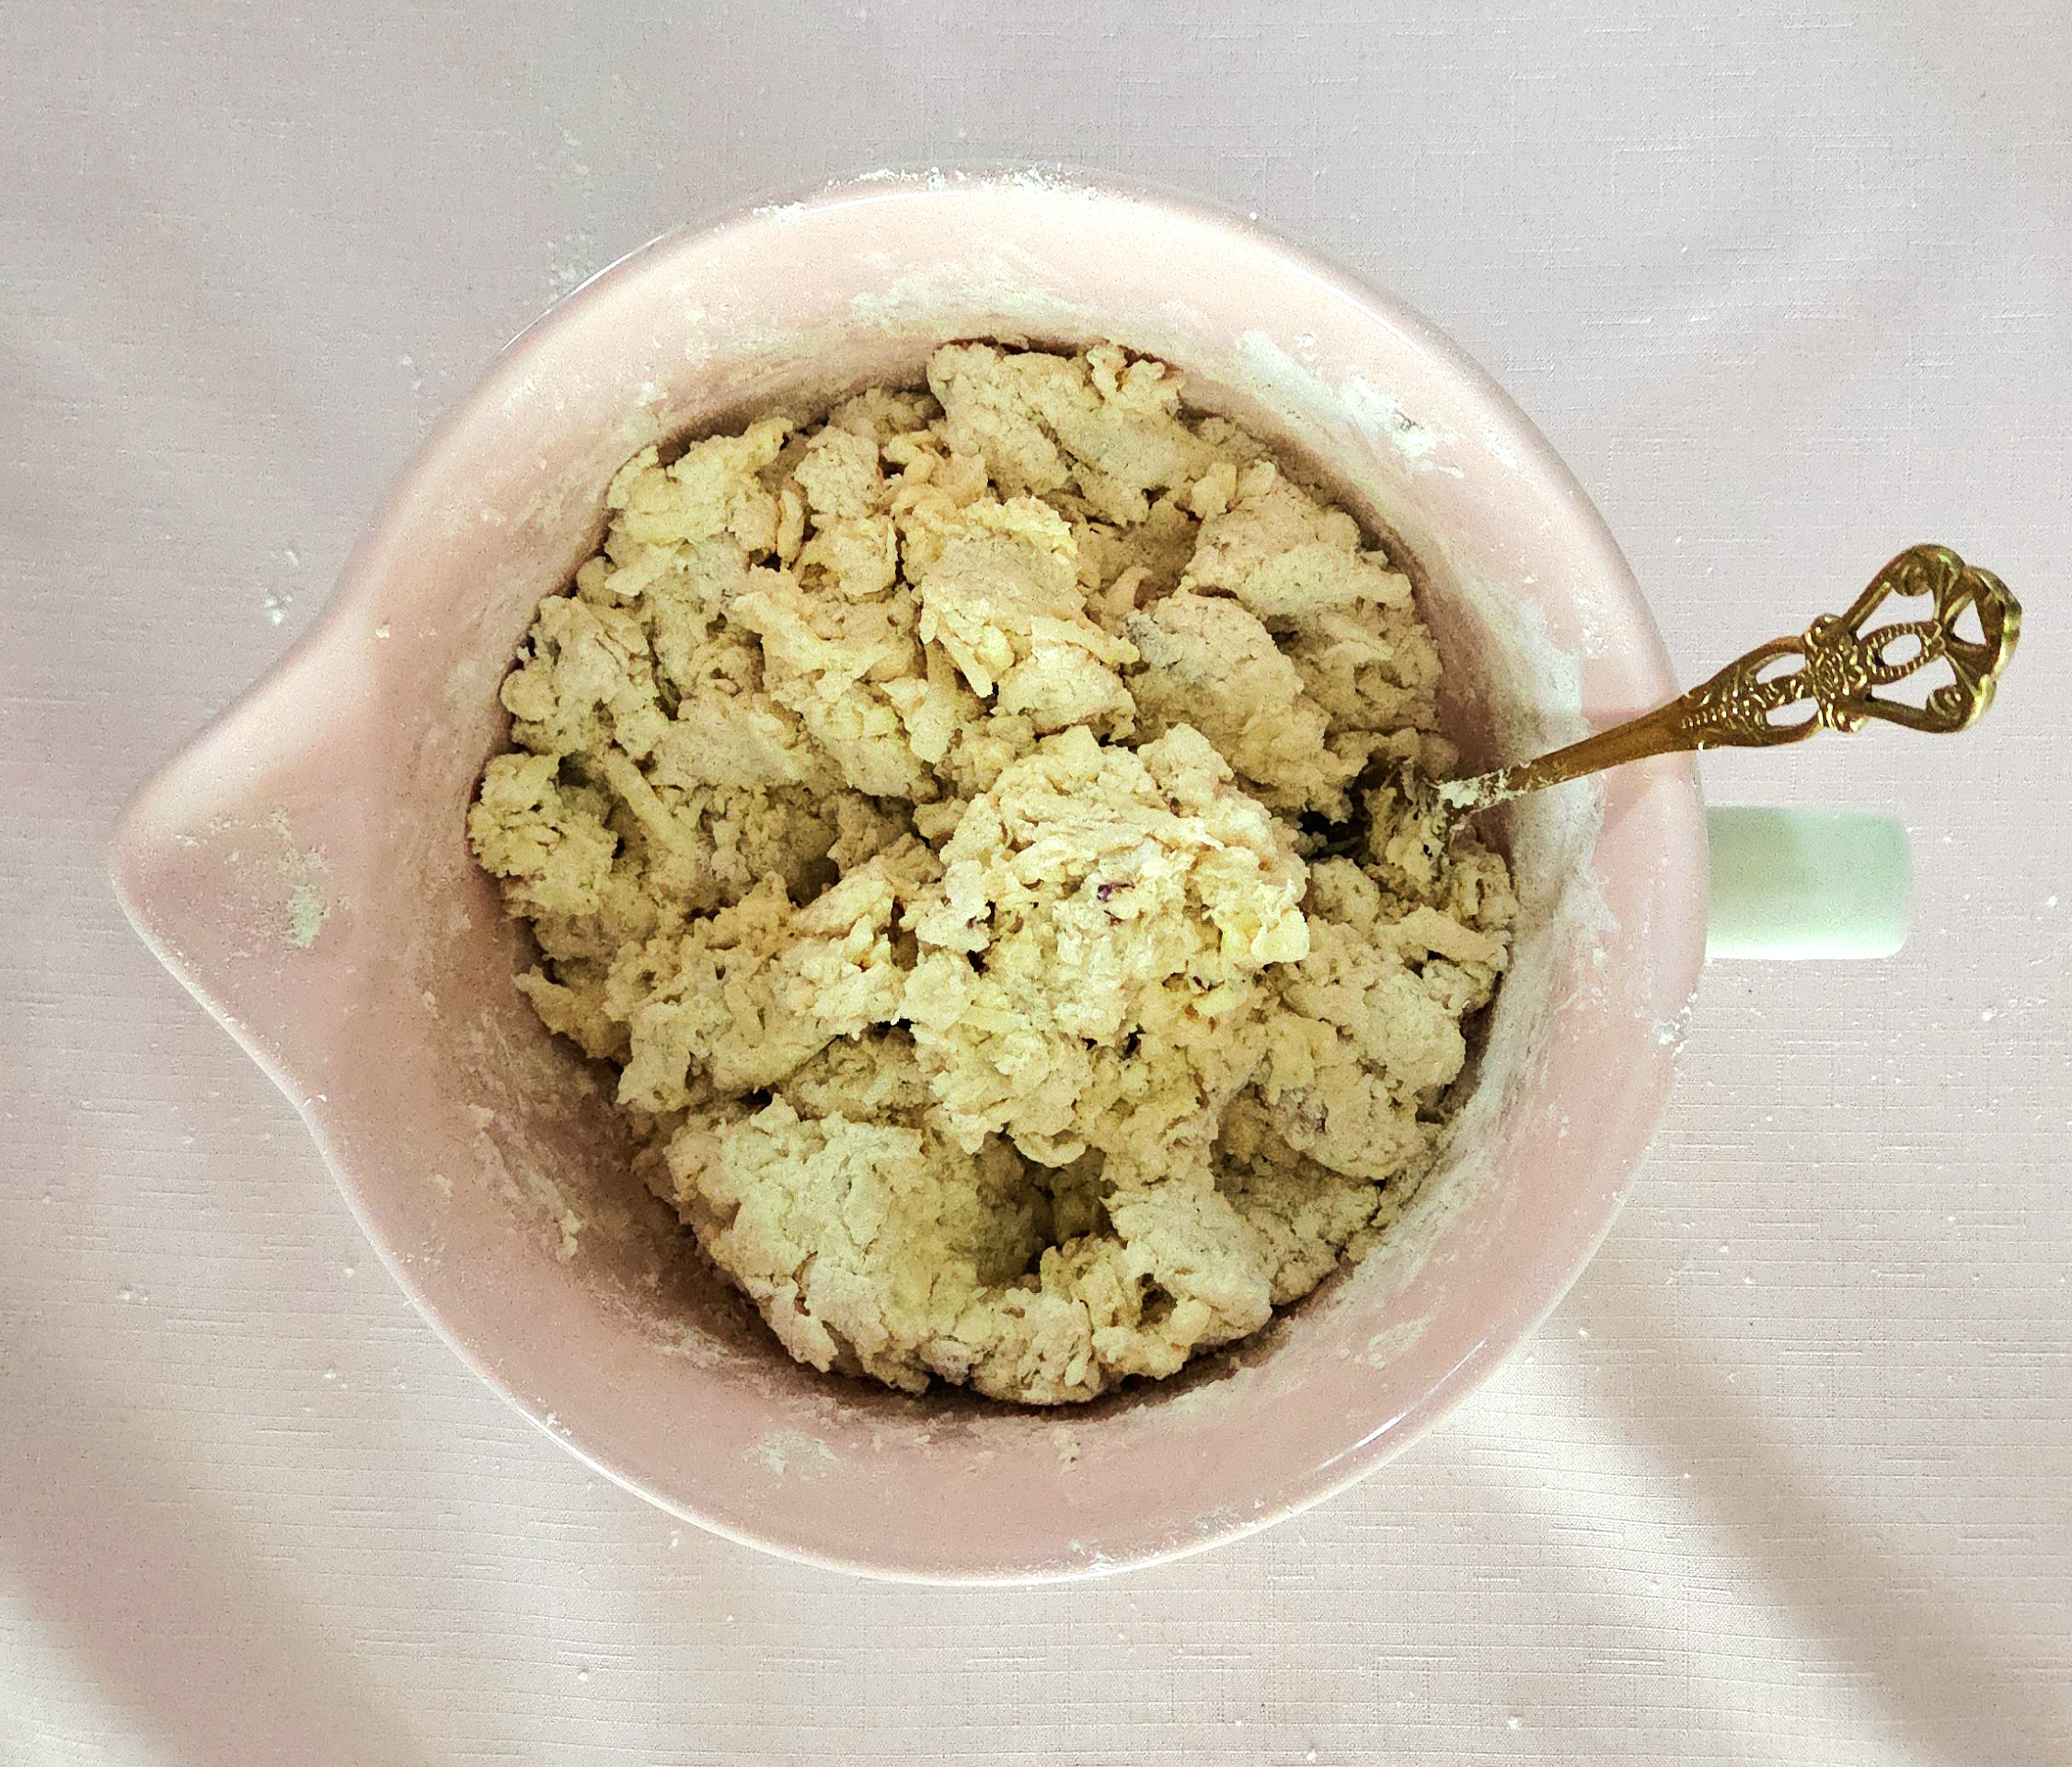
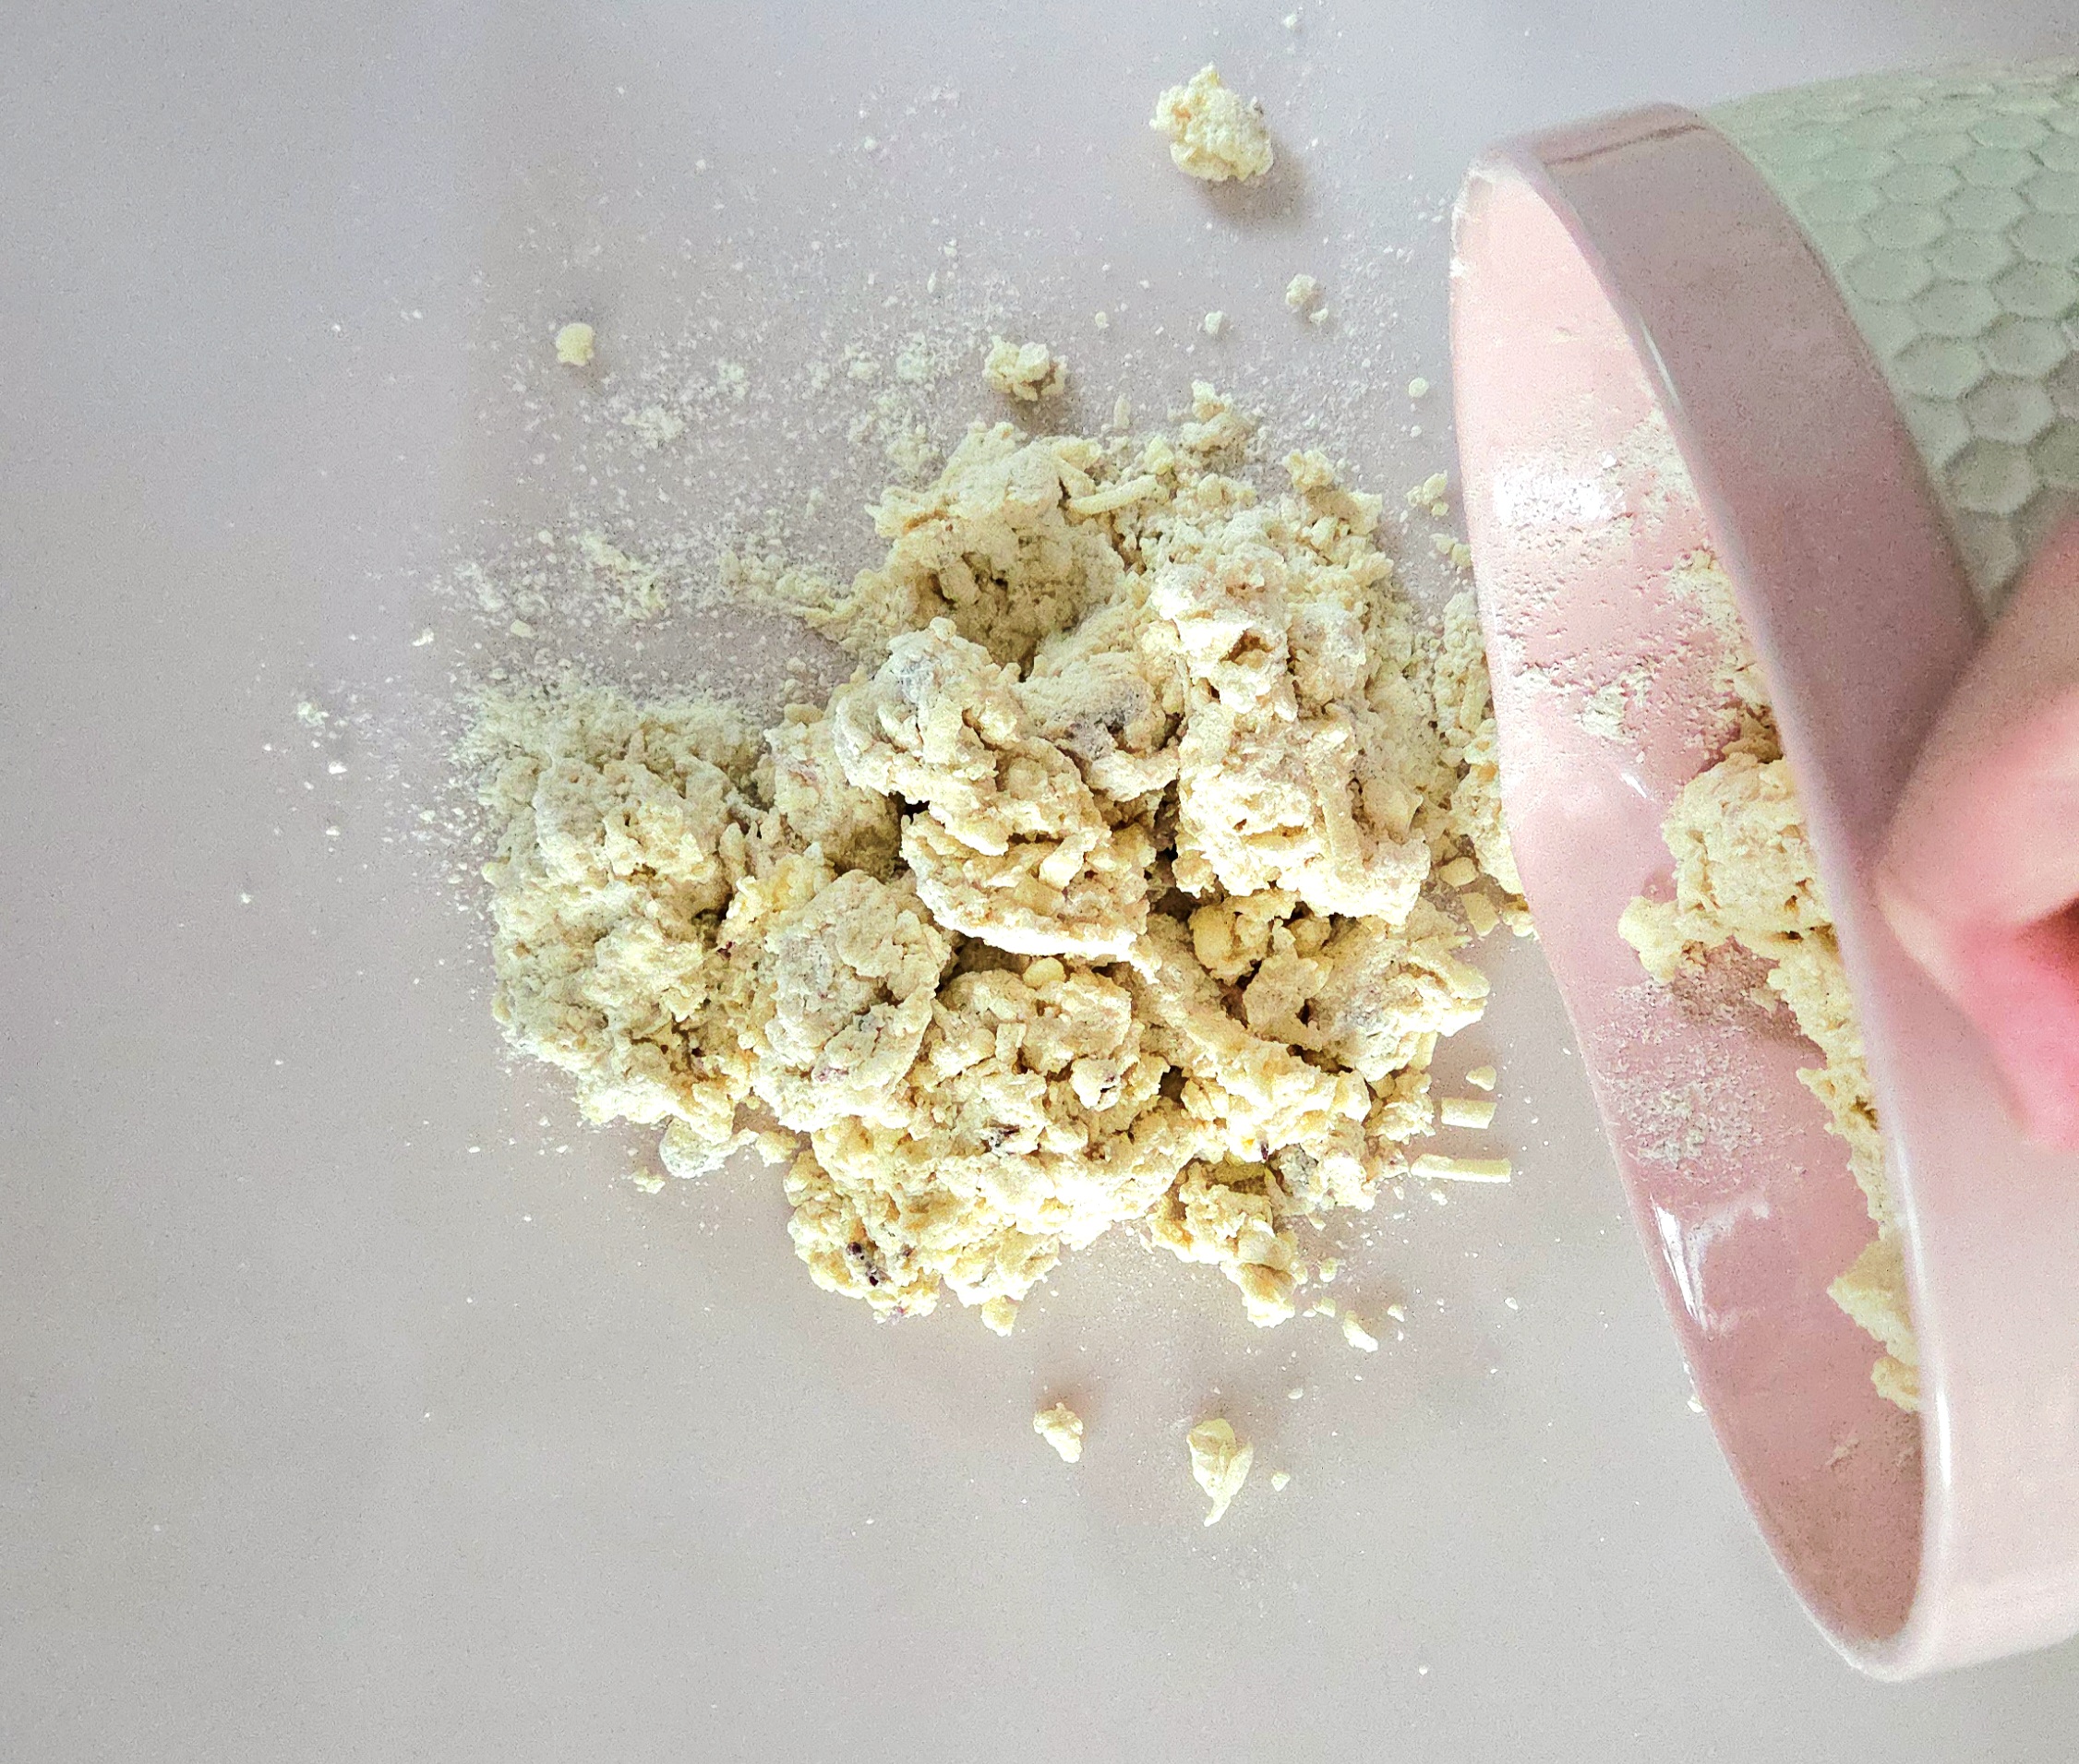
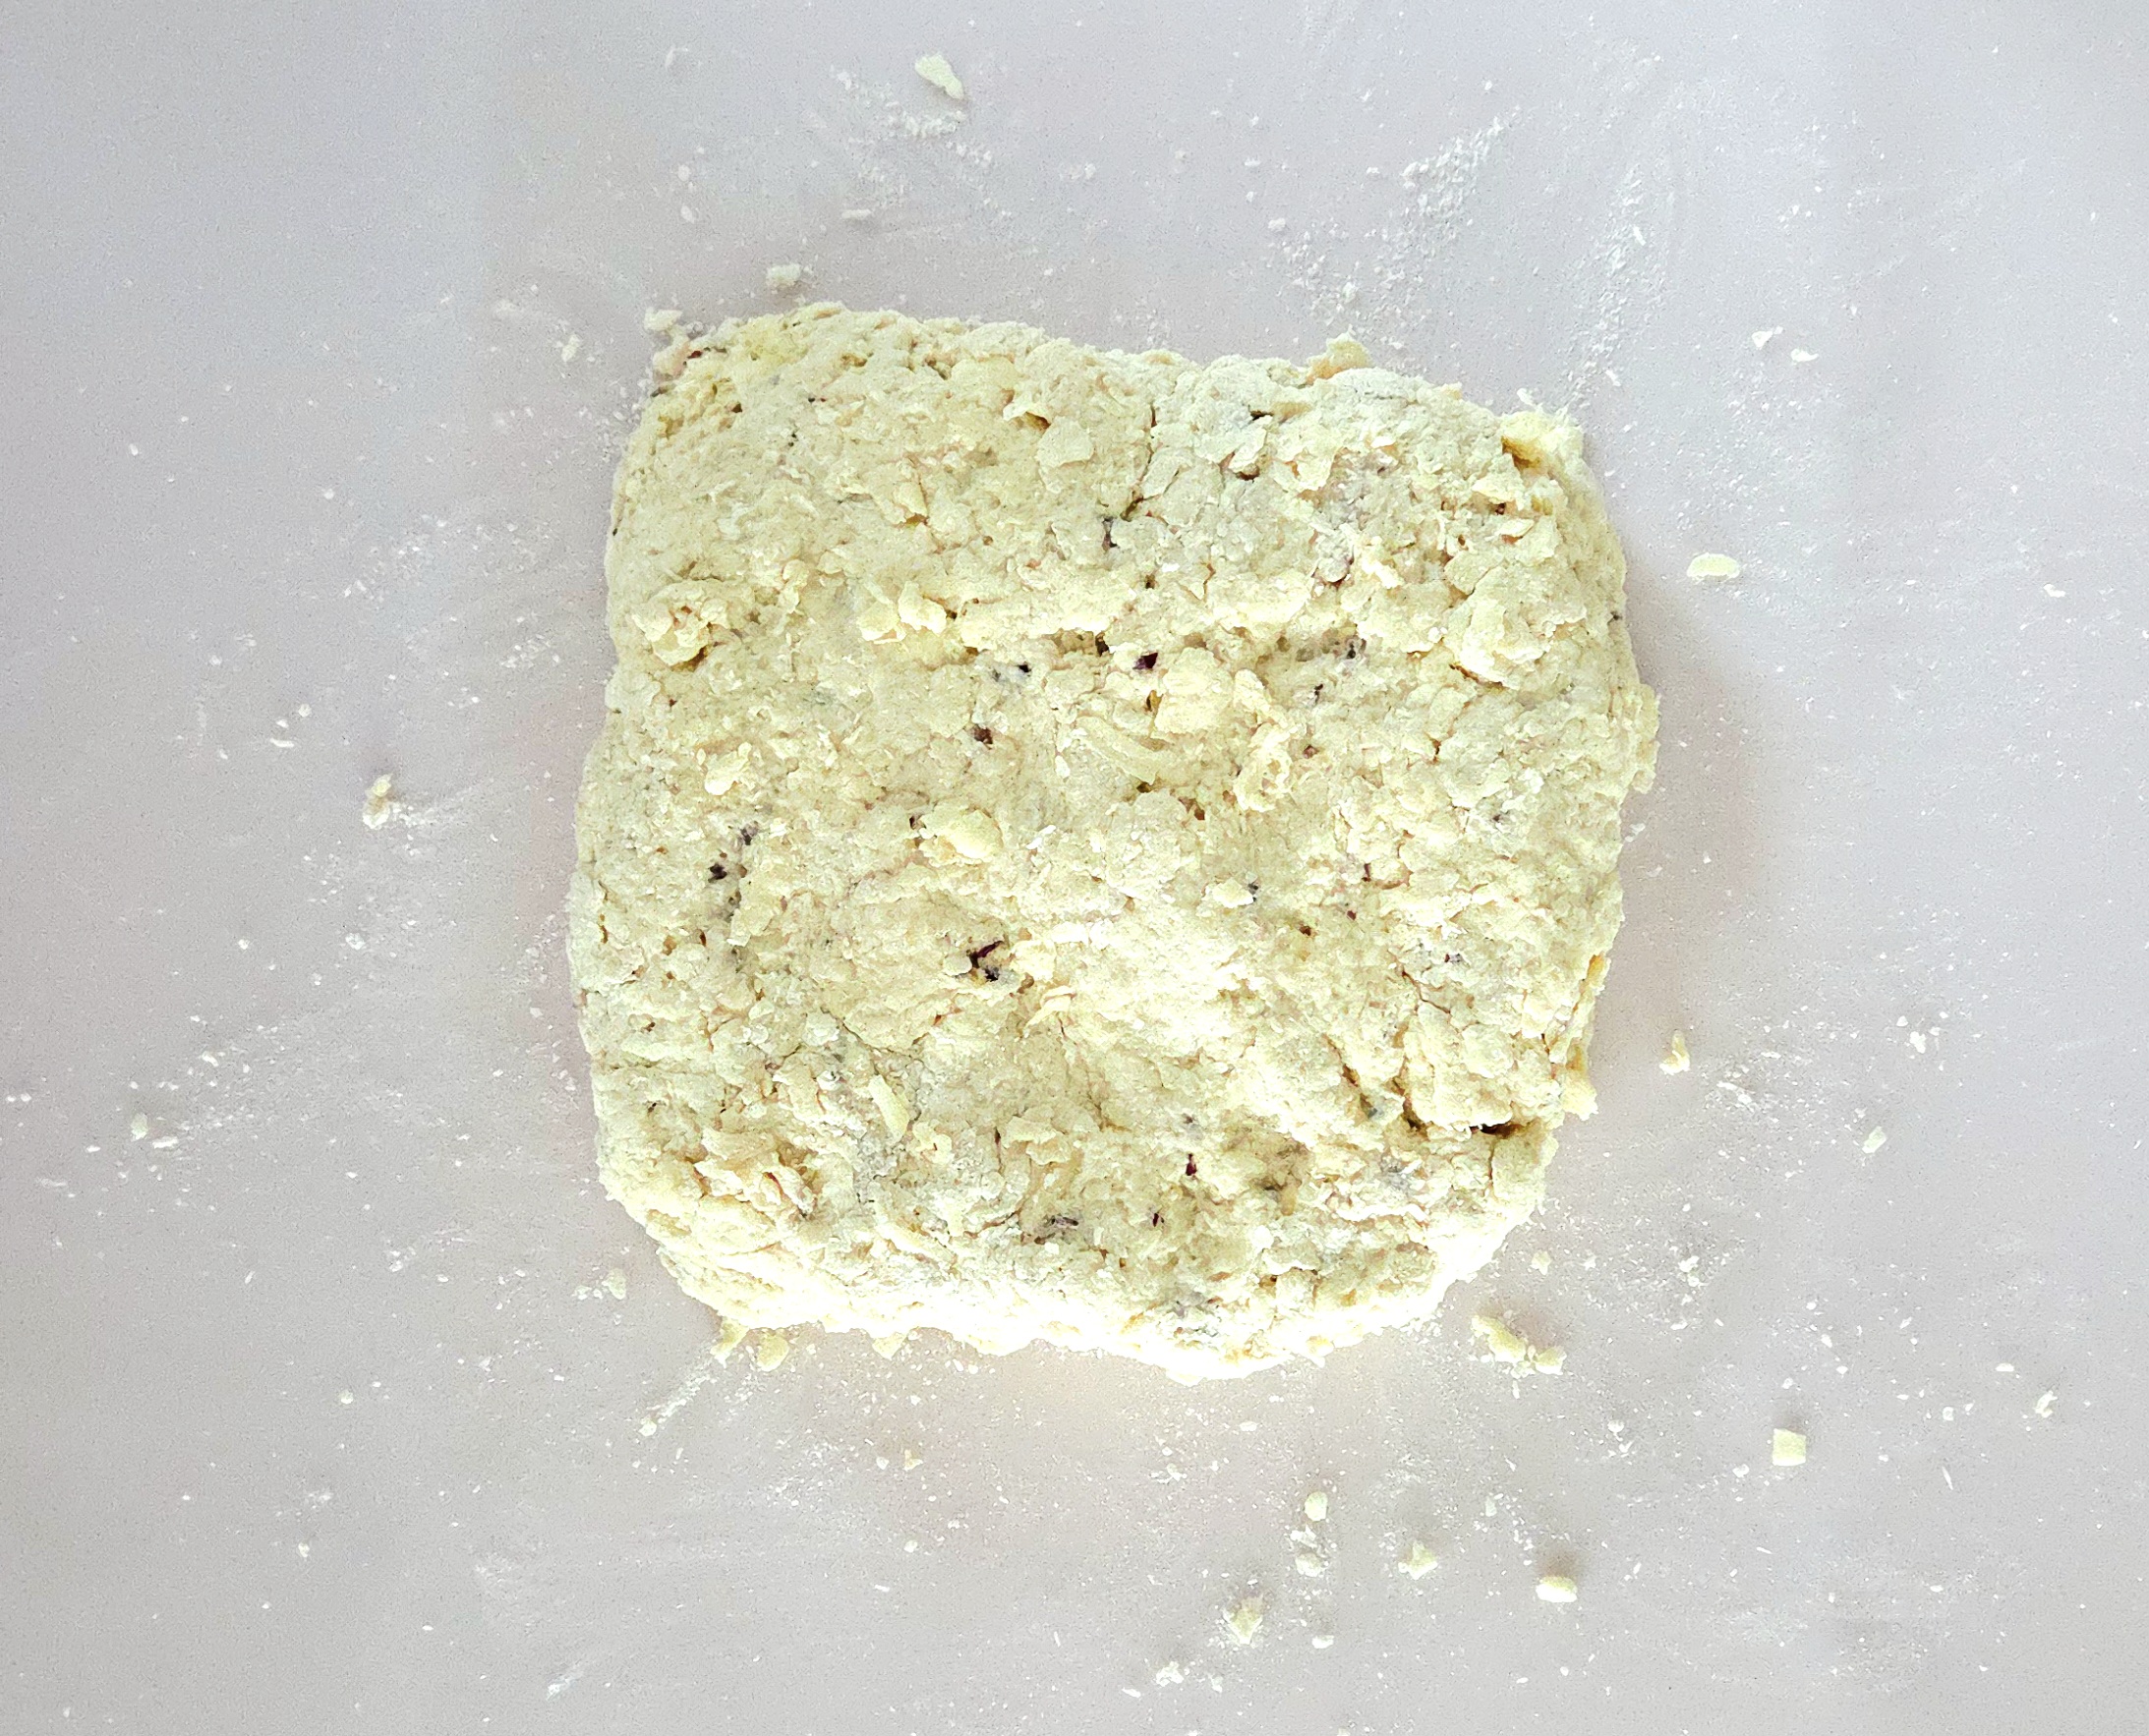
Onto a clean counter, dump the completed dough. Knead it together for a minute or so, until it all comes together, leaving no dry streaks behind. Form the dough into a square, around 2 inches thick or so, and wrap it tightly in plastic wrap so it’s airtight. Place the wrapped dough in the fridge to chill and rest for about 30 minutes.
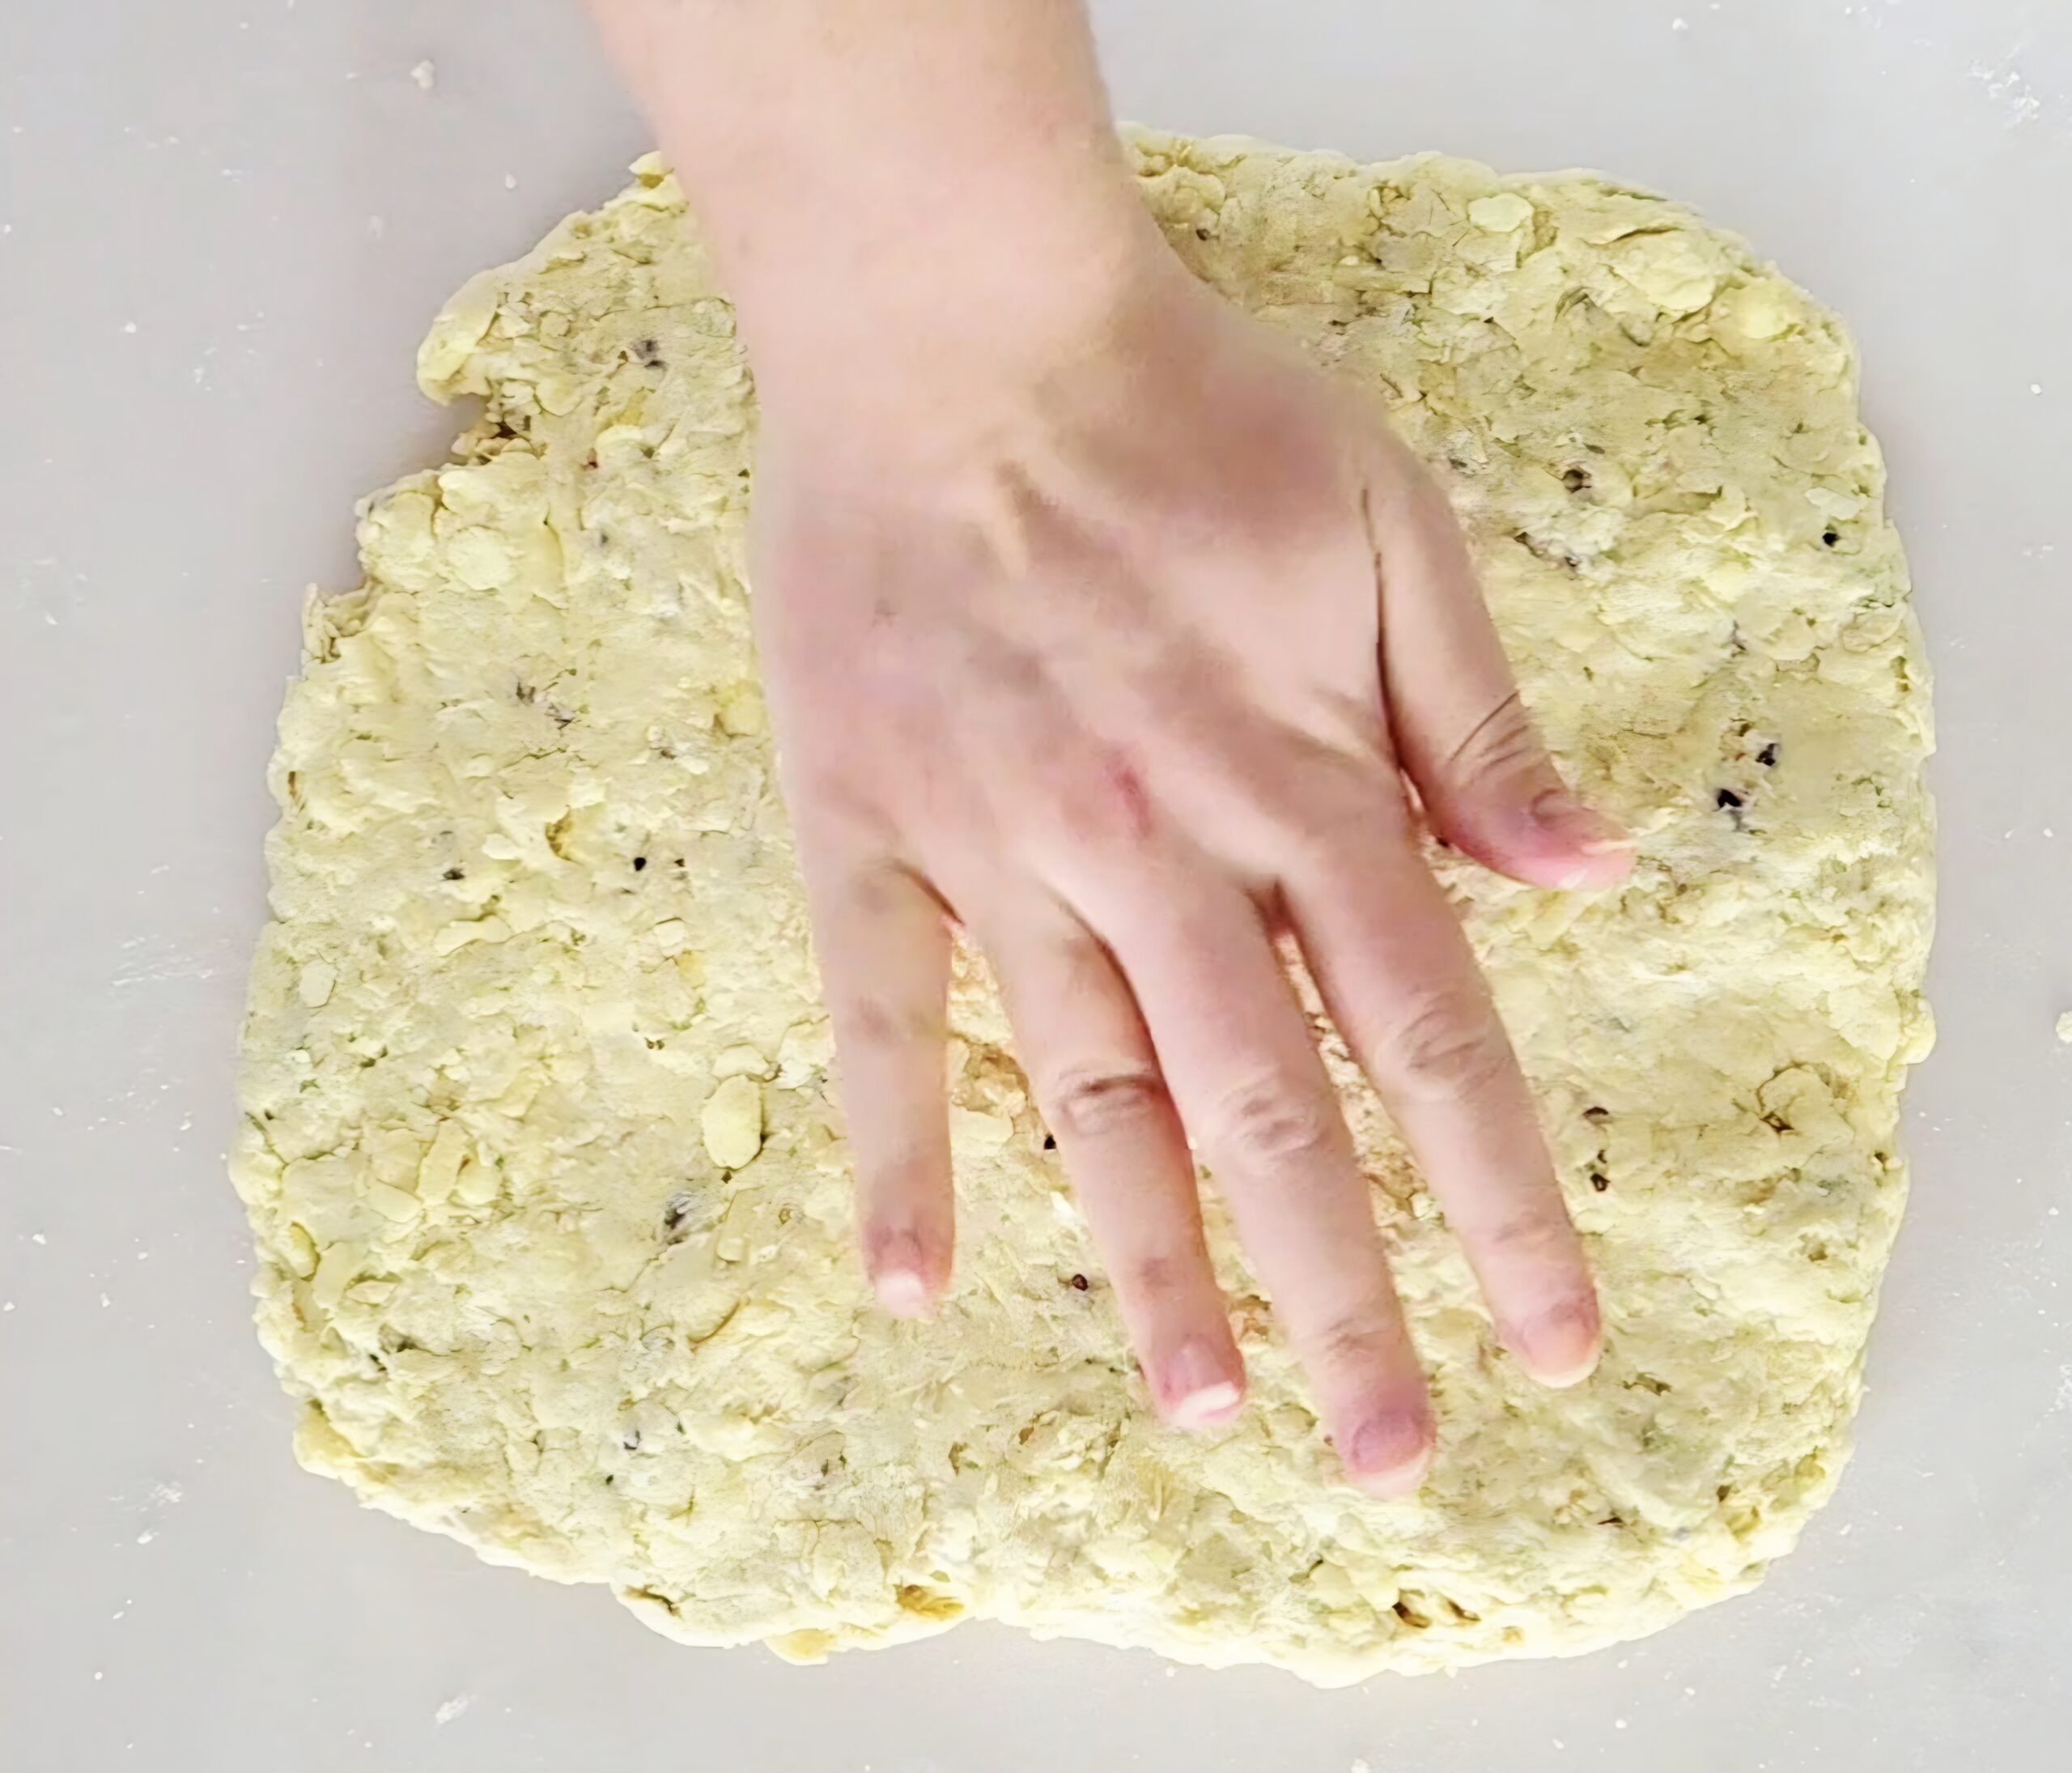
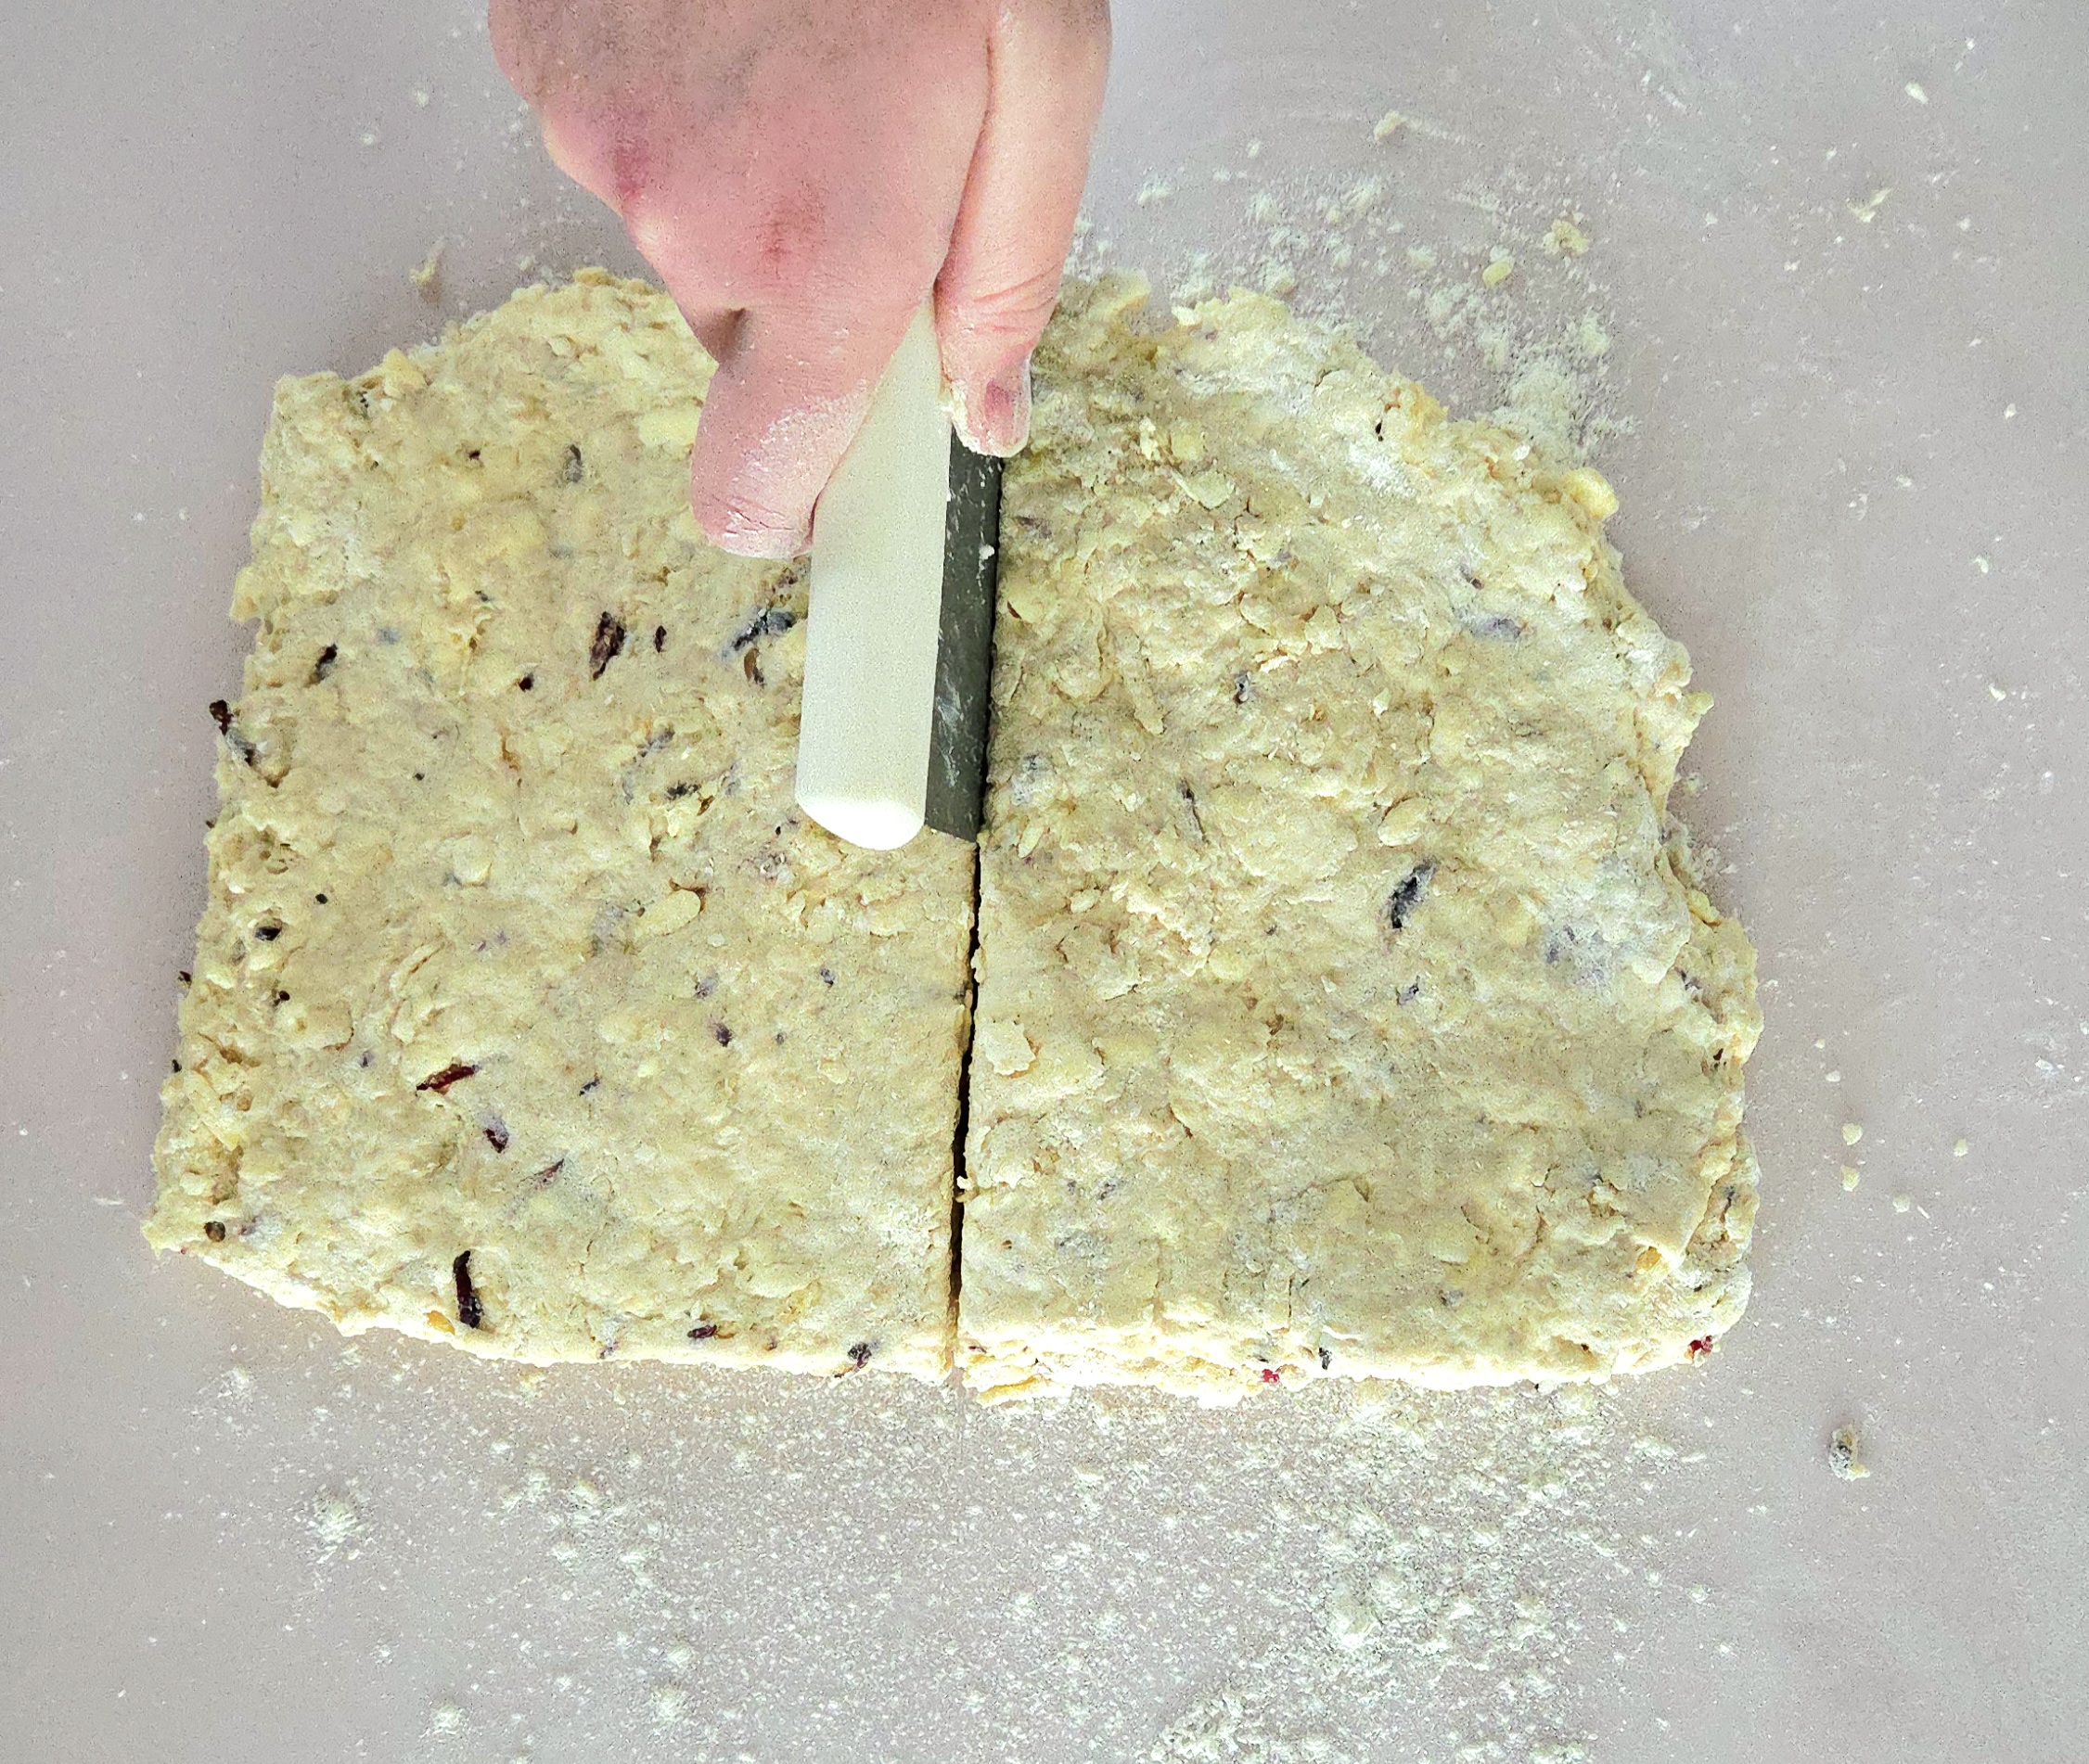
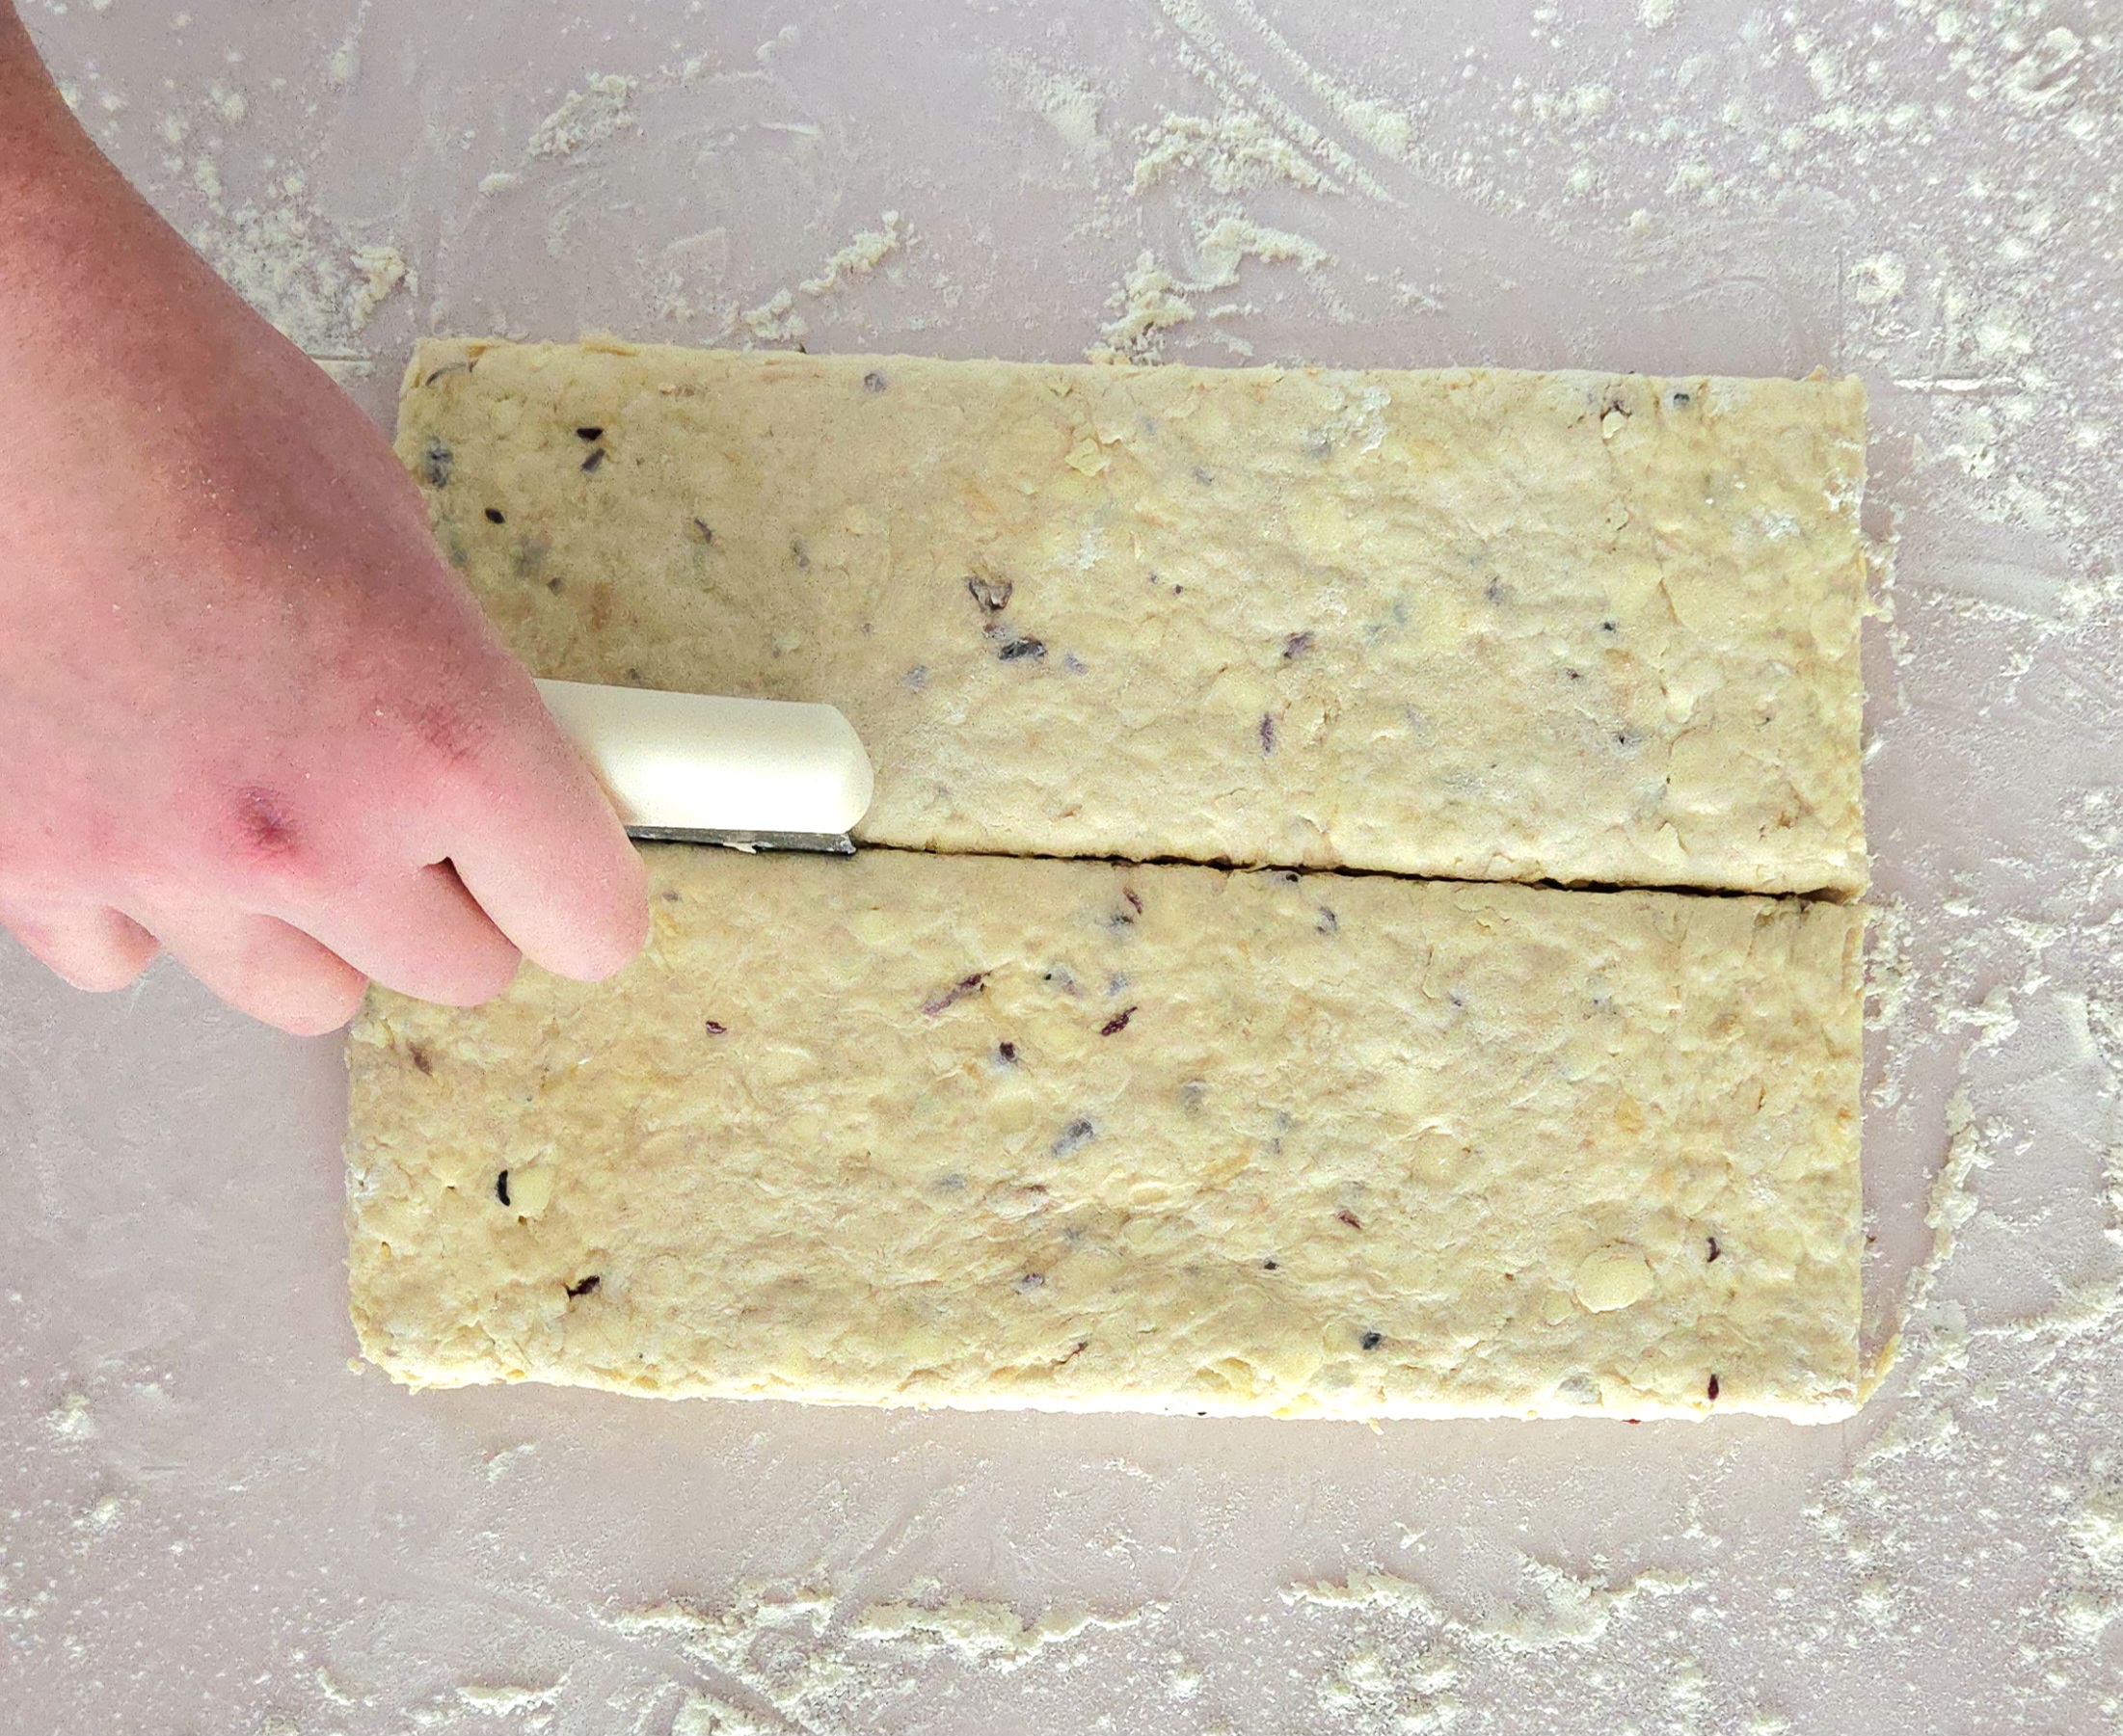
After the 30 minutes has finished, dust a clean counter with a light sprinkling of flour. Grab the dough from the fridge and place it onto the floured counter, adding a bit more flour on top of that. Press it gently into a large rectangle, about 1 inch thick, using the heel of your hand. That way, the dough won’t heat up too much. Cut the dough in half vertically, and stack one on top of the other.
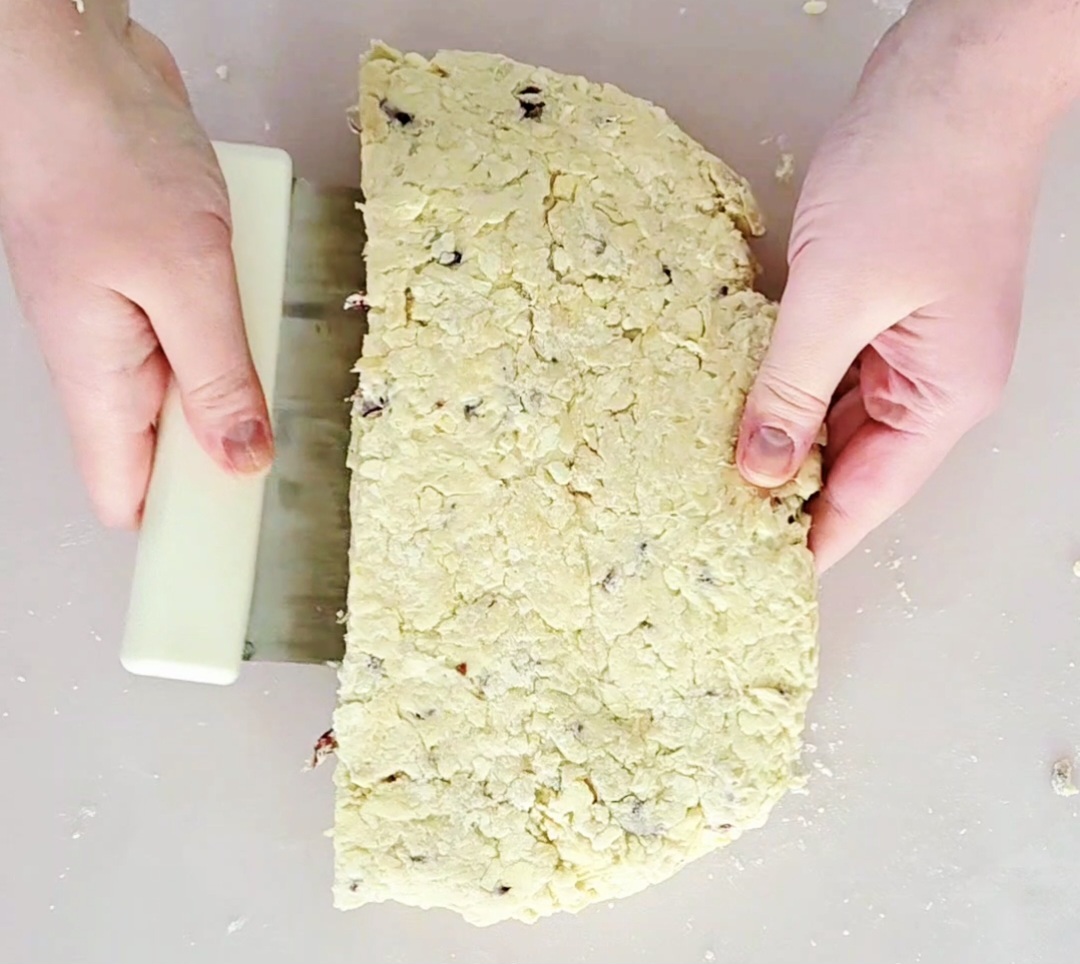
Press the dough into another 1-inch thick rectangle using the heel of your hand once again. This time, cut the rectangle in half horizontally and place one half on top of the other.
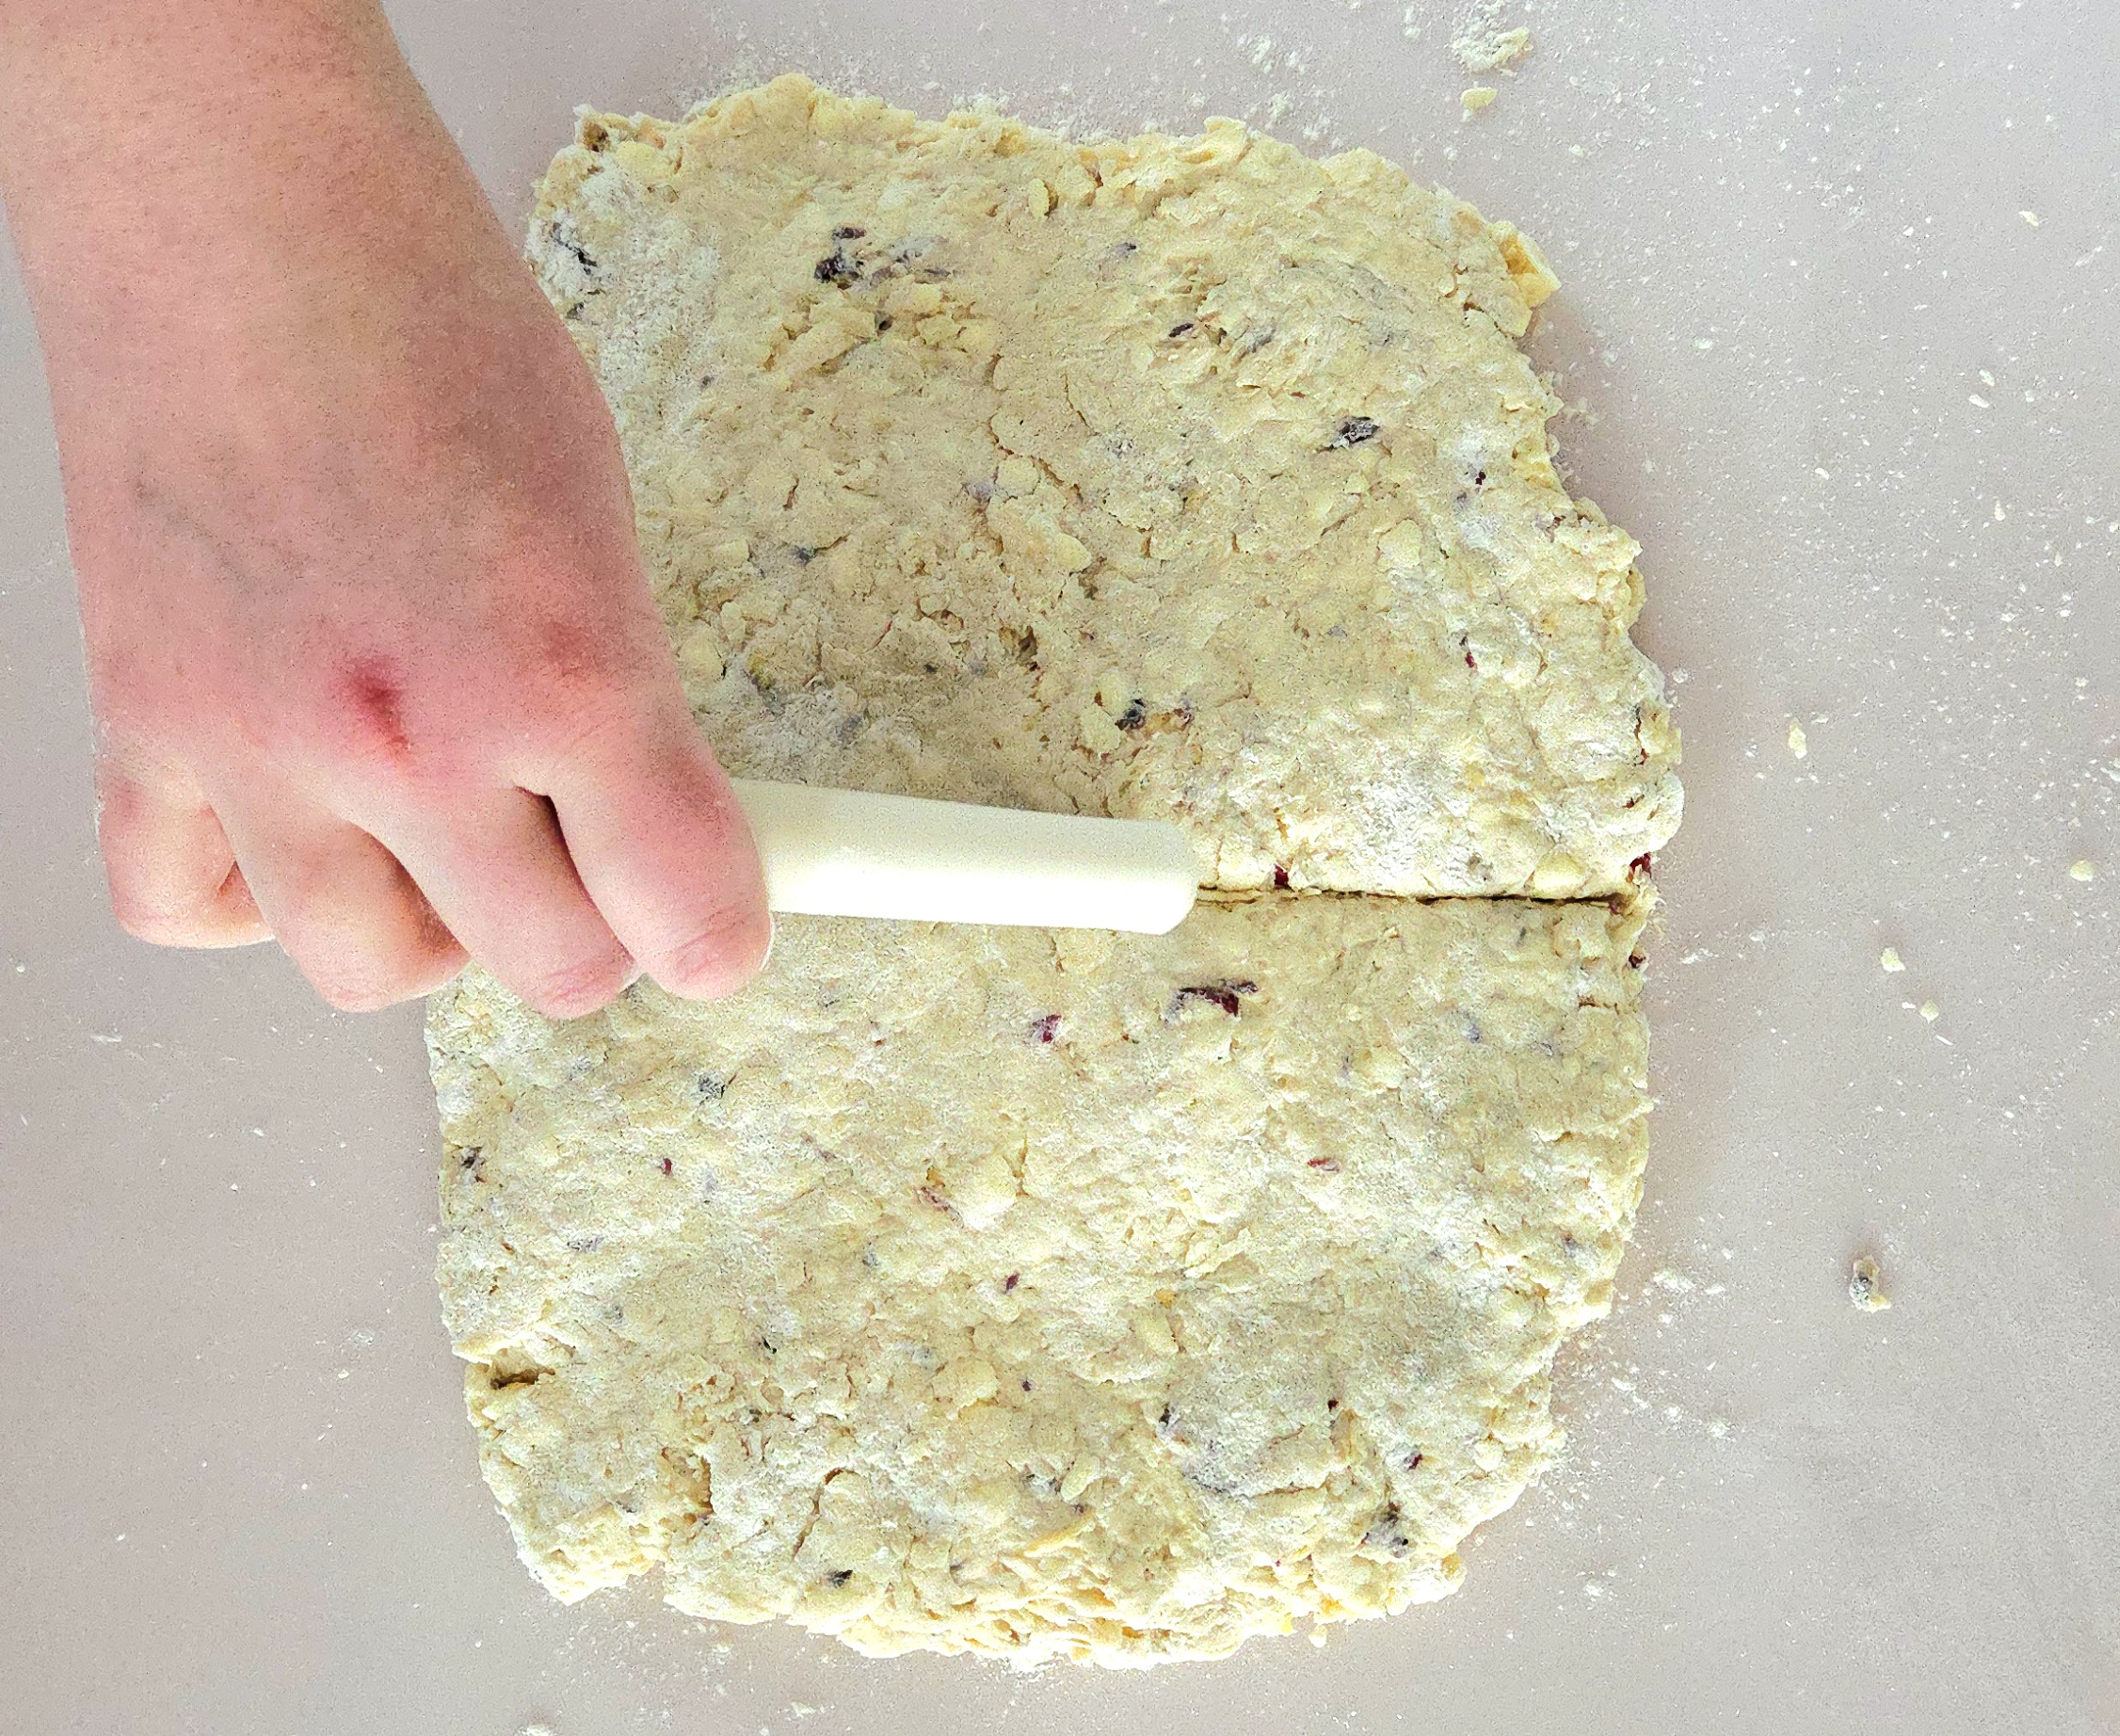
Repeat the cut and fold process two more times, for a total of 4 cuts and folds. Alternate between cutting horizontally and vertically. If your kitchen is on the warm side, wrap the dough in plastic and place it in the fridge for 30 minutes between each cut and fold, so things can stay as cold as possible. Once the cut and folds are complete, wrap the biscuit dough so it’s airtight and allow it to rest and chill in the fridge for a minimum of 30 minutes, or up to one day ahead of time.

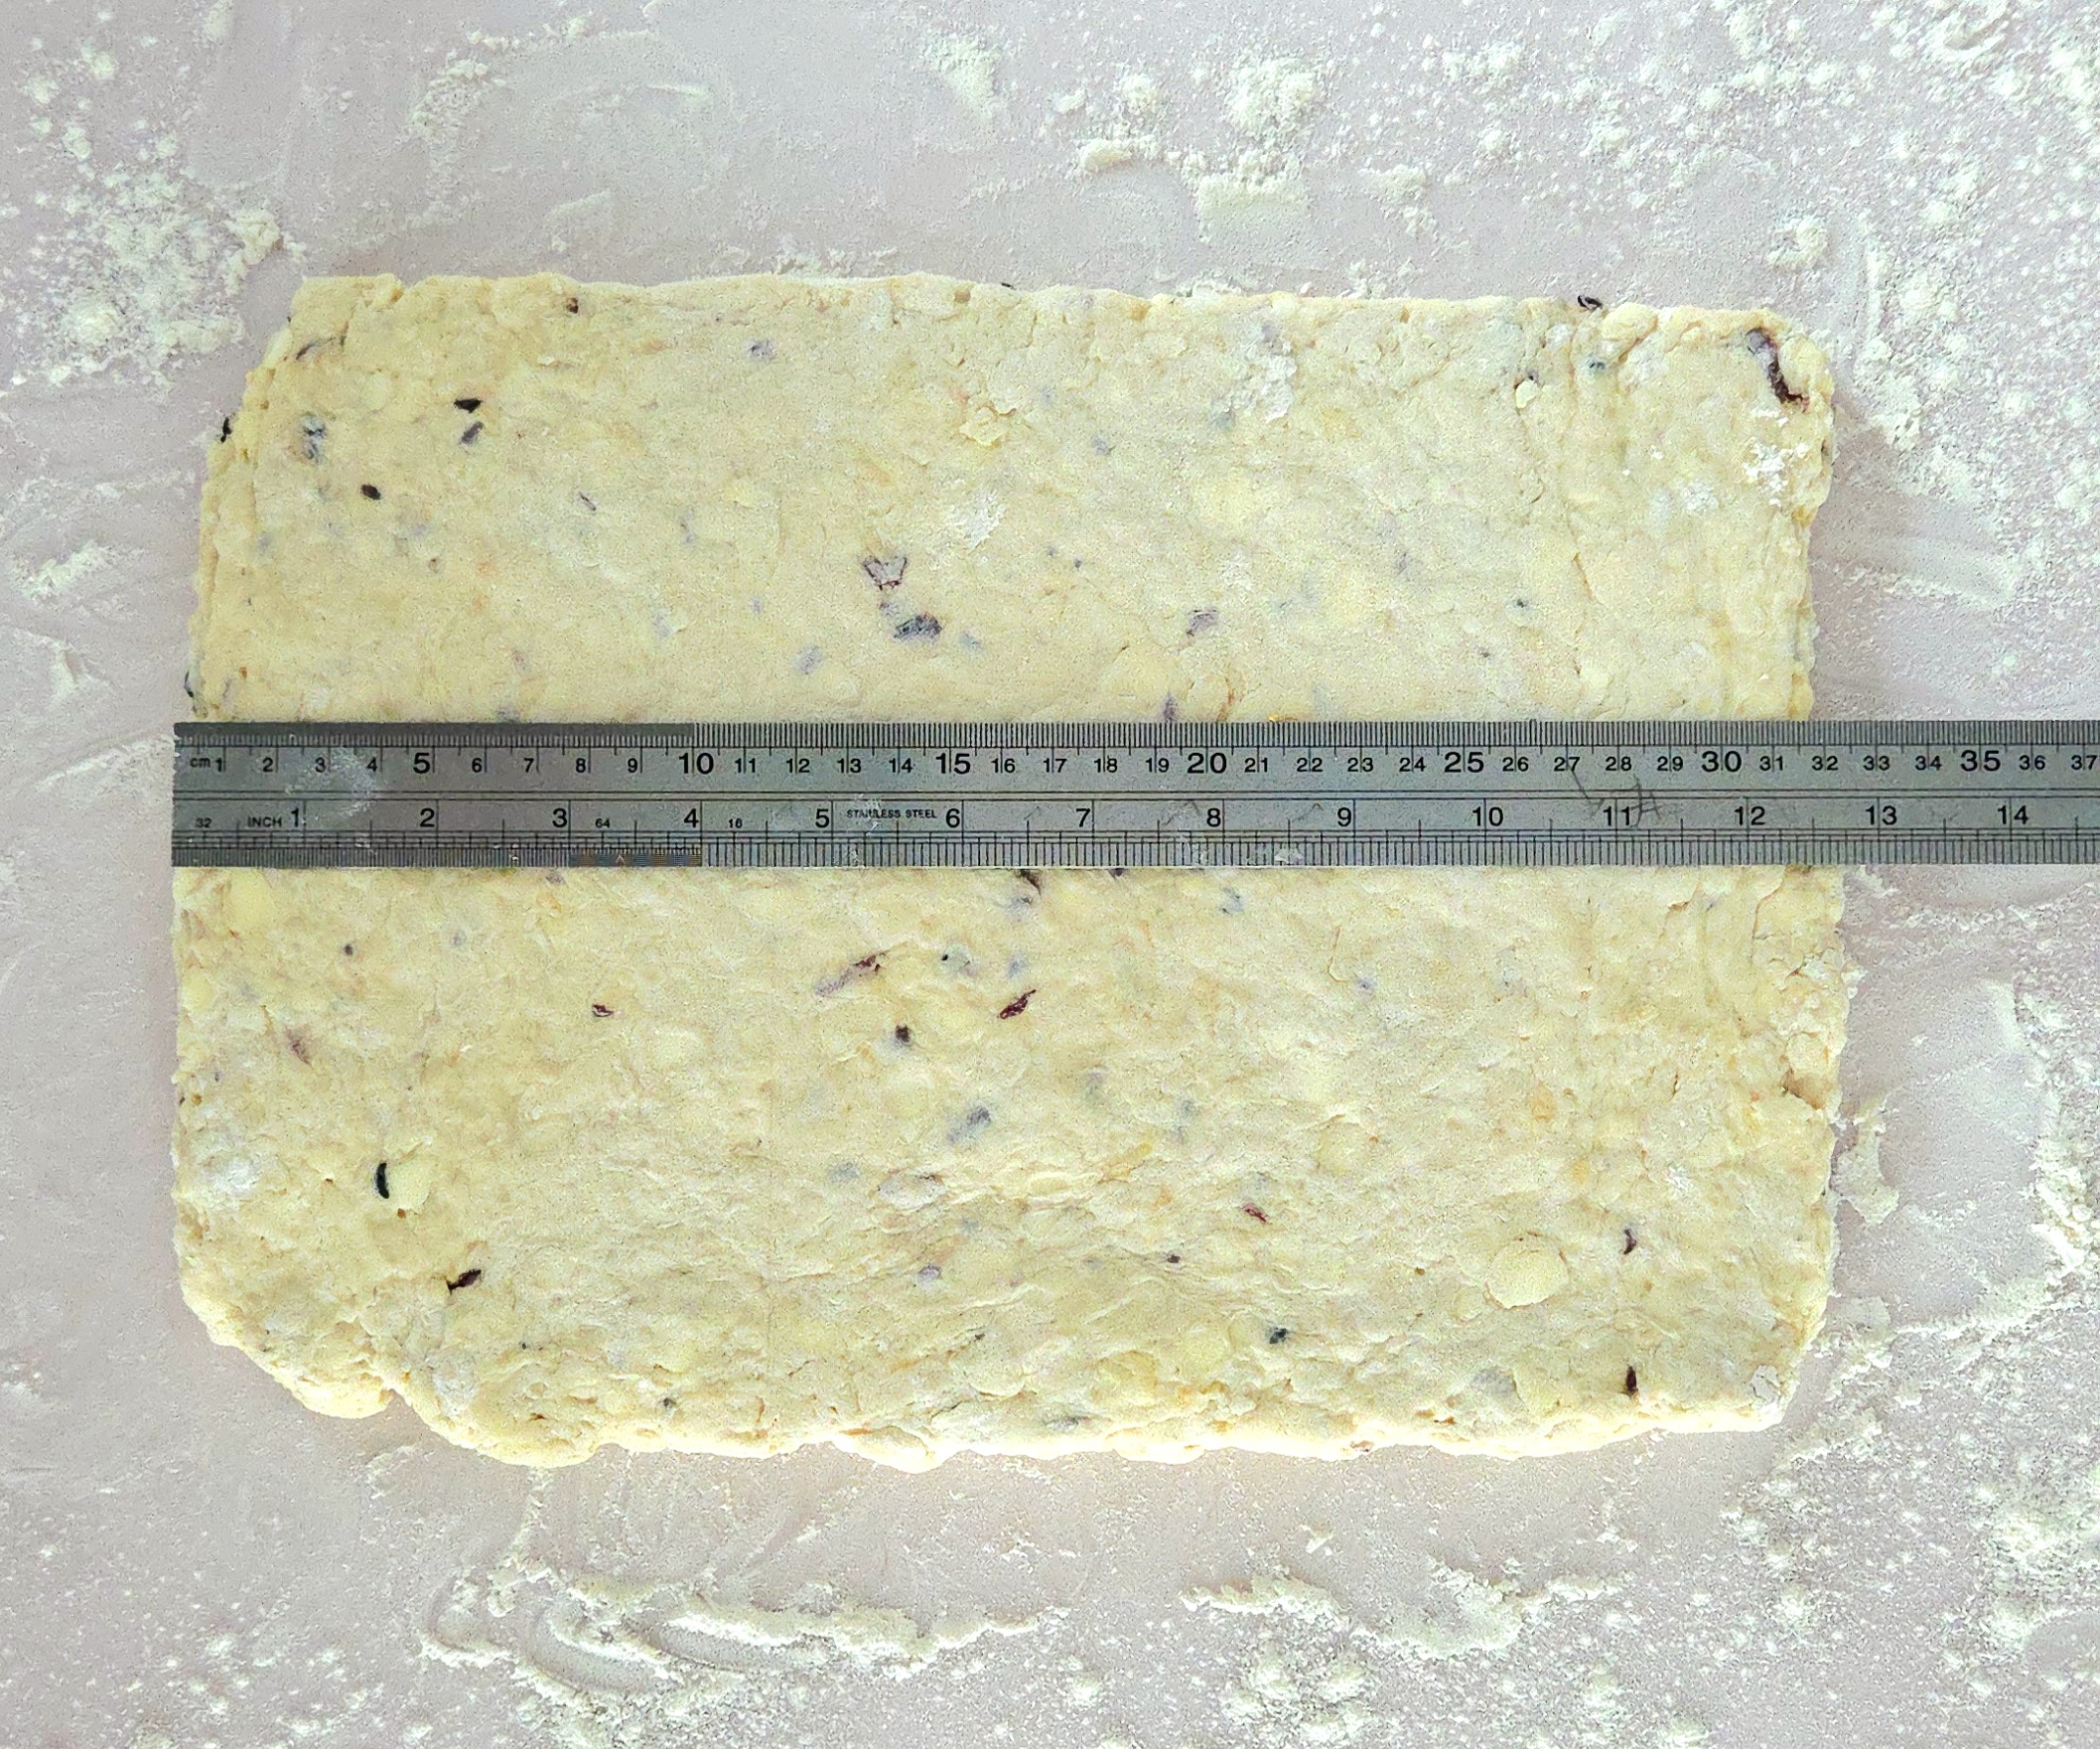
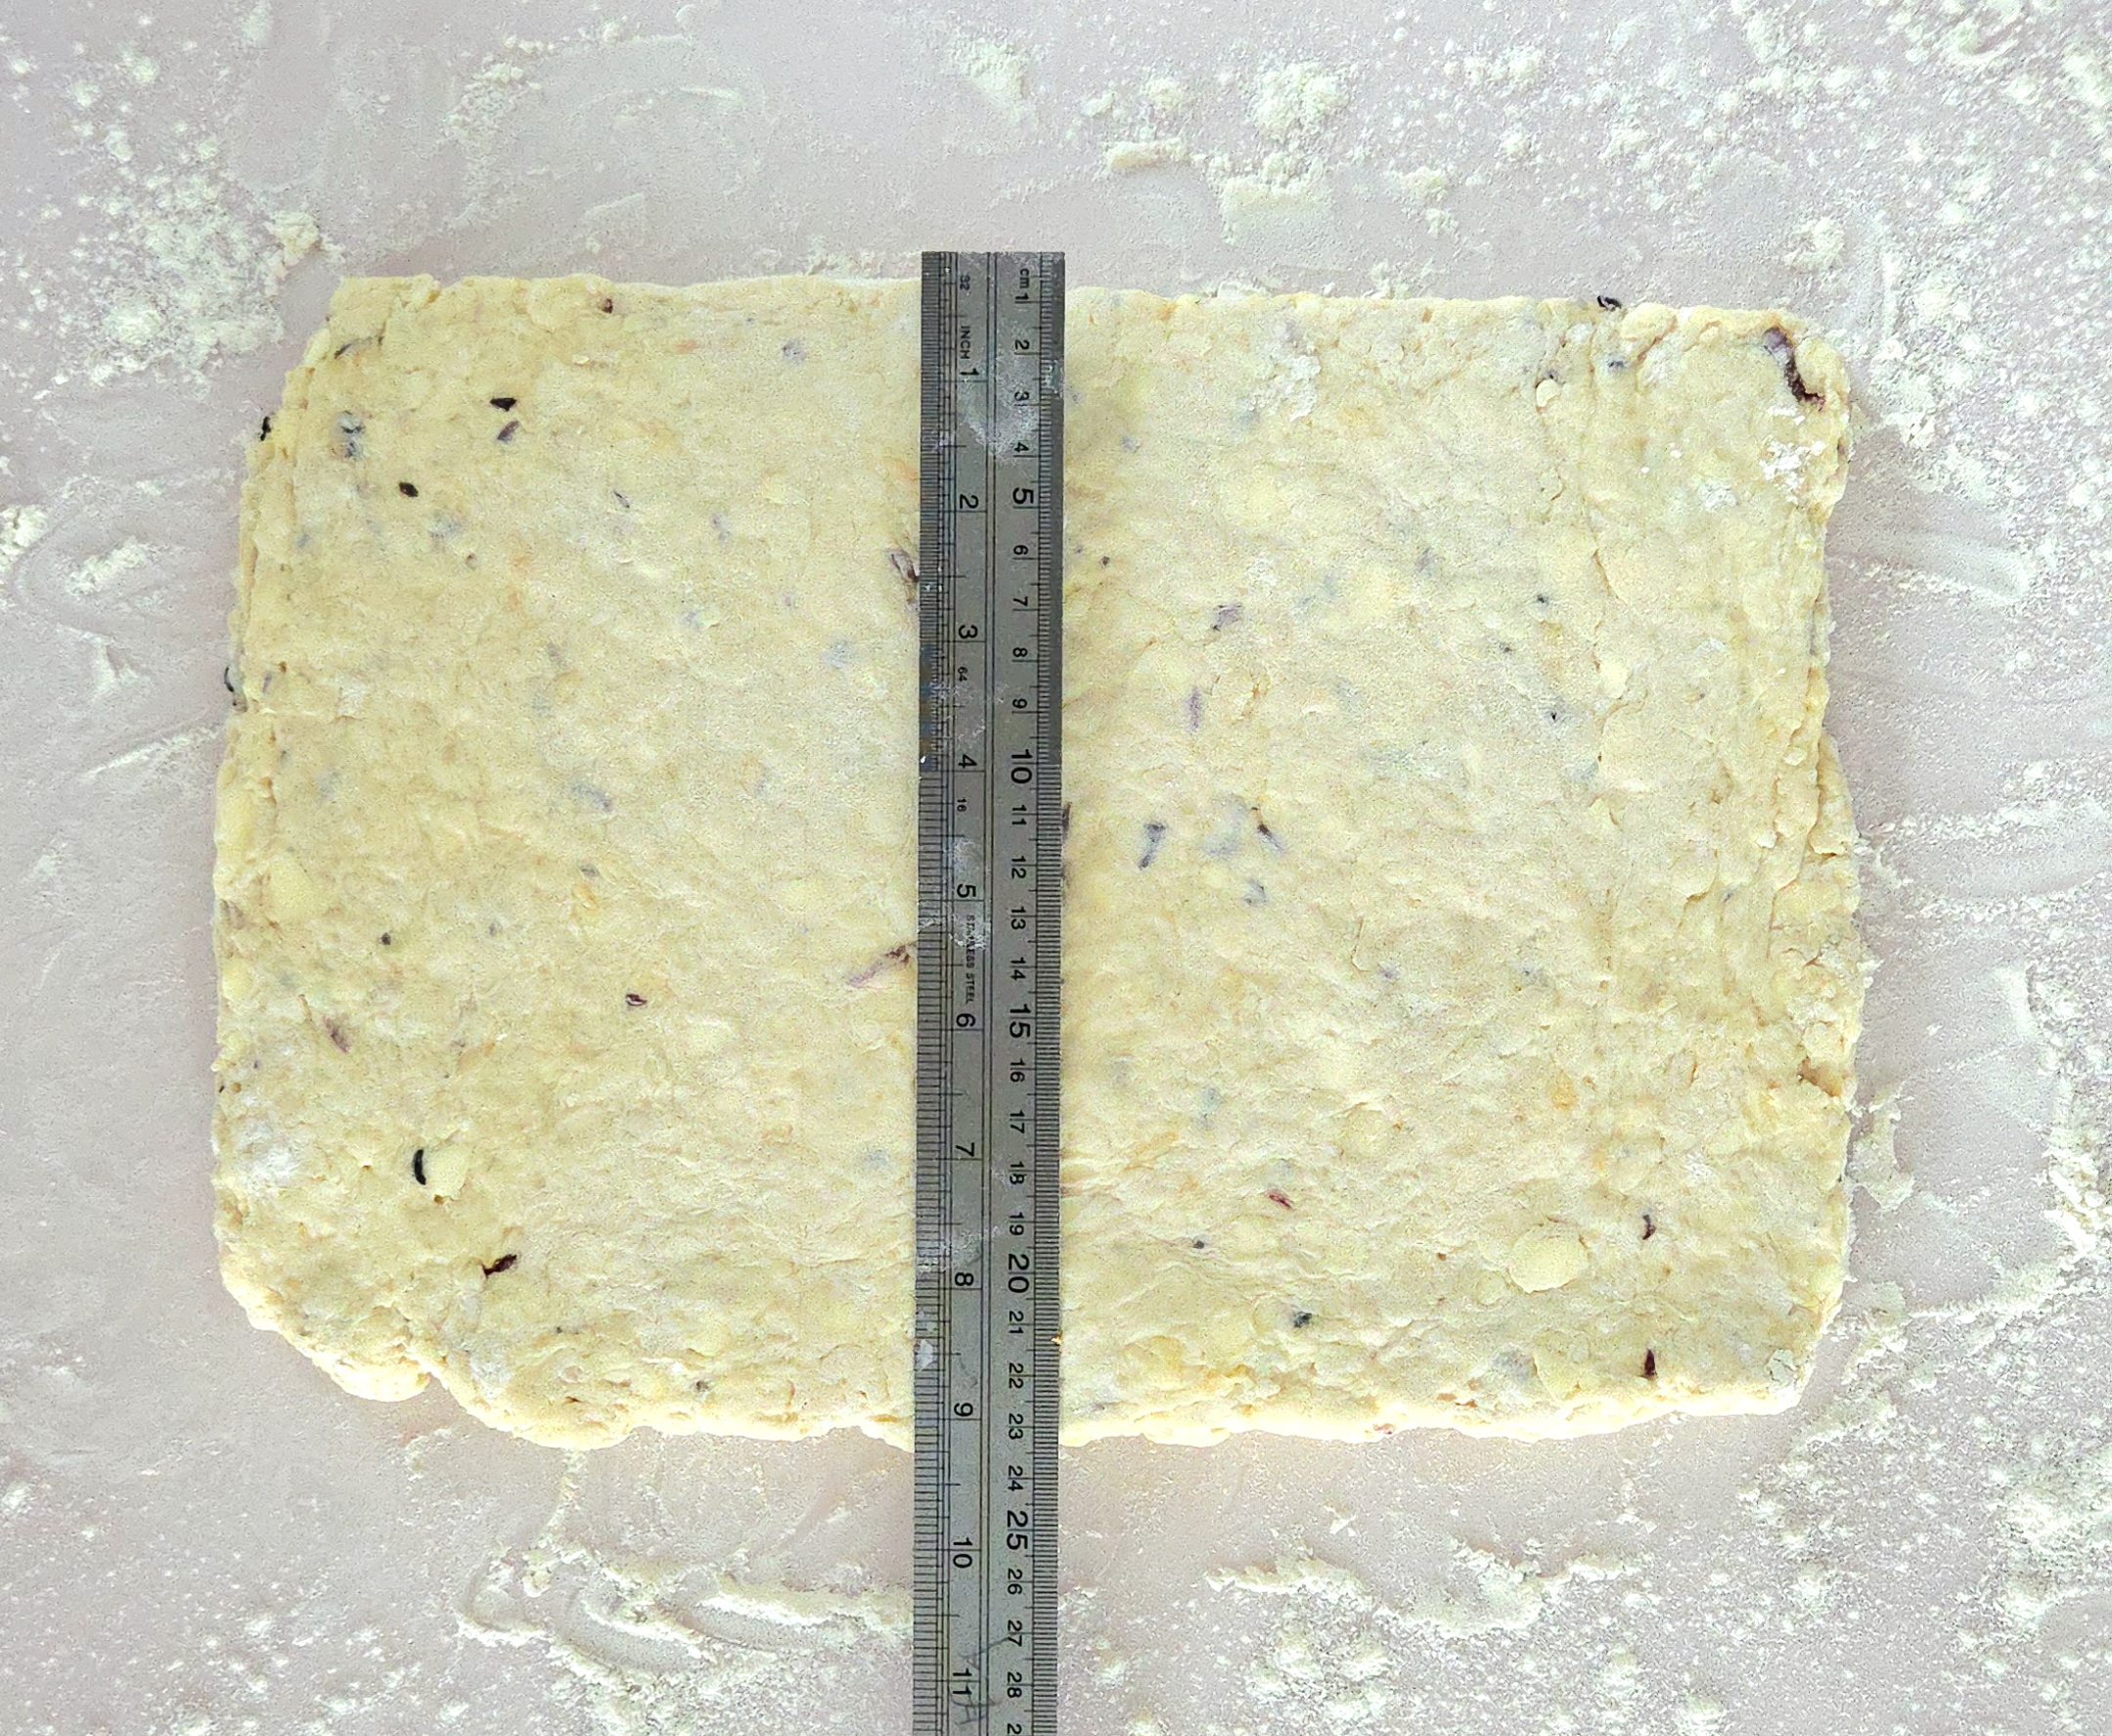
When the dough has finished its rest in the fridge, sprinkle a clean counter with flour again. Place the dough onto the flour and sprinkle a bit more on top, so nothing sticks to either the counter or the rolling pin. Roll out the dough to an approximately 13×9 inch rectangle. If the dough starts to stick at any point, pause what you’re doing, use a bench scraper to peel it up, and add a bit more flour.
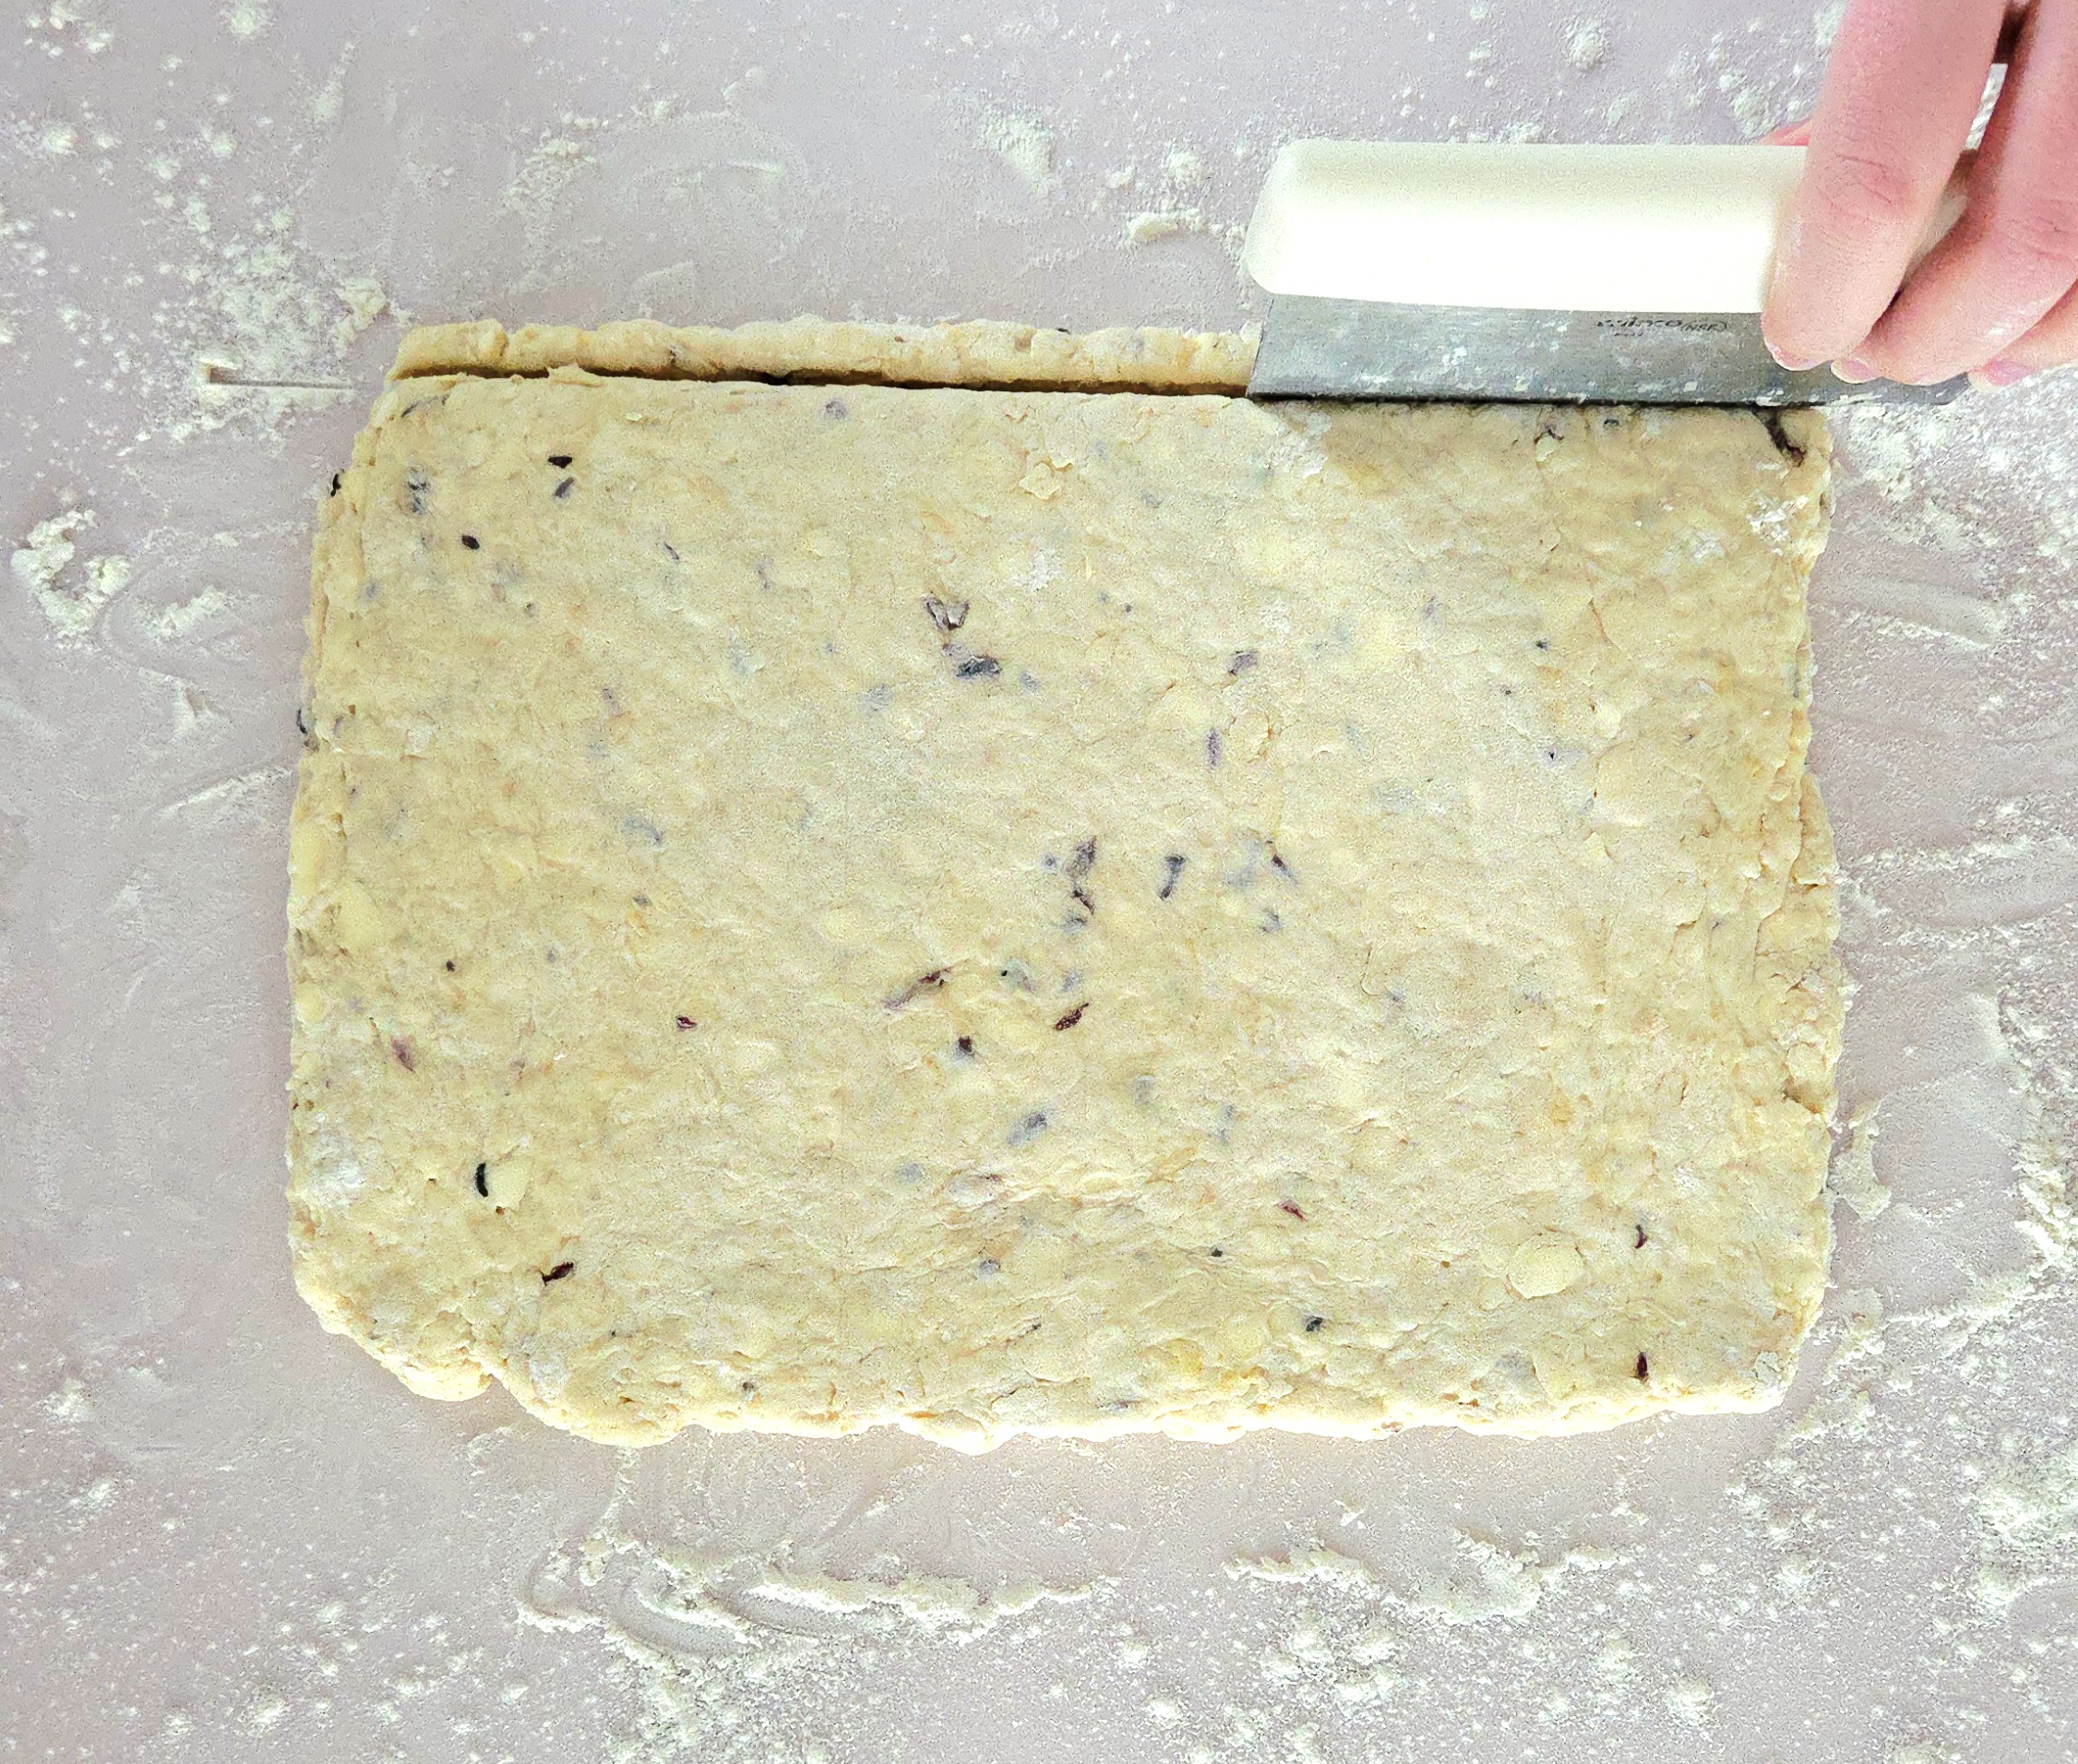
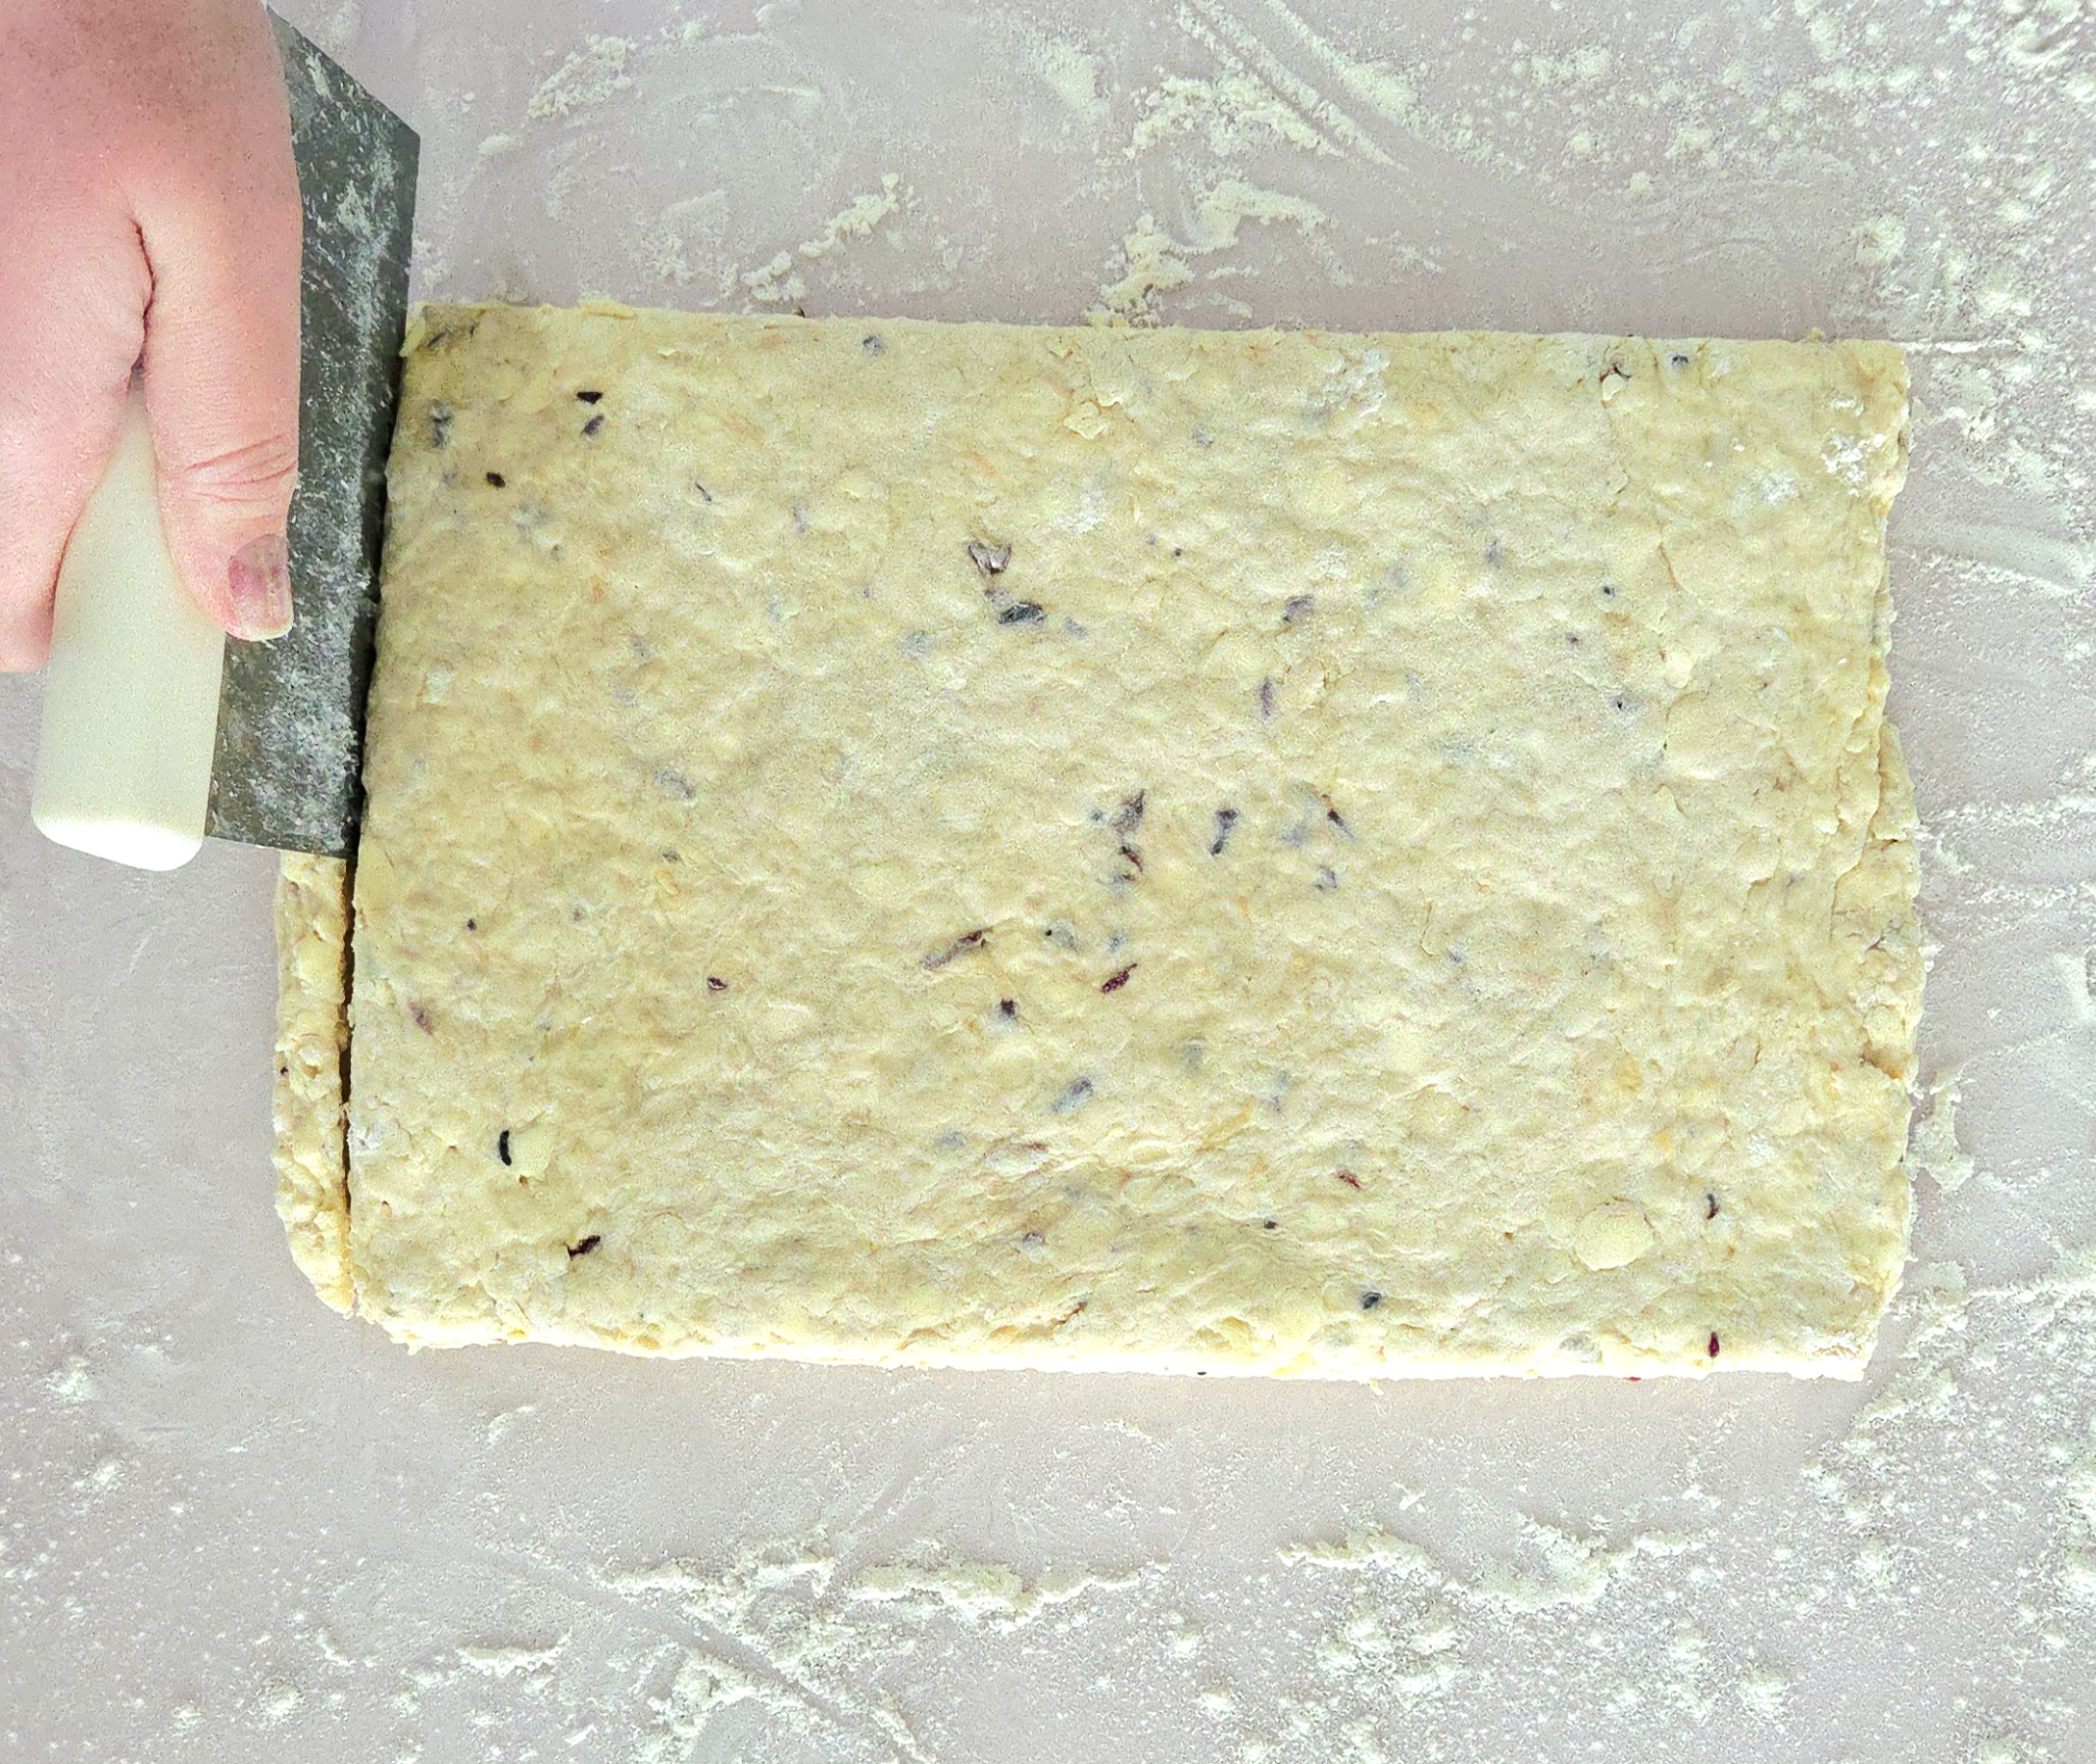
Take the bench scraper and trim about ¼ inch of dough off of the entire perimeter, cutting straight down firmly. Cut the dough into 6 equal portions.

Line a baking sheet with parchment paper and place all 6 biscuits onto it. Wrap the biscuits with plastic, so they’re airtight, and place them into the fridge for at least 30 minutes, or up to overnight. The warmer your kitchen is, the longer the biscuits will need to chill before baking. While they chill, heat the oven to 425F and line a second baking sheet with parchment.
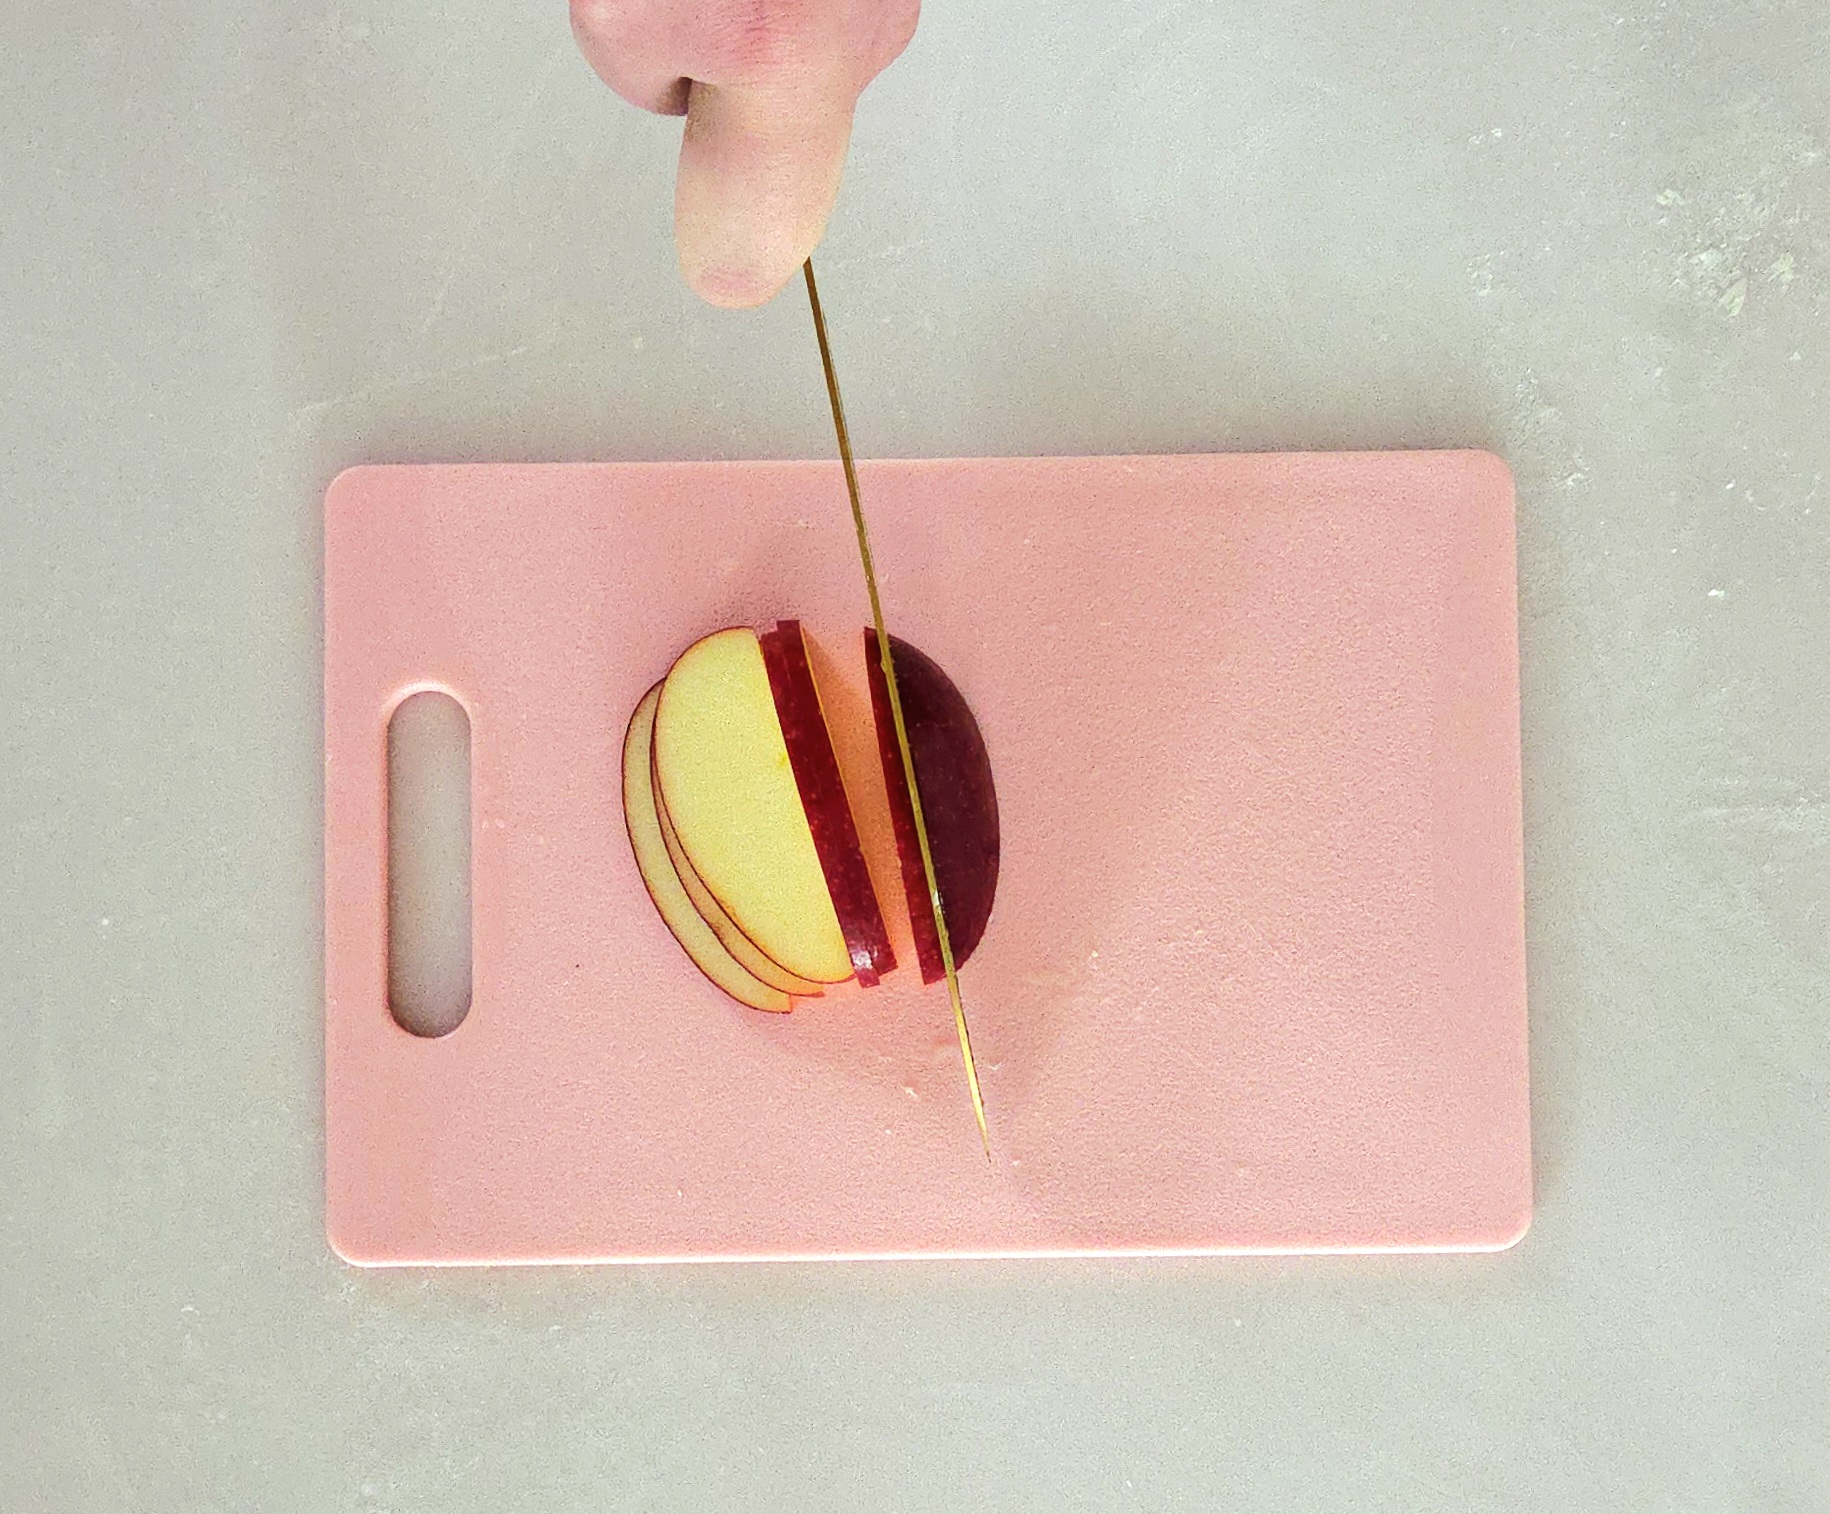
When the oven has finished heating, take the second apple and slice it very thinly. Each piece should be no more than 1/16 of an inch thick. They’ll be garnishing the top of each biscuit, so the thicker the apples are, the wetter the dough underneath will be. Not exactly ideal.
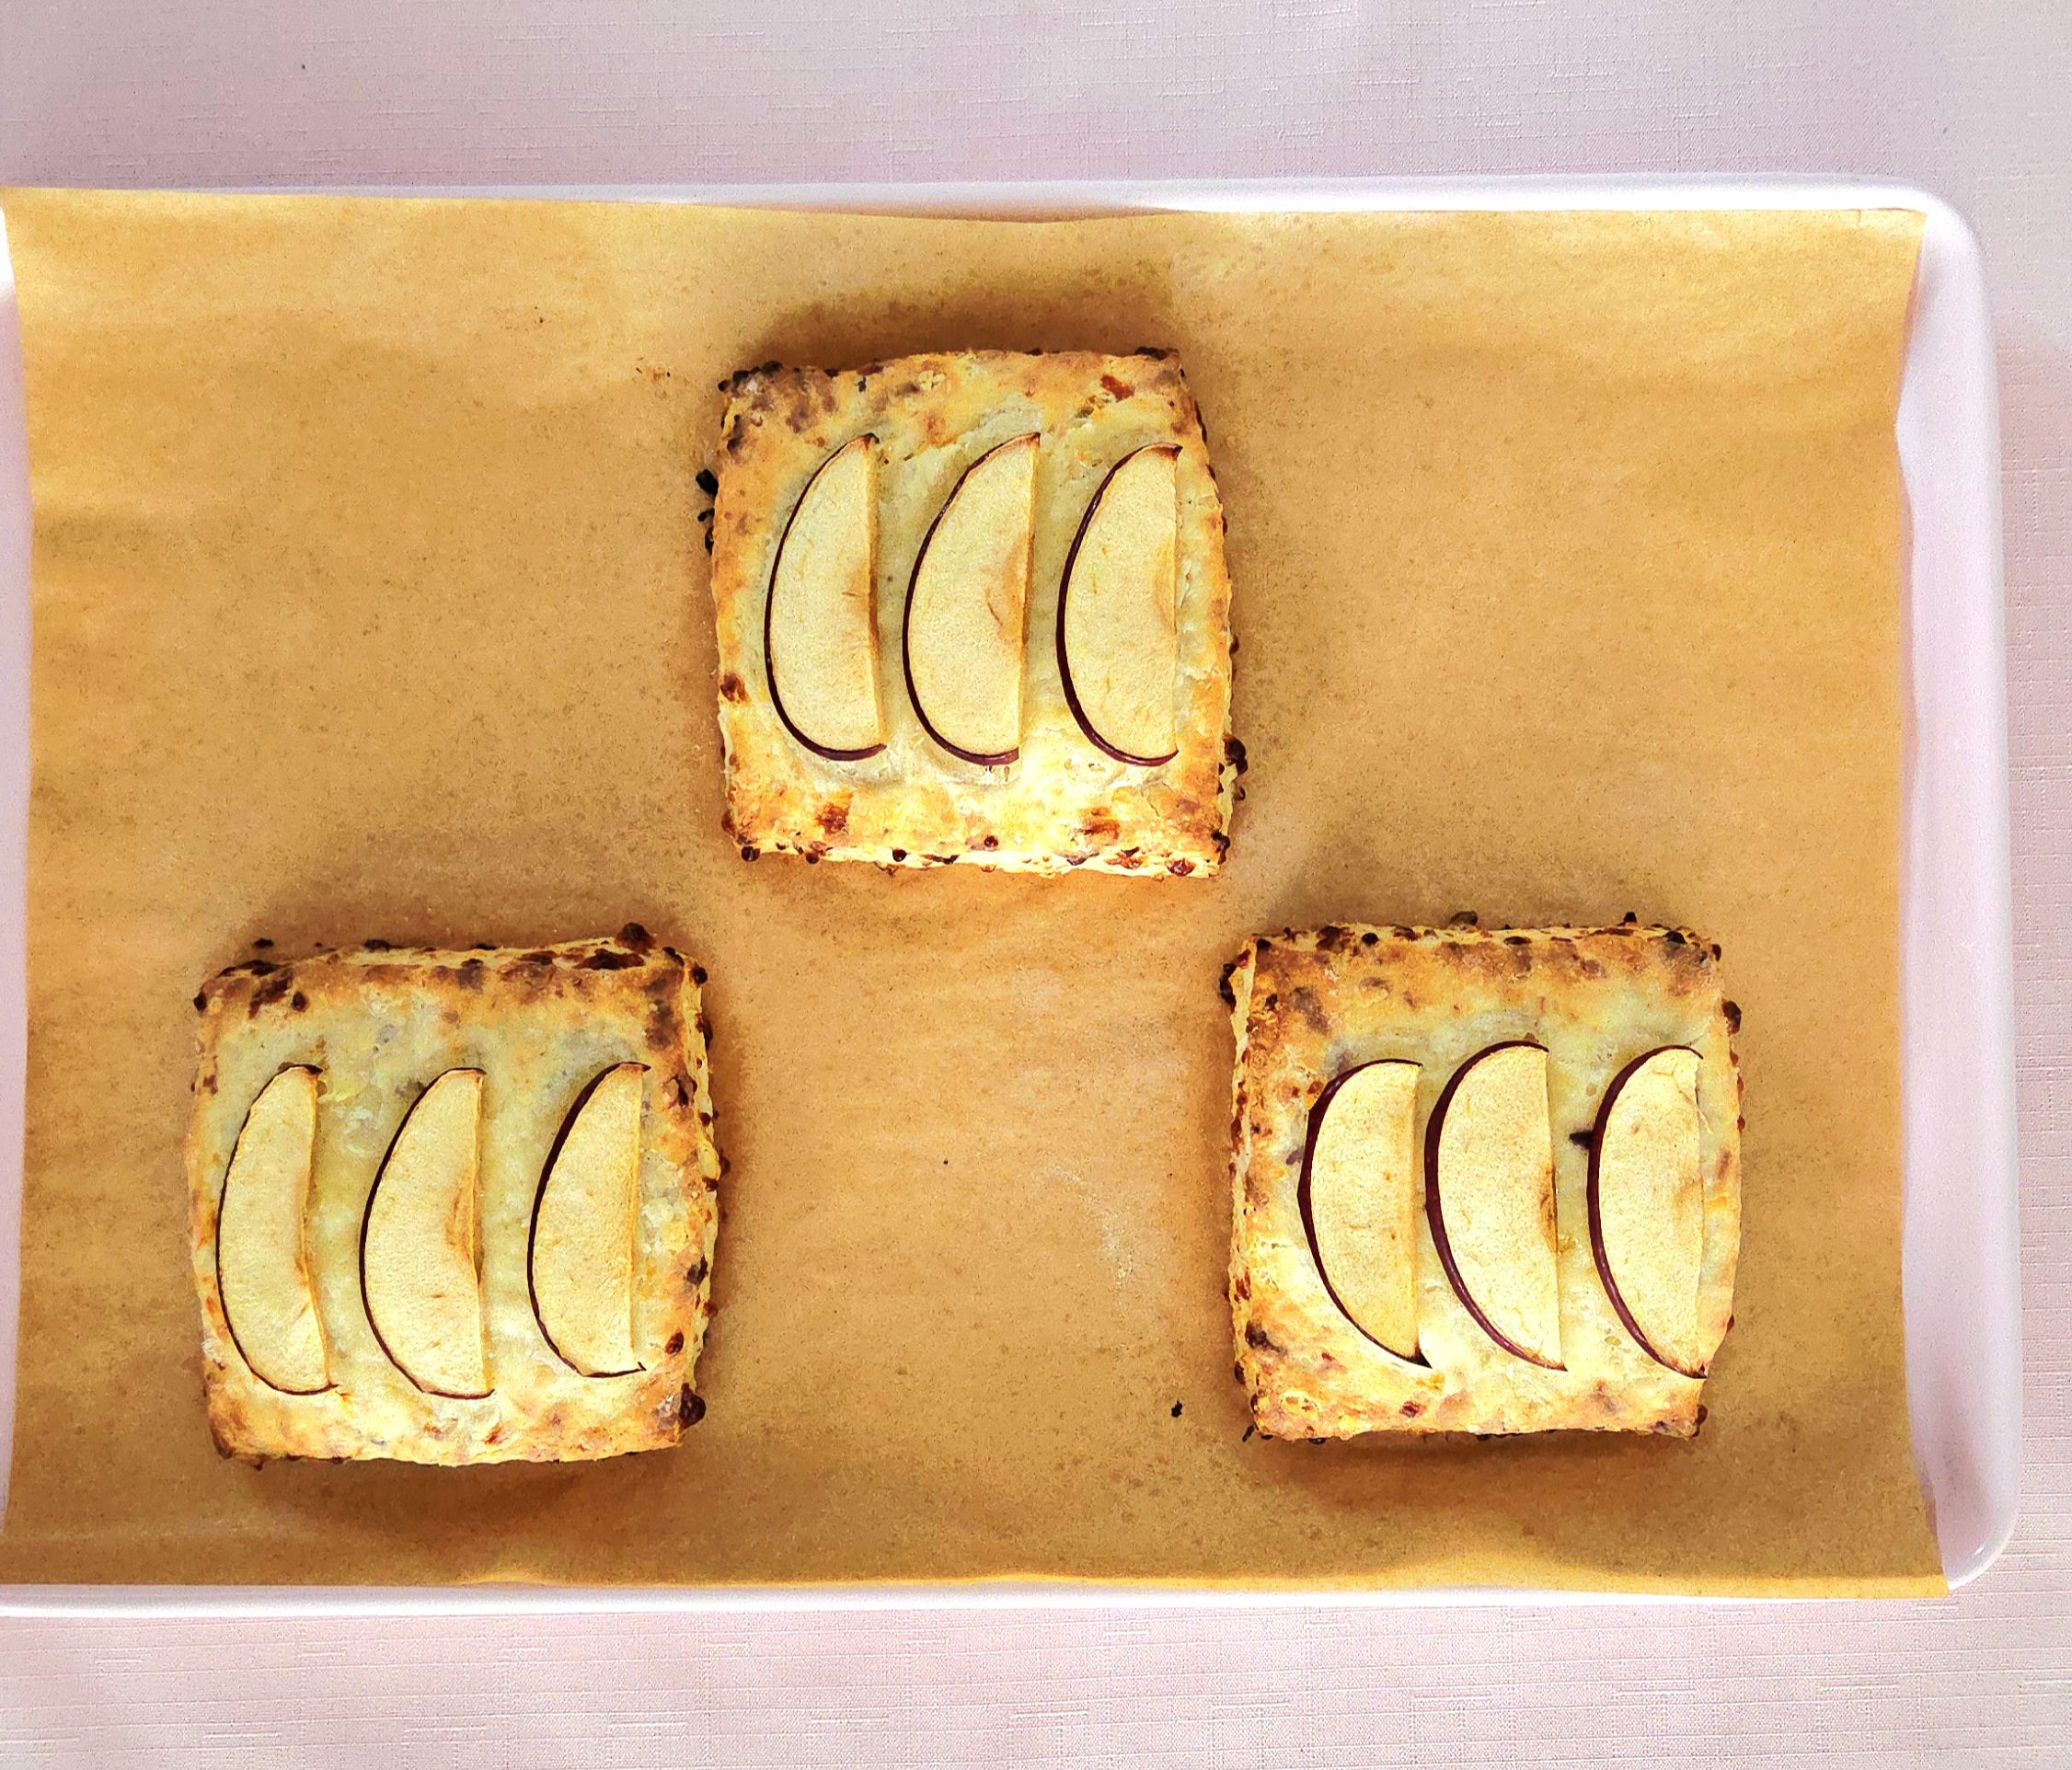
Place 3 of the biscuits from the fridge onto the second lined baking sheet, spaced apart well. Make no mistake, they’re going to grow so they need the space. Garnish the tops of each biscuit with slices of apple. I really advise that you don’t skip this step, the additional fruitiness truly does add a lot to the biscuits. Bake the biscuits on the center rack of the oven for 14 minutes, flipping halfway through, or until they’re golden brown and crisp. Repeat with the second pan.

Once the biscuits have come out of the oven, allow them to rest on the hot pan for a few minutes before transferring them over to a cooling rack. If you attempt to move them too soon, they’re bound to fall apart on you.
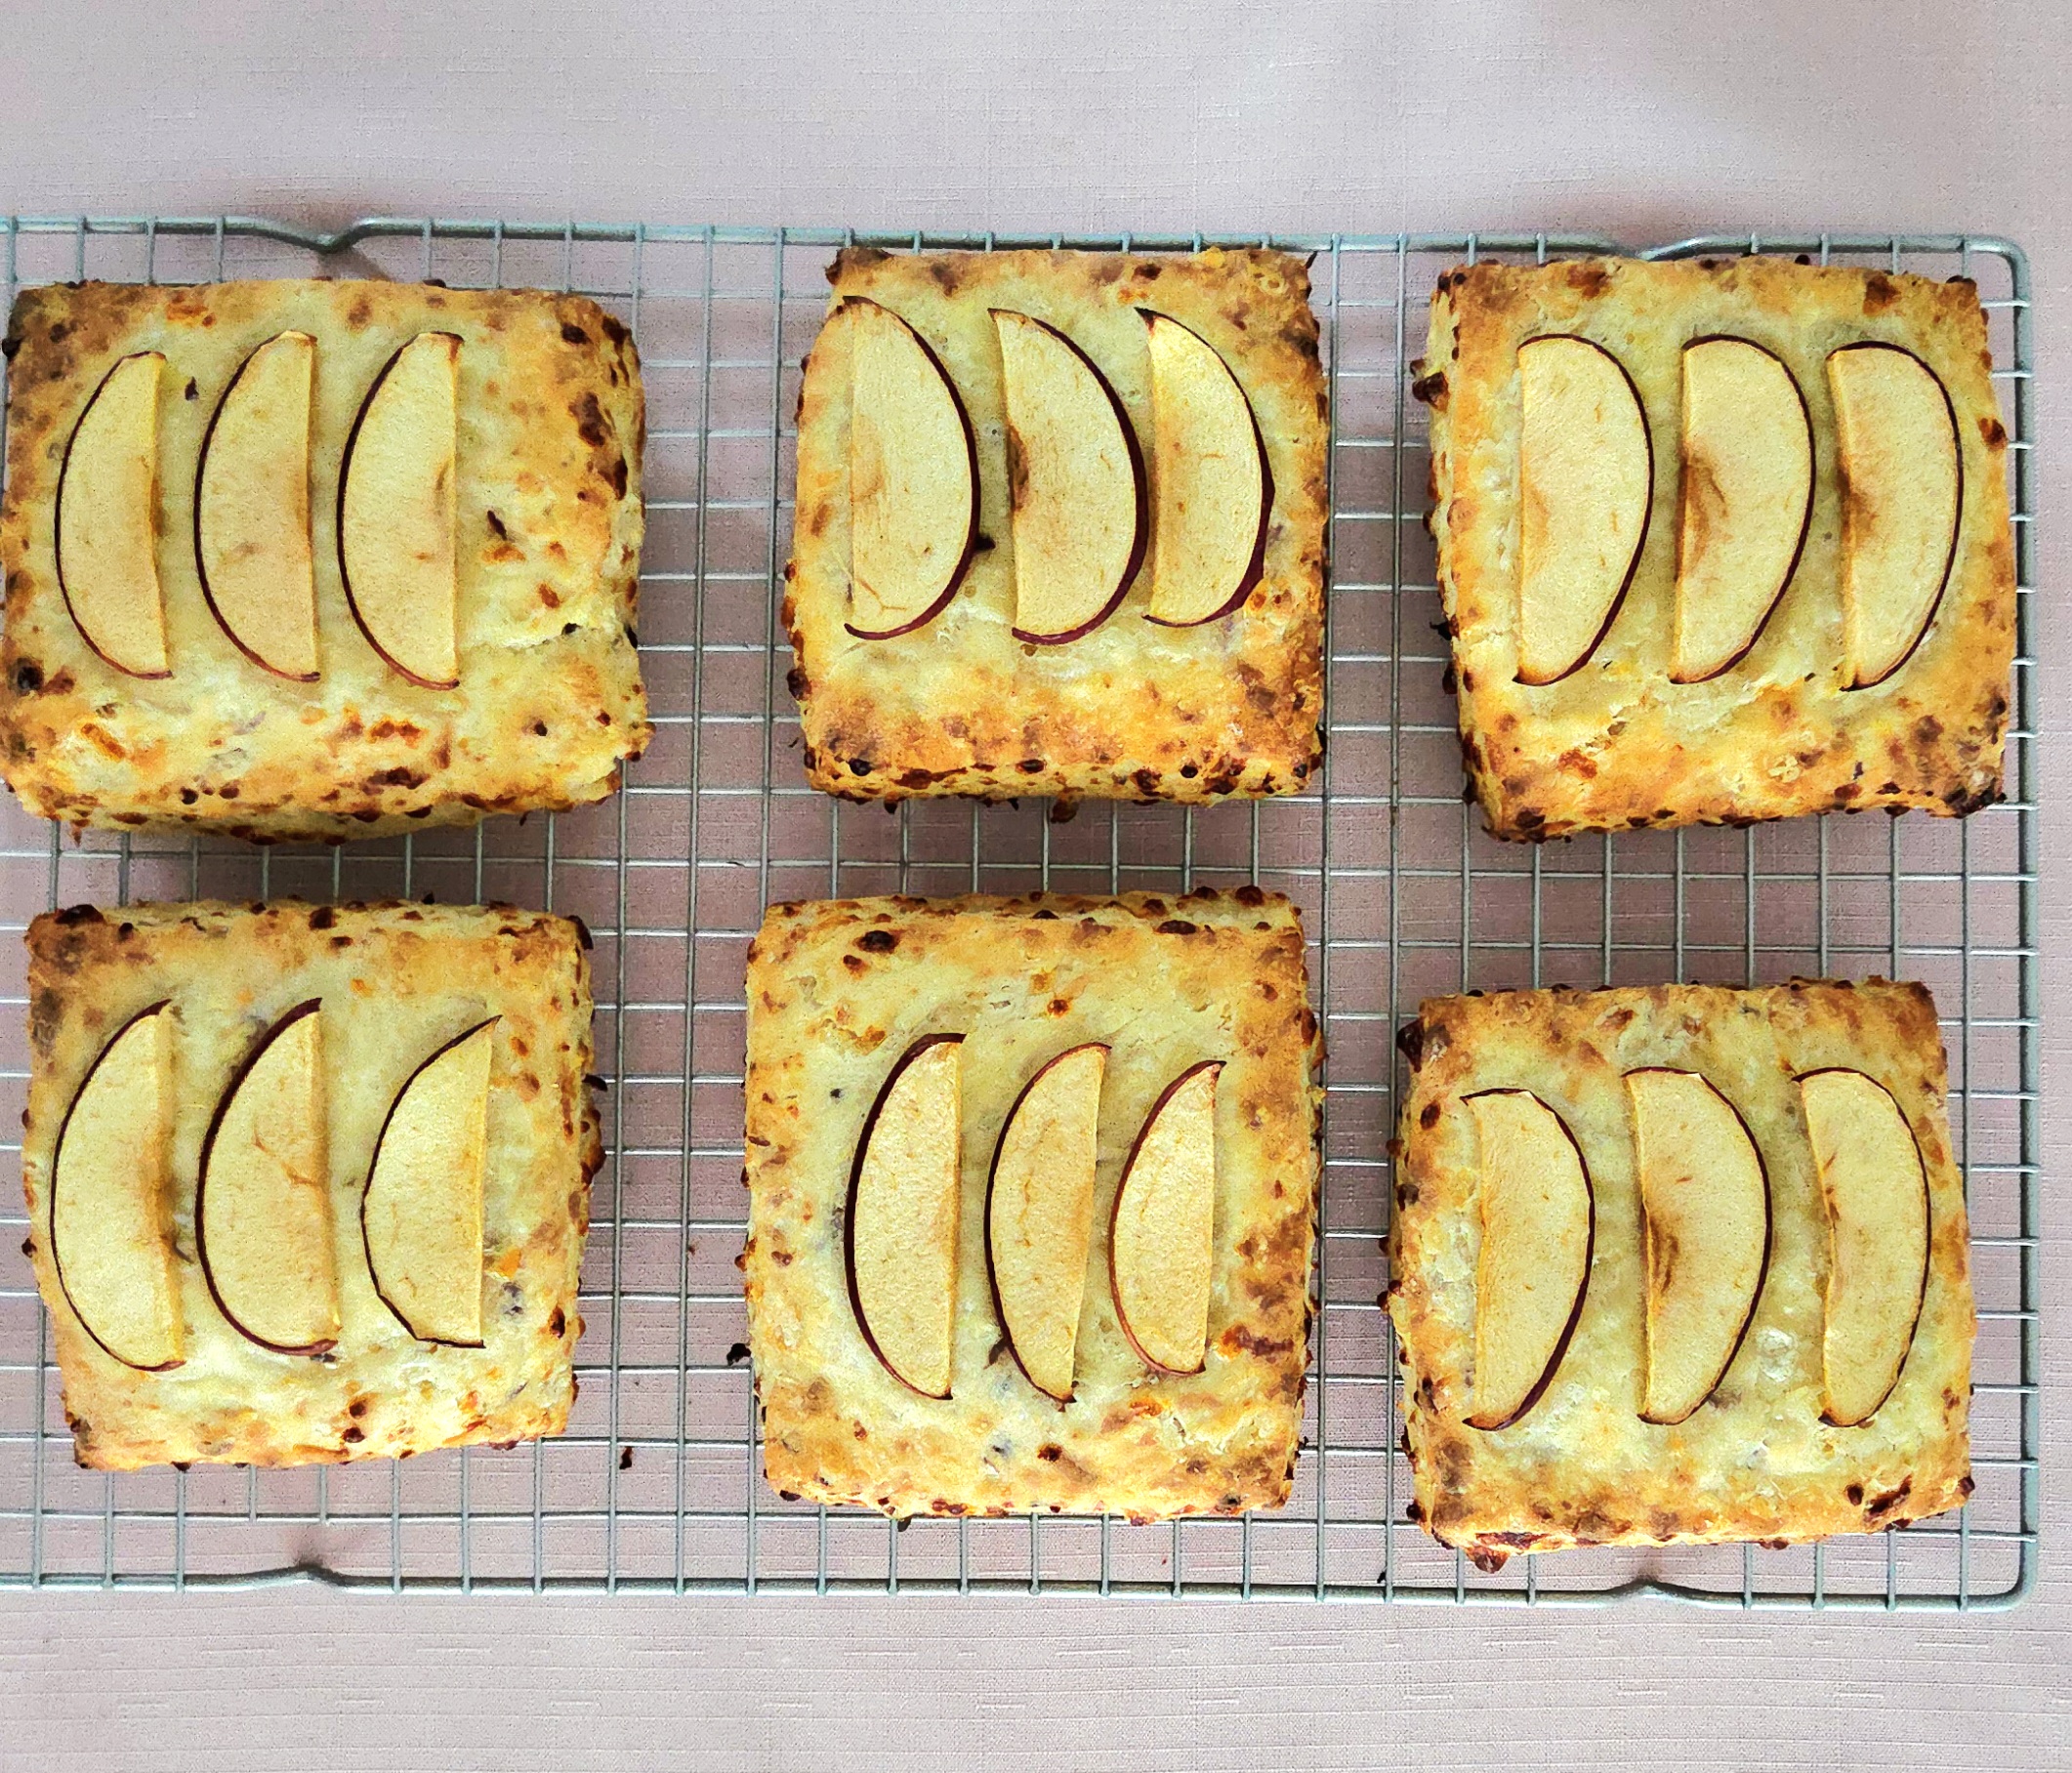
Let the biscuits come as close to room temperature as you have the patience for before digging in. Store any leftover biscuits in an airtight container for up to 2 days, and enjoy!
Cheddar Apple Biscuits
Bake Time: 425F for 14 minutes
Servings: 6 biscuits
Total Time: 2 hours
Prep Time: 30 Minutes
Ingredients:
- 12 Tablespoons cold butter
- 6 oz block sharp cheddar cheese
- 2 honeycrisp apples
- 3 ½ cups all-purpose flour
- 2 Tablespoons granulated sugar
- 1 Tablespoon + 1 teaspoon baking powder
- 1 ¼ teaspoon salt
- 1 ¼ cup buttermilk
Directions:
- To start, prepare the butter and add-ins. Cut the butter into ½ inch cubes, place the cubes in the fridge to keep cold. Grate the cheddar and only one of the apples, place both of these in the fridge to keep cold.
- In a large mixing bowl, whisk together the flour, sugar, baking powder, and salt. Dump the cold butter into the dry goods and cut it in using a pastry blender, until the pieces of butter are no bigger than pea-sized.
- Add the grated cheese and grated apple to the butter-flour mixture. Using a fork, toss it all together until the add-ins are evenly distributed. Use the fork to create a well in the center of it all, as shown above.
- Pour the buttermilk into the well you dug out. Mix the dough together with the fork, making sure all of the dry goods are hydrated.
- Dump the dough out onto a clean counter. Gently knead it all together, just until all of the flour is definitely incorporated. Shape the dough into a square and wrap it so it’s airtight in plastic wrap. Place it in the fridge for 30 minutes.
- Once 30 minutes is up, lightly dust a clean counter with flour. Place the chilled, rested dough onto the flour and sprinkle the top of that with flour. Using the heel of your hand, press the dough out into a large rectangle, about 1-inch thick or so. Cut it in half horizontally, then place one half on top of the other.
- Use the heel of your hand to press the dough once again into a large rectangle, about 1-inch thick. Cut it vertically in half this time and place one half on top of the other. Repeat this process twice more, so the dough is cut horizontally once more and then vertically once more after it’s been pressed out. Wrap the dough so it’s airtight in plastic wrap and stick it in the fridge for 30 minutes.
- After the dough has finished chilling and resting, dust a clean counter with flour once again. Place the dough onto the flour and sprinkle a bit more on top of it. Roll the dough out to an approximately 13×9 inch rectangle.
- Trim around ¼ inch of dough off of each side, then cut the dough into 6 equal portions. Place the biscuits onto a parchment lined baking sheet and cover them with plastic wrap. Place them in the fridge to chill while the oven heats.
- Preheat the oven to 425F, on the convection setting if possible, making sure the rack is in the center of the oven. Line a second baking sheet with parchment paper.
- Once the oven has heated, grab the second apple and slice it very thinly, so each piece is no more than 1/16 of an inch thick. Take the biscuits from the fridge and place 3 of them on the second lined sheet, spaced out well. Place three slices of apple on top of each biscuit, then stick the pan onto the center rack in the oven for 14 minutes, flipping halfway through.
- Allow the biscuits a minute to rest on the hot sheet, then transfer them over to a cooling rack. Let them cool down to room temperature, then dig in and enjoy! Store any leftover biscuits in either a zip top bag or airtight container for up to 2 days.
Tips
- Unbaked biscuits can be frozen to pull and bake at your will! Follow the recipe as written, short of baking them but including the sliced apple garnish. Place the cut biscuits on a lined baking sheet in the freezer, then once they’re frozen solid, transfer them to a large freezer-safe bag for up to 4 months. Pull the desired amount of biscuits and bake them at 425F for 16-18 minutes, flipping halfway through.
- Fully baked biscuits can also be frozen! Completely follow the recipe as written, then once they’ve fully cooled, place them on a baking sheet and into the freezer. When they’re solidified, transfer them to a freezer-safe bag for up to 3 months. Thaw them gently on the counter overnight, or warm them in a low oven.


0 Comments