

The raspberry is, by far, my favorite fruit to bake with. It’s tart, it’s light, it has a low moisture content. It’s happy to be paired with other fruits, brighten up something decadent and chocolaty, or to shine on its own accord. Plus, that lack of moisture in the raspberry makes it easy to add to all sorts of baked goods without worrying that you’ll wind up with a soggy mess in the end. There’s nothing sadder than biting into a muffin or cake expecting light and fluffy, but actually getting a fruity puddle.
But there are no mushy puddles of fruit in these scones! Crisp outside, fluffy and buttery interior. The bittersweet chocolate and tangy, juicy raspberry dancing together in perfect harmony. These scones are everything you’d hope a chocolate raspberry scone would be, with flavor bursting from every soft, delectable bite. And please, if you’ve never had a scone and fell for the propaganda that it would be dry and sad, ignore that idea. Take a lazy Sunday afternoon, give these a try, and experience the moist, delicious magic.
FAQs and Science
I don’t own a pastry blender, is there anything else I could use to cut in the butter?
Yes! The dry goods and butter can be pulsed together in the food processor until a sandy texture is achieved. You could also use a stand mixer fitted with the paddle attachment to combine them on level 2 or 3, until the correct texture is reached.
What is the difference between a scone and an American biscuit?
While very similar, there is one key distinction between a scone and an American biscuit: the texture. While a scone is soft and fluffy inside, a biscuit is more flaky and tender.
Can frozen raspberries be substituted for fresh?
While I’m typically a big proponent for using frozen fruit over fresh, for the cost and longevity, this is one of those instances where fresh really is better. Frozen raspberries would turn to mush and release too much moisture.
Why keep everything cold? Does it really make that big of a difference?
Cold is key for the proper texture to be achieved! If the dough is too warm, you’ll wind up with a sad greasy scone instead of the crisp outside/soft and moist inside.
My kitchen is very warm and seems to be melting my dough. What should I do?
If at any point any pastry dough you’re working with seems to be melting and getting very difficult to work with, the solution is simple: cover it and place it into the refrigerator or freezer, if you’re in a hurry. You can do this as often as needed, it will never hurt the dough.
Can the scones be frozen?
Yes, scones freeze beautifully! Either baked or unbaked. Baked scones can be placed into a freezer safe bag as soon they’ve completely cooled down to room temperature. Freeze them for up to 3 months, thaw them gently on the counter overnight or more quickly in the microwave.
Unbaked scones can be frozen to pull and bake fresh for up to 6 months. Follow the recipe as written up to step 6, then rather than separating the scones to bake off, space them on a sheet to cover and freeze. Once they’re solid, they can be transferred to a freezer safe bag. Pull and bake at 425F for 14 minutes, flipping halfway through, or until they’re a beautiful golden brown color.
What You’ll Need
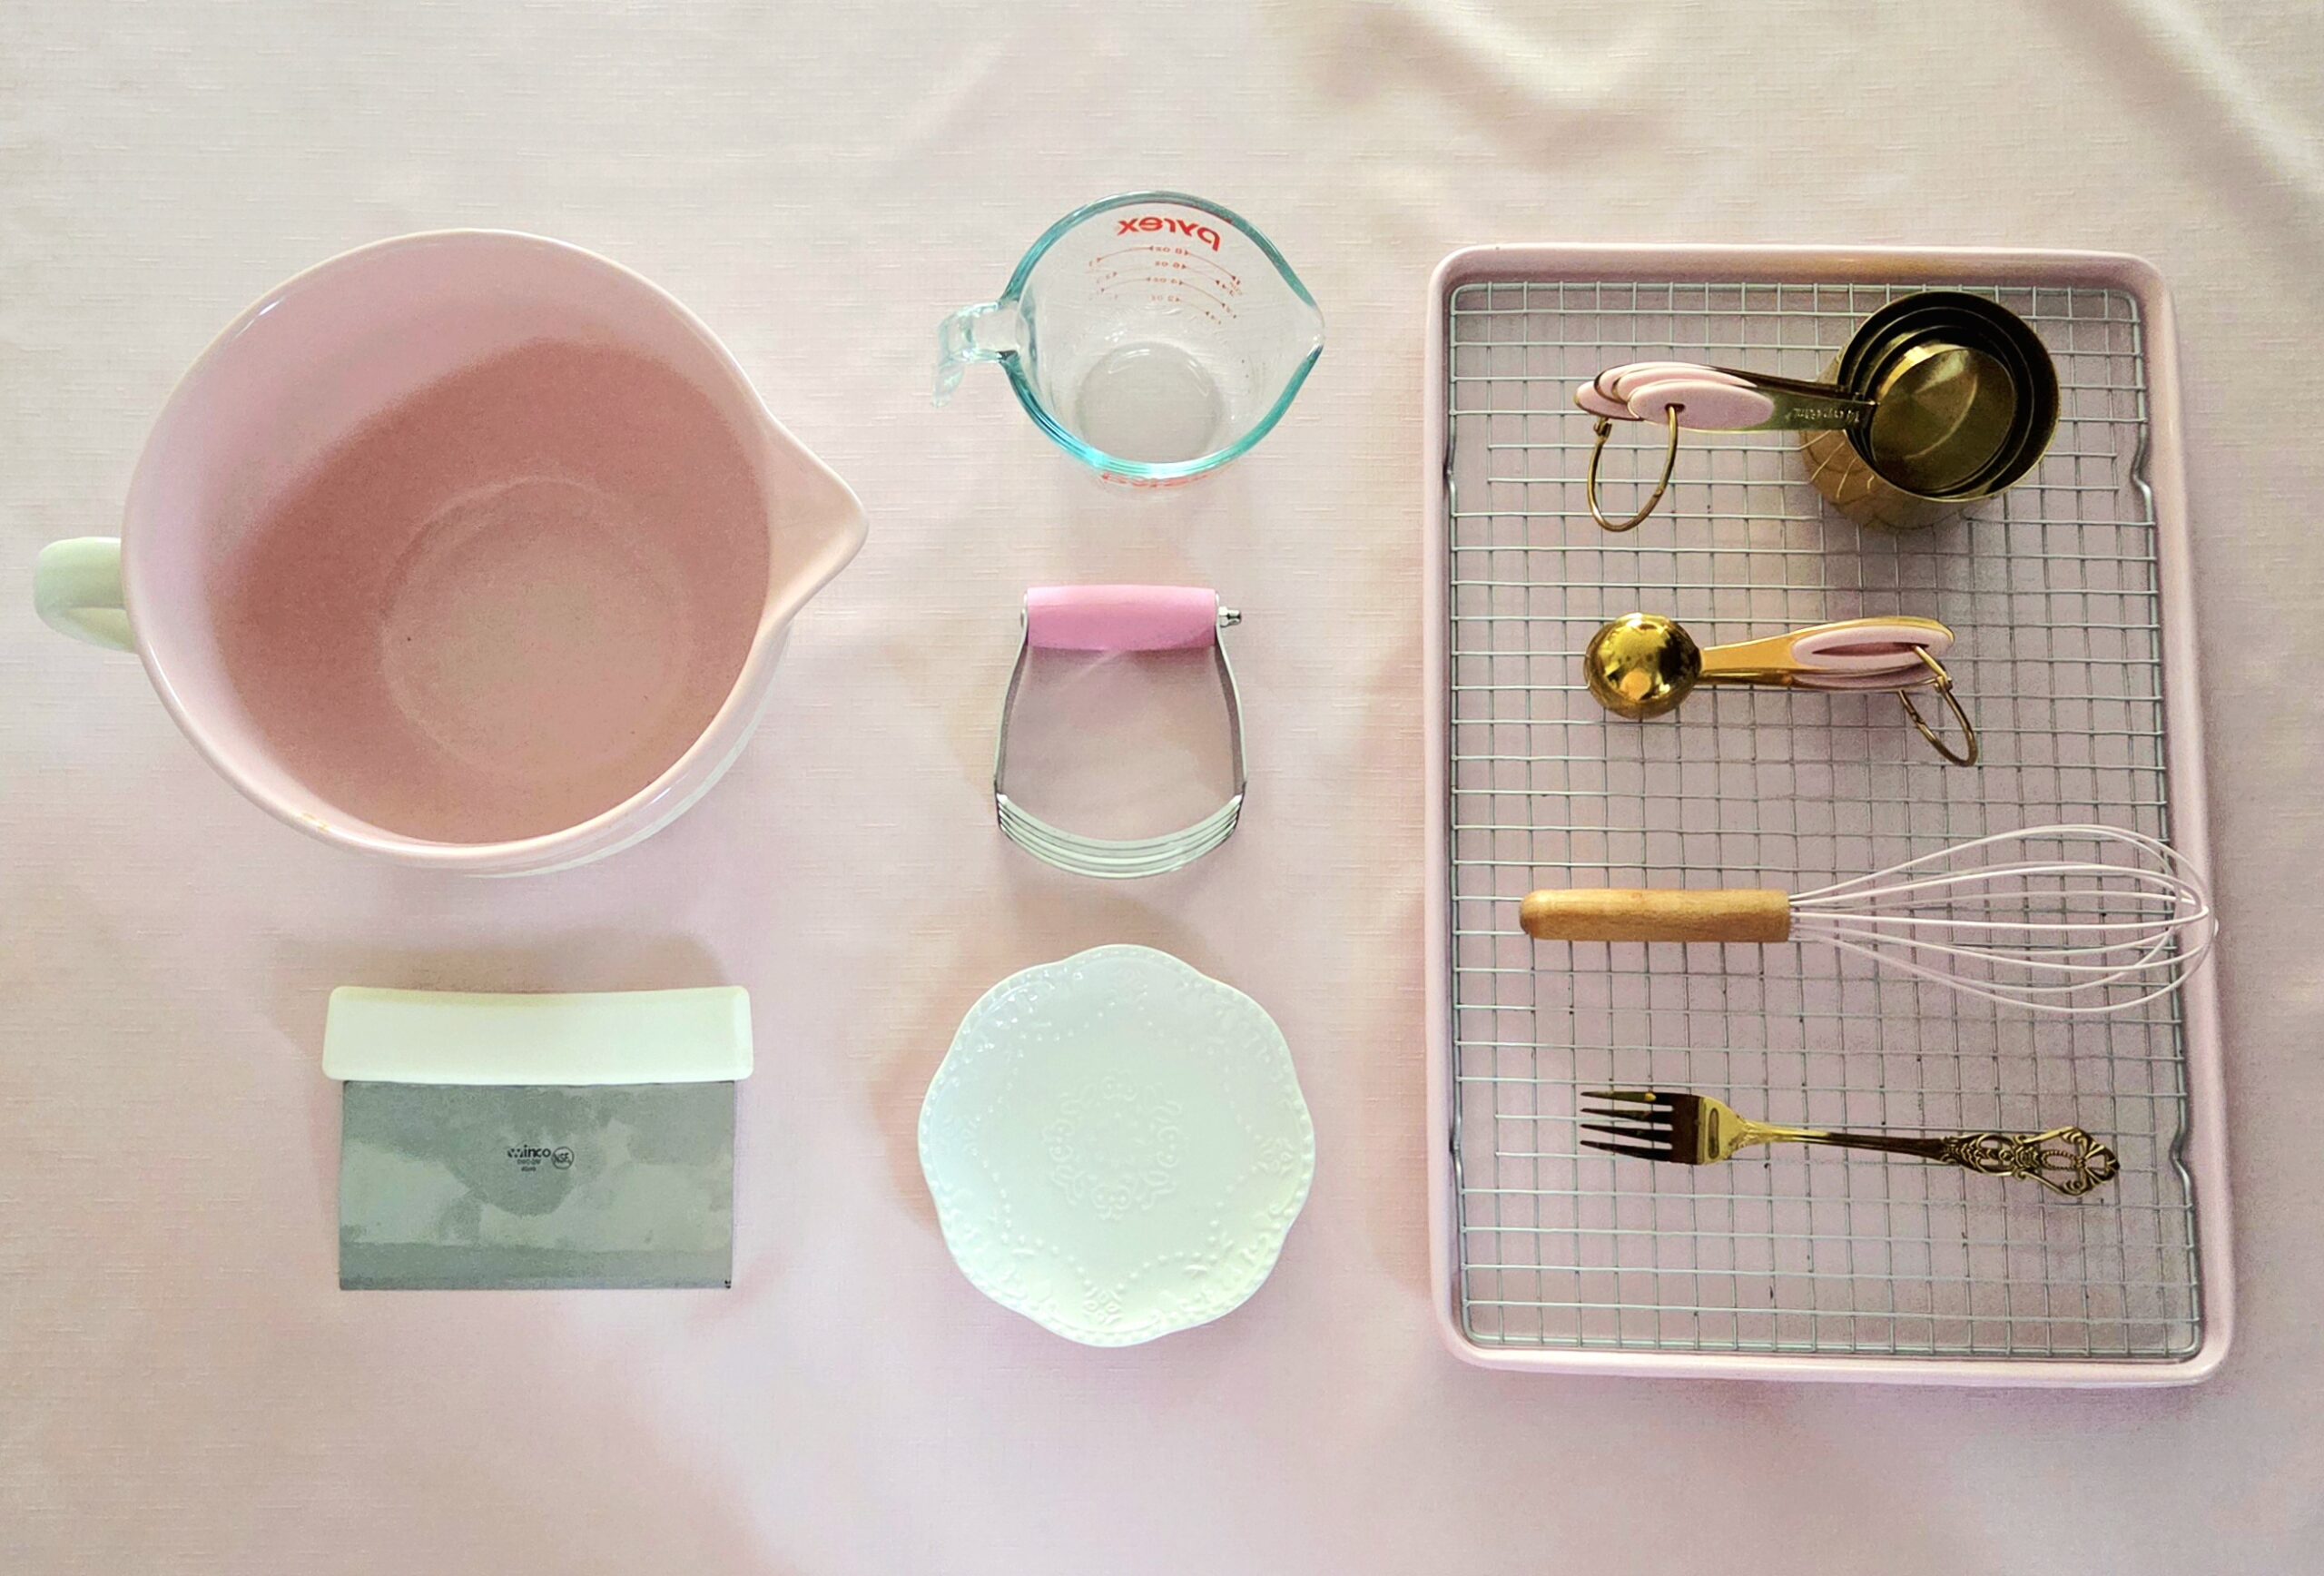
- Plastic wrap
- Large mixing bowl
- Dry measuring cups
- Wet measuring cup
- Measuring spoons
- Whisk
- Pastry blender
- Bench scraper or large knife
- Fork
- Small plate
- 2 baking sheets
- Cooling rack
The Process
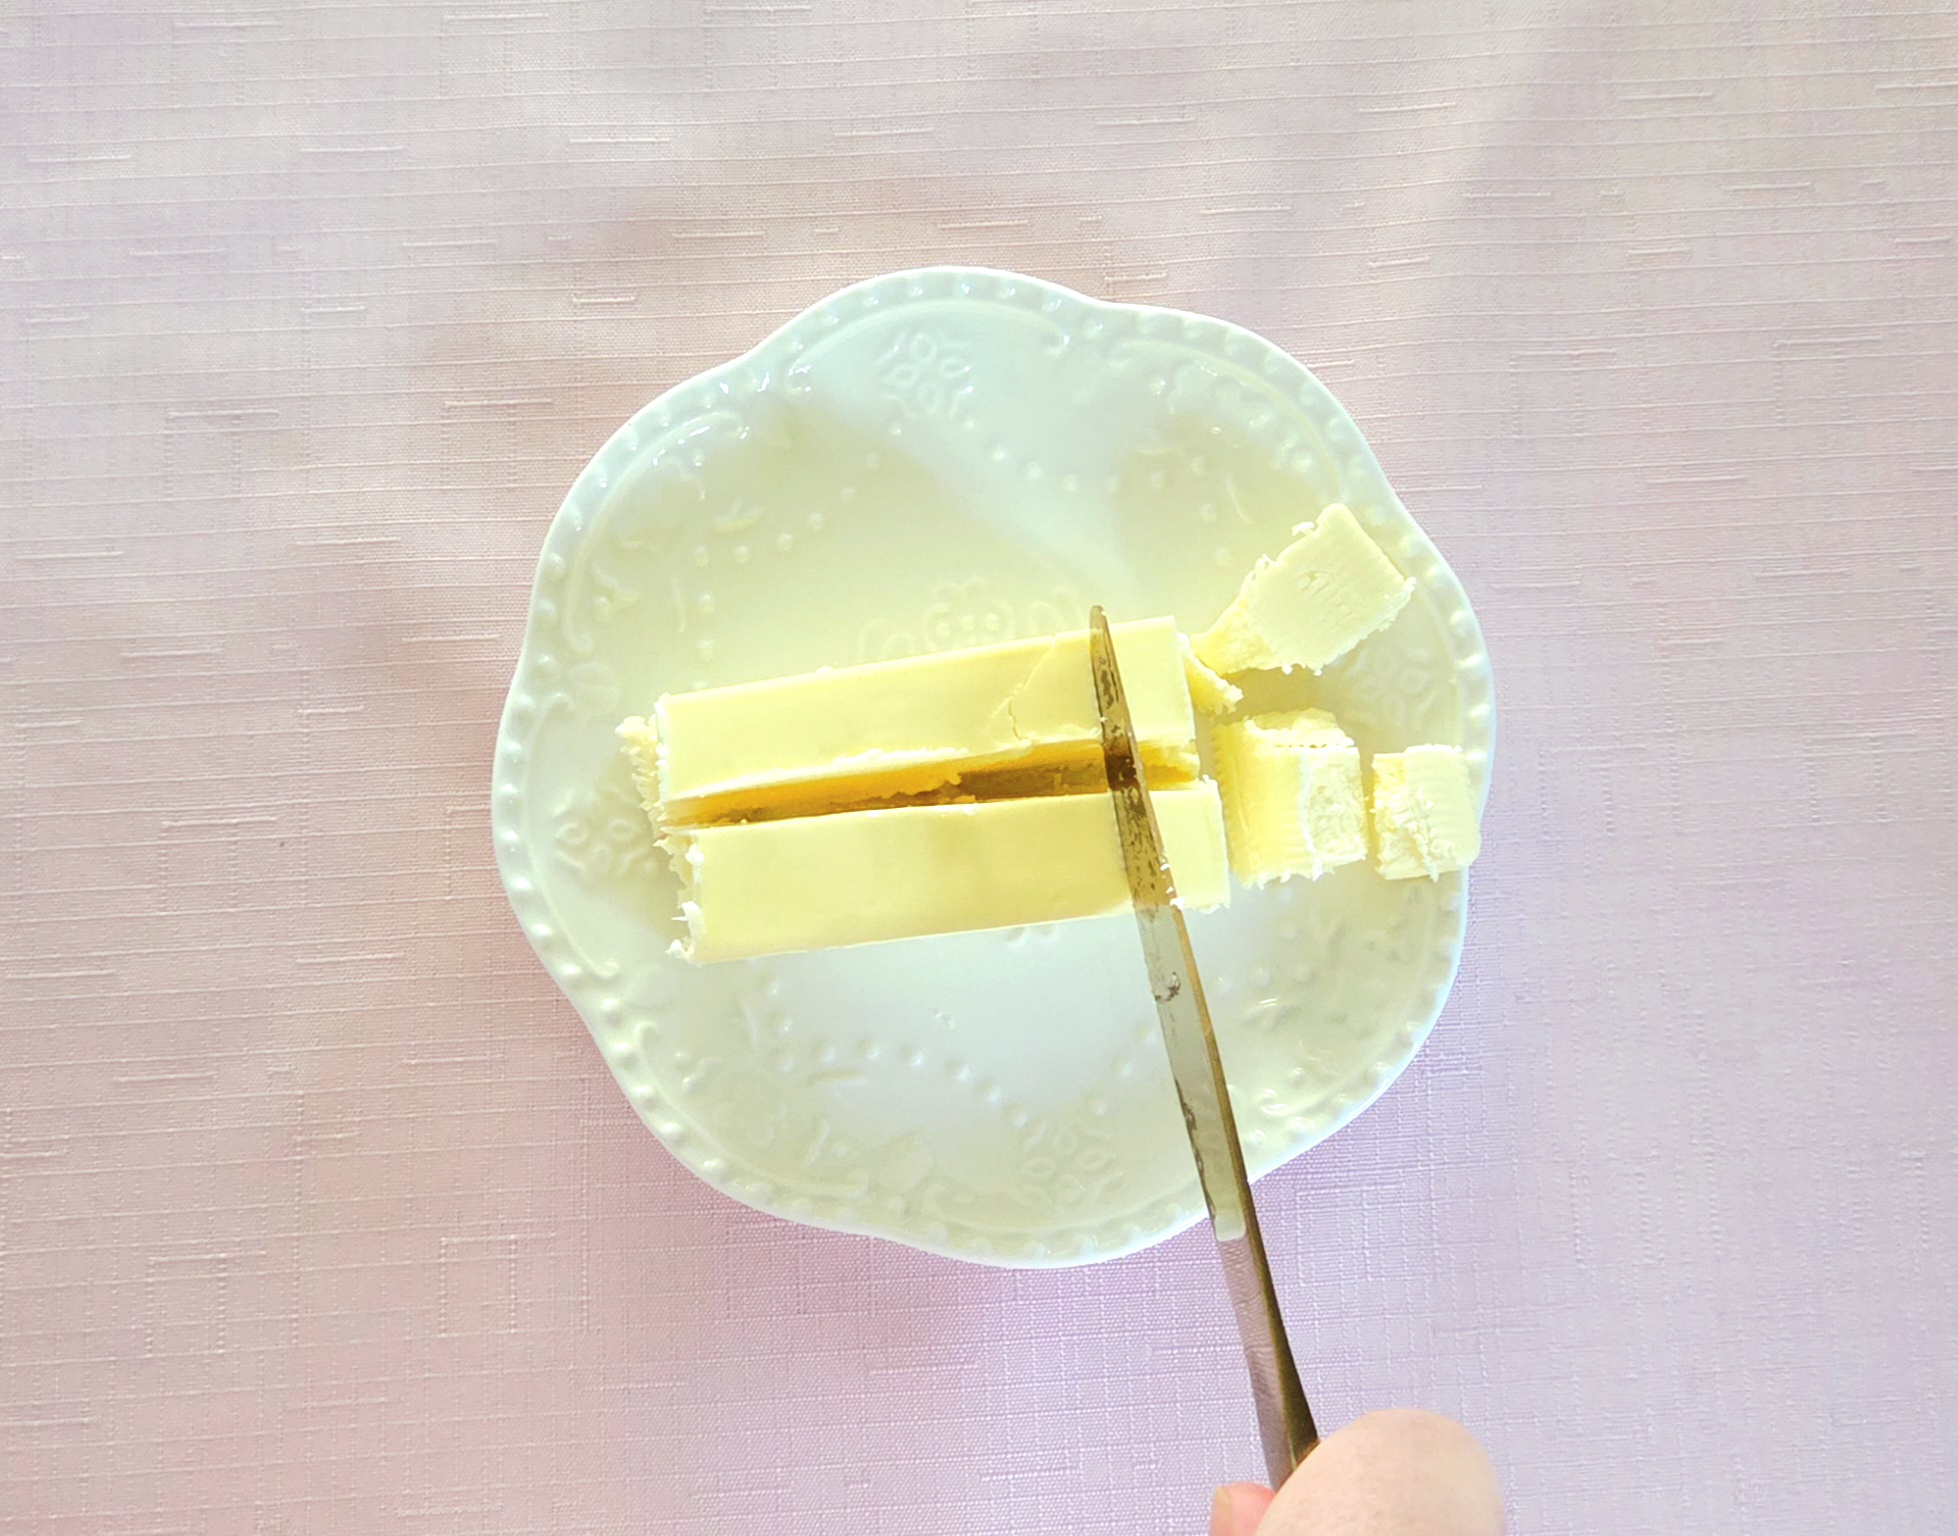
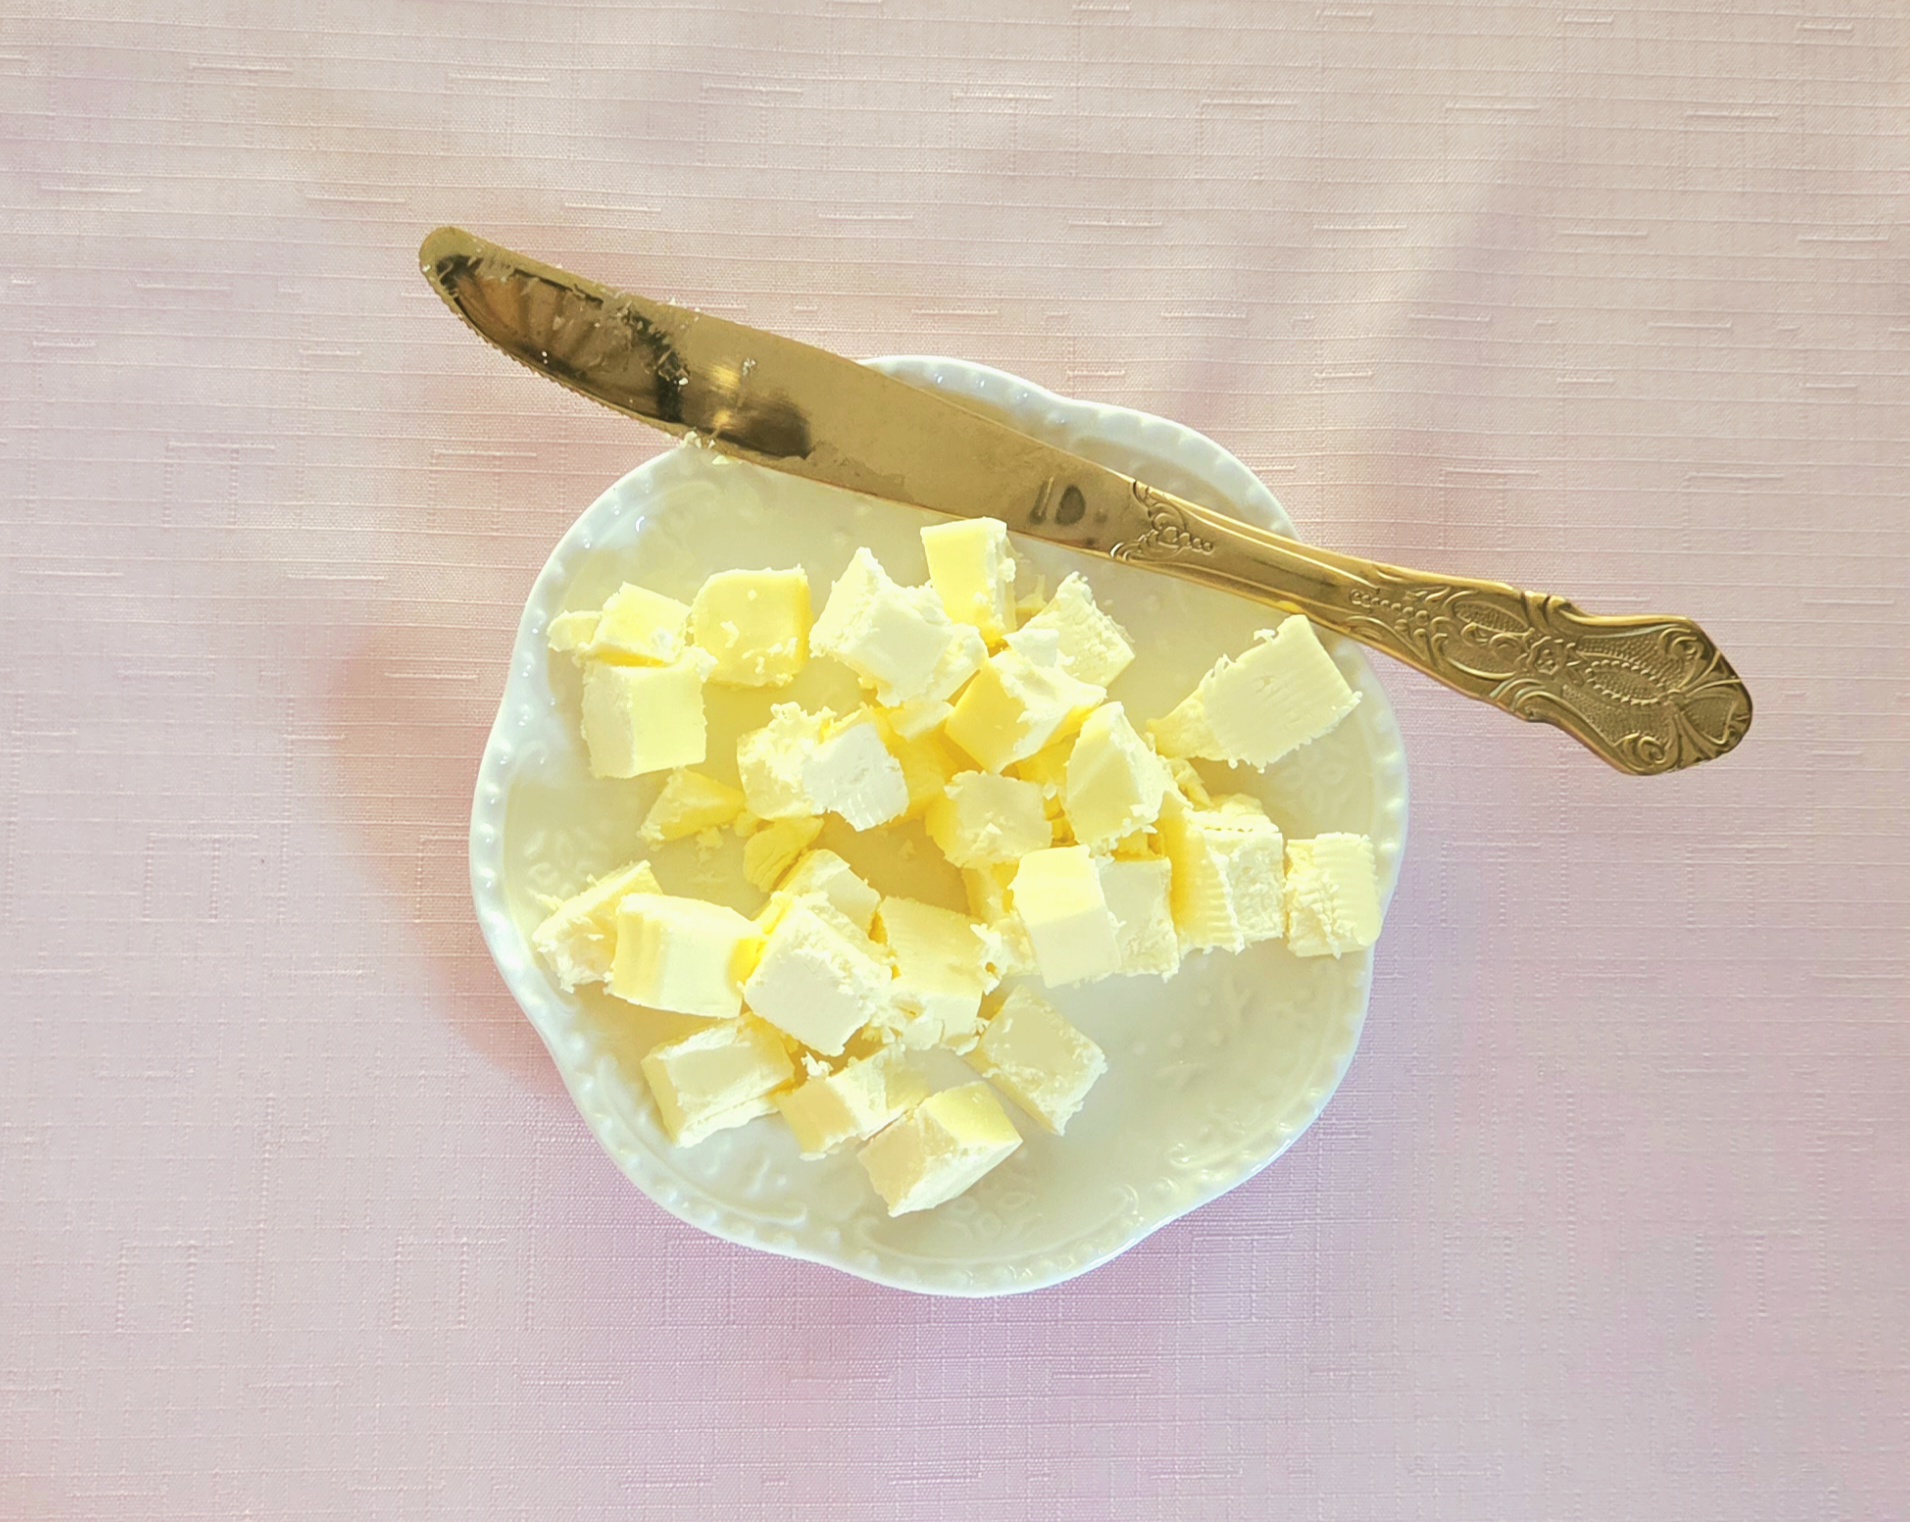
Before anything else, dice up the butter. The smaller the butter is now, the easier it will be to cut into the flour mixture later on. Place it on a plate in the fridge until it’s needed. It is crucial that everything in this recipe remains as cold as it can be, and doing this now helps to ensure that.
Line a baking sheet with parchment paper and set it aside. This will be for the dough to chill on after it’s complete.
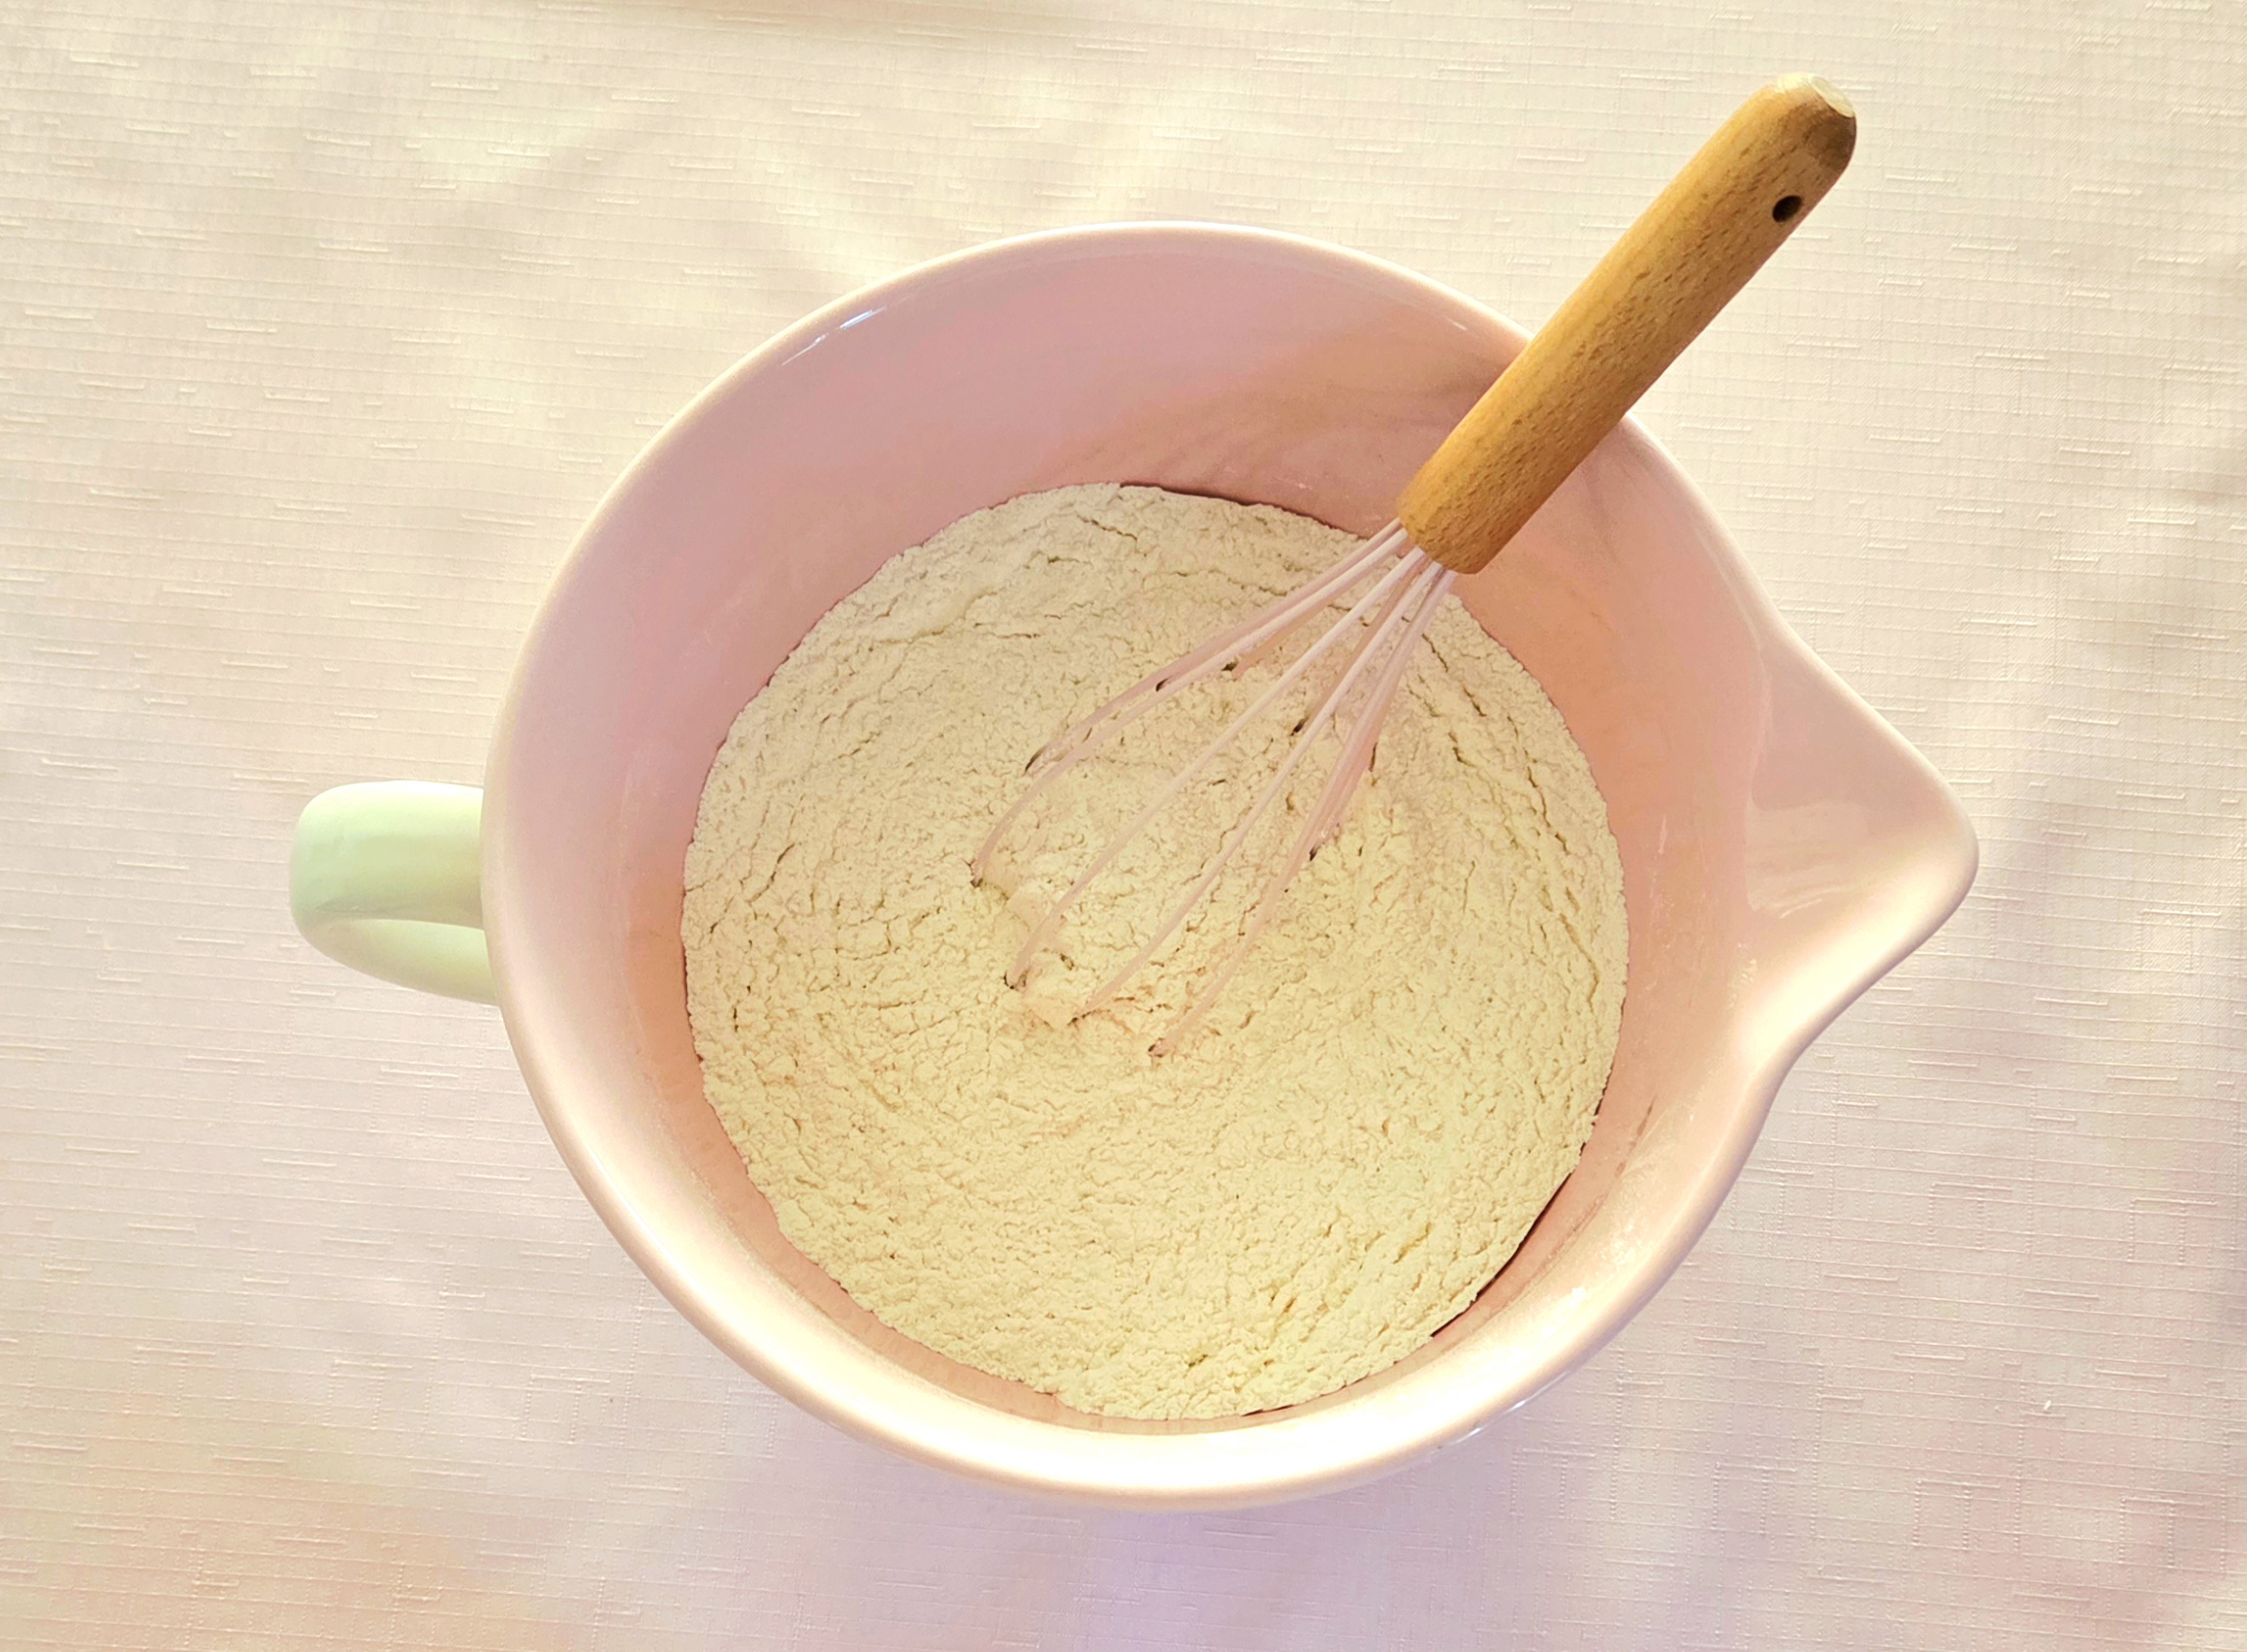
Whisk together the flour, sugar, baking powder, and salt in a large mixing bowl. Take the diced butter from the fridge and scatter the pieces across the top of the dry goods. Using a pastry blender, cut the butter into the flour mixture by just pressing it straight down firmly and repeatedly.
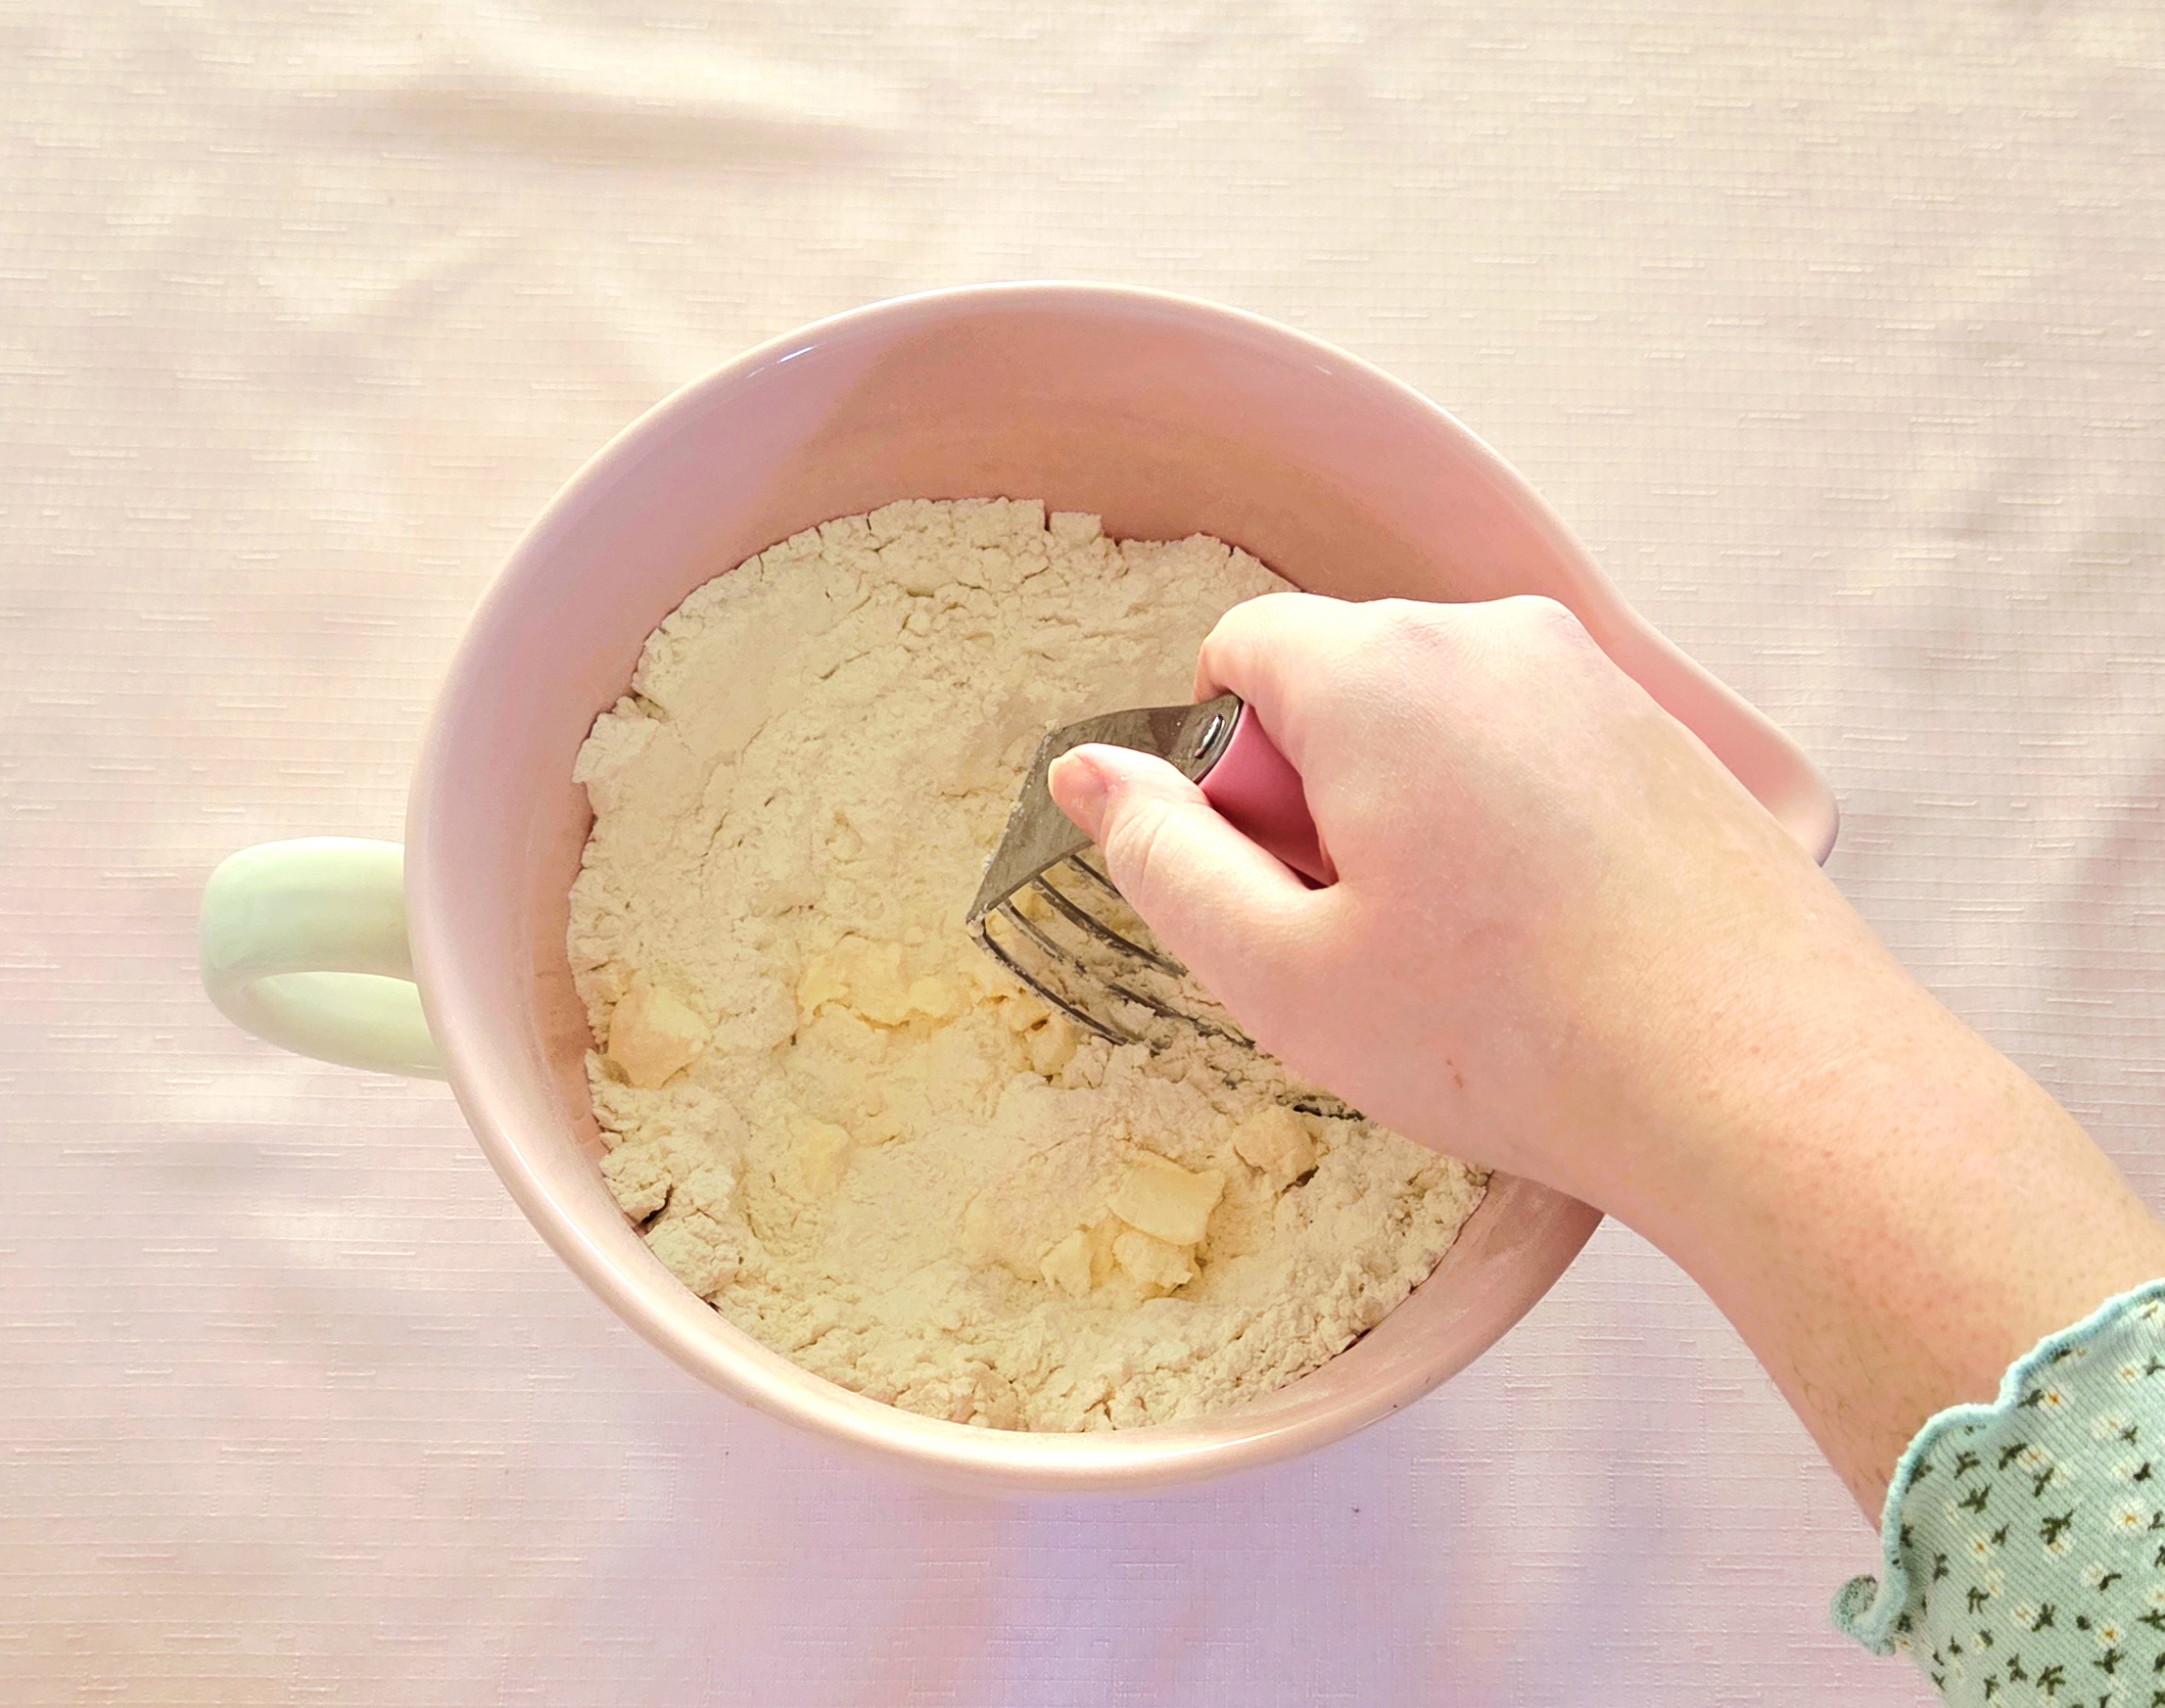
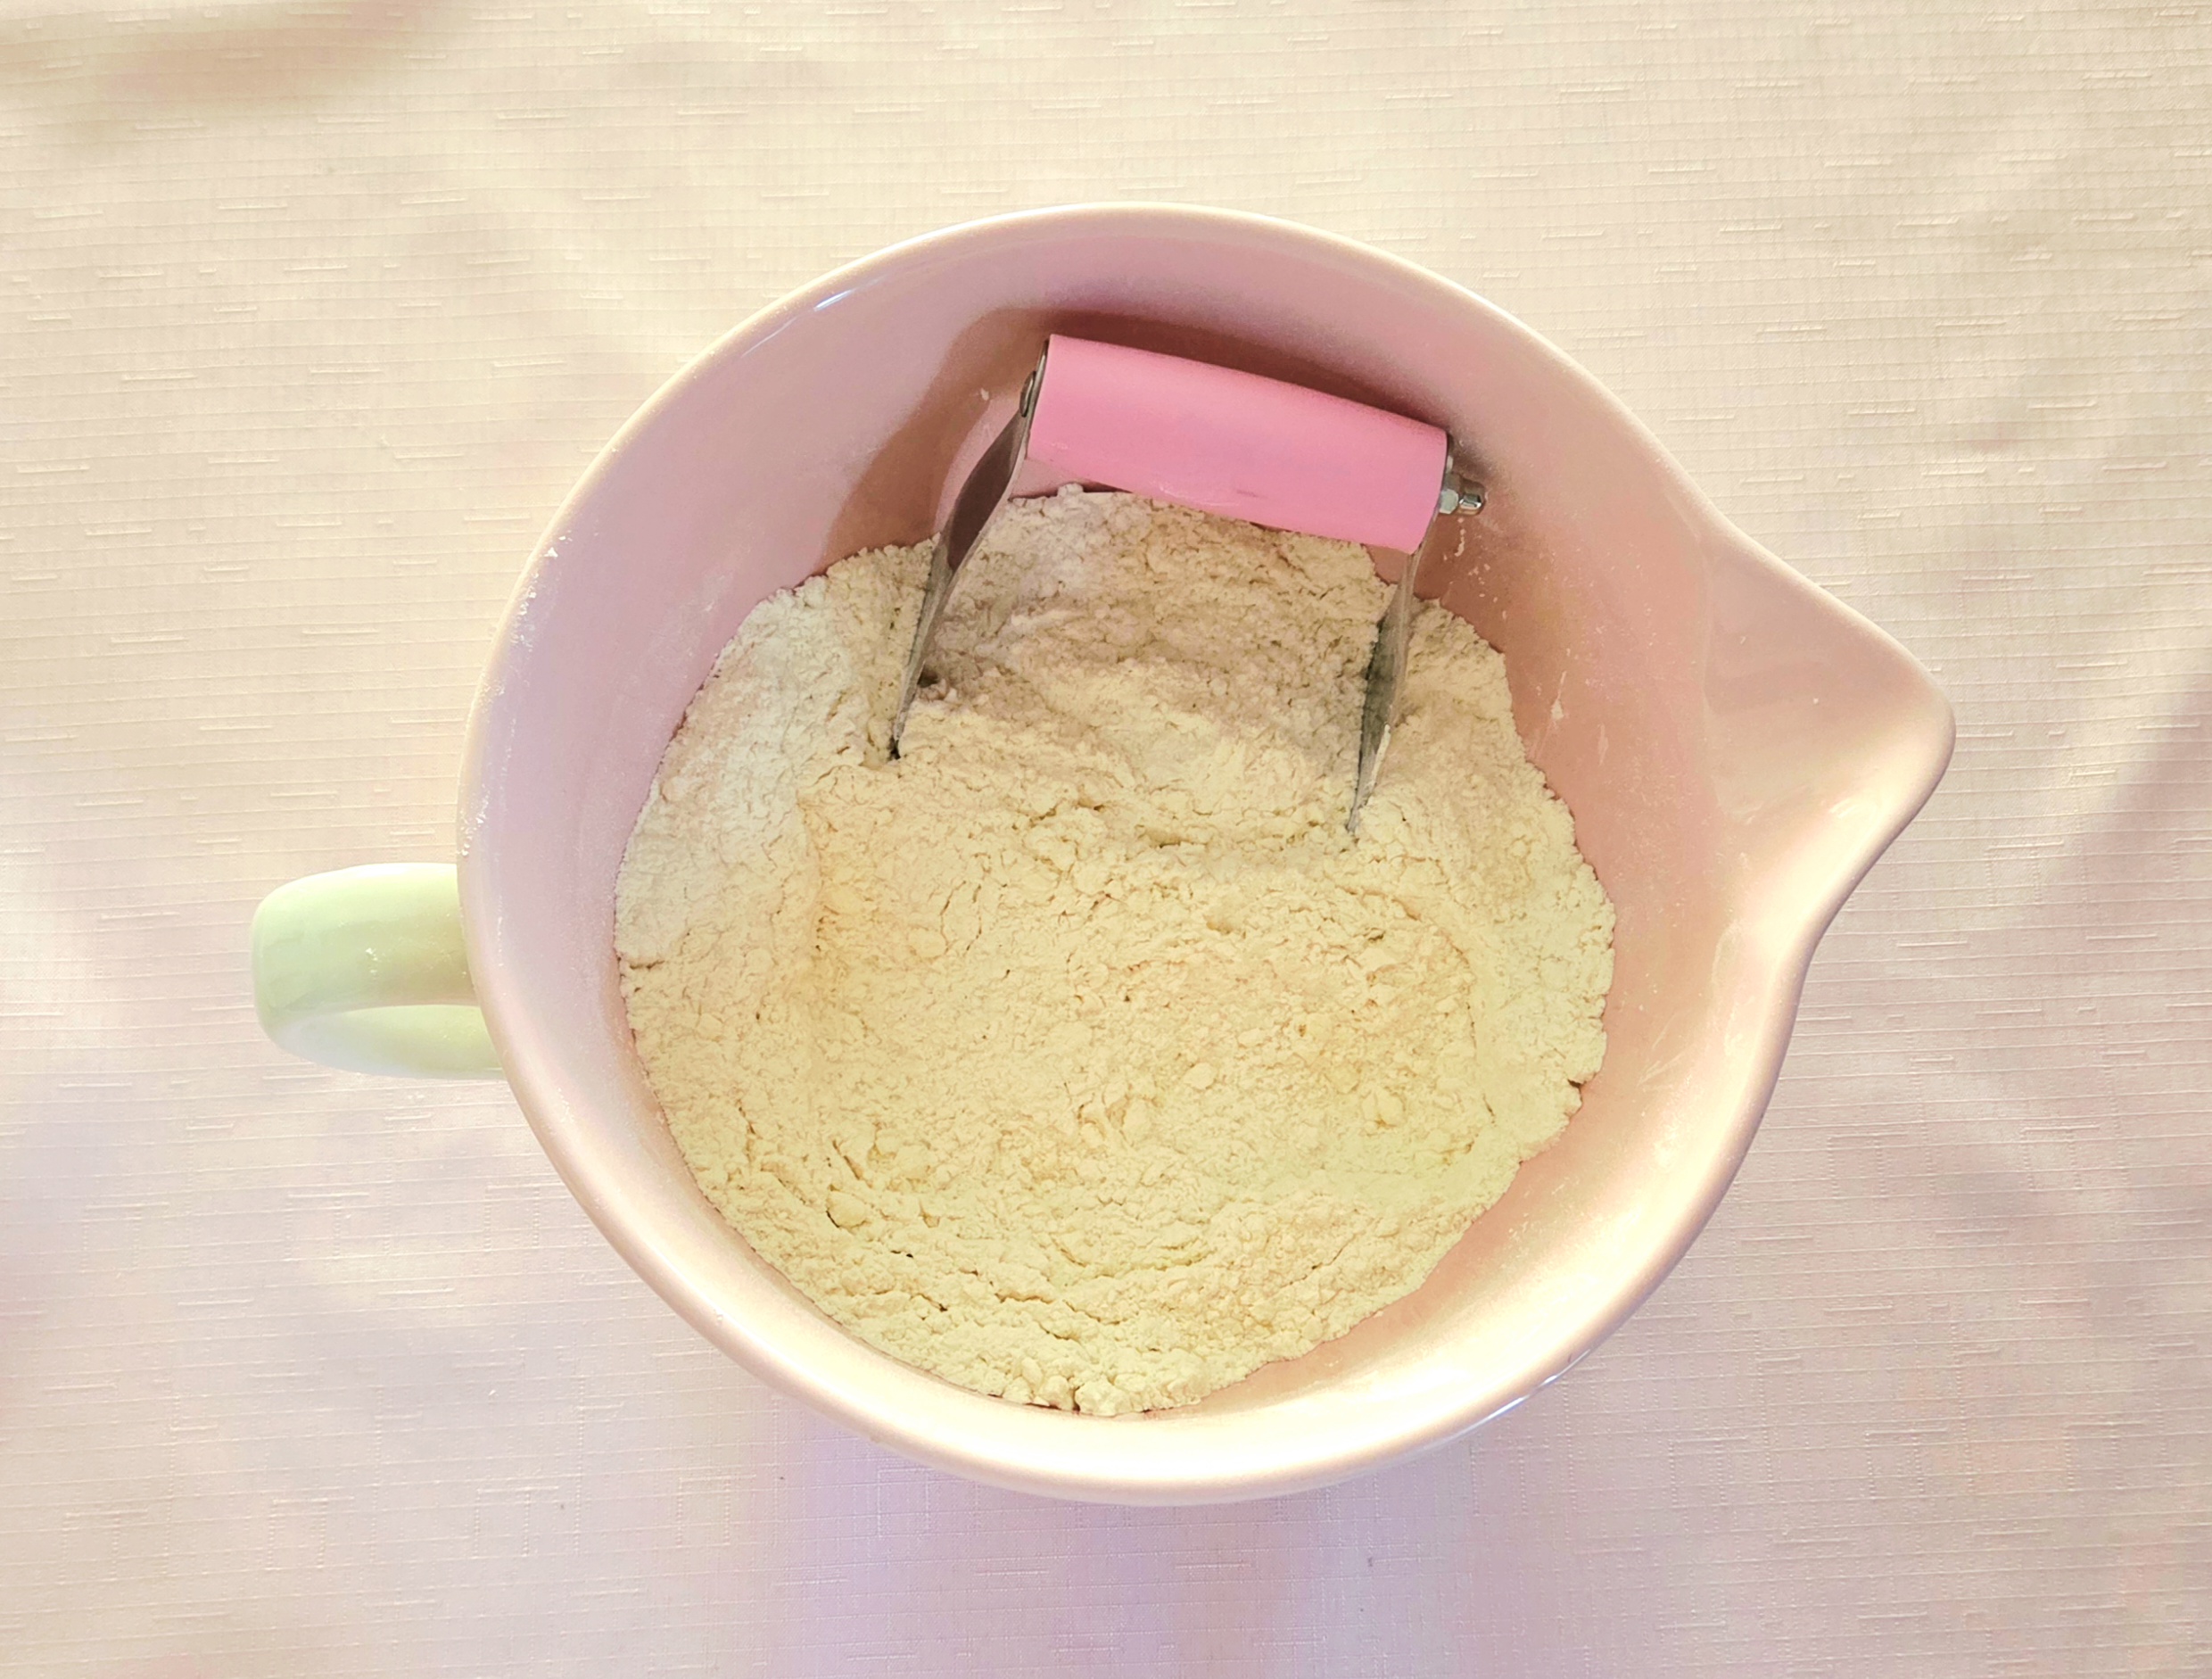
The butter may clump up a bit in the pastry blender, just push it out and carry on. Continue cutting the butter in like this until the mixture has reached a sand-like texture.
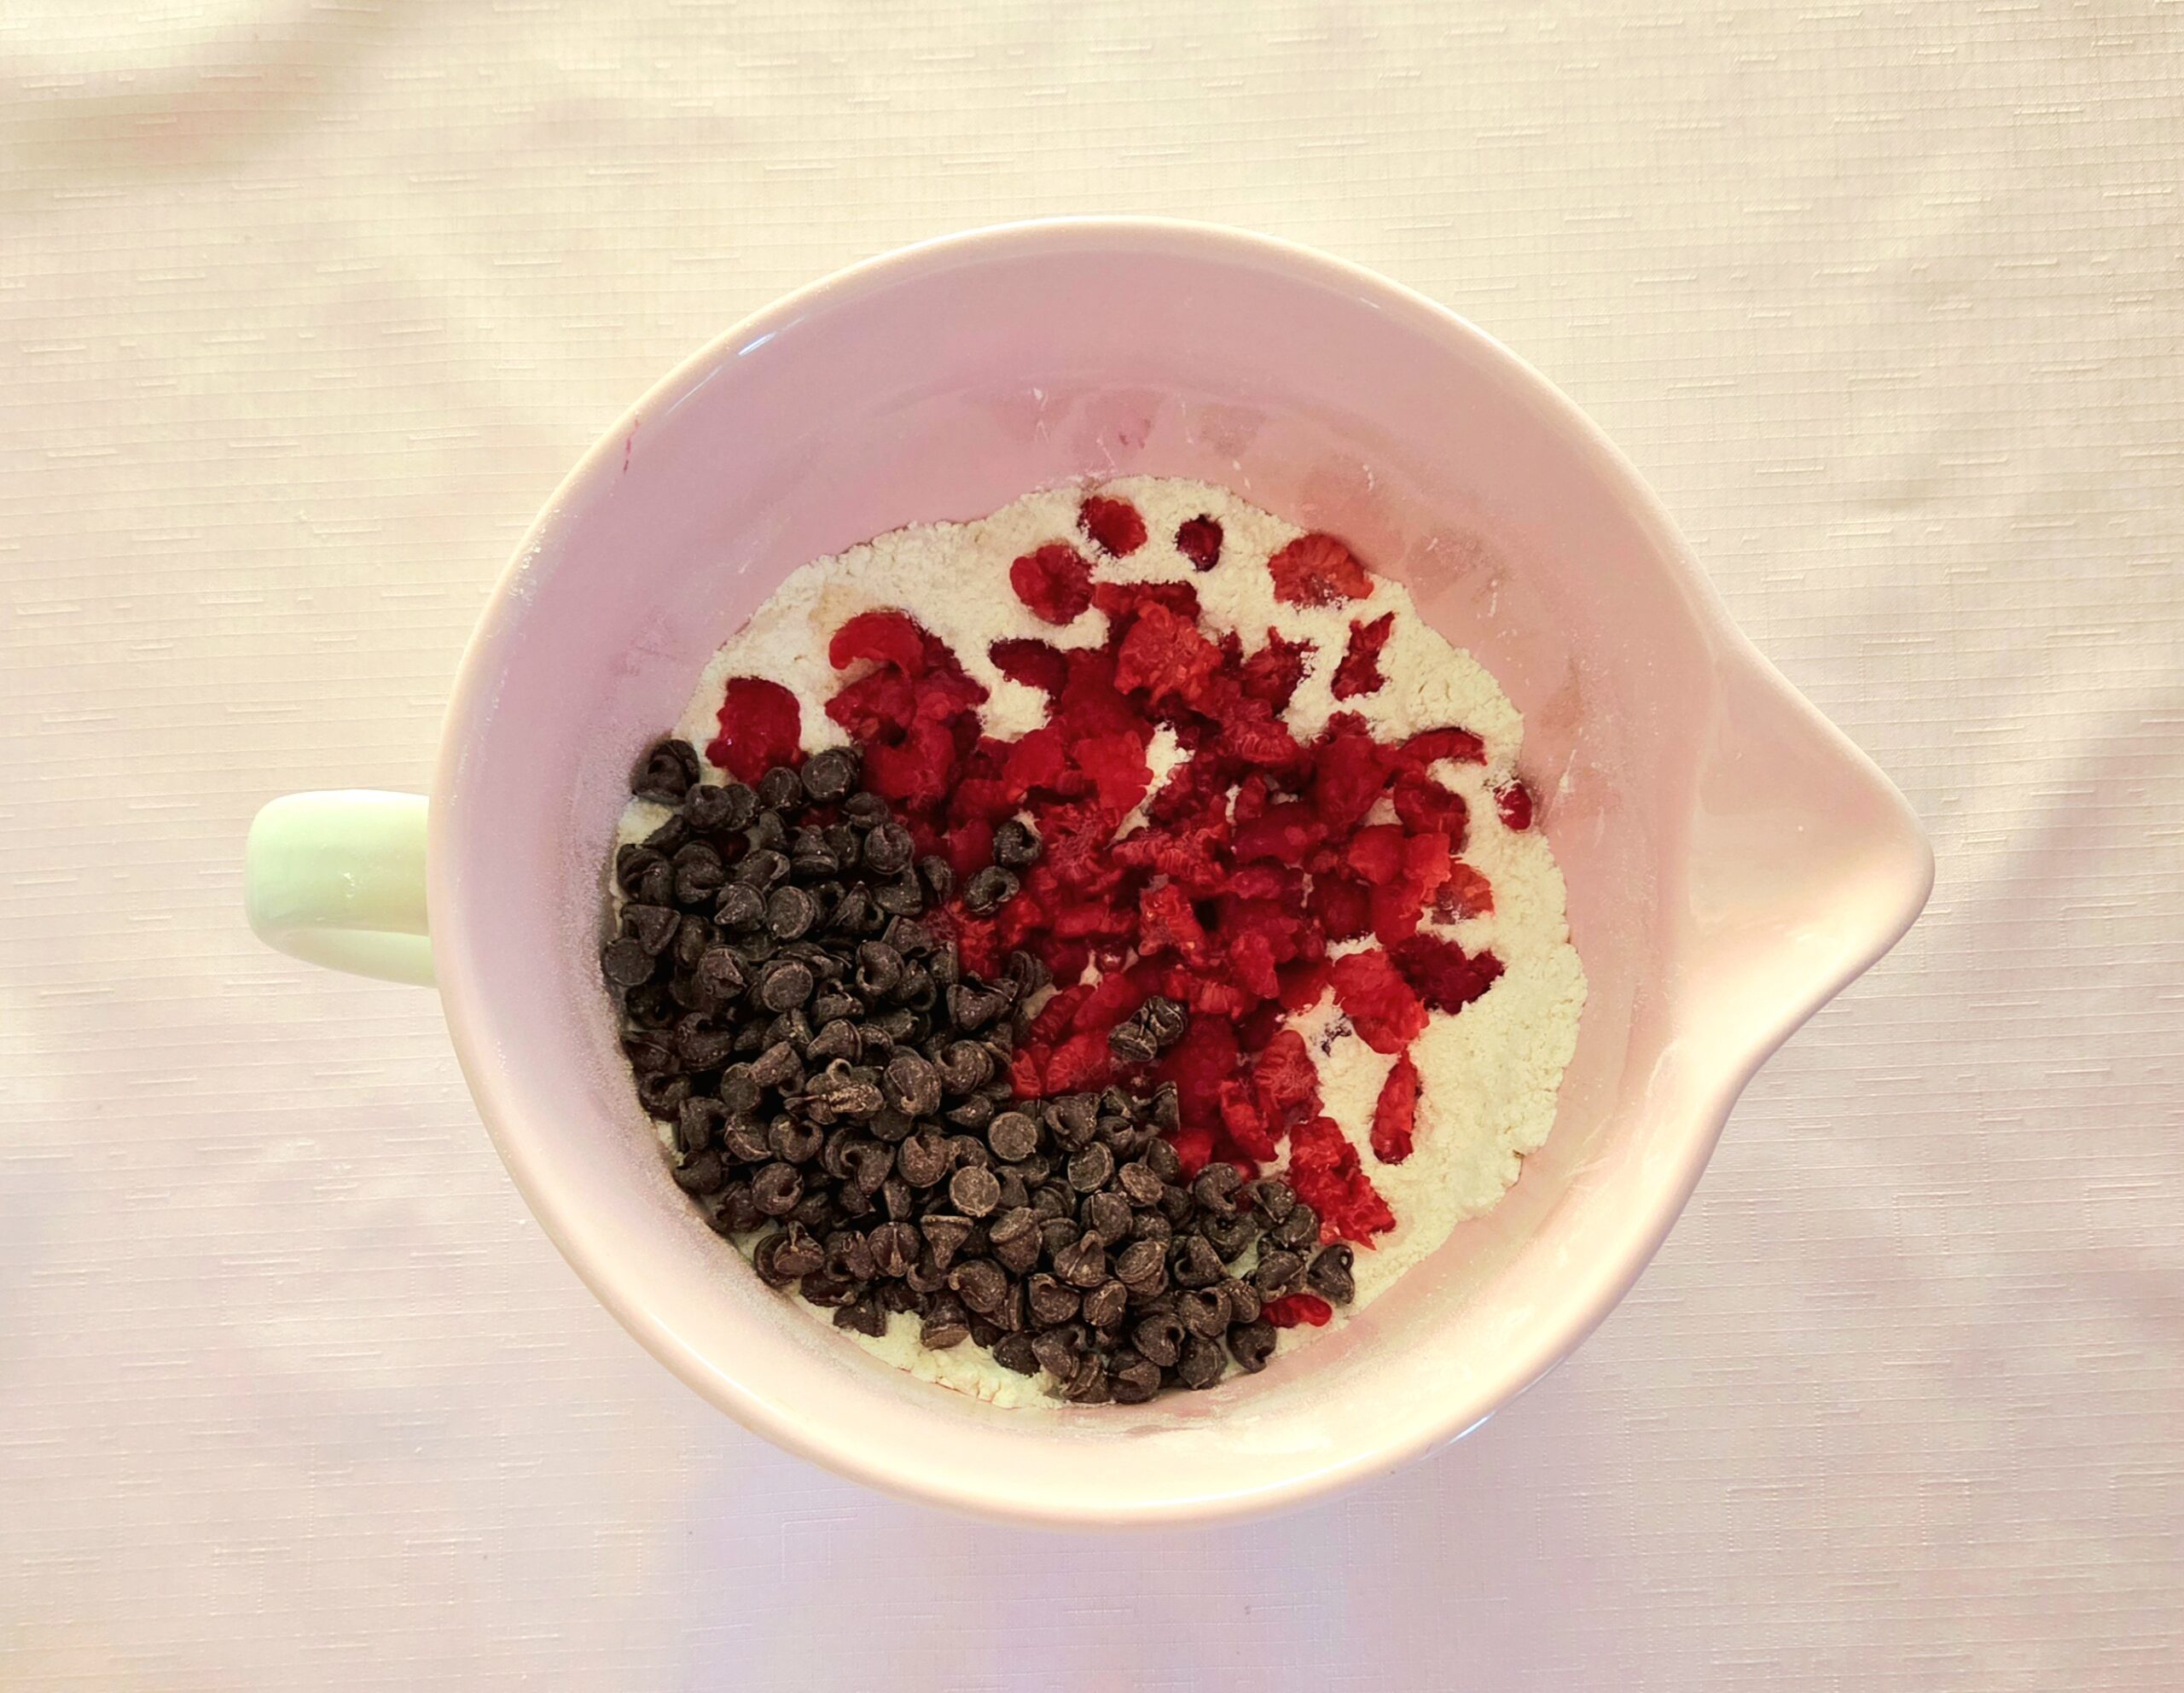
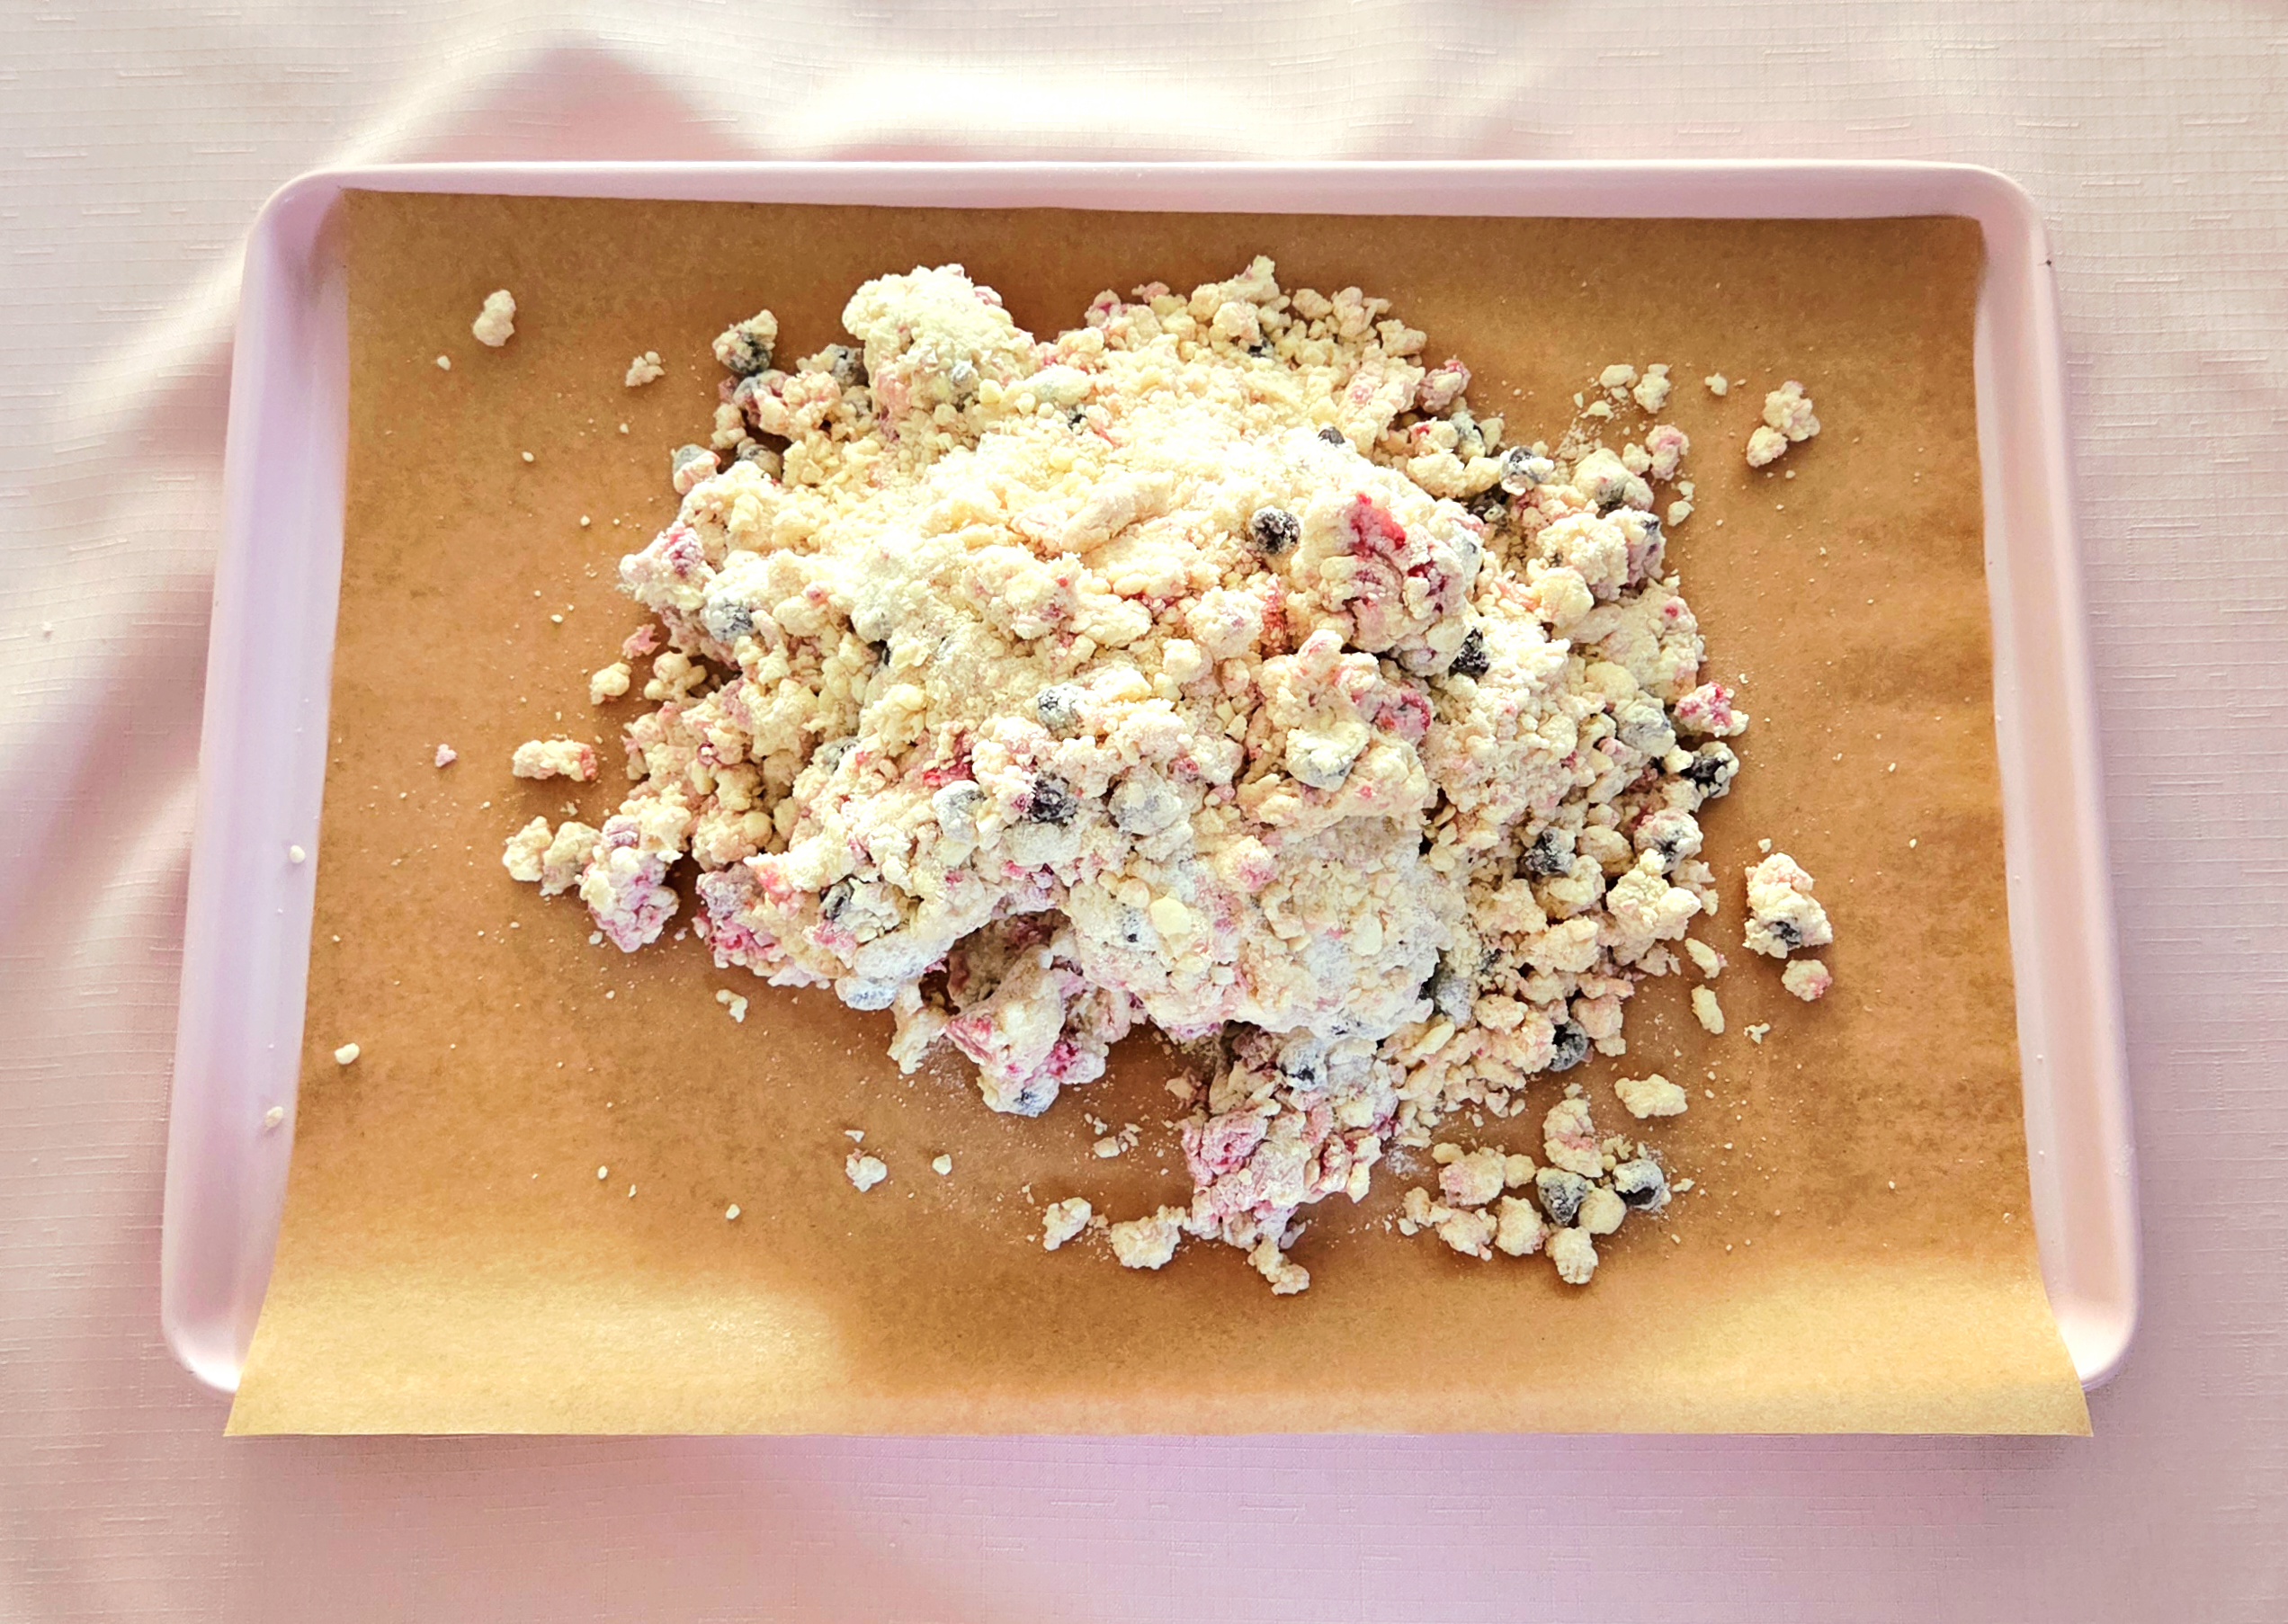
Now for the delicious bits! Tear up the raspberries and add them into the sandy mixture. The pieces should be somewhere around ¼-½ inch, so they’re large enough to taste distinctly but not so large as to make soggy patches in the scones.

Add the chocolate chips to the mix as well then, using a fork, whisk it all together to evenly distribute everything. Use your hand or a dry measuring cup to make a well in the center of the mixture.
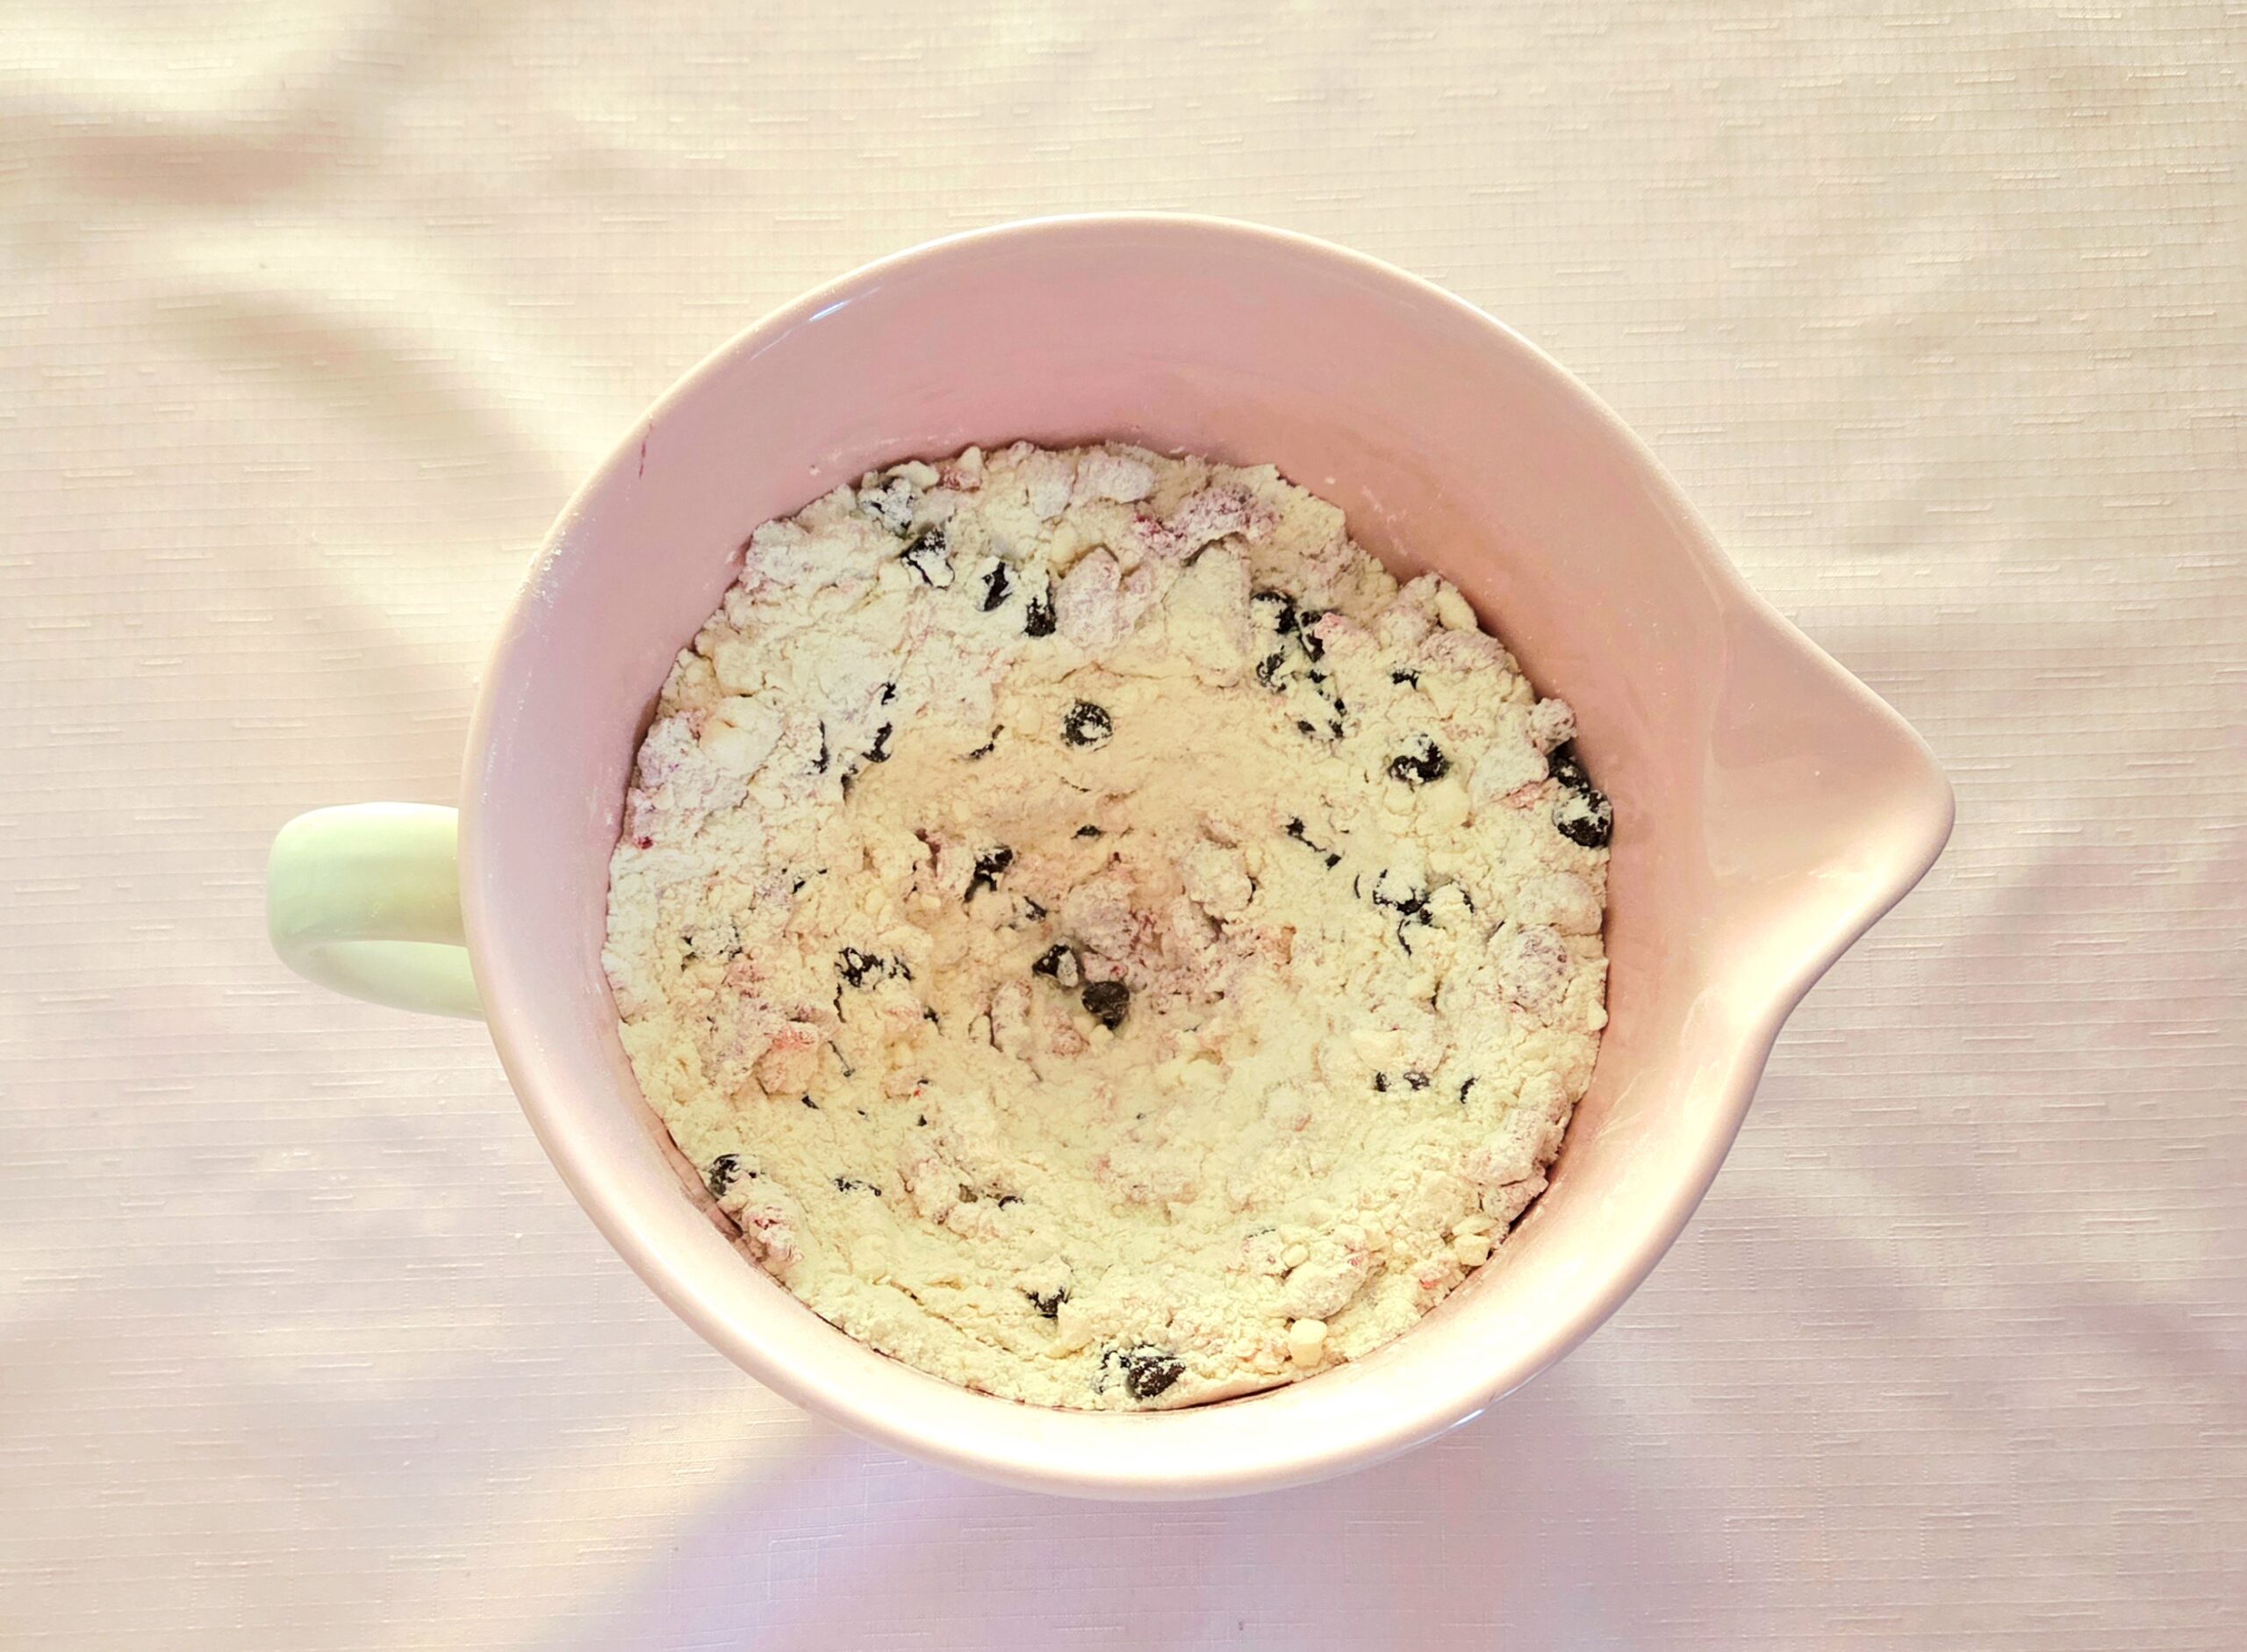
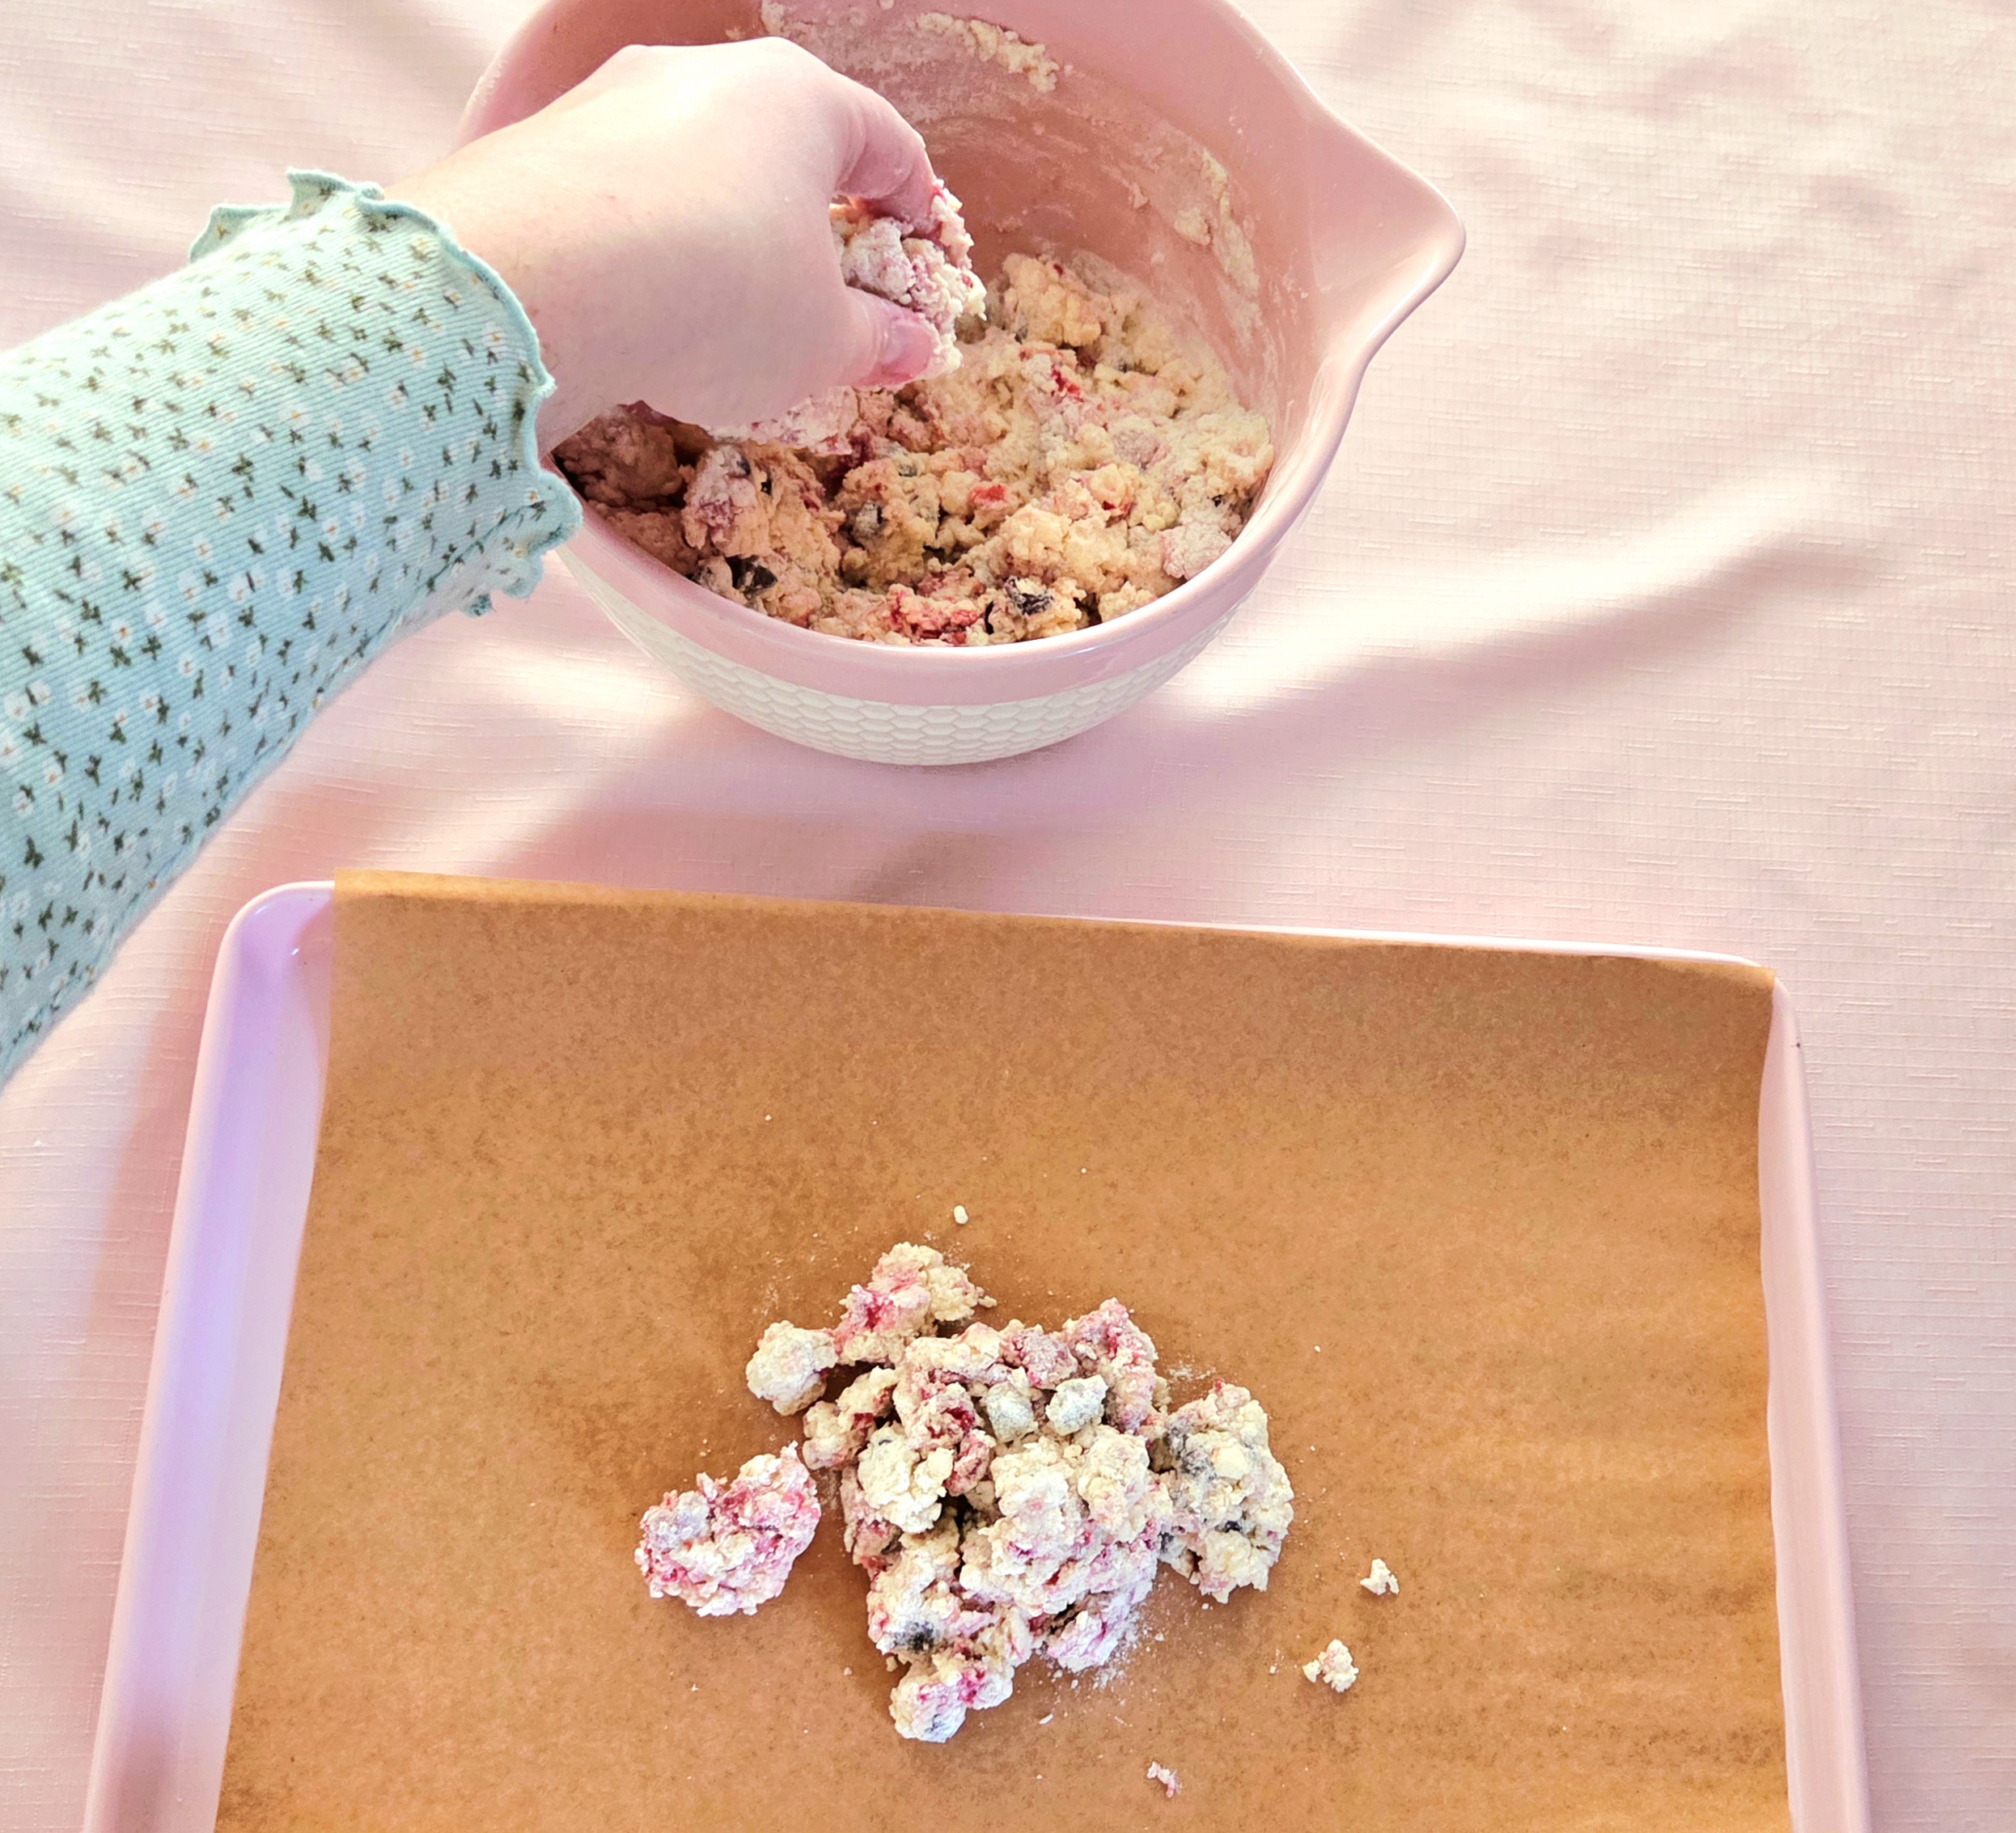
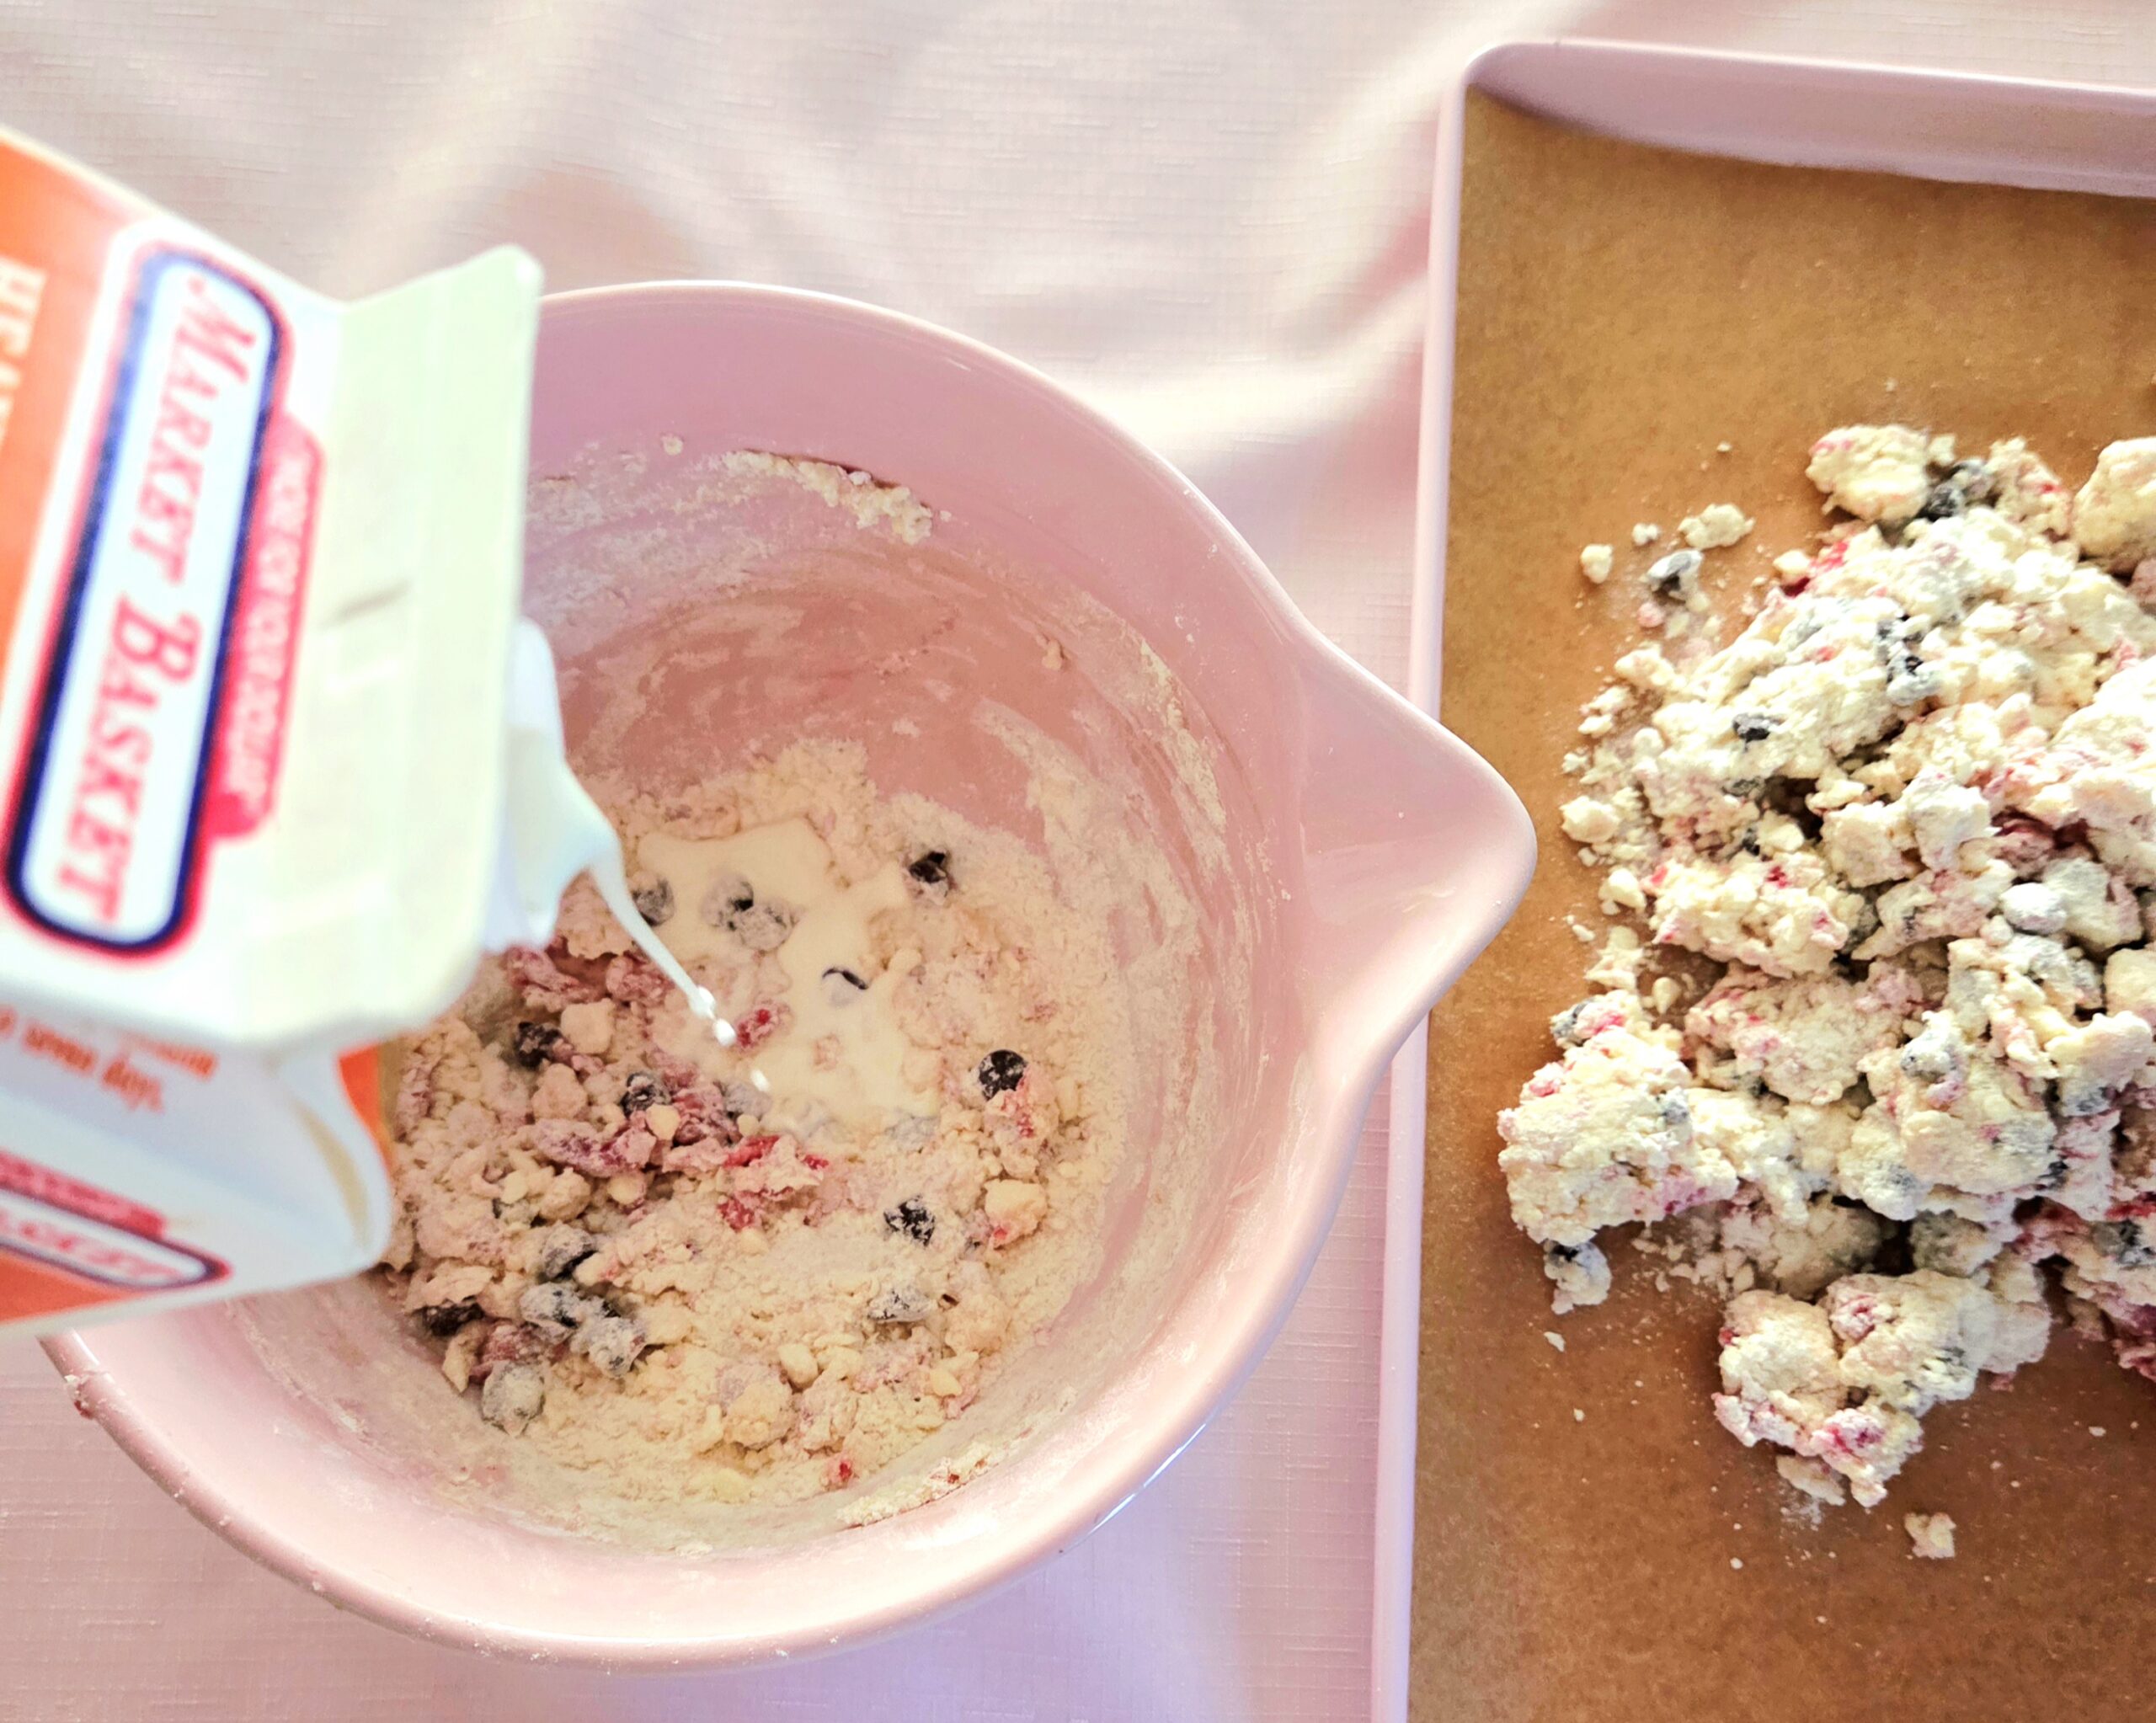
This well allows the cream to much more easily reach the bottom of the dry goods. Pour the heavy cream into the well, then use the fork to bring everything together. As large clumps of dough form, use your hand to transfer them over to the lined baking sheet.
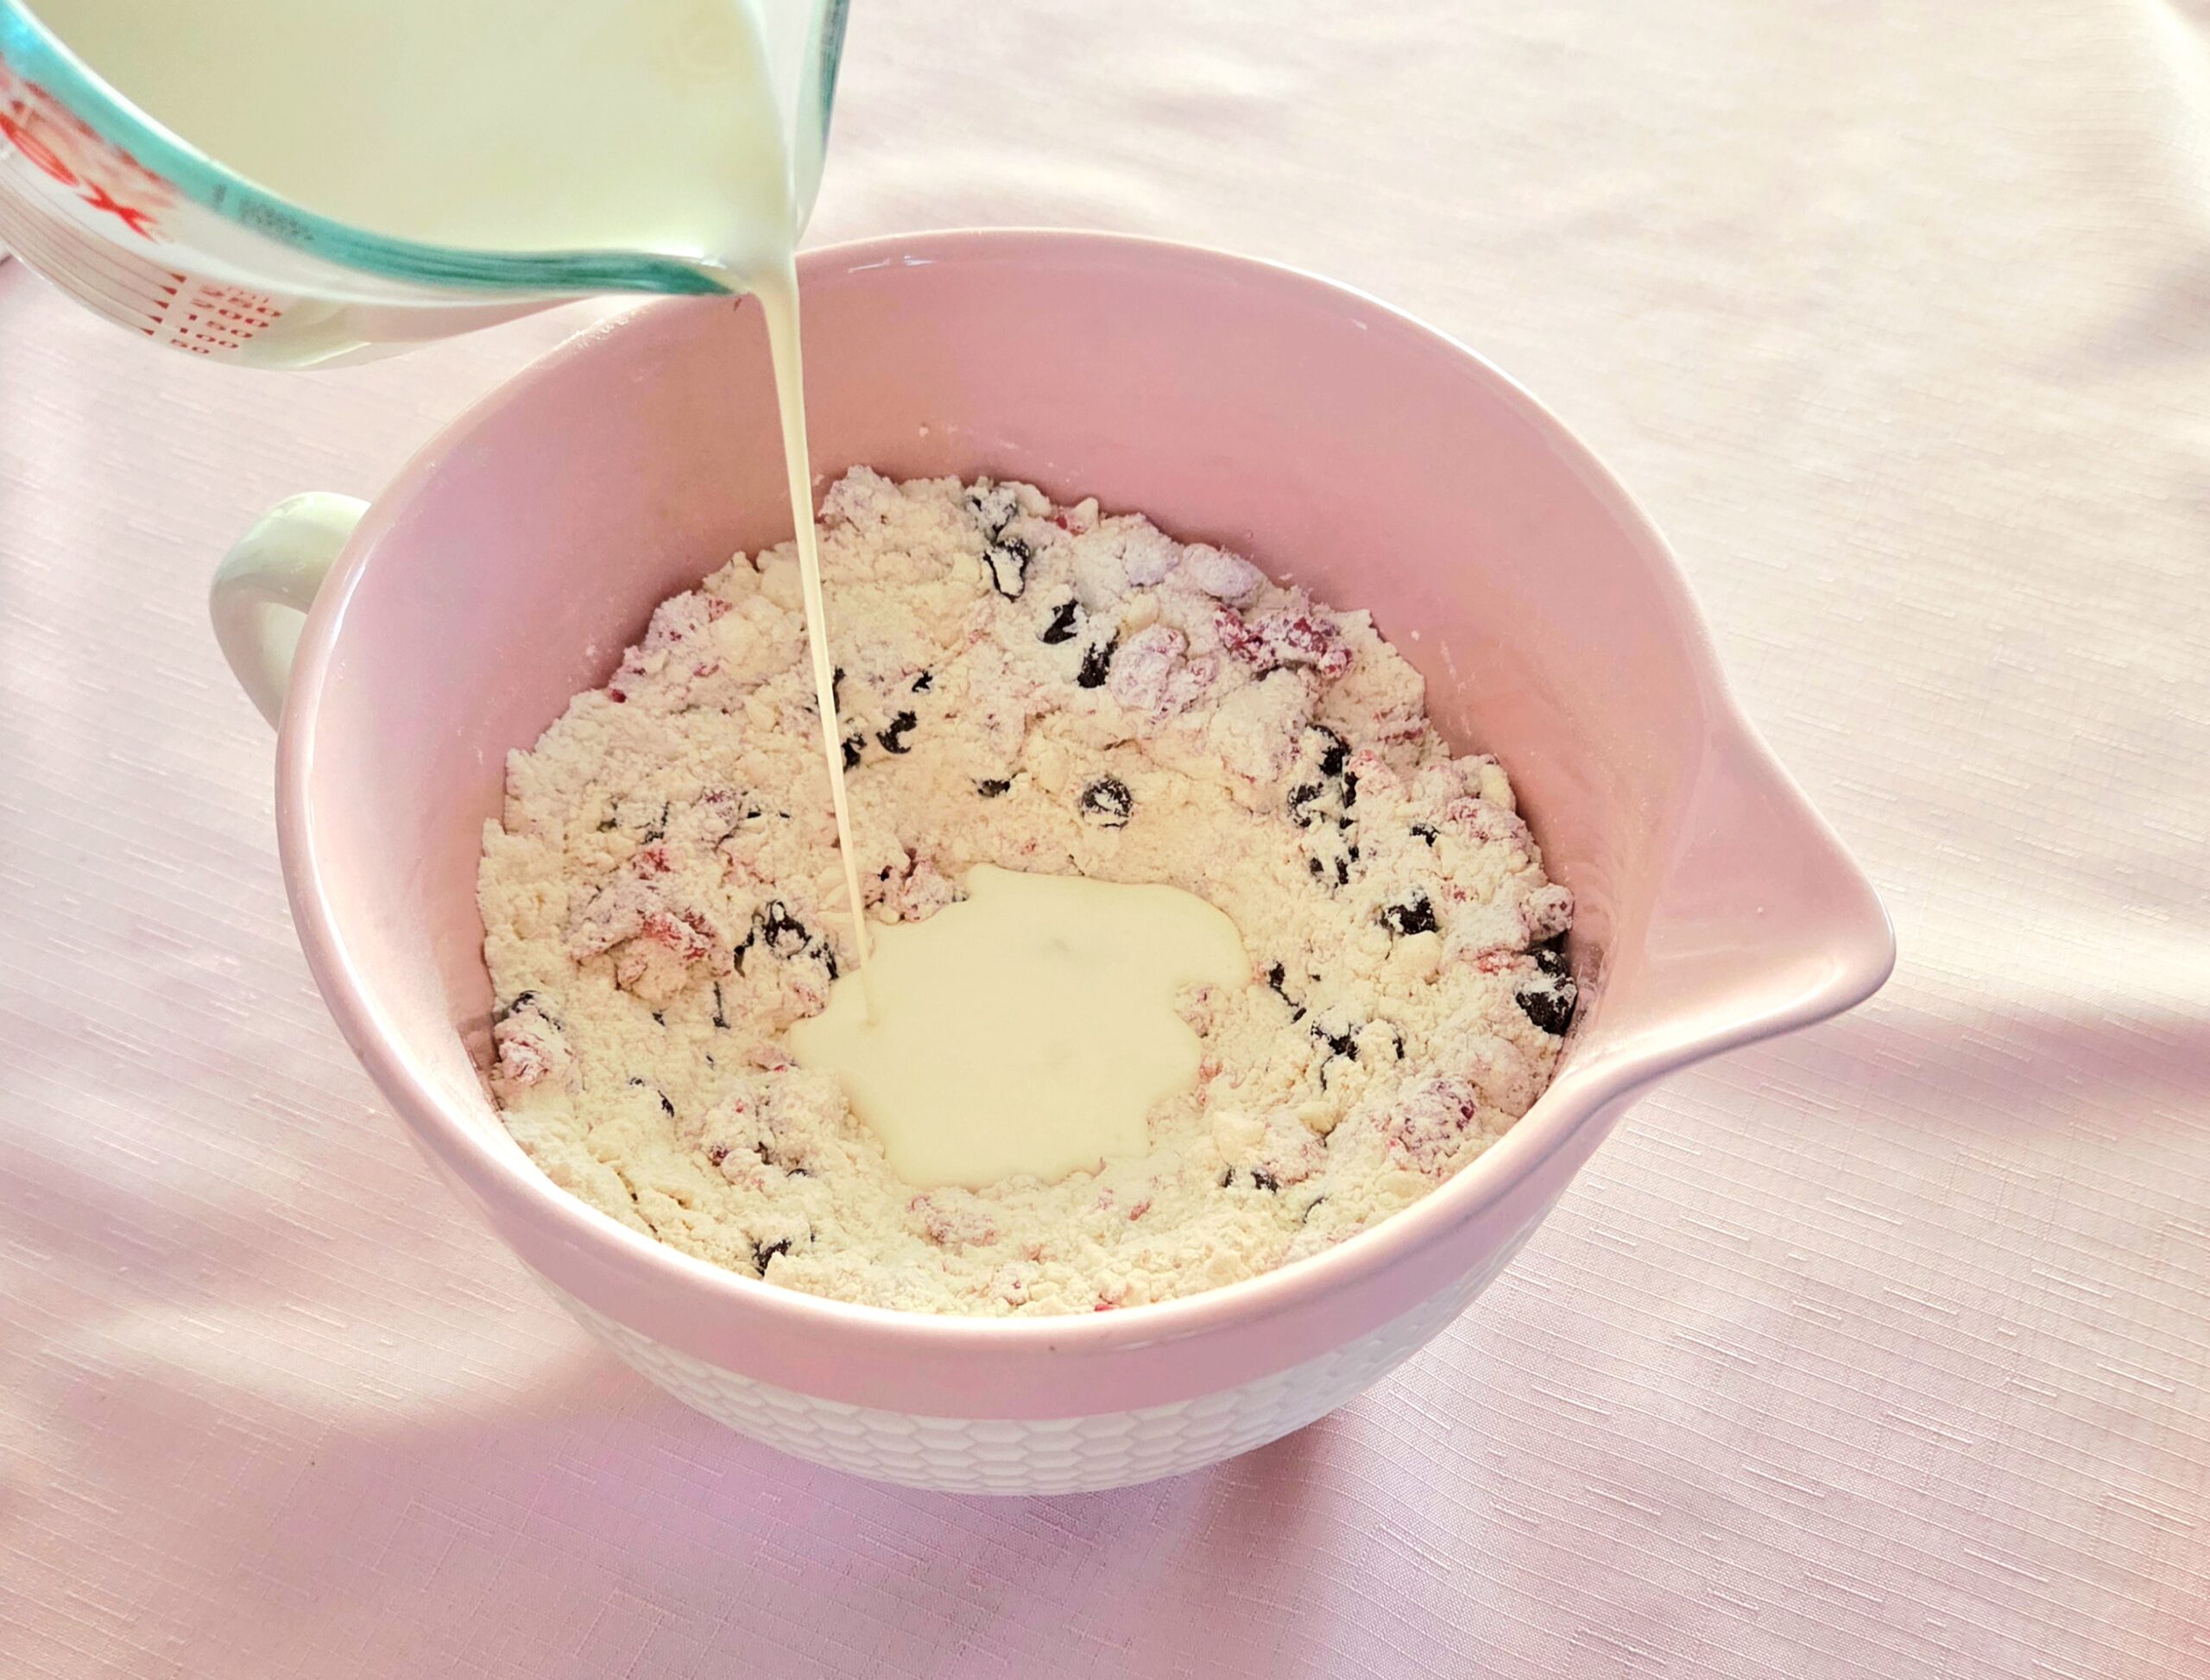
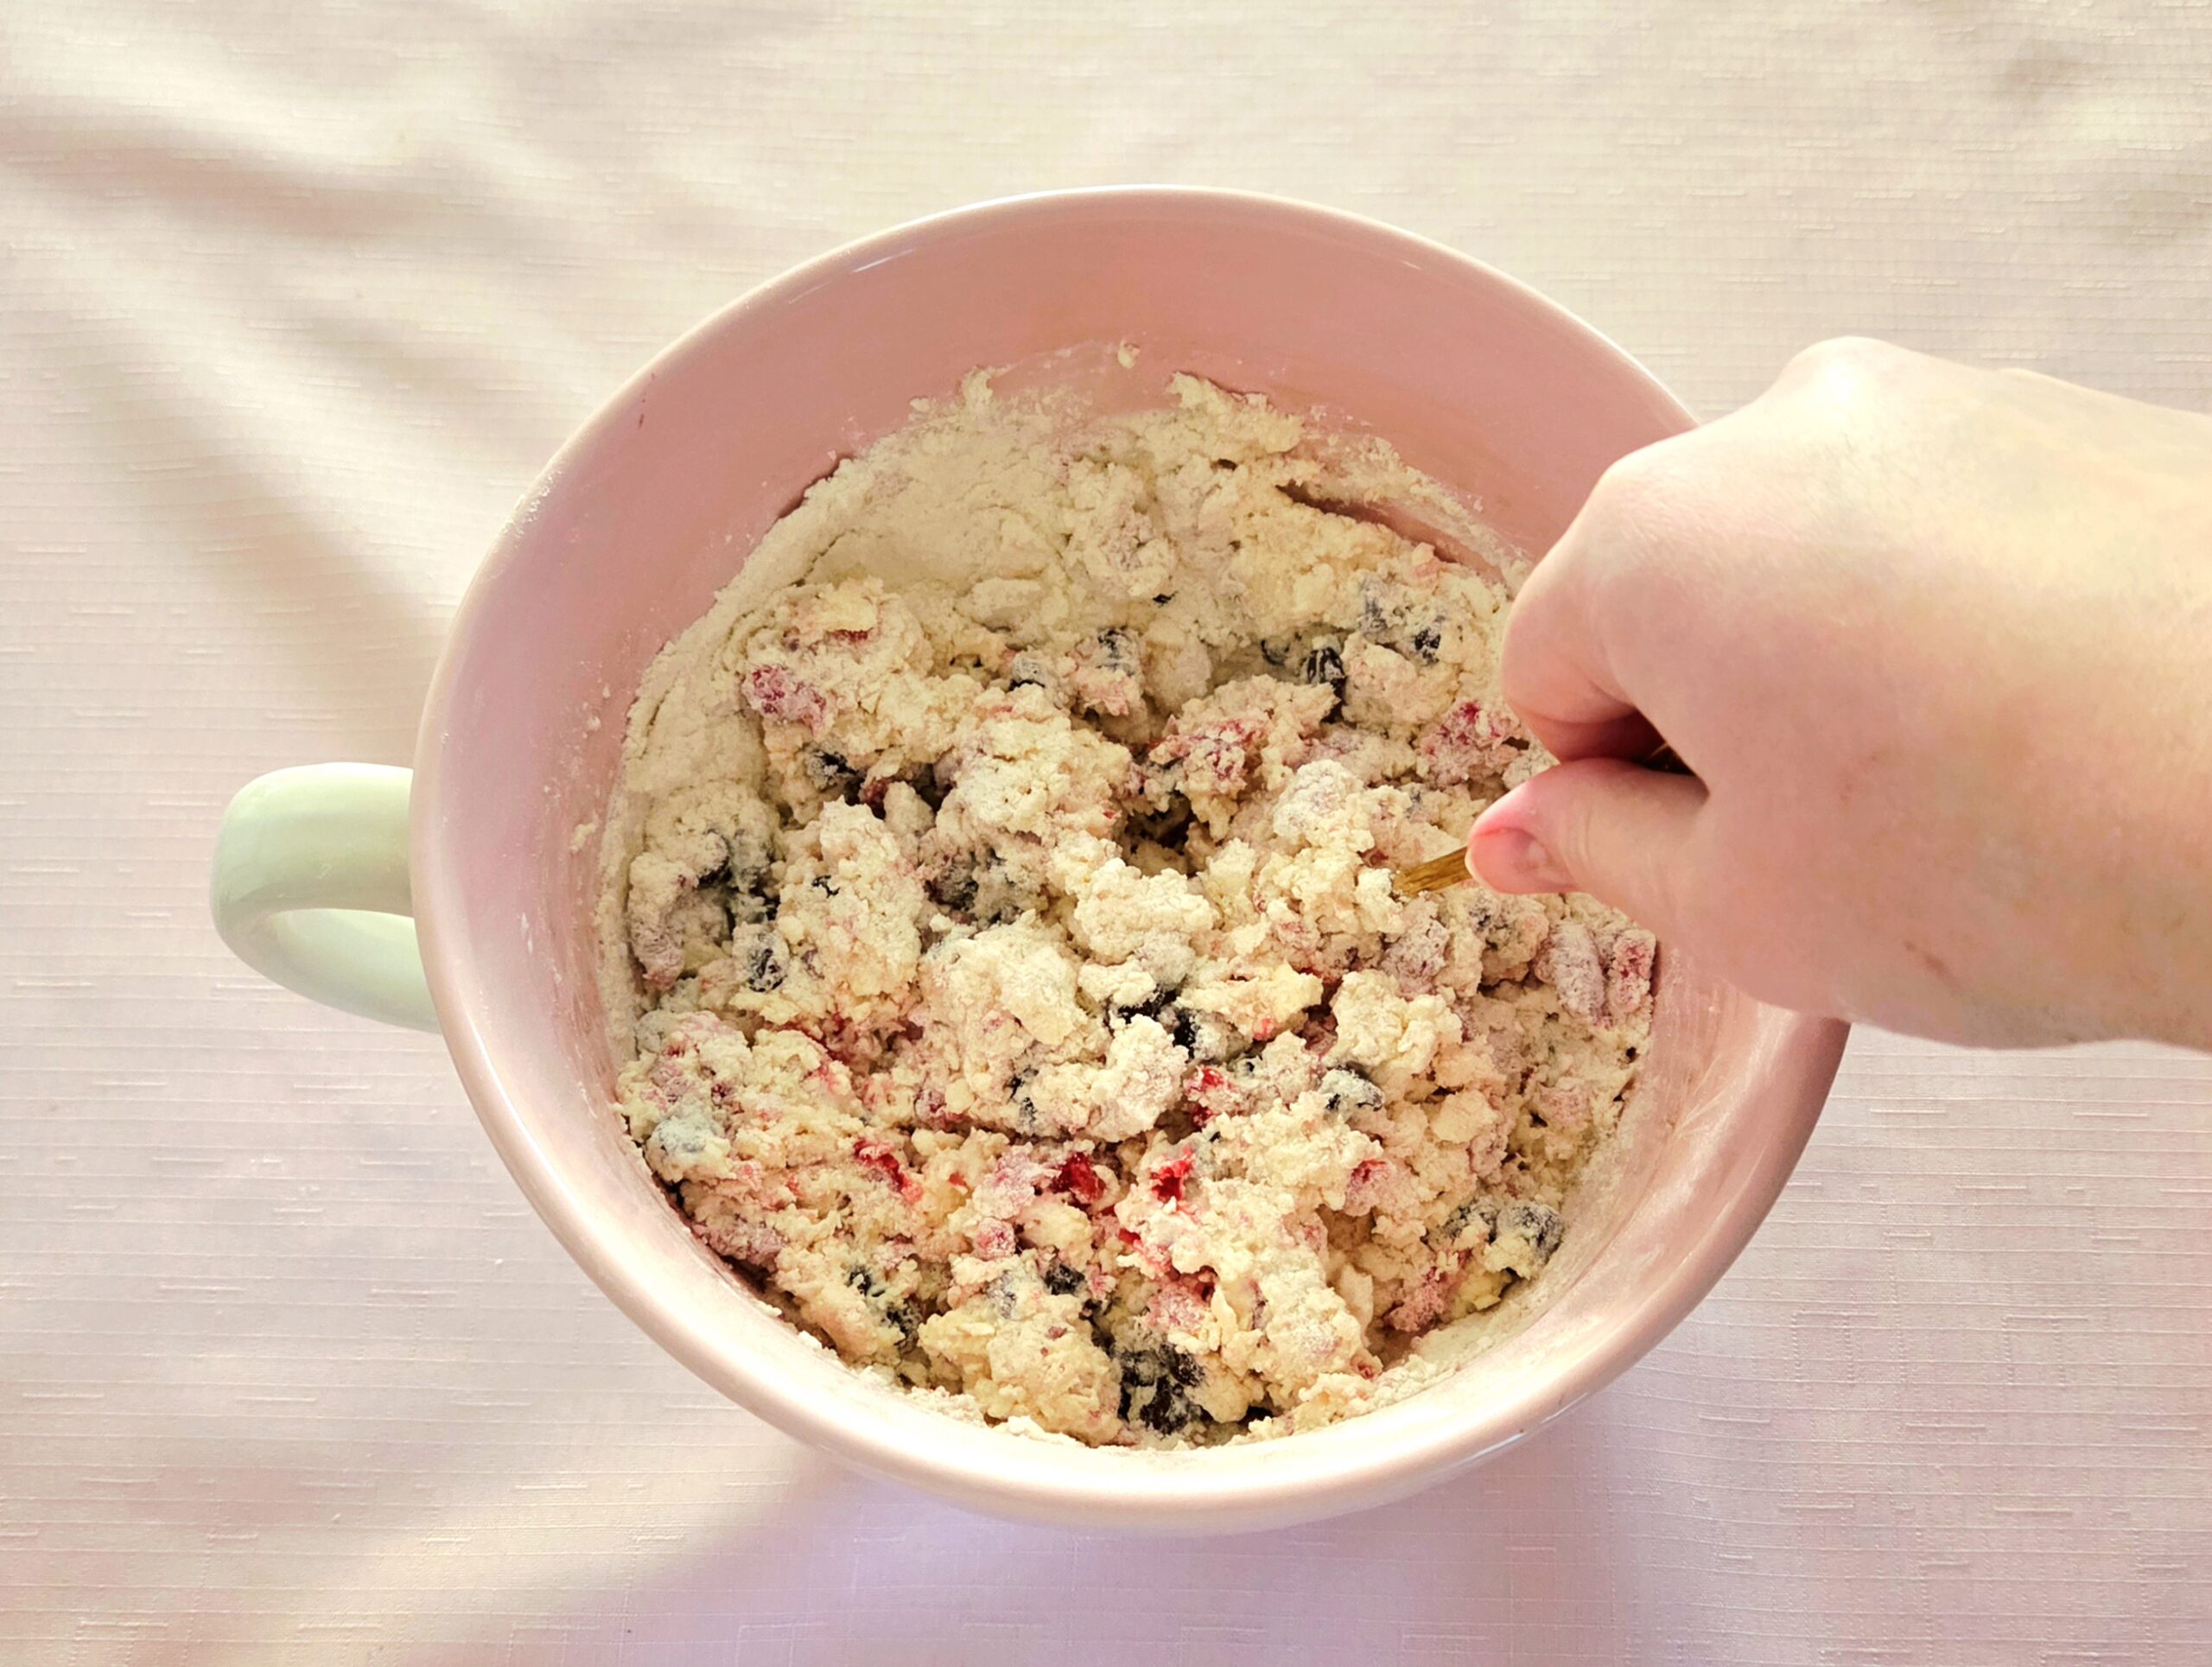
Taking the hydrated dough out of the way gives the dry goods a fighting chance to soak up the remaining cream. If a lot of dry goods are left after all of the cream has been absorbed, pour in another Tablespoon at a time, whisk it in with the fork in between until everything has moistened.
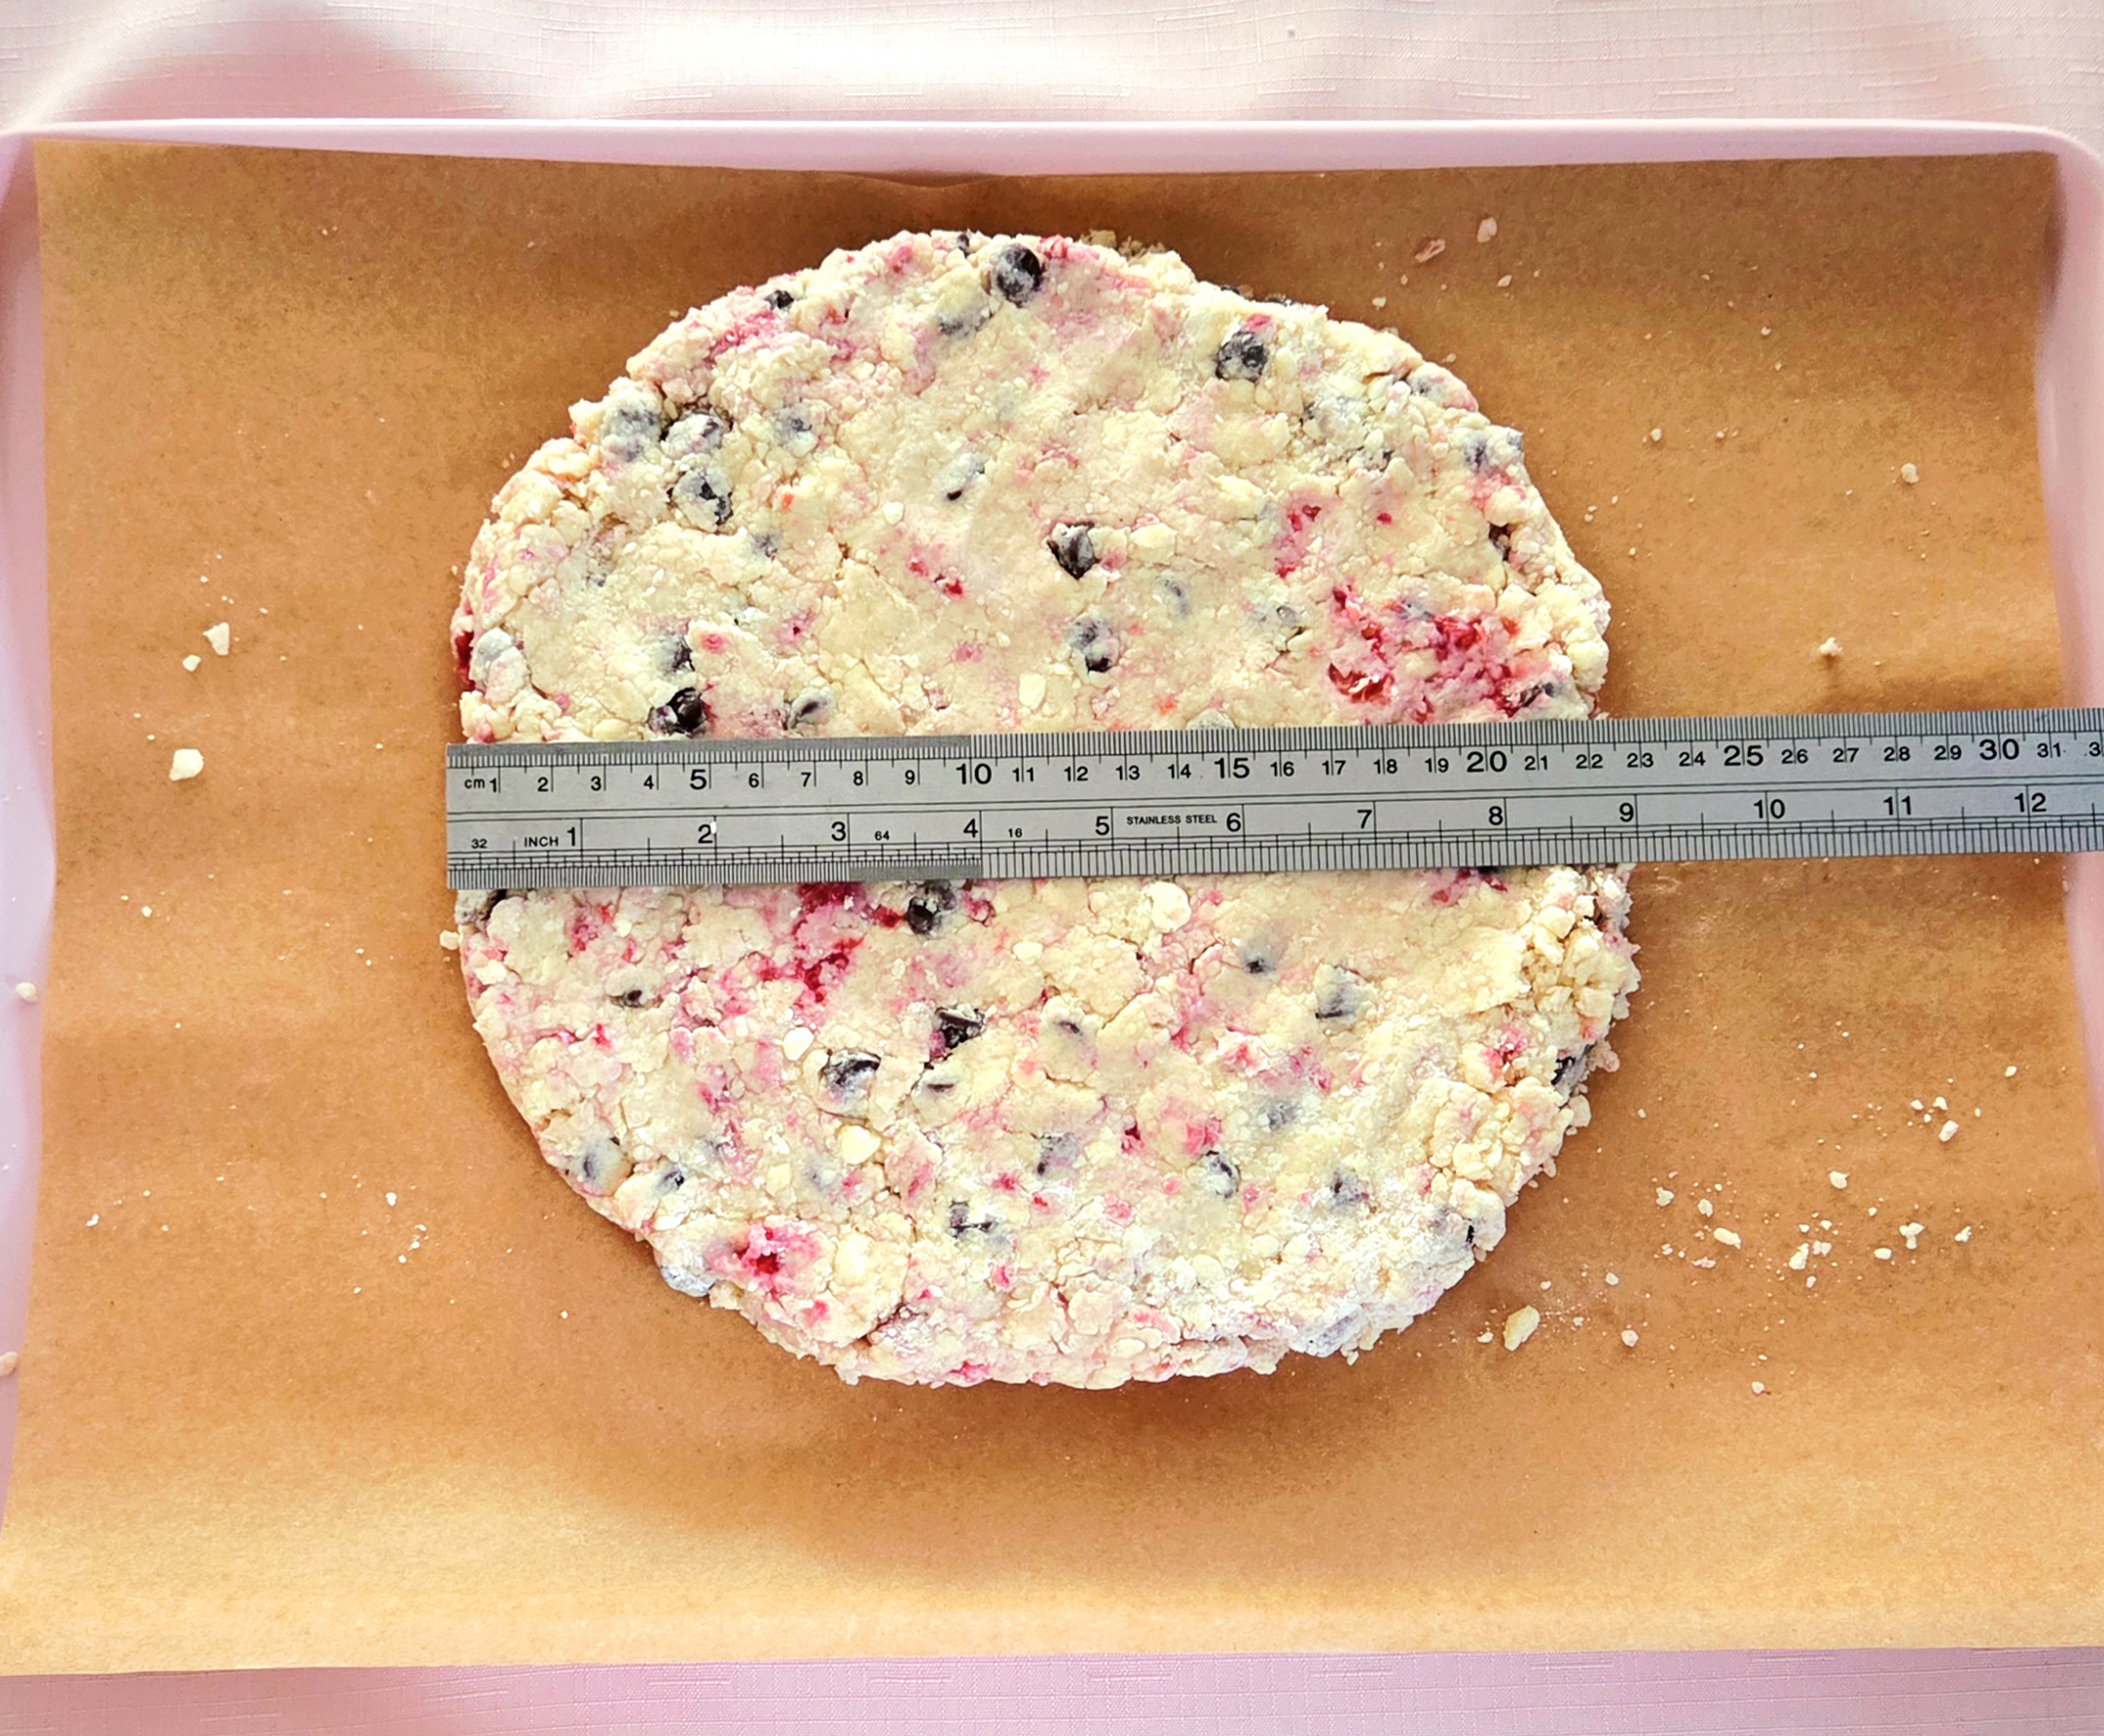
Once all of the dough has hydrated and is transferred over to the baking sheet, use your hands to press it into a 9-inch circle, about 1-inch thick.
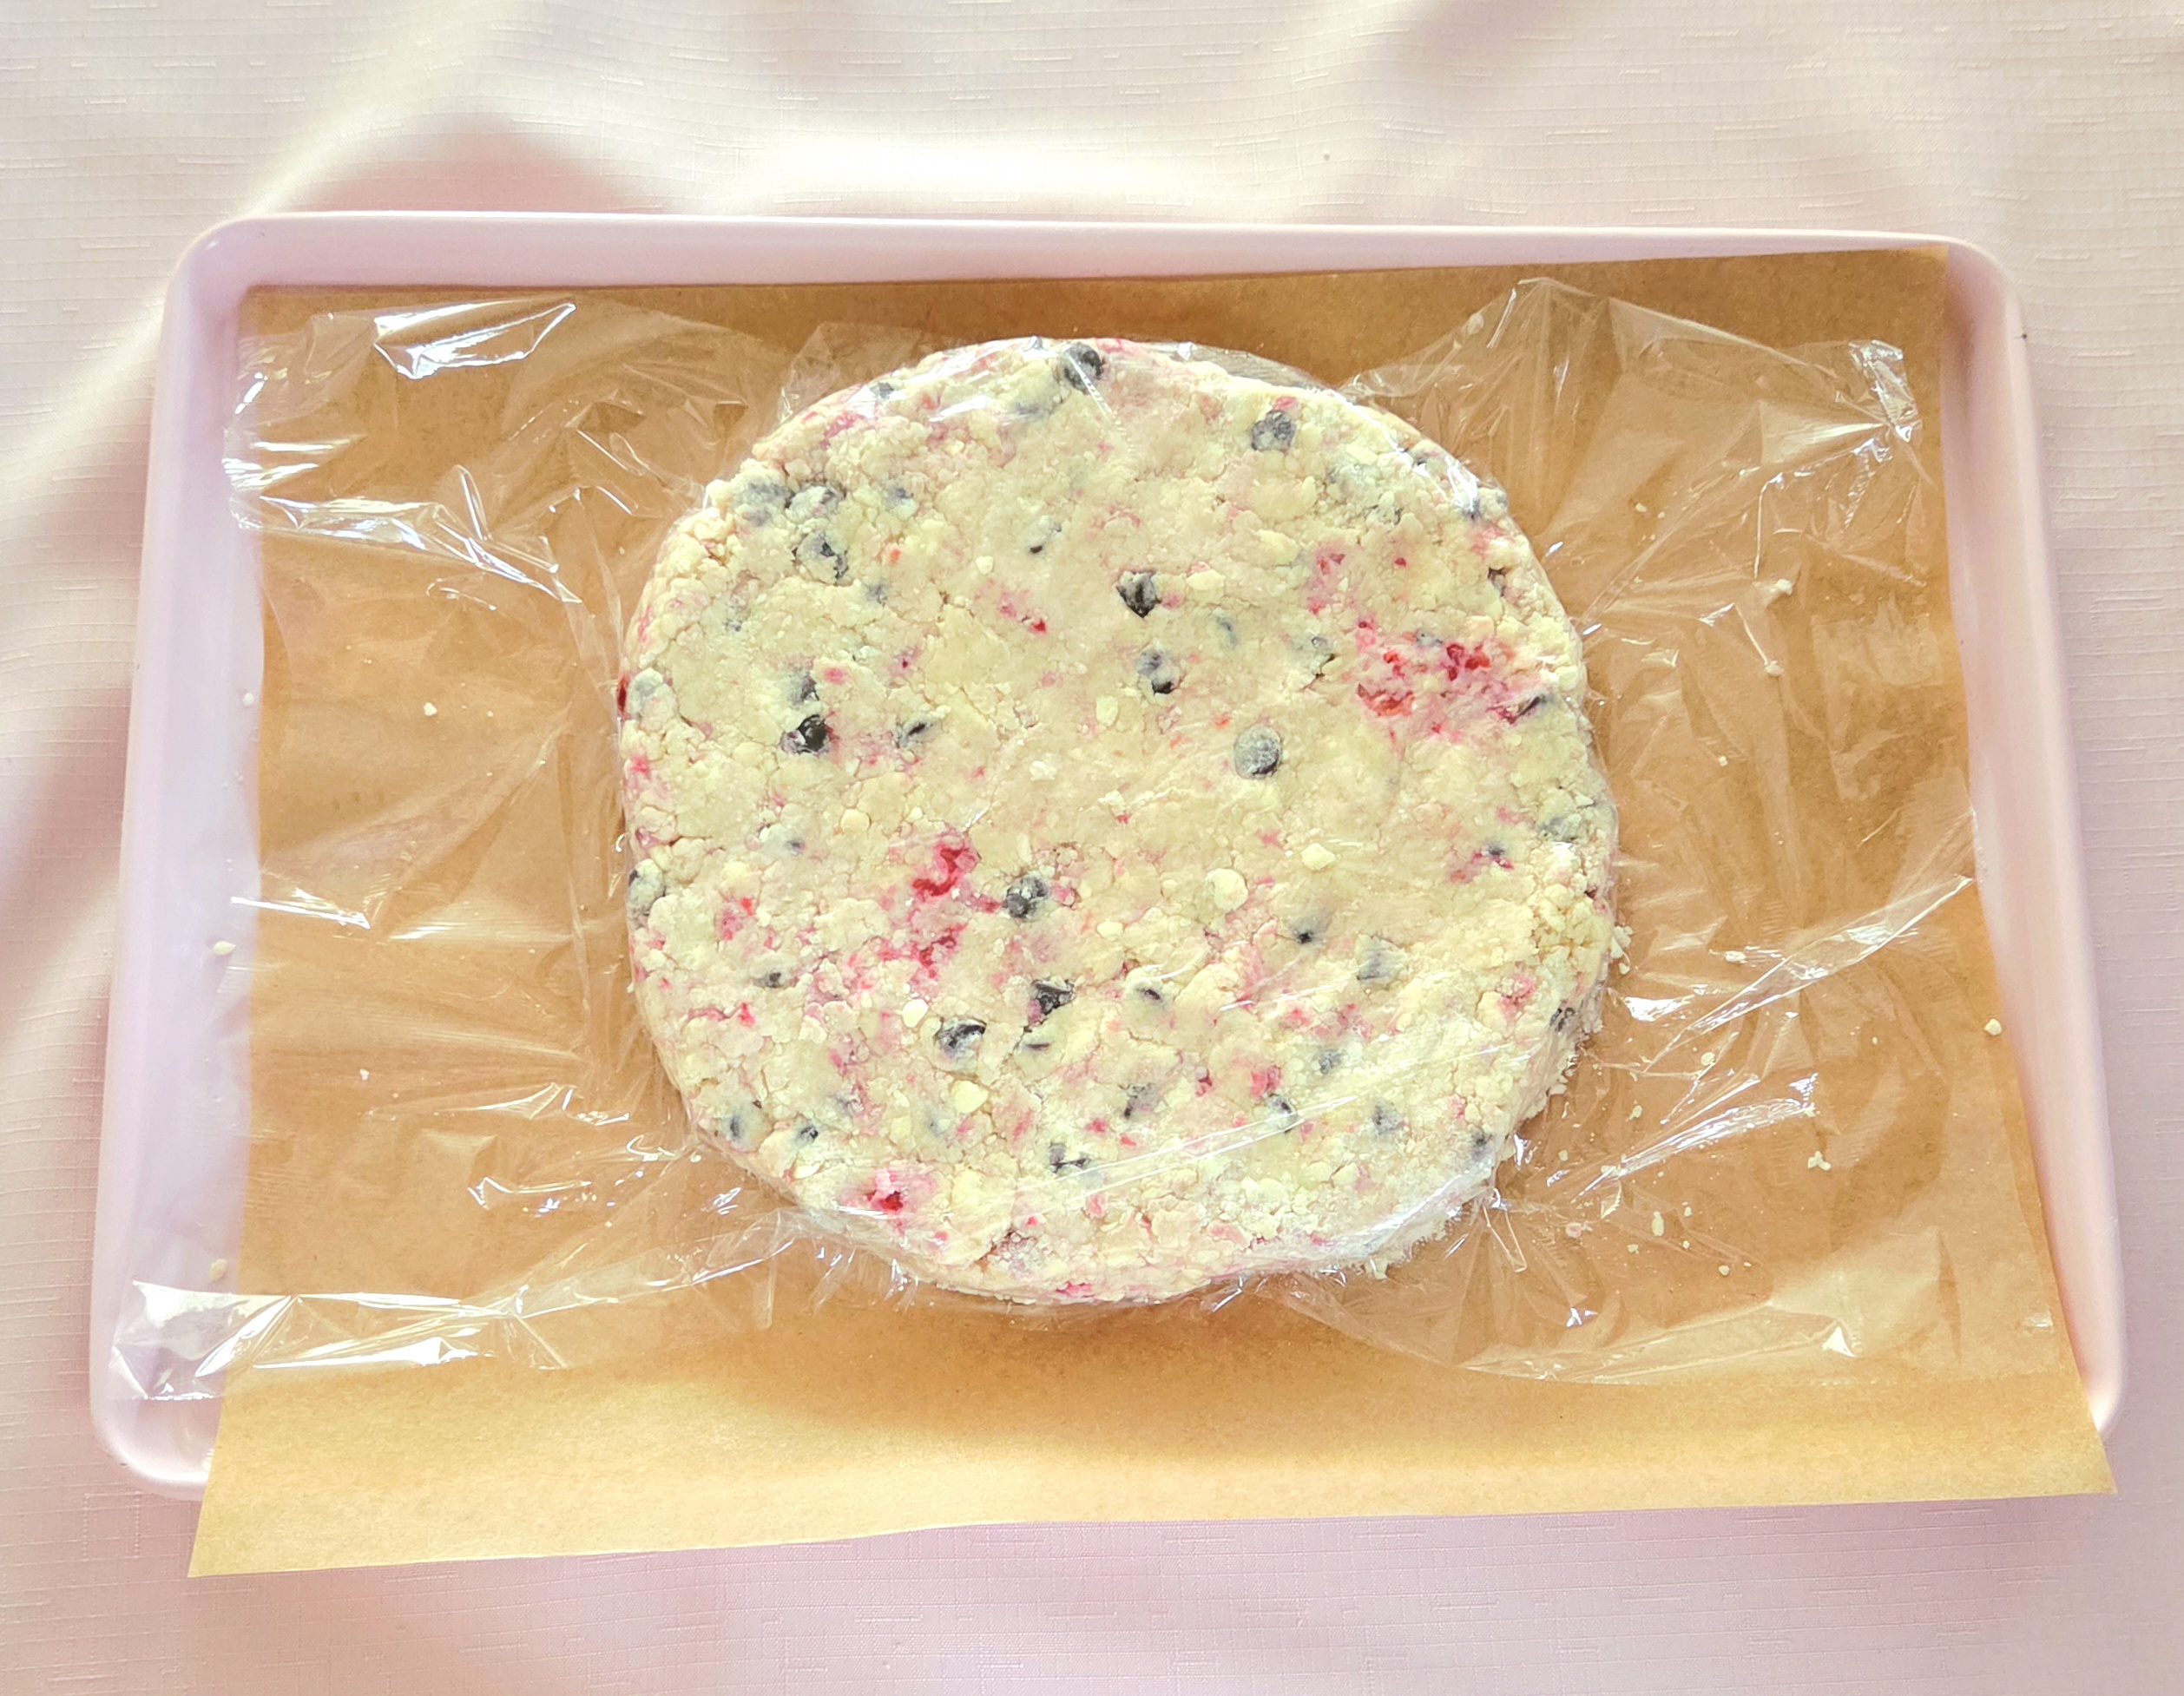
Cover the dough with plastic wrap and place it in the fridge for at least an hour. If your kitchen is particularly warm, chill the scones for a minimum of 2 hours. It’s important that the dough stay cold, for the sake of both the final product and how easy it will be to work with. While the dough chills, heat the oven to 425F, on the convection setting if possible, and line a second baking sheet with parchment paper. Make sure the rack is in the center of the oven.
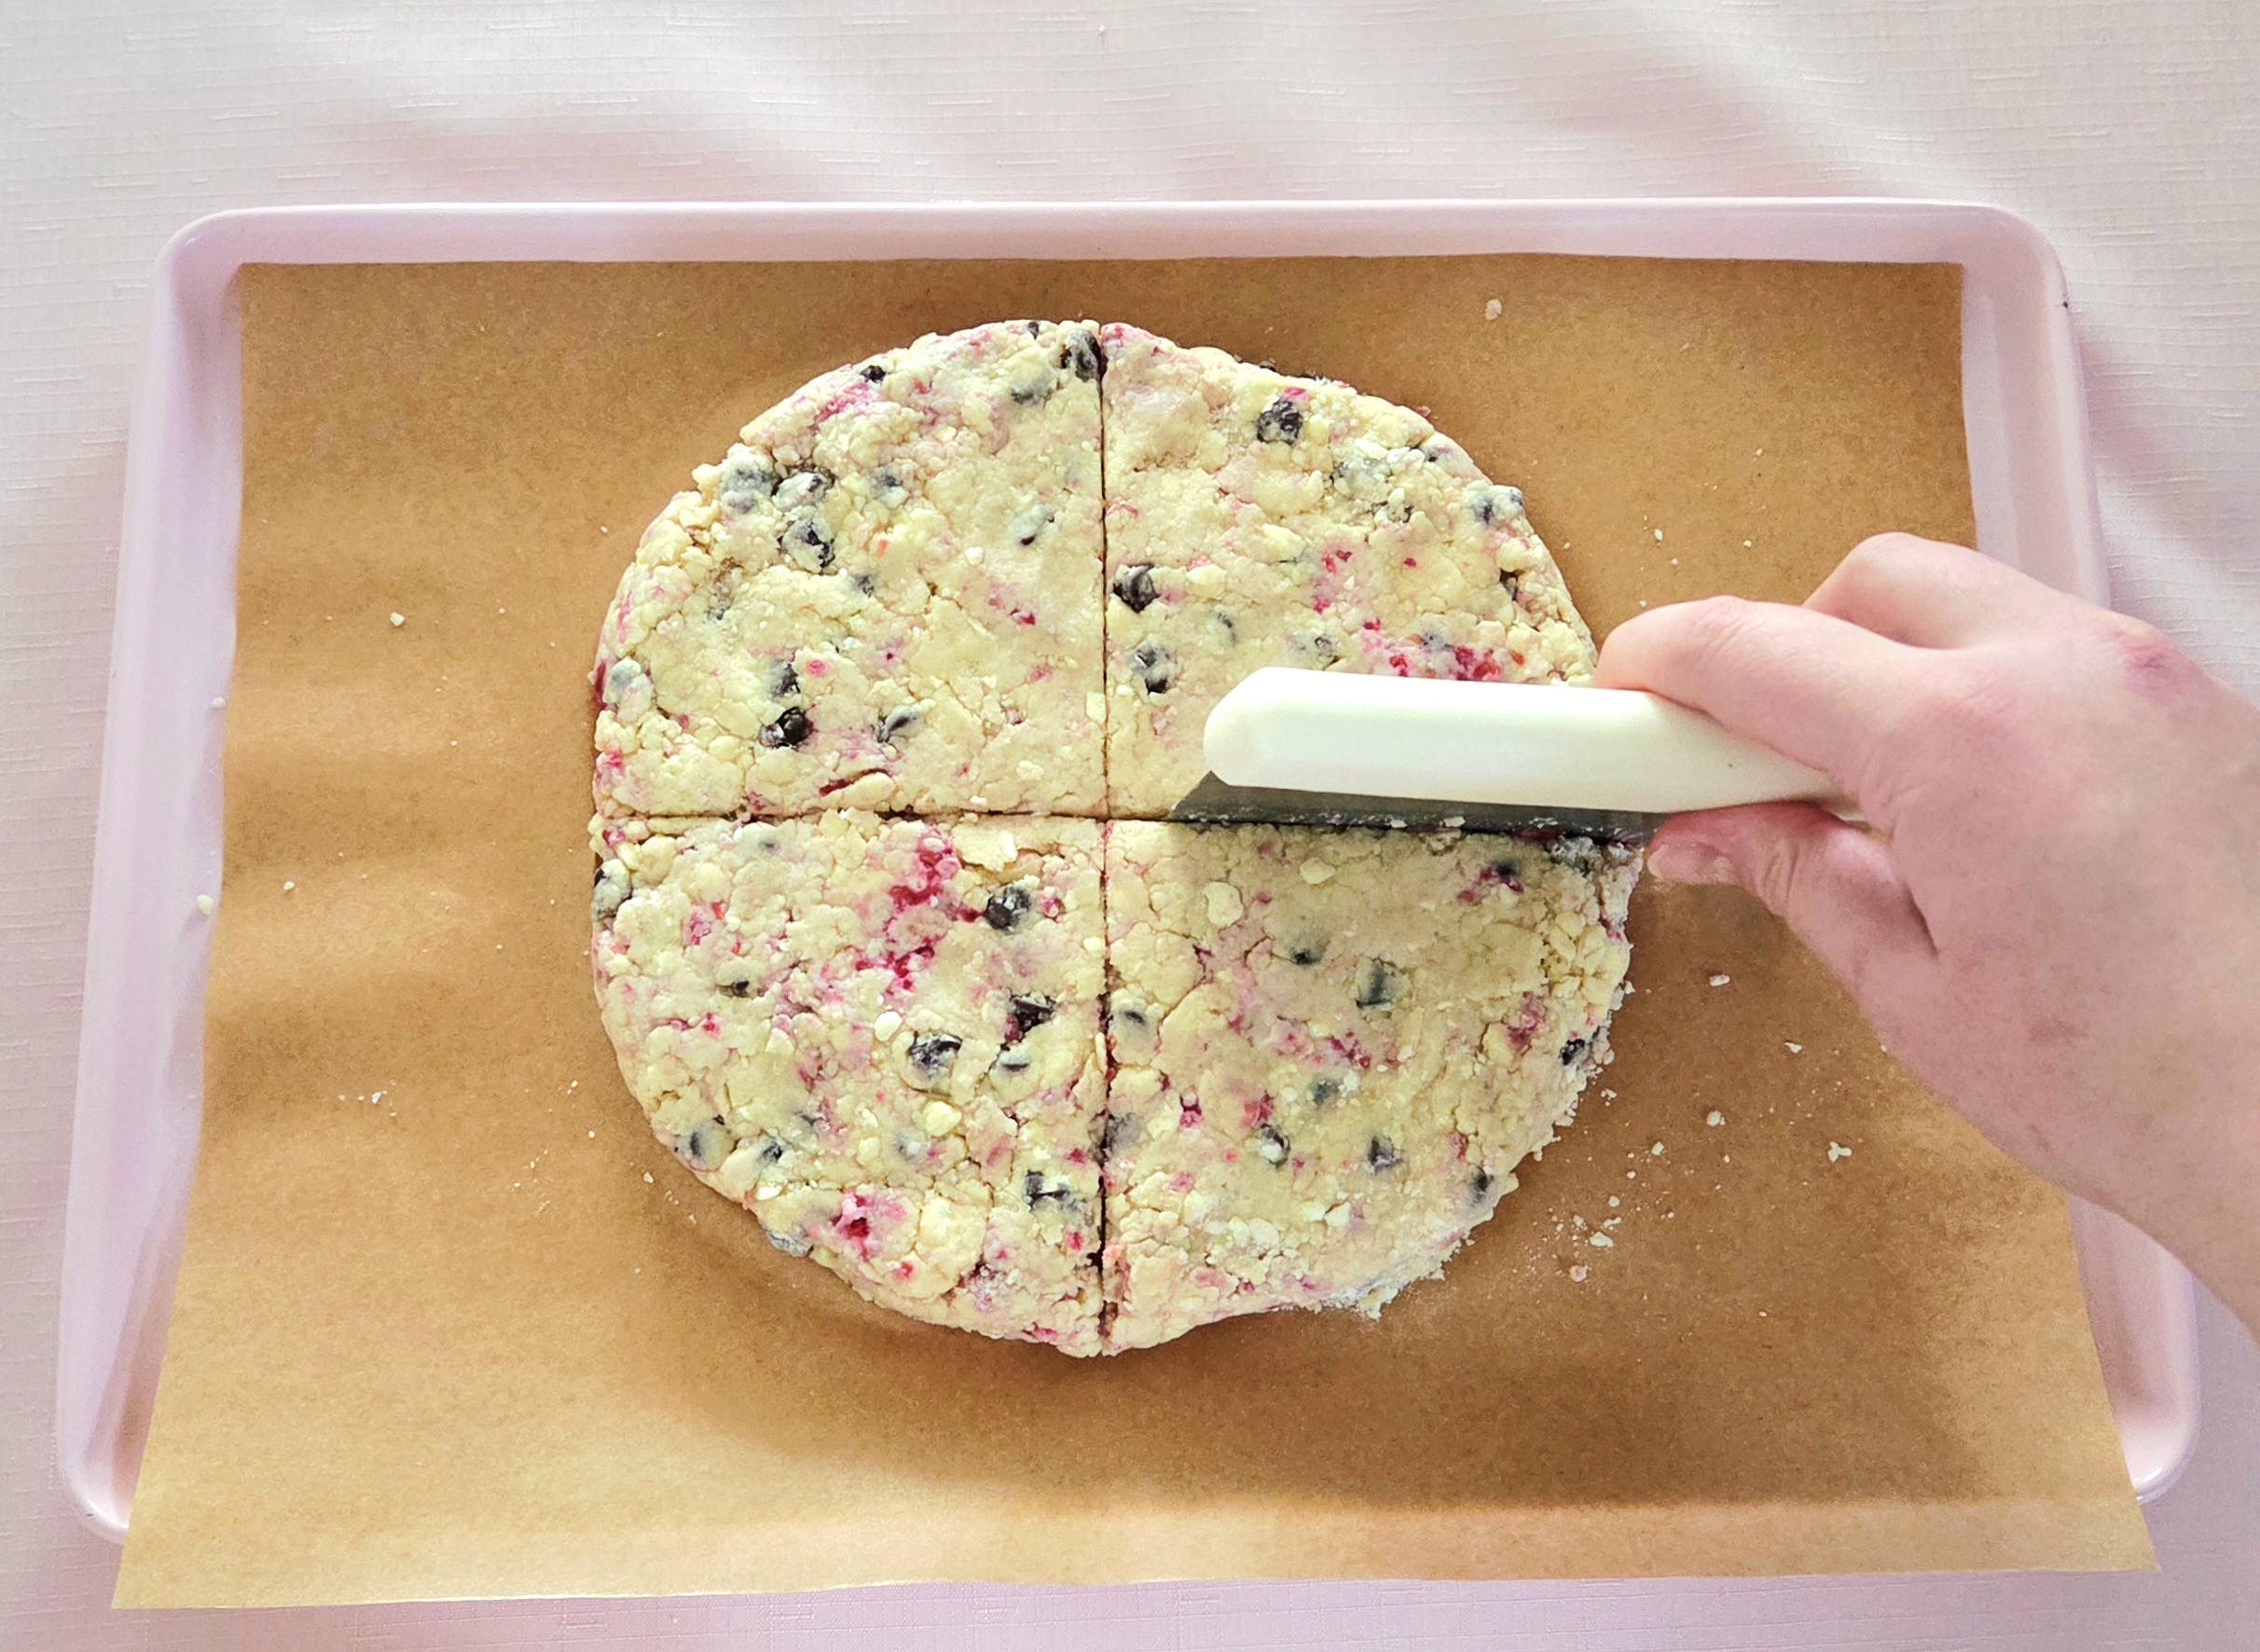
After the dough has thoroughly chilled, it’s time to portion the scones out. Using either a chef’s knife or a bench scraper, cut the circle in half. Press straight down, rather than sawing back and forth, to get a cleaner cut.
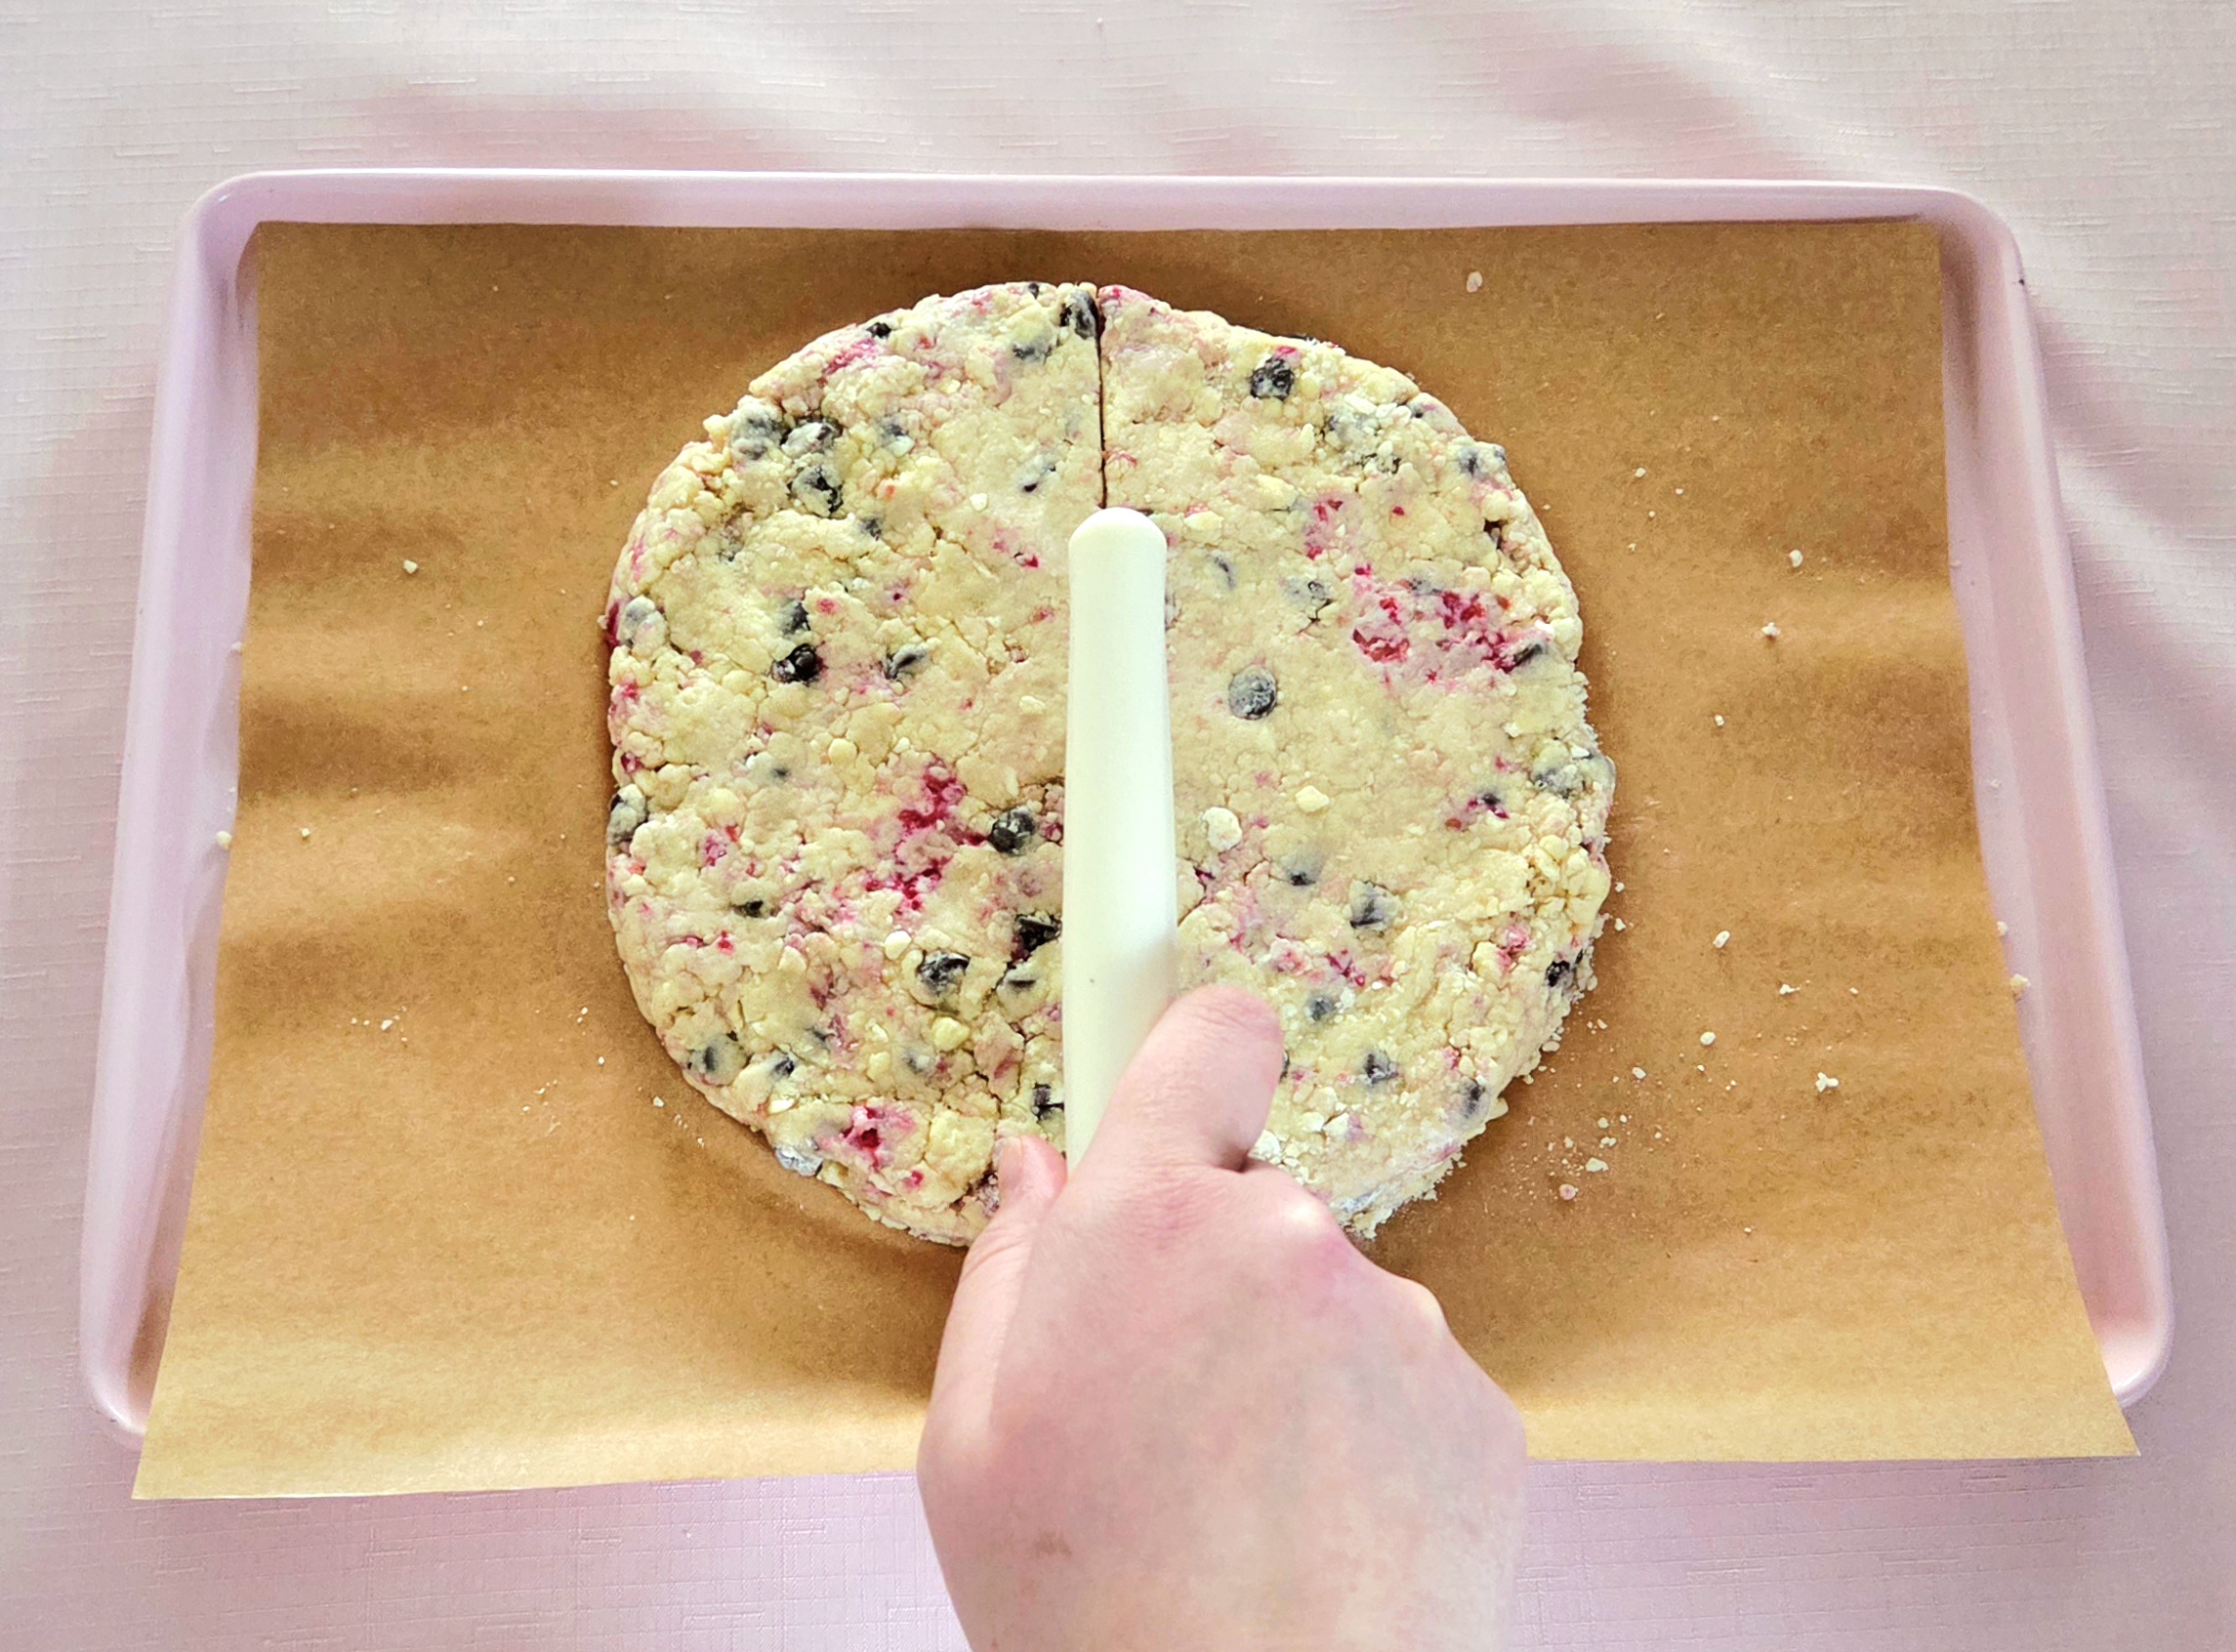
Cut the dough in half the other way, so the circle is now in quarters. Cut each quarter in half. In the end, you should have 8 fairly equal scones.
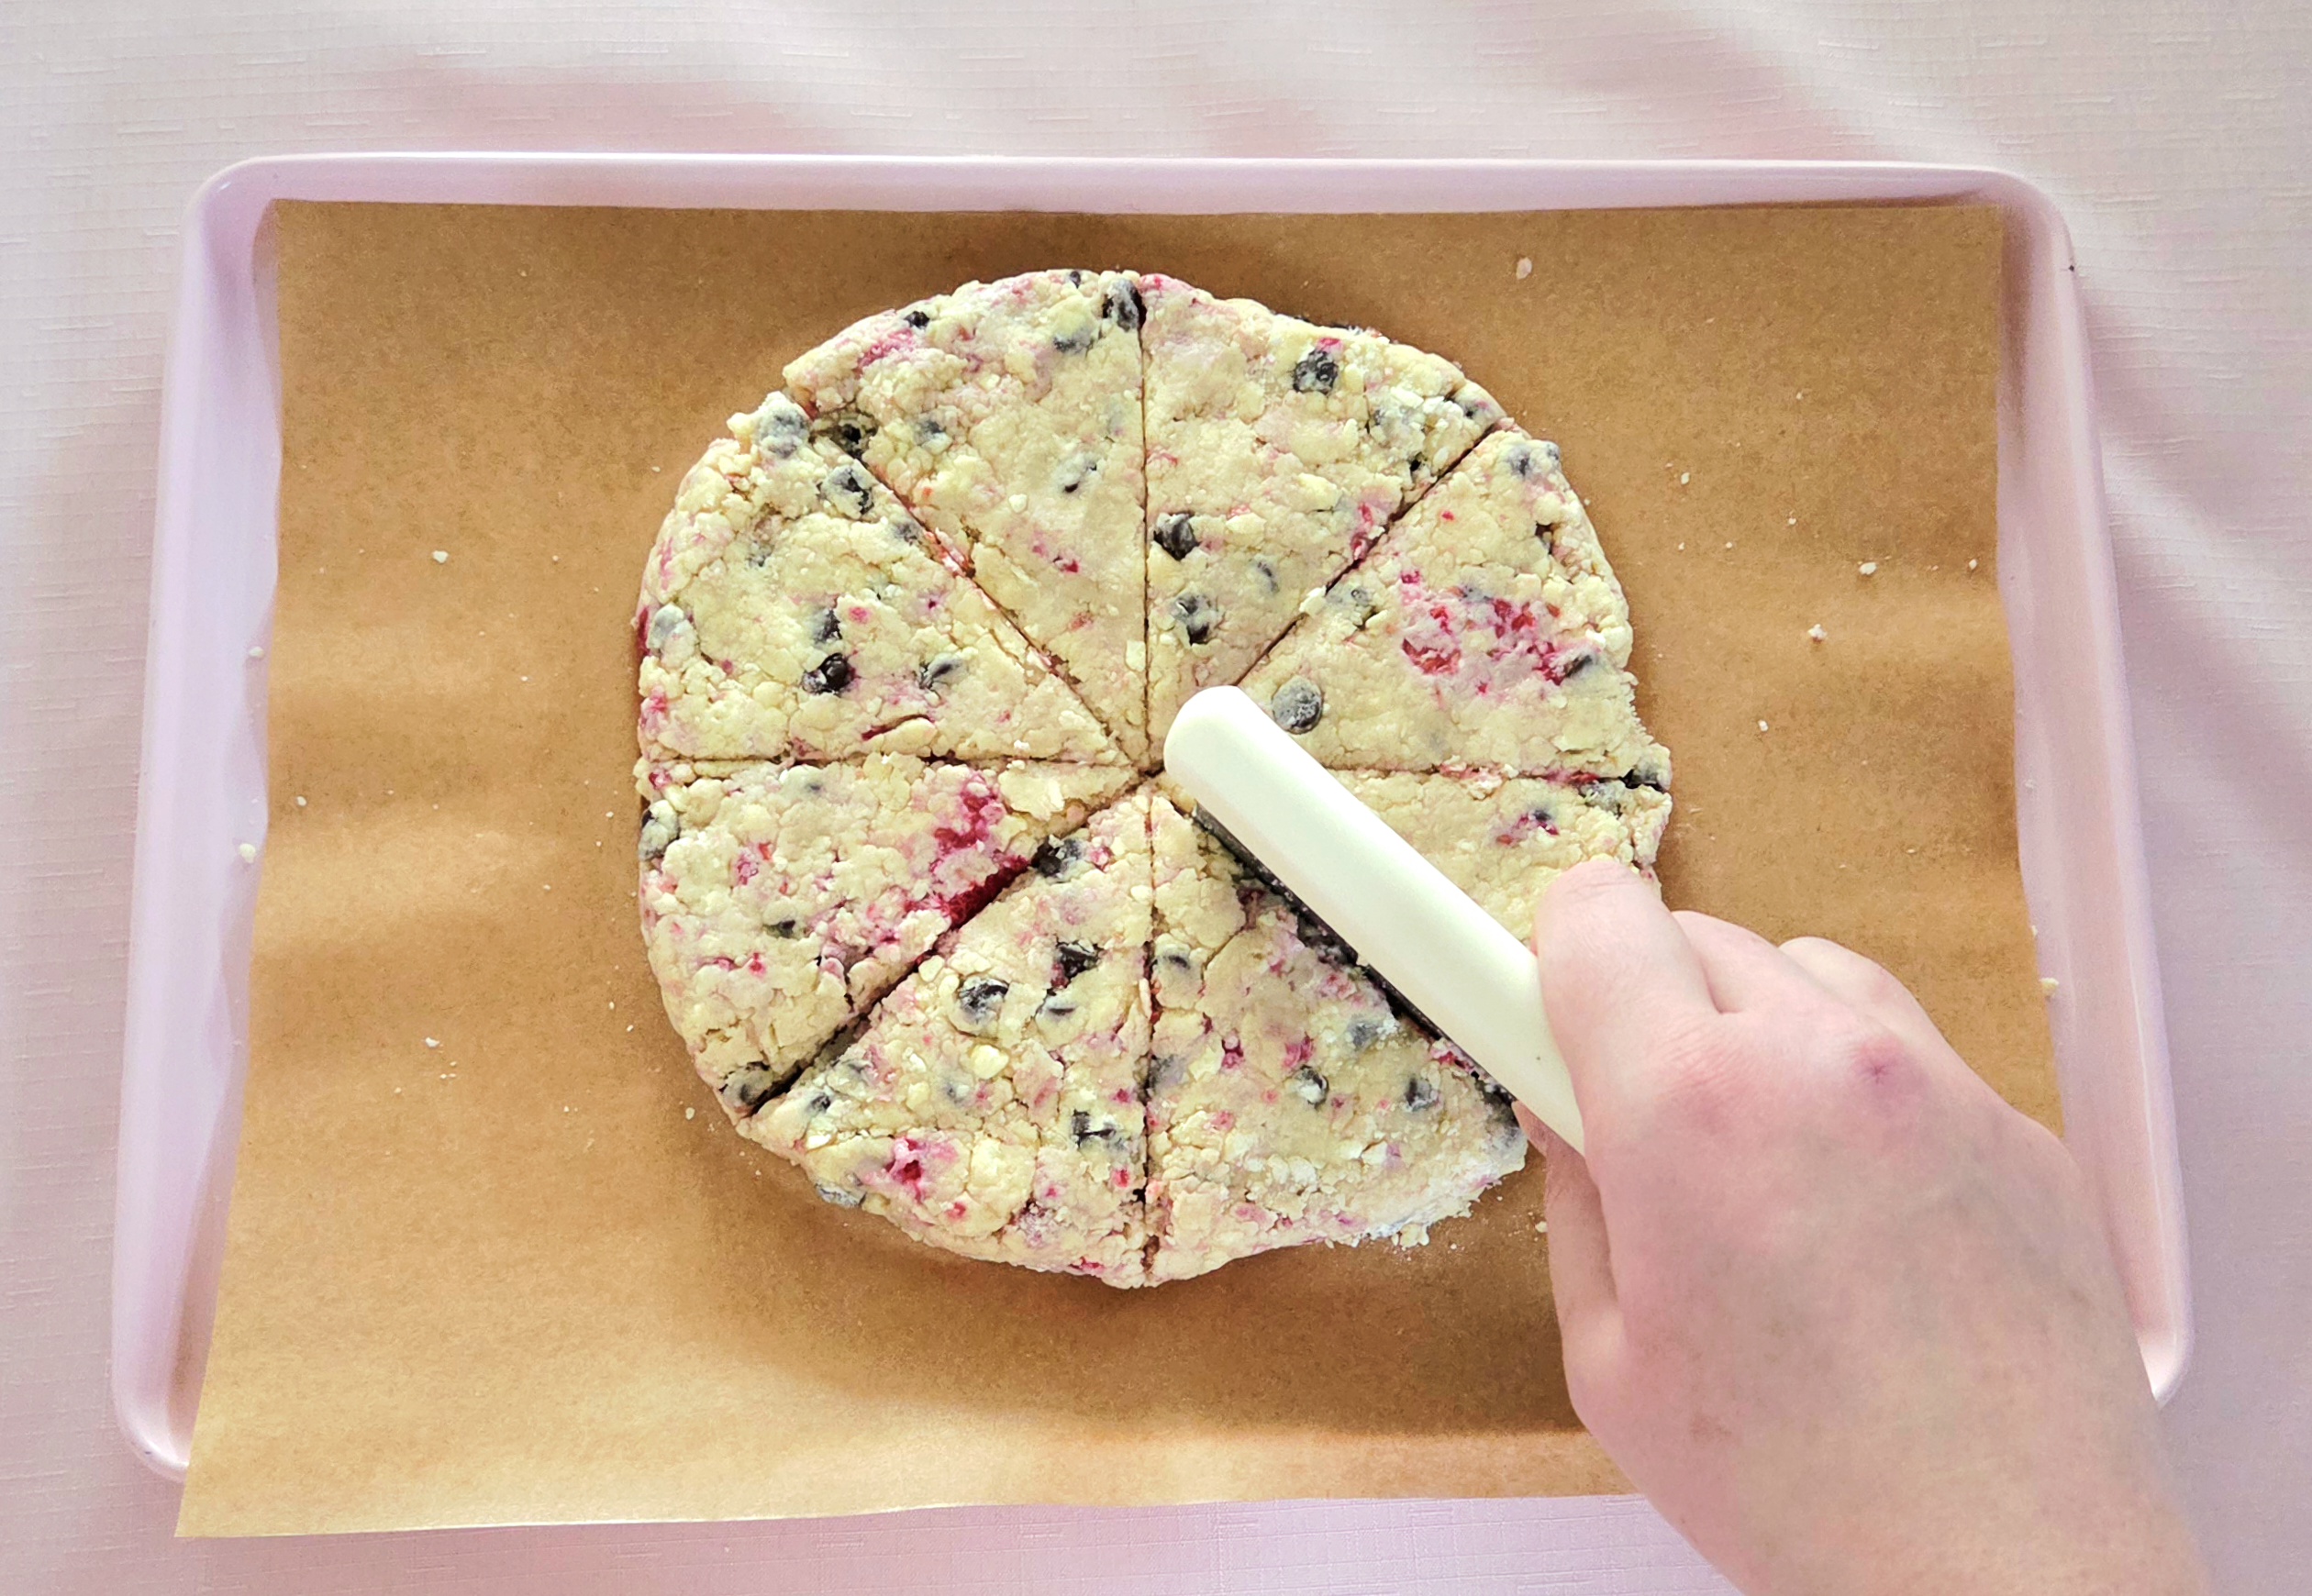
Use the bench scraper to separate the scones and space out 4 onto the prepared second baking sheet. Place them in the oven and bake for 12-14 minutes, flipping halfway through. They should be a beautiful toasty golden brown in the end. Cover the other 4 scones and return them to the fridge while the first batch bakes.

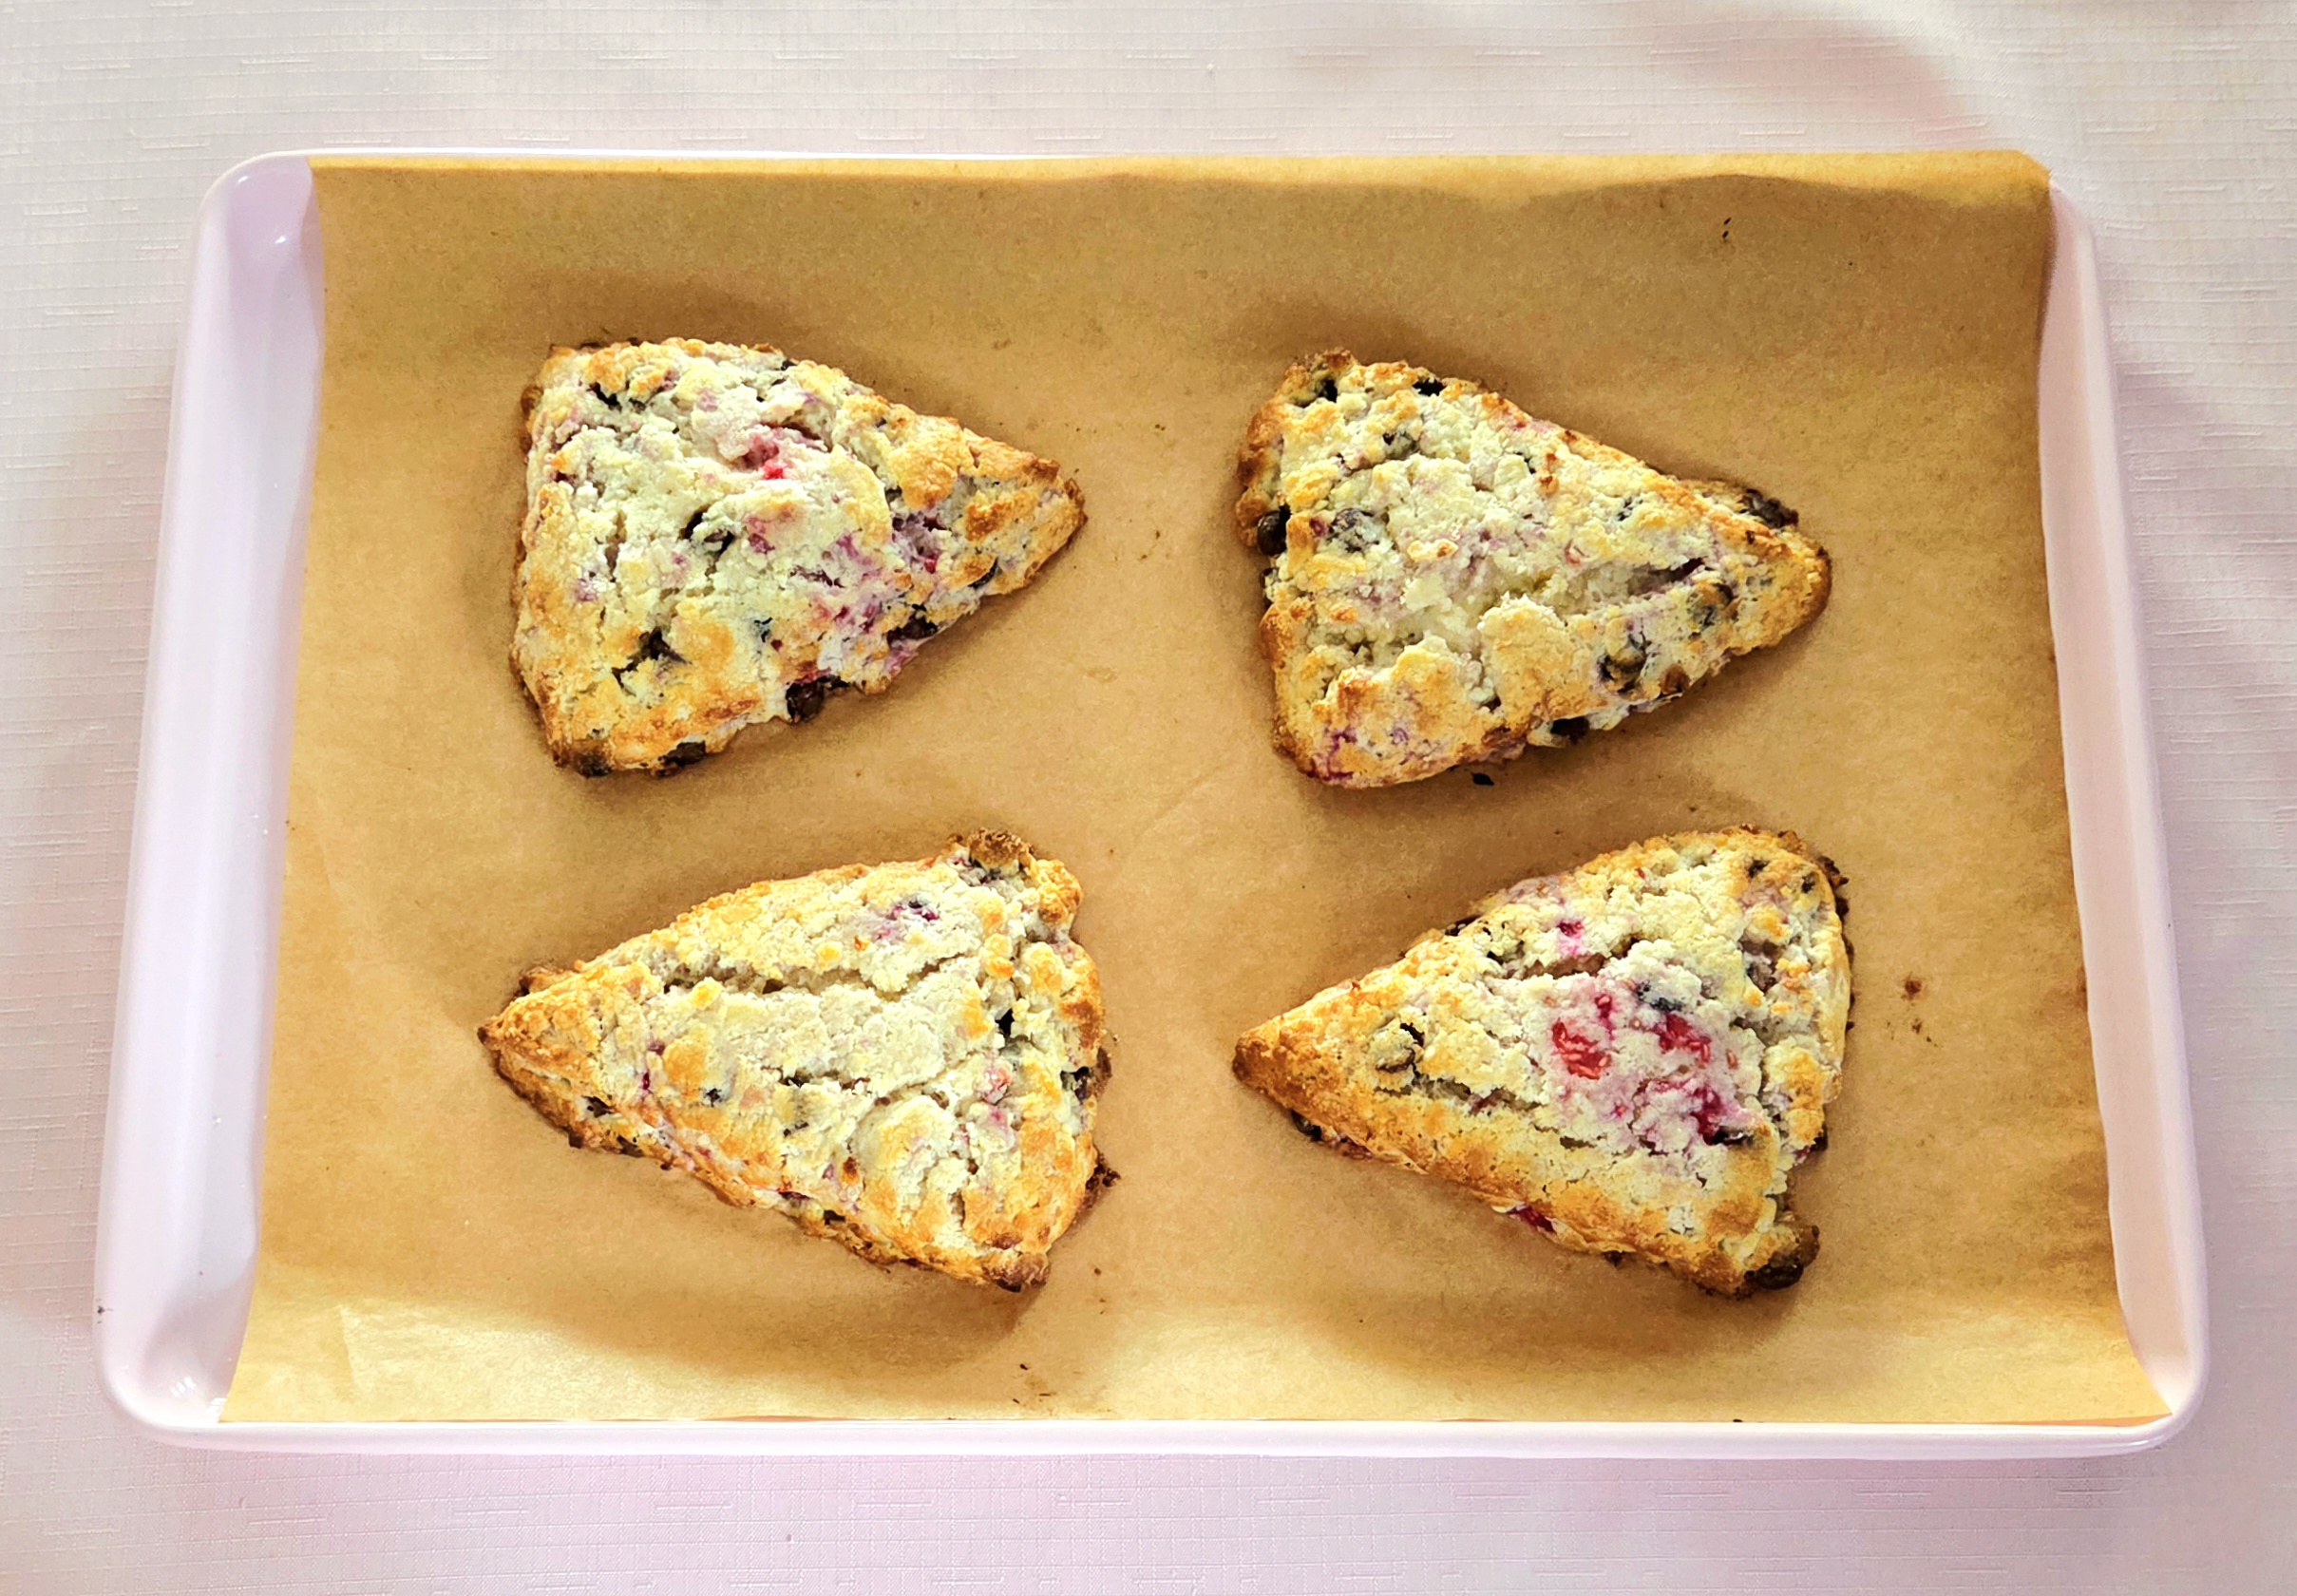
Repeat this with the second pan of scones, spacing them out before placing them onto the center rack of the oven. Allow the finished scones a few minutes to set on the pan they were baked on, then transfer them over to a cooling rack to finish. These few undisturbed minutes prevent the scones from completely falling apart when you go to move them.

Once the scones have cooled to room temperature (or close to it, if the temptation is too great), dig in and enjoy! Place any uneaten scones in an airtight container or gallon sized zip-top bag for up to one day.


Dark Chocolate Raspberry Scones
Bake Time: 425F for 12-14 minutes
Servings: 8 scones
Total Time: 2 hours
Prep Time: 30 Minutes
Ingredients:
- 6 Tablespoons unsalted butter
- 2 ½ cups all-purpose flour
- ⅔ cup granulated sugar
- 1 Tablespoon baking powder
- ¾ teaspoon salt
- 1 cup fresh raspberries
- ⅔ cup dark chocolate chips
- 1 cup heavy cream
Directions:
- Begin by dicing up the butter and placing it on a plate in the fridge, to stay cold until you’re ready for it. Line a pan with a sheet of parchment paper, set it aside.
- In a large mixing bowl, whisk together the flour, sugar, baking powder, and salt. Scatter the diced up butter on top of the dry goods and, using a pastry blender, cut the butter in. You’re done when everything has combined into a lovely sandy texture, as shown above.
- Take the raspberries and tear them up into ¼-½ inch pieces as you add them into the mixture. Dump in the chocolate chips then, using a fork, whisk it all together. Create a well in the center.
- Pour the heavy cream into the well and whisk the dough together with a fork. Grab the lined sheet pan and as the dough comes together, place the hydrated clumps onto the baking sheet. If there’s a significant amount of dry goods left, add in another Tablespoon of heavy cream and whisk it in to hydrate it before adding it to the rest of the dough.
- Press the dough into a 9-inch circle, around 1-inch thick. Cover the dough with plastic wrap and place it in the fridge for a minimum of 1 hour to chill. While the scone dough chills, heat the oven to 425F, on the convection setting if possible. Line another sheet pan with parchment paper and set it aside until you’re ready to bake.
- Once the dough has finished chilling, remove the plastic wrap and using either a bench scraper or sharp knife, cut the circle in half one way and then the other, so it’s in quarters. Cut each quarter in half, so you have 8 equal pieces.
- Place 4 well-spaced scones onto the second lined baking sheet, and cover the other 4 scones with the plastic wrap to return to the fridge. Bake the scones on the center rack in the oven for 12-14 minutes, flipping halfway through. They should be a beautiful golden brown color when they come out of the oven.
- Repeat this with the second pan of scones. Transfer the finished product over to a cooling rack. When the scones have cooled down to room temperature, break into one and enjoy! Place any remaining scones into an airtight container or zip-top bag for up to one day.
Tips
- If you find the pastry is getting too warm, just cover it with the plastic wrap and return it to the fridge until it chills out again. Cold dough is much easier to work with.
- Unbaked scones can be frozen! Follow the recipe through until step 6. Then, instead of baking them off, separate the wedges on the baking sheet. Wrap the sheet in plastic and place it in the freezer. Once the scones are frozen solid, transfer them over to a freezer safe bag and freeze them for up to 3 months. Pull and bake the desired amount at 425F for 12-14 minutes, making sure they stay well spaced.


0 Comments