

Chocolate chip cookies are a staple in American households, and for good reason. They’re sweet, chewy, gooey, and dripping with nostalgia. We all have memories of baking them with a parent, grandparent, aunt or uncle, sibling, neighbor, or friend. It may not have been from scratch at that point, but that doesn’t tarnish the baking memory any. Besides, if you’ve never made chocolate chip cookies from scratch before, now is the perfect time to jump in and do it!
I designed this recipe with my daughter in mind, when she was still a toddler. I love activities that translate into adult skills later on in life, and cooking and baking fit that bill beautifully. However, anyone who’s ever done anything with a toddler knows that it can be challenging and patience-trying, at best. So these cookies needed to come together quickly, and be easy enough that most of the steps could be completed by a toddler with minimal assistance. No fancy mixer, no unfamiliar ingredients, just simply delicious chocolate chip cookies. The perfect recipe for a complete beginner!
FAQs and Science
Why melt the butter? Liquid fat helps in creating a chewy texture later on. Plus, it makes for easier mixing without the need for any kind of electric mixer!
Could I brown the butter rather than just melting it? You can, but if you’re going to go that route, add an extra 2 Tablespoons of butter to make up for the lost water while browning. Place the now 14 Tablespoons of butter in a saucepan on the stove top and cook it over medium heat. Expect some splatter as it starts to reach a boil, and pay close attention as it can go from brown to burned in a matter of seconds. Gently swirl the pan occasionally for even heat distribution, and once the milk solids turn a golden brown, immediately remove it from the heat and pour it into the medium mixing bowl. Allow it to come down to room temperature before proceeding with the recipe as written.
Does it really matter if the egg is room temperature? Bringing the egg up to room temperature will aid in the emulsification of the dough. Ingredients like to come together better when they’re all of similar temperature. To do this quickly, at the beginning of your baking adventure, place the egg in a bowl and cover it completely with the hottest water that will come out of your tap. By the time you’re ready for the egg, it will be good to go.
What would happen if I just baked the cookies without chilling the dough at all? The cookies would spread more and be less chewy. Patience is a virtue for the best mouthfeel you can develop.
Can I freeze these? Absolutely! Follow the recipe up until step 5, then instead of chilling the dough, scoop 2-Tablespoon portions, rolled into balls, onto a parchment or foil lined baking sheet small enough to fit in your freezer immediately. Don’t worry about spacing them out, just fit as many balls of dough next to each other as you can and place the sheet in the freezer. Once the dough has frozen solid, transfer the dough balls over to a freezer safe bag and store them for up to 3 months.
Pull and bake as many as you’d like to at one time, spaced two inches apart, at 350F for 10-12 minutes, flipping halfway through.
What You’ll Need

- 2 baking sheets
- Parchment paper
- Medium mixing bowl (microwave safe)
- Small mixing bowl
- Dry measuring cups
- Measuring spoons
- Whisk
- Rubber spatula
- 2-Tablespoon cookie scoop (optional)
- Spatula
- Cooling rack
The Process
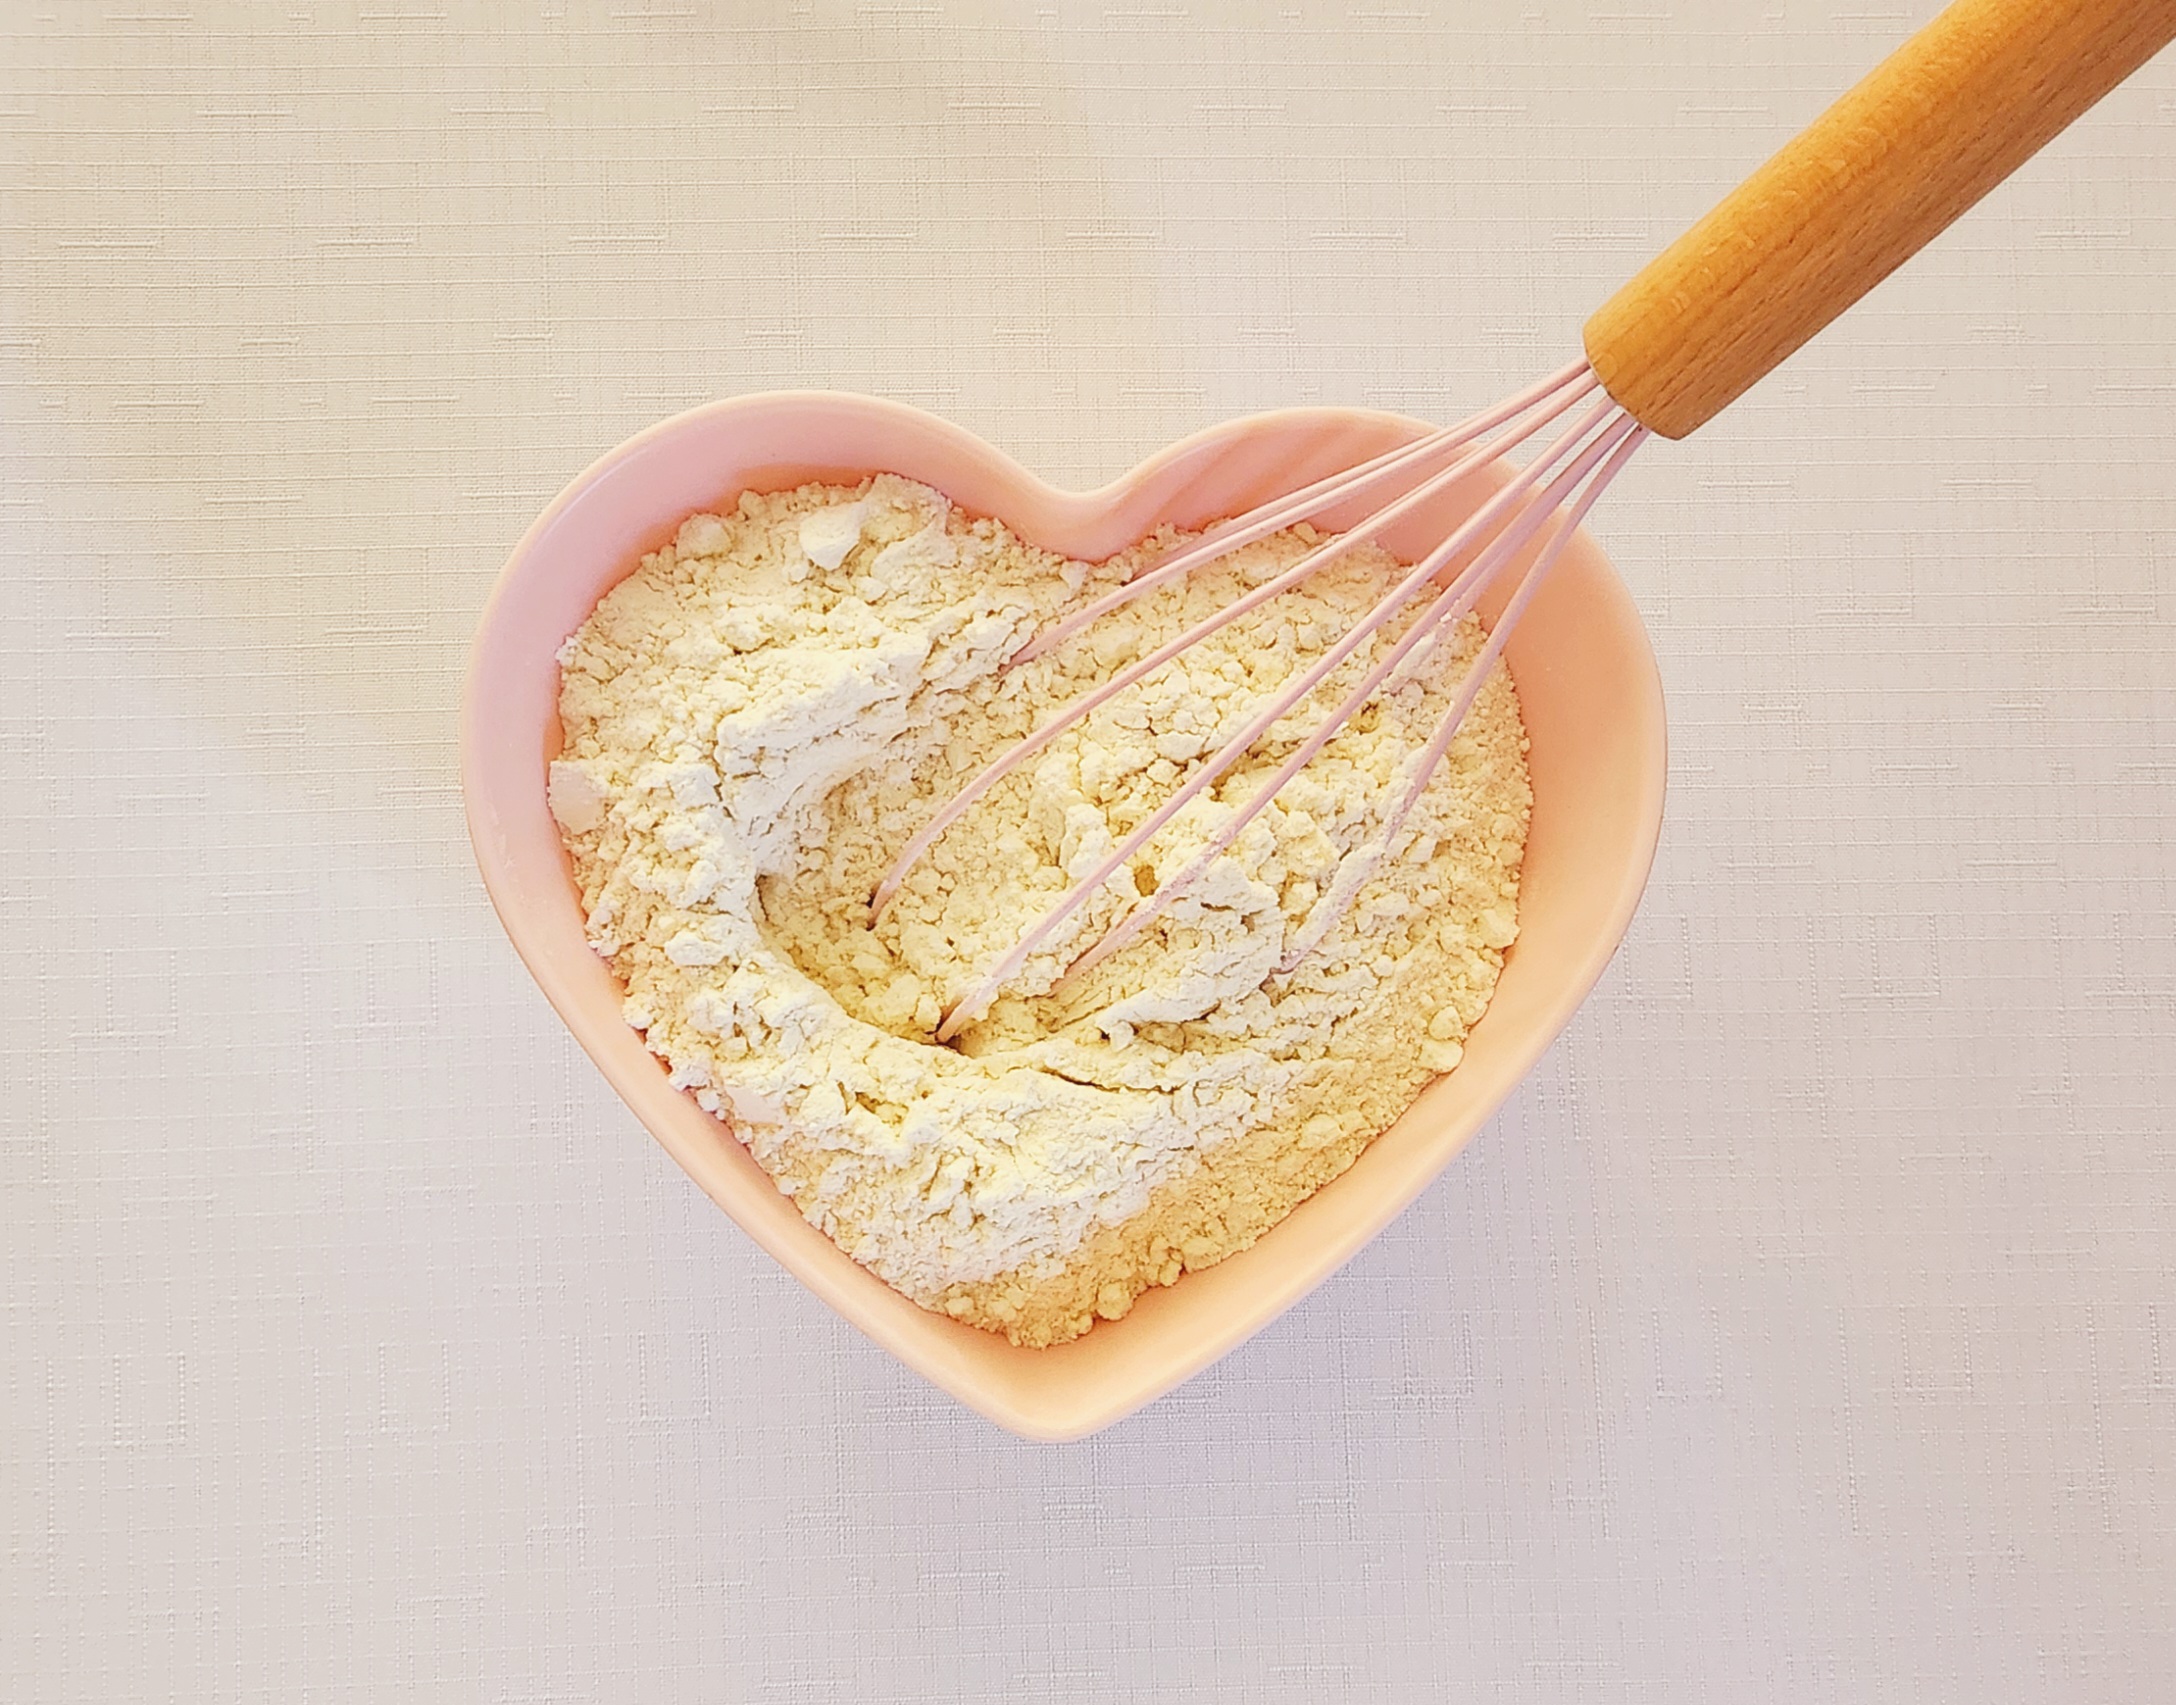
This recipe comes together very quickly, so don’t blink. In a small mixing bowl, whisk together the flour, baking soda, and salt. Set the dry goods aside.
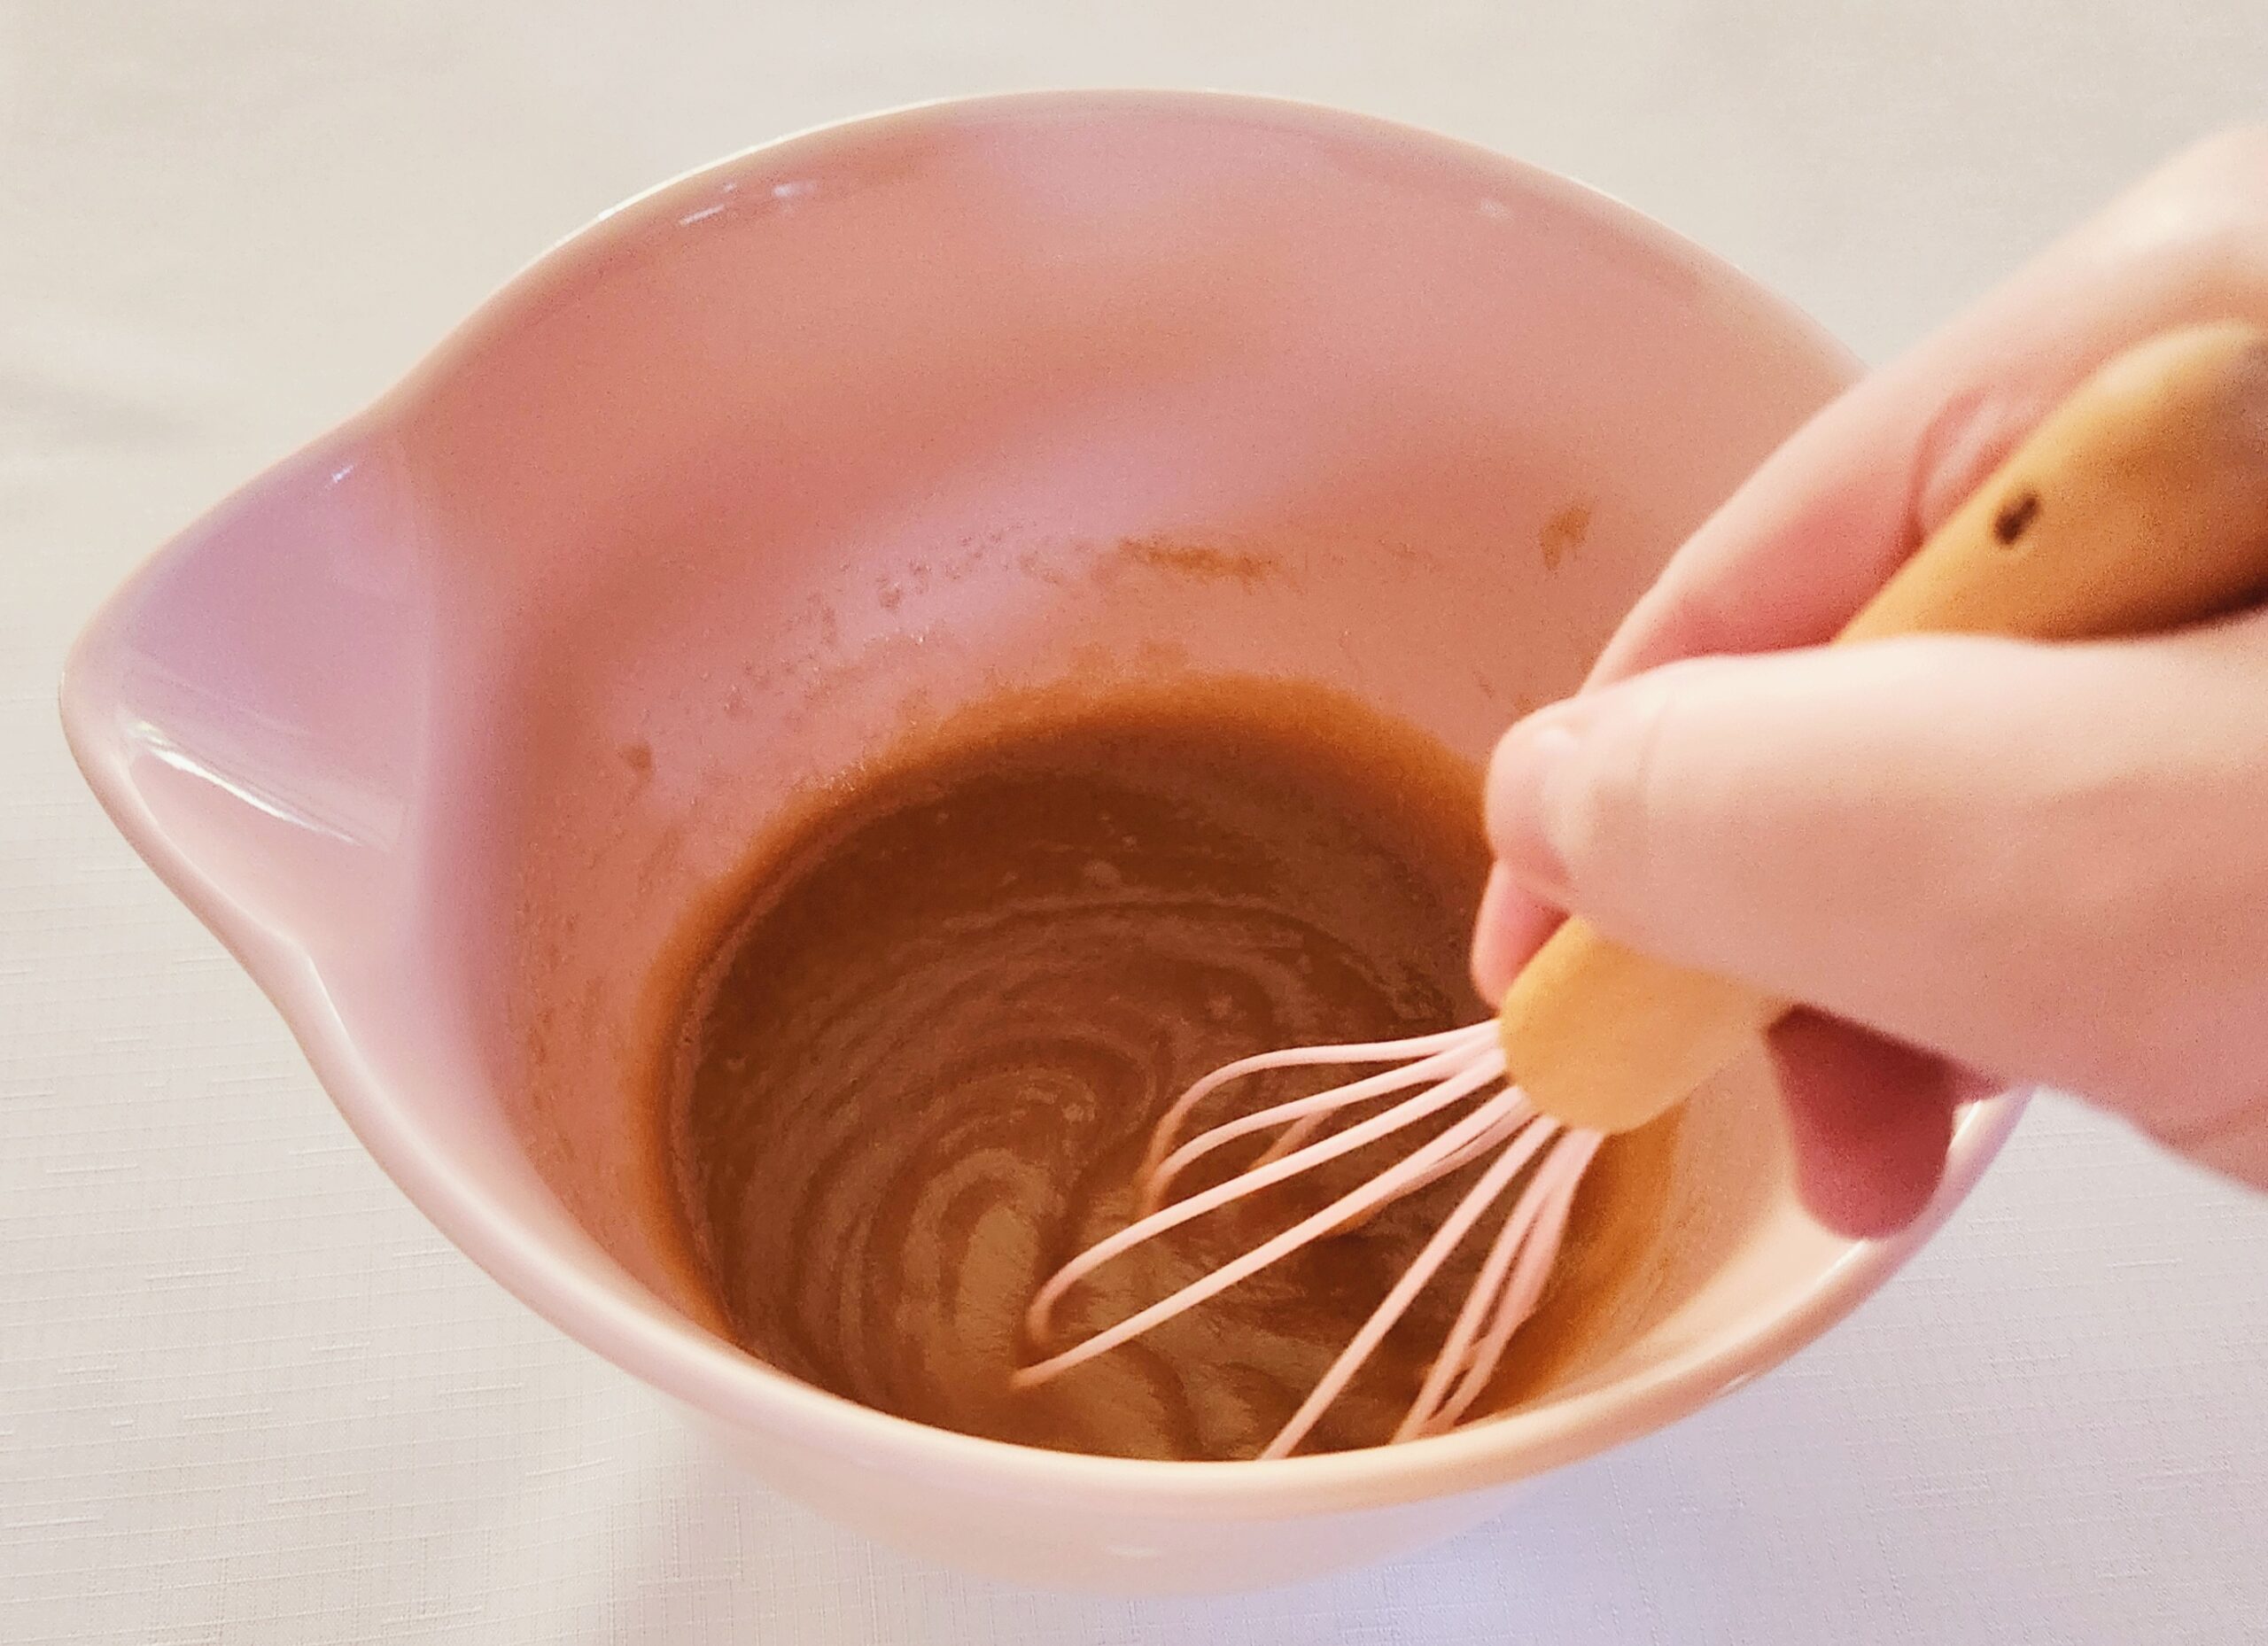
In a microwave safe medium mixing bowl, heat the butter in 30 second increments until it’s just melted, swirling in between to eliminate hot spots. Alternatively, if you’d like to brown the butter to add another flavor element, see the FAQs and Science Section for instructions on how to make that work for this recipe. I generally can’t be bothered, but that’s just my own laziness shining through. Add in the brown sugar and whisk until they come together in one smooth mixture.
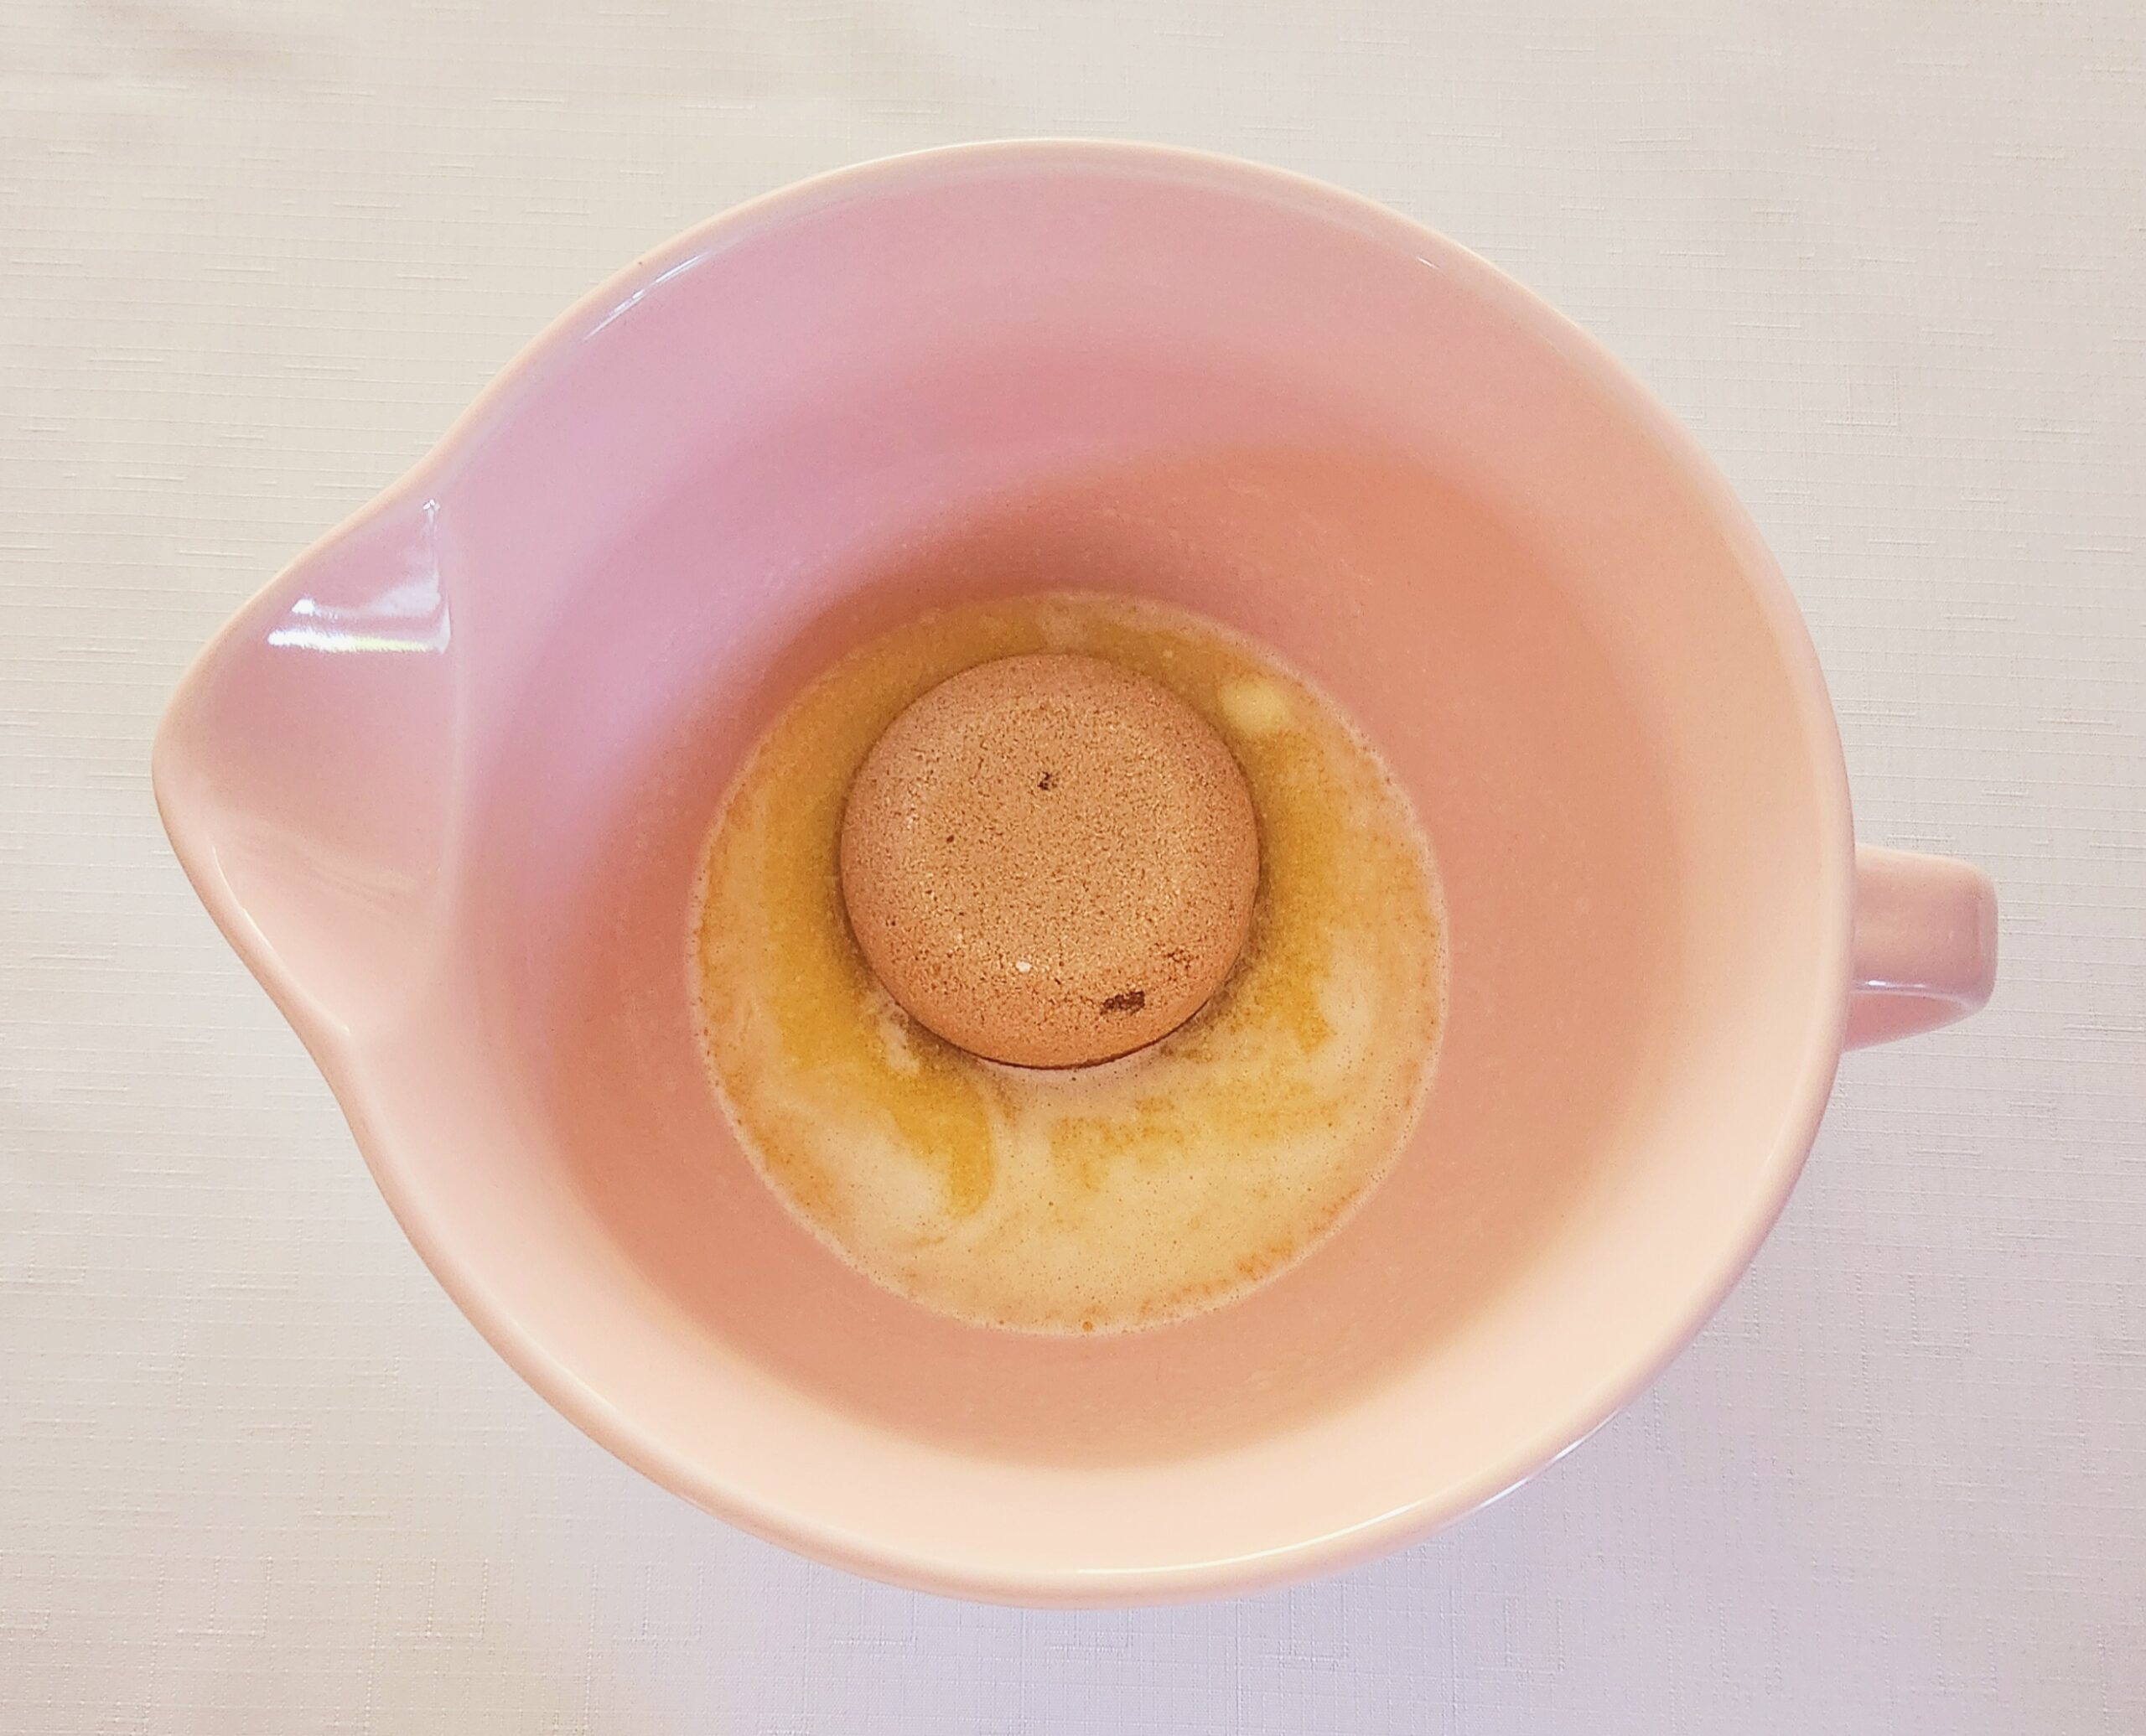
Whisk the egg and vanilla into the brown sugar mixture until it becomes homogeneous, about 30 seconds-1 minute. It’s important to make sure the egg actually is at room temperature before you mix it in, as having everything at the same temperature makes for a much better emulsion of everything. To do that quickly, at the beginning of your baking journey, place the egg inside of a bowl and cover it with the hottest water that will come out of your tap. By the time you’re ready to crack it, it will be at the right temp!

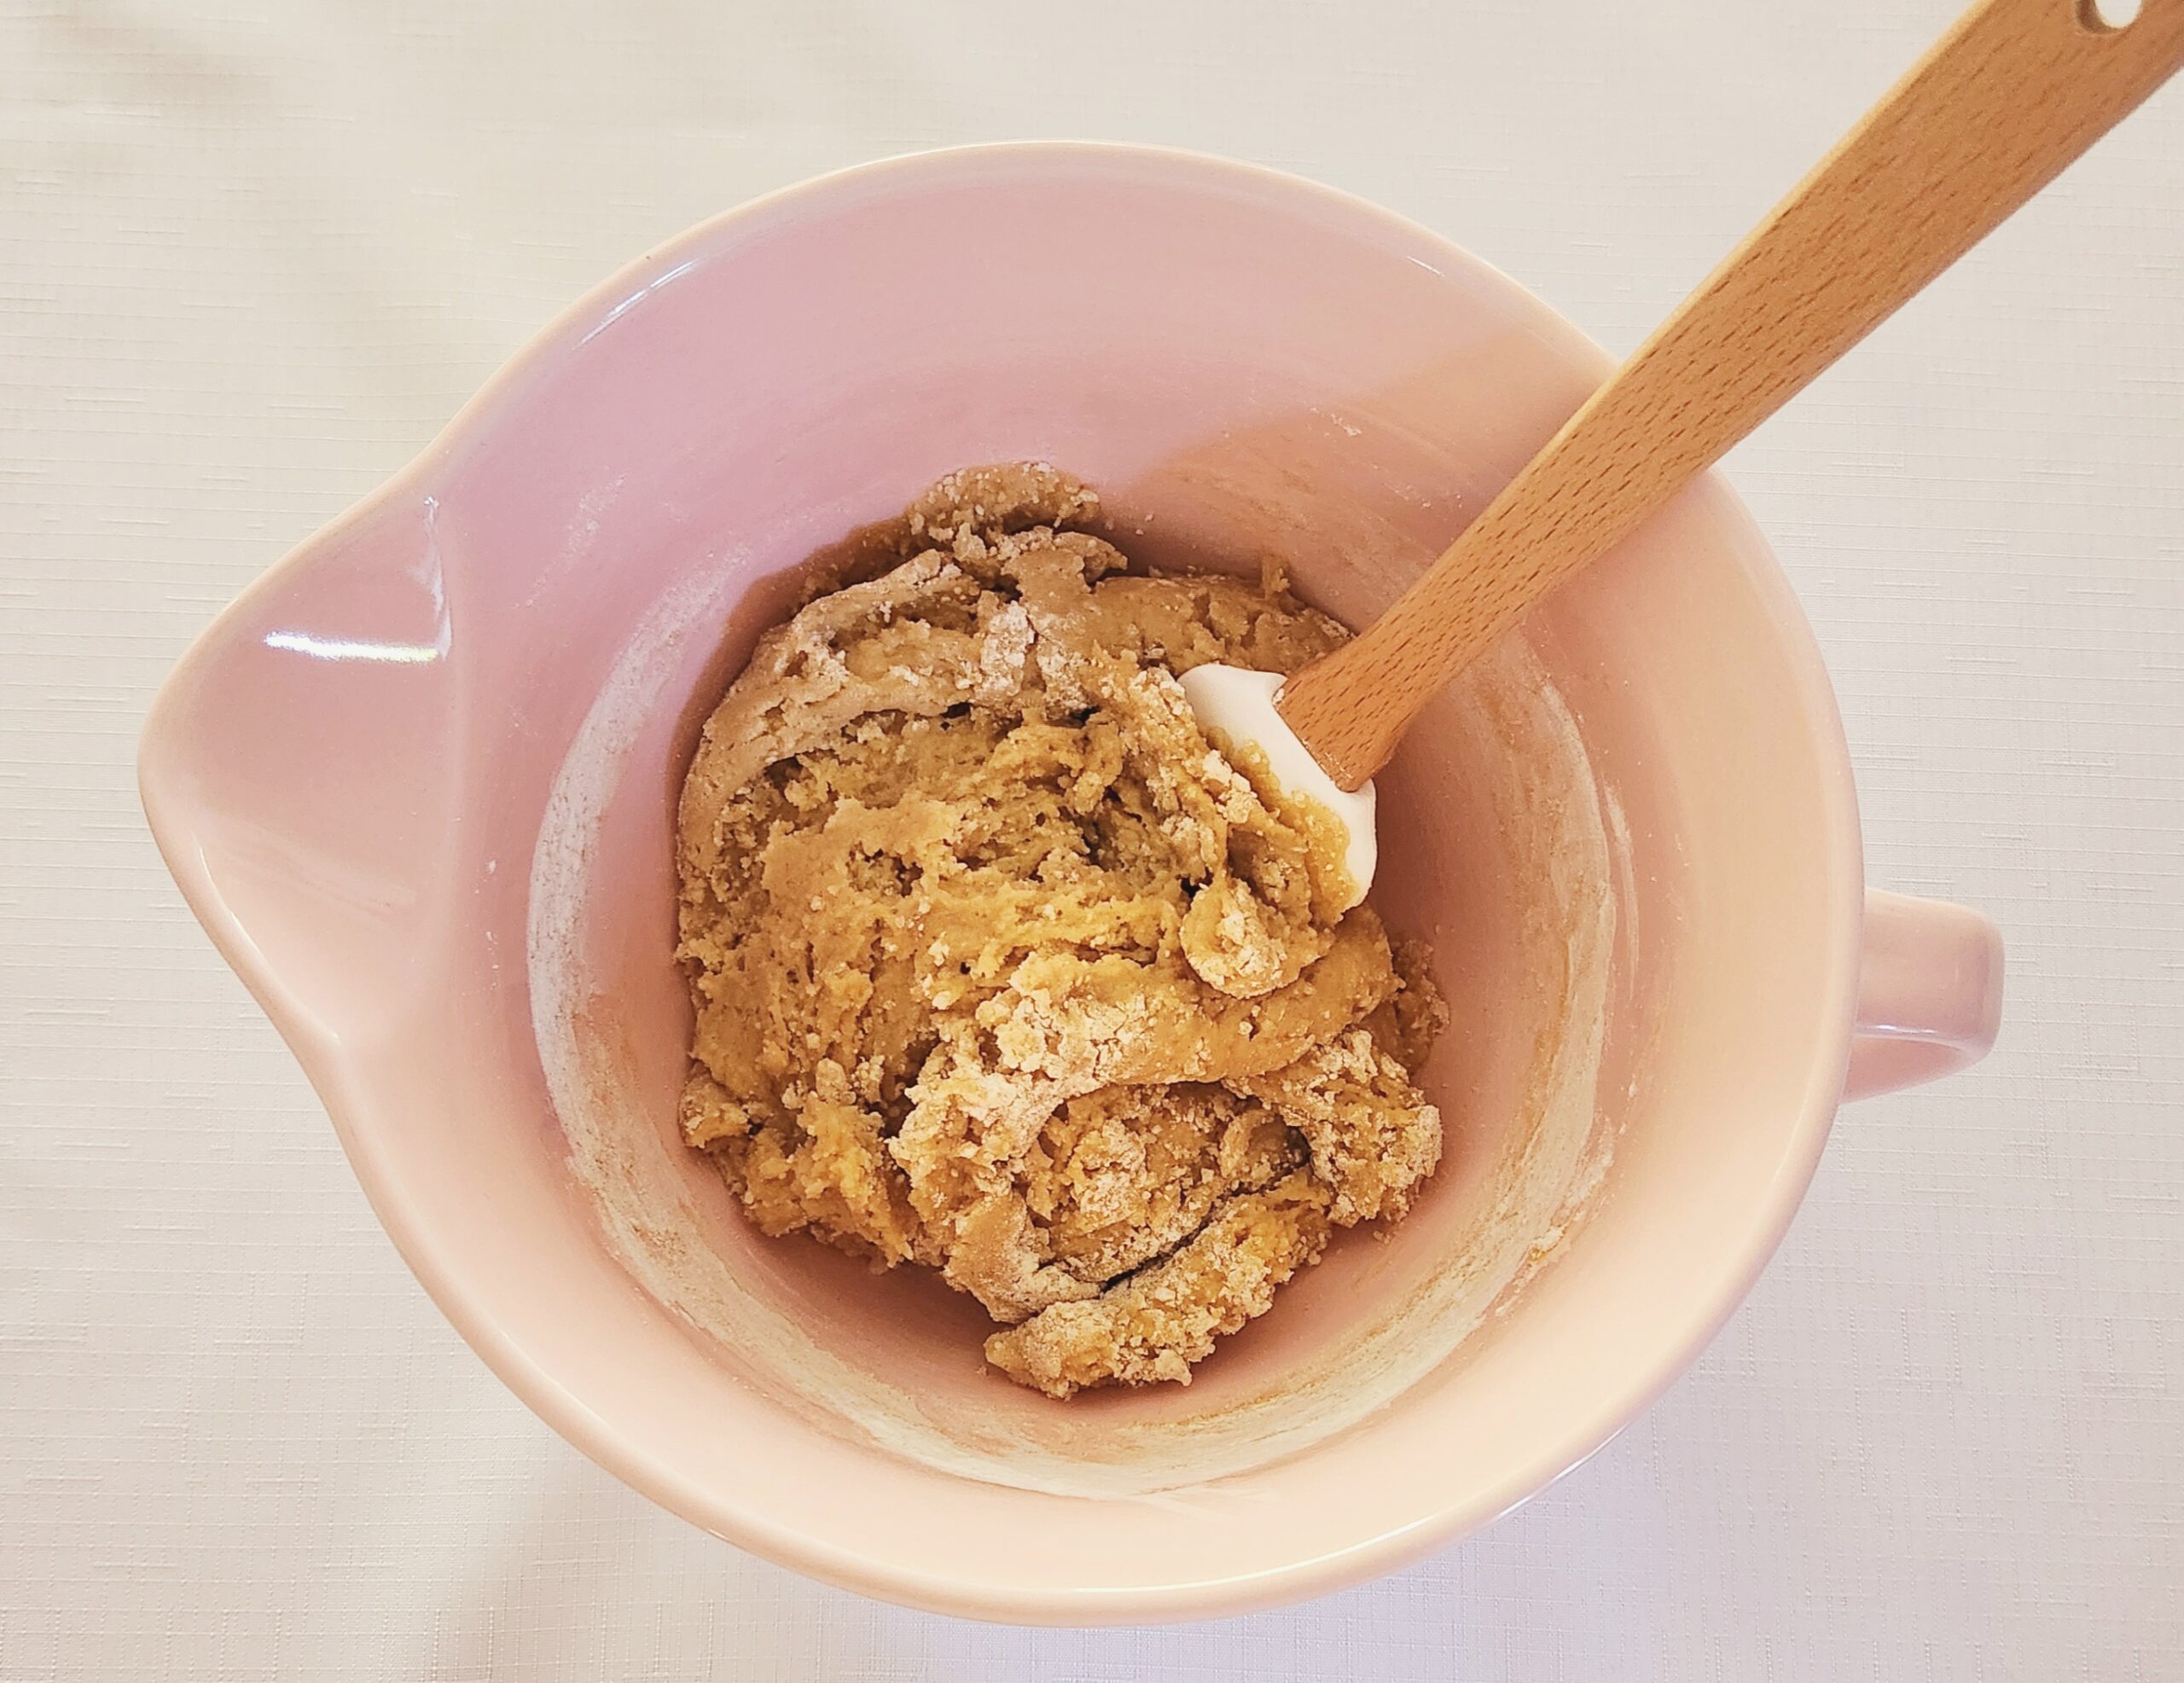
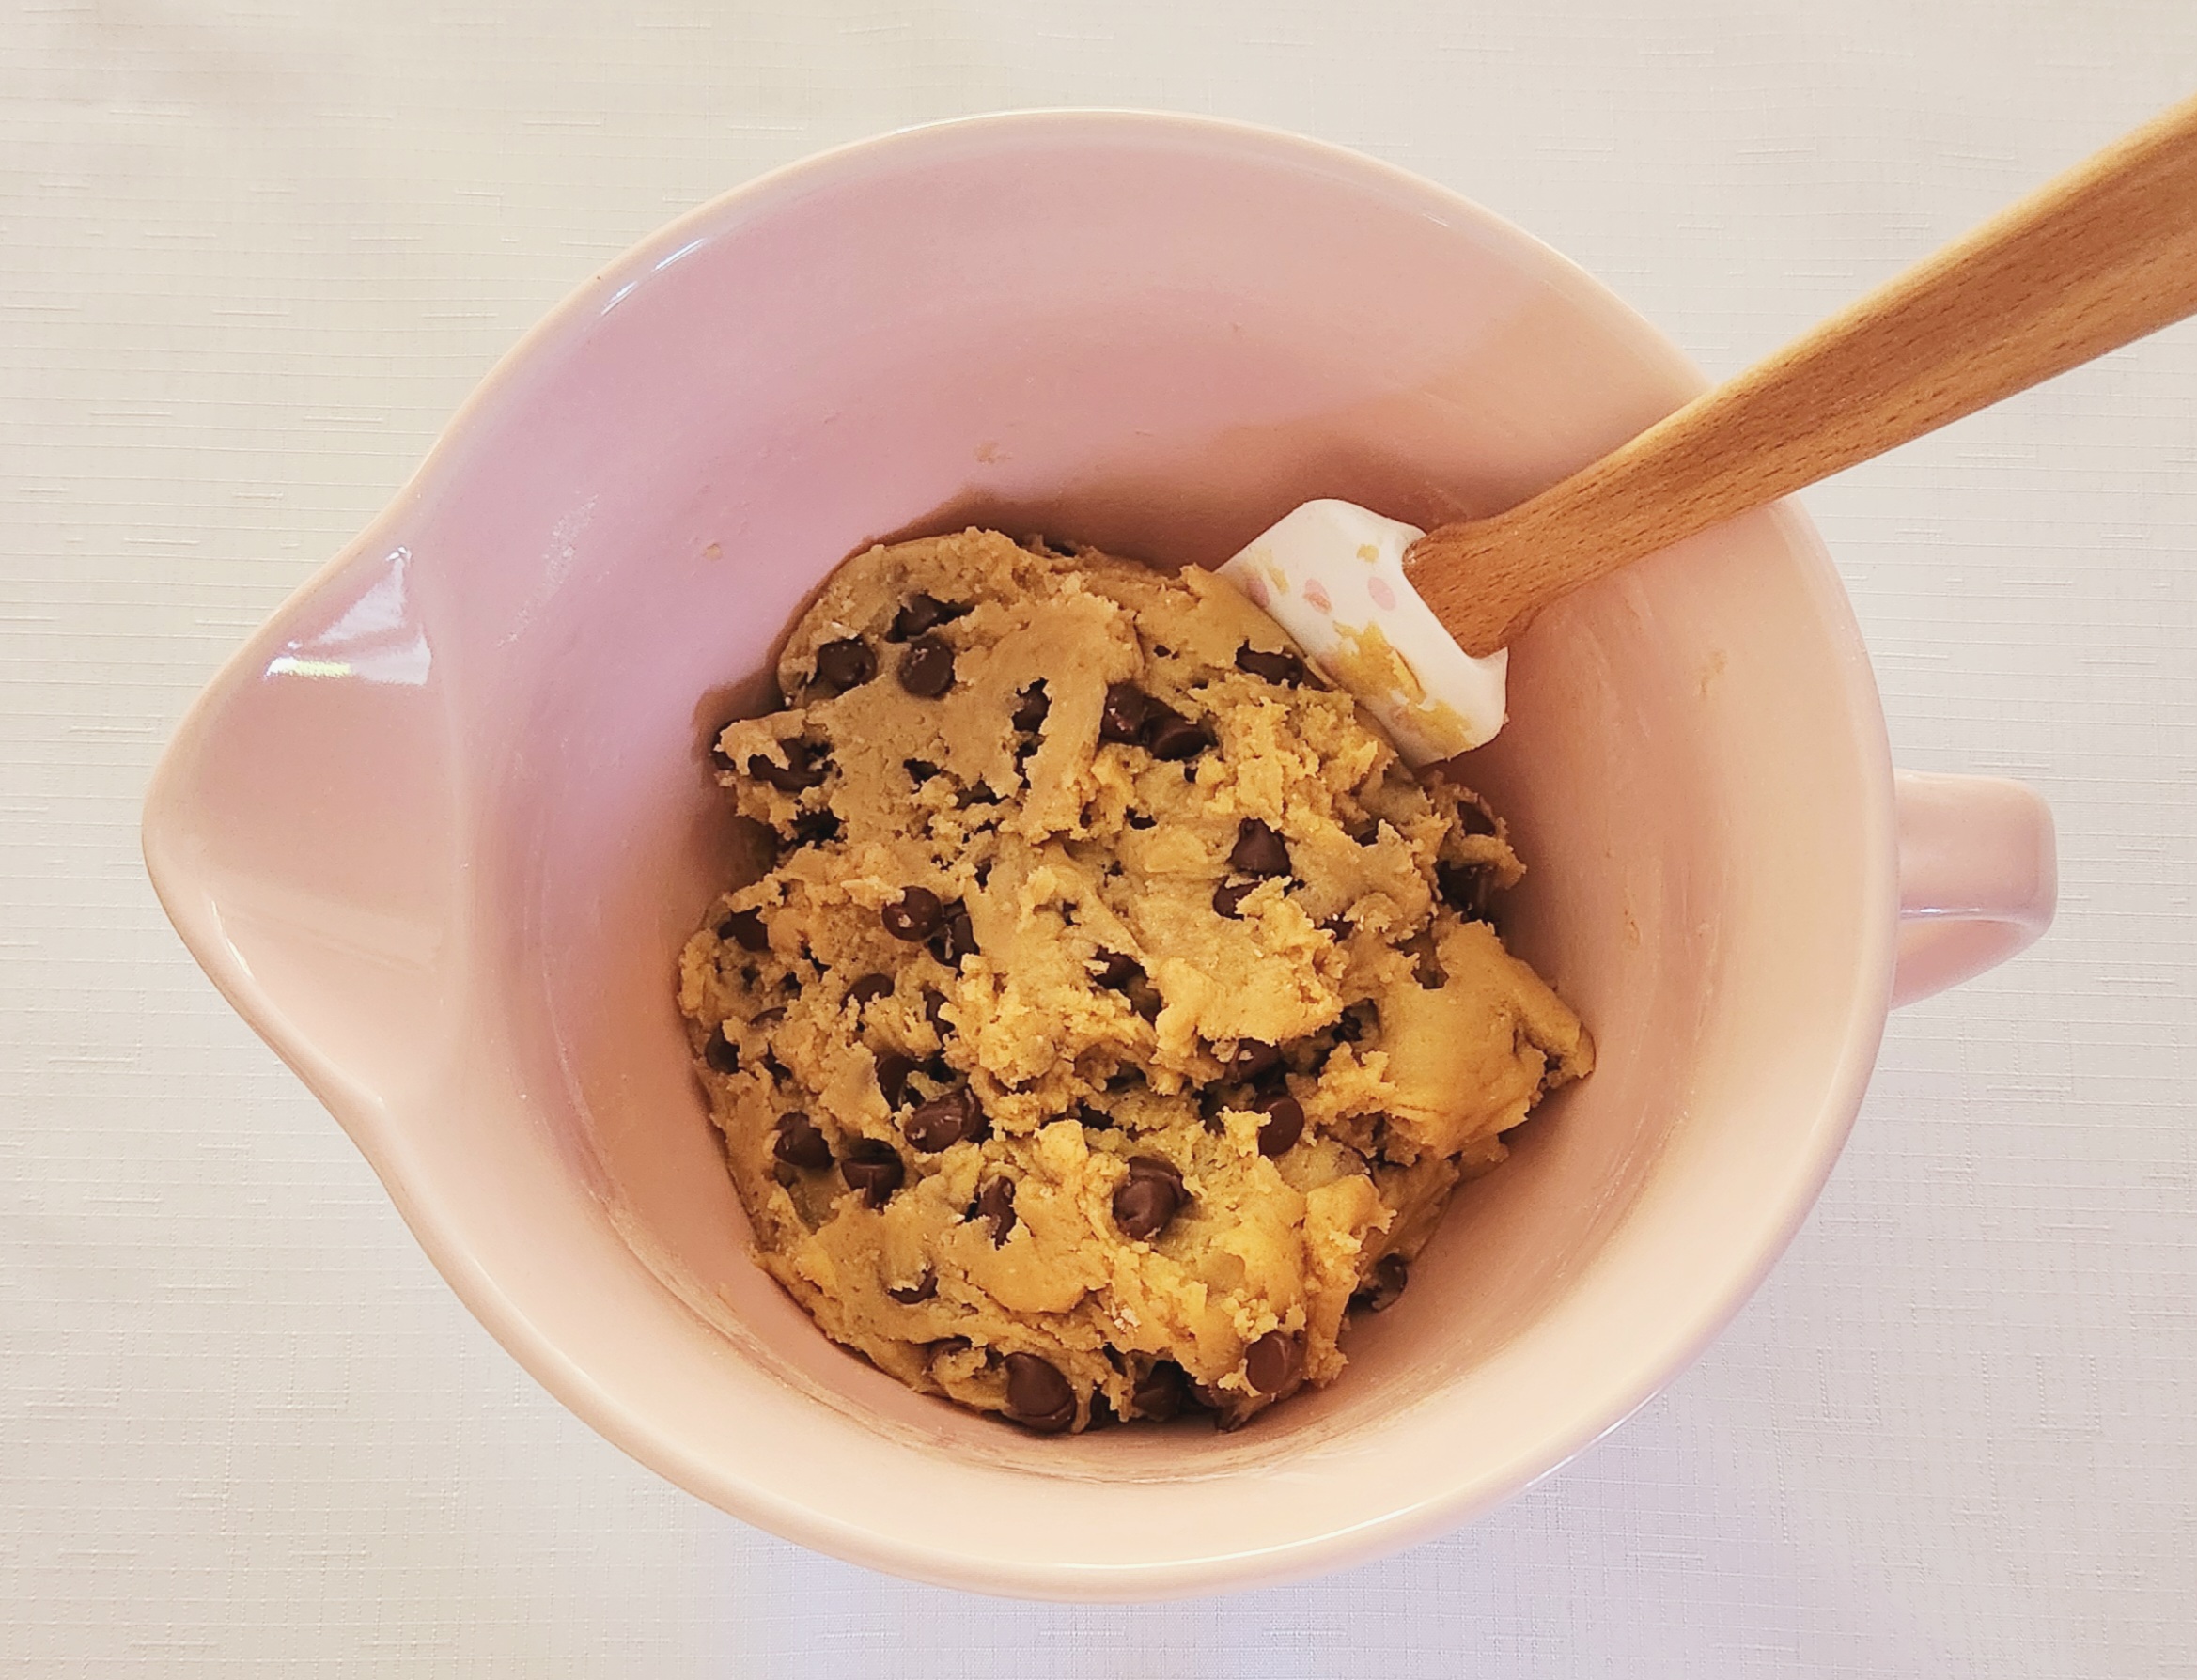
Dump the dry goods all at once into the wet mixture and, using a rubber spatula, stir them together until a dough mostly forms, leaving a few streaks of flour. Leaving the few streaks of flour here lets you know that you haven’t over-mixed the dough, and gives wiggle room to fold in the chocolate without going over the limit either. Over-mixed cookie dough makes for tough, unpleasant cookies. No one wants a tough cookie.
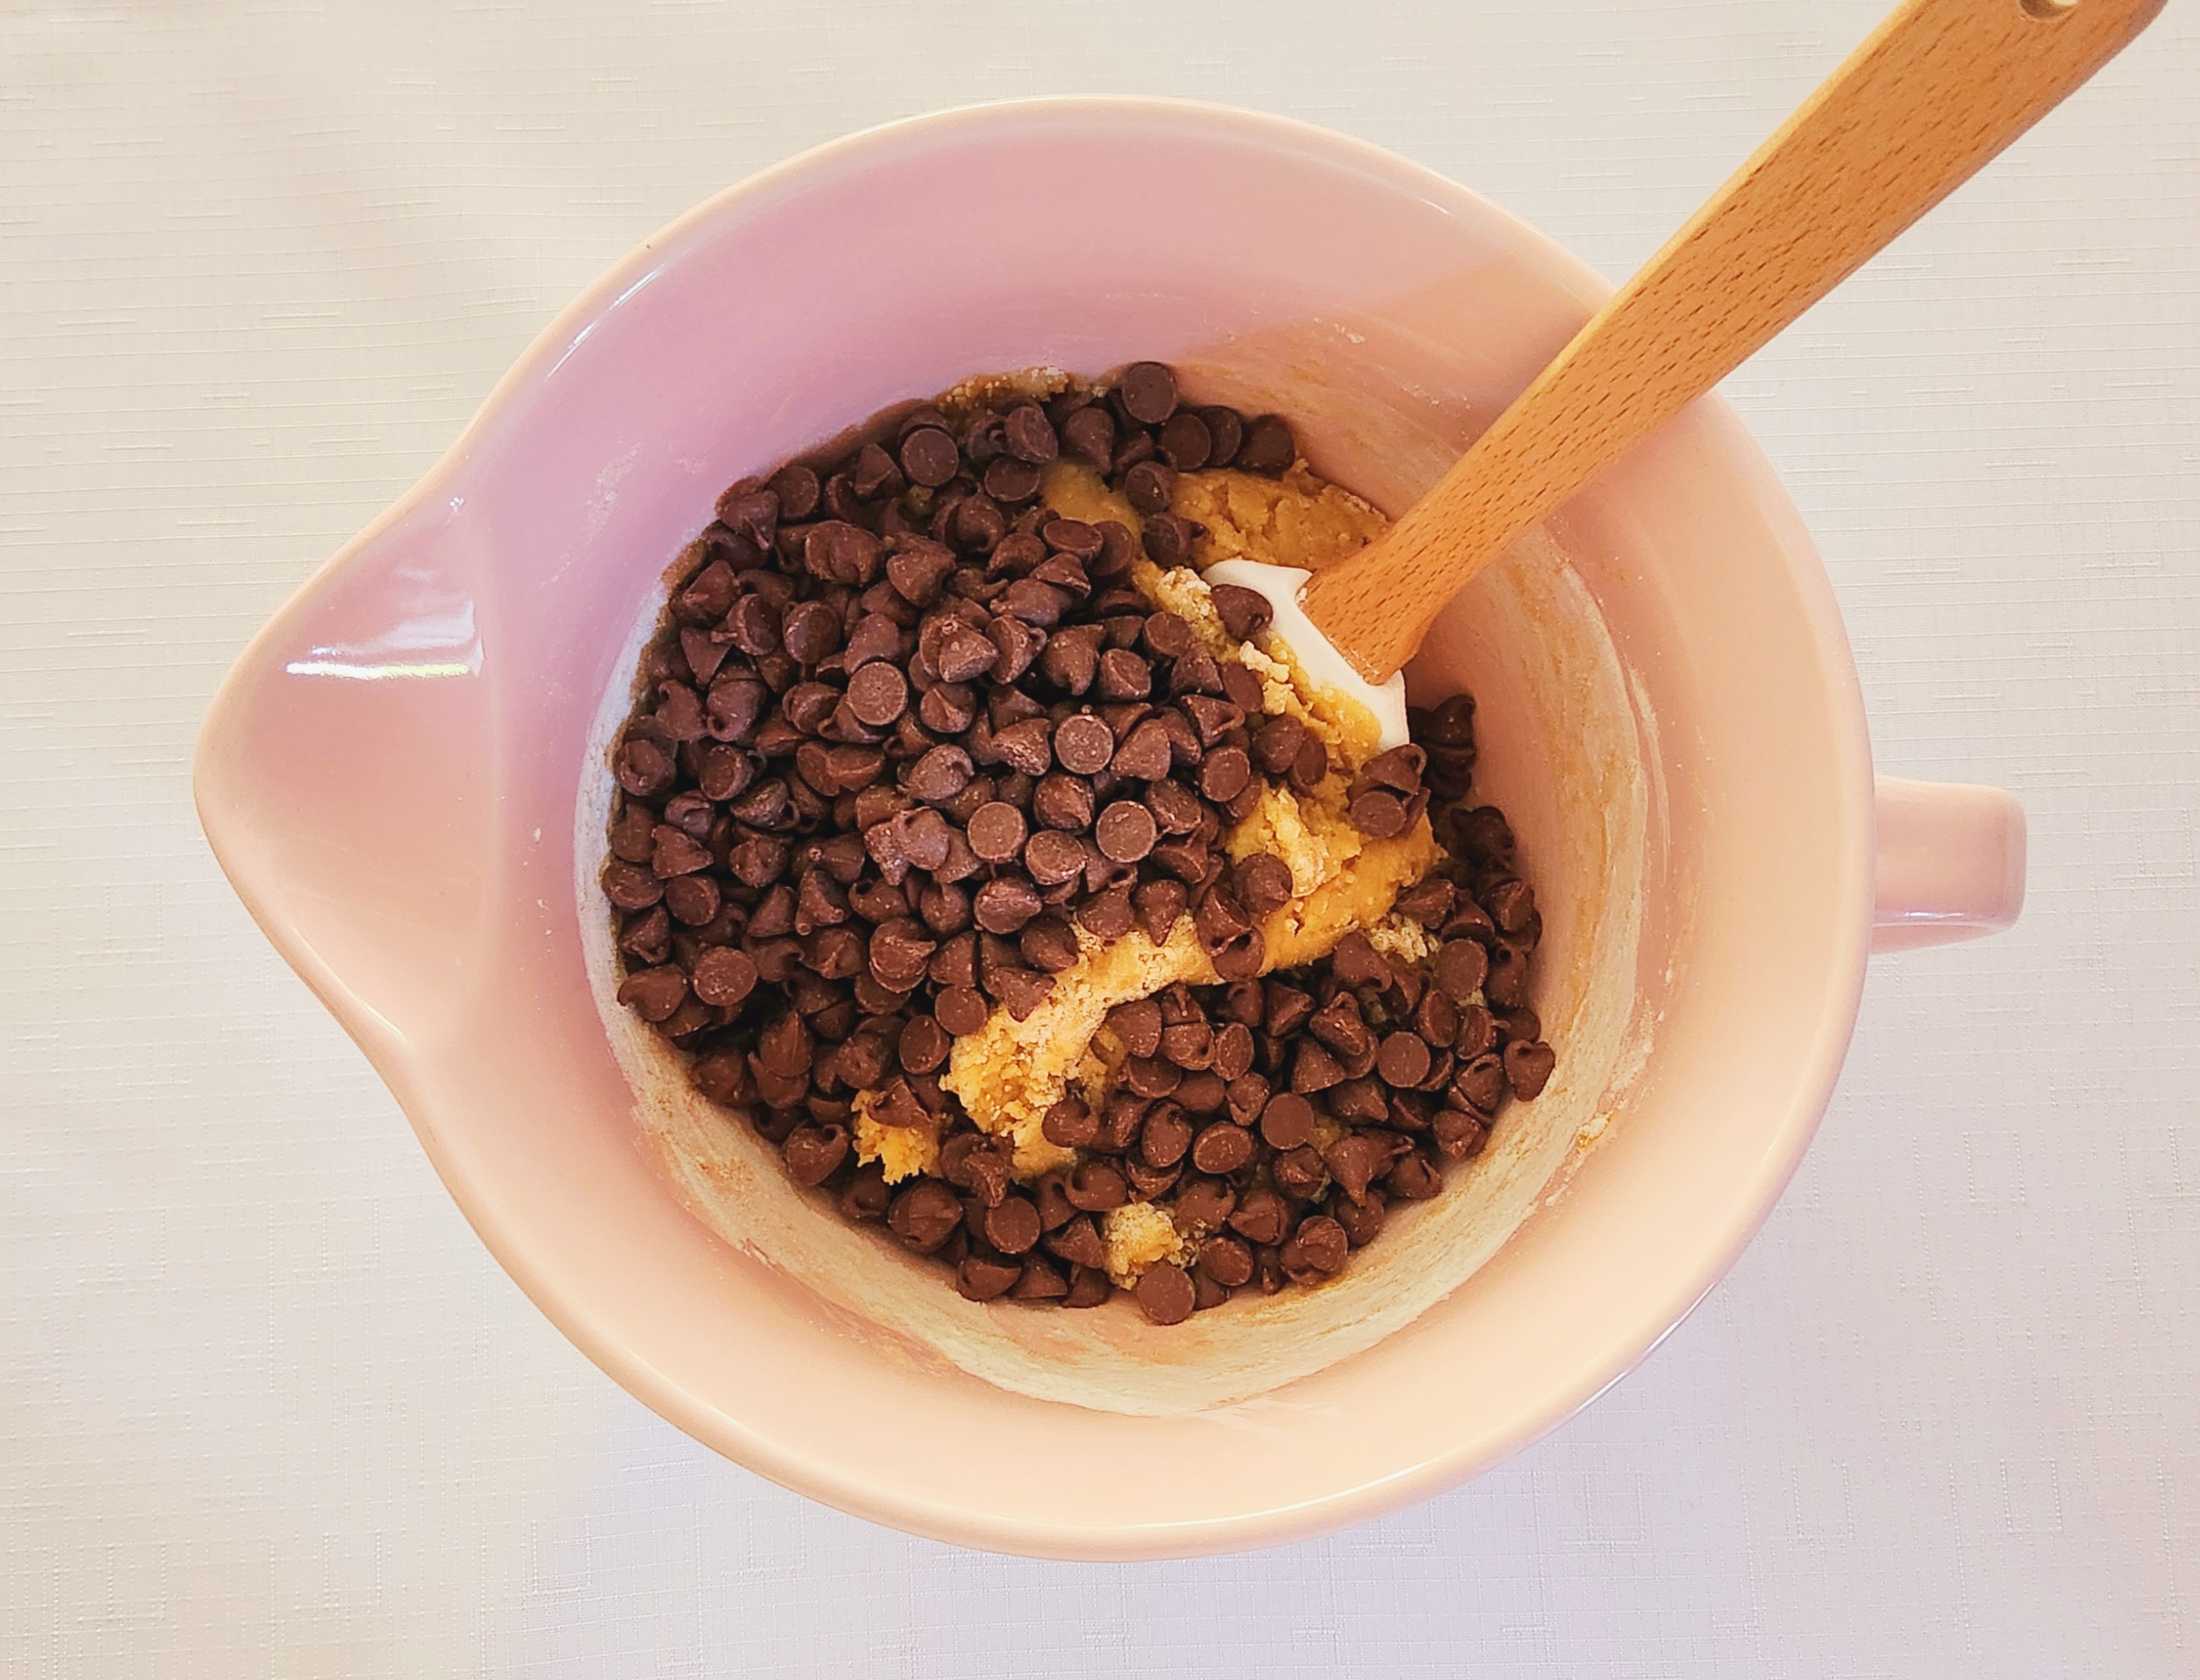
Pour the chocolate chips into the dough and, using the rubber spatula, fold them in until they’ve been evenly distributed. Cover the bowl with plastic wrap and chill the dough in the fridge for a minimum of one hour or up to two days. Allowing this time to chill will make for a more thick and chewy cookie in the end.
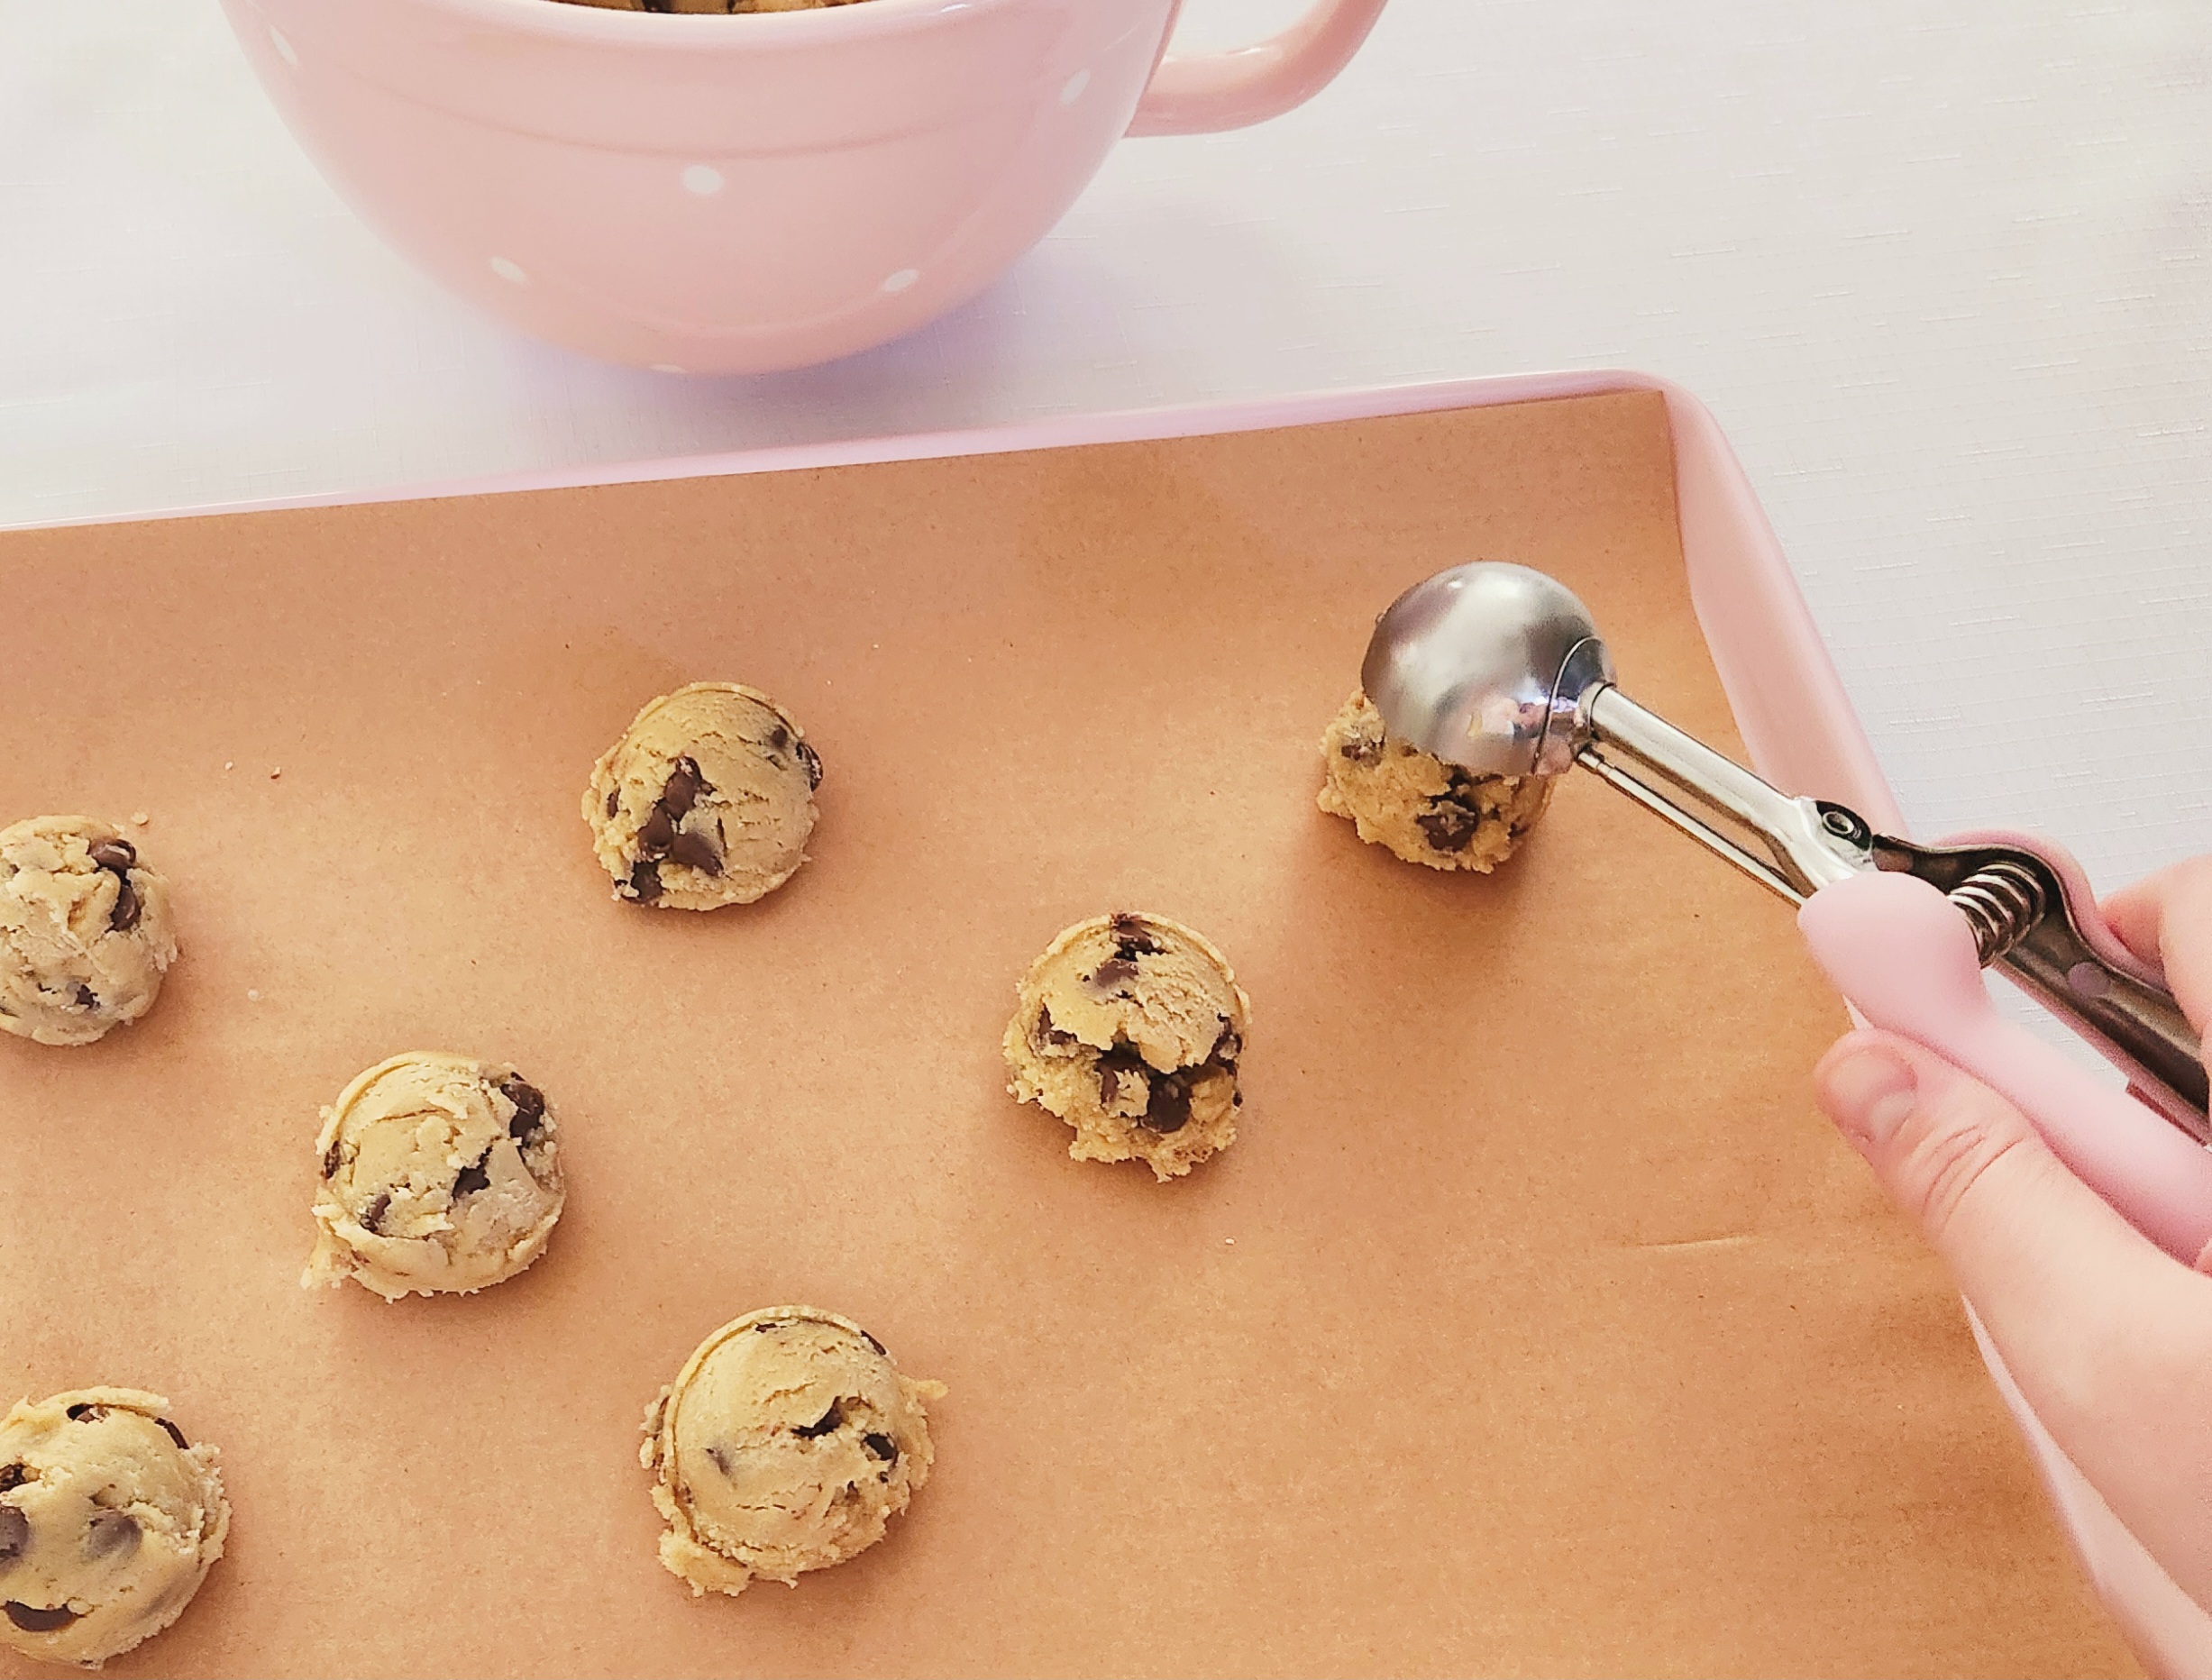
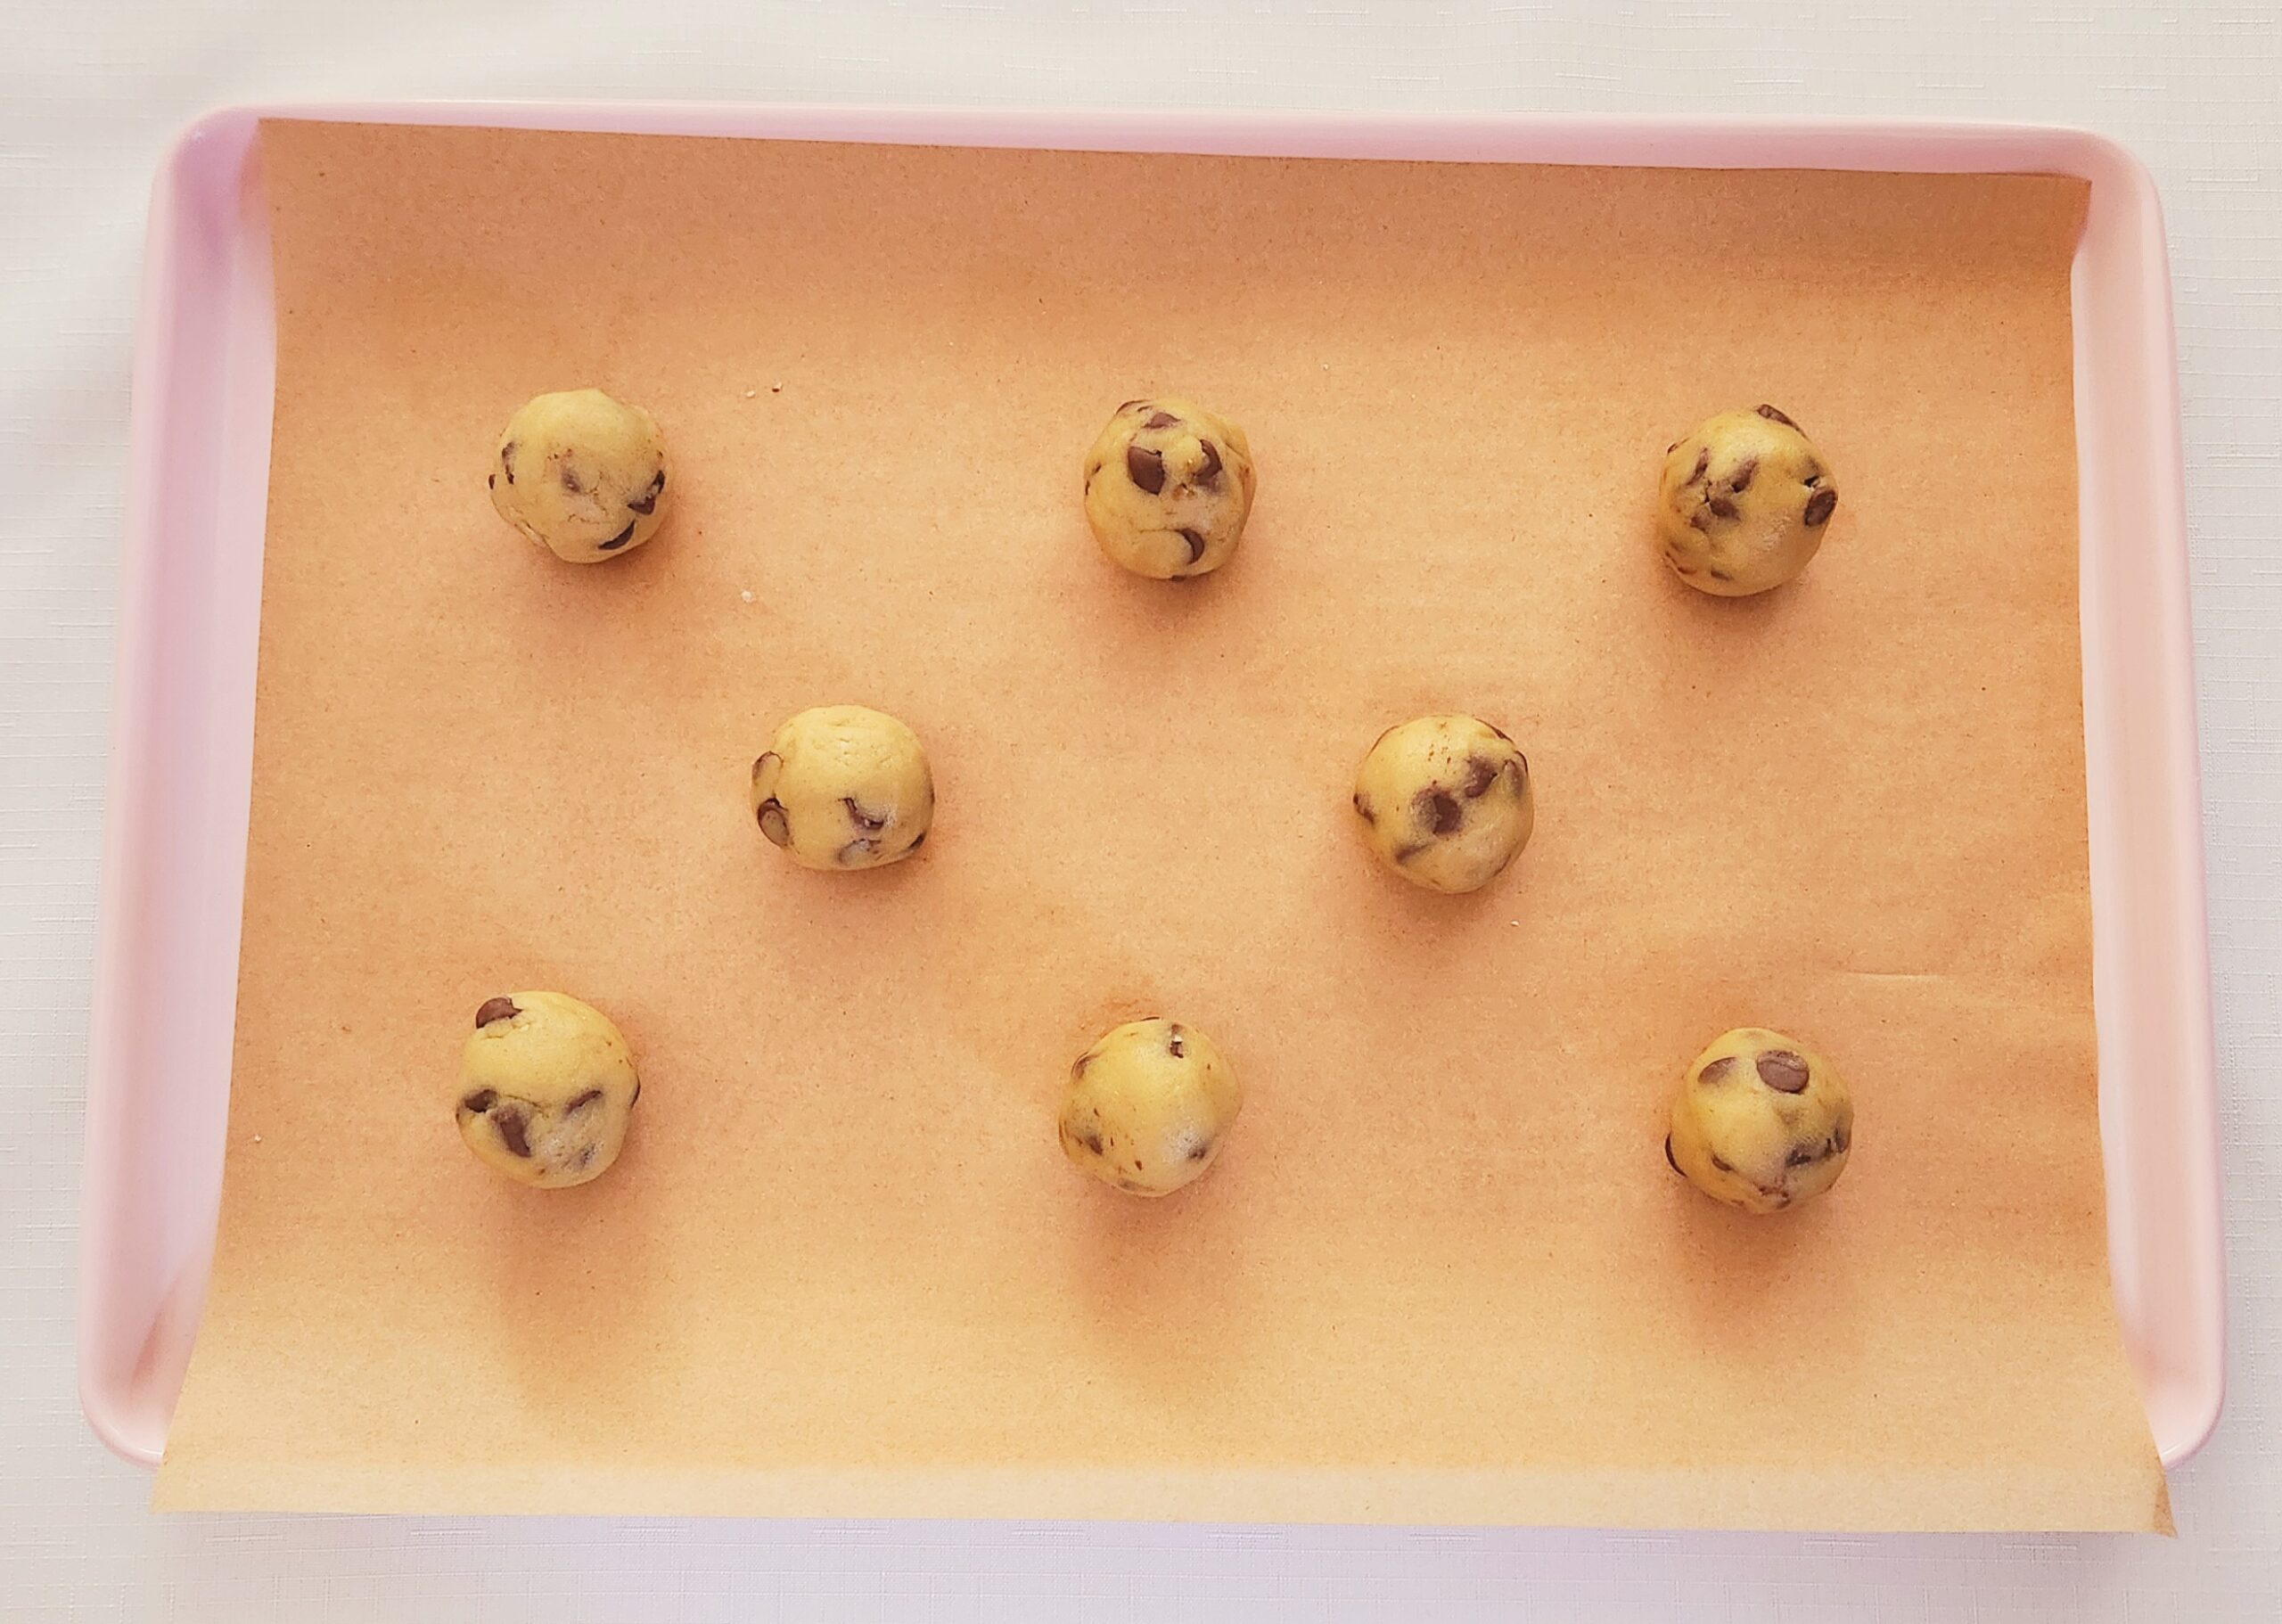
30 minutes before you’re ready to bake, prepare your pan and oven. Preheat the oven to 350F, on the convection setting if possible, and line a baking sheet with parchment paper. Scoop 2-Tablespoon portions of dough, rolling them into balls, and space them two inches apart on the baking sheet.
Bake each sheet for 10 minutes, flipping halfway through.
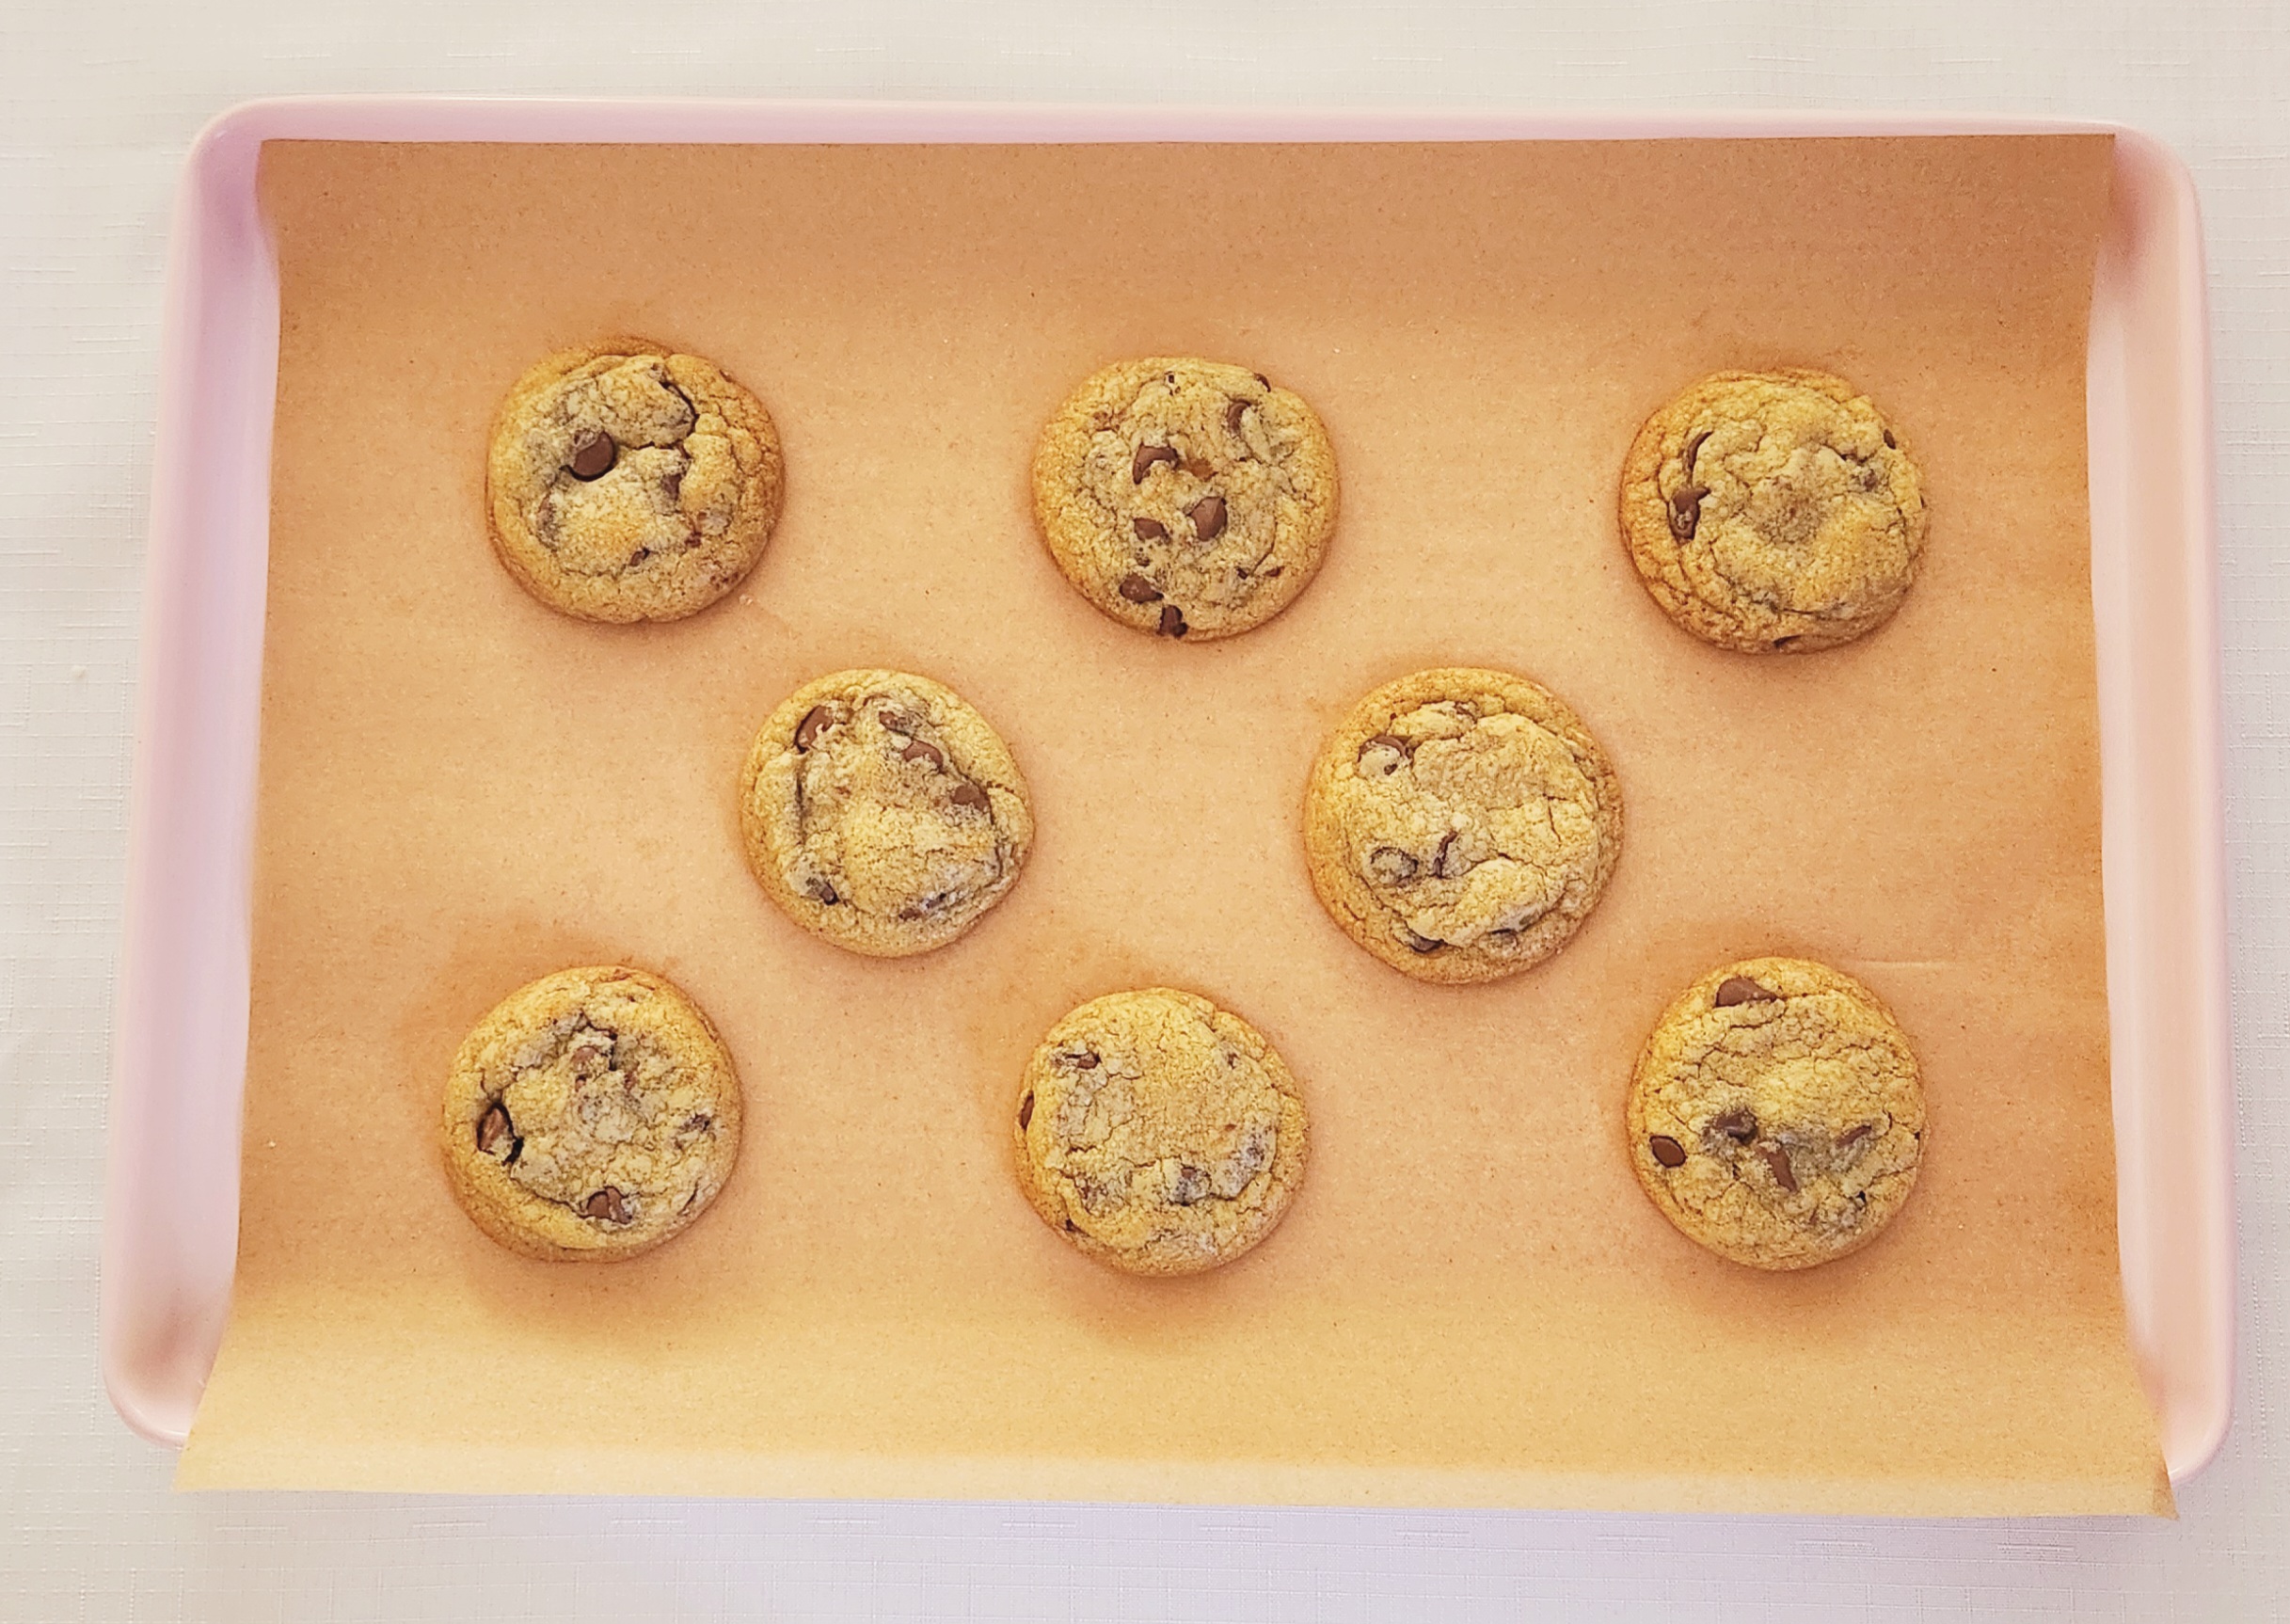
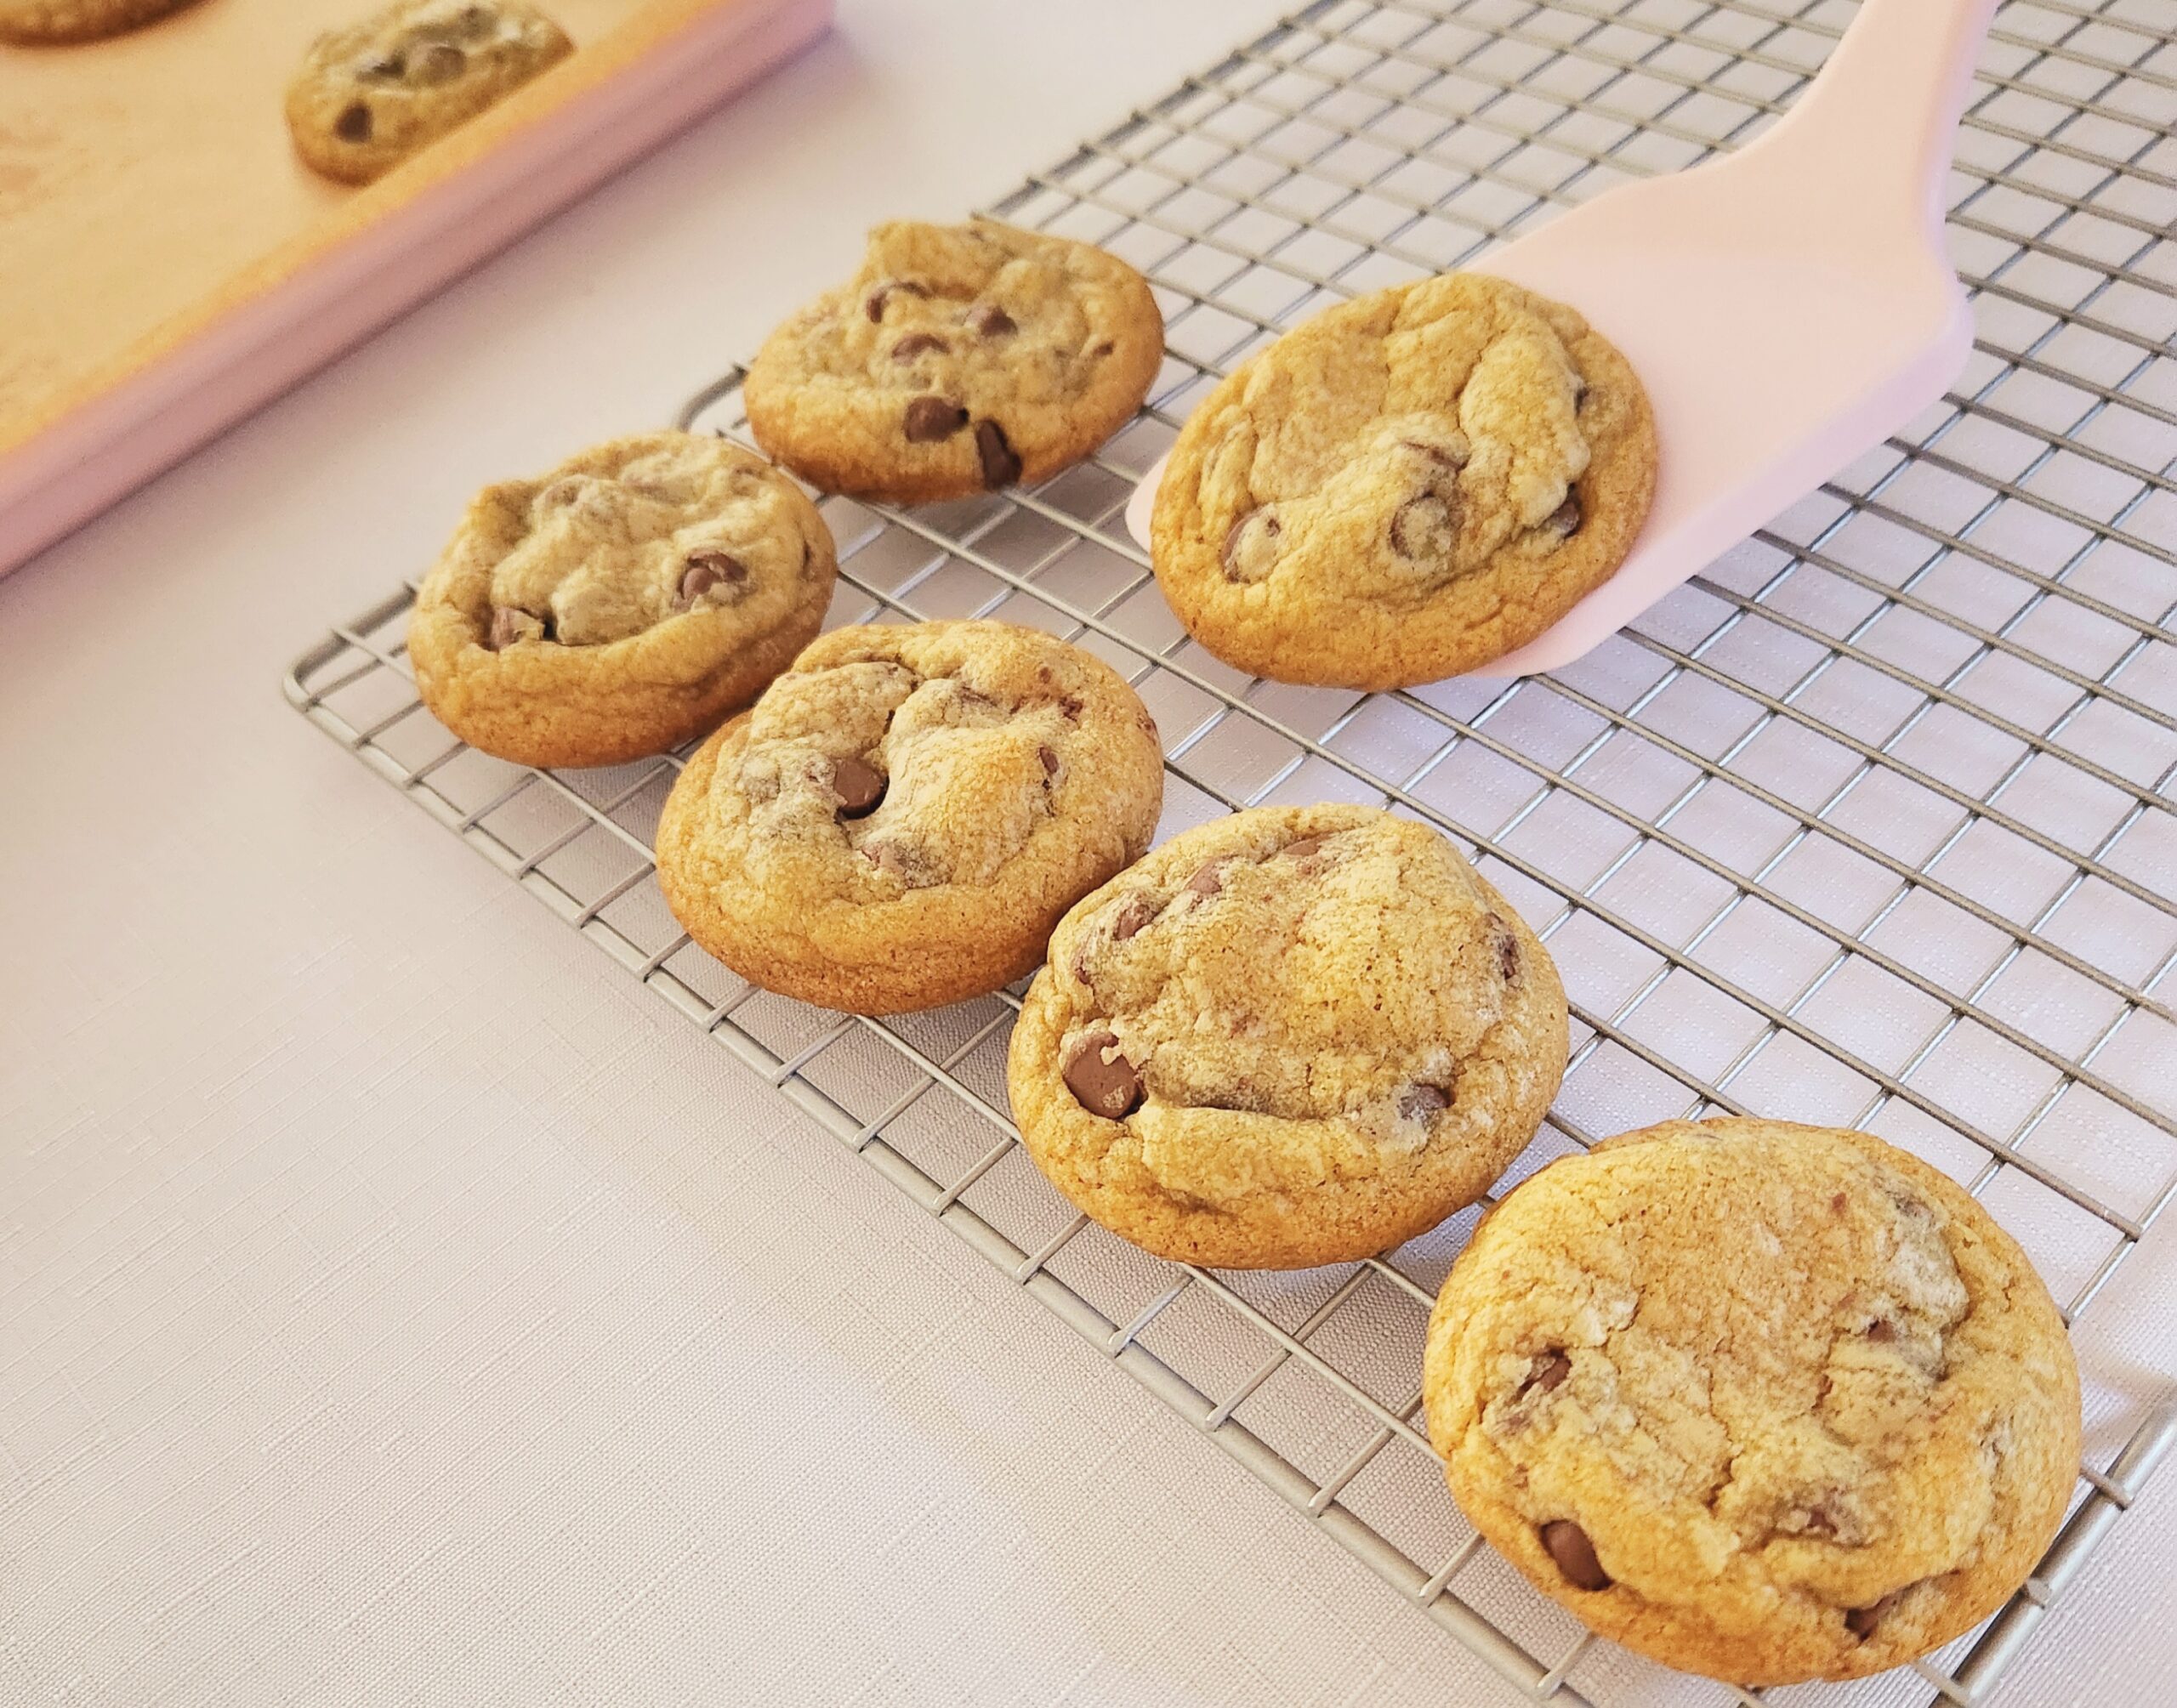
Allow the cookies to sit on the baking sheet for a few minutes, then transfer them over to a cooling rack. Those few minutes will let the cookies set up enough so that when you touch them, they wont immediately fall apart.
Store in an airtight container or gallon sized zip-top bag for up to 3 days, and enjoy!


Easy Chocolate Chip Cookies
Bake Time: 350F for 10 minutes
Servings: 24 Cookies
Total Time: 2 hours
Prep Time: 30 Minutes
Ingredients:
- 1 ¾ cup all-purpose flour
- ¾ teaspoon baking soda
- ¾ teaspoon salt
- 12 Tablespoons unsalted butter, melted
- 1 cup light brown sugar
- 1 large egg, room temperature
- 1 teaspoon vanilla extract
- 1 ¼ cup semisweet or milk chocolate chips
Directions:
- In a small mixing bowl, whisk together the flour, baking soda, and salt. Set the dry goods aside.
- In a microwave safe medium mixing bowl, heat the butter in 30 second increments until it’s just melted, swirling in between to eliminate hot spots. Add in the brown sugar and whisk until they come together in one smooth mixture.
- Whisk the egg and vanilla into the brown sugar mixture until it becomes homogeneous, about 30 seconds-1 minute.
- Dump the dry goods all at once into the wet mixture and, using a rubber spatula, stir them together until a dough mostly forms, leaving a few streaks of flour. See reference photos above.
- Pour the chocolate chips into the dough and, using the rubber spatula, fold them in until they’ve been evenly distributed. Cover the bowl with plastic wrap and chill the dough in the fridge for a minimum of one hour or up to two days.
- 30 minutes before you’re ready to bake, prepare your pan and oven. Preheat the oven to 350F, on the convection setting if possible, and line a baking sheet with parchment paper.
- Scoop 2-Tablespoon portions of dough, rolling them into balls, and space them two inches apart on the baking sheet. Bake each sheet for 10 minutes, flipping halfway through.
- Allow the cookies to sit on the baking sheet for a few minutes, then transfer them over to a cooling rack. Store in an airtight container or gallon sized zip-top bag for up to 3 days, and enjoy!
Tips
- Unbaked cookies can be frozen! Follow the recipe up until step 5, then instead of chilling the dough, scoop 2-Tablespoon portions, rolled into balls, onto a parchment or foil lined baking sheet small enough to fit in your freezer immediately. Don’t worry about spacing them out, just fit as many balls of dough next to each other as you can and place the sheet in the freezer. Once the dough has frozen solid, transfer the dough balls over to a freezer safe bag and store them for up to 3 months. Pull and bake as many as you’d like to at one time, spaced two inches apart, at 350F for 10-12 minutes, flipping halfway through.
- Fold in different kinds of chips such as white chocolate, peanut butter, butterscotch, or cinnamon for a fun twist on an easy classic!


0 Comments