
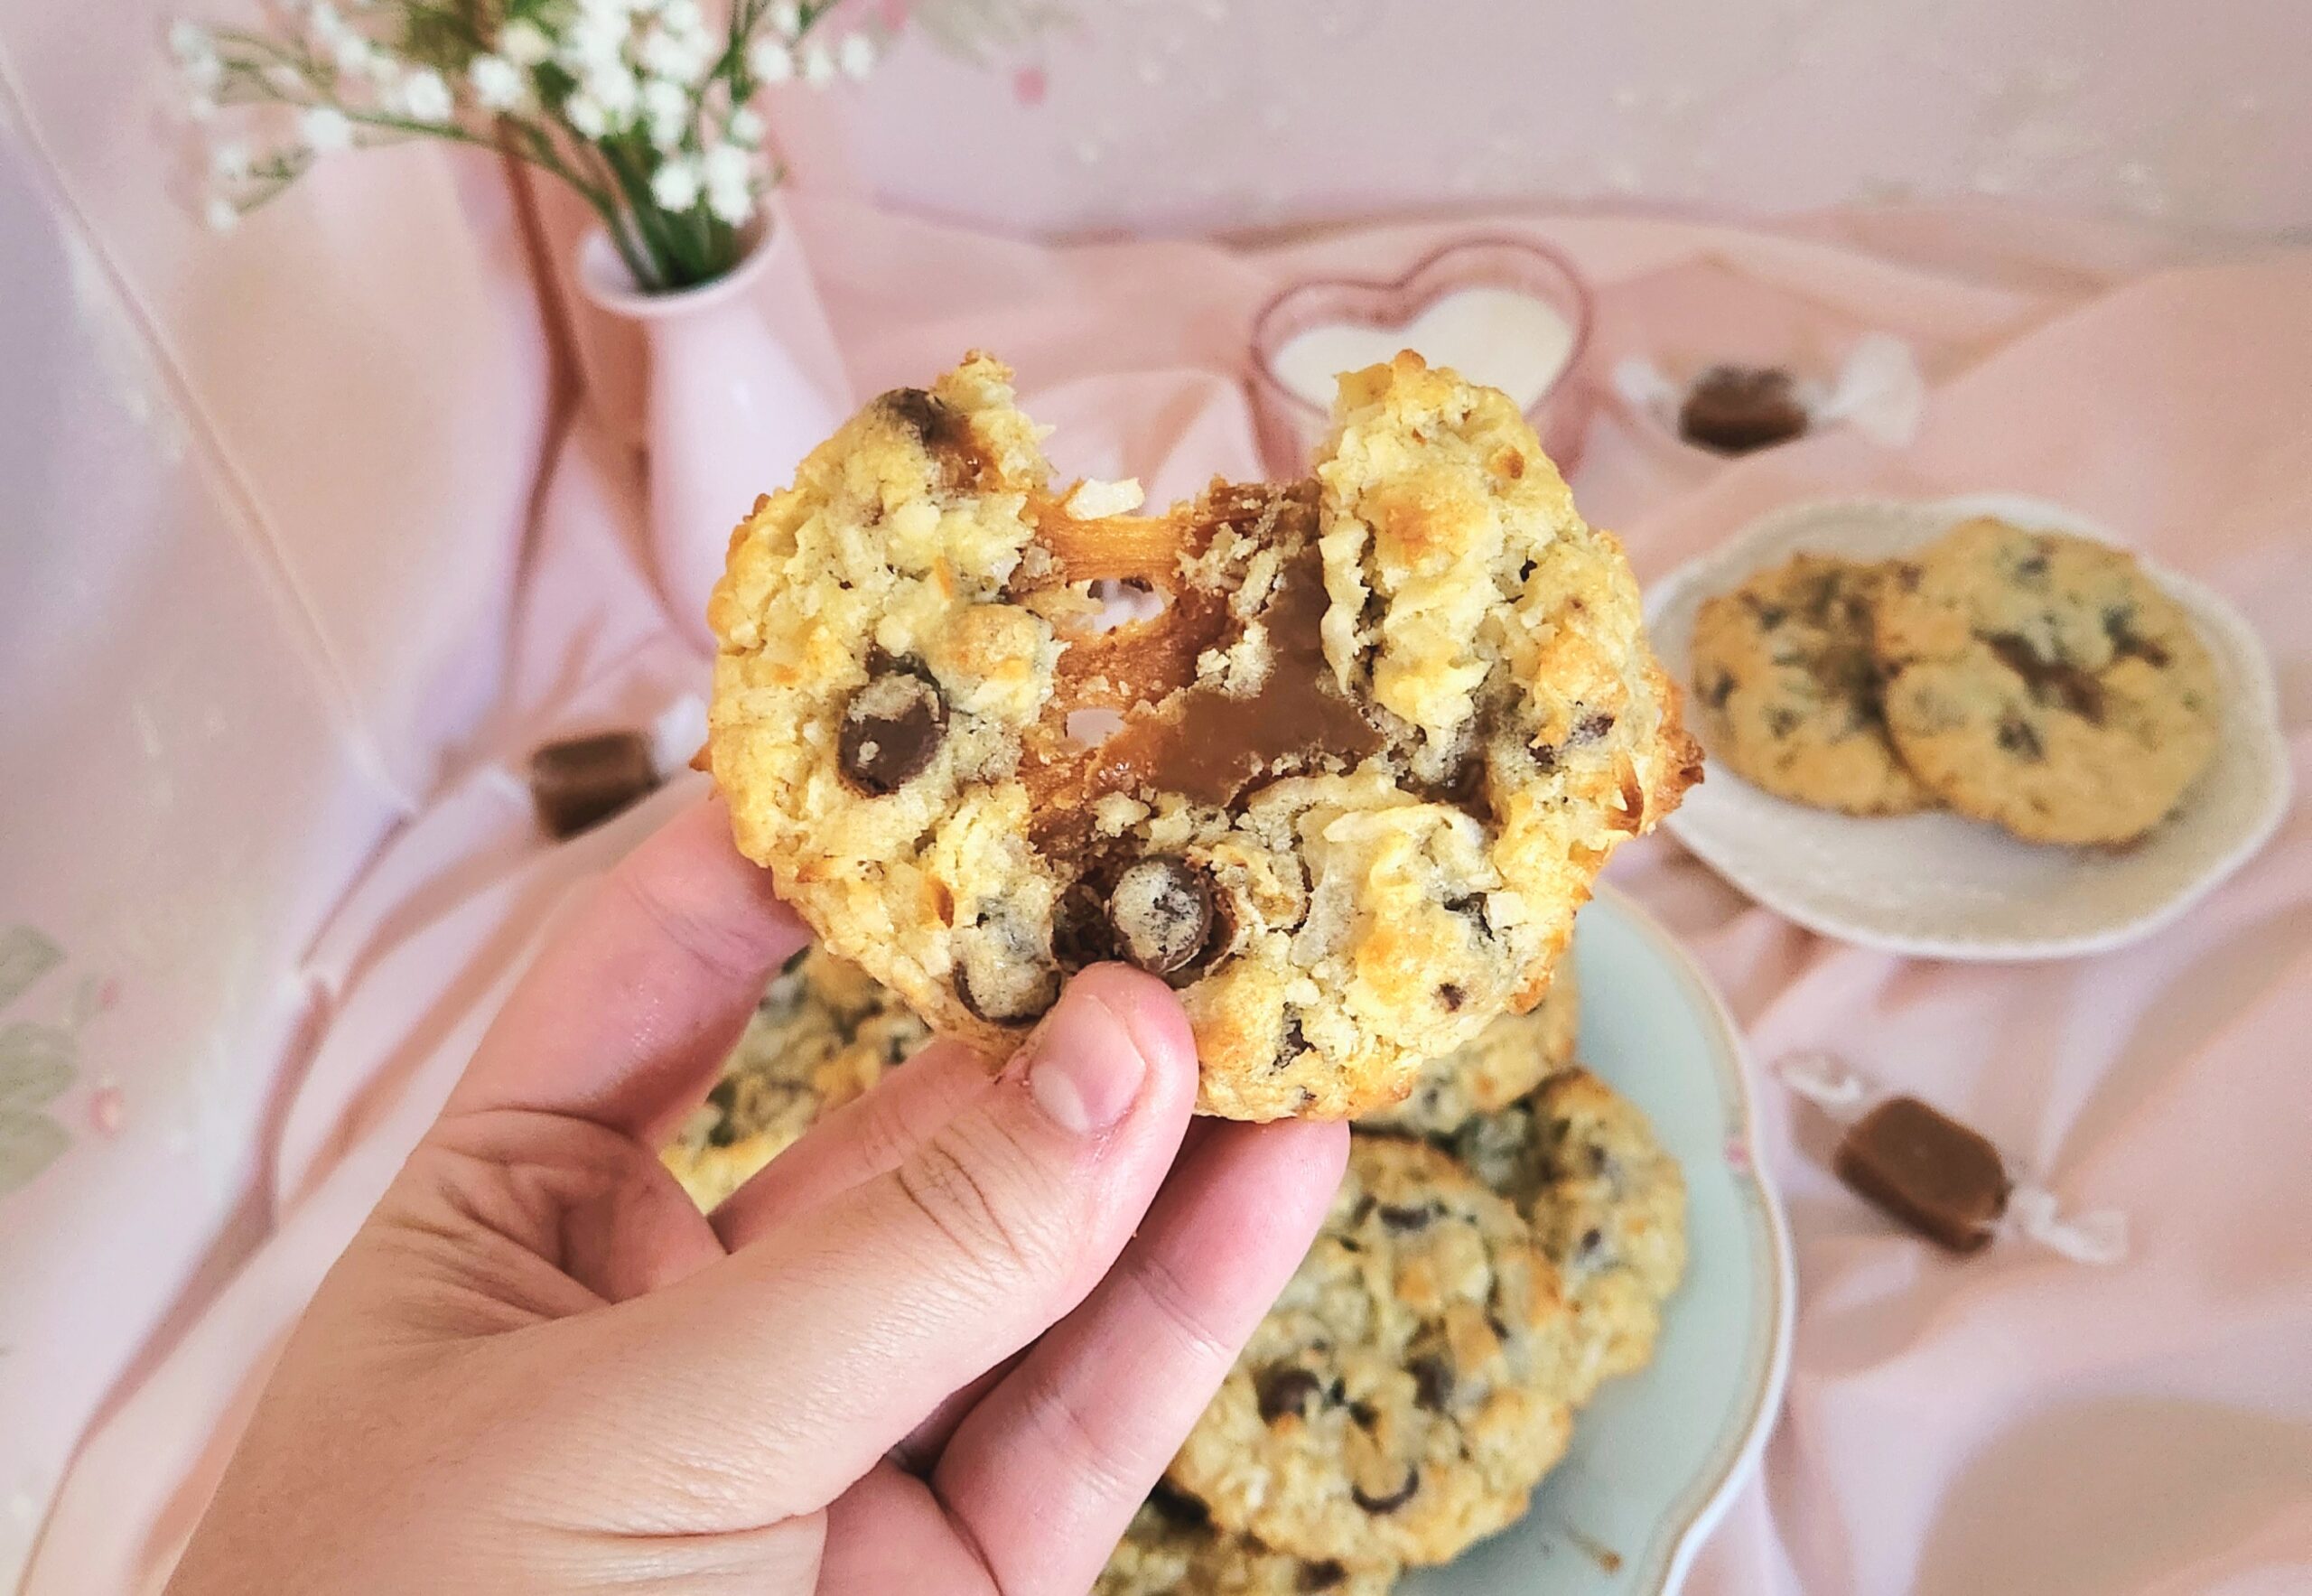
I’m of the esteemed opinion that there need to be more desserts combining coconut, caramel, and chocolate. It’s such an underutilized, decadent combination that so many people seem to forget that they love until girl scout cookie season rolls around again and the Samoas come out to play. But why limit yourself to that one variation? These cookies are just sweet enough with a chewy texture, a touch of bitterness from the chocolate, and pronounced coconut flavor that just all comes together in beautiful harmony.
Being both easily portable and a big crowd pleaser, these are the perfect dessert to throw together for a birthday, a baby shower, a graduation, a retirement party, your friend’s house on a Tuesday night. As long as cookie lovers are present, these coconut caramel chocolate chip cookies will fit right in. Whenever I bake these for a gathering, I’m never left with extras and I’m always asked for the recipe.
FAQs and Science
Does the coconut have to be sweetened?
If you’d rather spend the extra money on unsweetened coconut, or that’s what’s available to you, by all means use it! The cookies will be less sweet, which you can fix by increasing the amount of white sugar in your dough with an additional 2 Tablespoons.
Alternately, if the goal of unsweetened coconut was to lower the amount of sugar but you’re not interested in spending the extra money on unsweetened coconut, you could achieve that same result by lowering the white sugar by up to a 1/4 cup rather than using the full 1/2 a cup. I wouldn’t recommend going any lower than that, or the end structure wont be right. Do not lower the amount of brown sugar, or it will make for a less chewy and more crunchy cookie.
Can I use milk chocolate rather than dark chocolate?
Normally I’m with you on team milk chocolate, but these cookies really need the balancing bitterness that dark chocolate provides. Milk chocolate would be too sweet, and the flavor would be lost in the mix due to that overwhelming sweetness. Trust me on this, you wont have dark chocolate regrets.
Can I use store bought soft caramels, or does it make a difference if I make my own?
By all means, use the store bought if you’d rather. Make sure it’s a brand that you’d happily eat by itself since the flavor is dominant, similar to how you shouldn’t cook with a wine you wouldn’t just enjoy a glass of, but I usually don’t have the patience to make my own caramel for something like this. Is my soft, chewy caramel recipe delicious and achievable for the average person? Absolutely it is, and it would work beautifully in this cookie recipe. Is it also very time consuming, particularly when you’d need to account for time to allow it to both cool completely and to portion it out? Yes, it is.
Does it really matter if my eggs are at room temperature?
It takes forever for them to warm up on the counter! Yes, it does make a difference for your eggs to be at room temperature along with your softened butter. It aids in the emulsification of the dough, and prevents the butter from splitting due to the drastic temperature difference. However, there’s no need to wait for hours before starting your bake, I have a trick to make it go a lot faster! Before you start measuring anything out, place your eggs in a bowl and fill it with the warmest water that comes out of your tap. By the time you’re ready to add them in, they’ll be the perfect temperature.
I left my bowl of cookie dough in the fridge for longer than you said to and now it’s really firm, what do I do?
Don’t panic, just allow it to sit at room temperature for 10-15 minutes and then start scooping the outer layer! The initial chill is mostly to make the cookie dough easier for you to handle, since when this dough is freshly mixed it’s fairly sticky. Chilling solidifies the butter solids enough to take away that stick. All you’ve done is solidified the butter completely, you haven’t ruined a thing.
I don’t want to chill the stuffed cookies one final time before baking them, I want cookies now, why can’t I just throw them right into the oven?
All that’s going to happen is your cookies will spread out more, and you’re more likely to have caramel leakage as a result. Let’s be clear: You are your own cookie captain. If that doesn’t bother you, then just throw them right into the oven! One last chill is just my recommendation if you’re concerned about how the cookies look and the possibility of caramel leaving the exact center of them.
What You’ll Need
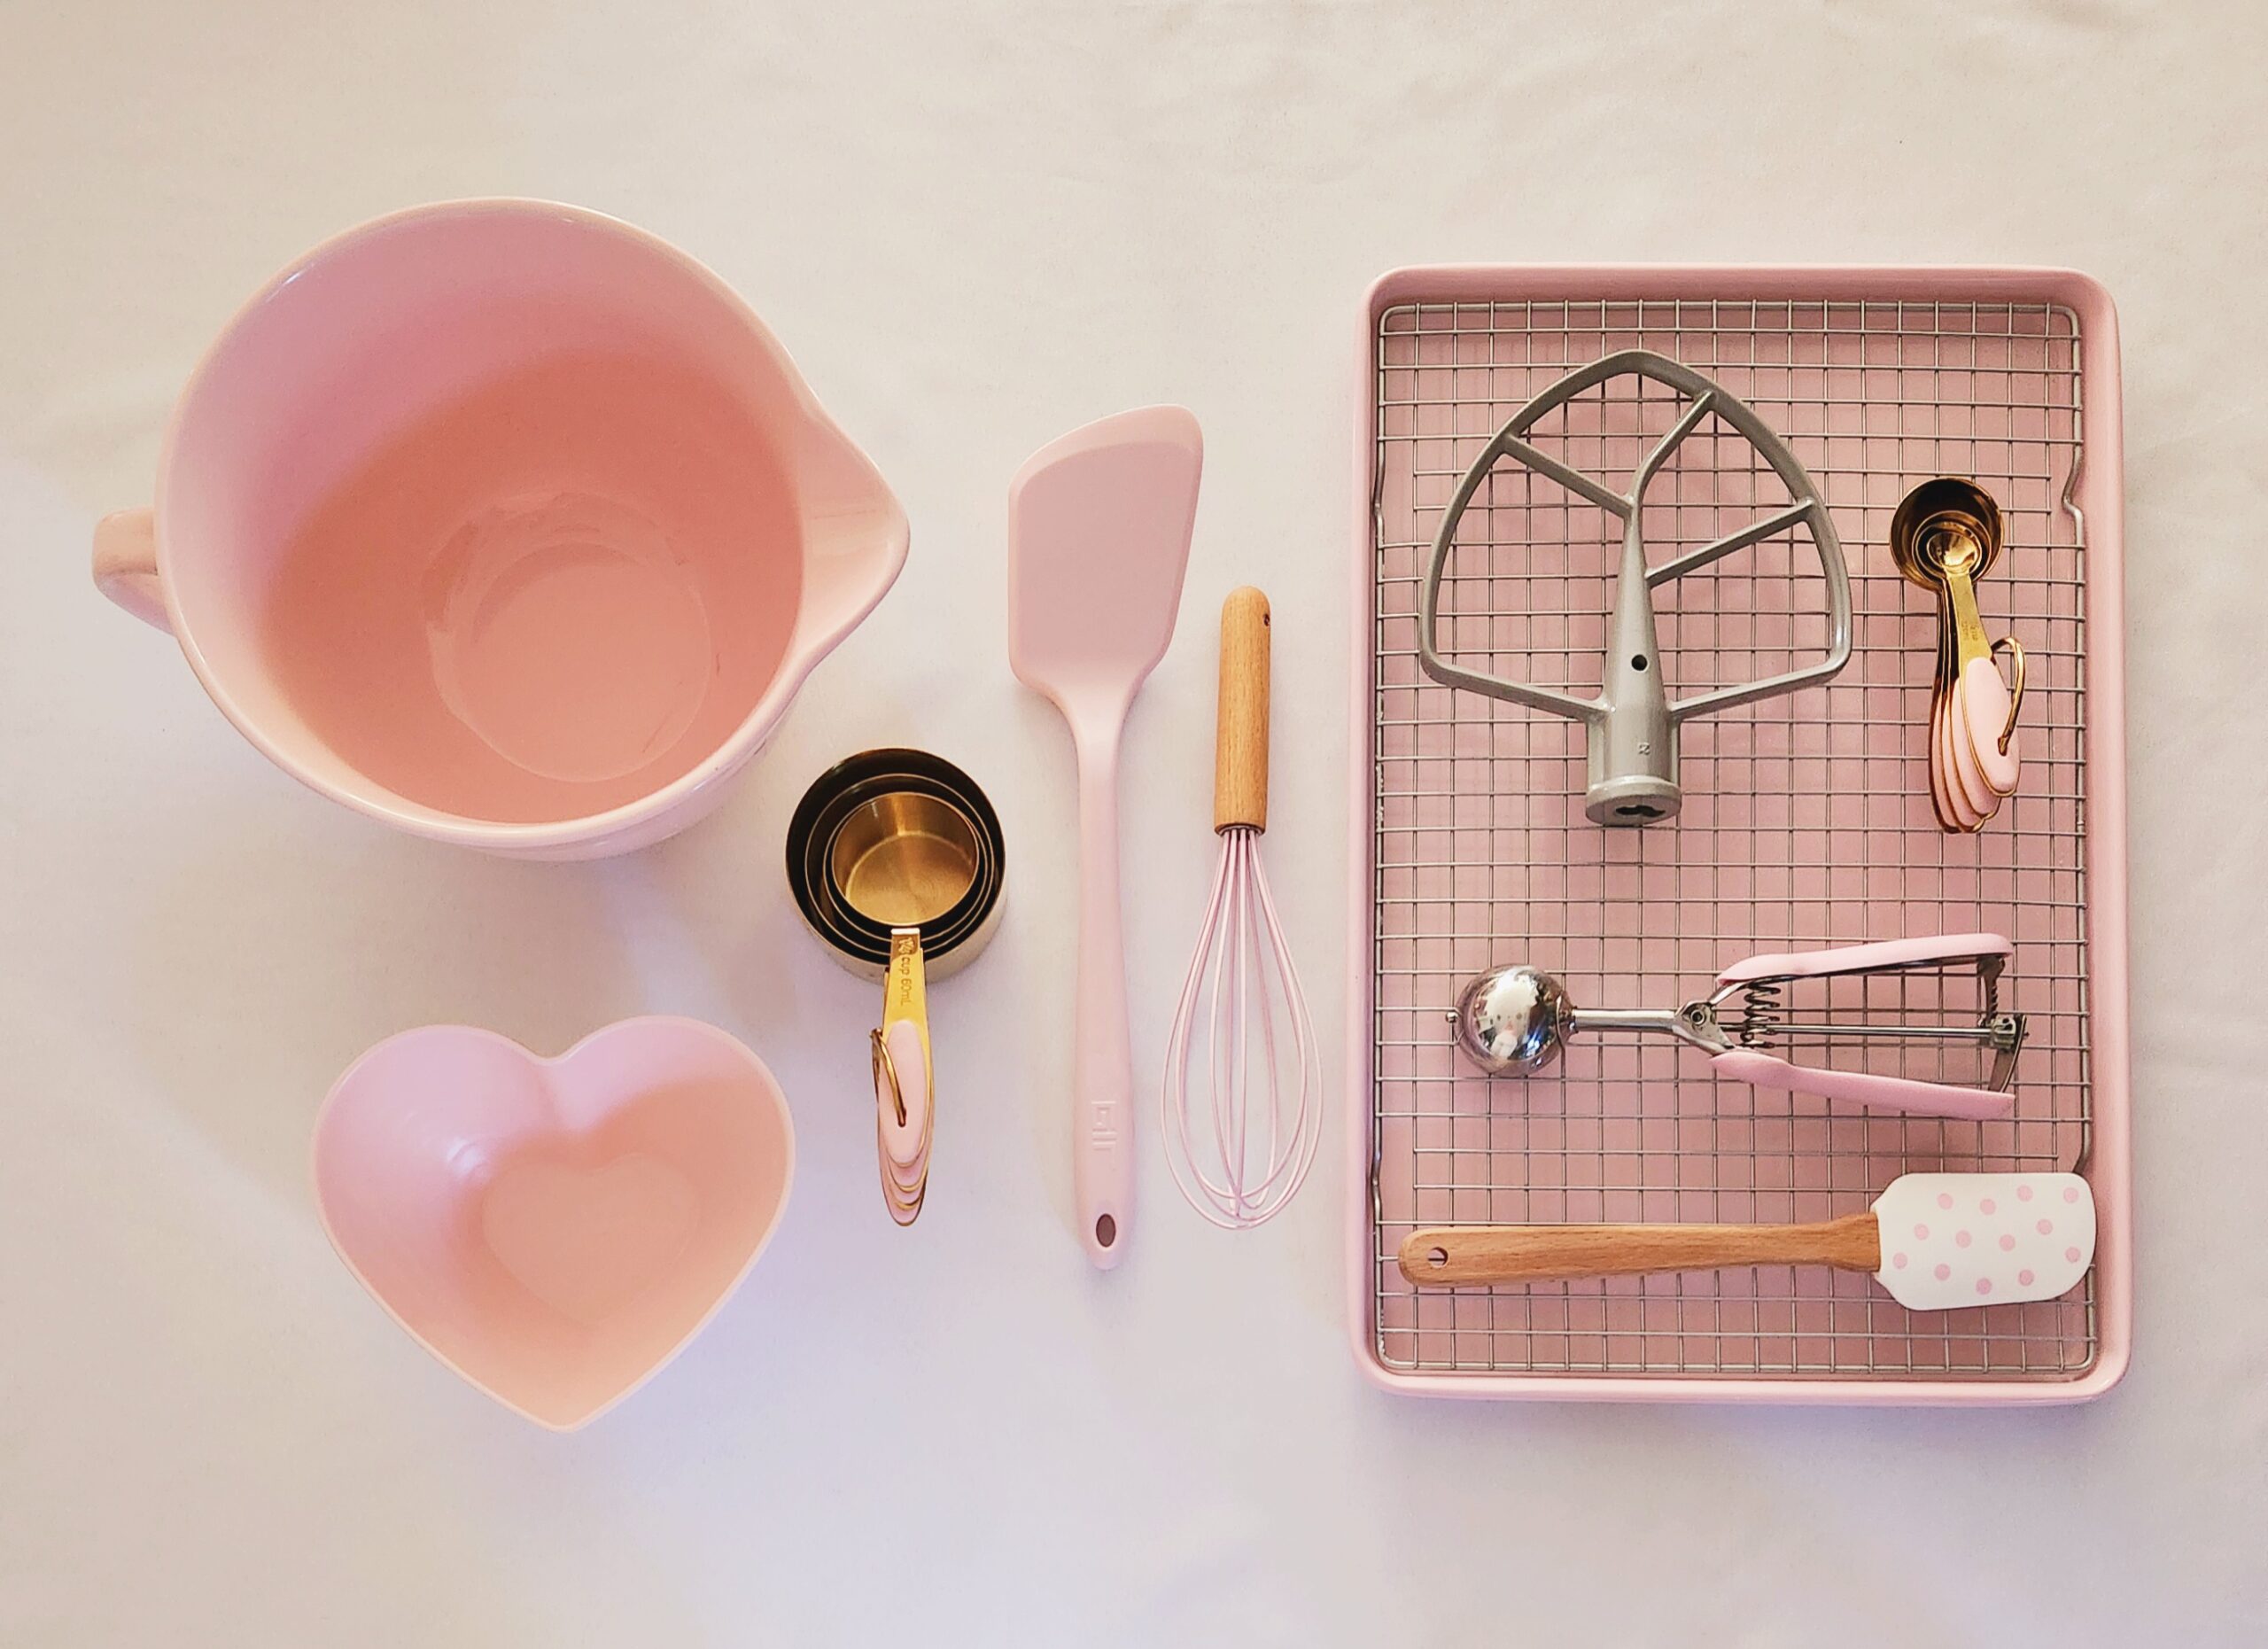
- Stand mixer with the paddle attachment or hand mixer
- Rubber spatula
- Dry measuring cups
- Measuring spoons
- Medium mixing bowl
- Small bowl (to warm eggs in)
- Baking sheets
- Parchment paper or silicone baking mat
- Plastic wrap
- 2 Tablespoon cookie scoop
- Spatula
- Cooling rack
The Process
Begin by gathering all of your needed tools, appliances, and ingredients, and preheat your oven to 350F, on the convection setting if possible. Line the bottom of a baking sheet with either parchment paper or a silicone baking mat, to prevent the cookies from sticking to the pan. If you don’t have parchment or a baking mat, you could try using nonstick baking spray, but with the possible caramel leakage from these cookies, you’re risking the cookies sticking to the pan without the lining. Set the prepared pan aside.
Place the two eggs in the small bowl and fill it with the hottest water that comes out of your tap, covering half an inch above the top of the eggs. This will help your eggs come up to room temperature much faster, giving you a better emulsion when it’s time to add them later on. Set the eggs aside.

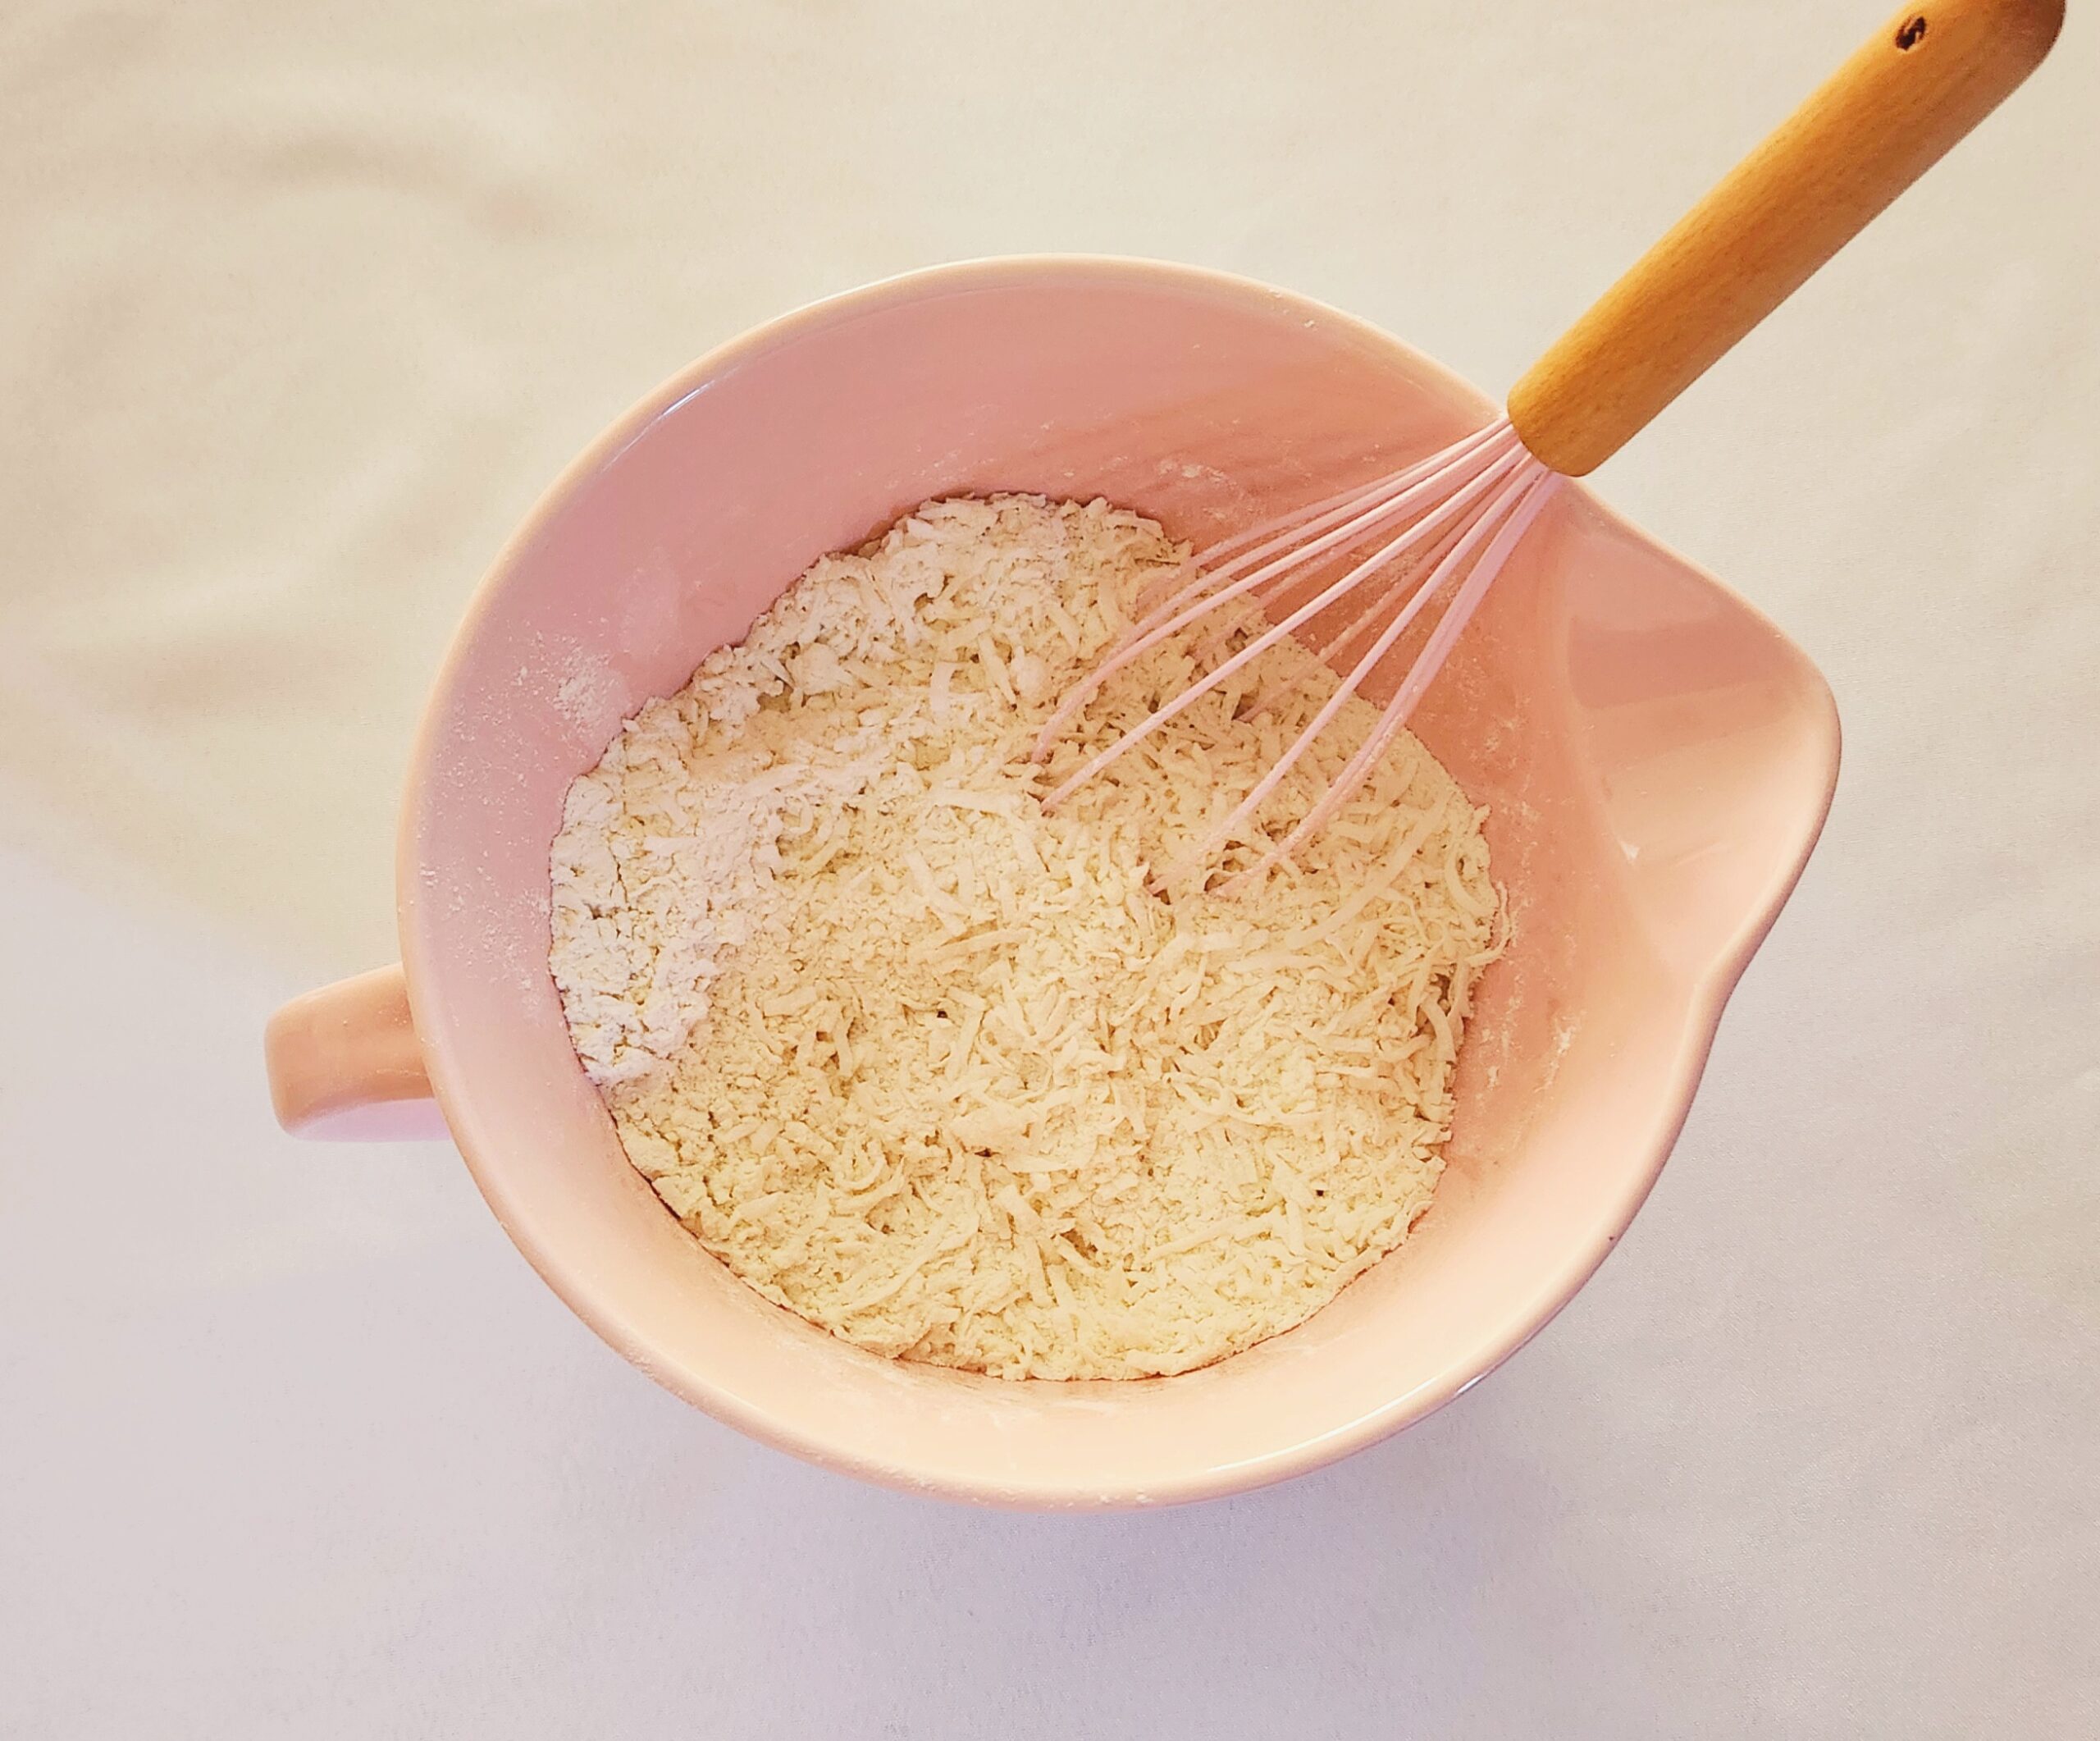
In the medium mixing bowl, whisk together the all purpose flour, sweetened shredded coconut, baking powder, and salt. Whisking them all together in their own mixing bowl now will ensure the dry goods will be evenly distributed in the dough so the flavor and structure of each cookie is identical. Set the flour mixture aside for later.
If you’re using a stand mixer with the paddle attachment, add the softened butter, light brown sugar, and granulated sugar to the stand mixer bowl and cream them together until the mixture goes from a pale yellow color to almost white and fluffy. This should take around 2-3 minutes with the mixer running on level 3-4, pausing every so often to scrape down the sides of the bowl with the rubber spatula.
If you’re using a hand mixer with the beaters, add the softened butter, light brown sugar, and granulated sugar to the large mixing bowl and beat them on level 2 for 3-4 minutes, until the mixture goes from pale yellow to almost white and fluffy in texture. Be sure that the beaters are at the bottom of the bowl before you turn them on or off, or you’ll end up with bits of sugar and butter flying everywhere.
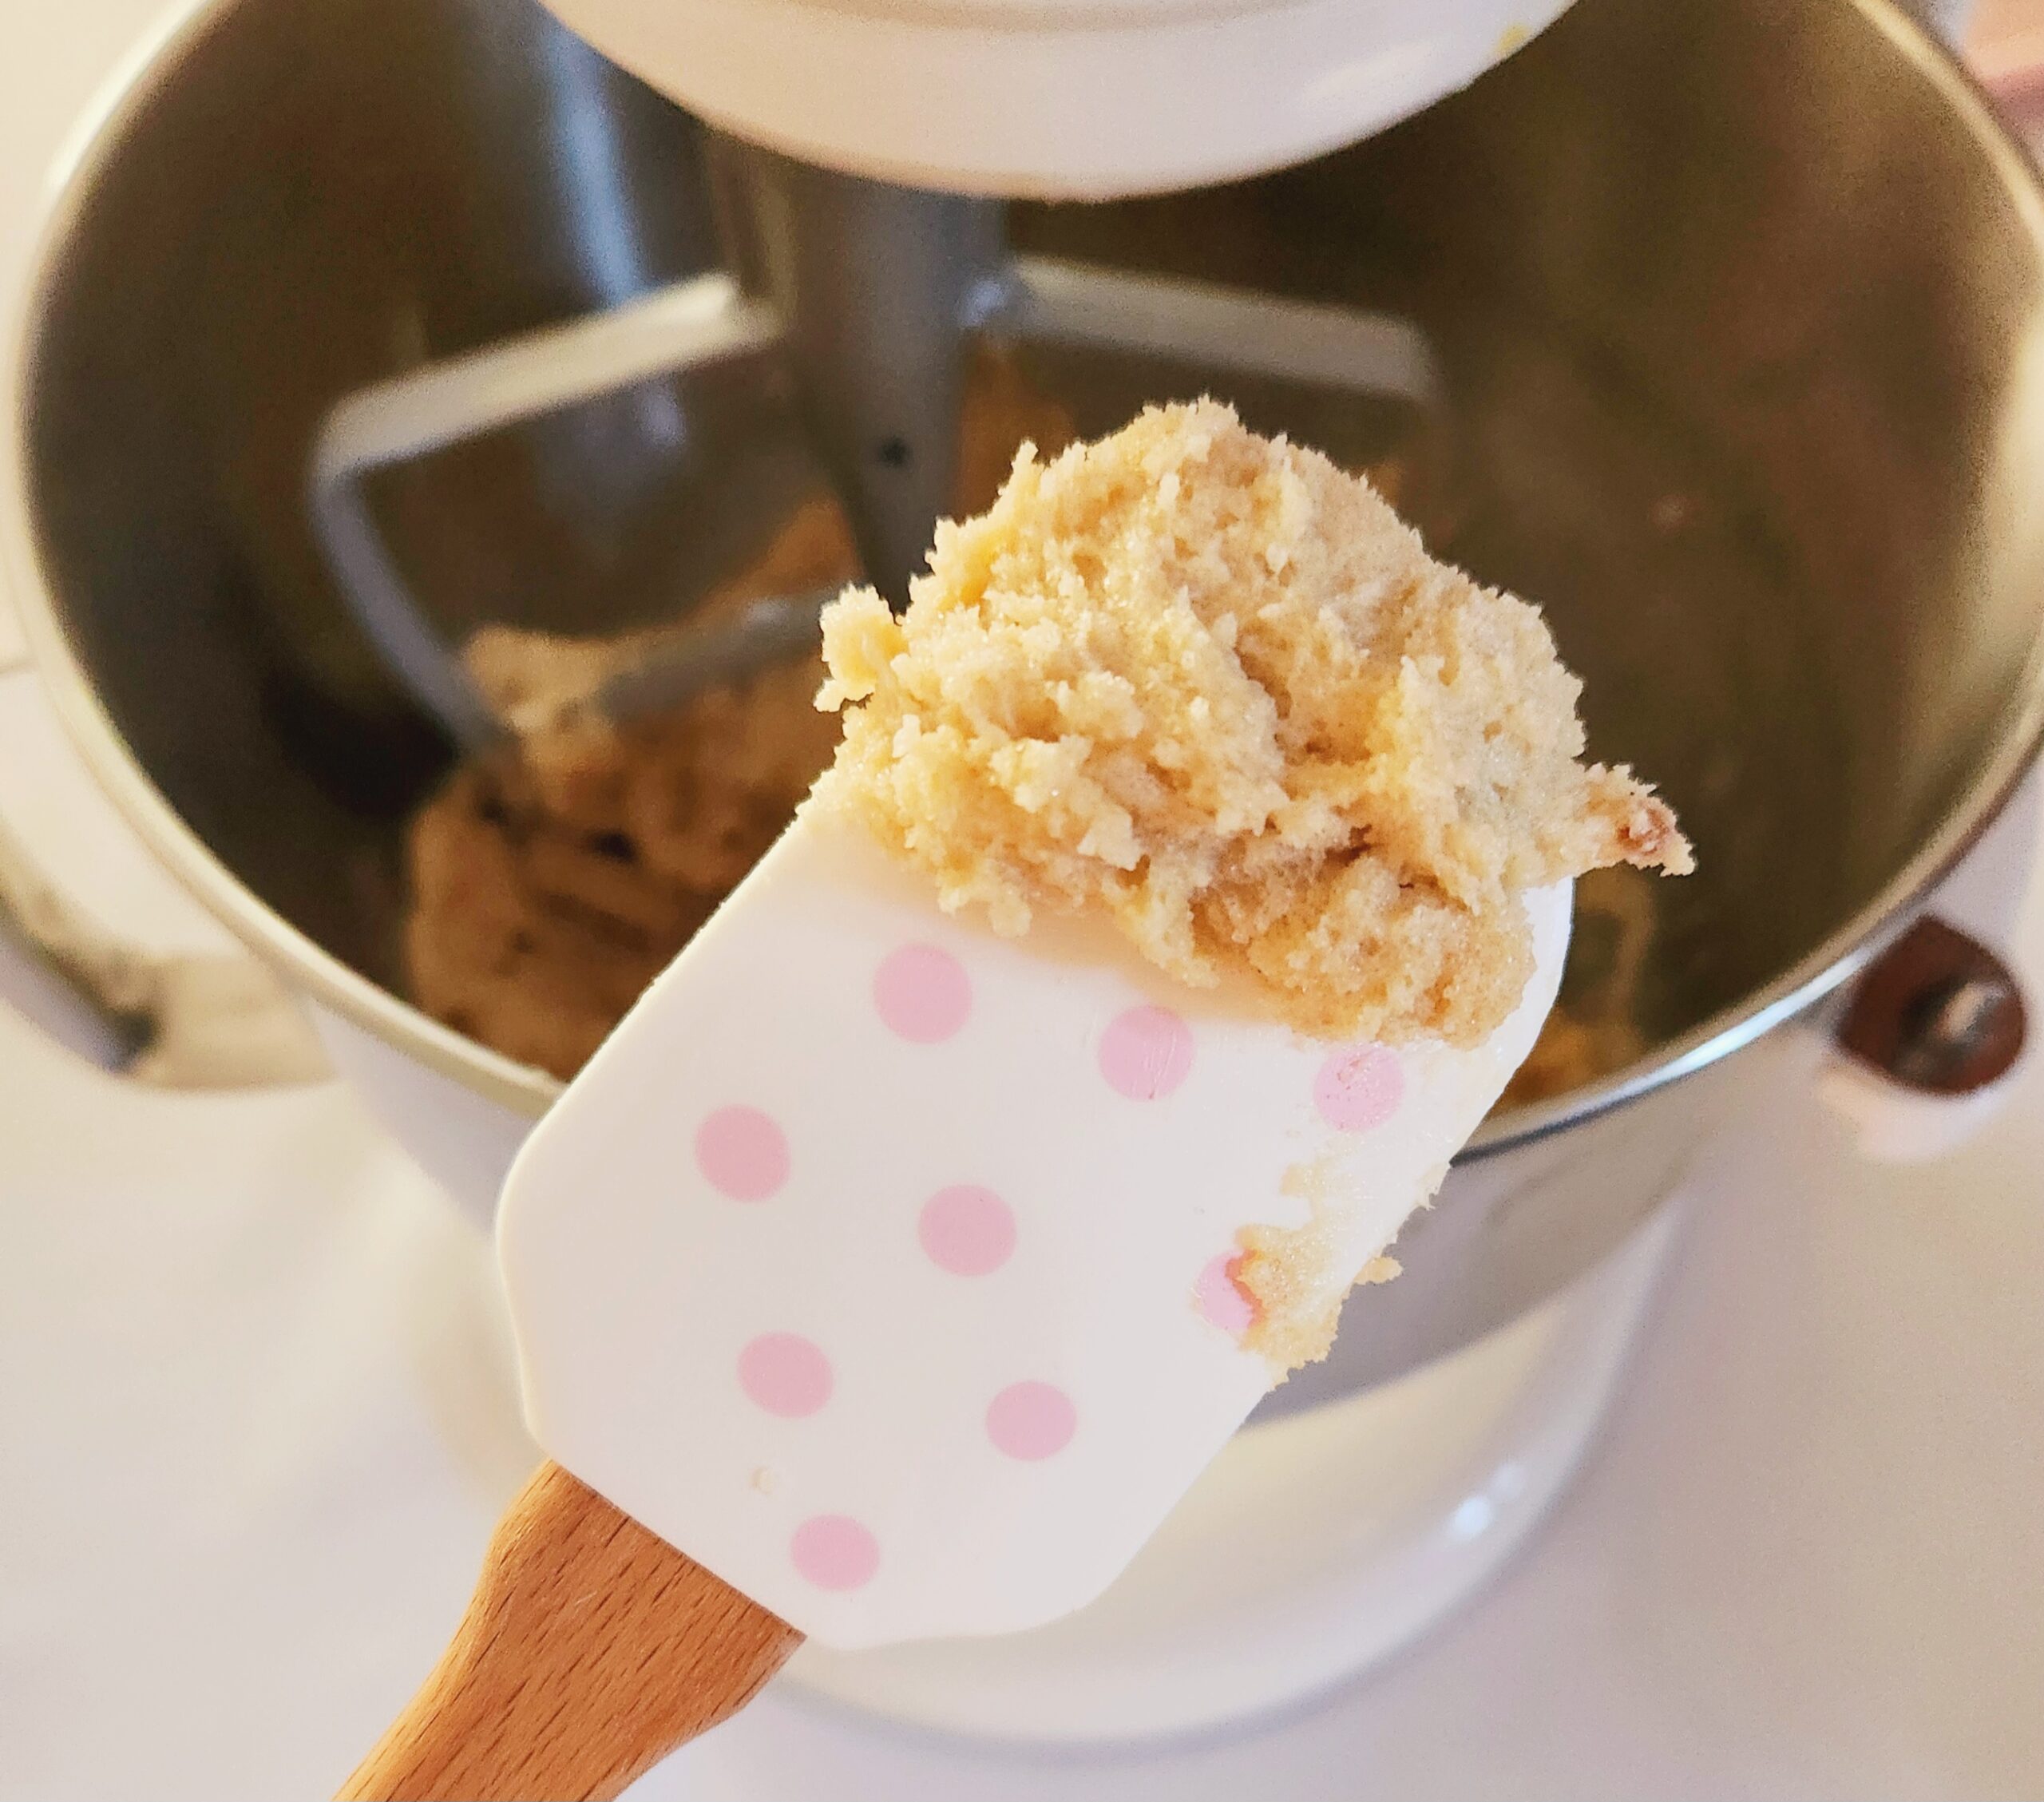
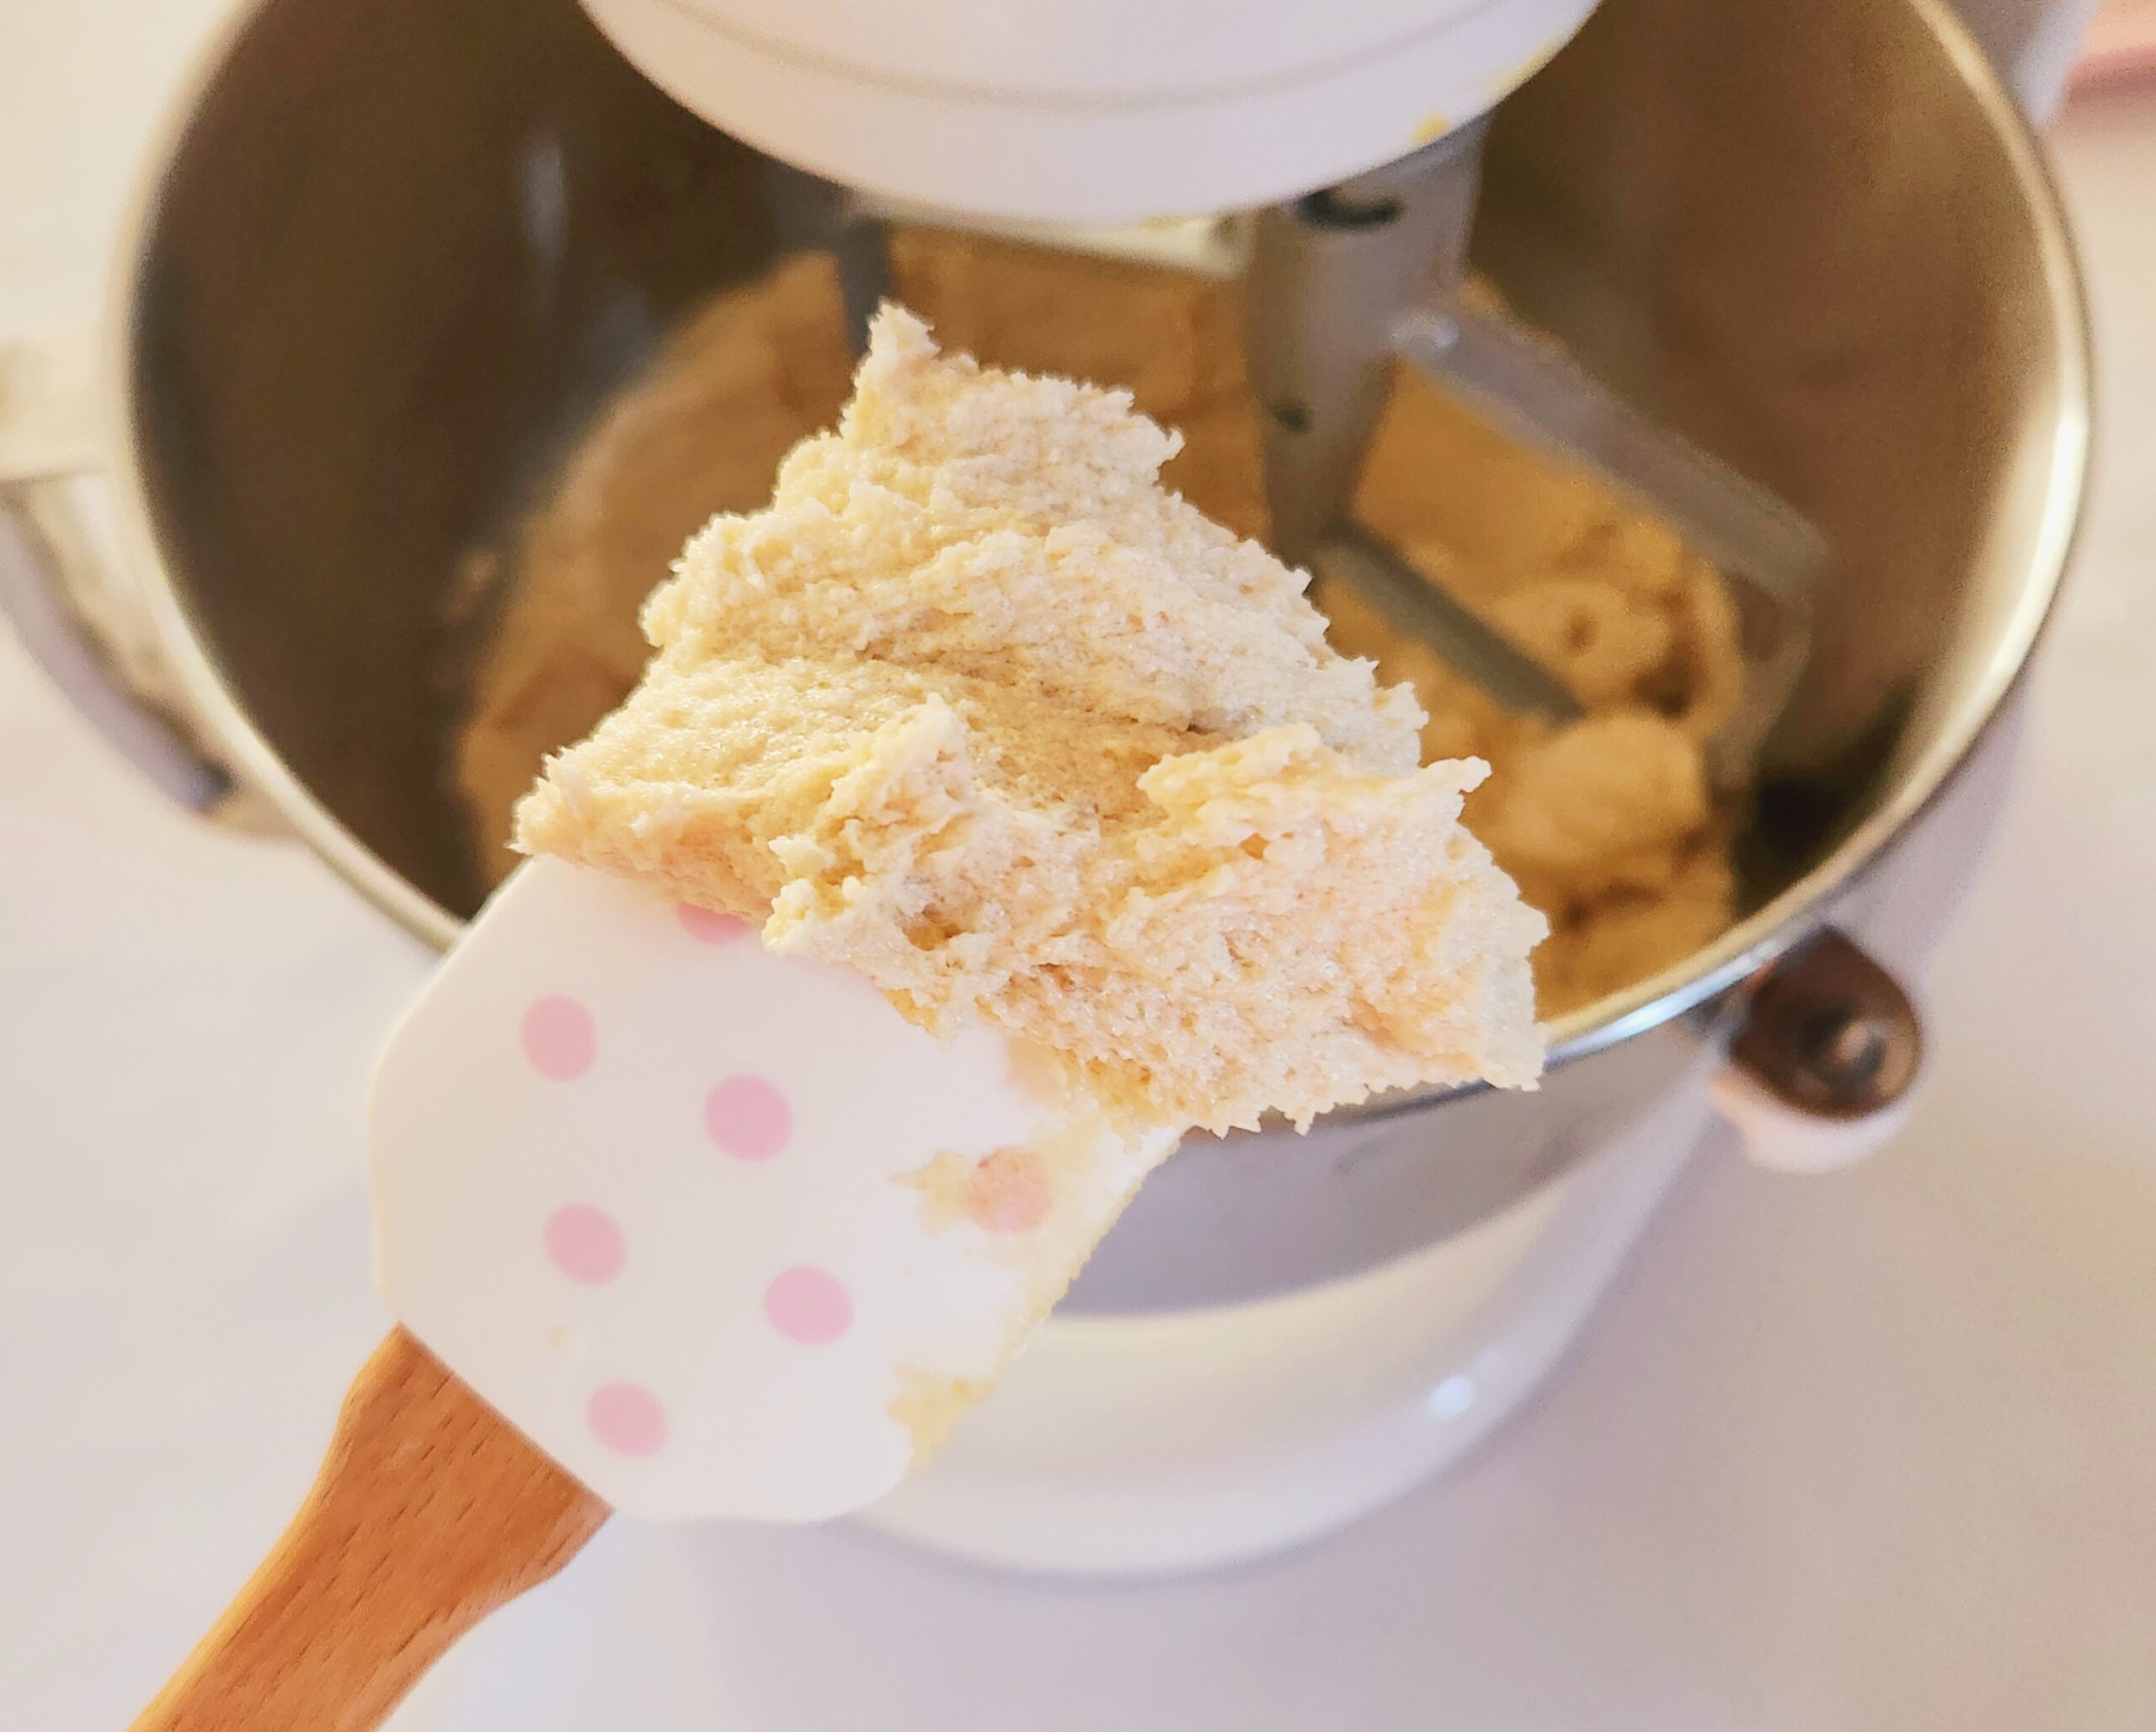
Now onto the eggs and vanilla! Be sure to add them one at a time, beating until the previous egg is fully incorporated. It’s easier for the butter to absorb eggs when they’re added one at a time, so it’ll take less time for it to come back to a homogeneous state this way. Scrape down the sides of the bowl after each additional egg. The vanilla can be added along with either egg, or on its own after both eggs have been incorporated.
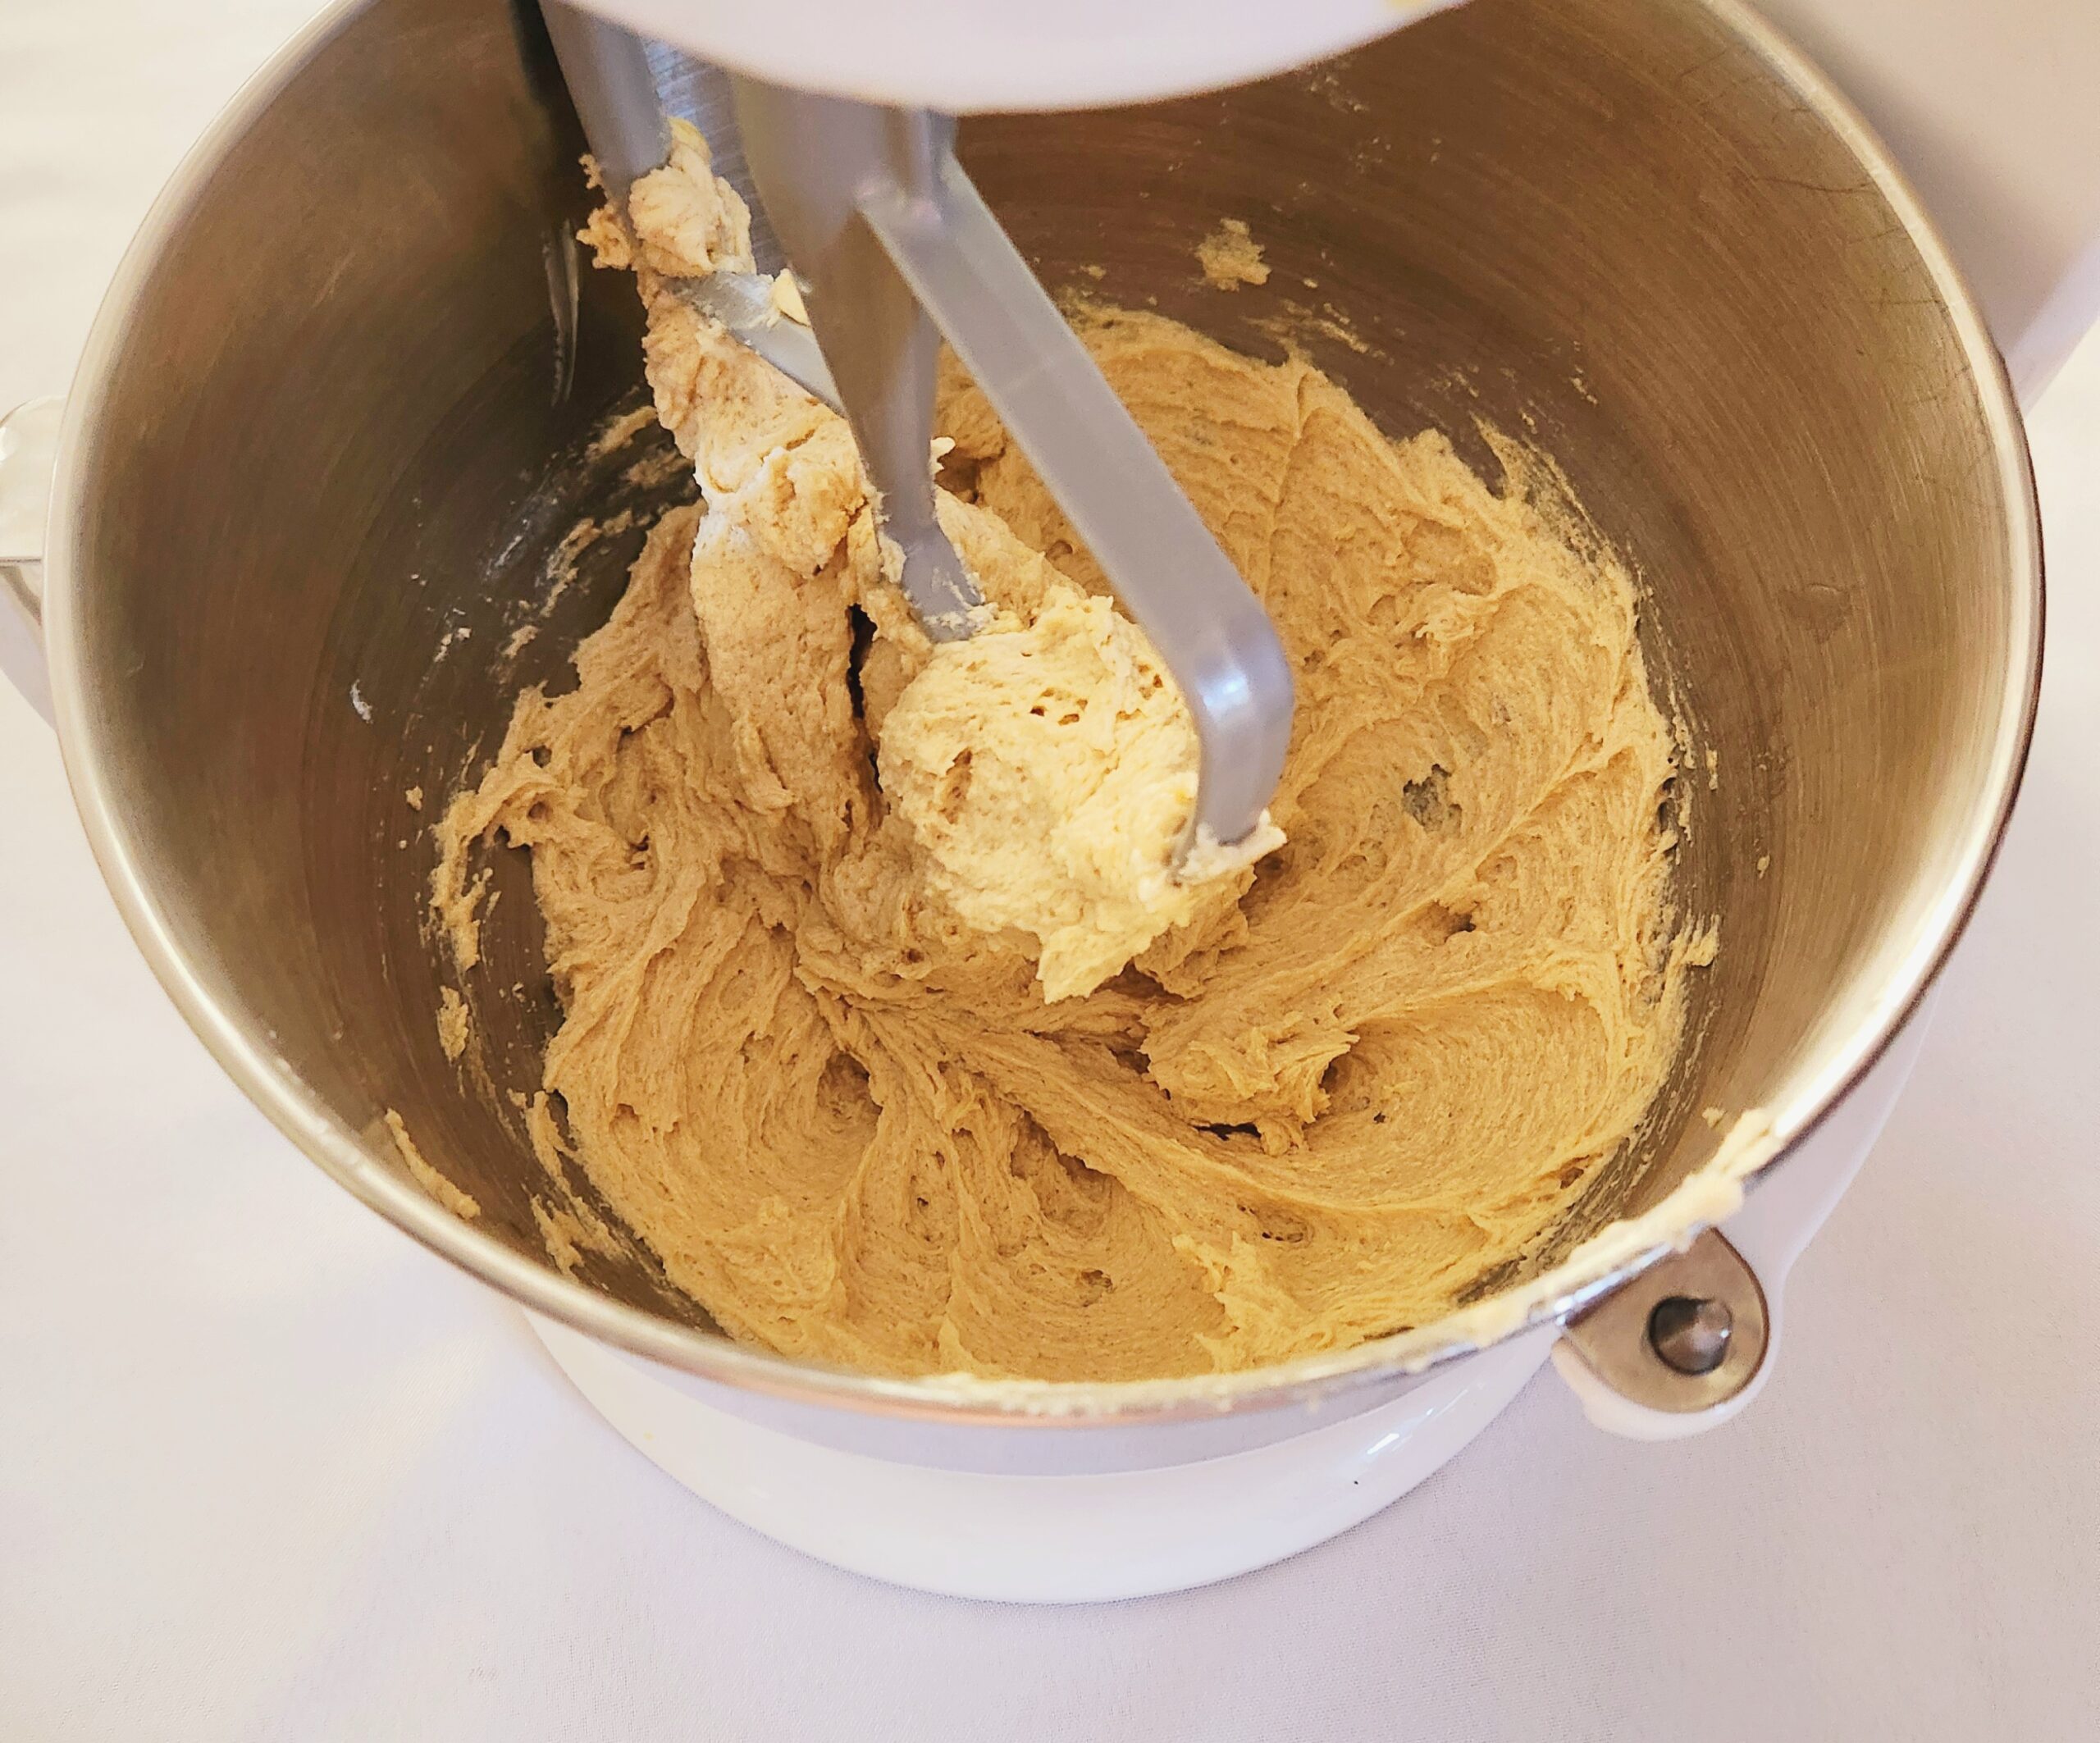
Time for the flour mixture. Unlike with a cake, where you add the dry goods bit by bit and alternate with a liquid, you’re going to add the entirety of the flour mixture to the mixing bowl in one go. Doing this will help prevent you from over-mixing your dough, thus saving you from very tough, unpleasant cookies in the end. On the lowest speed for either your stand mixer or hand mixer, beat in the flour until it’s just incorporated and you don’t see any more streaks.
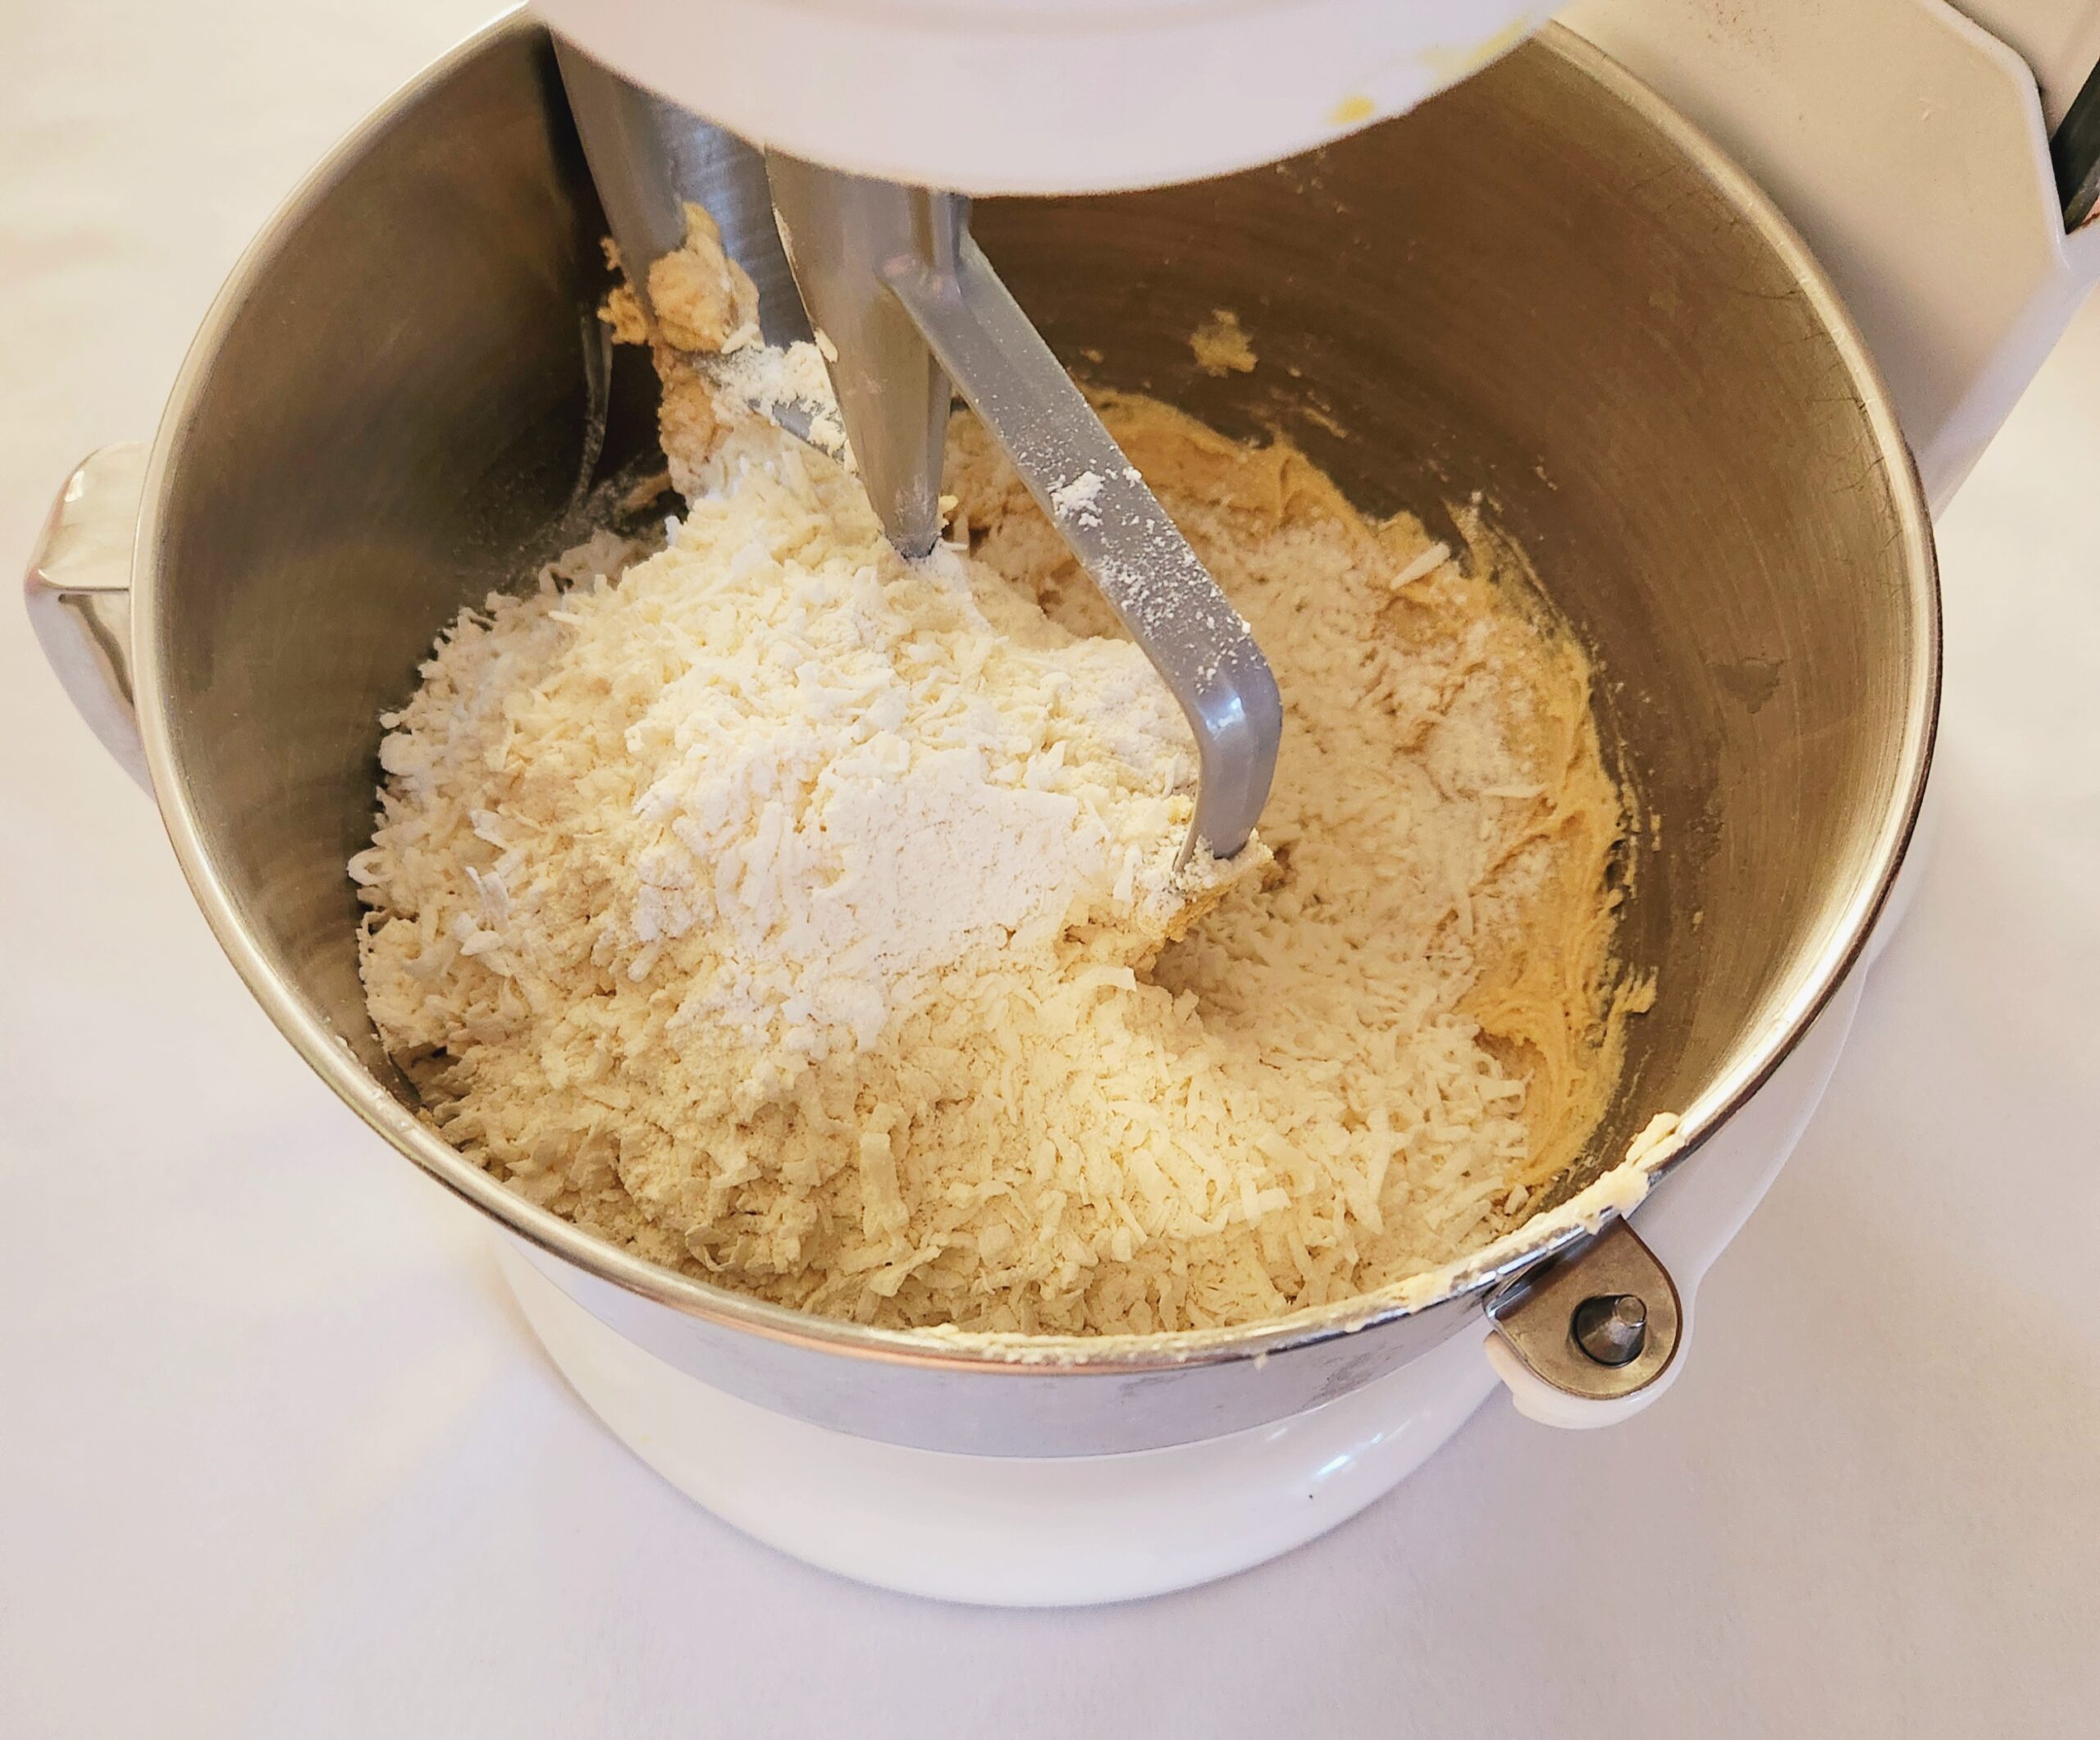
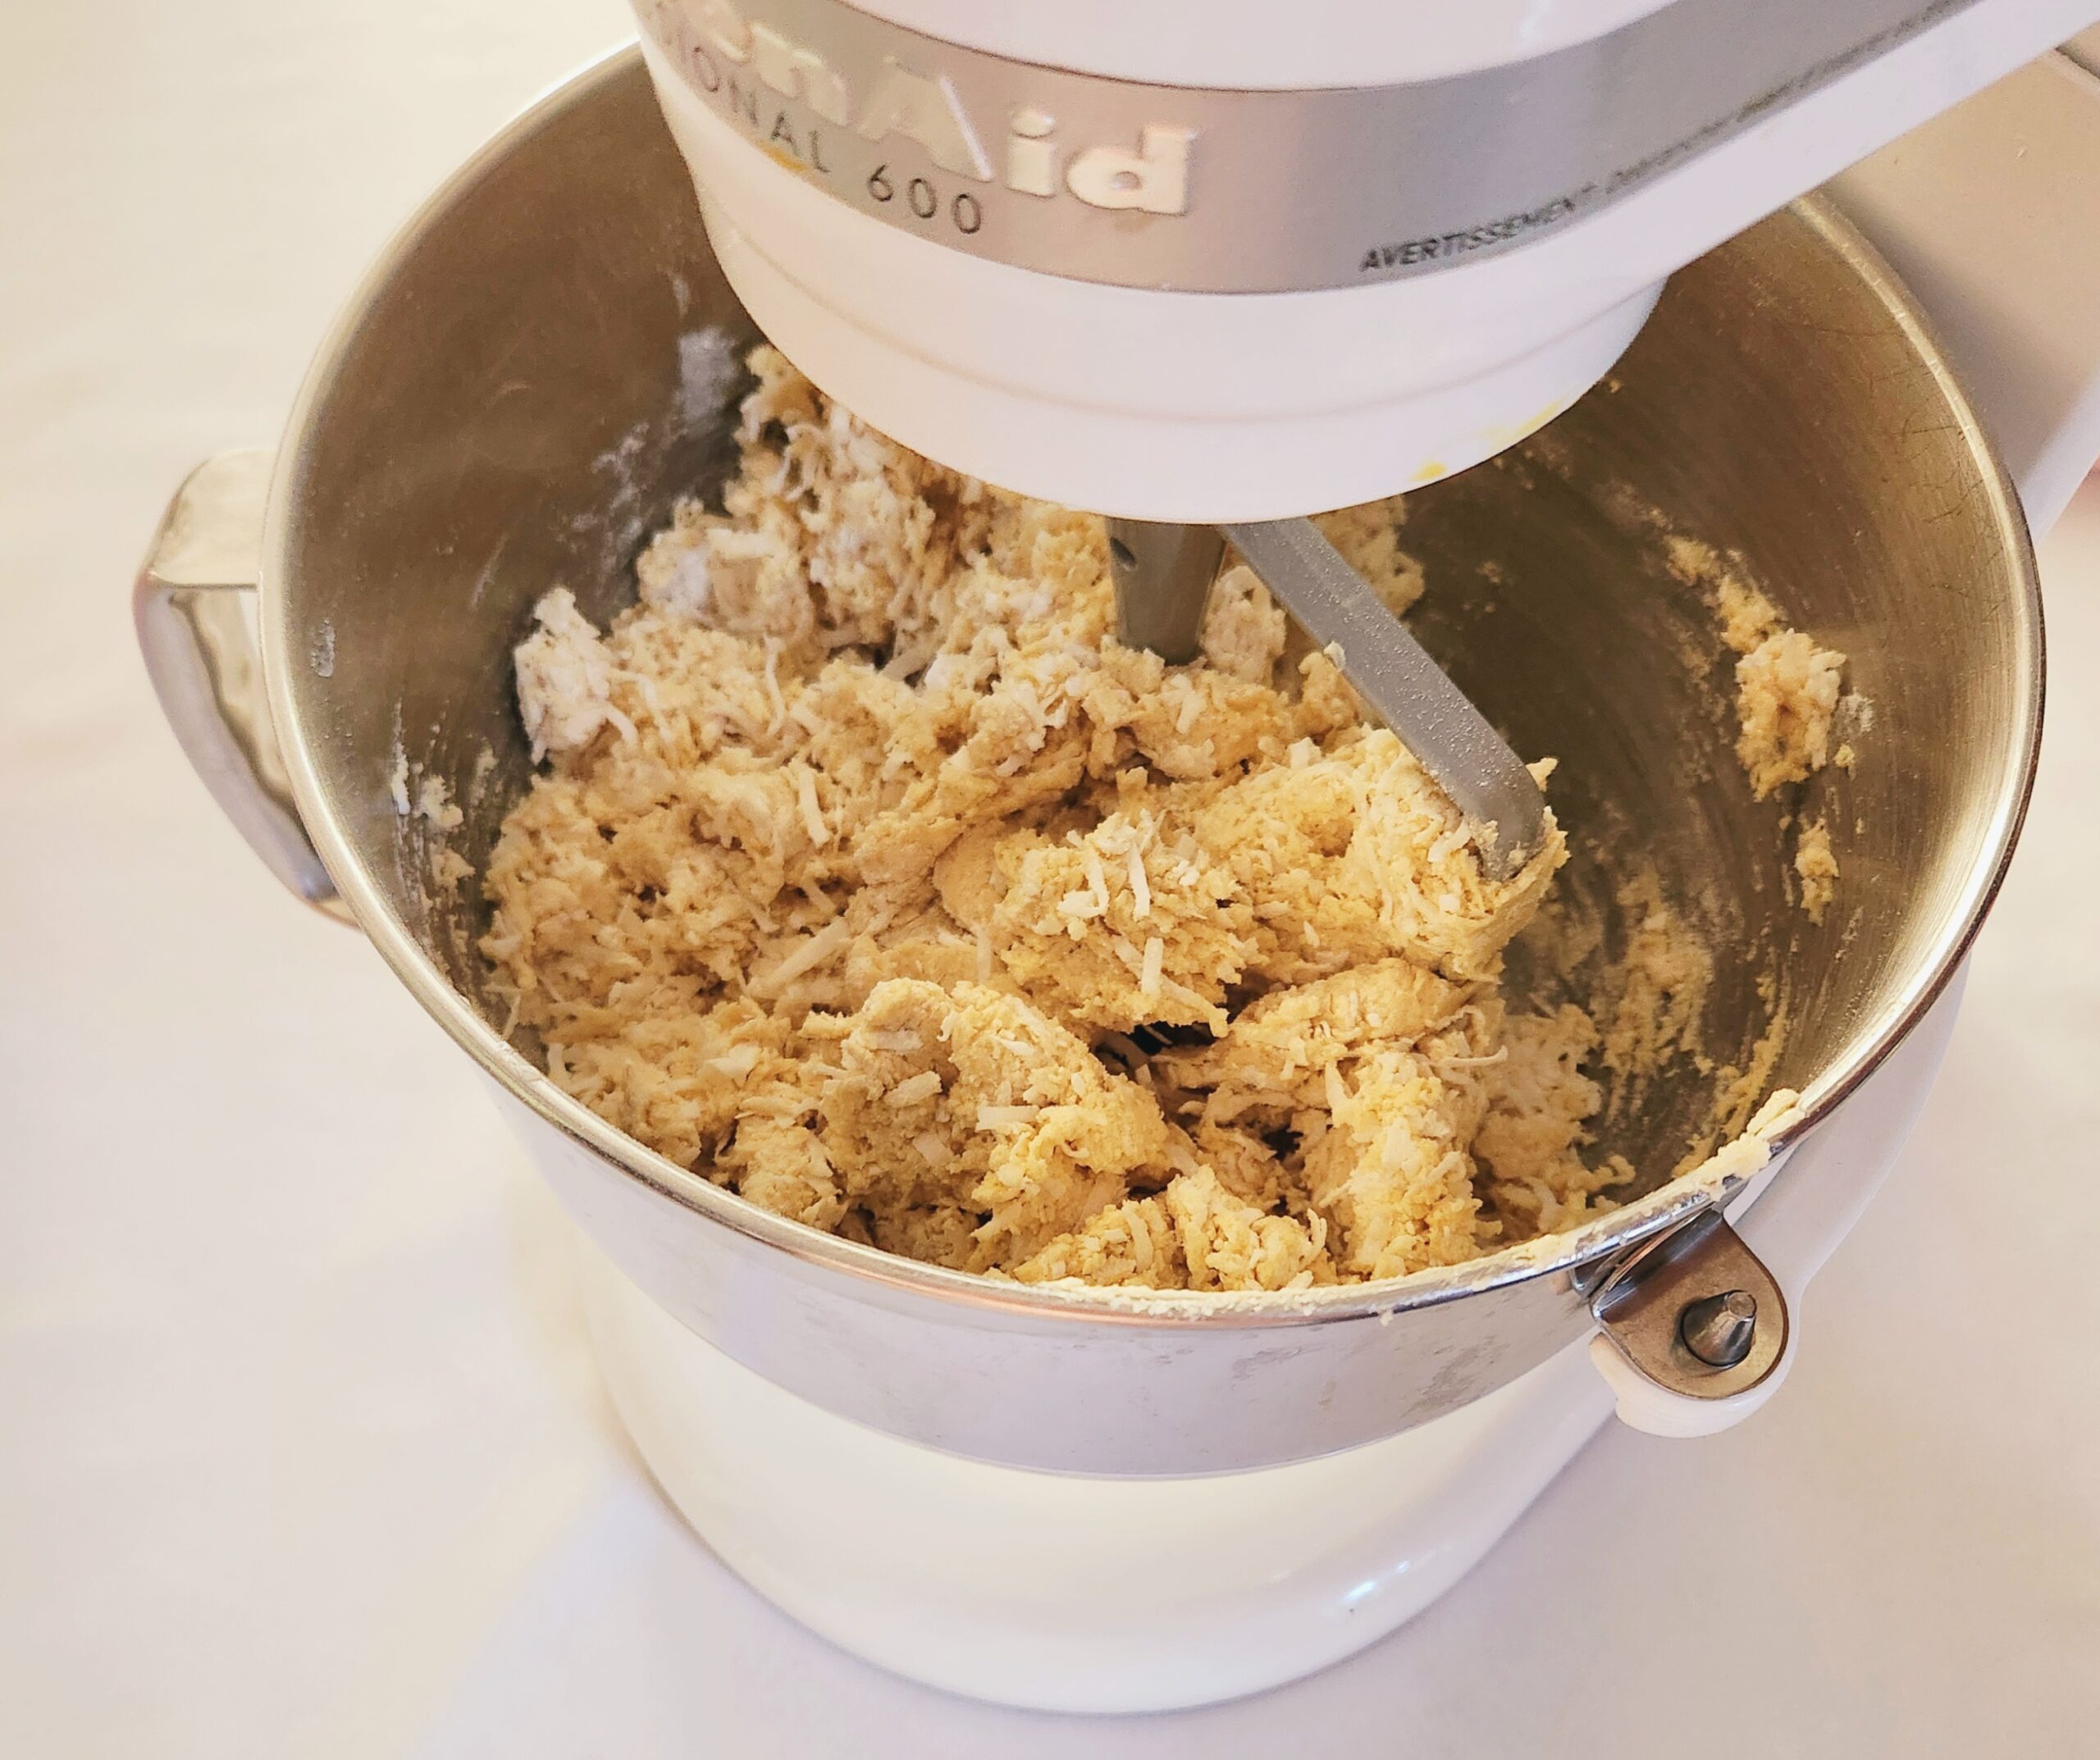
You’re now going to abandon your appliances in lieu of the rubber spatula. Toss in the chocolate chips, and fold them in by hand. This will both help the cookies to stay the soft, chewy texture that you want, ensure a more even distribution of chips, and will be kinder to your mixer. Adding a hard substance like chocolate chips to something as thick as cookie dough is not something your mixer likes to handle.
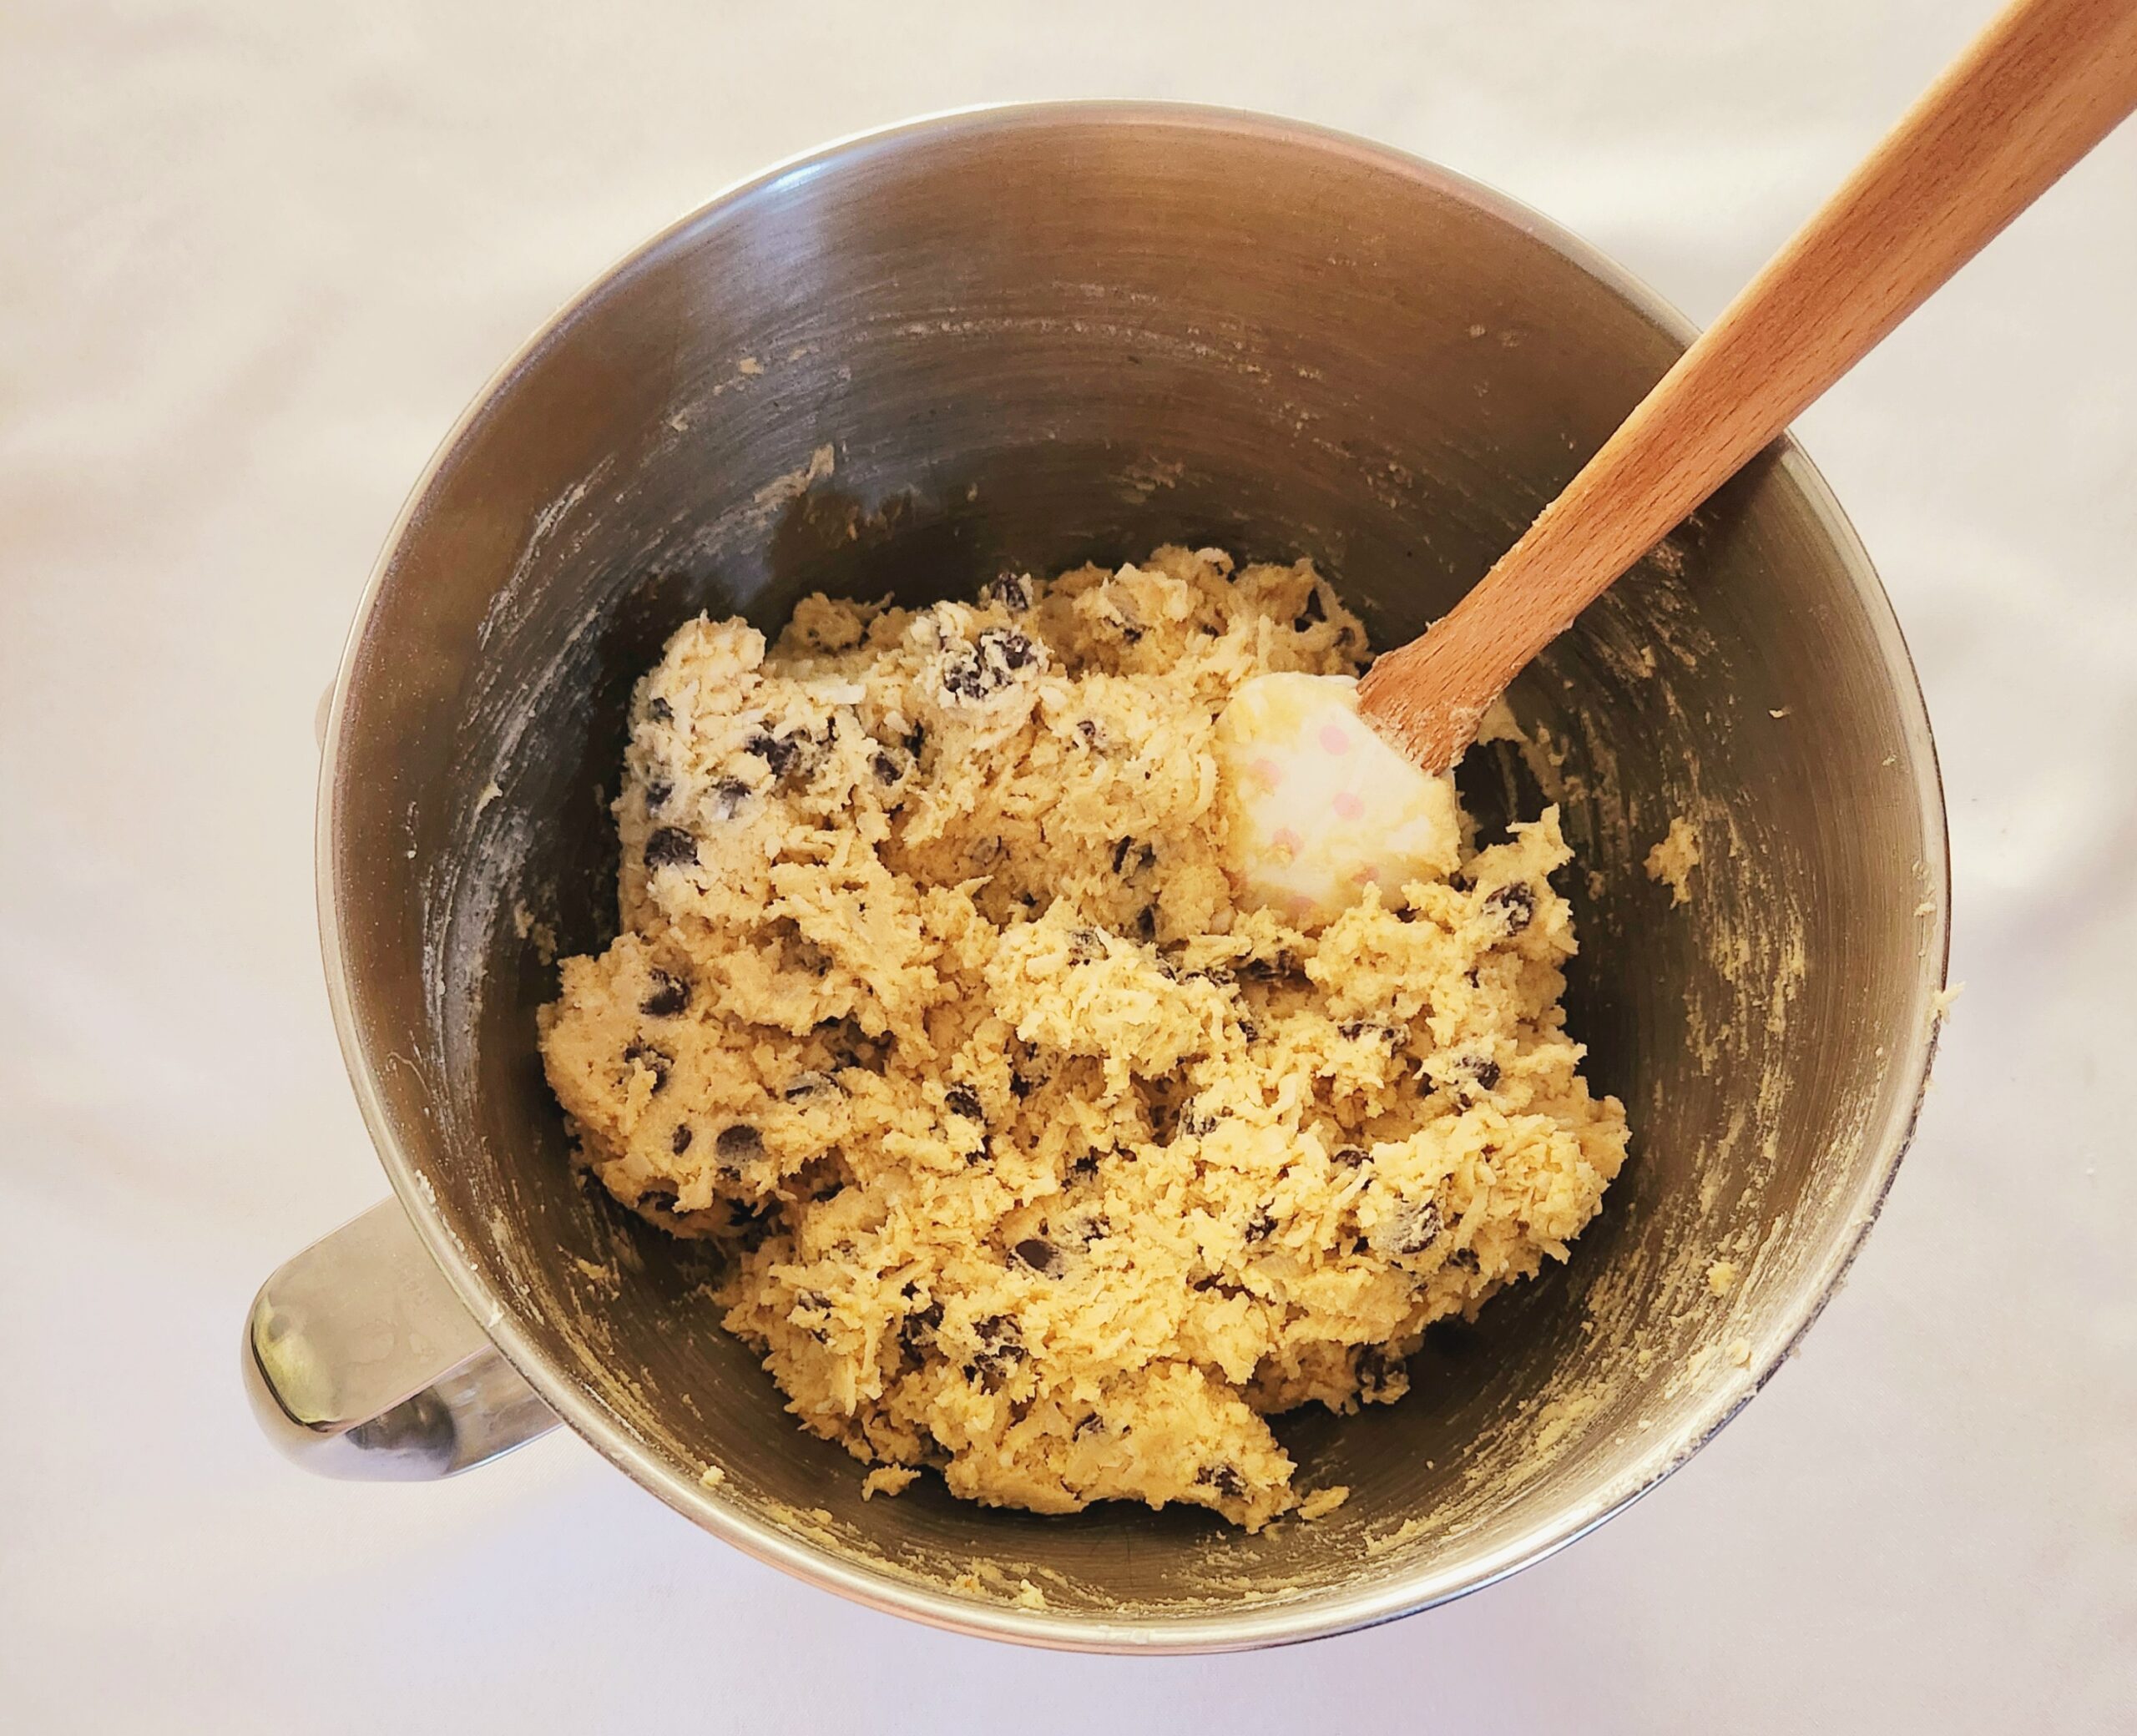
Cover the top of the bowl of dough with plastic wrap, and toss it in the fridge for 30-45 minutes. This initial chill of the dough will begin to solidify the butter in the dough, which reduces stickiness. In other words, cold dough is much easier to handle when it’s time to shape the cookies. It wont hurt the dough to chill it for a longer time period, but it will solidify entirely eventually. Just allow it to sit covered at room temperature for a few minutes, and the outer layer will soften enough for you to continue on without issue.
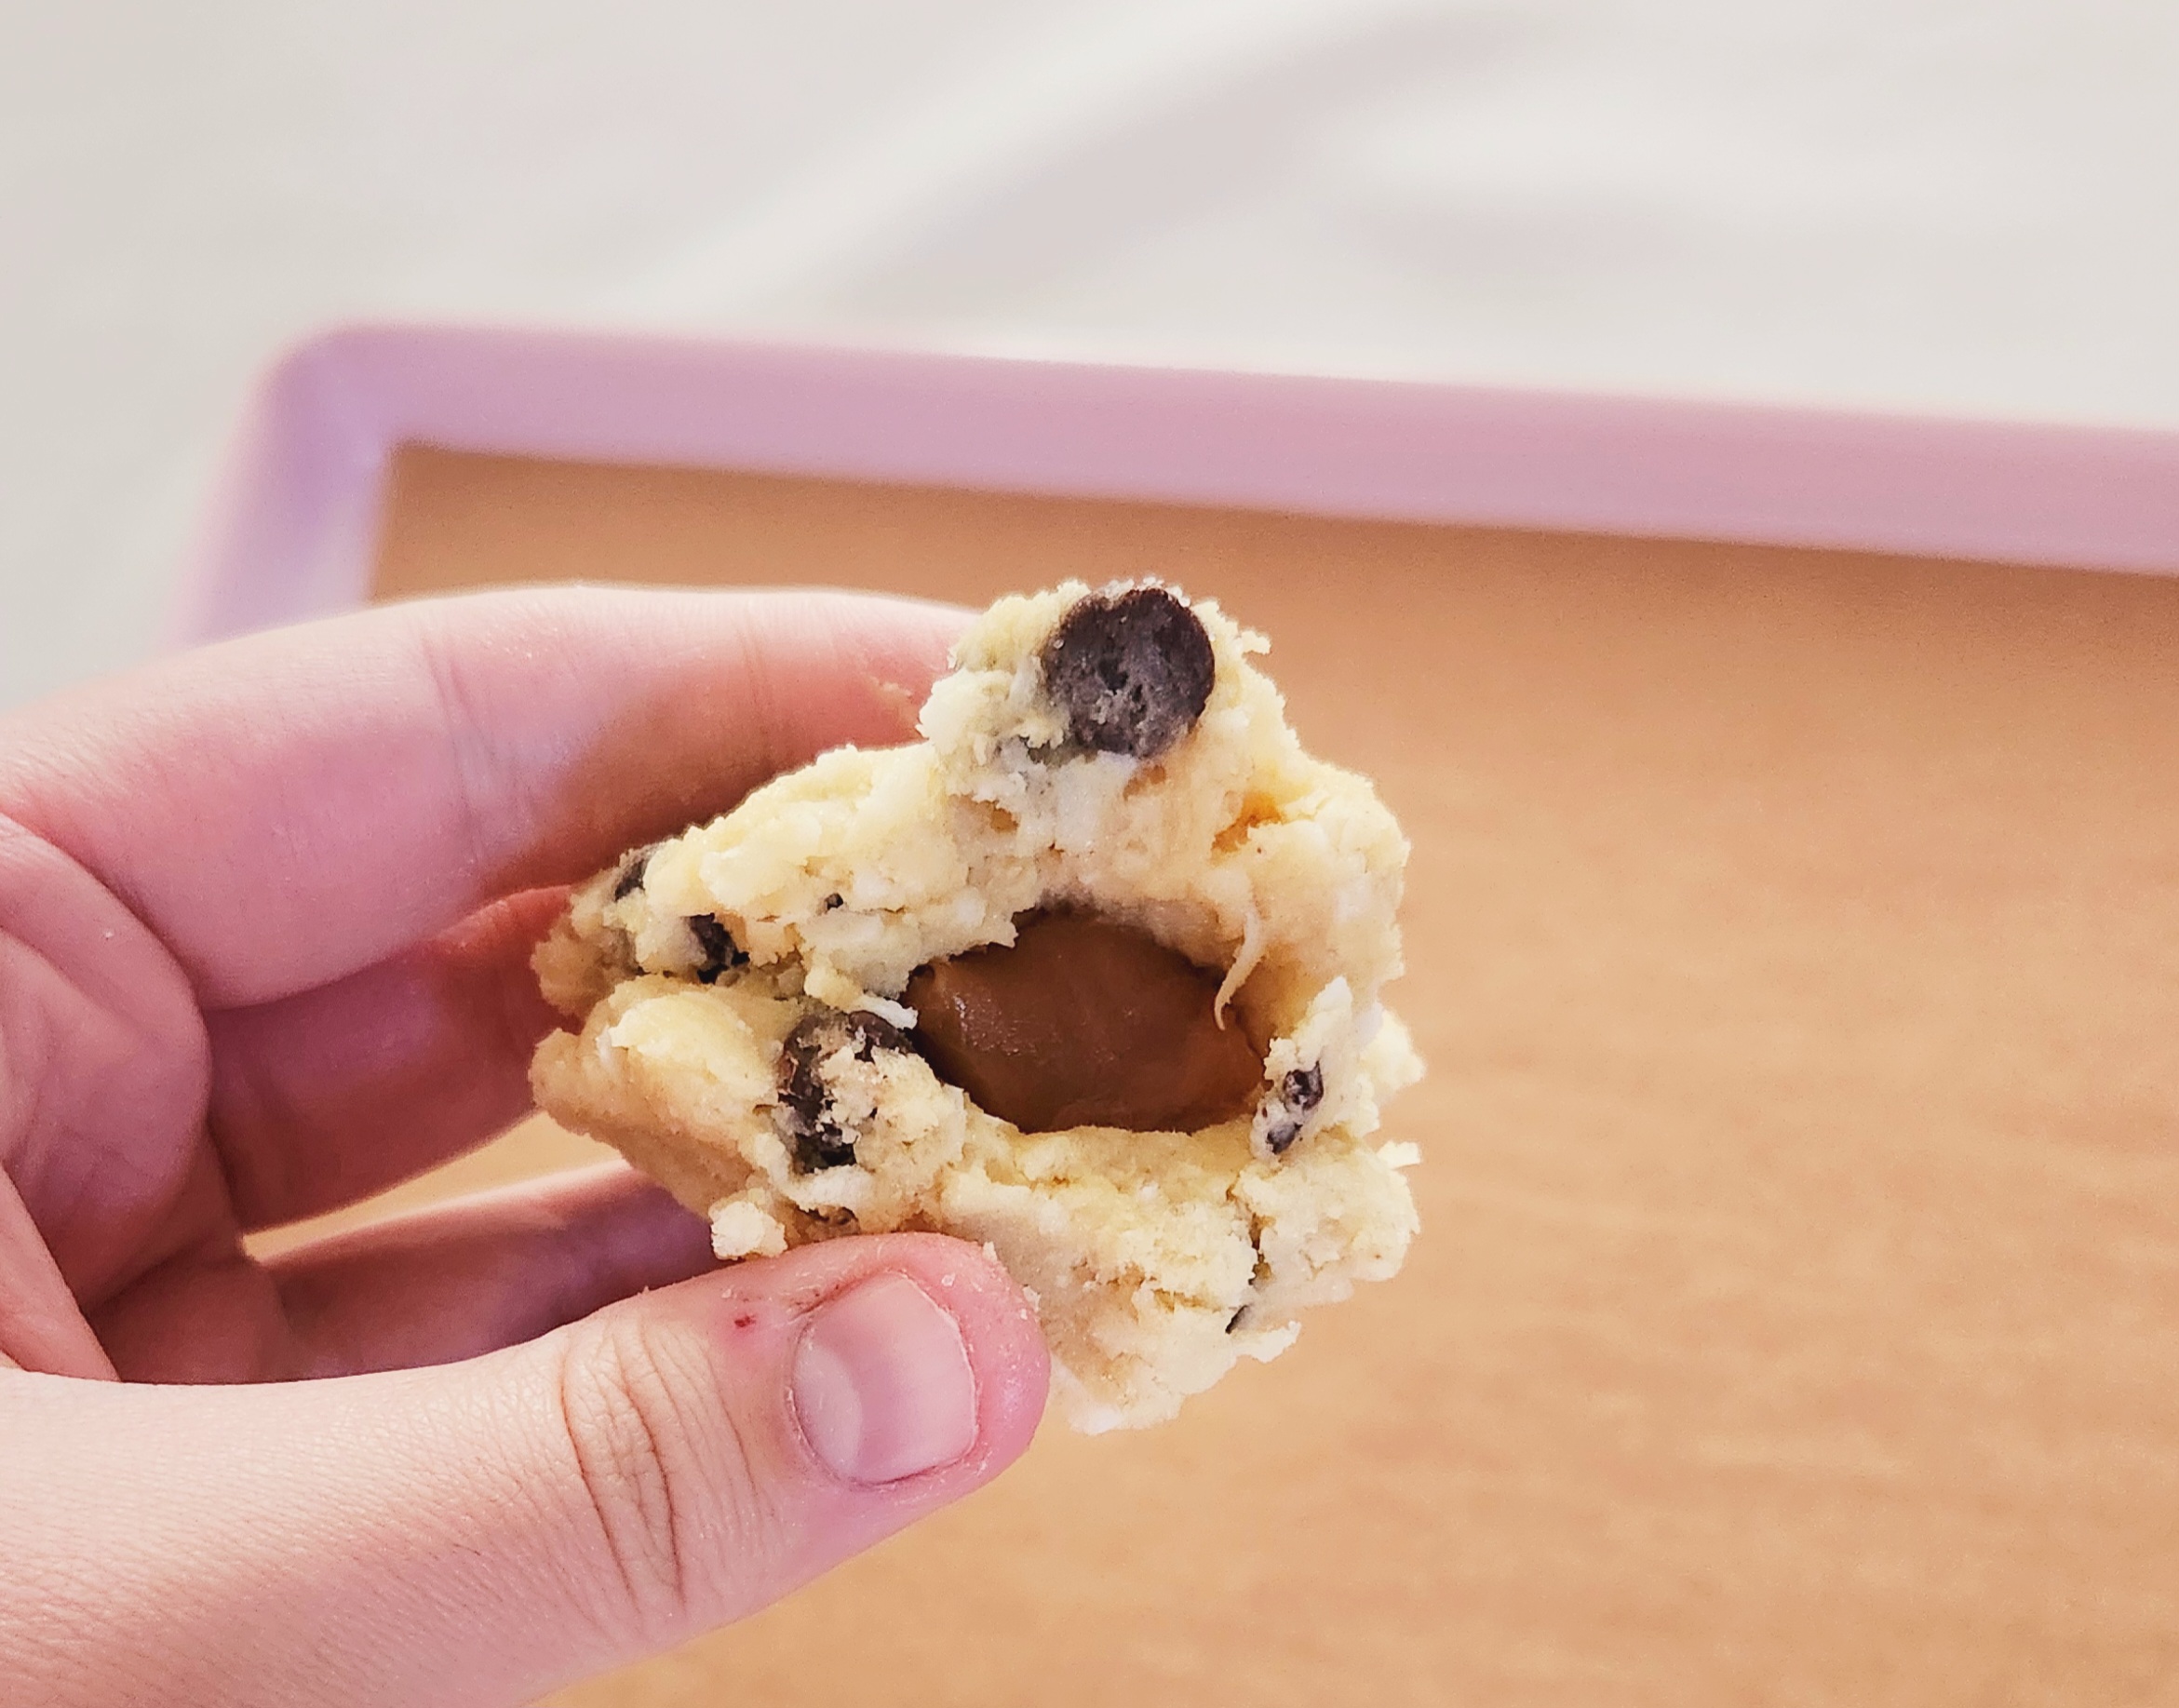
We’re ready to assemble! A standard baking sheet should be able to comfortably bake five of these cookies per batch. Scoop out two tablespoons of cookie dough, ten different times, and roll them all into balls. I like to use a two-tablespoon scoop for simplicity, but you can absolutely just use a normal tablespoon. Whatever you already own works perfectly well. Flatten each ball of dough into a 1/2 inch thick disc. Grab a disc, place a piece of your soft caramel in the center, and cover it with a second disc of dough.
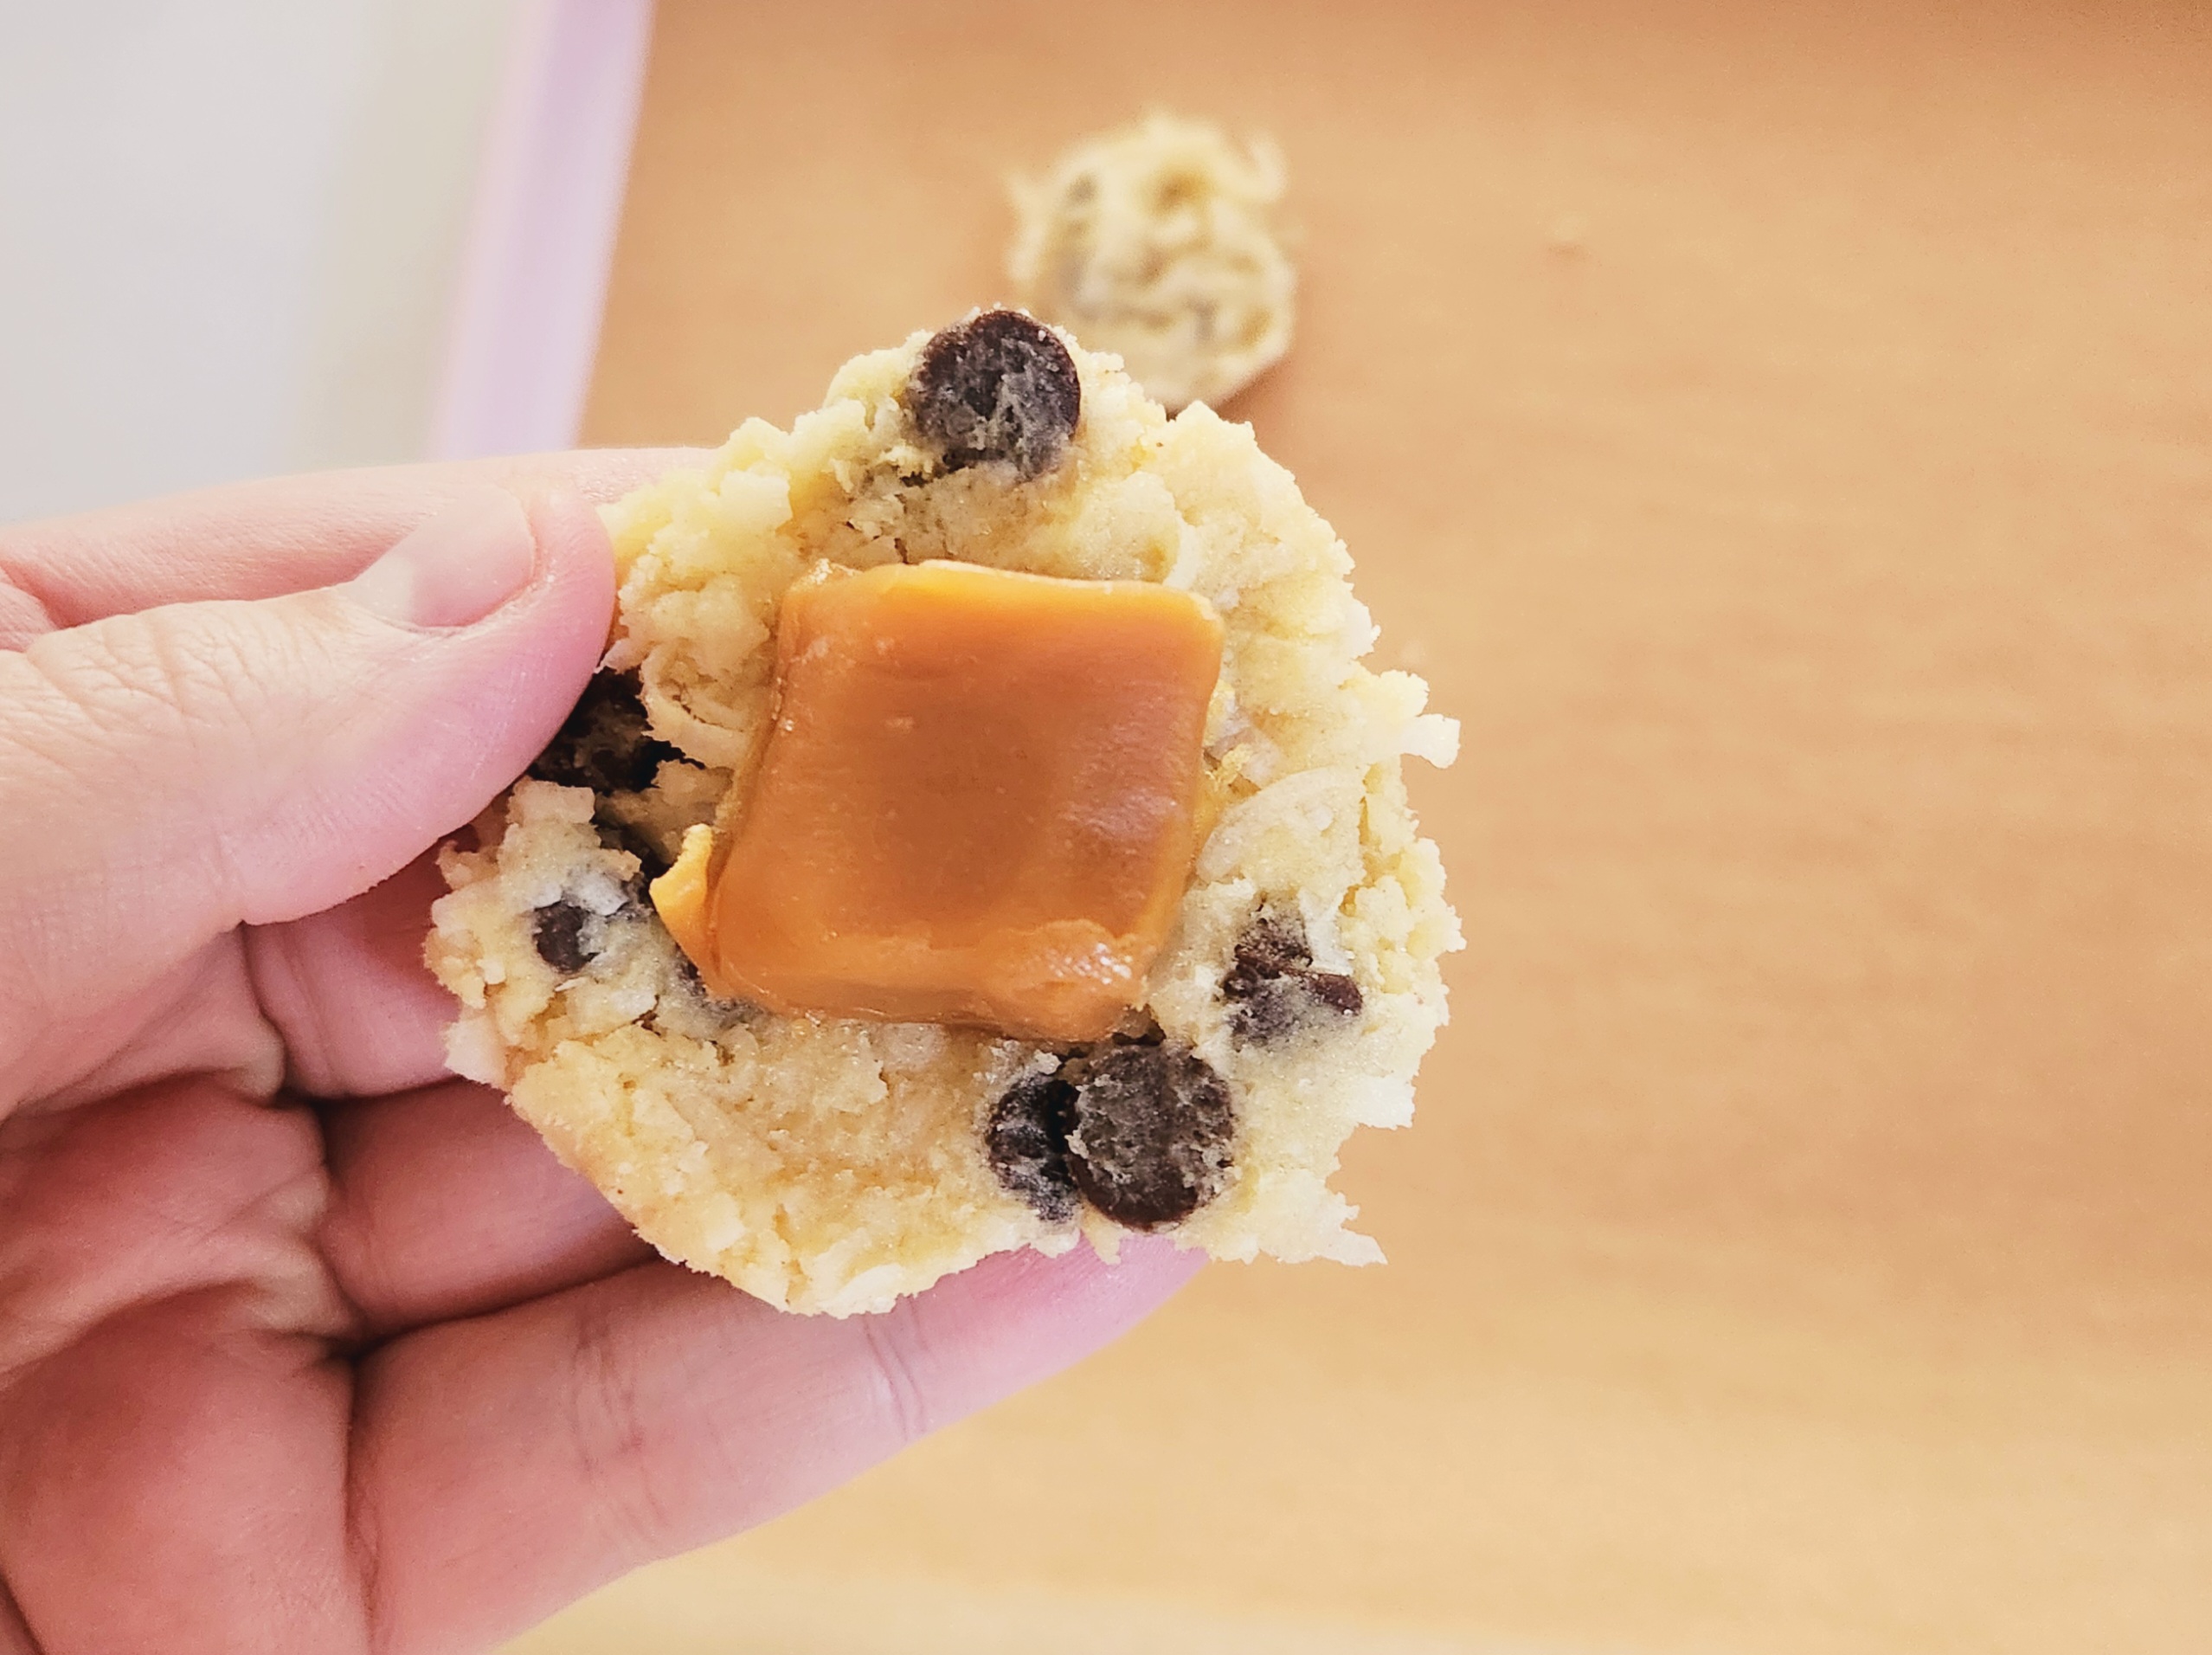
Pinch the edges of the two discs together all the way around, sealing the cookie inside.
Place your cookies with 2-3 inches of space between them. I like to do a 2-1-2 pattern, as shown below.
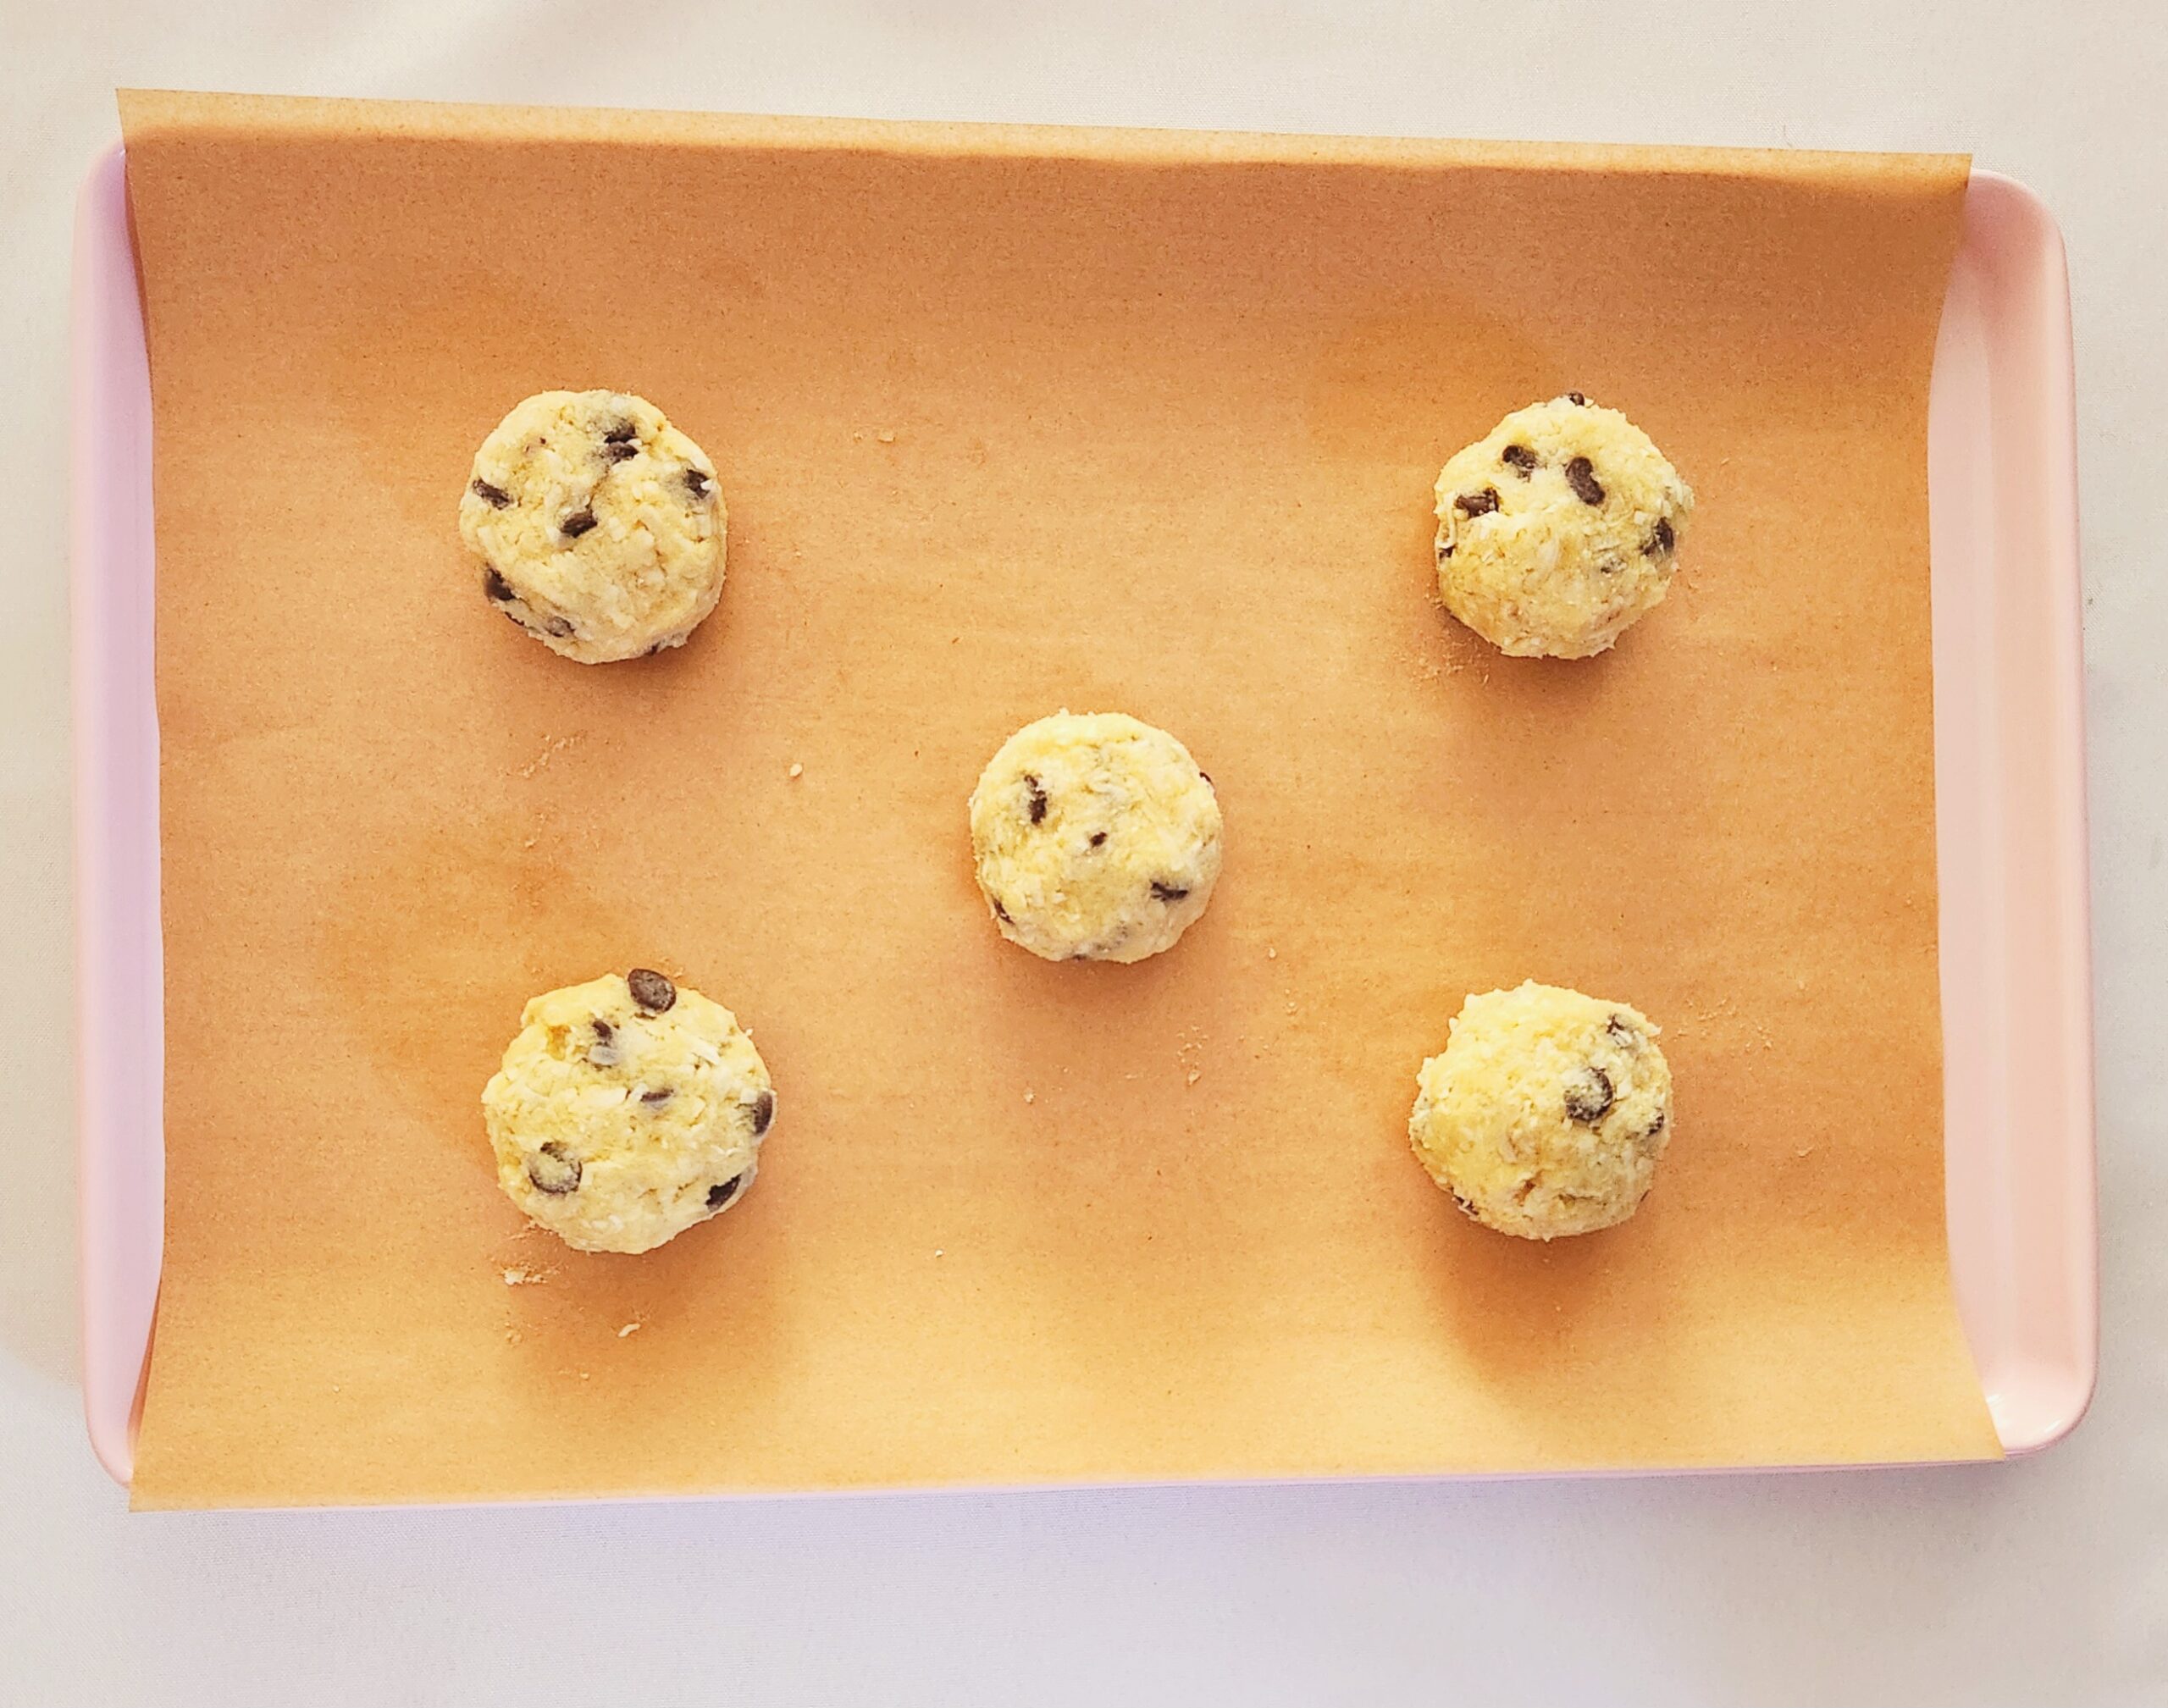
Cover the baking sheet with plastic wrap, and chill the cookies once more for 15 minutes. This way, the cookies will spread less and your caramel should stay comfortably in the center of the cookie. You could chill them for longer, or even freeze them at this point to pull and bake at your discretion.
Bake each batch for 16-18 minutes, flipping the pan around halfway through to help with even baking. The cookies should have a light toasty golden brown around the edges when they’re done. Allow the cookies to rest on the baking sheet for 5 minutes before transferring them to a cooling rack.
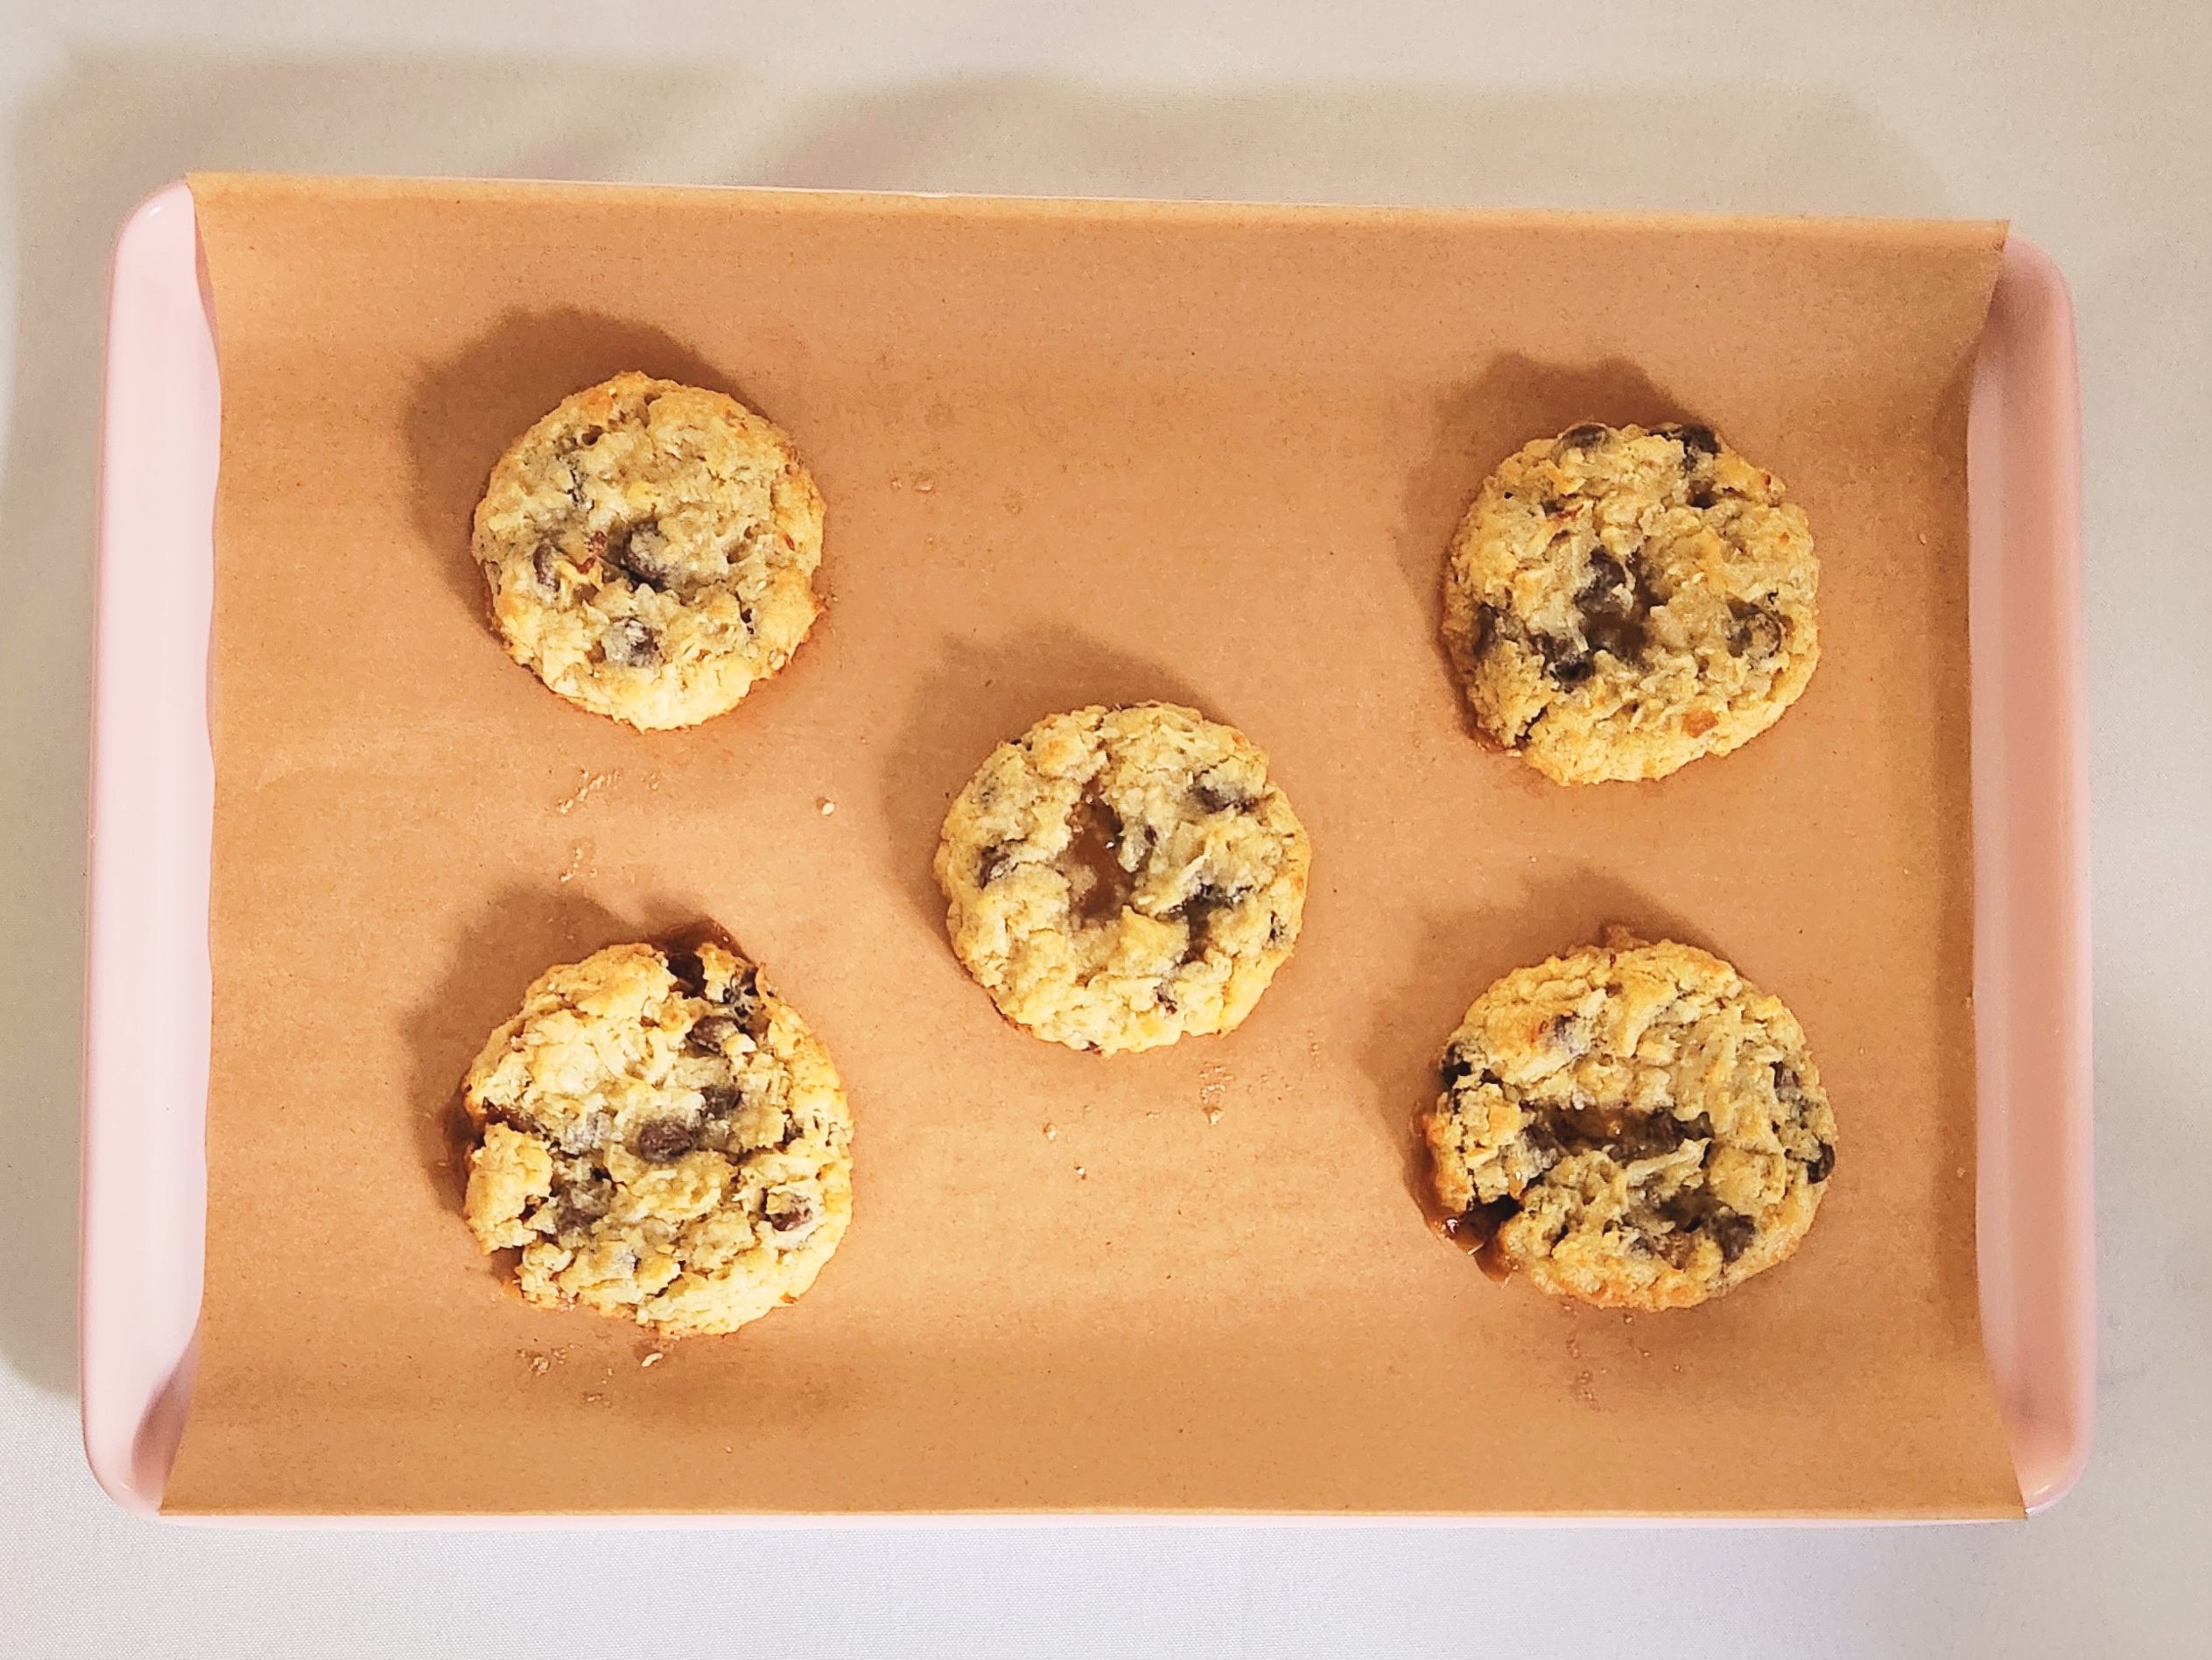
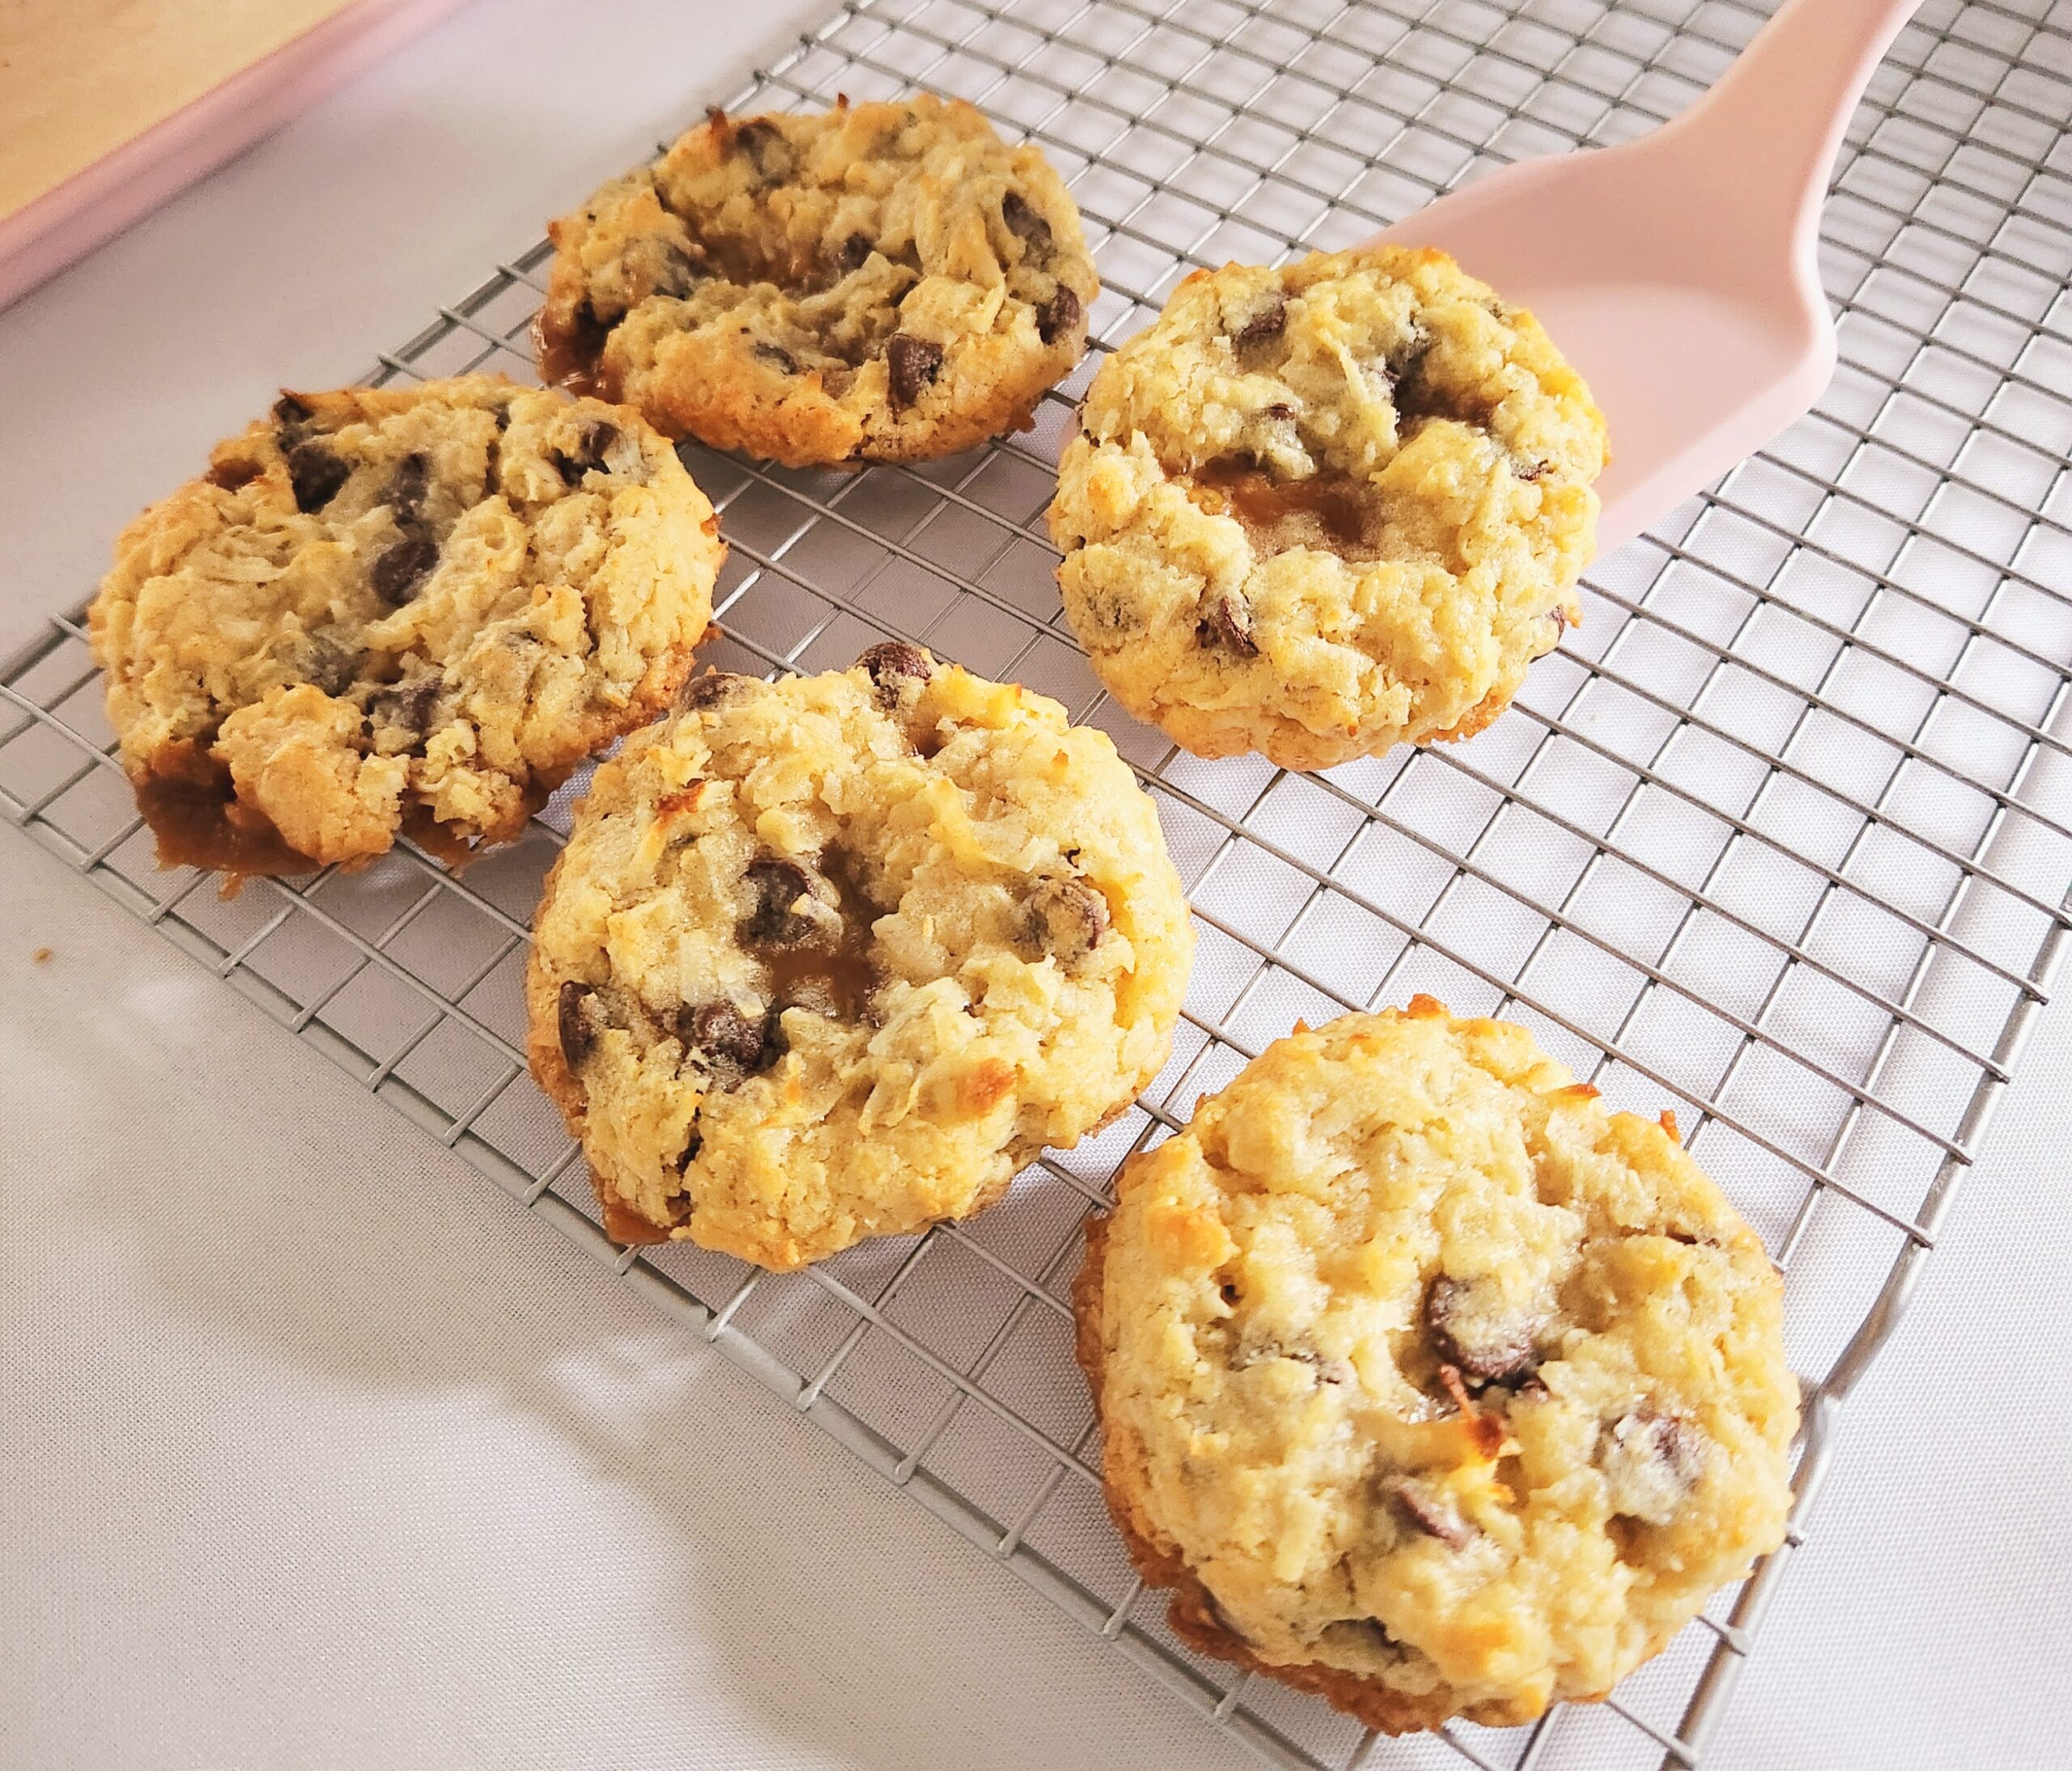
Let them cool completely before digging in, to avoid burning your mouth with caramel. Store your cookies in either an airtight container or a gallon zip-top bag for up to 3 days, and enjoy!


Coconut Caramel Chocolate Chip Cookies
Bake Time: 350F for 16-18 minutes
Servings: 24 Cookies
Total Time: 2 hours
Prep Time: 30 Minutes
Ingredients:
- 2 cups all-purpose flour
- 1 teaspoon baking powder
- 1 teaspoon salt
- 14-oz sweetened shredded coconut
- 16 Tablespoons unsalted butter, softened
- 1 cup light brown sugar
- 1/2 cup granulated sugar
- 2 large eggs, room temperature
- 2 teaspoons vanilla extract
- 1 1/2 cups dark chocolate chips
- 8 oz soft caramels
Directions:
- Preheat the oven to 350, and line a baking sheet with parchment paper or a silicone baking mat. Set the pan aside.
- In a medium mixing bowl, whisk together the flour, baking powder, salt, and coconut. Set it aside for later.
- In the bowl of a stand mixer, using the paddle attachment, cream together the softened butter, brown sugar, and granulated sugar for 2-3 minutes on medium speed (level 3 or 4). This should go from a butter yellow to almost white and fluffy in texture.
- Beat in the eggs on medium speed, one at a time. Make sure that the first egg has been fully incorporated before adding the next. Scrape down the sides of the bowl with a rubber spatula in between eggs, or as needed. Pour in the vanilla extract, and beat the mixture for another few seconds to incorporate it.
- Add the dry mixture all at once to the stand mixer bowl, and beat on level 1 or 2 for about 30 seconds. Toss in the chocolate chips, then once again beat on low until the dough has all come together. Cover the dough with plastic wrap and chill it in the fridge for 30-45 minutes, to make it easier to handle. If you chill it for longer than 60 minutes it will firm up, so you’ll need to leave it at room temperature for a few minutes to make it malleable again.
- Scoop out 2 Tablespoons of dough and flatten it out with your hand, so it’s around ½ inch thick. Place a soft caramel in the center of your puck of dough, and top it with another 2 Tablespoons of dough. Seal the edges of the two layers of dough together, encapsulating the caramel in the center. Repeat this process with the remainder of the dough and soft caramels.
- Space the cookies 2-3 inches apart on a baking sheet, and chill them for 15 minutes before baking. This will help prevent the caramel from leaking out and spreading all over the place. Bake the cookies for 16-18 minutes or until they turn a light golden brown, flipping halfway through.
- Allow them to rest on the baking sheet for 5 minutes before transferring to a cooling rack. Try to resist chowing down until they’ve cooled down to room temperature. Otherwise, you could burn yourself with the caramel center! Store them in an airtight container or zip-top bag at room temperature for up to 3-4 days, and enjoy.
Tips
- Fully assembled raw cookies can be stored frozen for up to 3 months. Place them on a baking sheet small enough to fit in the freezer, cover it in plastic, and freeze them. Once the cookies are completely solid, transfer them to a freezer bag. This way, they wont stick together and get all messed up when you go to pull and bake later on. Bake at 350 for 20 minutes, spaced 2-3 inches apart, flipping halfway through.


0 Comments