

Scones get such a bad rep here in the US. They’re seen as dry, bland, and boring, which they absolutely can be when coming from the wrong source, especially after going stale. But if it’s freshly baked from a good recipe, a scone is just as delicious as any other breakfast baked good! Like a muffin and a biscuit had a delectable baby.
These scones are crisp and crumbly on the outside, with a pillowy soft inside that’s hard to resist. The toasted pecans are bursting with flavor, and pair beautifully with the morsels of dark chocolate. They’re tender and buttery, with just the right amount of sweetness. Perfect for serving with brunch, or baking on a lazy Sunday to eat with your coffee.
This recipe is also very beginner-friendly. It’s one bowl, so very little cleanup, and doesn’t require any expensive specialty equipment. They come together very quickly, and are super easy to customize in a variety of ways. Prefer almonds or walnuts to pecans? Go nuts! You’d rather have dried fruit over chocolate chips? I wholeheartedly disagree with your stance, but you’re in charge of your own scones.
FAQs and Science
What’s the difference between a scone and an American biscuit? Honestly, not a whole lot. A cut out biscuit is flakier from the layers you create when you fold the dough in on itself a few times, but if you’re making drop biscuits, you’re essentially just making plain scones.
Do I have to toast the pecans? Why? Yes, you should definitely toast the pecans before you add them in. Toasting nuts draws out their natural oils, intensifying their flavor in the final product. The scones wont be ruined if you don’t do it, but the flavor wont be nearly as pronounced.
I can’t find pecan halves, or I already have chopped pecans, can I use those instead? You can use chopped if that’s what’s available, just keep a closer eye on them while they’re toasting, as they’ll burn much faster. Only leave them in the oven for 2 minutes or so.
Why mini chocolate chips, rather than standard? Mini chips give a better distribution of chocolate than standard chips would in this recipe. If all you have is standard sized though, by all means, use them!
I don’t own a pastry blender, what can I use instead? The butter can be cut in using a food processor to pulse the dry goods and cold butter until the sandy texture is achieved, or grated in from frozen butter and then just tossed with a fork. The reason I don’t use this method is strictly personal, I hate the feeling of anything greasy on my hands so I avoid it where I can.
Can I freeze these? Absolutely! Back when I used to work in commercial kitchens, I would make massive amounts of scones at a time and then freeze the dough to pull and bake each day. To save yourself a future headache, make sure you freeze the scones so they aren’t touching at all before you consolidate them.
To bake off, preheat the oven to 400 and bake for 15 minutes or until the scones are lightly golden brown.
What You’ll Need

- 2 baking sheets
- Parchment paper or 2 silicone baking mats
- Plastic wrap
- Large mixing bowl
- Whisk
- Rubber spatula
- Chef’s knife
- Cutting board
- Dry measuring cups
- Wet measuring cup
- Measuring spoons
- Bench scraper
- Pastry blender or food processor or grater
- Pastry brush
- Cooling rack
The Process
Preheat the oven to 350F, on the convection setting if possible. Line two baking sheets with either parchment paper or silicone baking mats, and set them aside. Cut the cold butter into ½ inch cubes, and store it in the fridge to keep cold until it’s needed.
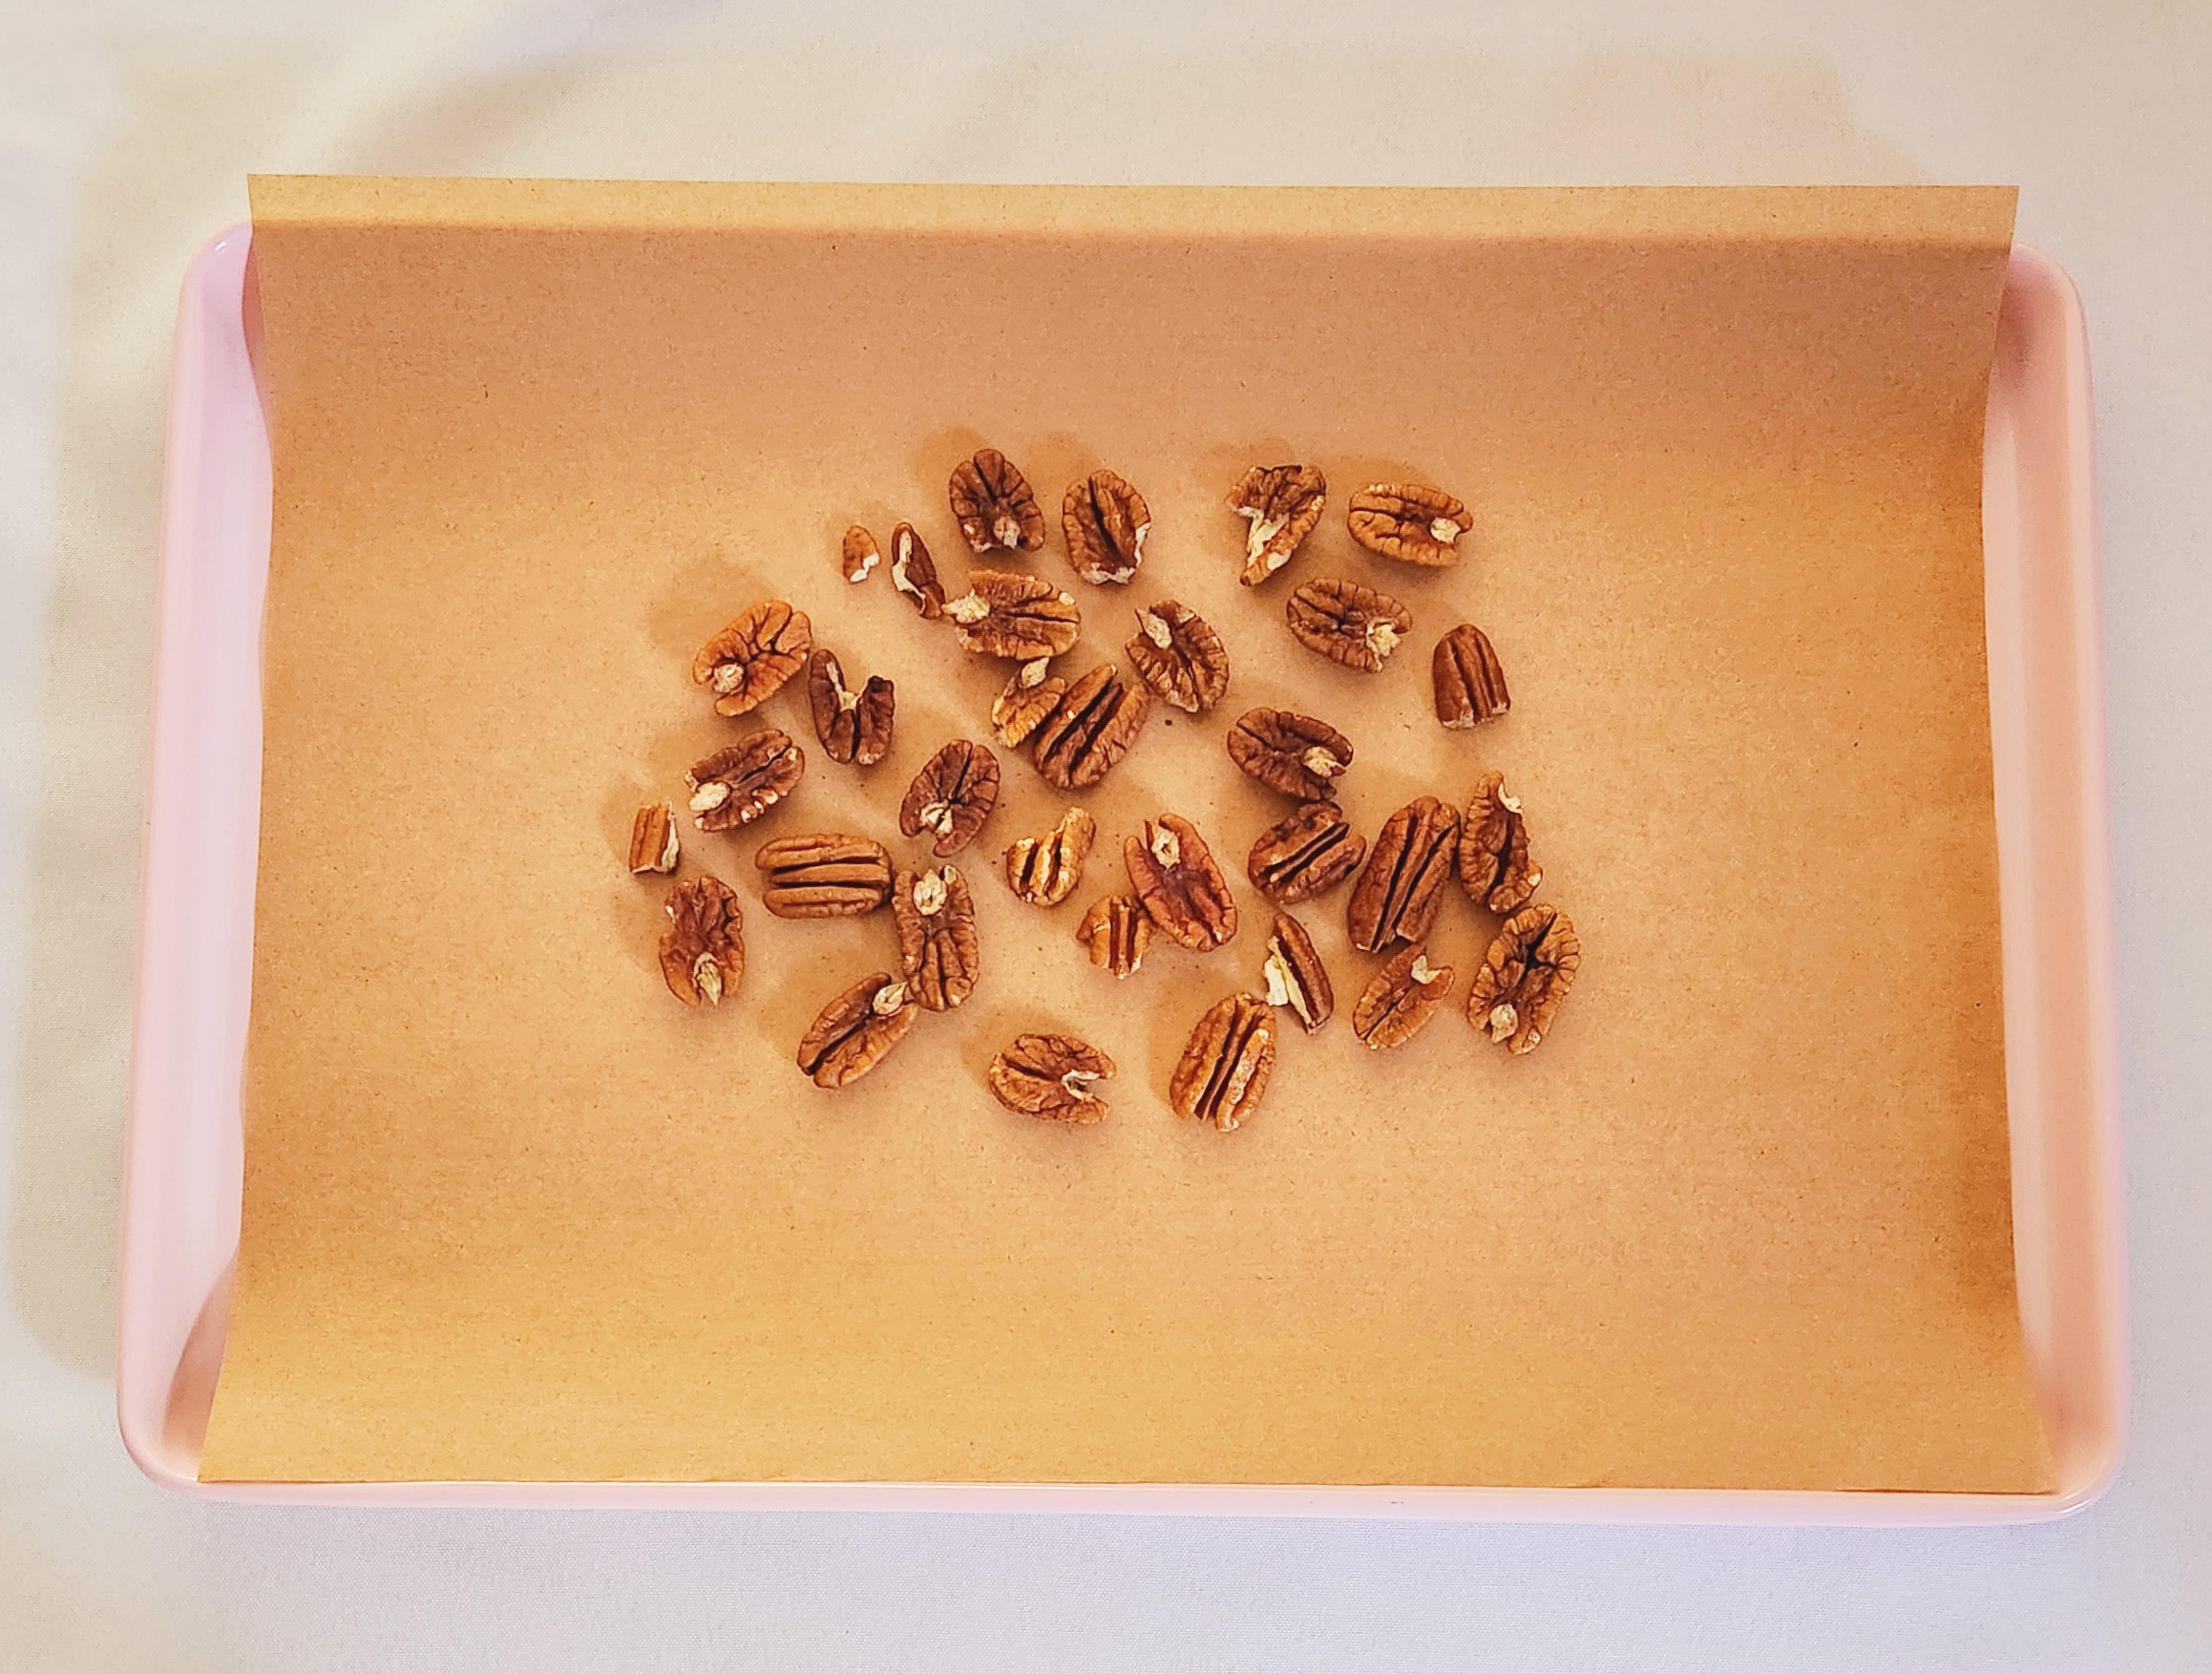
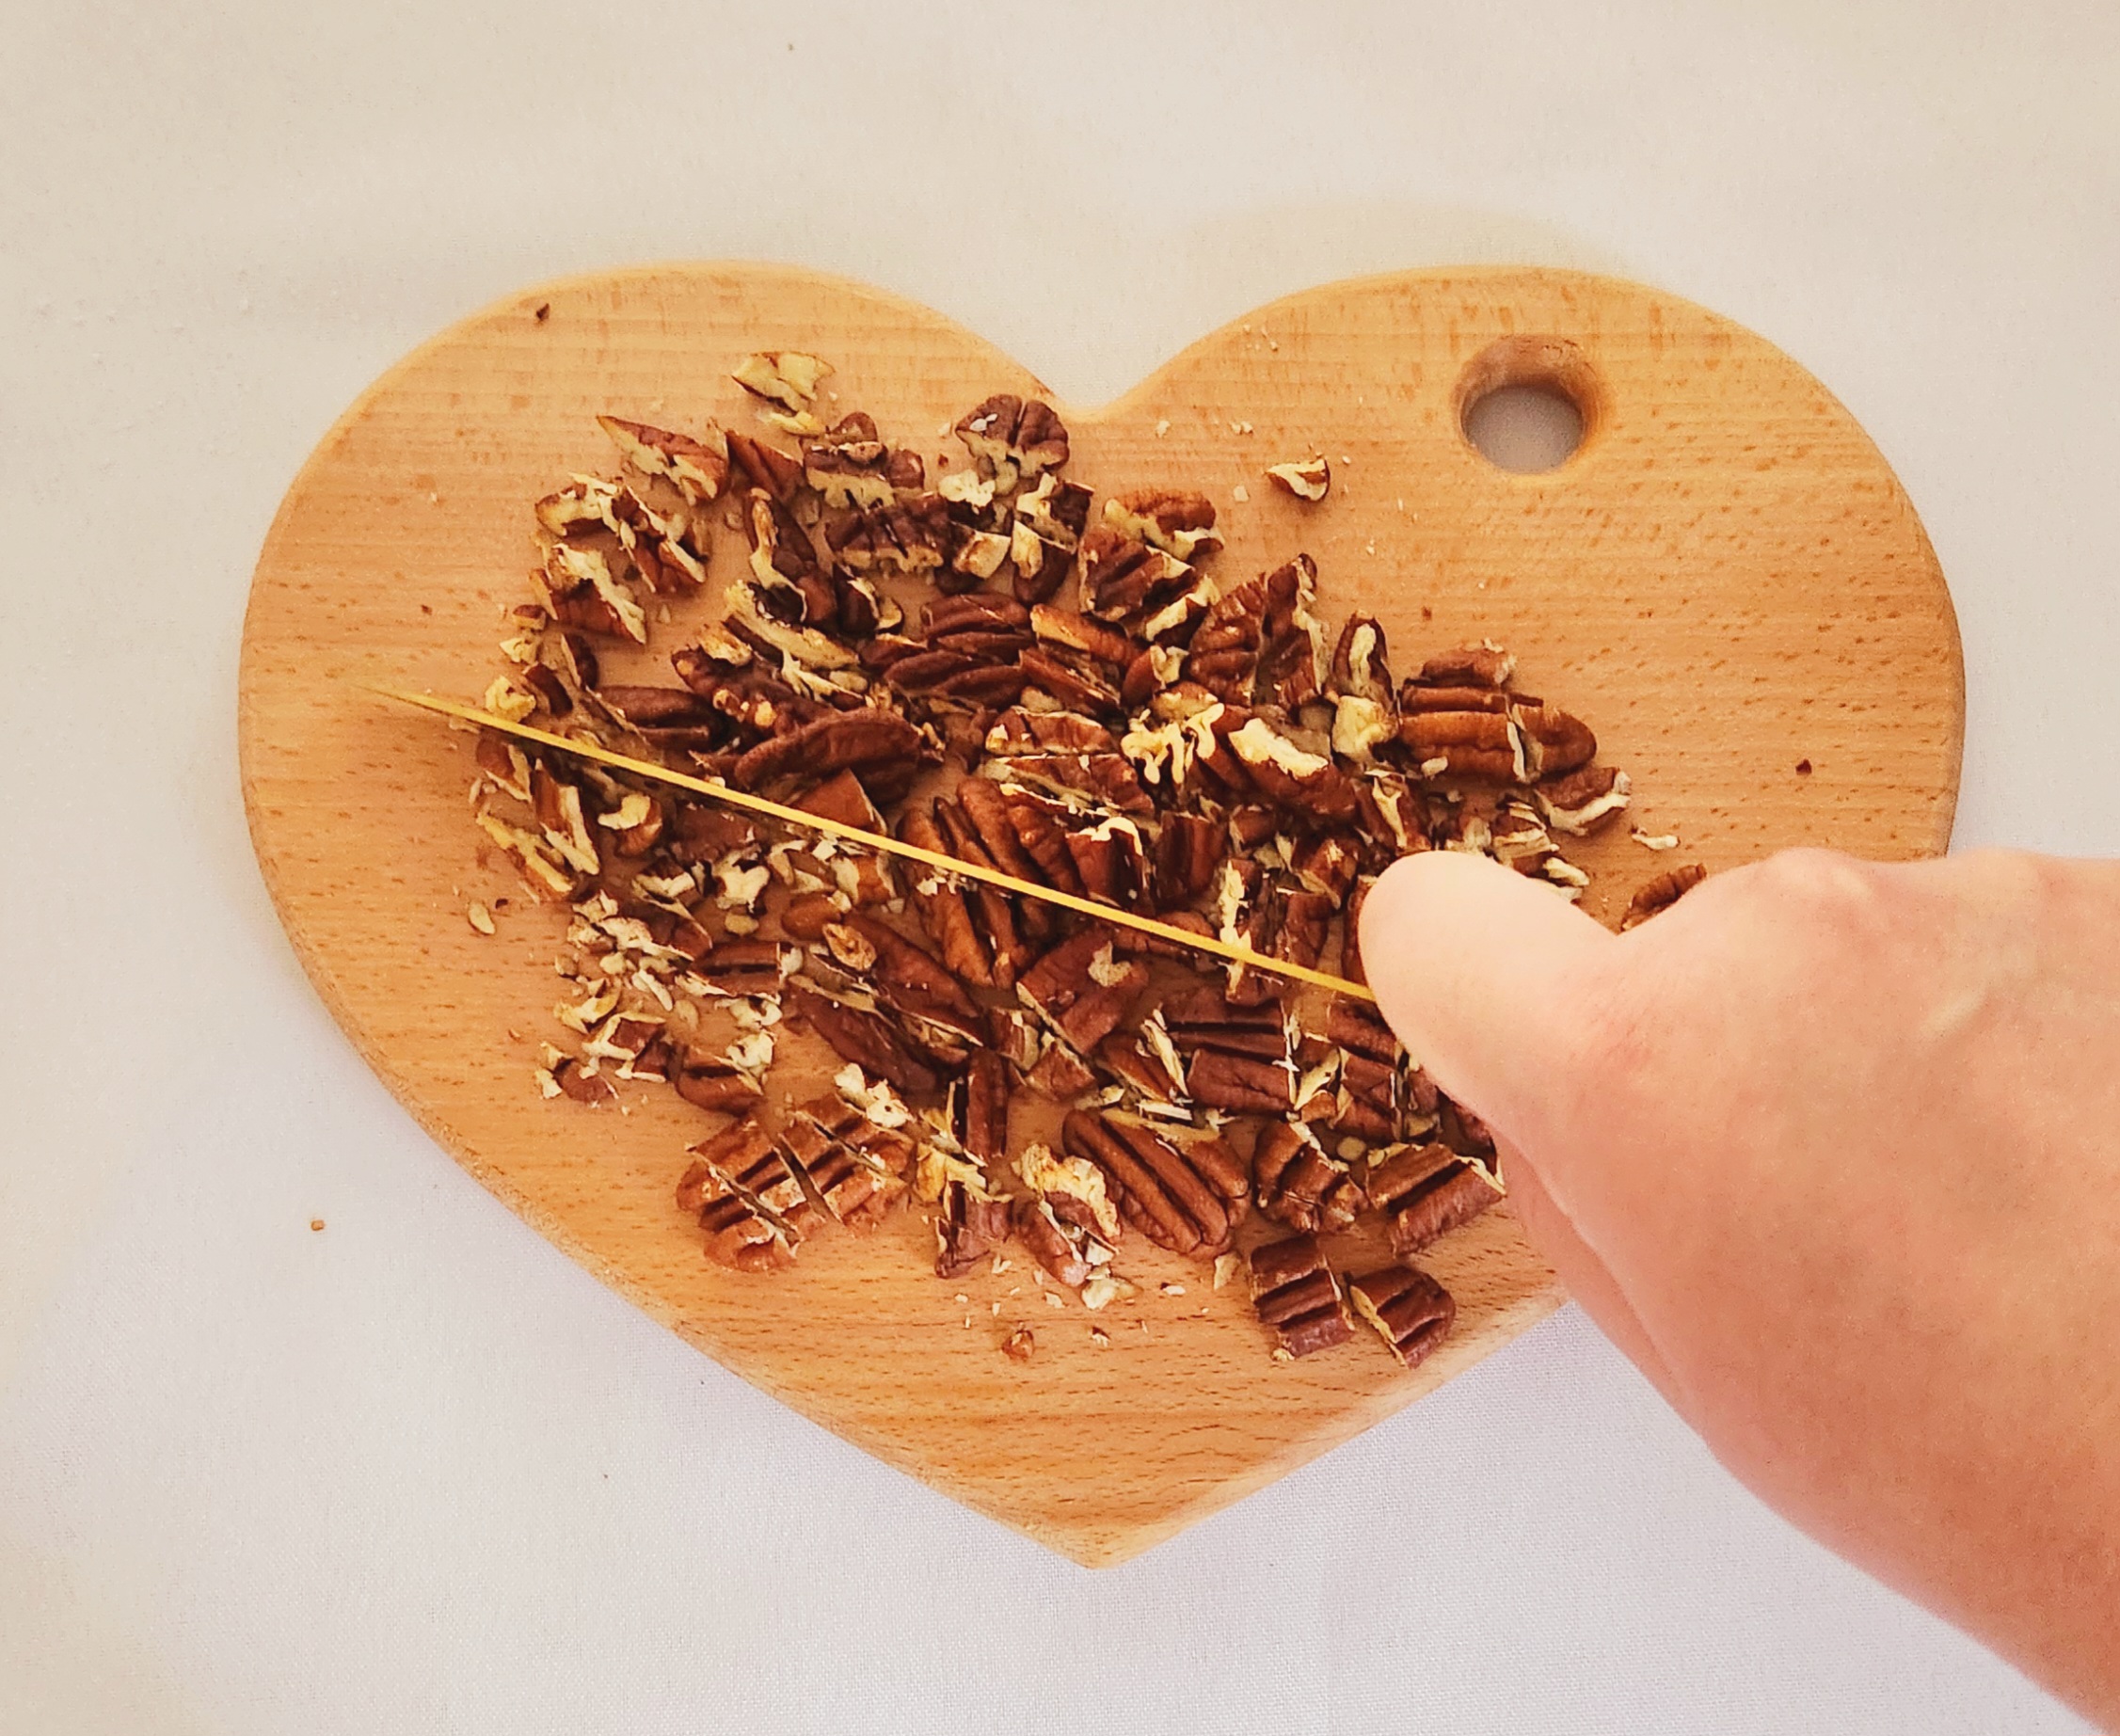
Once the oven is preheated, spread the pecans out on a baking sheet (it can be one you’ve lined already) and toast them for 8-10 minutes, keeping a close eye on them so they don’t burn. Pour the toasted nuts onto a cutting board, and allow them to cool while you continue on with the recipe. Raise the oven temperature to 425F.
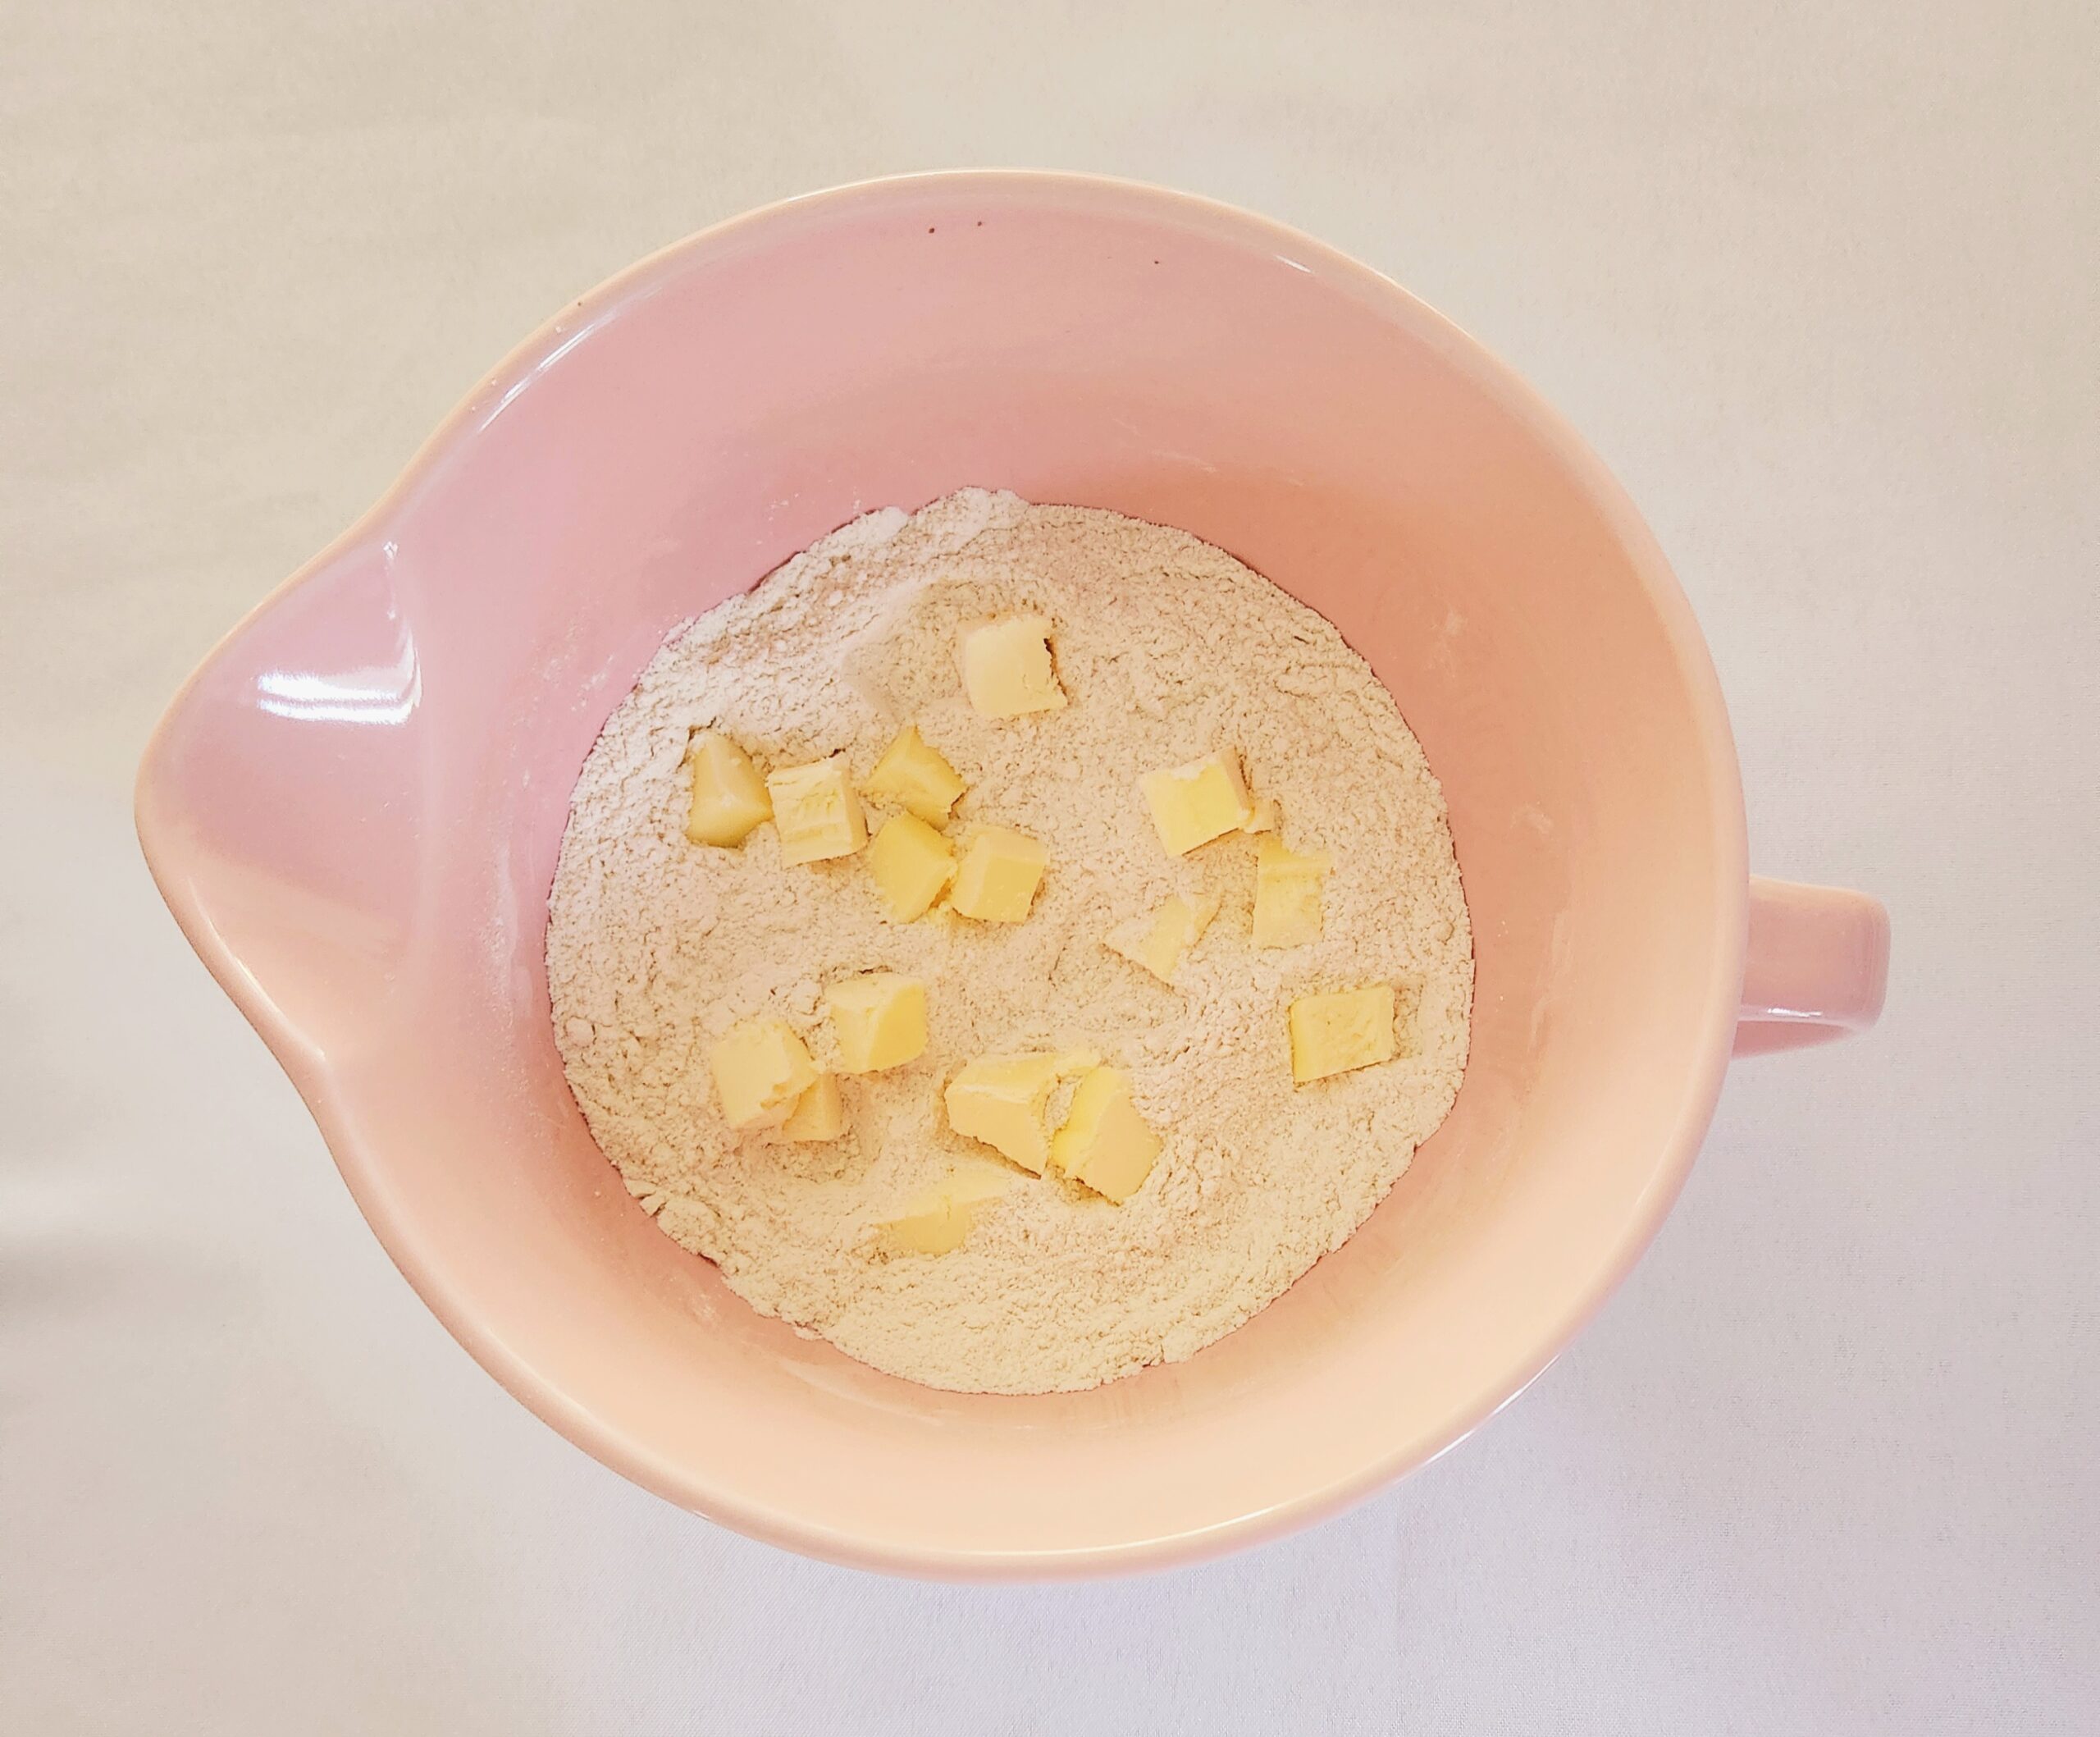
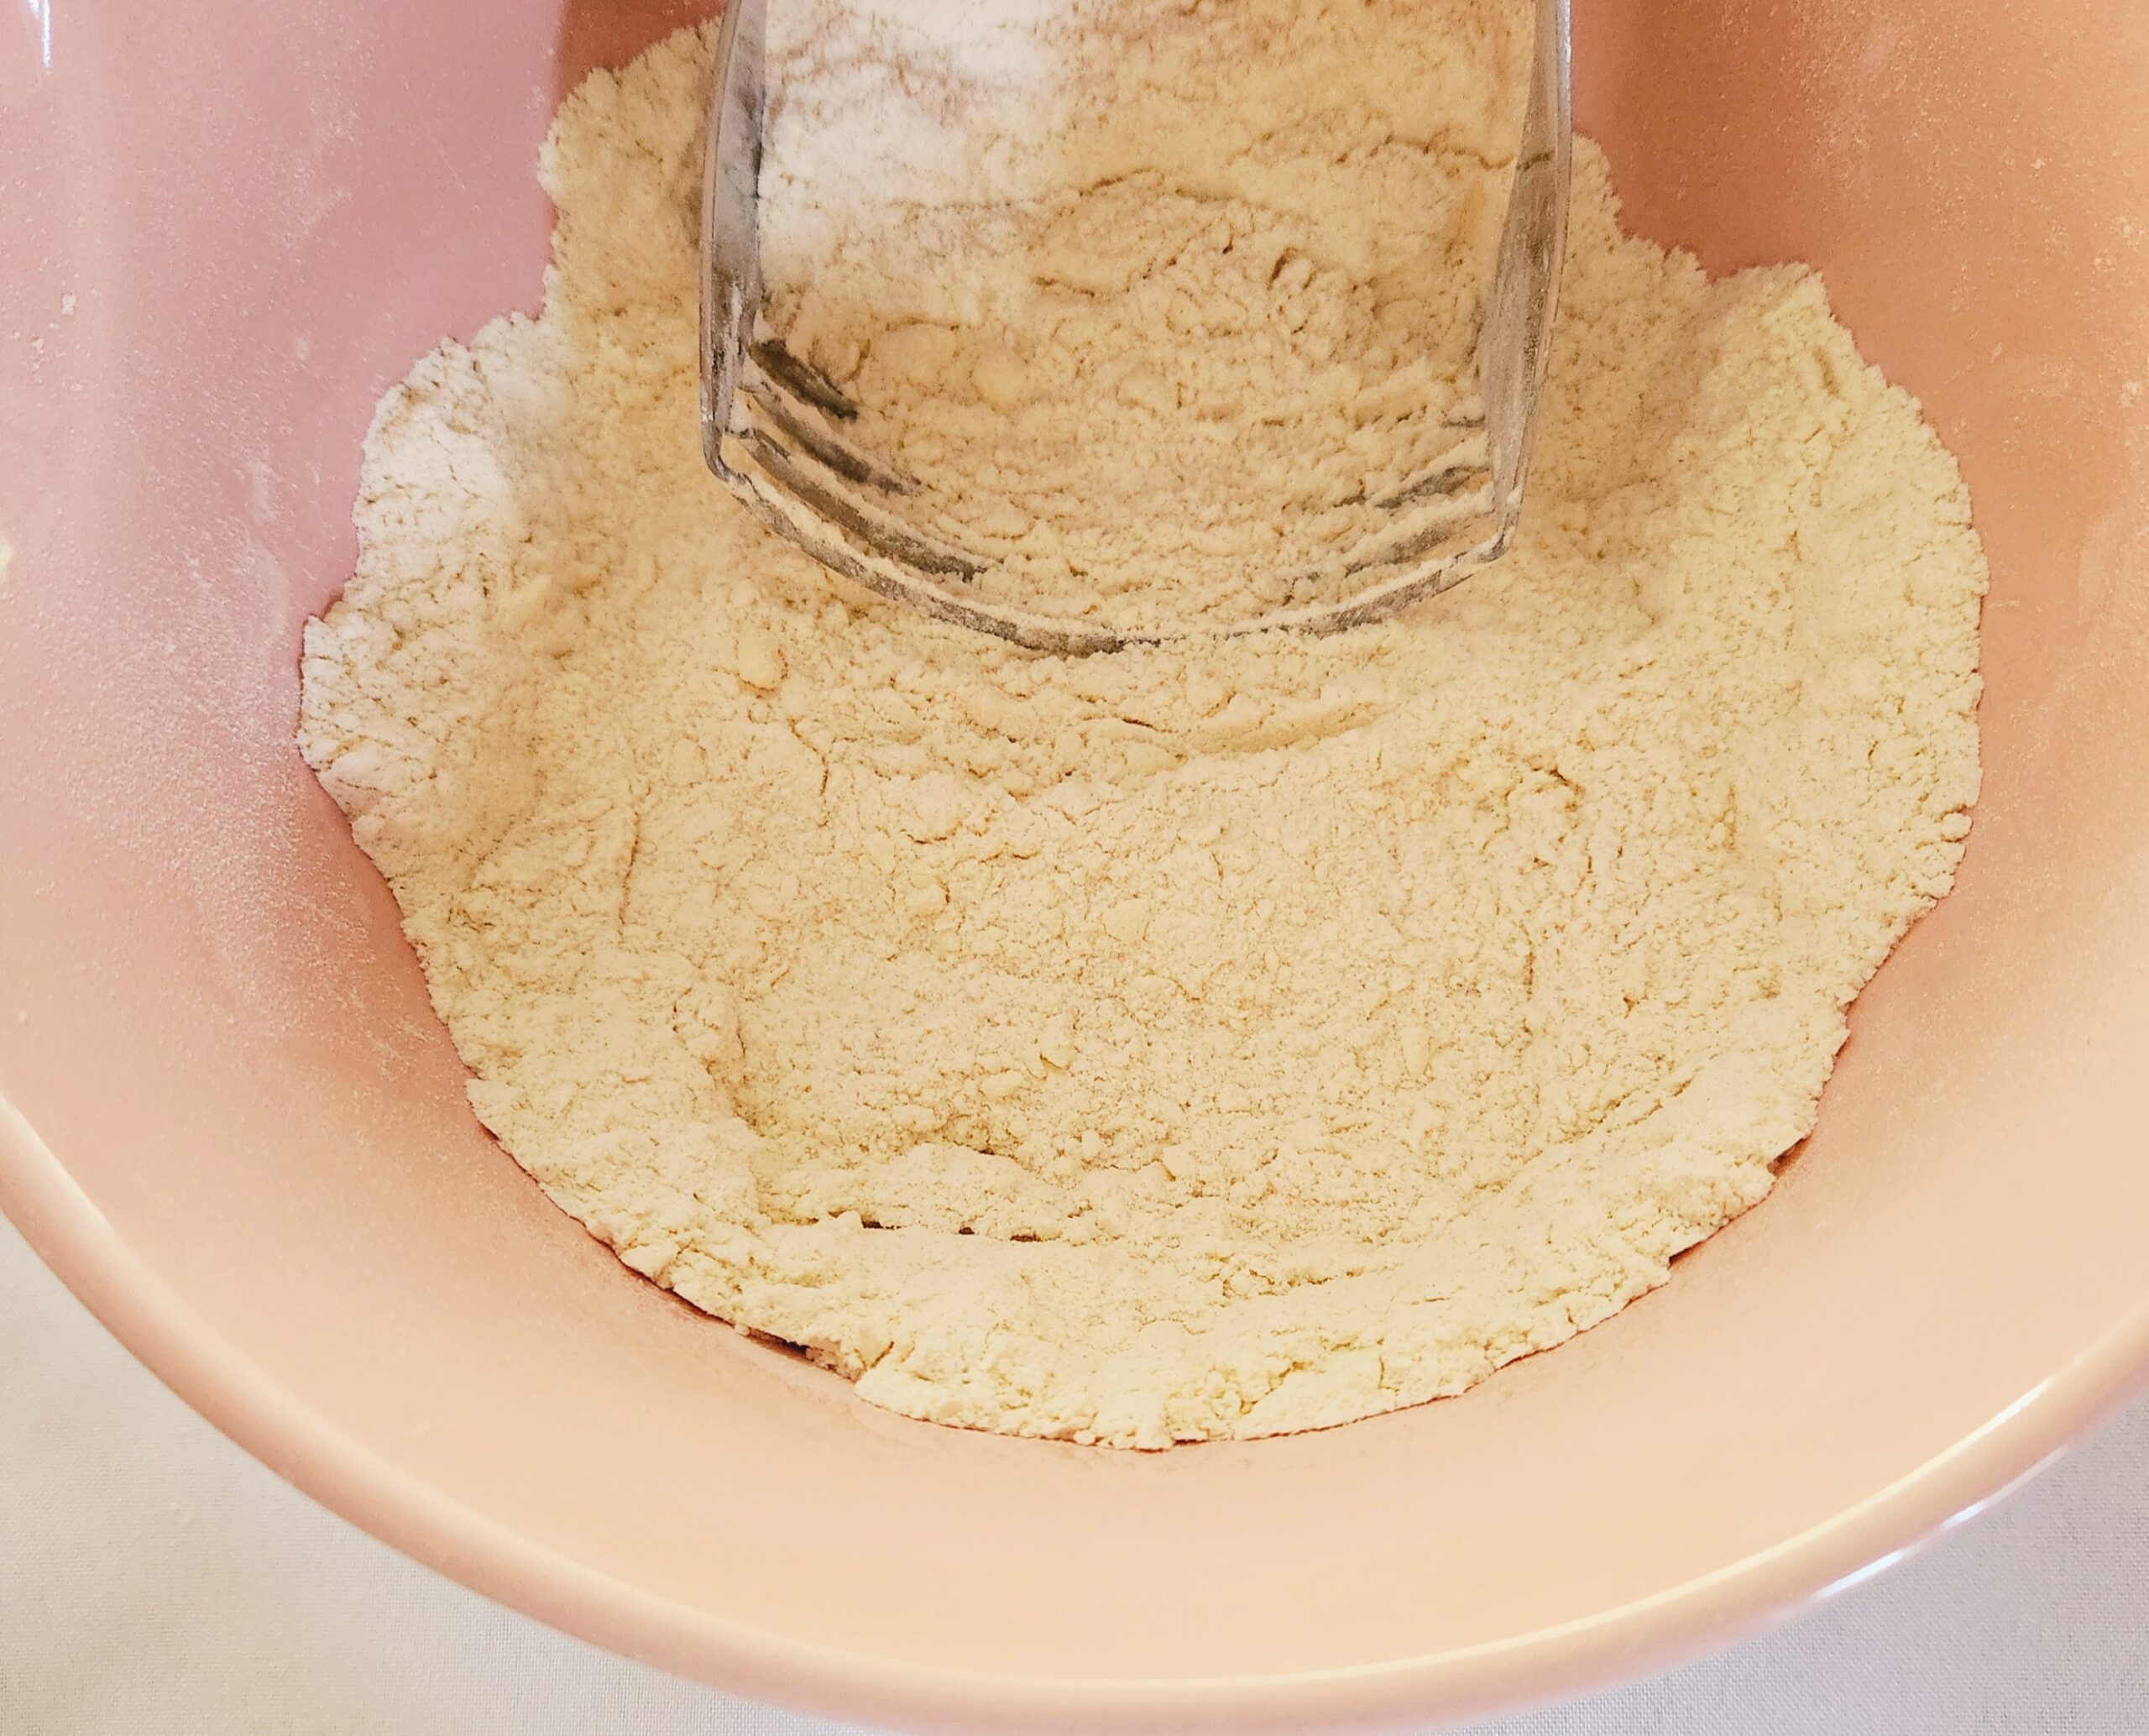
In a large mixing bowl, whisk together the flour, sugar, baking powder, and salt. Add the cubed butter and, using a pastry blender, start cutting the butter into the flour until it develops a sandy texture and there are no more visible chunks of butter, around 5 minutes.
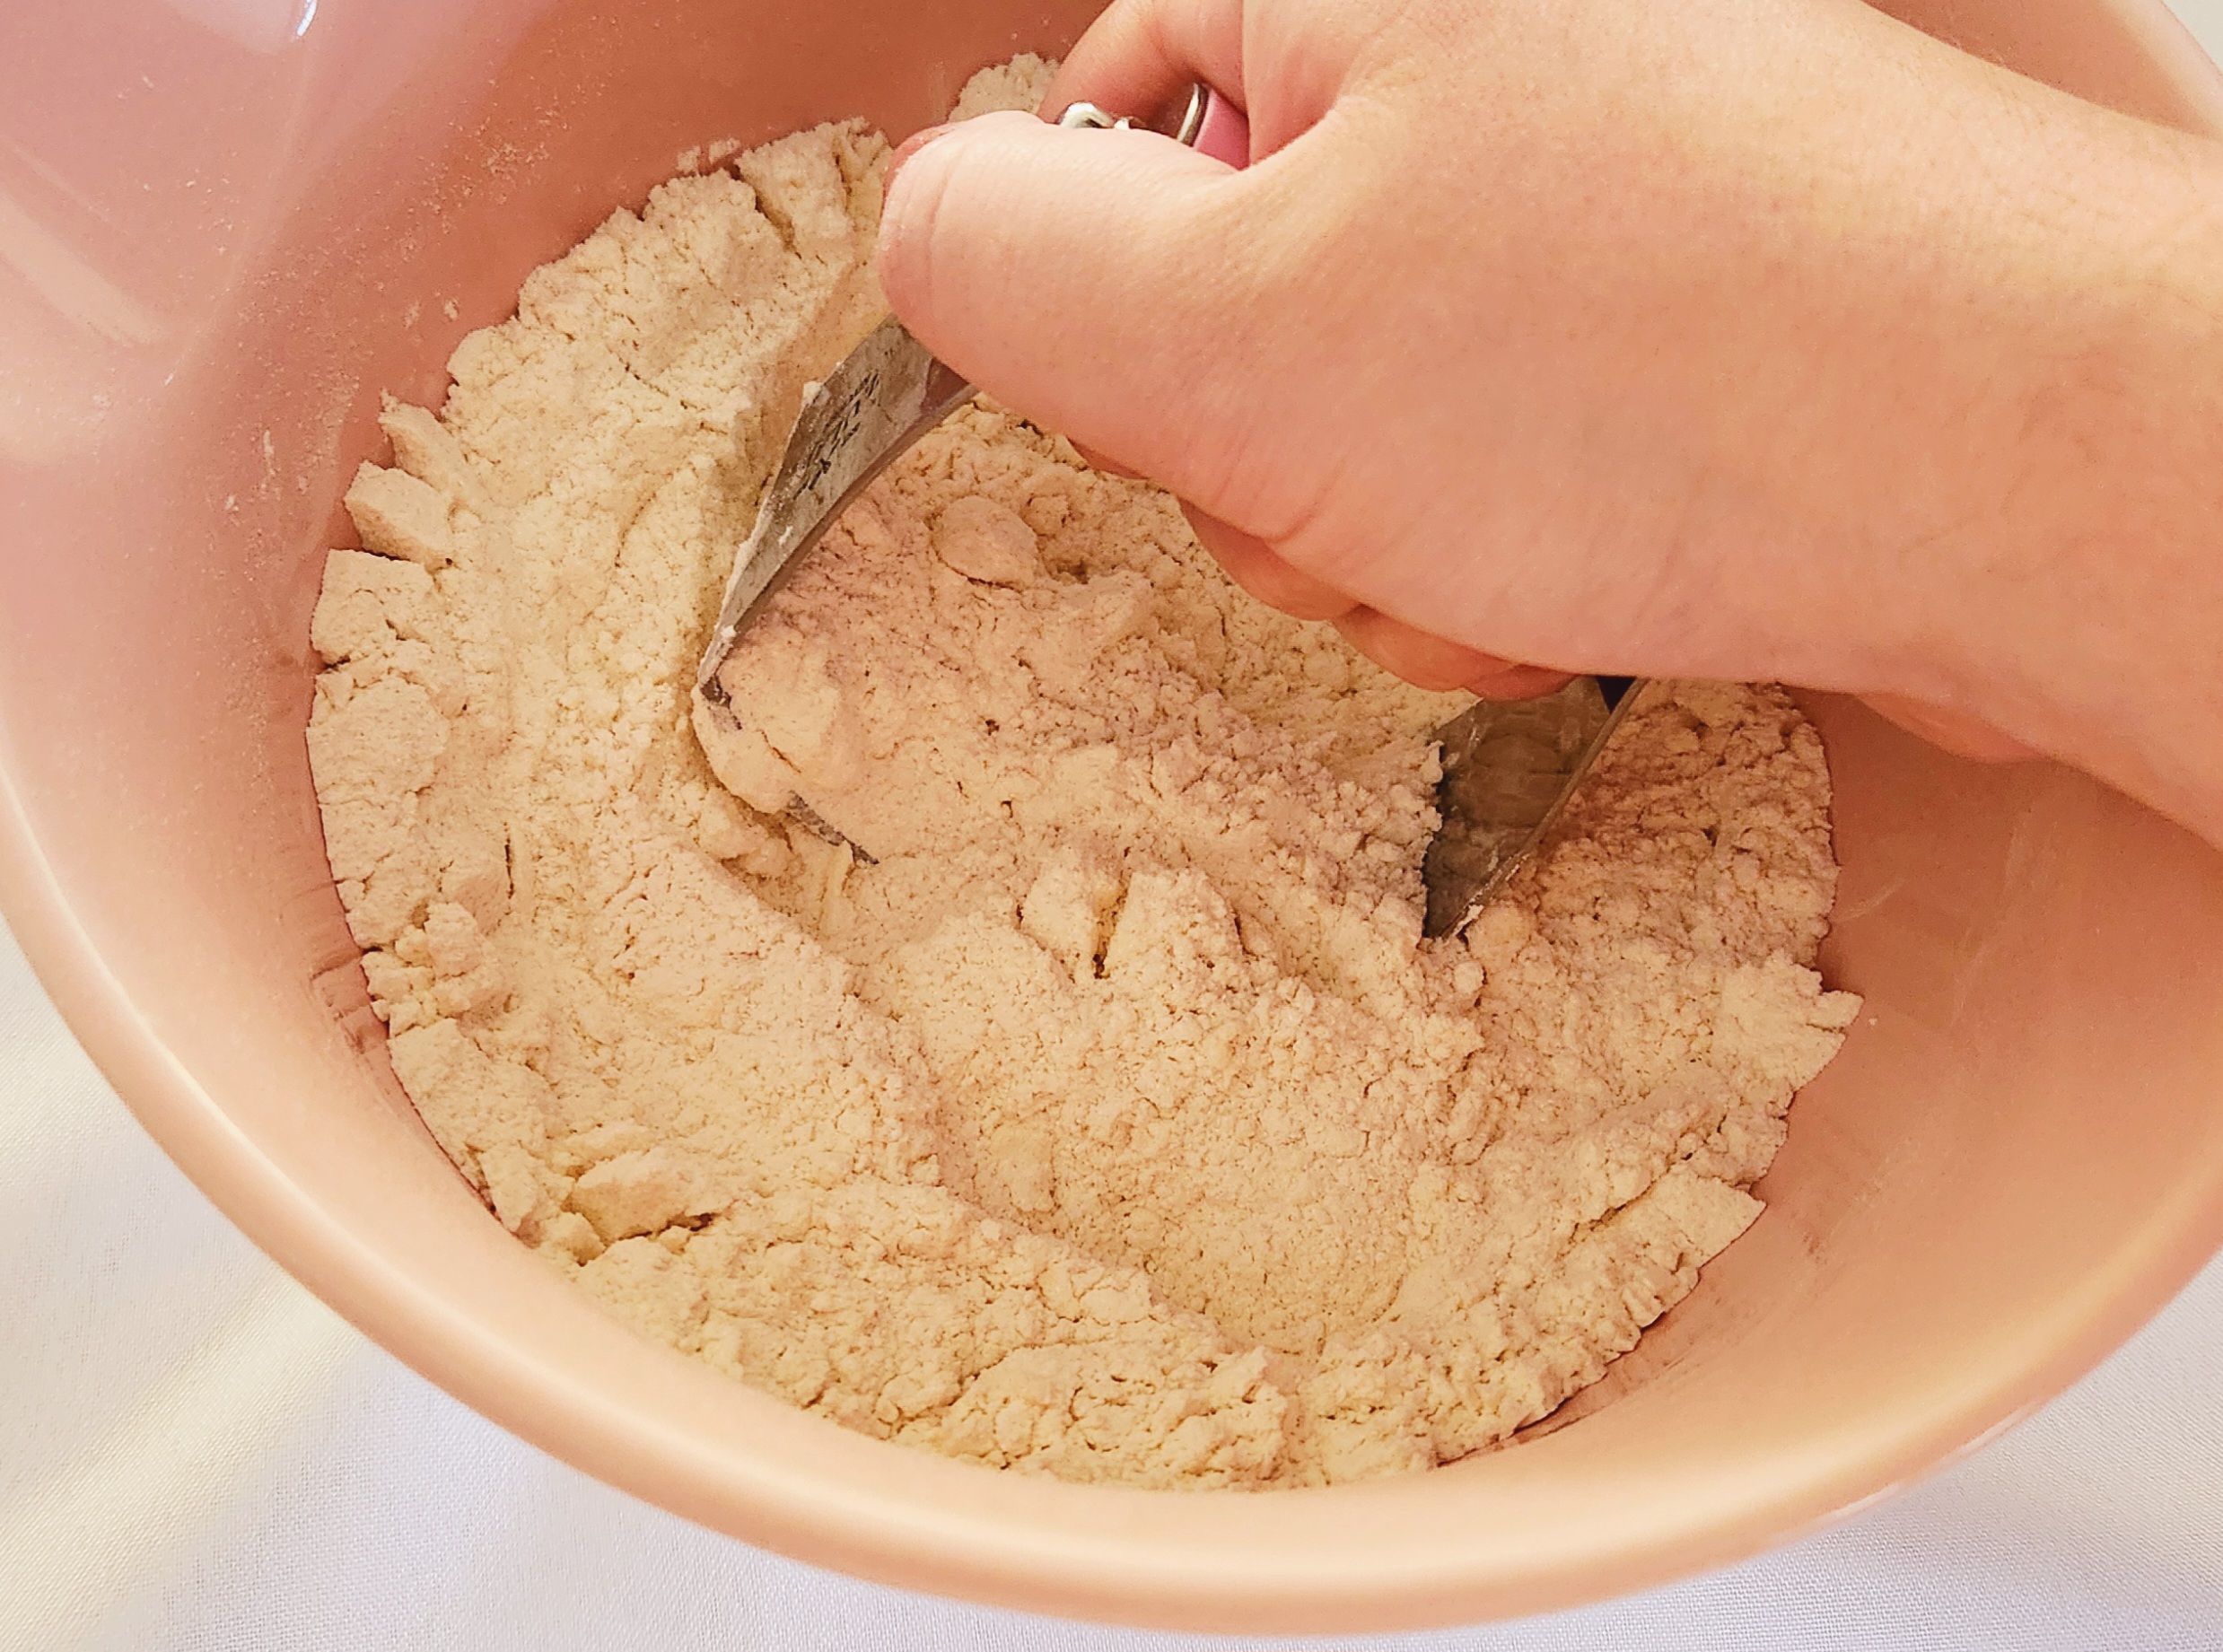
If you don’t have a pastry blender, see the science section for alternative methods. Place the bowl in the fridge while you prepare the pecans.
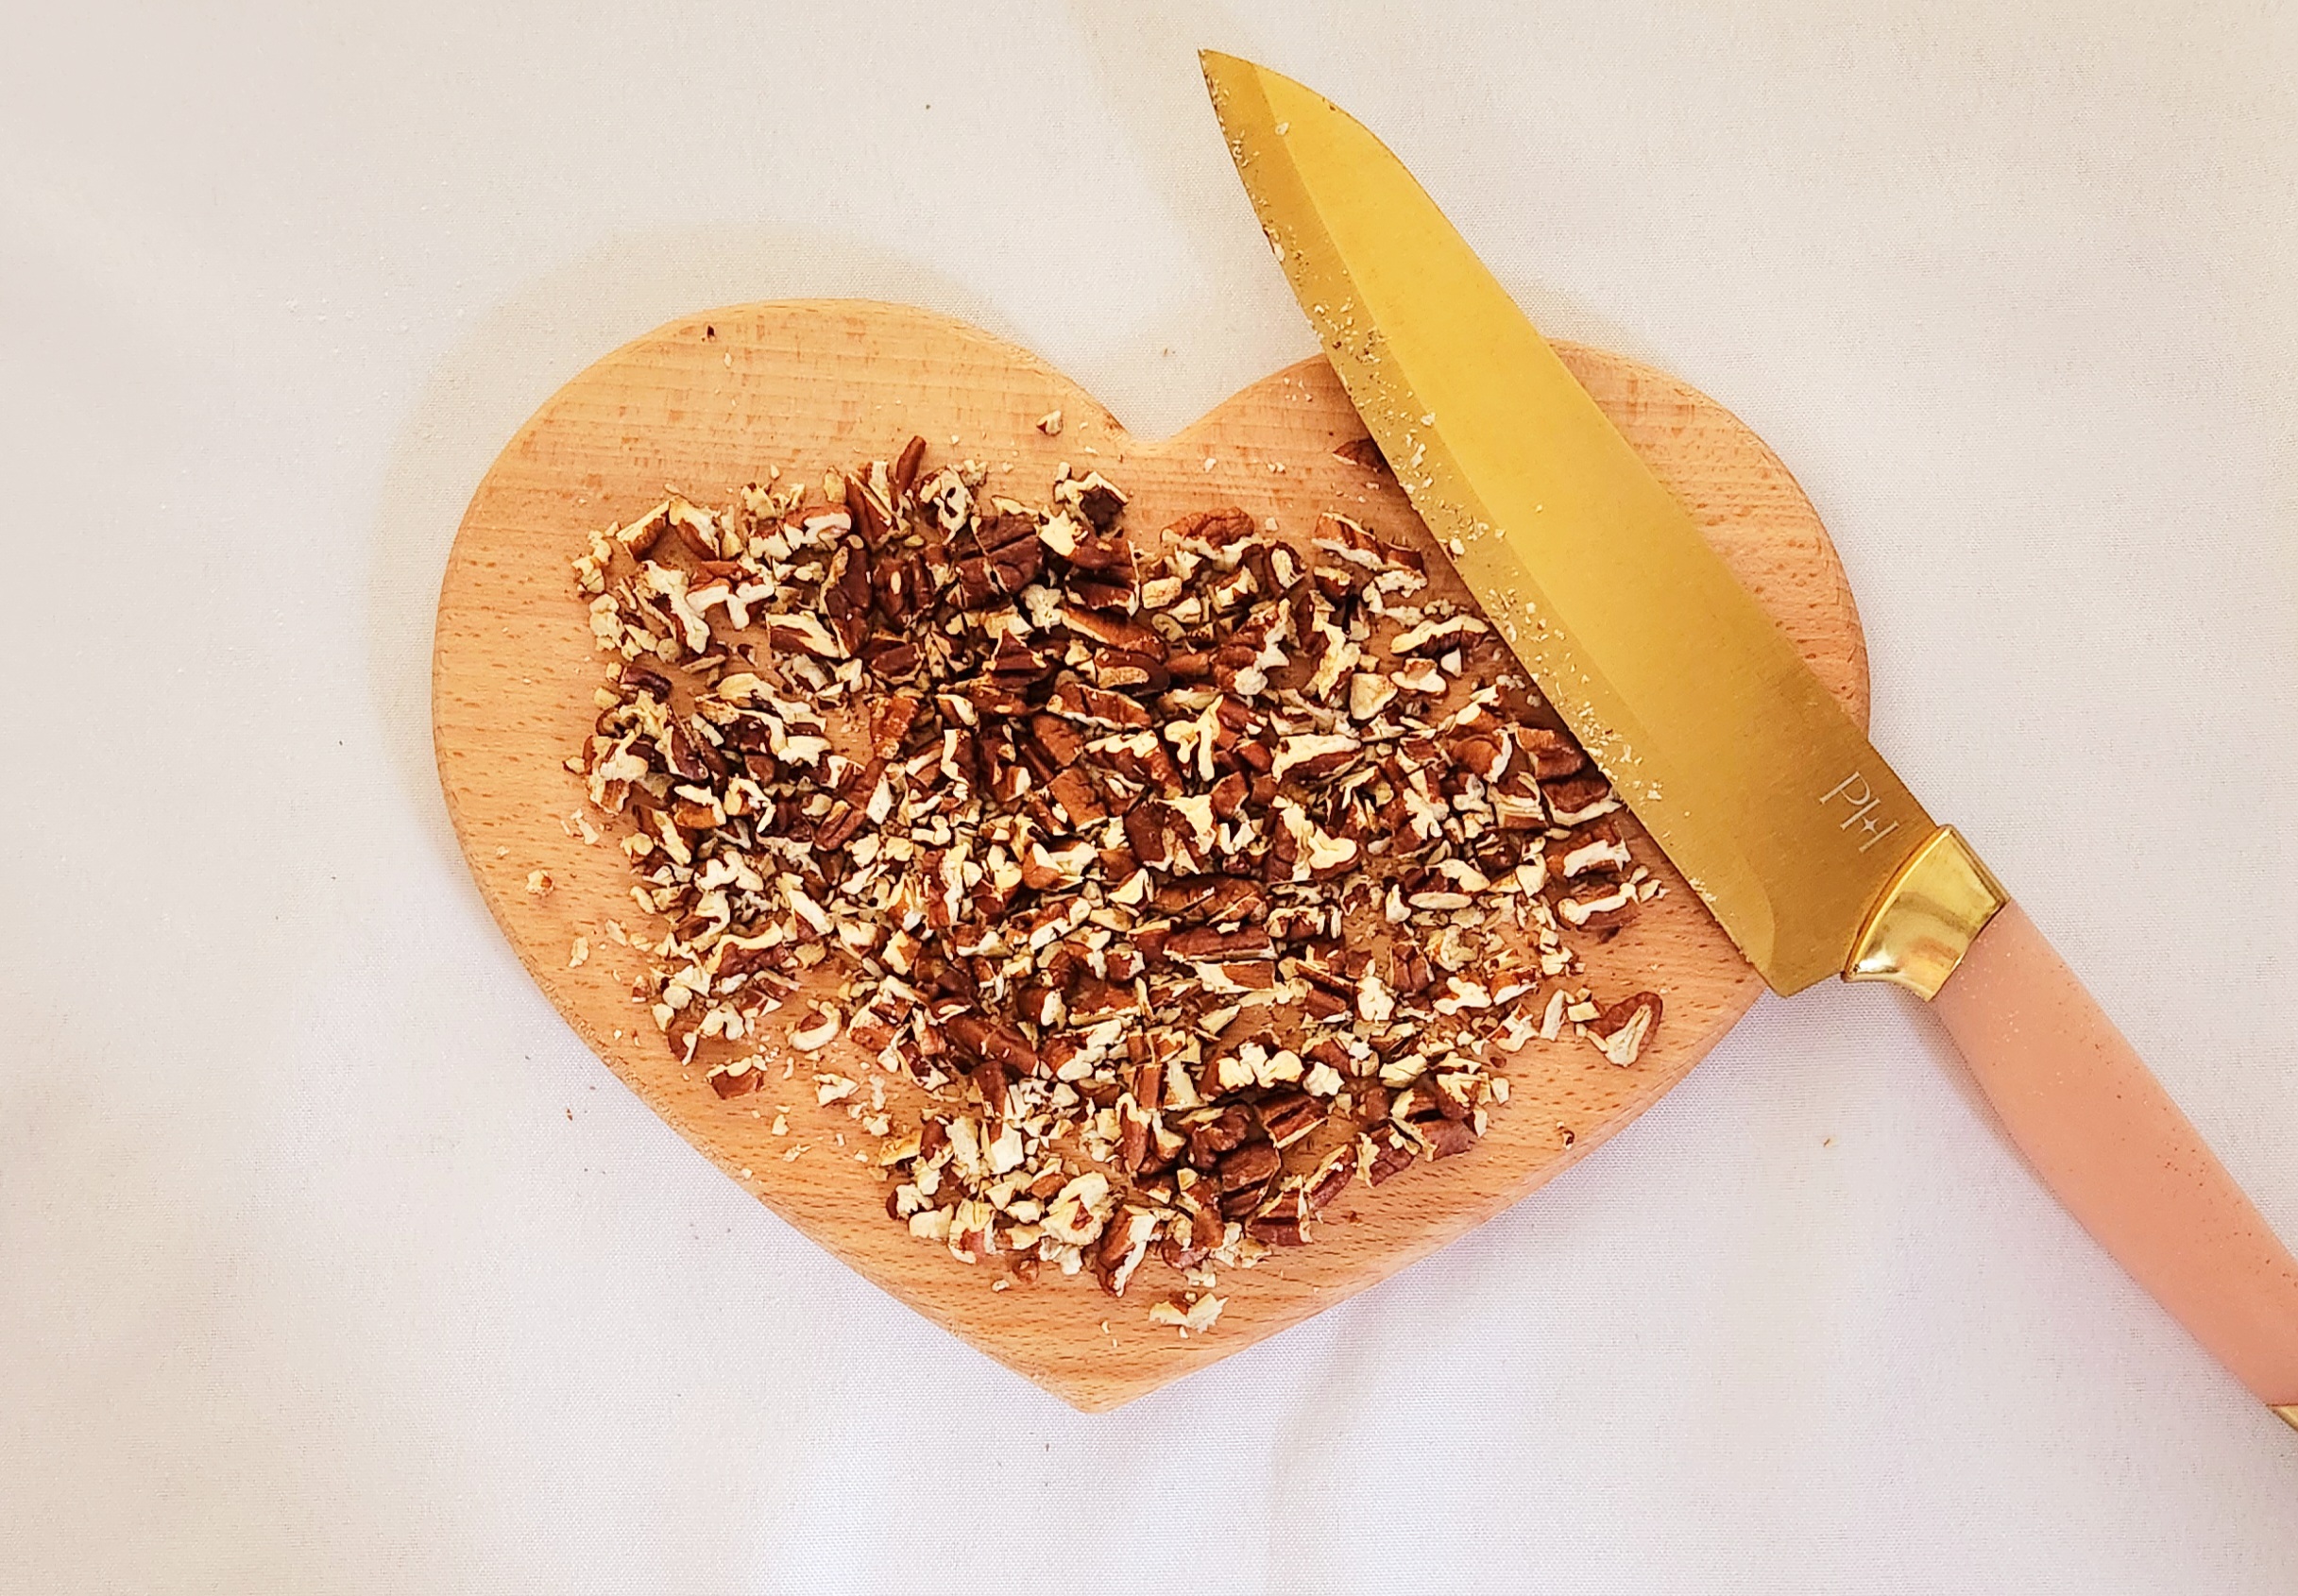
Chop the toasted pecans finely, until they’re around the size of standard chocolate chips. If they’re not cooled down to room temperature, give them another few minutes to do so. Coldness is very important for cream scones.
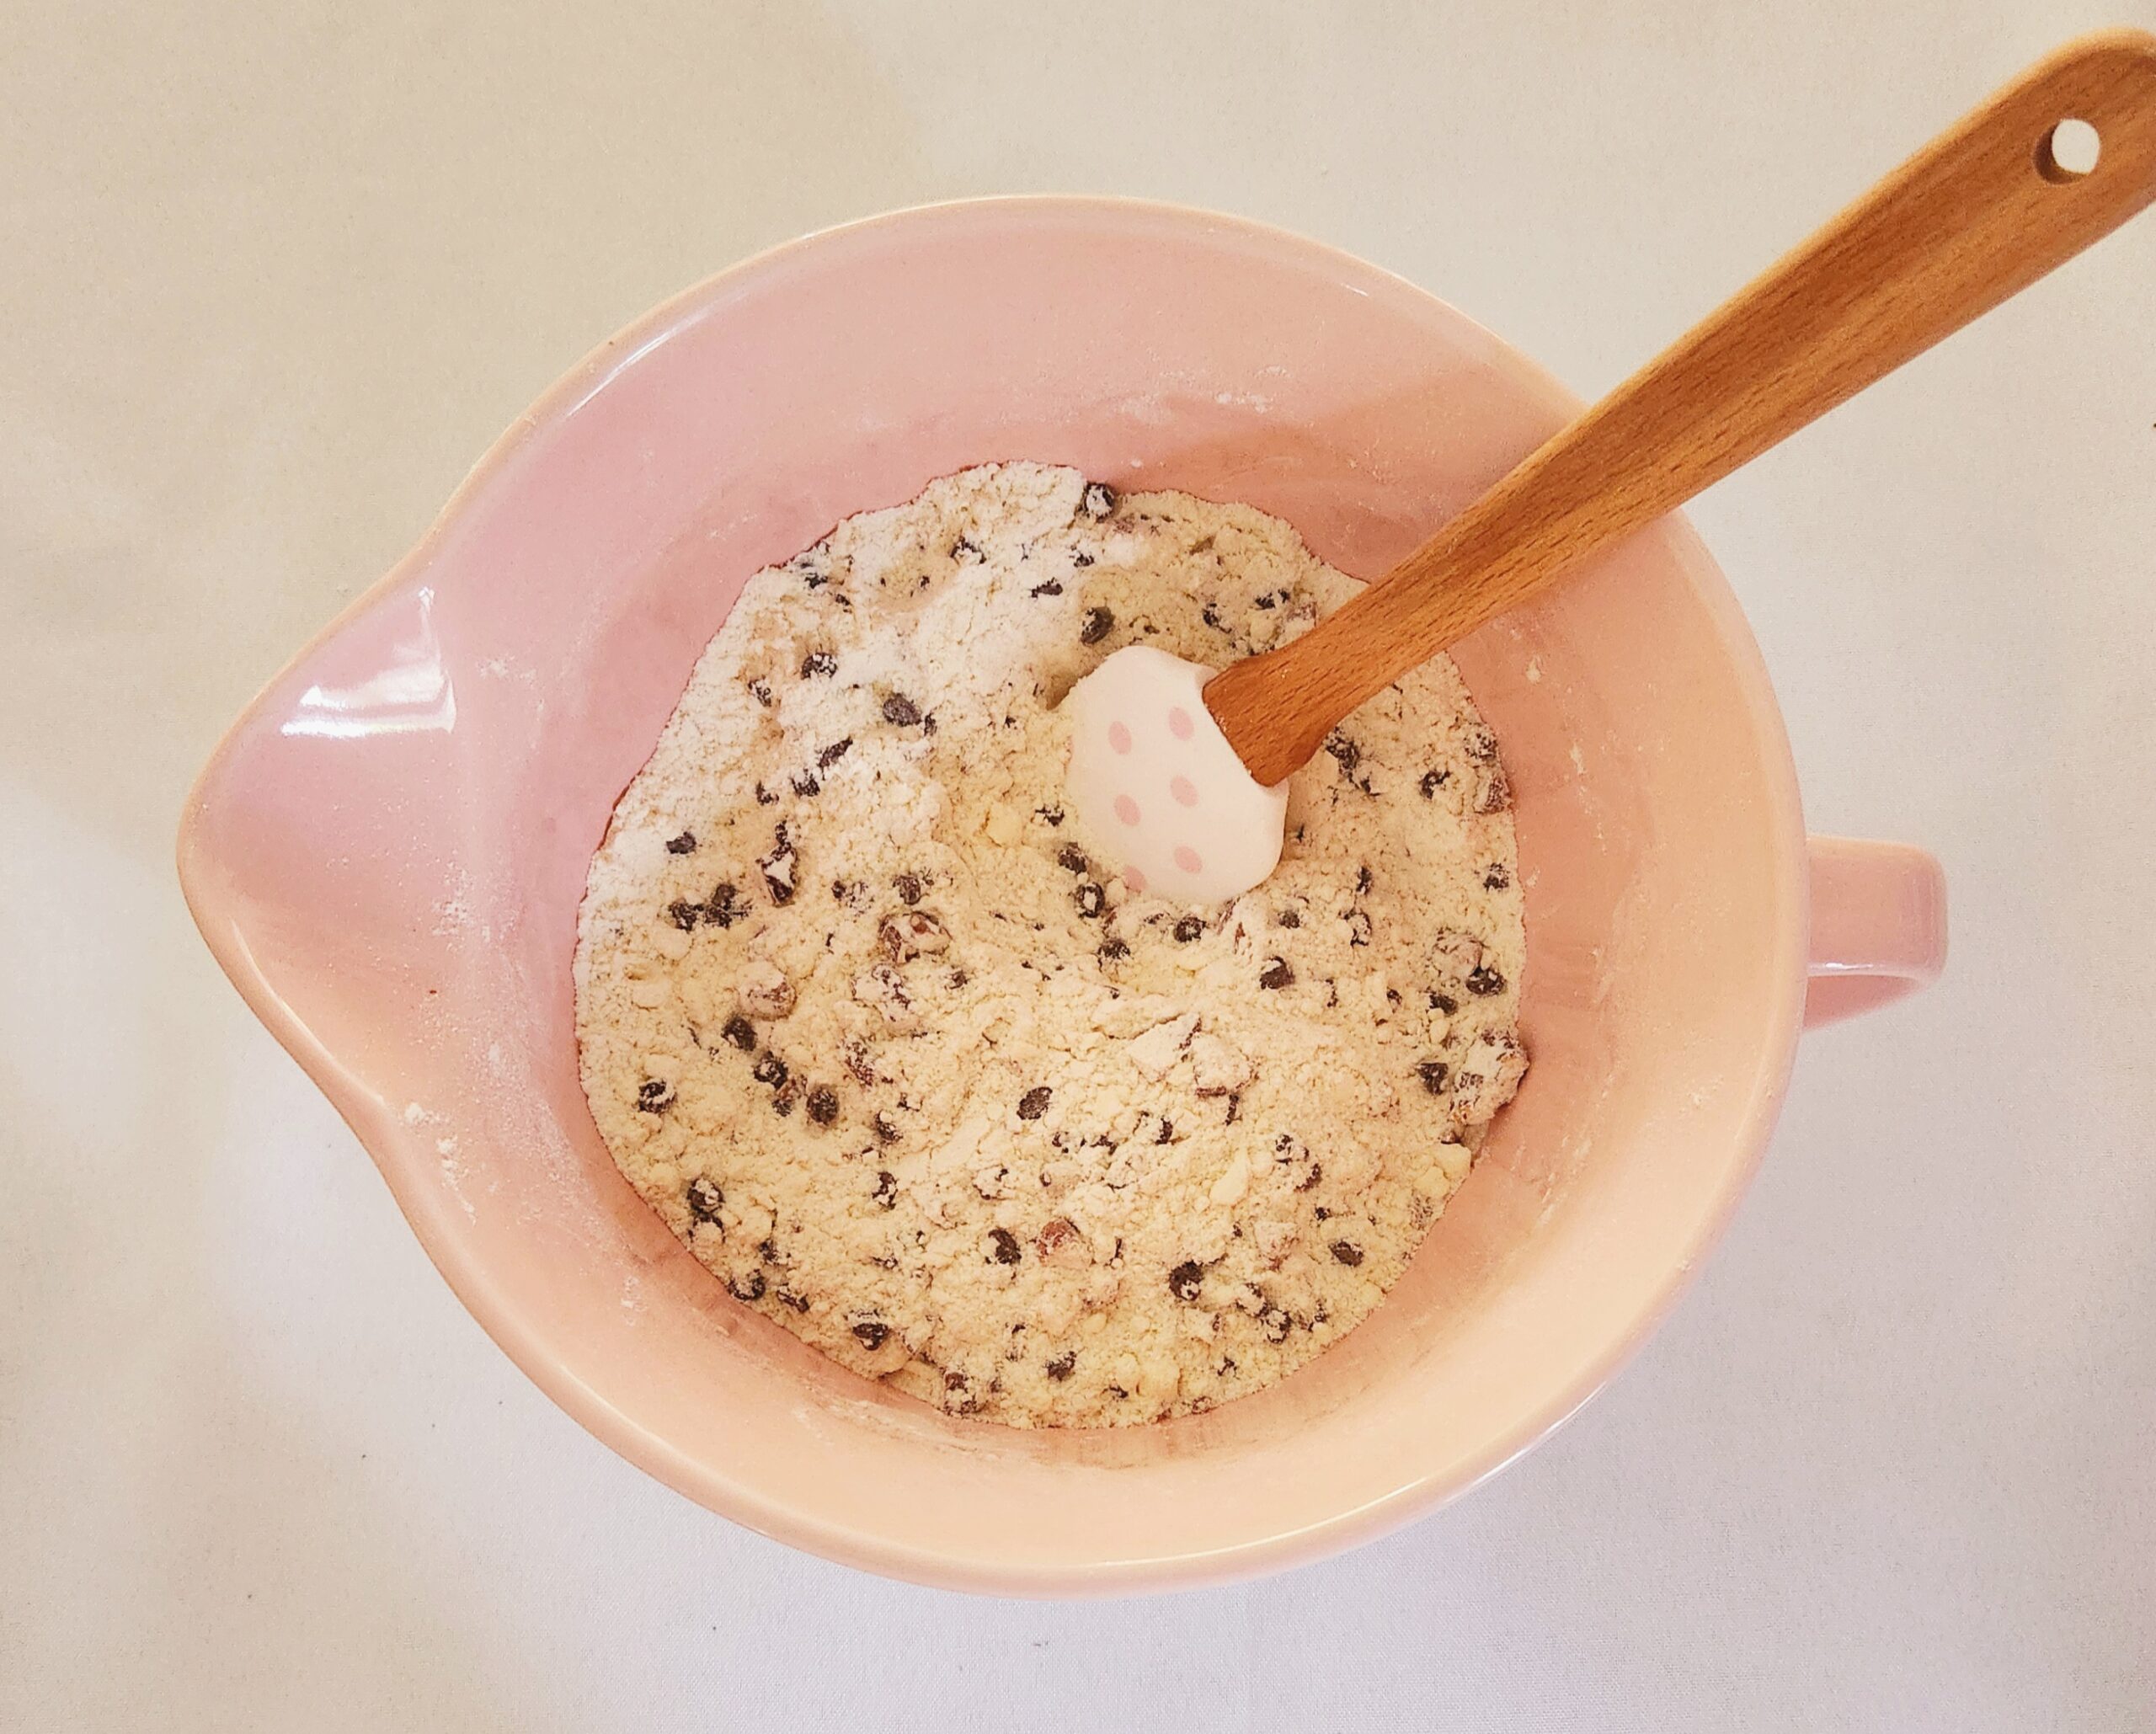
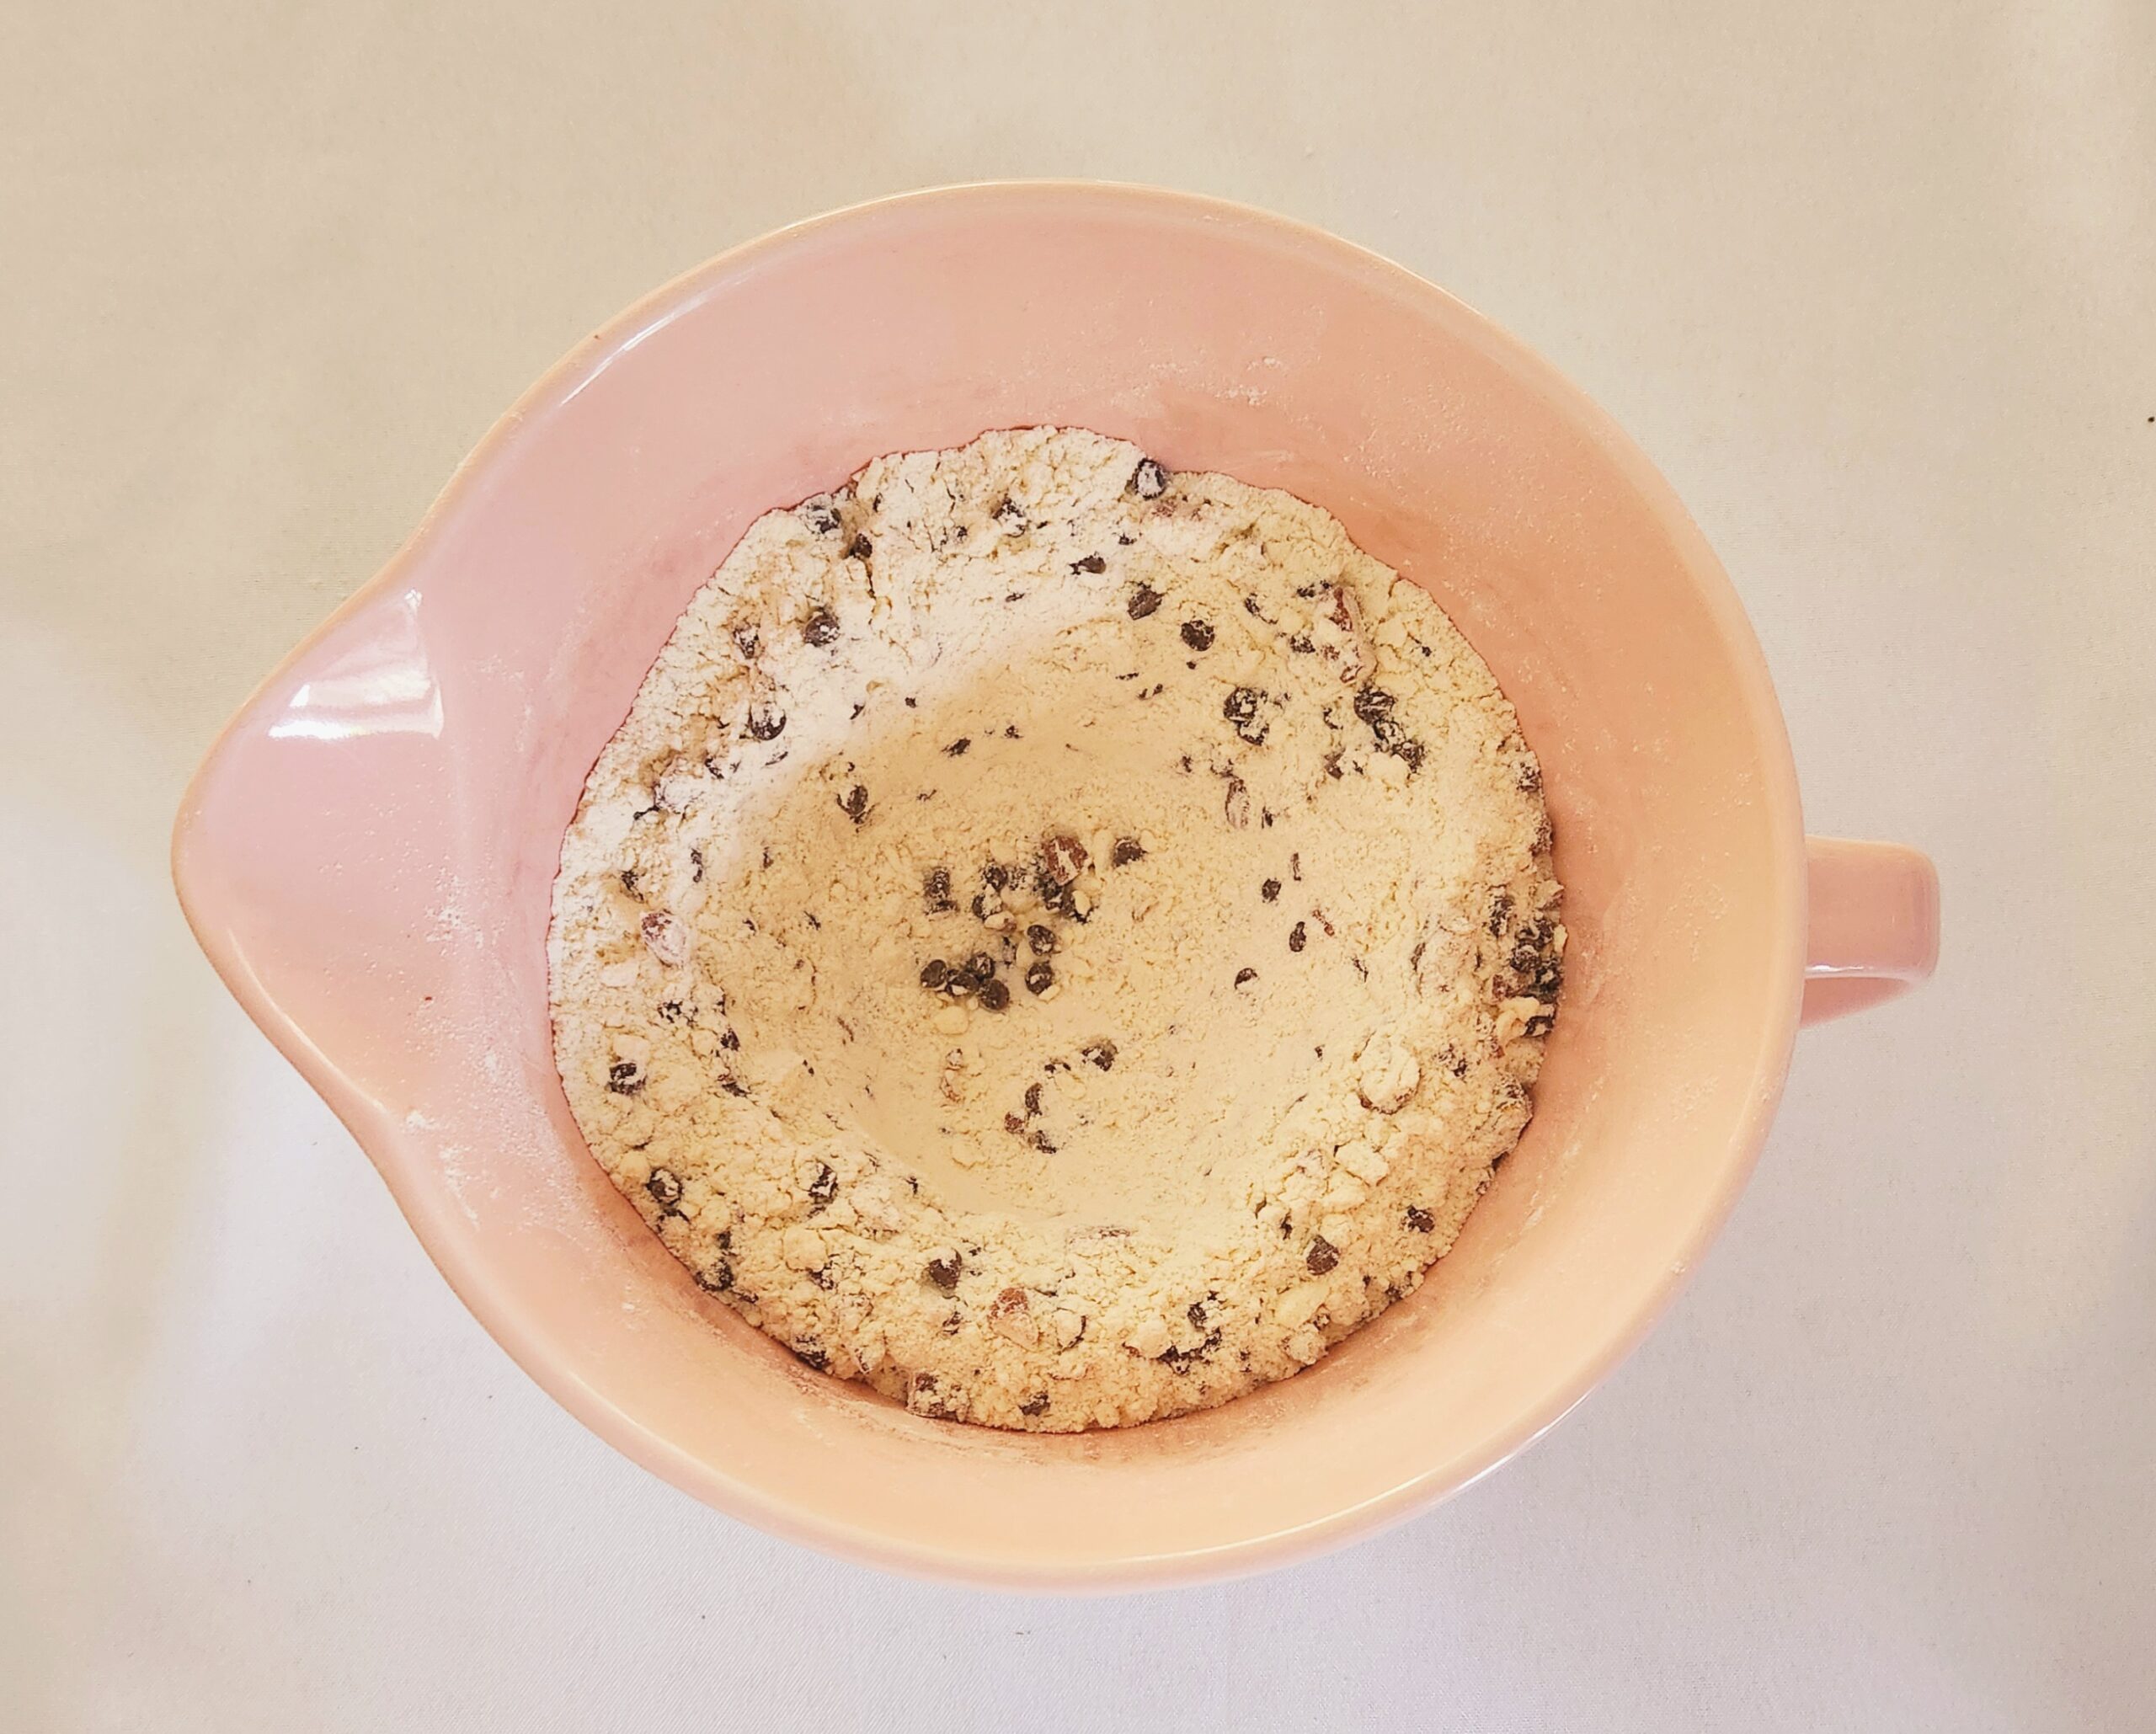
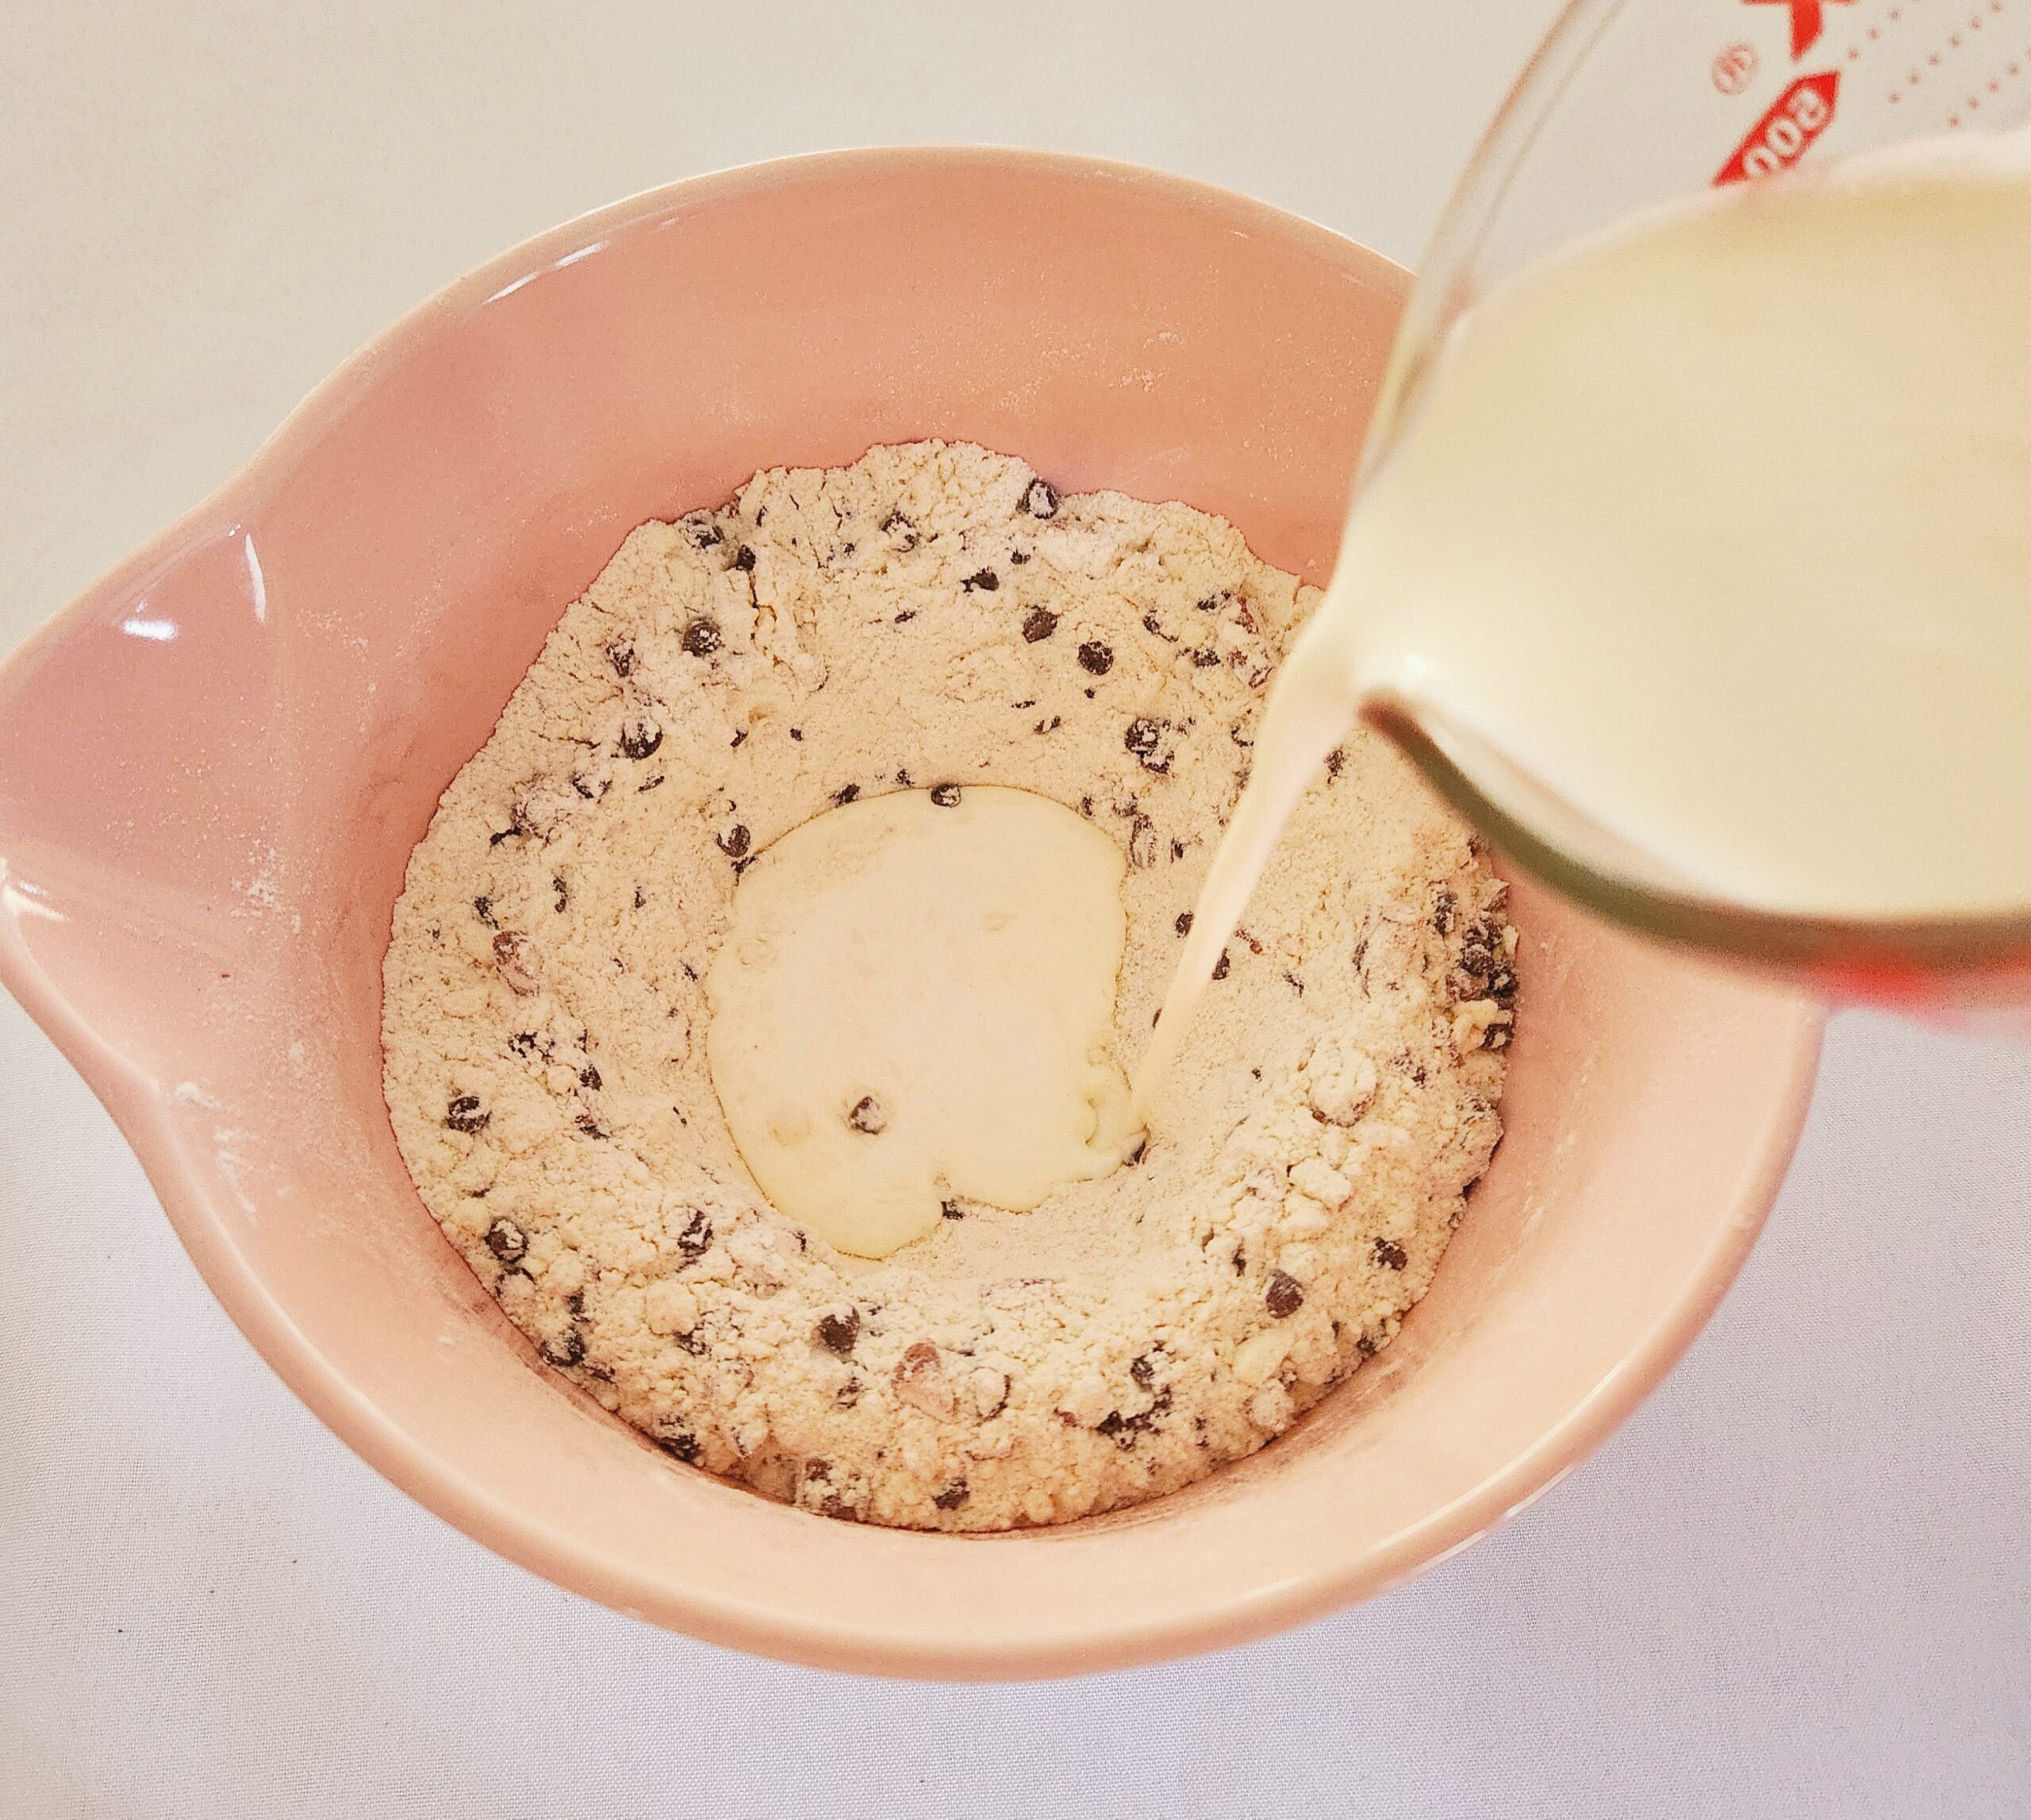
Remove the mixing bowl from the fridge and add the mini chocolate chips and pecans to the mix. Using a rubber spatula, gently mix them together until the chocolate and nuts are evenly distributed. Make a well in the center of the mixture.
Pour the 1 cup of heavy cream into the well, and gently bring the dough together. You may need to knead the dough with your hands a bit, but be careful not to overwork the dough or you’ll end up with tough scones. If the dough seems a little dry, add up to 2 more Tablespoons of heavy cream in.
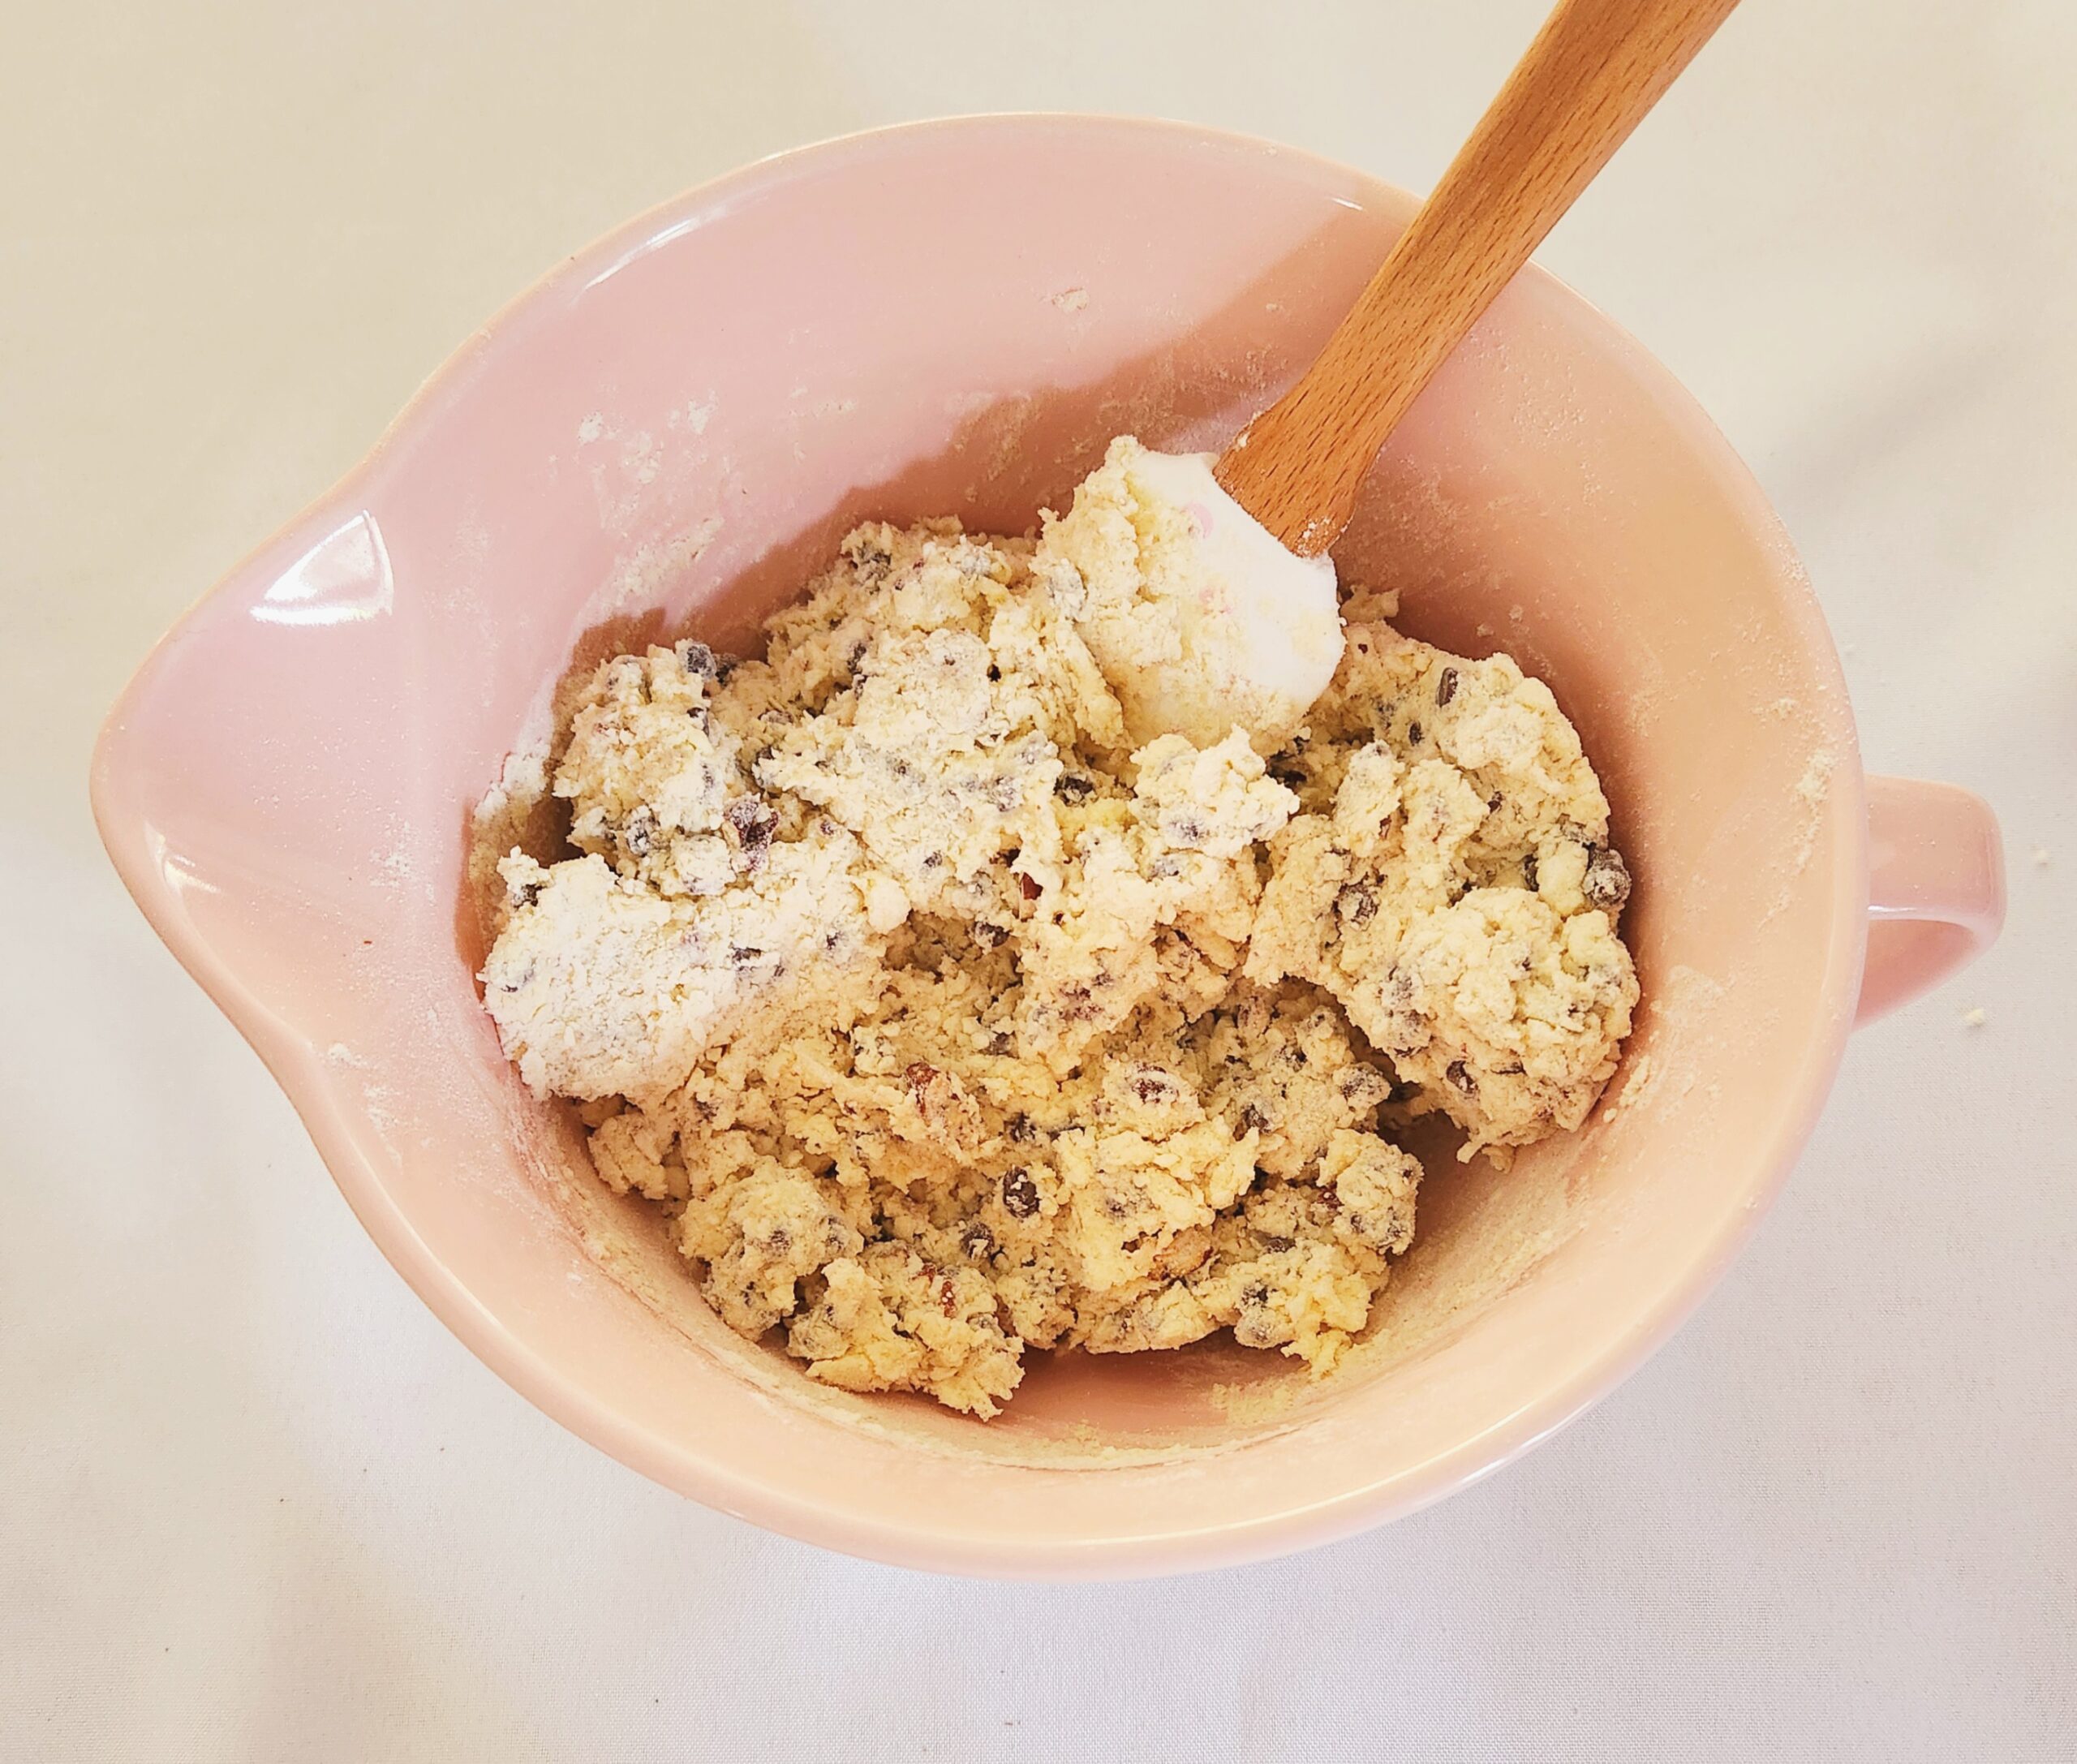
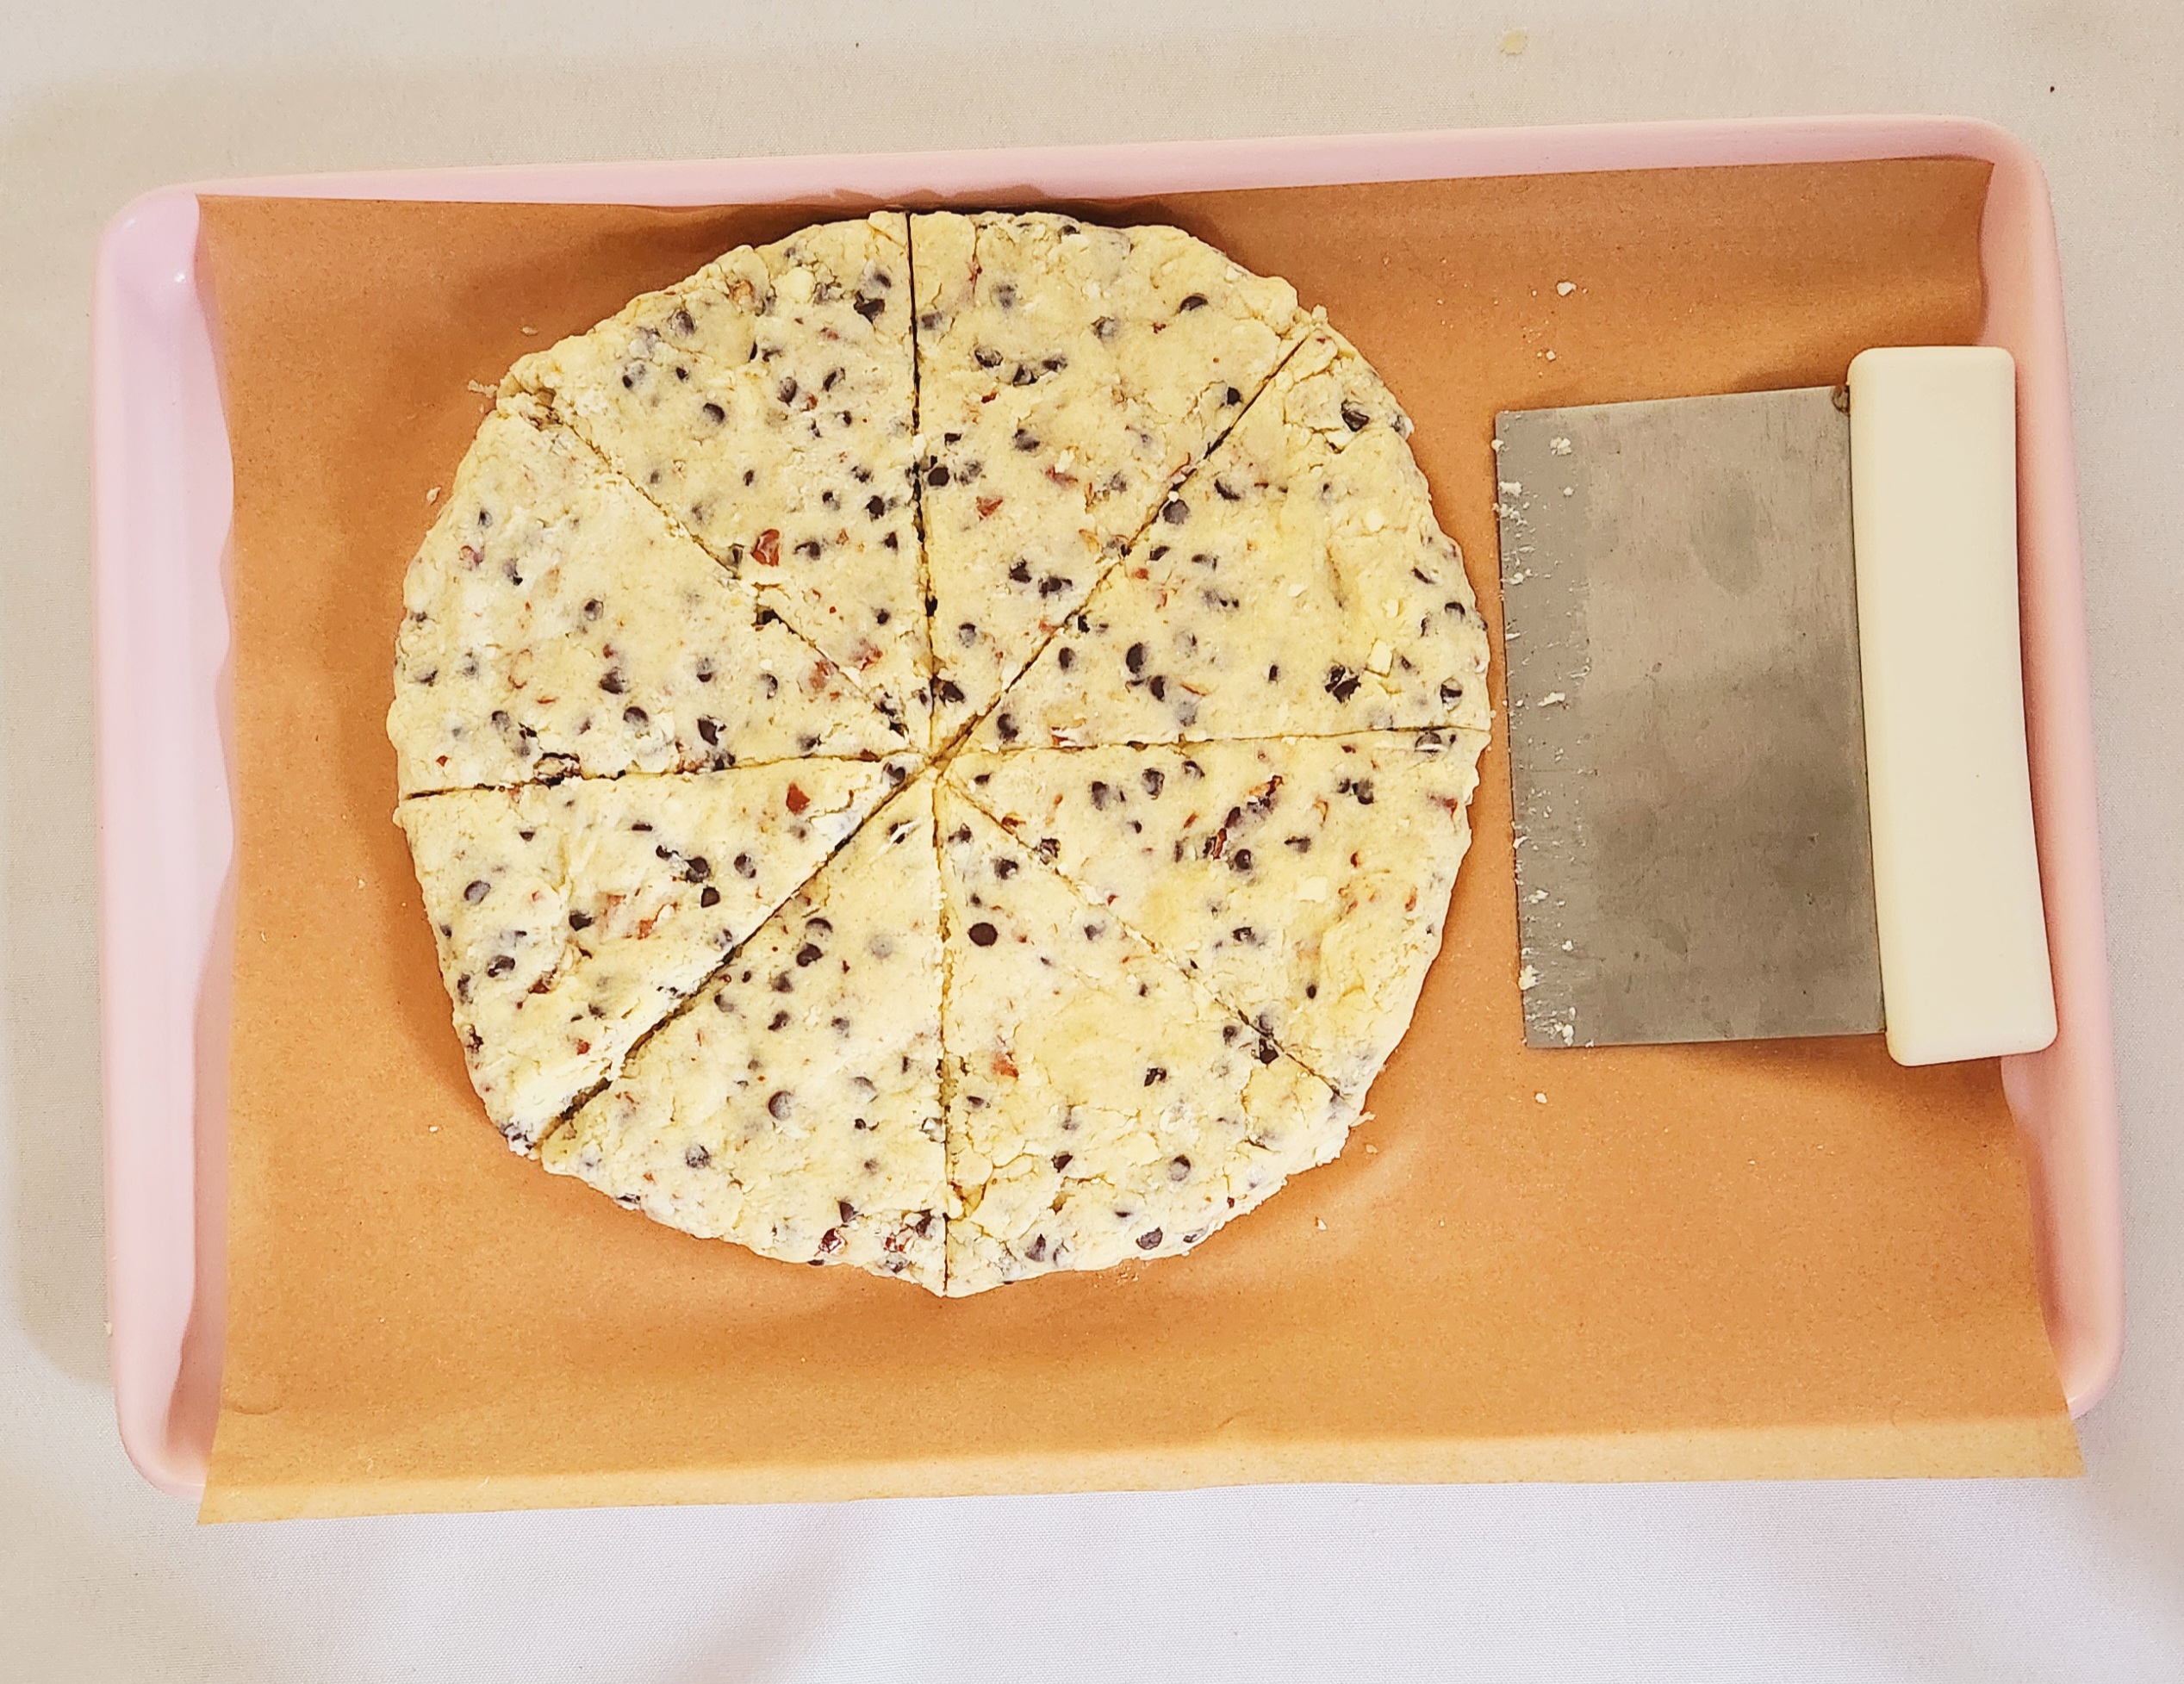
Dump the dough onto a clean counter and bring it all together. Gently press the dough into a circle around 1 inch thick with a 9-10 inch diameter. Using a bench scraper, cut the circle in half. Then cut those halves in half. Finally, cut those quarters in half. You should end up with 8 wedges.

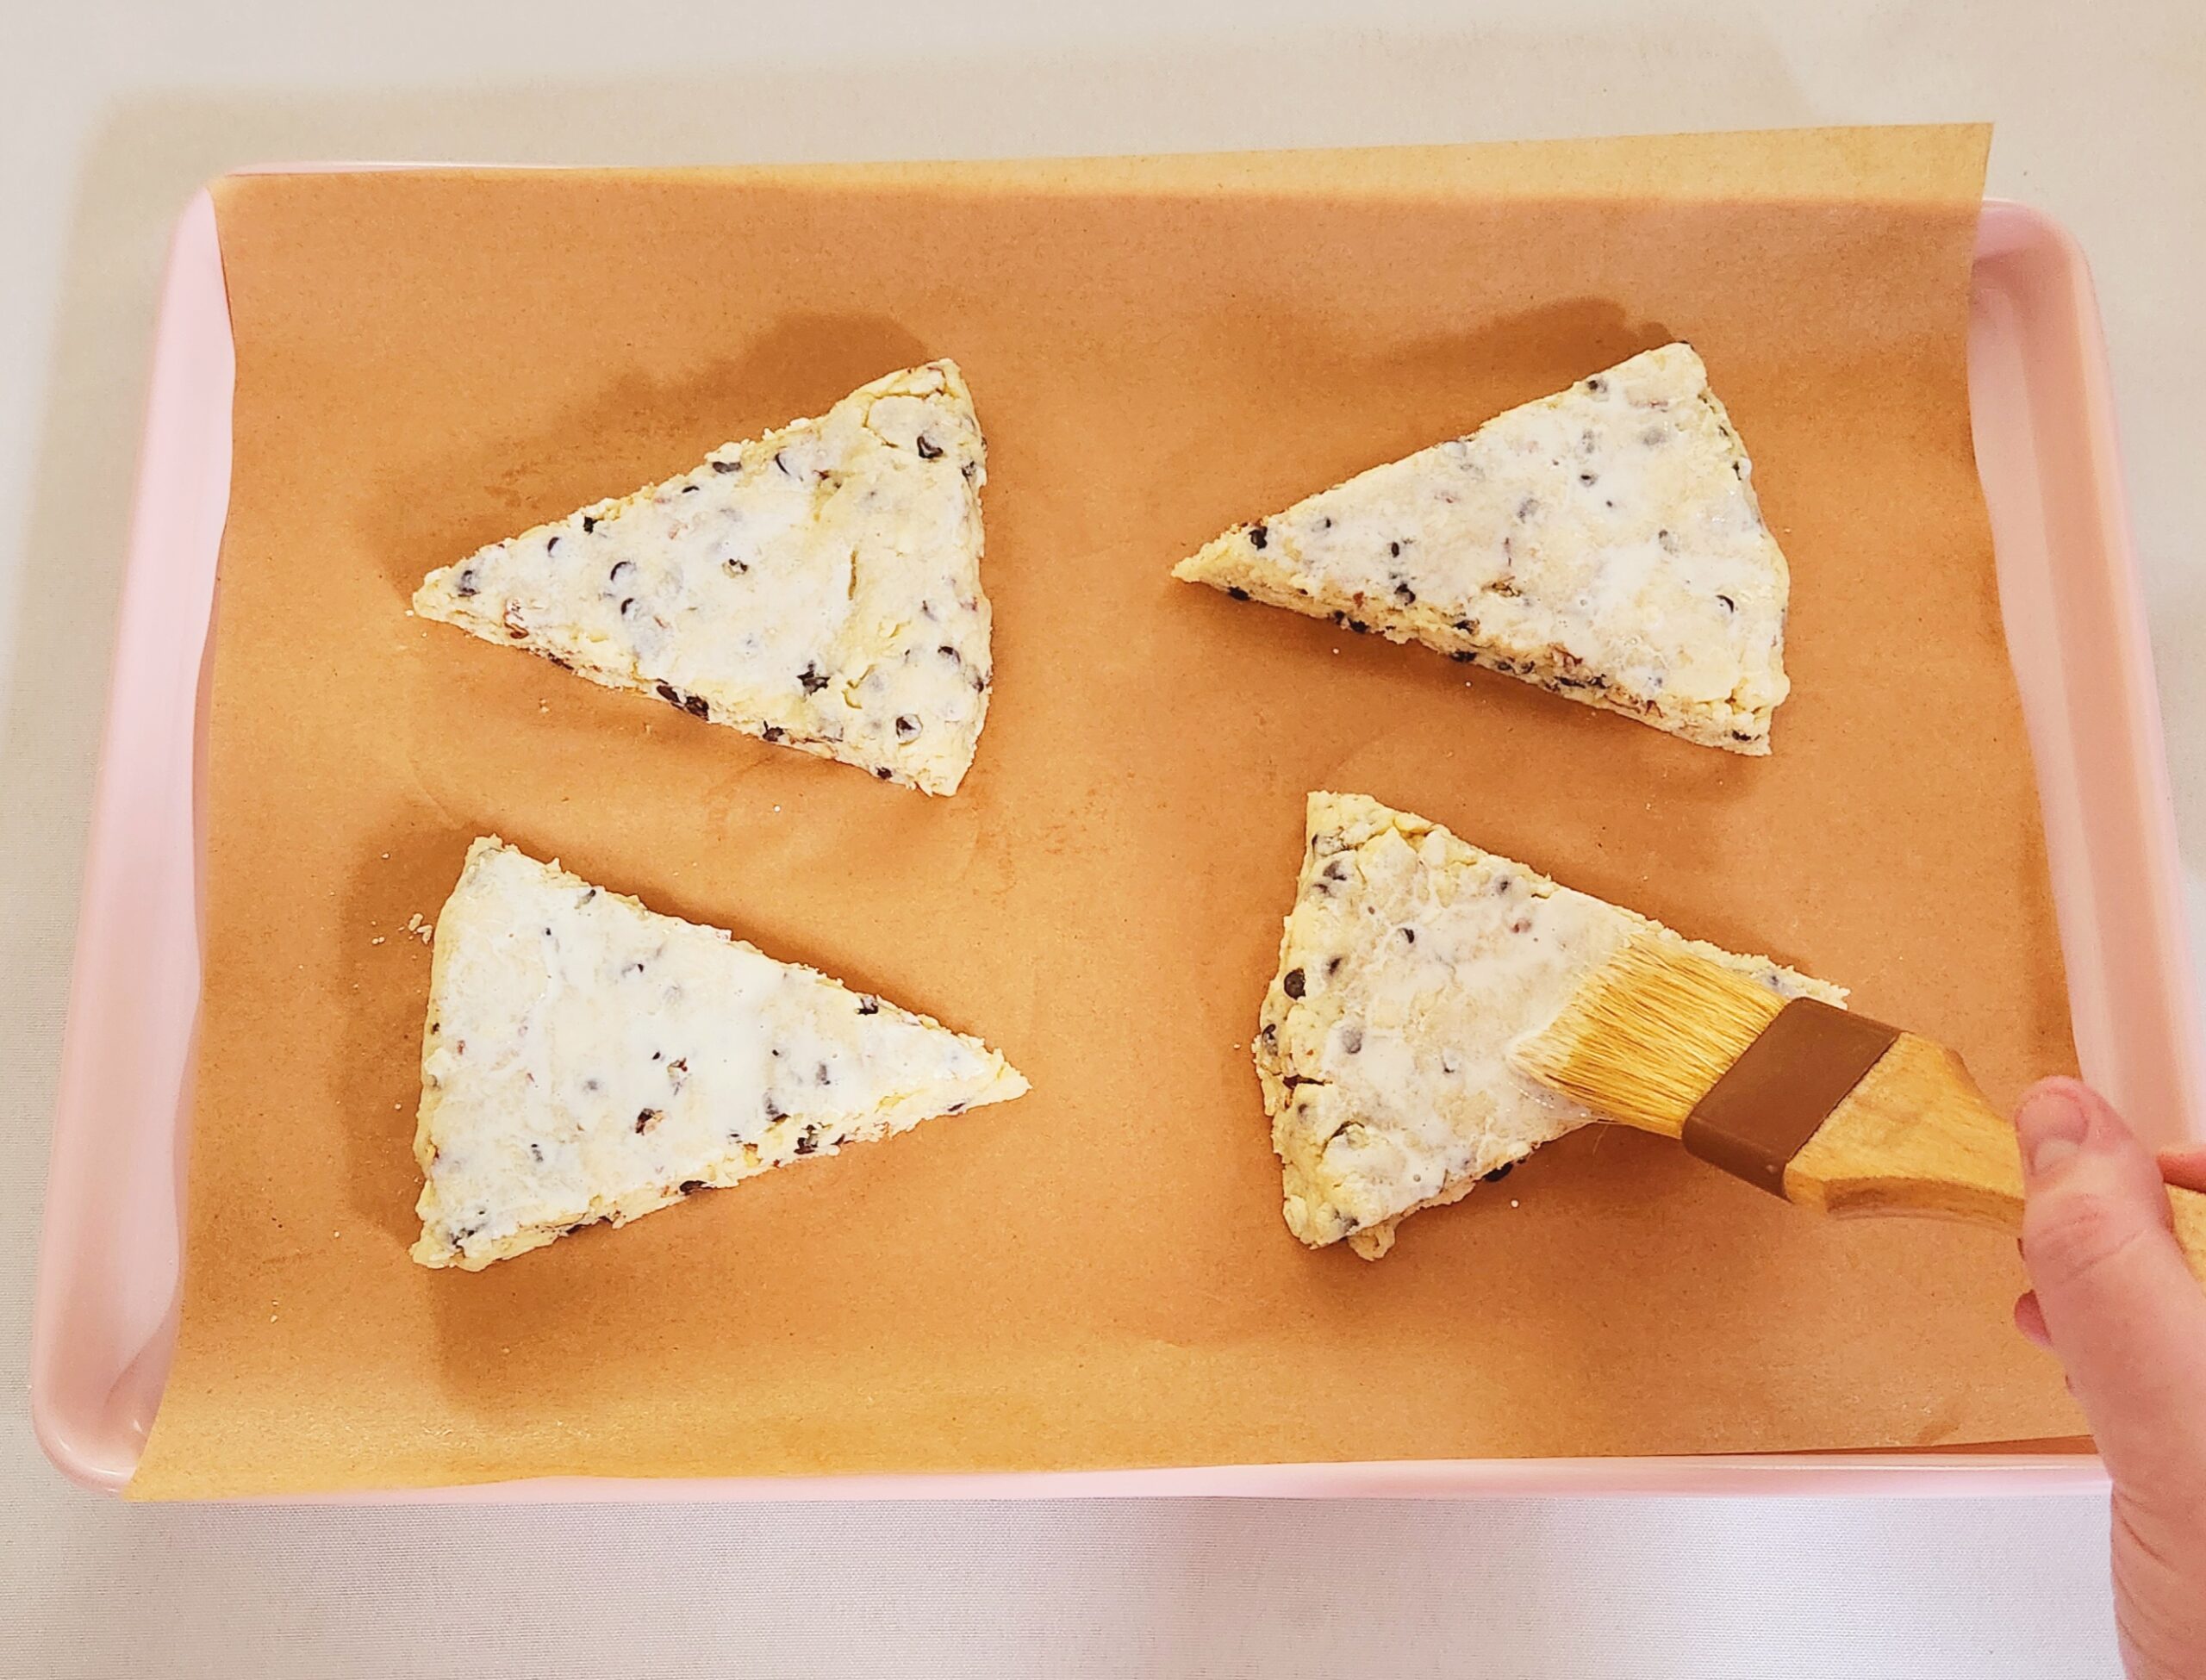
Place the scones onto one of the lined baking sheets, cover them tightly with plastic, and chill them in the fridge for a minimum of 30 minutes.
Take half of the scones and space them out 2 inches apart on the second baking sheet. Lightly brush the tops of the scones with 1 Tablespoon of cream, divided between the 4 of them. Bake for 12 minutes, flipping the pan around halfway through baking. Once they’re out of the oven, repeat with the second pan of scones.
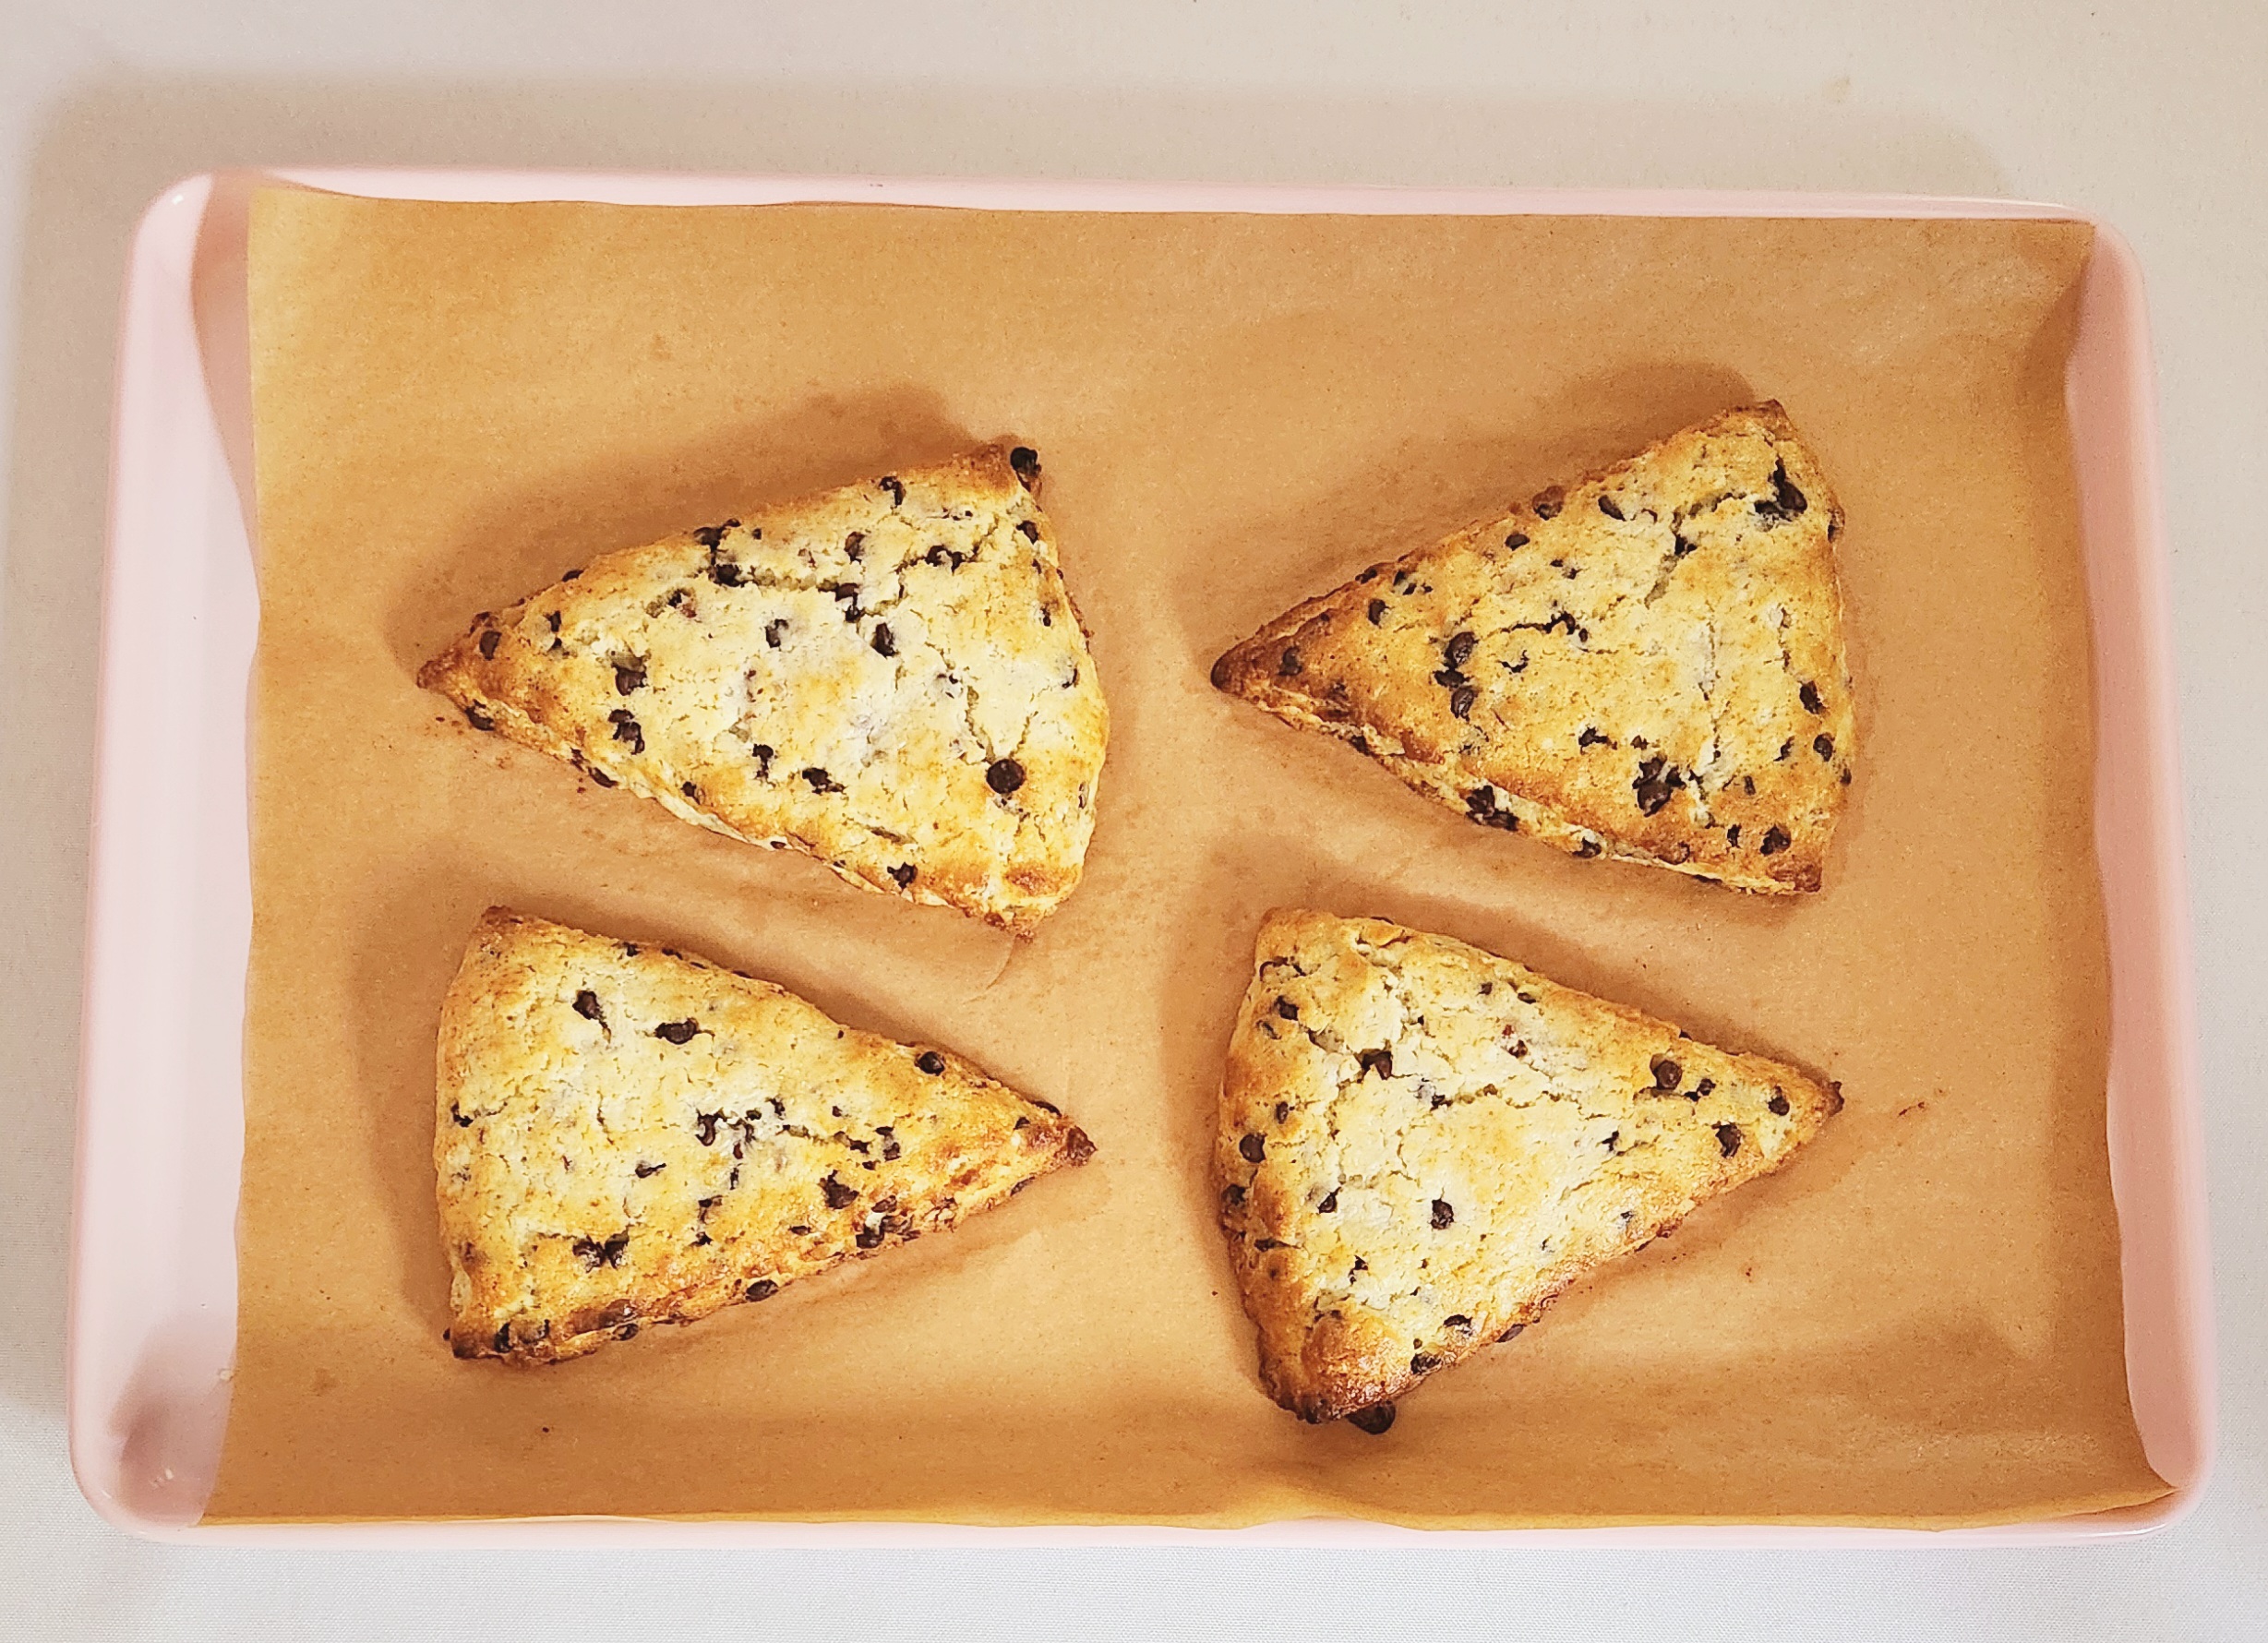
Allow the fully baked scones to rest on the pan for a few minutes before transferring them over to a cooling rack. Store in either an airtight container or a gallon sized zip-top bag for up to 1 day, and enjoy!


Chocolate Chip Pecan Scones
Bake Time: 425F for 12 minutes
Servings: 8 Scones
Total Time: 90 minutes
Prep Time: 30 Minutes
Ingredients:
- 2 cups all-purpose flour
- ½ cup granulated sugar
- 1 Tablespoon baking powder
- ¾ teaspoon salt
- 5 Tablespoons cold unsalted butter
- ⅔ cup mini semisweet chocolate chips
- ½ cup pecans
- 1 ¼ cup heavy cream
Directions:
- Preheat the oven to 350F, on the convection setting if possible. Line two baking sheets with either parchment paper or silicone baking mats, and set them aside. Cut the cold butter into ½ inch cubes, and store it in the fridge to keep cold until it’s needed.
- Once the oven is preheated, spread the pecans out on a baking sheet (it can be one you’ve lined already) and toast them for 8-10 minutes, keeping a close eye on them so they don’t burn. Pour the toasted nuts onto a cutting board, and allow them to cool while you continue on with the recipe. Raise the oven temperature to 425F.
- In a large mixing bowl, whisk together the flour, sugar, baking powder, and salt. Add the cubed butter and, using a pastry blender, start cutting the butter into the flour until it develops a sandy texture and there are no more visible chunks of butter, around 5 minutes. If you don’t have a pastry blender, see the science section for alternative methods. Place the bowl in the fridge while you prepare the pecans.
- Chop the toasted pecans finely, until they’re around the size of standard chocolate chips. If they’re not cooled down to room temperature, give them another few minutes to do so. Coldness is very important for cream scones.
- Remove the mixing bowl from the fridge and add the mini chocolate chips and pecans to the mix. Using a rubber spatula, gently mix them together until the chocolate and nuts are evenly distributed. Make a well in the center of the mixture.
- Pour the 1 cup of heavy cream into the well, and gently bring the dough together. You may need to knead the dough with your hands a bit, but be careful not to overwork the dough or you’ll end up with tough scones. If the dough seems a little dry, add up to 2 more Tablespoons of heavy cream in.
- Dump the dough onto a clean counter and bring it all together. Gently press the dough into a circle around 1 inch thick with a 9-10 inch diameter. Using a bench scraper, cut the circle in half. Then cut those halves in half. Finally, cut those quarters in half. You should end up with 8 wedges. See the pictures above for reference.
- Place the scones onto one of the lined baking sheets, cover them tightly with plastic, and chill them in the fridge for a minimum of 30 minutes.
- Take half of the scones and space them out 2 inches apart on the second baking sheet. Lightly brush the tops of the scones with 1 Tablespoon of cream, divided between the 4 of them. Bake for 12 minutes, flipping the pan around halfway through baking. Once they’re out of the oven, repeat with the second pan of scones.
- Allow the fully baked scones to rest on the pan for a few minutes before transferring them over to a cooling rack. Store in either an airtight container or a gallon sized zip-top bag for up to 1 day, and enjoy!
Tips
- Unbaked scones can be frozen for up to 3 months, and baked fresh at your discretion. Prepare the recipe up to the point of cutting the dough into wedges, and freeze them spaced apart or they’ll be a pain to pull apart later on. Once frozen solid, transfer the scones to a freezer safe bag. To bake off, preheat the oven to 400 and bake for 15 minutes or until the scones are lightly golden brown.
- If you don’t own a pastry blender, the butter can be cut in using a food processor to pulse the dry goods and cold butter until the sandy texture is achieved, or grated in from frozen butter and then just tossed with a fork.


0 Comments