
Sometimes, you’re just in the mood for some cake. It isn’t someone’s birthday, no one’s getting married, a graduation isn’t taking place, but why should that stop you? If you want to eat some cake, you absolutely deserve to eat some cake! Your presence is enough of a special occasion to have it. But because this cake is just for you, maybe you don’t want to go through the effort of baking an entire layer cake. Don’t get me wrong, layer cakes have their time and place! They’re great for a party, stretching far enough to make sure everyone gets a satisfactory slice, plus they’re a perfect canvas to decorate beautifully.
They’re also a lot of effort. I know if I’m just baking for myself and my closest loved ones on a random Tuesday, the motivation to make something grand and impressive is incredibly low. I’m just looking to eat some delicious cake, not win a prize. I’m not saying you can’t jazz this cake up if you’re feeling fancy, by all means do! Dye the frosting different colors, pipe some flowers, make a nice boarder, use those expensive sprinkles you’ve been saving for some nondescript special occasion. You’re the cake captain here. I’m just saying, this is a recipe where there’s absolutely no pressure to go all out like that.
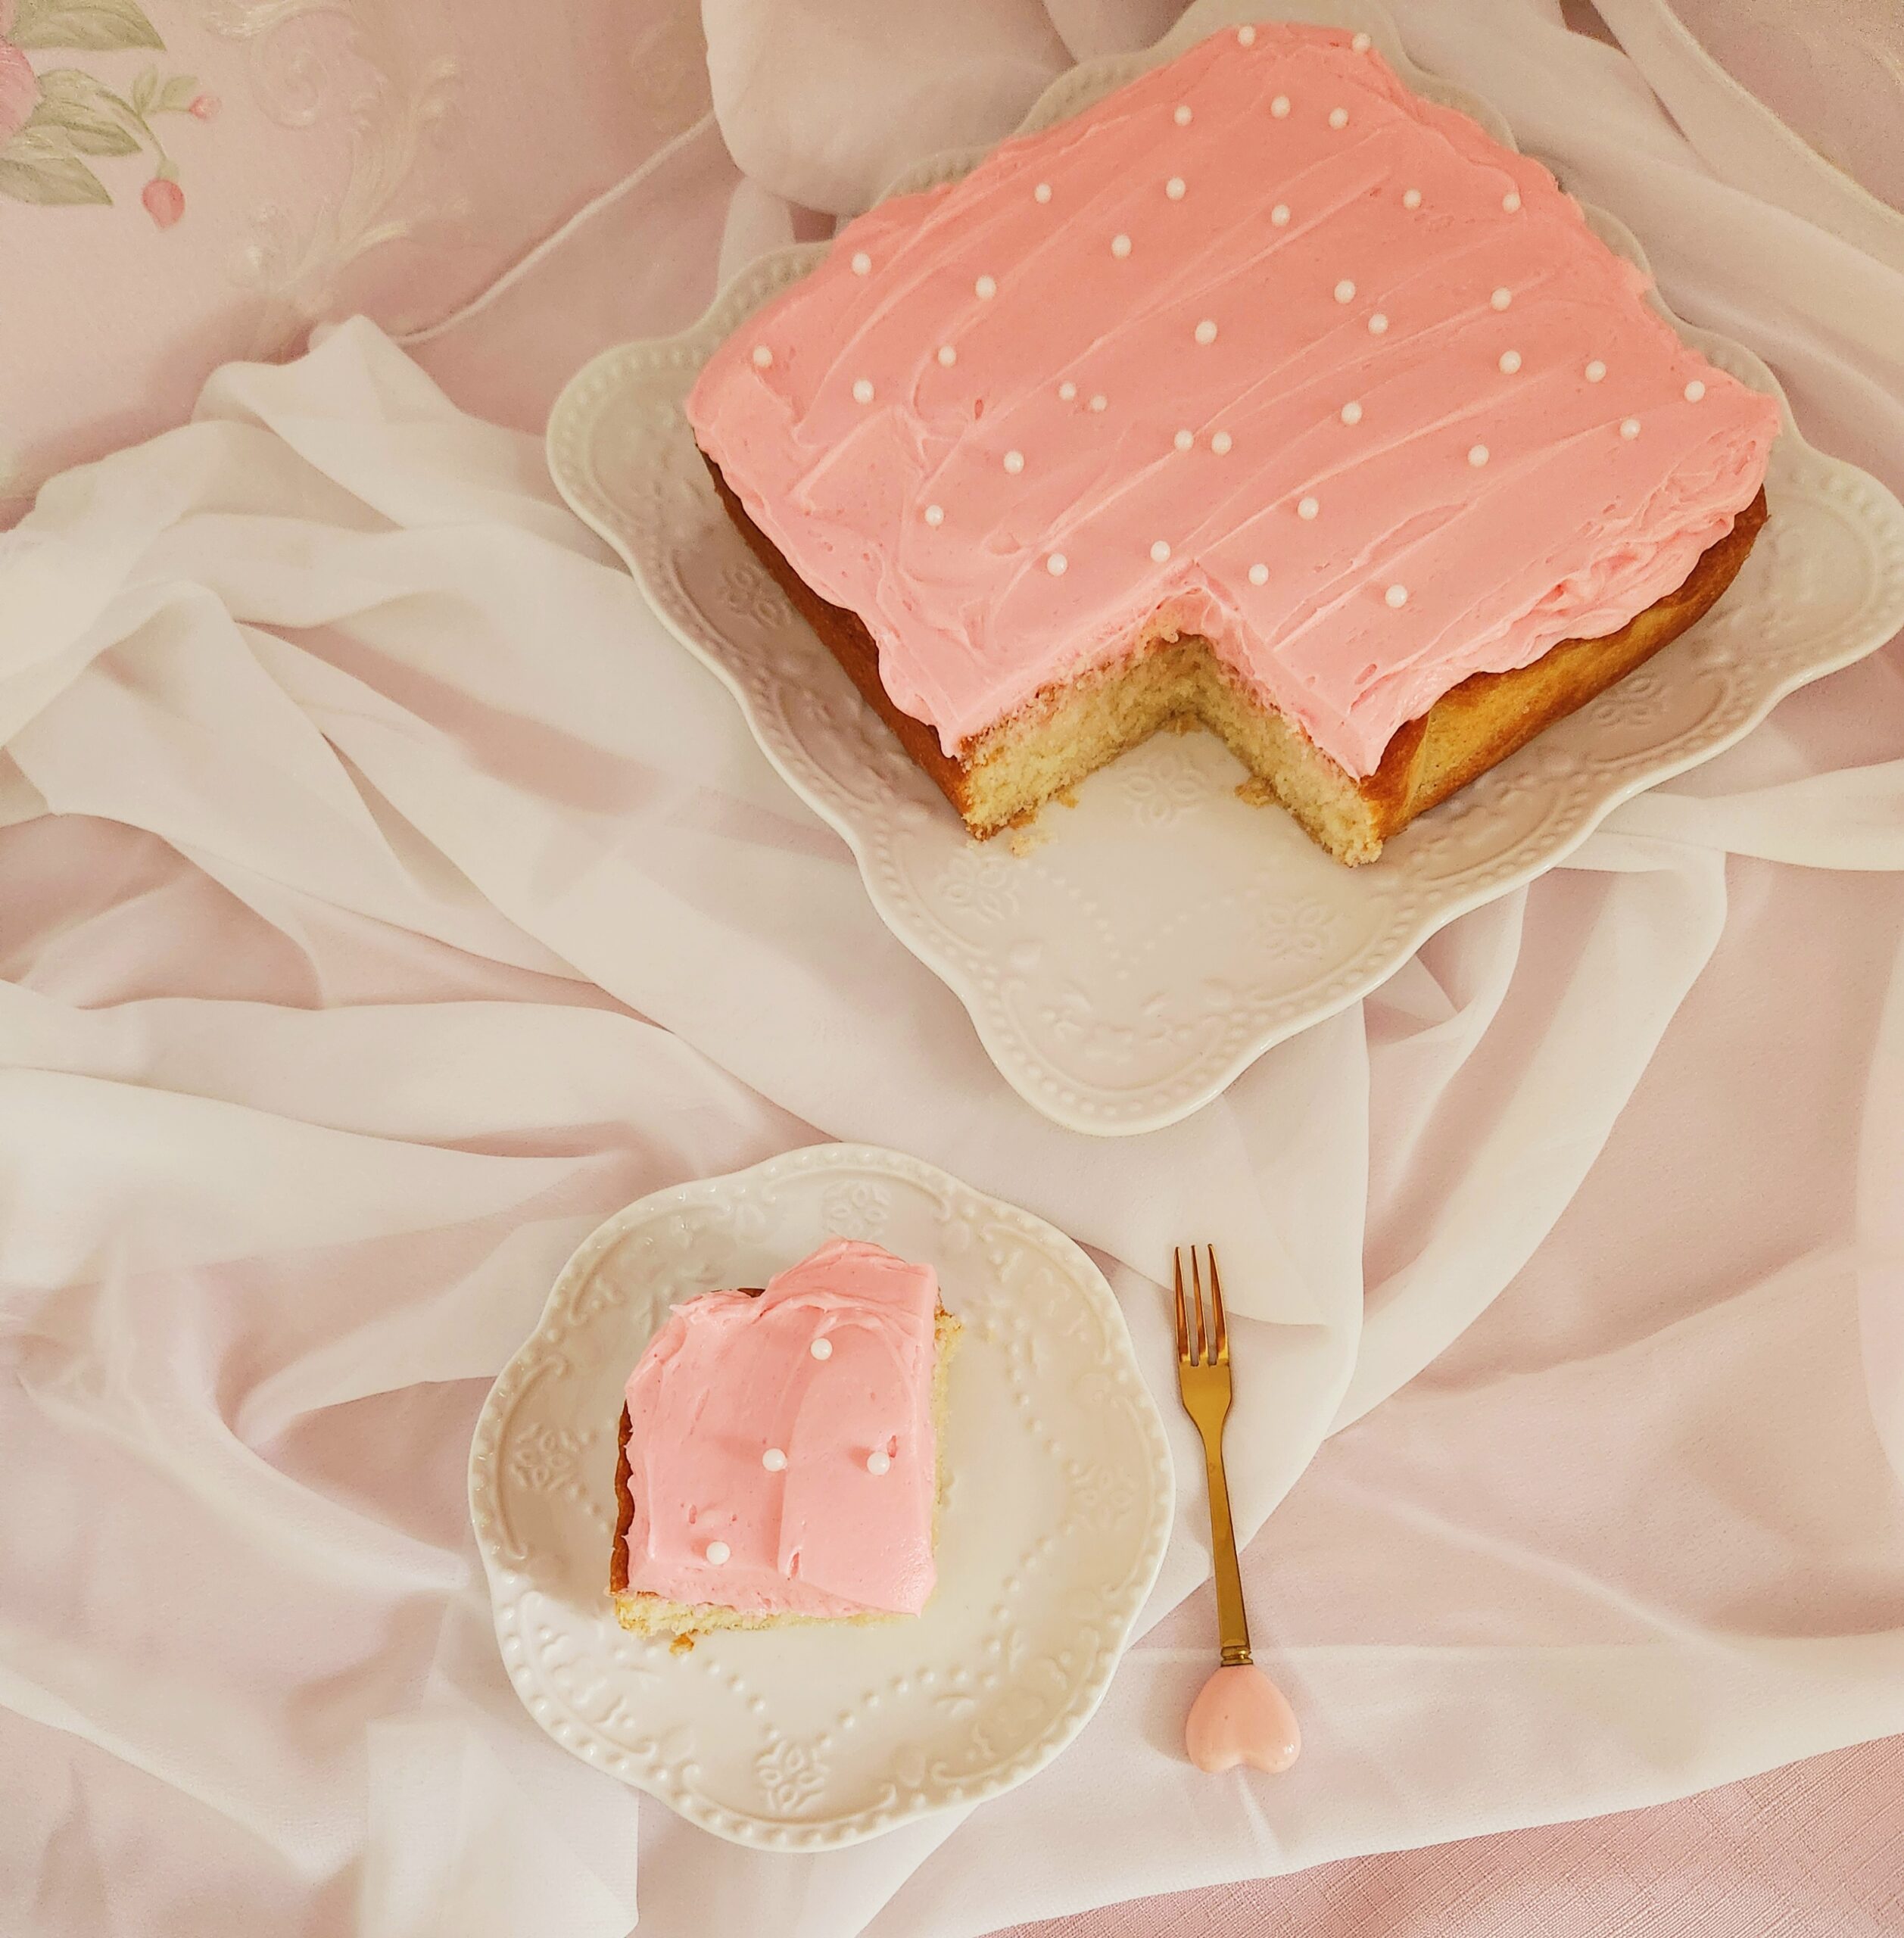
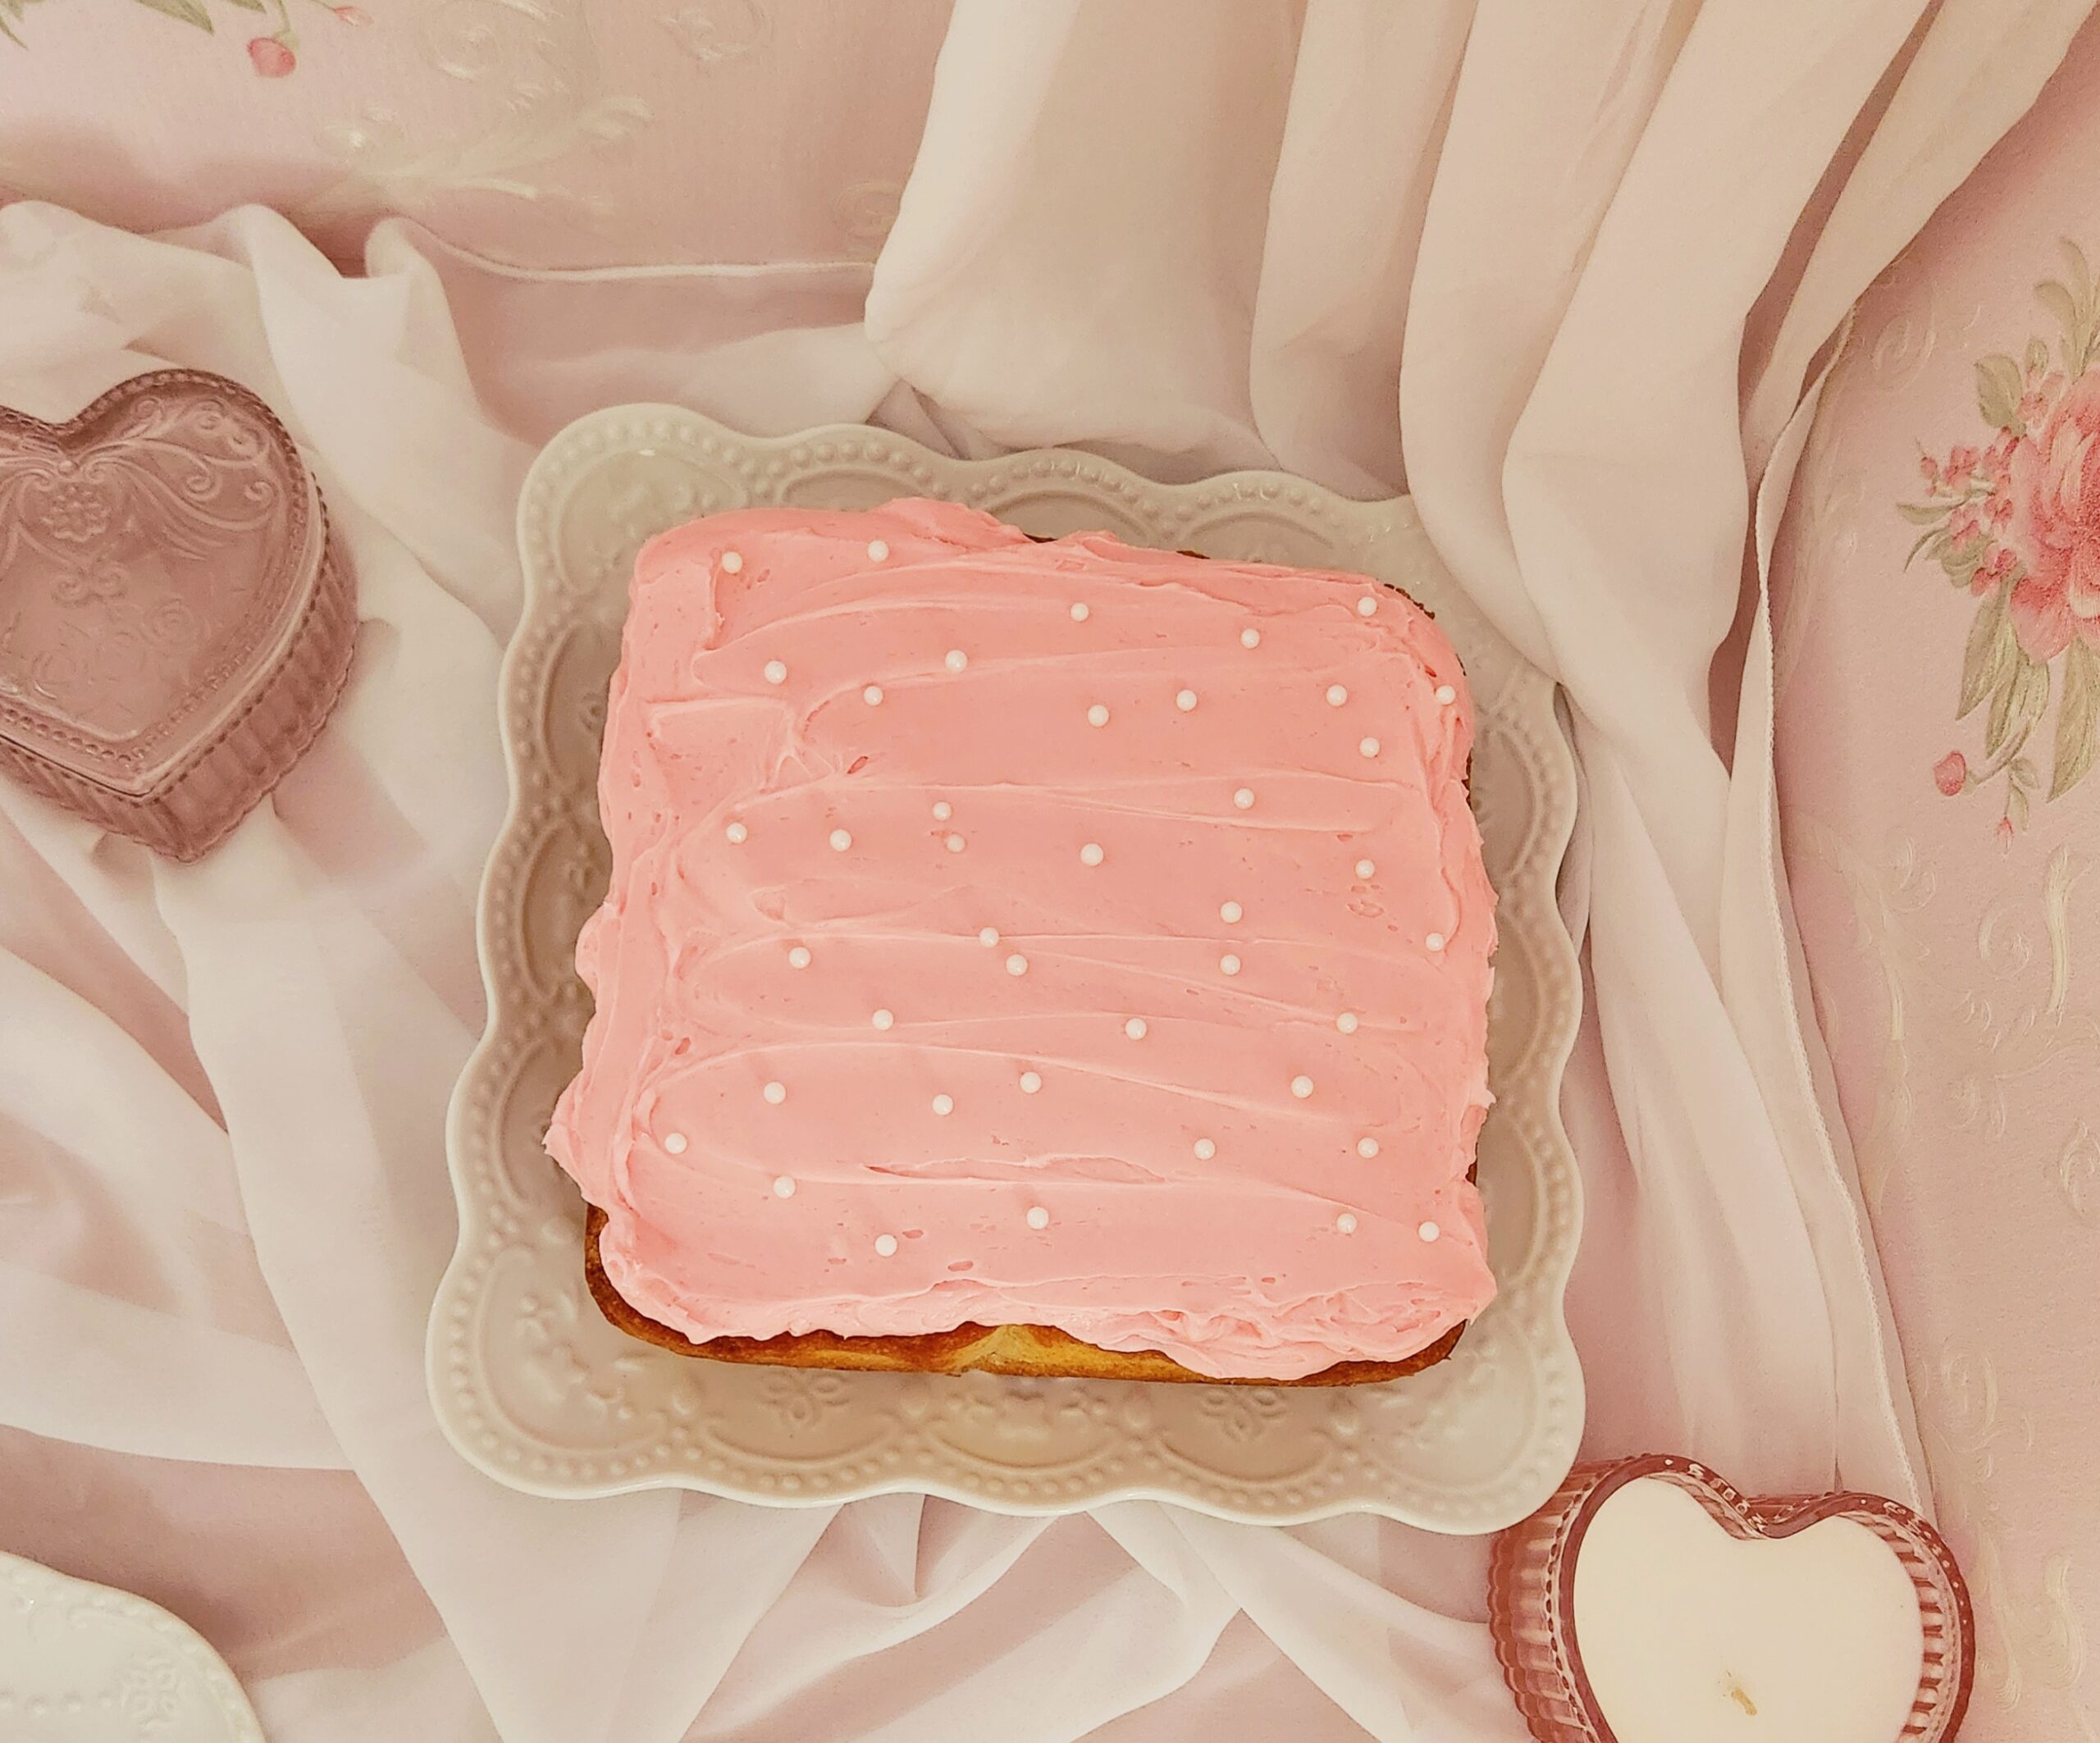
This basic white cake is both fast and easy to whip up, a truly beginner friendly treat that doesn’t demand specialty equipment. It makes 9 good sized servings, and will keep in a sealed container for up to 3 days before it starts to go stale. If you’re in a warmer climate or it’s summertime, it needs to be stored in the fridge.
FAQs and Science
I don’t want to have to wait for the butter to soften or the eggs and milk to come up to room temperature, I’m ready to bake and eat my cake now! Is there anything I can do to warm them up quickly?
Have no fear, there are tricks you can do to drastically speed up that temperature change.
For the butter, my go-to method uses the microwave. Place the butter on a plate, and zap it for 9-10 seconds. Flip the butter over, so what was the bottom is now the top. Zap it again for another 9-10 seconds. Now turn the butter on its side, and zap it one final time for 9-10 seconds. It’s fast, it’s easy, it softens how you need it to.
The milk is easy, just zap it in the microwave for around 30 seconds, then stir it to make sure the heat has been evenly distributed.
As for the eggs, at the beginning of the recipe, place them into a small bowl. Cover them with the hottest water that will come out of your tap. By the time you’re ready for them, they’ll have reached the perfect temperature! If the water covering the eggs turns cold before you’re ready to use them, dump it out and cover the eggs once more with hot water.
Why does it matter that my eggs aren’t cold?
This is where baking being a science comes into play. A cake batter is an emulsified substance. In order for that emulsification to take place smoothly, everything needs to be of a similar temperature. If you add in cold eggs to your creamed butter and sugar, it can easily curdle the mixture and you’re going to have a bad time.
I didn’t listen to you about the egg temperature and now my batter is curdled. Do I need to throw it away and start over?
Nope! There’s an easy way to save your batter and keep pushing forward. You need to heat the outside of the bowl, to warm the inside mixture enough to come together smoothly There are a few ways you can do this:
- Take a bowl larger than the one your batter is in, fill it partway up with hot water. Dip the bowl with the batter into the water bath for a minute or two, then mix the batter again. Repeat this process until it’s one beautiful, smooth consistency. But what if you’re using the biggest bowl you own to bake in?
- Grab a kitchen towel, run it under some hot water, and wrap it around the sides of the bowl your batter is in. Start beating your batter again until it’s homogenized. You may need to repeat this step a few times, but trust the process, it will come together. But what if you happen to own some more obscure tools and have a flare for danger?
- Last but not least, my favorite method, using a torch! Now, this only works if the bowl you’re working in is made of metal (melted plastic is not particularly tasty). You need to be extremely careful if you’re going to implore this method, but it works well and fast. While the mixer is on, run the flame of the torch along the outside of the bowl. Make sure not to leave it in the same spot for more than a second, so it wont completely melt your batter. The goal is to soften it enough to come together, not to turn it into soup.
Why are you asking me to use to paddle attachment instead of the whisk on my stand mixer? Wouldn’t the whisk be faster?
The whisk should only be used for something you’re trying to beat a ton of air into, like a meringue or whipped cream. This particular cake batter doesn’t need that air, it gets its lift from a chemical leavening agent as it bakes, baking powder! The paddle attachment, on the other hand, is designed for bringing this kind of batter together. The shape and amount of contact it gives does a better job of blending everything together so you end up with a beautifully homogeneous batter.
Are there instances where you would use the whisk attachment for a cake?
Yes, some cakes depend on the mechanical leavening of incorporating a lot of air, like a genoise, a chiffon, or an angel food cake. But I will always tell you what specific equipment is required for a recipe, so you’ll never have to guess what tools you need to succeed!
Real vanilla extract is expensive, do I have to use it?
I’d strongly recommend using some version of real vanilla, whether it’s extract, paste, or scraped in seeds. Vanilla is the primary flavor of the cake, so if you use imitation, that’s exactly what your cake will taste like.
Can I substitute the cake flour for another kind, like all purpose?
You can, but it wont be quite as delicate and tender as it would be with the cake flour. Using an all purpose or a pastry flour will still give you a tasty product though, so if that’s what you’ve got and you’re not about to go to the store just for a specialty flour that’s not already in your house, feel free to use what’s there! Just make sure you skip the final minute of beating the batter once it’s all come together, as you don’t need that extra bump in gluten development with a higher protein flour.
Why did you include corn syrup in the frosting?
I like the slightly gooey texture it adds, almost mimicking the consistency of a canned frosting while still giving you control over what goes into the buttercream.
Can I freeze this cake?
Cake actually freezes really well! If you want to make the sponge (the baked portion of a cake) ahead of time, make sure it’s all cooled down then tightly wrap it in a few layers of plastic wrap. Take it out the night before you’re ready to serve it and just thaw it on the counter. Hold off on the frosting until it’s thawed and you’re getting ready to serve though, frozen and thawed out frosting needs to be reconstituted (mixed together again) to make sure it’s a nice, smooth texture.
What you’ll need
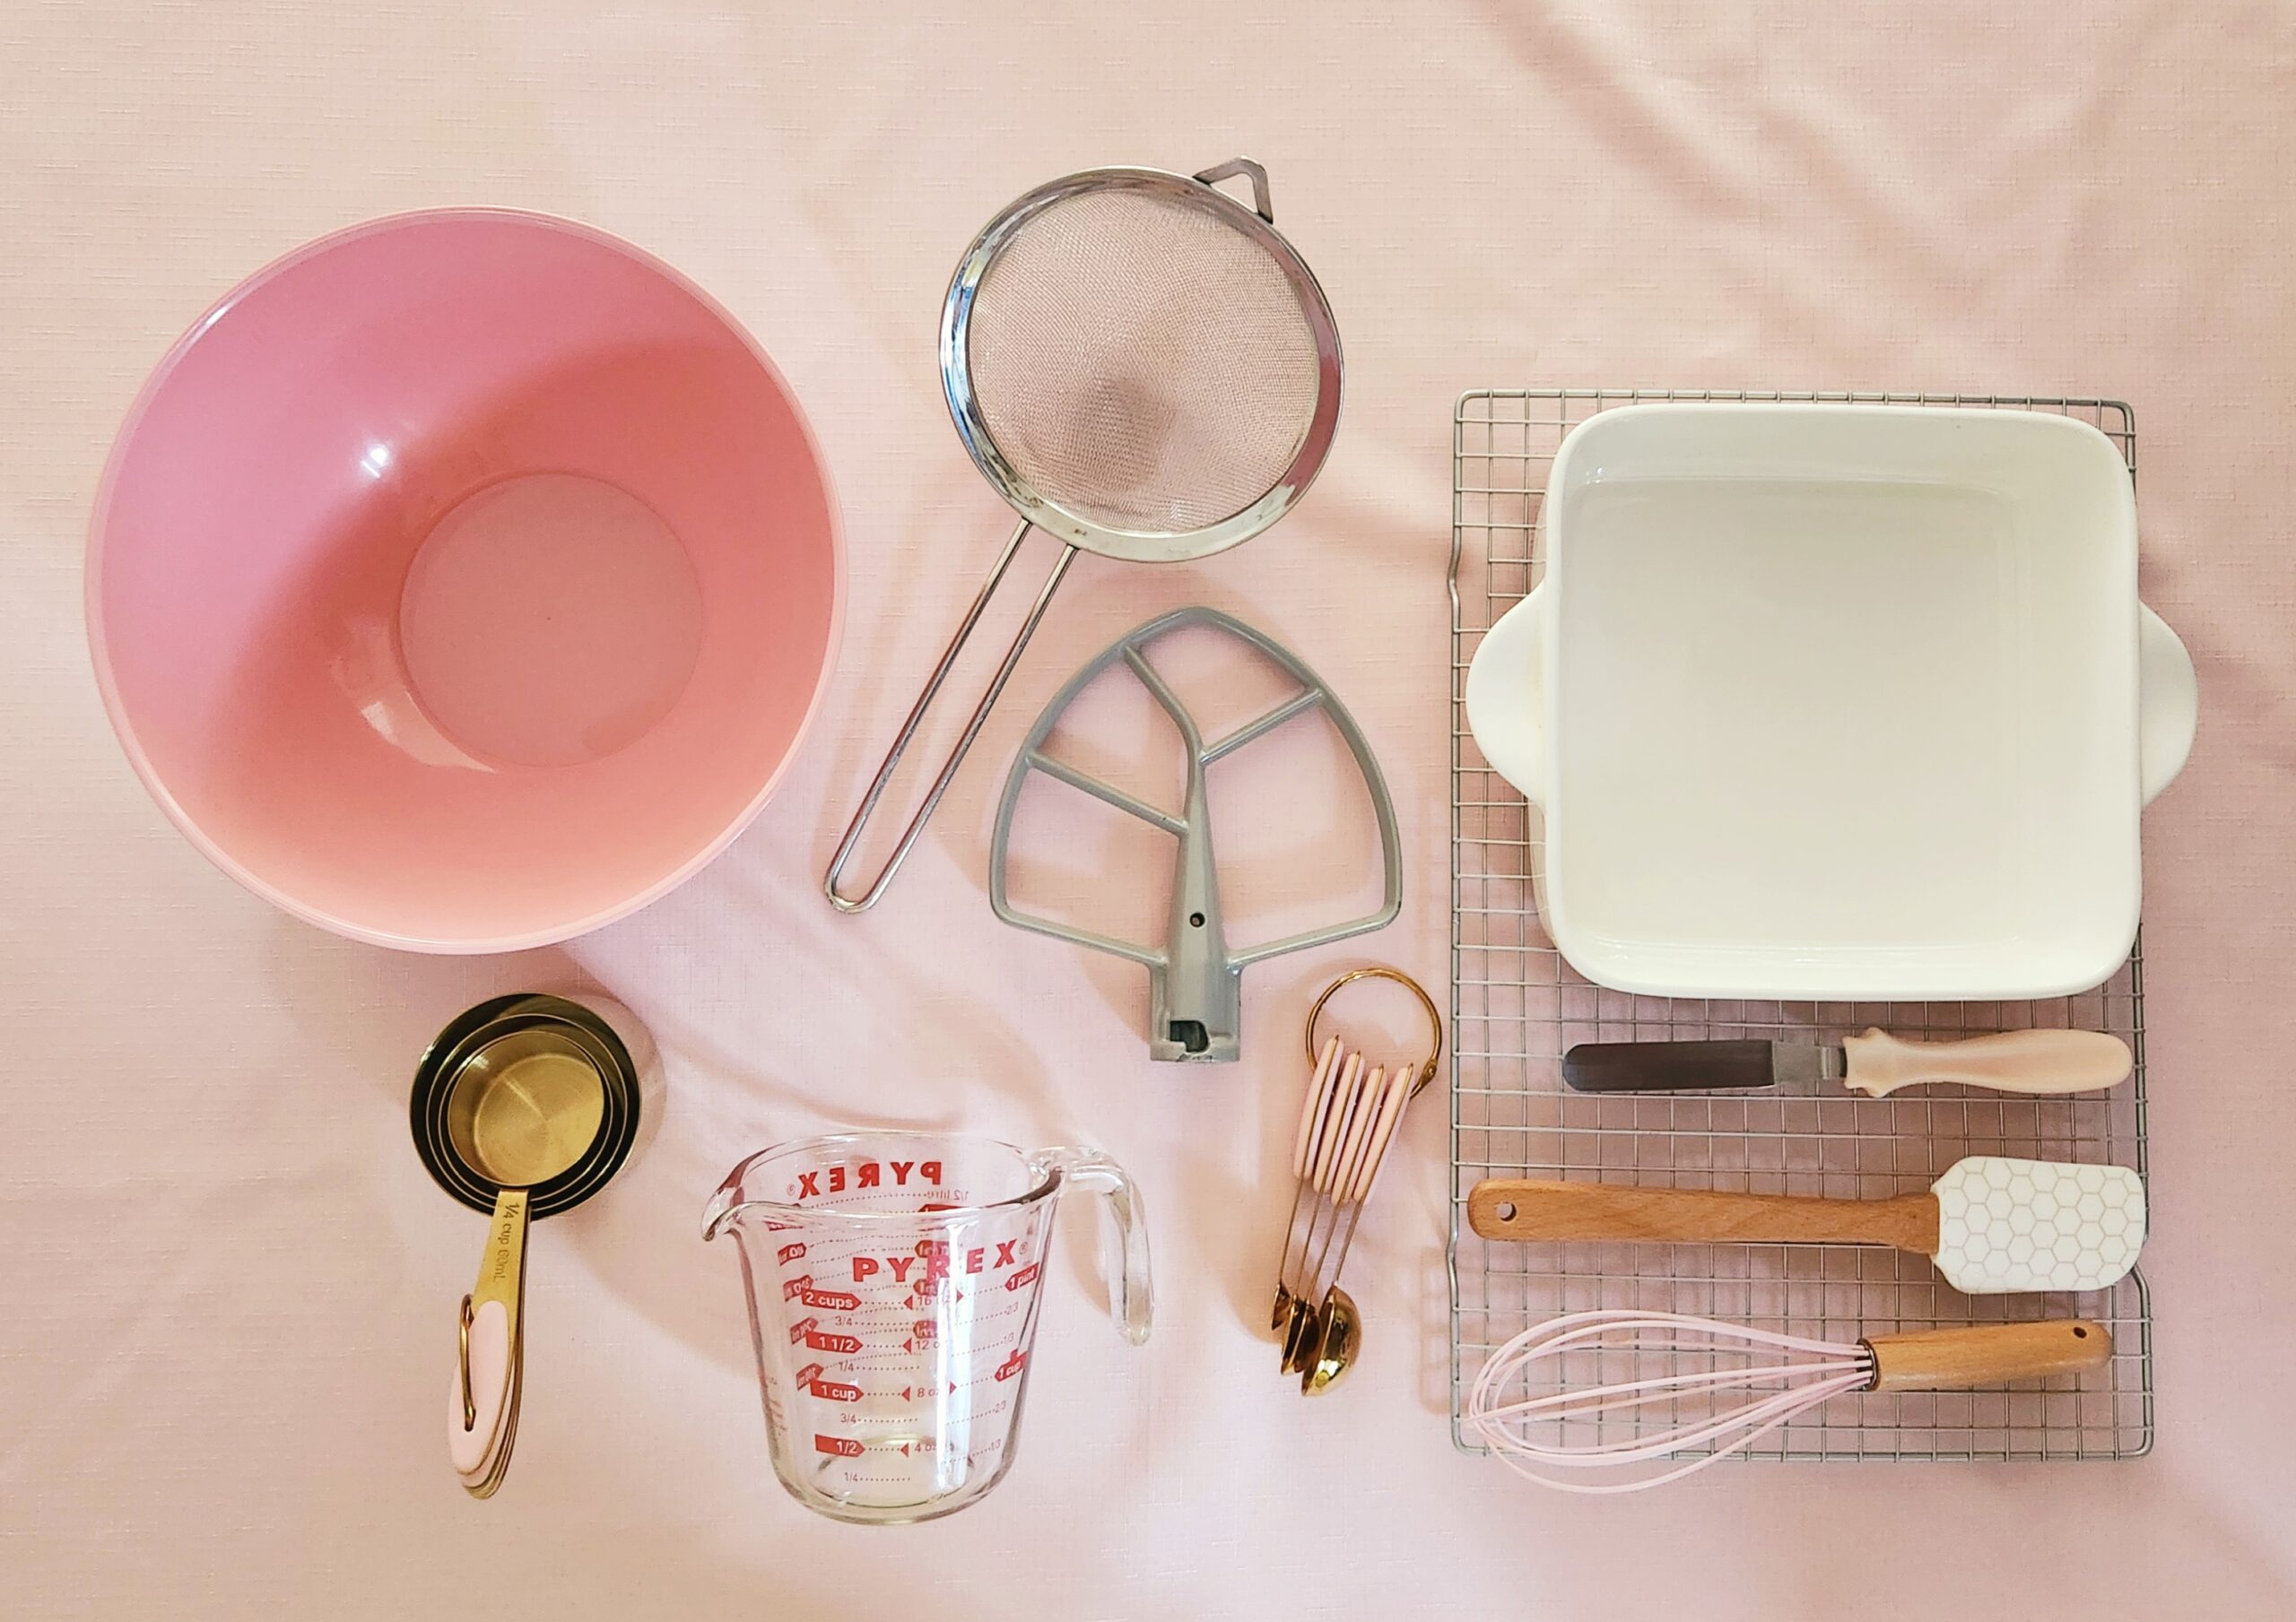
- Large mixing bowl OR the bowl of a stand mixer
- Hand mixer OR stand mixer with the paddle attachment
- Whisk
- Medium mixing bowl
- Rubber spatula
- 8×8 baking pan
- Parchment paper
- Nonstick baking spray
- Sieve
- Measuring cups, dry and liquid
- Measuring spoons
- Cooling rack
- Offset spatula OR butter knife
The Process
Bake the Cake
Start by preheating your oven to 325, and make sure you’ve gathered all of the necessary tools and ingredients. Line the bottom of the baking pan with parchment paper, and either spray the sides with nonstick baking spray OR smear them with butter. This way, the cake will easily release from the pan at the end. Parchment paper by nature wont stick to anything, so it’s unnecessary to spray that down.
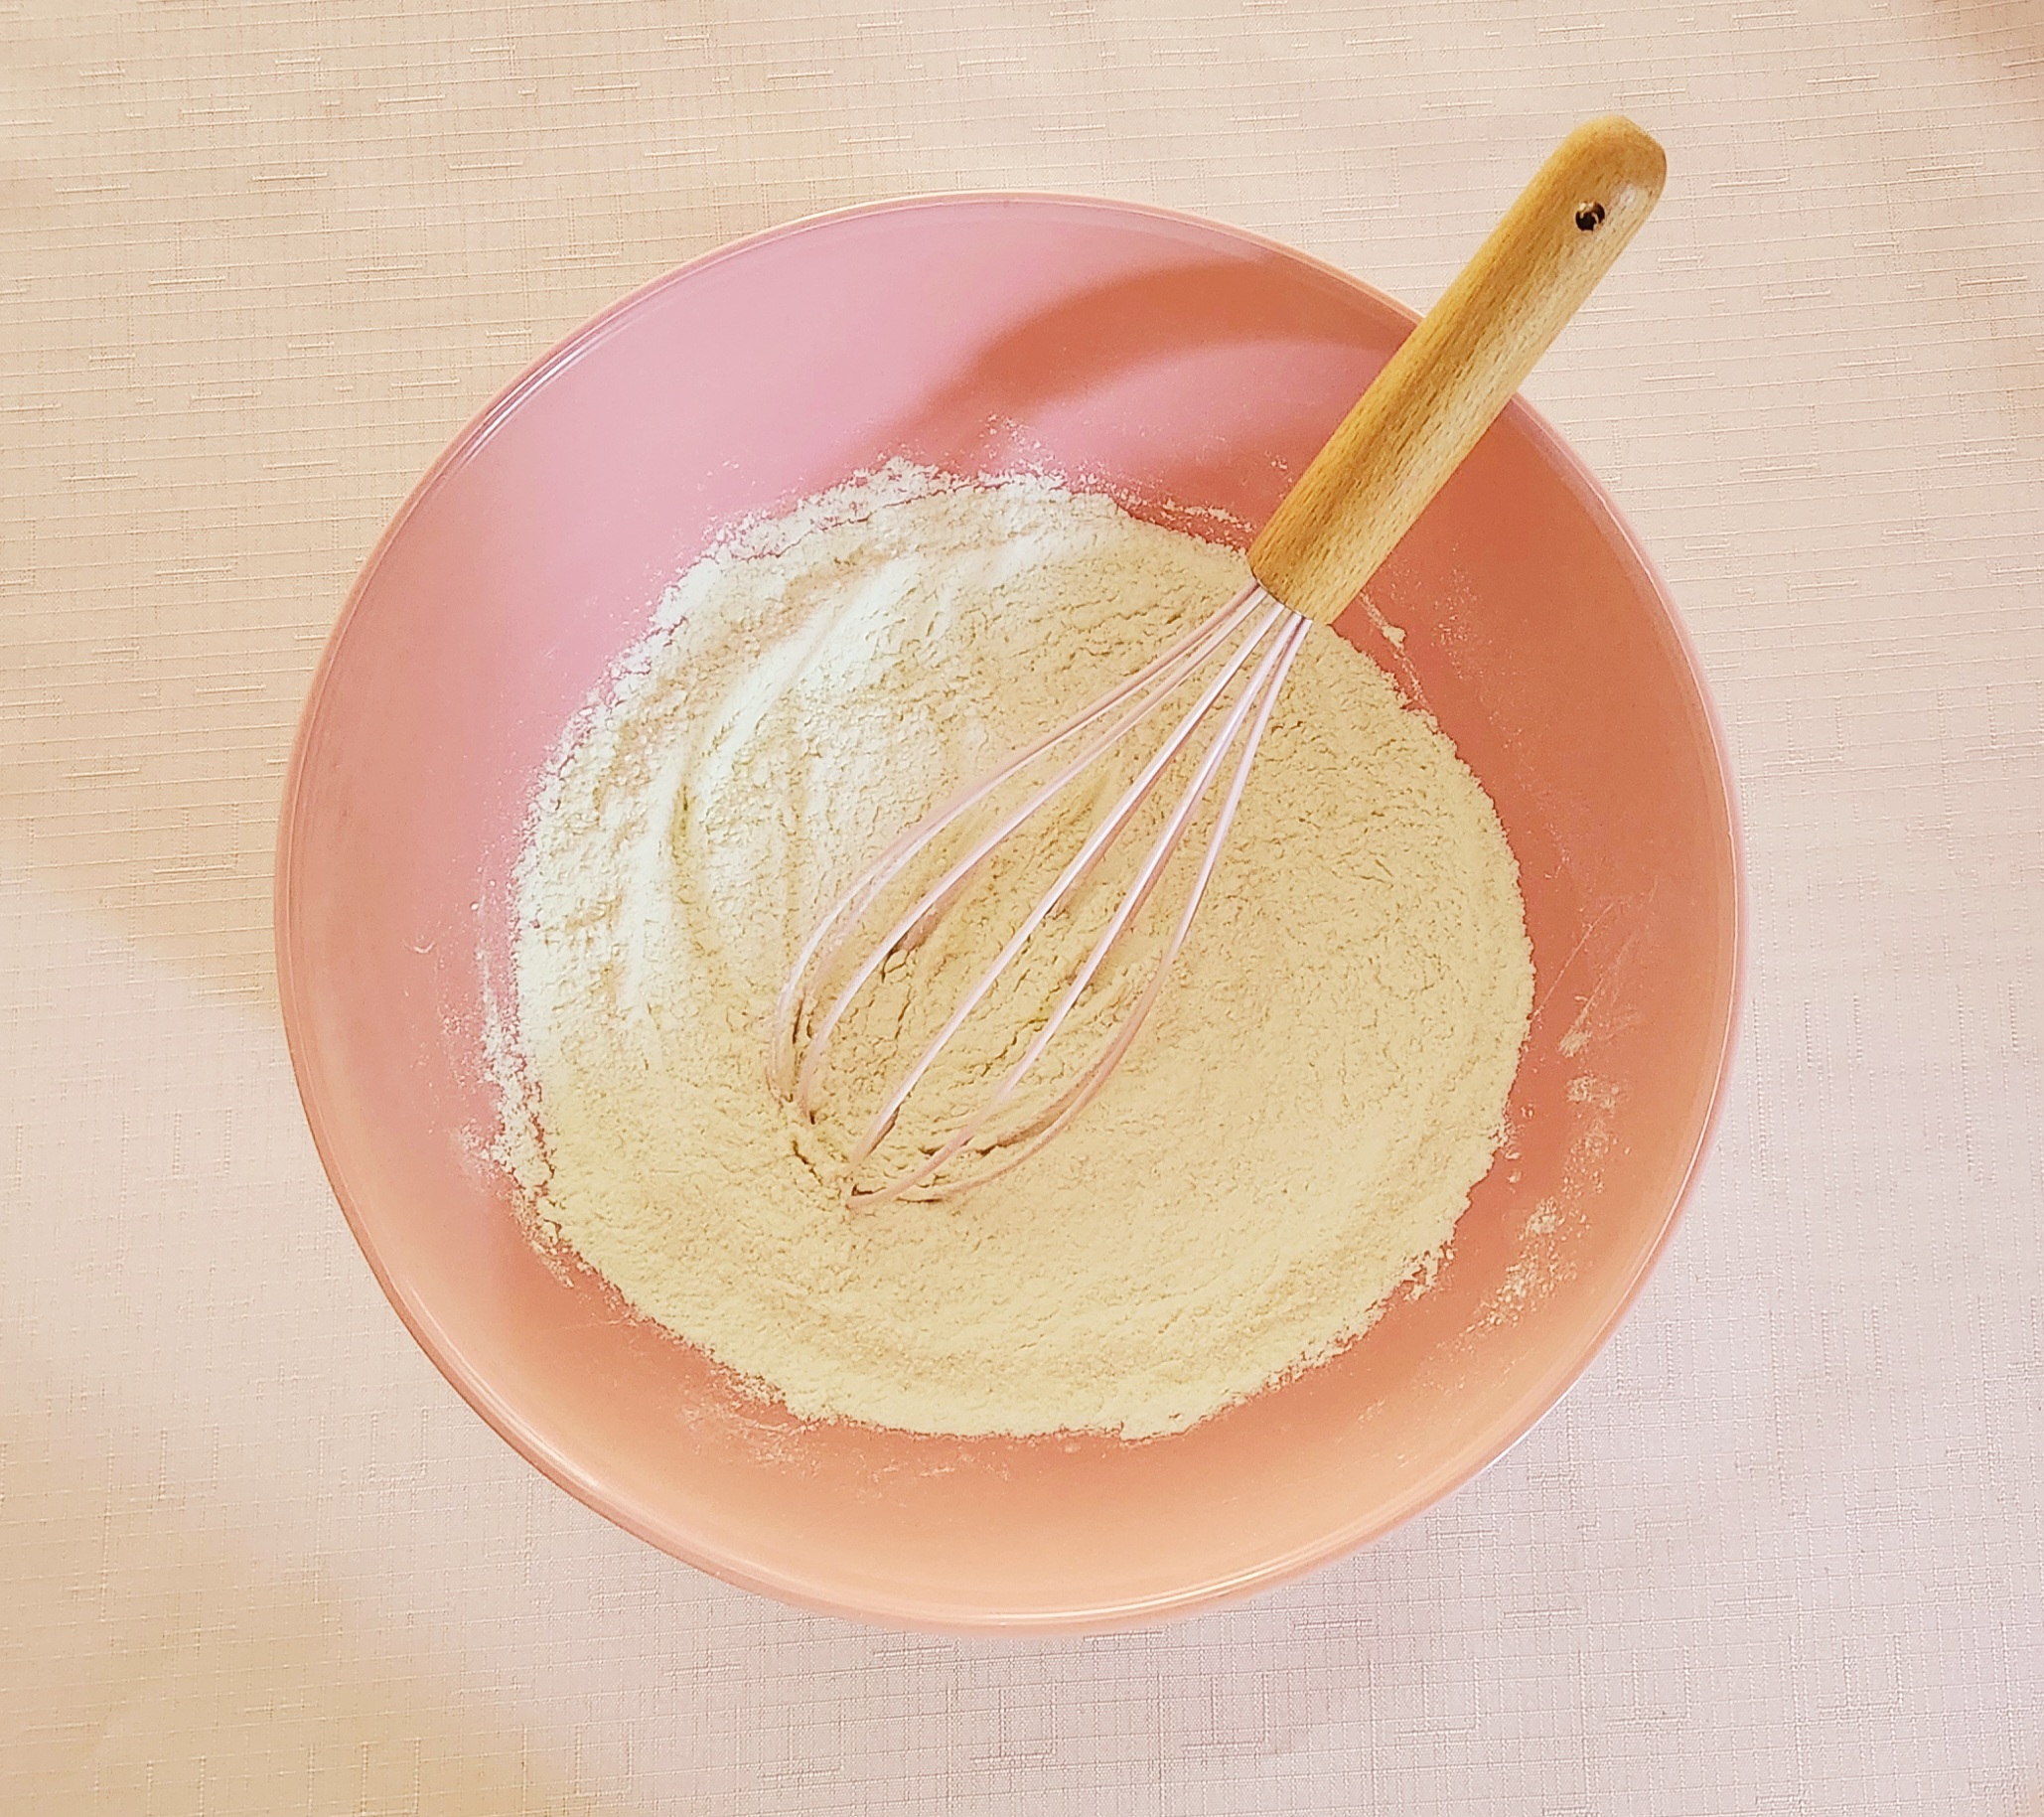
In a medium mixing bowl, sift the cake flour. Add in the baking powder and salt, and whisk them all together. This will ensure an even distribution of the dry goods, making for a better taste and rise at the end. Set this bowl aside for later.
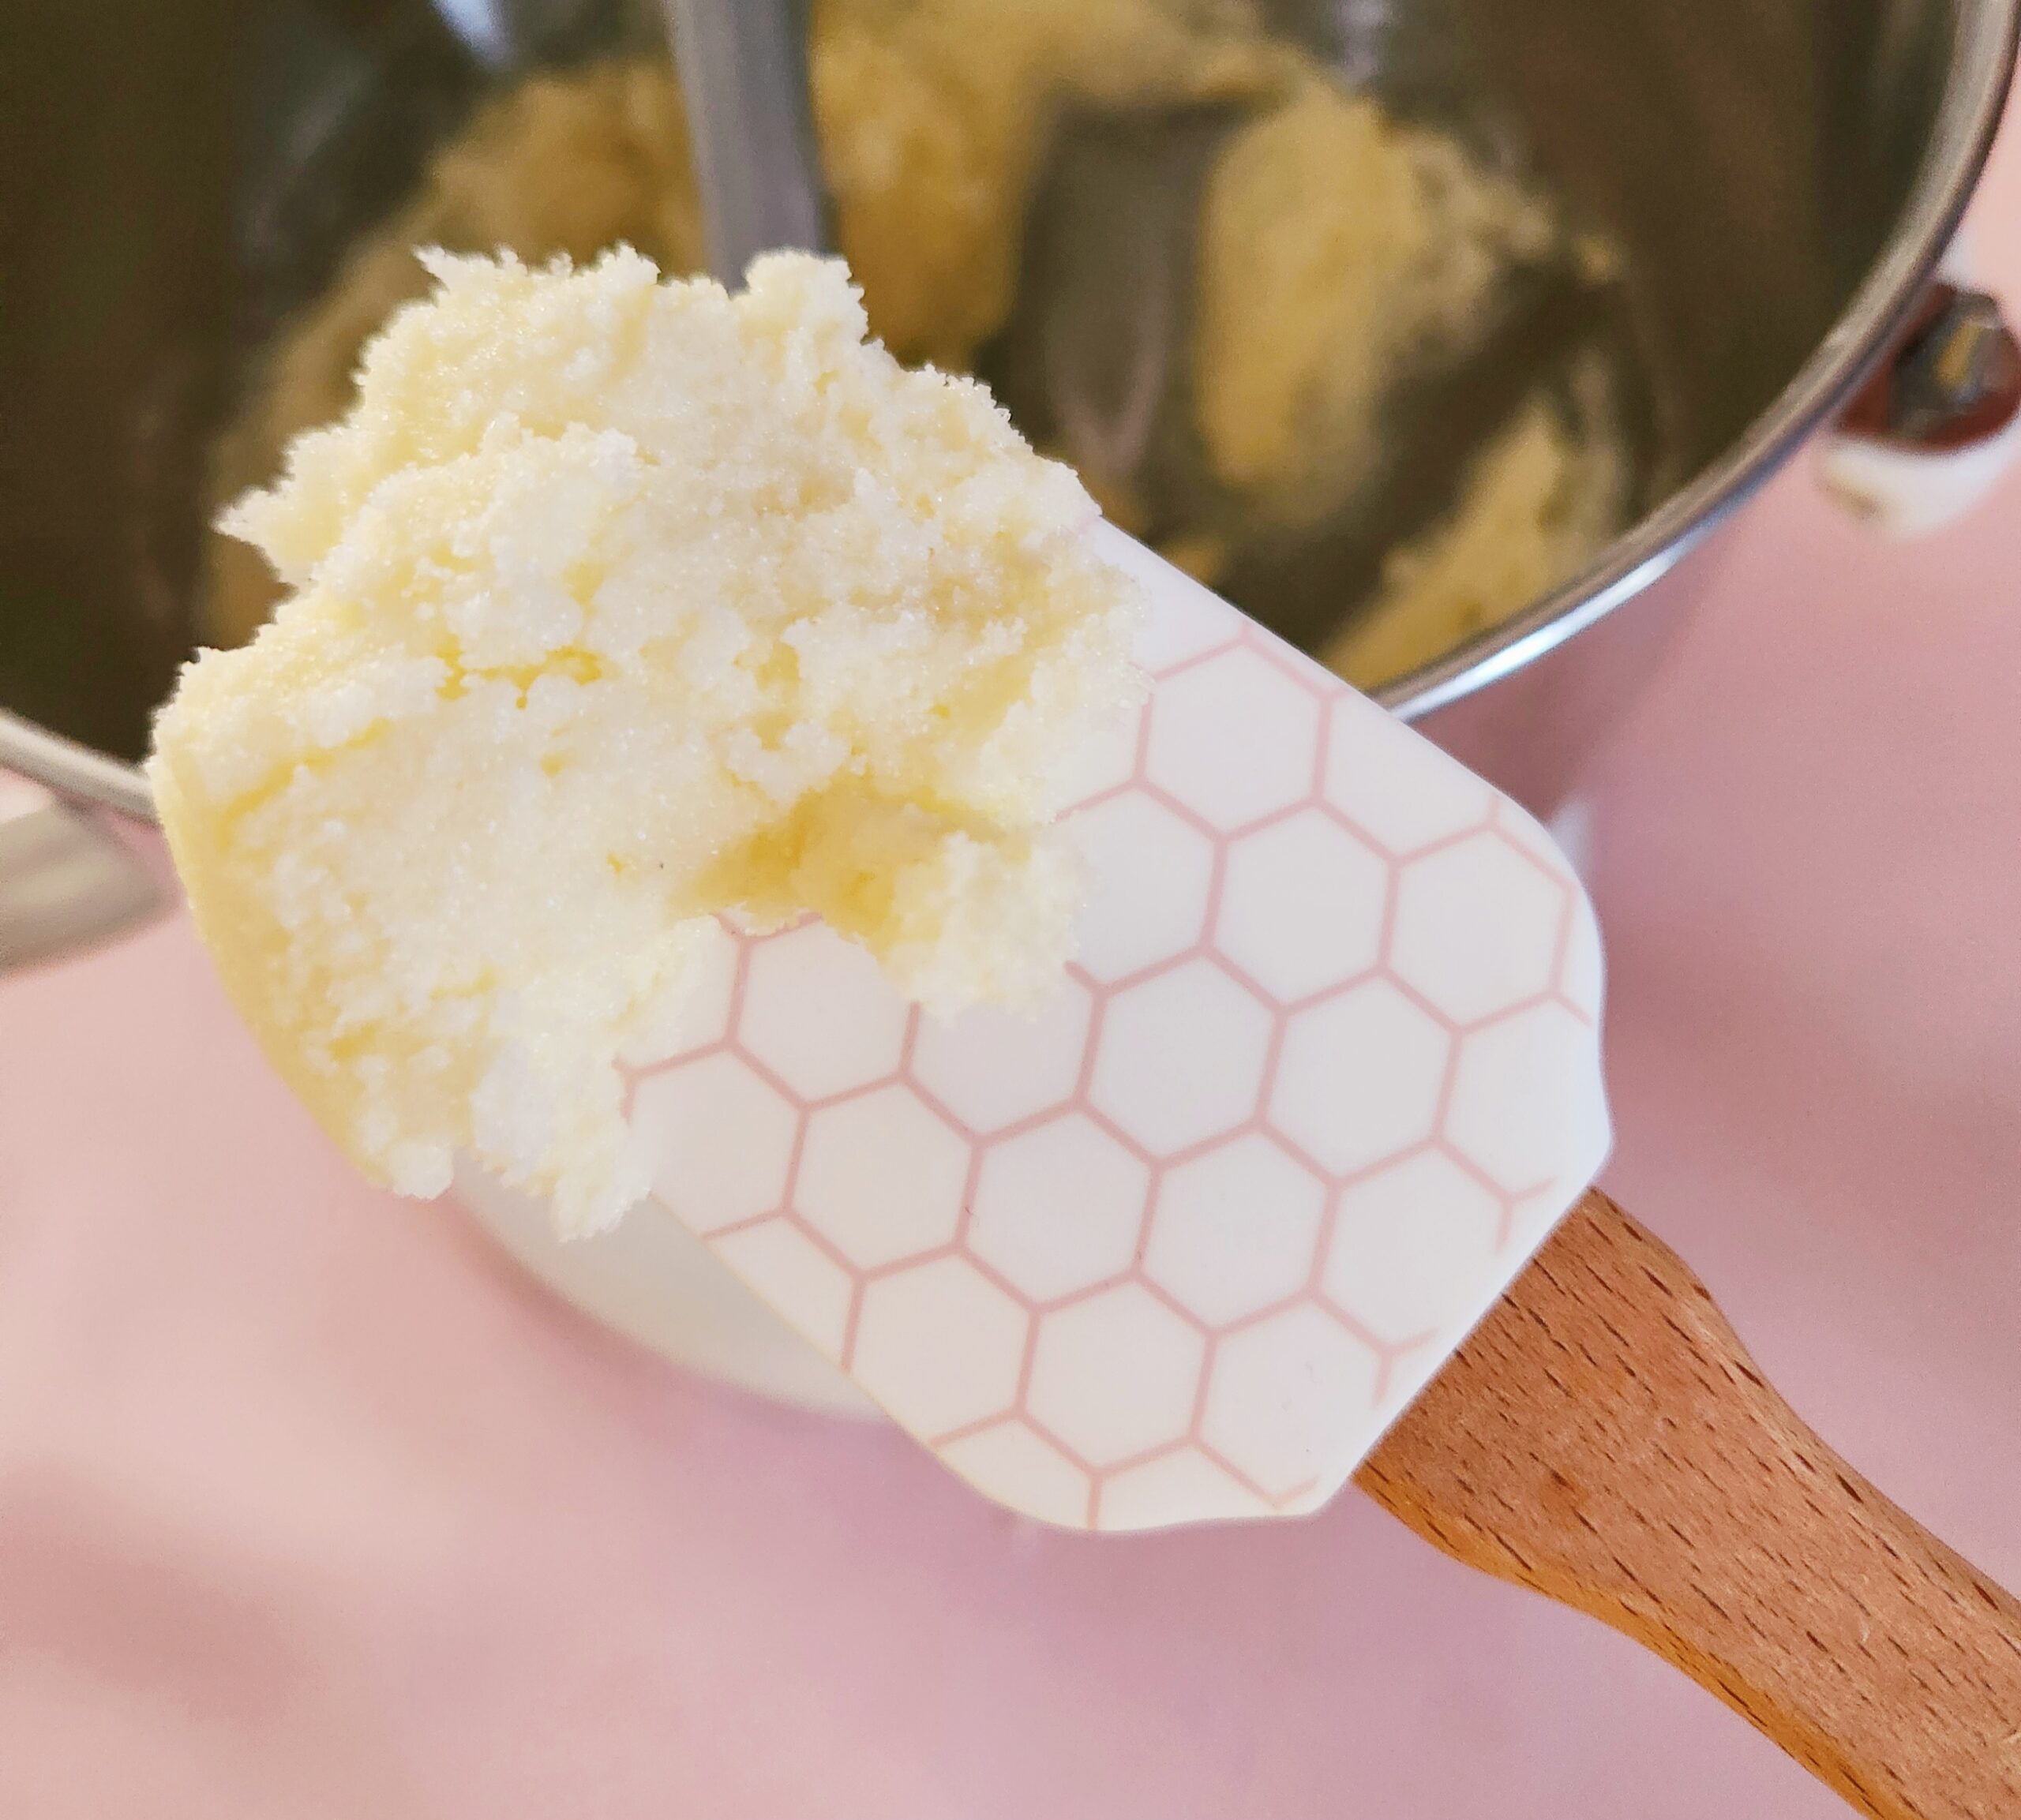
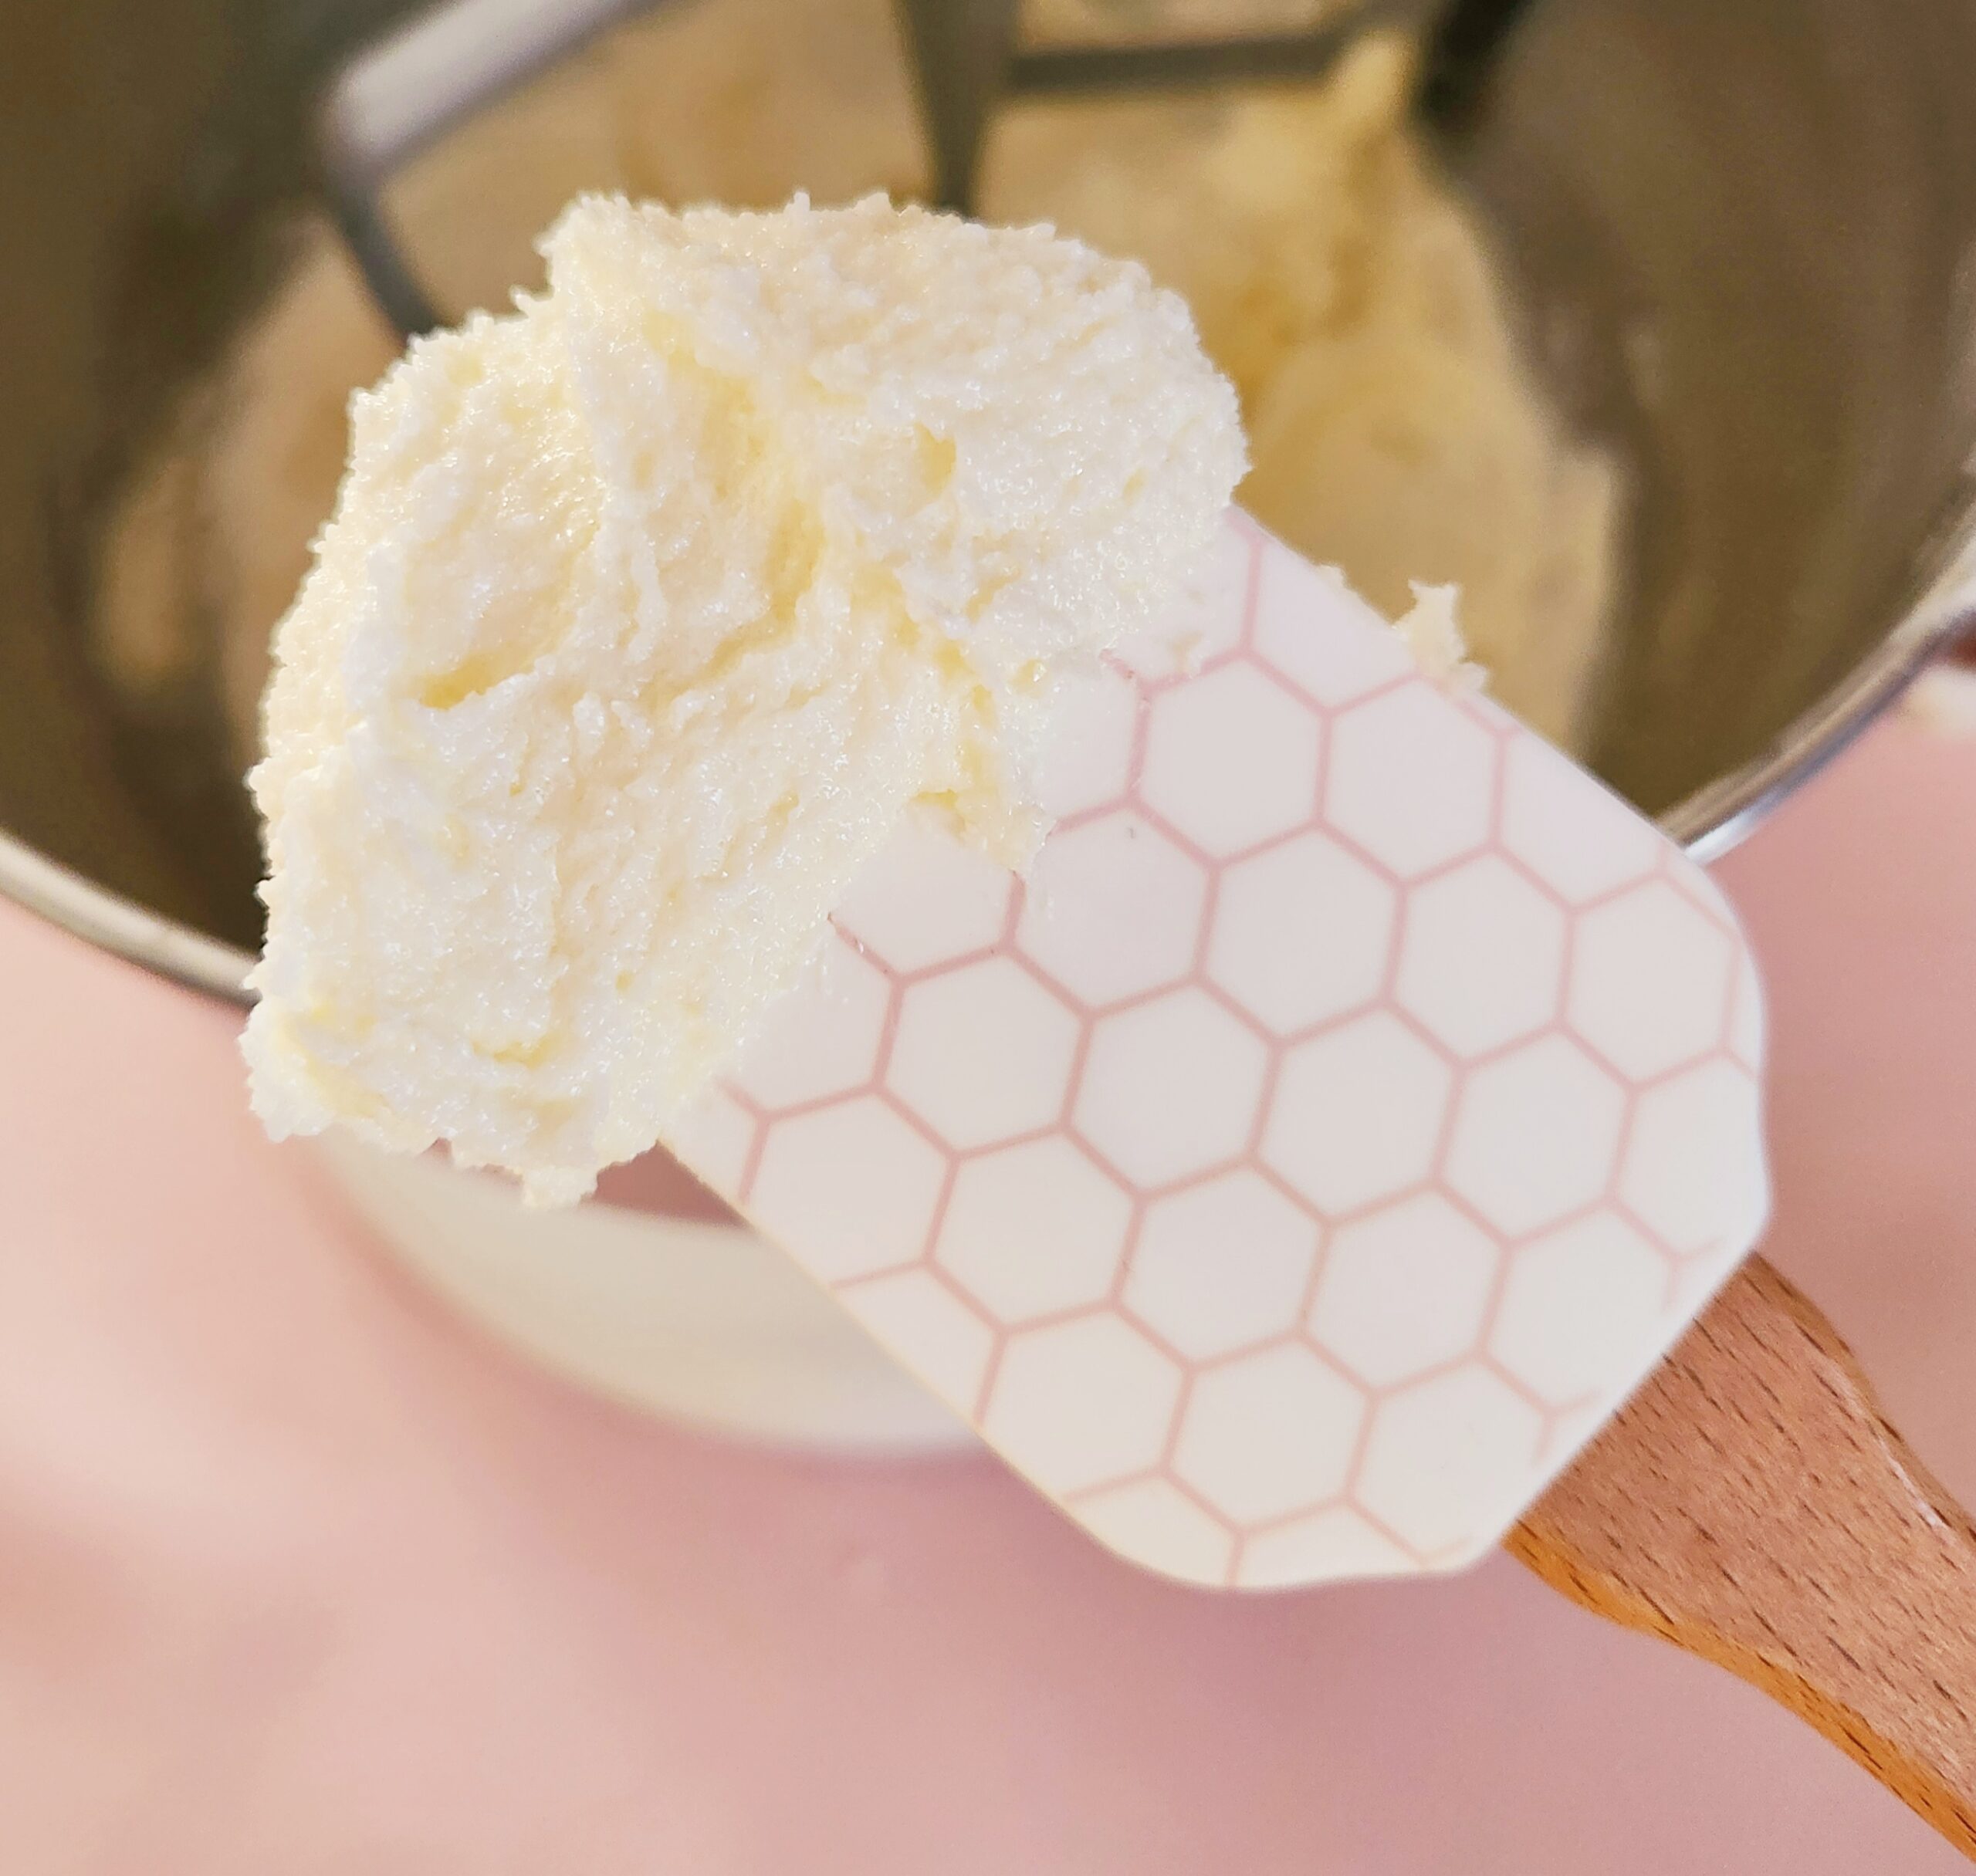
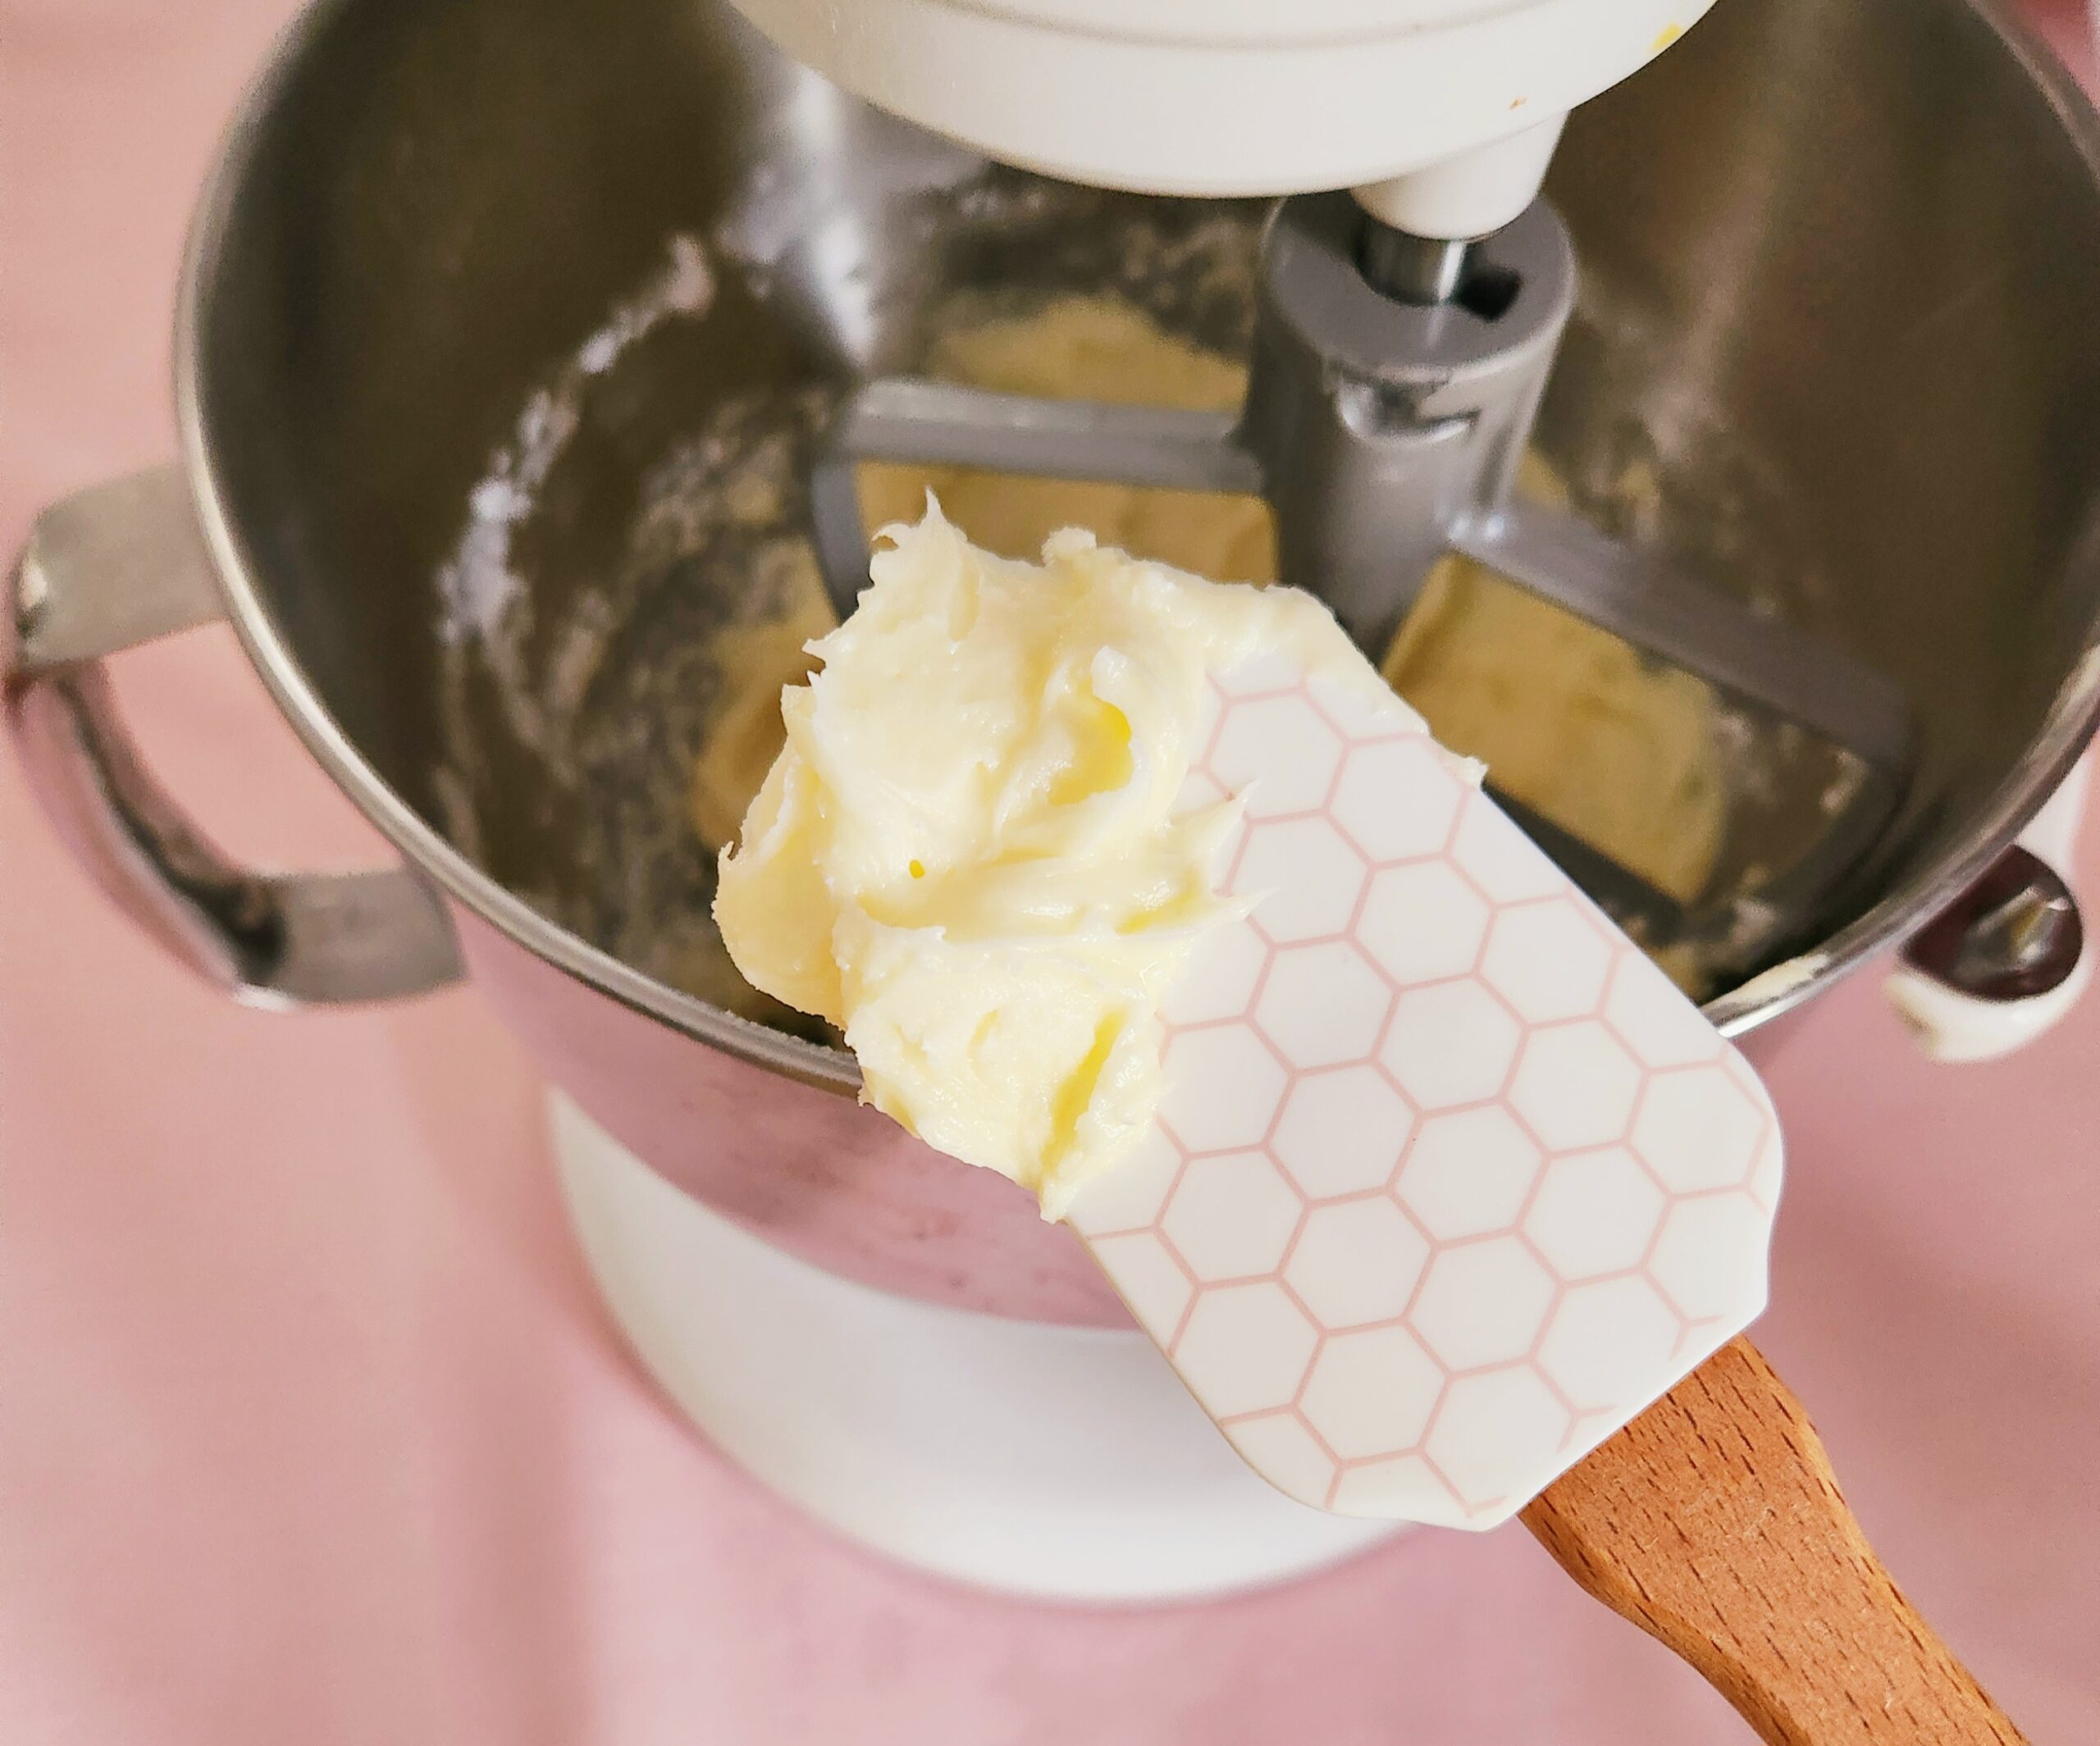
In the bowl of a stand mixer with the paddle attachment, add the softened butter and granulated sugar. Beat them on level 3 for 4-5 minutes, scraping down the sides of the bowl every so often until they’re creamed together. This should go from a butter yellow color to almost white and fluffy.
Add in the two egg whites and vanilla extract. Typically, you would be instructed to add in eggs one at a time for easier emulsification, but you can toss them in together. The volume of two egg whites is only slightly higher than one whole egg would be. It wont hurt anything to add them both at once.

Onto the dry ingredient-milk alternations! It’s important to both start and end on the dry ingredients, for the batter to properly emulsify. Start with 1/3 of your flour mixture, stirring on the level 1 until it’s almost fully incorporated. When only a few streaks of flour remain, pour in 1/2 of the milk. Scrape down the sides of the bowl.
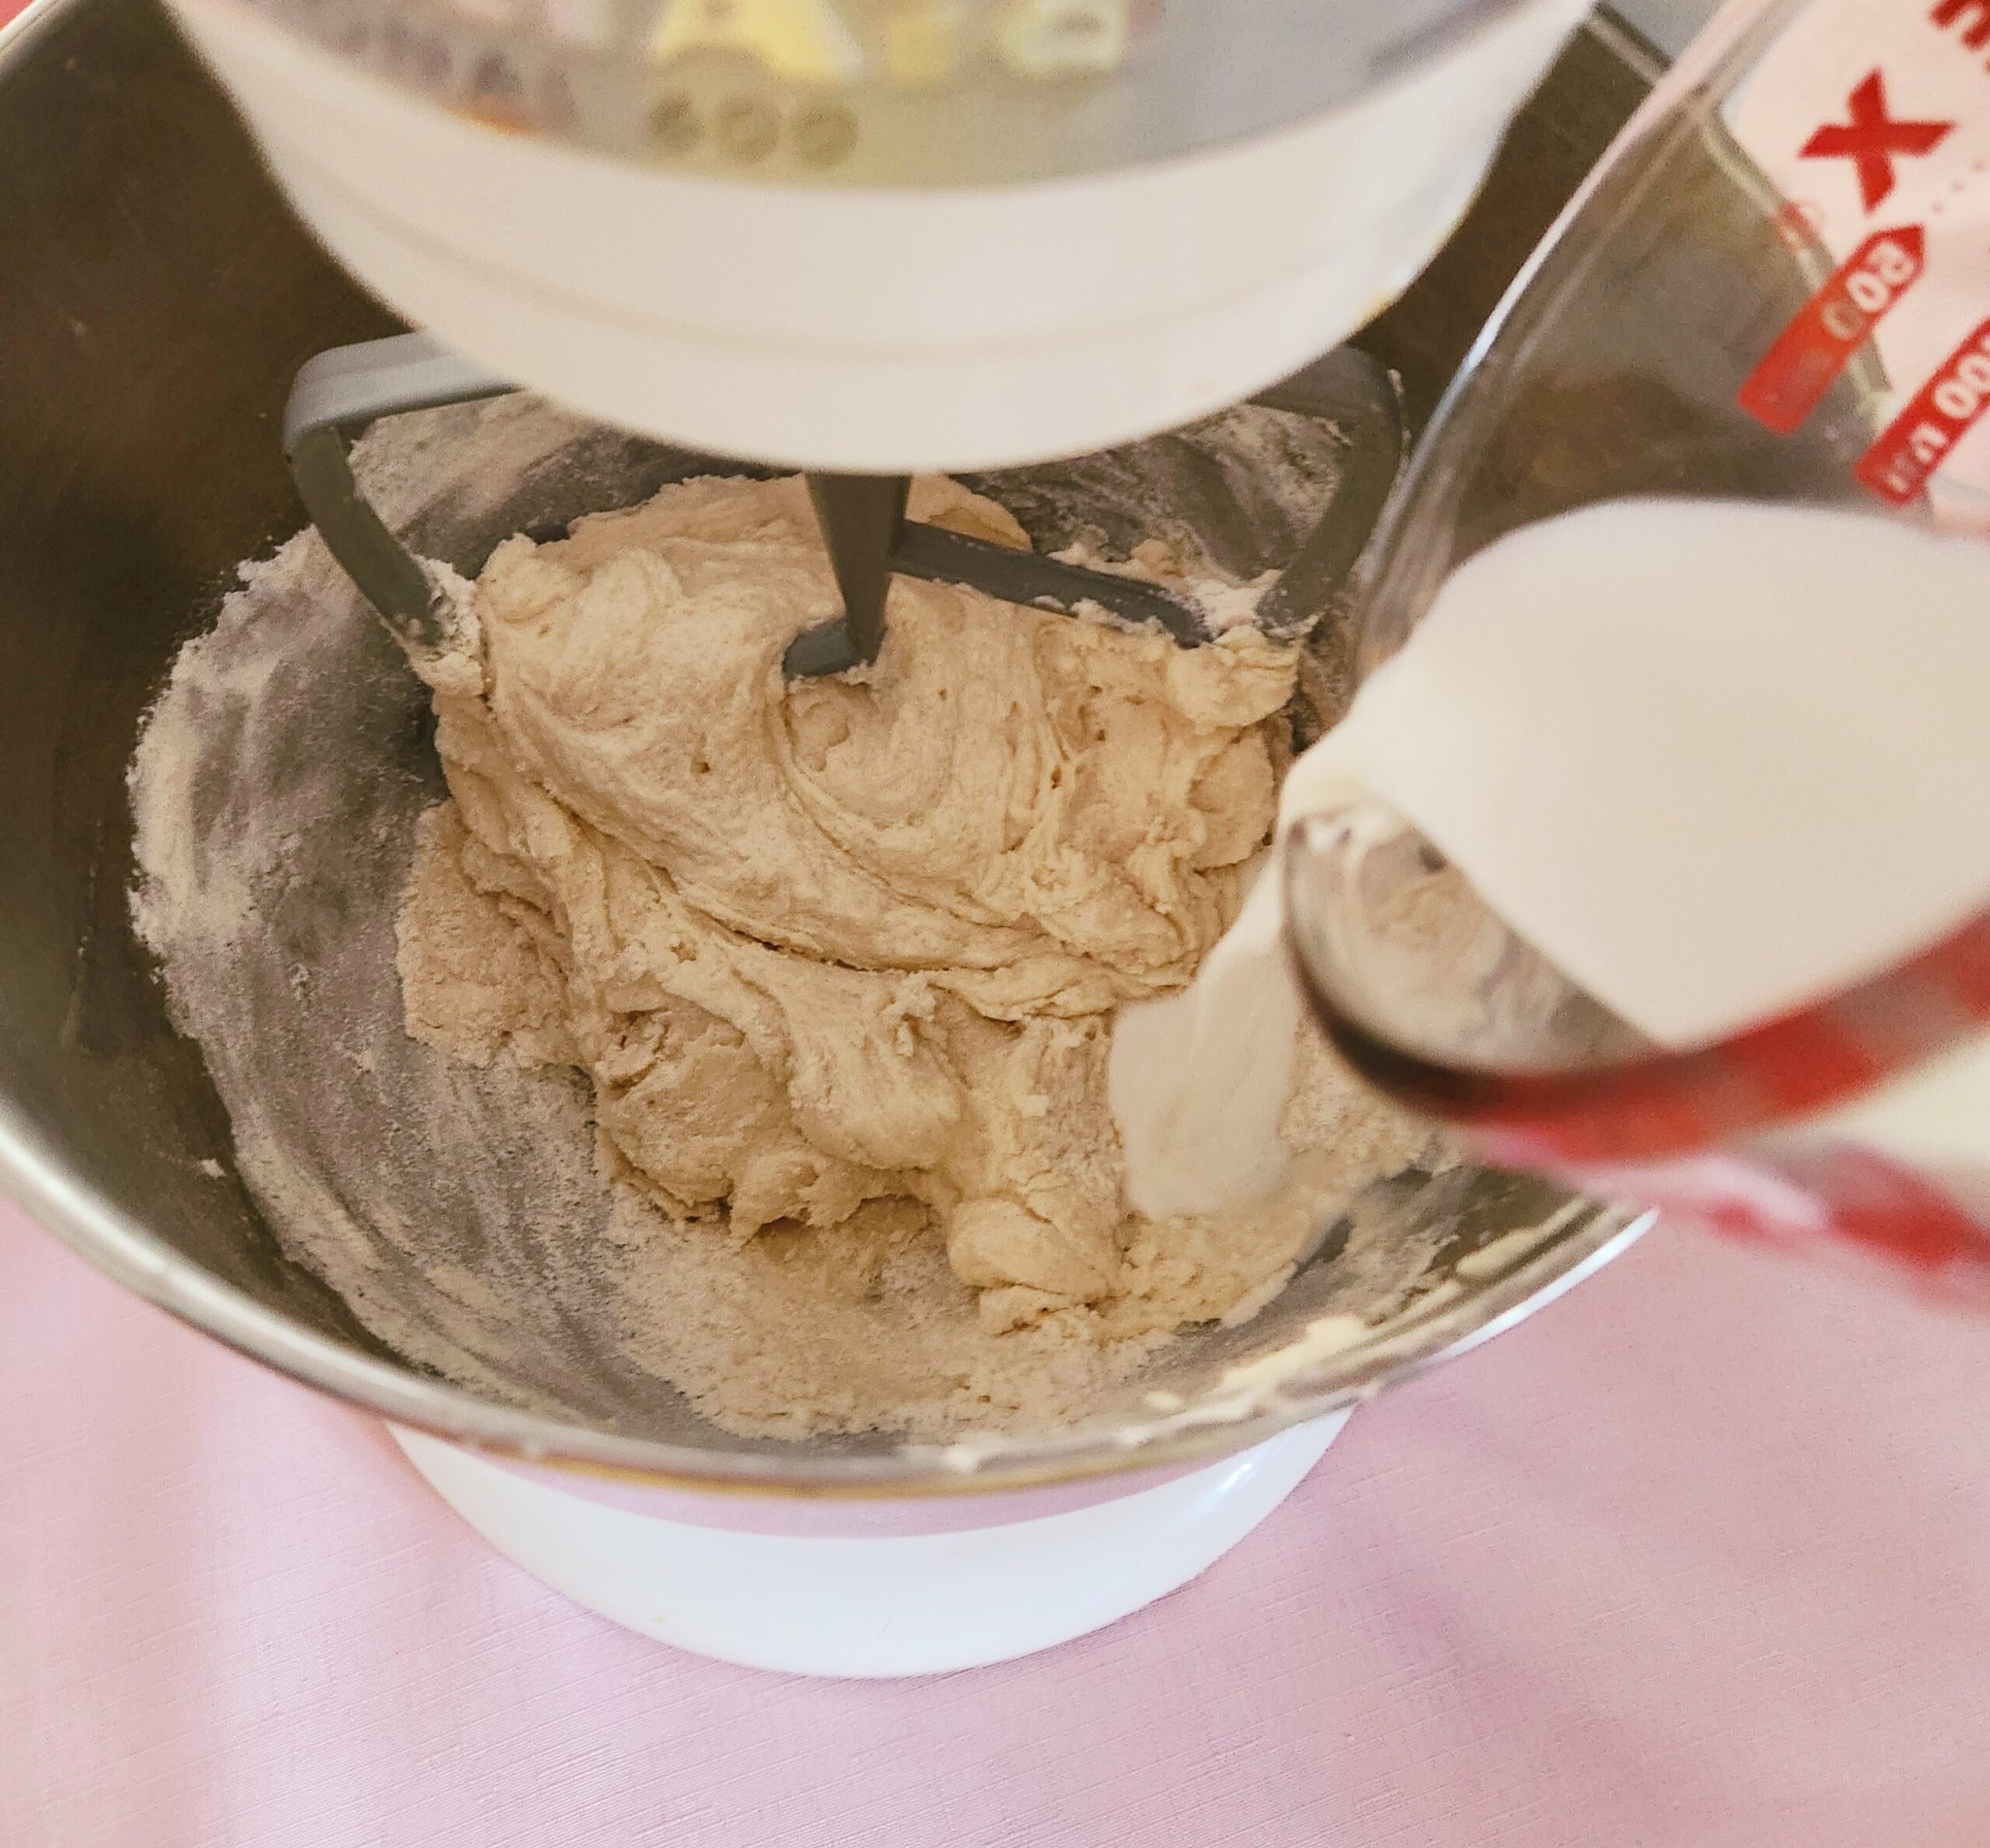
Beat on the level 1 until the batter has almost come together, then pause. Add in another 1/3 of the flour mixture. Mix on the lowest setting until only a few streaks of flour remain, then pour in the last 1/2 of milk. Scrape down the sides of the bowl. Stir the batter on the lowest setting until it’s almost fully incorporated, then add in the last 1/3 of flour. Beat it until it’s a beautifully homogeneous batter.
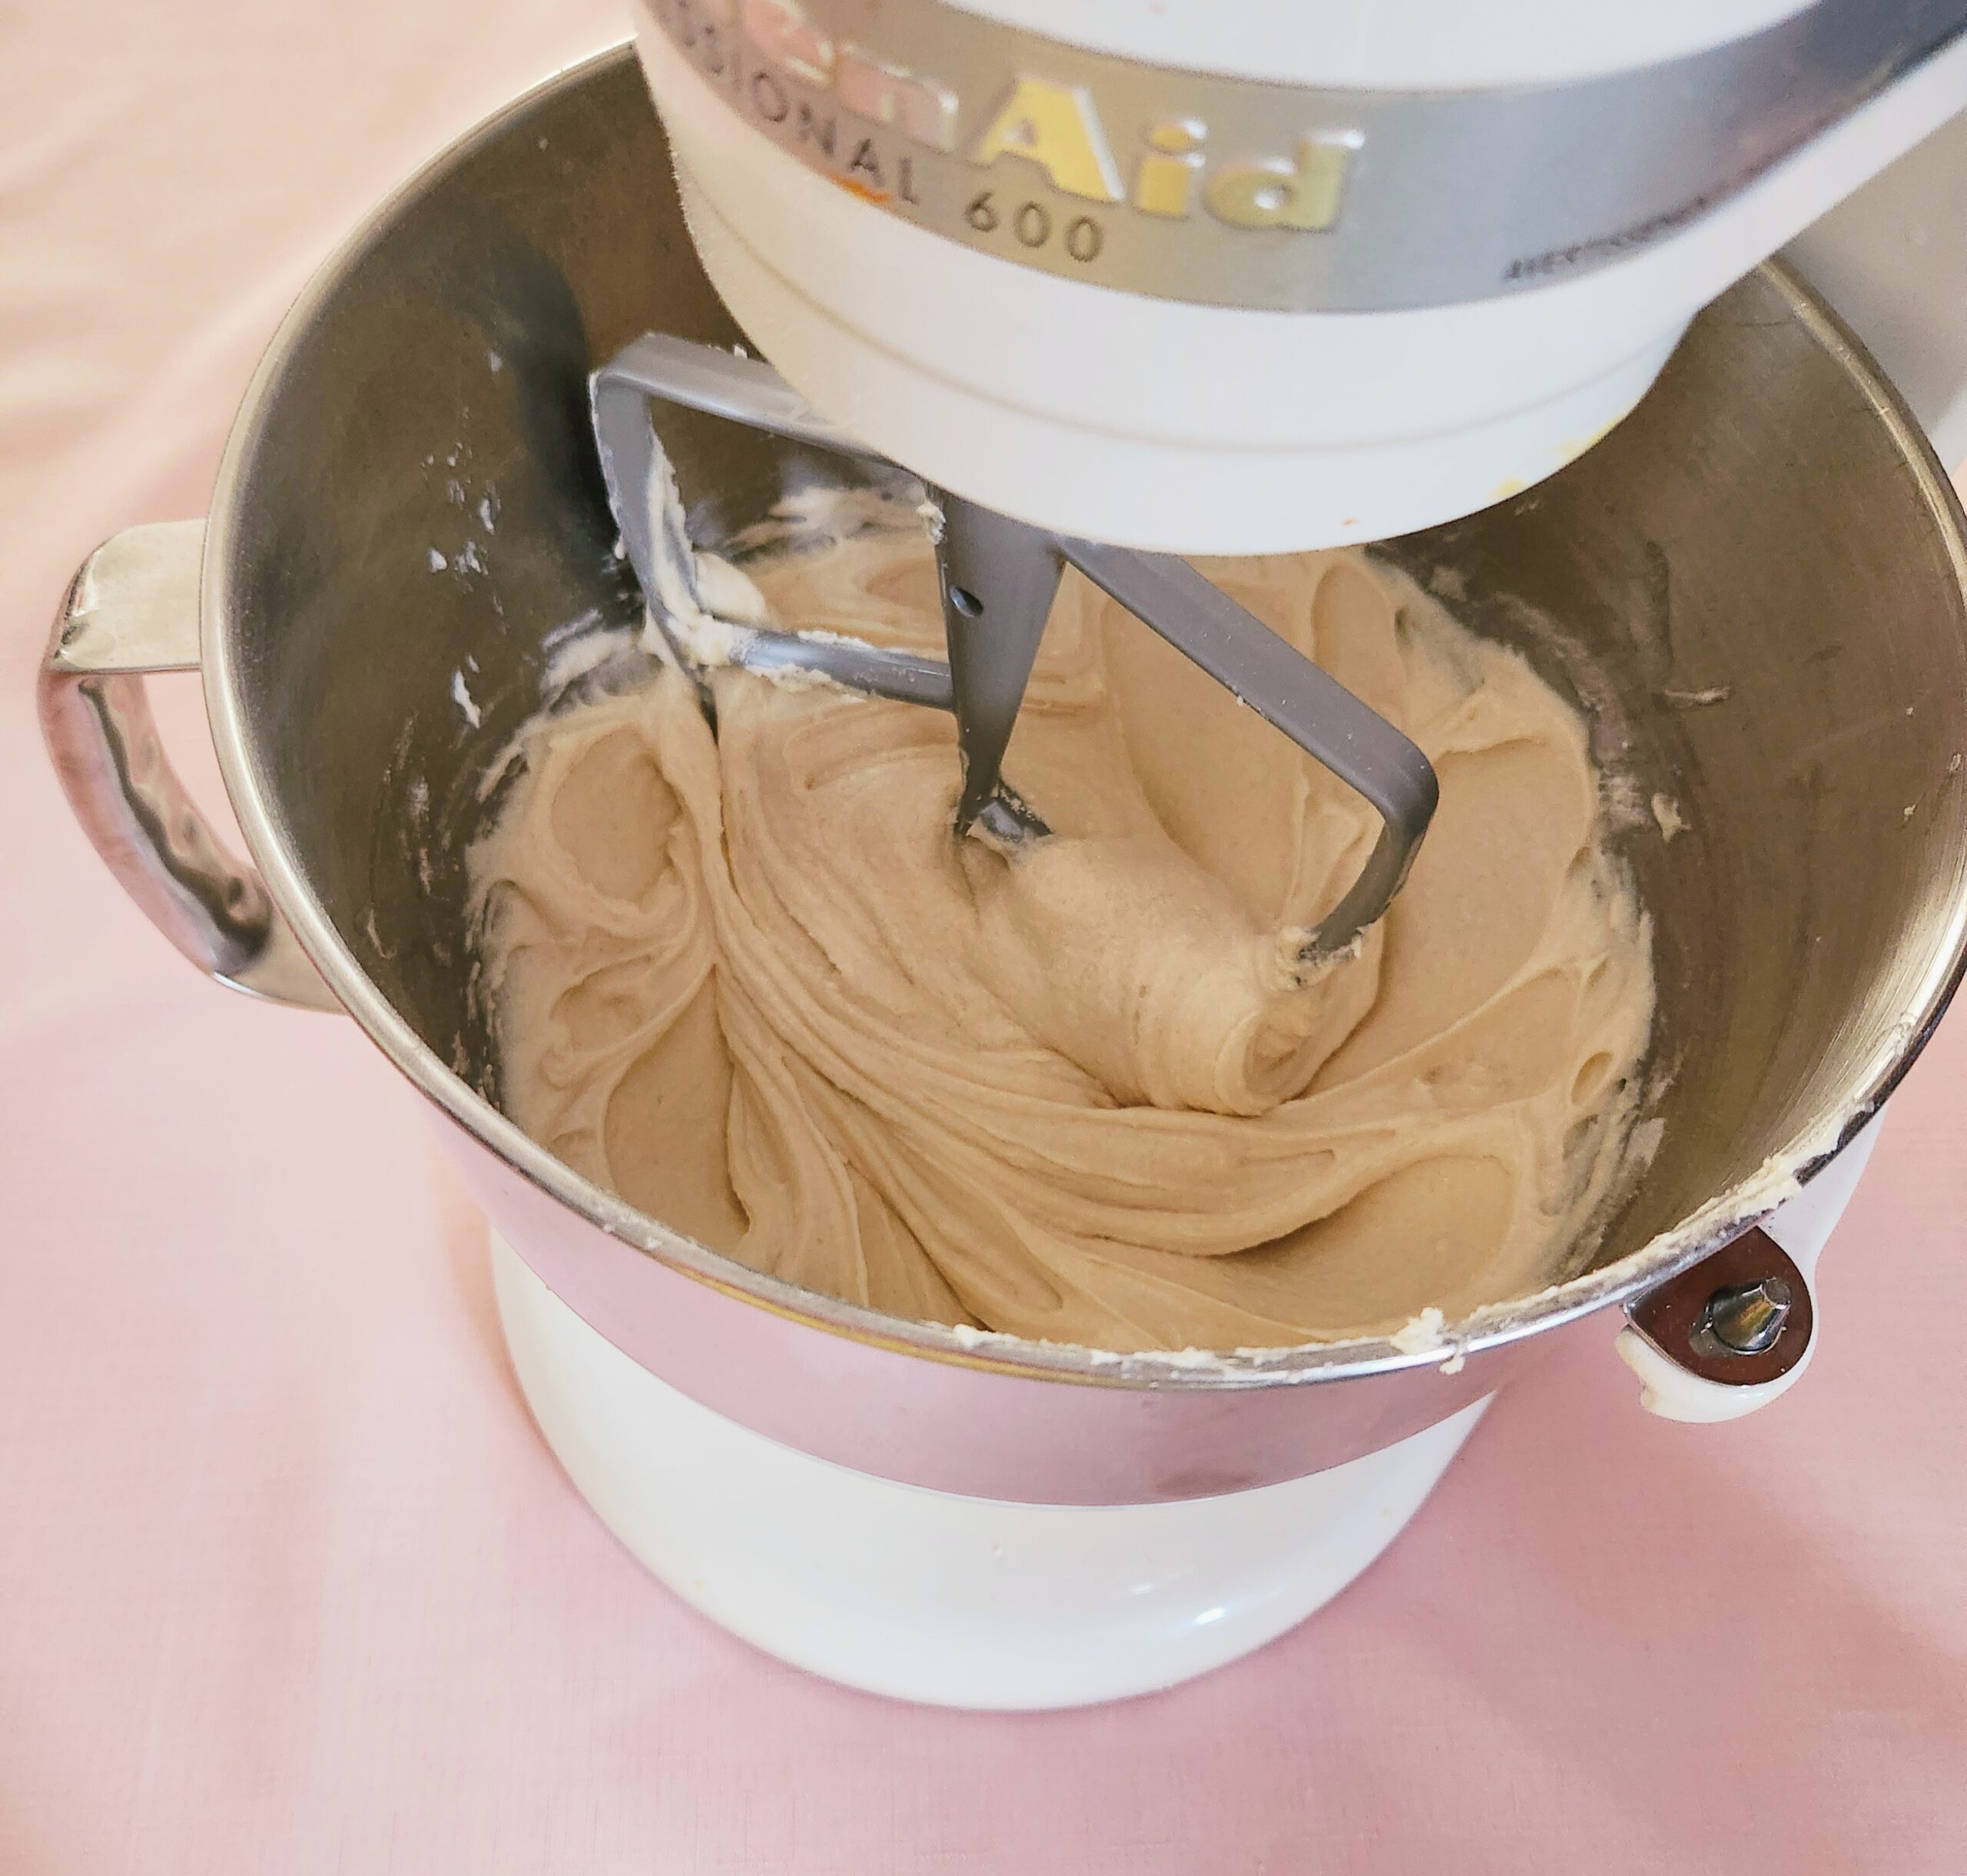
Beat your batter on level 3 for about a minute. Doing this will ensure properly developed gluten structure, so the cake wont collapse. Do not do this step if you’ve opted to use all purpose of pastry flour, the extra protein in the flour will make for a tougher cake if you do.
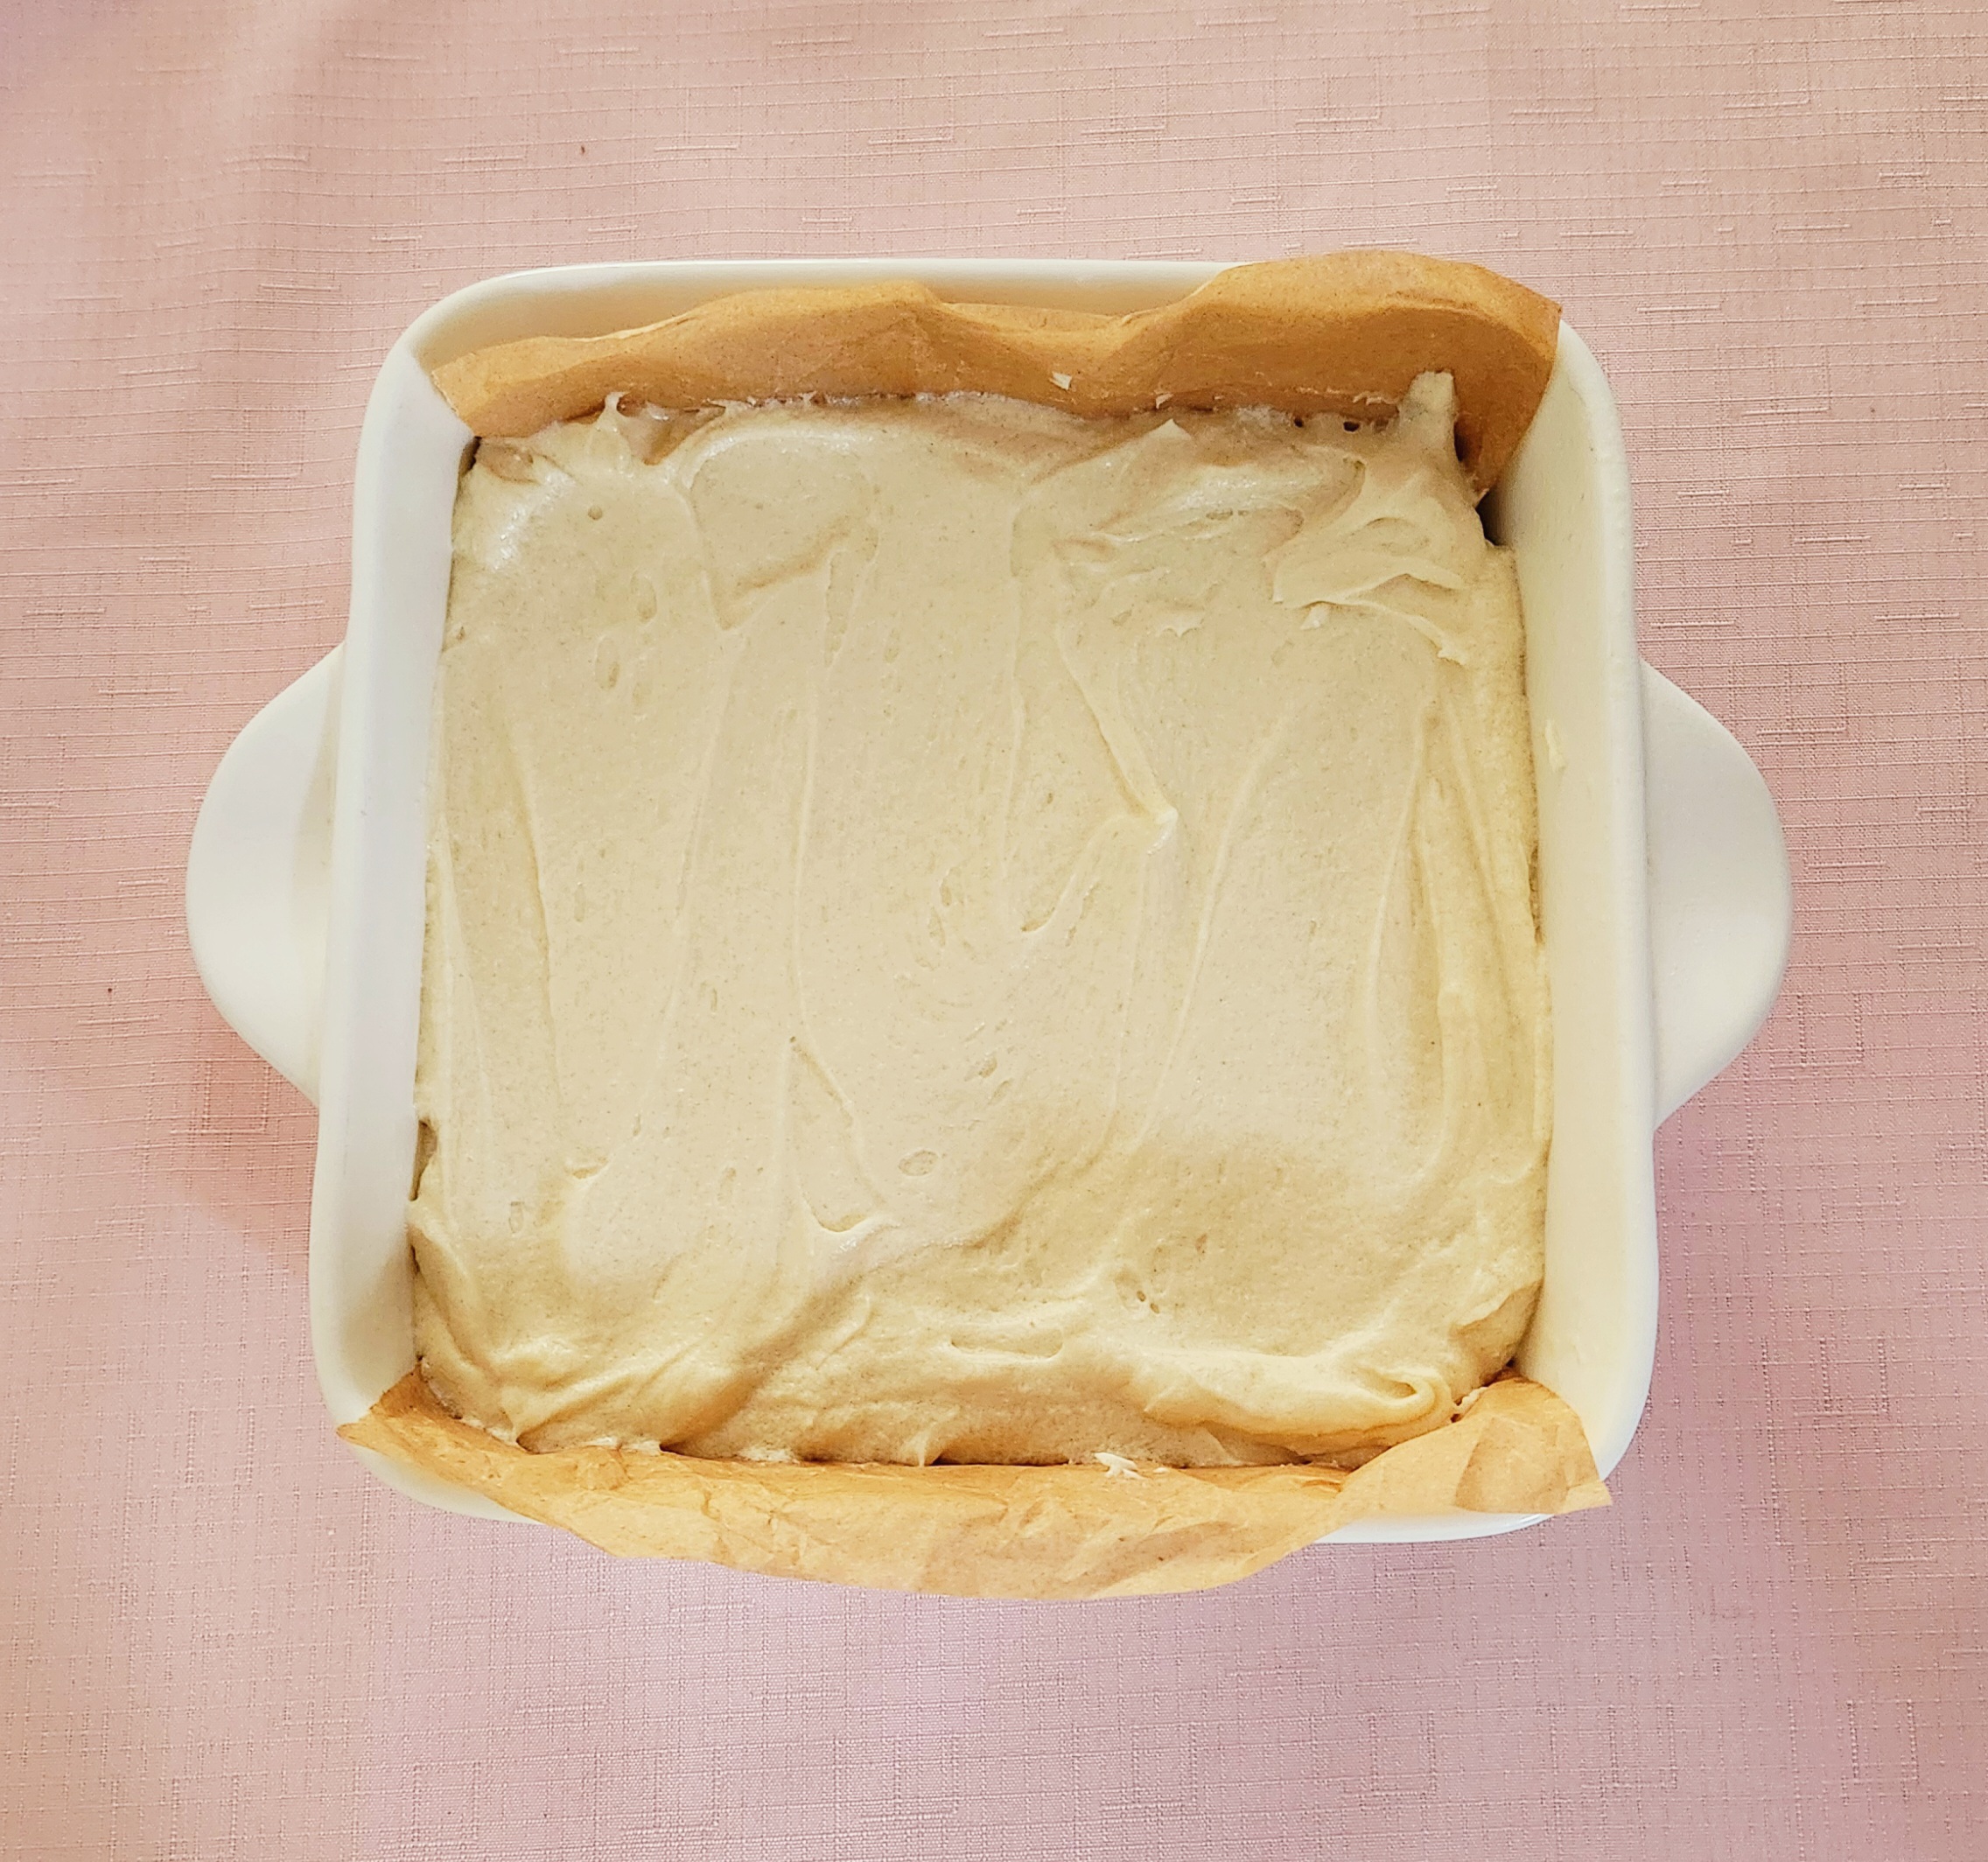
Pour the batter into your prepared 8×8 pan, scraping the batter off the sides of the bowl to get as much into the pan as you can.
Bake it for 50 minutes or until a toothpick stabbed into the center of the cake comes out mostly clean, with just a few crumbs stuck to it. Make sure the cake is fully cooled before frosting it!
Frost the Cake
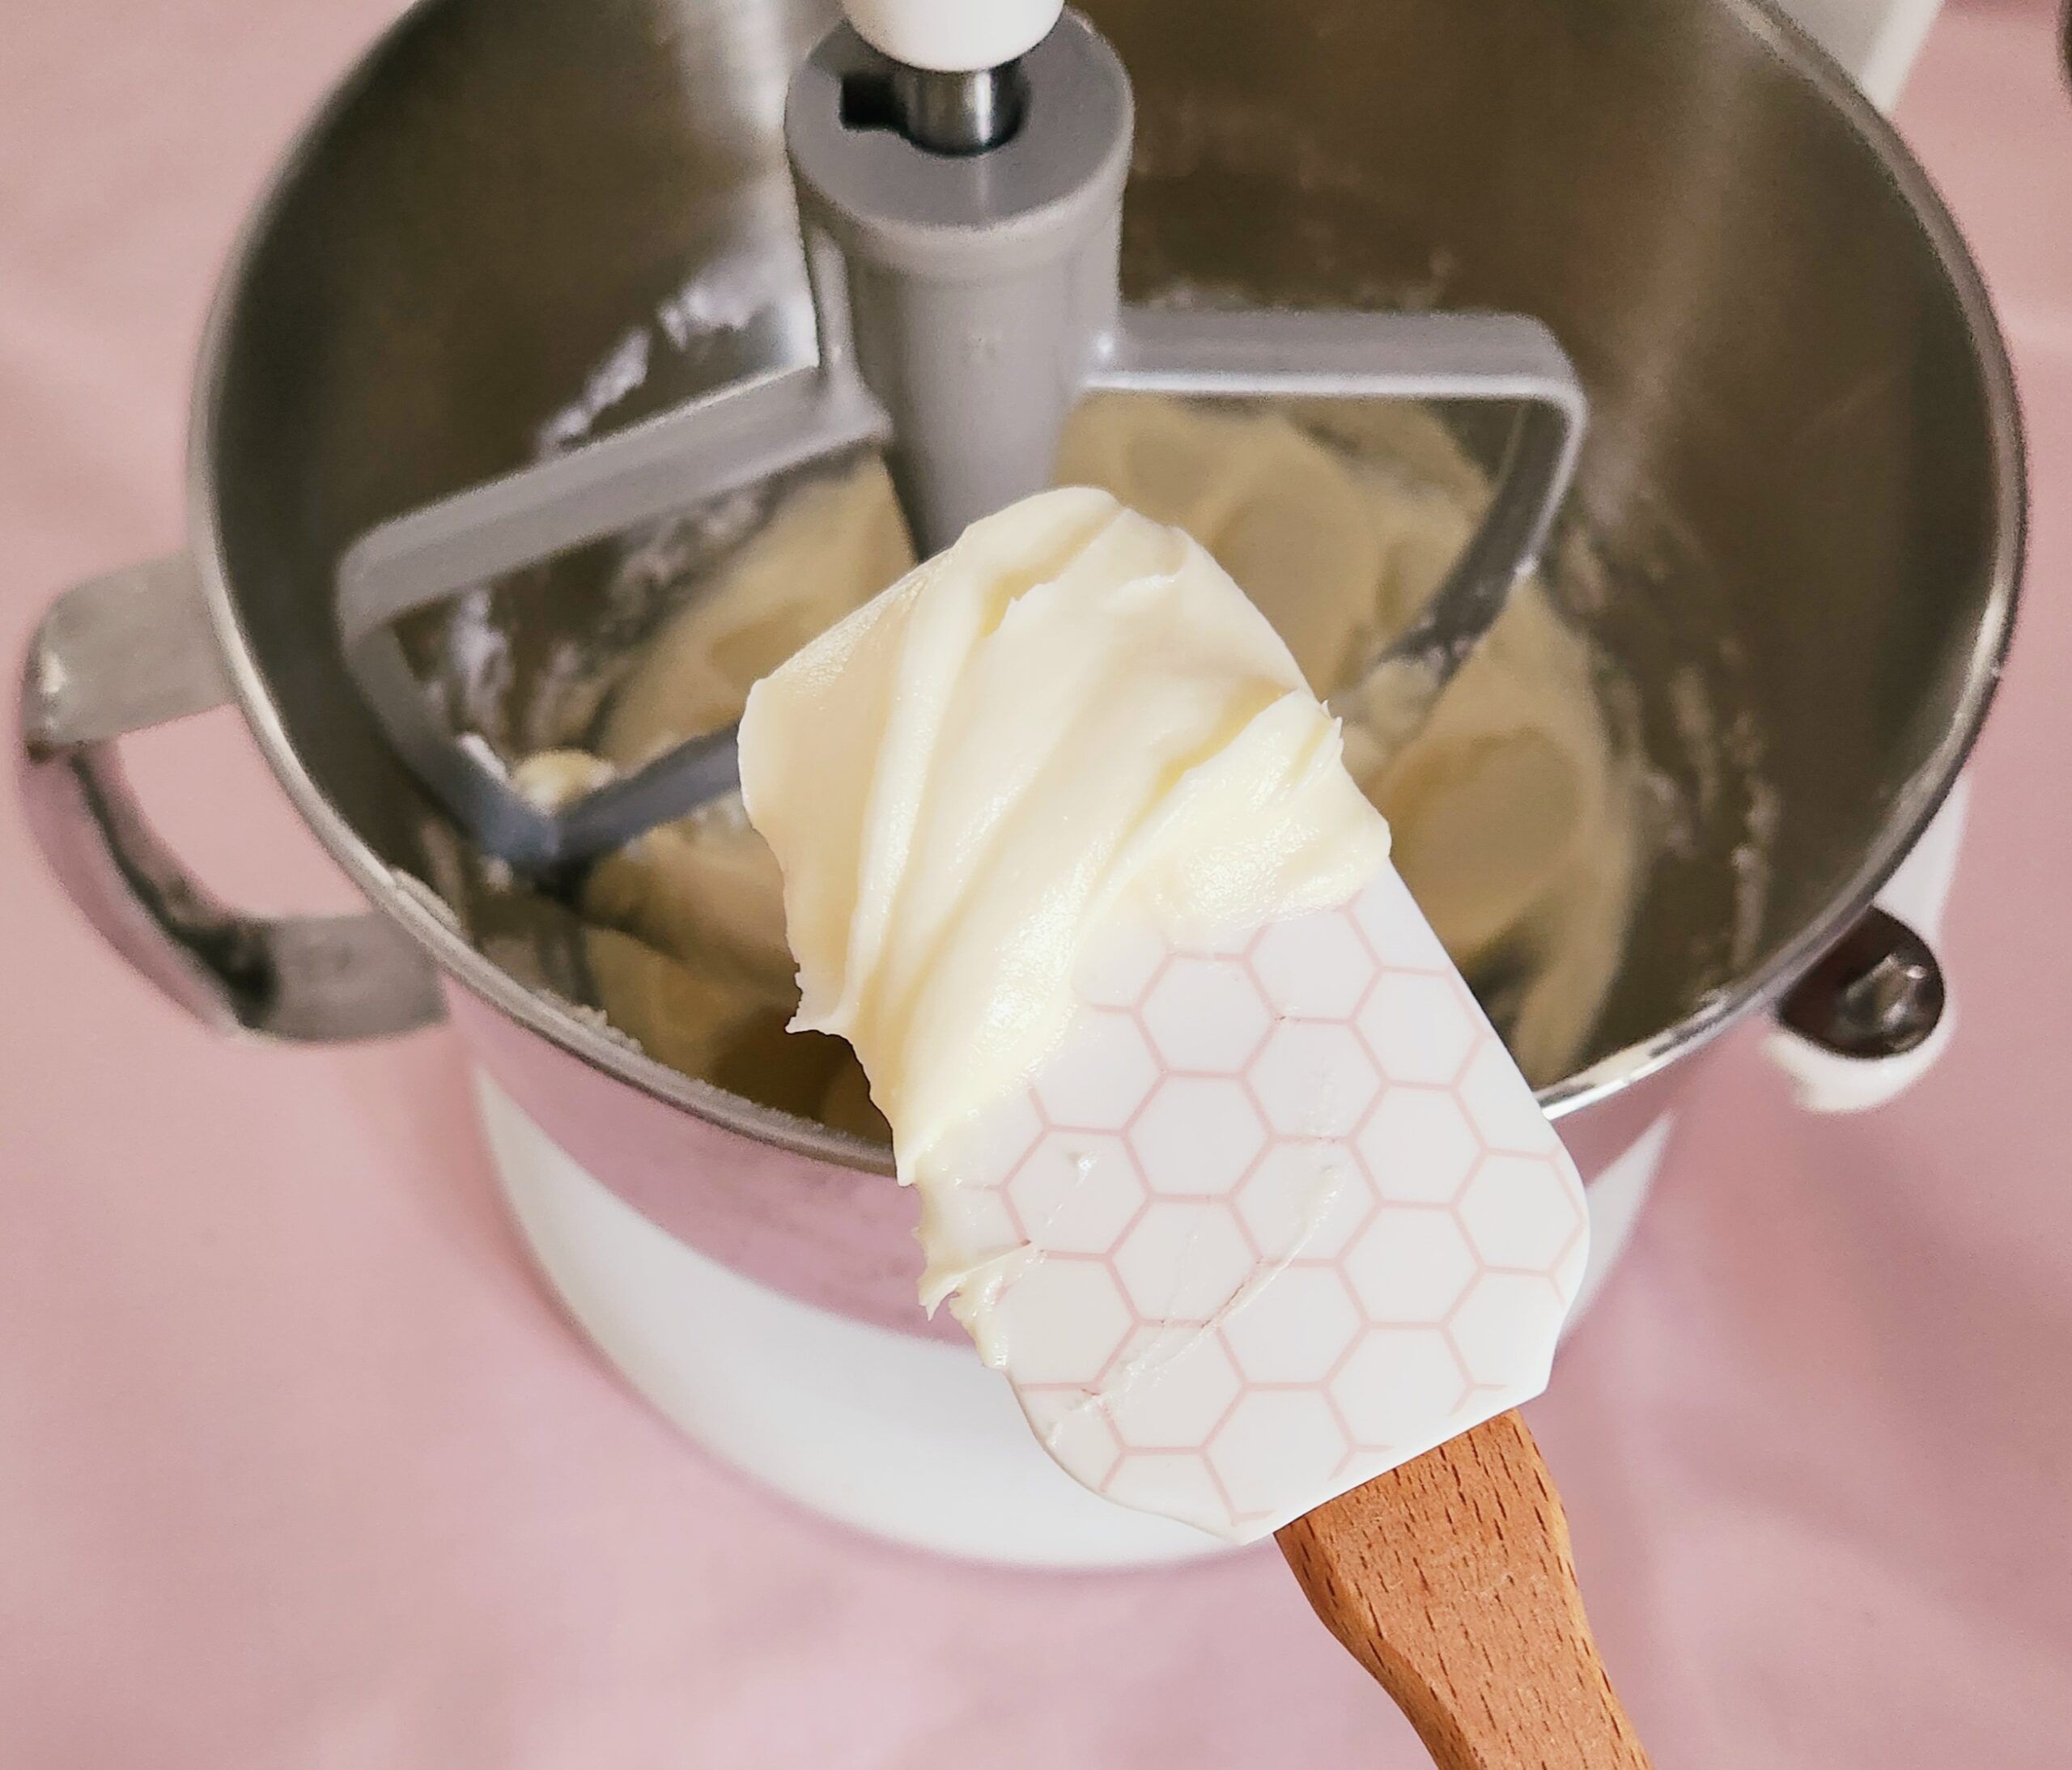
For the frosting, sift the powered sugar into the bowl of a stand mixer. Add in the softened unsalted butter and cream them together. Start on level 1, then move up to level 3 for 3-4 minutes once the sugar has been absorbed. That way, the sugar wont go flying everywhere. The color should go from a butter yellow color to white and fluffy. Scrape down the sides of the bowl using a rubber spatula to bring everything to the center of the bowl.
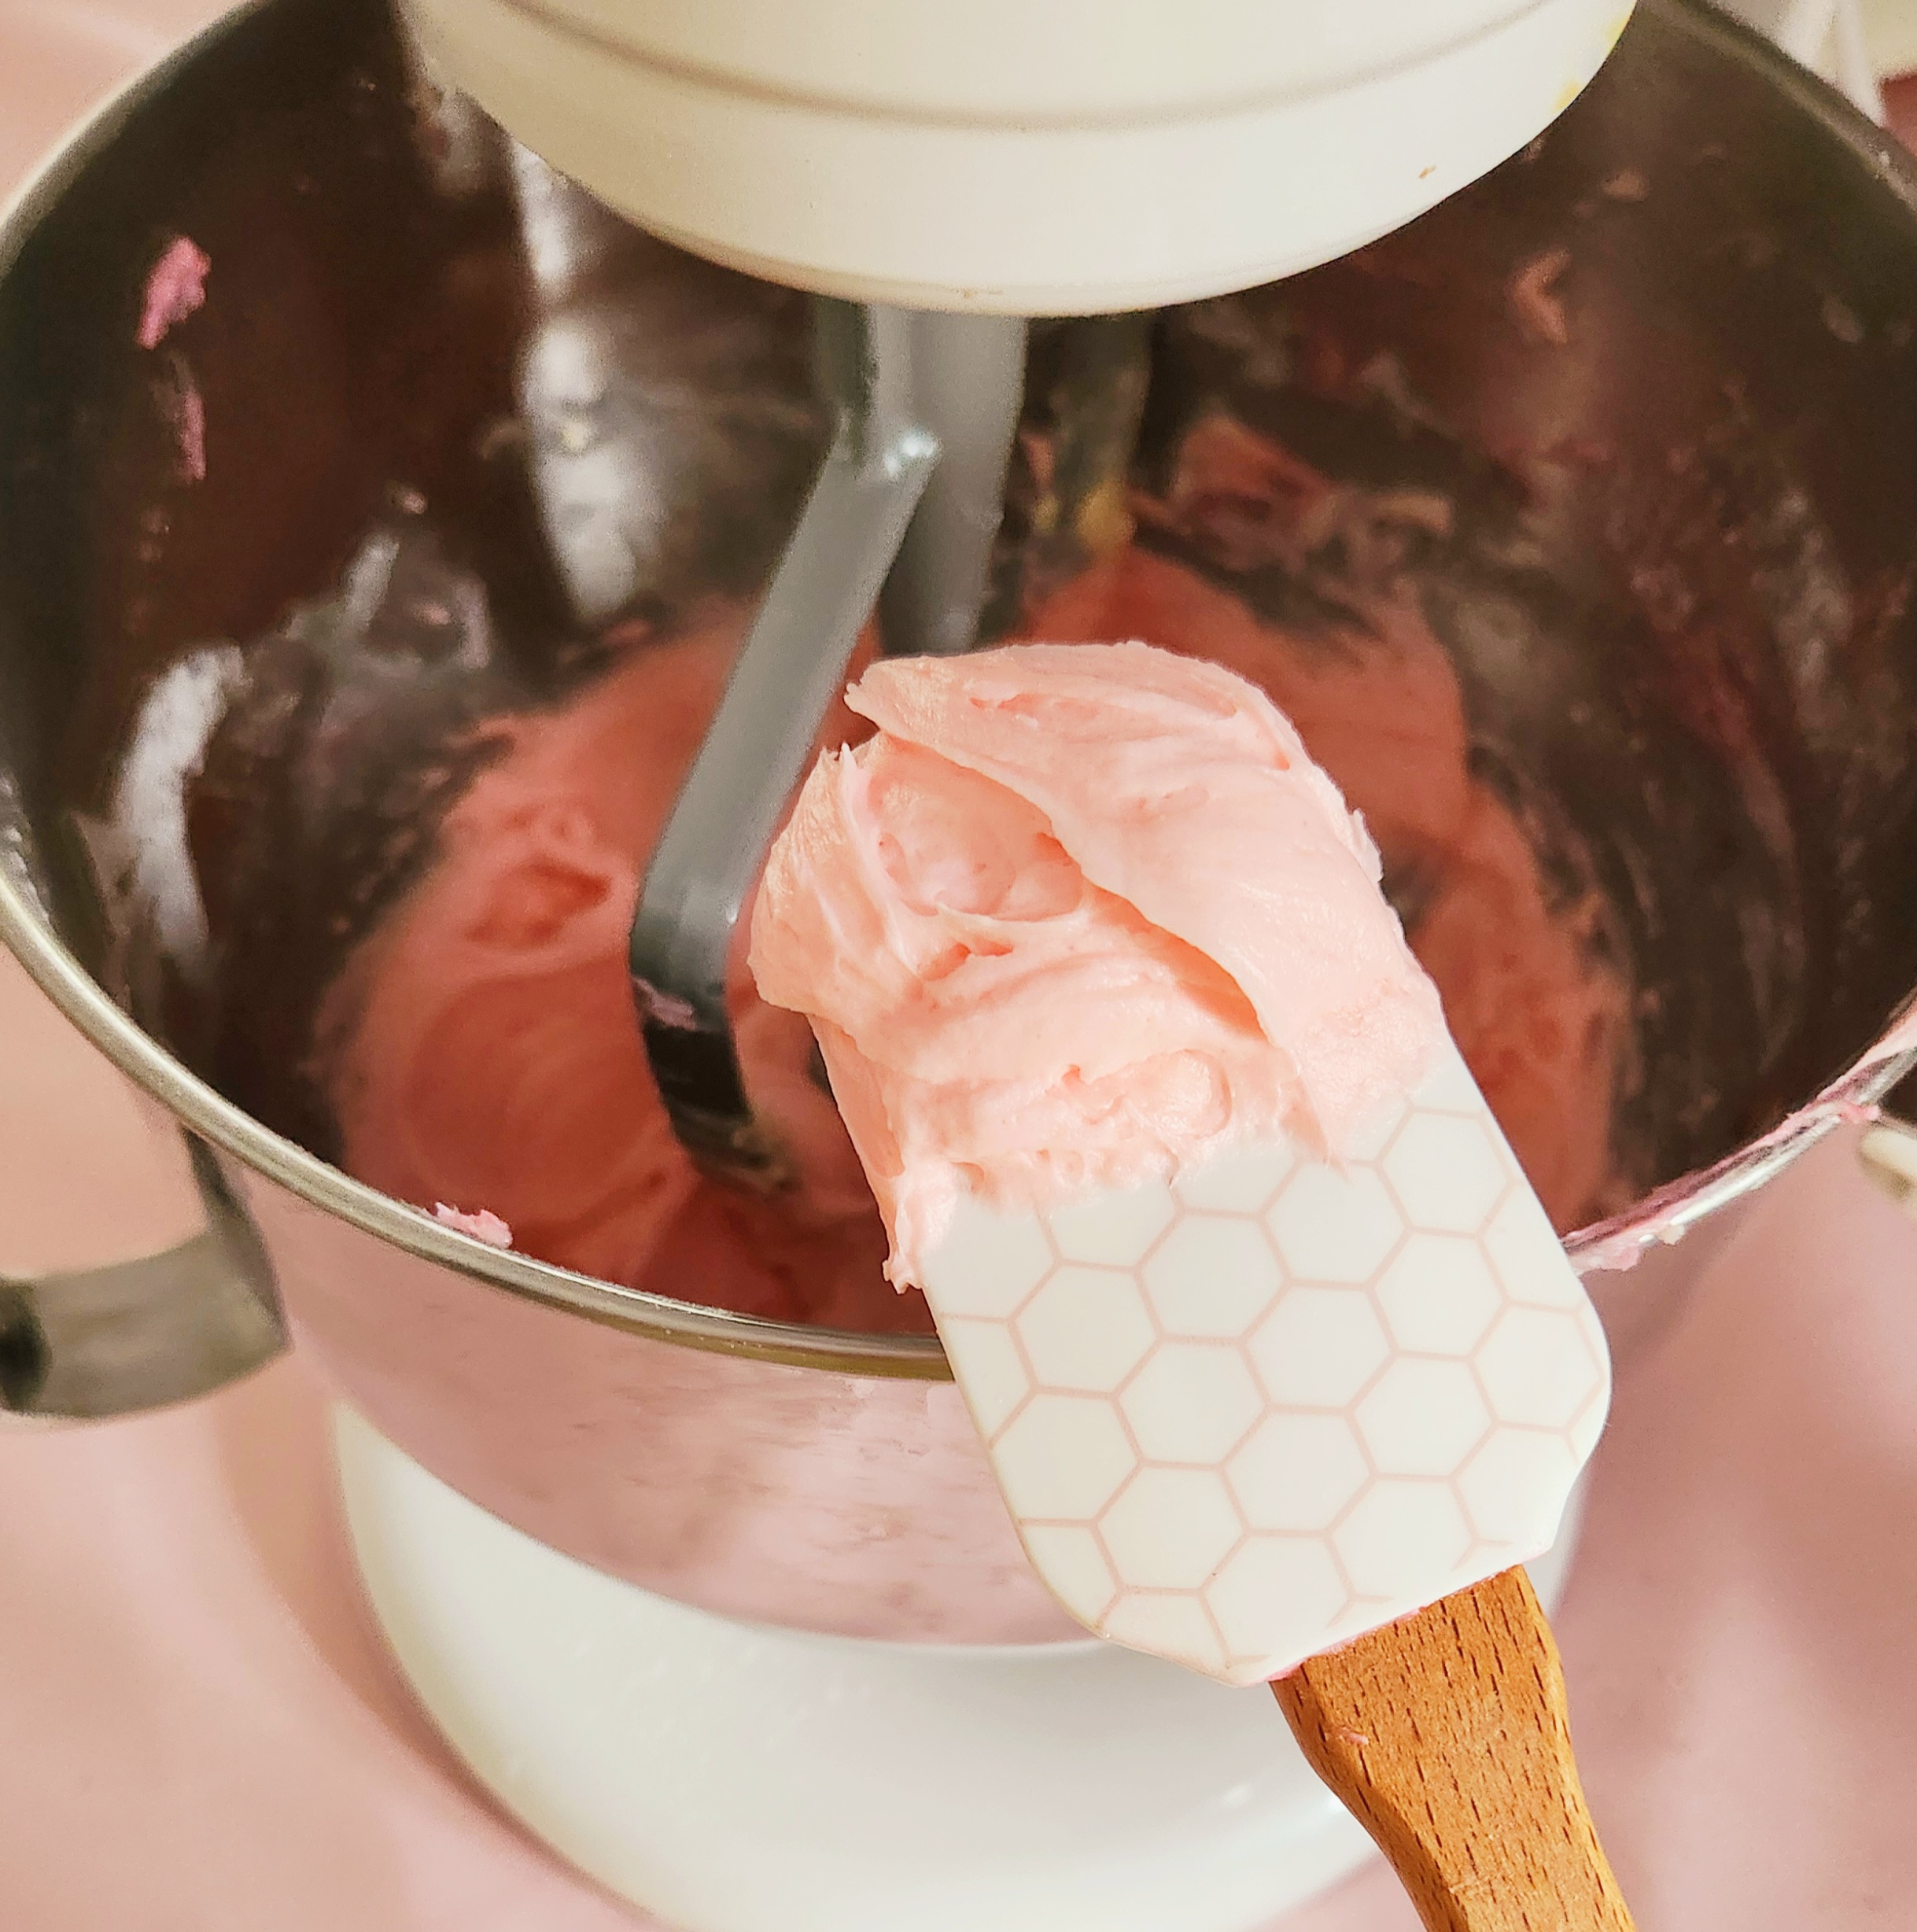
Add the corn syrup, salt, vanilla, and a few drops of food coloring if you’re using it. Beat your buttercream until everything has come together and you have a homogenized frosting. Scrape down the sides of the bowl as needed.
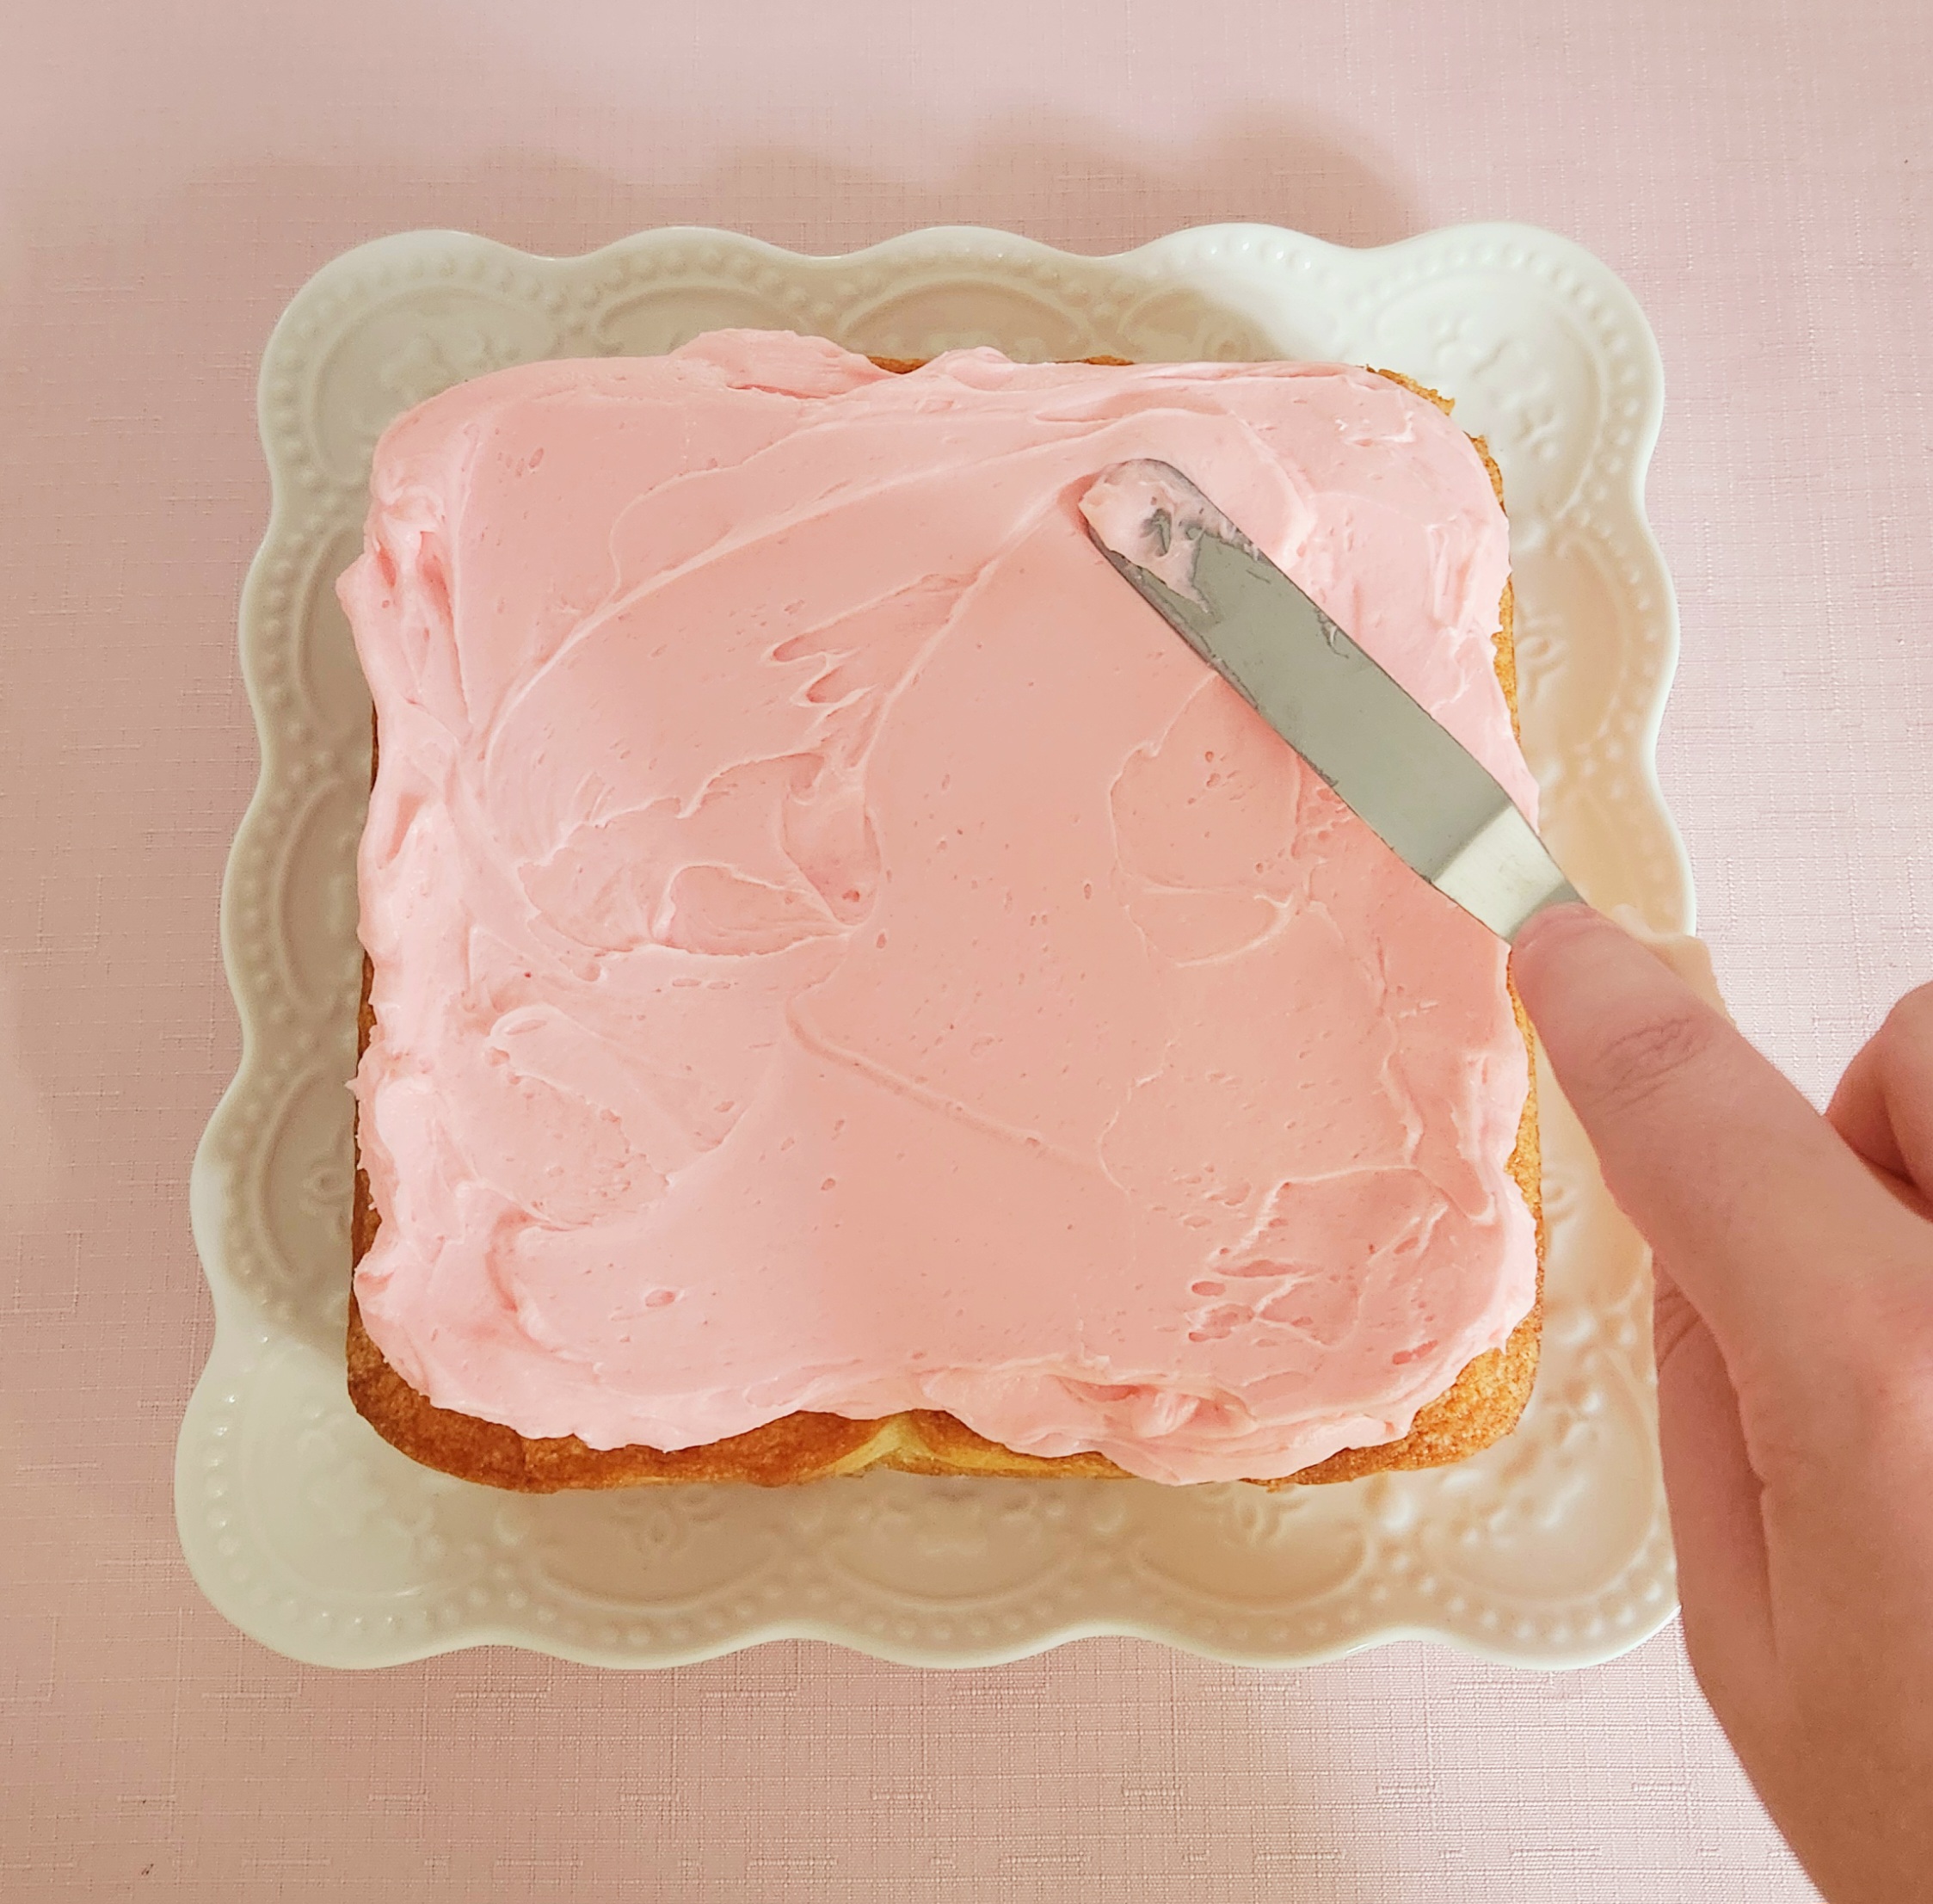
Heap all of your buttercream in the center of the cake. Using an offset spatula or a butter knife, spread it out into an even layer over the top of the cake.
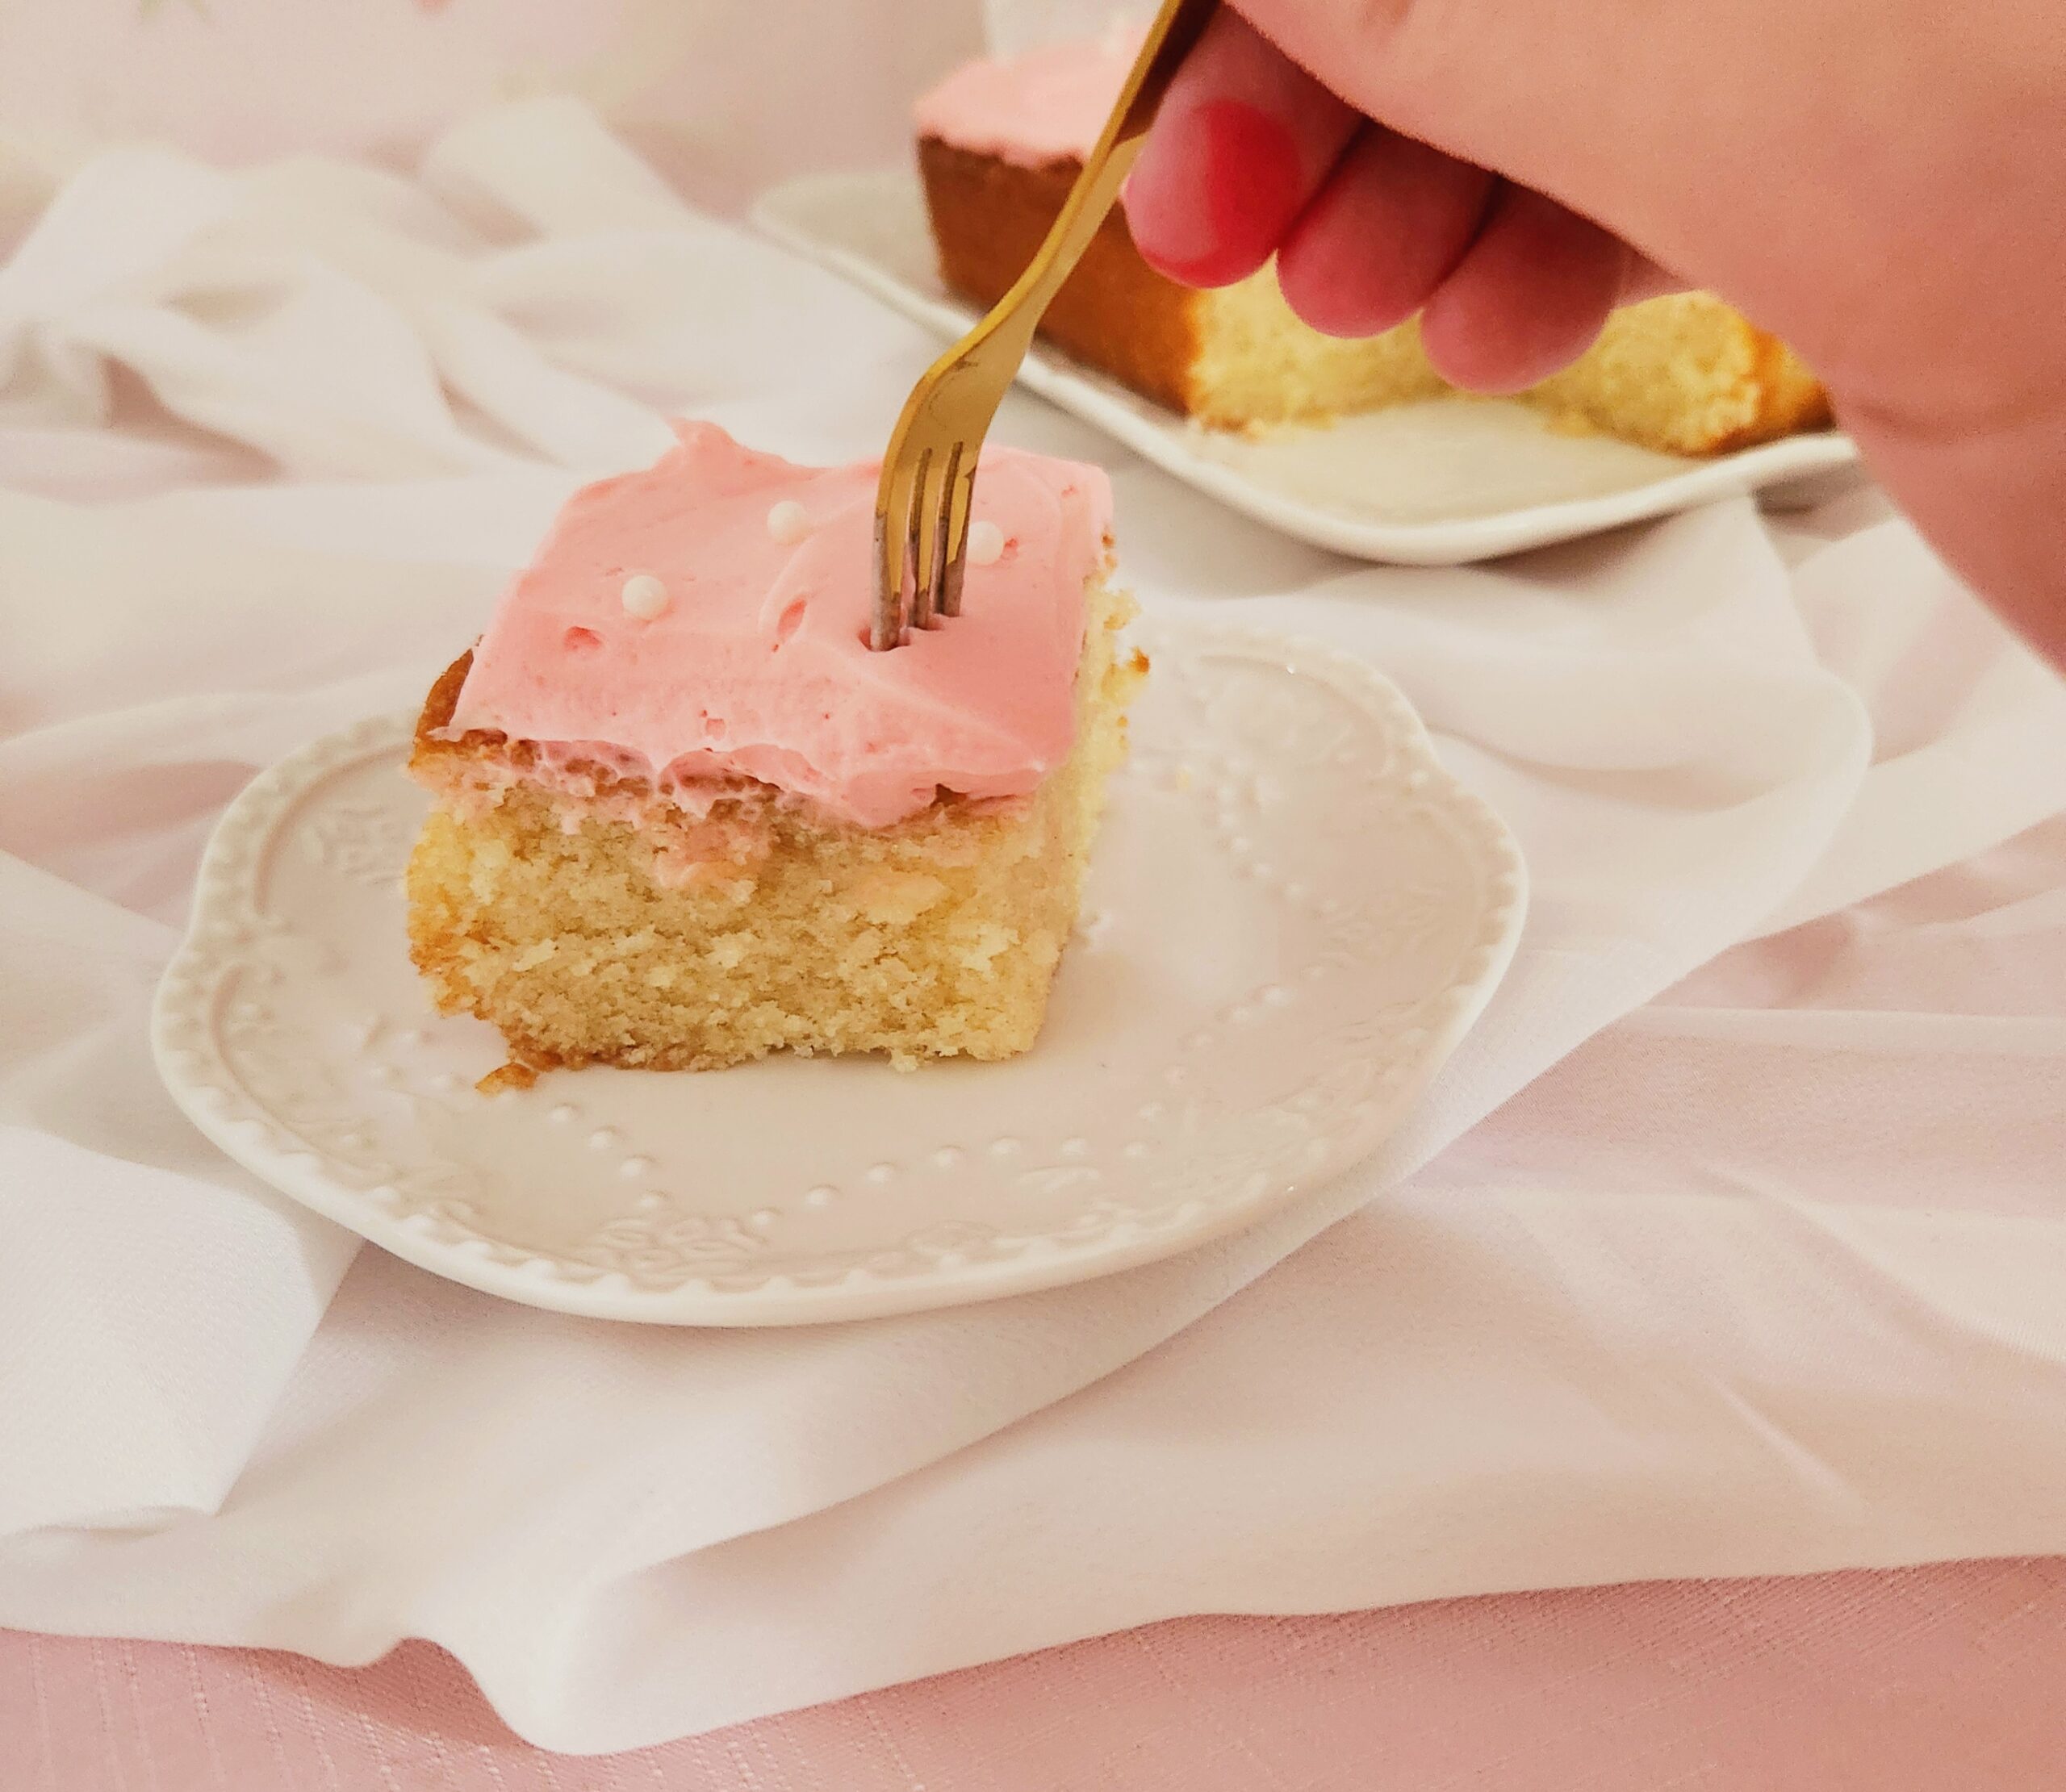
Decorate the now frosted cake with sprinkles, if you so choose. Just measure with your heart, you’ll know when you’ve added enough. Cut the cake into 9 servings by cutting an even 3×3 grid, grab a slice, and enjoy!
Simple White Cake
Bake Time: 325F for 50 minutes
Servings: 9 servings, 8×8 square pan
Total Time: 95 minutes
Prep Time: 45 Minutes
Ingredients
Cake Batter:
- 1 1/2 cups cake flour
- 1 teaspoon baking powder
- 1 teaspoon salt
- 12 Tablespoons unsalted butter, softened
- 1 1/4 cups granulated sugar
- 2 egg whites, room temperature
- 1 1/2 teaspoons vanilla extract
- 1/2 cup whole milk, room temperature
Frosting:
- 16 Tablespoons unsalted butter, softened
- 1 2/3 cups powdered sugar
- 3 Tablespoons light corn syrup
- 1/2 teaspoon salt
- 2 teaspoons vanilla extract
- Optional food coloring
- Optional sprinkles
Directions
For the Cake Batter
- Preheat the oven to 325F. Line the bottom of an 8×8 baking pan with parchment paper. Grease the sides of the pan with butter, or spray with a nonstick baking spray.
- Sift together the cake flour, baking powder, and salt in a medium bowl. Set it aside until you need the dry goods.
- In the bowl of a stand mixer using the paddle attachment, on level 3, cream together the butter and sugar. It should go from a butter yellow color to almost white and very fluffy. Scrape down the sides of the bowl with a rubber spatula.
- Add in the two egg whites and vanilla extract. Mix on level 3 until they’re fully incorporated.
- Time to alternatively add in the flour mixture and the milk. Starting with the flour, add a third of the dry goods to the butter mixture. Mix on level 1 until only a few streaks of flour remain, around 30 seconds or so. Scrape down the sides of the bowl, then add half of the milk. Once again, mix on level 1 until it’s almost fully incorporated, around 30-45 seconds.
- Add another third of the flour mixture, beat for 30 seconds. Scrape down the sides of the bowl. Add the rest of the milk, and beat for 30-45 seconds. Scrape down the sides of the bowl and throw in the rest of the flour. Once the batter is homogeneous, beat it for another minute on level 3 to ensure structural integrity.
- Pour the batter into your prepared 8×8 pan, scraping the batter off the sides of the bowl to get as much into the pan as you can. Bake it for 50 minutes or until a toothpick stabbed into the center of the cake comes out mostly clean, with just a few crumbs stuck to it.
- Allow the fully baked cake to rest in the pan for 10 minutes, then remove it from the pan and allow it to fully cool on a baking rack before frosting it.
For the Frosting
- Sift the powered sugar into the bowl of a stand mixer, then add in the softened butter. Cream them together, starting on level 1 then moving up to level 3 when the sugar has been absorbed. The color should go from a butter yellow color to white and fluffy. Scrape down the sides of the bowl with a rubber spatula to bring everything to the center of the bowl.
- Add the corn syrup, salt, vanilla, and a few drops of food coloring if you’re using it. Beat your buttercream until it’s one smooth mixture. Scrape down the sides of the bowl as needed.
Assembly
- Once your cake is fully cooled off, it’s time to frost! Heap all of your buttercream in the center of the cake. Using an offset spatula or a butter knife, spread it out into an even layer over the top of the cake.
- If you’d like to, decorate the cake with sprinkles. Just measure with your heart, you’ll know when you’ve added enough. Cut the cake into 9 servings via an even 3×3 grid, grab a slice, and enjoy!
Tips
- The sponge (baked part) should be fully cooled off before you frost it. If you’re impatient, the frosting is going to melt and run off the cake, and will lose that silky texture!
- If you don’t own a stand mixer, feel free to reach out! I will happily help guide you through baking a cake without one.
0 Comments