
When I think of bundt cake, one thing and one thing alone comes to mind: one of the greatest cinematic masterpieces of our time, My Big Fat Greek Wedding. I can recite most of that film from memory, but the scene with the bundt cake is easily one of the top 3. The bundt cake was a very reasonable choice for Ian’s parents to bring with them! It’s simple, easy to transport, and has mass appeal. However, this cake is so good, no one will be tempted to put a plant in the middle of it.
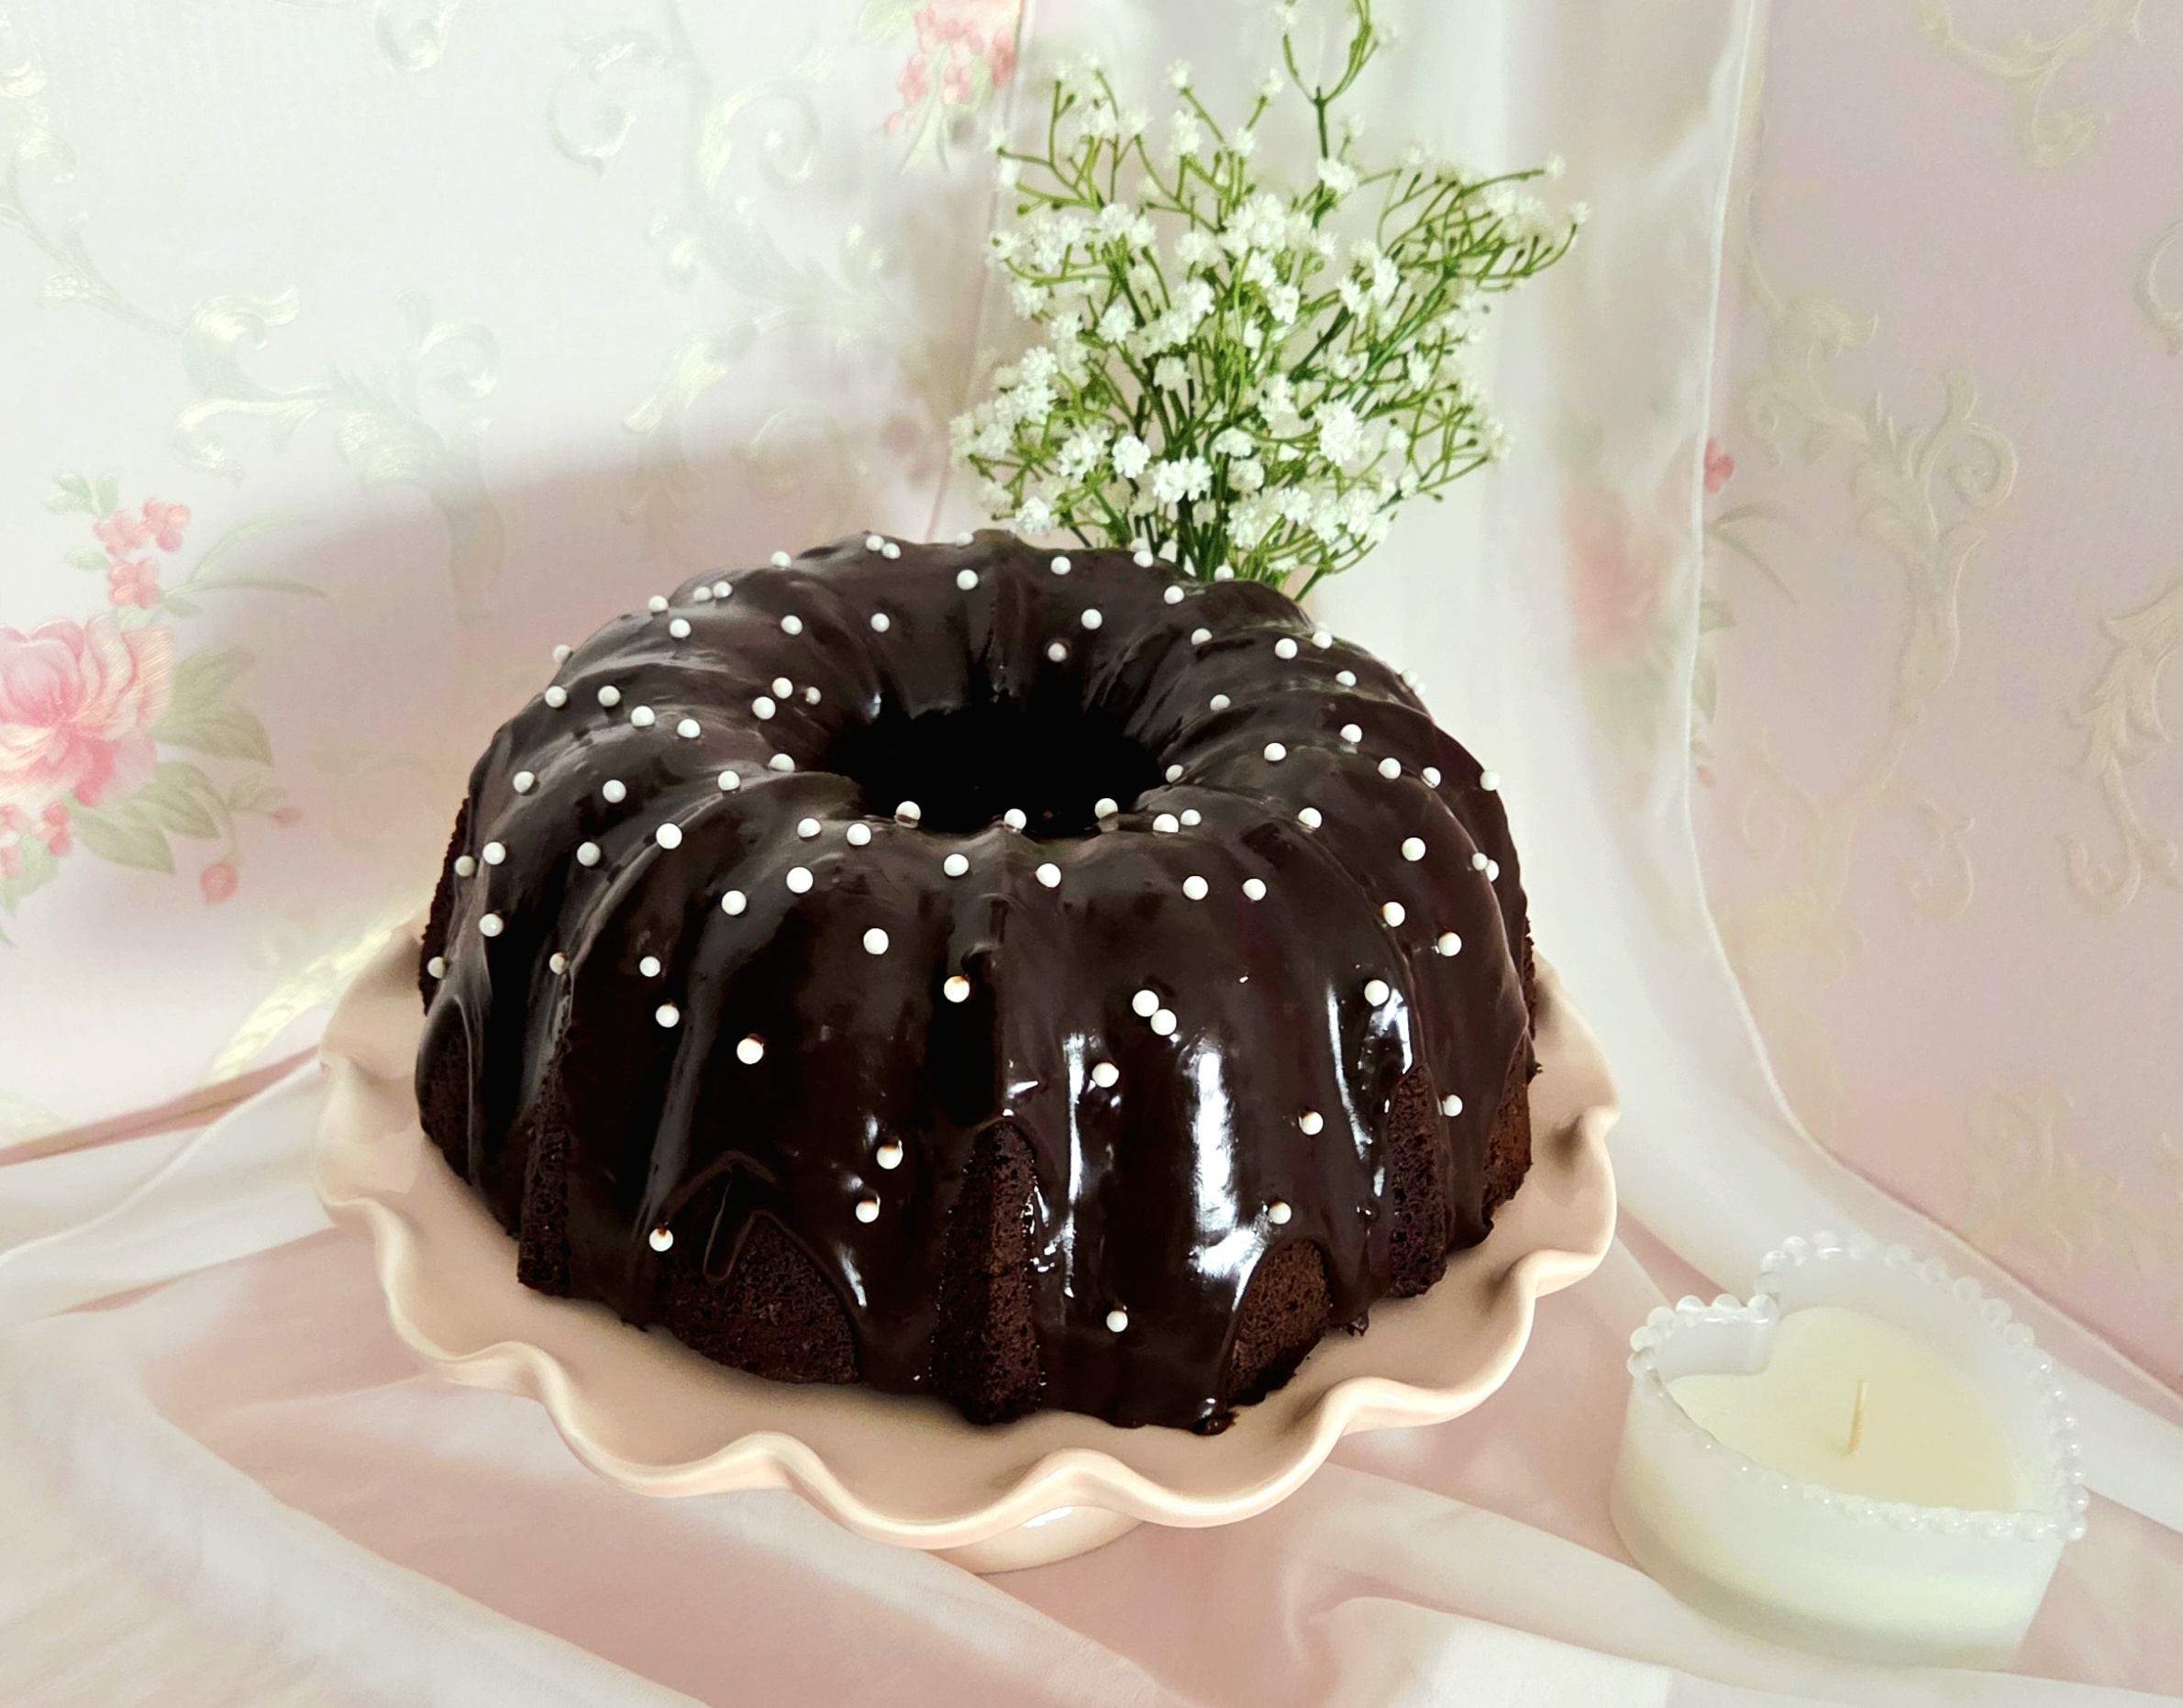
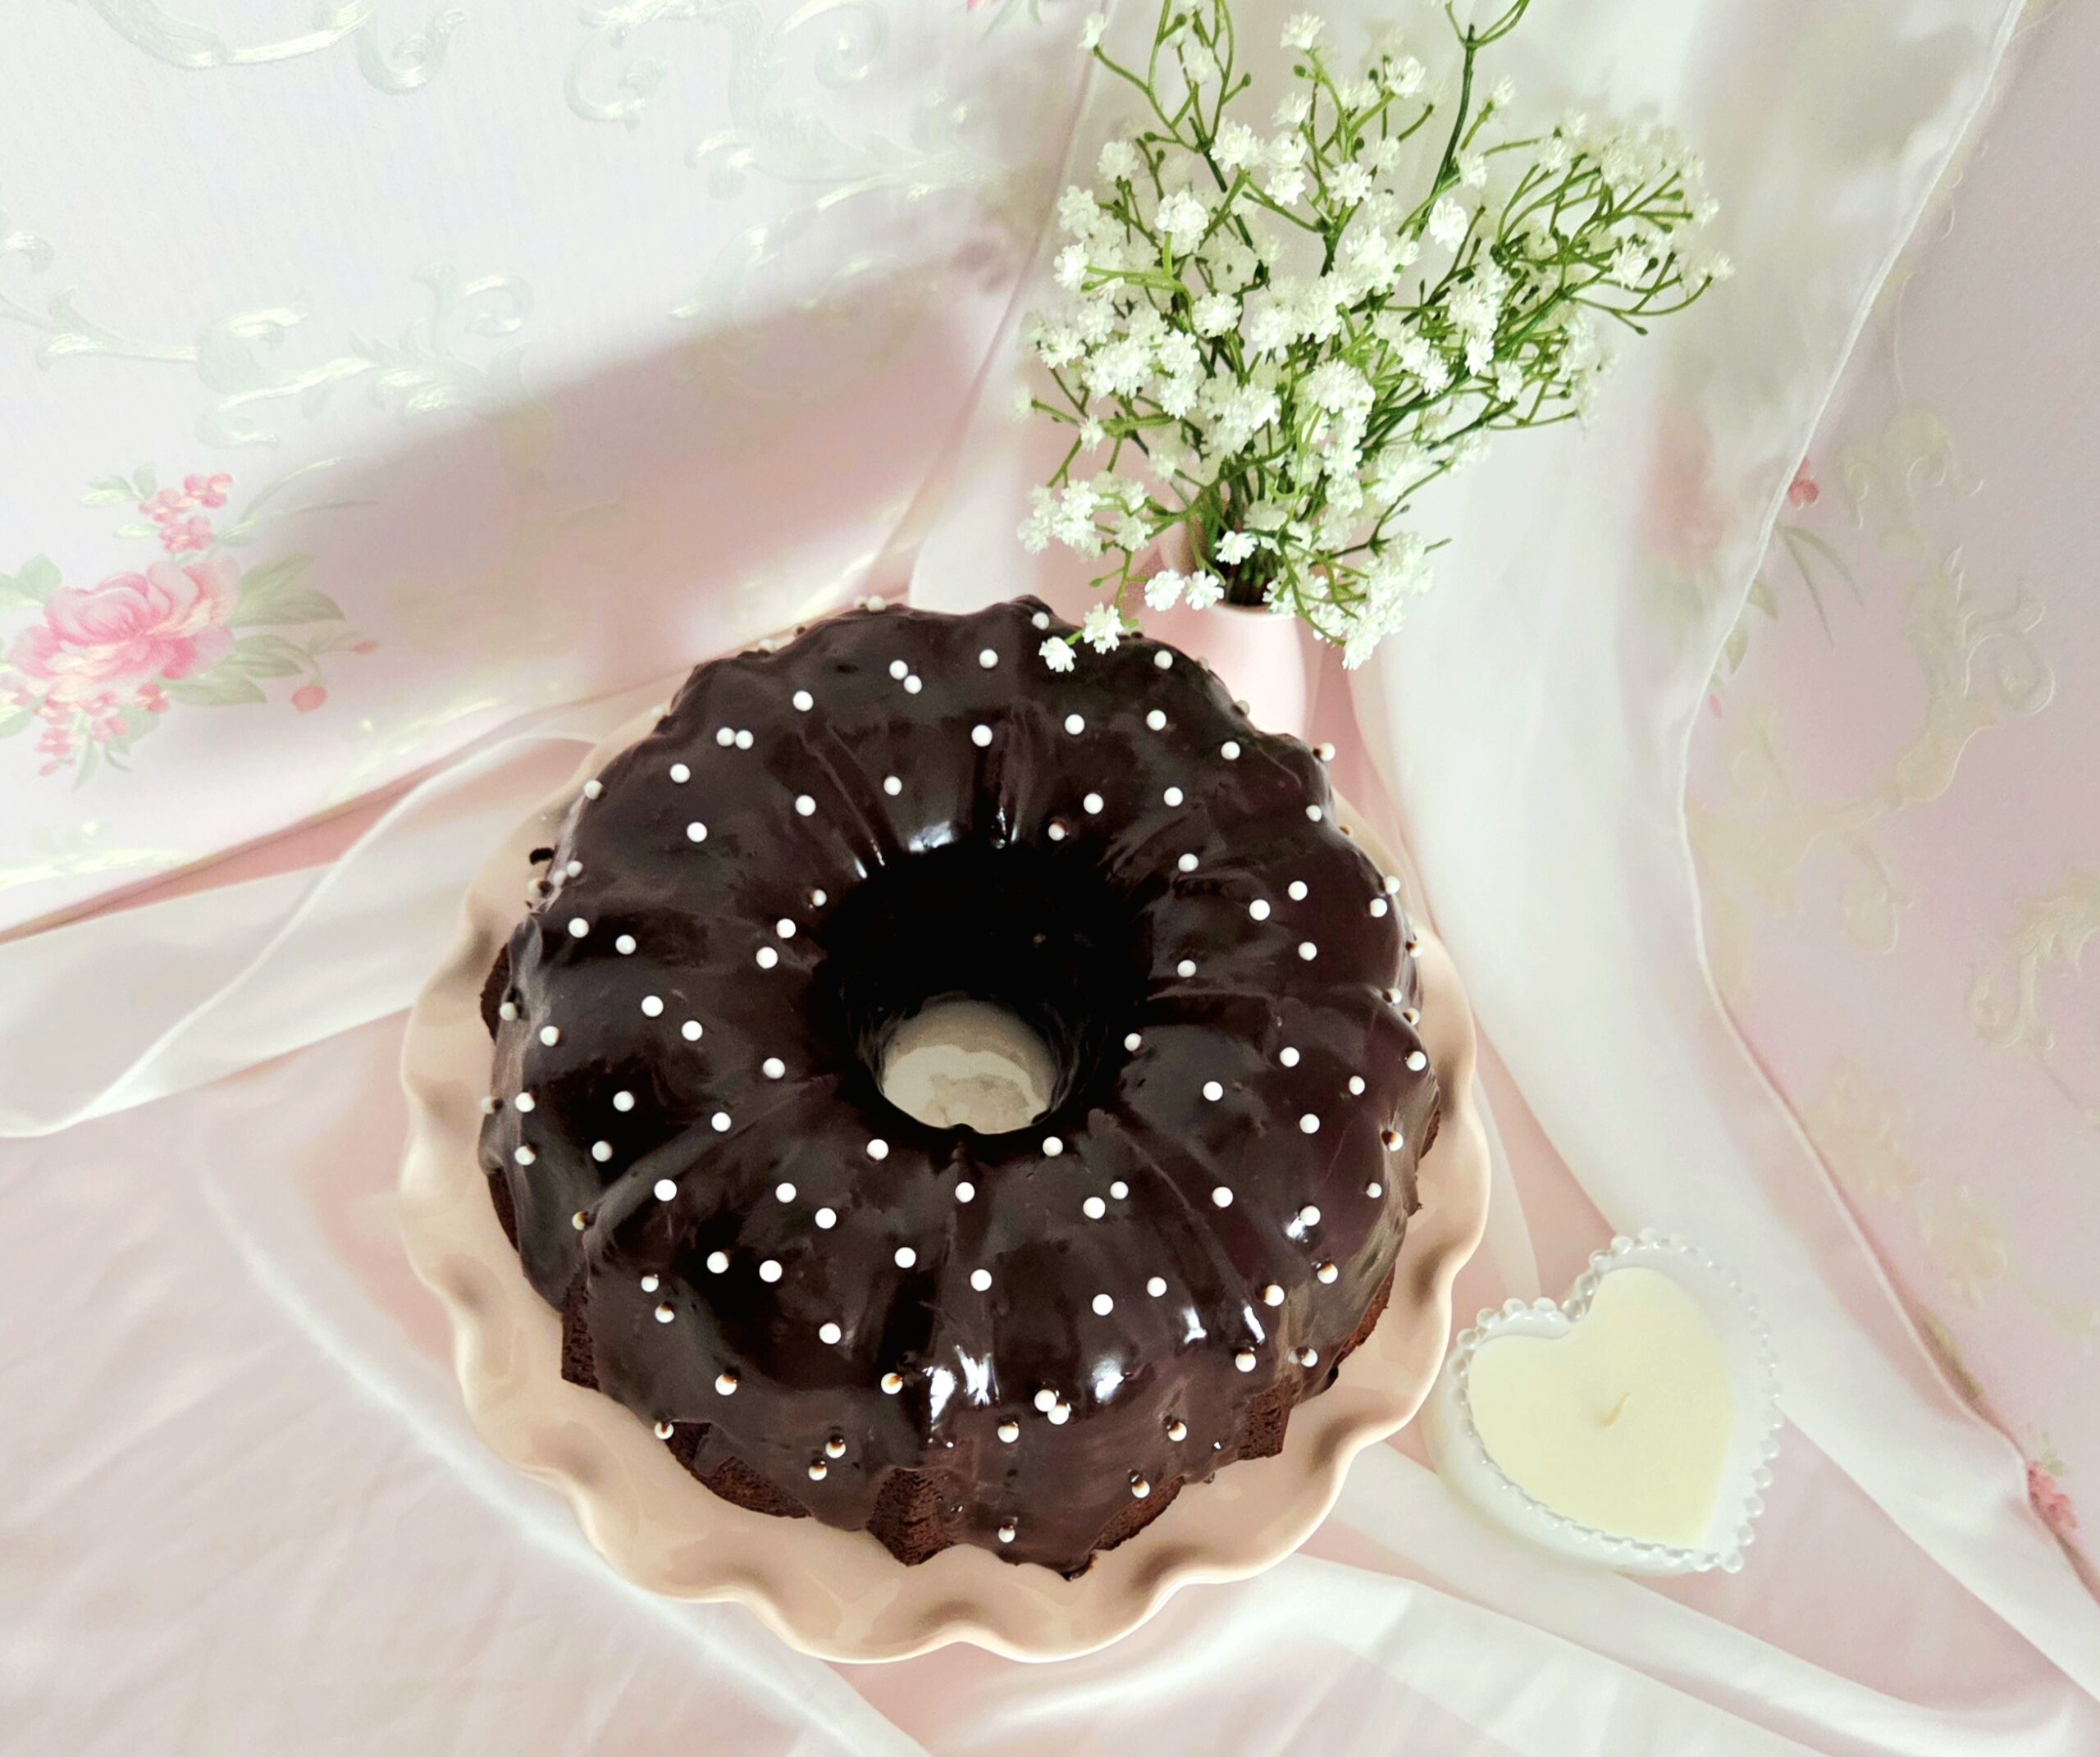
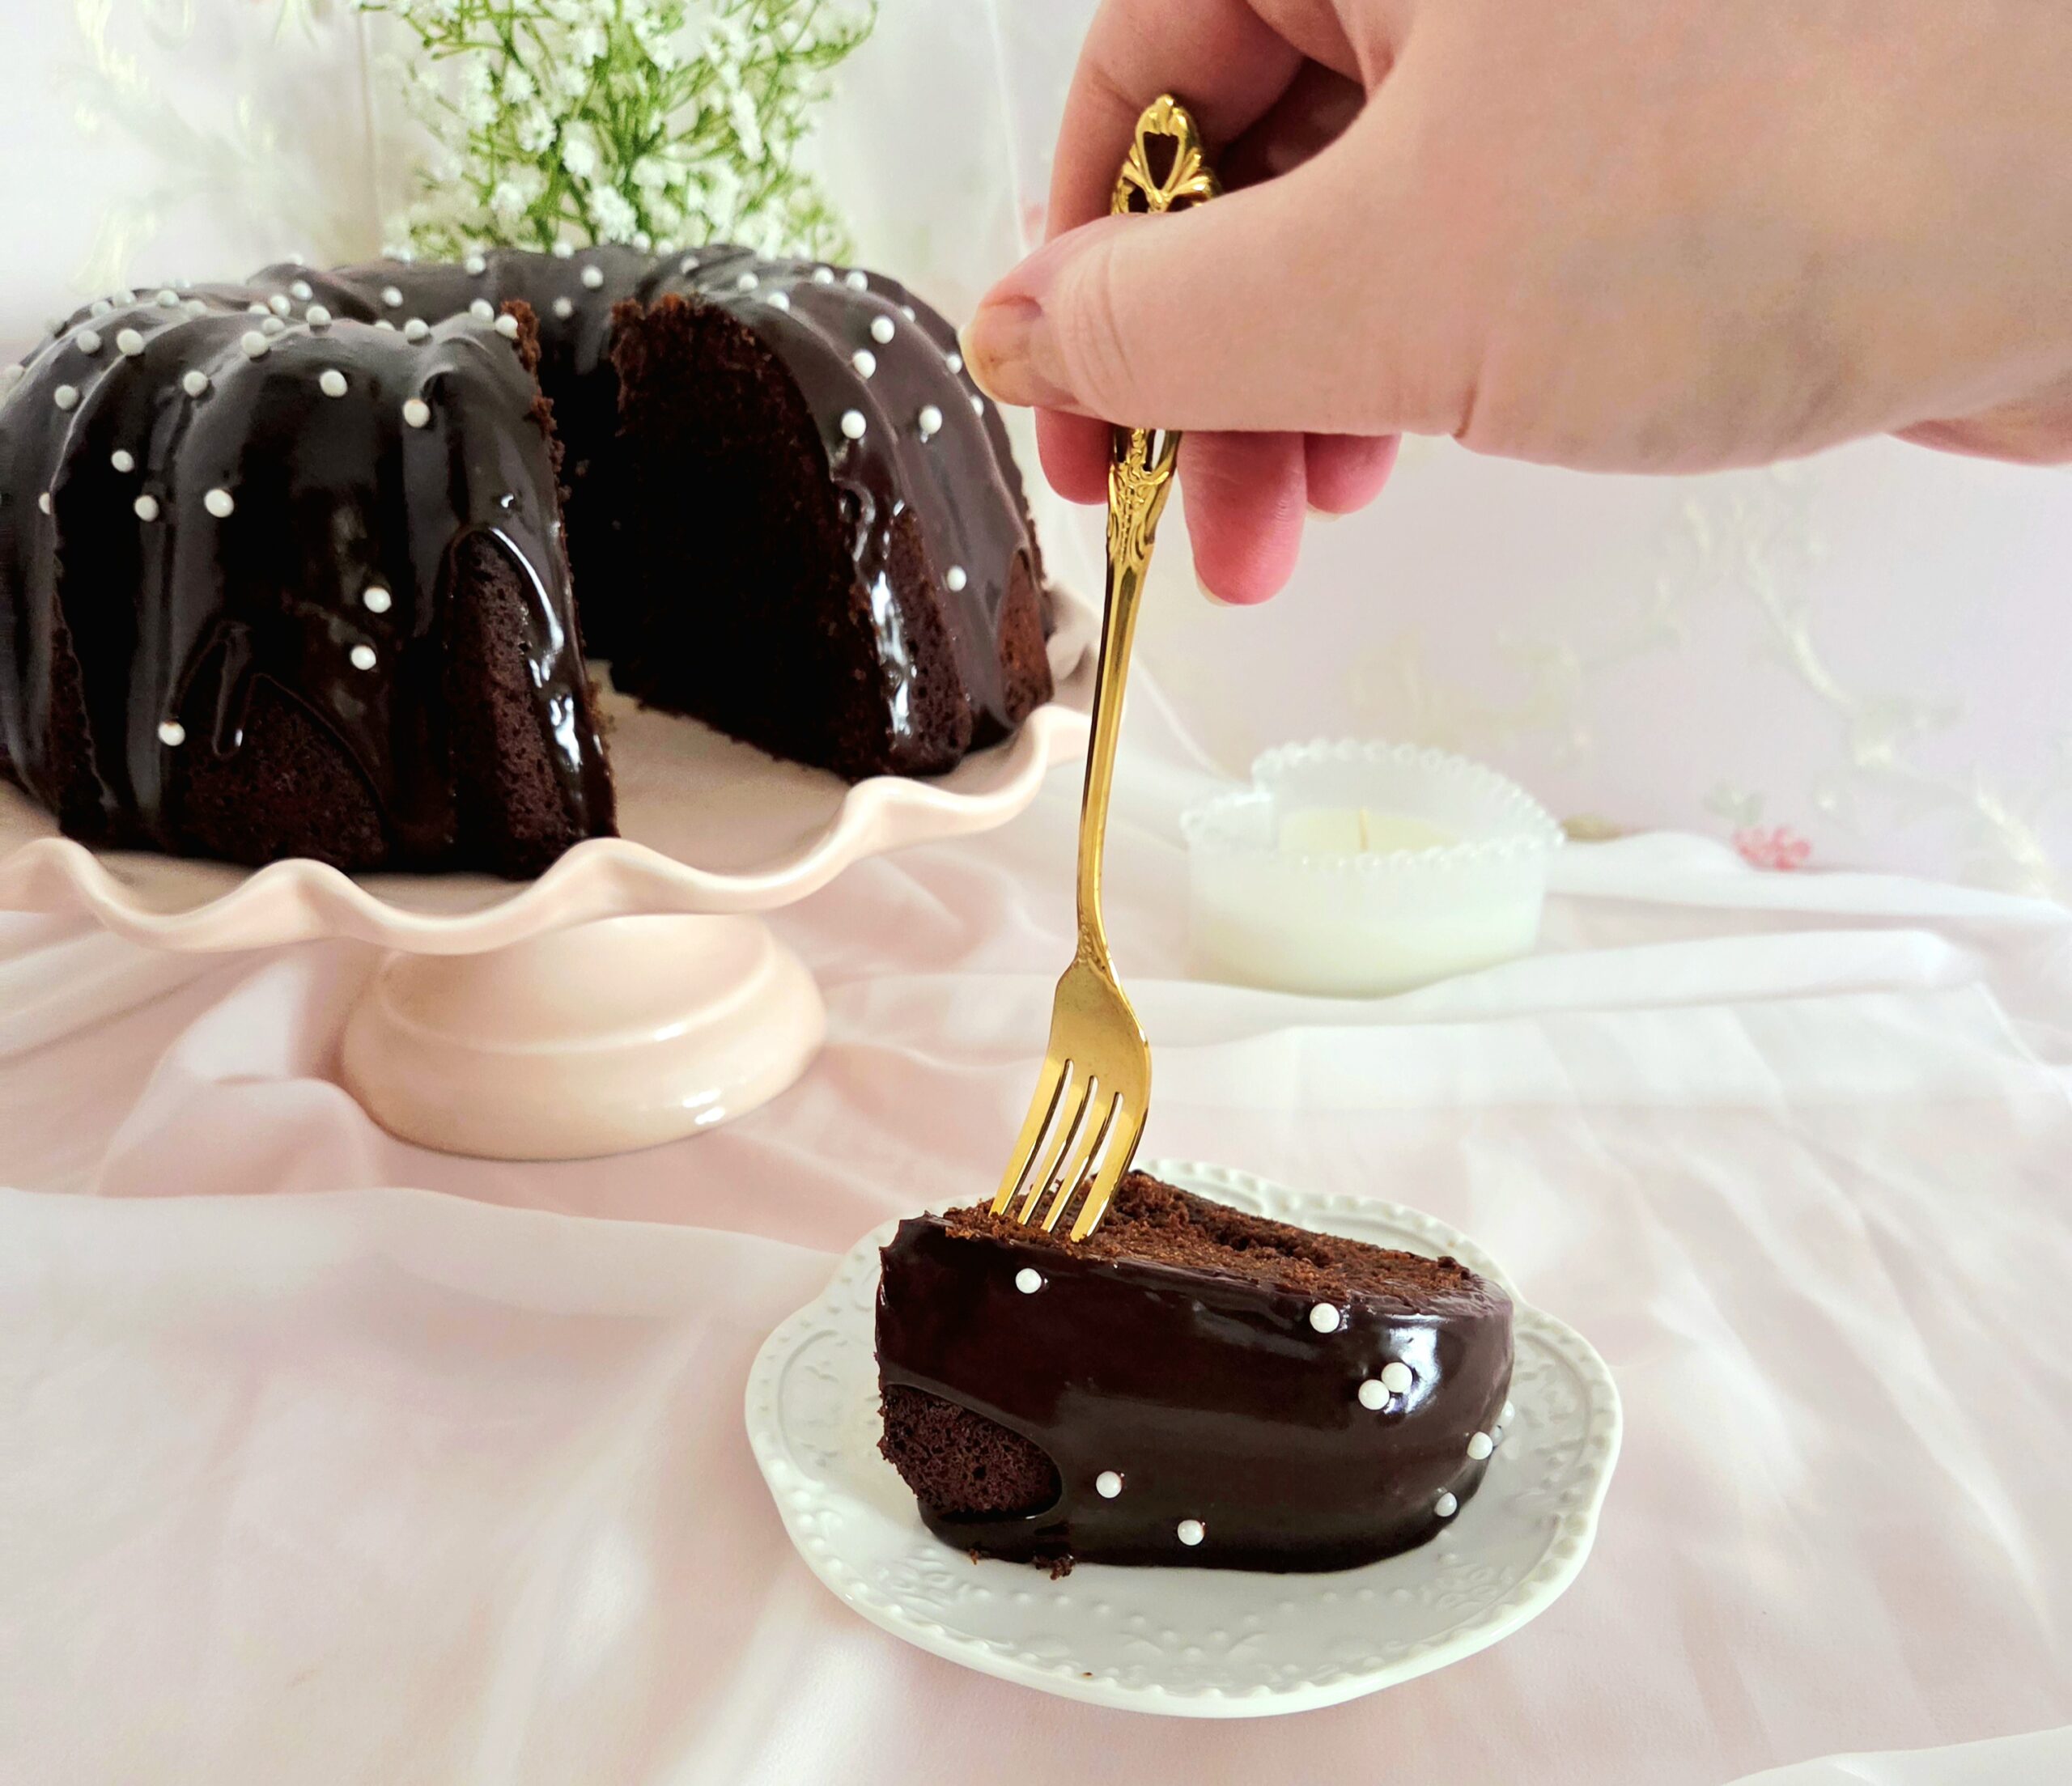
This chocolate bundt cake is rich, decadent, and incredibly flavorful. The sponge is moist, with little melted morsels of chocolate chips speckled throughout. The ganache is creamy and fudgy, sprinkled with a bite of salt that’s the perfect contrast to the indulgent bittersweet chocolate. Any chocolate lover will melt for this cake. It’s easy to prepare, makes a beautiful presentation, and offers a punch of deep chocolate flavor in every bite. Serve it at your next brunch, birthday, or girl’s night in.
FAQs and Science
Why heat together the chocolate, cocoa powder, espresso powder, and milk in the beginning?
Heating and hydrating cocoa powder before adding it to a recipe is known as “blooming.” Blooming cocoa powder intensifies the chocolate flavor it gives the final product. Trust me, this is a very worthwhile step.
How can I easily soften the butter?
Softening the butter can seem stressful, but it can be done quickly and easily! I tend to opt for the microwave to assist me here. Place the unwrapped butter onto a heat-safe plate and microwave it for 10-12 seconds. Flip the butter upside down, heat for another 10-12 seconds. Turn it on its side and microwave for another 8-10 seconds. If the butter still feels firm at this point, flip it upside down once more and heat for a final 6-8 seconds. Use a rubber spatula to scrape it into the bowl you’re using, happy baking!
What does adding the espresso powder do?
Espresso and coffee, when added in small amounts, help to bring out the flavor of chocolate. It can’t be distinctly tasted in the cake, don’t fret.
Why stick the chocolate mixture in the fridge before adding it to the batter?
Placing the bloomed chocolate mixture into the fridge beforehand will cool it off enough not to melt the butter. You want the chocolate to be melted, but not warm.
Isn’t a ganache supposed to have an equal ratio of chocolate to heavy cream?
Traditionally, yes it does! When you’re working with dark chocolate, at least. This slightly higher ratio just makes the ganache a bit thicker, which I liked in this recipe.
Why allow the ganache to cool before pouring it over the cake?
If the ganache is too warm, it will run everywhere. Allowing it to cool a bit beforehand lets it thicken up, so when you pour the ganache onto the cake, more of it stays on the cake.
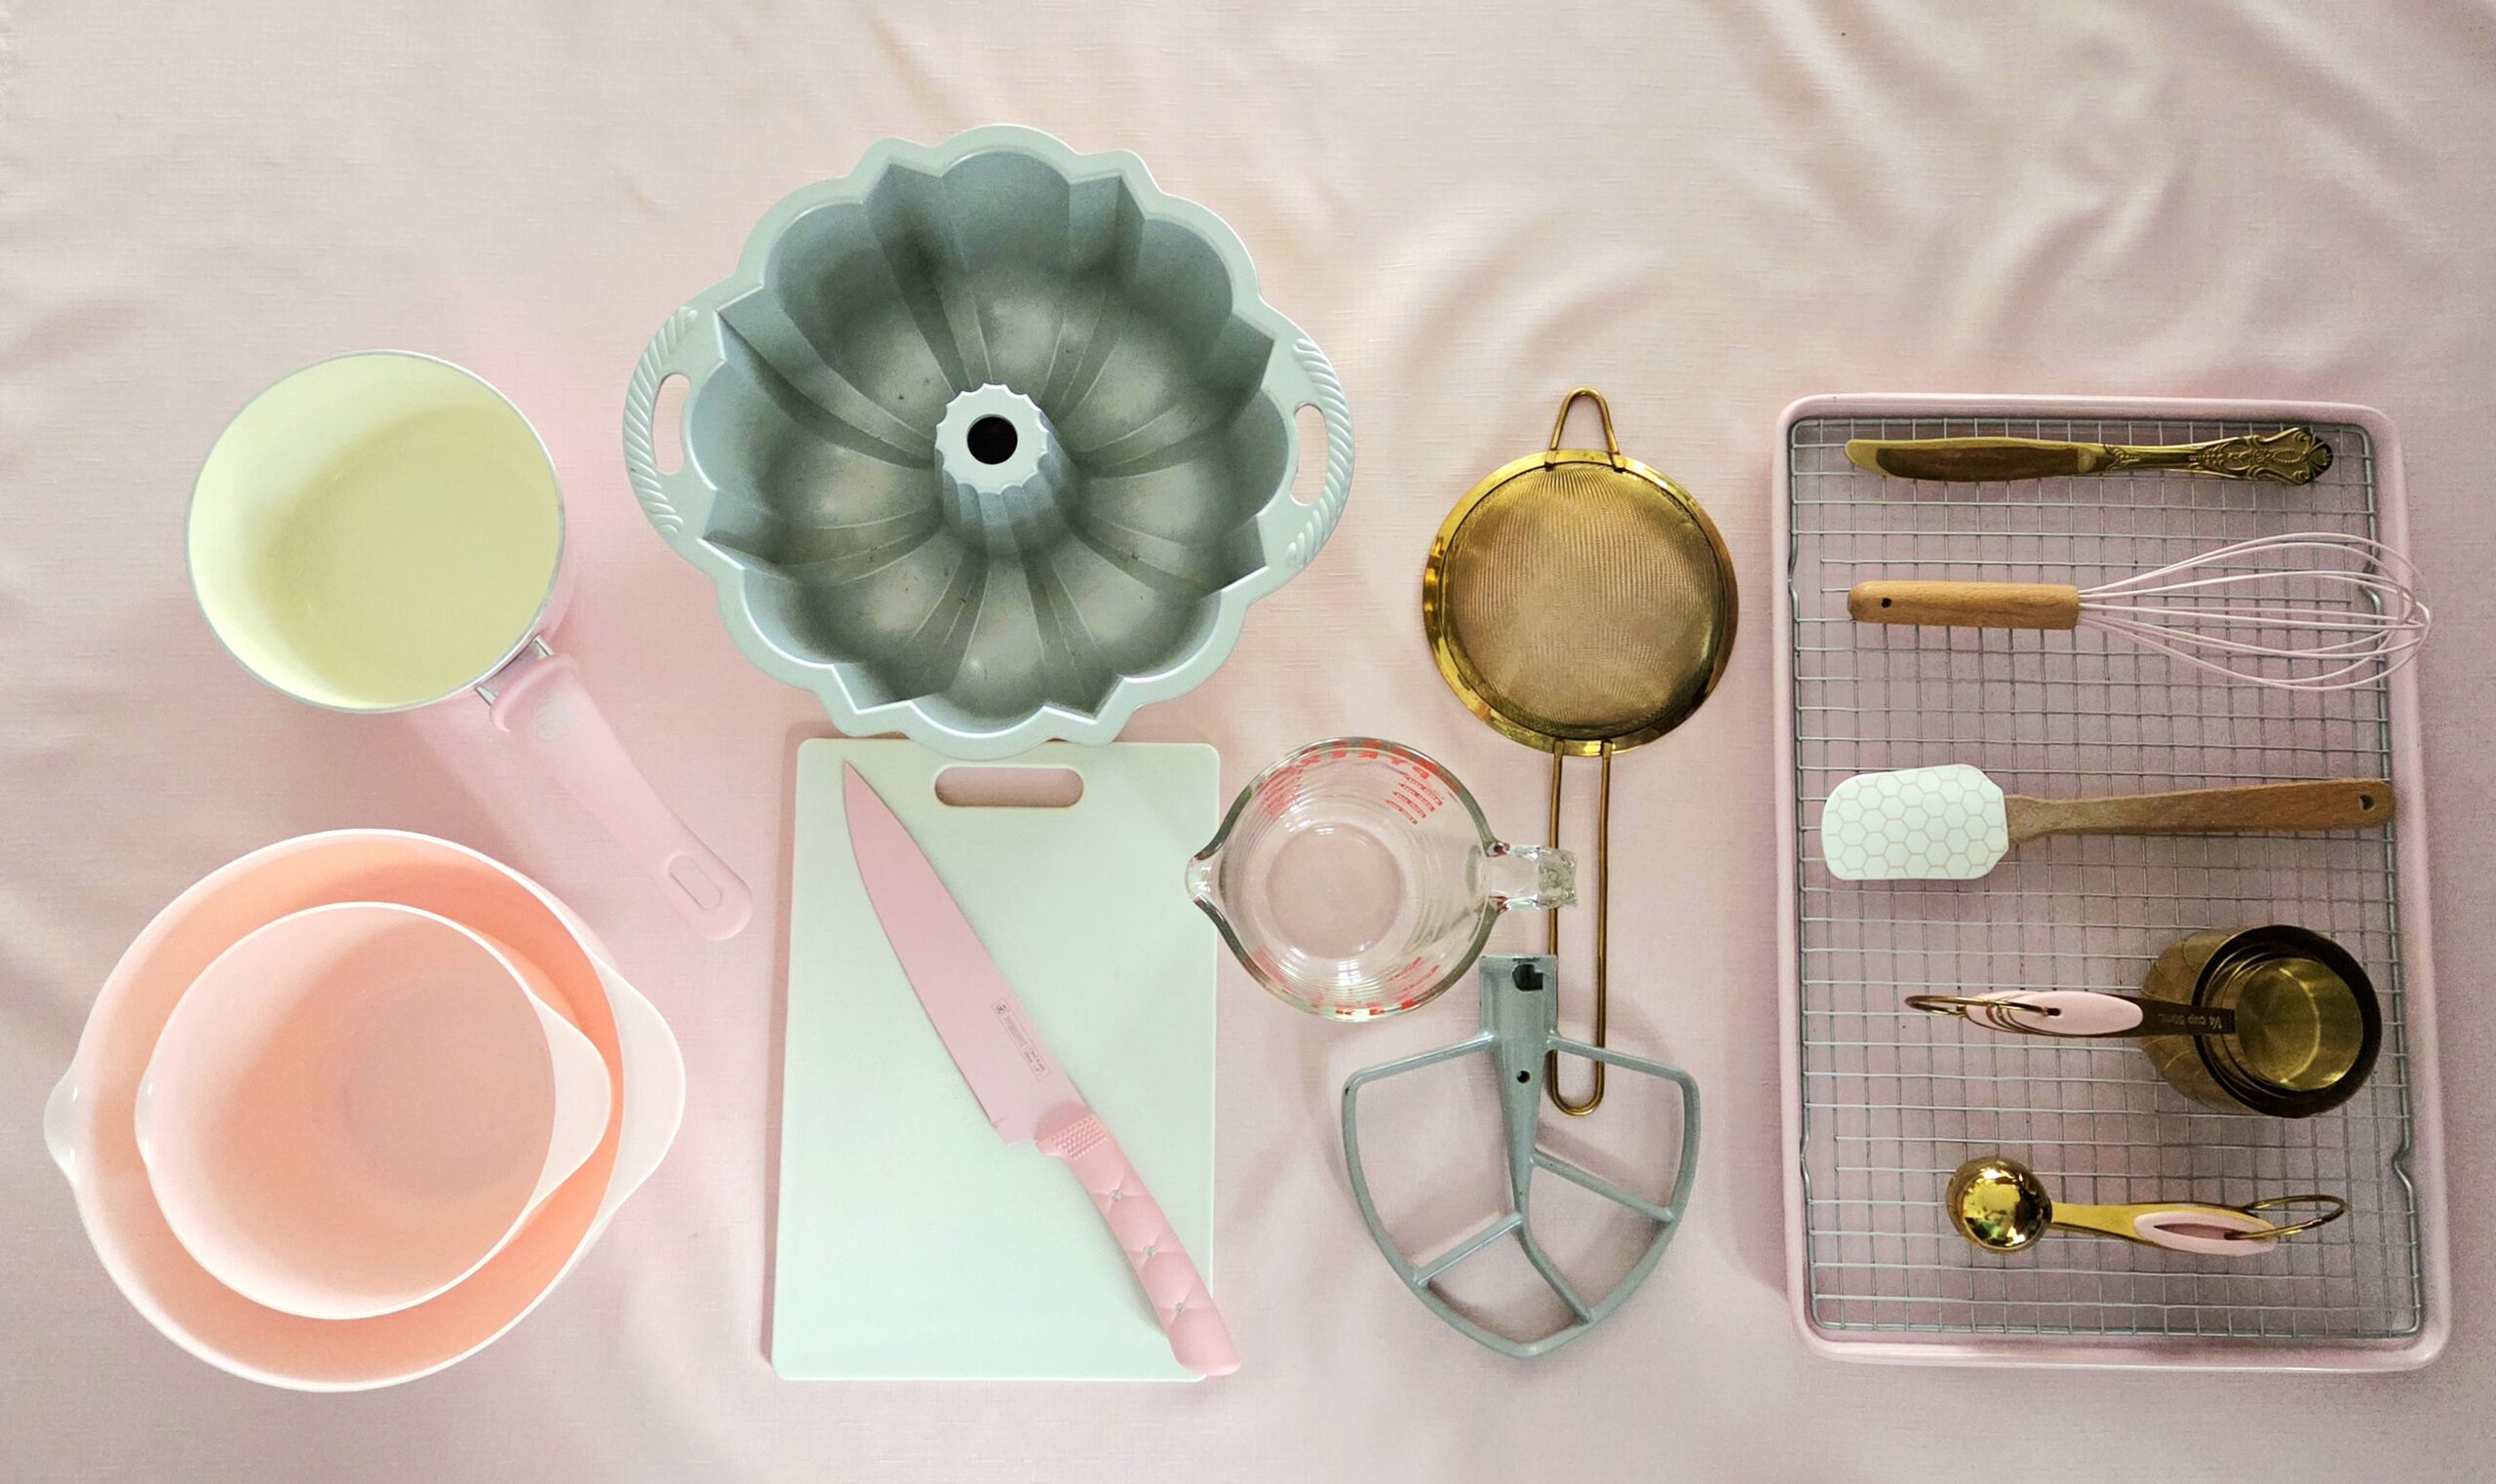
What You’ll Need
- Aluminum foil
- Nonstick baking spray
- 10 cup bundt pan
- Stand mixer fitted with paddle attachment
- Small heat-safe mixing bowl
- Medium heat-safe mixing bowl
- Small saucepan
- Dry measuring cups
- Liquid measuring cup
- Measuring spoons
- Whisk
- Rubber spatula
- Chef’s knife
- Cutting board
- Butter knife
- Cooling rack
- Baking sheet
The Process
The Batter
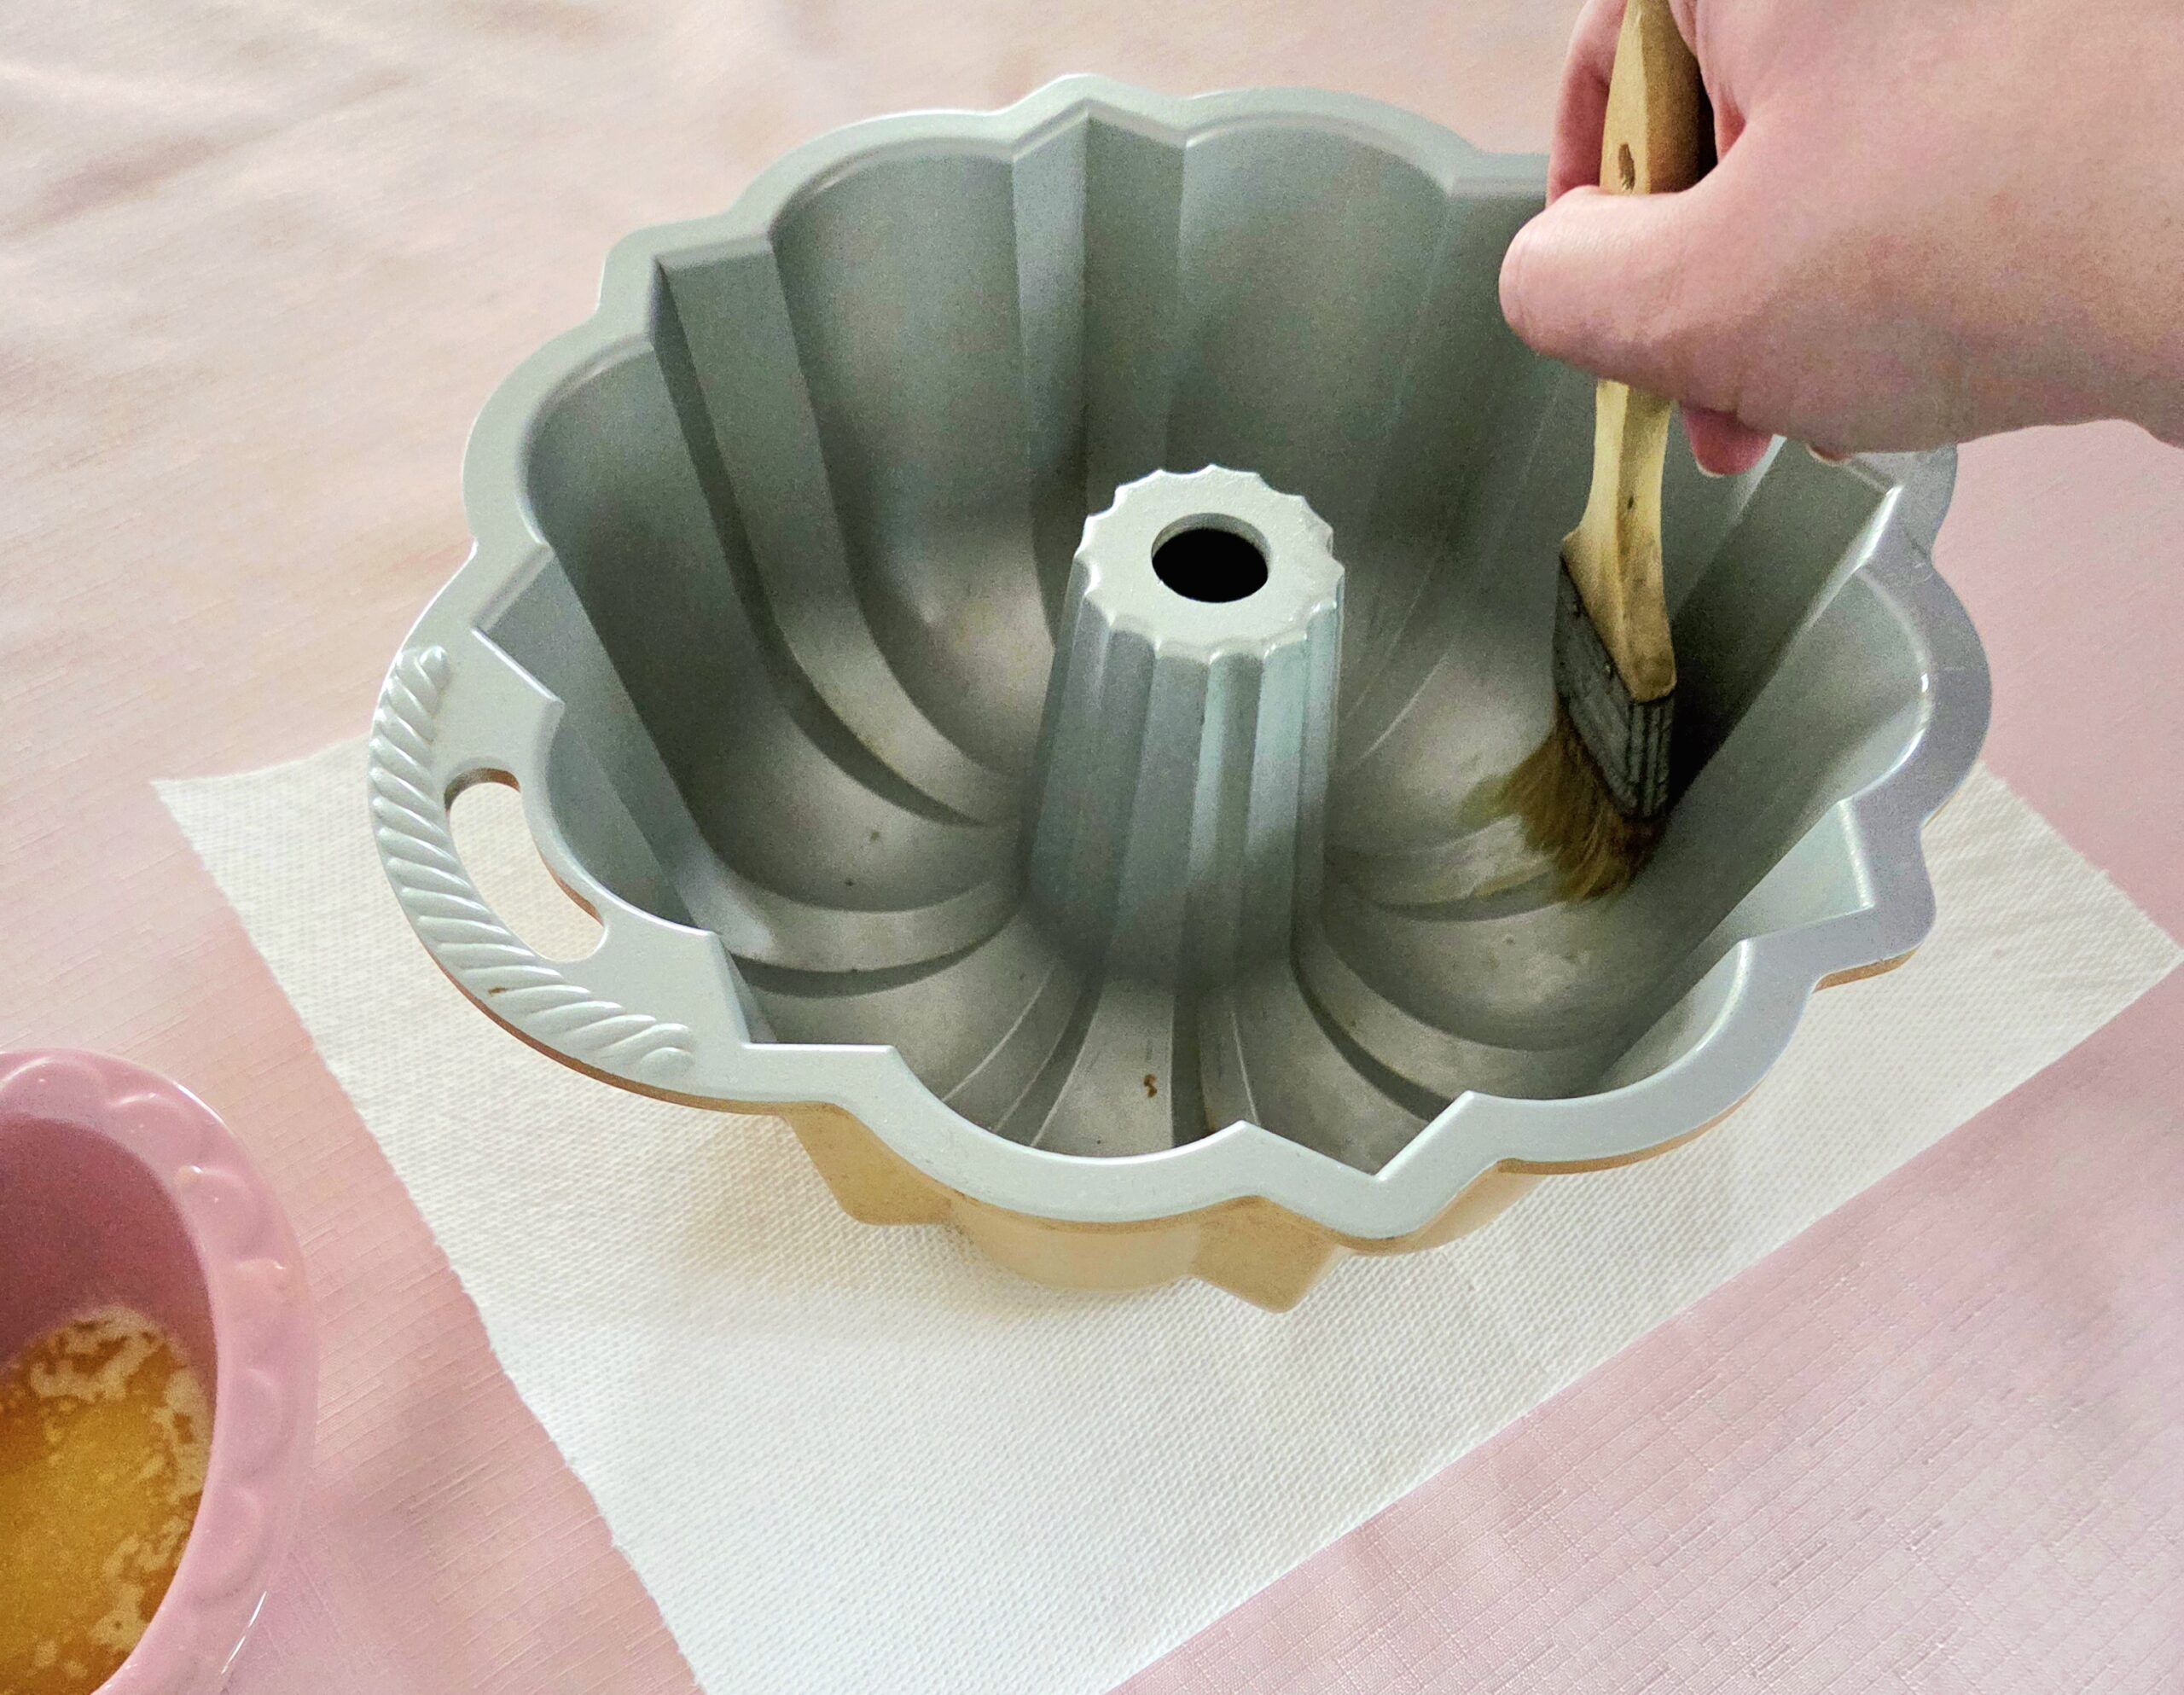
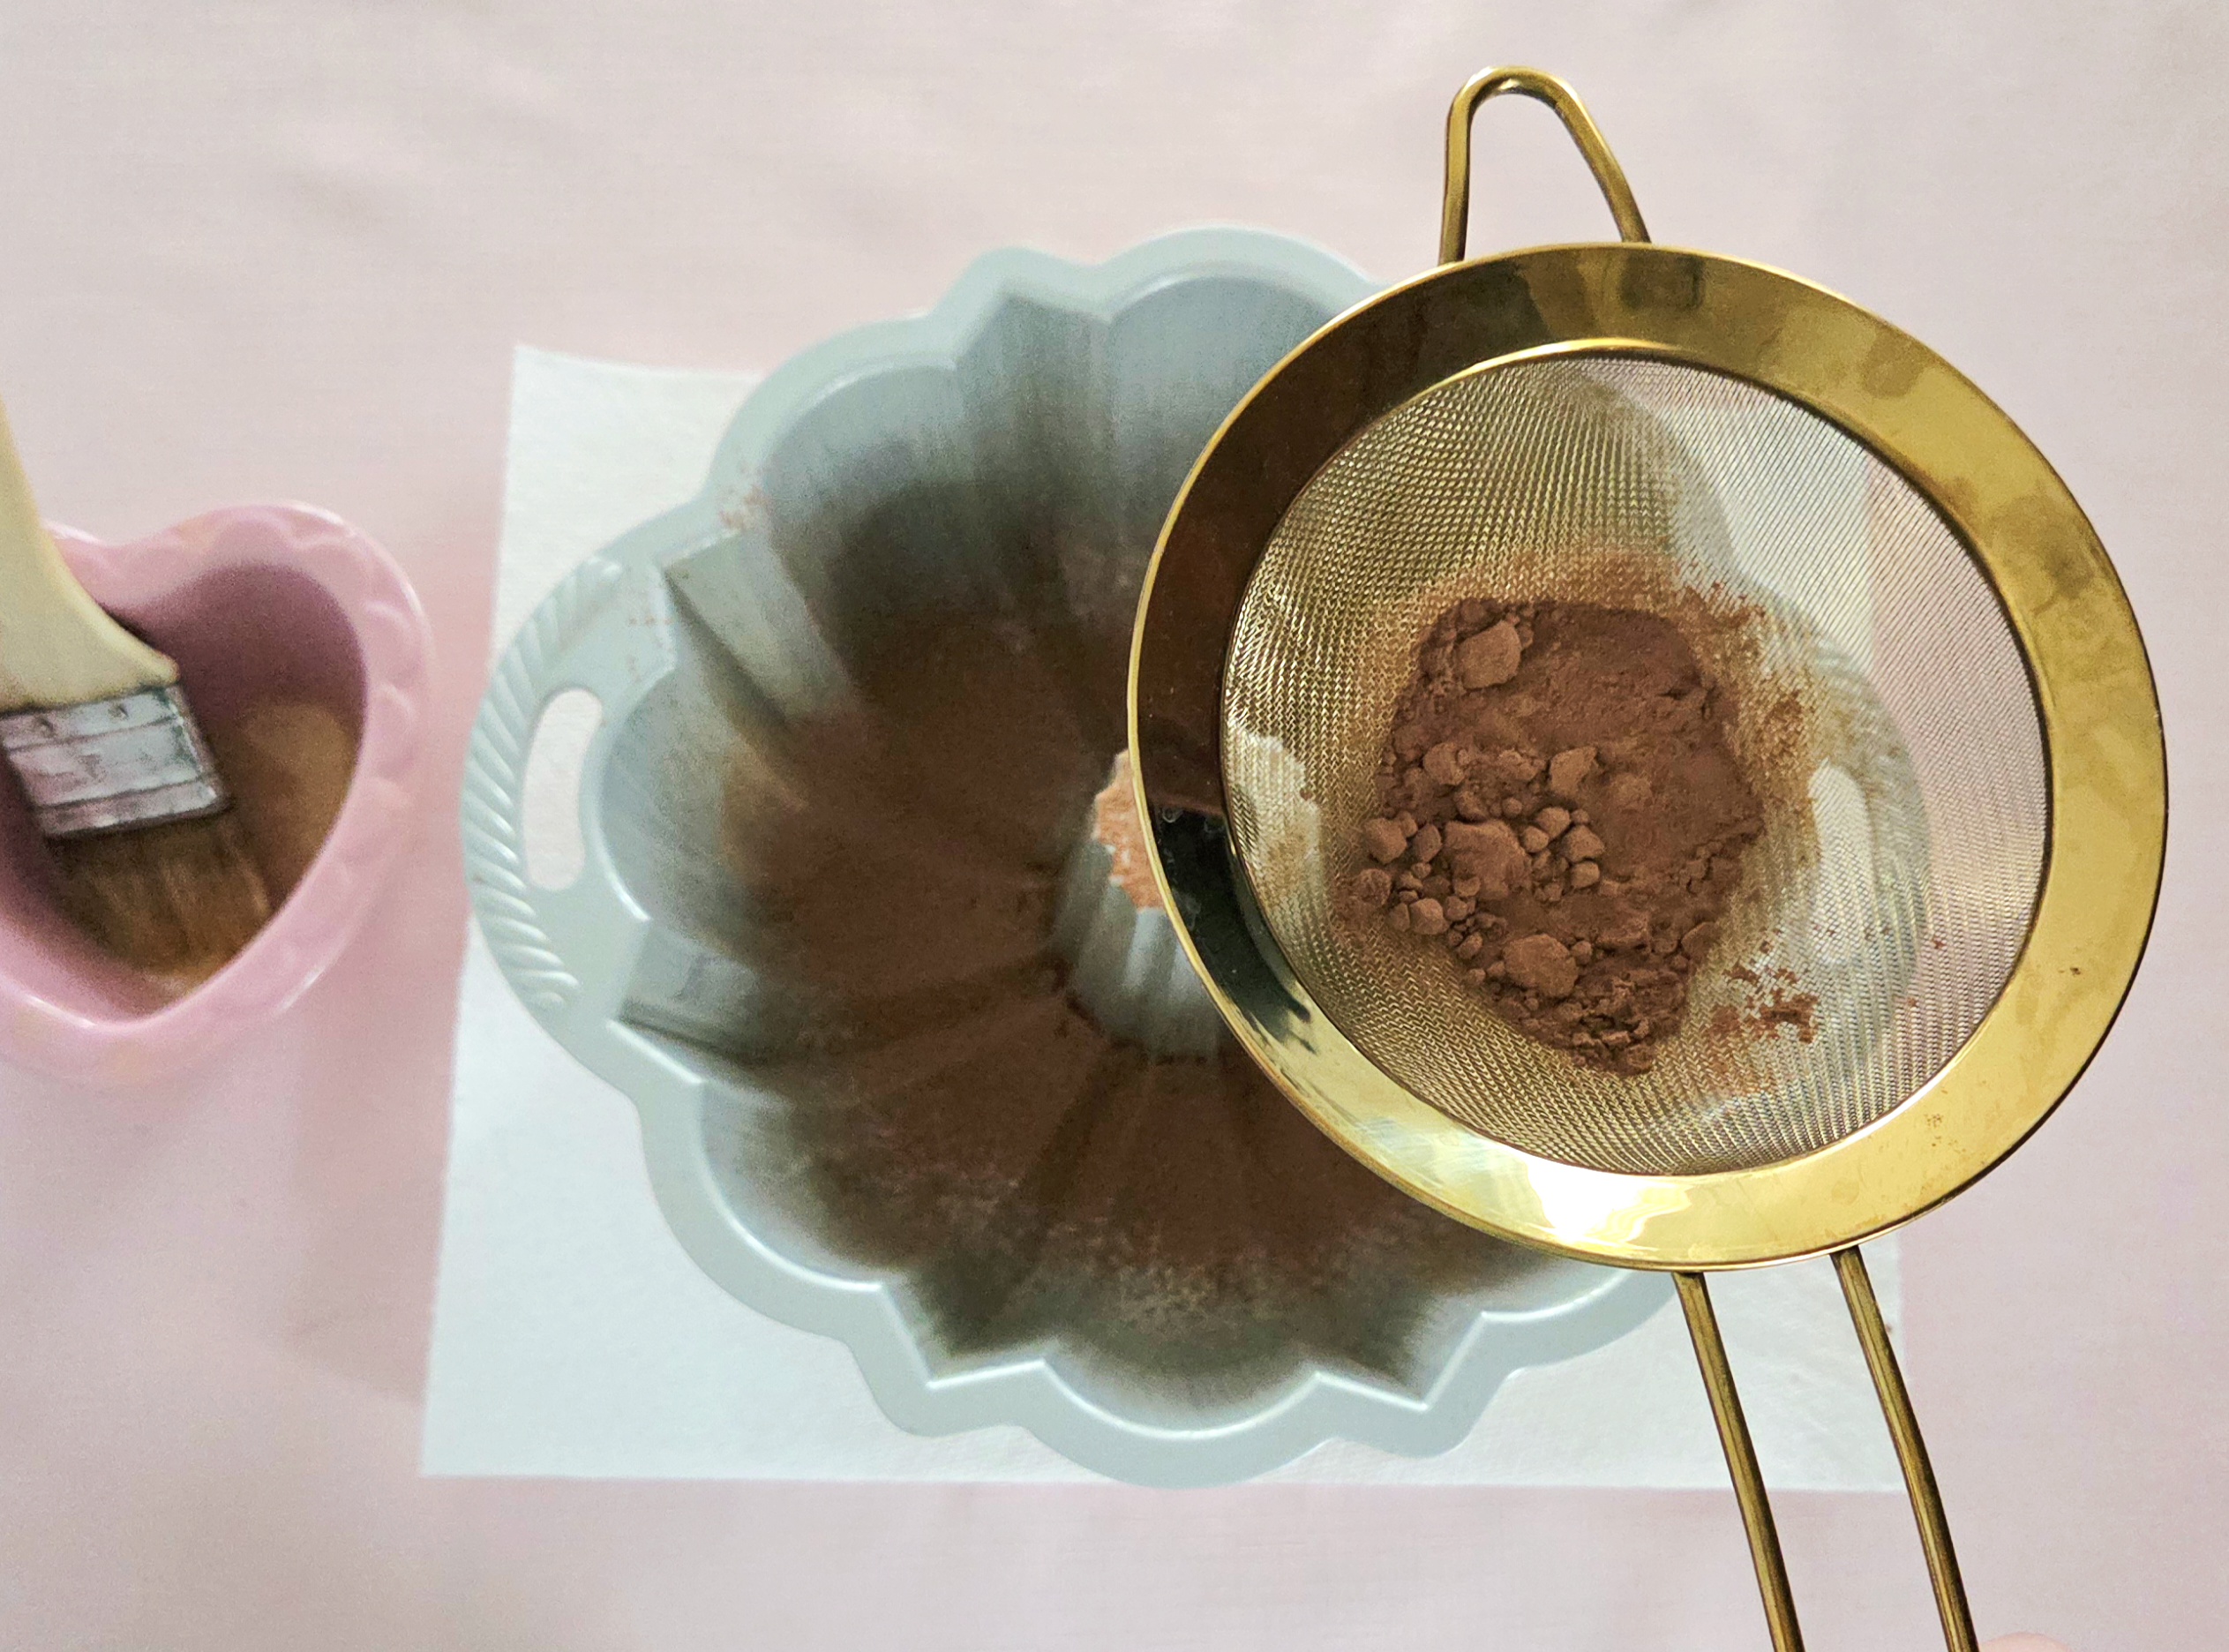
Start by making the batter. Preheat the oven to 350F, on the convection setting if possible, and place the rack in the center of the oven. Either spray the bundt pan with a nonstick baking spray or brush the interior down with melted butter and dust it with cocoa powder. That way, it will release from the pan the way that a butter/flour combo would allow, but the cocoa powder blends into the rest of the cake.

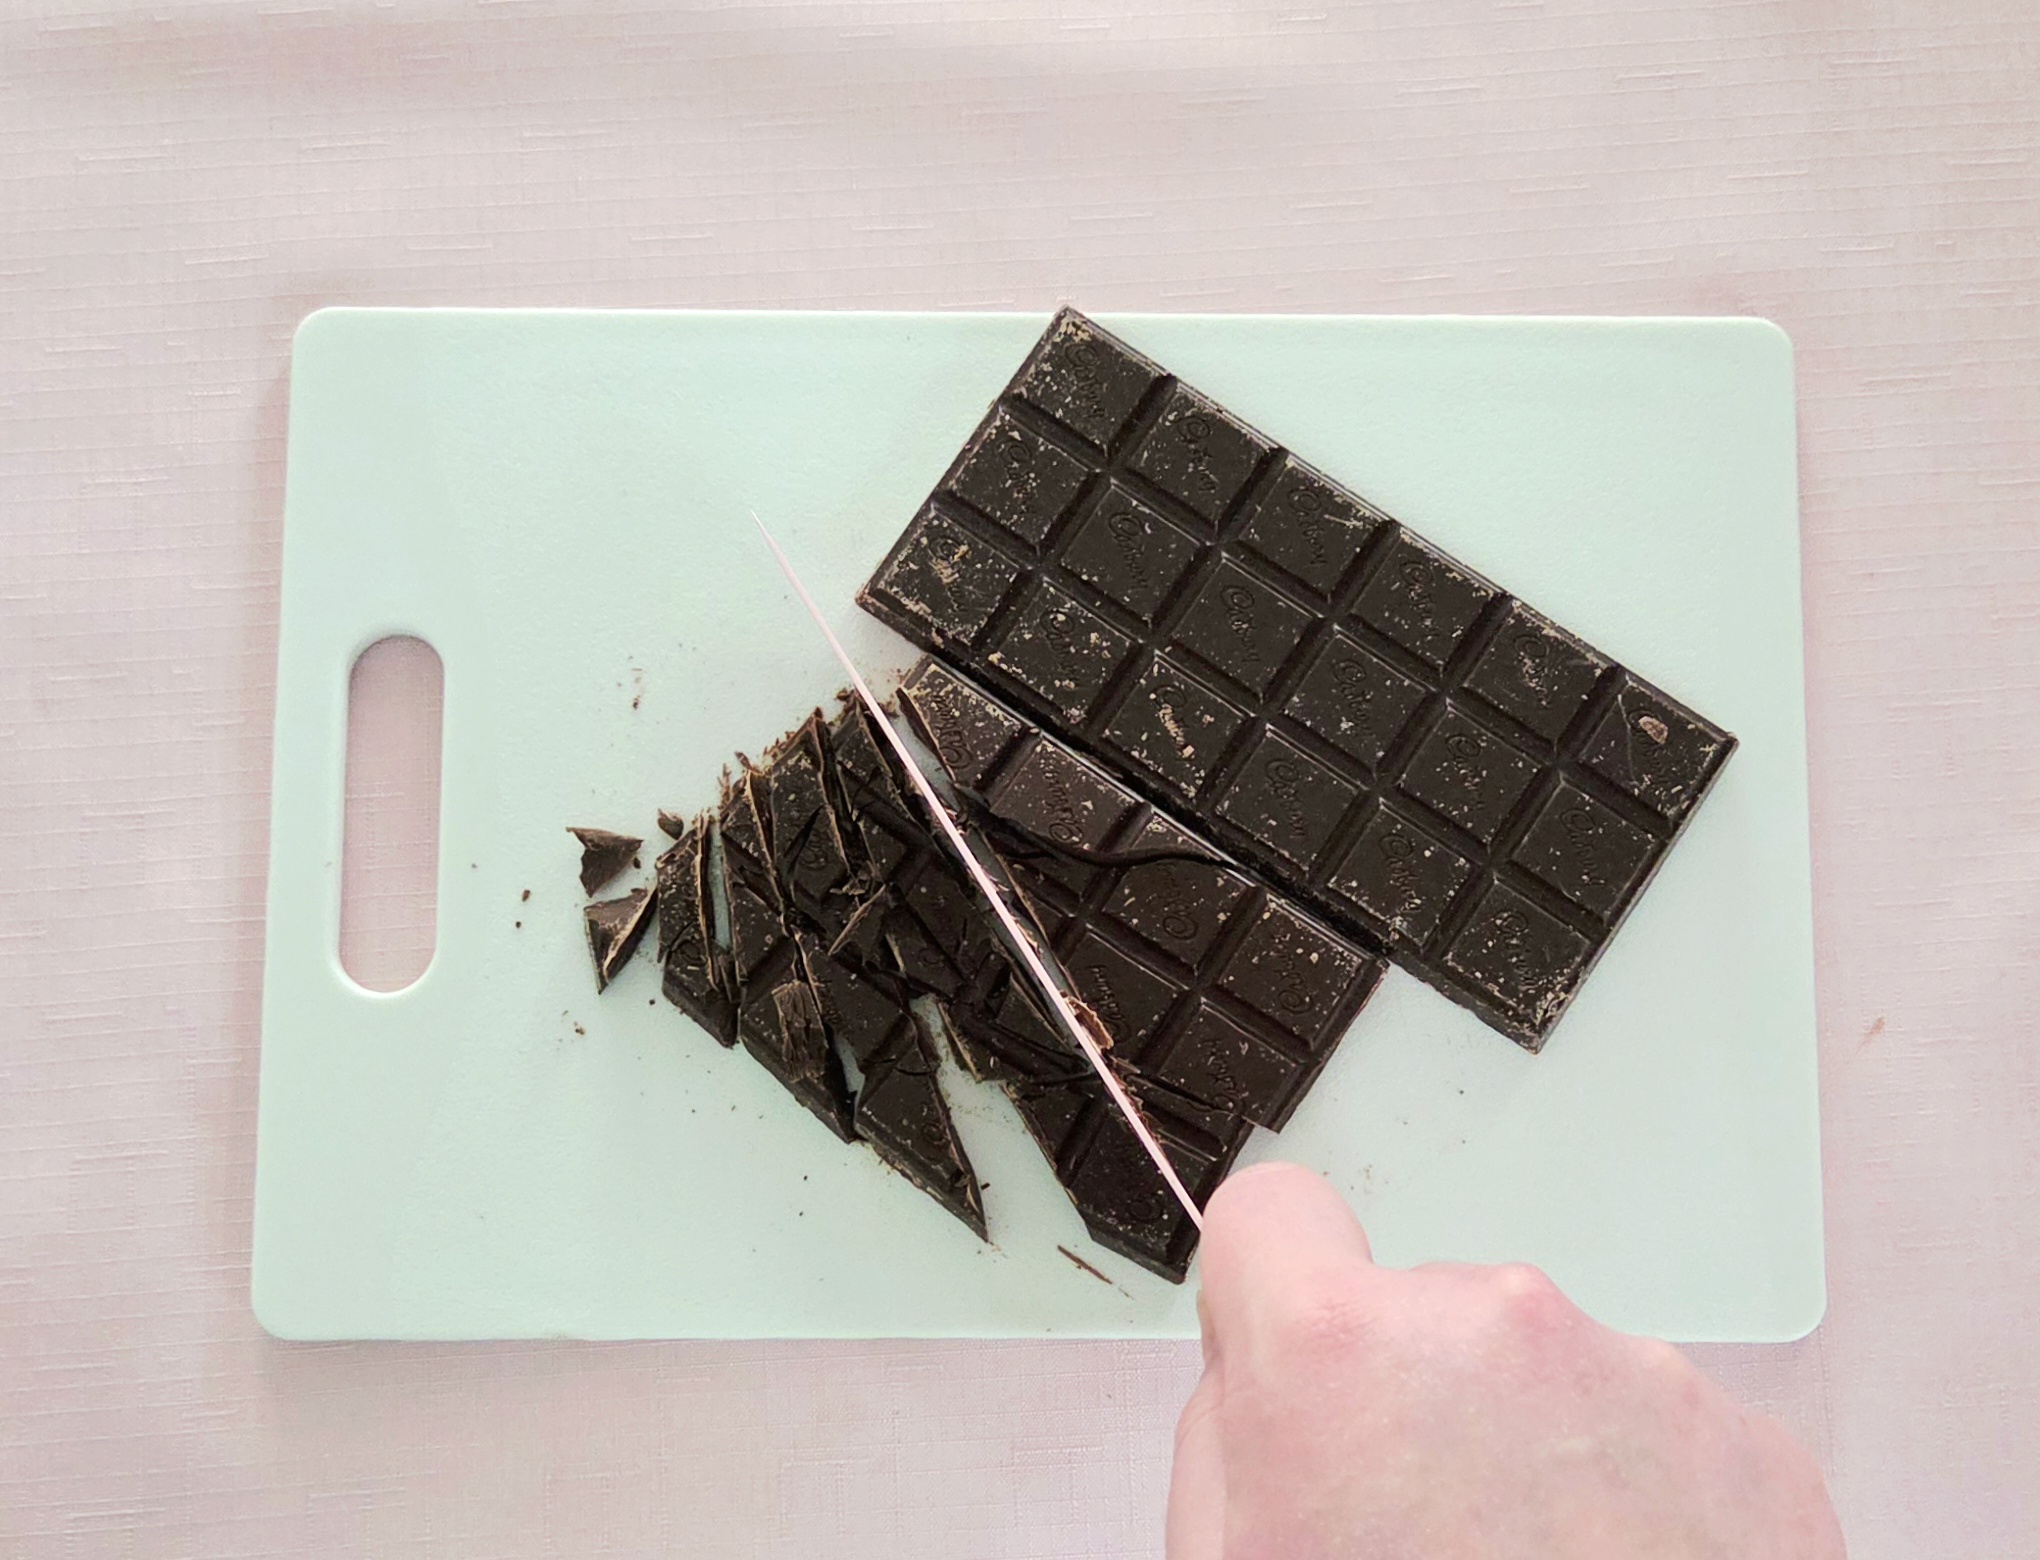
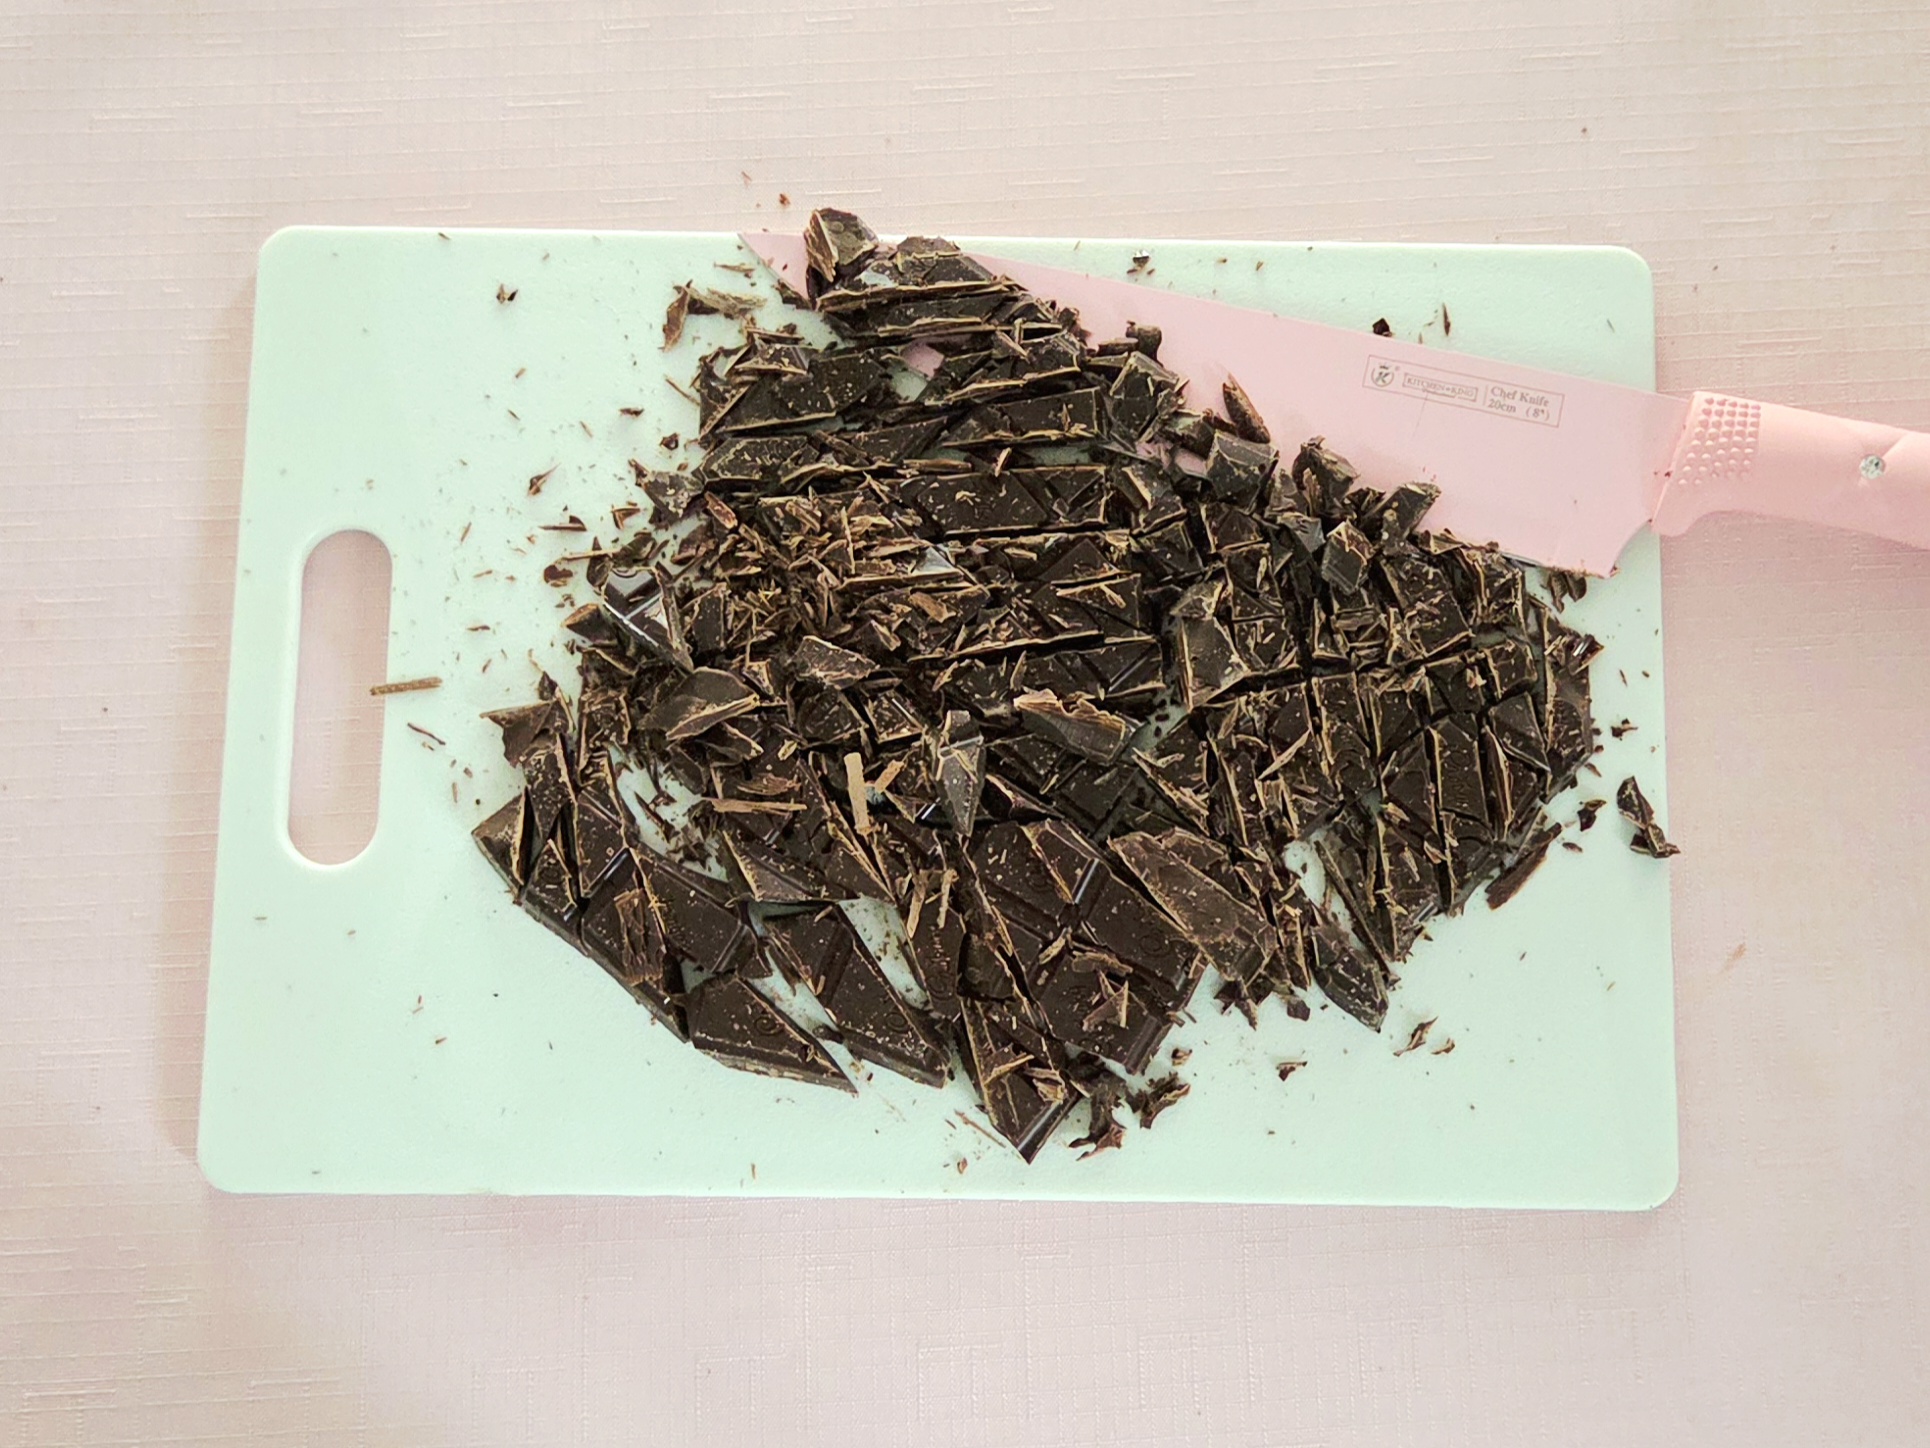
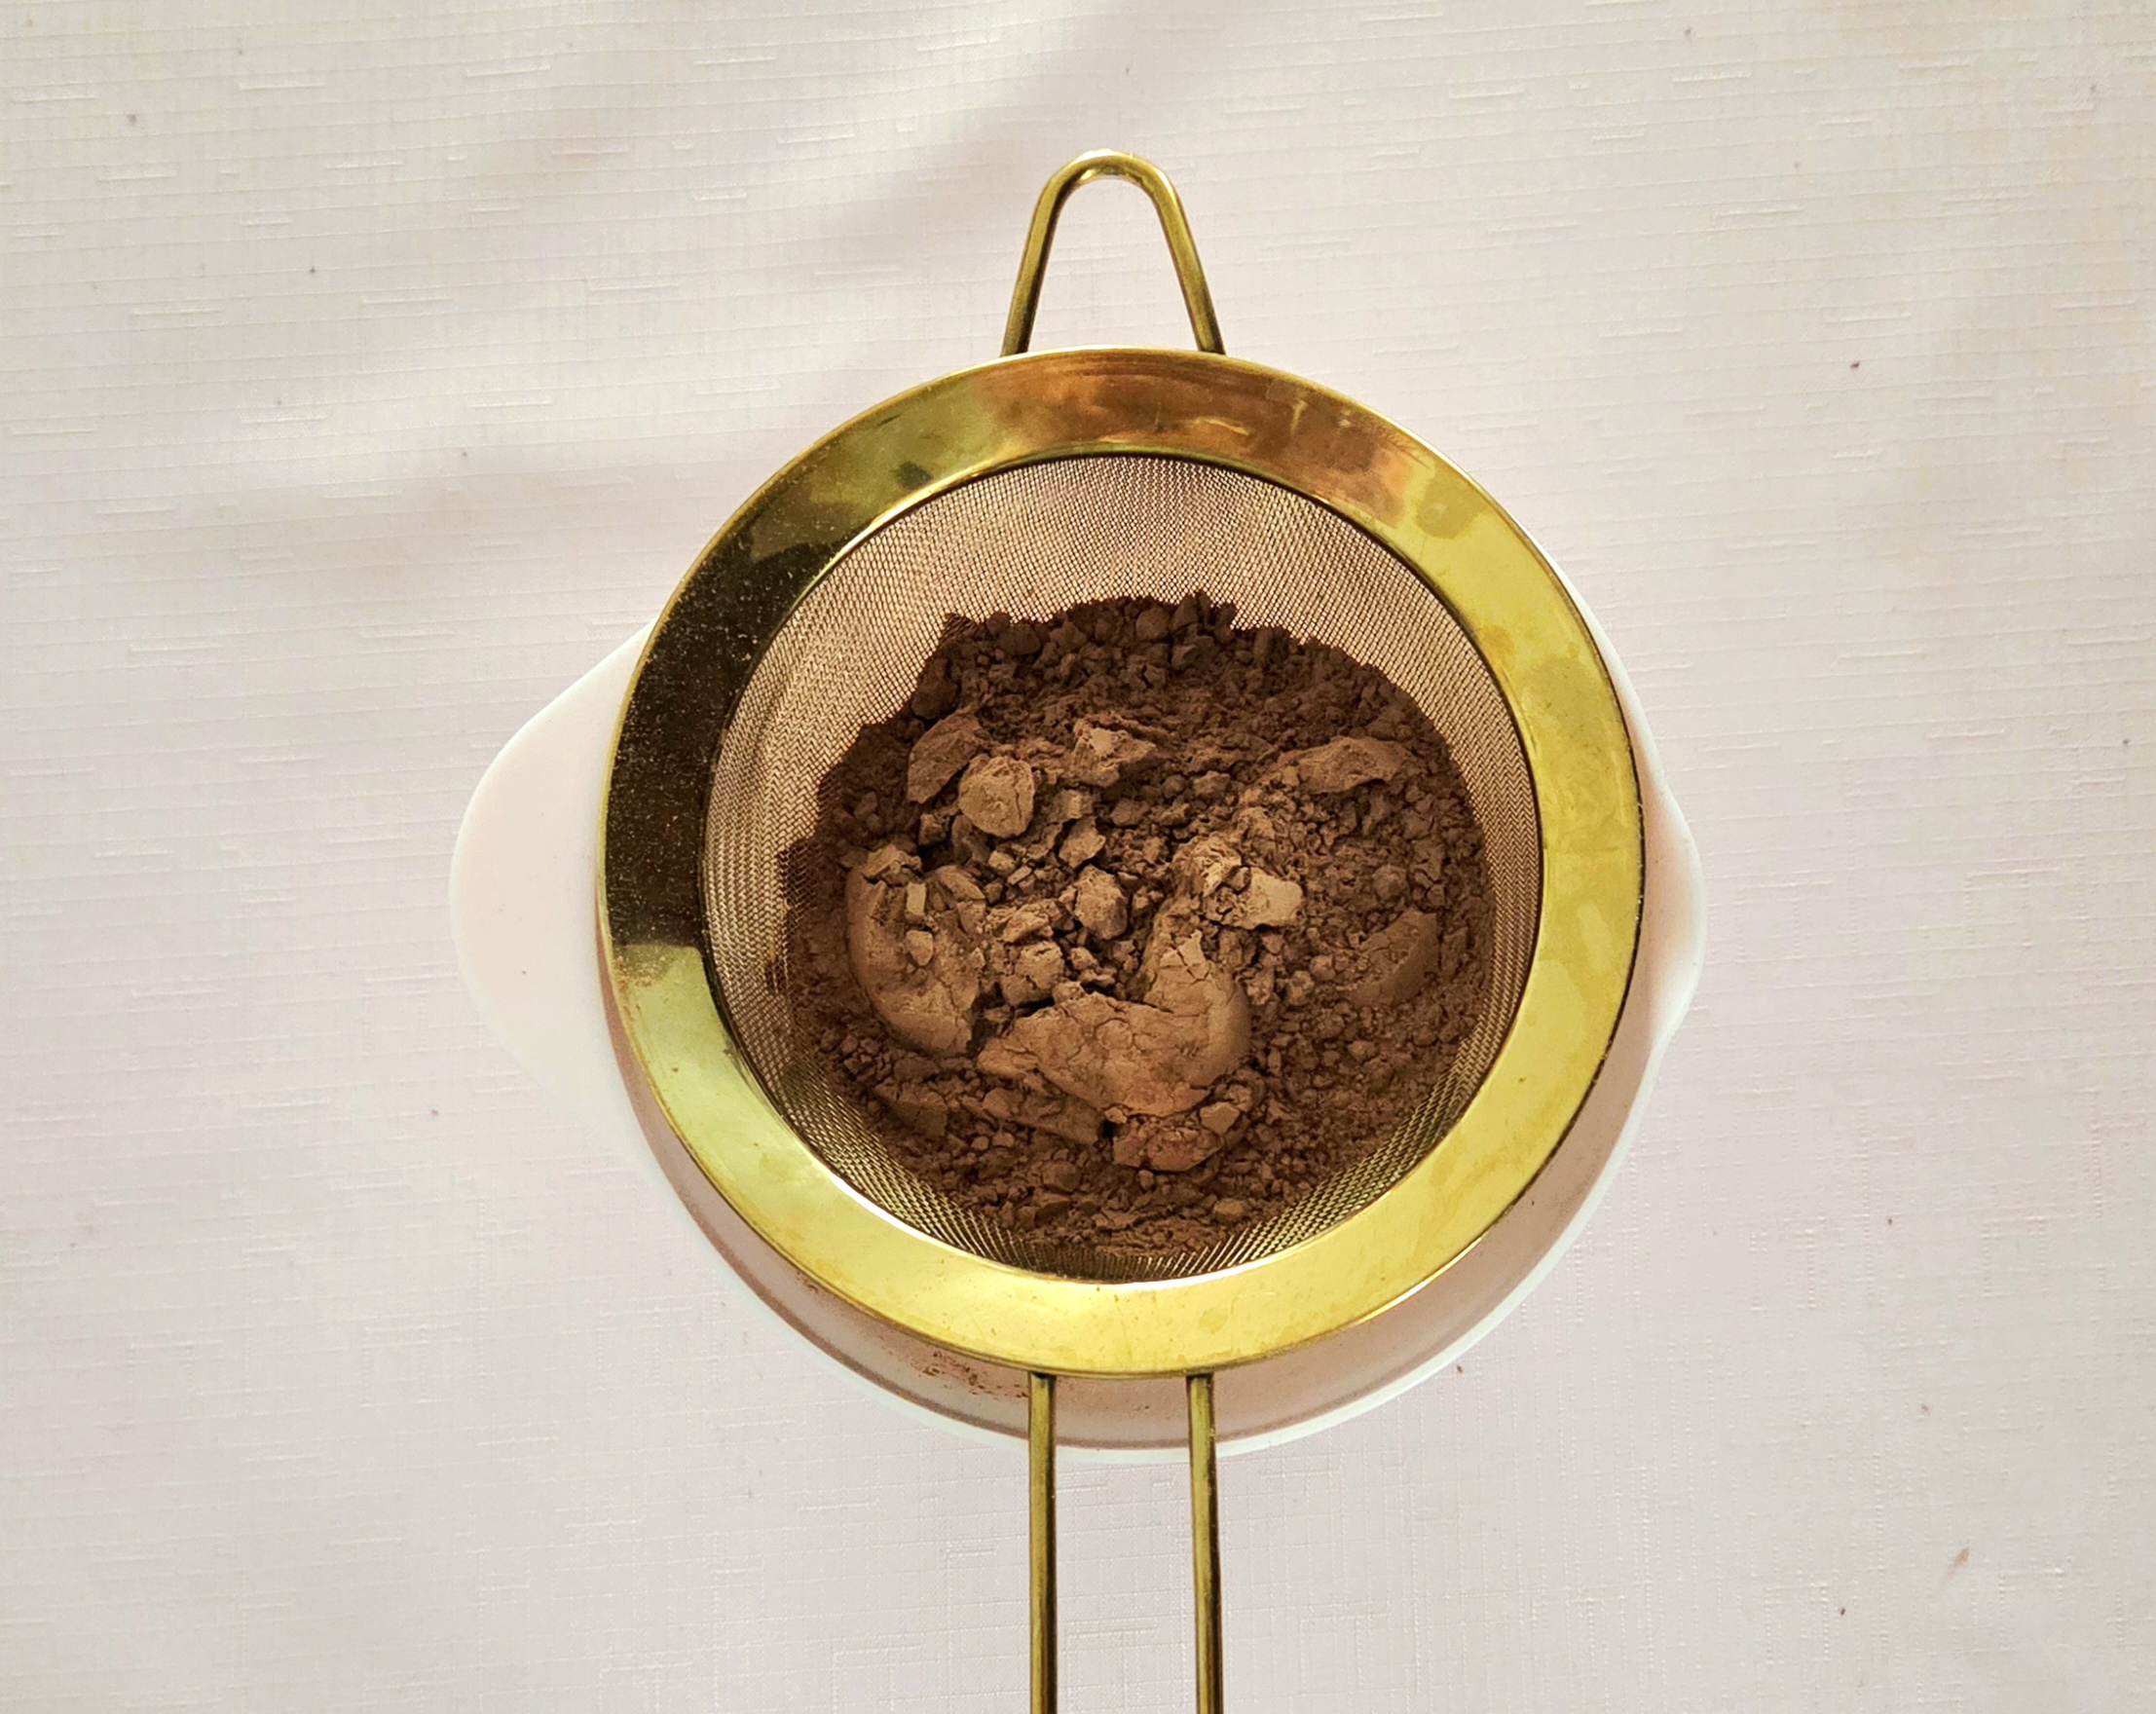
Now, to bloom the cocoa powder. This technique intensifies the chocolate flavor in the final result, so it’s absolutely worth doing. Heat the milk in a small saucepan on the stove over medium heat. Keep a close eye on it, as when milk overheats, it goes everywhere. As the milk heats, prepare the chocolate portion. Chop the chocolate bars and place the pieces into a medium sized heat-safe mixing bowl. Sift the cocoa powder over the top of the chocolate, to get out any lumps now. Add in the espresso powder, if so desired.
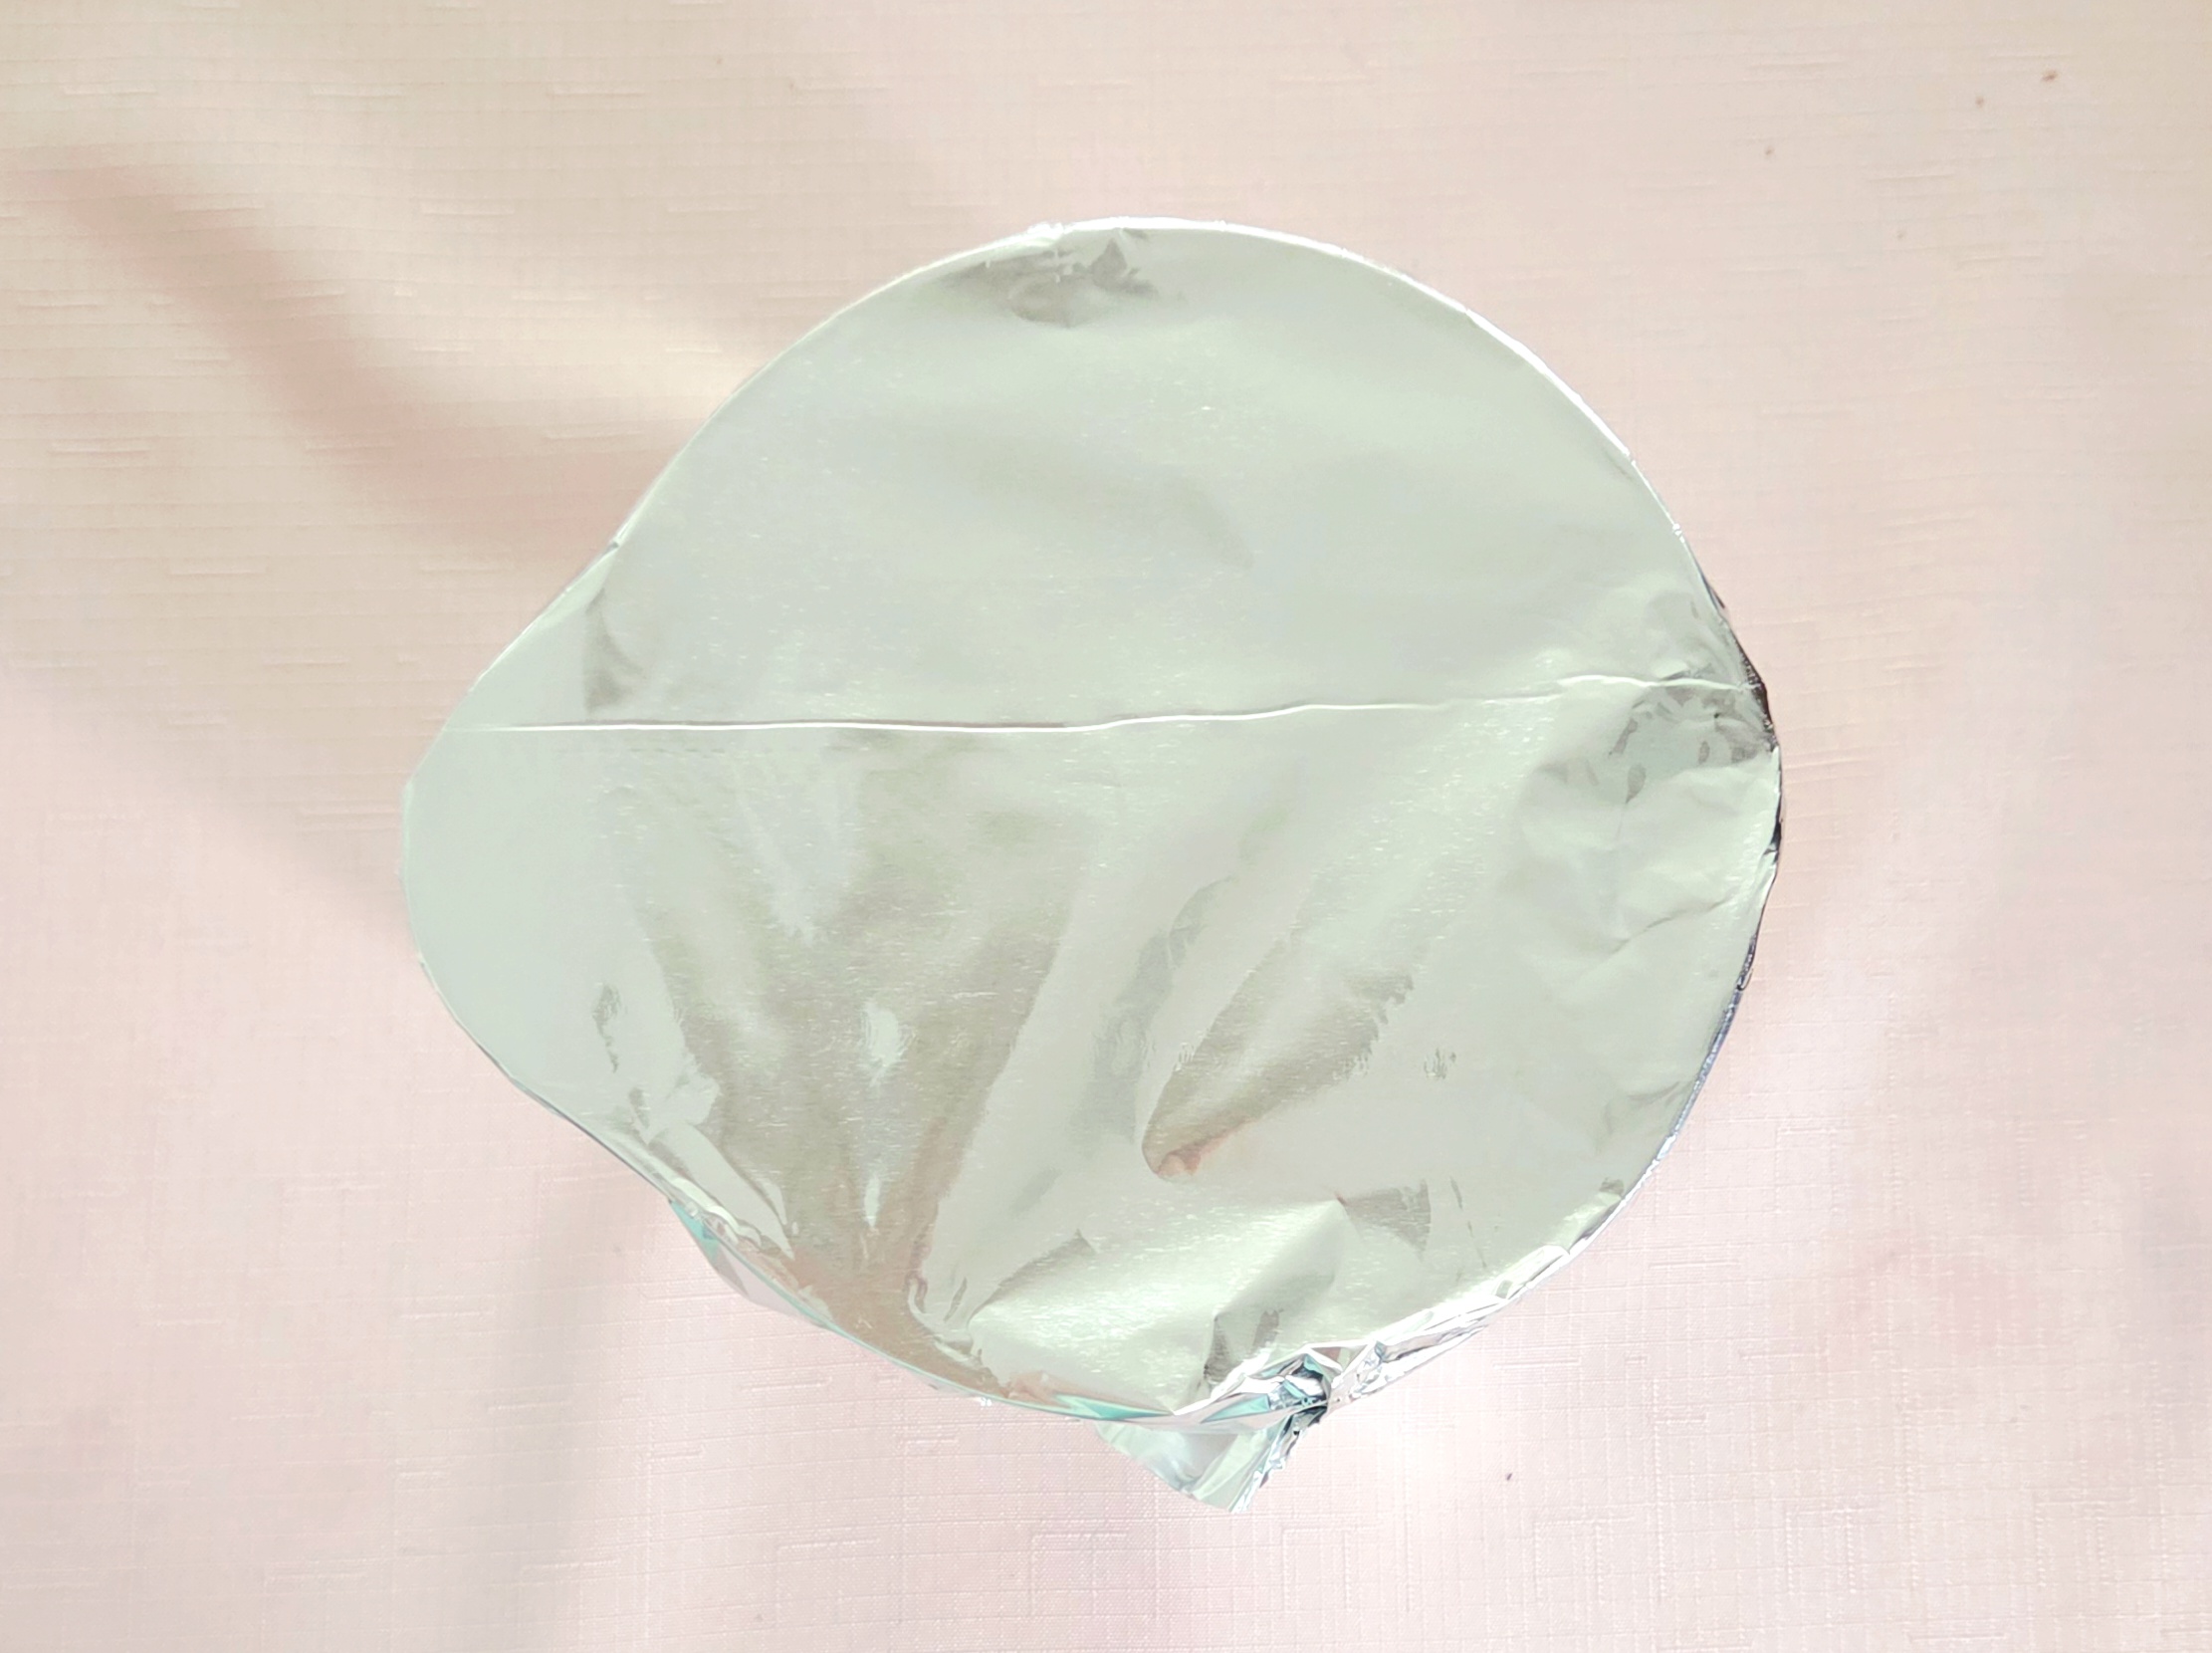
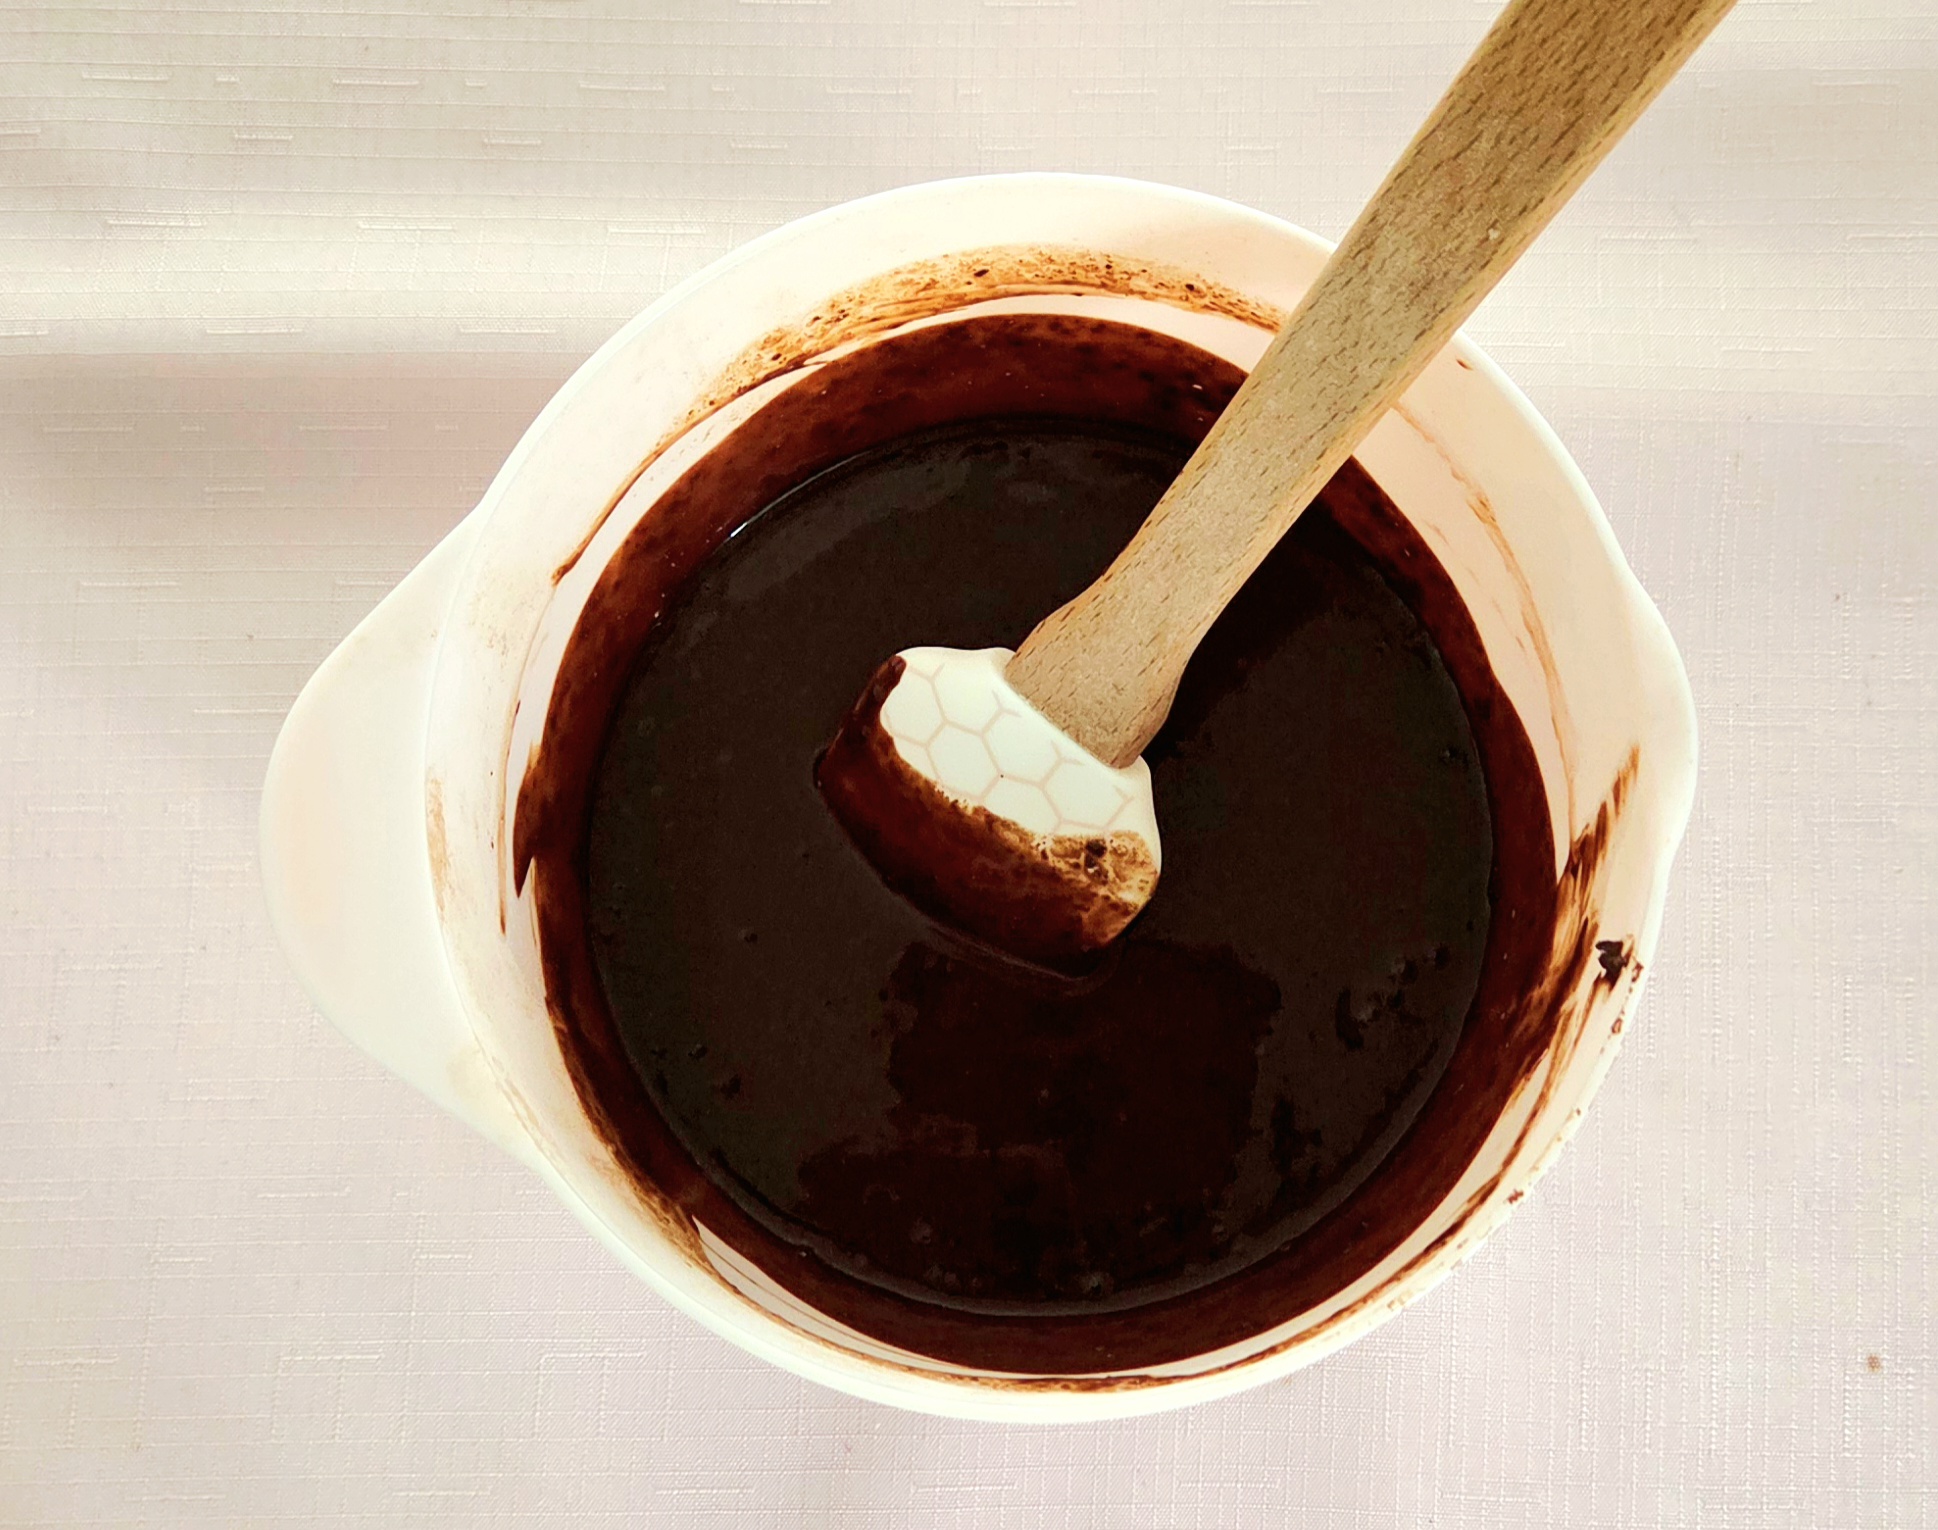
Once the milk has just come to a boil, pour it over the top of the chocolate-cocoa powder mixture. Cover the bowl with aluminum foil, to trap the heat inside and allow it to melt everything down.

Leave the covered bowl alone for 5 minutes or so. That way, the chopped chocolate will have fully melted and everything will blend together smoothly. Remove the foil and gently whisk it all together. Set the bloomed chocolate mixture into the fridge. This will give it a chance to cool down quickly, before it’s time to add it into the rest of the batter.
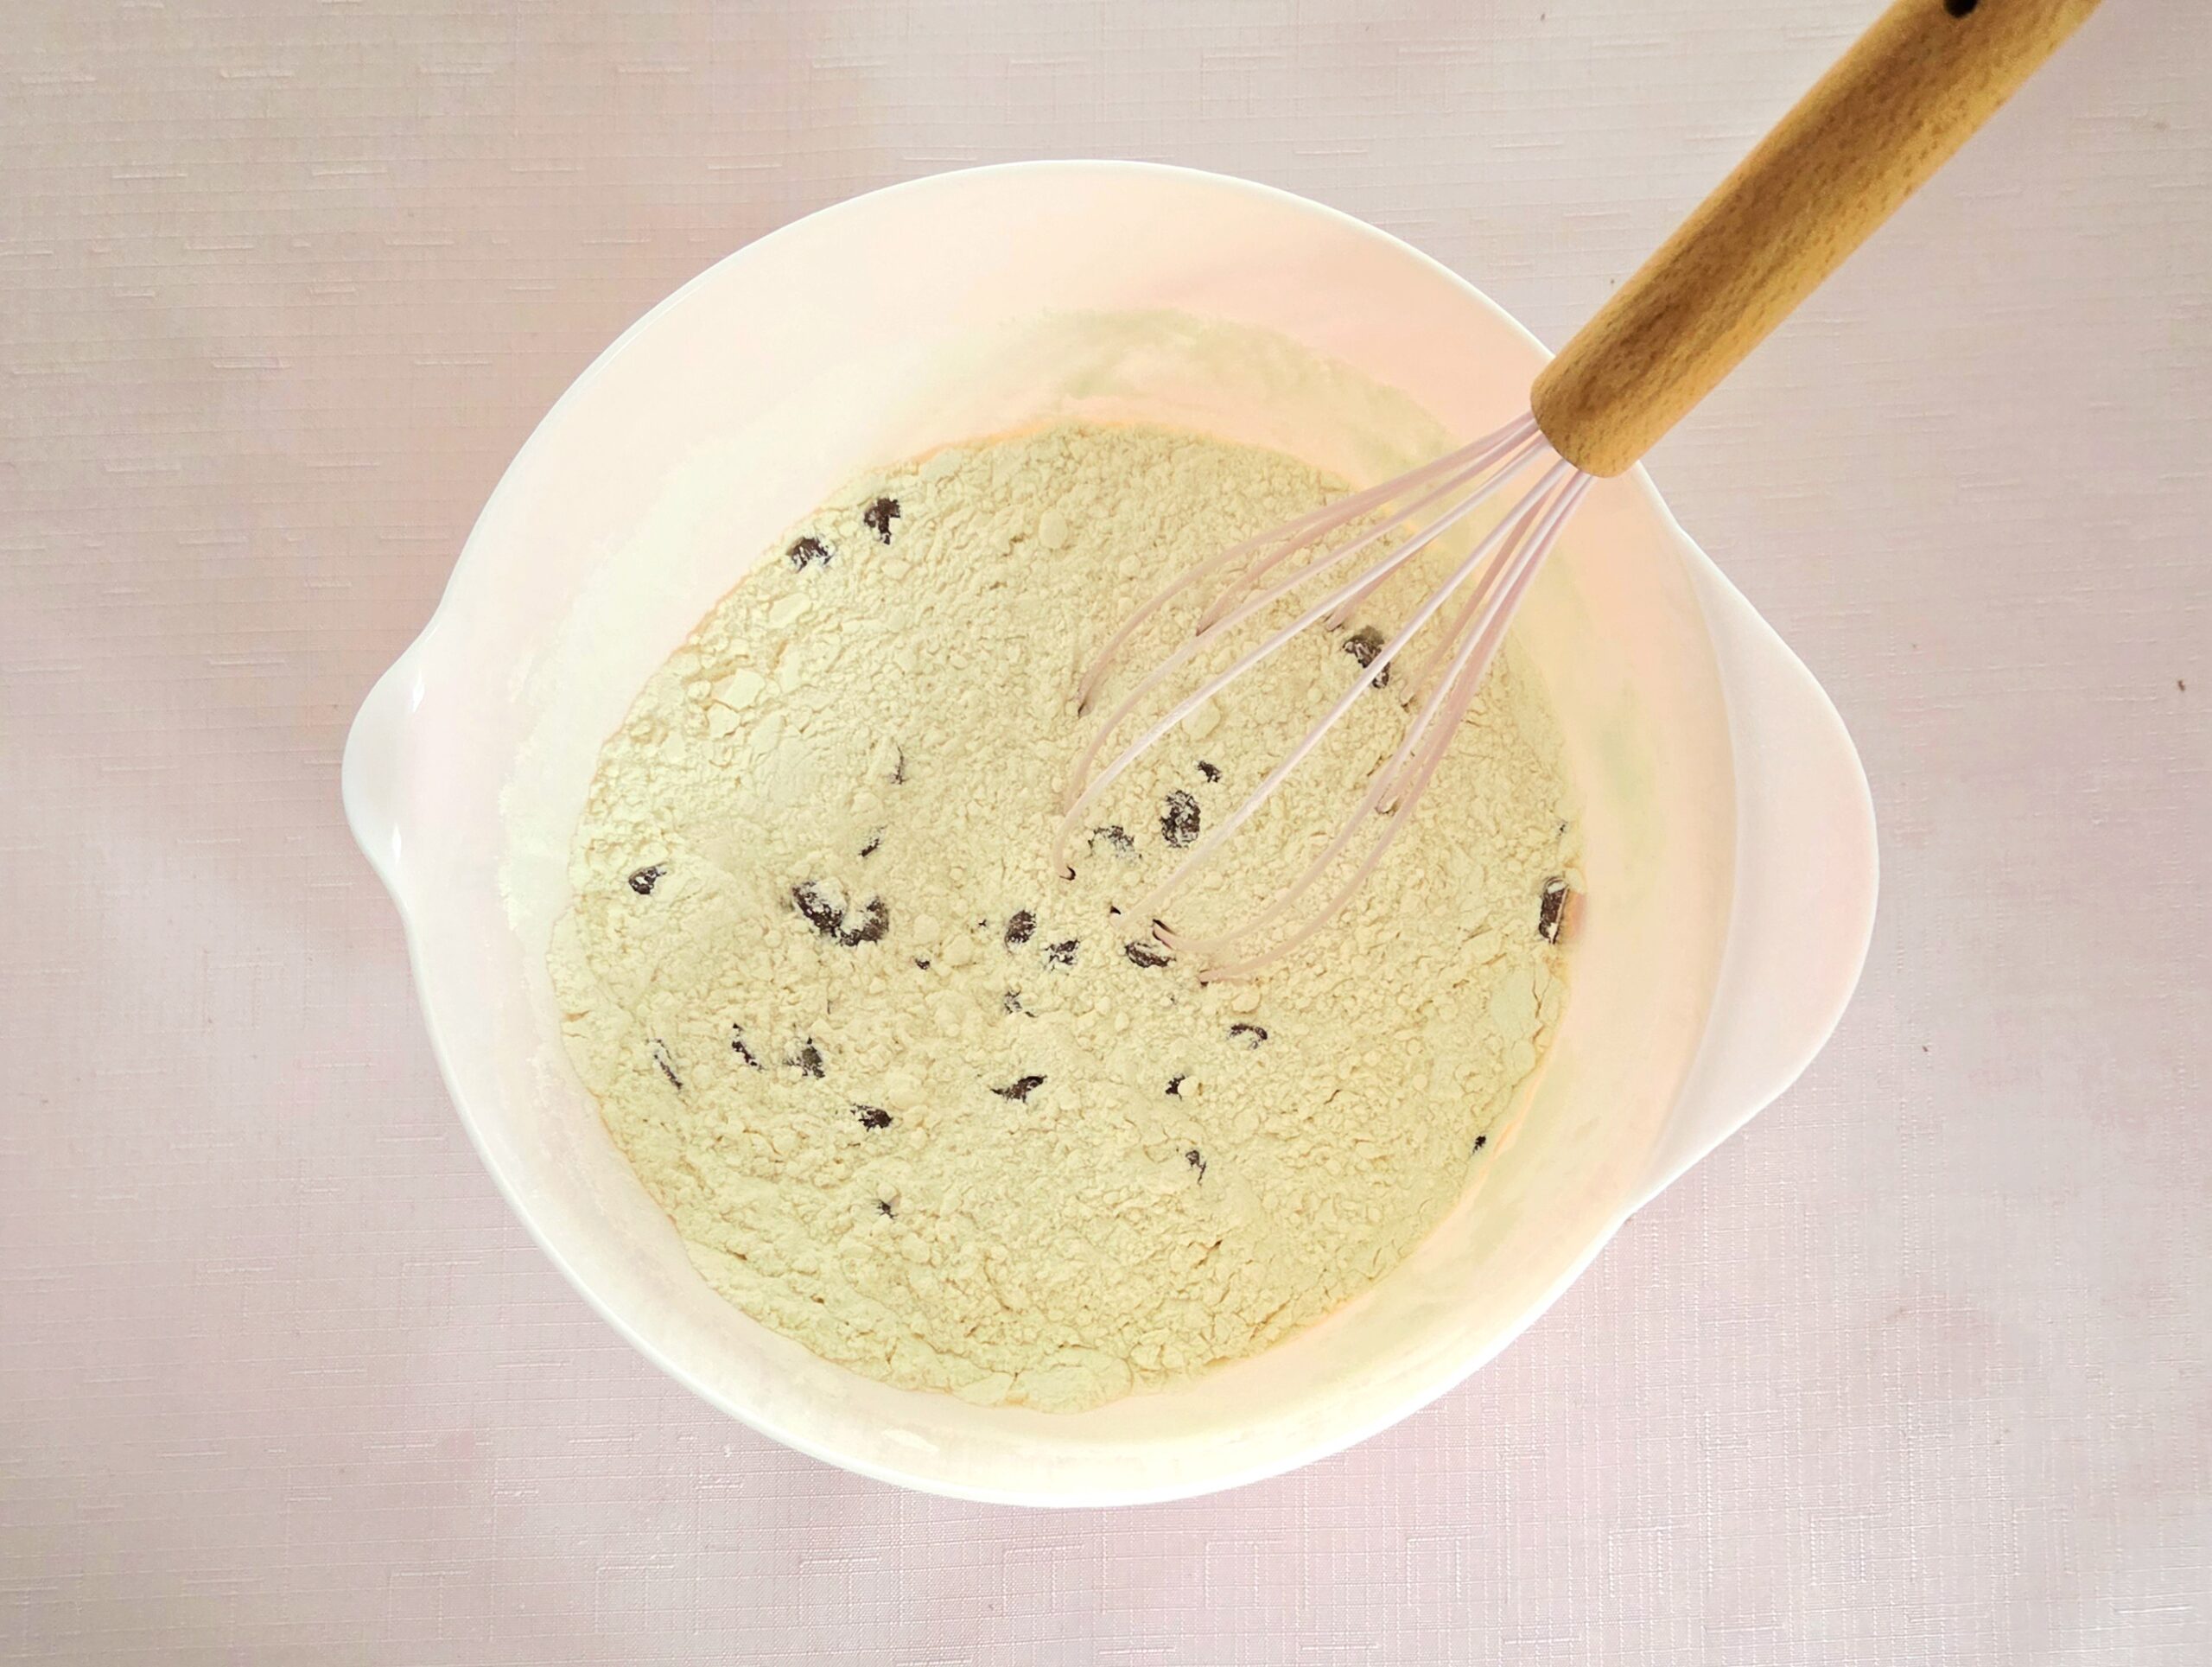
During the 5 minute period where the bloomed chocolate mixture is covered up and warming through, prepare the dry goods. Whisk together the flour, salt, baking powder, baking soda, and chocolate chips. Whisking everything together now will make sure any big lumps of flour are broken up, and evenly distribute the salt, baking powder, and baking soda. That way, the cake bakes evenly and nobody bites into a salt pocket.
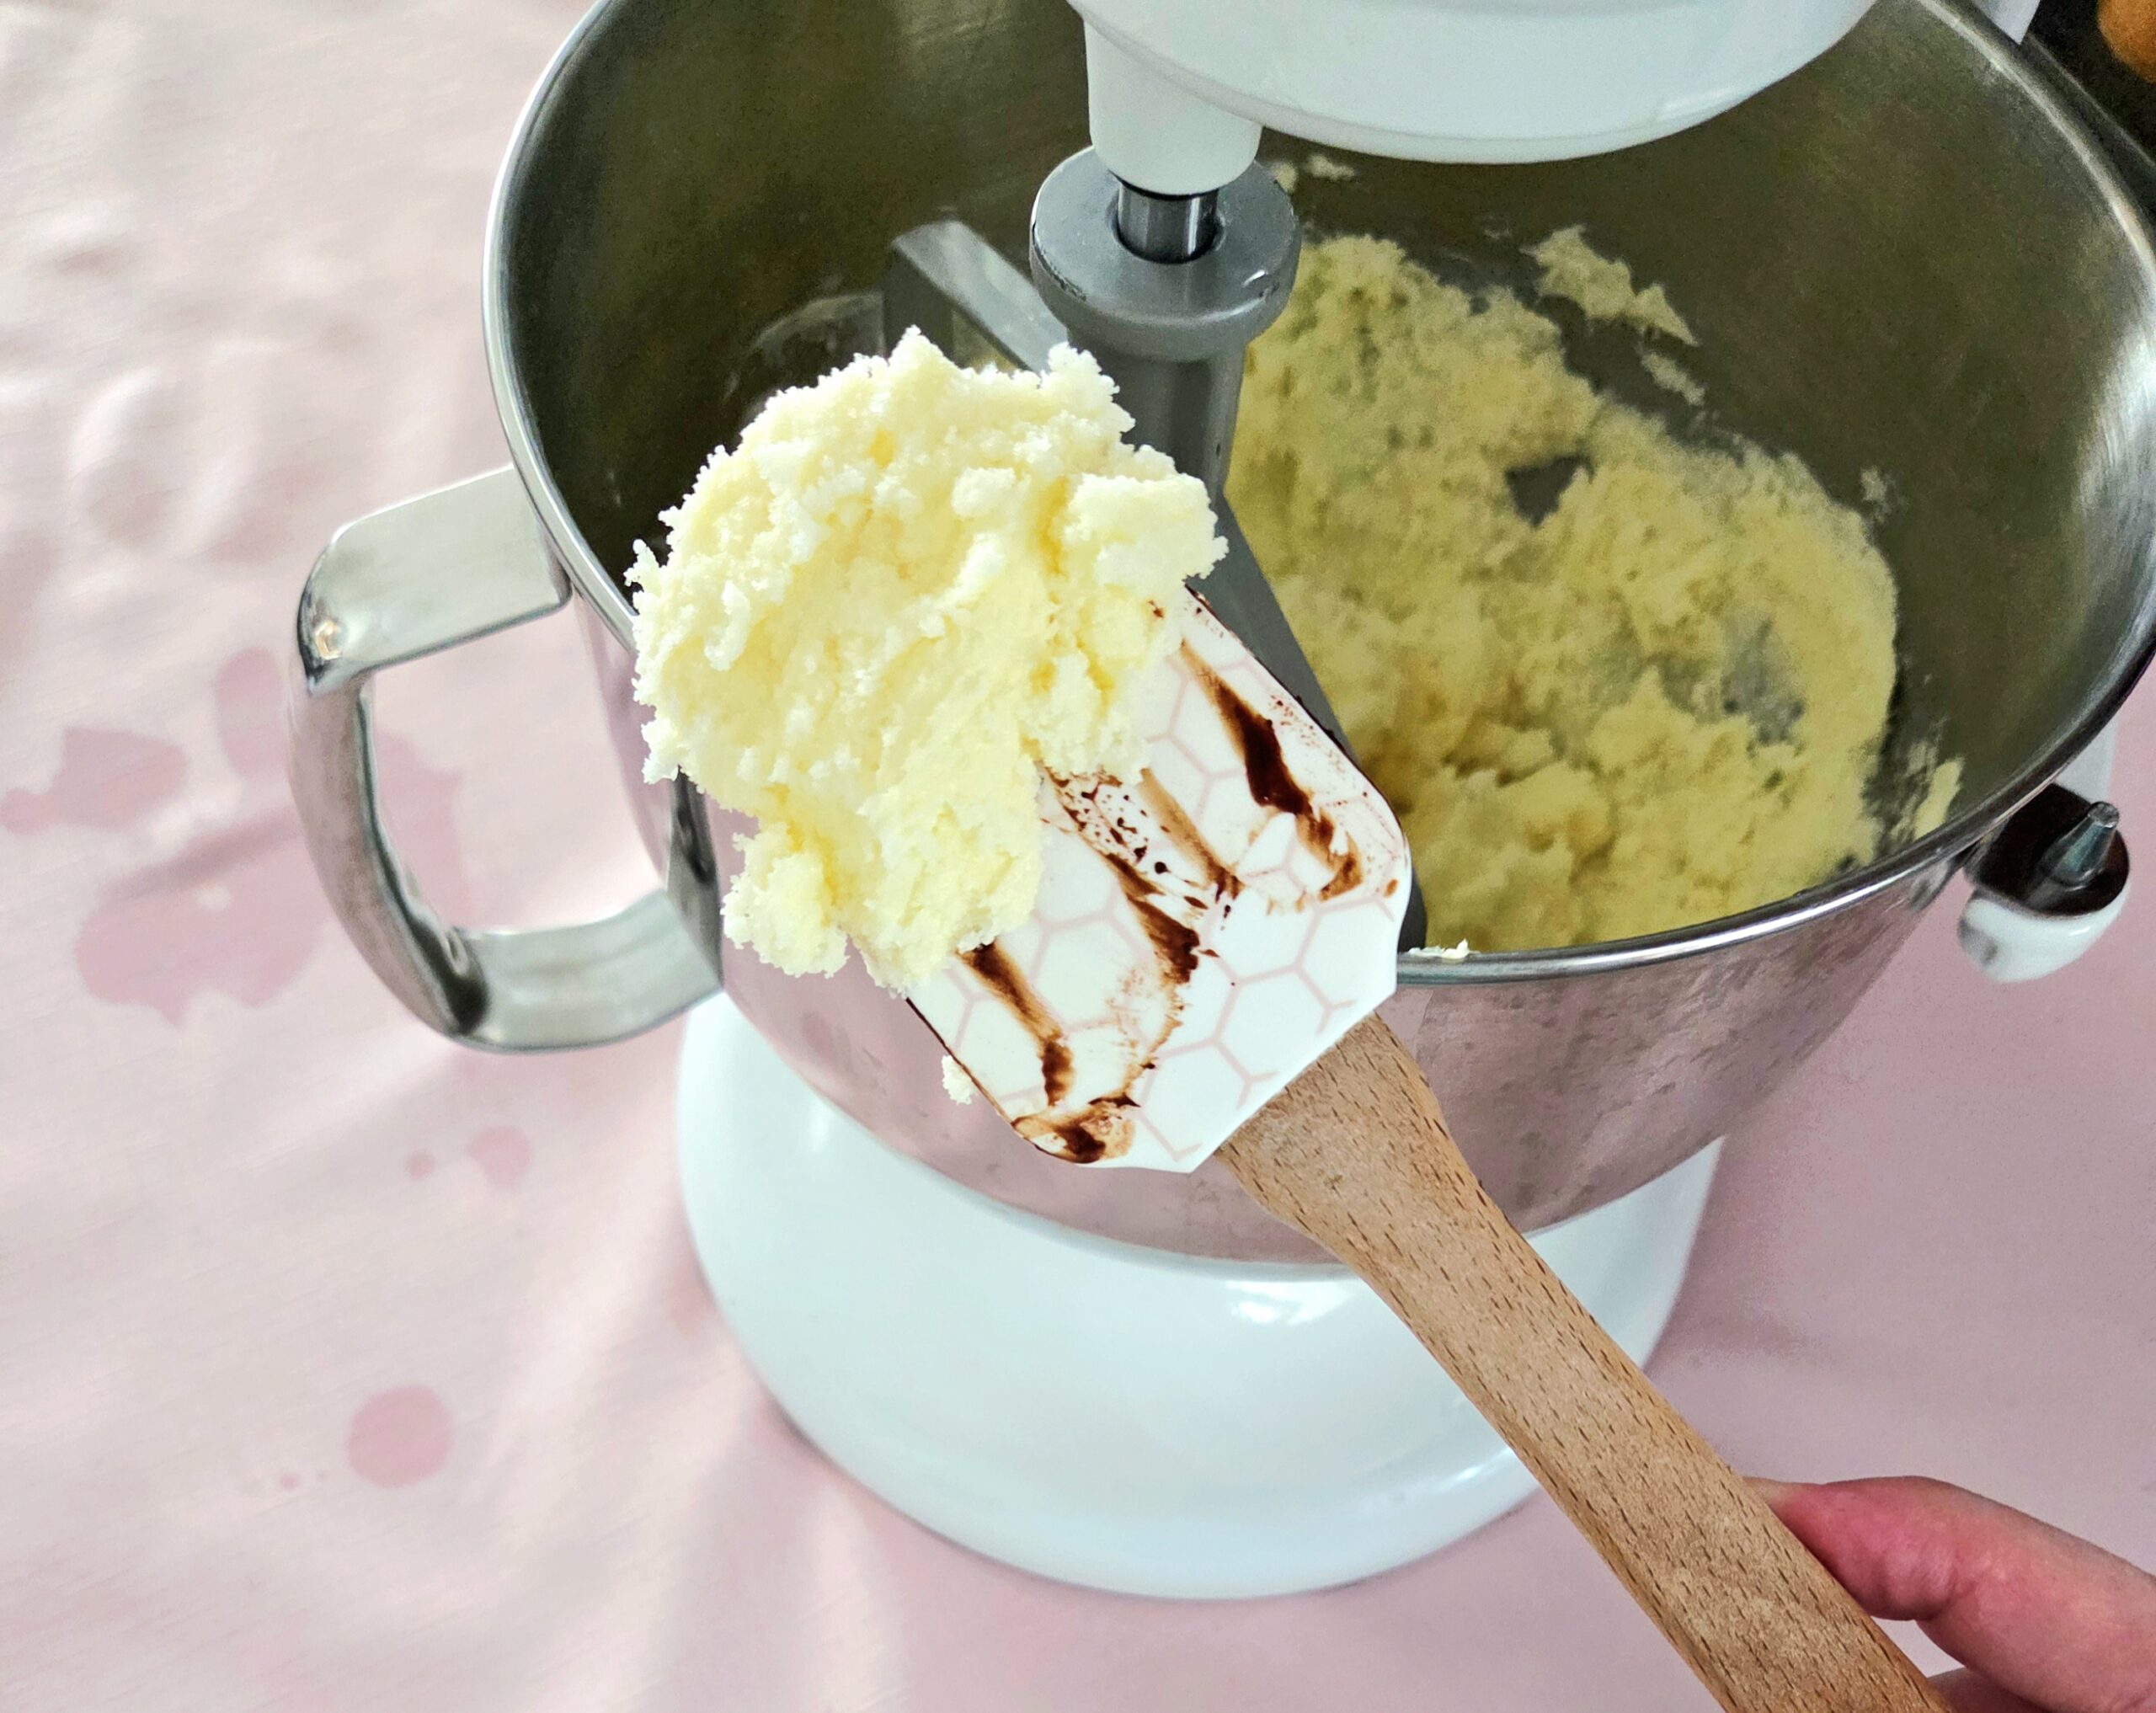
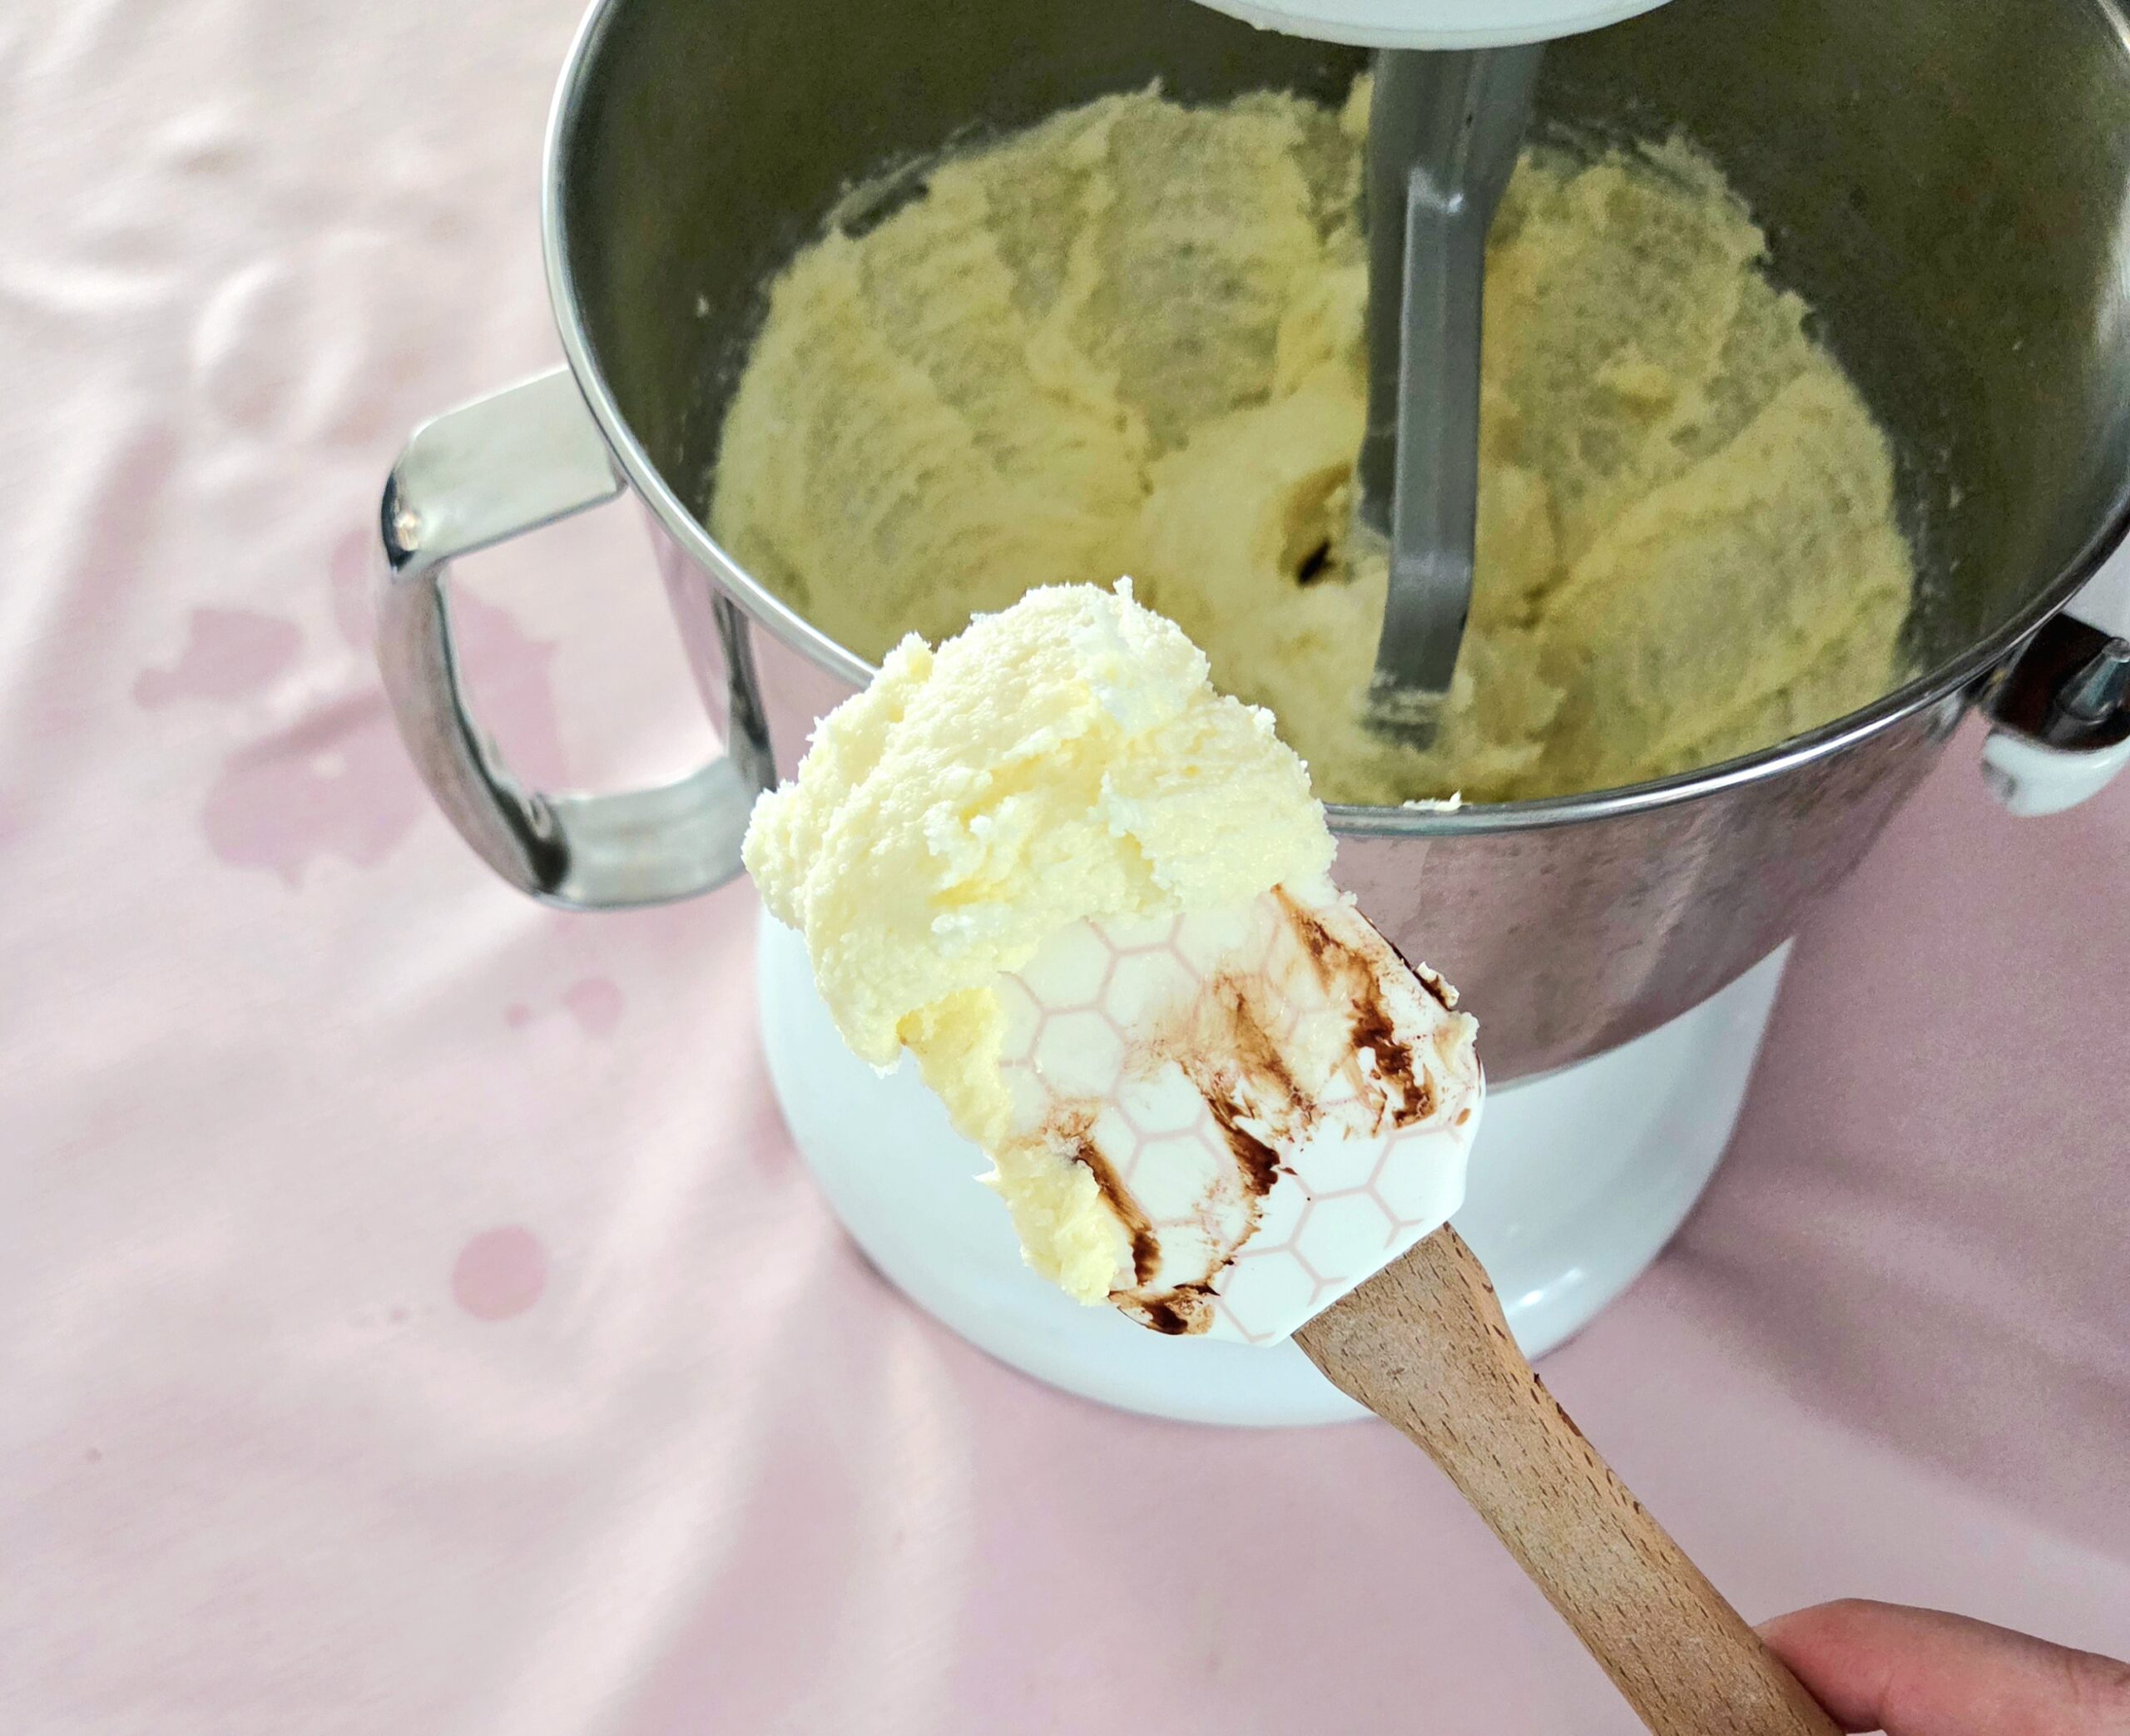
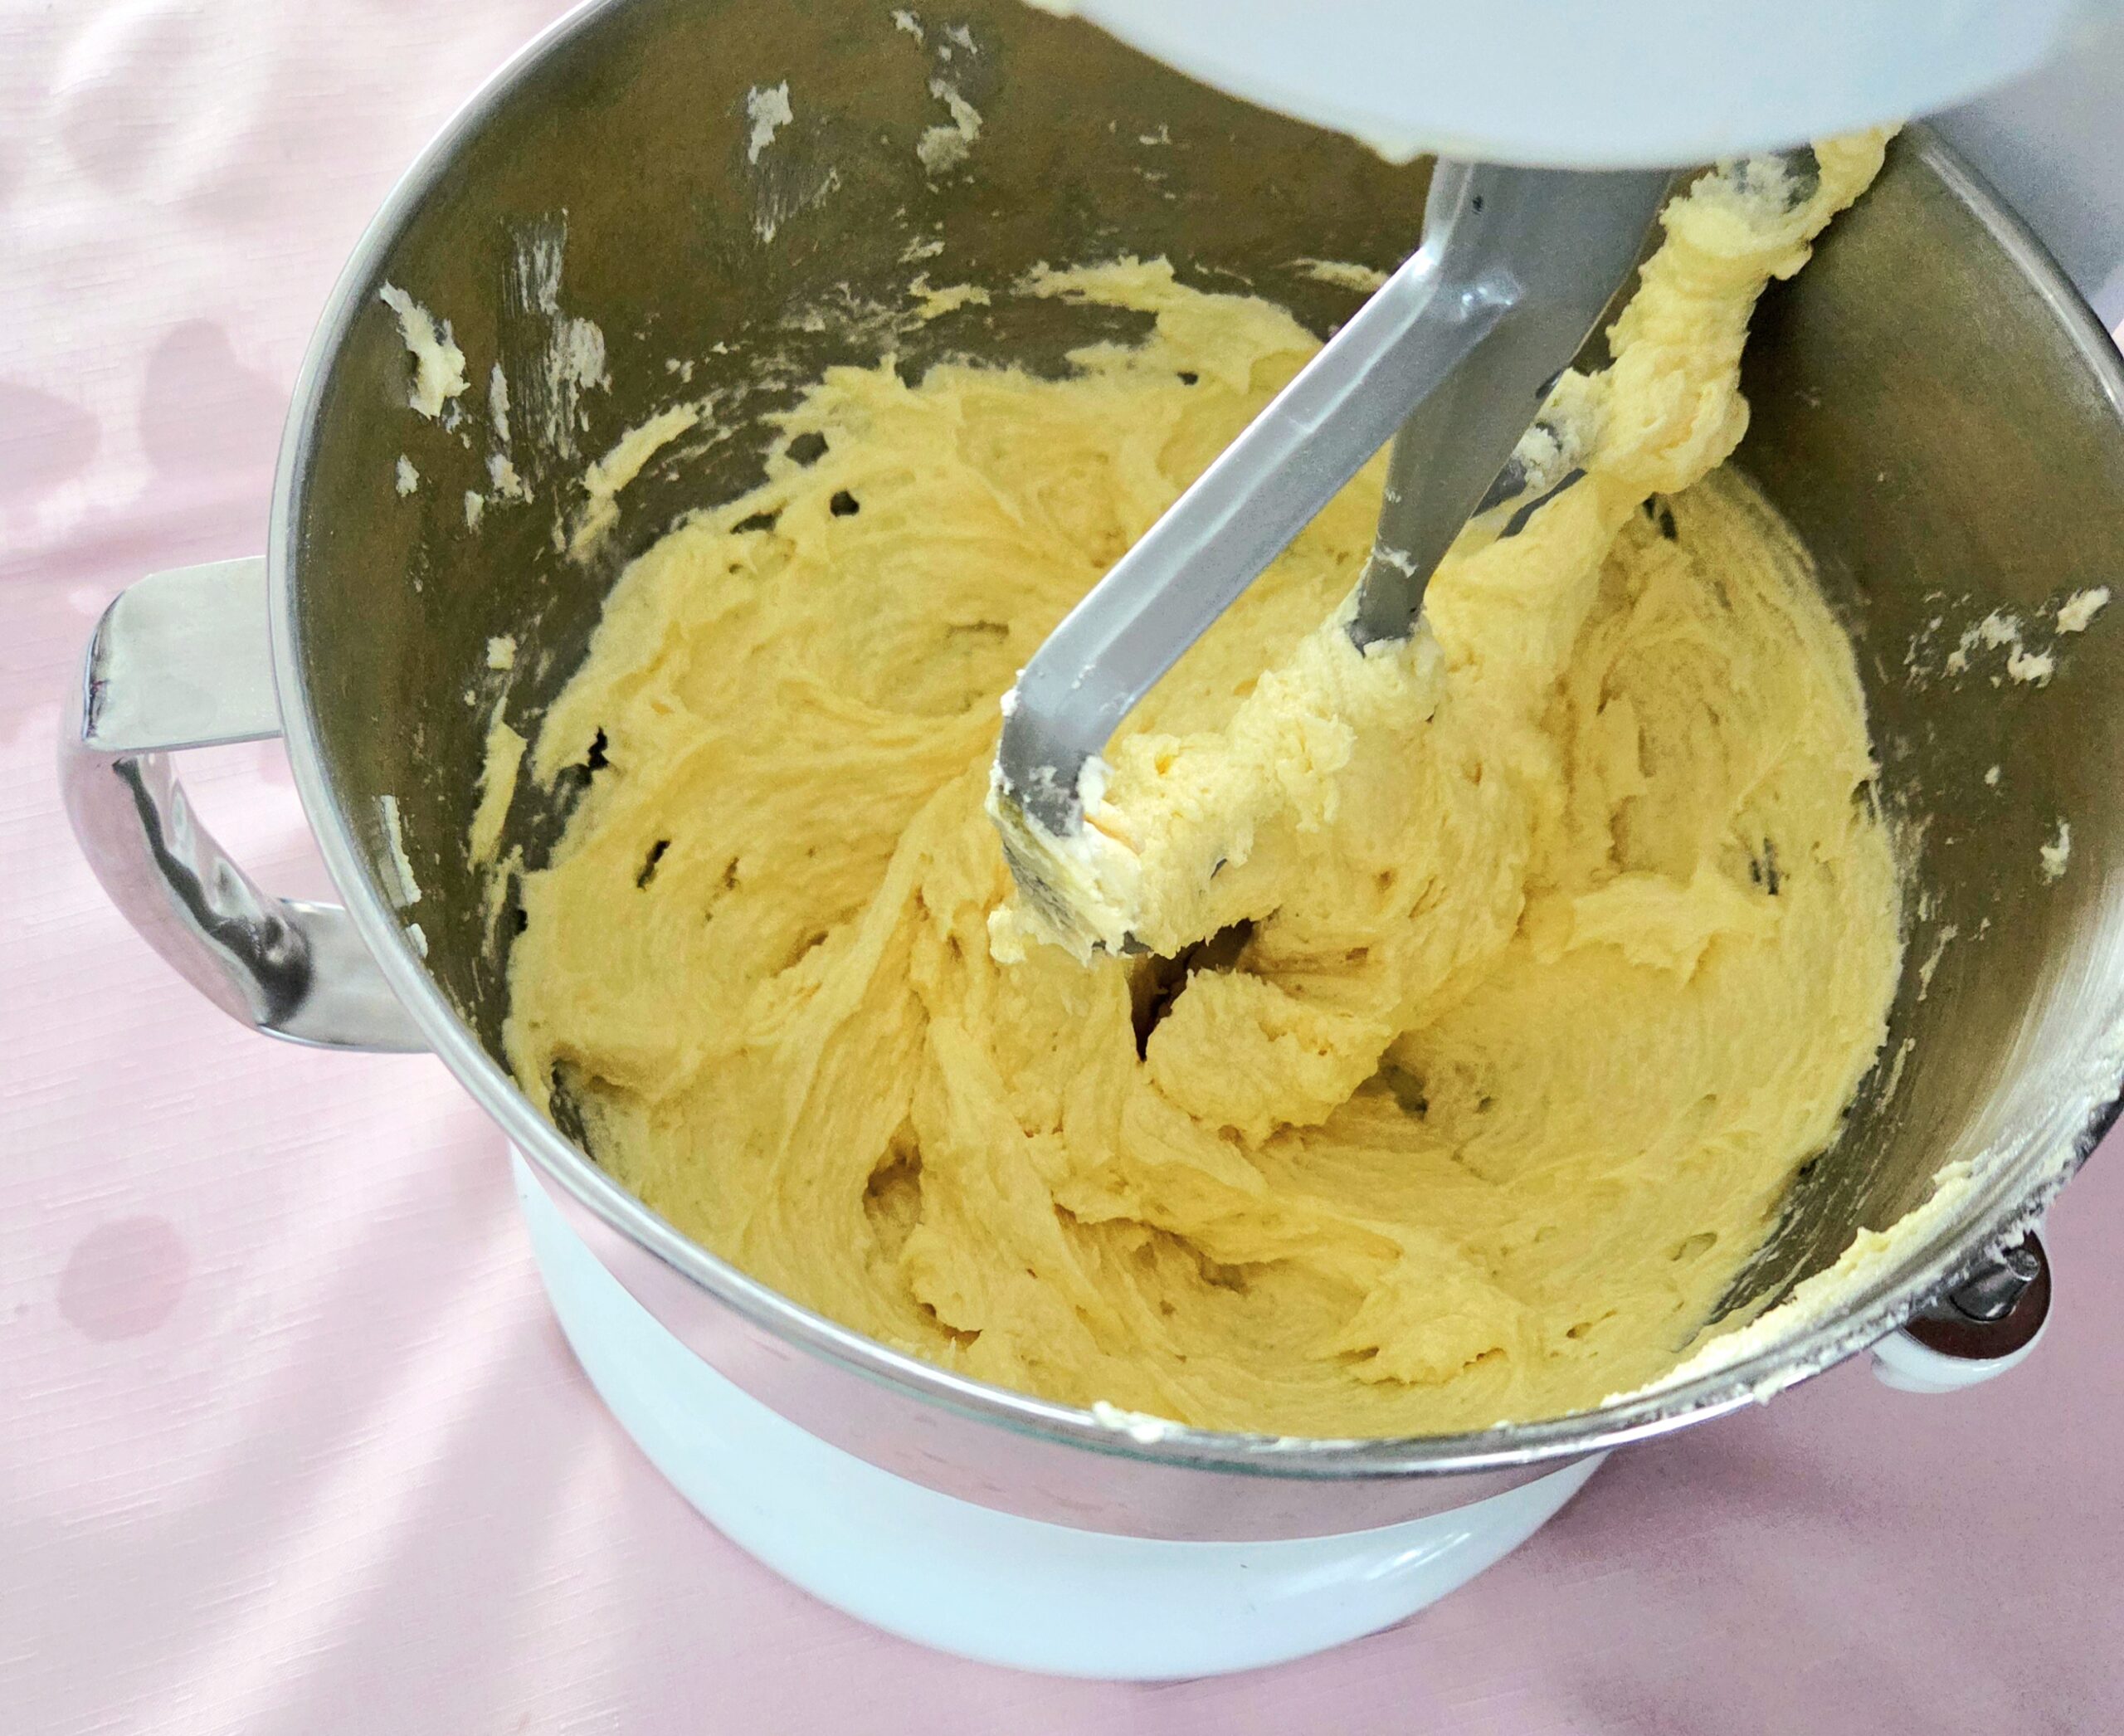
In the bowl of a stand mixer fitted with the paddle attachment, cream the butter and granulated sugar together. Make sure the butter is soft, then beat them together on level 3 or 4 for 5 minutes or so. It will go from a butter yellow color to almost white, and develop a very fluffy texture by the time it’s finished. Turn the mixer off and scrape down the sides of the bowl using a rubber spatula.
Onto the eggs! Add the eggs and vanilla extract in one at a time, waiting for the previous egg to fully absorb into the batter before cracking in the next egg. This just makes it easier for the batter to stay emulsified than if you were to add every single egg at once. Beat the batter on level 3, shutting the mixer down to scrape down the sides of the bowl in between each addition, or as needed.
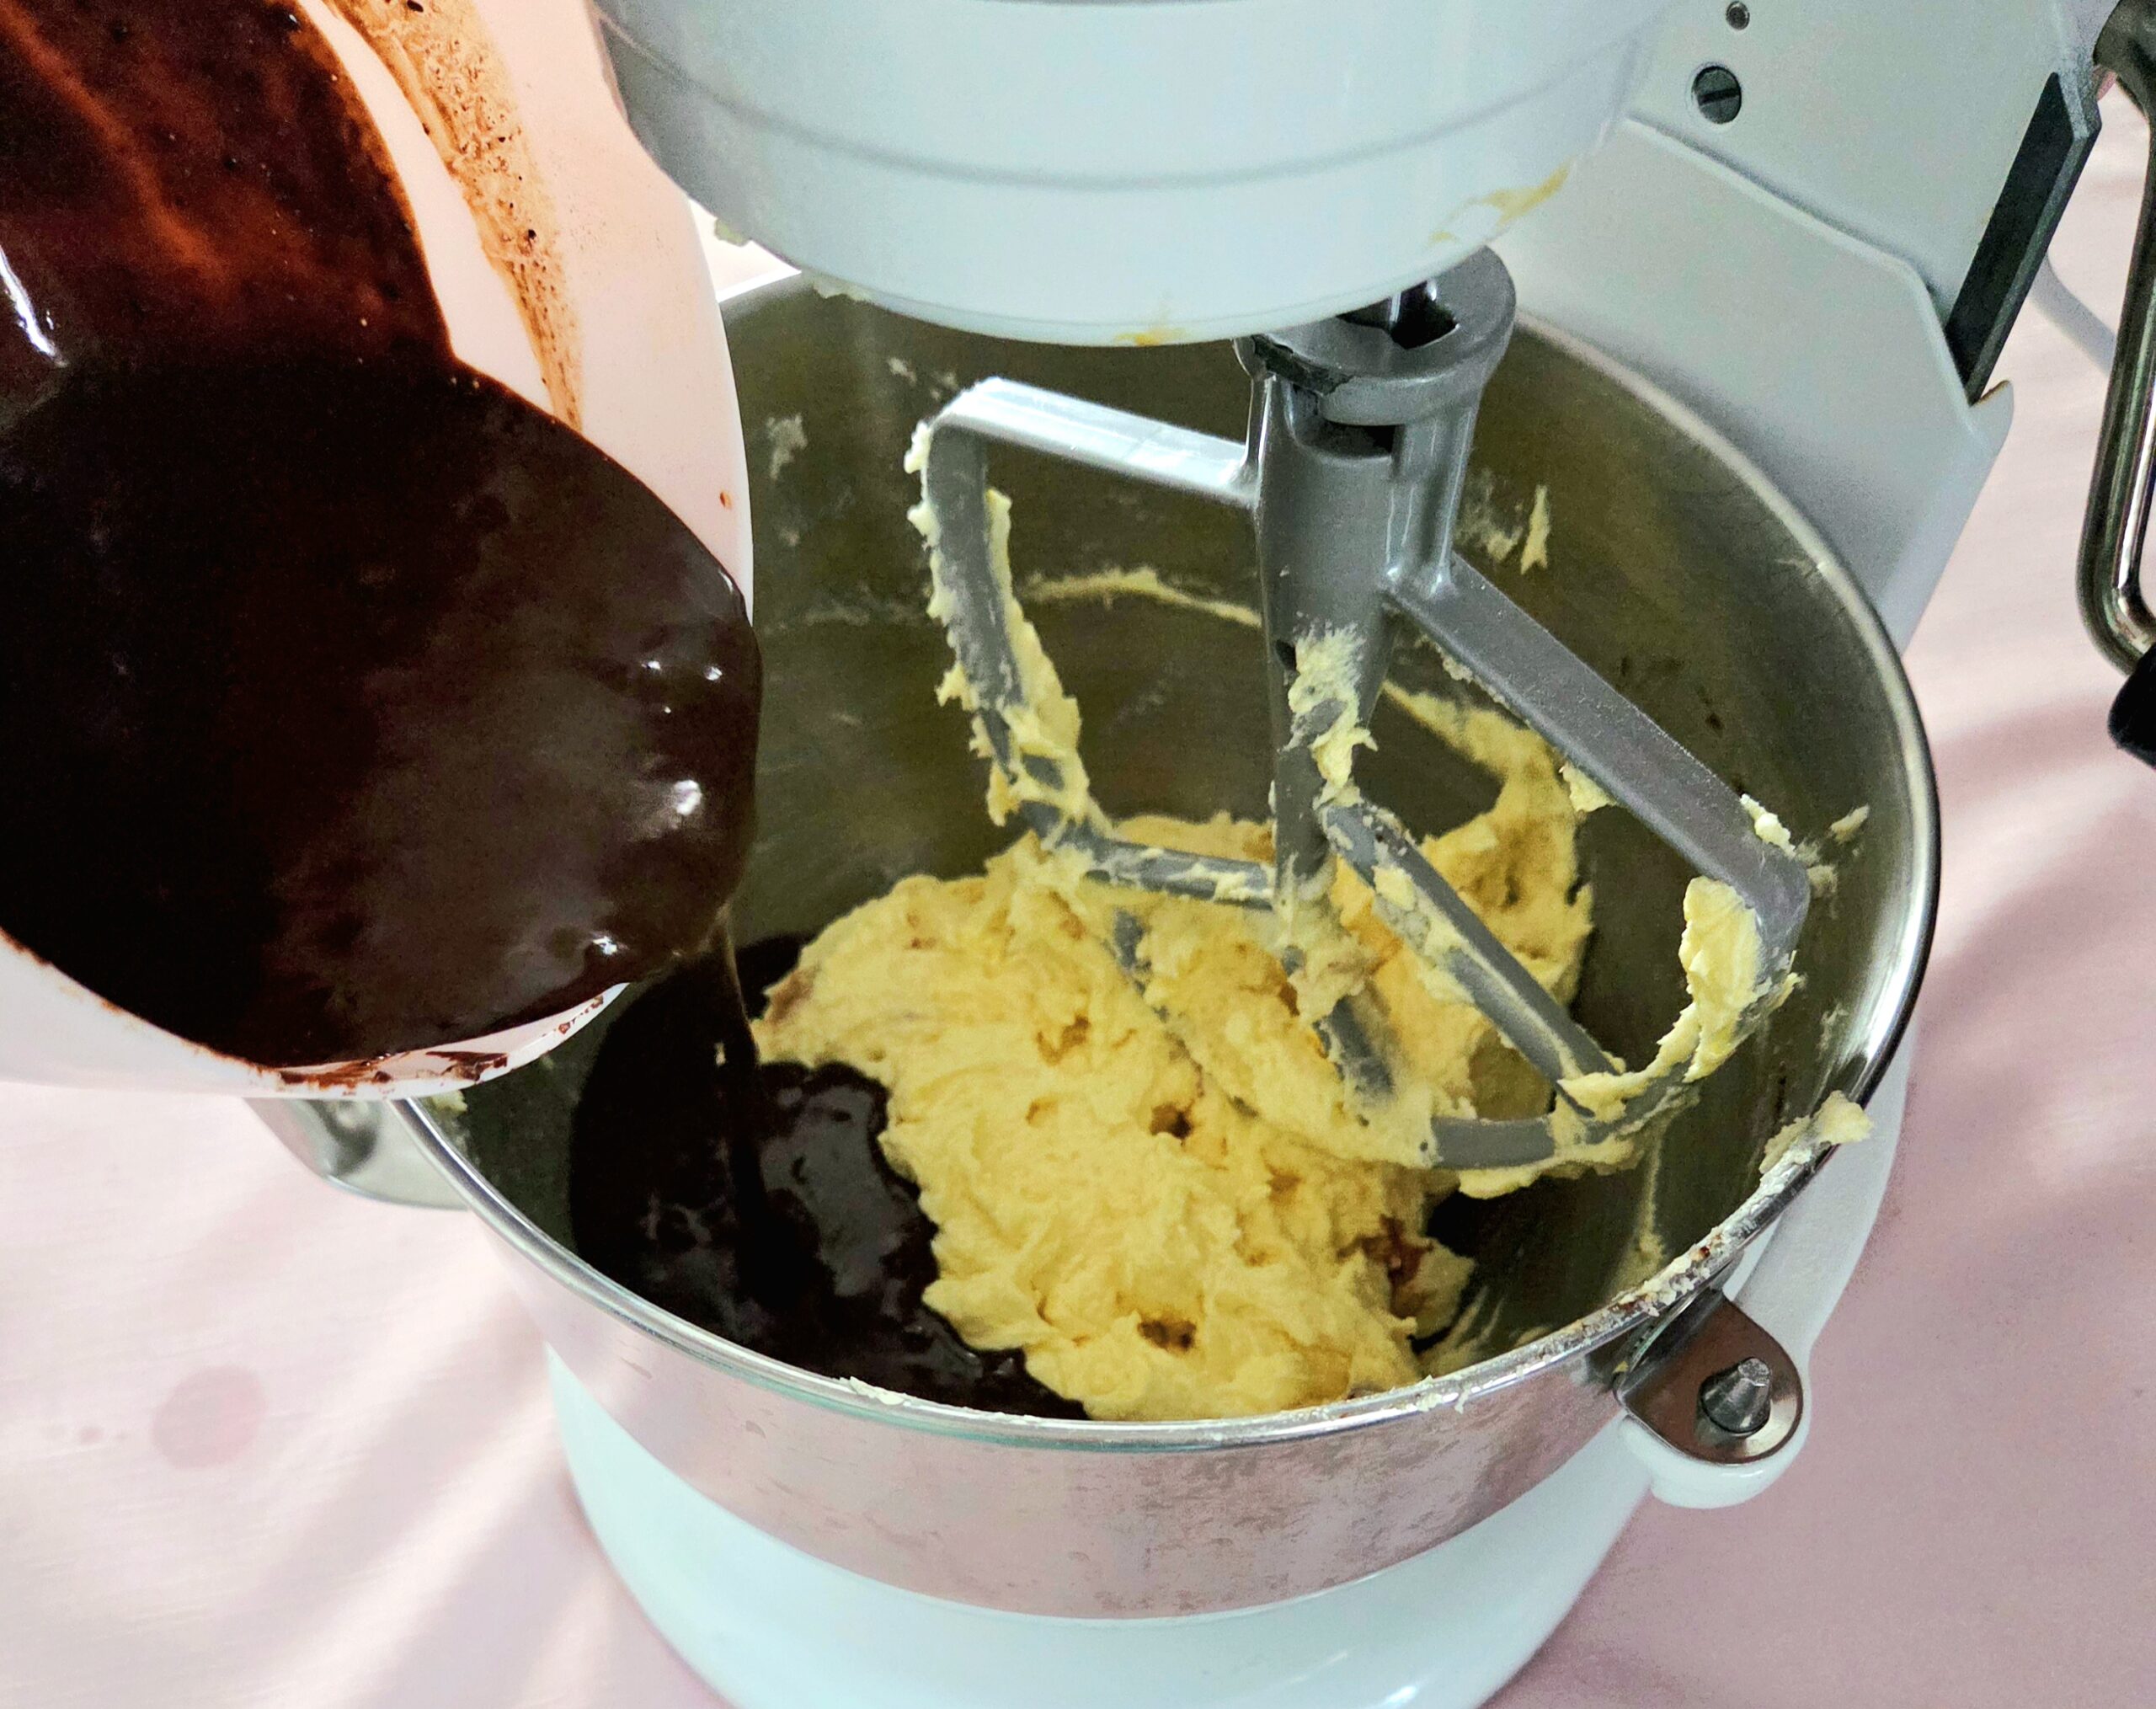
Now to introduce chocolate back to the party. Take the bloomed chocolate mixture from the fridge, give it a stir to even out the temperature and eliminate any hot spots in the center. Pour the entire mixture into the batter, scraping out as much as can be using the rubber spatula.
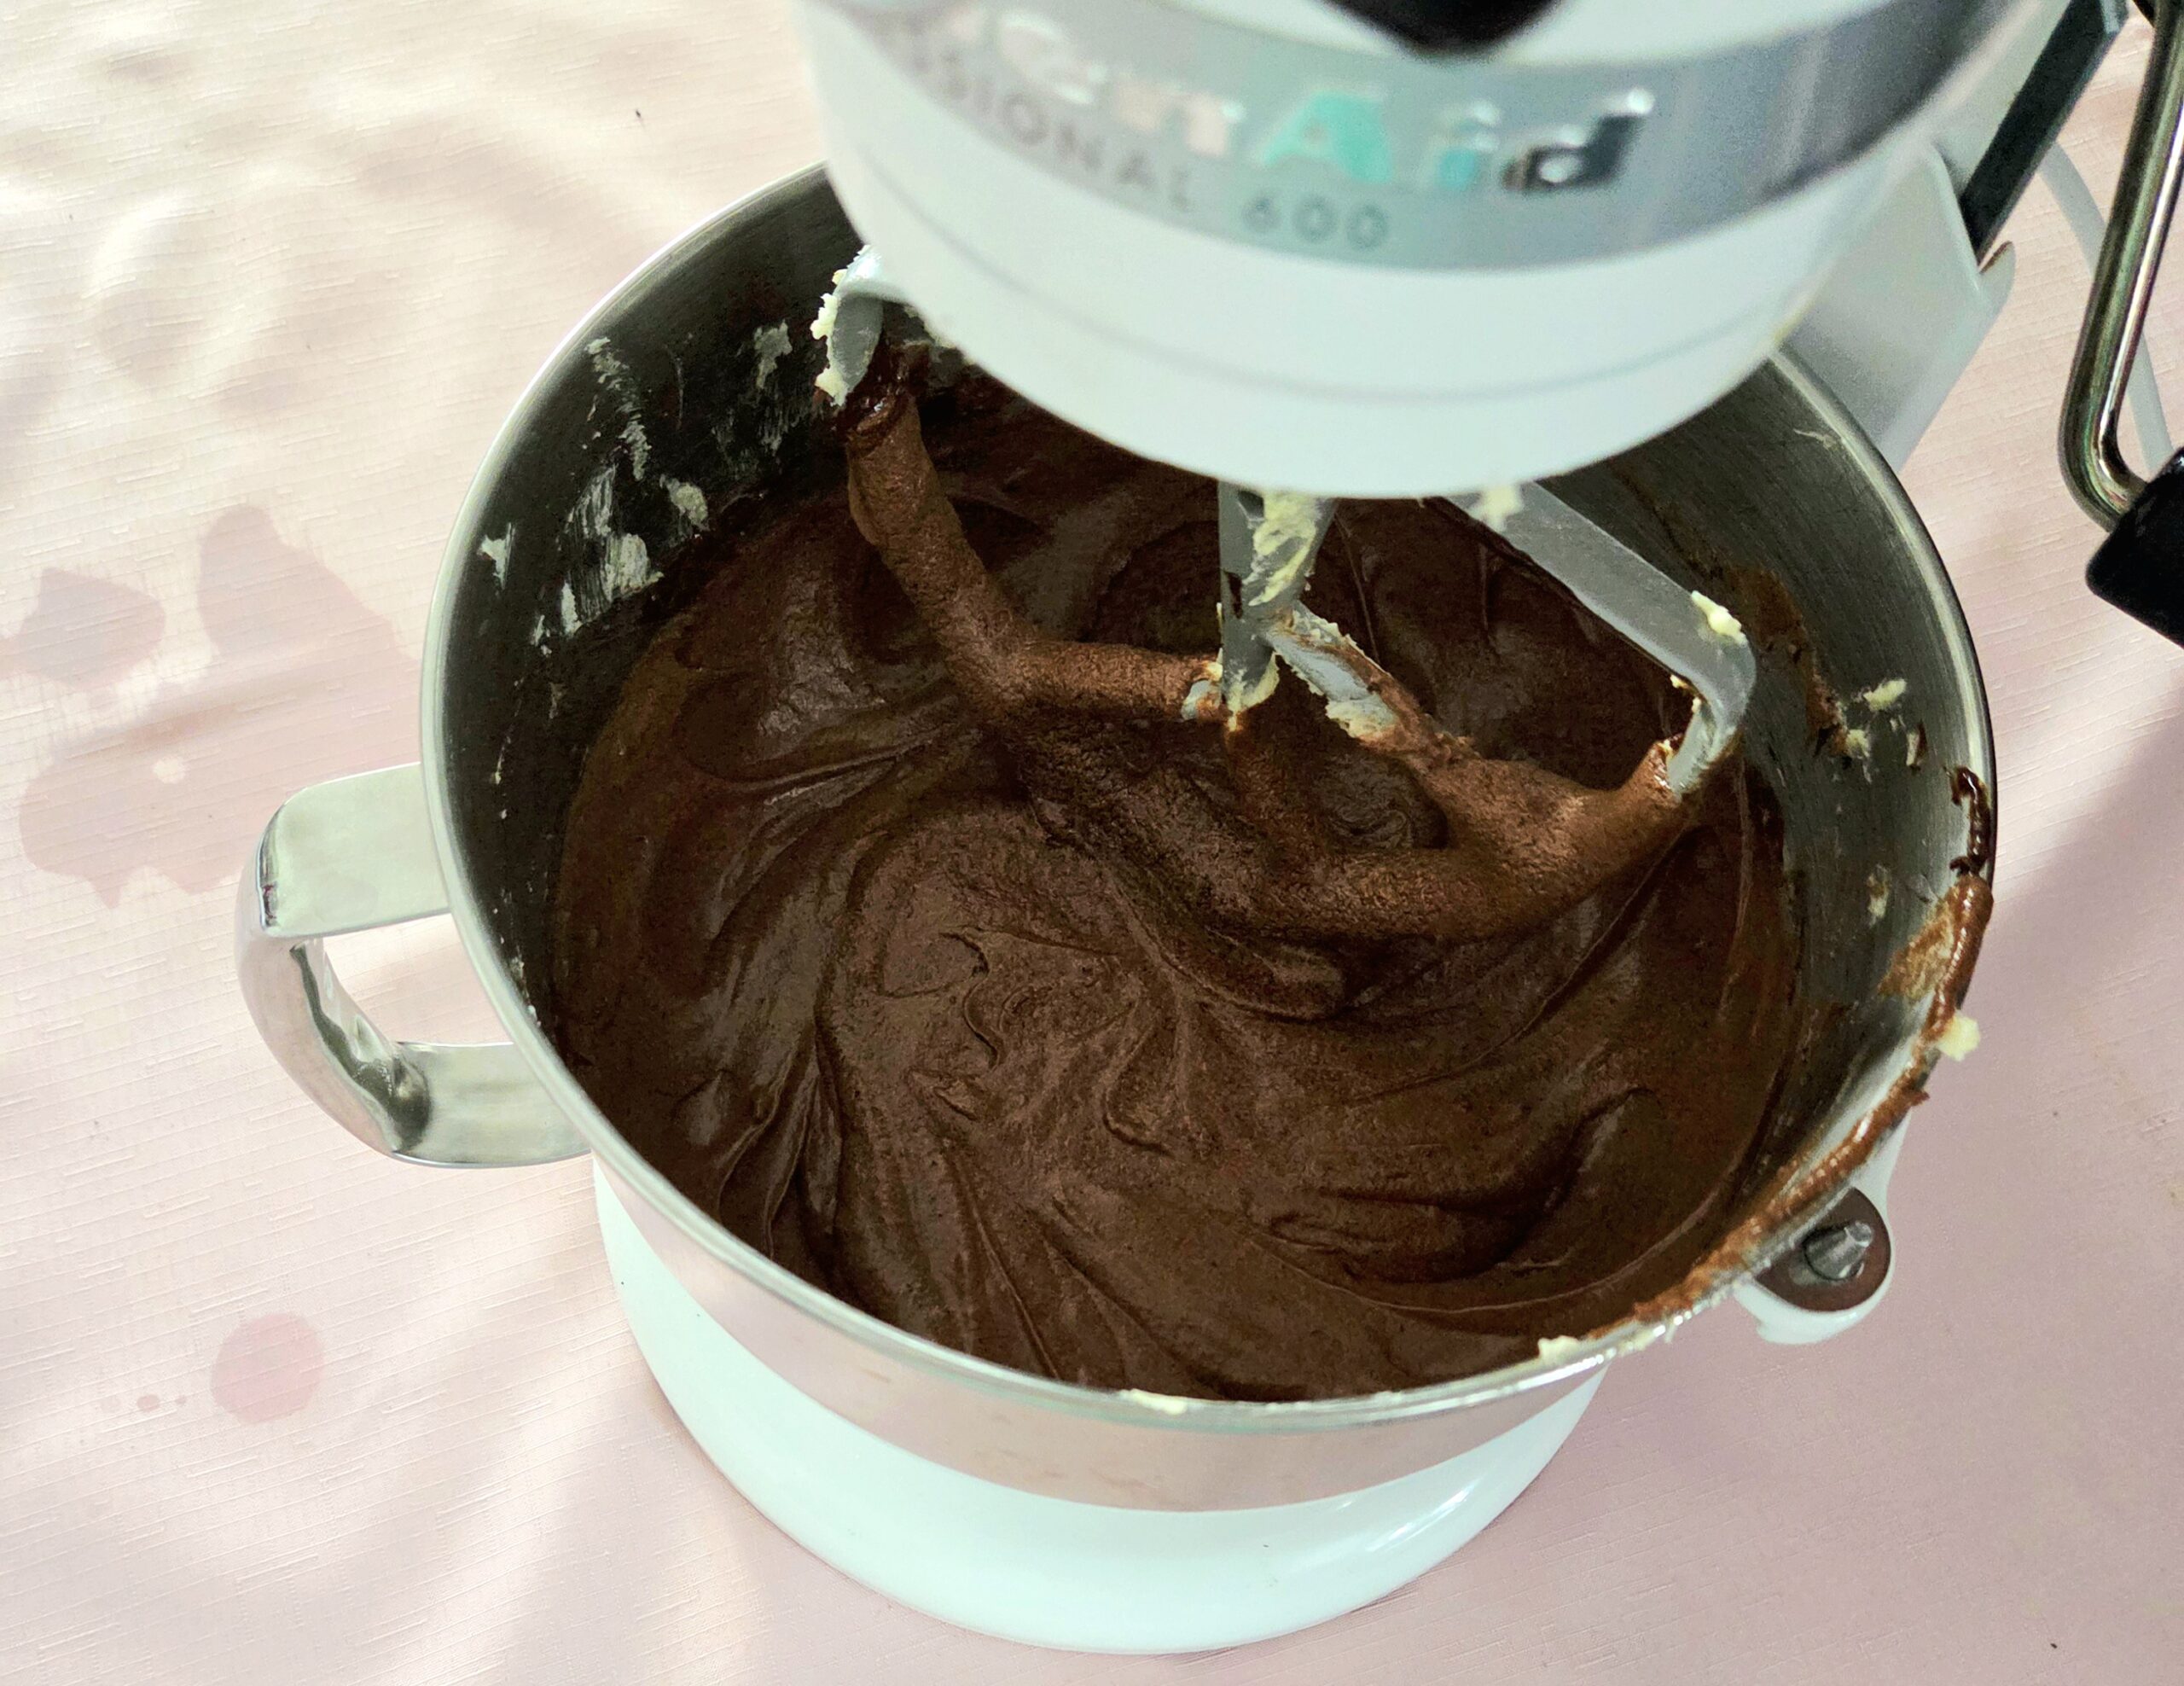
Turn the mixer back on to level 3 for a minute or two, until all of the bloomed chocolate has mixed in and everything looks like it’s come together. Shut it off, scrape down the sides and bottom of the bowl, and switch it back on for another 30 seconds or so. This will just catch any unmixed batter that was stuck to the bottom or sides, so no part is missed.
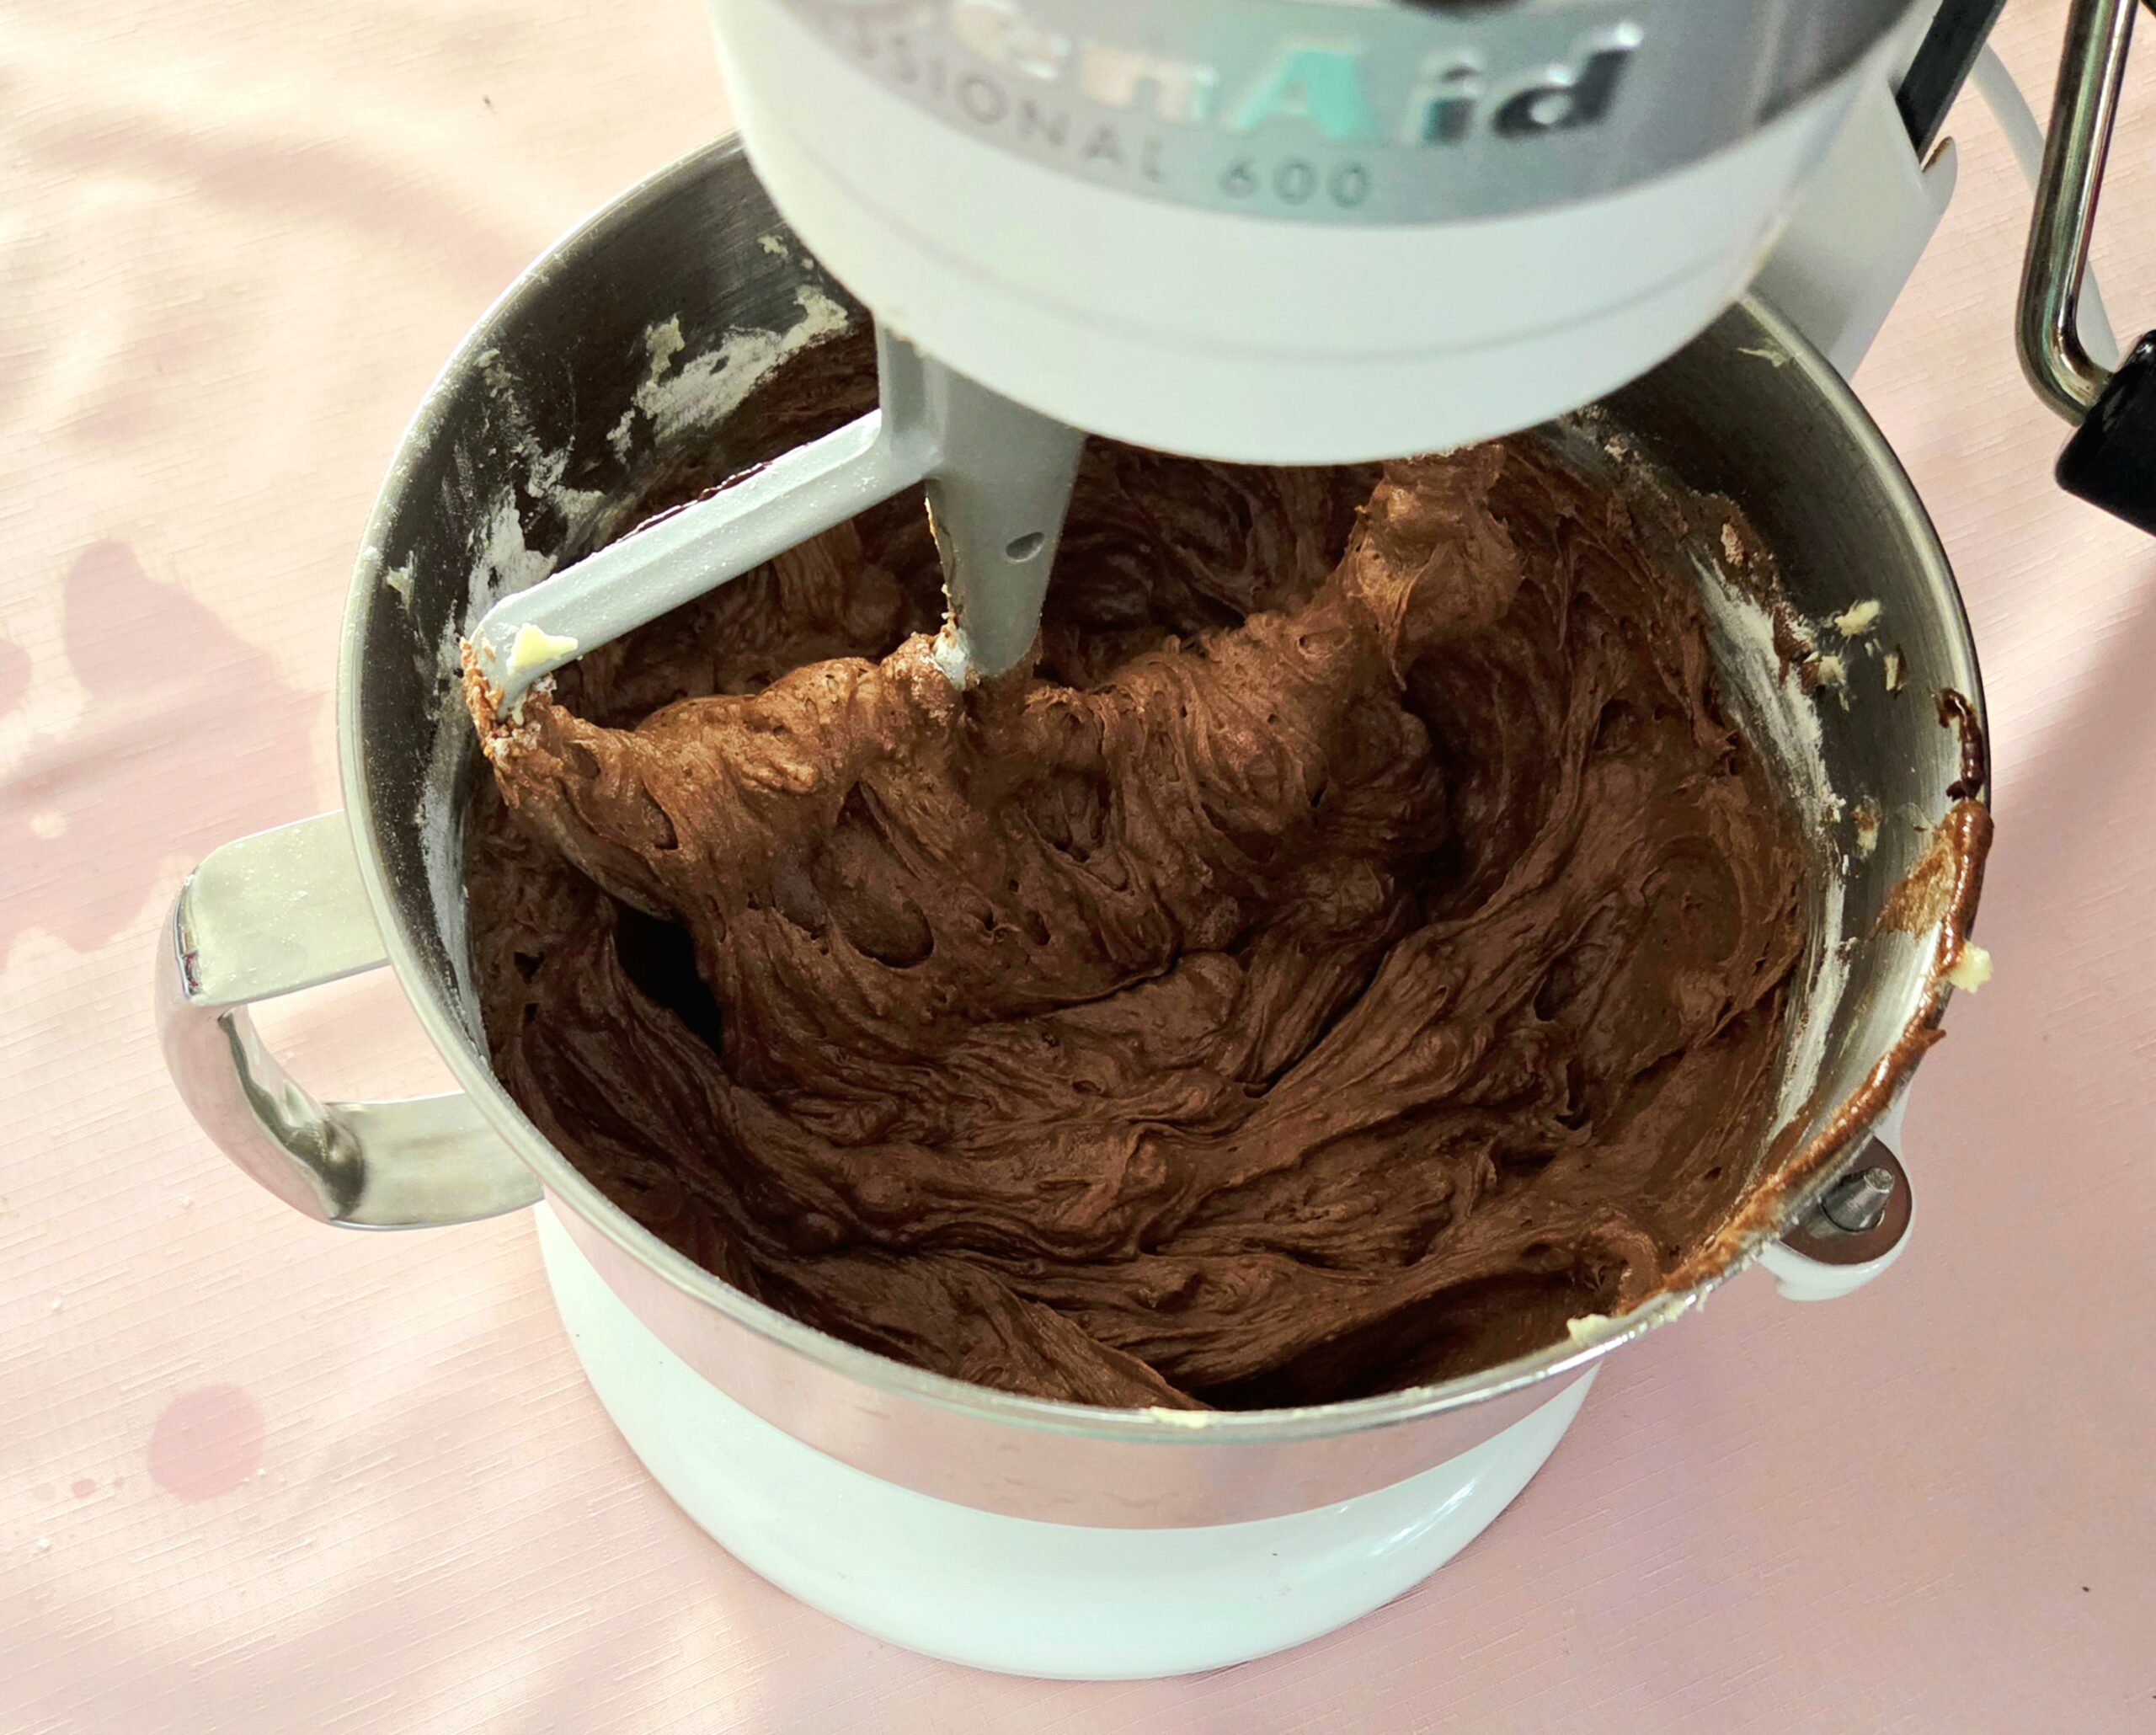
Add all of the dry goods at once to the batter. Beat the batter on level one, so as not to send the flour mixture flying everywhere and to prevent over-mixing. An over-mixed cake batter gets tough and kind of rubbery, definitely not the soft and delicious texture we’re looking for. Once the dry goods have seemingly disappeared, turn the mixer off and scrape down the sides and bottom of the bowl. Turn the mixer back on for another 30 seconds.

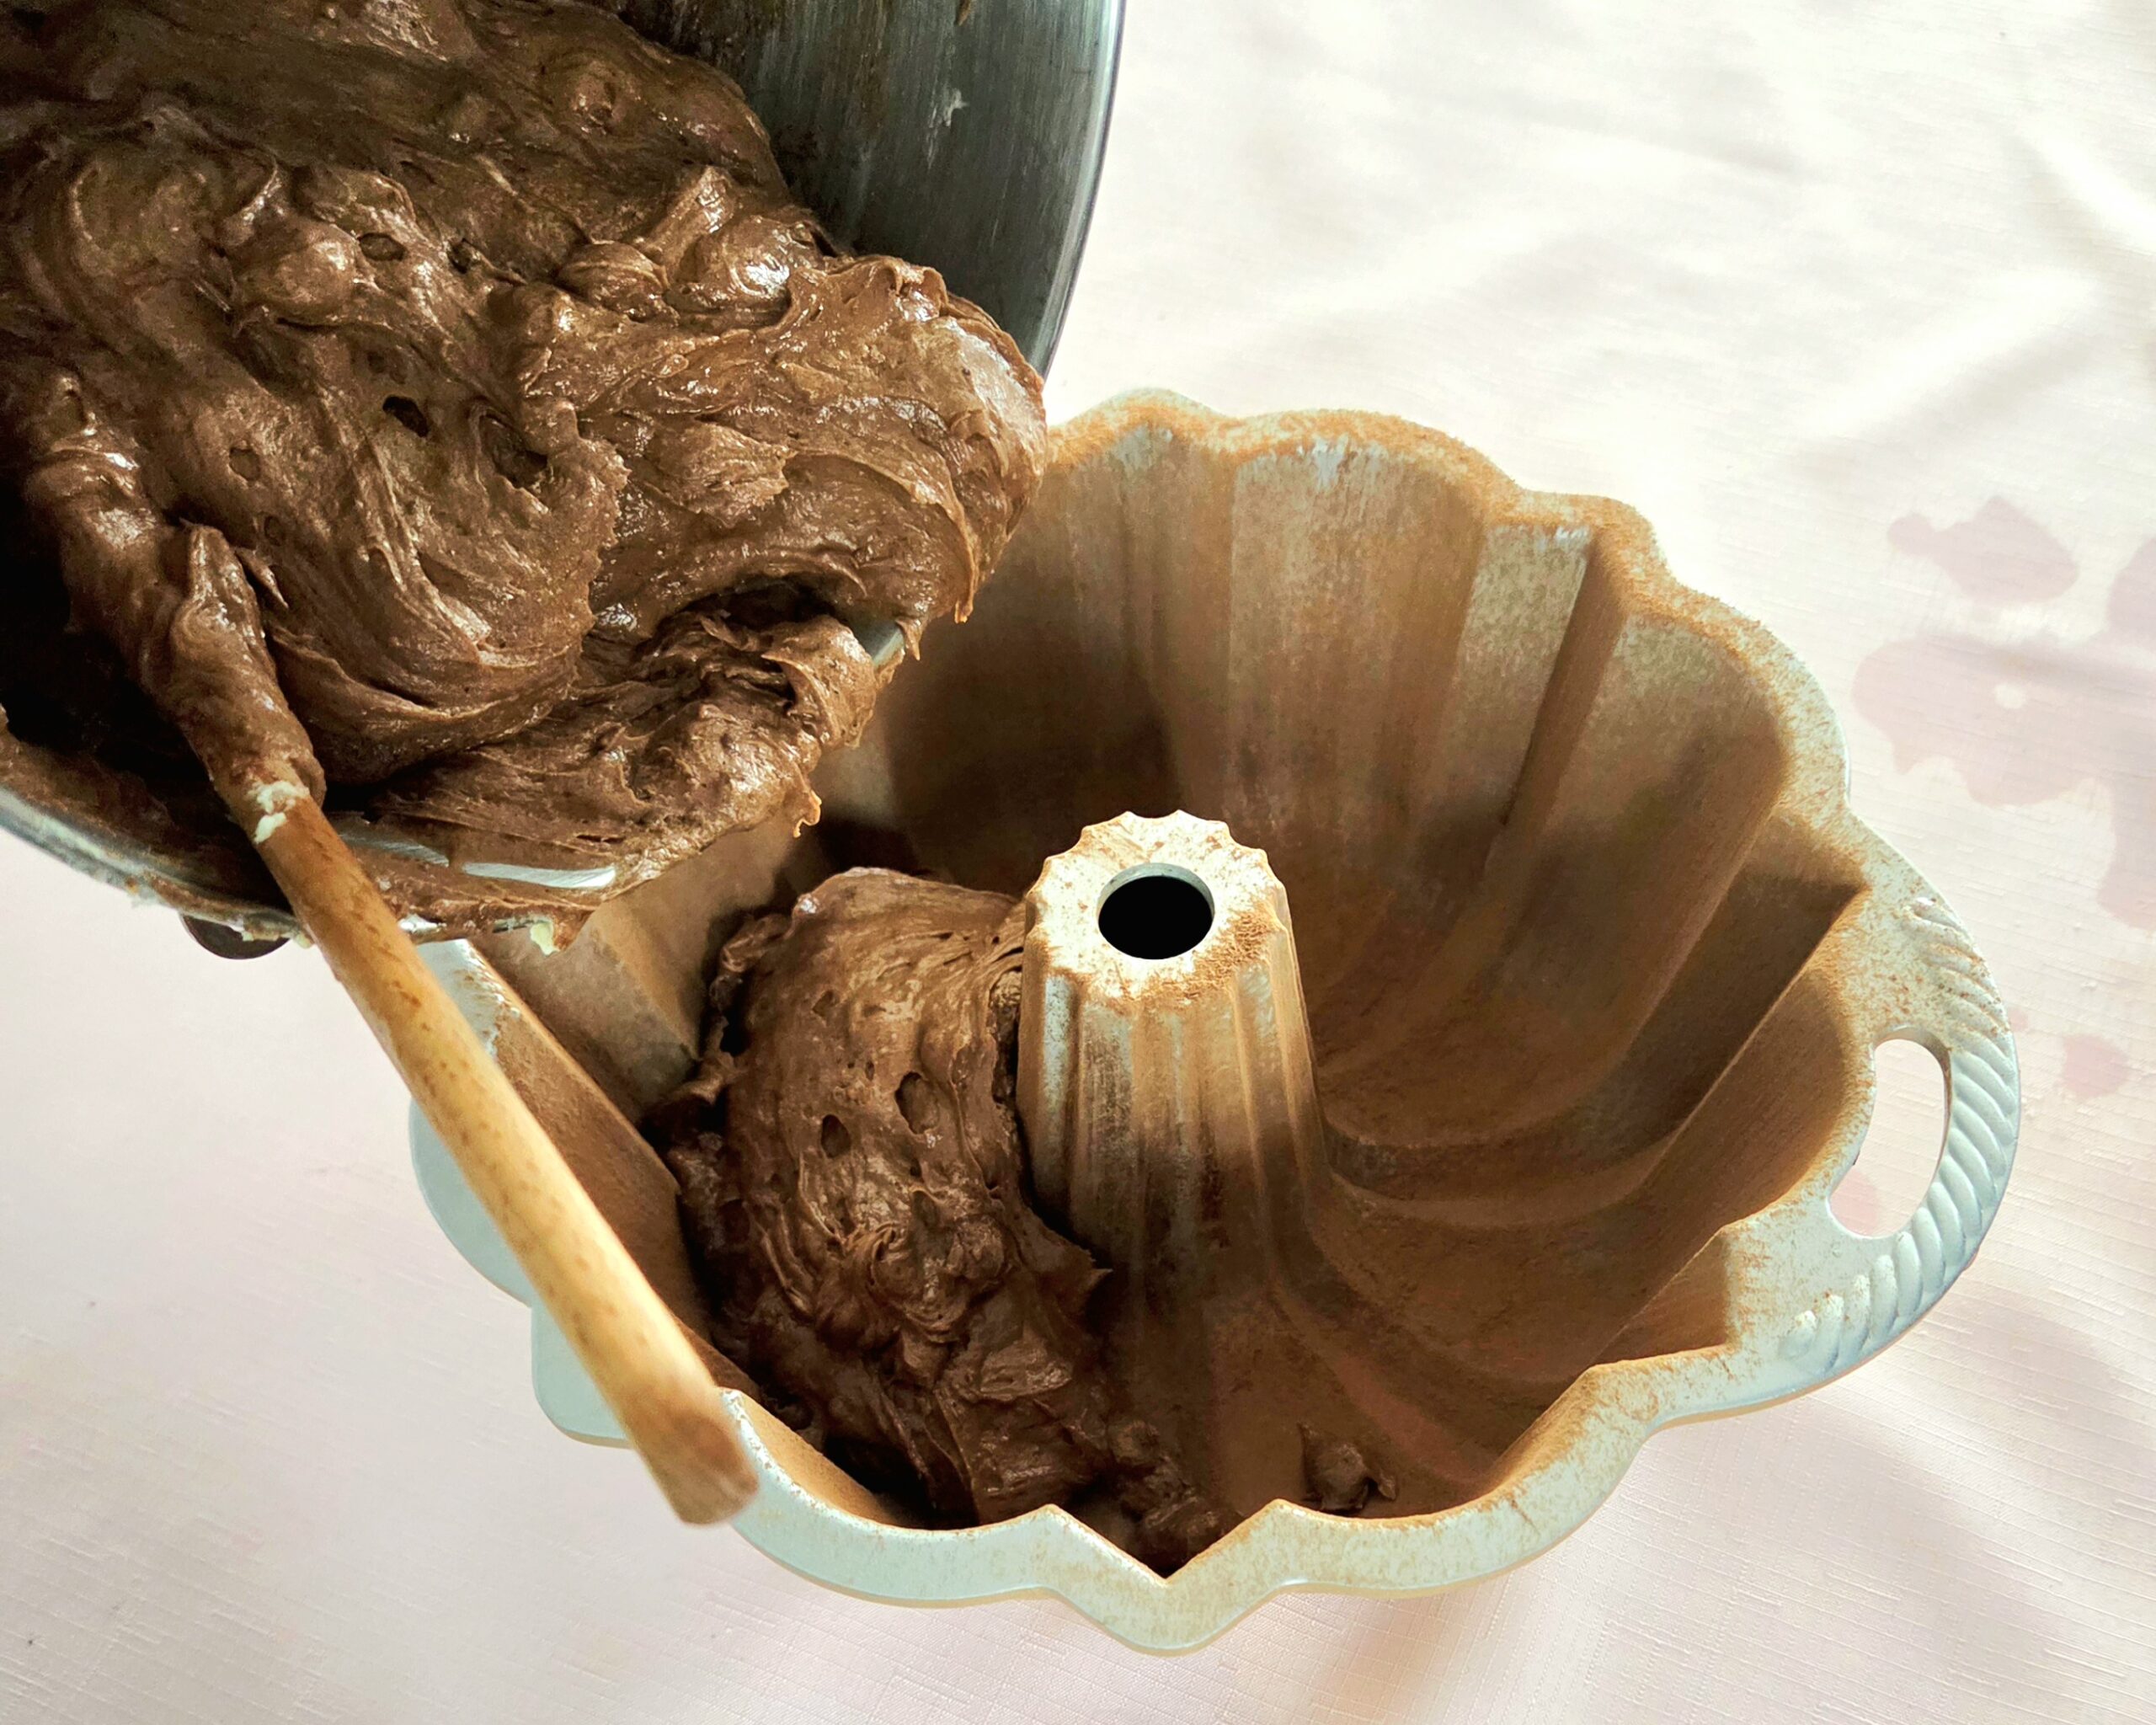
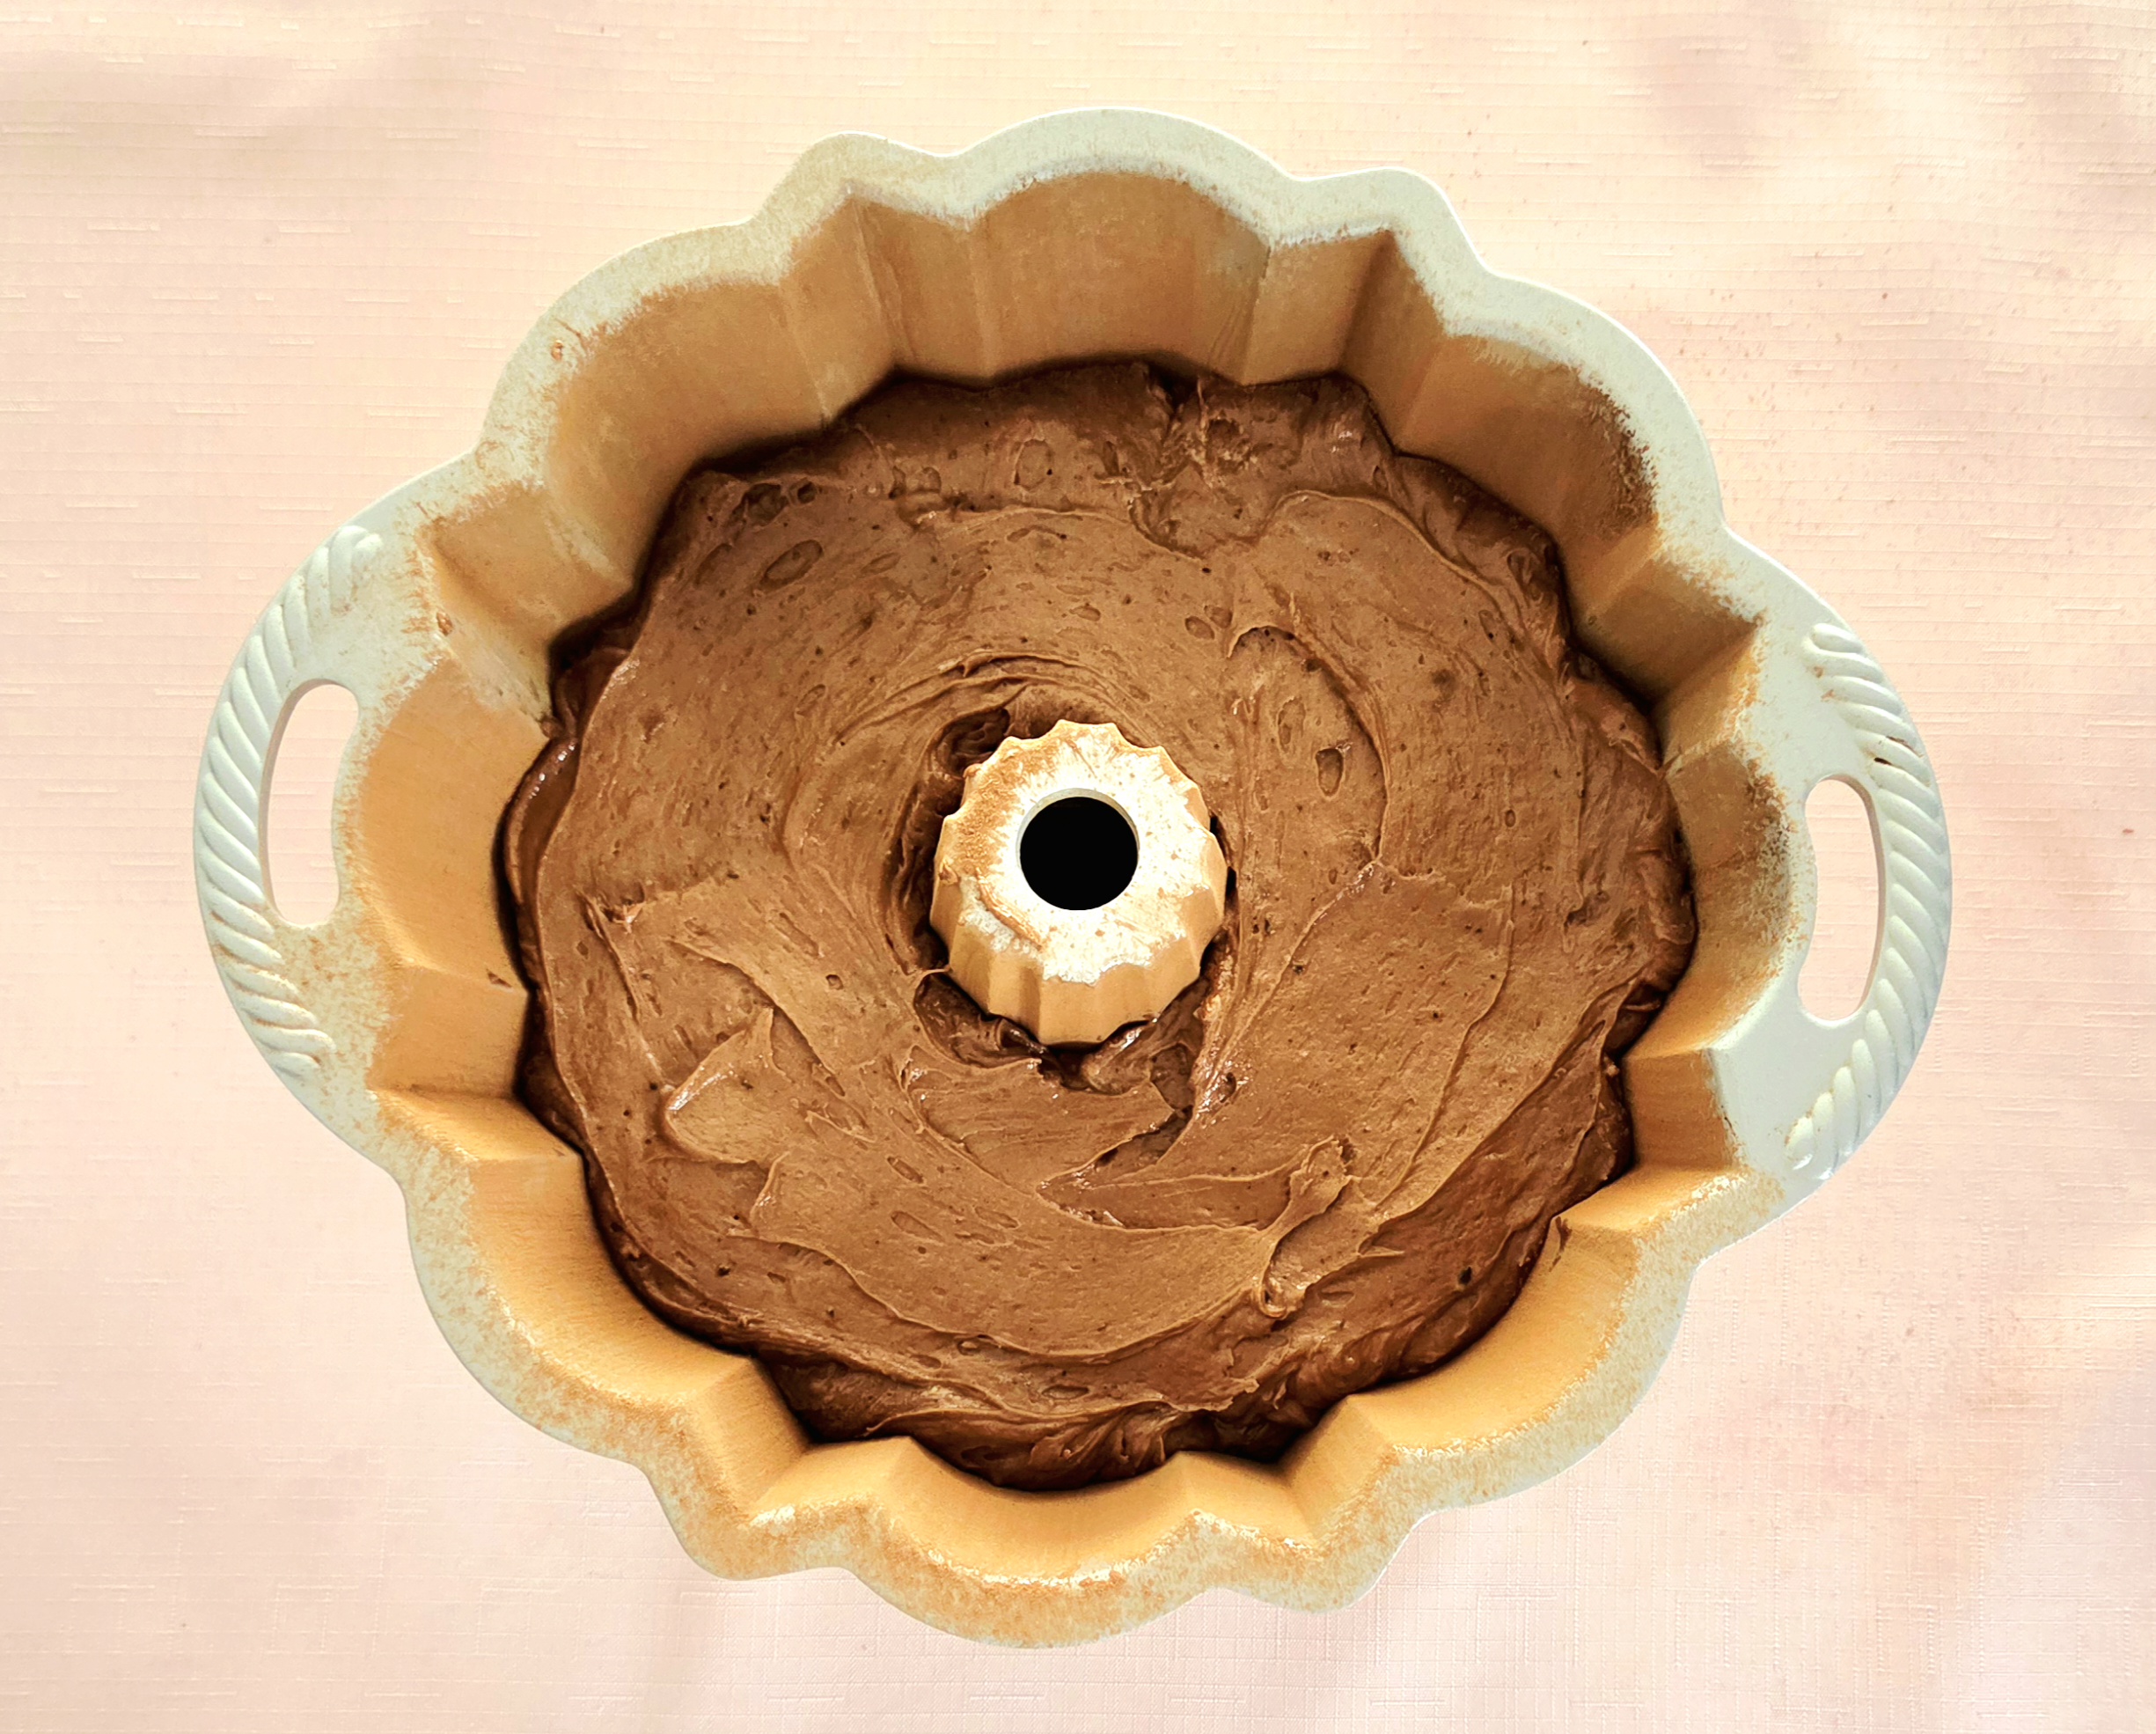
Pour the batter into the bundt pan, spreading it evenly throughout. I like to take a butter knife and cut through the center of the pan, then bang it on the counter a few times, to help eliminate any big air bubbles that may have been trapped. Bake the cake on the center rack for 55-60 minutes, or until a toothpick poked in the center of a section comes out clean. Flip the cake around halfway through baking.
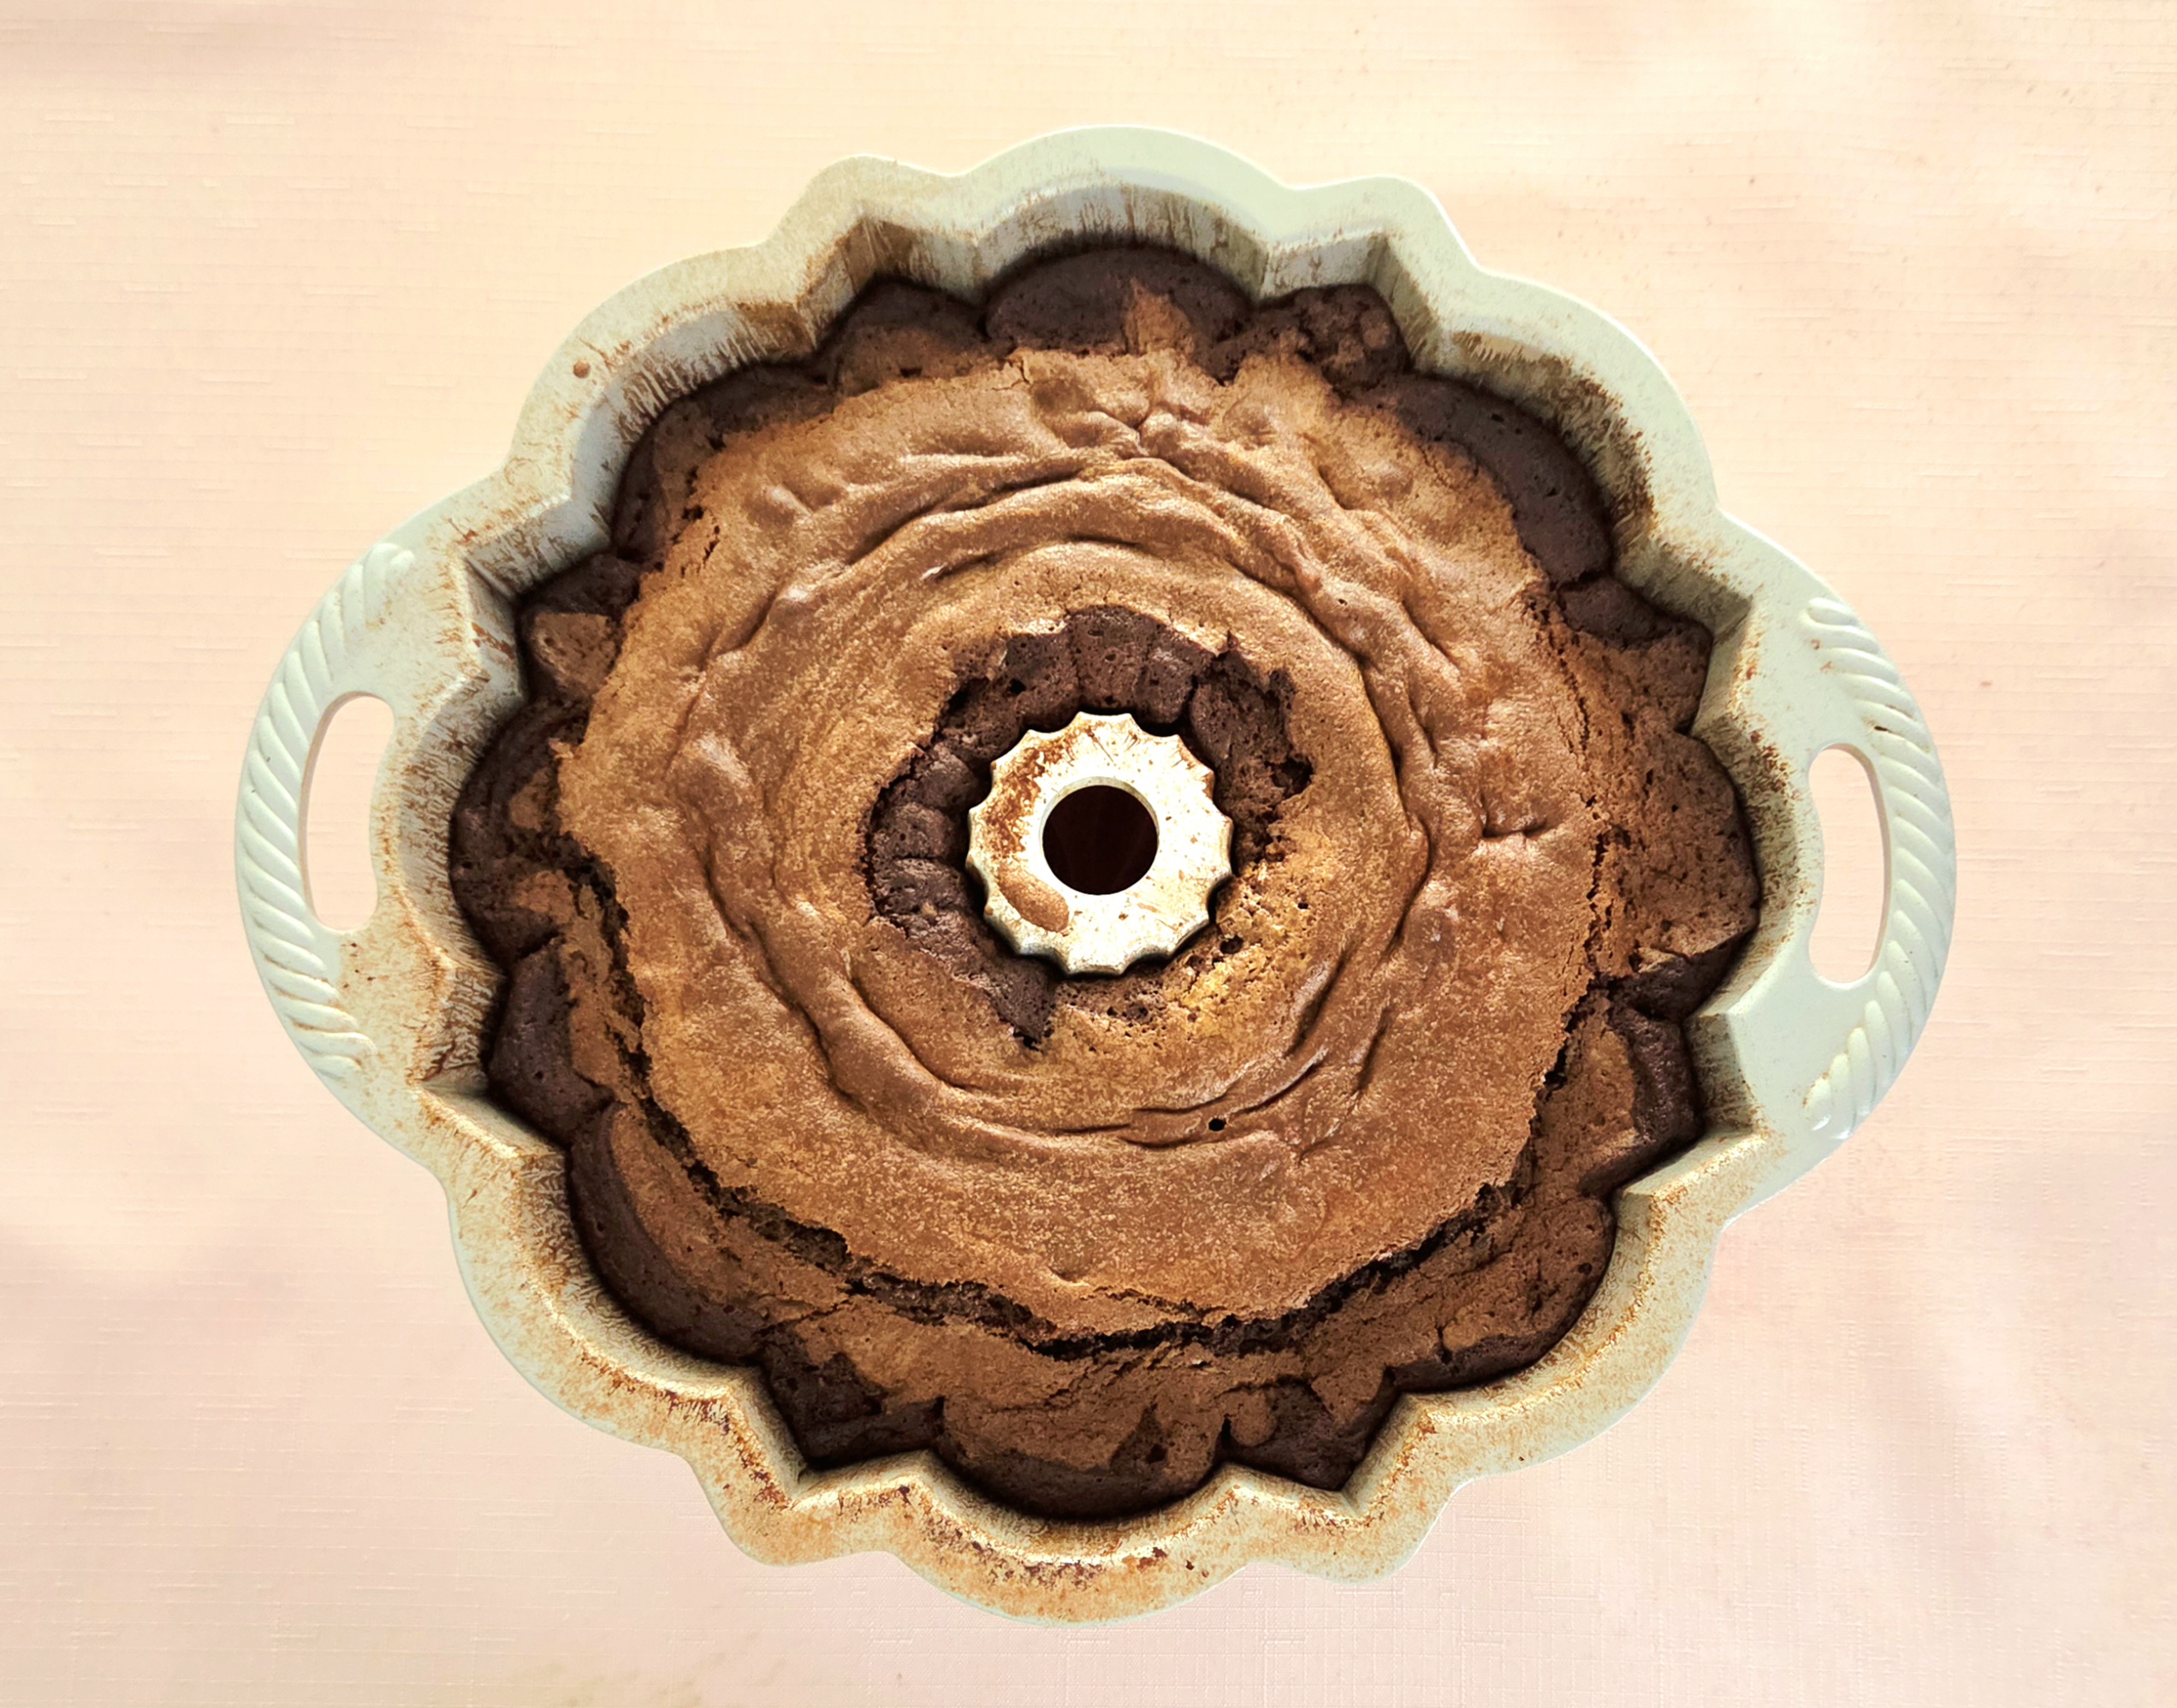
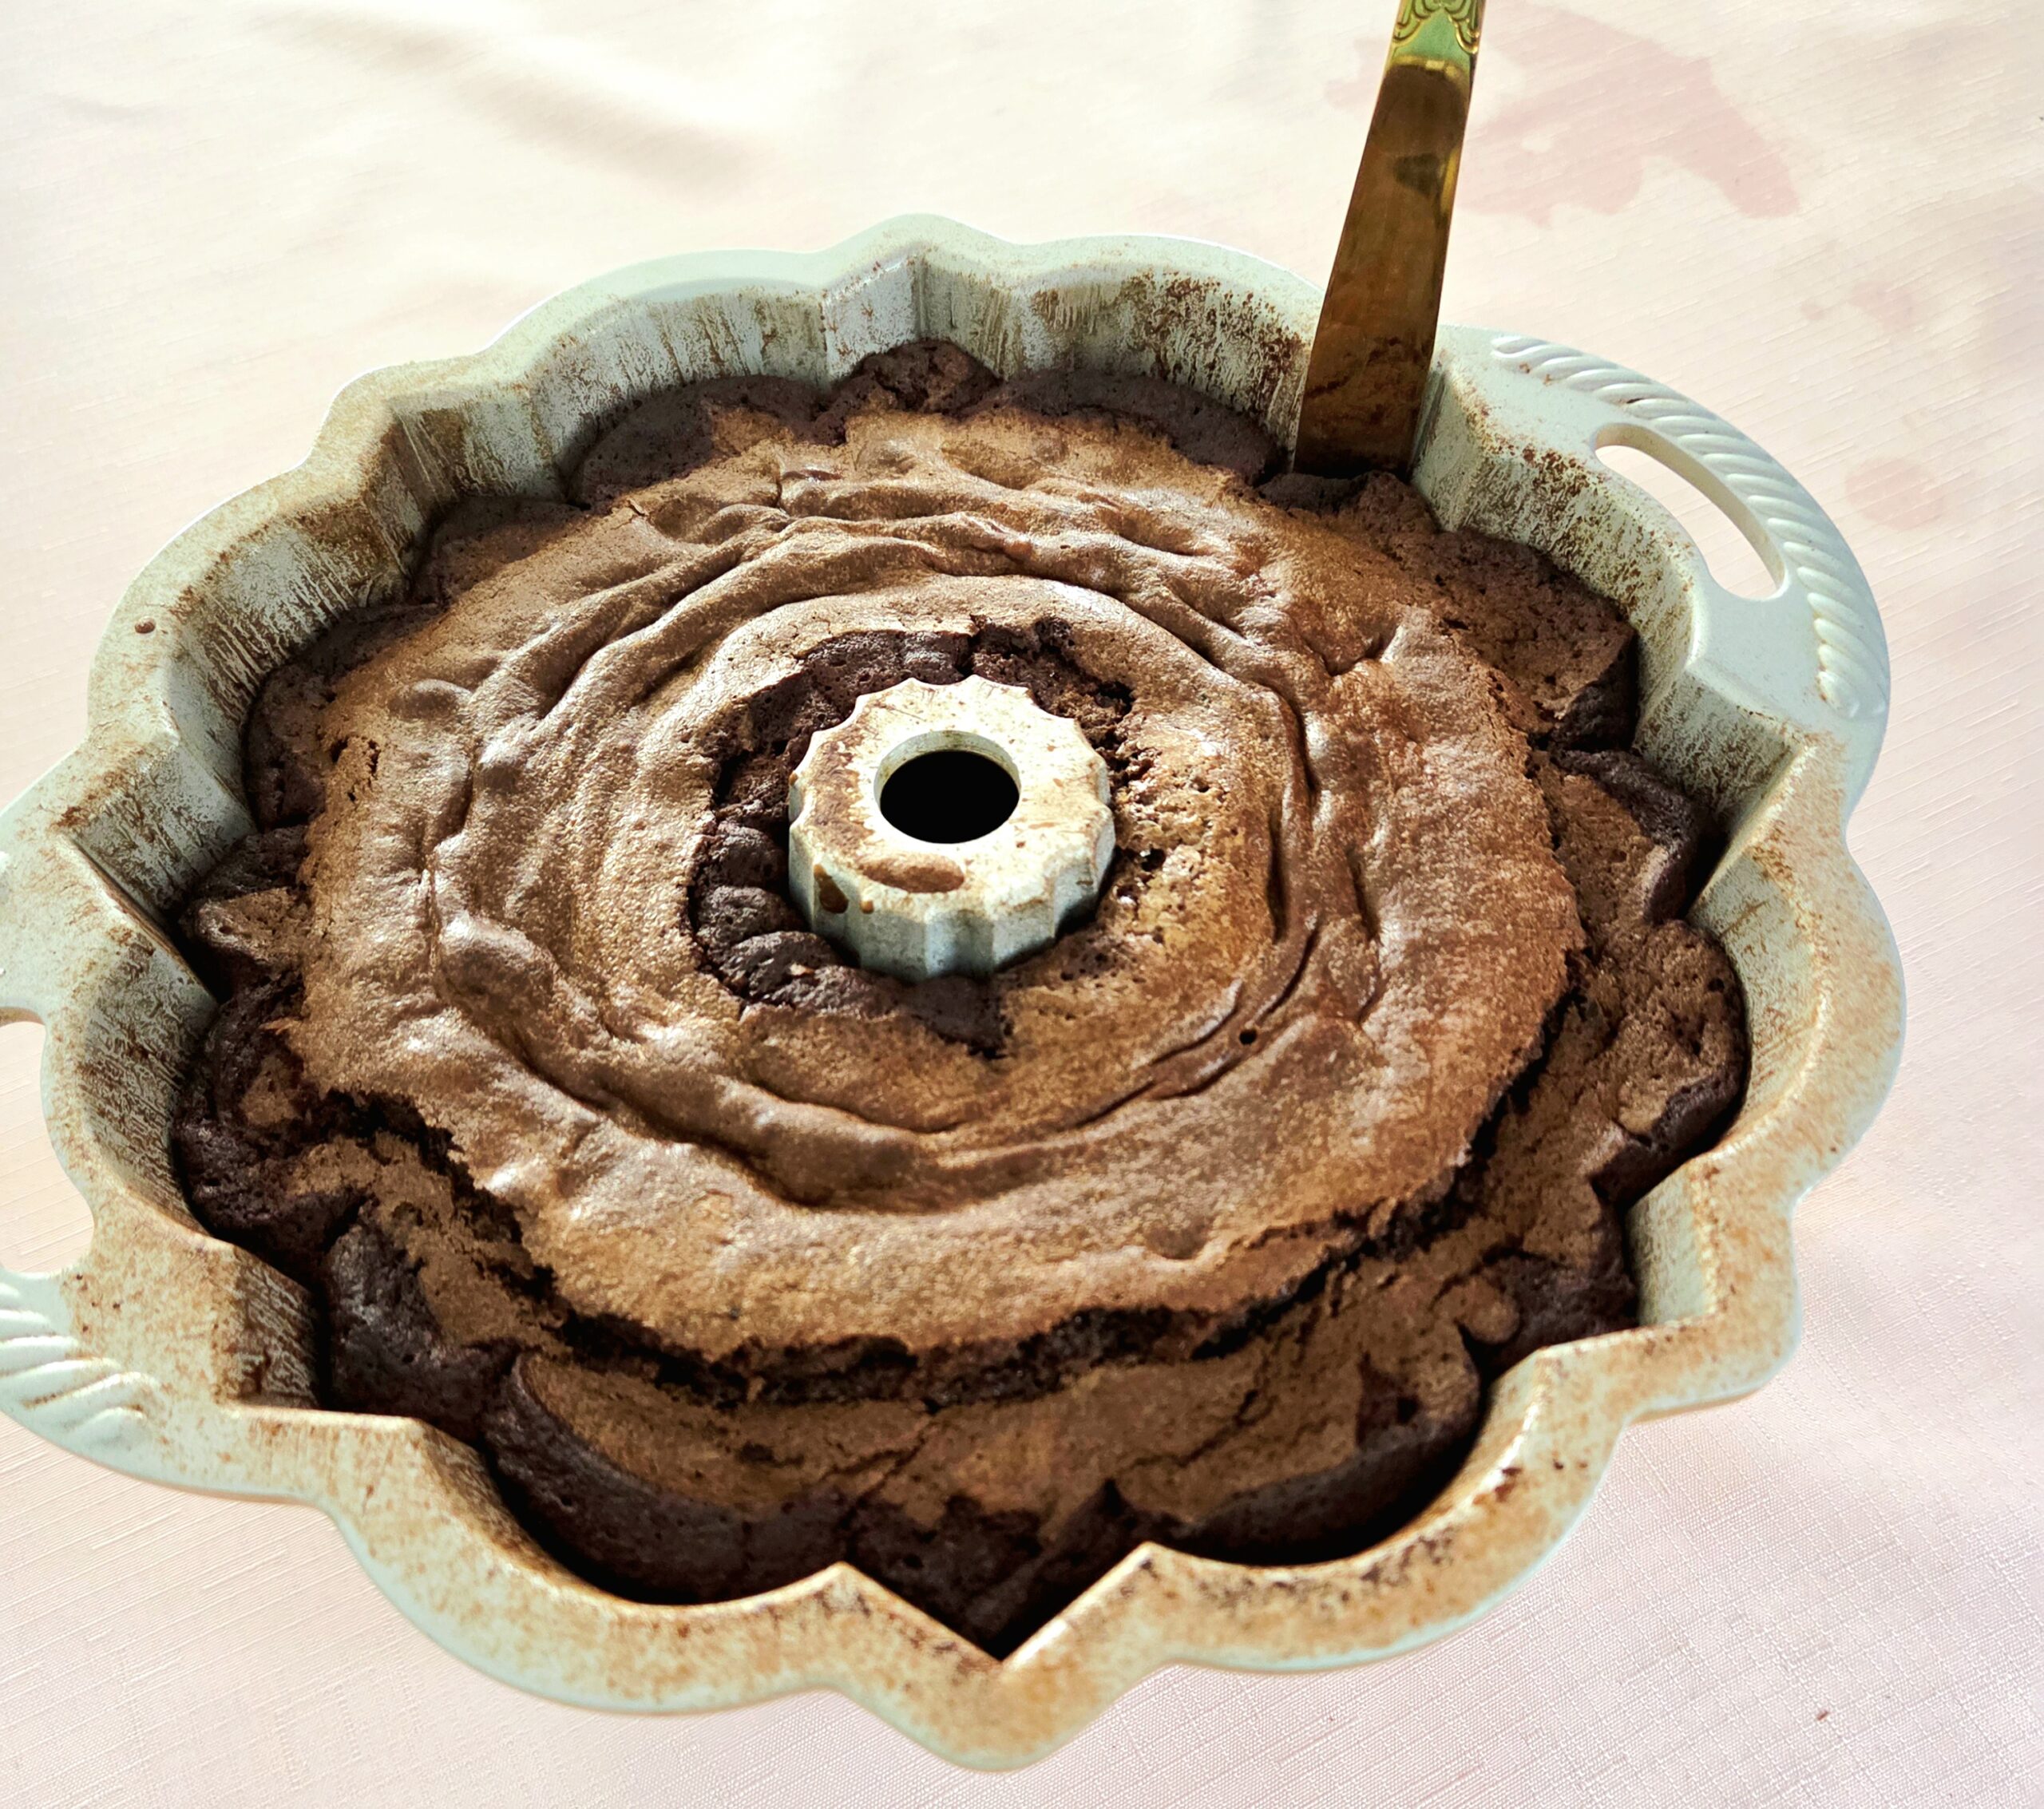
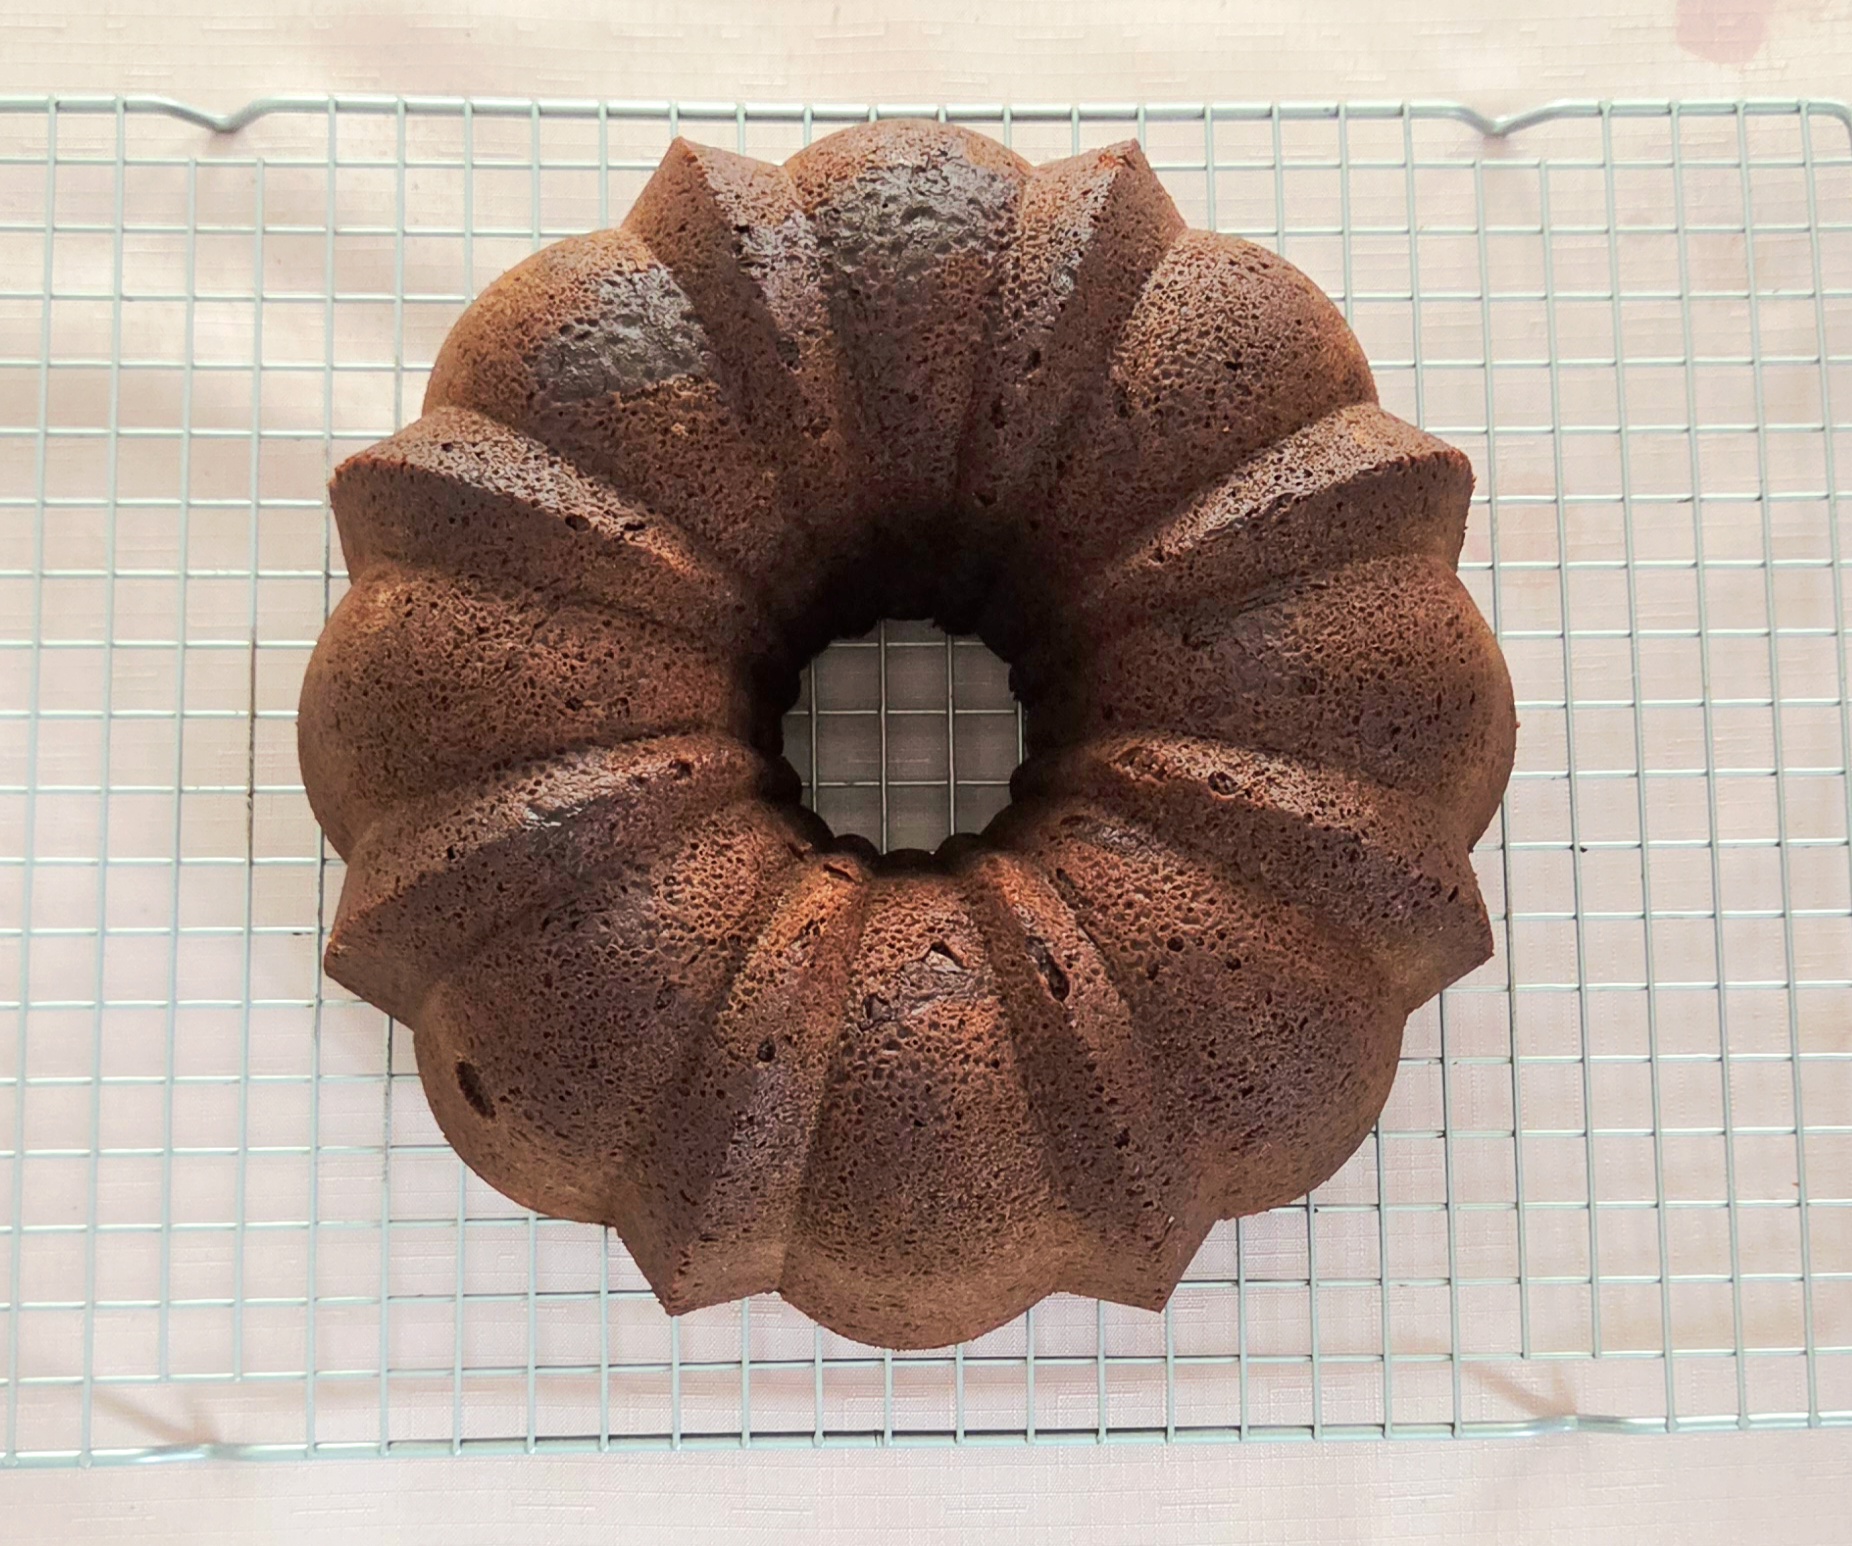
When the cake comes out of the oven, let it rest in the bundt pan for about 10 minutes. This just gives it a chance to set up a little better as it cools, and pull away naturally from the sides of the pan. Carefully, take a butter knife or toothpick and run it along the sides of the pan between the pan and the cake to help loosen it further. Flip it out onto a cooling rack.
Now, when you flip a cake out of a pan, it’s important to do so with confidence! Any hesitation, that cake is likely to end up on the floor. Start with the cooling rack flipped upside down on top of the pan. Cover your hands with oven mitts and pick up the cake, keeping the cooling rack securely held to the top. 1, 2, 3, flip! Place the cooling rack onto the counter, then carefully remove the bundt pan from the top. With any luck, it will be fully intact.
Glaze and Assembly
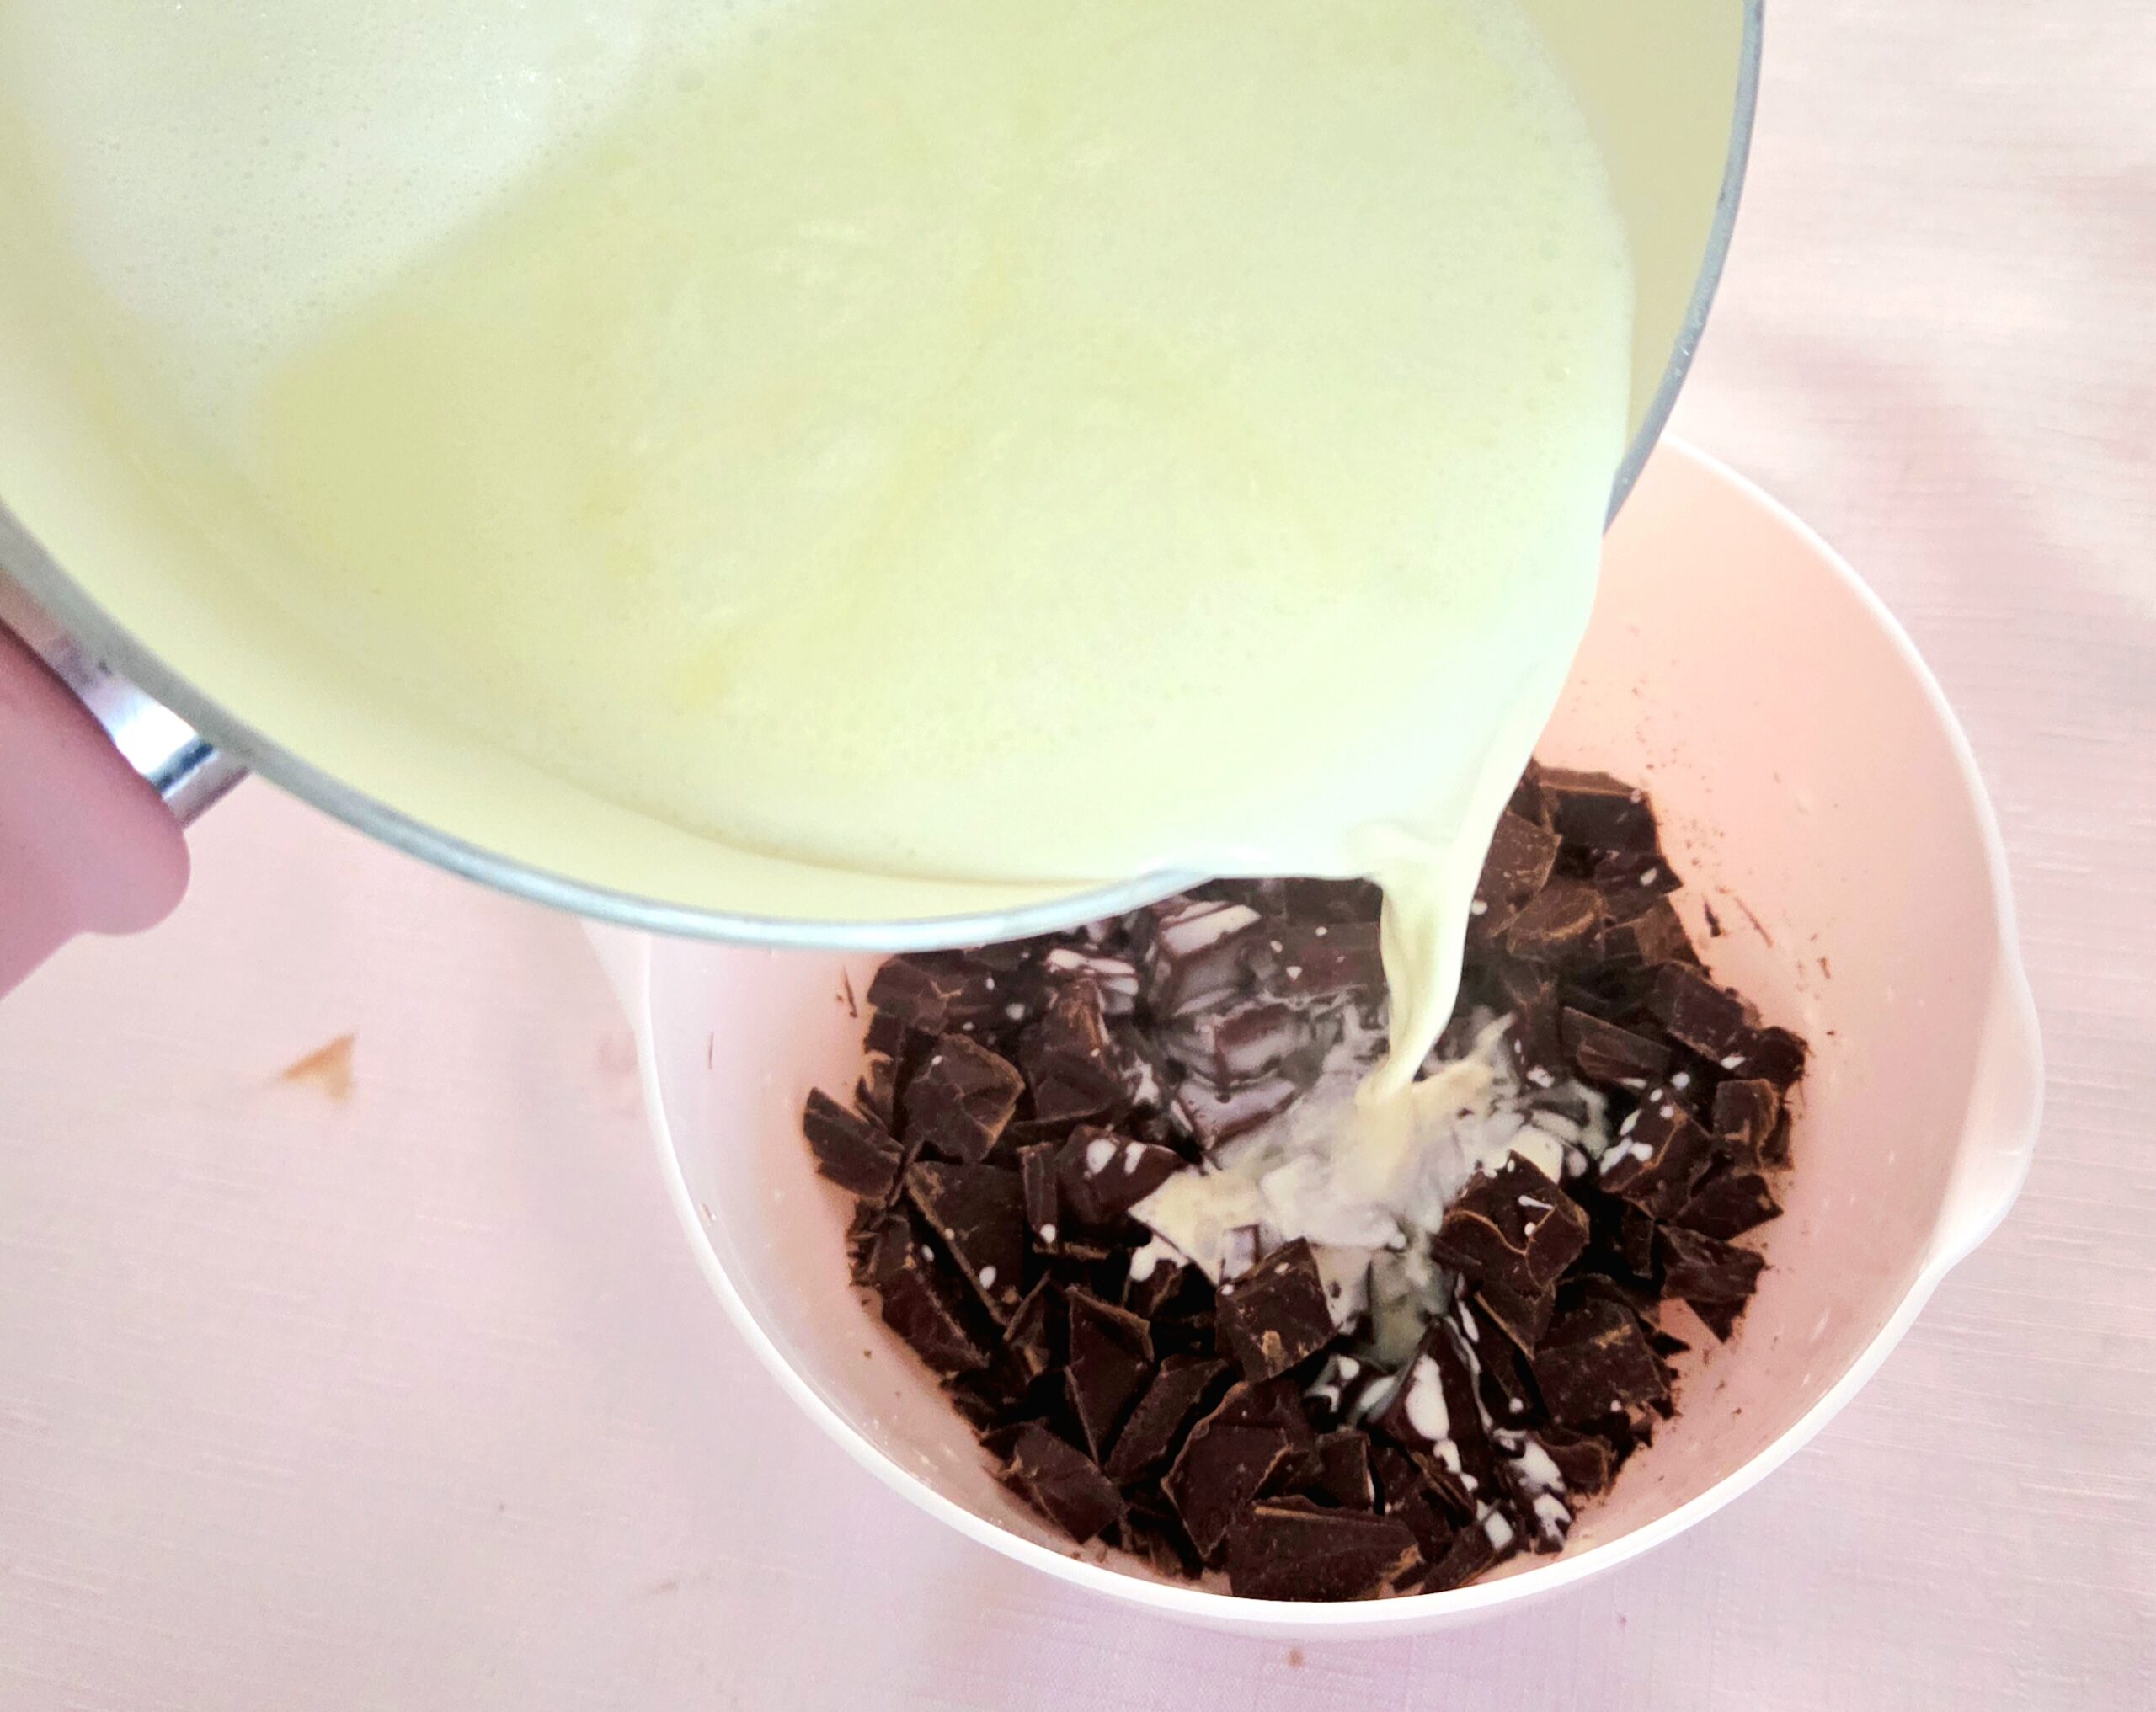
Once the cake has fully cooled, prepare the glaze. It’s really just a thick ganache, so it comes together very quickly and easily! Heat the cream in a small saucepan over medium heat, keeping a close eye on it so it doesn’t boil over the sides. As the cream heats, chop the chocolate and place it into a medium sized heat-safe mixing bowl.
As soon as the cream comes to a boil, pour it over the chopped chocolate. Just like you did with the bloomed chocolate mixture, cover the bowl with aluminum foil for five minutes or so.
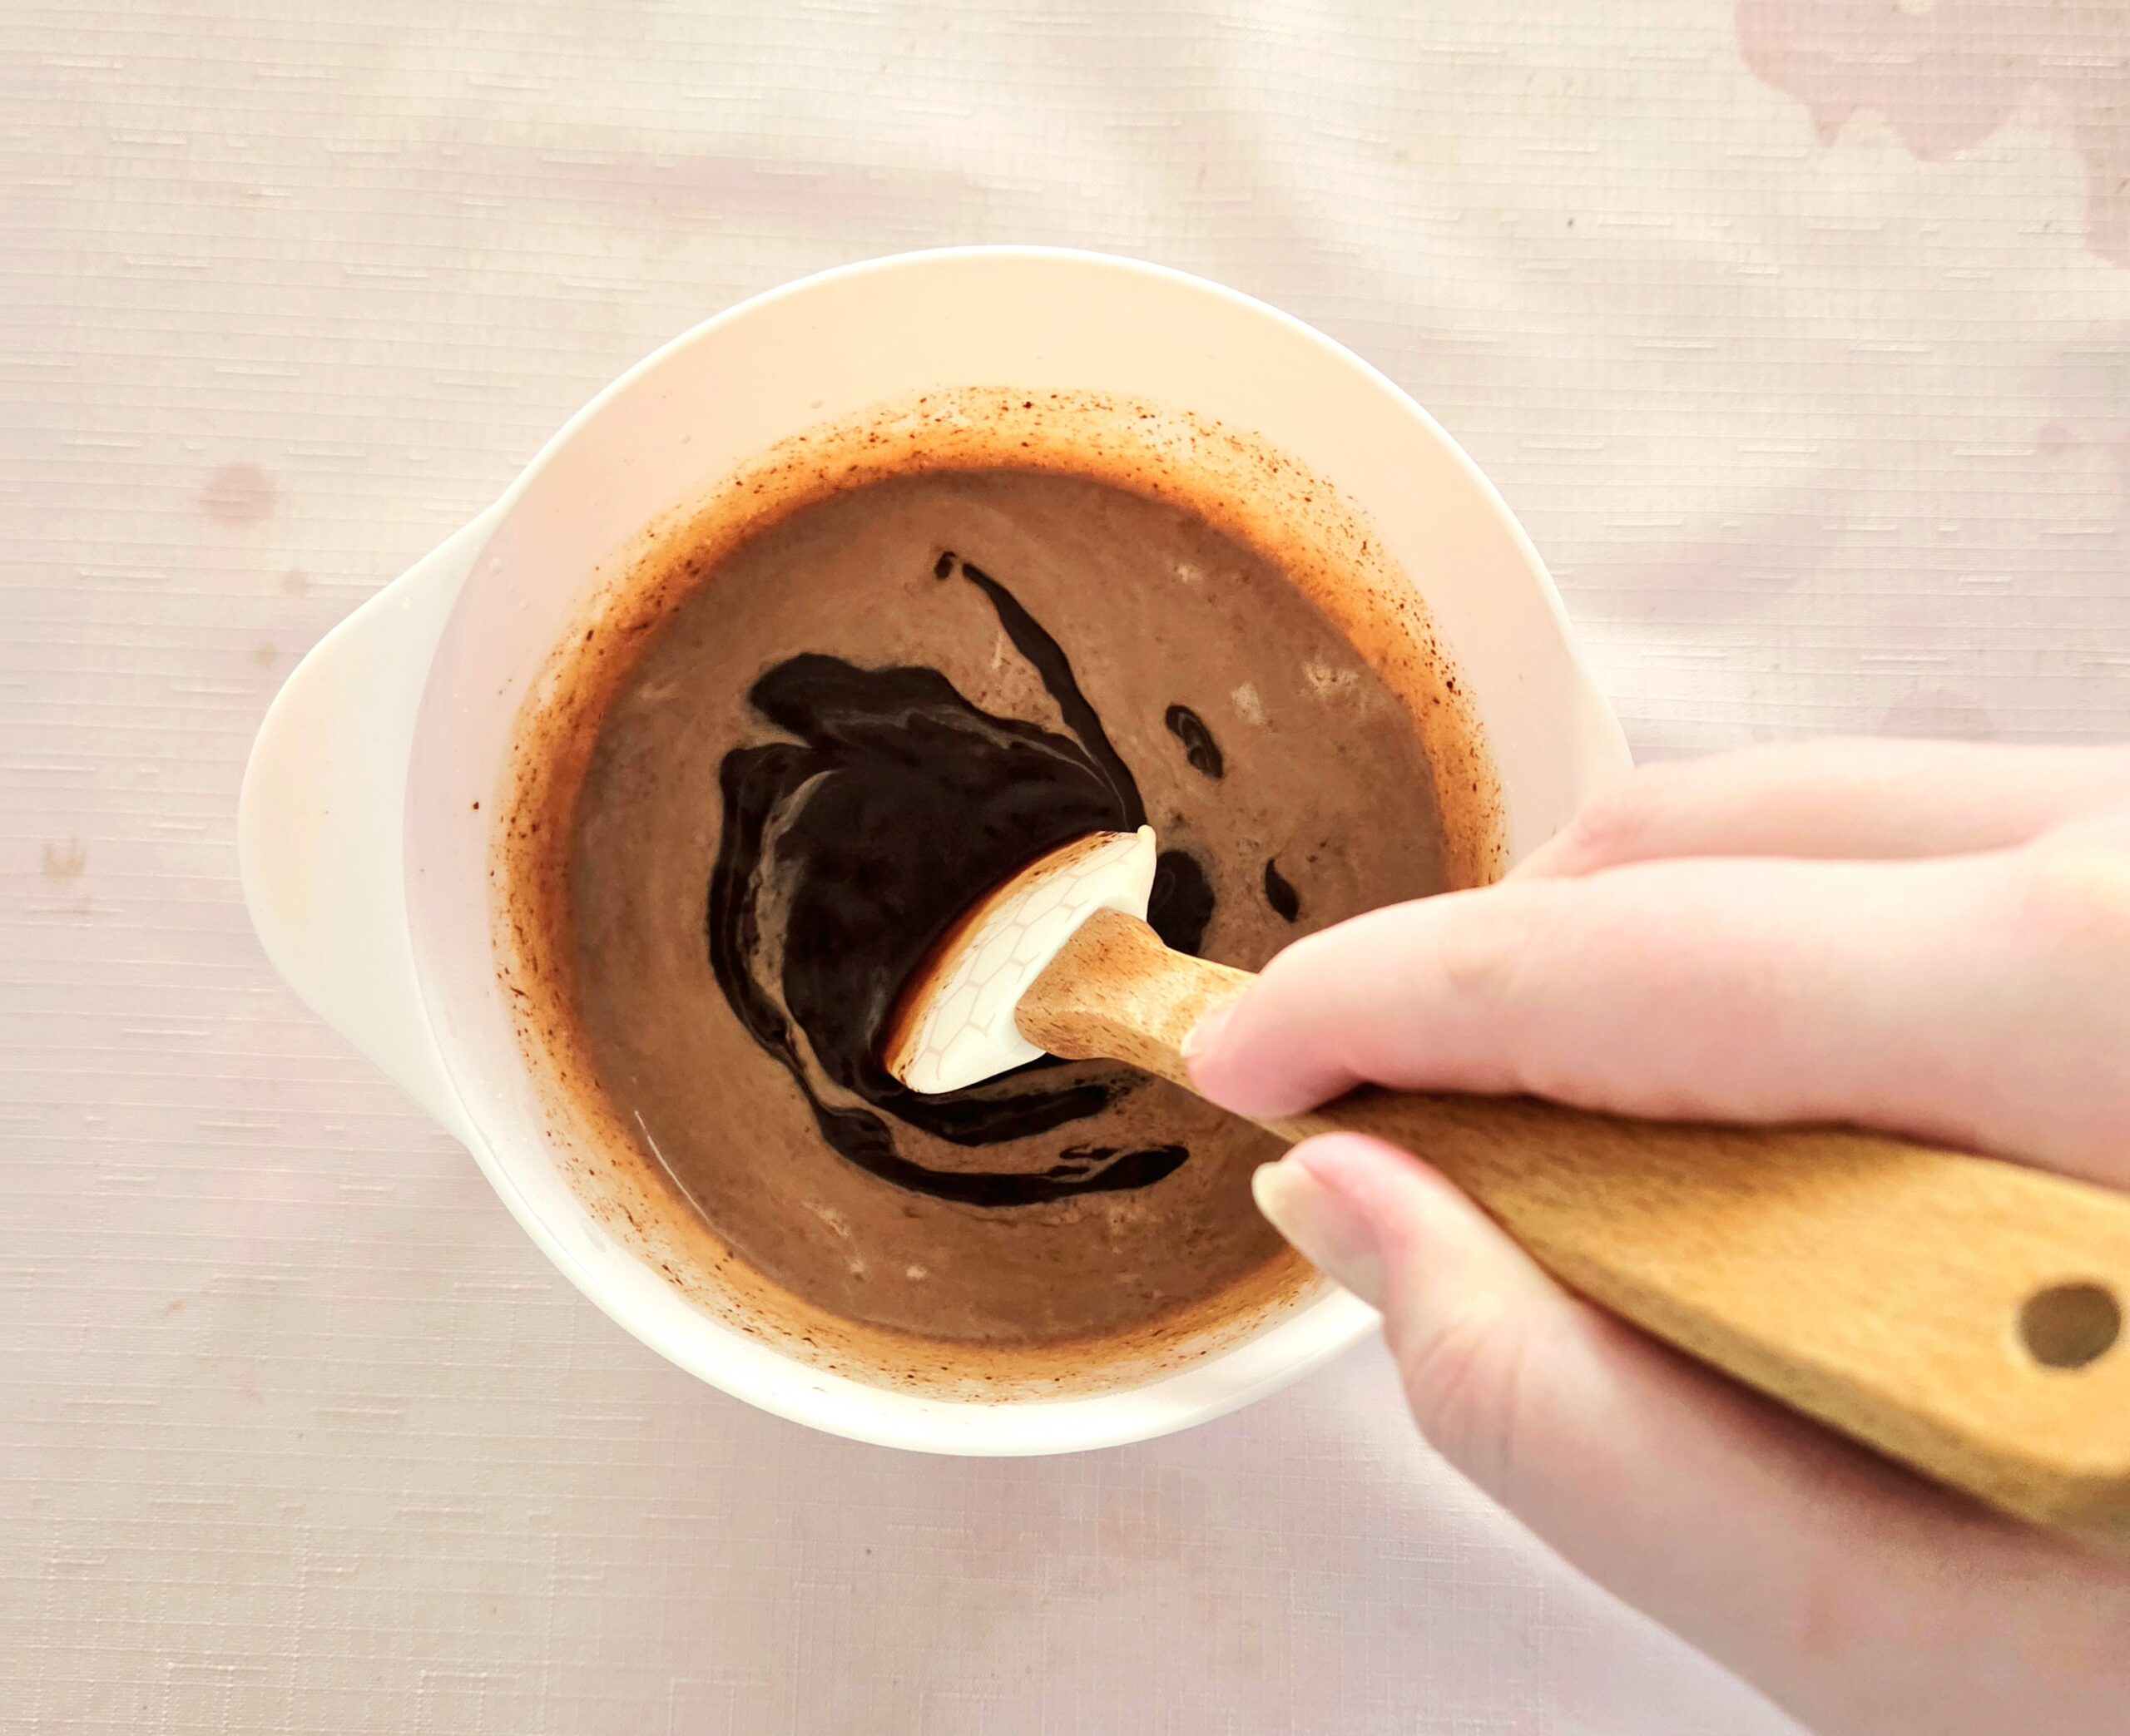
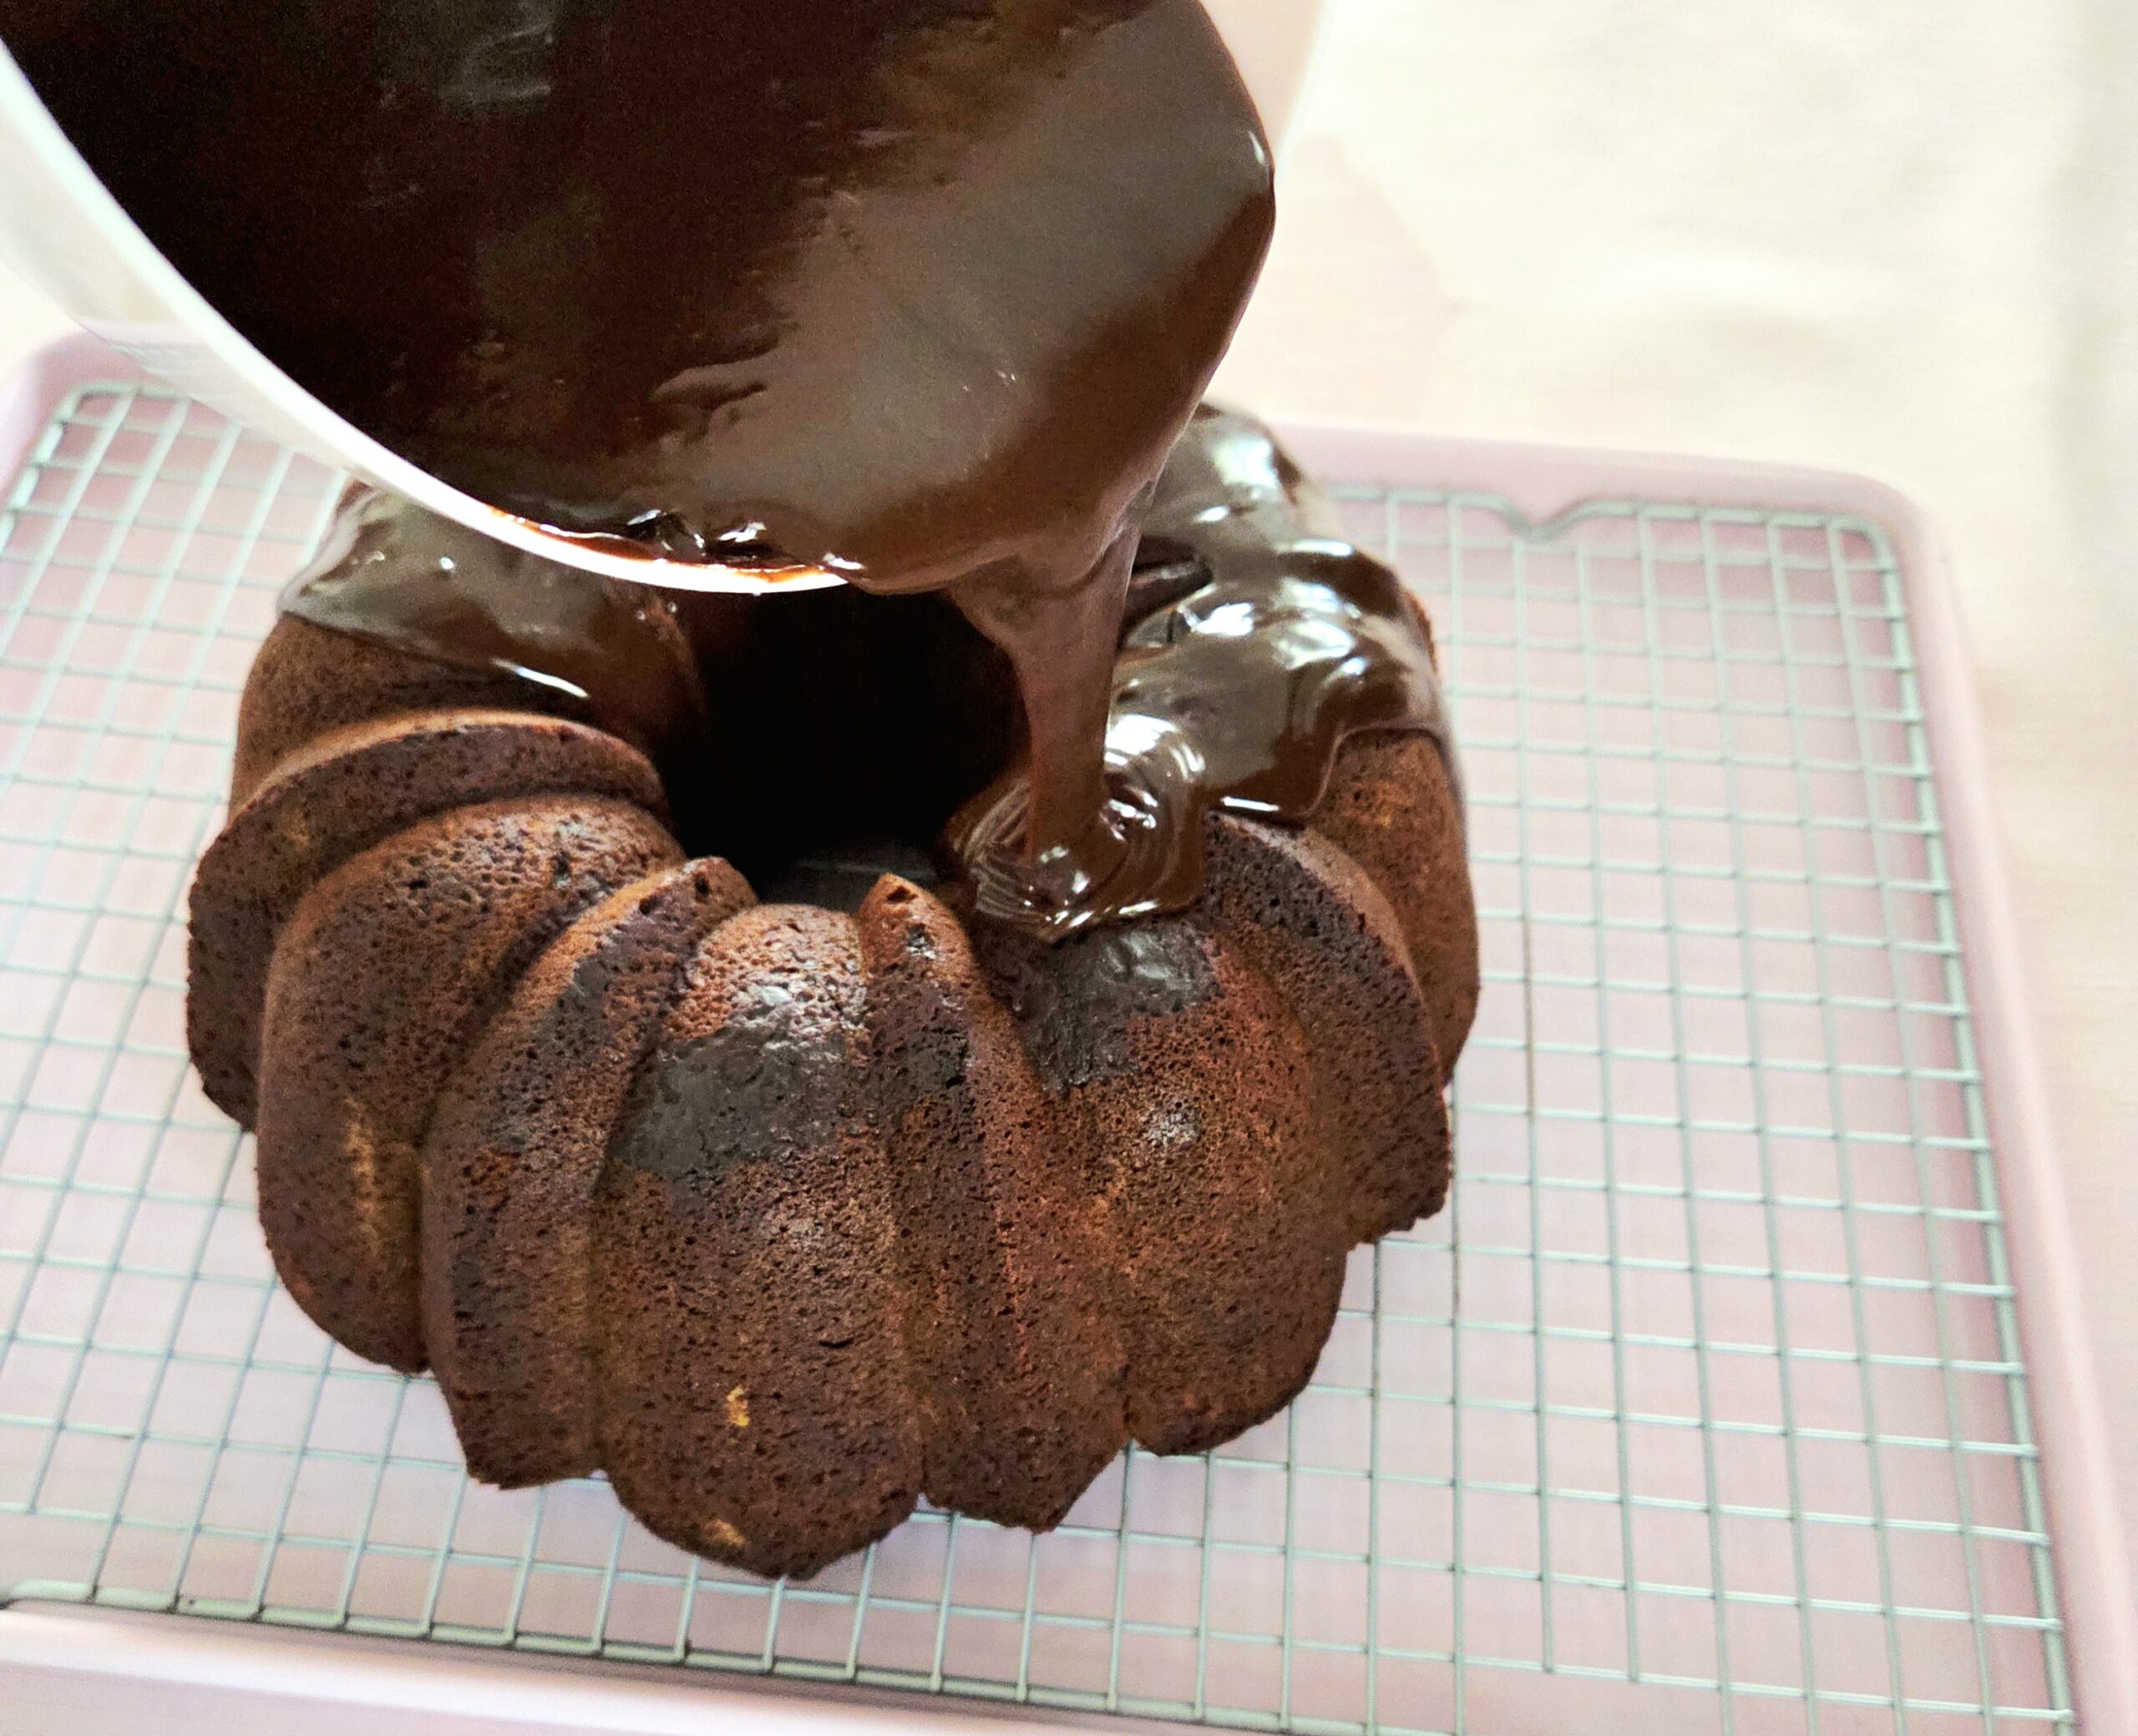
While the glaze warms and melts, set up the cake to get it ready to pour over. Place the cooling rack the cake is resting on onto a rimmed baking sheet, so that it fits snuggly inside. This way, any excess glaze will be caught by the pan, rather than making a mess of your kitchen. When the five minutes is over, uncover the bowl and gently stir the glaze together. It may seem like it doesn’t want to come together, just trust the process and keep stirring until the glaze is homogeneous and shiny.
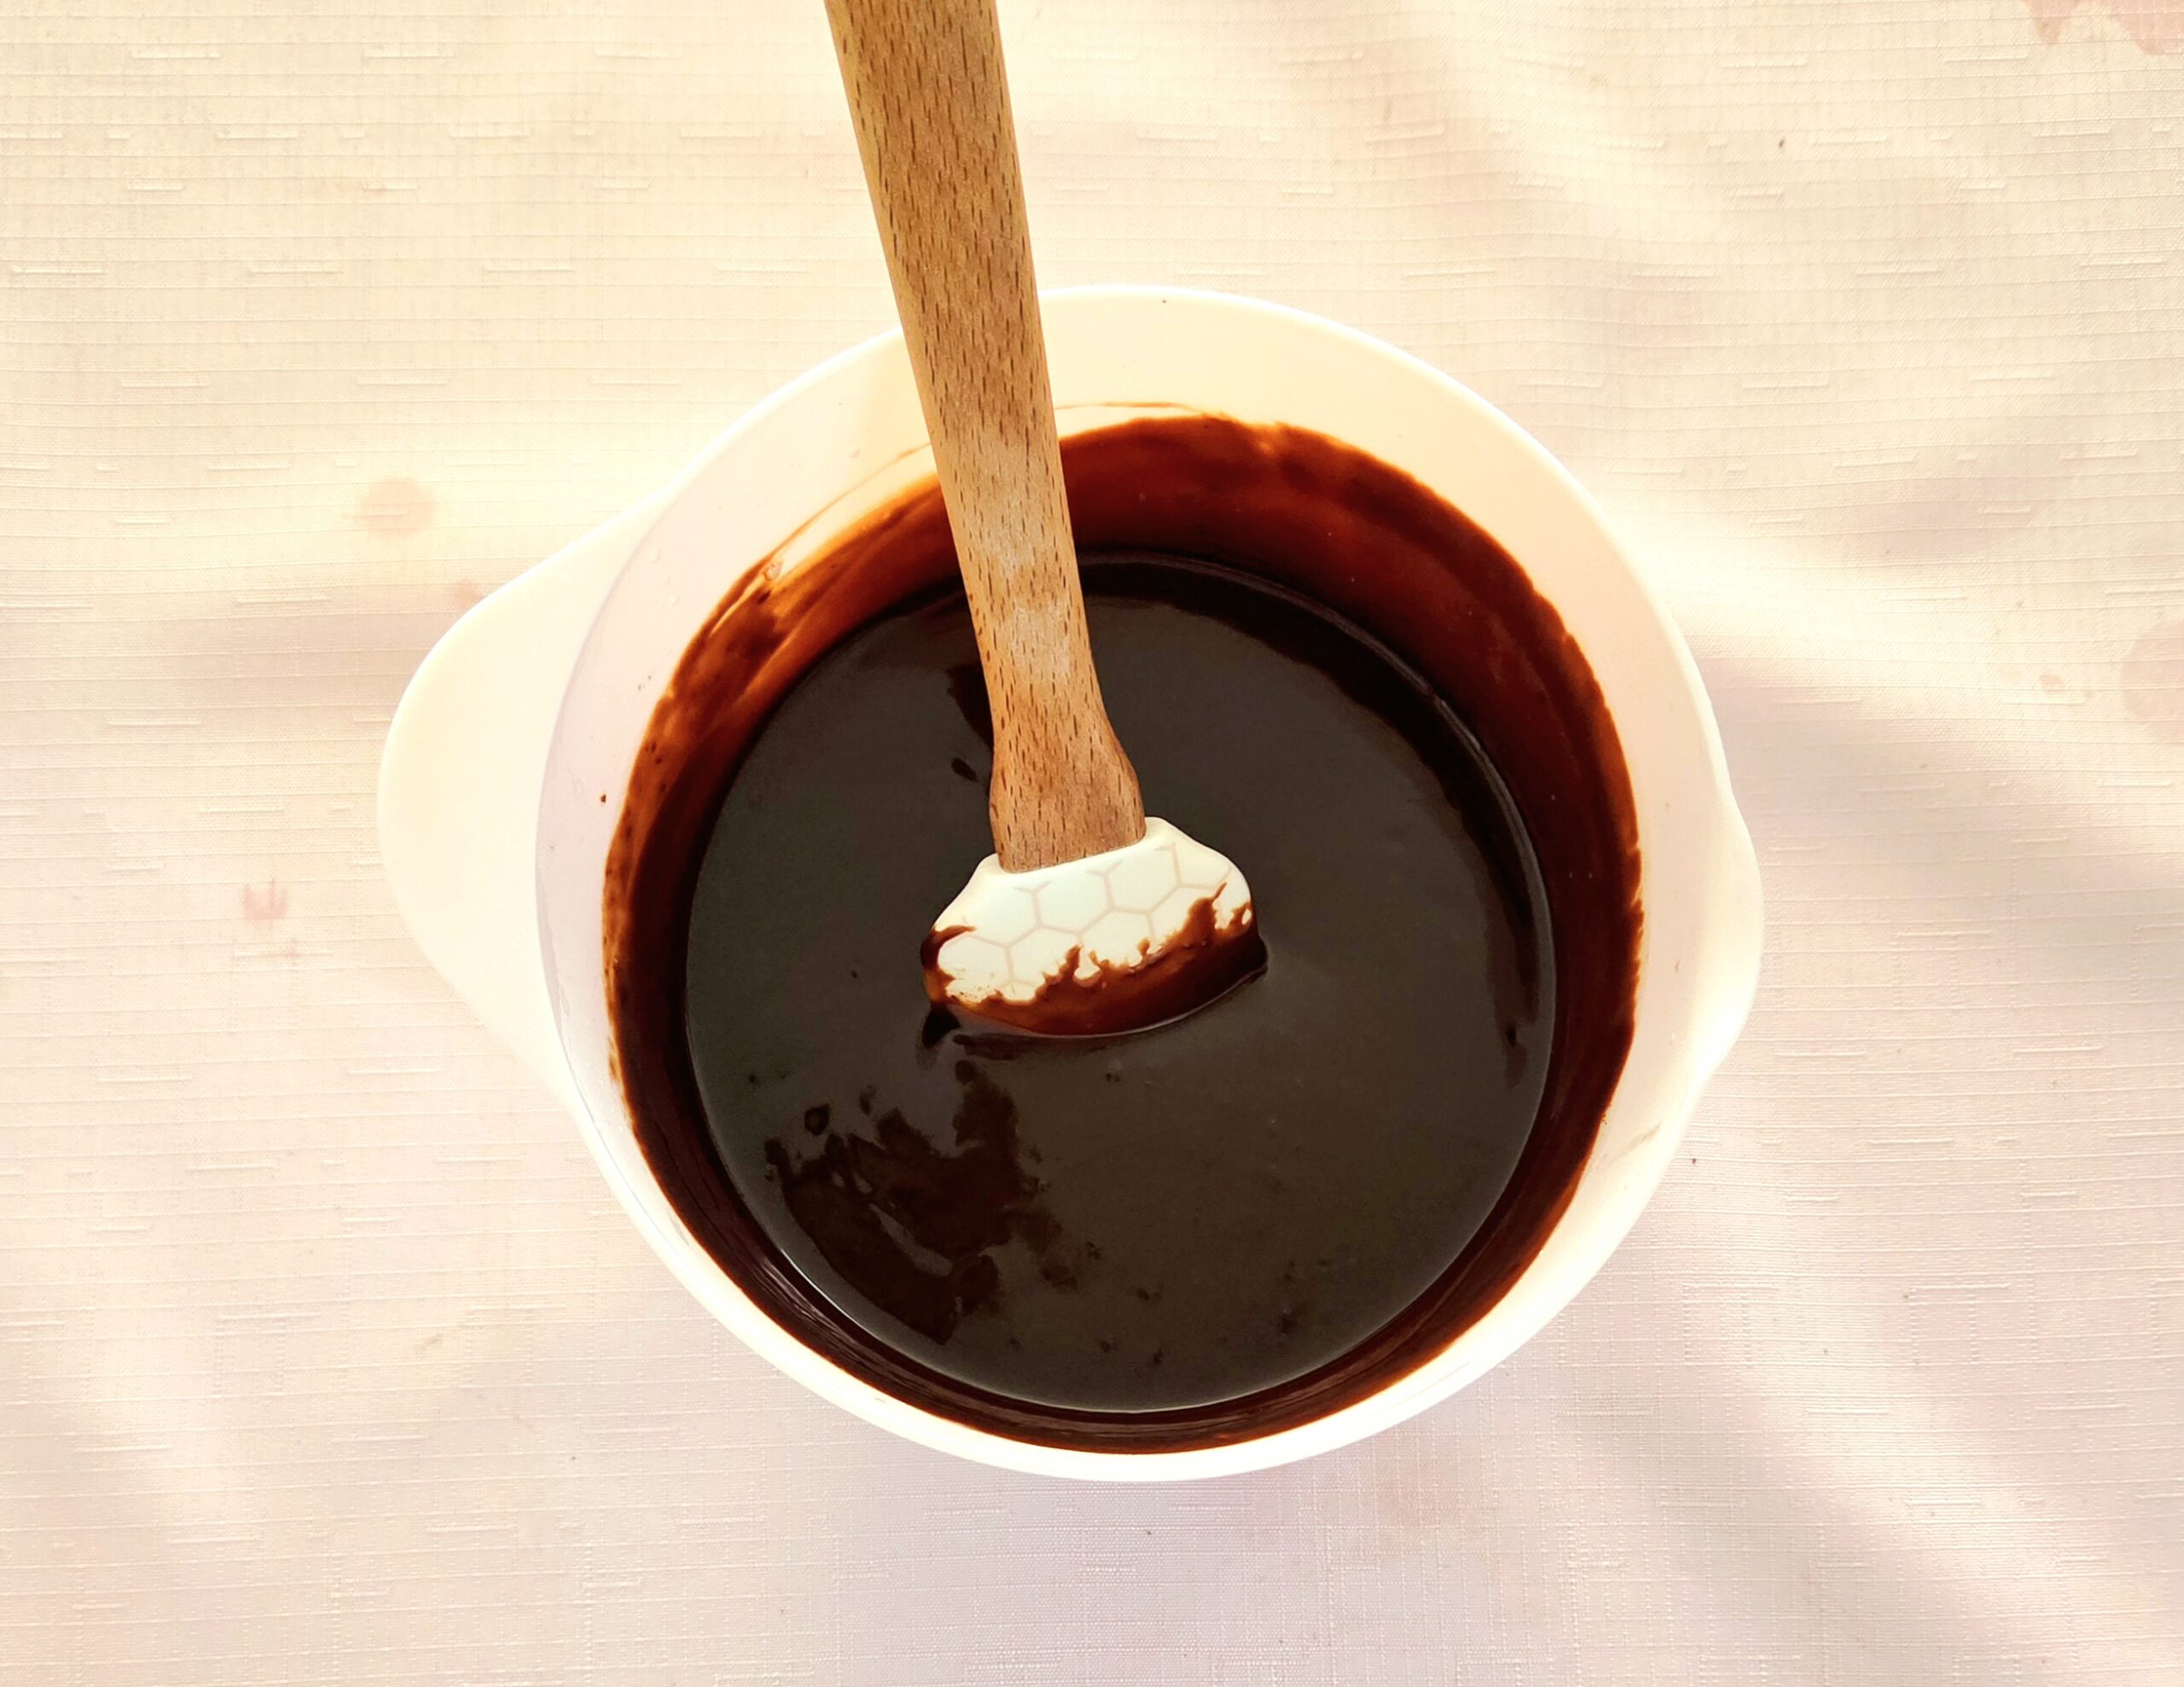
Let the ganache cool for a few minutes, to thicken up a bit. Stir it together once more, then pour it over the entire bundt. If you’d like to add the flaky salt or any kind of sprinkles, now is the time to do so!
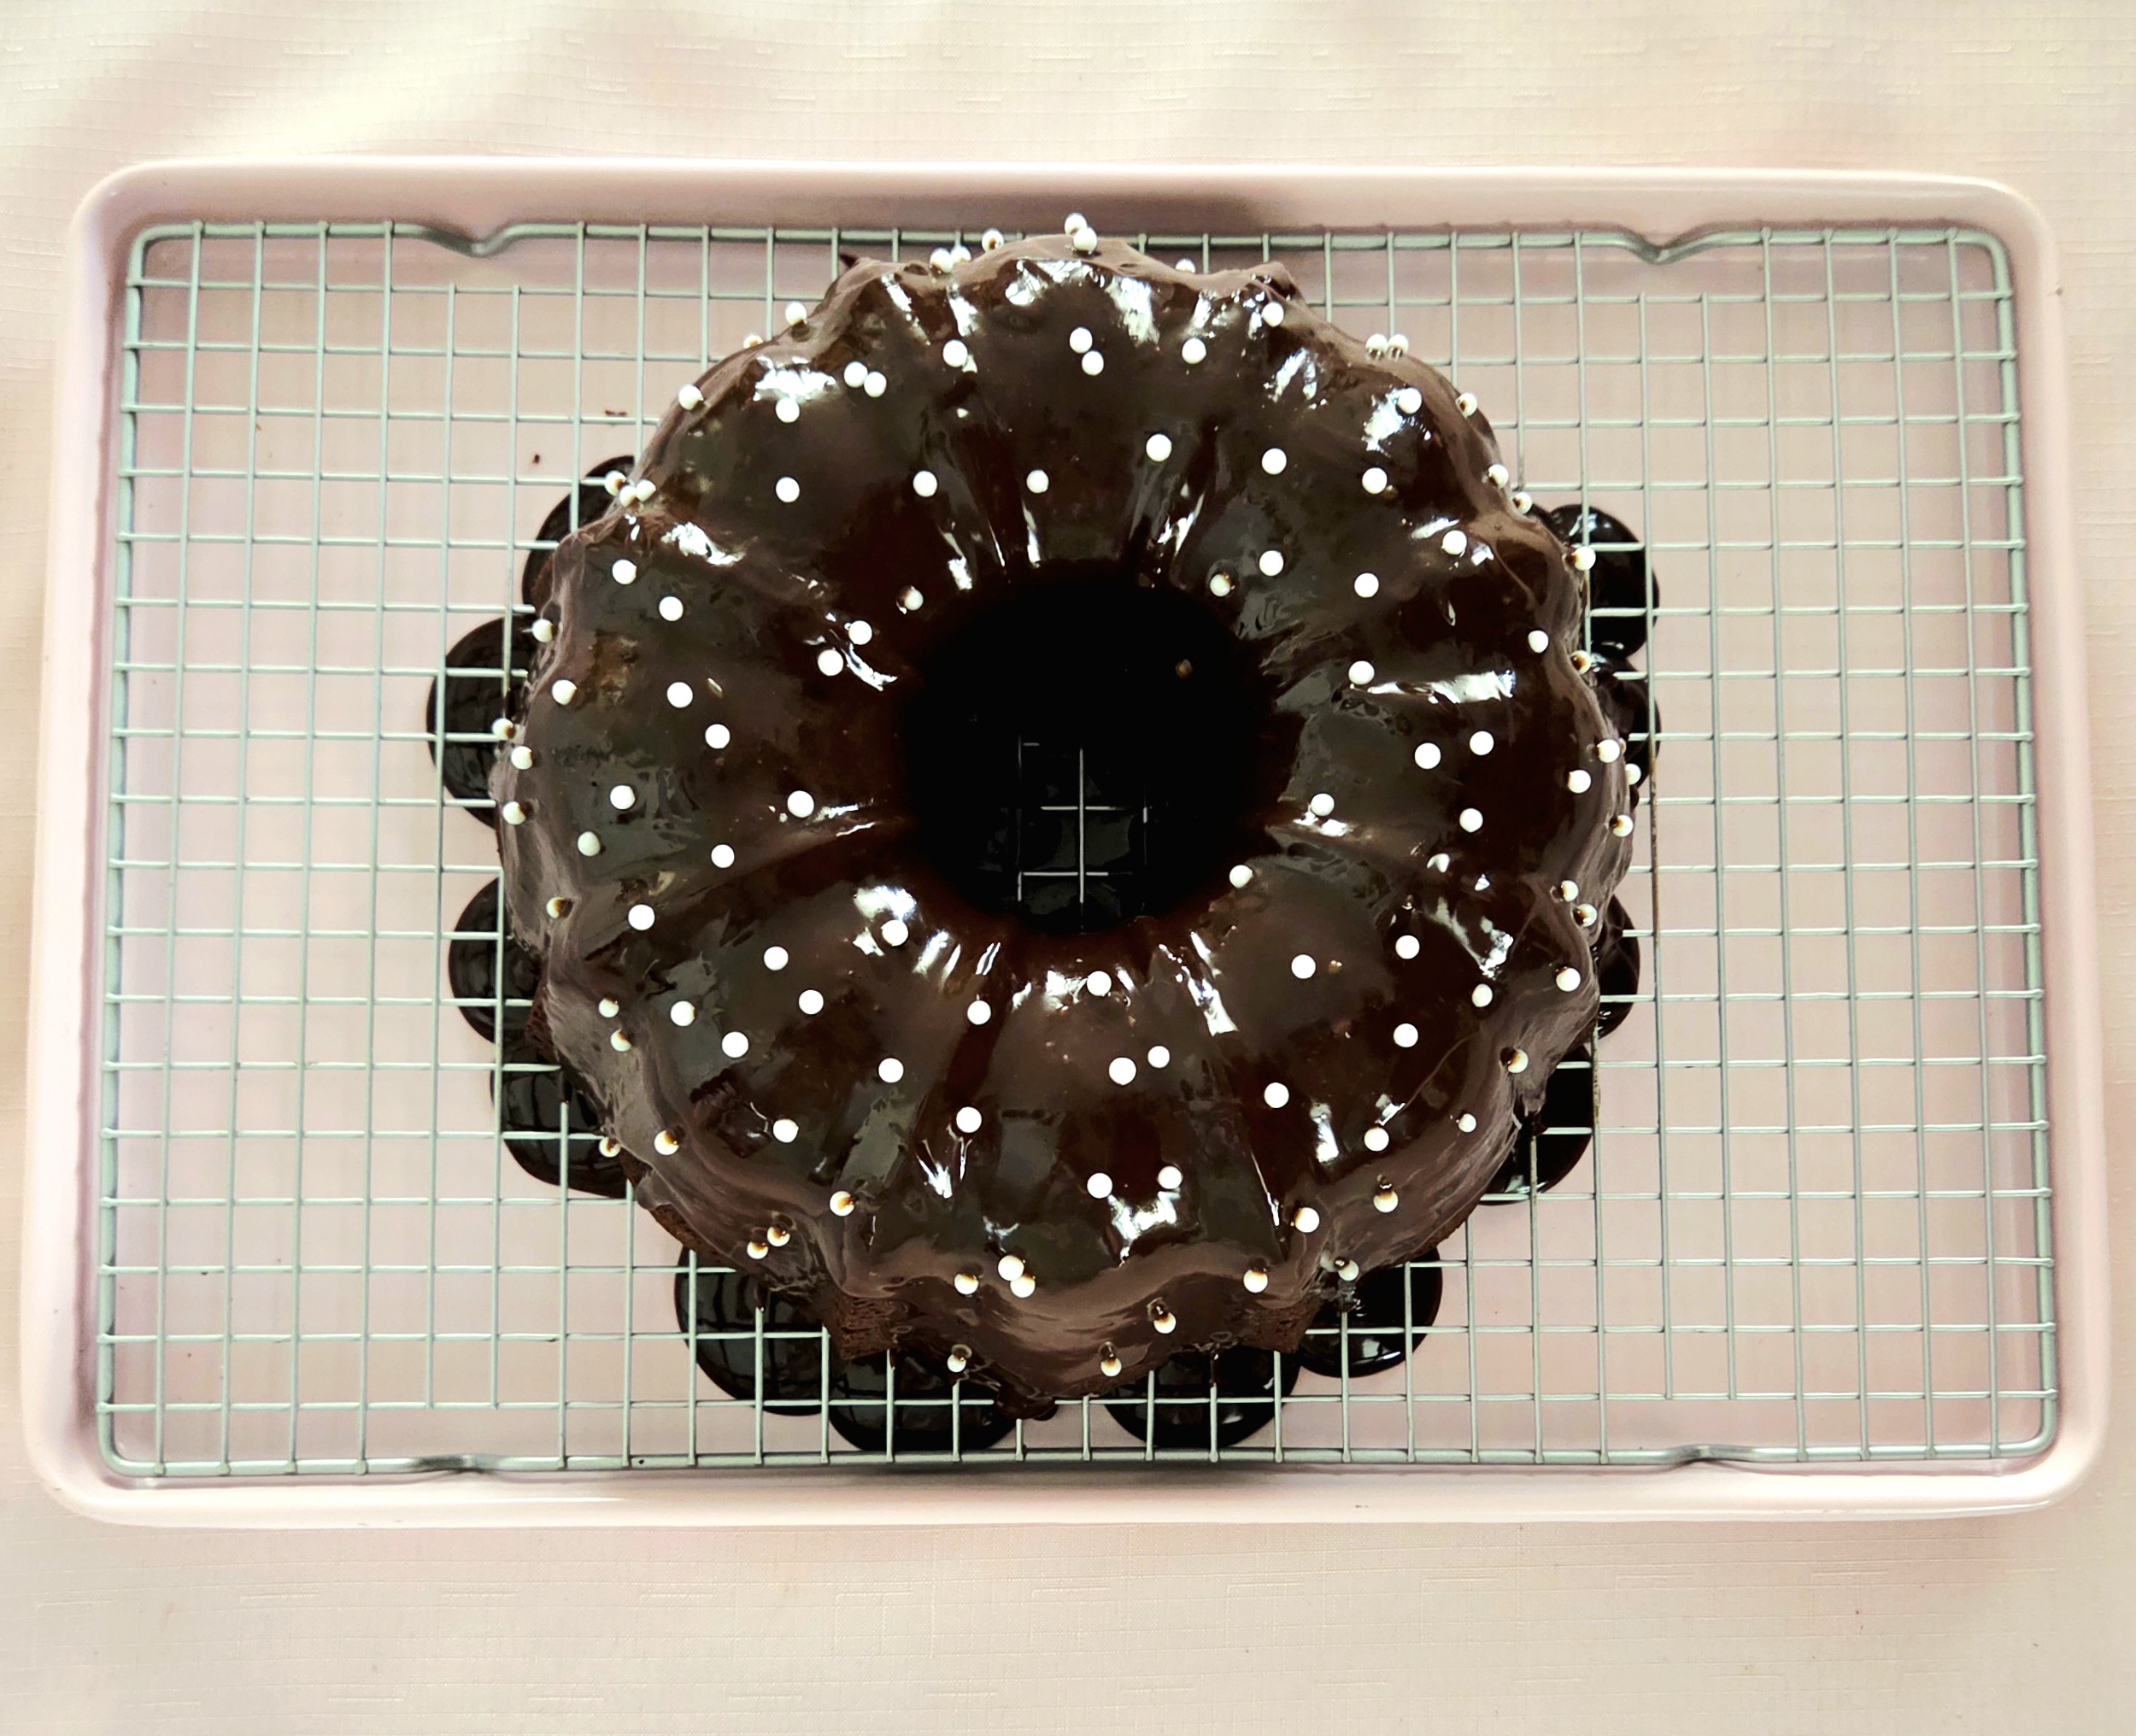
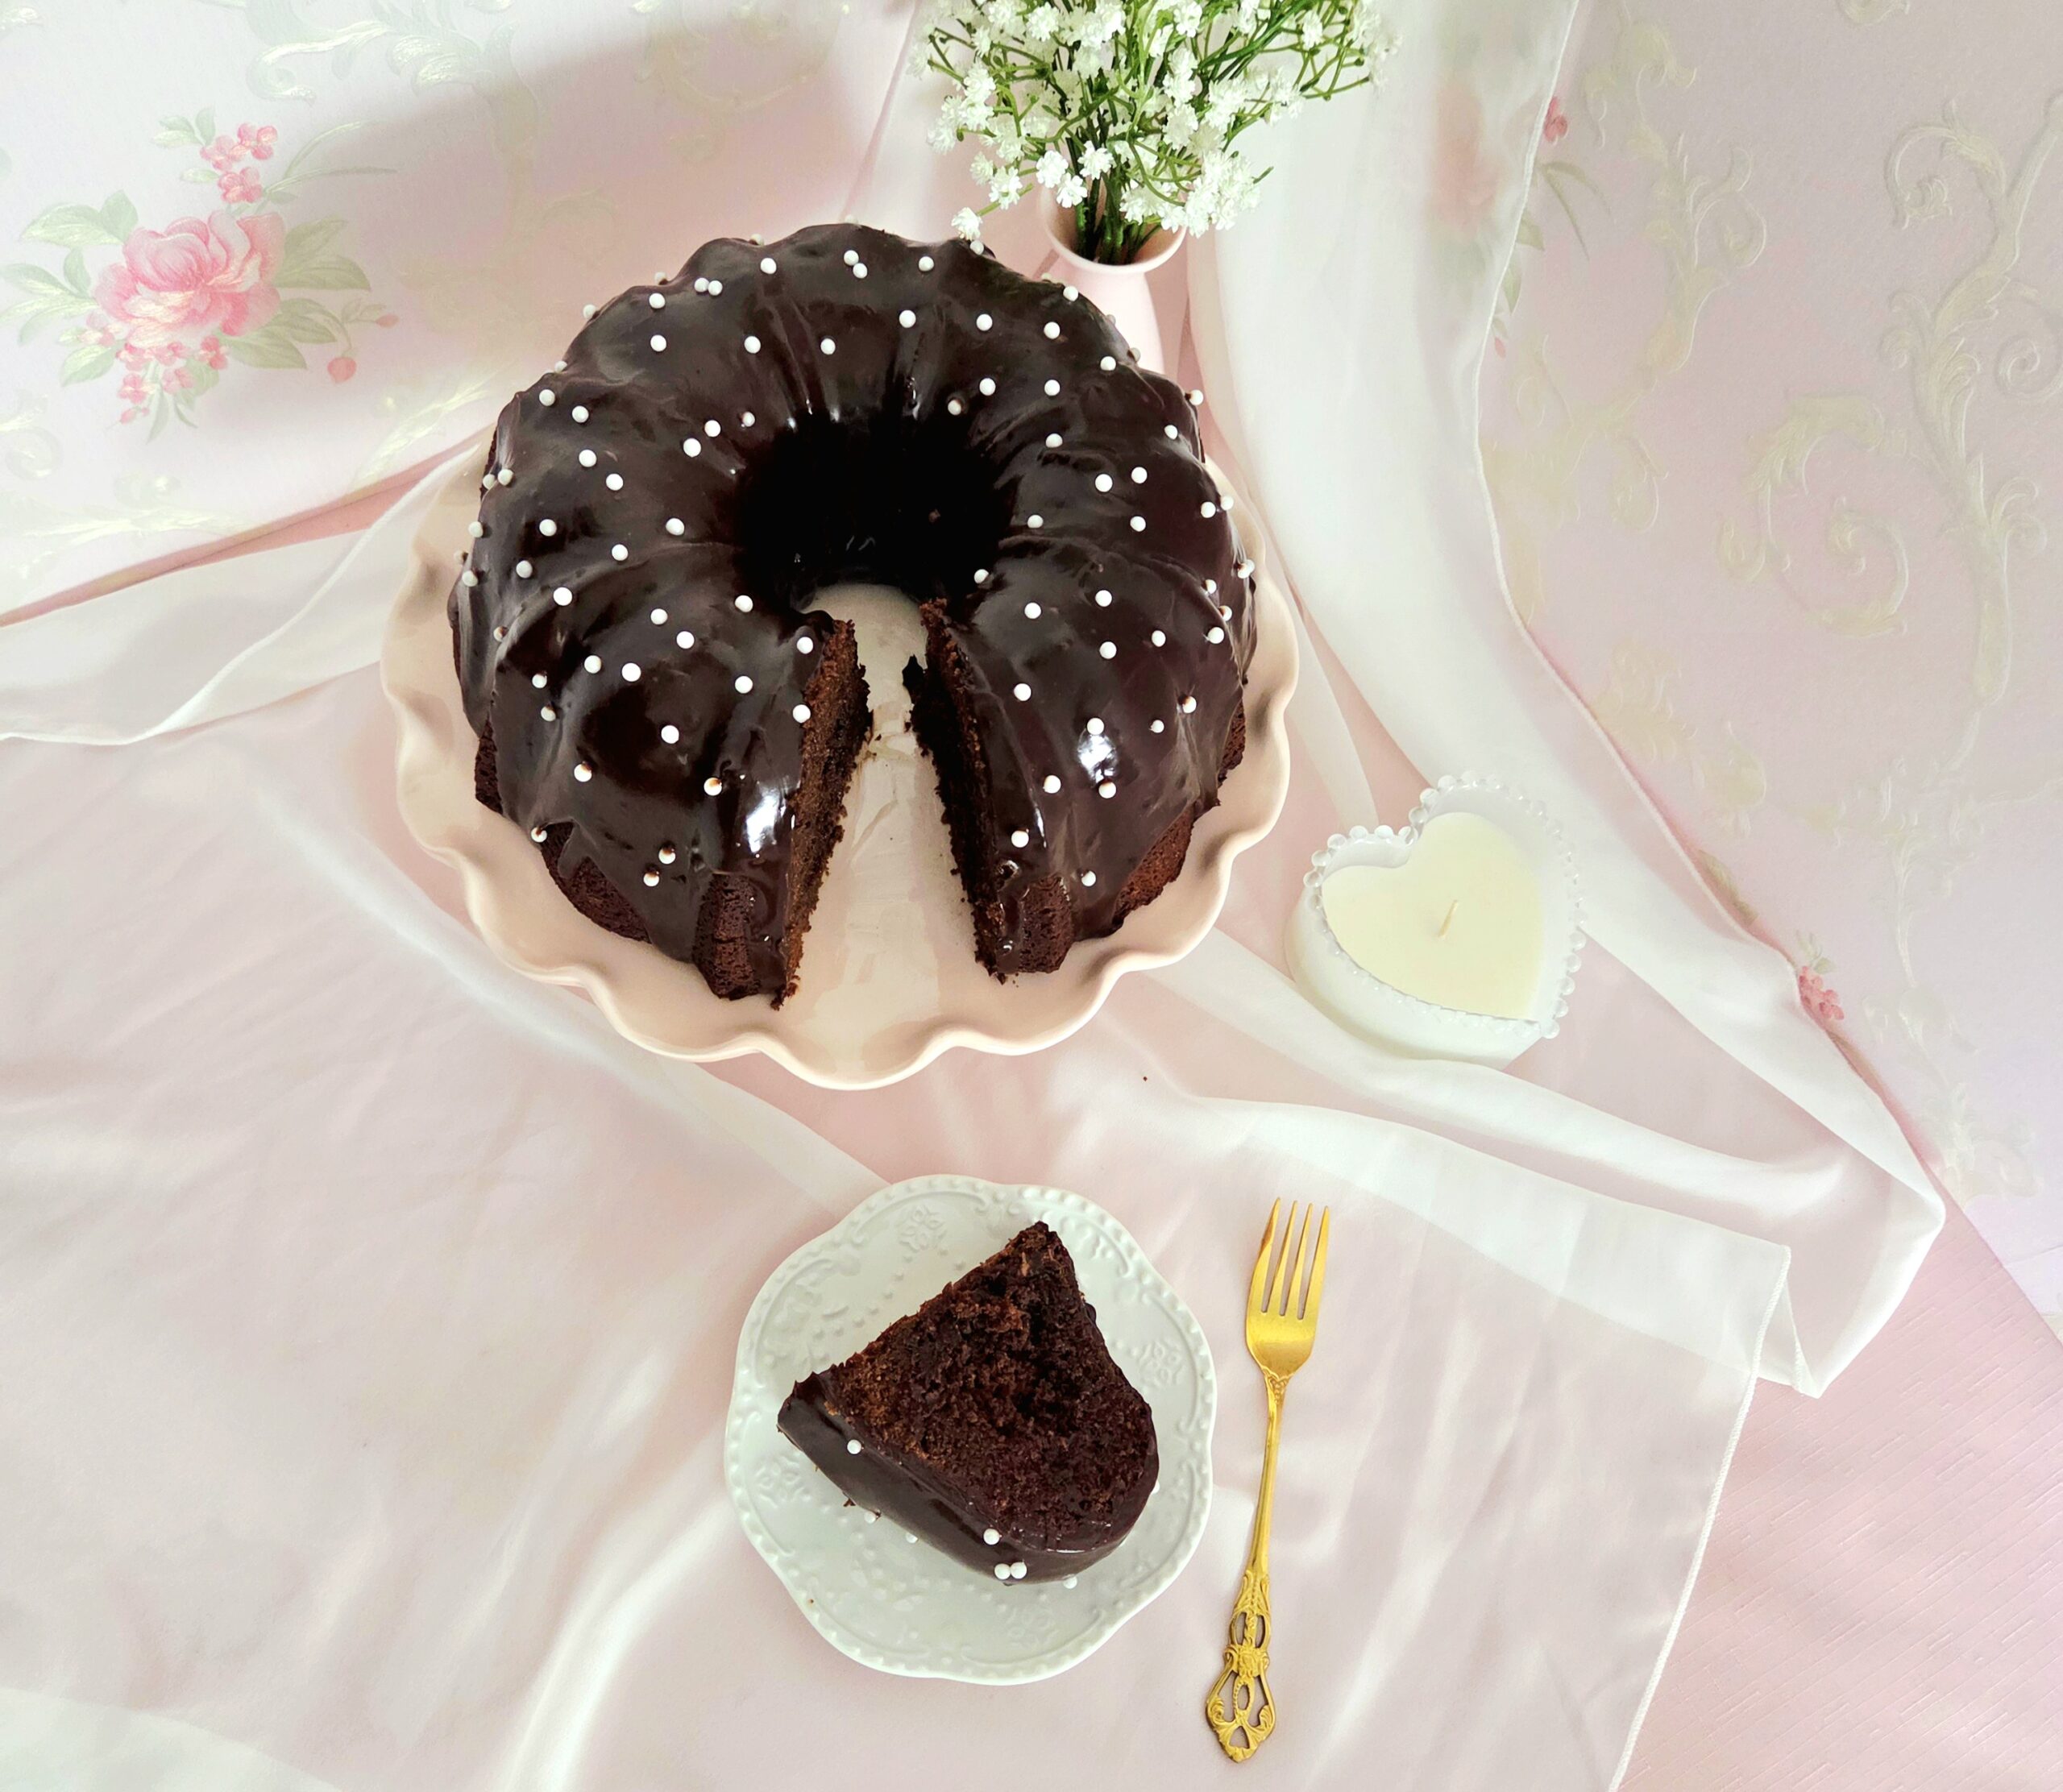
Allow the ganache to set up fully, then slice, serve, and enjoy! Store any leftover cake in an airtight container for up to two days.
Chocolate Bundt Cake
Bake Time: 350F for 55-60 minutes
Servings: 12 slices
Total Time: 3 hours
Prep Time: 45 Minutes
Ingredients
Batter:
- 1 cup whole milk
- 5 oz dark chocolate bar
- ¾ cup cocoa powder
- 1 teaspoon espresso powder (optional)
- 2 ½ cups all-purpose flour
- 1 teaspoon salt
- 1 teaspoon baking powder
- ½ teaspoon baking soda
- 1 cup milk chocolate chips
- 24 Tablespoons unsalted butter, softened
- 2 cups granulated sugar
- 4 large eggs, room temperature
- 1 teaspoon vanilla extract
Ganache:
- 10 oz dark chocolate bars
- 1 cup heavy cream
- Flaky salt or sprinkles to garnish (optional)
Directions
Bake the Batter
- Begin by preheating the oven to 350F, on the convection setting if possible. Spray a bundt pan with nonstick baking spray, or coat it with melted butter and cocoa powder, and set it aside.
- Place the milk in a small saucepan on the stove top, over medium heat. Chop the dark chocolate bars and place them into a small heat-safe bowl. Sift the cocoa powder over the top of the dark chocolate and, if desired, add the espresso powder. As soon as the milk comes to a boil, take it off the heat and pour it over the chocolate mixture. Cover the top of the bowl immediately with aluminum foil and allow it to sit and melt for 5 minutes.
- While the chocolate mixture heats and melts together, combine the dry goods. In a medium mixing bowl, whisk together the flour, salt, baking powder, baking soda, and chocolate chips. Set the dry goods aside.
- Return to the heated chocolate mixture for a moment. Remove the foil from the top and, using a whisk, slowly bring them all together until it’s one homogeneous mixture. Place this bowl into the fridge, to cool down some.
- In a stand mixer fitted with the paddle attachment, cream together the softened butter and sugar. Beat them together on level 3 for 5 minutes or so, until the mixture has gone from a butter yellow to almost white and very fluffy. Turn the mixer off and scrape down the sides of the bowl, using a rubber spatula.
- One at a time, add in the eggs and vanilla extract, beating on level 3 for a minute or so. Wait until the first egg has been fully absorbed into the butter mixture before cracking in the next. Shut off the mixer and scrape down the sides of the bowl in between each egg, or as needed.
- Pour the melted chocolate mixture into the stand mixer, scraping out as much as you can using the rubber spatula. Turn the mixer on to level 3 once more for a minute or two, until the chocolate has fully absorbed into the batter. Shut it down and scrape the sides of the bowl.
- All at once, add in the dry goods. Switch the mixer on to level 1 and beat the batter for a minute or two. Turn it off, scrape down the sides of the bowl, and beat it on level 1 for another 30 seconds or so.
- Pour the batter into the prepared pan, taking care to spread it out evenly. Bake the bundt for 55-60 minutes on the center rack, flipping halfway through baking. A toothpick poked into the center of a section should come out with only a few crumbs stuck to it.
- Allow the cake to rest in the pan for 10 minutes, then carefully take a butter knife and release the cake from the sides of the pan. Confidently flip the cake out onto a cooling rack and let it finish cooling the rest of the way down.
Glaze and Assemble
- When the cake has reached room temperature, prepare the ganache. Pour the cream into a small saucepan and heat it on medium-high.
- Roughly chop the chocolate and place it into a medium heat-safe bowl. Once the cream has come to a boil, immediately pour it over the chopped chocolate. Cover the bowl with aluminum foil and let it sit for 5 minutes or so.
- While everything melts together, set up the cake so that the cooling rack it’s on top of is directly on top of a rimmed baking sheet. After the 5 minutes is up, uncover the bowl and, using a rubber spatula, gently mix the ganache together.
- Let the ganache cool for a few minutes, then stir it again and pour it over the top of the cake. If desired, sprinkle flaky sea salt or sprinkles on top of the ganache now. Allow the ganache to set completely, the slice and serve! Store any leftover cake in an airtight container for up to 2 days, and enjoy.
Tips
- The ganache can be made up to two days ahead of time. Follow the recipe as written, then cover it with plastic wrap, making sure the plastic is directly touching the top of the ganache. Place it in the fridge for up to two days. When you’re ready to use it, heat it in 30 seconds increments in the microwave at a time, stirring in between. Once it’s liquefied enough to pour but not hot, it’s ready to go.


0 Comments