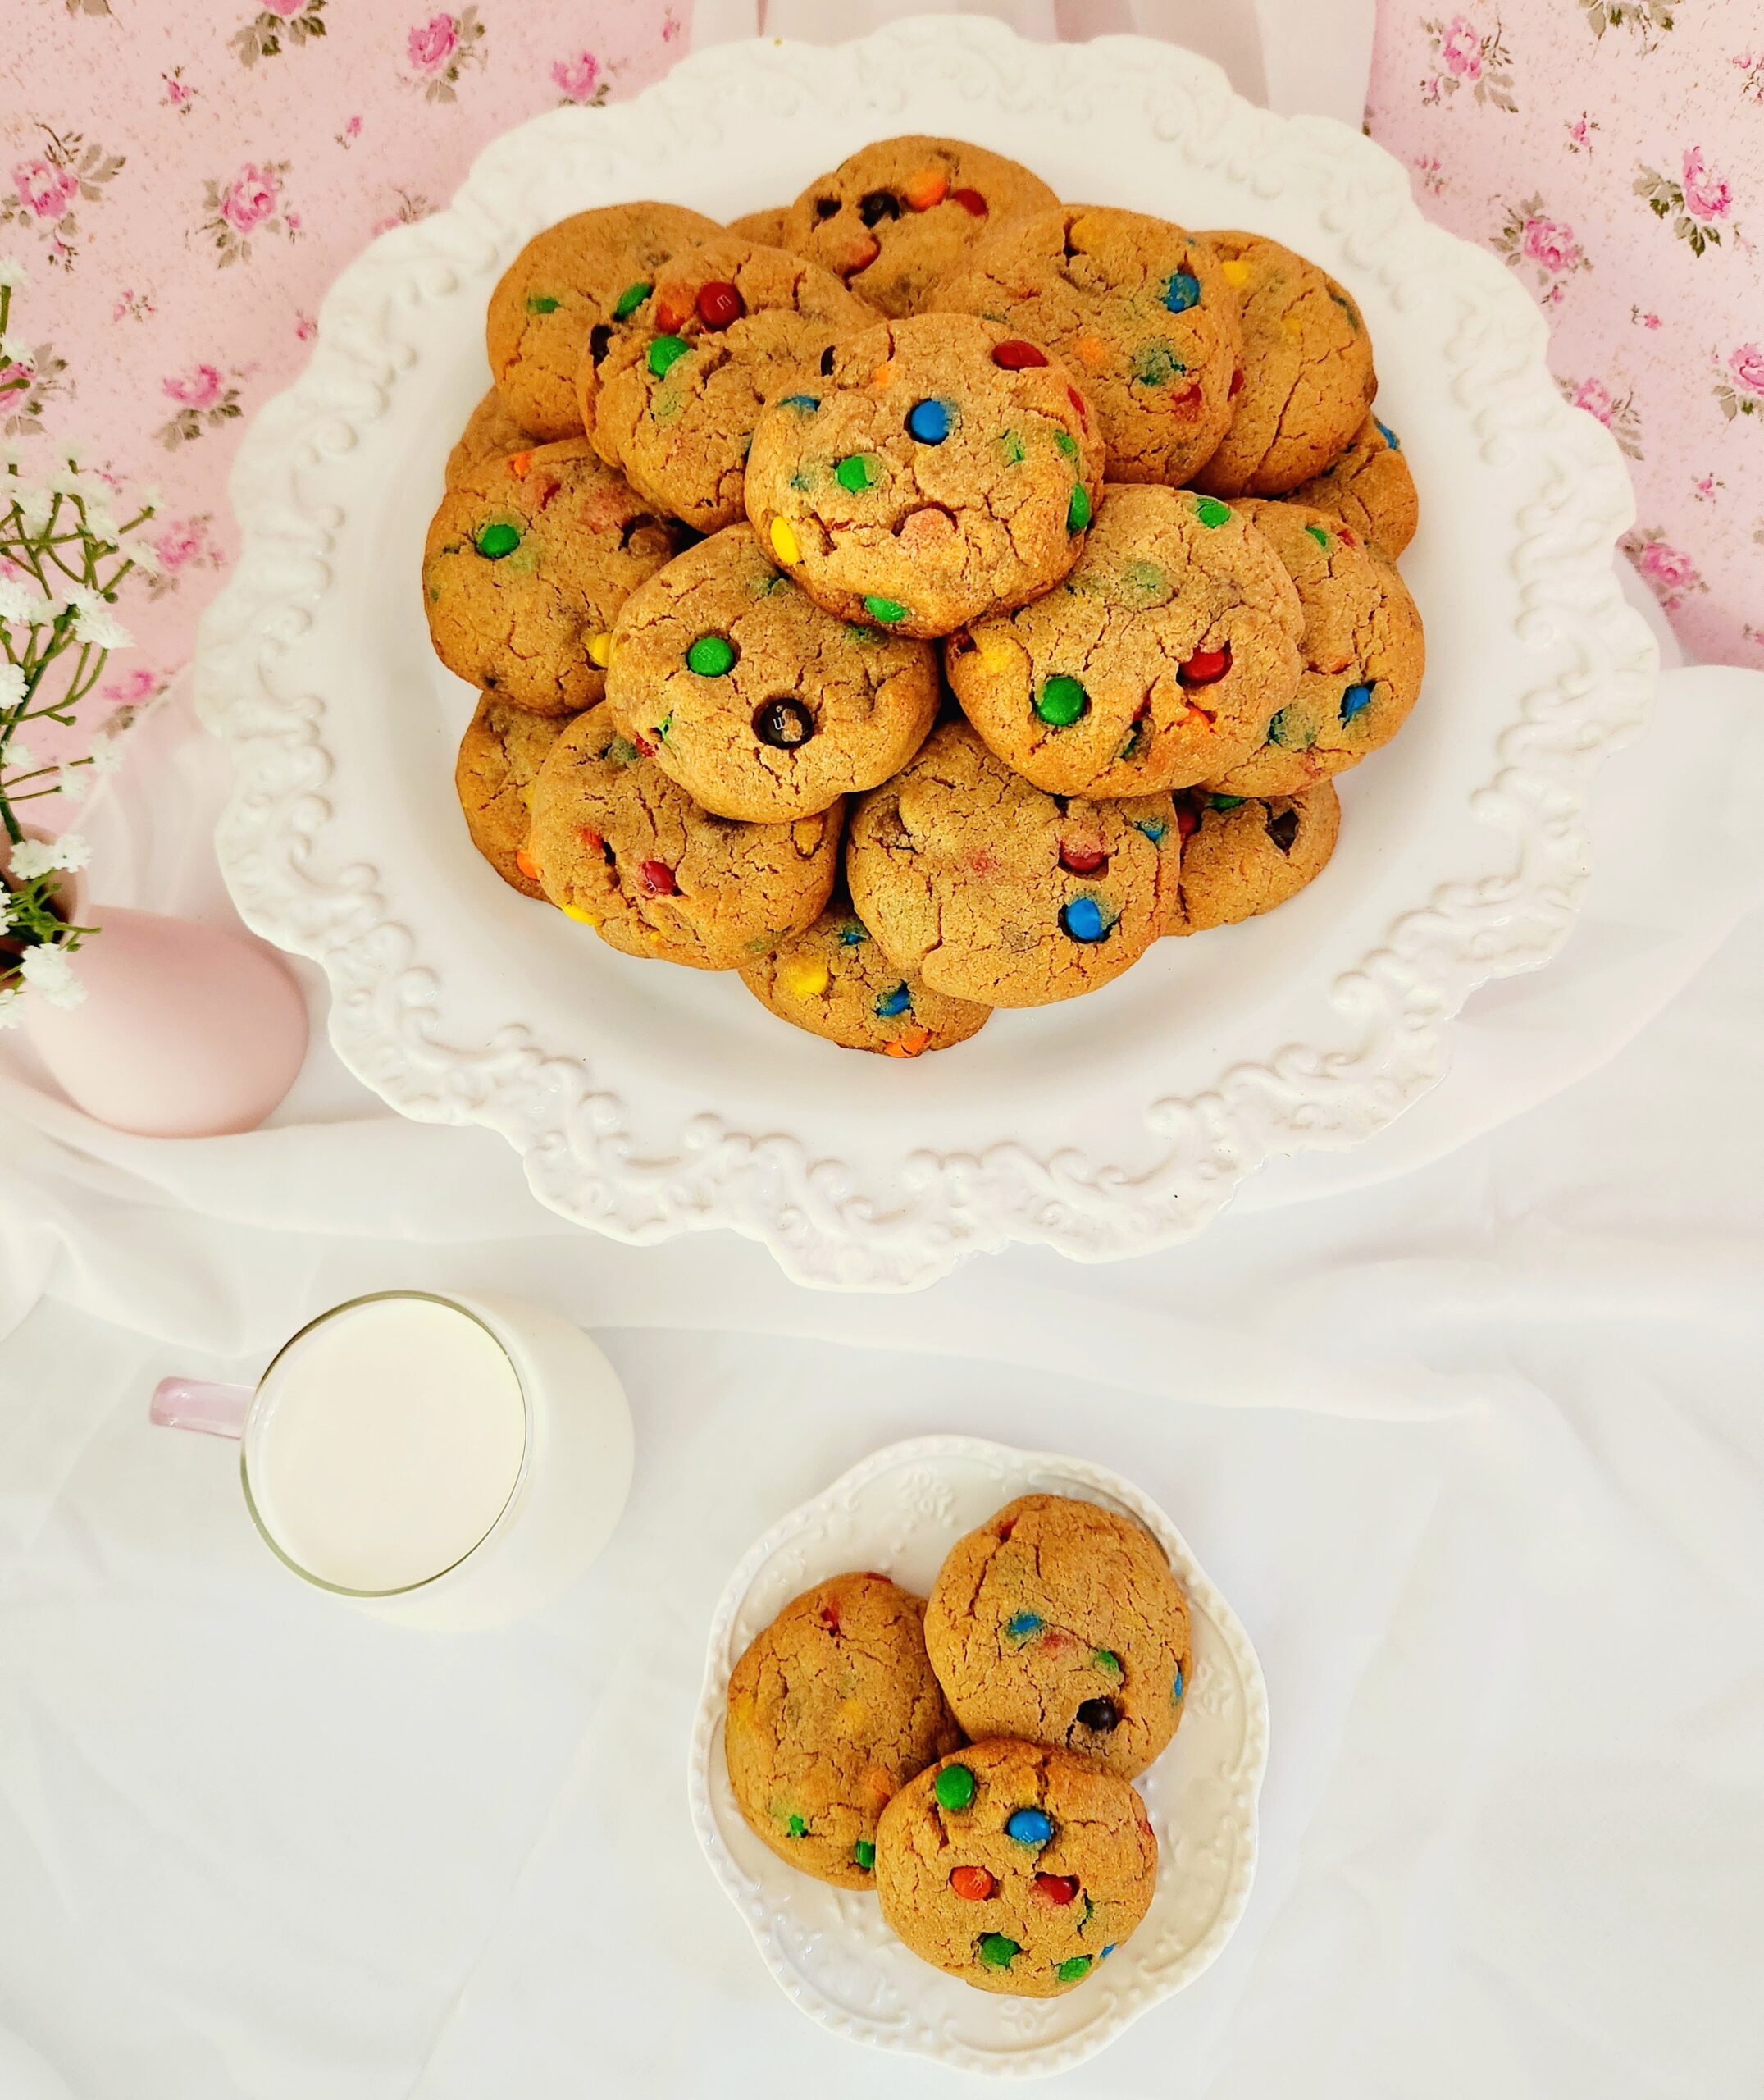
I have been a life-long peanut butter girl. Anytime peanut butter is an option, I’m there. Ice cream, mousse, candy, cheesecake, it’s always my first pick. The one exception to that rule has always been peanut butter cookies. It’s the texture, and occasionally the (lack of) flavor. Peanut butter cookies tend to be crumbly and a little on the bland side, not at all what I’m hoping for in any cookie.
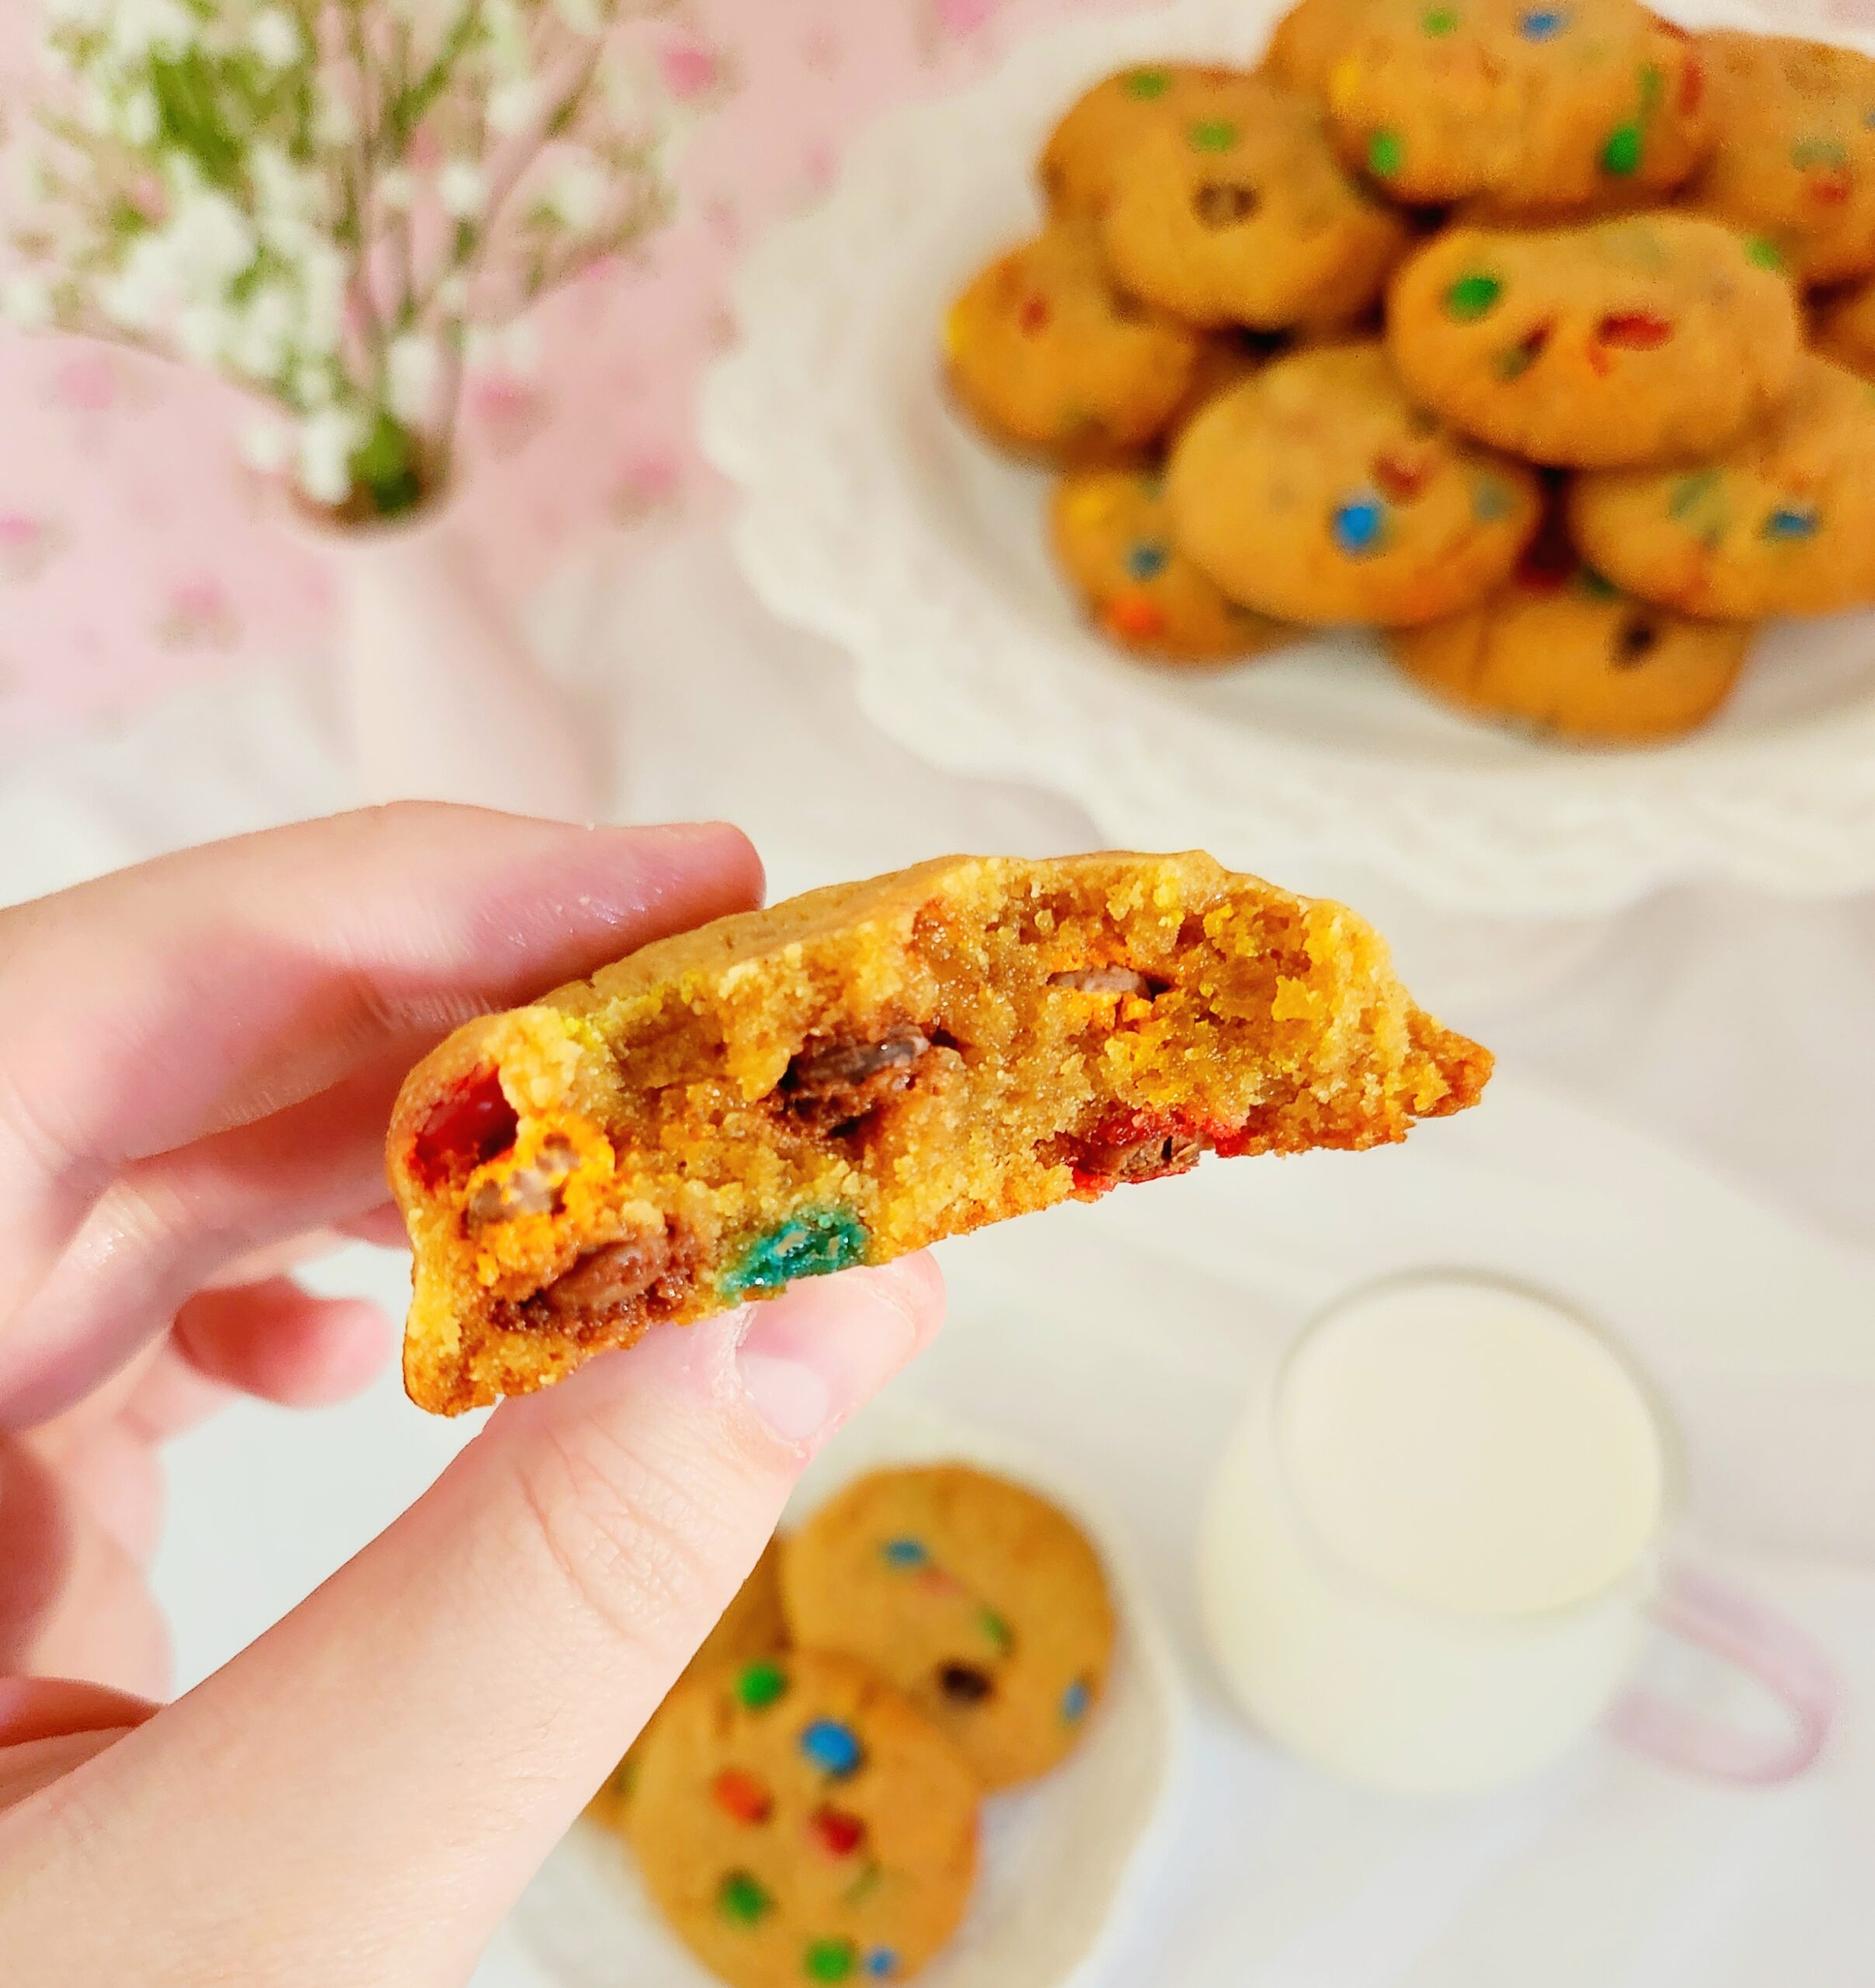
This recipe fixes both of those problems. The chewy texture in these cookies is credited to the use of egg whites rather than the whole egg, along with the melted fat and brown sugar. They’ve got a punch of flavor from leaning into the peanut butter so intensely, along with the addition of peanut butter M&Ms. I could happily eat these every day.
Of course, if you’re not on the peanut butter M&M bandwagon like you should be, you could use a different peanut butter candy addition! Reese’s Pieces, mini peanut butter cups, peanut butter chips, chopped up peanut butter (or even just standard) Snickers bars, there are plenty of delicious options. Peanut butter M&Ms are just my favorite pick, between the crunchy shell, the dimension the chocolate offers, and the intensity of the peanut butter filling. You’re the captain of your own cookies, so it’s entirely your call.
FAQs and Science
Why are other peanut butter cookies crumbly?
Most peanut butter cookie recipes just have too much fat, thanks to how full of fat peanut butter itself is.
What makes these cookies chewy, then?
I solved the too much fat problem in a few ways. For starters, I removed the egg yolks and instead used 4 egg whites to reach a similar volume to 2 whole eggs. I also used a few other chewy cookie hacks, like melting the butter and peanut butter, and using brown sugar instead of white.
Can I use all natural peanut butter instead of the processed stuff?
No, unfortunately this recipe wont work correctly with natural peanut butter.
Does this dough need to be chilled before baking?
Nope! I’ve tested it both ways, and didn’t notice a discernible difference between chilled vs not-chilled dough.
Could I chill the dough and bake it off later?
Absolutely, covering and refrigerating the dough won’t hurt it at all. Given that it’s airtight, this dough can stay good in the fridge for up to 2 days.
Can I freeze these cookies?
Yes! They’re best frozen unbaked and pre-portioned, so you can pull and bake fresh at your discretion. Follow the recipe right up until they’re oven ready, and place them slightly spaced out on a baking sheet. Wrap the sheet in plastic and place it in the freezer until the cookie dough is solid, then transfer the dough pucks into a freezer safe bag for up to 3 months. Bake at 350 for 18 minutes, flipping halfway through.
What You’ll Need

- 1 large microwave safe mixing bowl
- 1 medium mixing bowl
- Dry measuring cups
- Measuring spoons
- Whisk
- Rubber spatula
- 2 baking sheets
- 2 or 4 Tablespoon cookie scoop, optional
- Parchment paper or 2 silicone baking mats
- Cooling rack
- Spatula
The Process
Make the Dough
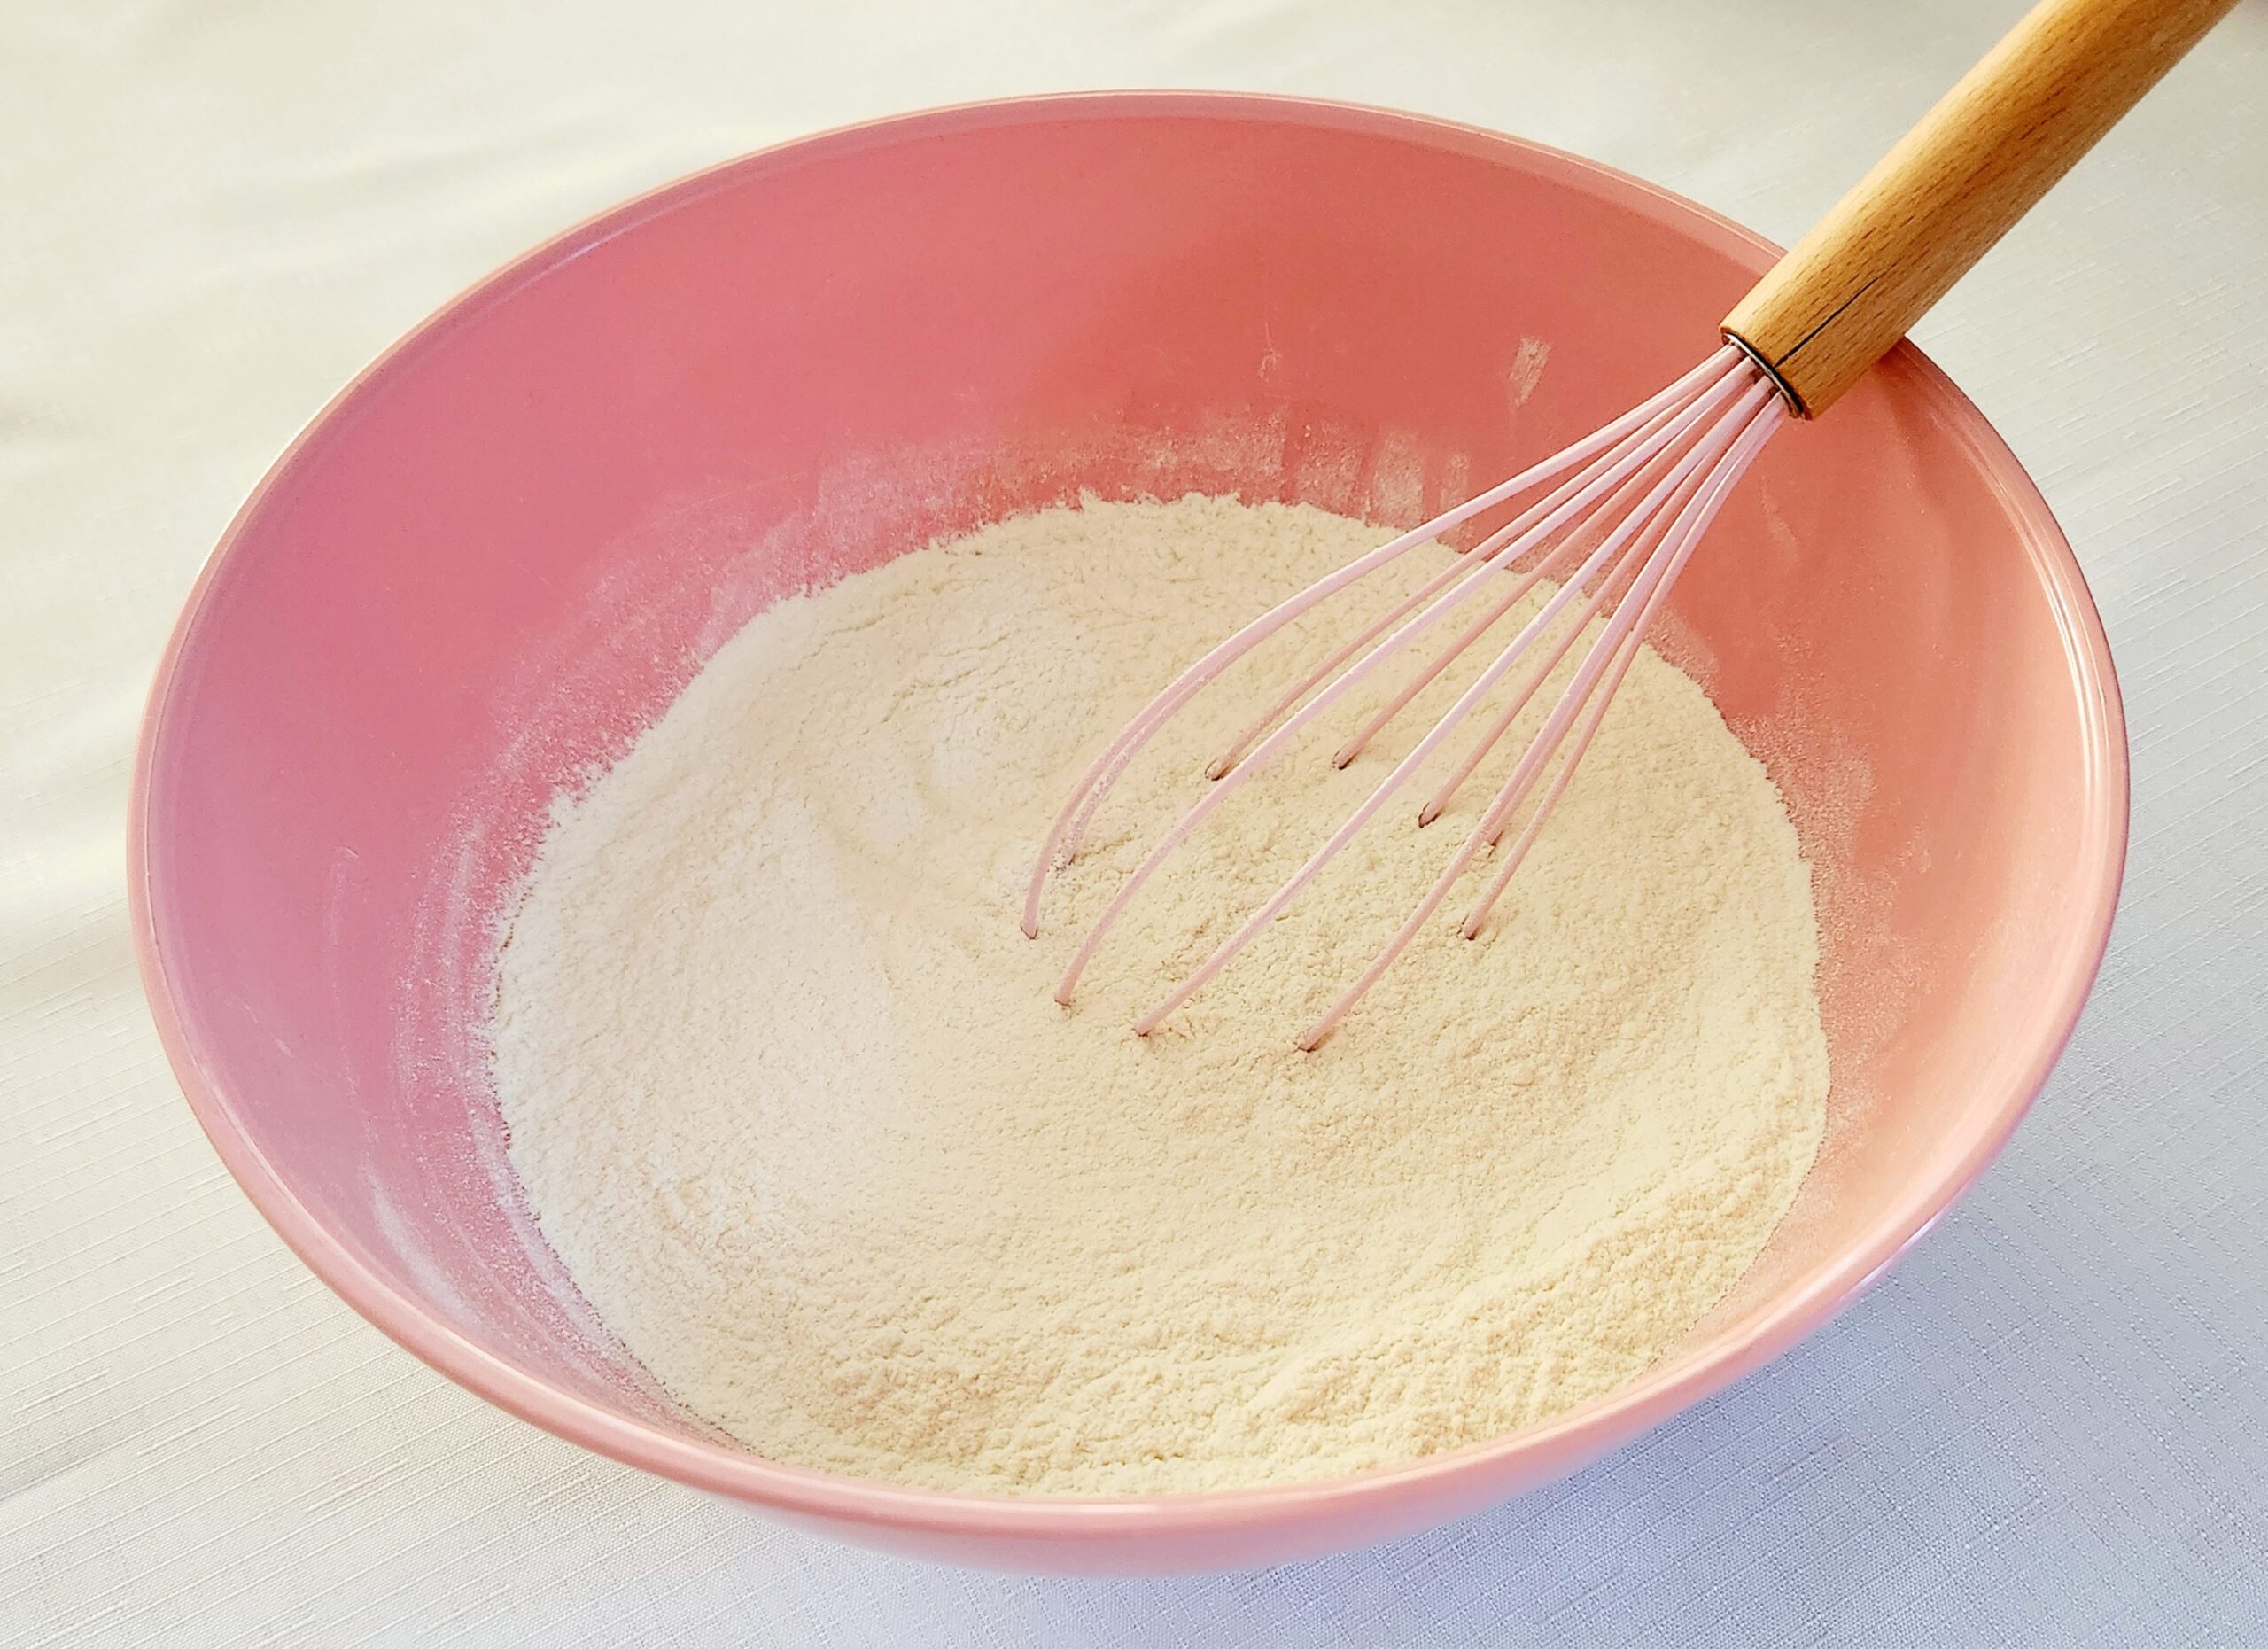
Begin by preheating your oven to 350F, on the convection setting if your oven has one, and prepare the pans. Line two baking sheets with either parchment paper or silicone baking mats, to prevent the cookies from sticking, and set them aside. In the medium mixing bowl, whisk together the flour, baking powder, and salt, then set the dry goods aside.
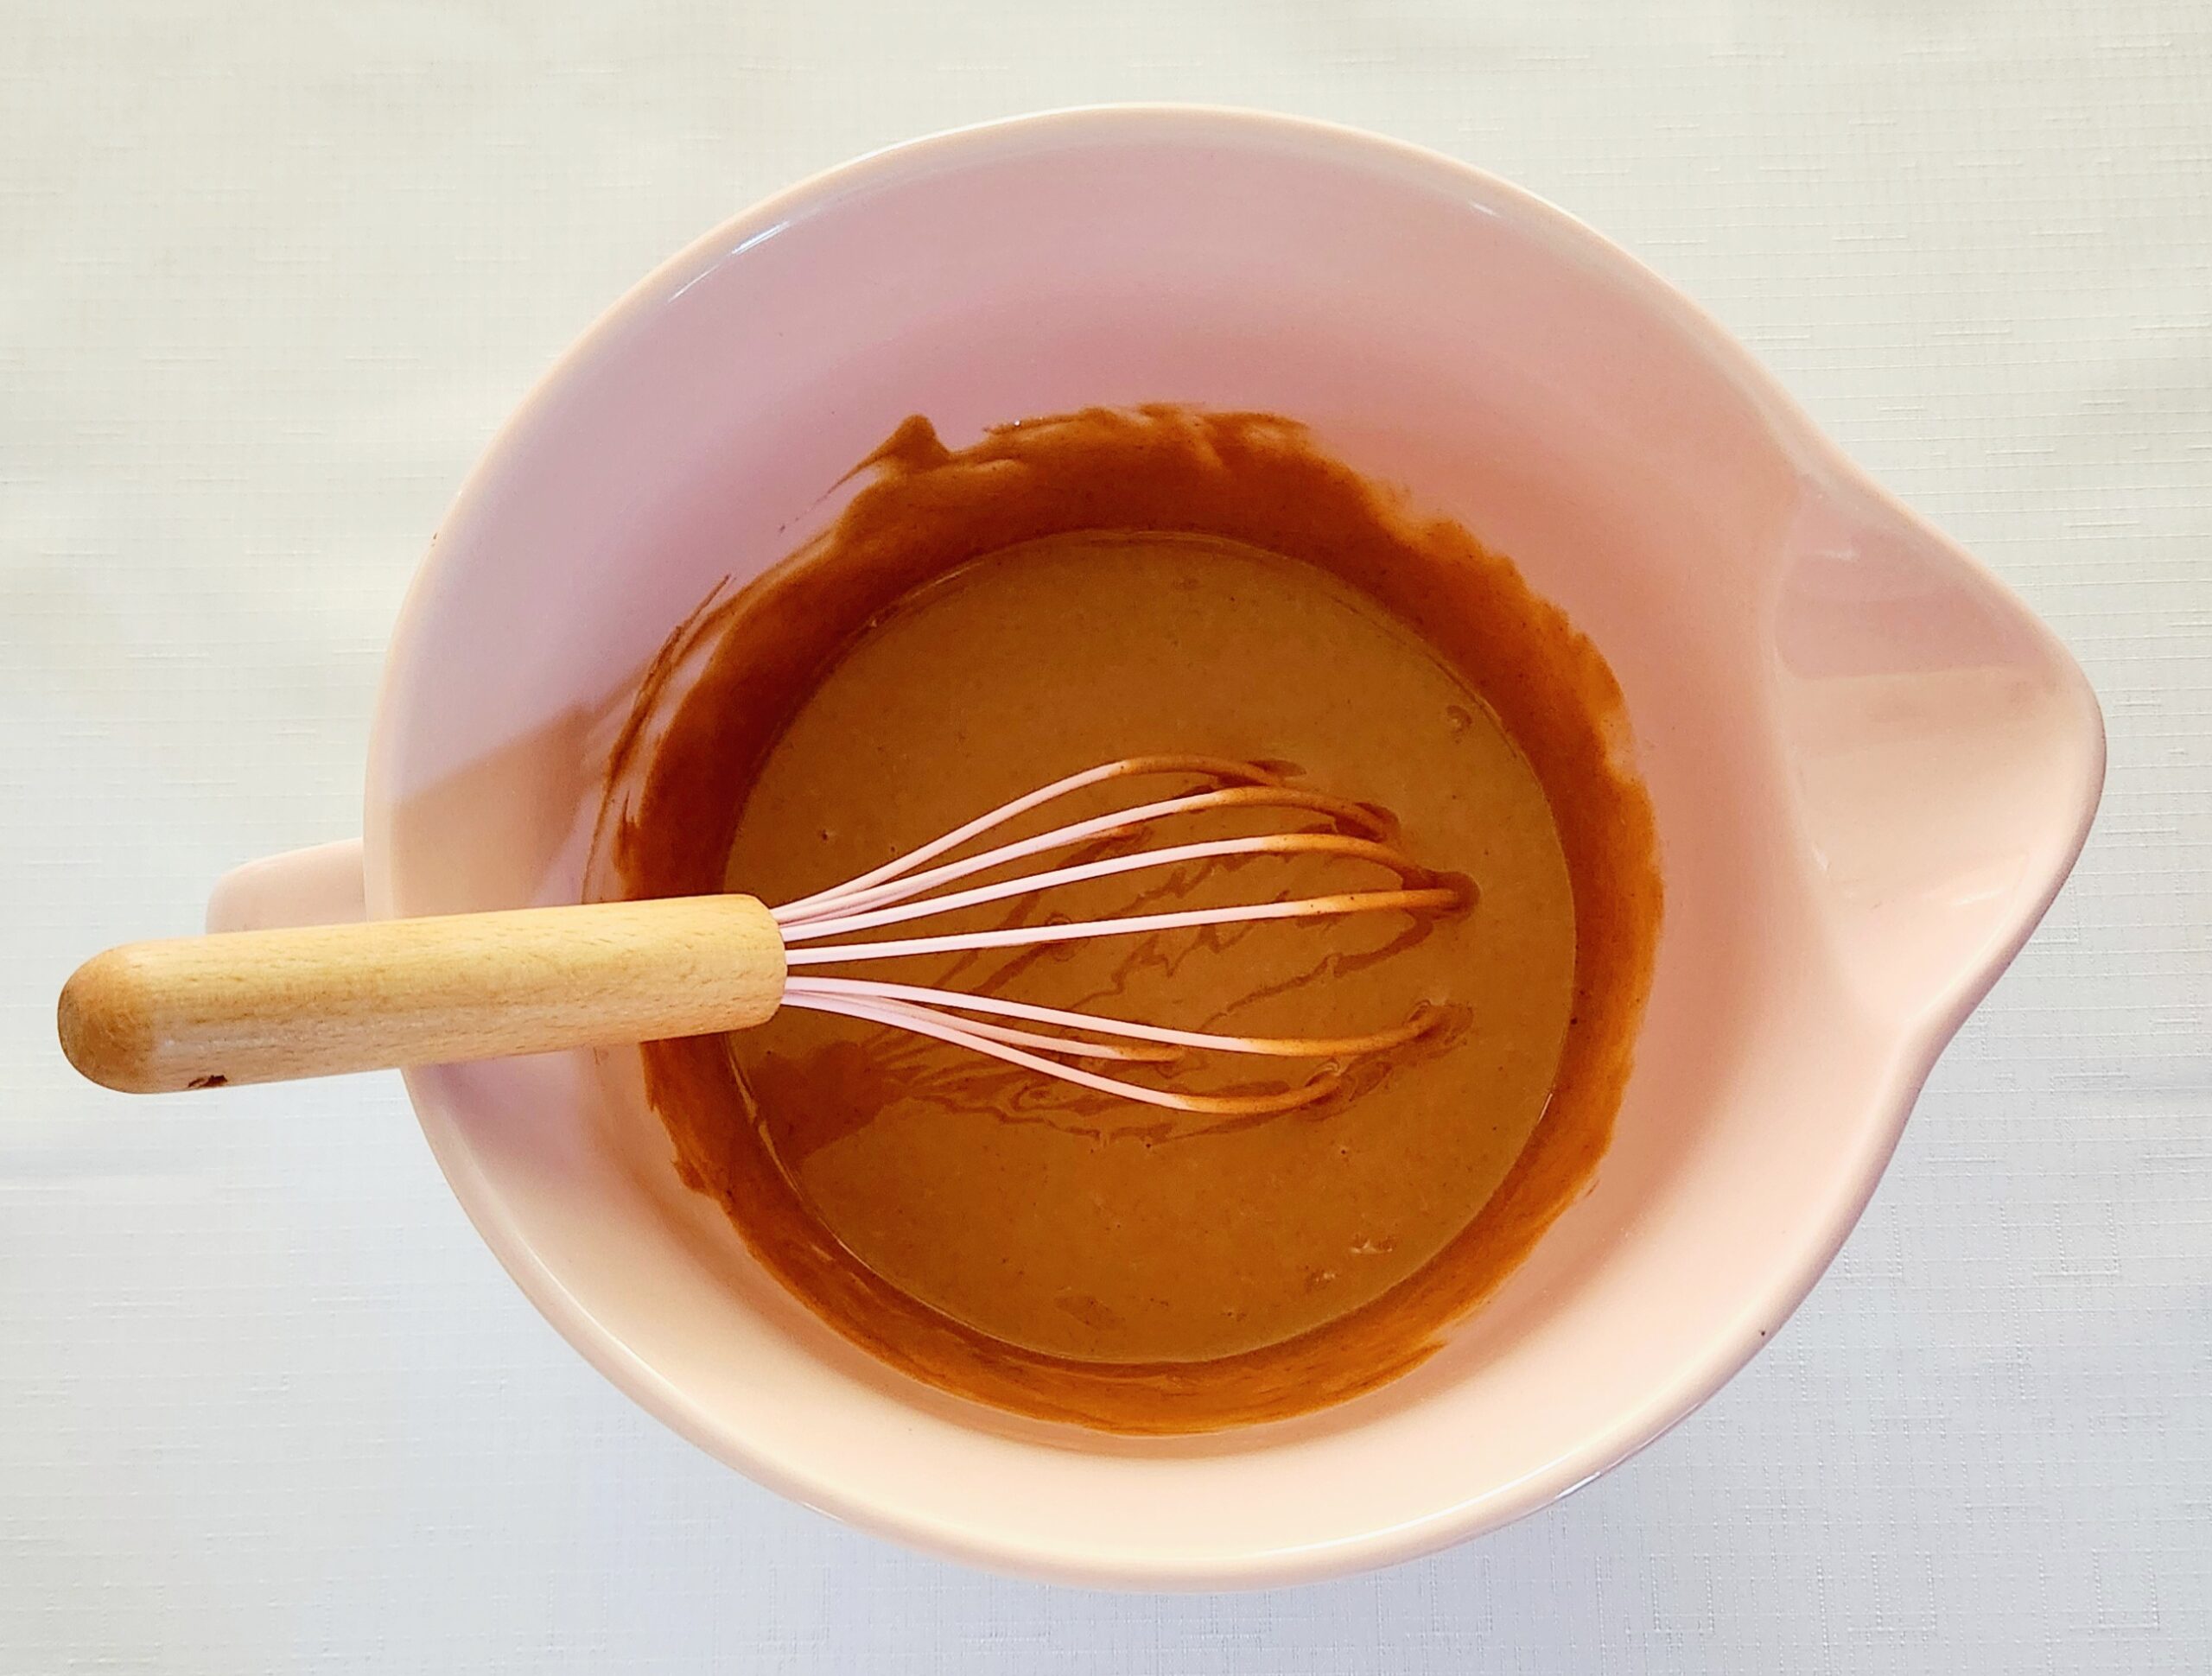
In the large microwave safe mixing bowl, melt together the butter and peanut butter. This should take 60-90 seconds in the microwave, but be sure to give them a whisk every 30 seconds so there aren’t any explosive hot spots that pop as it heats up. Melting the fat sources in the cookies helps to make for a chewy cookie at the end.
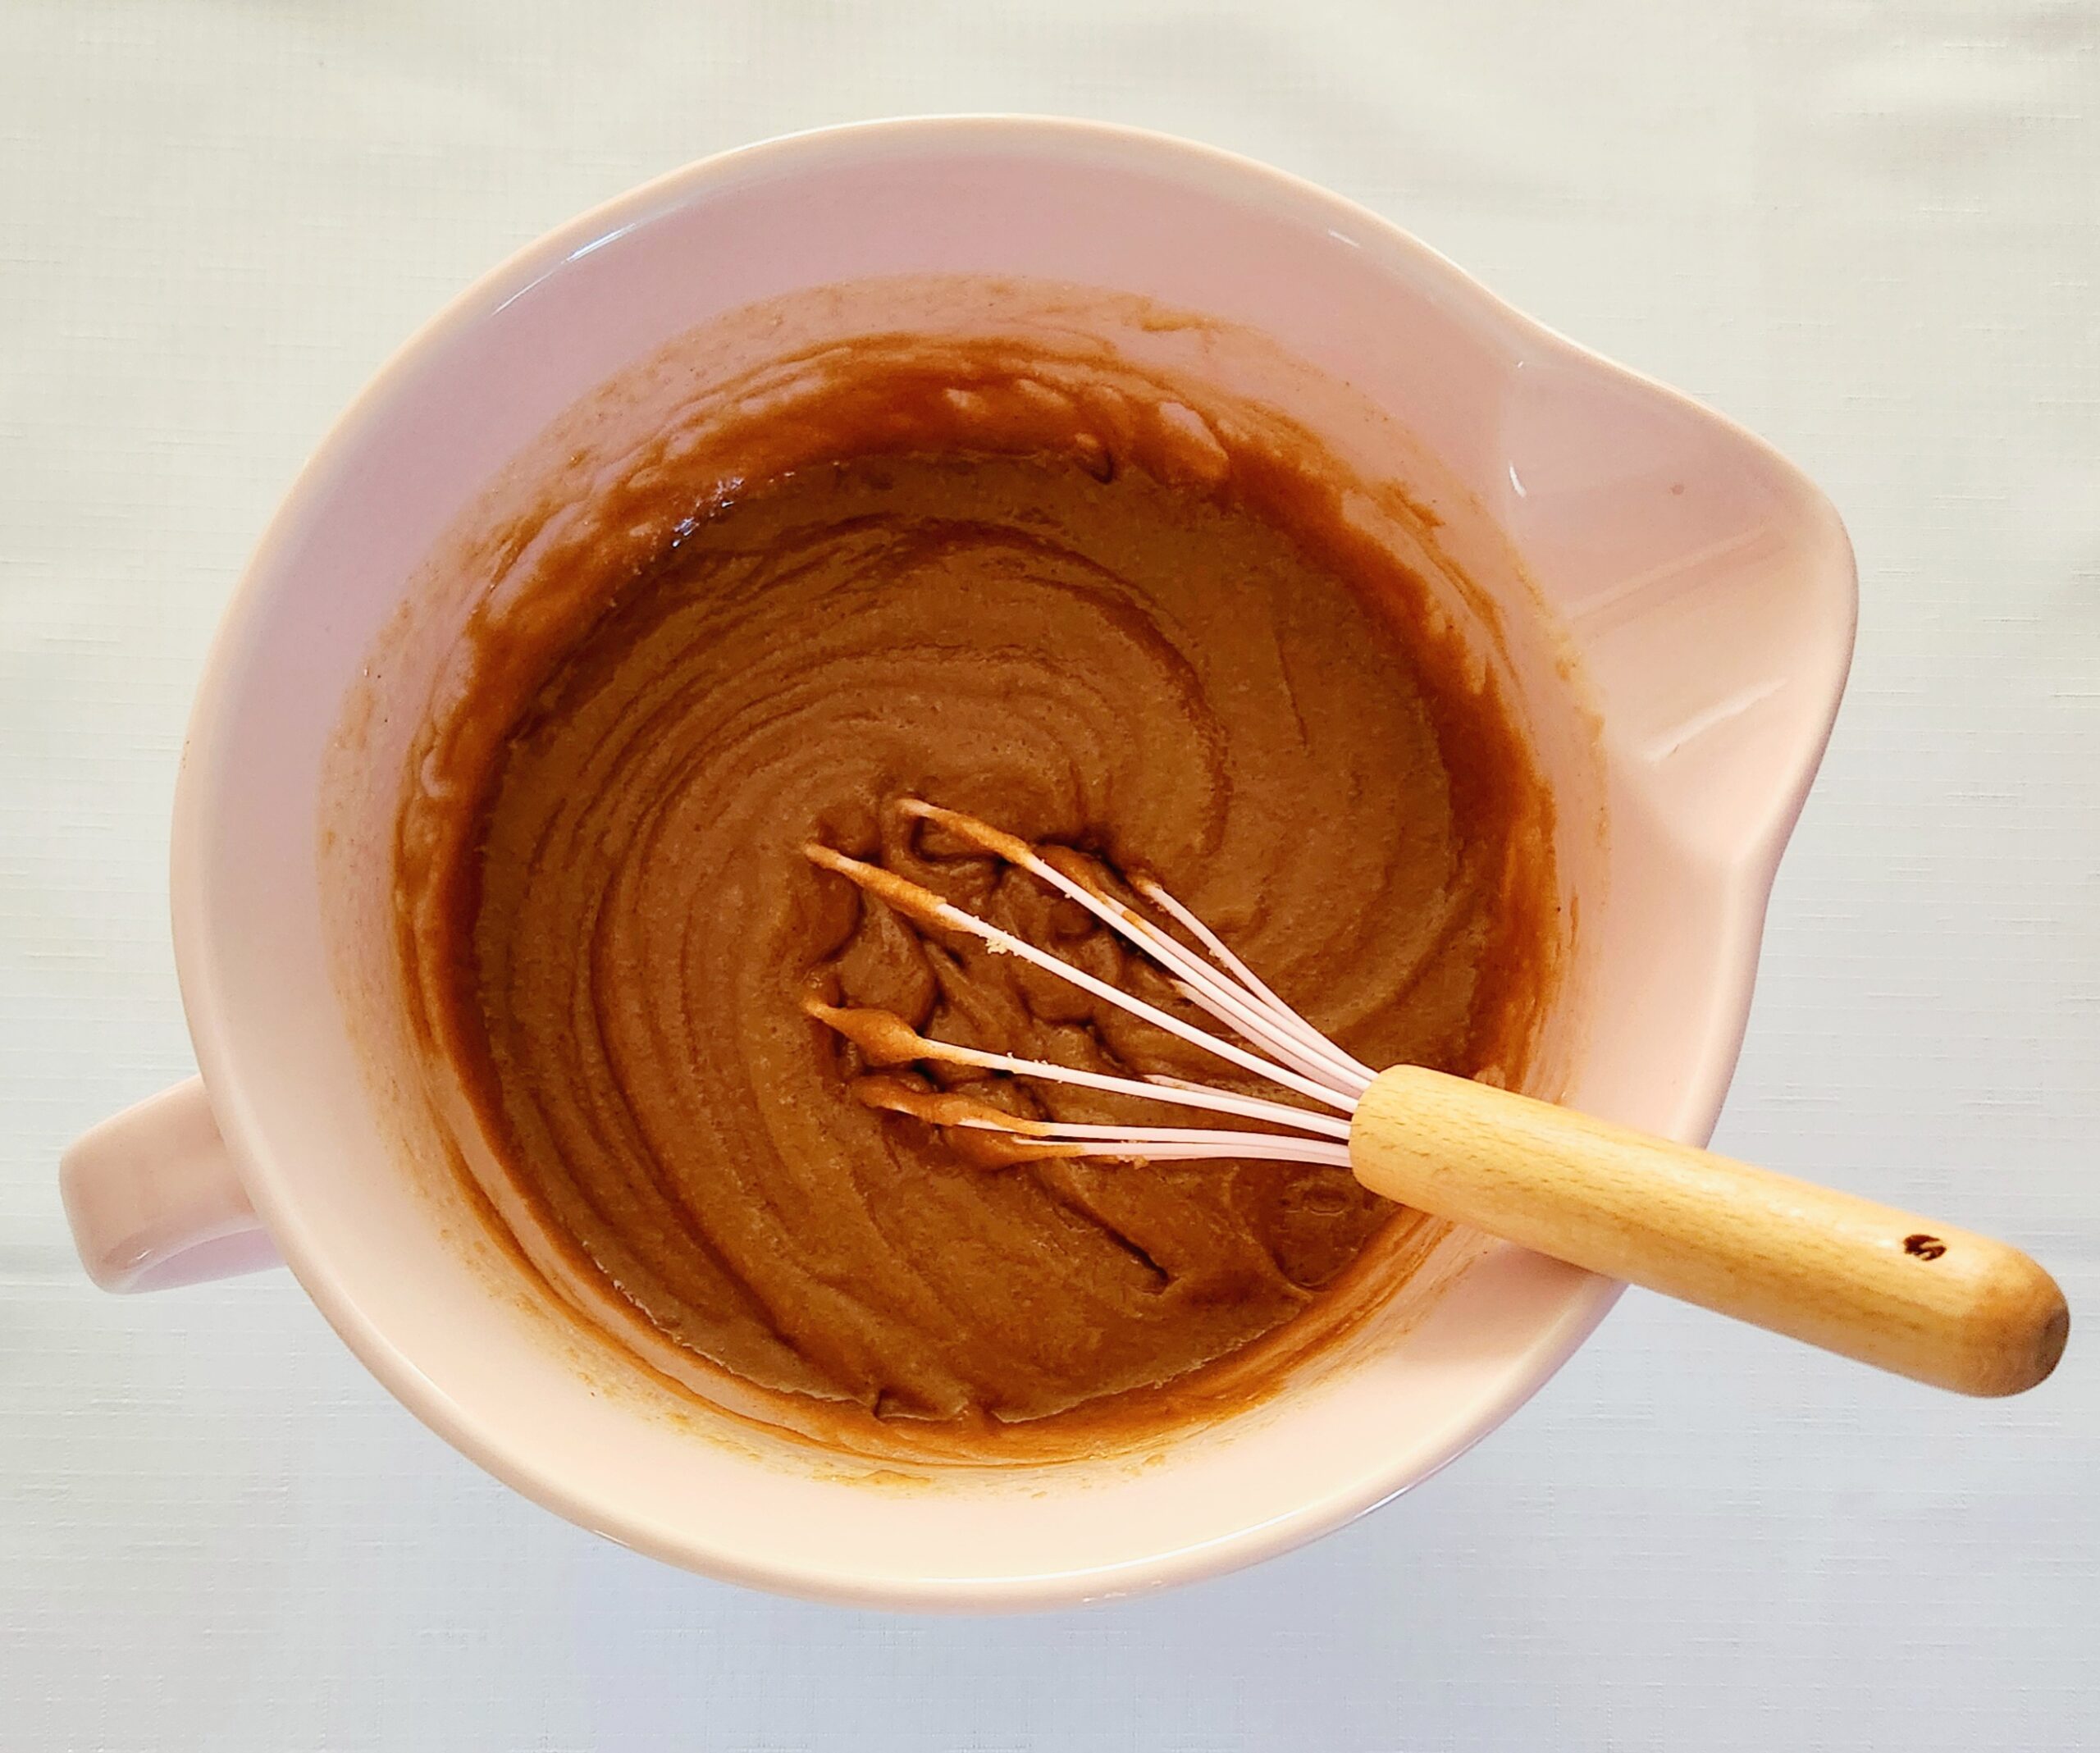
To the melted peanut butter mixture, toss in the brown sugar and whisk them together to combine. One at a time, pour in the egg whites, vanilla extract, and milk, whisking the mixture until each egg is fully absorbed before adding the next white. Using only the white of the egg is another way in which the cookies will develop a chewy texture, as it cuts down on the amount of fat in the dough.
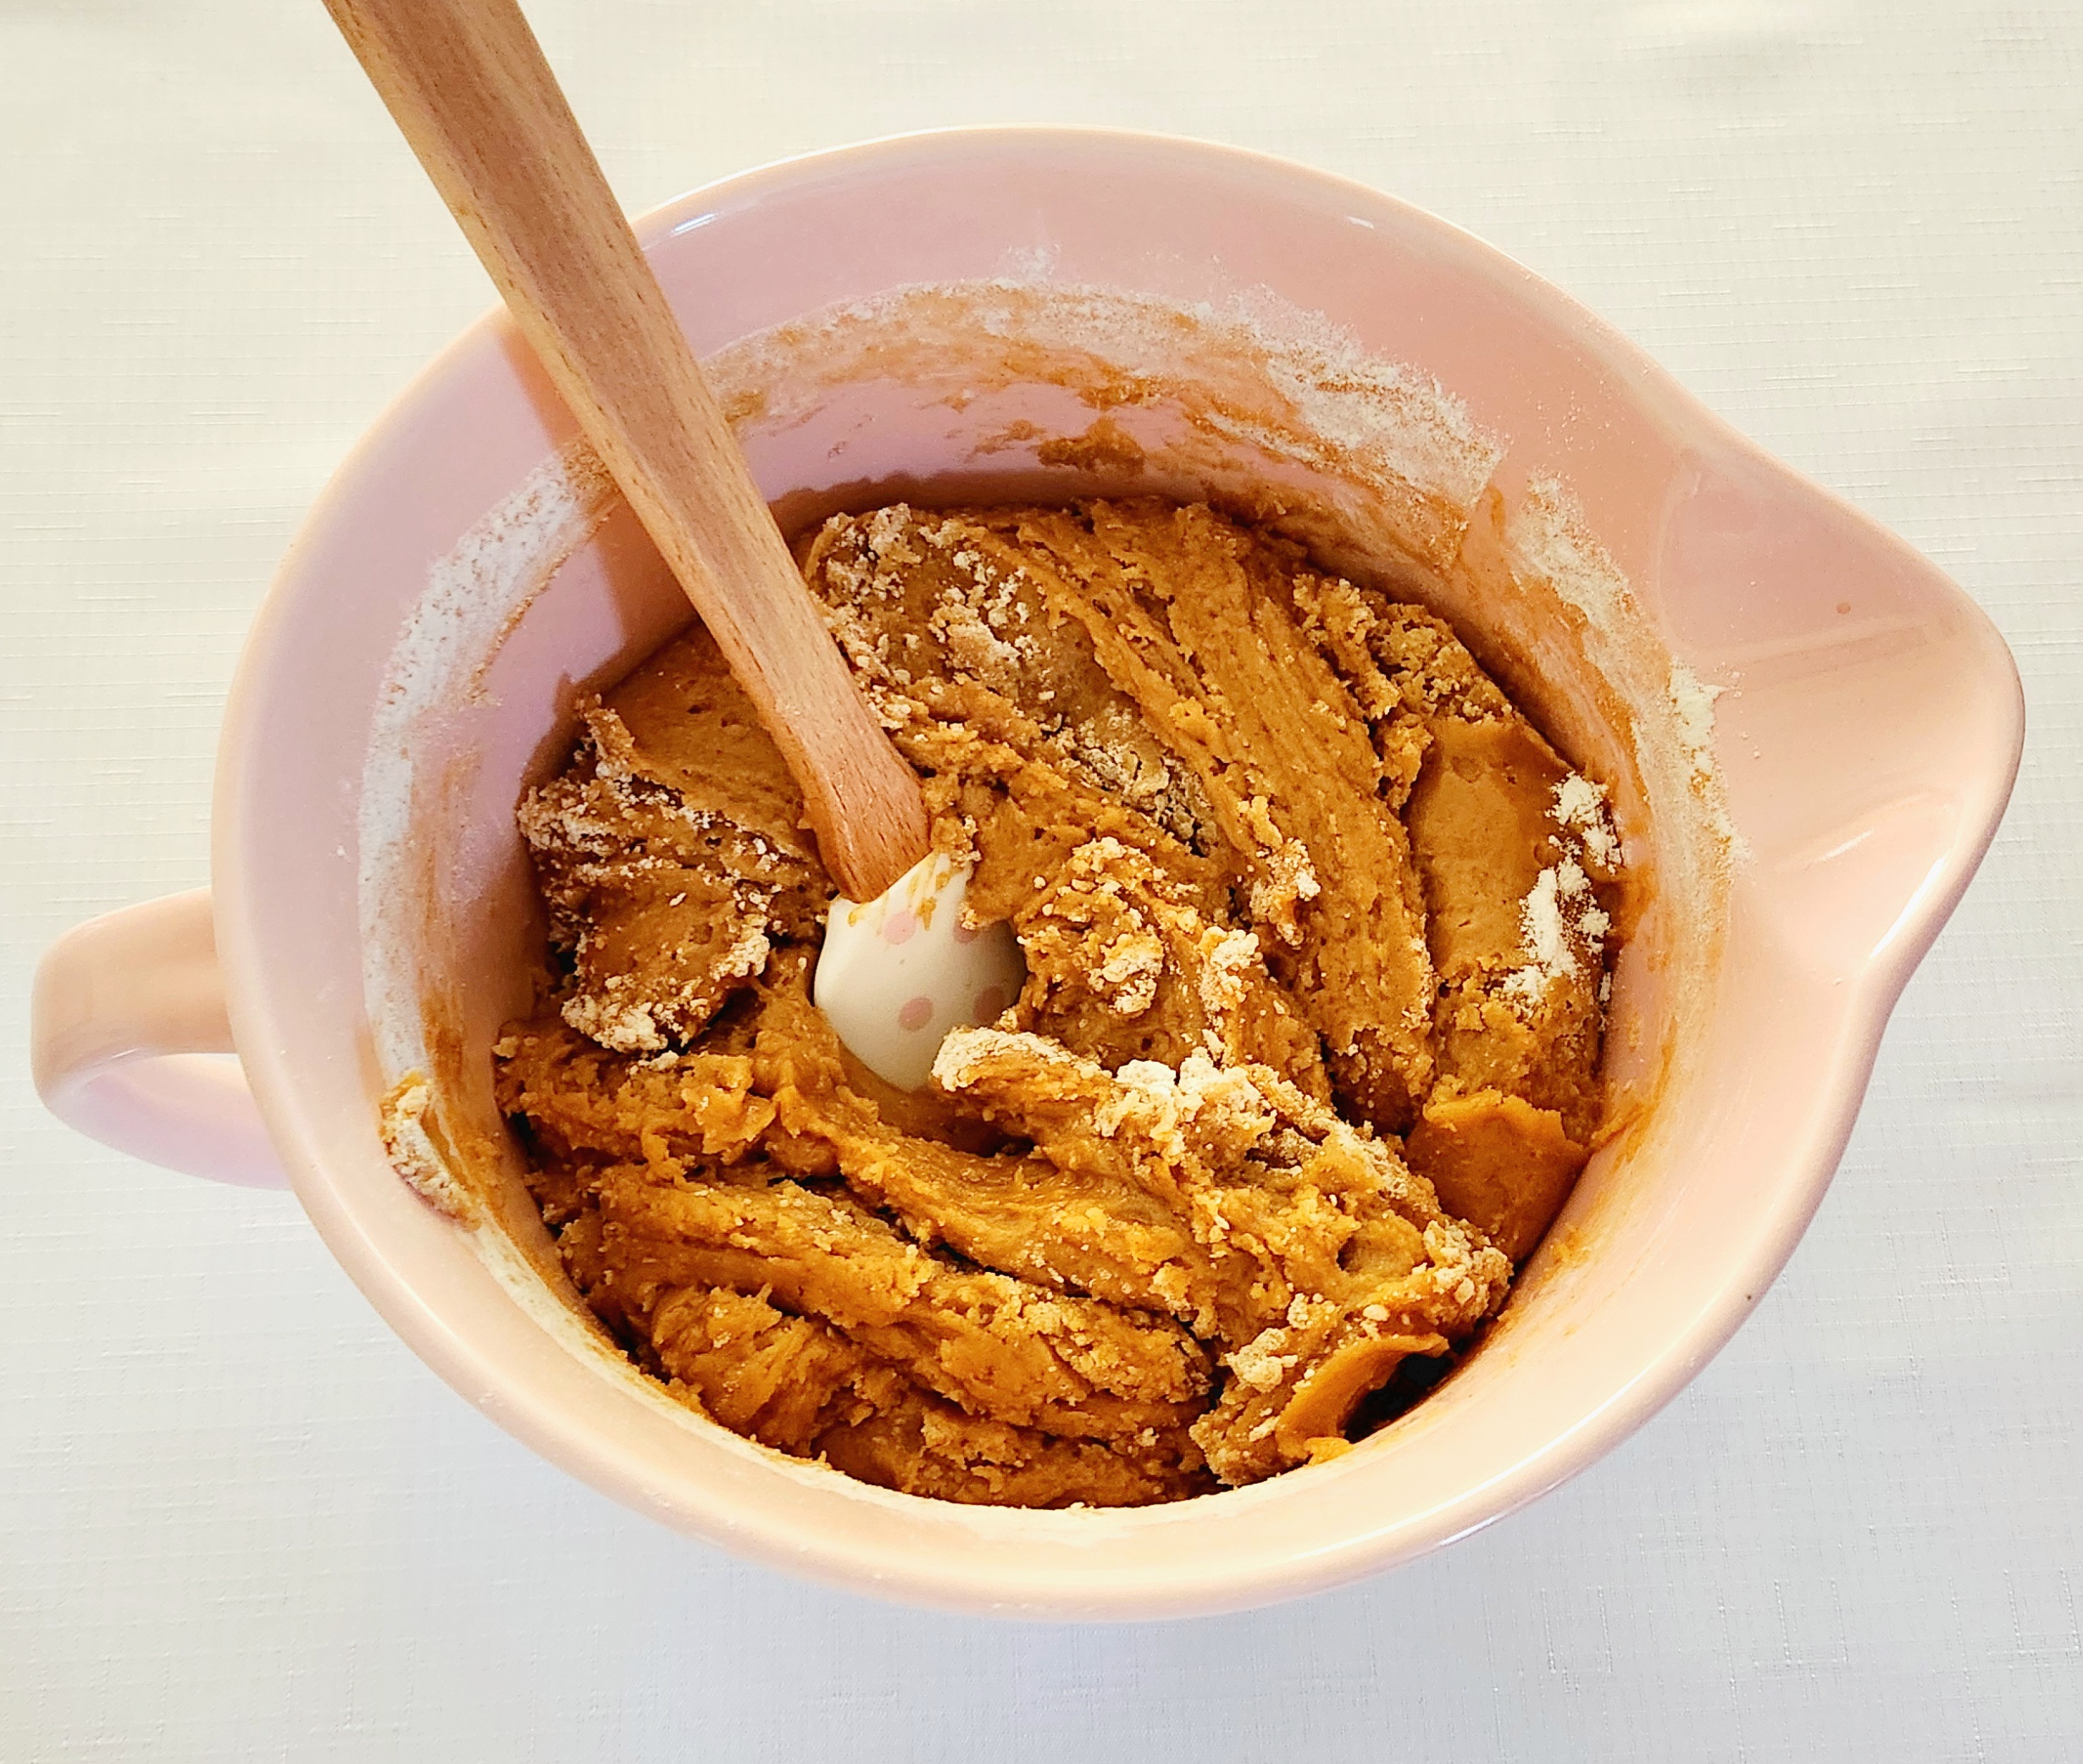
All at once, dump the dry goods into the peanut butter mixture. Using a rubber spatula, gently stir the two until the dough comes together. It will be on the thick side, and it may feel like the dough doesn’t want to absorb all of the flour you’ve given it, but trust the process. It’s not too much, it just takes a little patience and manpower to work it in there.
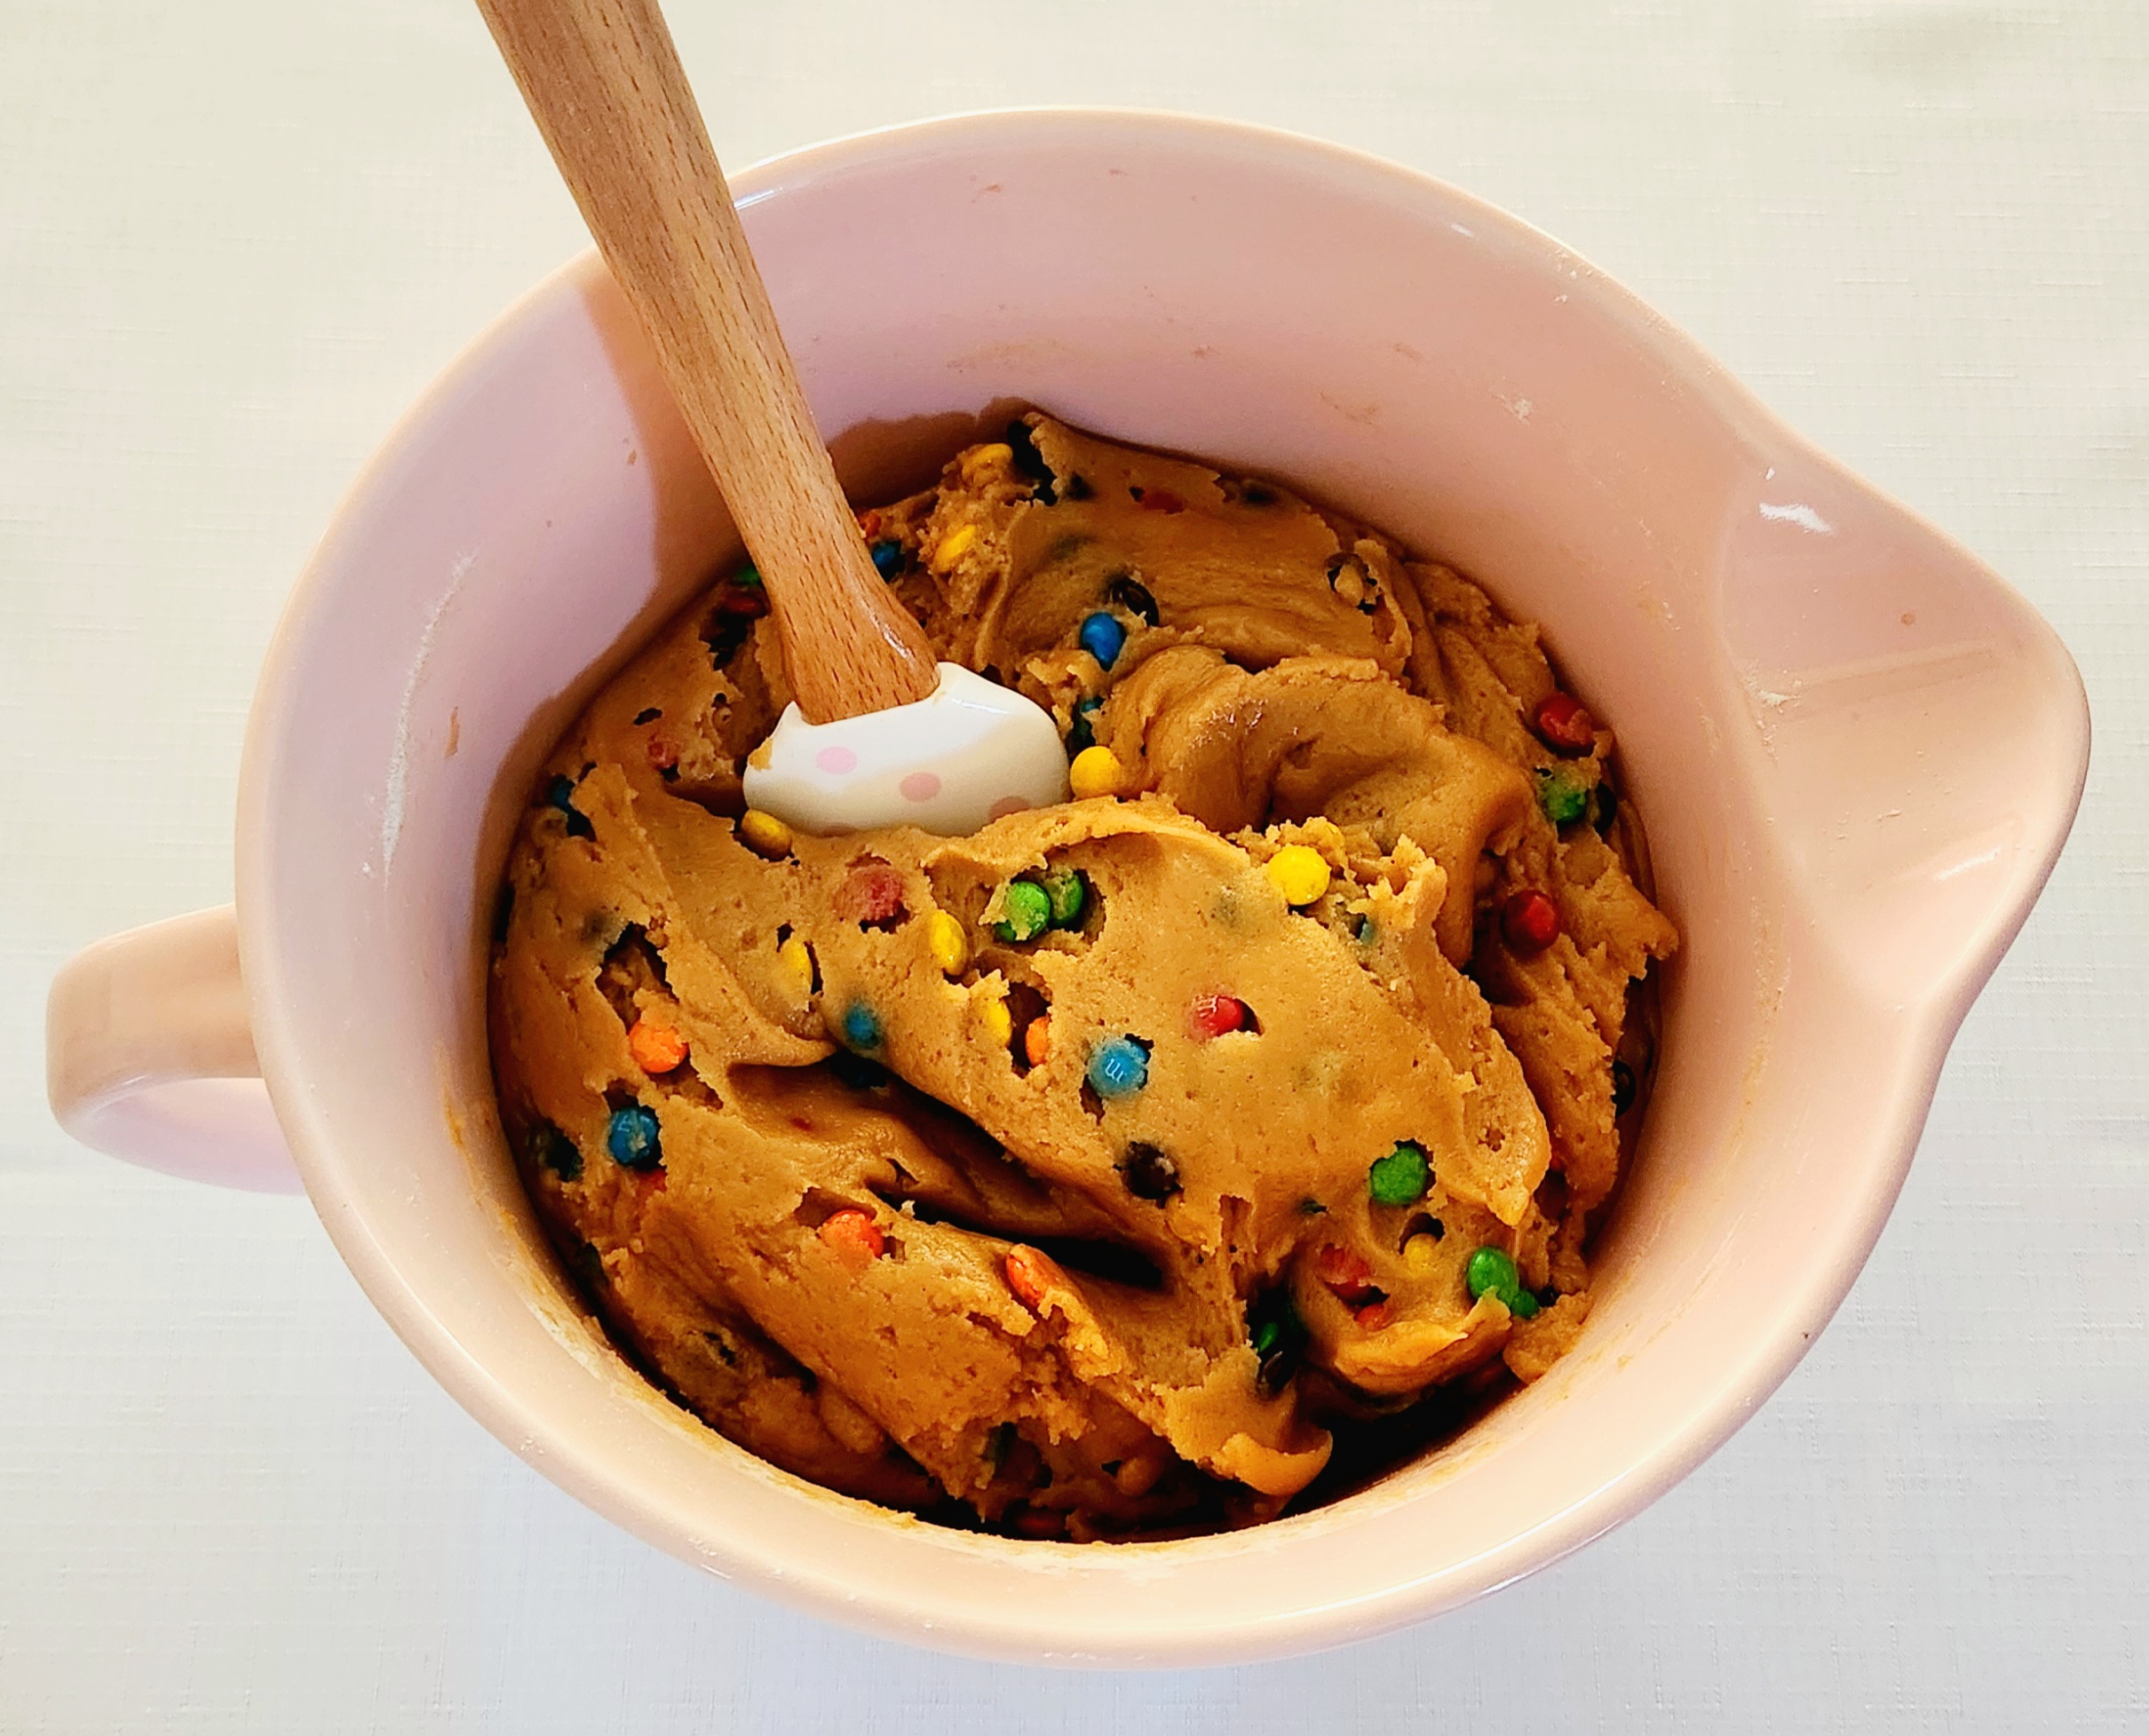
Once there are only a few streaks of flour left, add the peanut butter M&Ms into the dough bowl. Gently fold them in until the M&Ms are evenly distributed throughout the dough. Because the dough is so thick, this may take a minute or two, but they’ll get there.
Bake the Cookies
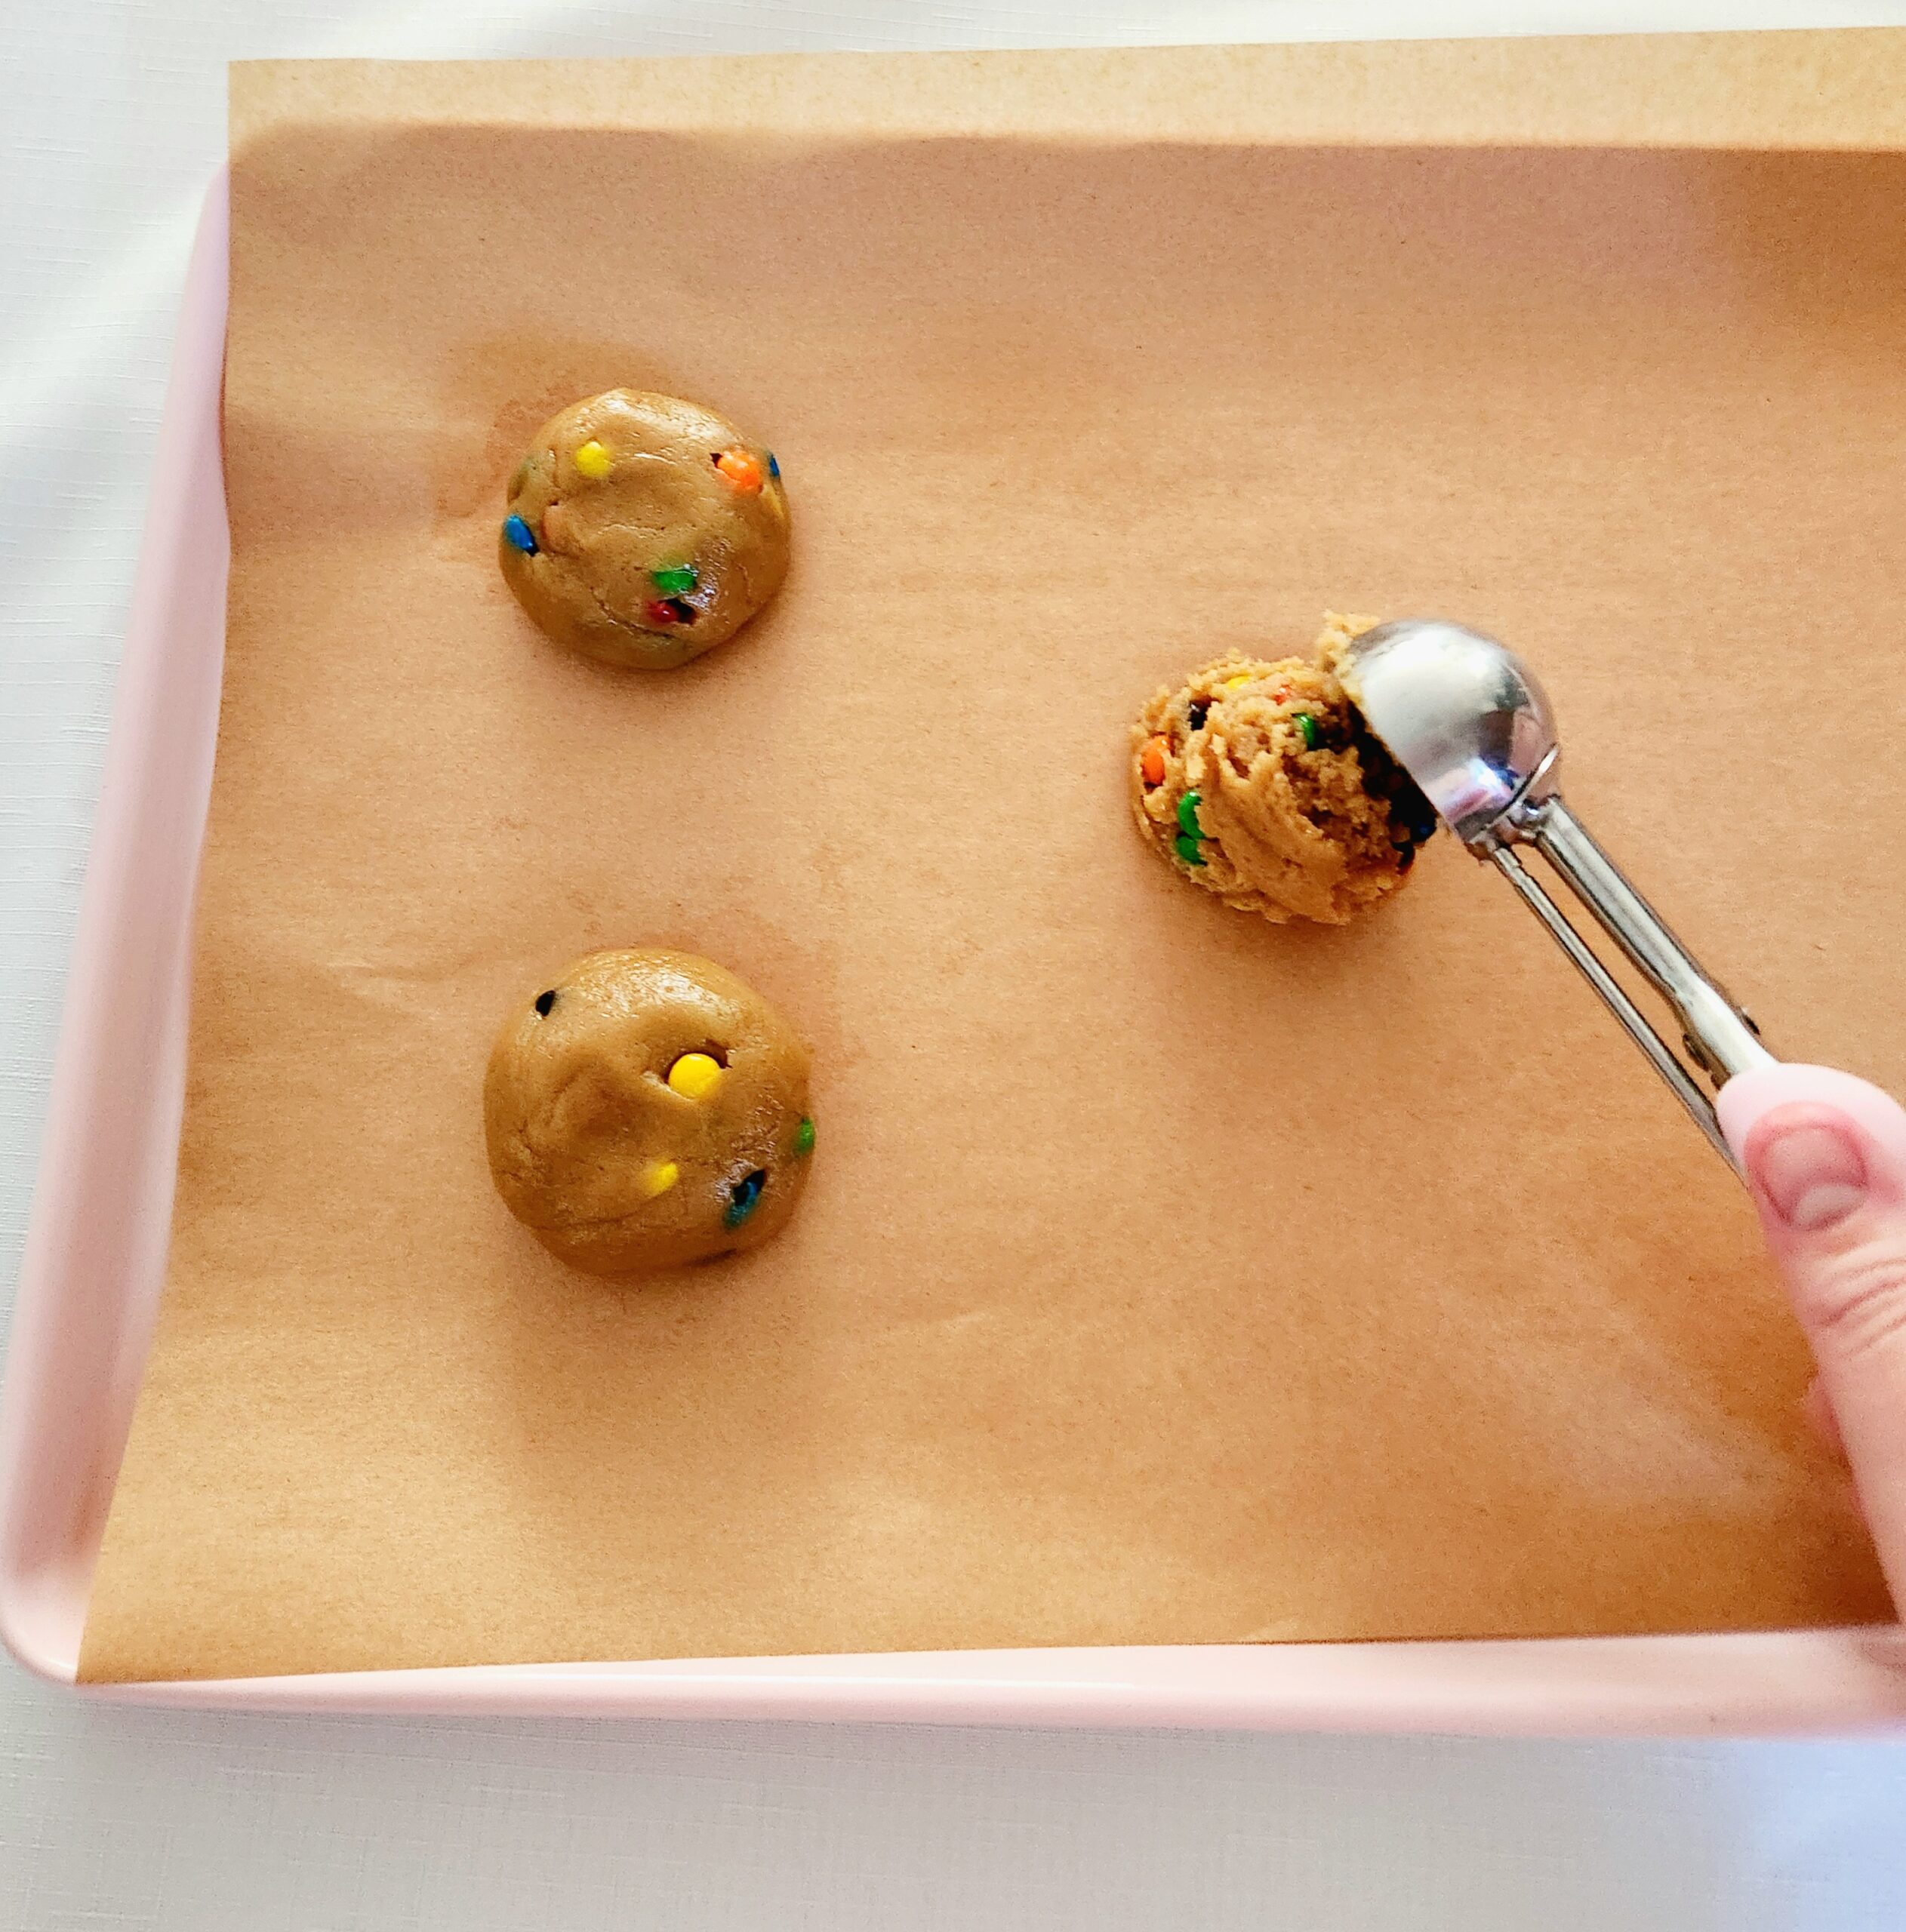
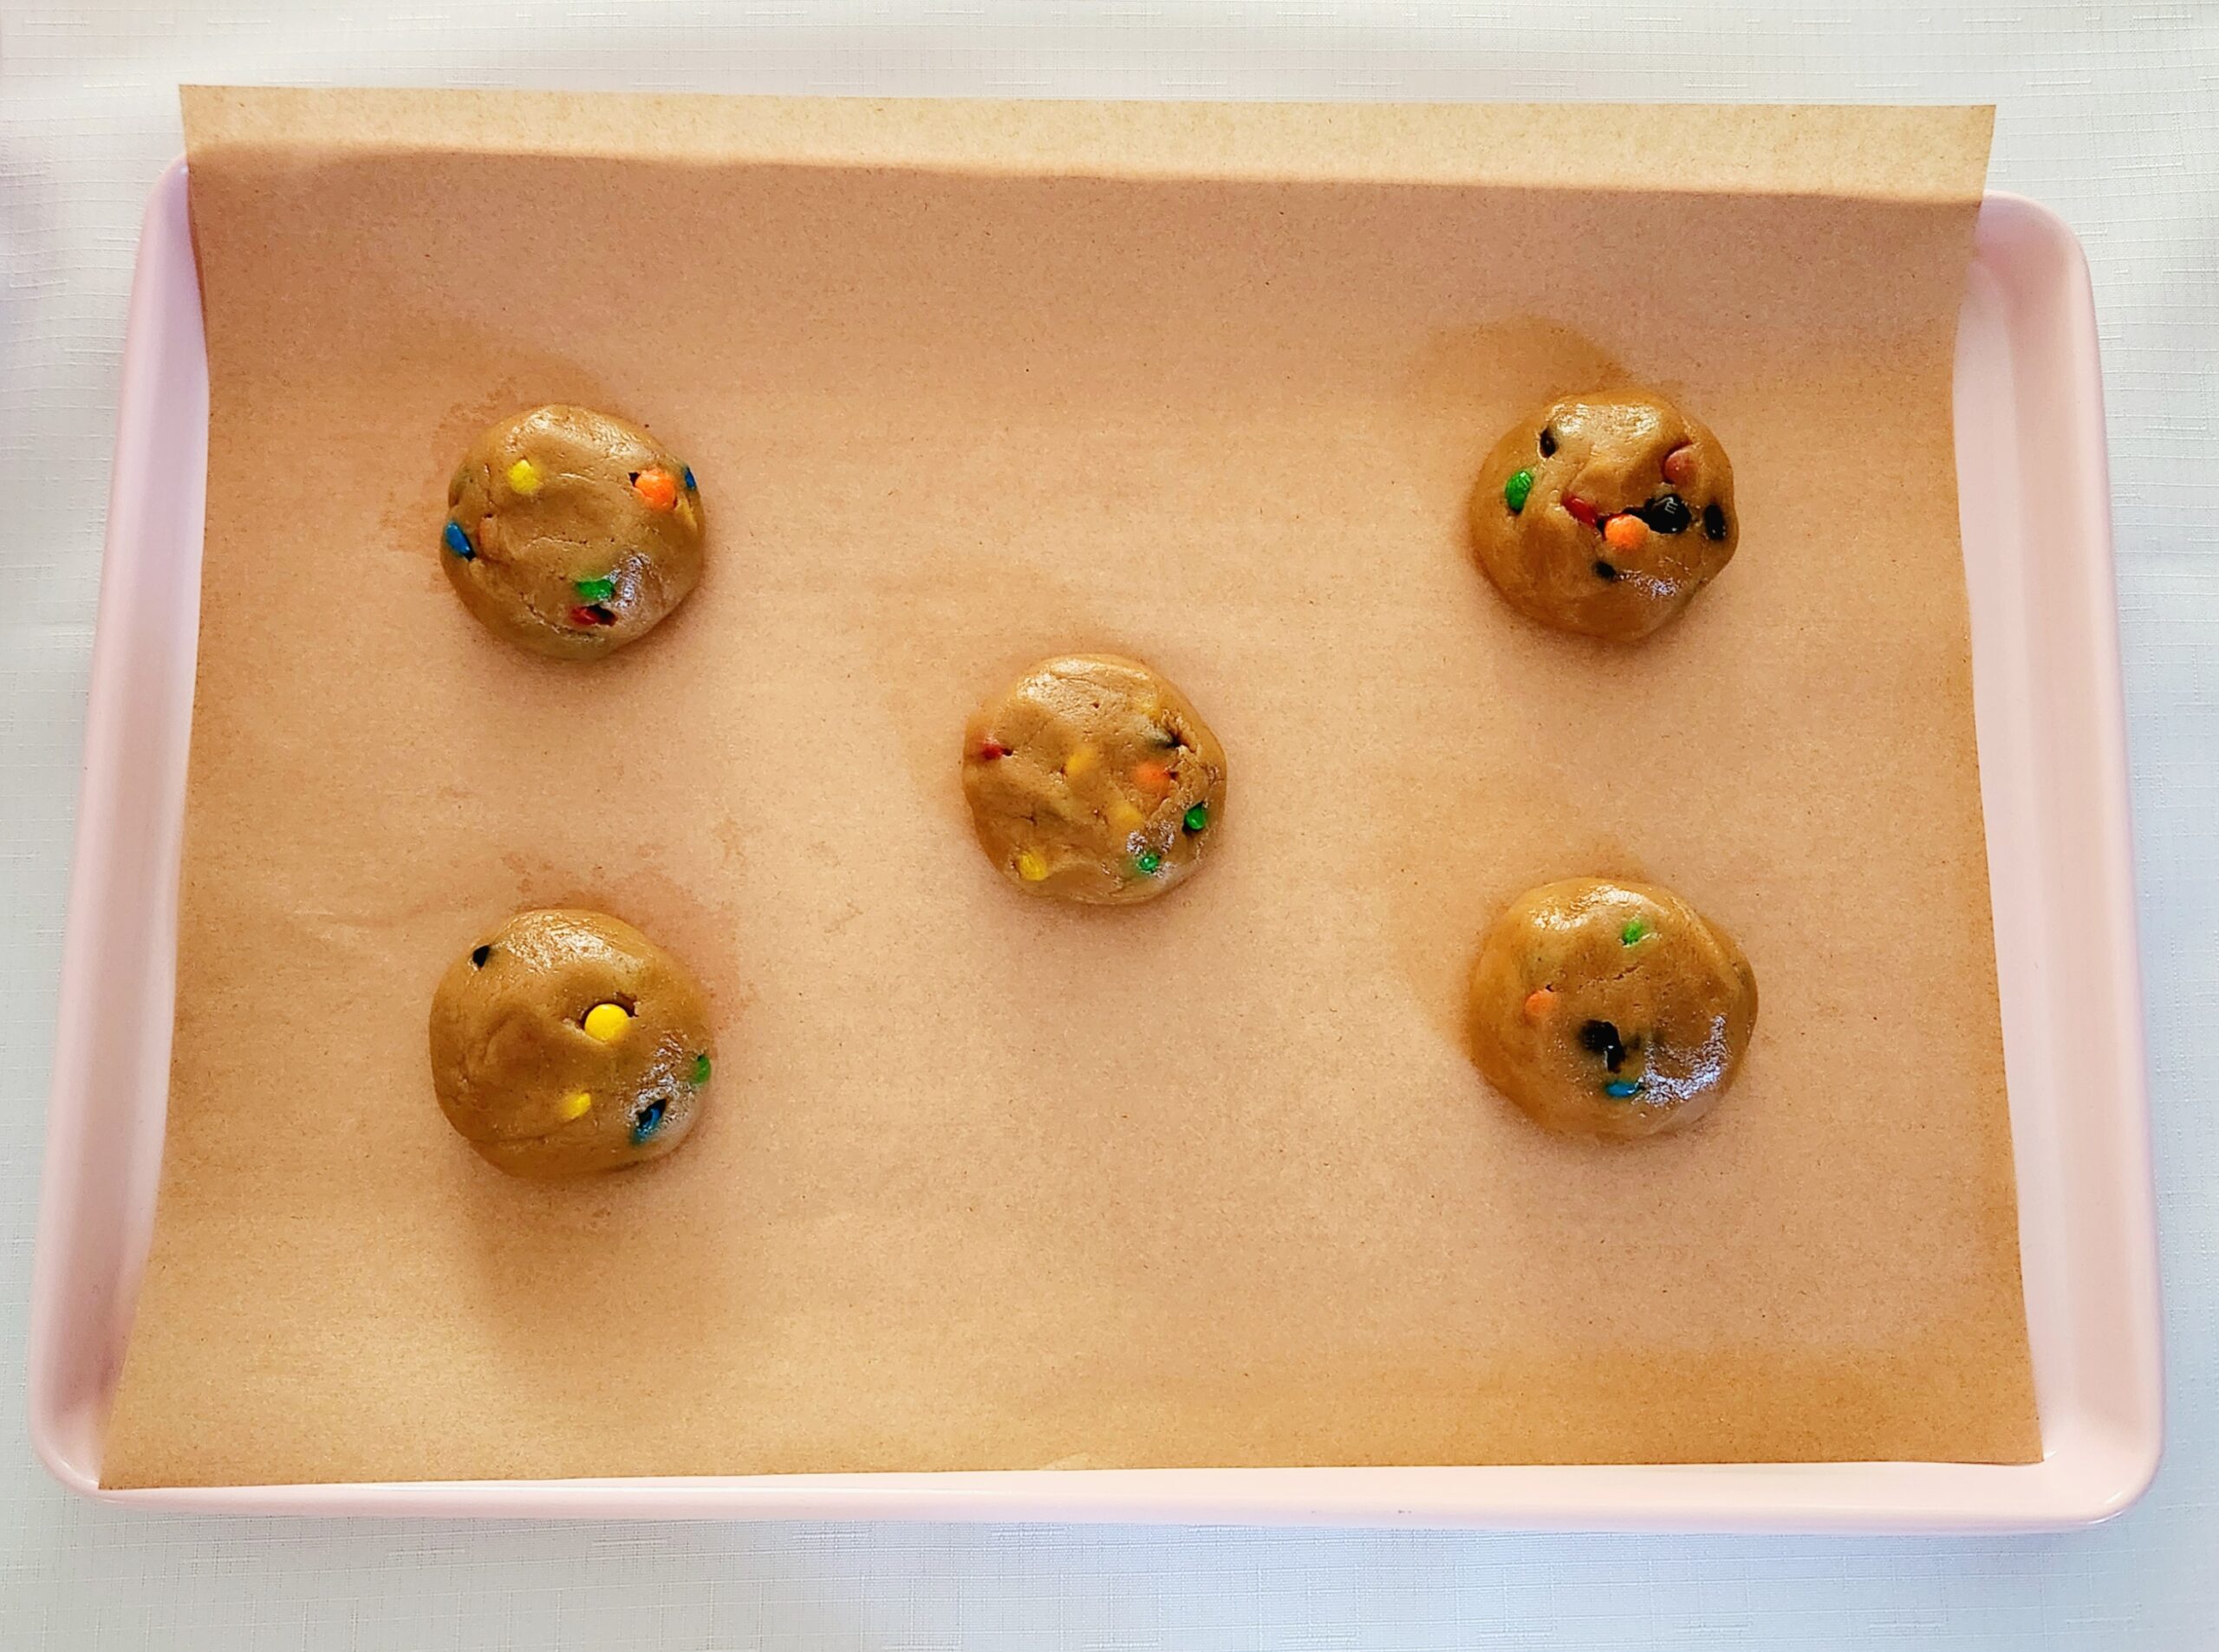
Grab the prepared baking sheets and begin scooping out the dough. Each cookie consists of 4 Tablespoons worth of dough, portioned using either a cookie scoop, Tablespoon, or ¼ cup (the equivalent volume to 4 Tablespoons). My tool of choice is my 2 Tablespoon cookie scoop, with 2 scoops per cookie; it’s efficient and accurate enough for fun at-home baking. Roll each mound of dough into a ball, spaced 2 inches apart on the pan, and flatten them slightly.
Bake each pan, one at a time, for 16 minutes, flipping halfway through, or until the edges are lightly browned. Allow the cookies to rest on the pan for 2-3 minutes, then transfer them over to a cooling rack.
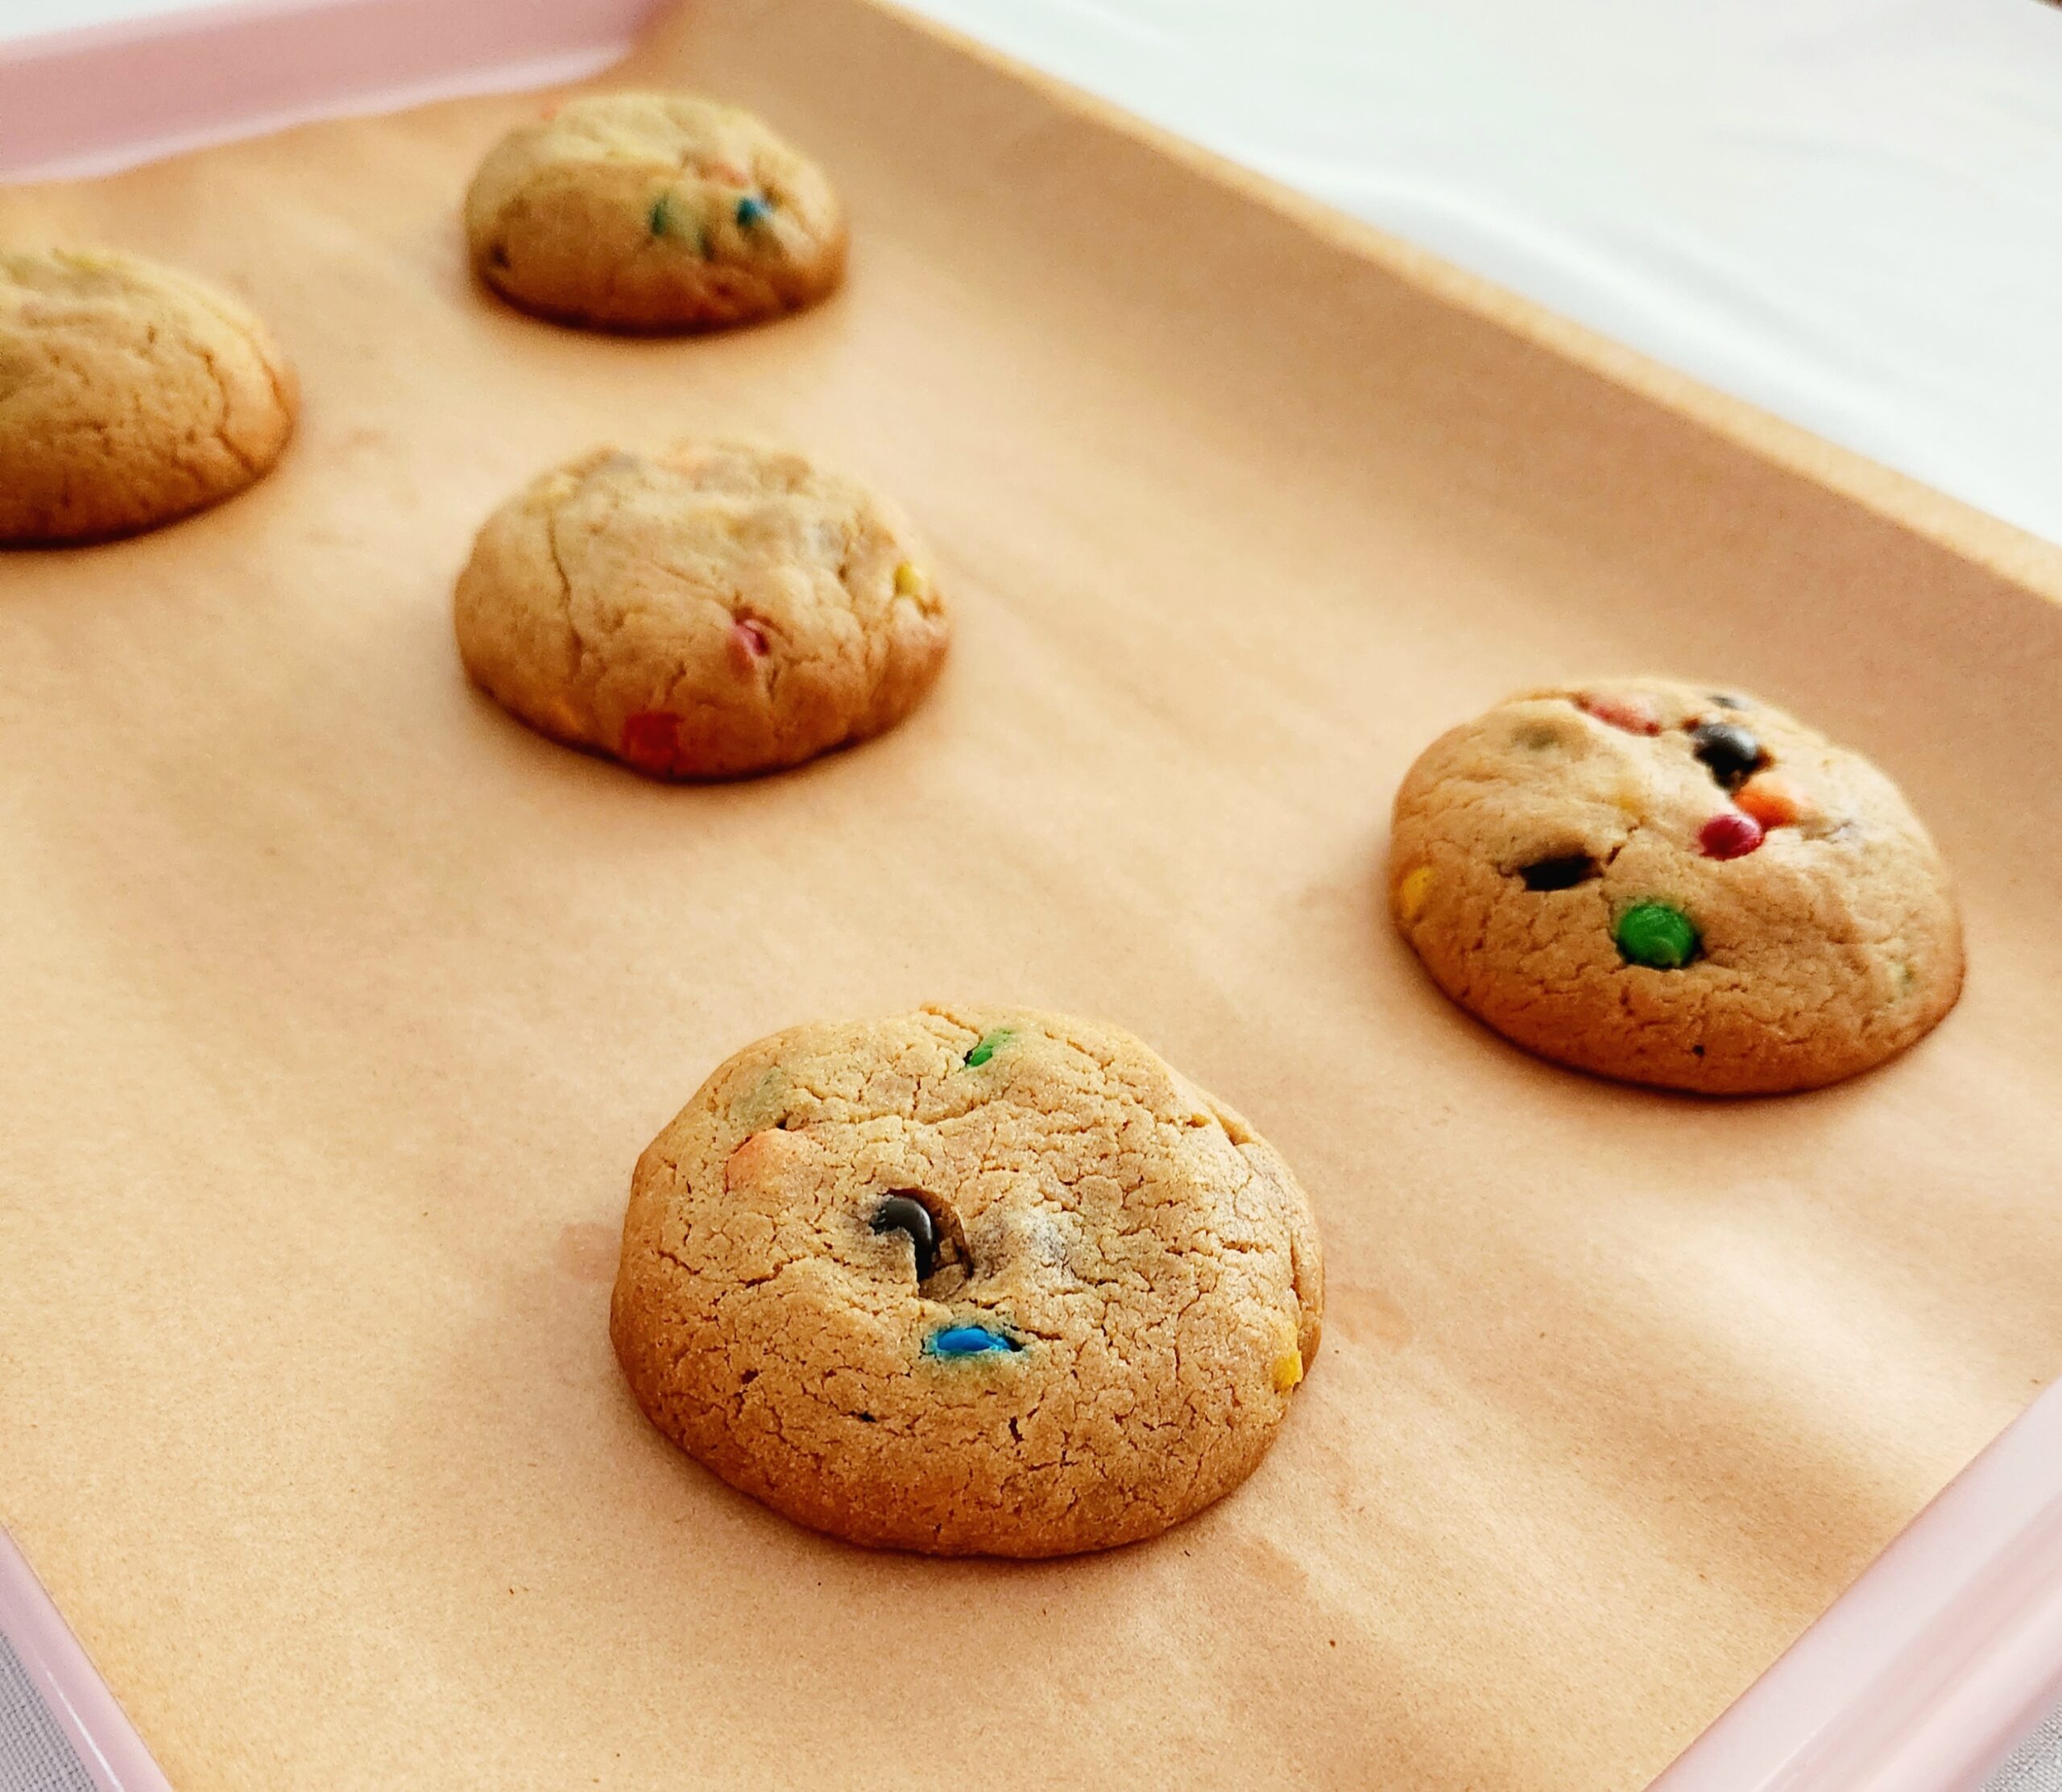
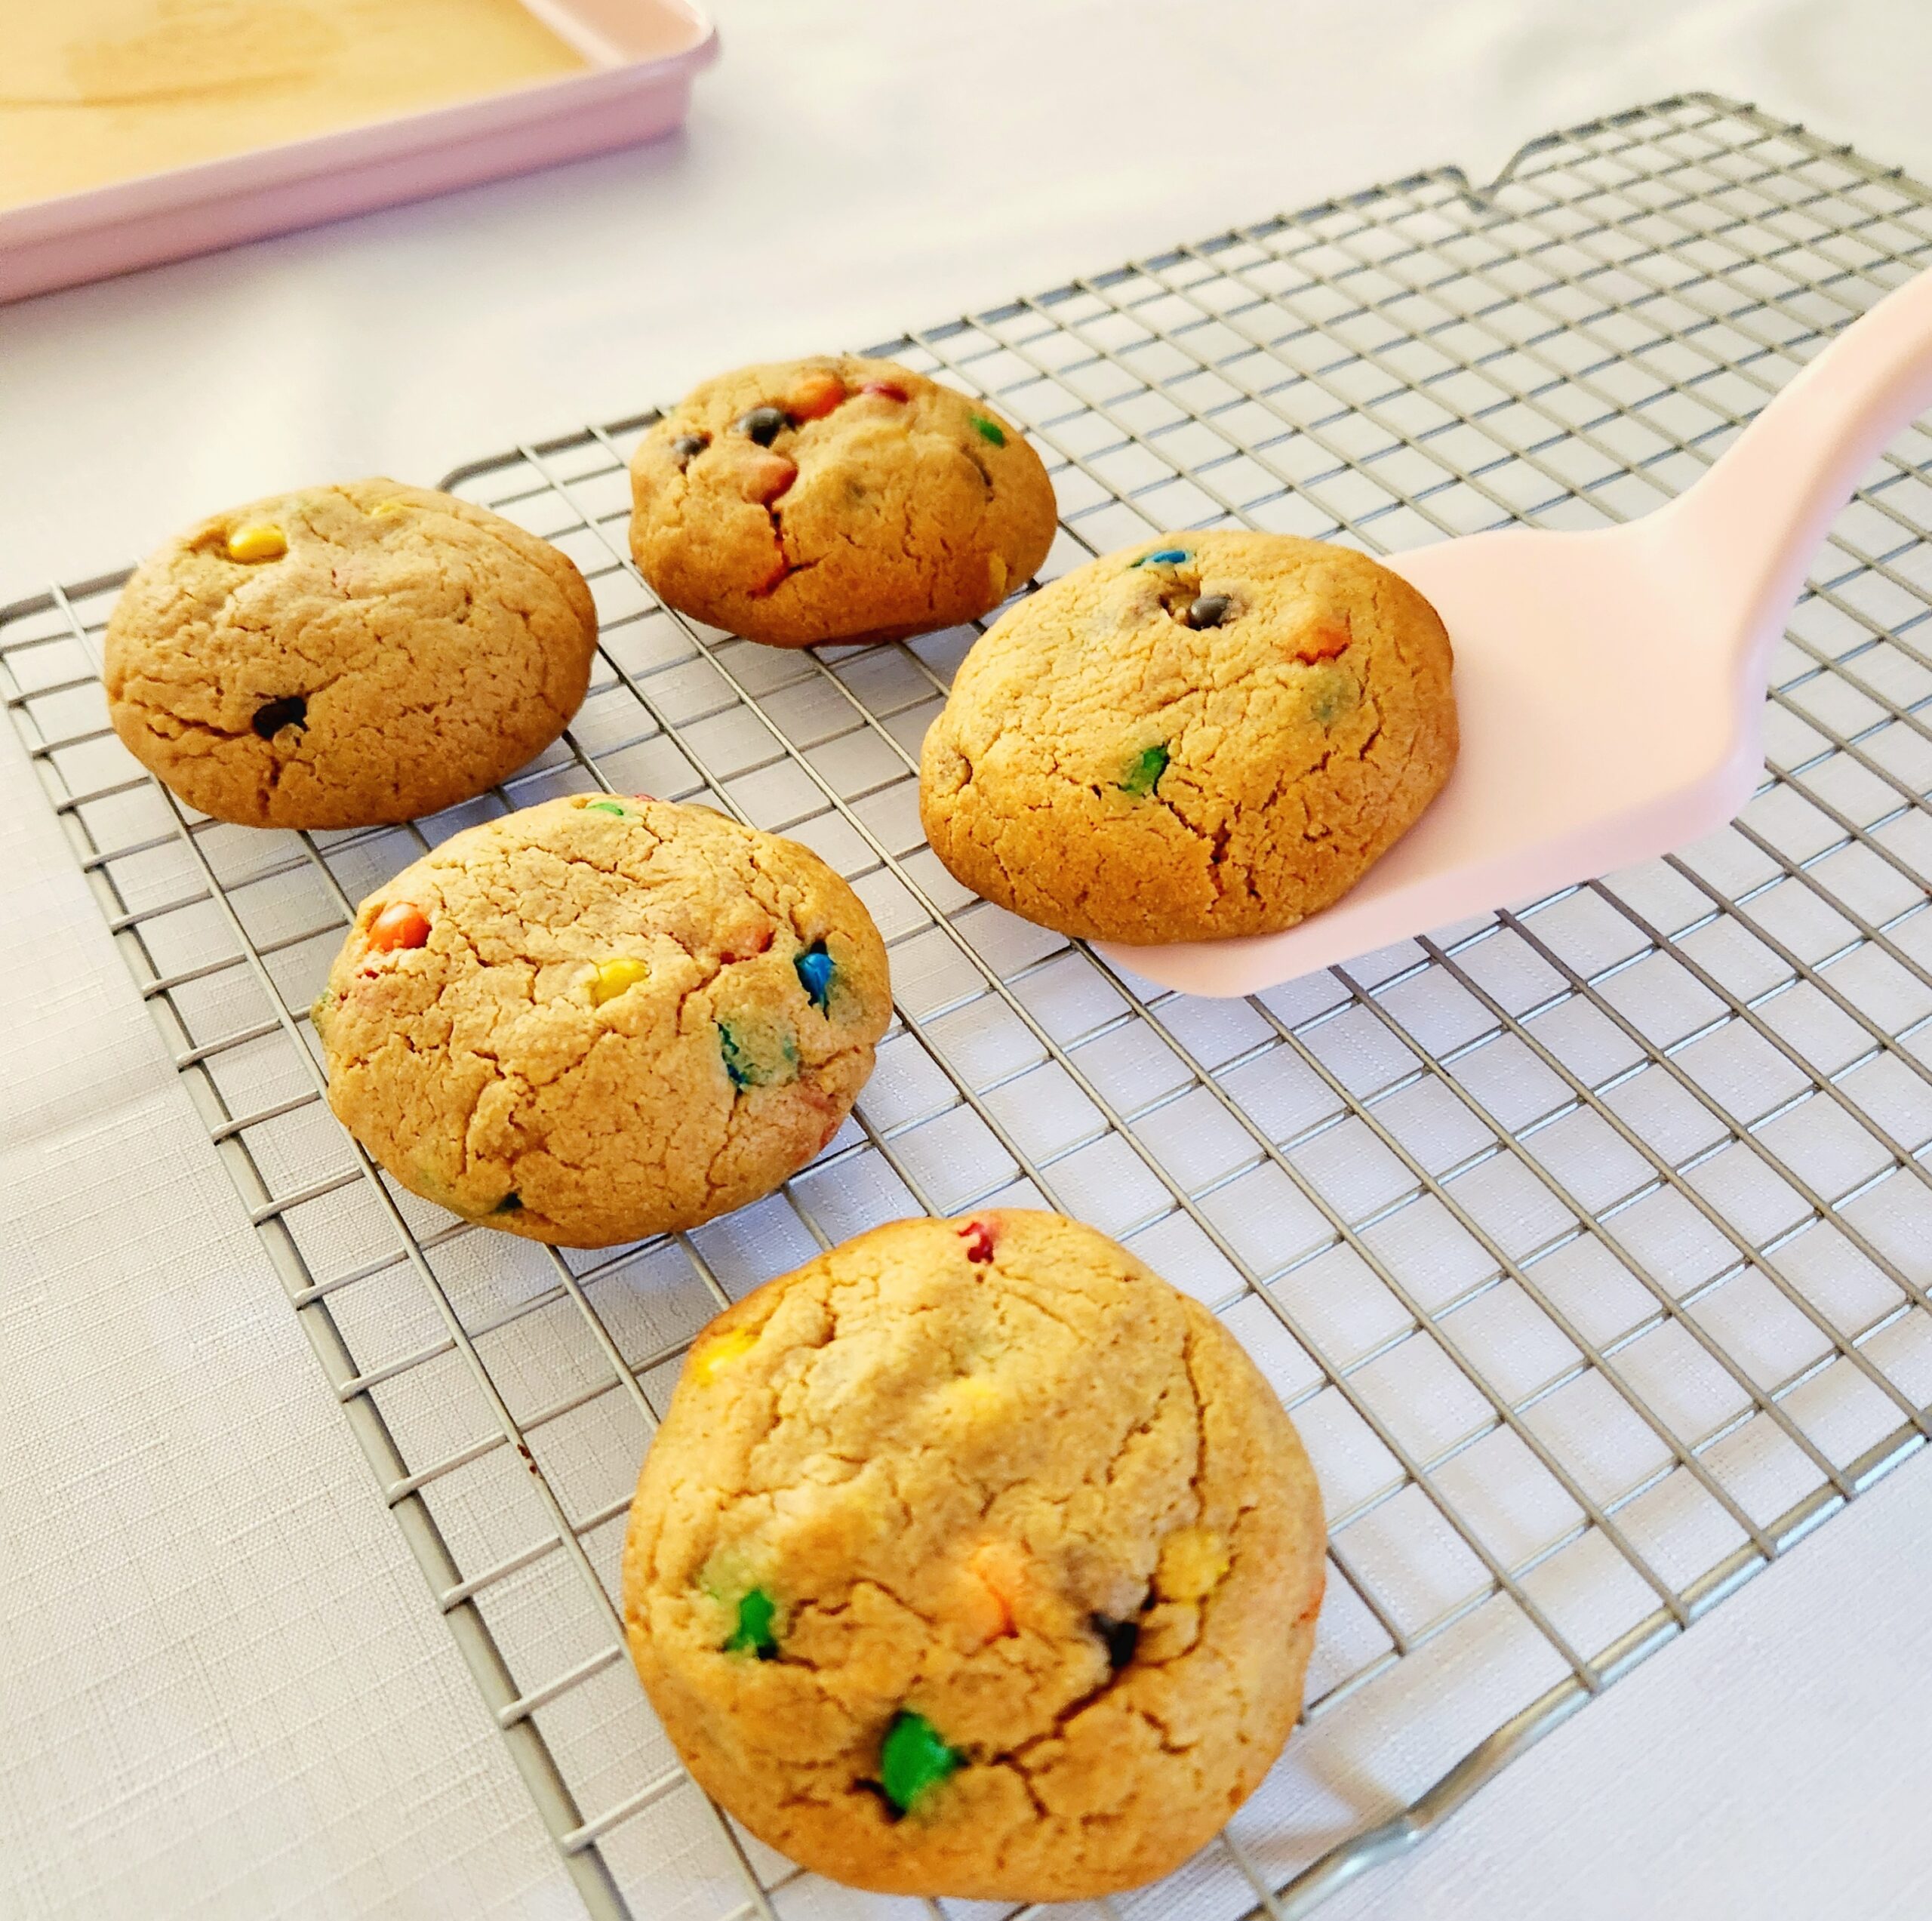
Once they’ve come up to room temperature, store them in an airtight container or gallon sized zip-top bag for up to 3 days, and enjoy!

Alternatively, once the cookies are portioned and flattened slightly, they can be frozen rather than baked immediately! Instead of spacing them out, line them all up right next to each other on a baking sheet, tightly wrap the sheet in plastic, and place the pan in the freezer. Once the dough is frozen solid, transfer the cookies to a freezer safe bag and store them for up to 3 months to bake at your leisure.
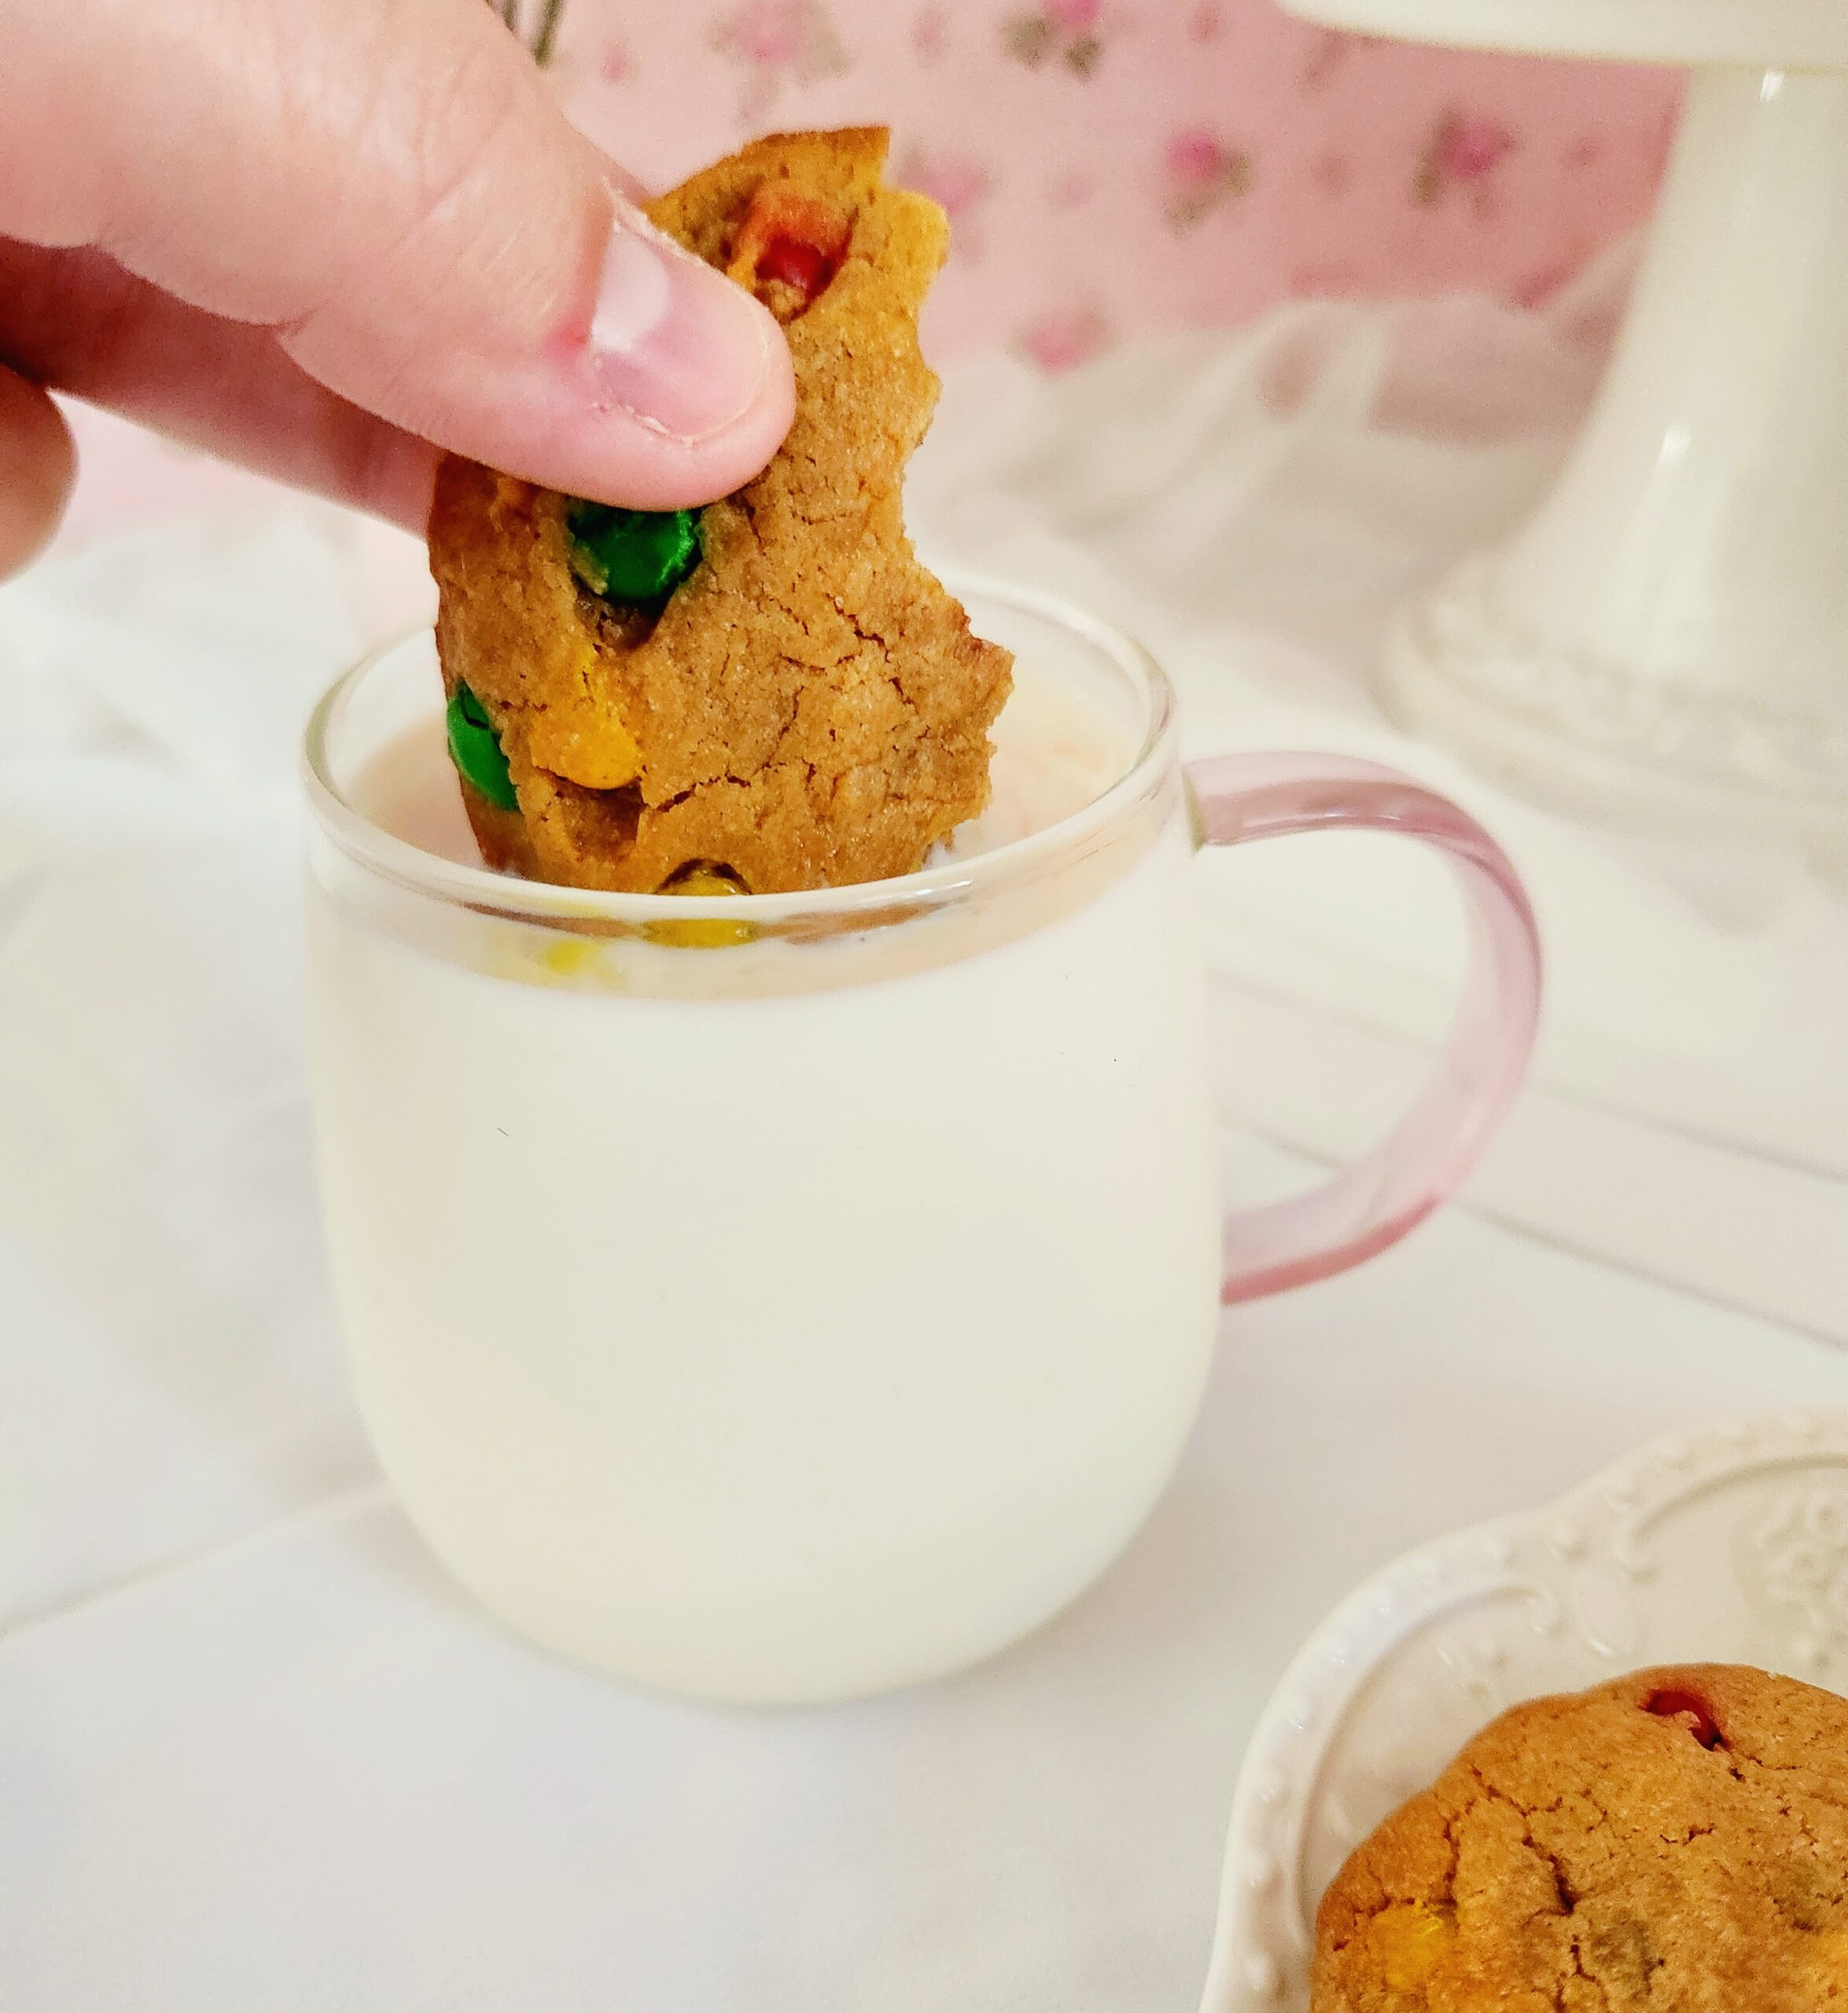

Chewy Peanut Butter M&M Cookies
Bake Time: 350F for 16 minutes
Servings: 2 ½ dozen
Total Time: 110 minutes
Prep Time: 30 Minutes
Ingredients
- 3 cups all-purpose flour
- 1 ½ teaspoons baking powder
- 1 ½ teaspoons salt
- 1 ½ cups creamy peanut butter
- 6 Tablespoons unsalted butter
- 2 ¼ cup light brown sugar
- 4 large egg whites
- 1 ½ teaspoons vanilla extract
- 5 Tablespoons whole milk
- 12 oz mini peanut butter M&Ms
Directions
- Preheat the oven to 350F, on the convection setting if possible, and prepare the baking sheets. Line two baking sheets with either parchment paper or silicone baking mats, and set them aside. In a medium mixing bowl, whisk together the flour, baking powder, and salt. Set it aside.
- In a large microwave safe mixing bowl, melt the peanut butter and unsalted butter together. Add in the brown sugar, and whisk to combine, 30 seconds-1 minute.
- Add the egg whites, one at a time, whisking until the previous egg has been fully absorbed by the peanut butter mixture. Pour in the vanilla and milk, and whisk until the mixture is homogeneous.
- All at once, dump the dry goods into the peanut butter mixture and, using a rubber spatula, gently stir the two together until a dough forms. Toss in the M&Ms and fold the dough until they’re evenly distributed.
- Grab the previously prepared pan, and scoop the dough into 4 Tablespoon (¼ cup) portions onto the pan, leaving 2 inches of space in between each, around 6 cookies per pan. Place one pan in the oven on the middle rack and bake for 8 minutes. Flip the pan around 180 degrees, then bake for another 8 minutes, or until the edges start to brown.
- Allow the cookies to sit on the pan for 2-3 minutes, then transfer them over to a cooling rack and once they’ve hit room temperature, enjoy! Store them in an airtight container or gallon zip top bag for up to 3 days.
Tips
- Peanut butter M&Ms can be substituted for a different peanut butter candy of your choice, such as Reese’s Pieces, mini peanut butter cups, chopped up Butterfingers or Snickers bars, and peanut butter chips. If the candy you’re using is on the softer side, like peanut butter cups or snickers, I’d suggest once they’ve been chopped, freeze them before folding into the dough.
- Unbaked cookies can be frozen for up to 3 months. Follow the directions up until the point of baking, then place the cookies right next to each other on a sheet pan. Line the pan tightly in plastic and freeze them for several hours. Once the dough is frozen solid, transfer them to a freezer safe bag. To bake, preheat the oven to 350F. Place frozen cookies spaced 2 inches apart on a parchment or silicone mat lined baking sheet, and bake for 18 minutes, flipping halfway through.


0 Comments