
Carrot cake is one of those genuinely nostalgic desserts for me, personally. Not because it’s always been a favorite of my own, but it was for my oldest brother and father. Every birthday for either one of them, every Father’s Day, a carrot cake from the bakery or grocery store would appear. Then when I learned to bake as a teenager, I took over the cake responsibilities for my house and got to pour my own love directly into the batter. After my brother was killed in action, I baked him a carrot cupcake to leave at his grave in remembrance. So when I started developing my own recipes, carrot cake was a very important part of the list of what to bake.
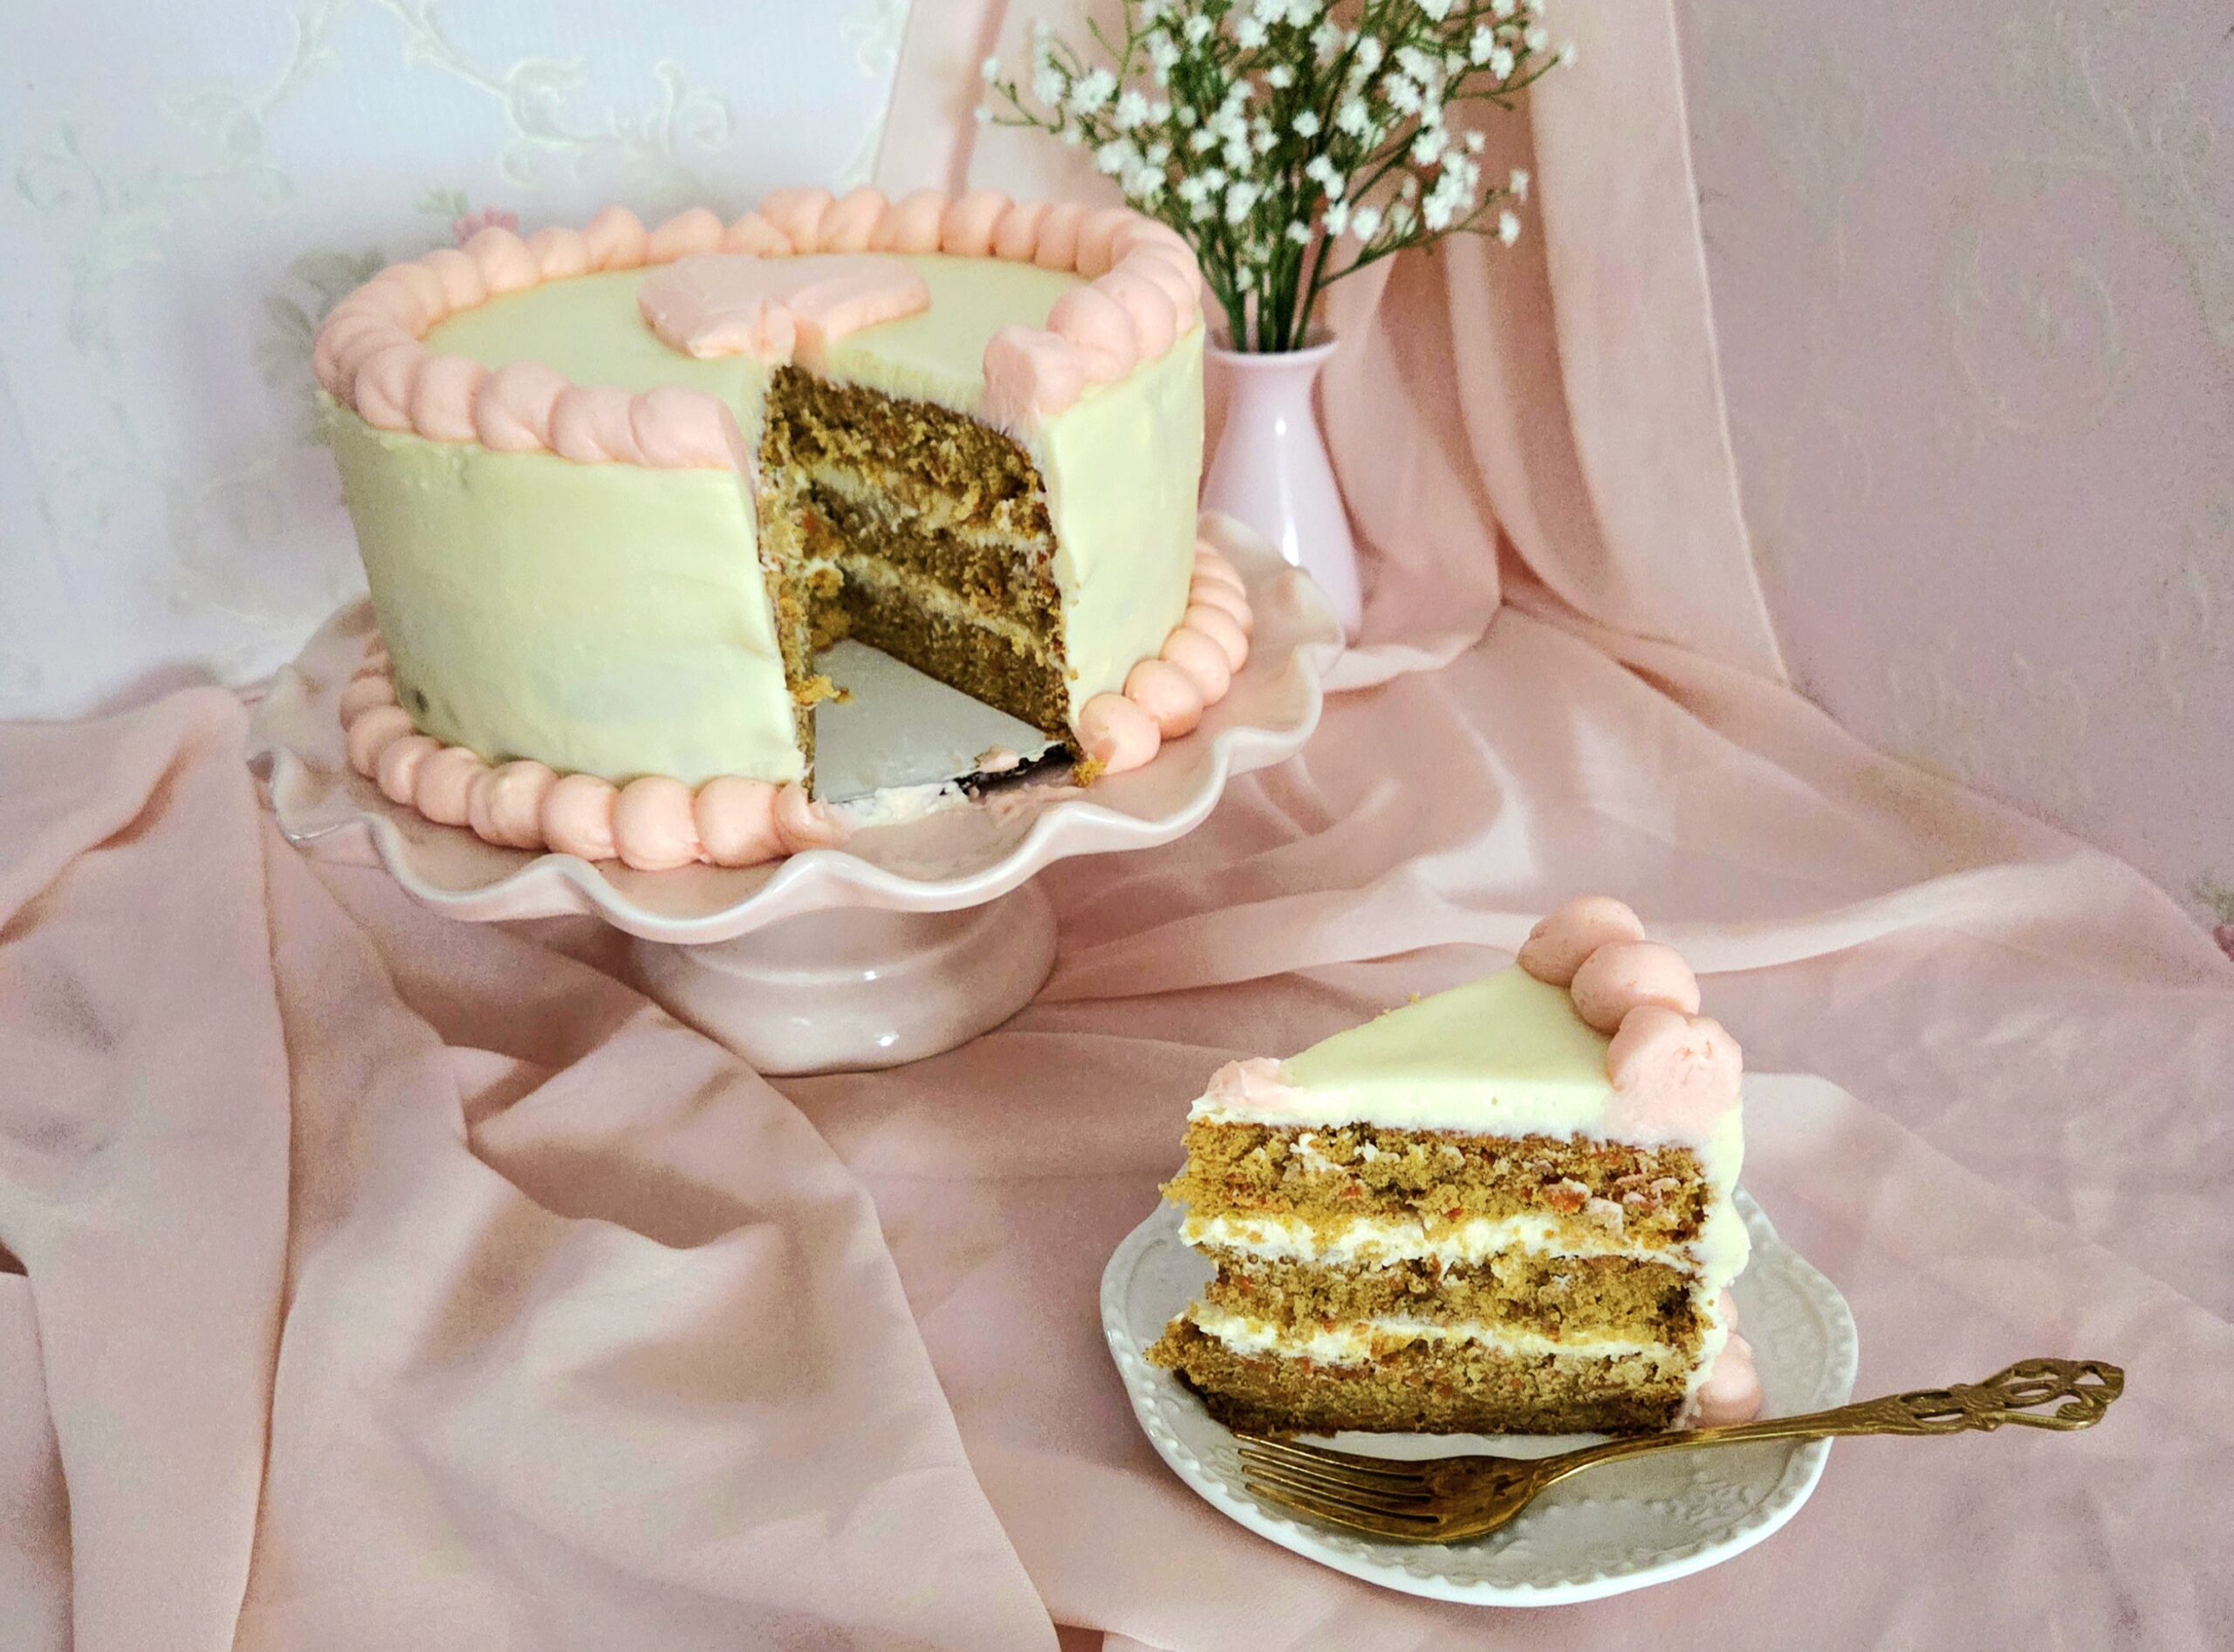
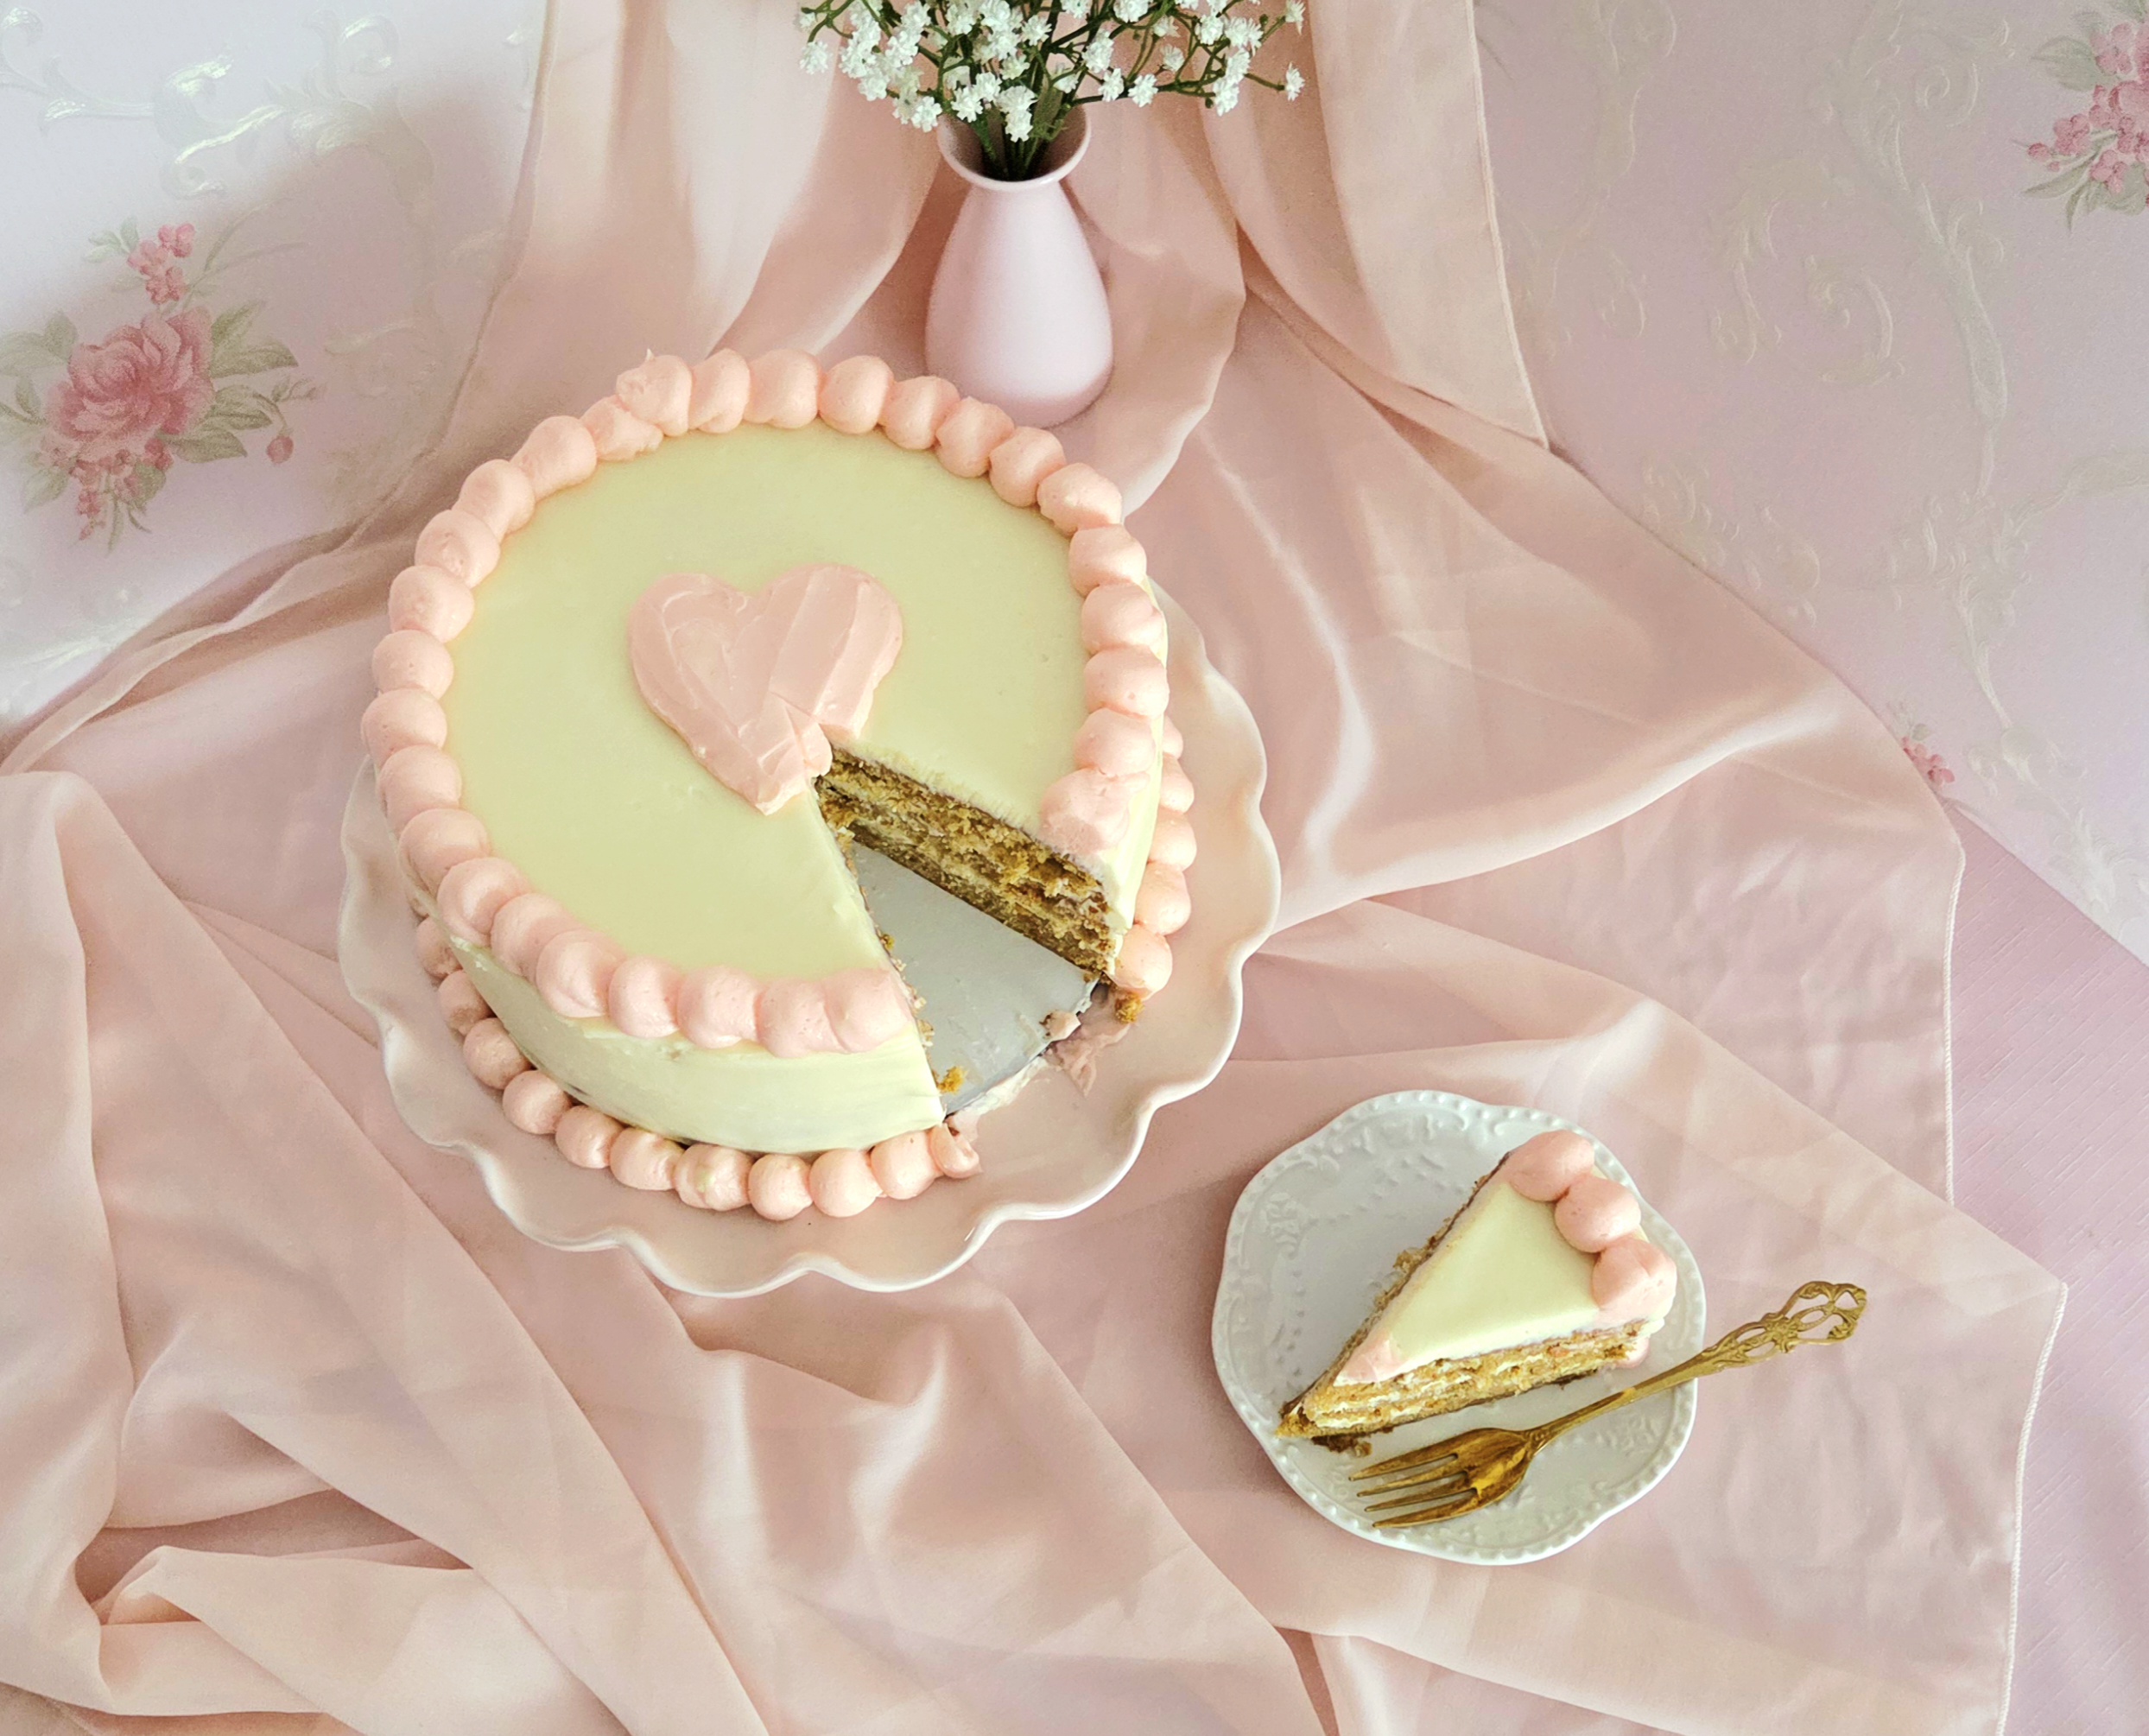
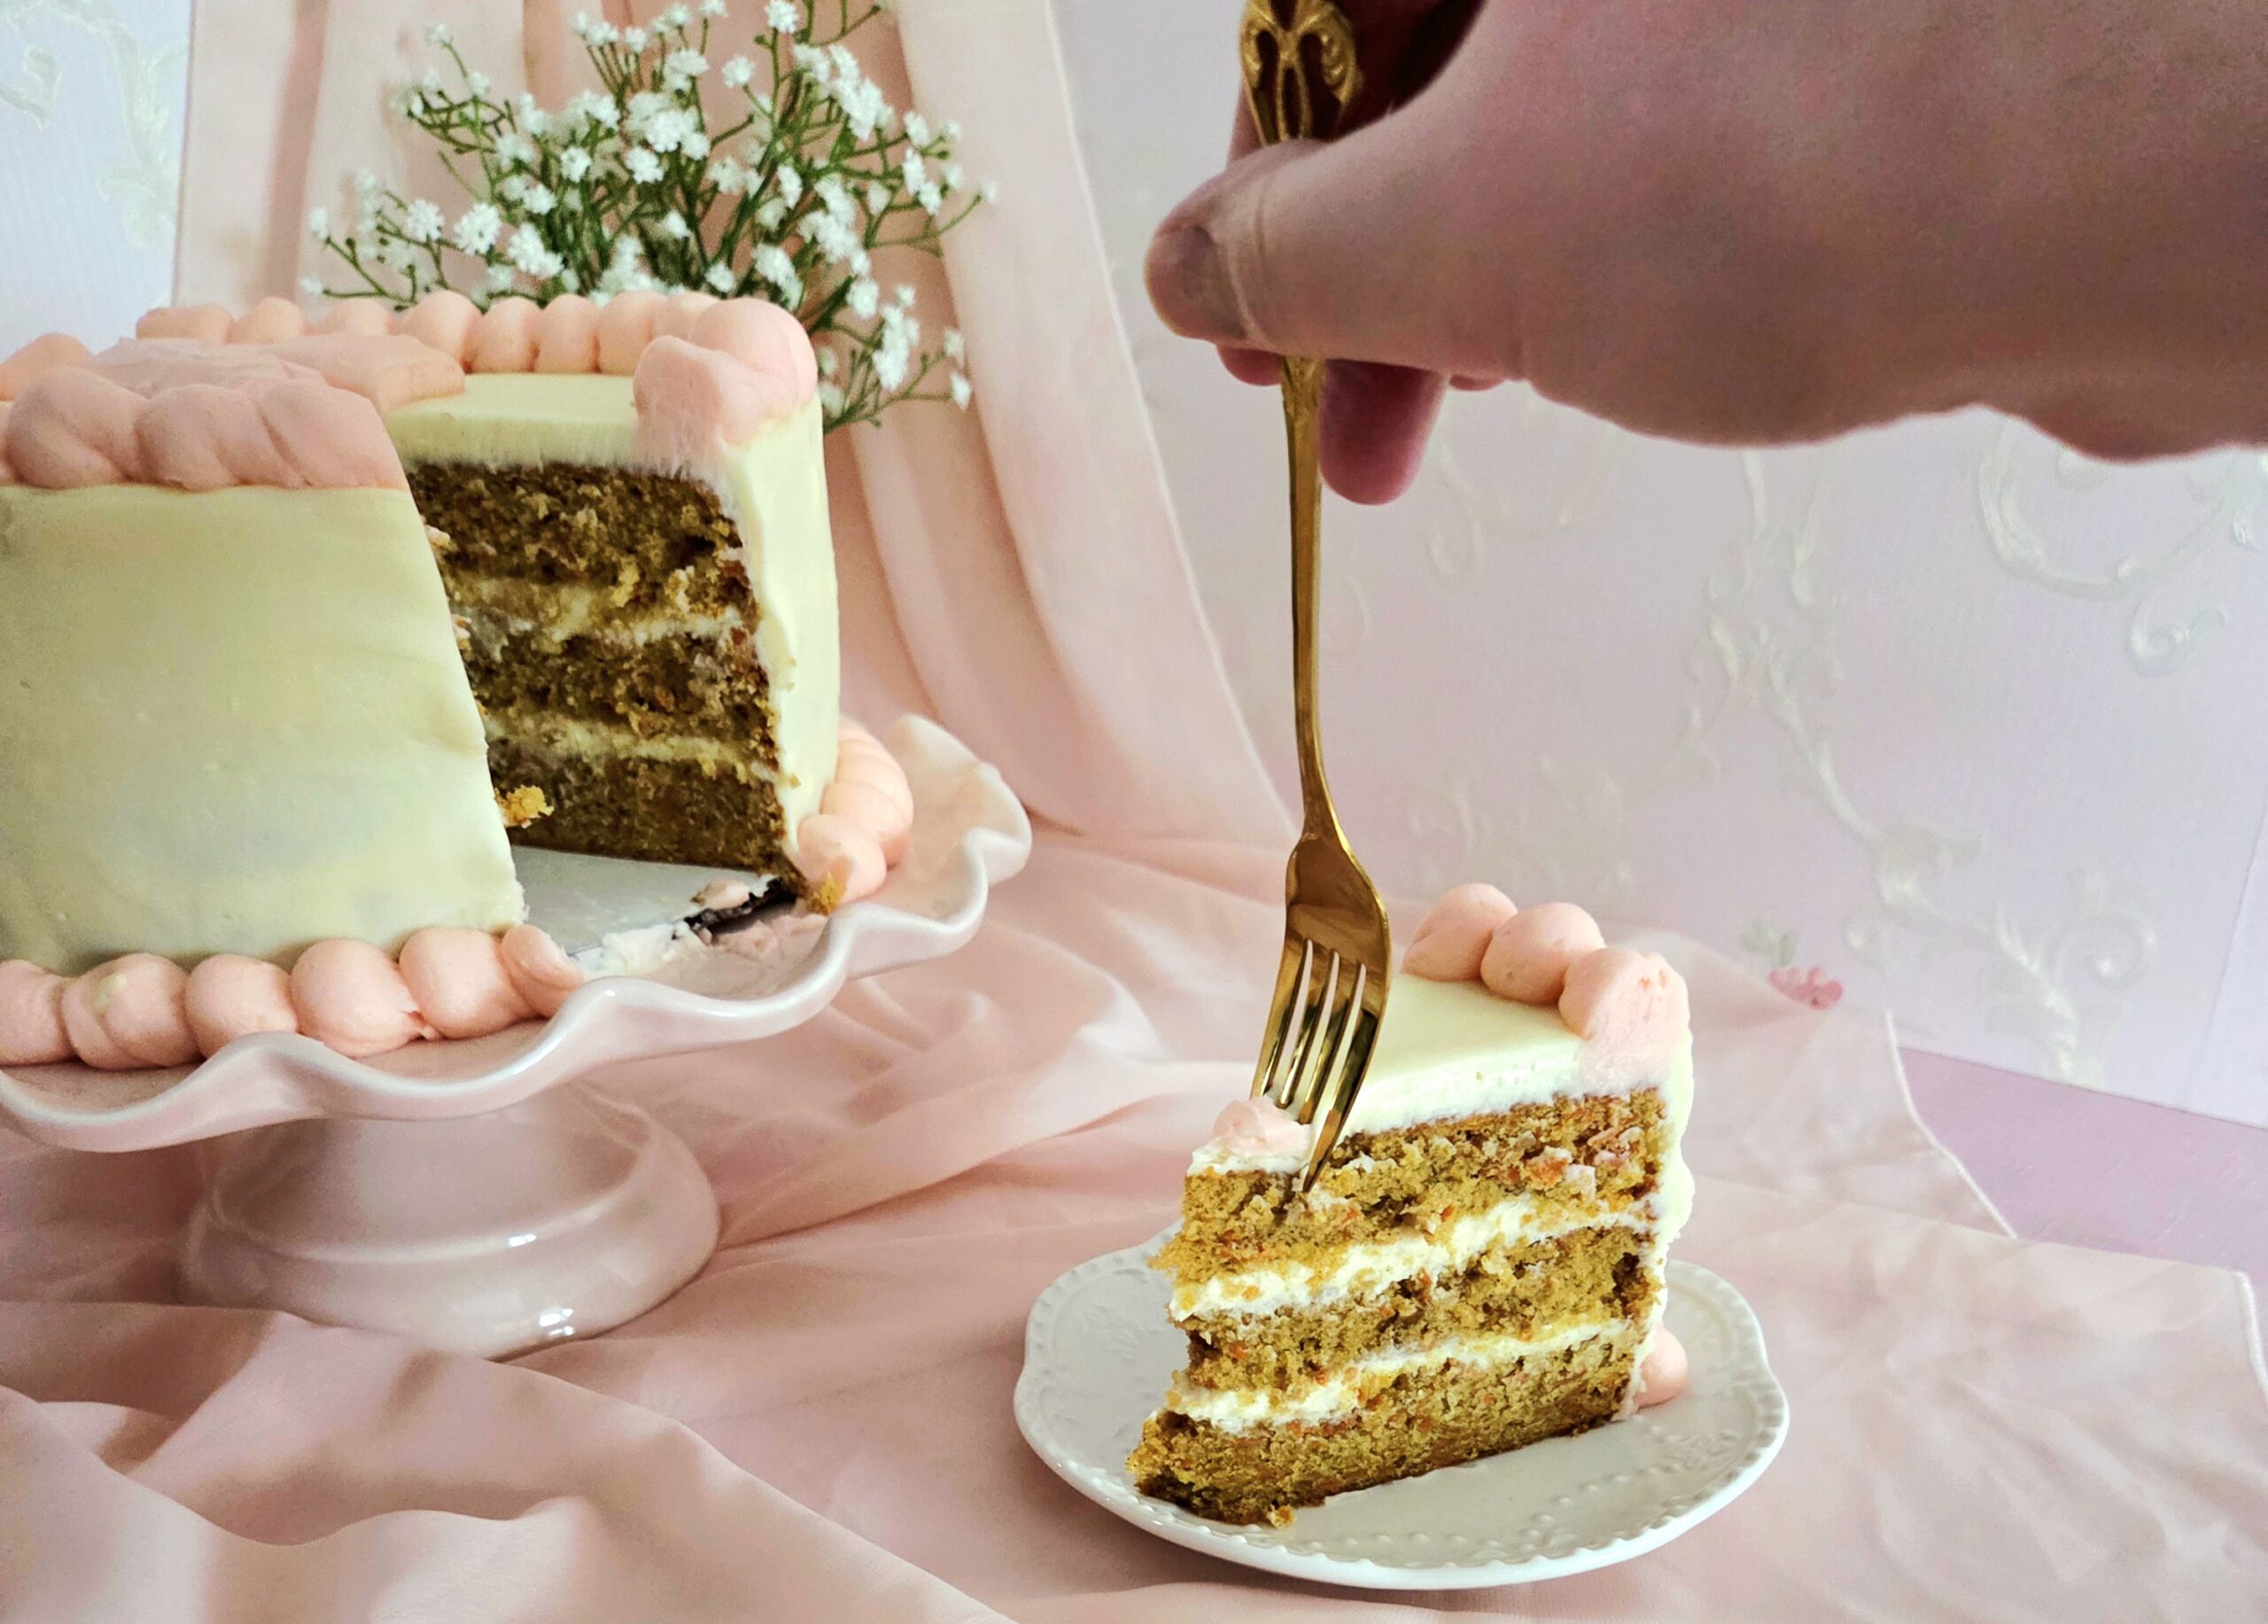
I’m happy to say, I’ve nailed it. This carrot cake is soft and moist. with freshly grated carrots. The spice? Beautifully aromatic. The cream cheese frosting? A perfect balance between sweet and tangy. It’s a cake my brother would’ve had to be convinced to share with anyone else. Bake one for your next birthday, Spring picnic, Easter brunch. Convince your skeptical friend to try a bite and see that it doesn’t actually taste like vegetables, only happiness.
FAQs and Science
Should I grate the carrots by hand, or can I use pre-shredded carrots?
I’ve used both, and it honestly boils down to how much you’d like to be able to detect the carrot in your cake! Pre-shredded carrots are thicker than hand-grated, so give off a texture more akin to al dente pasta. Hand-grated carrots, on the other hand, are practically undetectable in the final product.
Where are the raisins? The walnuts? The pineapple?!
This is a simple carrot cake, no bells and whistles needed. If you particularly like a carrot cake with walnuts or raisins, feel free to add some in! Though pineapple I cannot condone. Pineapple in carrot cake is a crime, and I will stand by that with my chest out.
Typically, you advise stopping the mixer as soon as the dry goods disappear. Why add the extra 30 seconds of mixing on medium speed after the flour has been absorbed this time?
In most recipes, I advise to stop mixing as soon as the dry goods disappear because over-mixing will result in a tough product from too much gluten development. In a cake made with cake flour, though, things are a bit different. Cake flour has the lowest protein percentage out of any kind of flour, and as a result, takes the longest to develop strong gluten. Which means it’s actually very easy not to develop enough of it for proper structural integrity. Beating the batter on medium speed for an extra 30 seconds just ensures that the cake does, in fact, develop enough gluten for structural integrity, preventing it from collapsing in the center.
Why won’t the cream cheese frosting show intricate detail when I try to pipe decorations with it?
Cream cheese frosting has a soft, gooey texture. This prevents it from behaving the way a stiffer frosting, like a buttercream, does when decorating a cake. It just isn’t going to hold sharp features the same way.
What would happen if I try to assemble the cake while the layers are still warm?
The frosting would melt, causing the cake to fall apart!
How can I soften butter for creaming?
Other people will tell you all kinds of tricks for this, like covering it with a hot glass. I’m partial to just utilizing the microwave. It’s fast and efficient, and not nearly as detrimental as it sounds when used correctly. Place the butter, unwrapped, on a plate. Heat it for 9-11 seconds, then flip it over. Heat for another 9-11 seconds, then turn it on its side. Another 9-11 seconds, flip it once more. Heat for a final 9-11 seconds, then place it into the stand mixer bowl and proceed with the recipe as written.
Why use the paddle attachment, rather than the whisk attachment?
The whisk attachment is only used in recipes where the goal is to incorporate copious amounts of air, such as whipped cream or meringue. The shape of the paddle attachment allows the batter to emulsify much more efficiently than the whisk would, and doesn’t allow more air than necessary into the cake.
What is a straight sided pan?
Many cake pans you purchase will actually offer a tapered edge, where the circumference of the top of the pan is larger than that of the bottom and the side slants inwards as a result. A straight sided pan has the same circumference on both top and bottom, with a side that stays straight all the way down. Having the straight sided pan makes creating a straight sided cake much, much easier. That way, there’s no having to trim the sides or fill in massive gaps with a ton of frosting.
I came back to the cake the day after baking it and there are blue dots speckled throughout it! Did it mold already?
No, if it was properly stored in the fridge as I’ve advised, that is absolutely not mold after only a day! It’s just a natural chemical reaction between the carrots and the alkaline ingredients, in this case baking soda. This is a particular risk if you chose to ignore my guidance in whisking the dry ingredients together in a separate bowl before adding them in, as the reaction occurs more frequently in spaces with higher concentrations of alkaline ingredients. In other words, if you don’t whisk in and evenly disperse the baking soda, there will be larger pockets of it in parts of the batter to react with the carrots. Do not fret though, as it’s perfectly safe to eat!
What You’ll Need
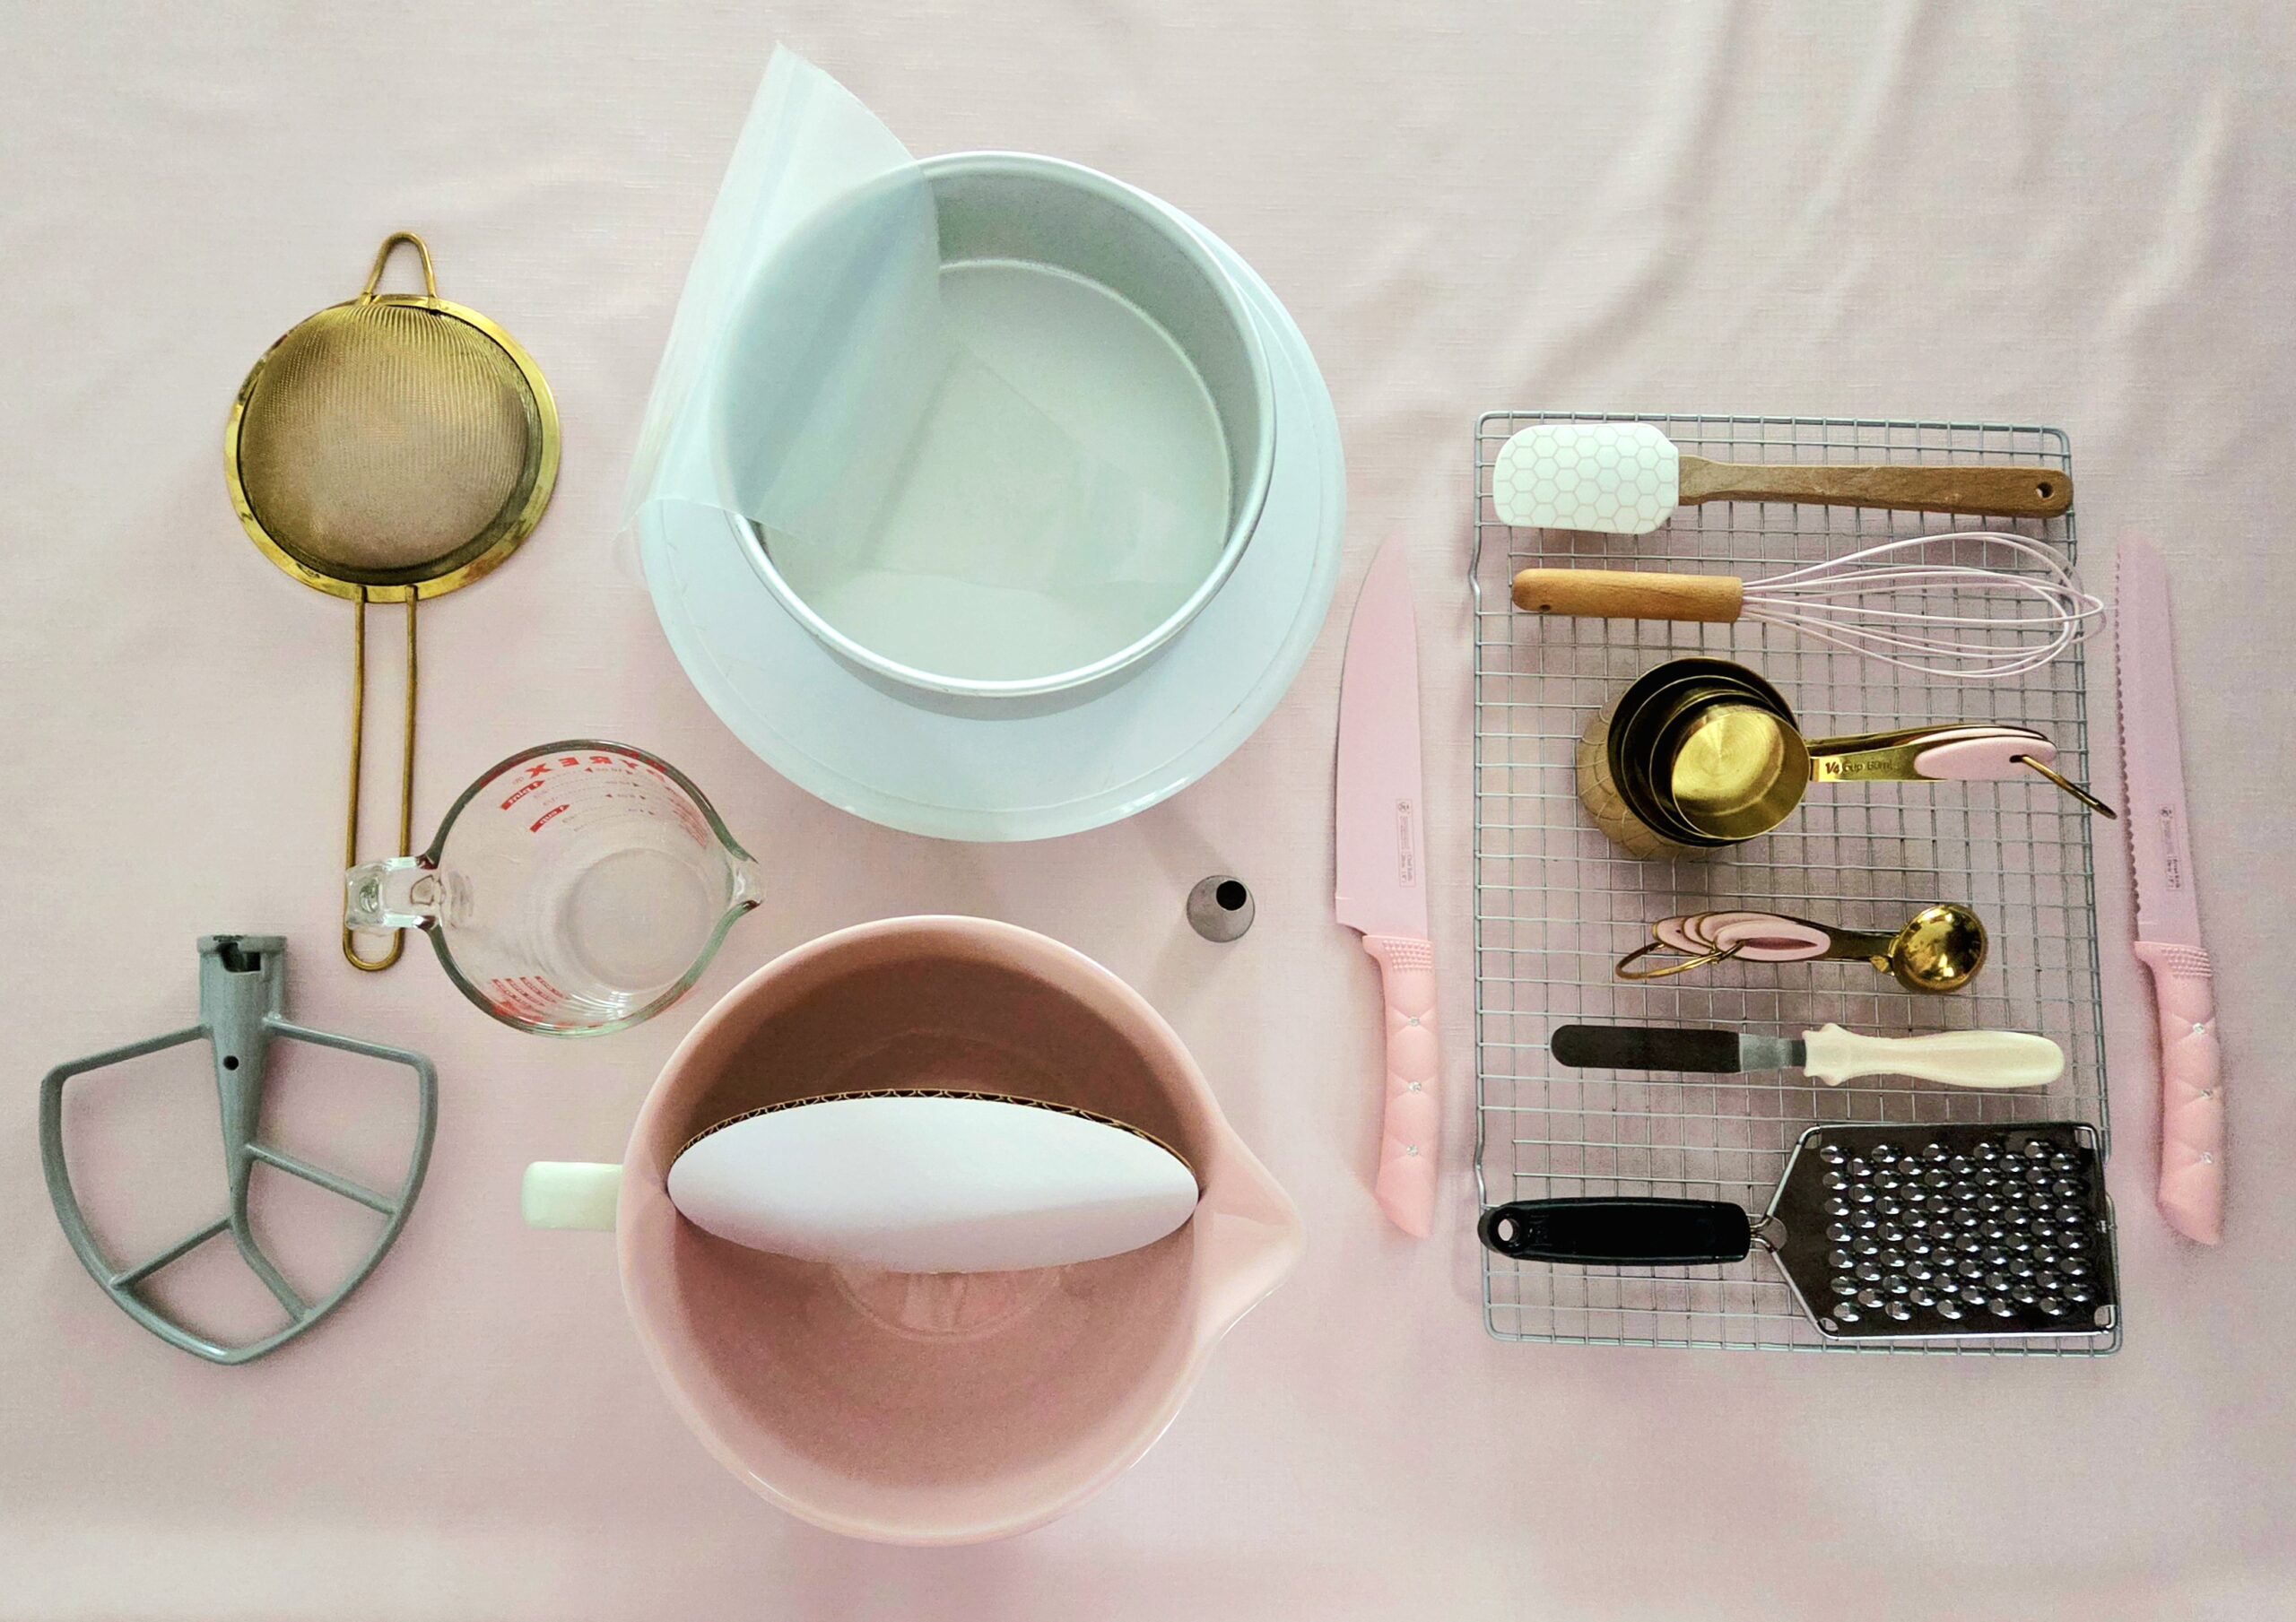
- Parchment paper
- Stand mixer fitted with the paddle attachment
- Medium mixing bowl
- Dry measuring cups
- Liquid measuring cup
- Measuring spoons
- Sieve or sifter
- Whisk
- Rubber spatula
- Offset spatula or butter knife
- Grater
- Three 8-inch cake pans OR two 8-inch cake pans, one of which has 3-inch high sides
- Large bread knife
- Chef’s knife
- Large plate or cake stand
- 8-inch cake board (optional)
- Cake turntable (optional, but recommended)
- Piping bag (optional)
- Large round piping tip (optional)
The Process
Bake the Batter
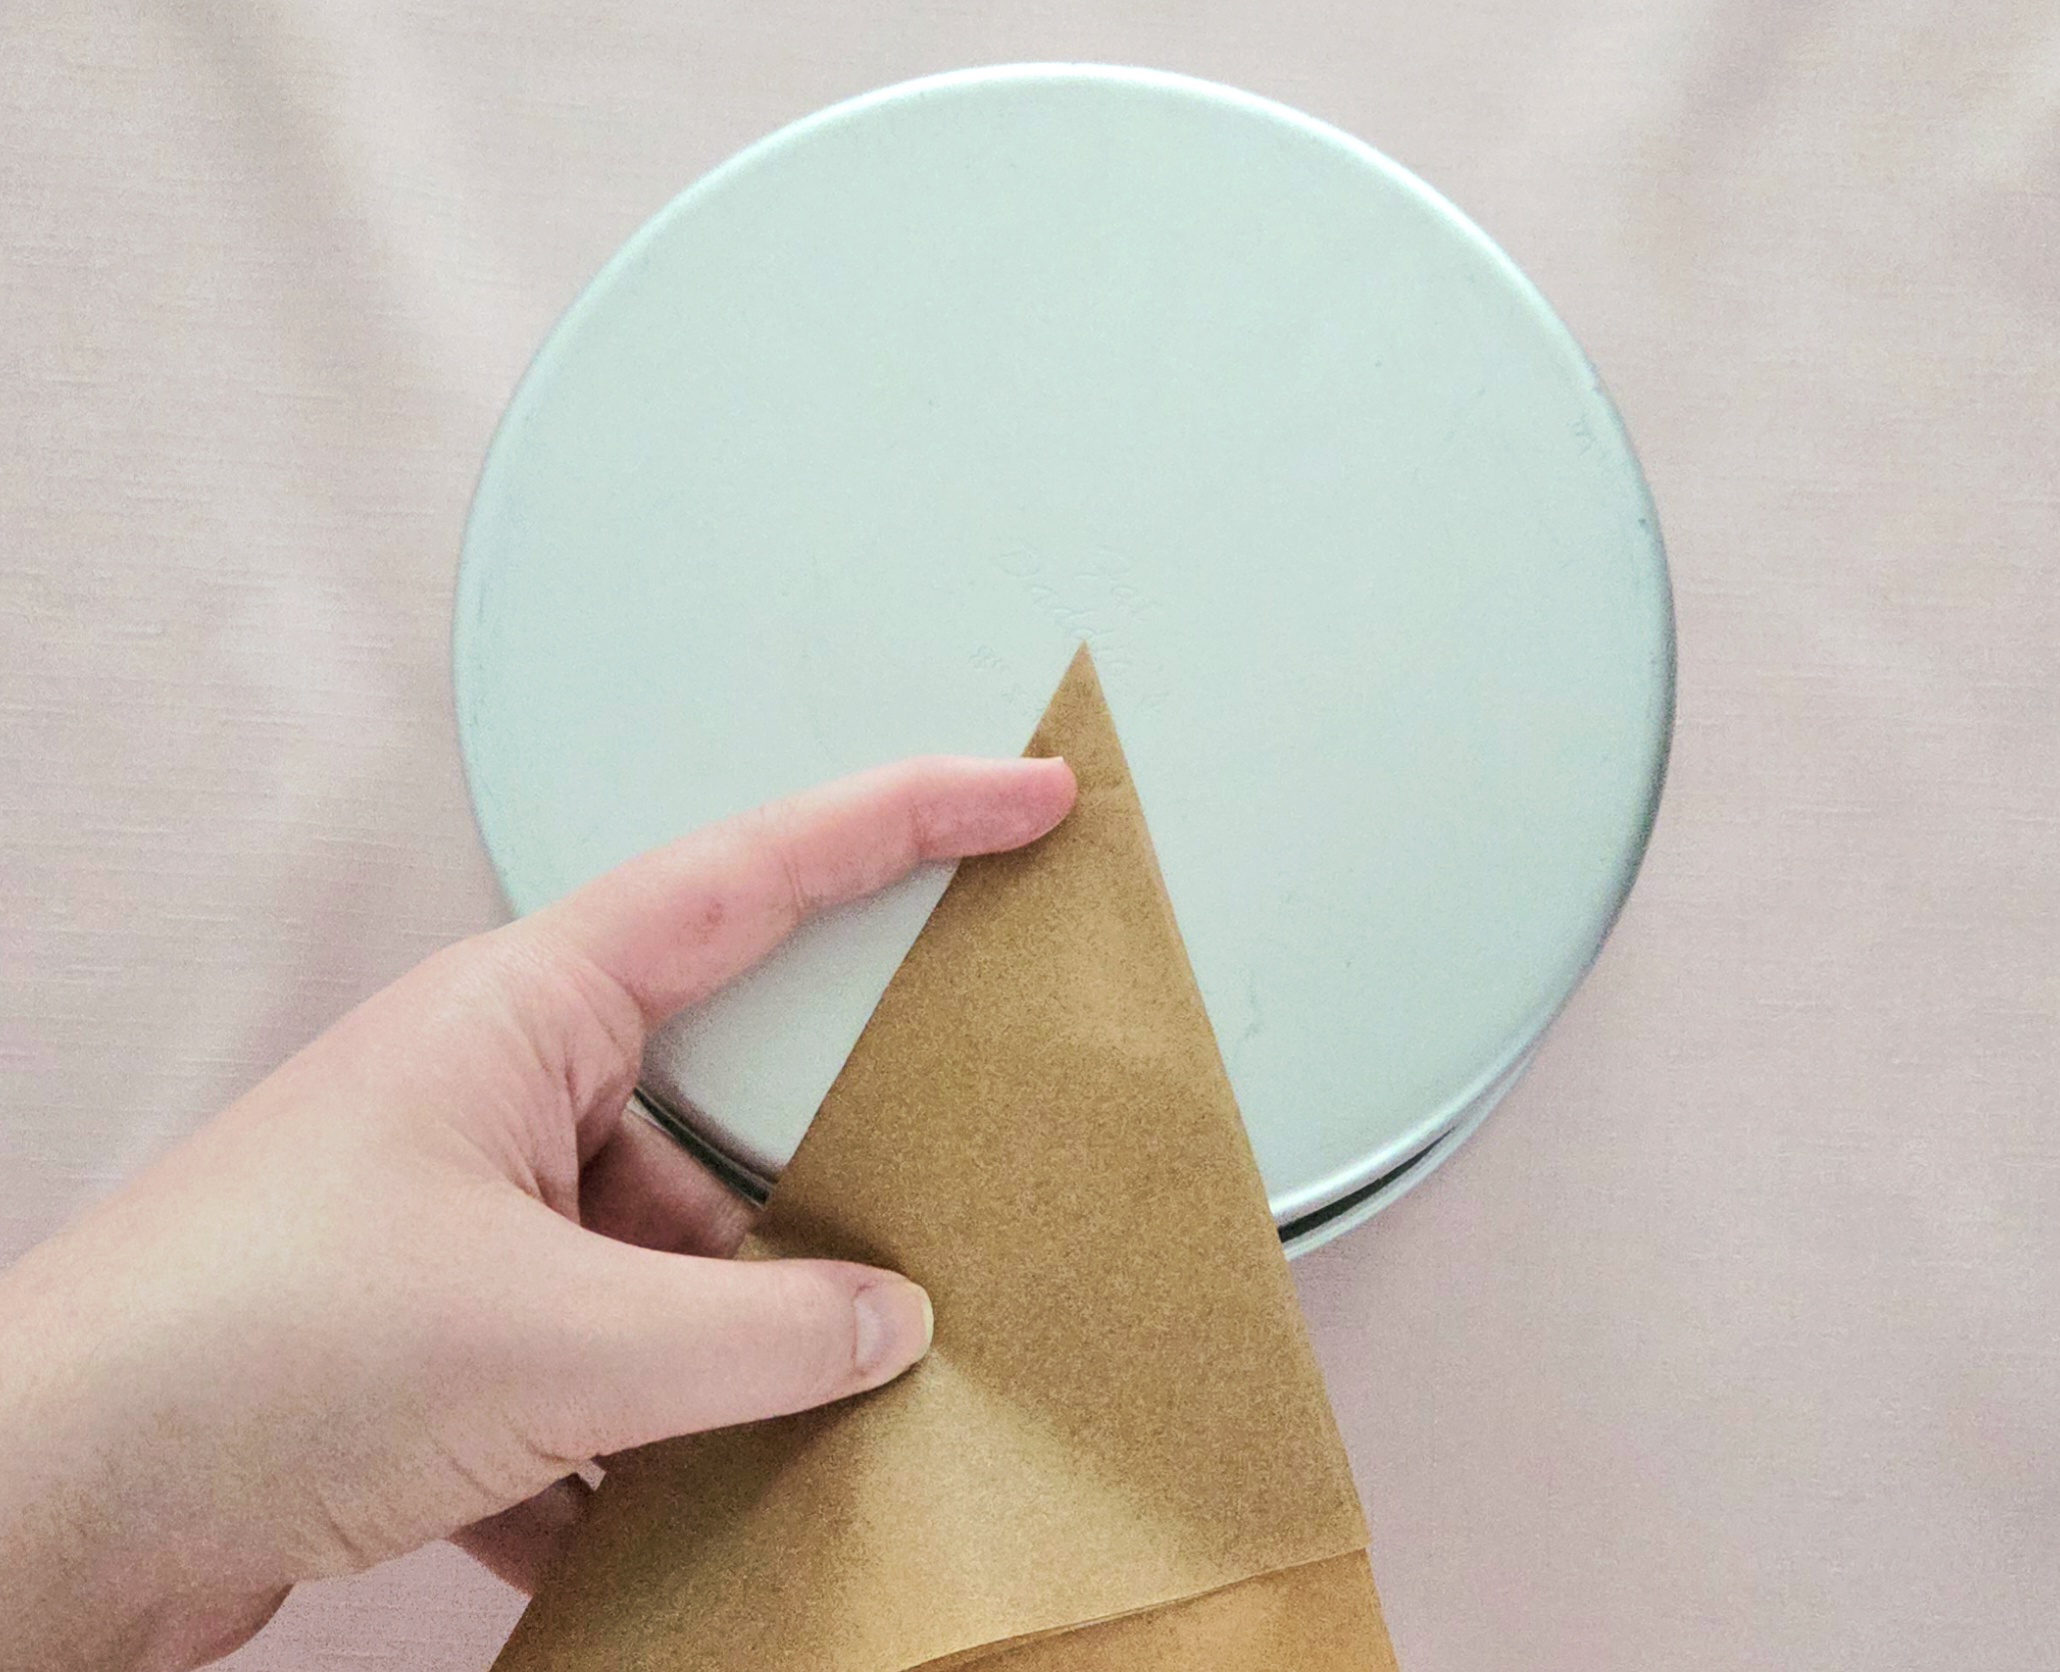
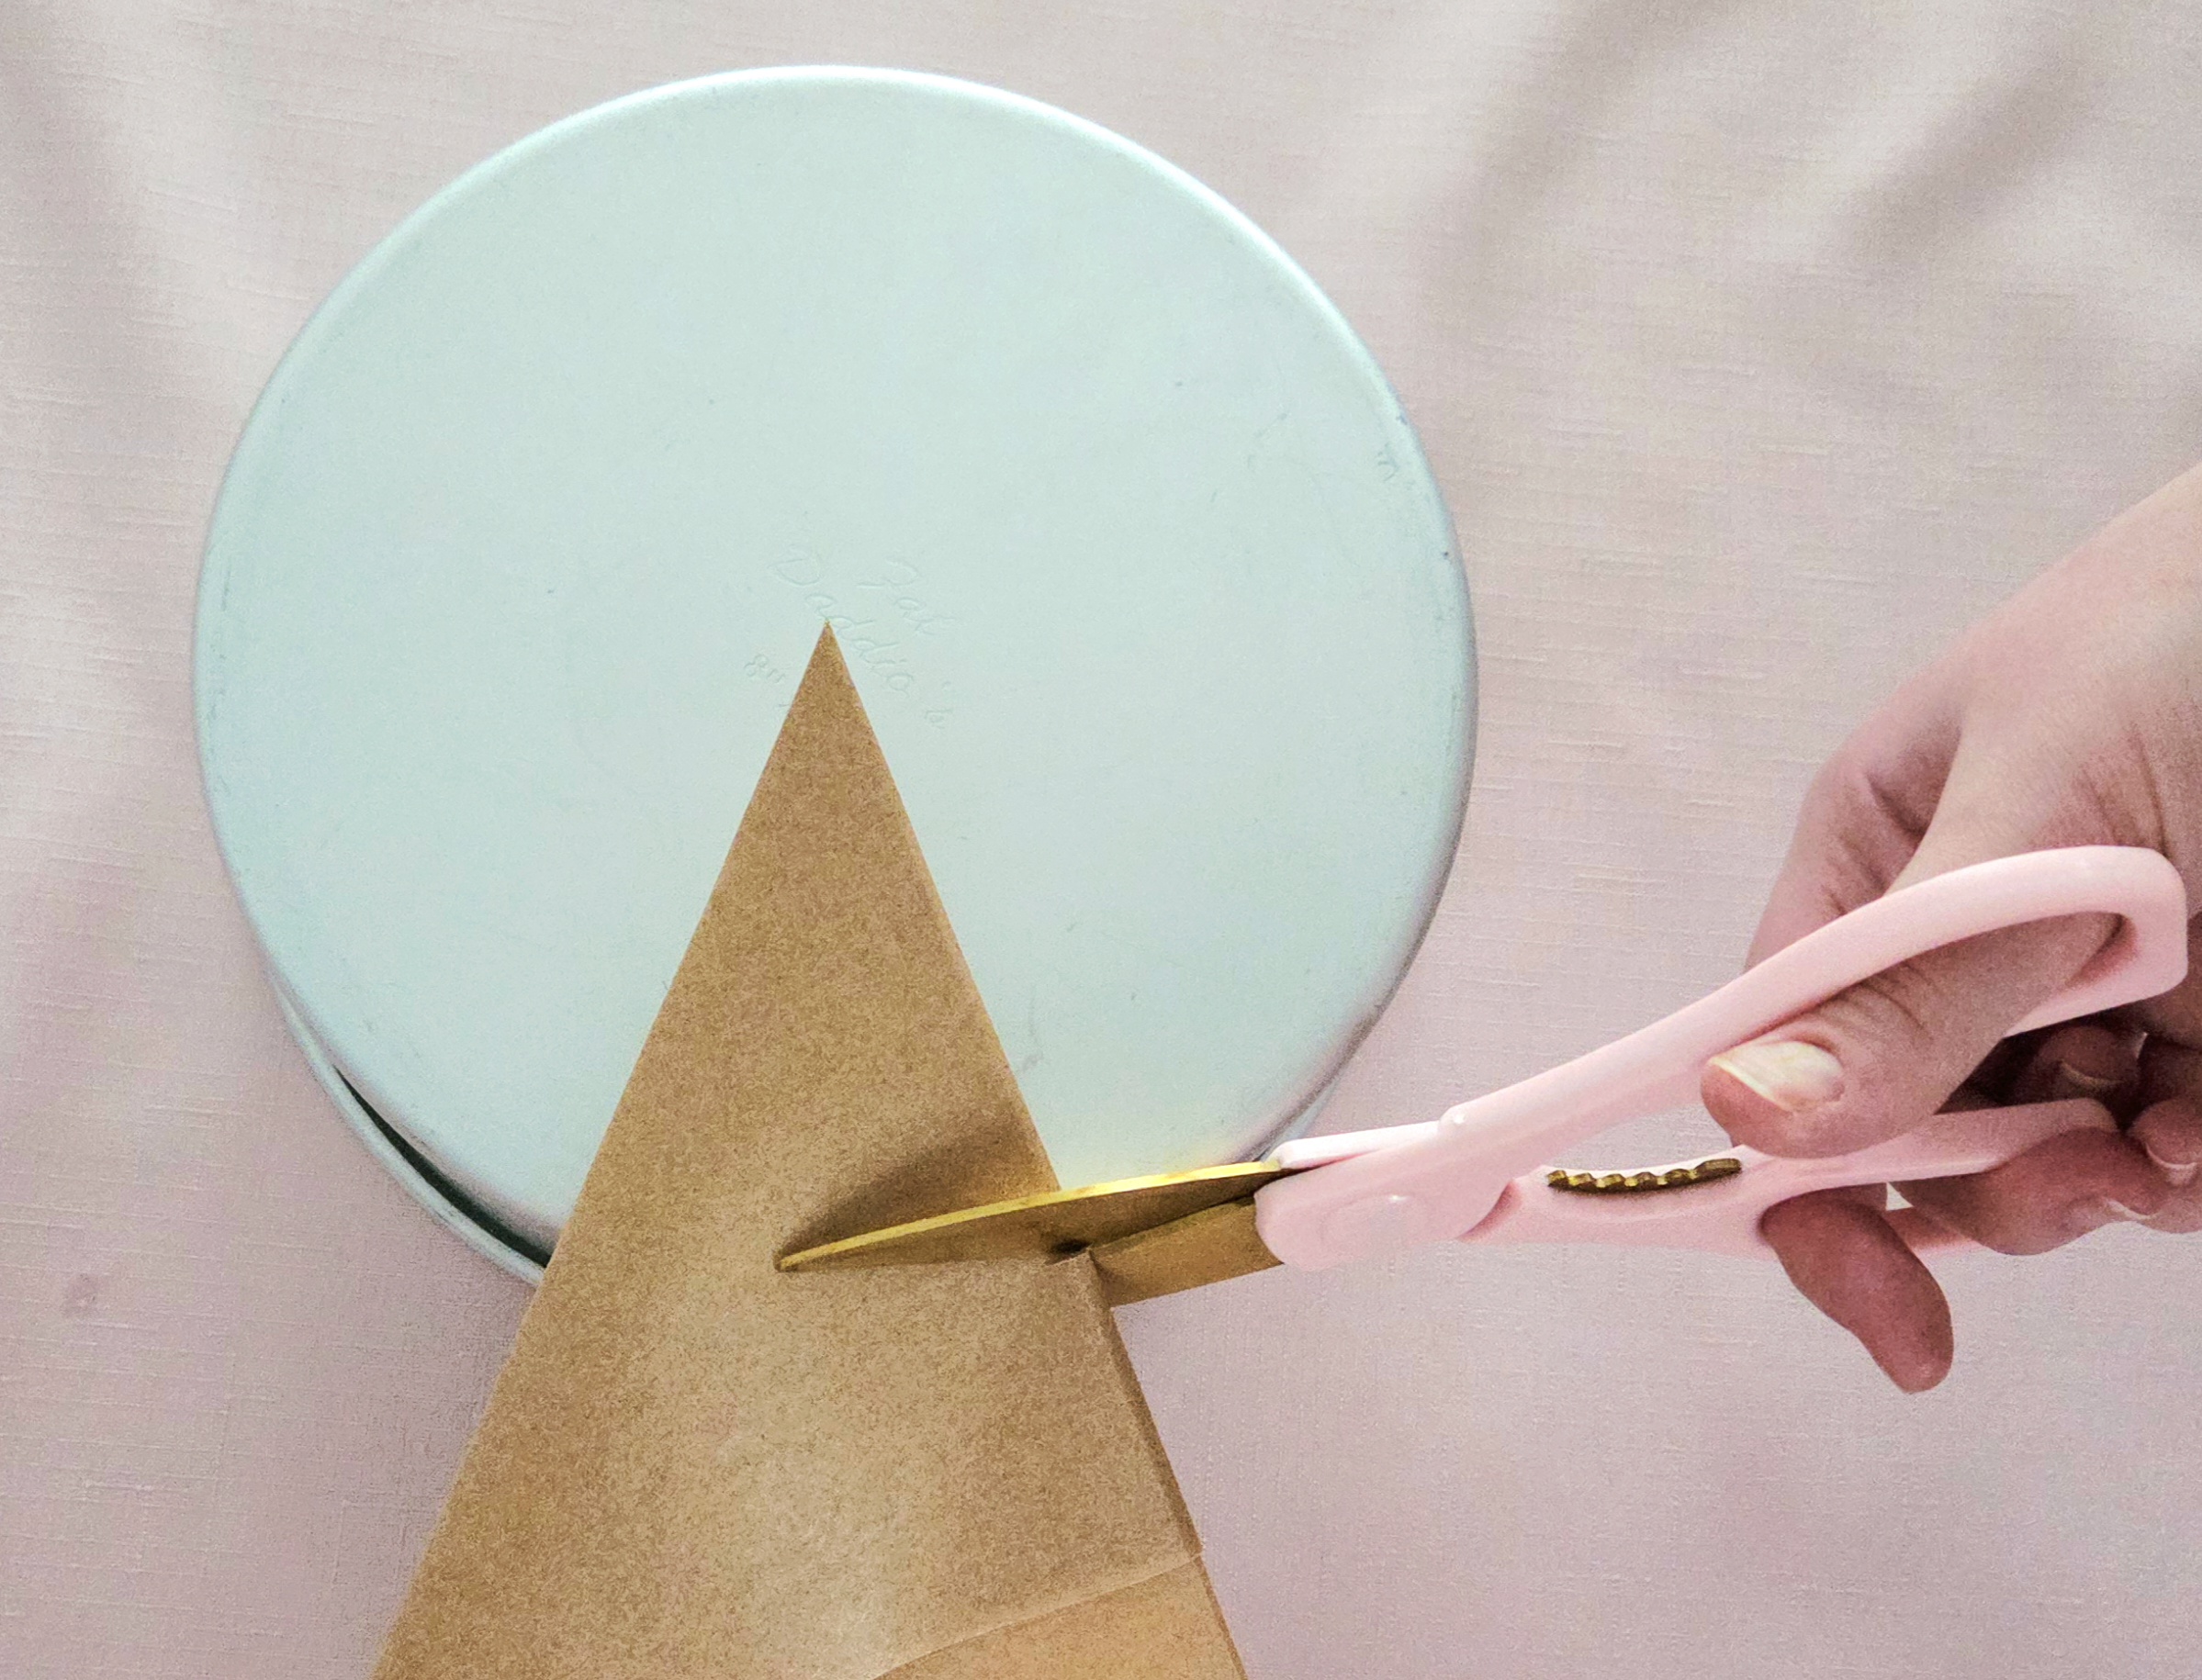
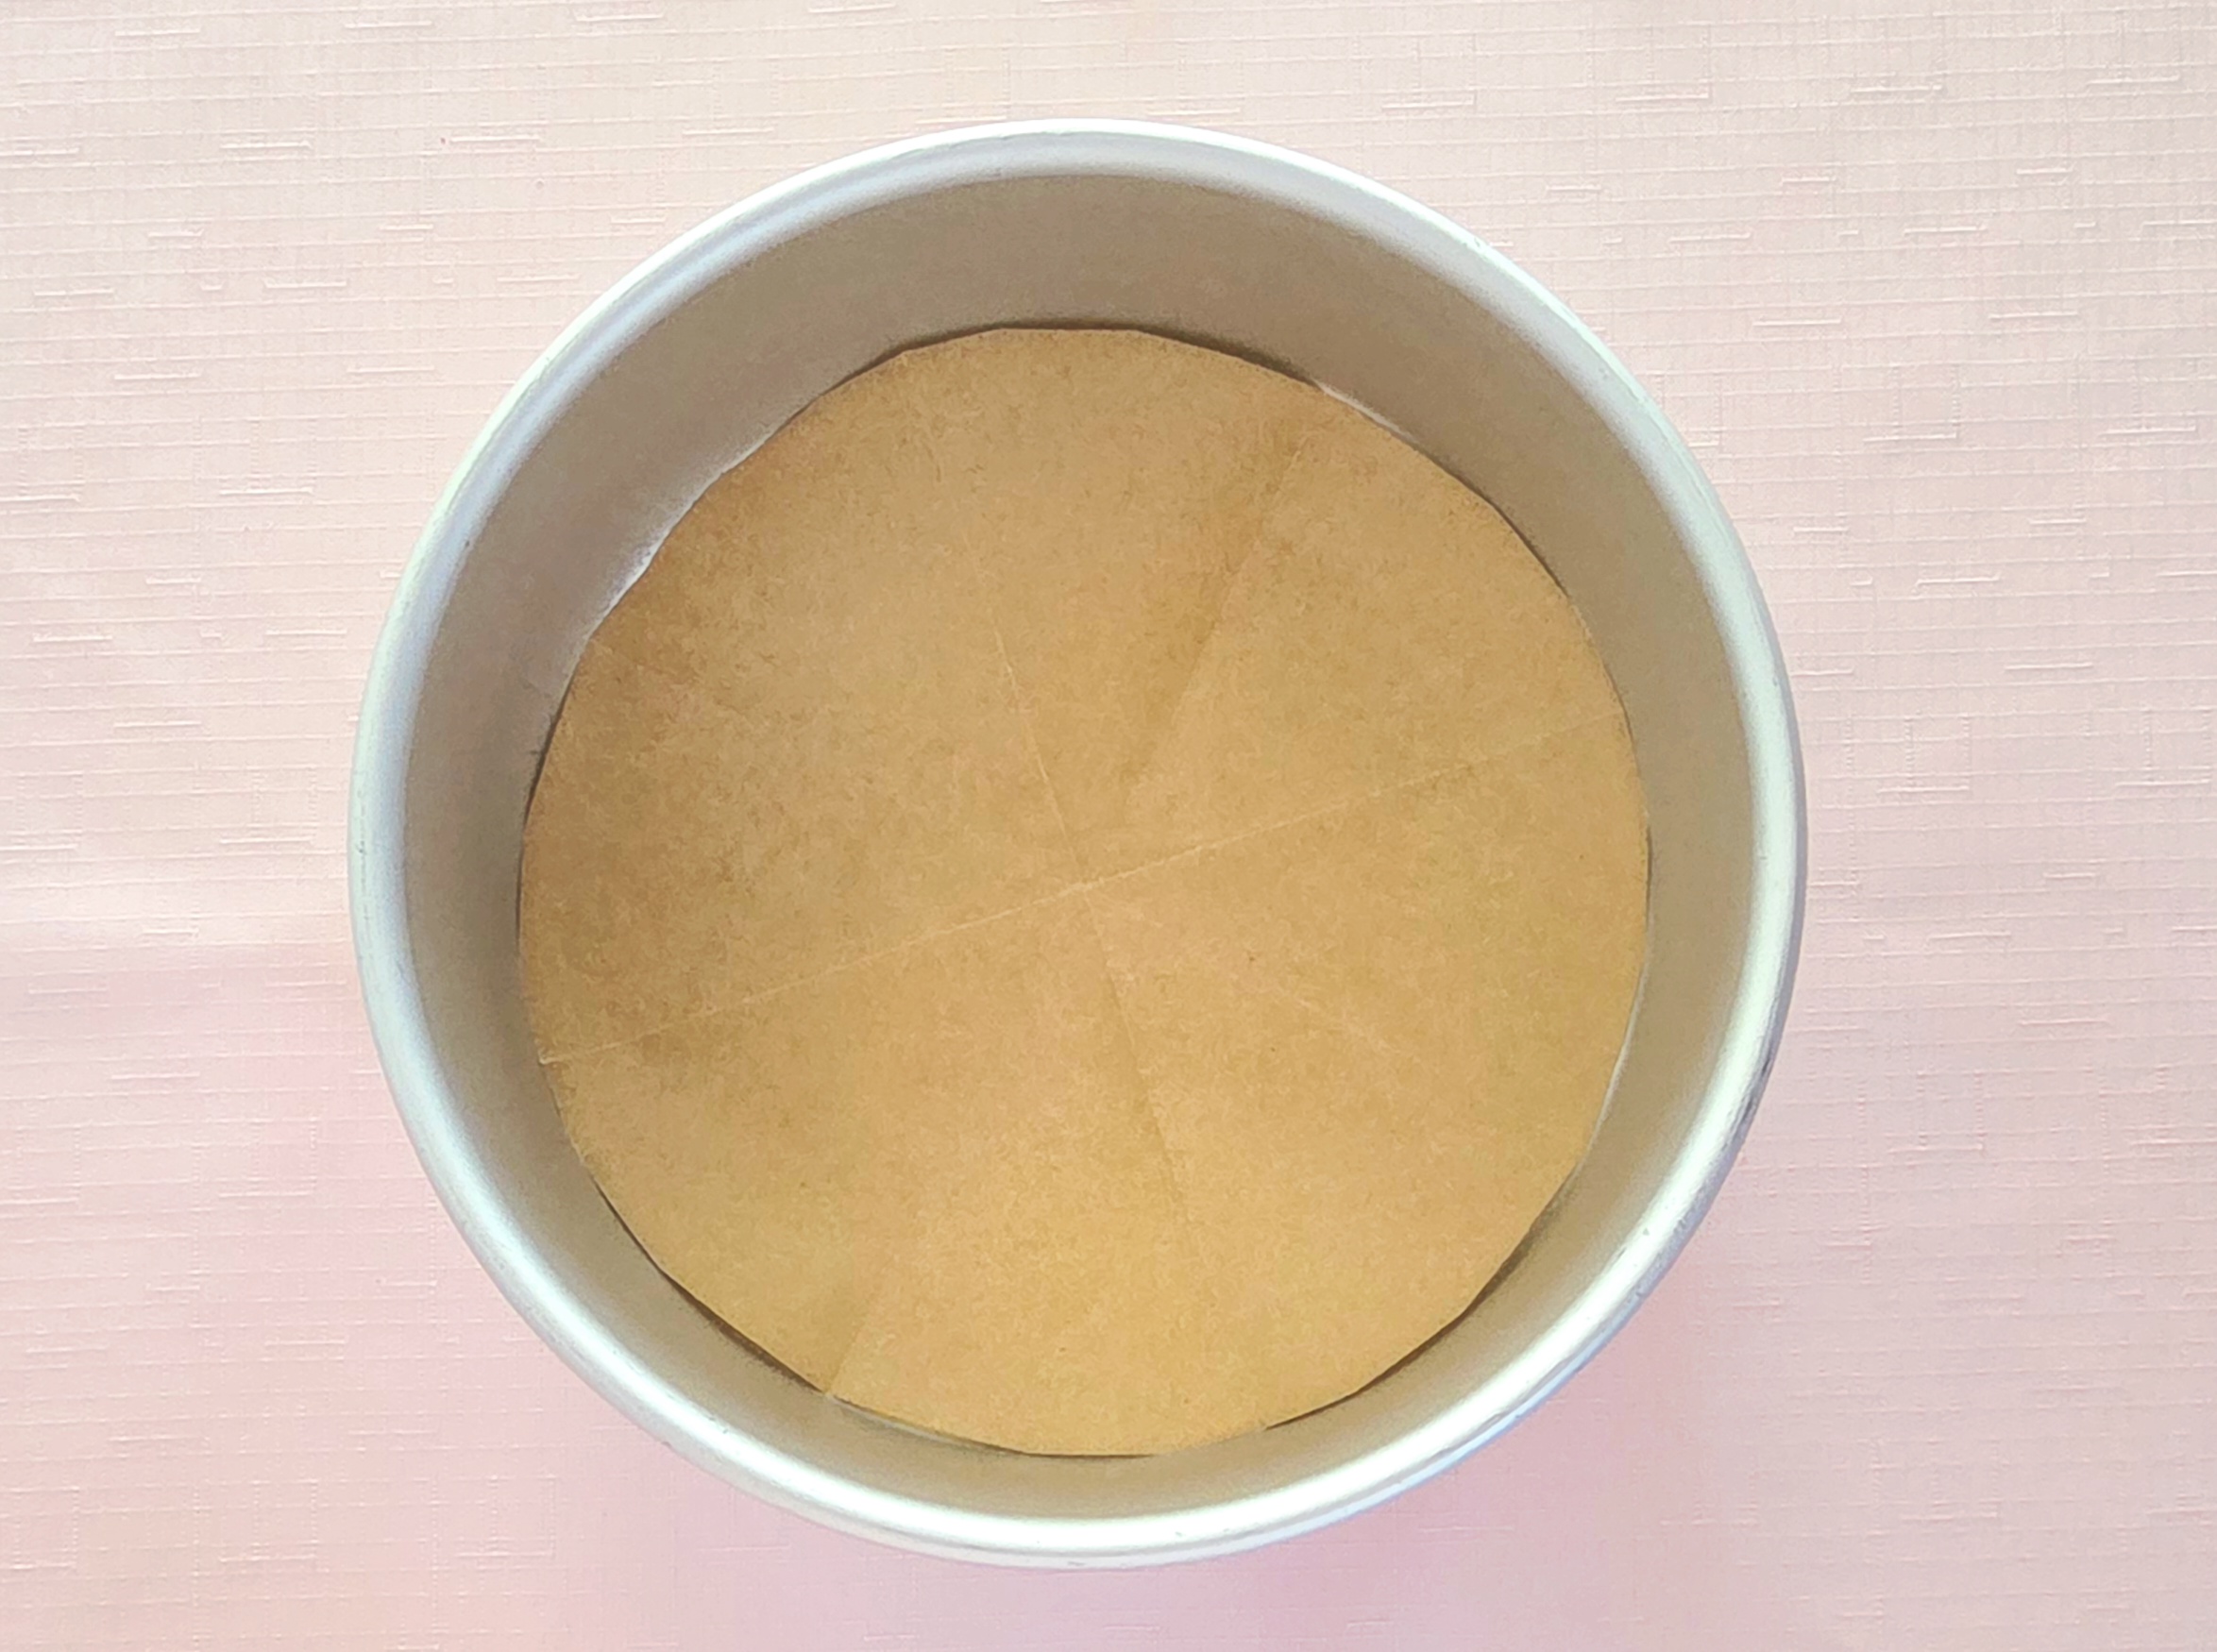
Start off by baking the layers of cake. They’ll need to be ready and cool before any assembly, so it only makes sense. Preheat the oven to 350F, on the convection setting if possible, and prepare the pans. Line the bottoms of either three 8-inch cake pans, with straight sides, or two 8-inch cake pans, making sure at least one of them is 3 inches tall, with parchment paper. Spray the sides with a nonstick baking spray, or coat with butter and flour, and set them aside.
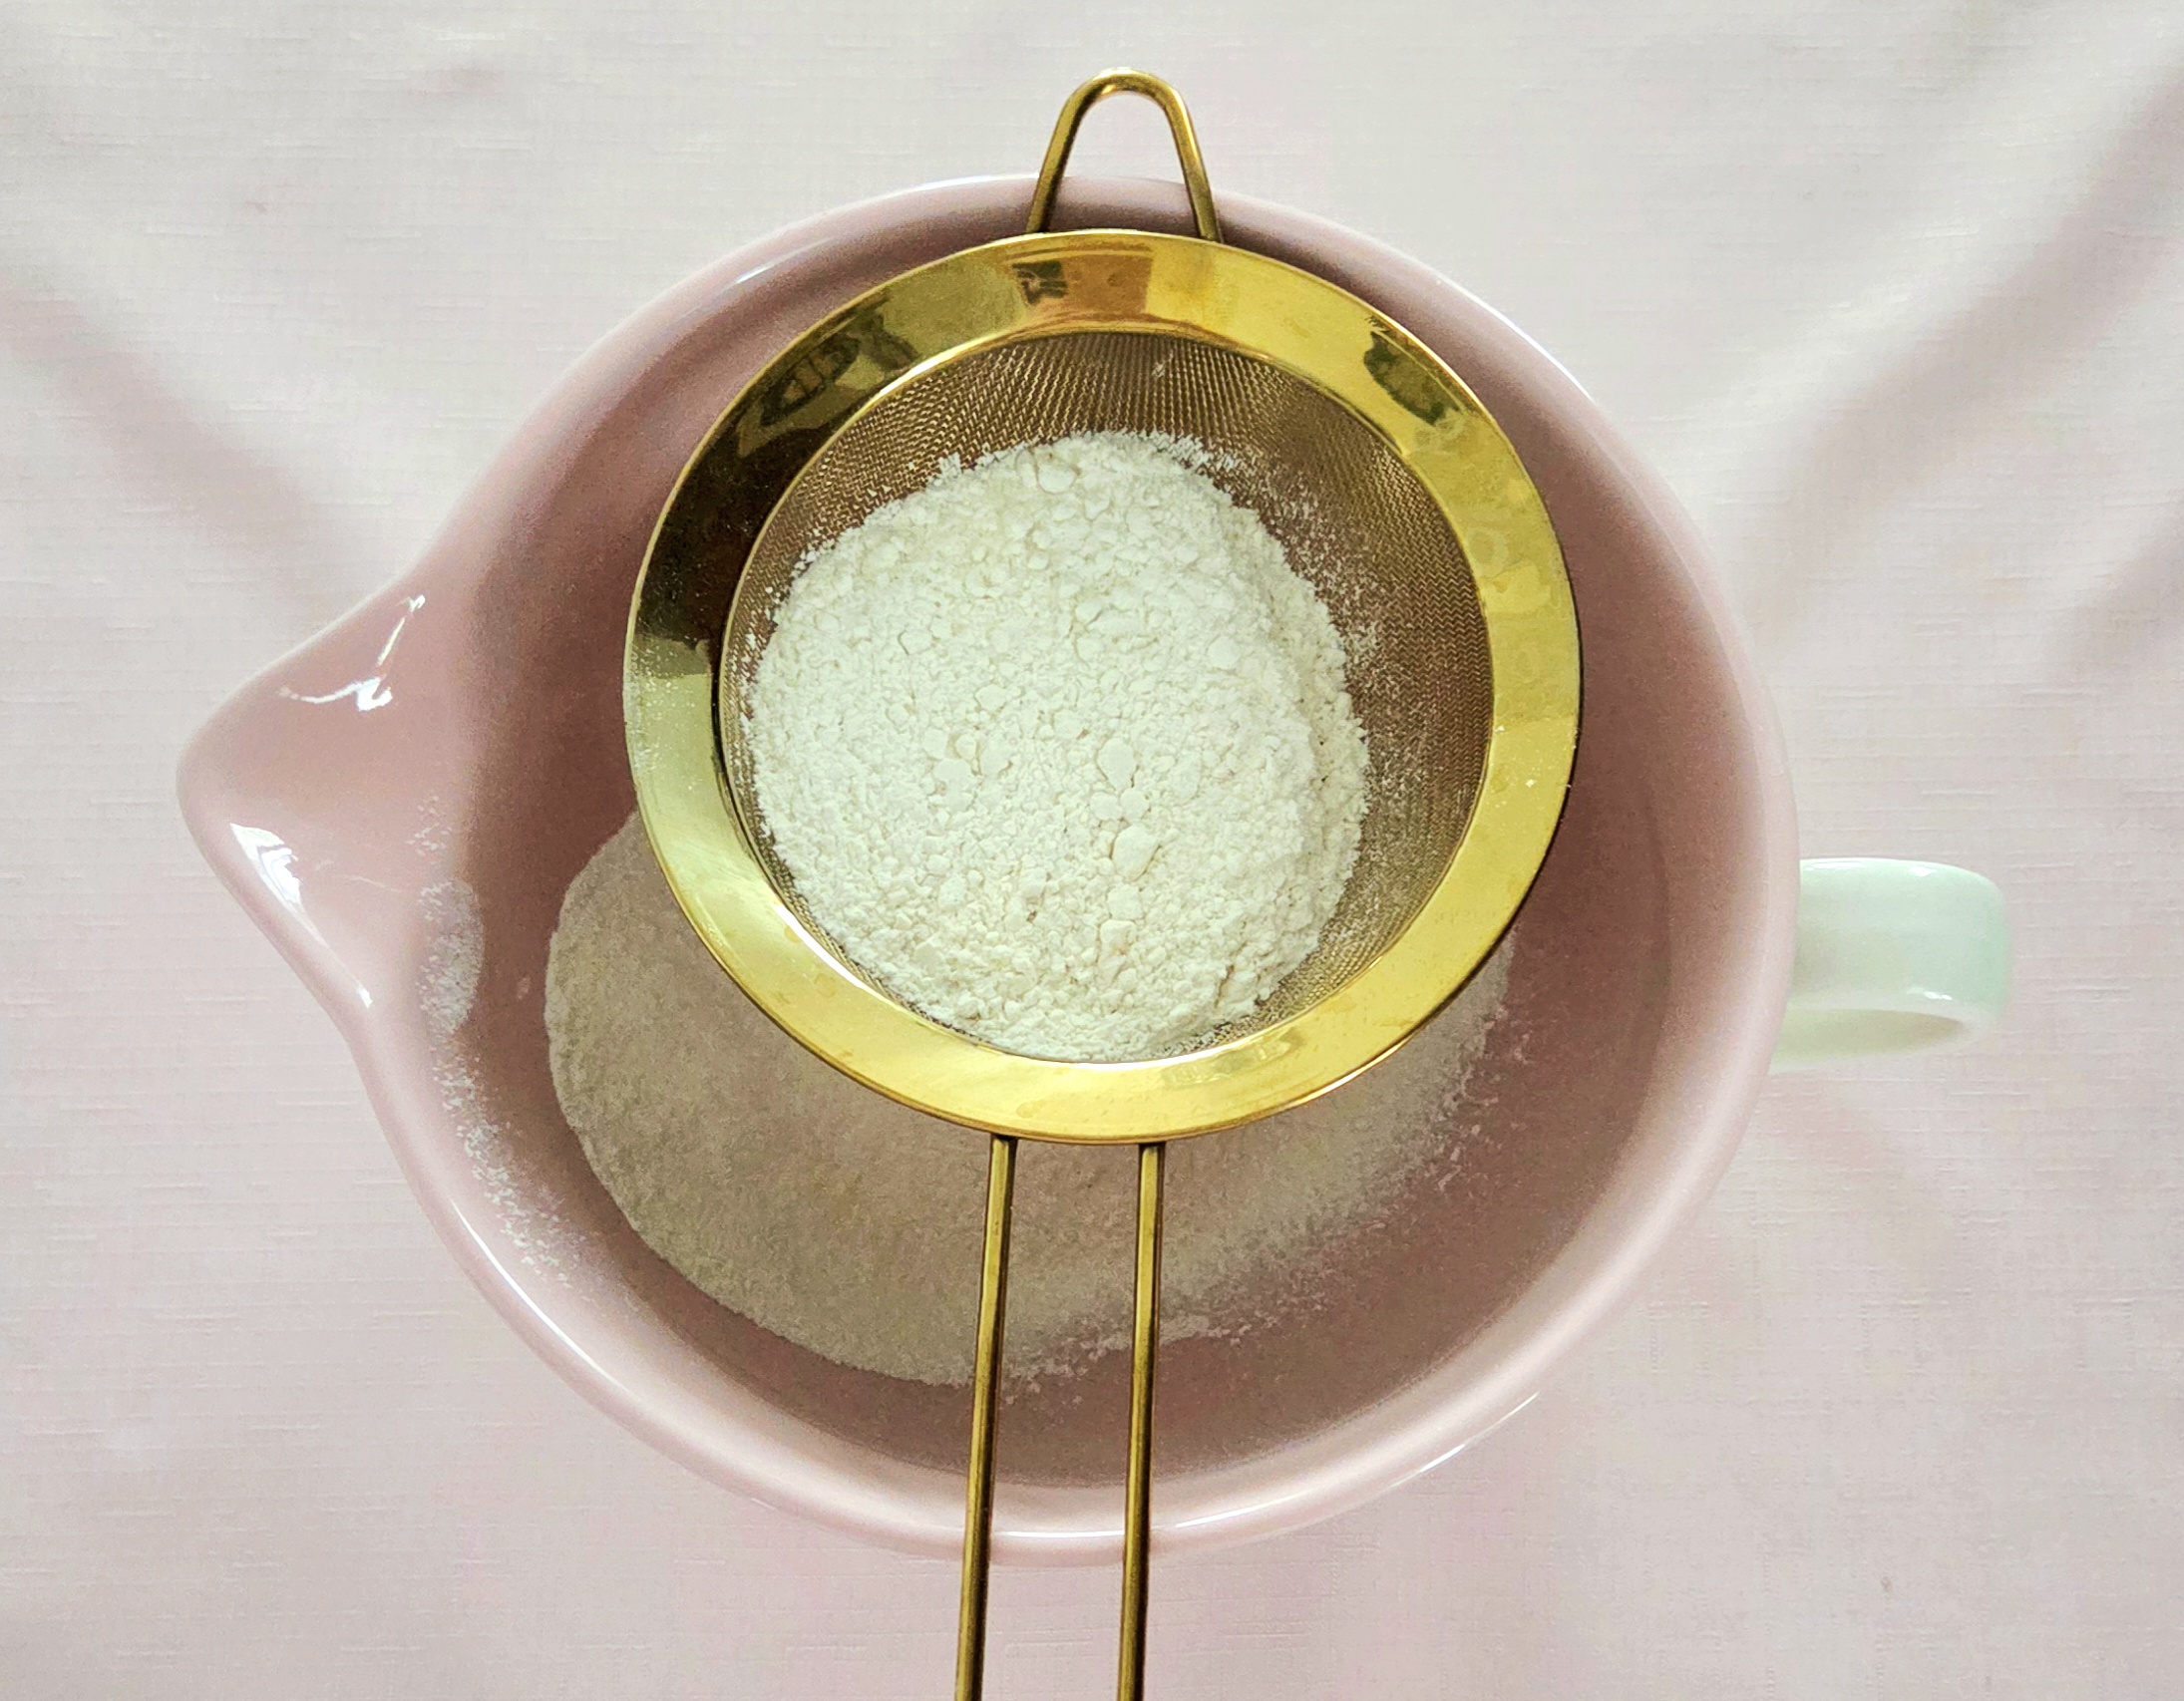
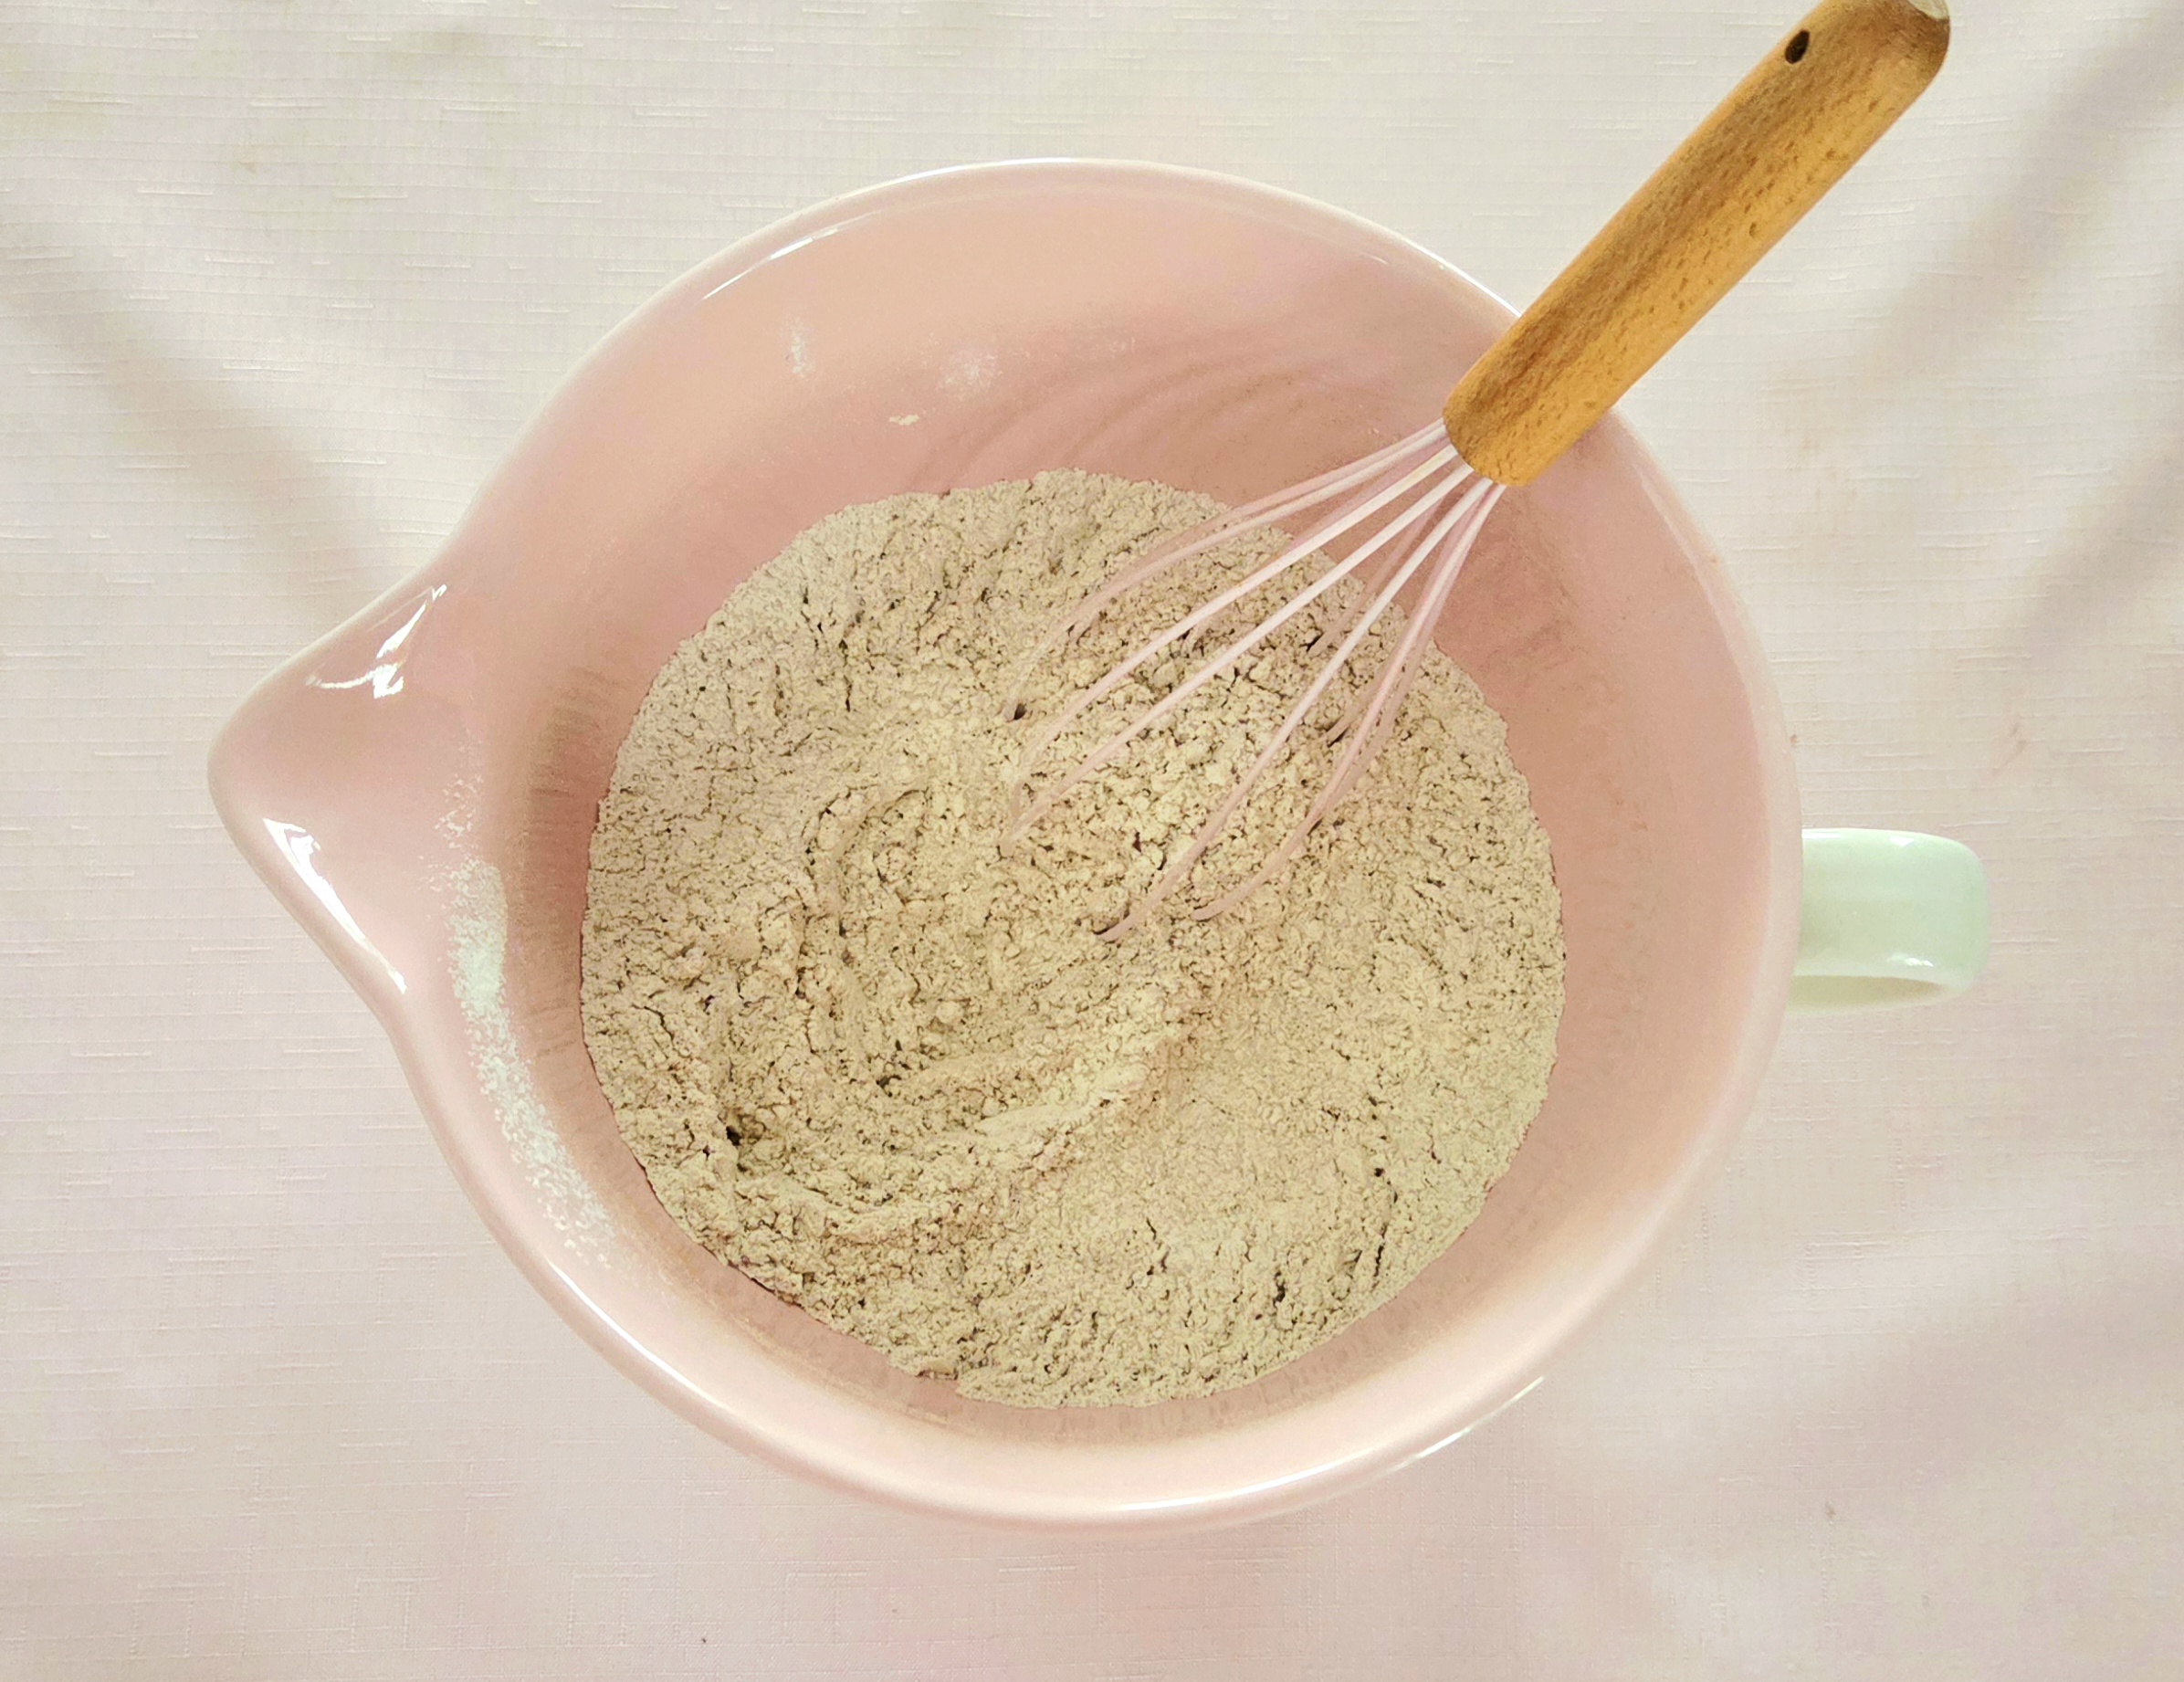
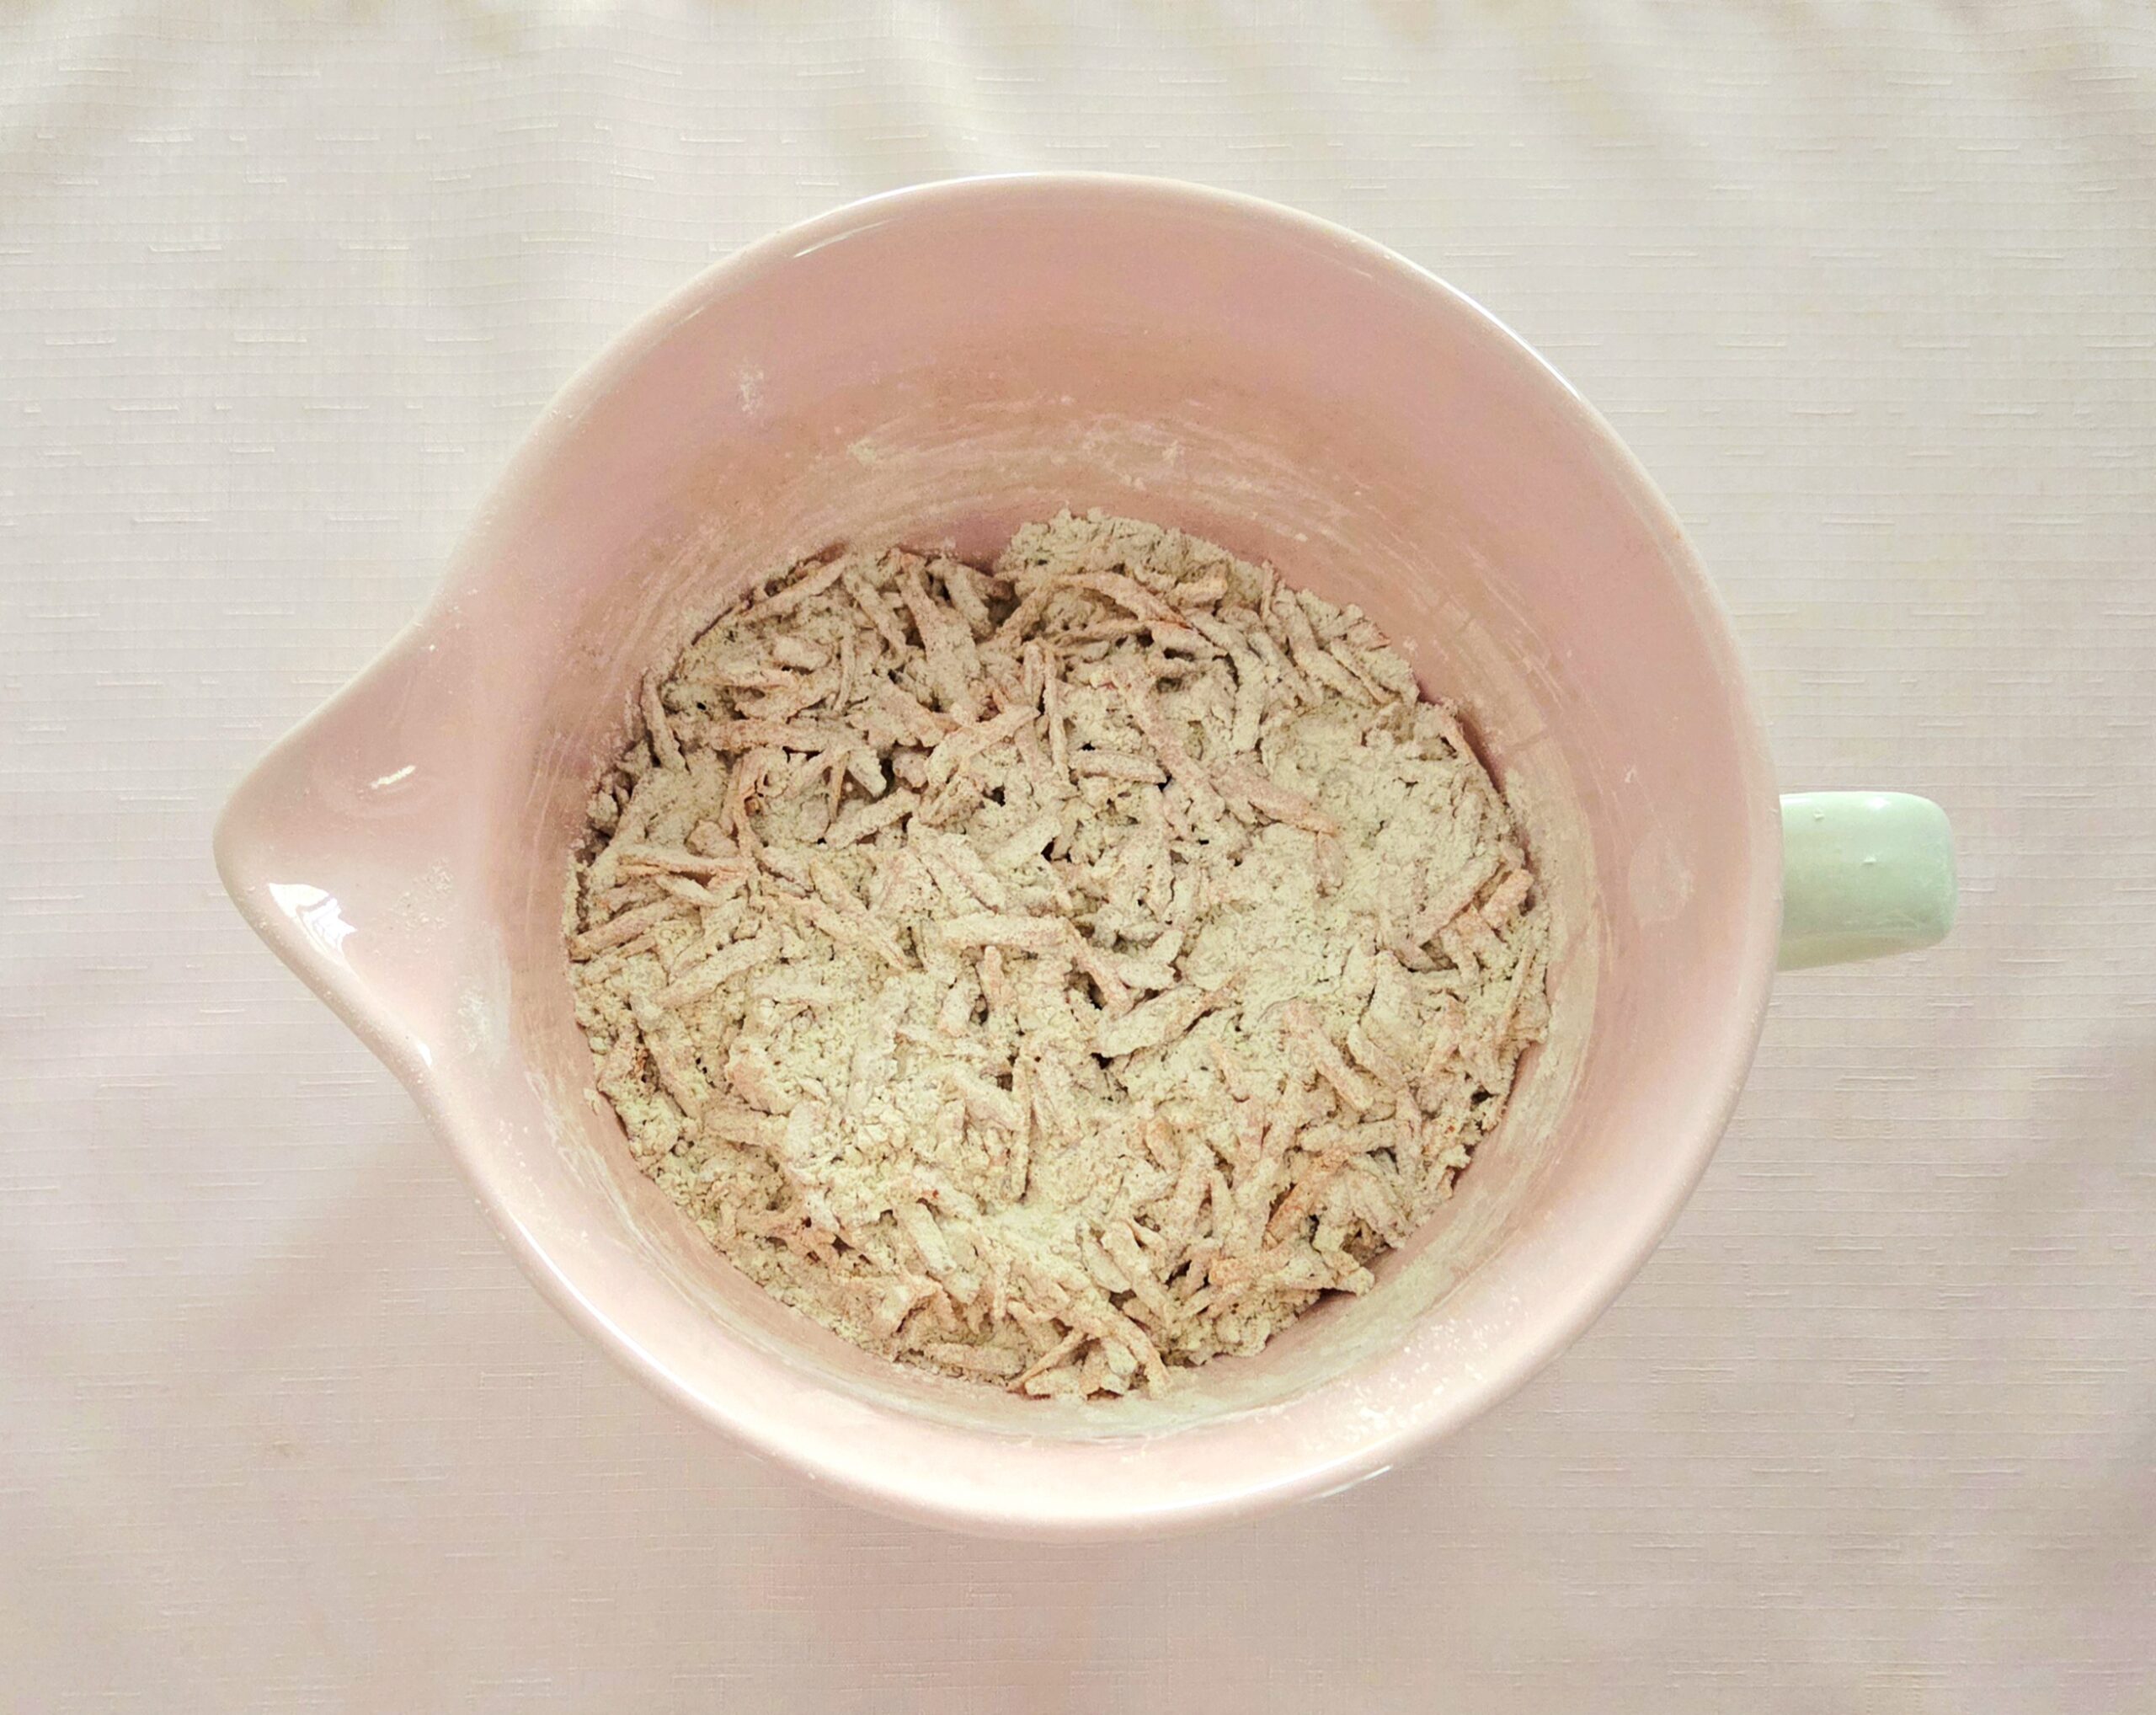
Sift together the flour, cinnamon, salt, baking powder, and baking soda, in a medium mixing bowl. Grate in the carrots and whisk them together. Ignore the urge to skip this step. Sifting will get out any lumps in the flour while also lightening it for the cake, and whisking makes sure everything is evenly distributed. It’s worth taking the minute to complete both steps, I promise.
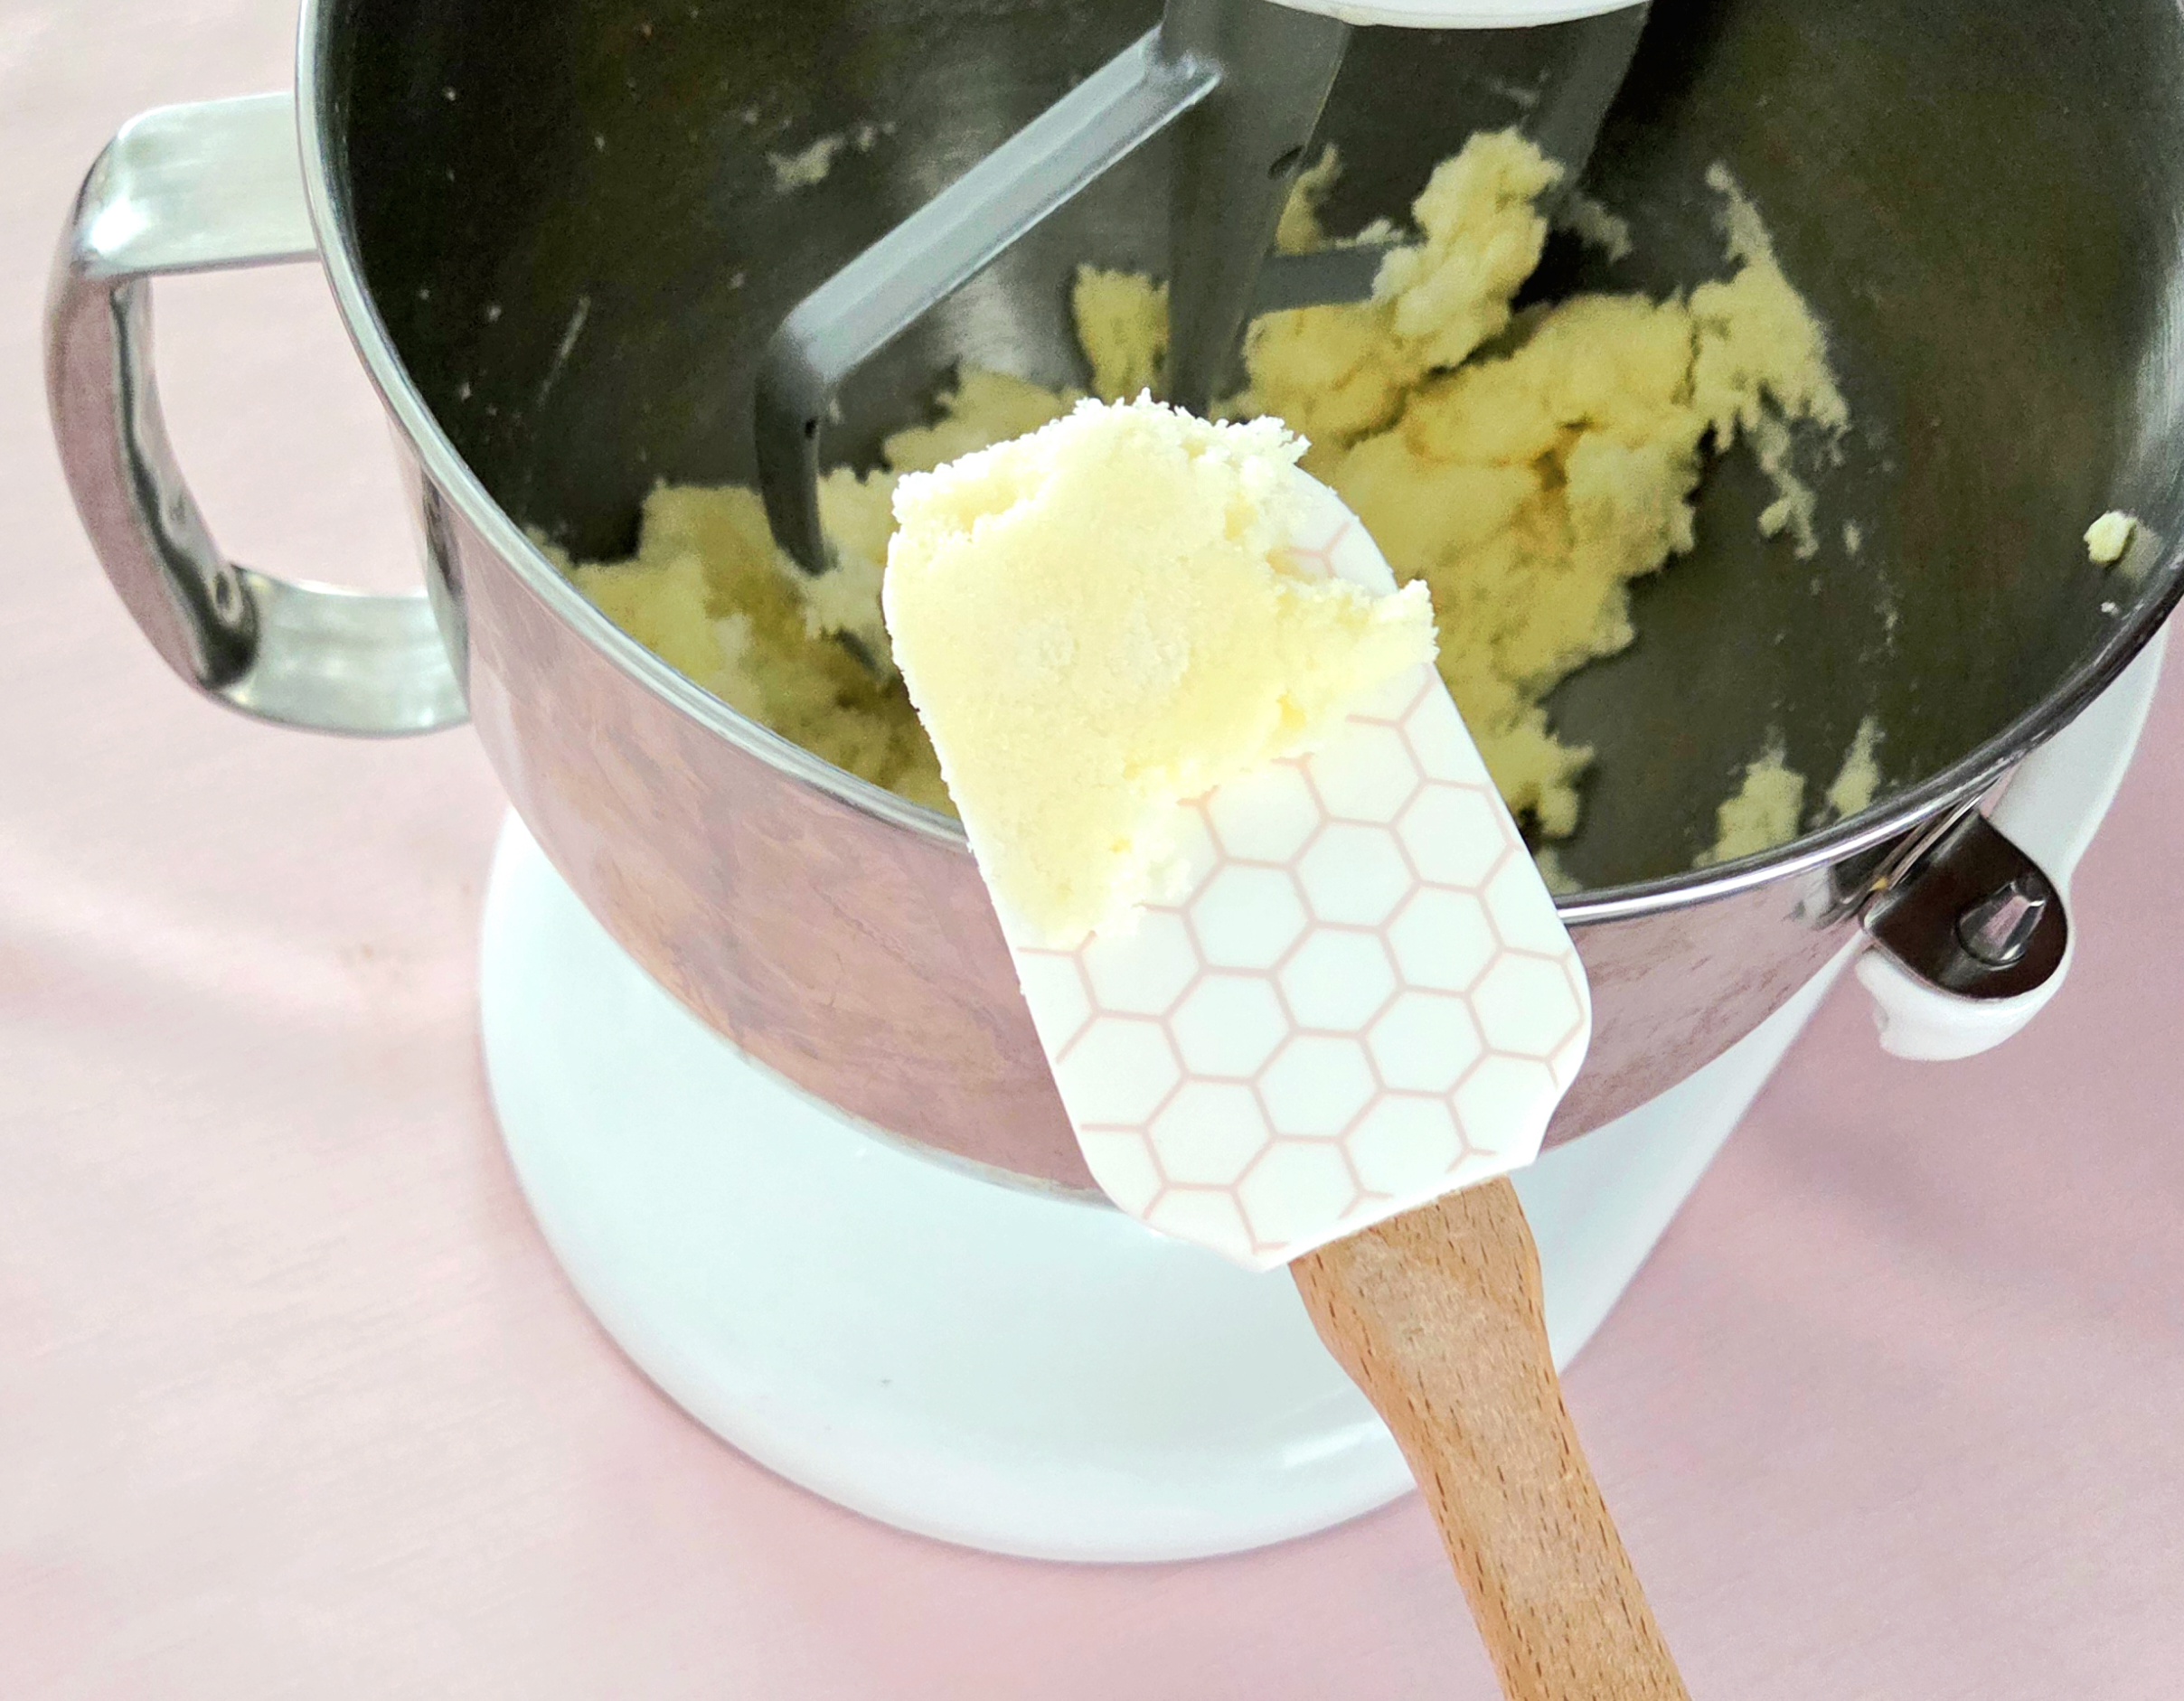
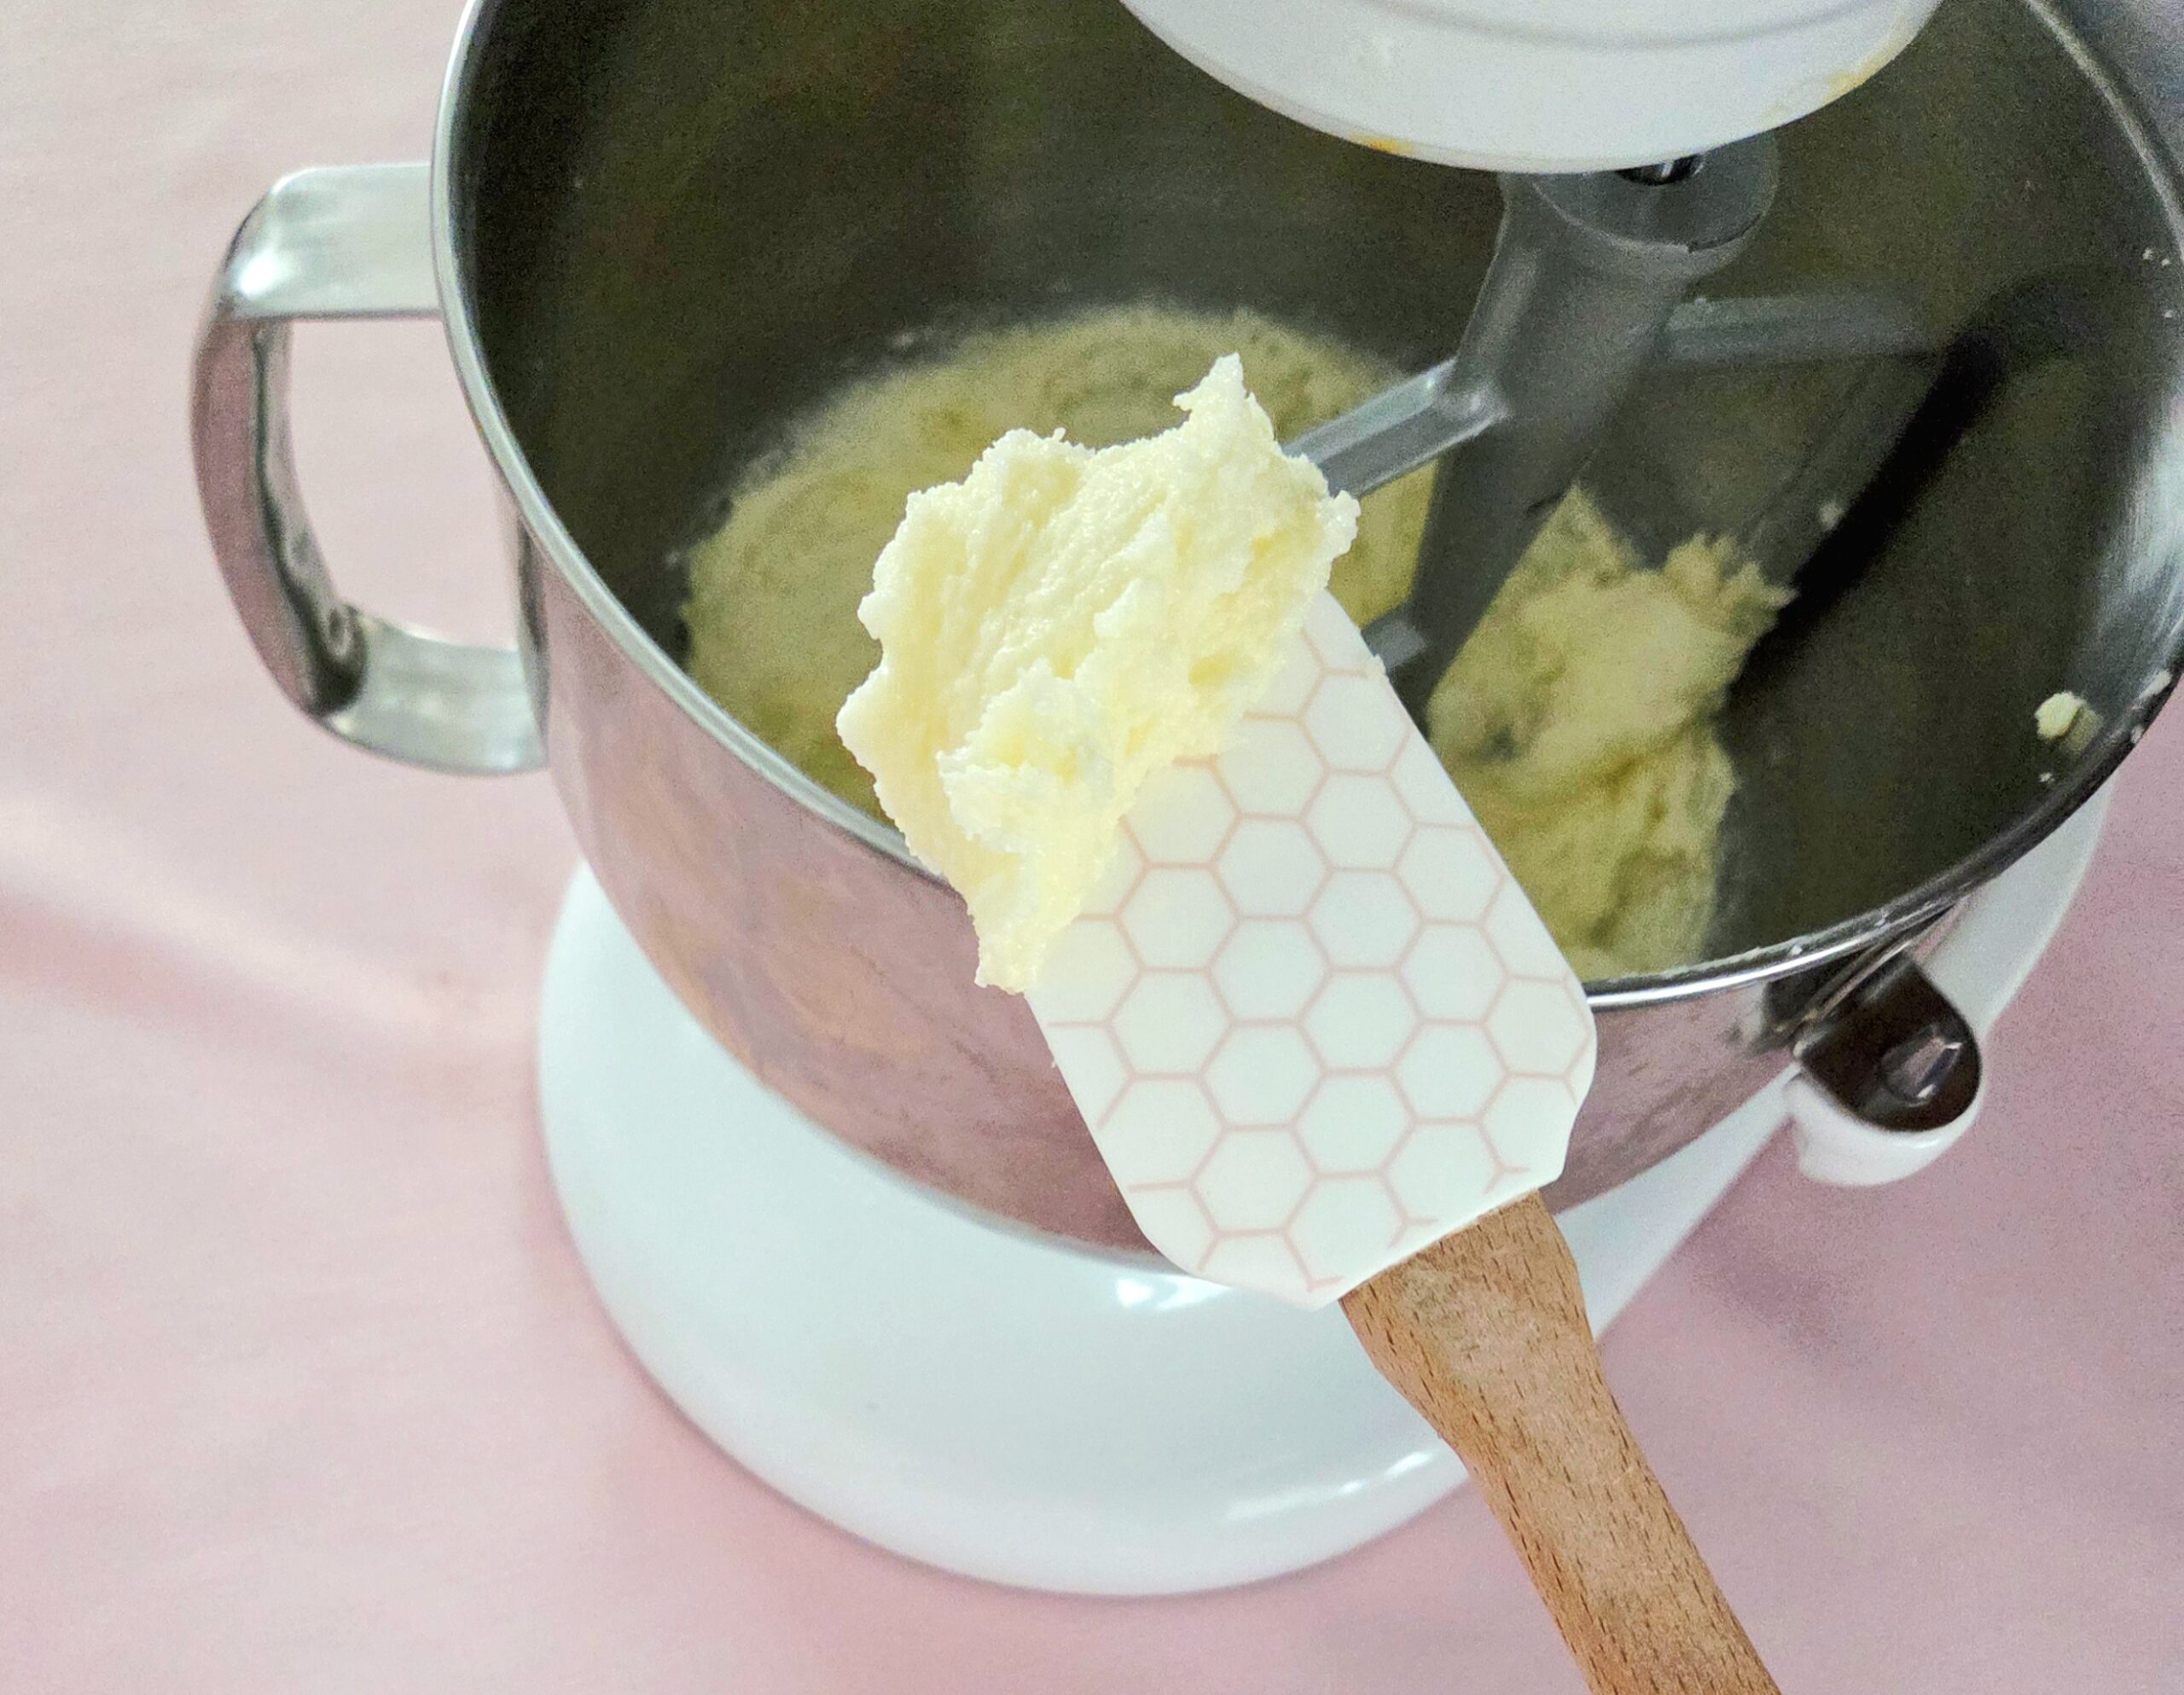
In the bowl of a stand mixer fitted with the paddle attachment, cream together the softened butter and granulated sugar. Beat them on level 3 for about 5 minutes or so, until the mixture goes from a pale yellow to almost white and very fluffy in texture. Pause the mixer and use a rubber spatula to scrape down the sides of the bowl, bringing all of the creamed mixture into the center.
One at a time, add in each egg, the yolks, and the vanilla extract. Wait until the batter absorbs the first egg before adding in the next one. If you add them all at once, it becomes difficult for the batter to emulsify properly. Stop the mixer and scrape down the sides of the bowl in between each addition, or as needed.
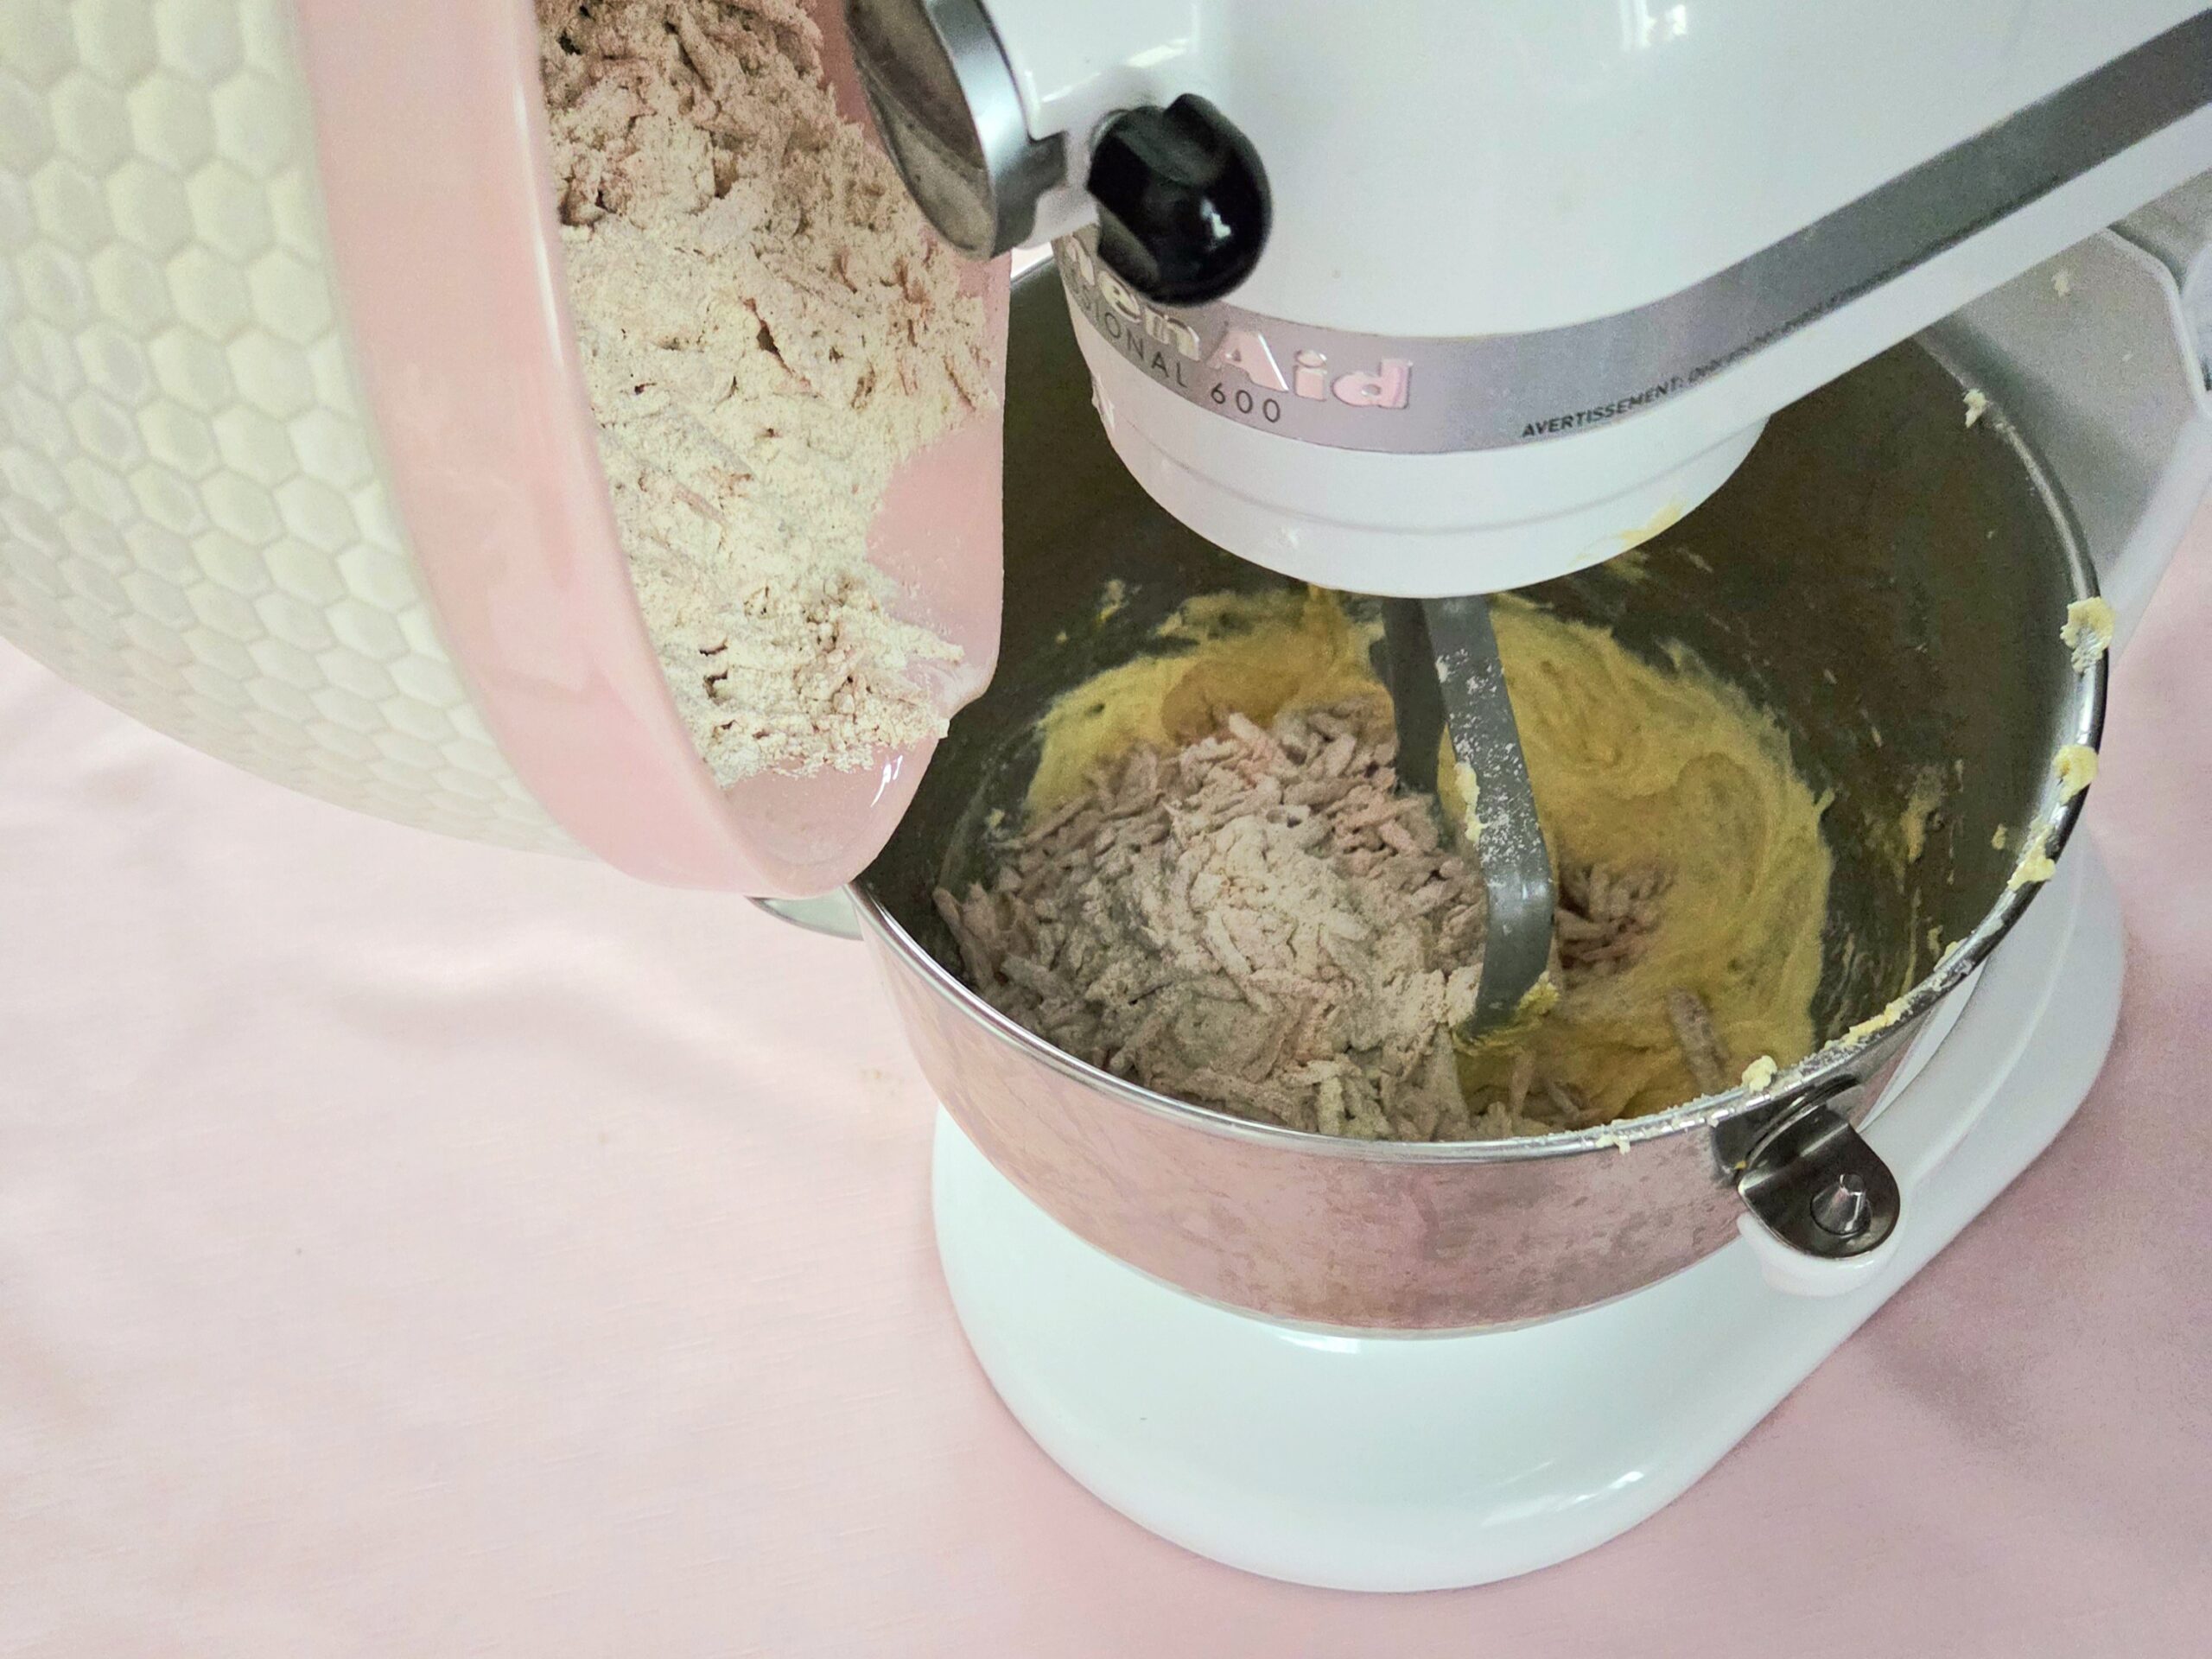
Now, to alternate between dry and wet going into the batter. Whenever using this technique, it’s important to always begin and end on dry. This way, the batter stays properly emulsified, rather than breaking and appearing curdled. Add ⅓ of the dry goods and turn the mixer to level one.
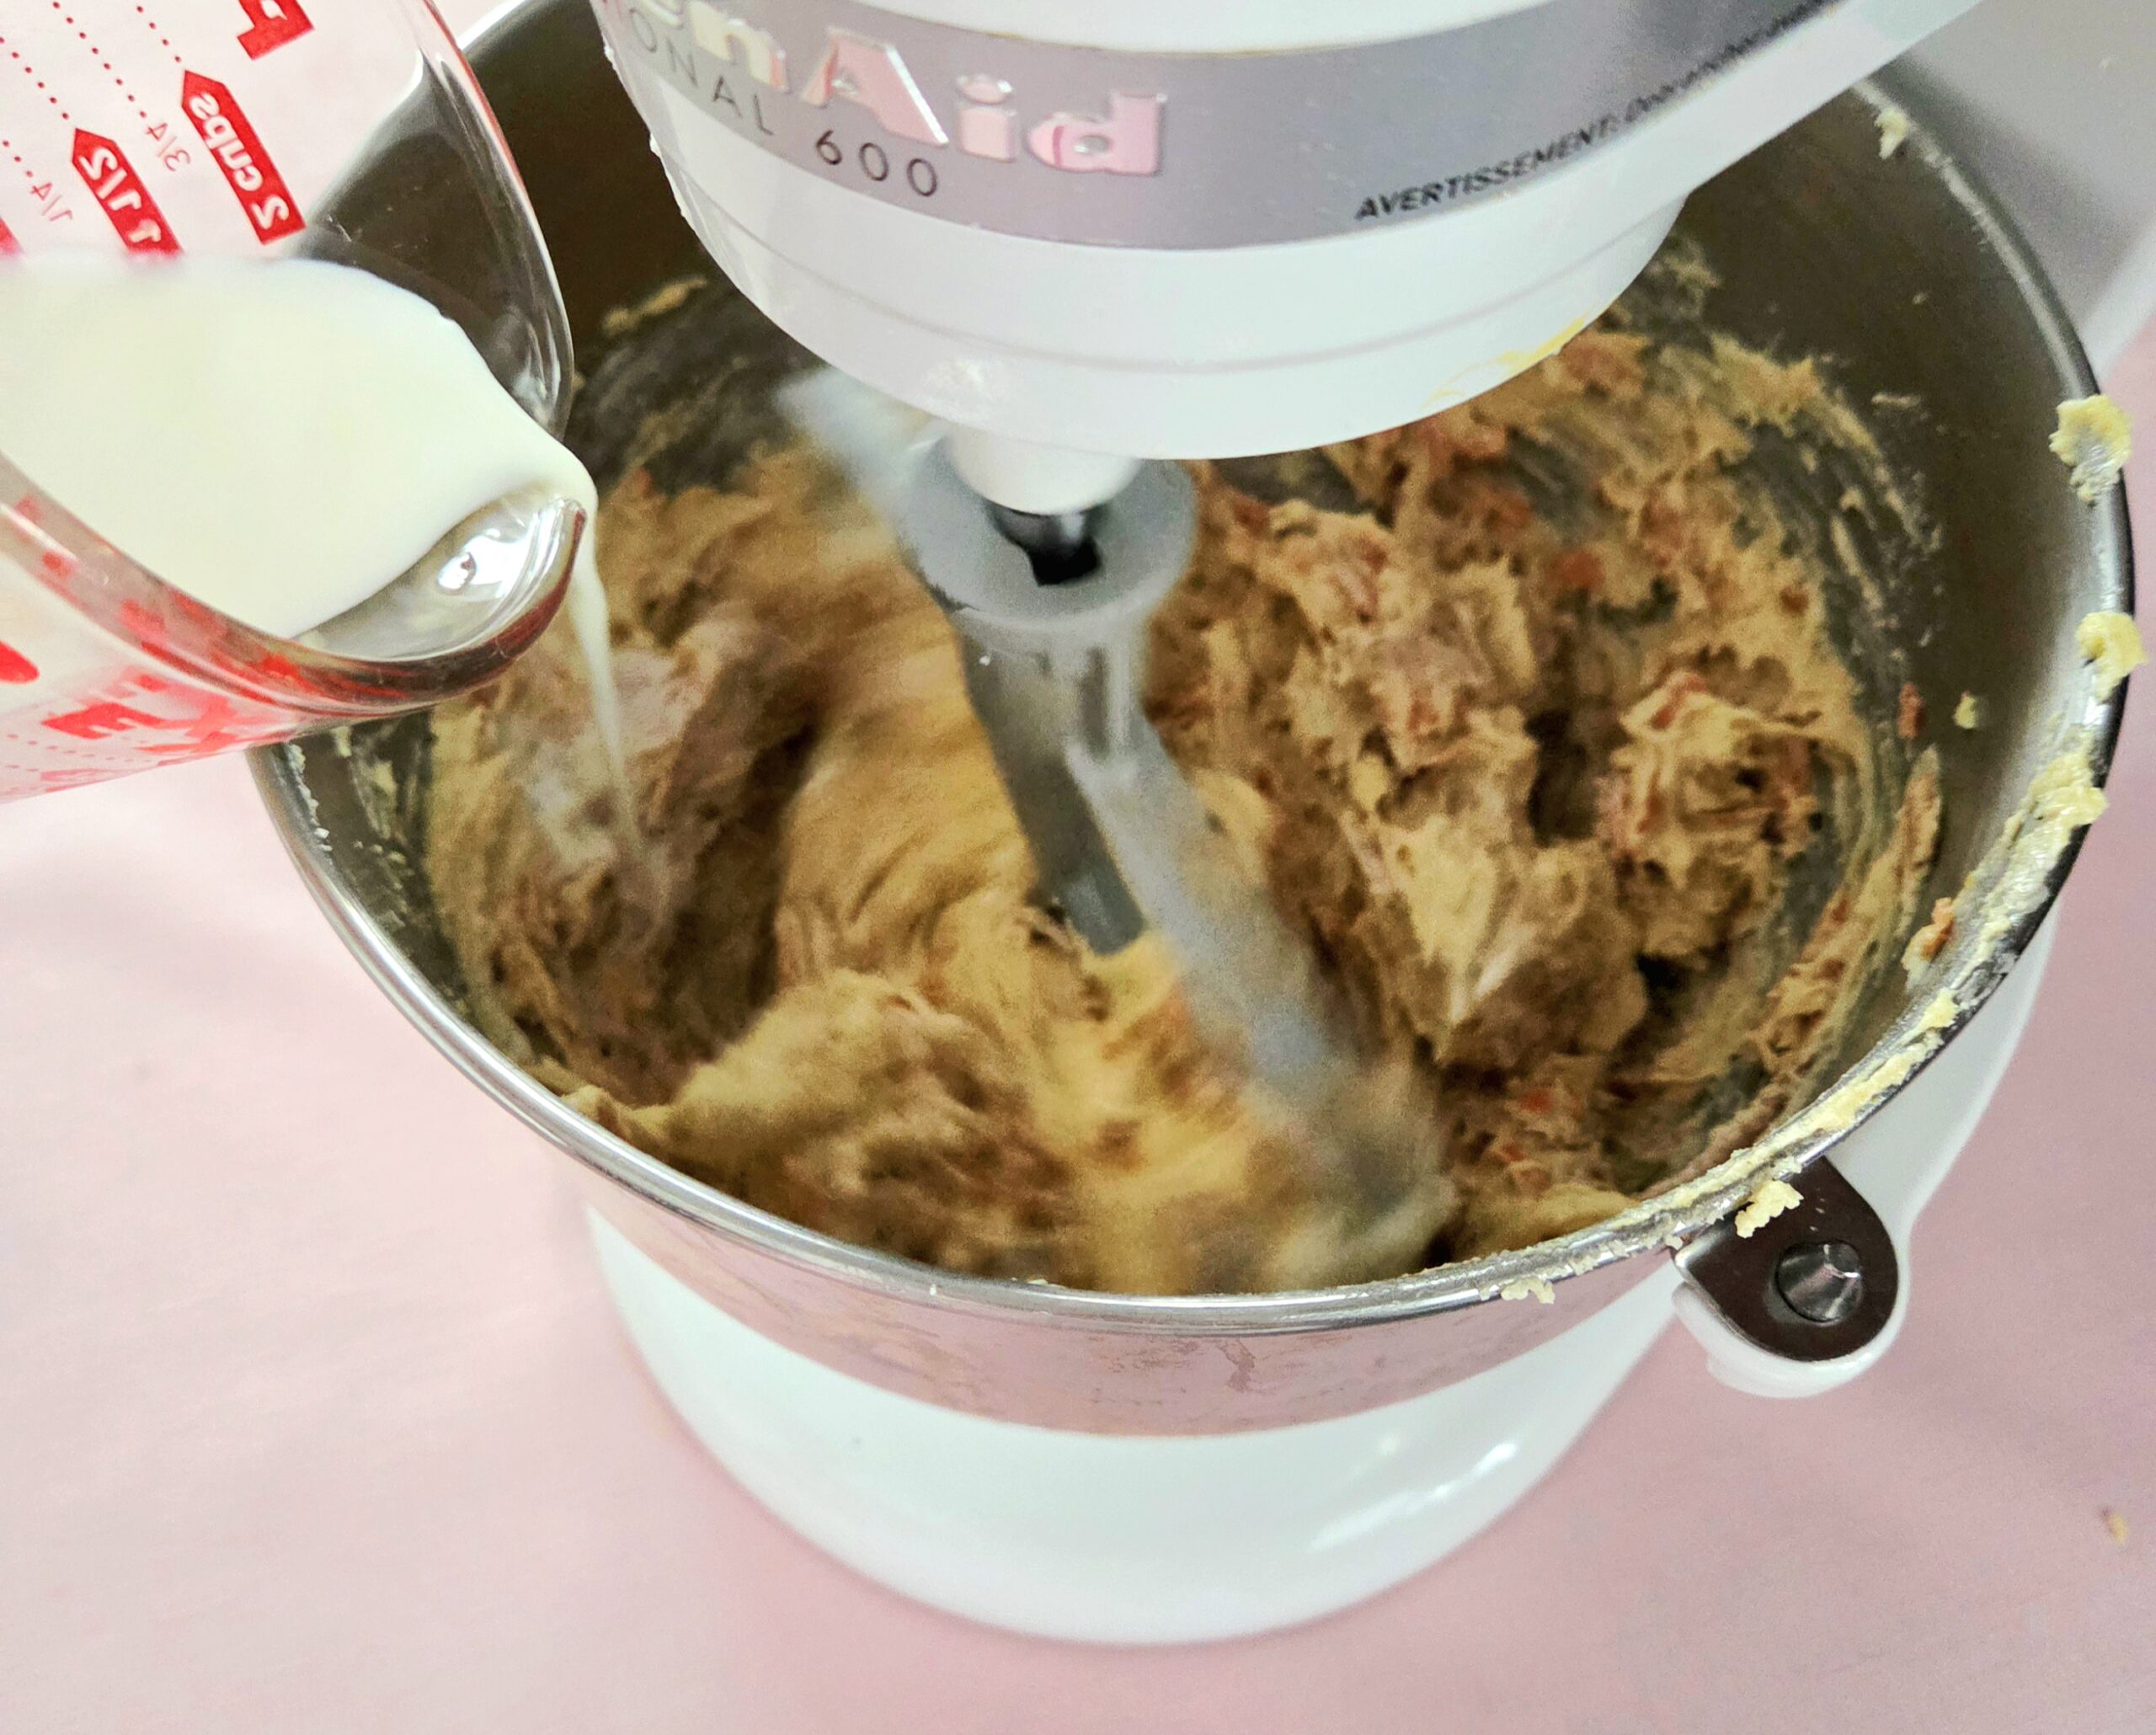
When most of the flour has been absorbed but a few dry streaks remain, pour in half of the milk while the mixer is still running.
Turn the mixer off, scrape down the sides of the bowl, then add the next ⅓ of dry goods. Repeat the process, running the mixer on level one and pouring in the second half of milk when only a few streaks of flour remain. Scrape down the sides of the bowl and add in the final ⅓ of dry goods. Once the batter fully absorbs the flour, pause the mixer once more to scrape down the bowl one final time, then turn the mixer on to level 3 or 4. Beat the batter for 30 seconds longer.
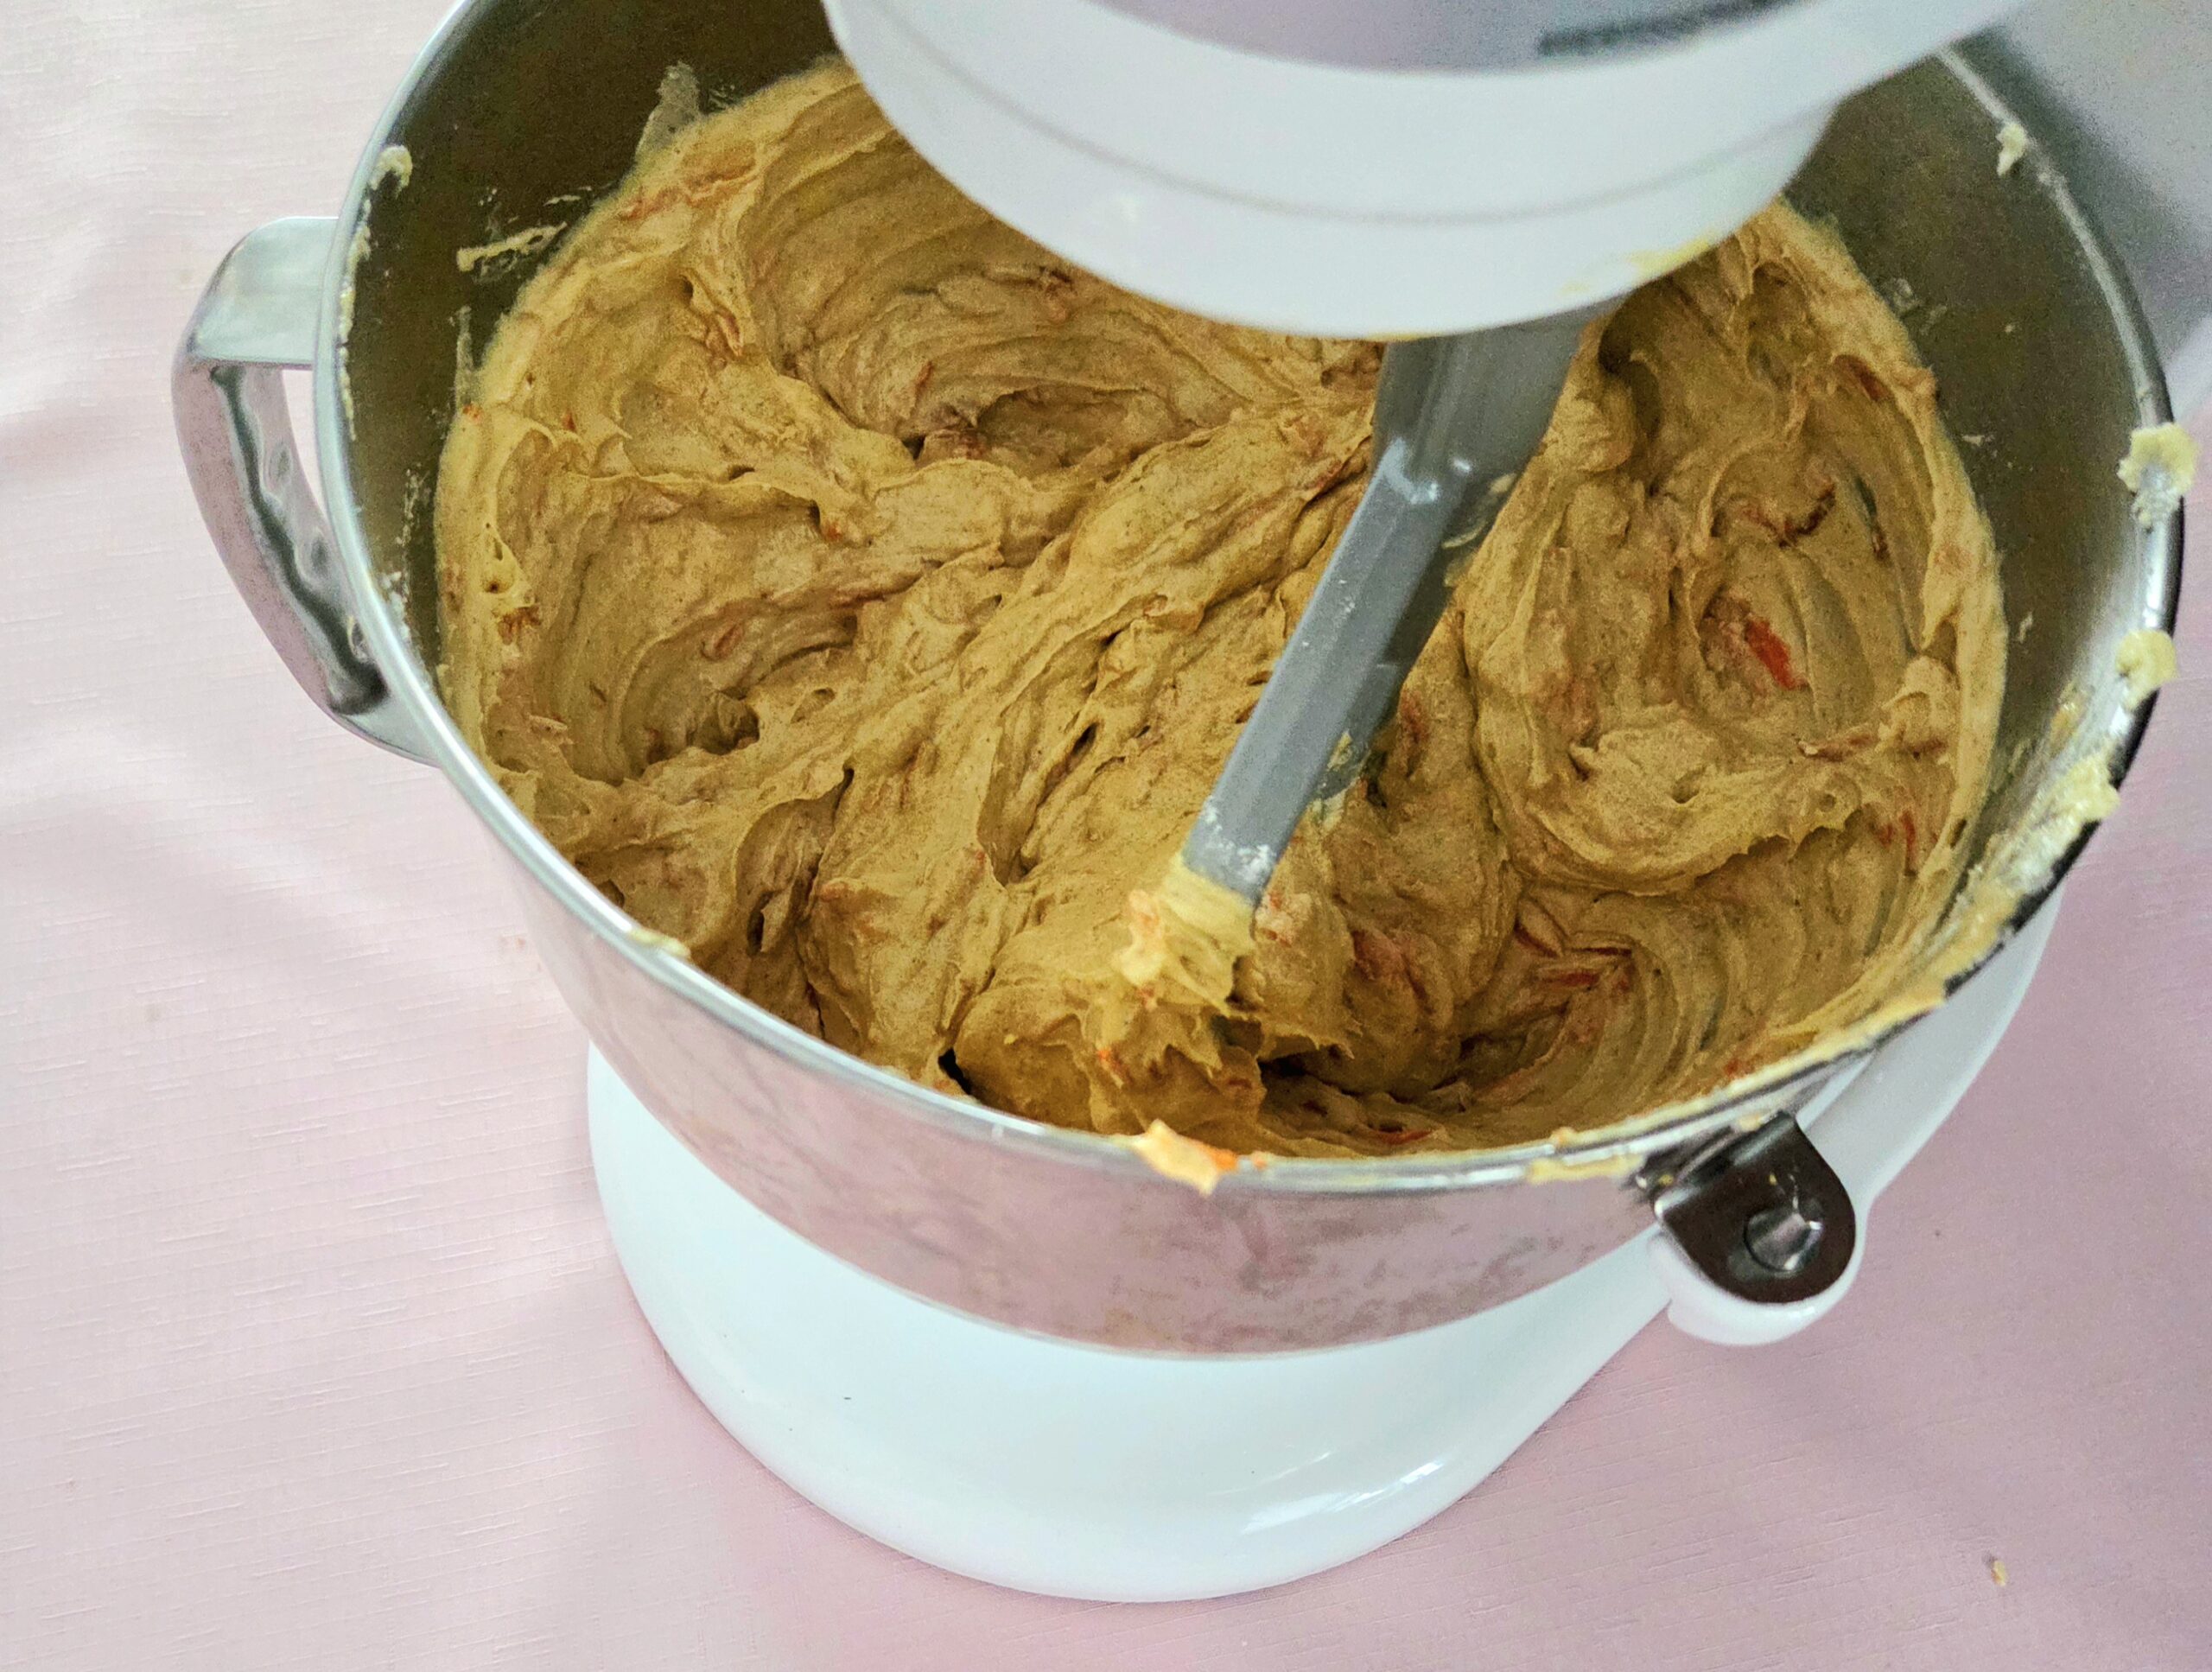
This final 30 seconds helps to develop the gluten in the batter enough to give the sponge the right amount of structure. Cake flour has the lowest protein content of every type of flour, which is what makes cakes so light and tender. However, if not enough gluten is developed while the batter is made, the sponge will collapse in the center when it’s finished baking. A sad moment for any baker.
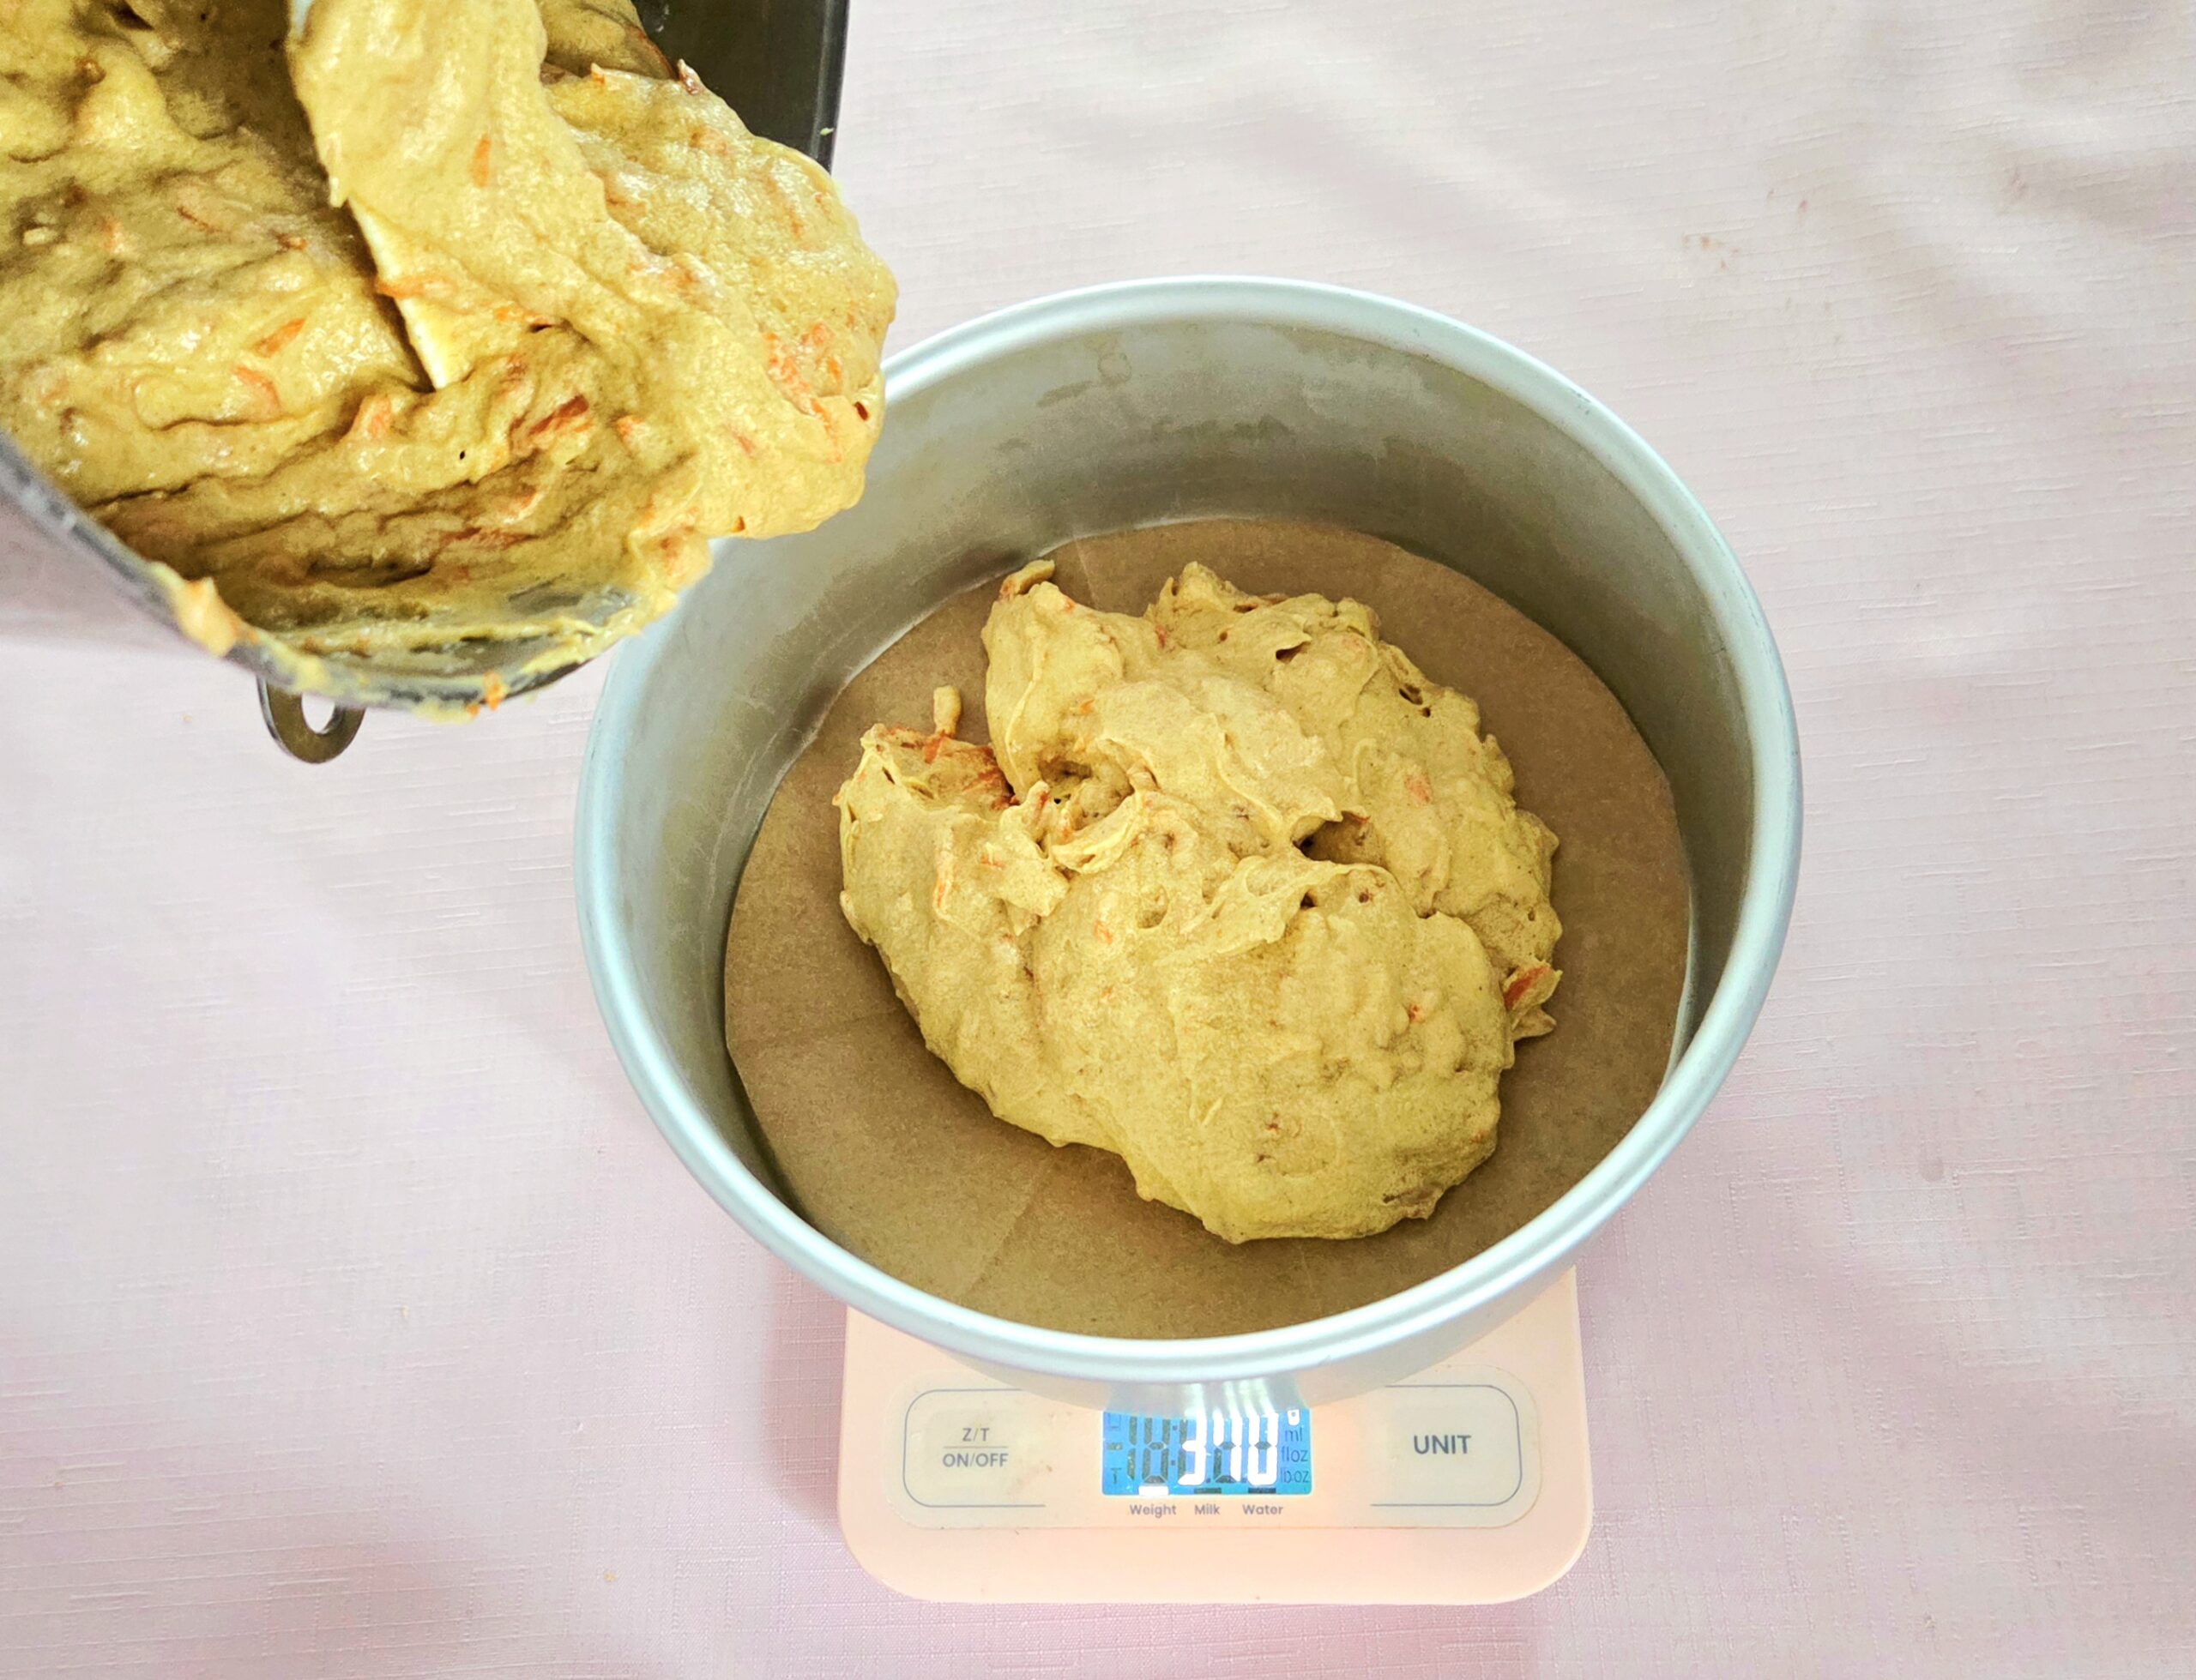
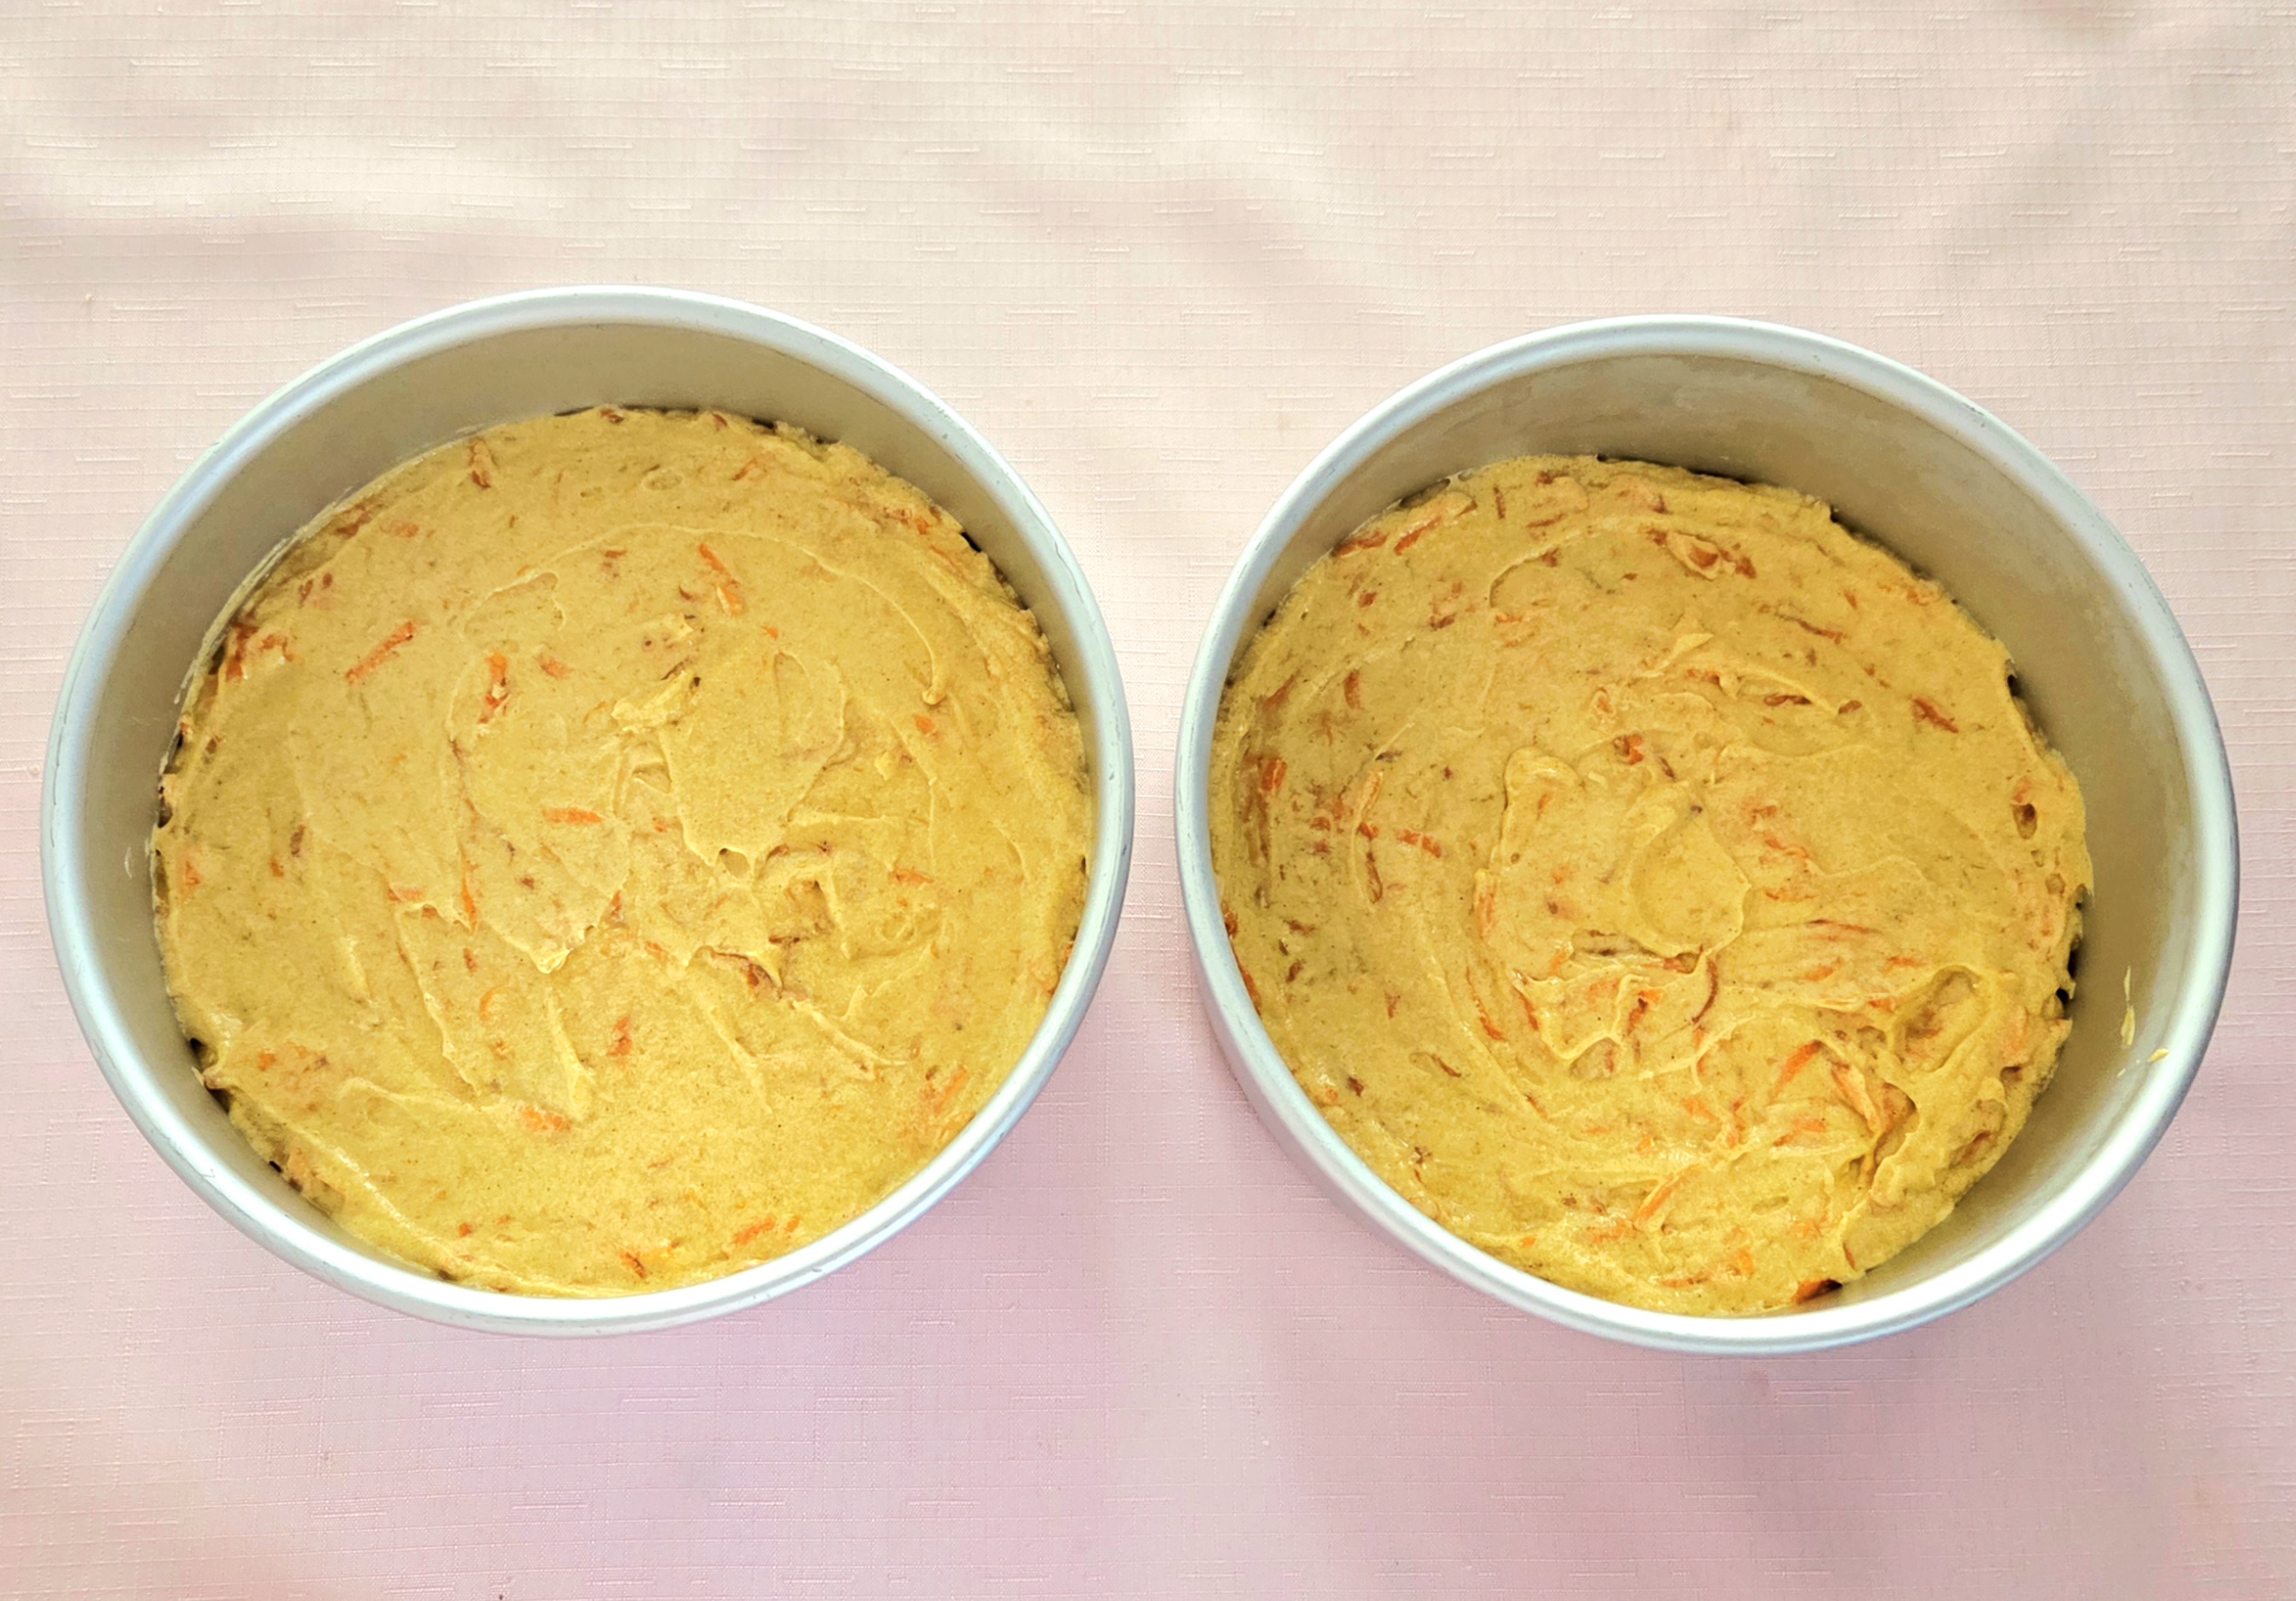
Time to divide the batter. If you’re using three cake pans, divide and pour the batter evenly between the three of them. I like to use a scale for this, so I know that each pan contains exactly ⅓, but if you don’t have a kitchen scale, just do the best you can to estimate. Spread the batter evenly across the top. Place two pans on the center rack of the oven and the third on the bottom rack. Bake for 25-30 minutes or until a toothpick poked in the center comes out cleanly, flipping the pans halfway through baking.
If you’re using two cake pans, divide the batter so that one pan gets ⅔ and the other ⅓. Use a kitchen scale if you can, for accuracy. Spread the batter evenly throughout the pans and over the top.
Place the two pans on the center rack of the oven. The pan with less batter should take about 25-30 minutes, and the fuller pan should take around 40-45. Flip the pans halfway through baking, and remove them when a toothpick poked in the center comes out clean.
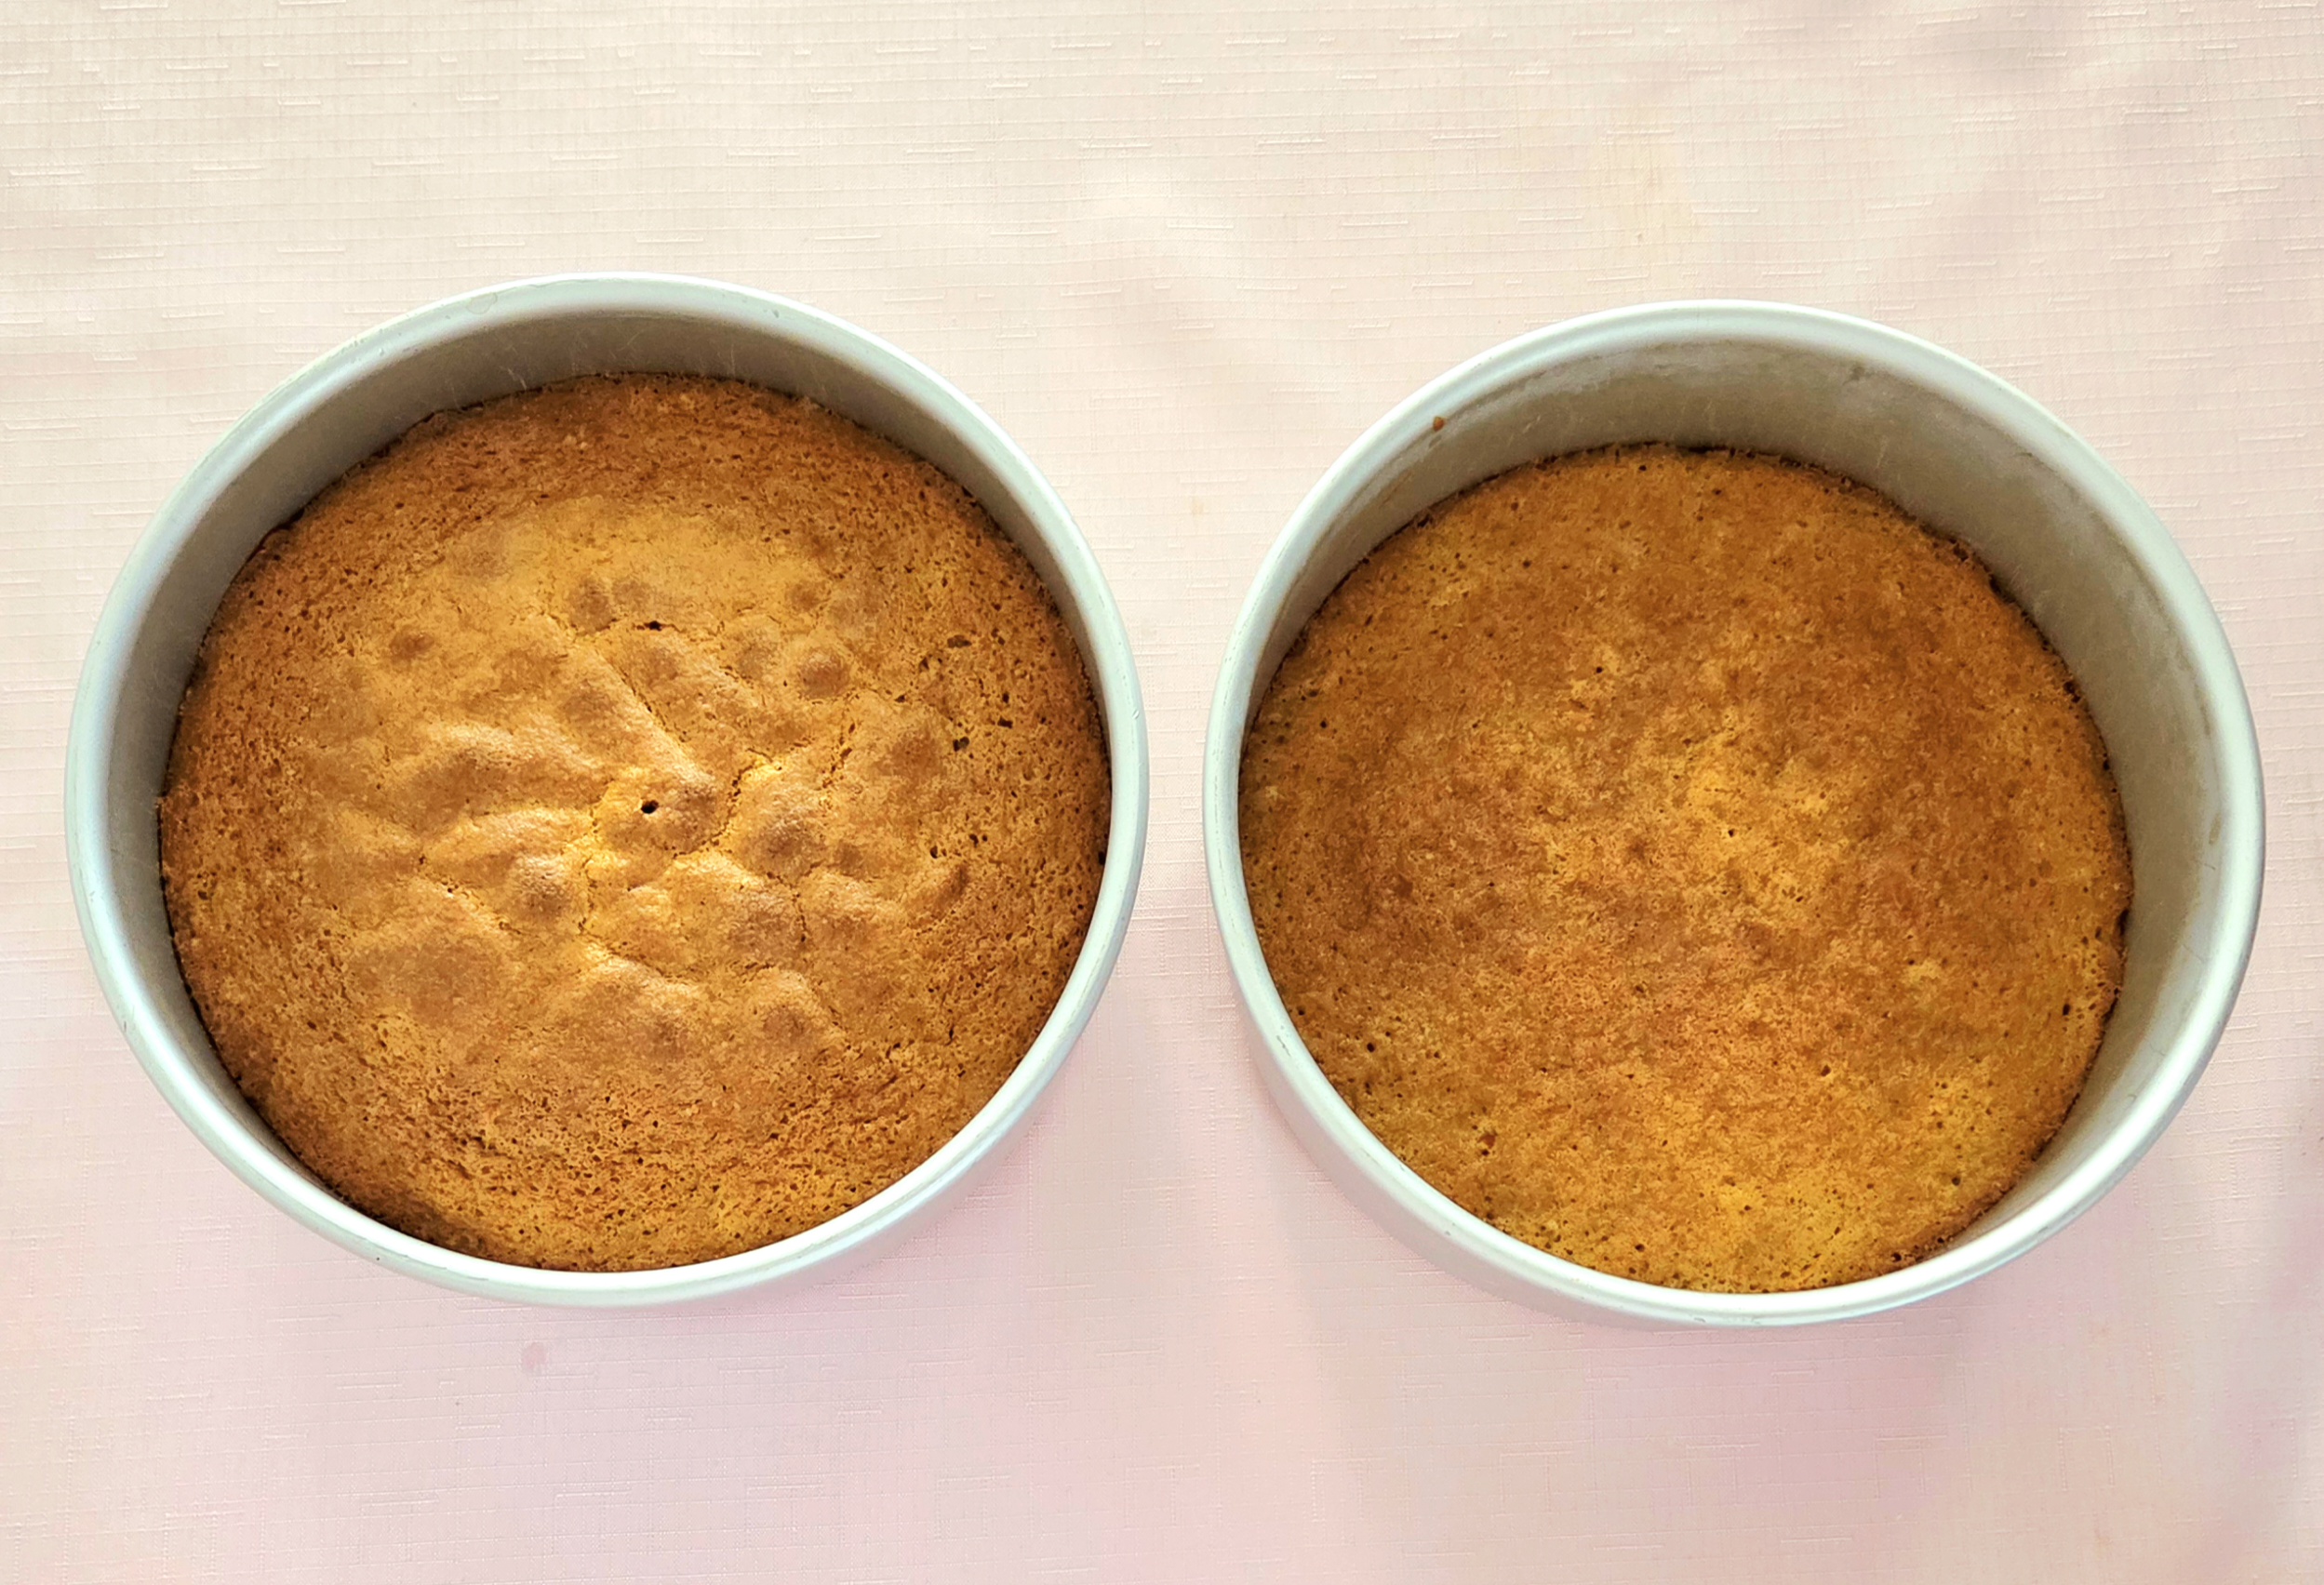
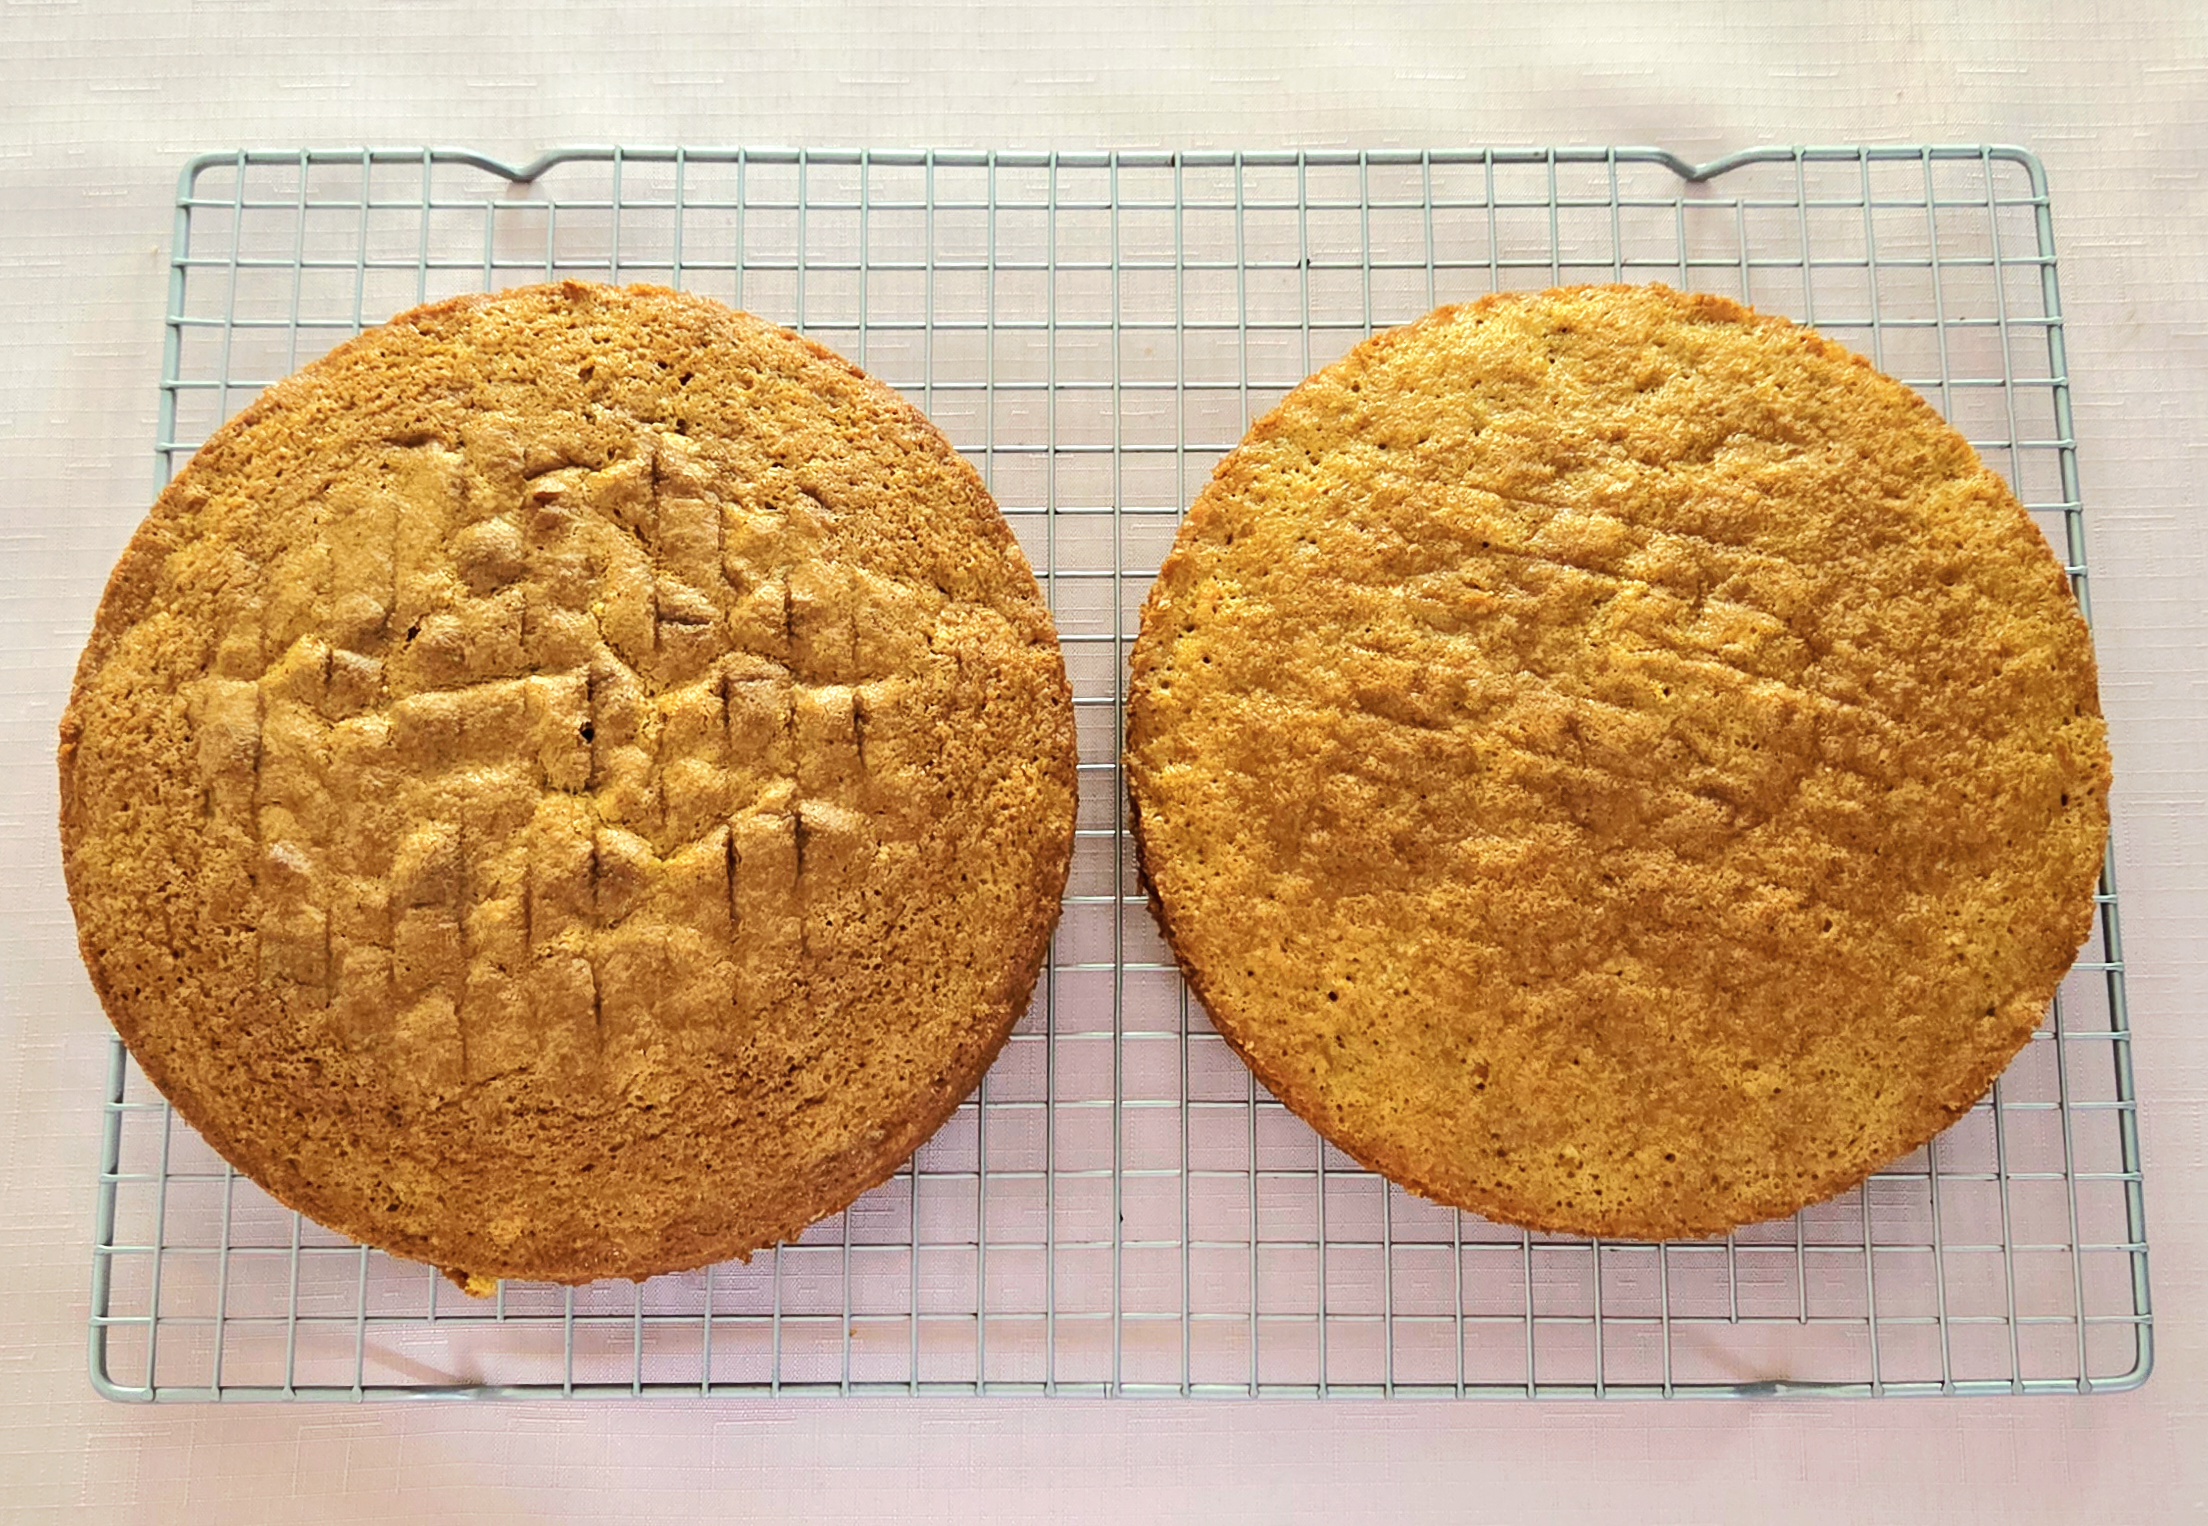
Immediately after the layers finish baking, run a butter knife along the edge between the cake and the pan. Flip the layers onto a cooling rack, then flip them once again so the flat bottom is directly on the rack. If you leave them top side down, especially with a large hump, they’re much more likely to crack and split open. Allow the layers to cool completely, and prepare the frosting as they do.
Form the Frosting
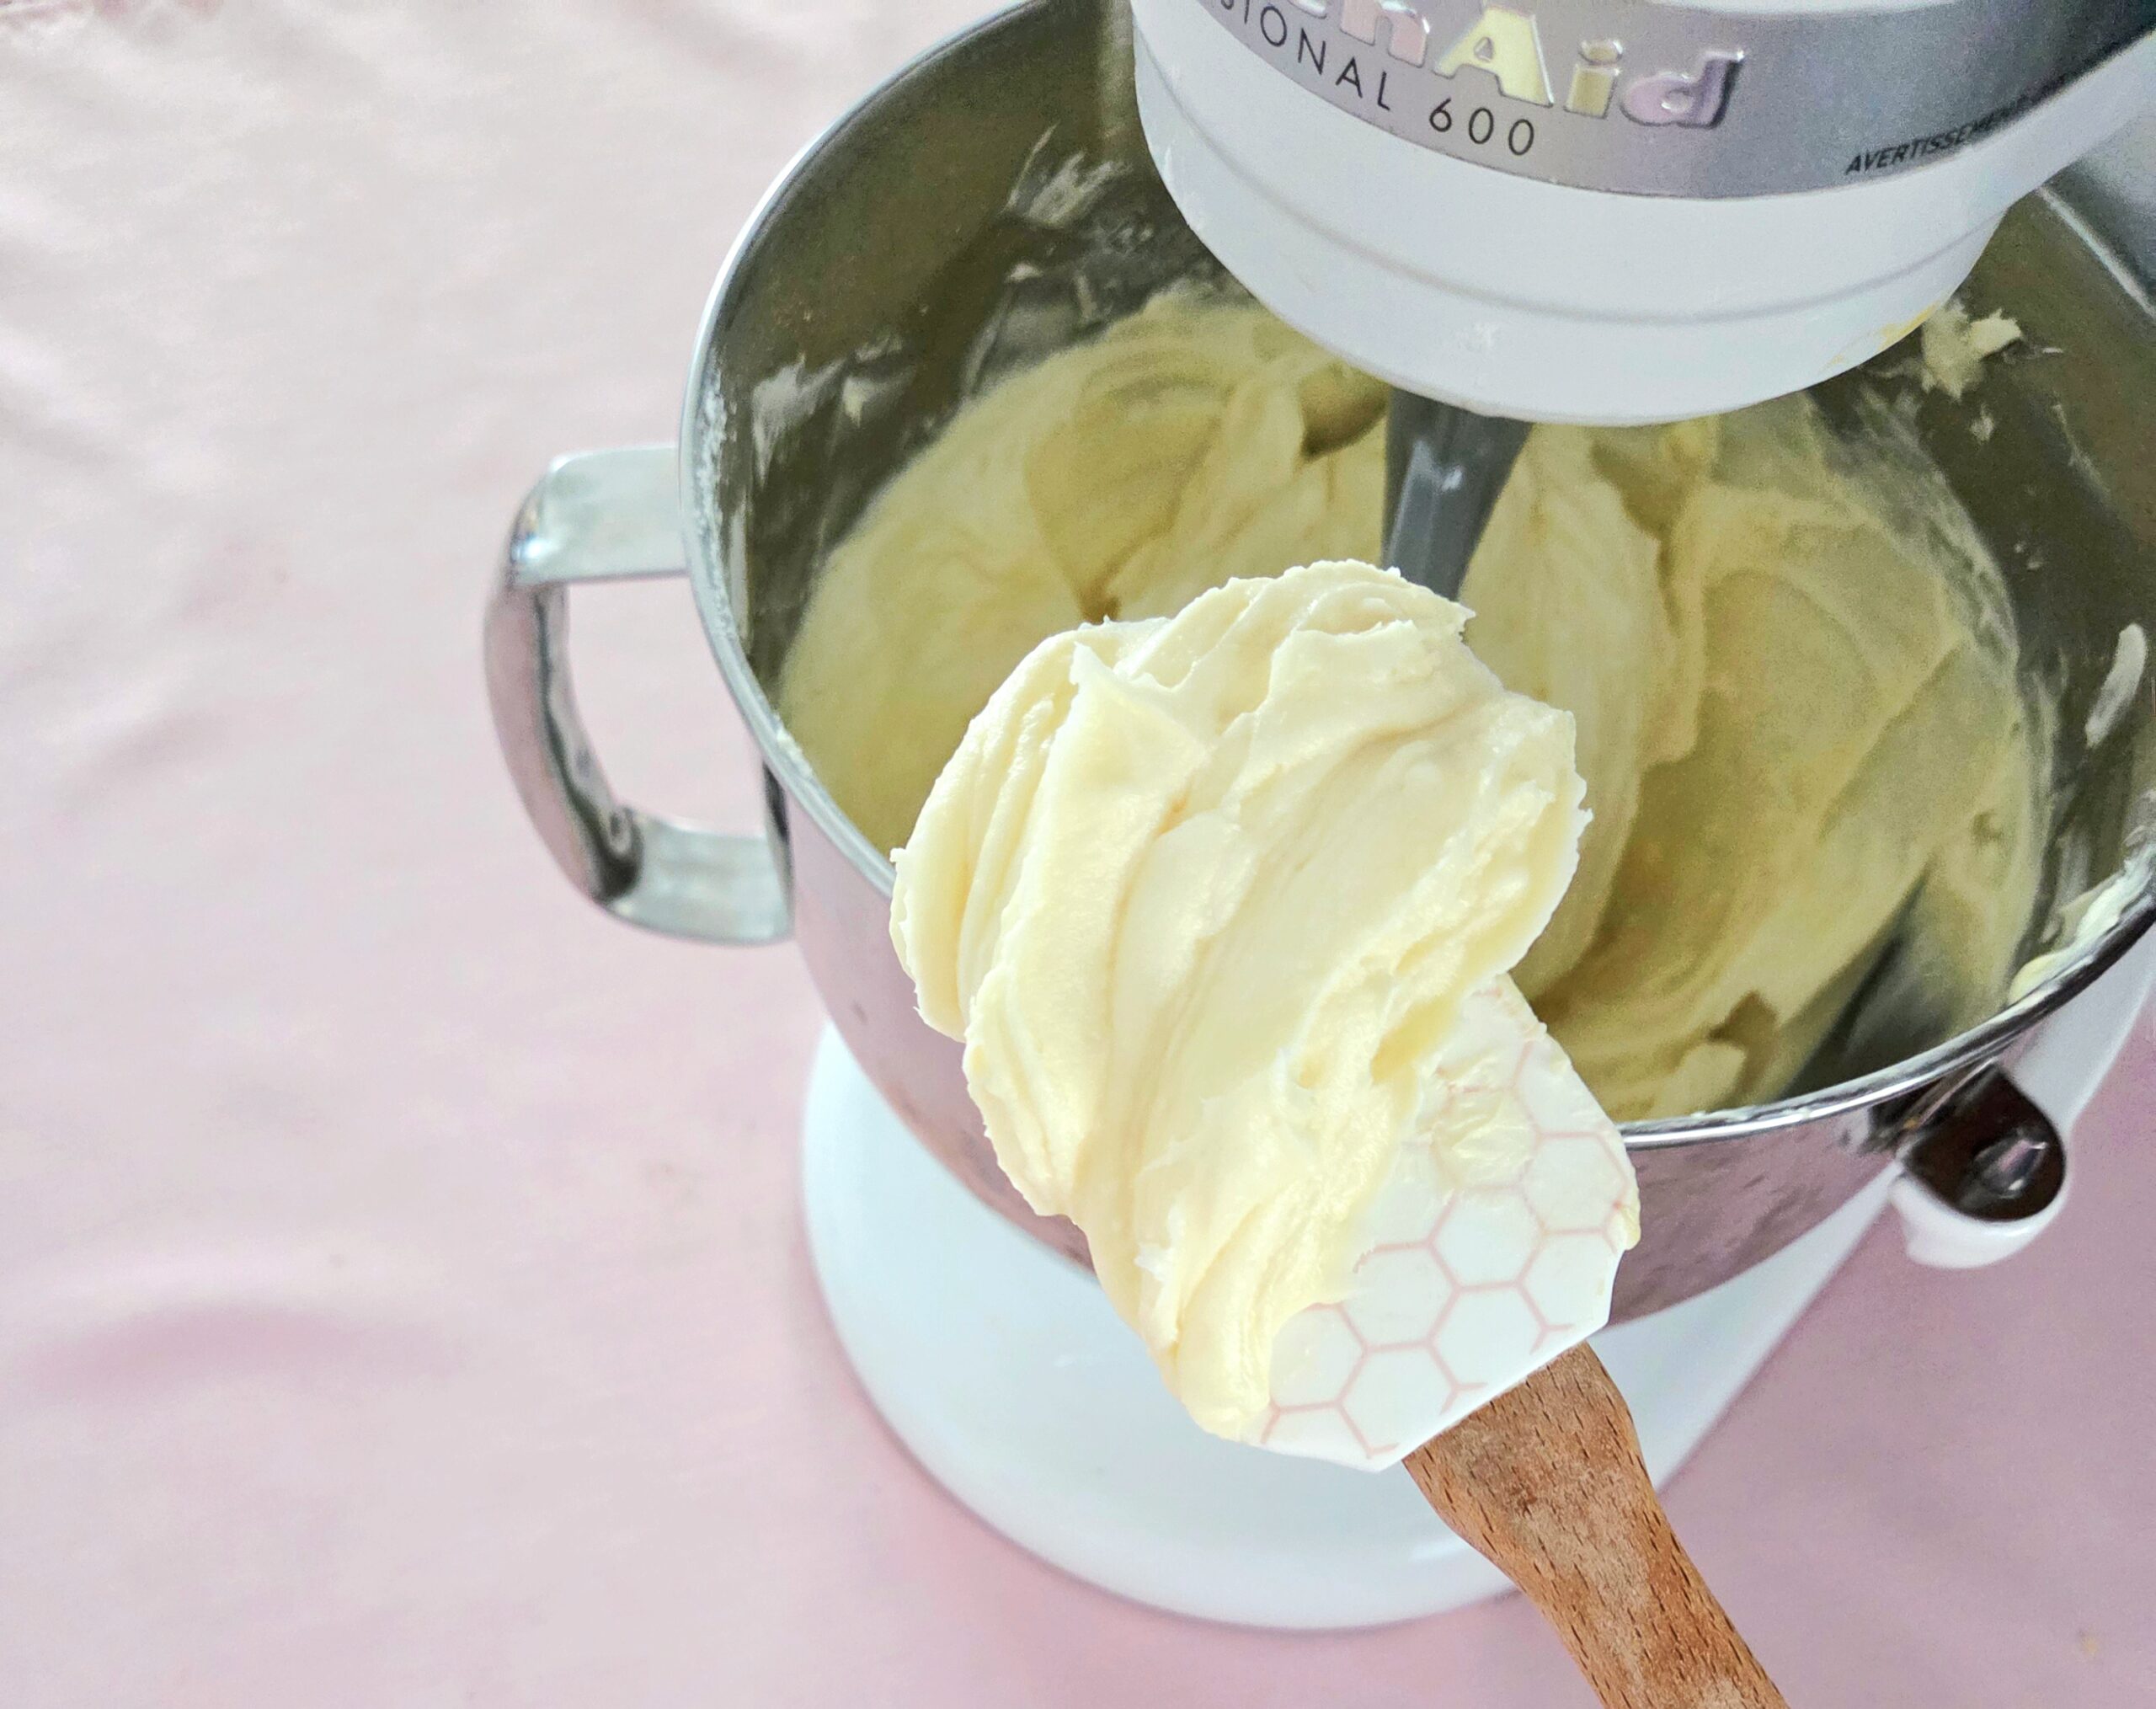
While the cake layers cool down, start on the frosting. In a stand mixer fitted with the paddle attachment, cream together the softened cream cheese and butter. I know you’ve undoubtedly seen other people use the whisk attachment for anything and everything, but it really has no place anywhere that you aren’t trying to incorporate lots of air. Trust my wisdom and experience, use the paddle attachment. Turn the mixer to level 3 for 2 or 3 minutes, or until the cream cheese and butter thoroughly combine.
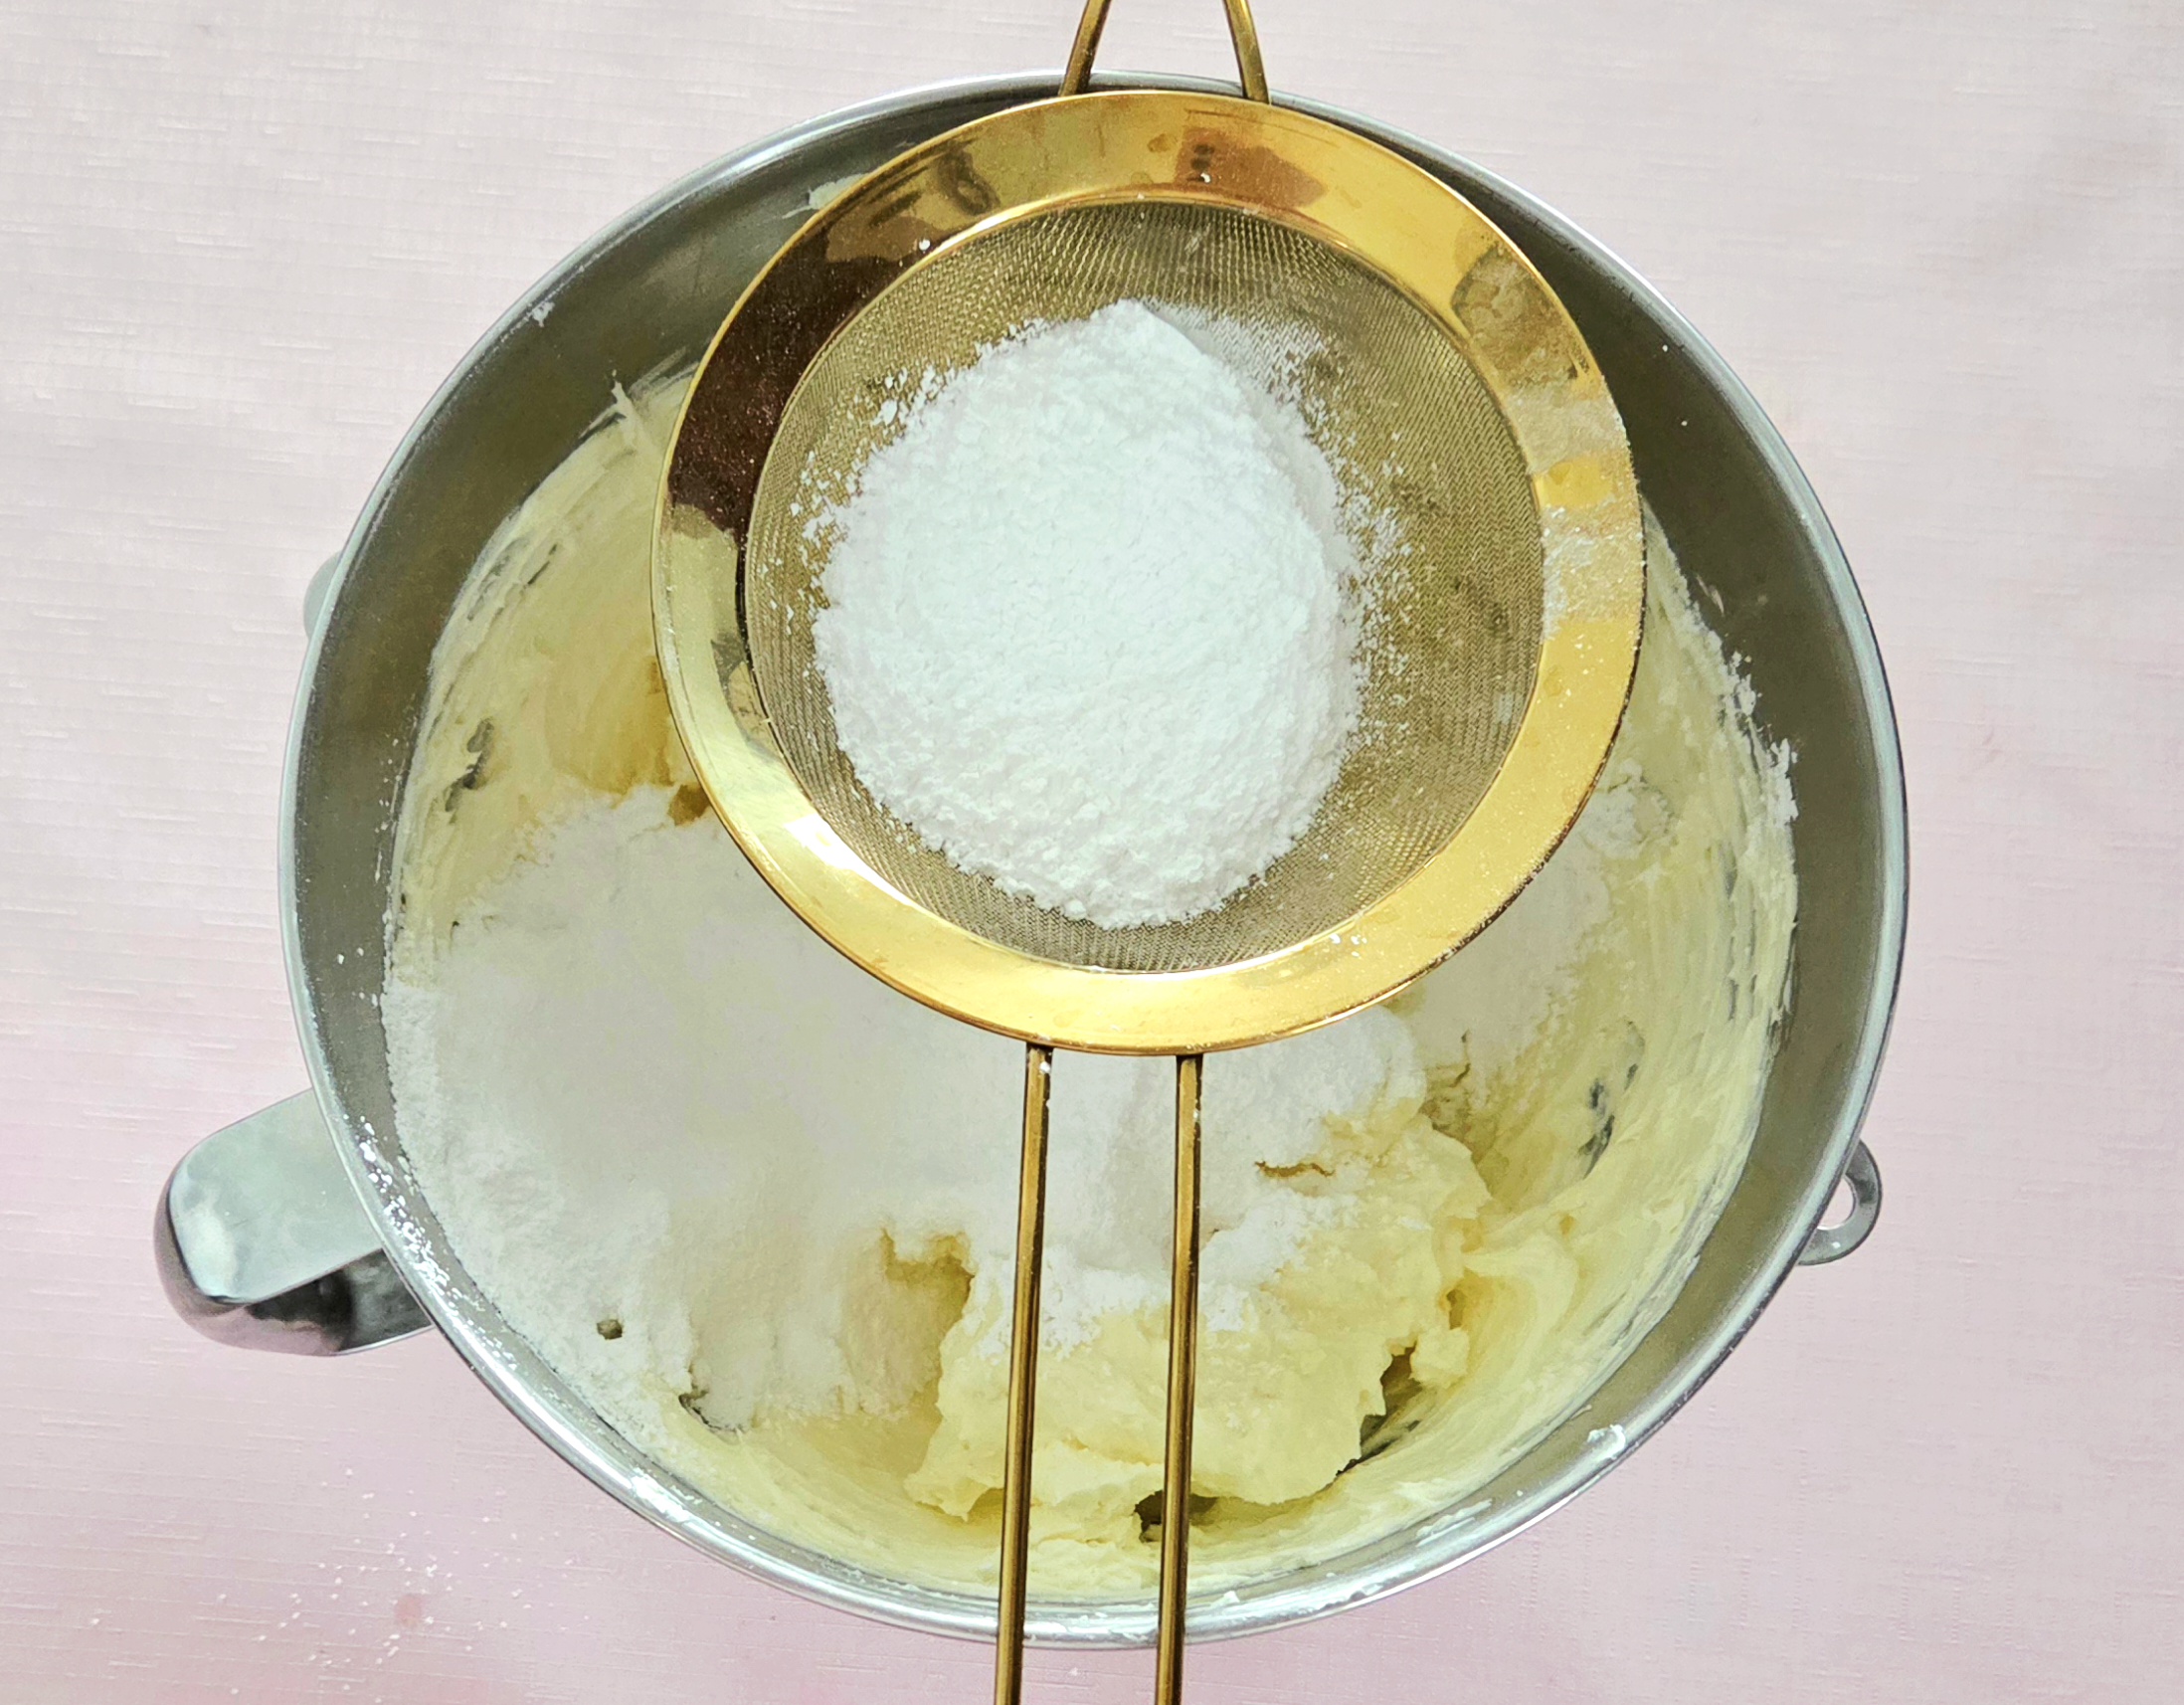
Turn the mixer off and scrape down the sides of the bowl with a rubber spatula, bringing everything down to the center. Remove the bowl from the stand and sift the powdered sugar directly into the frosting. You could, of course, do this in a separate bowl if you’d rather, but why dirty something else if you don’t need to?
Add in the salt and vanilla extract, then turn the mixer on to level 1. Allow the sugar to absorb, then increase the speed to level 3 for a few minutes. If you start on level 3 from the get-go, powdered sugar is going to go everywhere and you’re going to have a bad time. Start low and go slow. The frosting should be kind of gooey and beautifully emulsified, by the time you’re finished.
Now, the sponge may still be warm at this point, since cream cheese frosting doesn’t take long to bring together. Don’t fret, and DO NOT begin assembling the cake. Just cover the frosting with a sheet of plastic wrap and set it aside until the layers are completely cooled.
Construct the Cake
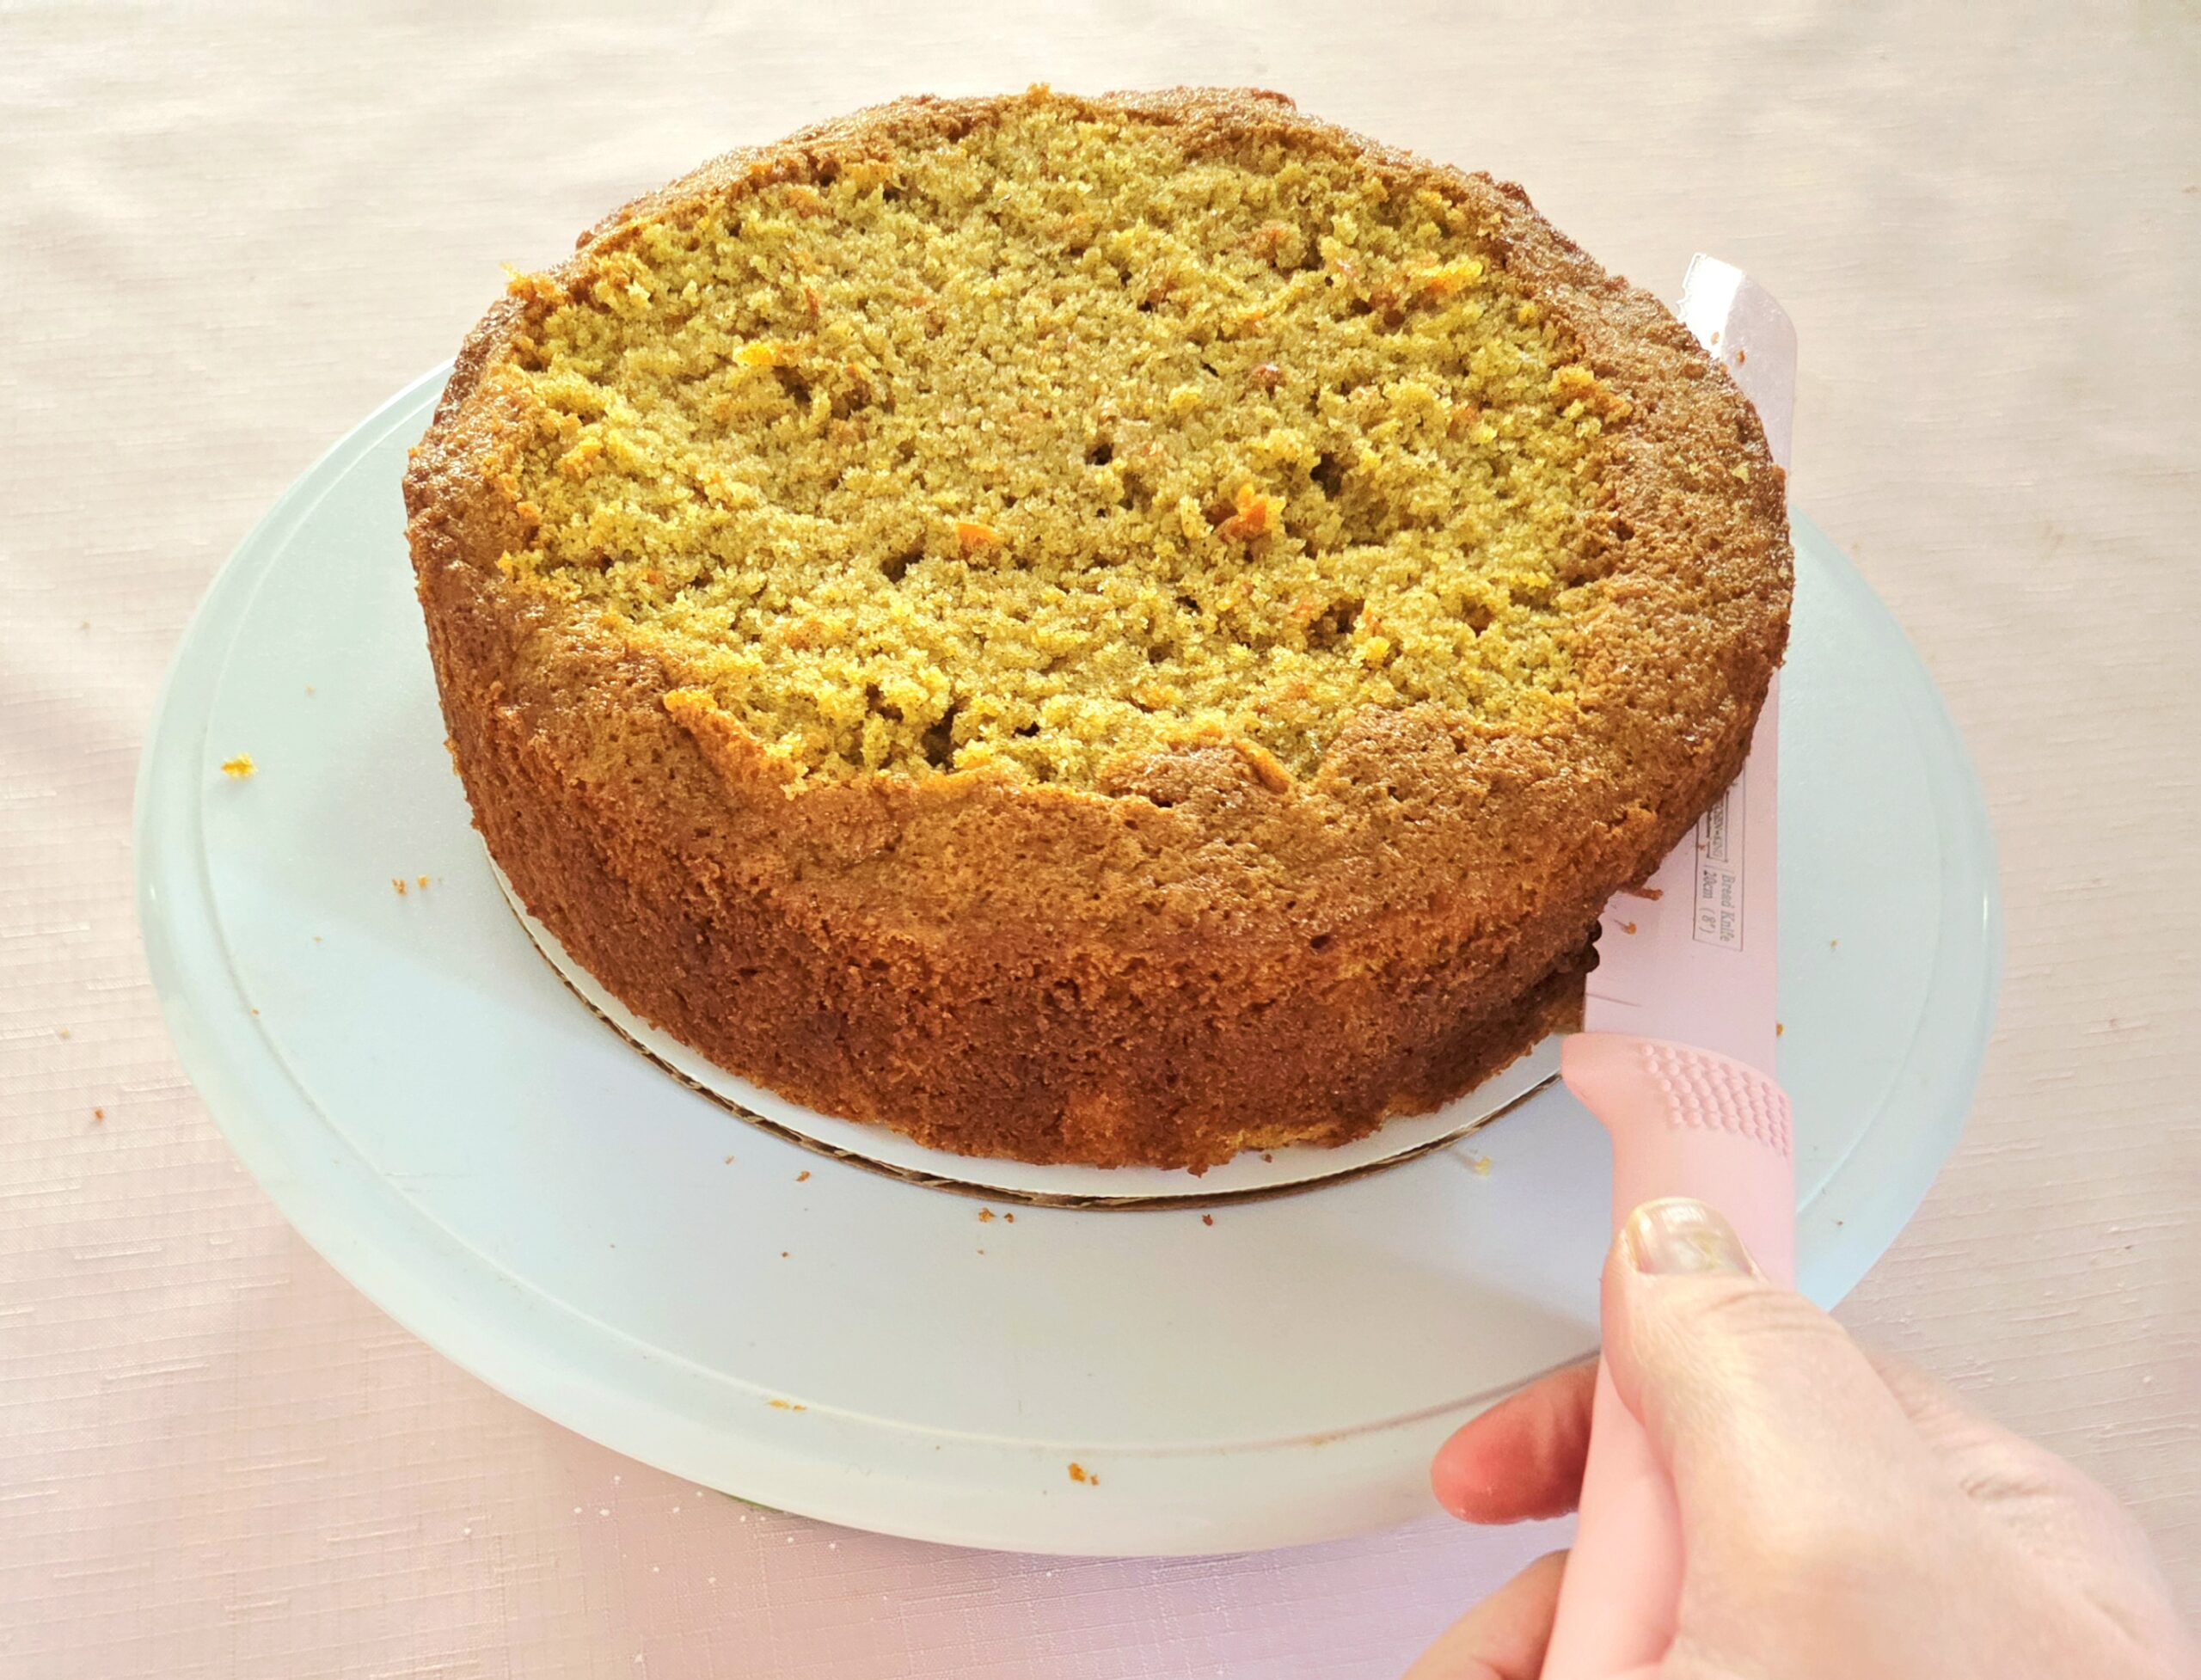
When the layers are cool to the touch, you’ll know it’s time to proceed. If you try to assemble everything when the cake is warm, the frosting will melt and nothing will stay together. Please, have some patience. If there is a hump on any of the layers, cut it off now with a large, serrated bread knife. I recommend using a cake turntable to assist you in this task, but it can be done (very carefully) without one.
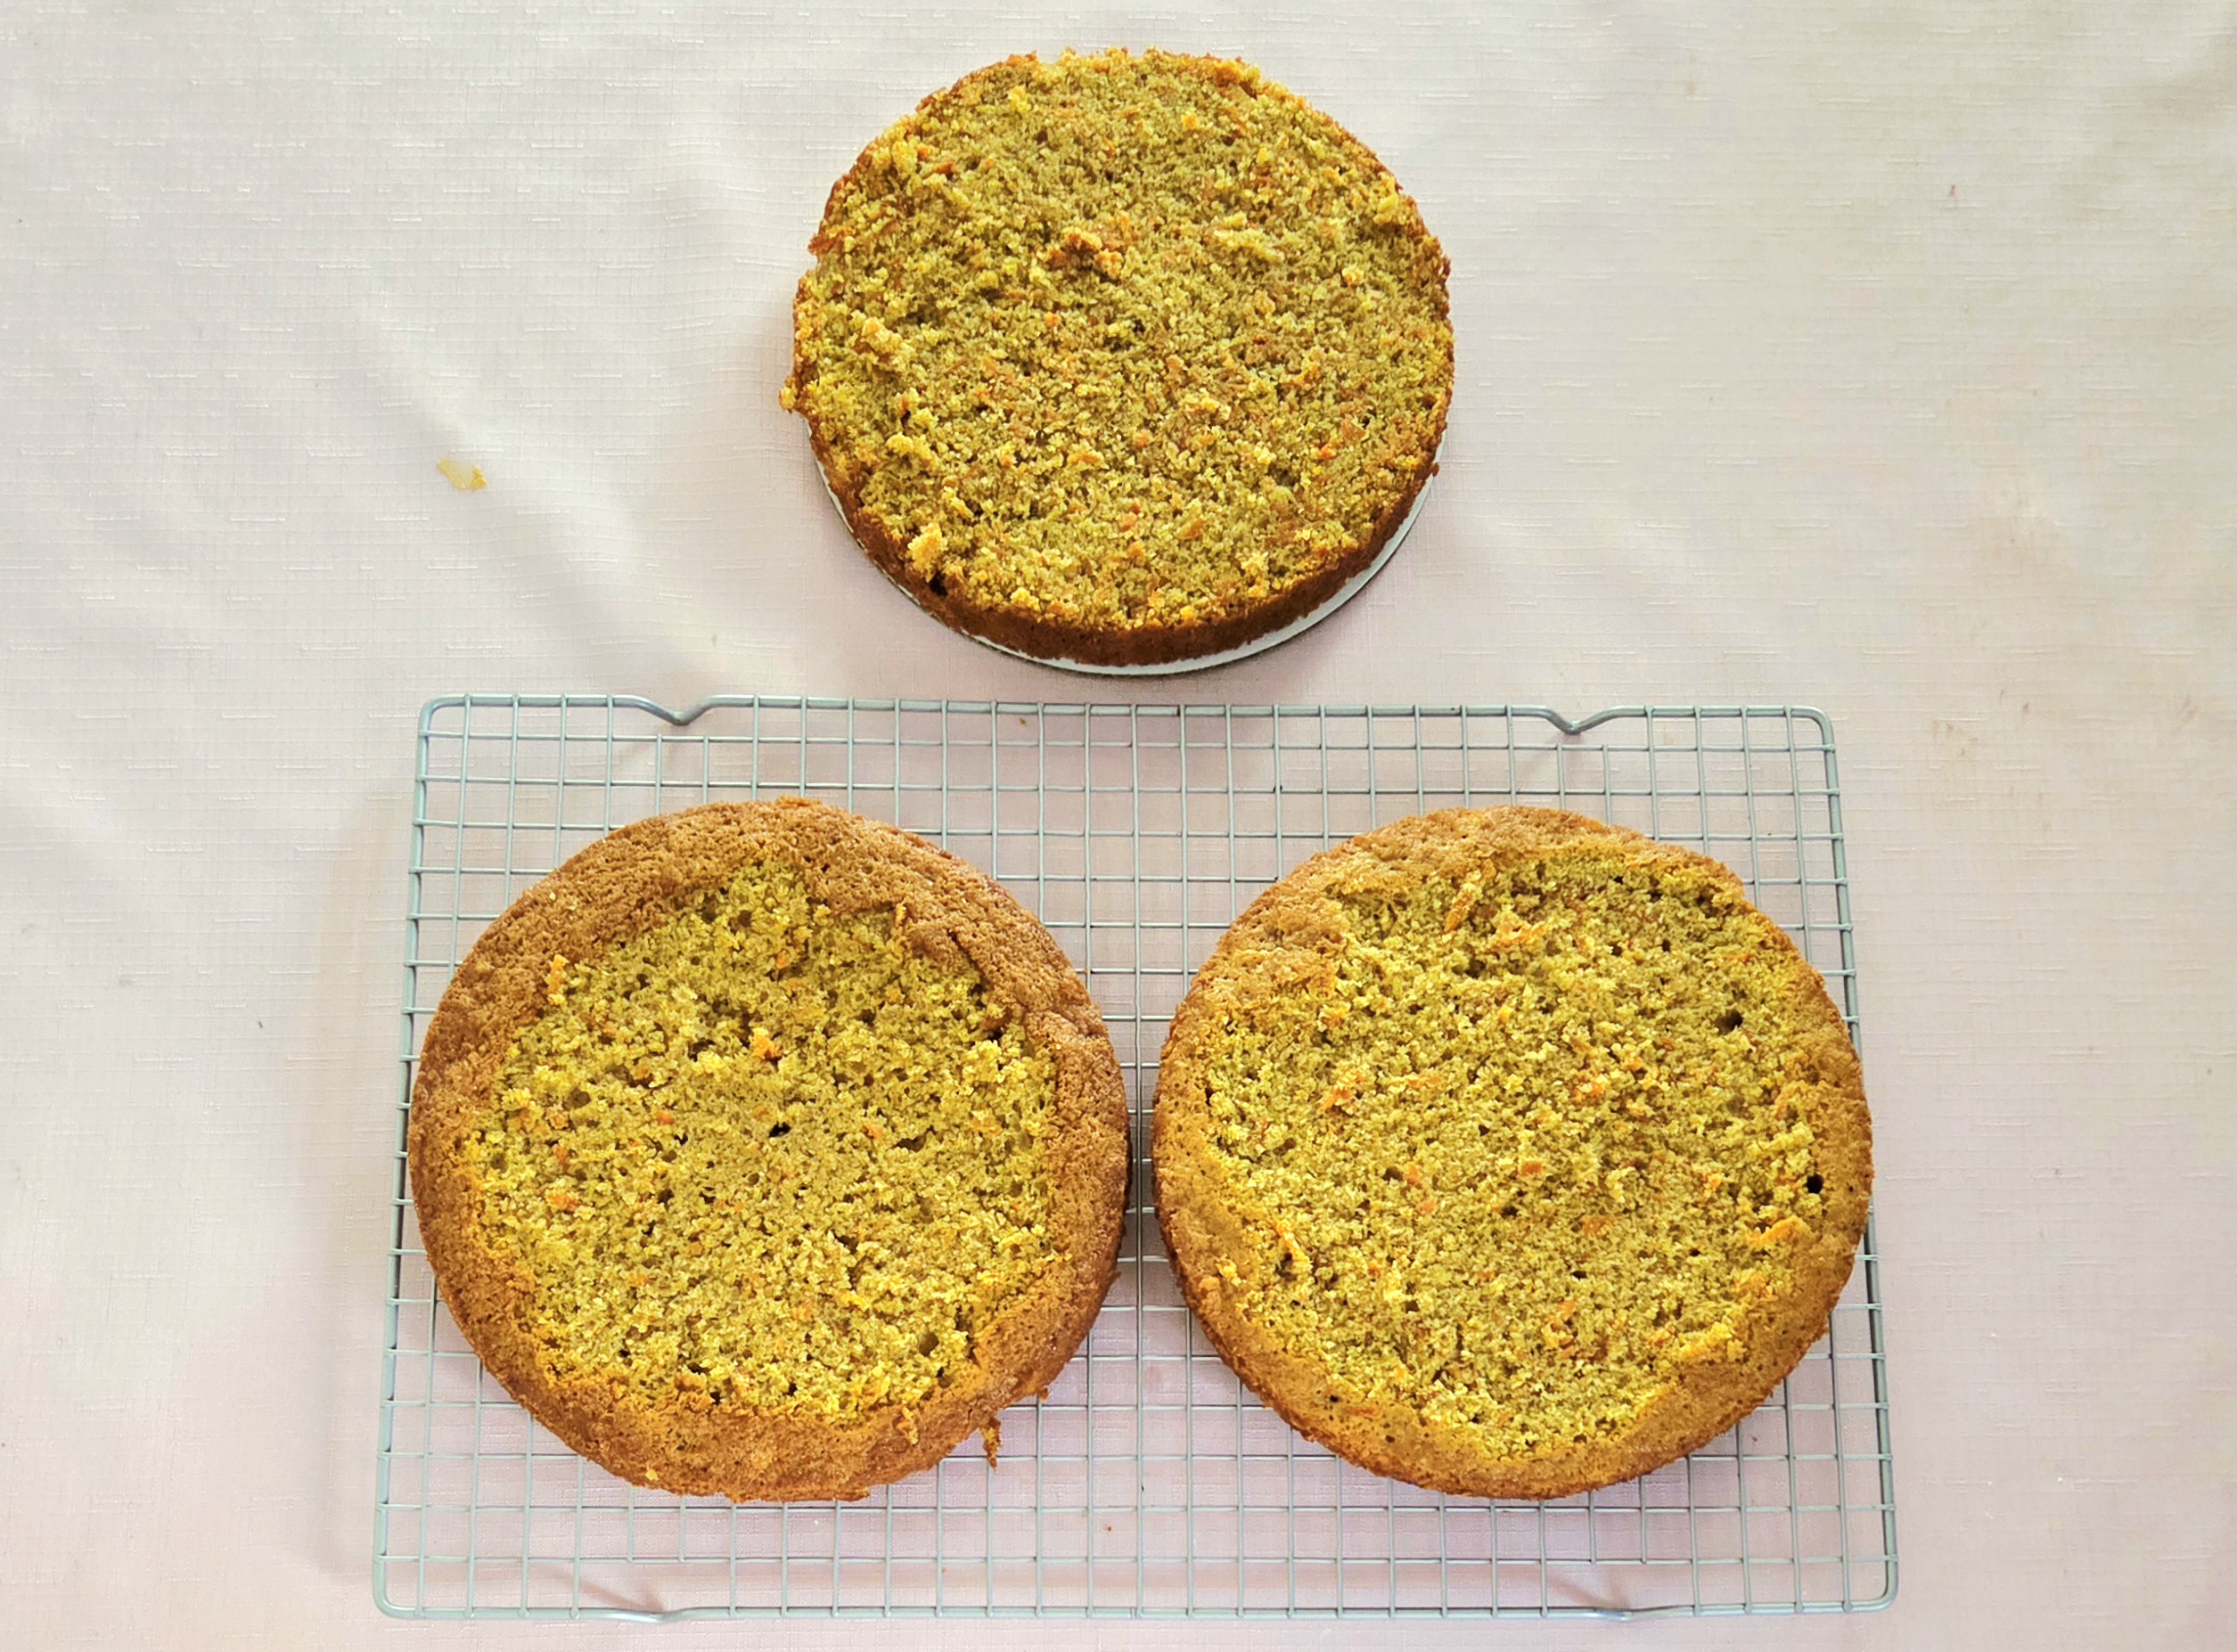
If you baked three separate layers from the start, move onto the next step now. If, like me, you’ve made one single layer and one double layer, keep reading. Using a large bread knife, carefully slice the double layer in two. This is much easier, in my experience, if you use a cake turntable and gently spin it as you saw the cake in half. If you don’t have one though, just take your time and do the best you can with what you’ve got. Separate them, so you now have three distinct layers in front of you.
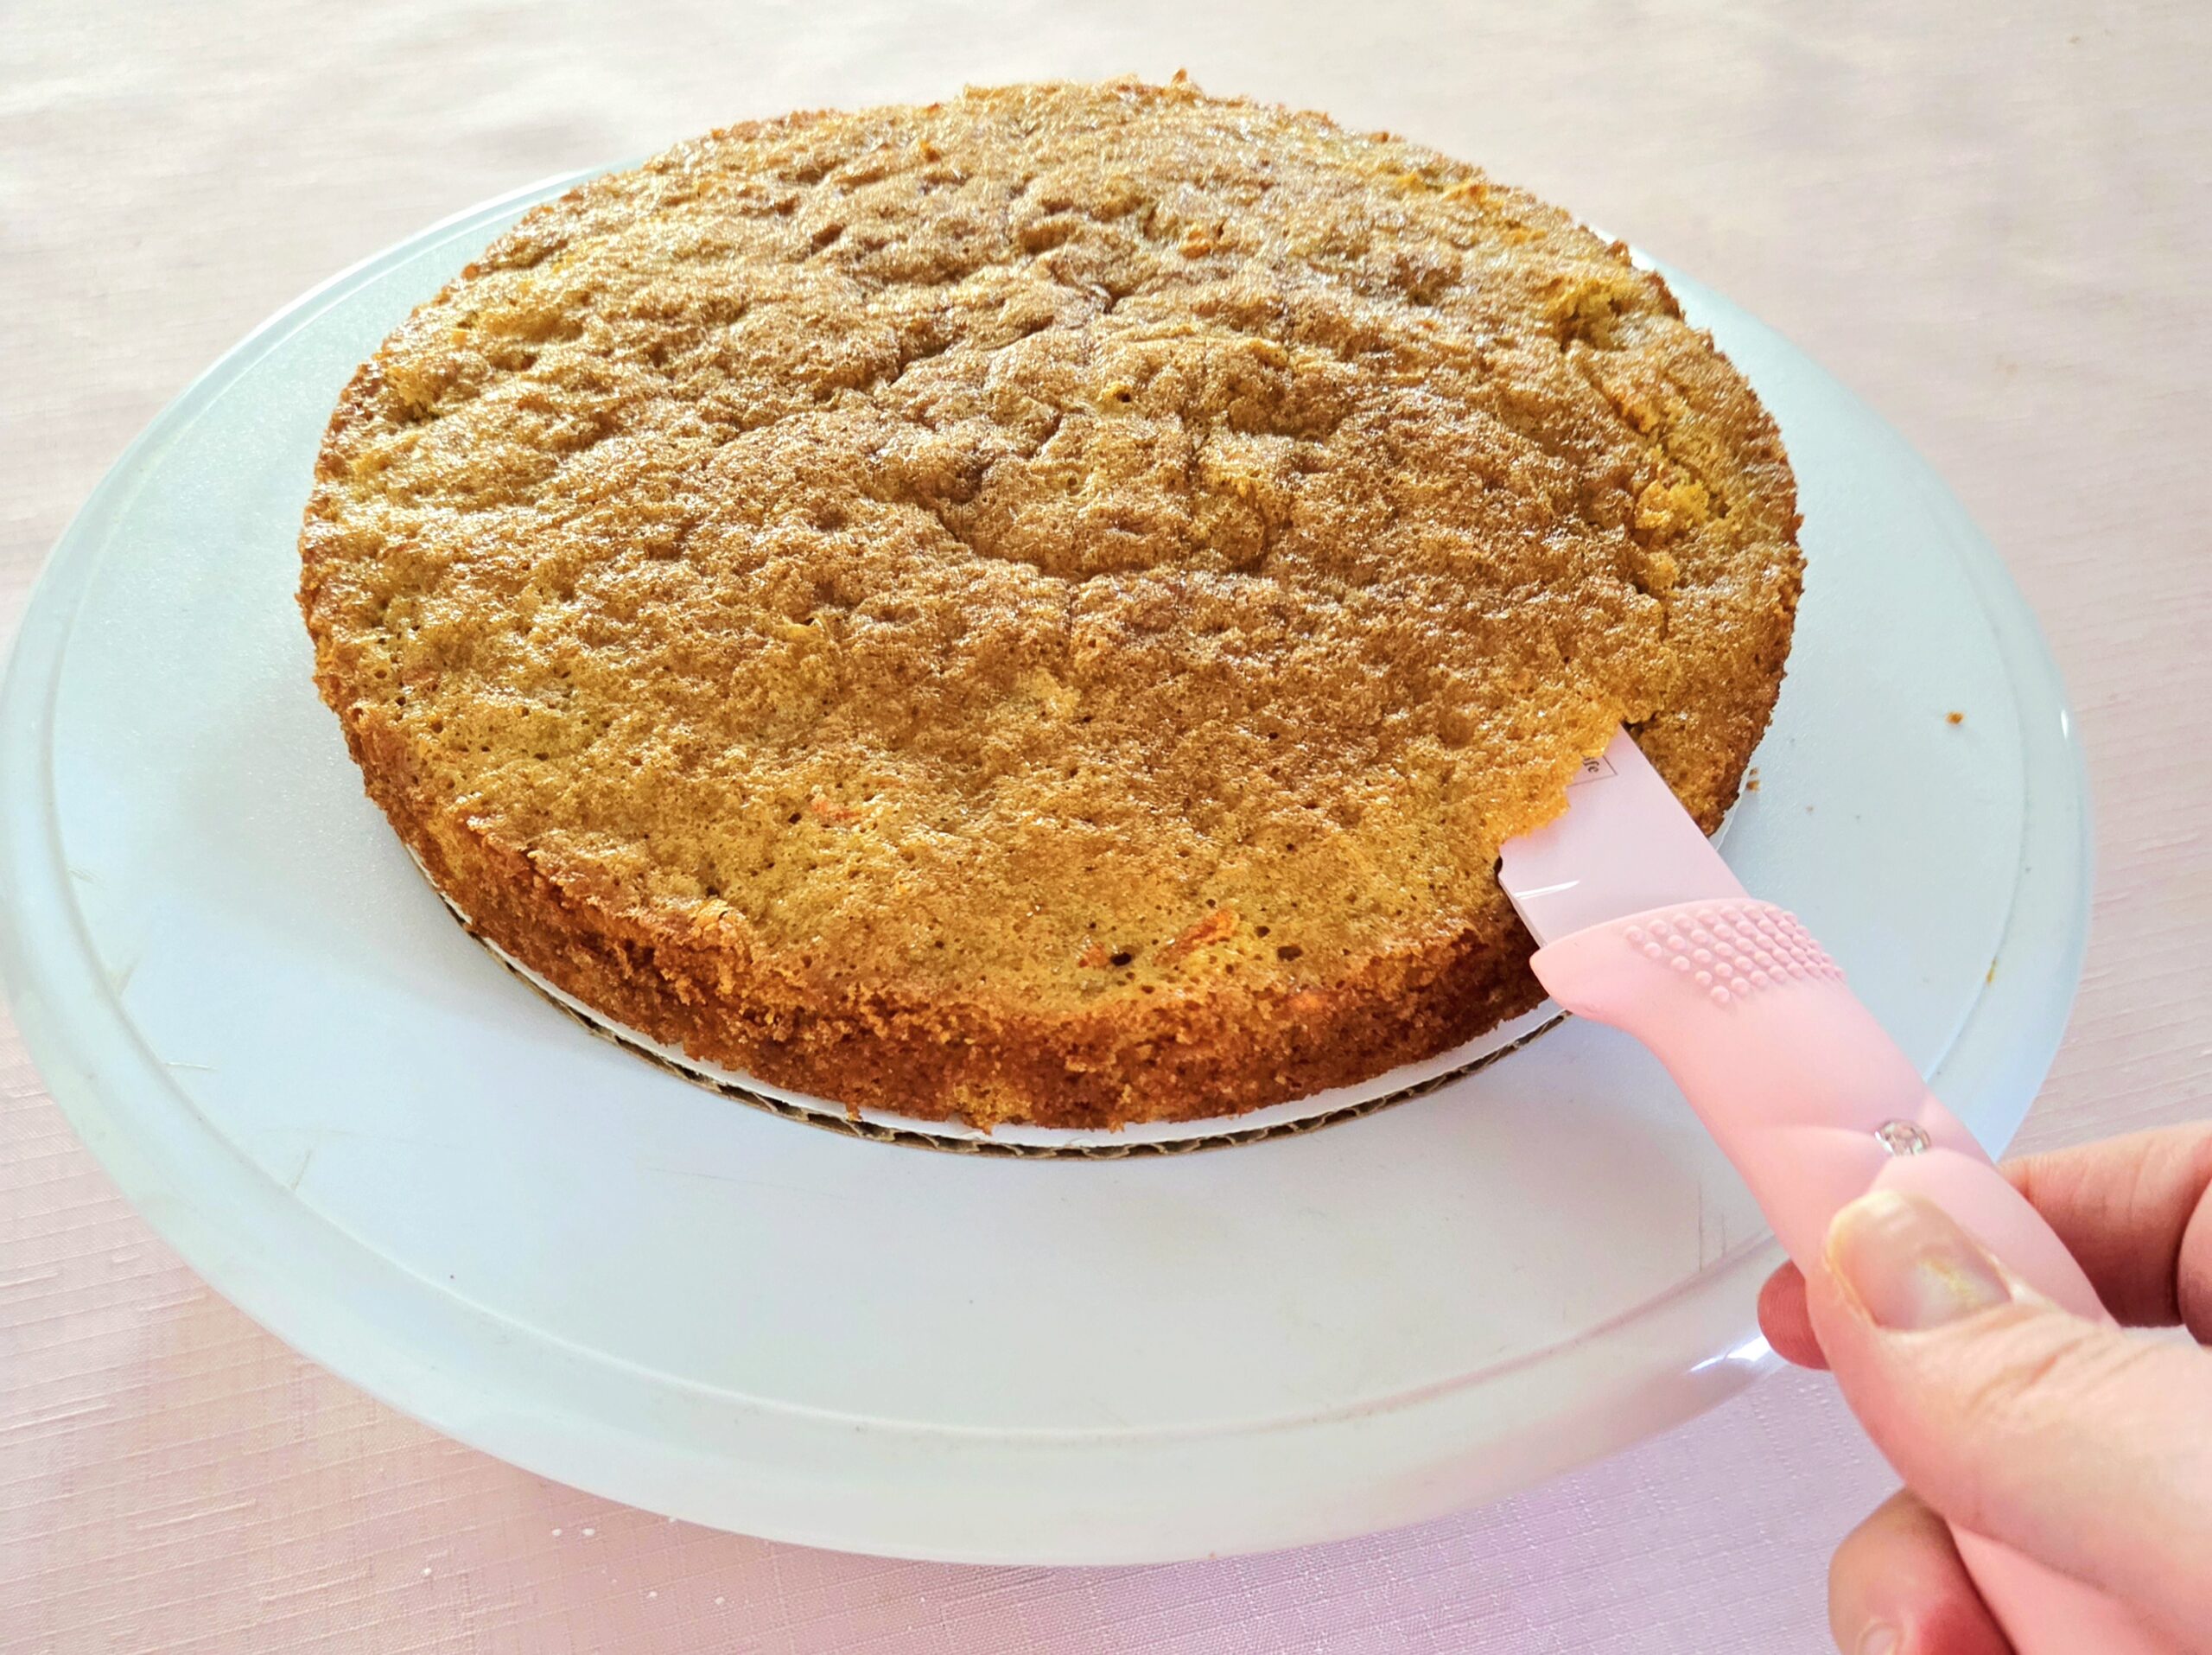
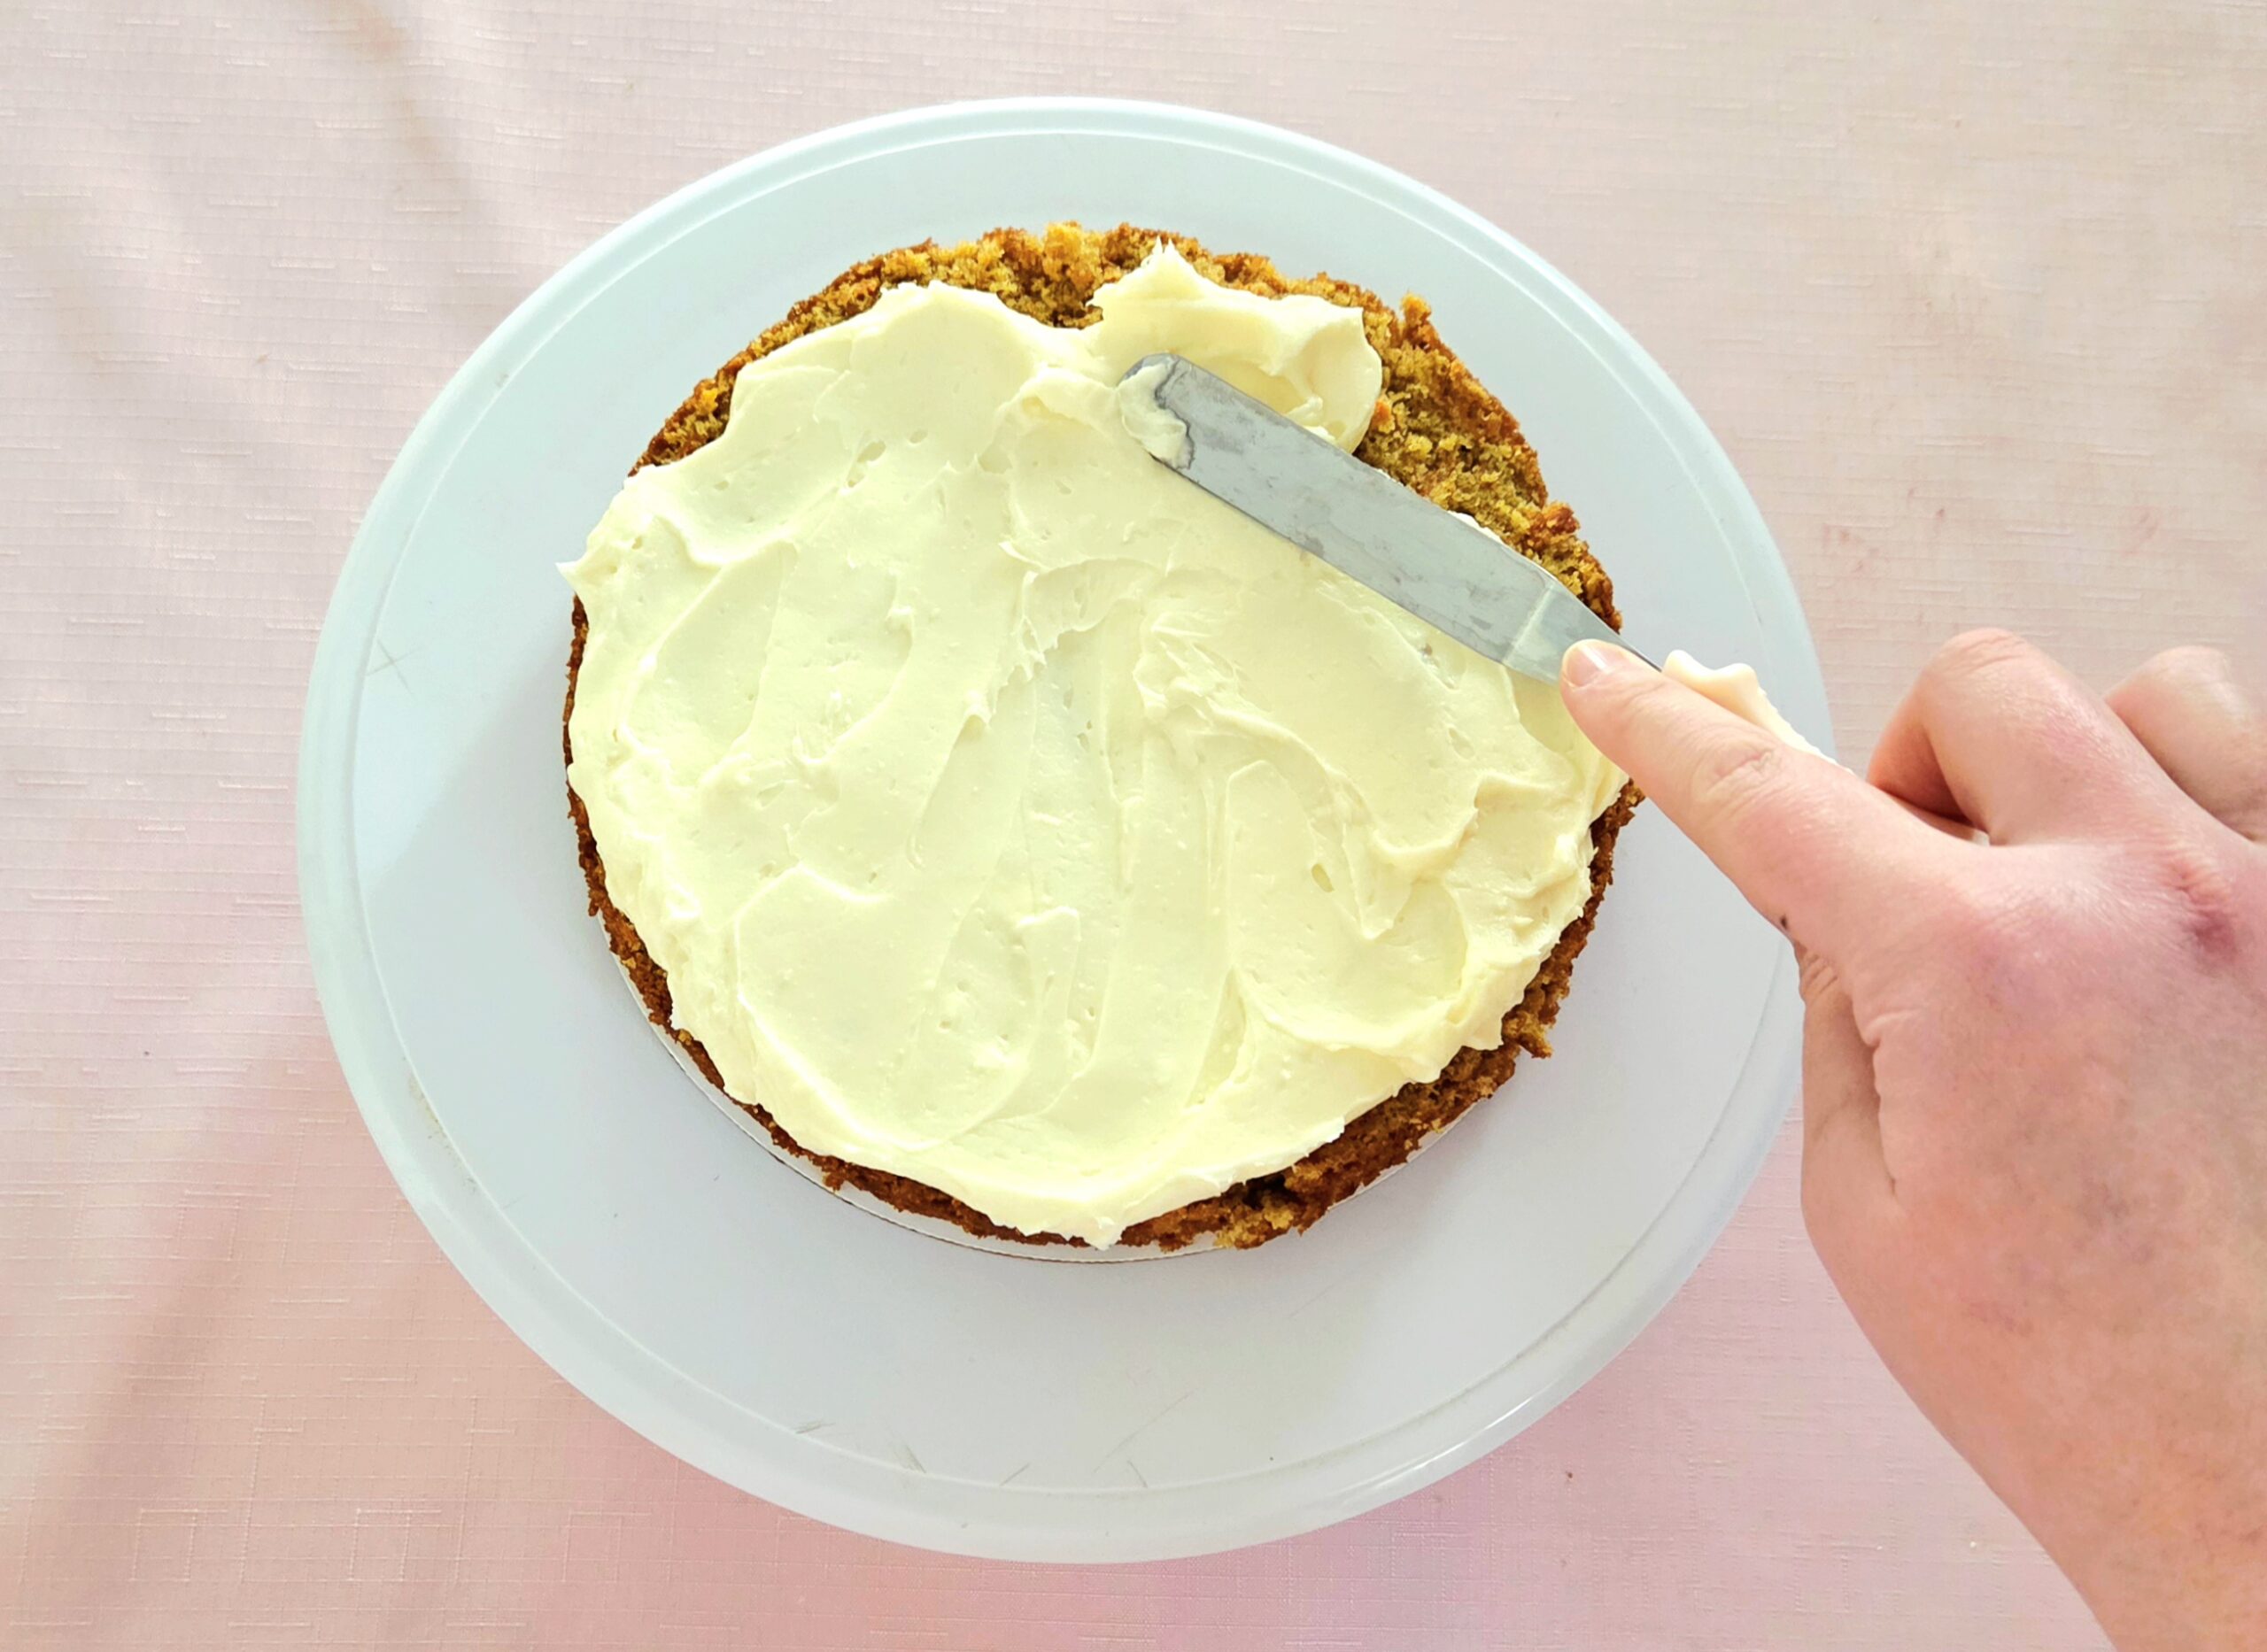
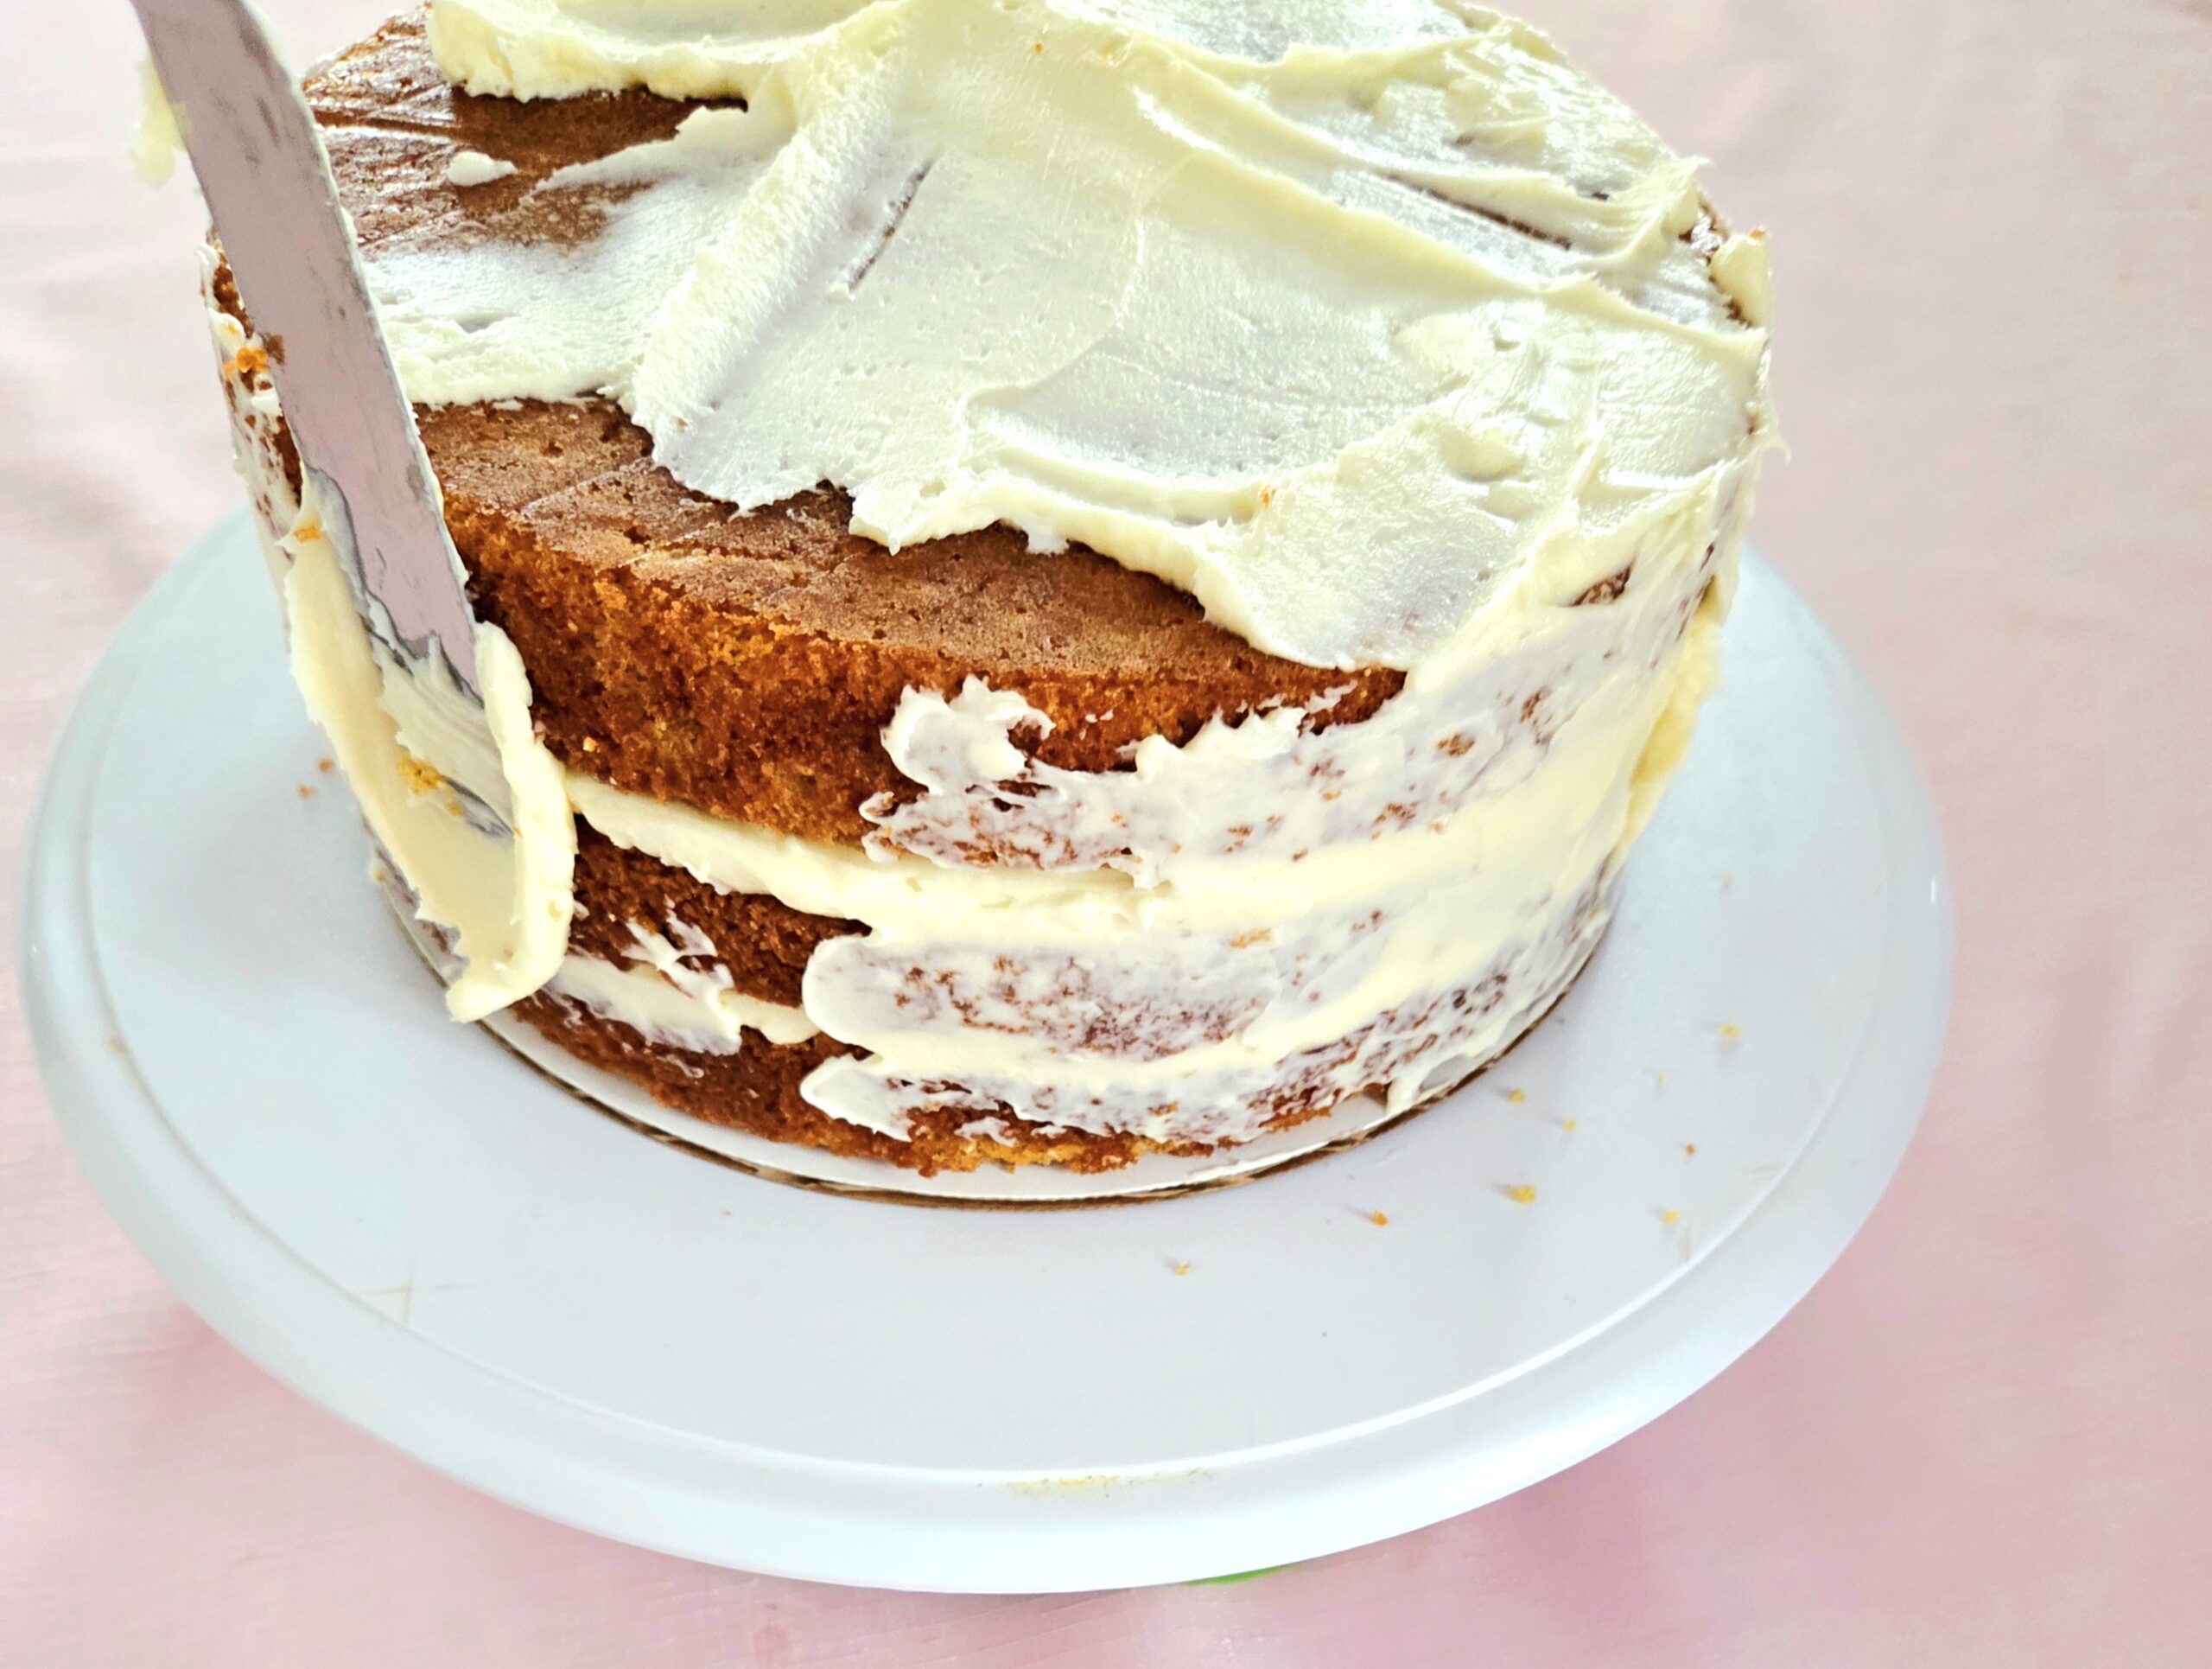
Place the bottom layer on either a cake board, if you’re using one, or the plate you’d like to display the cake on in the end. I recommend using a layer that’s got solid structural integrity, but isn’t the prettiest. The prettiest should always be reserved for the top layer. If you have the turntable, place the bottom layer on top of that. Scoop about ⅕ of the frosting onto the bottom layer and, using an offset spatula or butter knife, spread it around.
Place the second layer on top, and add another ⅕ of the frosting to spread over the top. The middle layer should be the ugliest layer out of the three. If any of the layers ended up cracking, this is where it should go.
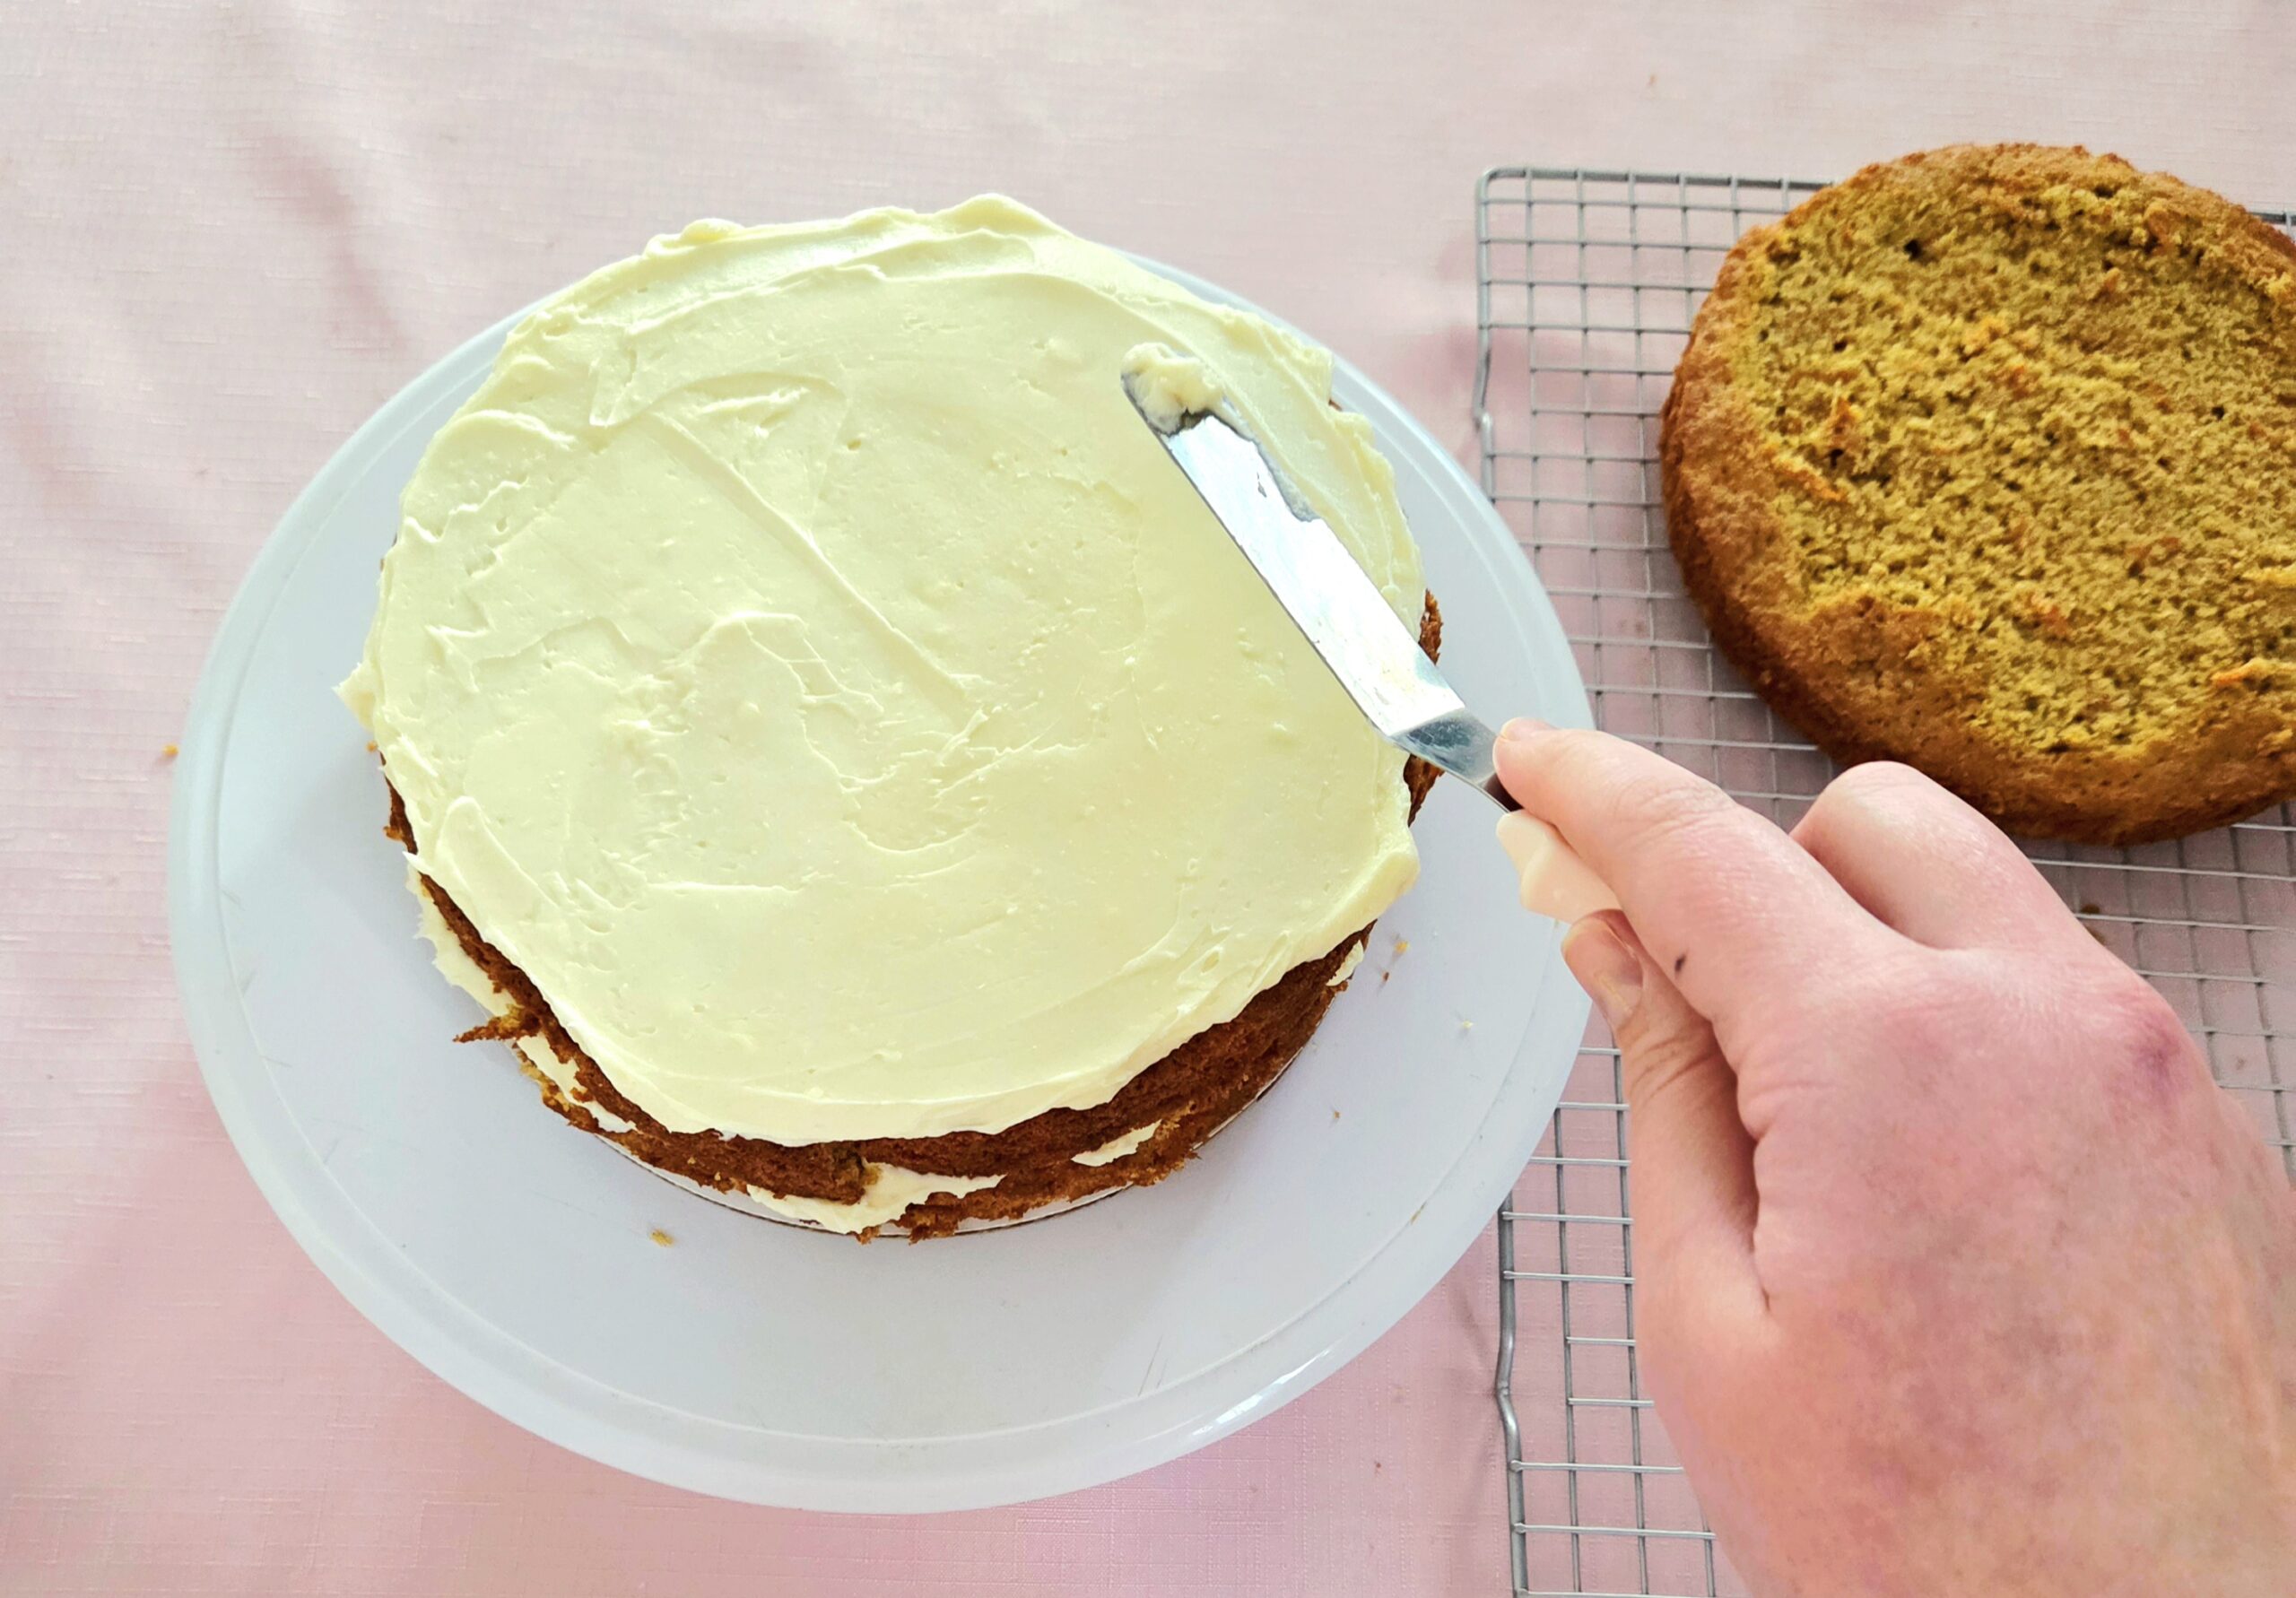
Top the cake off with the final prettiest layer. I recommend flipping it upside down, so the side that had baked in the bottom of the pan and is therefore naturally flat is now the flat top of the cake.
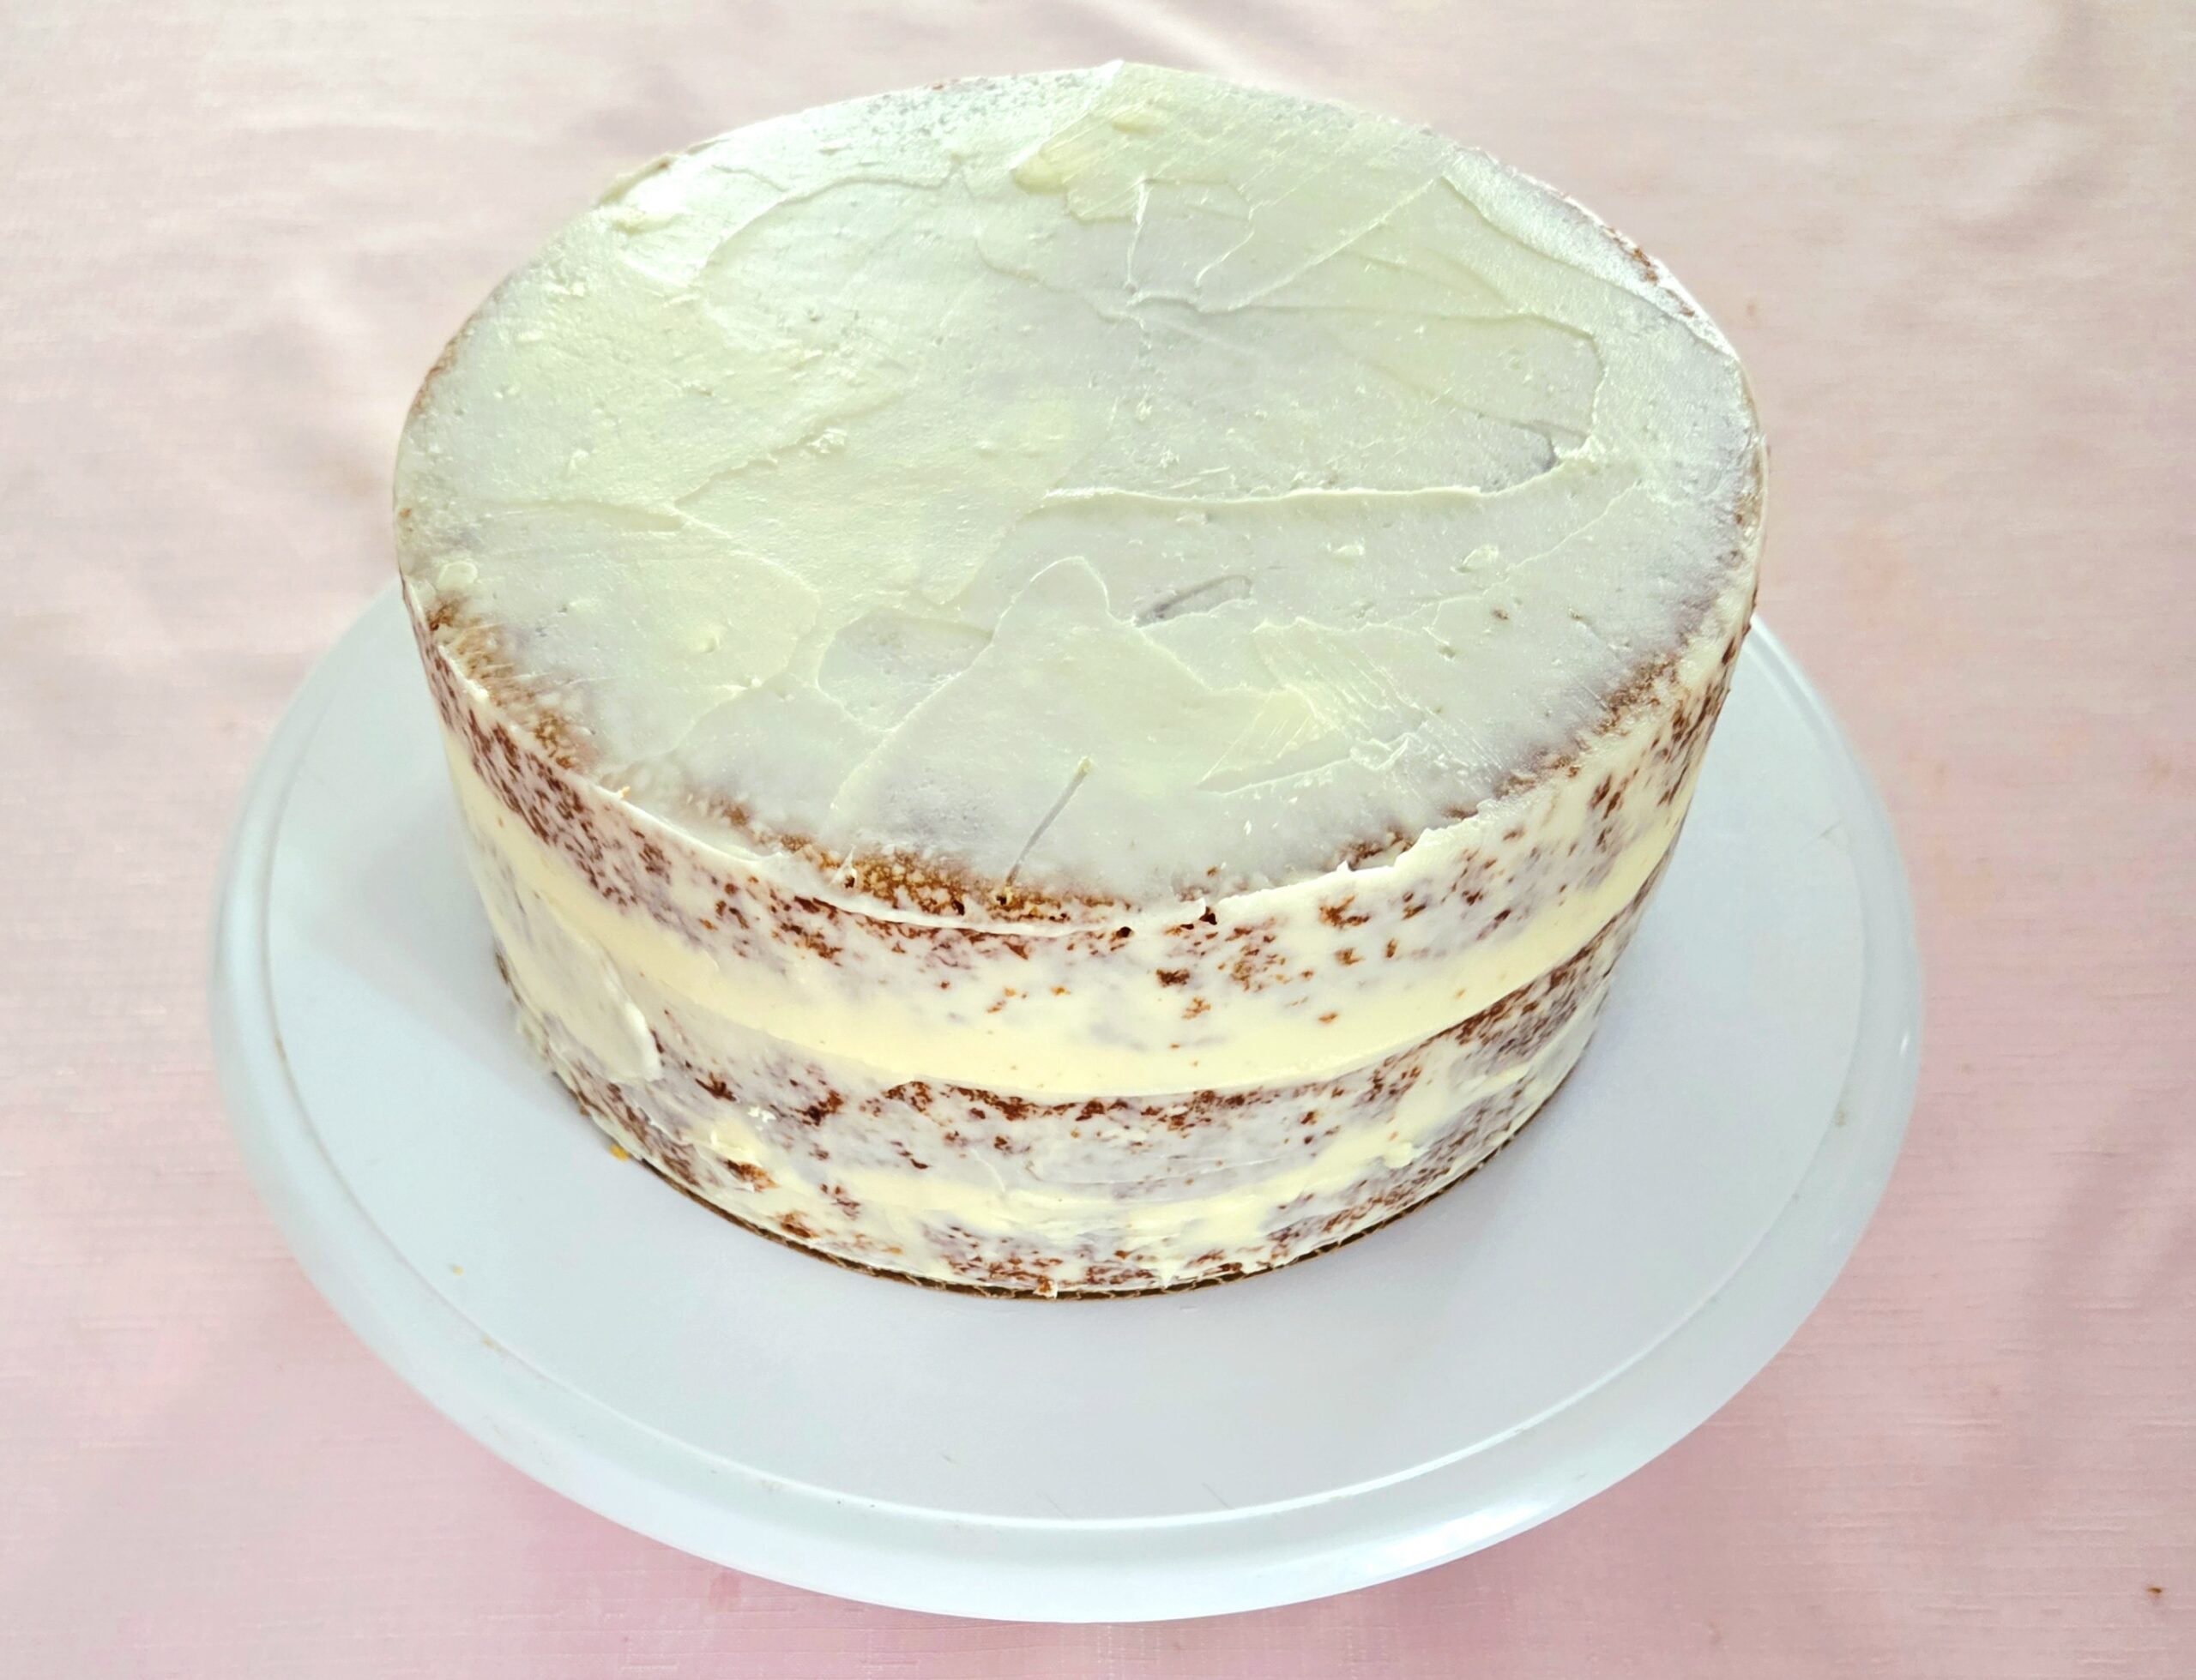
Use about ¼ of the frosting that’s left and spread a very thin layer over the entire outside of the cake. This is what’s known as a crumb coat. Its purpose is to catch any loose crumbs and glue them to the sides of the cake using the frosting, so they don’t end up in the outer layers of frosting.
Place the cake in the fridge for 30-60 minutes, until the crumb coat has firmed up some. Unlike buttercream, cream cheese frosting won’t go completely solid when chilled, but this will still help prevent getting crumbs in the outer layer of frosting.
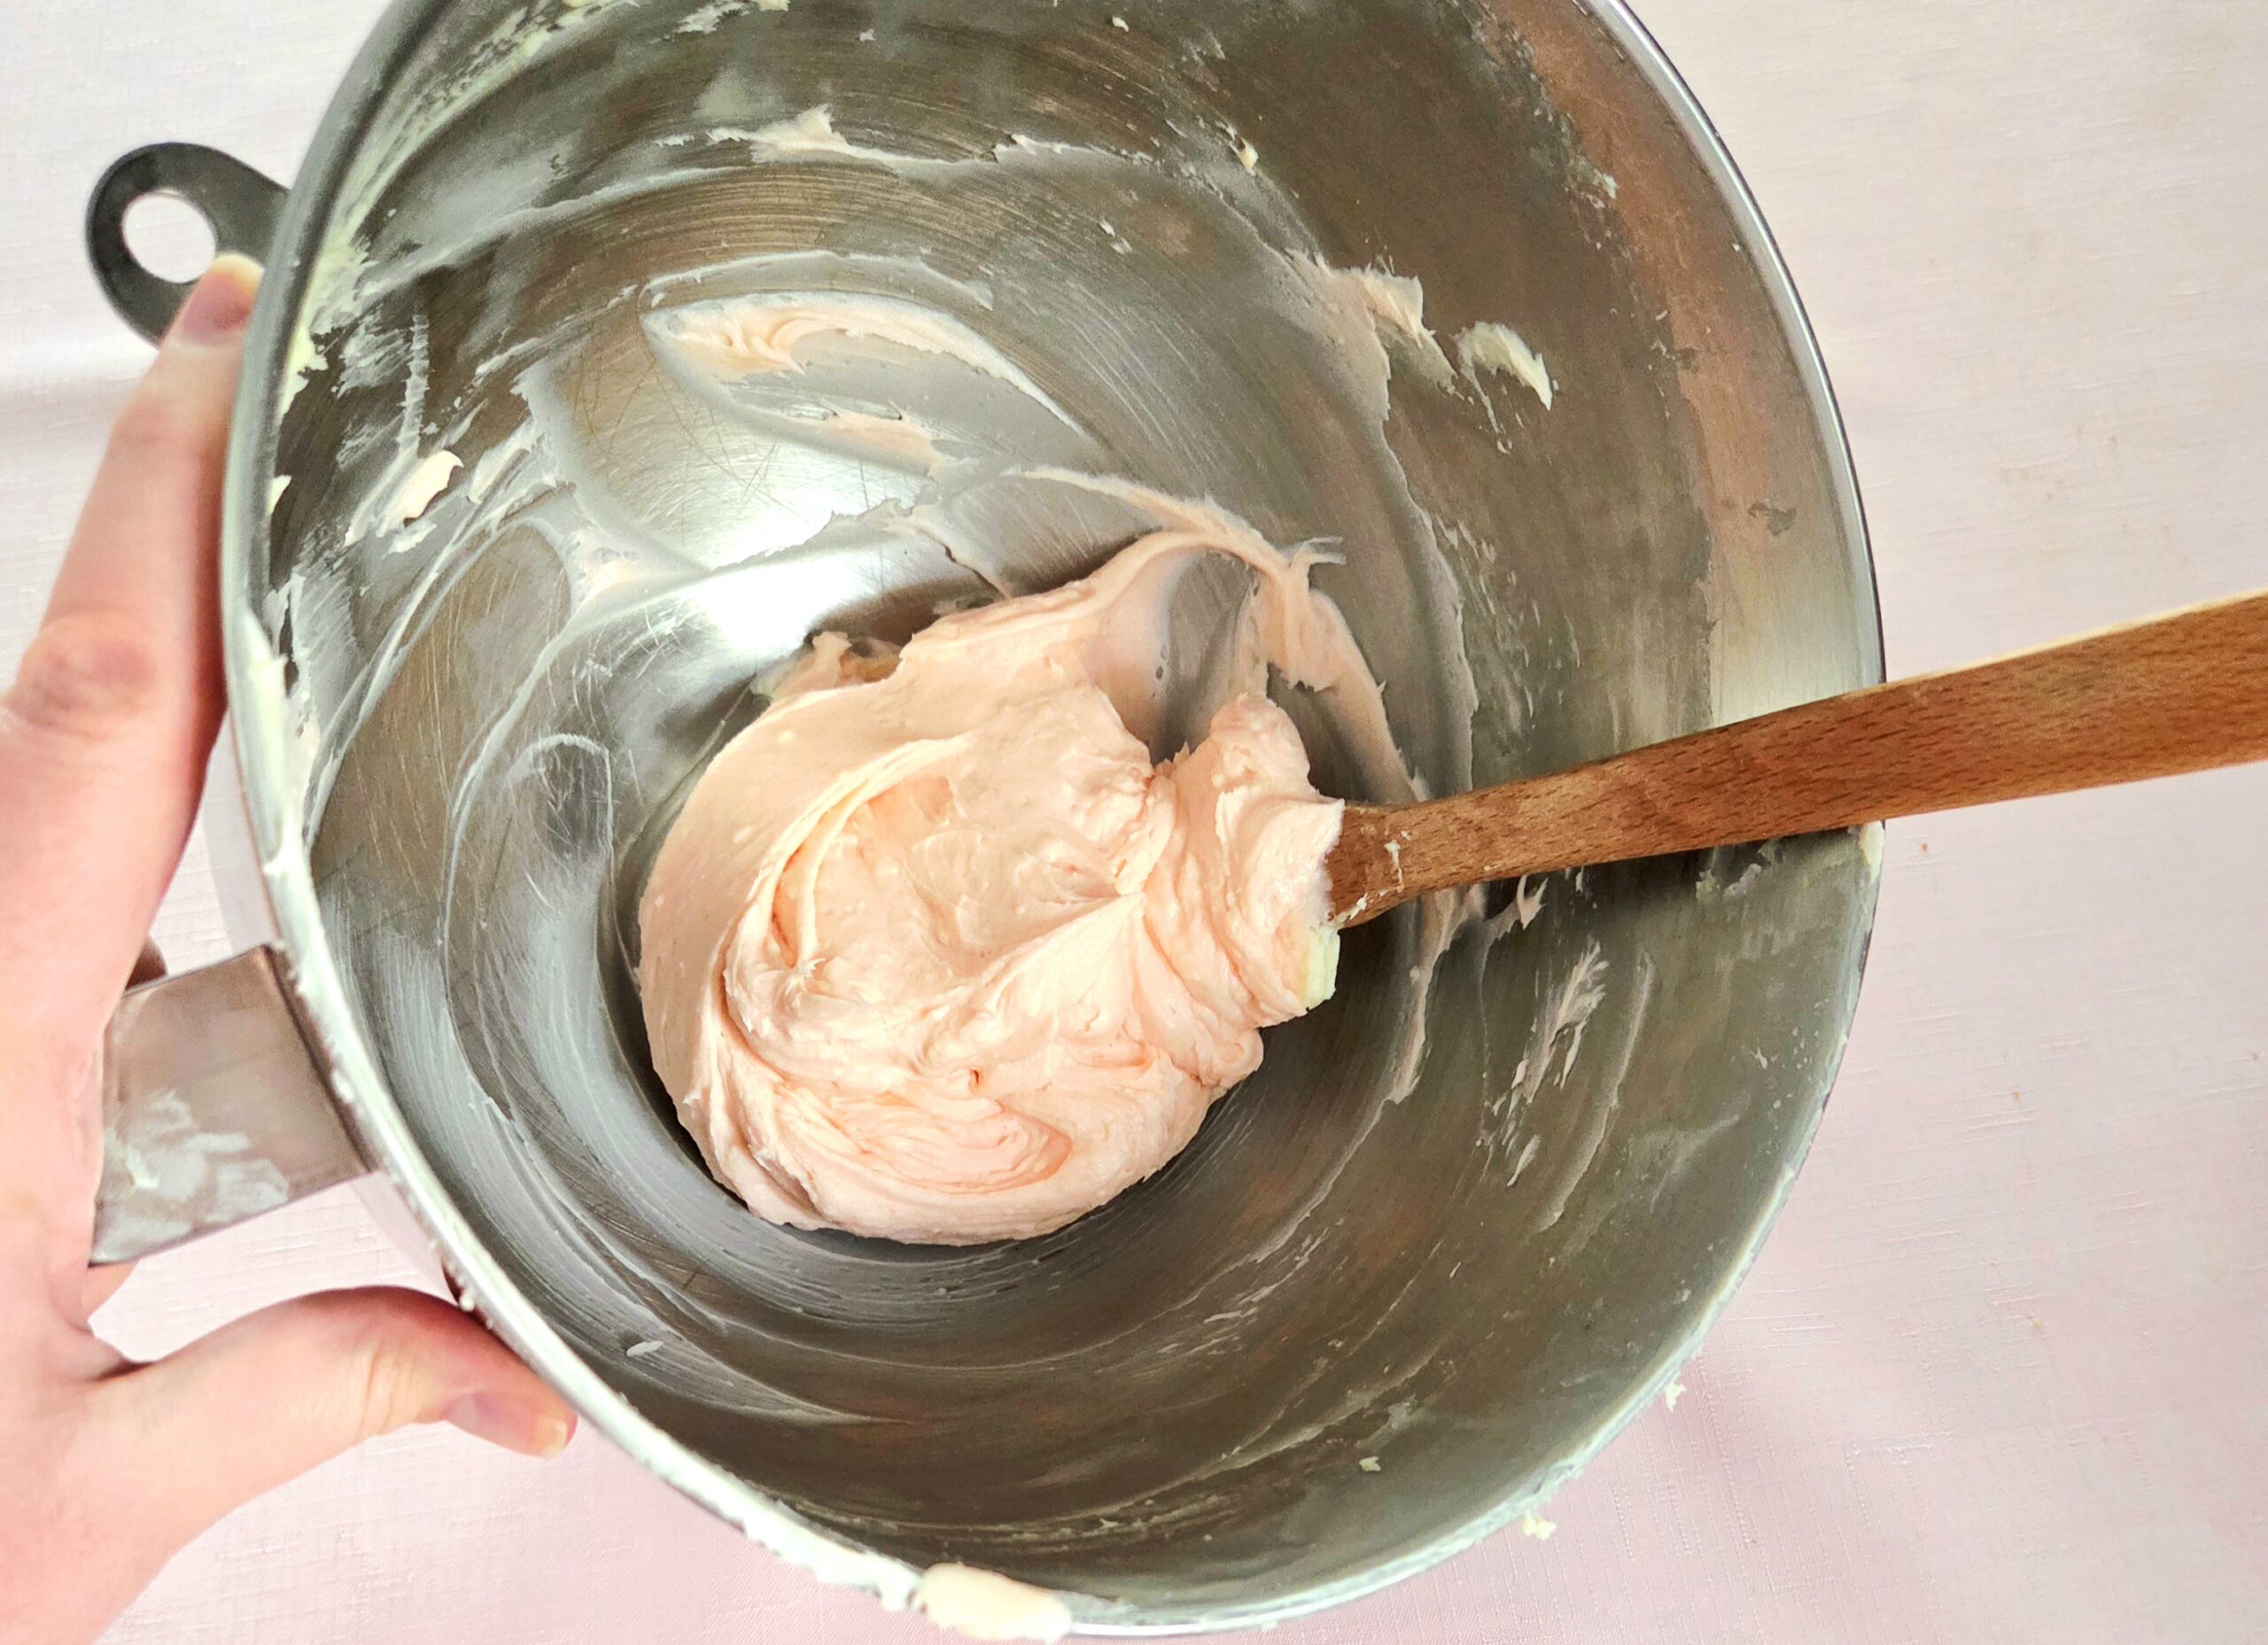
If you’d like different colors of frosting, now is the time to dye it! Keep the bulk of the frosting whichever color you’d like the background of the cake to be, approximately ⅔ of what’s left. Dye the rest in accordance to how much of each you’ll need for the design you’ve got planned. Keep in mind, though, that cream cheese frosting inherently will not hold and showcase super fine, intricate detail. The texture is too gooey for that. Make the design more smooth and bubbly, if you hope for it to look how you’re envisioning.
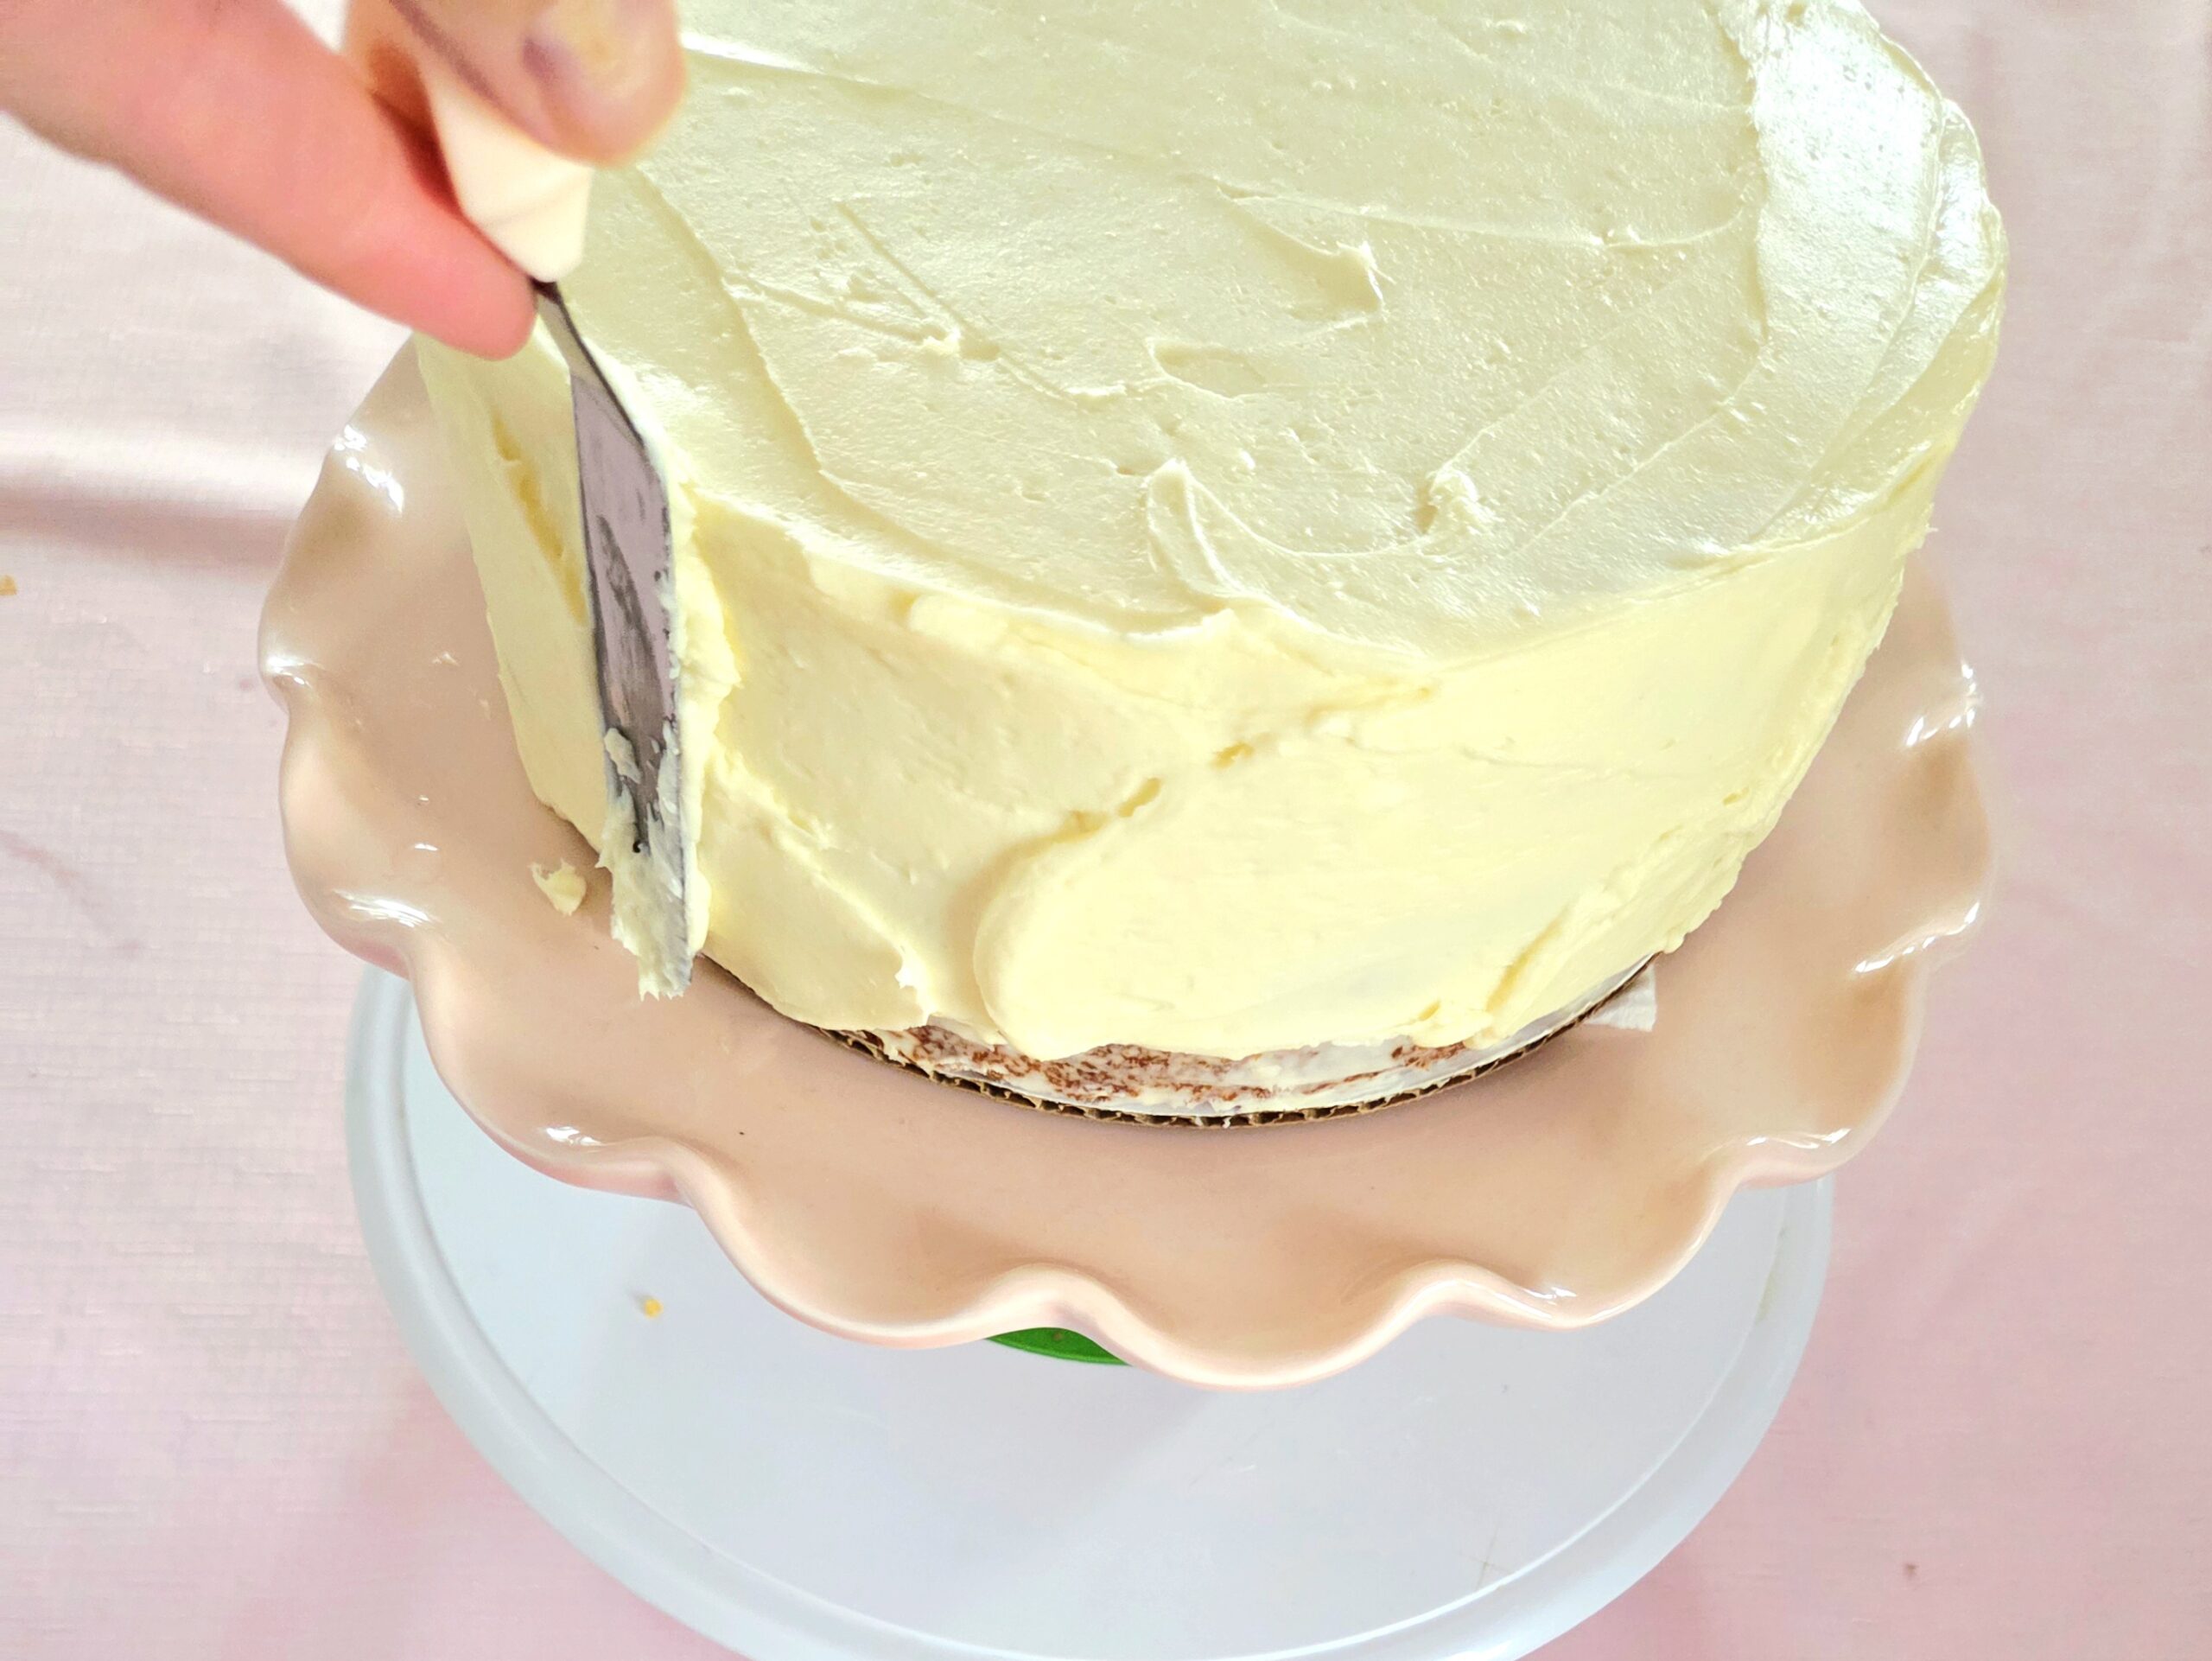
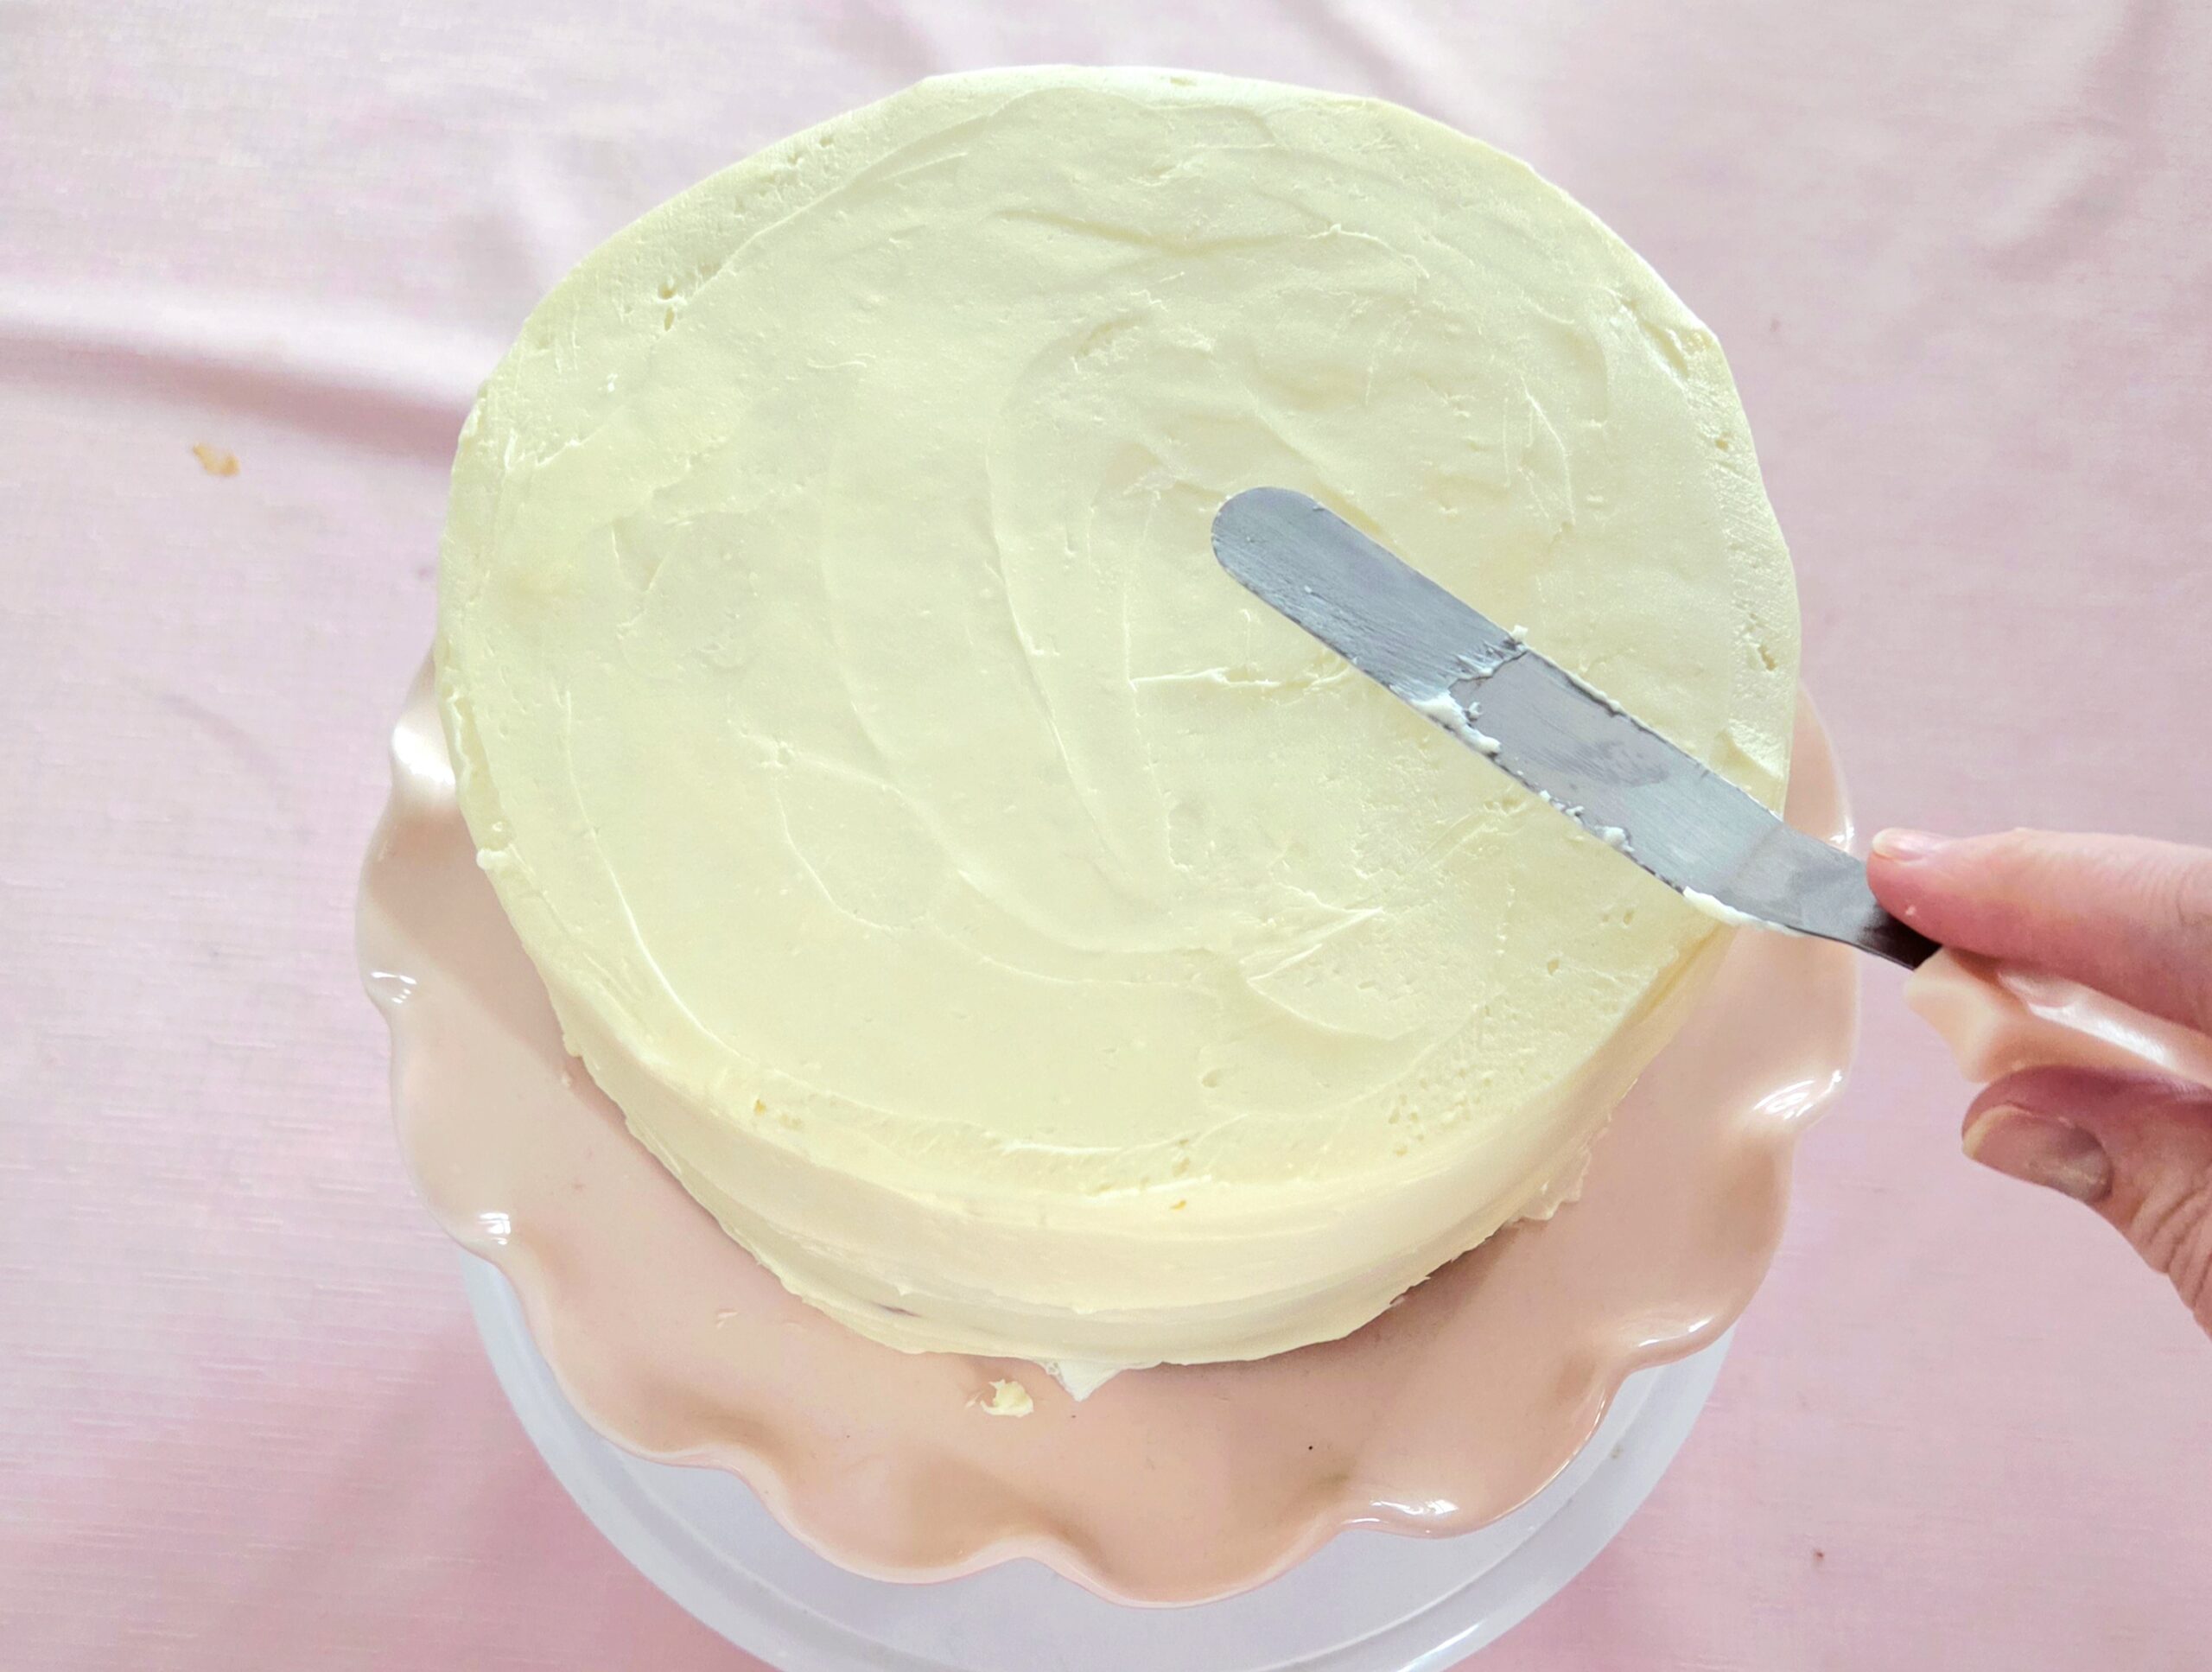
Remove the crumb coated cake from the fridge and plop the background frosting on top. Use an offset spatula or butter knife to spread it out evenly over the entire cake, smoothing it out as best as you can. I, once again, recommend using a turntable to make this happen. It’s genuinely the only way to get things very smooth, but it’s entirely up to you.
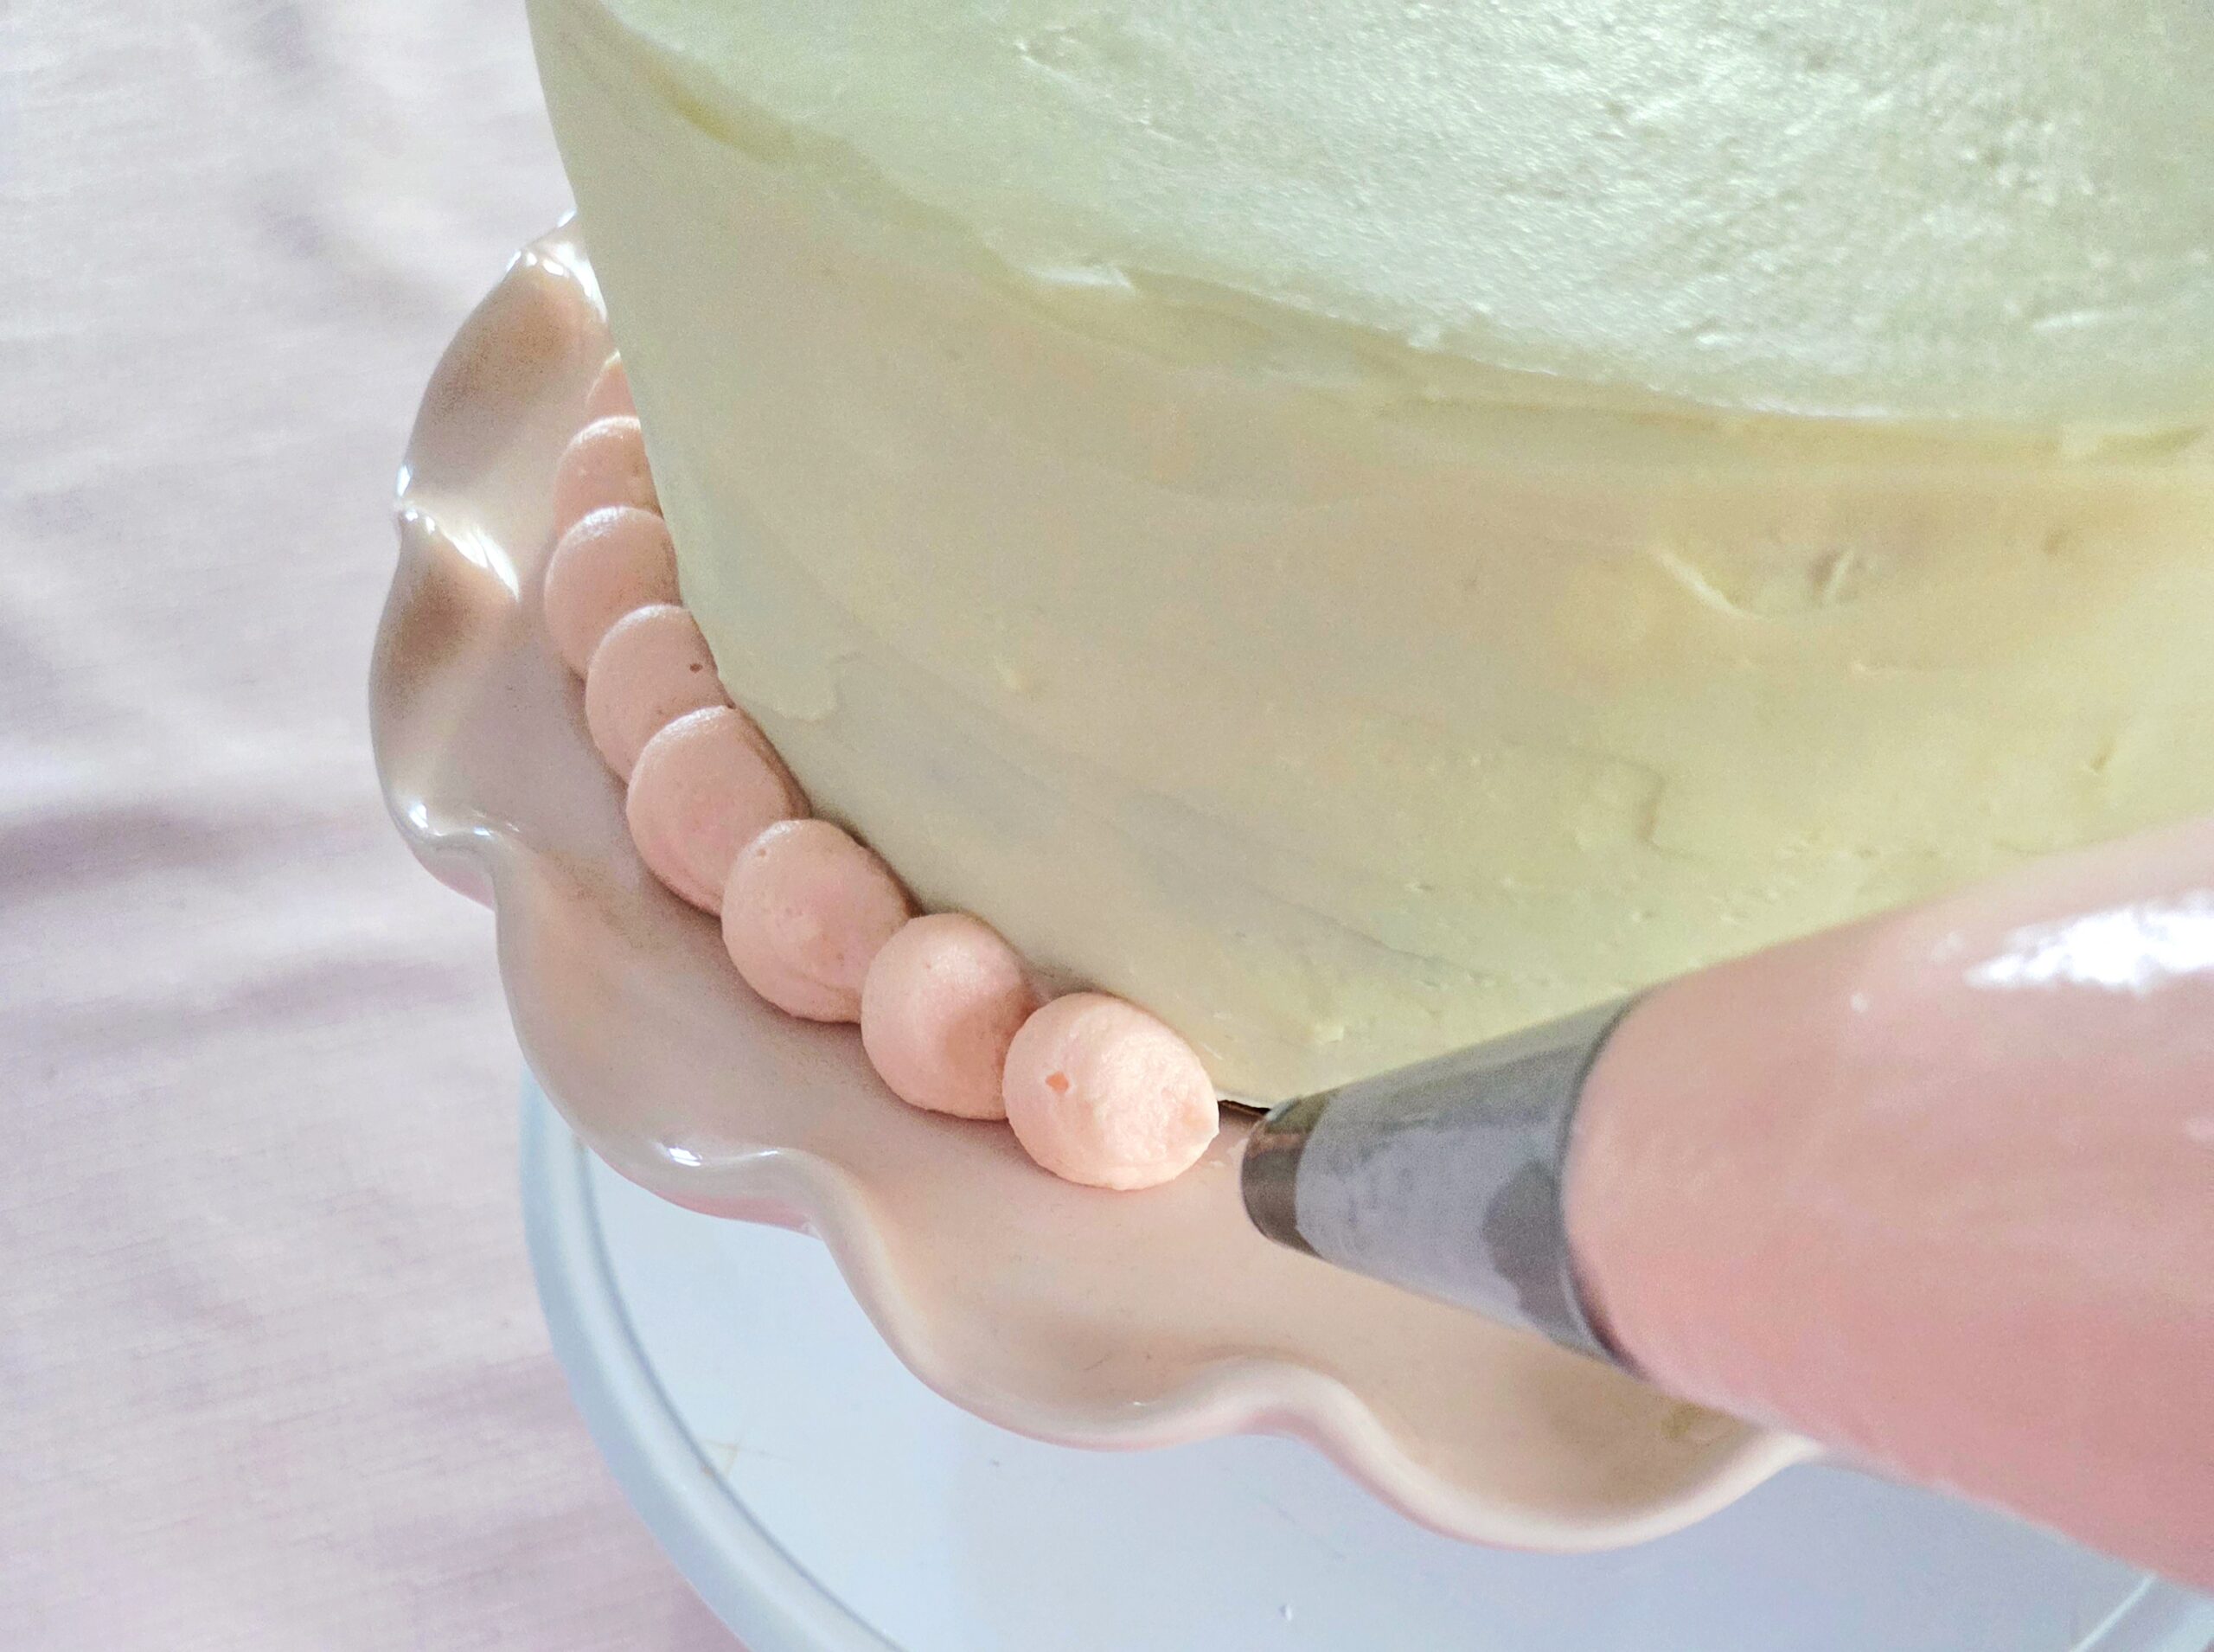
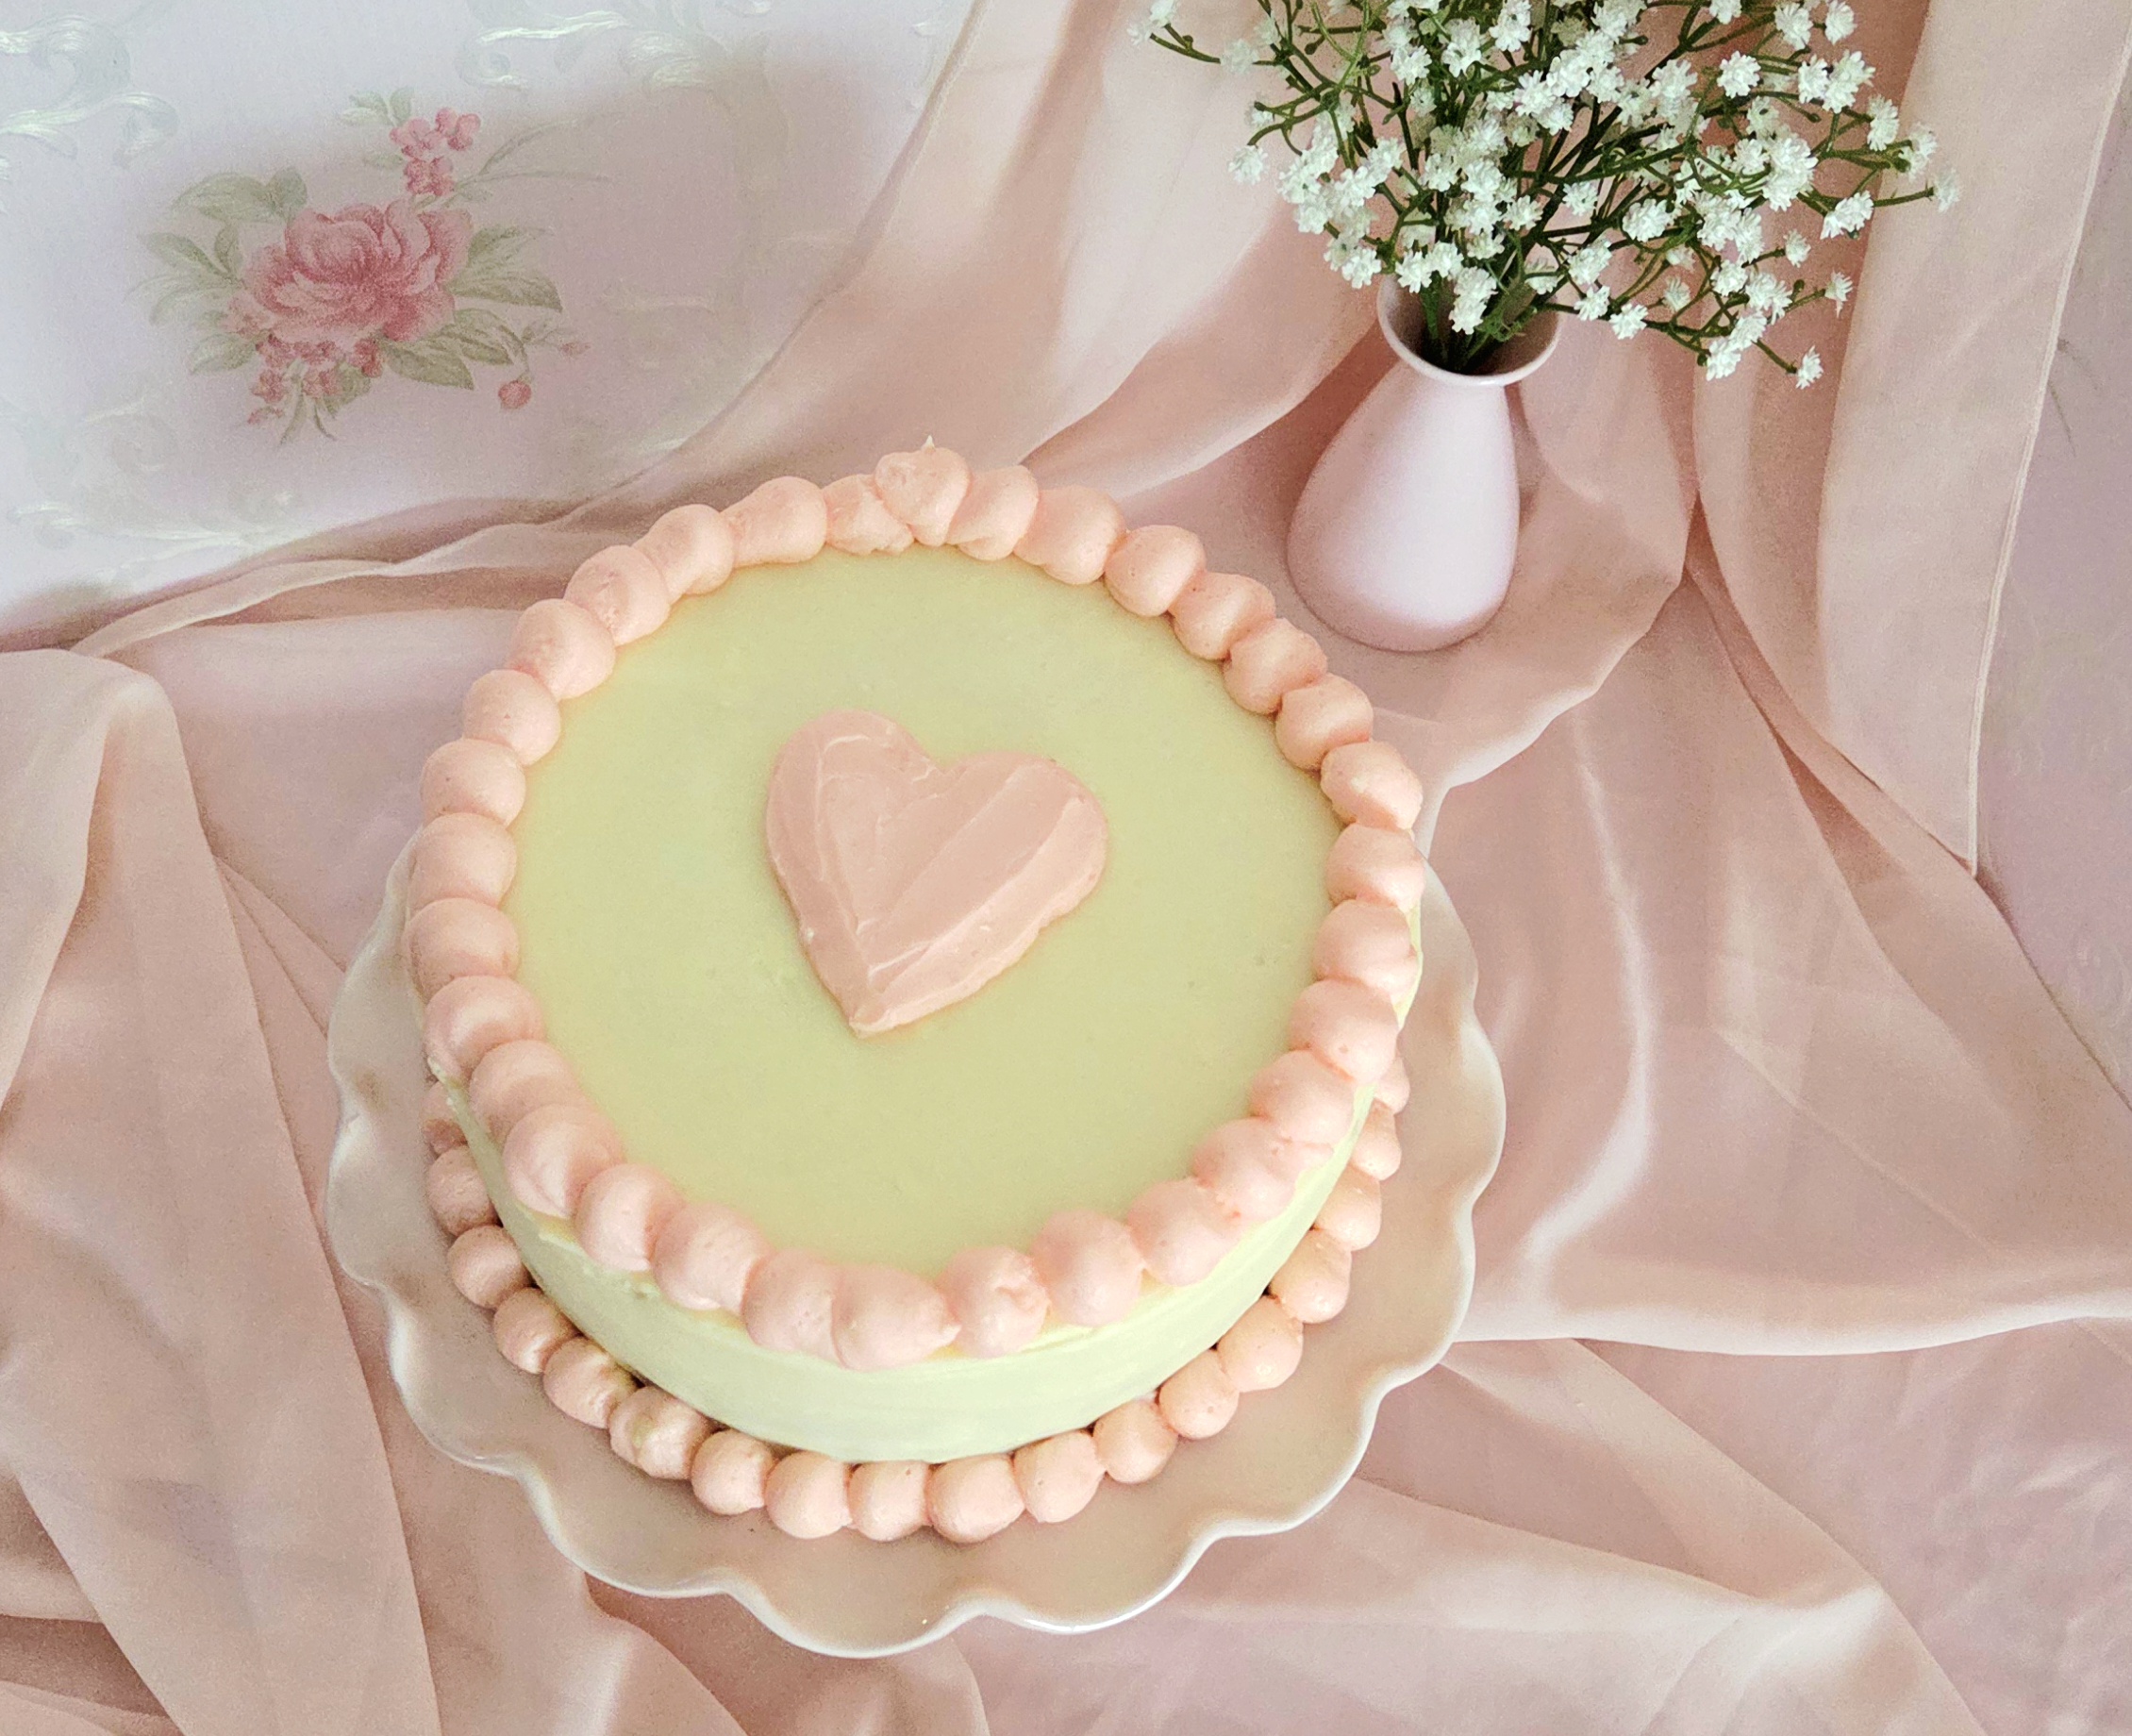
Place the remaining frosting into piping bags, fitted with the tips you need for the design you’ve come up with. I went with a large, round tip for a pearl-like border along the bottom and top, and a simple heart, but you are the captain of your cake! Just keep in mind what I’ve mentioned previously, cream cheese frosting will not show sharp, intricate details.
Store the cake in the fridge up until an hour or so before you’re ready to serve it. Any leftover cake should be kept in an airtight container in the fridge for up to 3 days. Slice up, and enjoy!
Carrot Cake
Bake Time: 350F for 25-30 minutes/40-45 minutes
Servings: 12 Slices
Total Time: 3 Hours
Prep Time: 60 Minutes
Ingredients
Batter:
- 2 ½ cups cake flour
- 2 teaspoons cinnamon
- 1 teaspoon salt
- 1 teaspoon baking powder
- ½ teaspoon baking soda
- 12 Tablespoons unsalted butter, softened
- 1 ½ cups granulated sugar
- 2 large eggs, room temperature
- 2 large egg yolks, room temperature
- 1 teaspoon vanilla extract
- ½ cup whole milk
- 3 cups grated carrots
Frosting:
- 32 oz full fat cream cheese, softened
- 12 Tablespoons unsalted butter, softened
- 2 ½ cups powdered sugar
- 2 teaspoons vanilla extract
- ½ teaspoon salt
Directions:
Batter:
- Begin with the sponge of the cake. Preheat the oven to 350F, on the convection setting if possible, and prepare the cake pans. Line the bottom of either three 8-inch pans that are 1-inch high, or two 8-inch pans, one of which is 3 inches high, with parchment paper. Pans with straight sides work best, for any layer cake. Spray the sides of the pans with a nonstick baking spray, and set the pans aside.
- In a medium mixing bowl, sift together the cake flour, cinnamon, salt, baking powder, and baking soda. Toss in the grated carrots, give them a quick whisk, then set the dry goods aside.
- In the bowl of a stand mixer fitted with the paddle attachment, cream together the softened butter and sugar on level 3 for 5 minutes or so. It should go from a pale yellow to almost white in color, and become very fluffy. Stop the mixer and, using a rubber spatula, scrape down the sides of the bowl to bring the butter mixture to the center.
- Crack in the eggs, egg yolks, and vanilla, one at a time, and beat them in on level 3 for a minute or so. Wait for the batter to absorb the first egg before adding the next. Scrape down the sides of the bowl as needed between eggs. Stop the mixer.
- Gently pour ⅓ of the dry goods into the batter and turn it on to level 1 for 30 seconds or so, until most of the flour absorbs but a few streaks remain. Pour in ½ of the milk. Pause the mixer, scrape down the sides of the bowl, and add another ⅓ of the dry goods. Turn the mixer to level 1 for another 30 seconds, then pour in the rest of the milk. Stop the mixer, scrape down the sides of the bowl, and dump in the last of the dry goods. Mix one level 1 for another minute, until all of the dry goods have been absorbed. Turn the mixer off, scrape down the sides of the bowl, then beat the batter on level 3 for 30 seconds more.
- If using 3 pans, divide the batter evenly between them. Place two on the center rack of the oven, and one on the bottom rack. Bake for 25-30 minutes, or until a toothpick poked in the center comes out clean, flipping halfway through.
- If using two pans, pour ⅔ of the batter into the deeper pan and ⅓ into the more shallow. Place both pans on the center rack of the oven. Bake the shallow pan for 25-30 minutes and the deep for 40-45, flipping halfway through, or until a toothpick poked in the center comes out clean.
- Immediately, run a butter knife along the edge of the pans to loosen the cake, then flip each layer onto a cooling rack. Flip them once more, so the flat bottom is against the rack. Prepare the frosting while the layers cool completely.
Frosting:
- As the cake layers cool to room temperature, begin working on the frosting. In a stand mixer fitted with the paddle attachment, begin creaming the softened cream cheese and butter on level 3 for a few minutes. Using a rubber spatula, scrape down the sides of the bowl.
- Remove the bowl from the stand mixer and sifter the powdered sugar directly over top. Add in the salt and vanilla extract, then return the bowl to the mixer. Begin the mixer on level 1, then slowly increase the speed to level 3 as the powdered sugar gets absorbed. Beat the frosting on level 3 for about a minute, or until everything is thoroughly combined. Set the frosting aside until the cake is ready to be assembled.
Assembly:
- Once the cake layers are cold to the touch, the cake is ready to be assembled. Using a large bread knife, carefully cut the hump off of the top of each layer (if there is one) so each one is now flat.
- If you baked 3 separate layers, move onto the next step now. If you baked two, divide the larger of the two layers in half using a large bread knife. Separate the layers, so there are now 3 in front of you.
- If you’re using a cake board, place the bottom layer onto it. Otherwise, arrange it onto the center of the plate you’ll display the cake on. Spread about ¼ of the frosting onto the bottom layer, then put the middle layer on top. Spread another ¼ of the frosting onto that layer, then place the top layer on.
- Use about ¼ of what’s left to spread a very thin layer of frosting over the entire surface of the cake, using an offset spatula or butter knife. Place the cake in the fridge for 30-60 minutes.
- If you’d like, now is the time to divide up the frosting and color it how you’d like to. Use ⅔ of the remaining frosting to spread a thick, even layer over the entire cake. Use the butter knife or offset spatula to smooth it as best as you can.
- Place the remaining frosting into a piping bag fitted with the tip to fit the design you’ve come up with. I went with a round tip to pipe a decorative border along the edges. Add writing or whichever decorations you’d like, keeping in mind that cream cheese frosting won’t show intricate details the way that buttercream does.
- Store the cake in the fridge until about an hour before you’re ready to serve, then place any leftovers in an airtight container in the fridge. The cake will stay good for up to 3 days, dig in and enjoy!
Tips
- To make your cake decorating infinitely easier, invest in a cake turntable, offset spatula, and piping bags, either disposable or reusable. It can, of course, be done with none of these things. Frosting can be spread with a butter knife as you turn the plate by hand, a zip top bag can be fitted with a piping tip. But if you’re someone who bakes a cake even a few times a year and wants to take it somewhat seriously, these are tools that will take away so much of the headache of baking a layer cake.
- To get a more smooth finish when applying frosting to the outside of a cake, try using a bench scraper instead of an offset spatula while spinning the cake on a turntable! It’s a straight edge all the way down, so won’t give that rounded gap at the base of the cake.
- The sponge of the cake can be frozen ahead of time to assemble a cake later on! Follow the recipe through step 8 of the batter baking section, then allow each layer to cool completely on the rack. Once cooled, thoroughly wrap each layer in plastic so it’s airtight, then carefully place them into the freezer so they’re flat and nothing is pressing into them. Store the layers there for up to 3 months, then thaw them gently on the counter the night before assembling a cake.

0 Comments