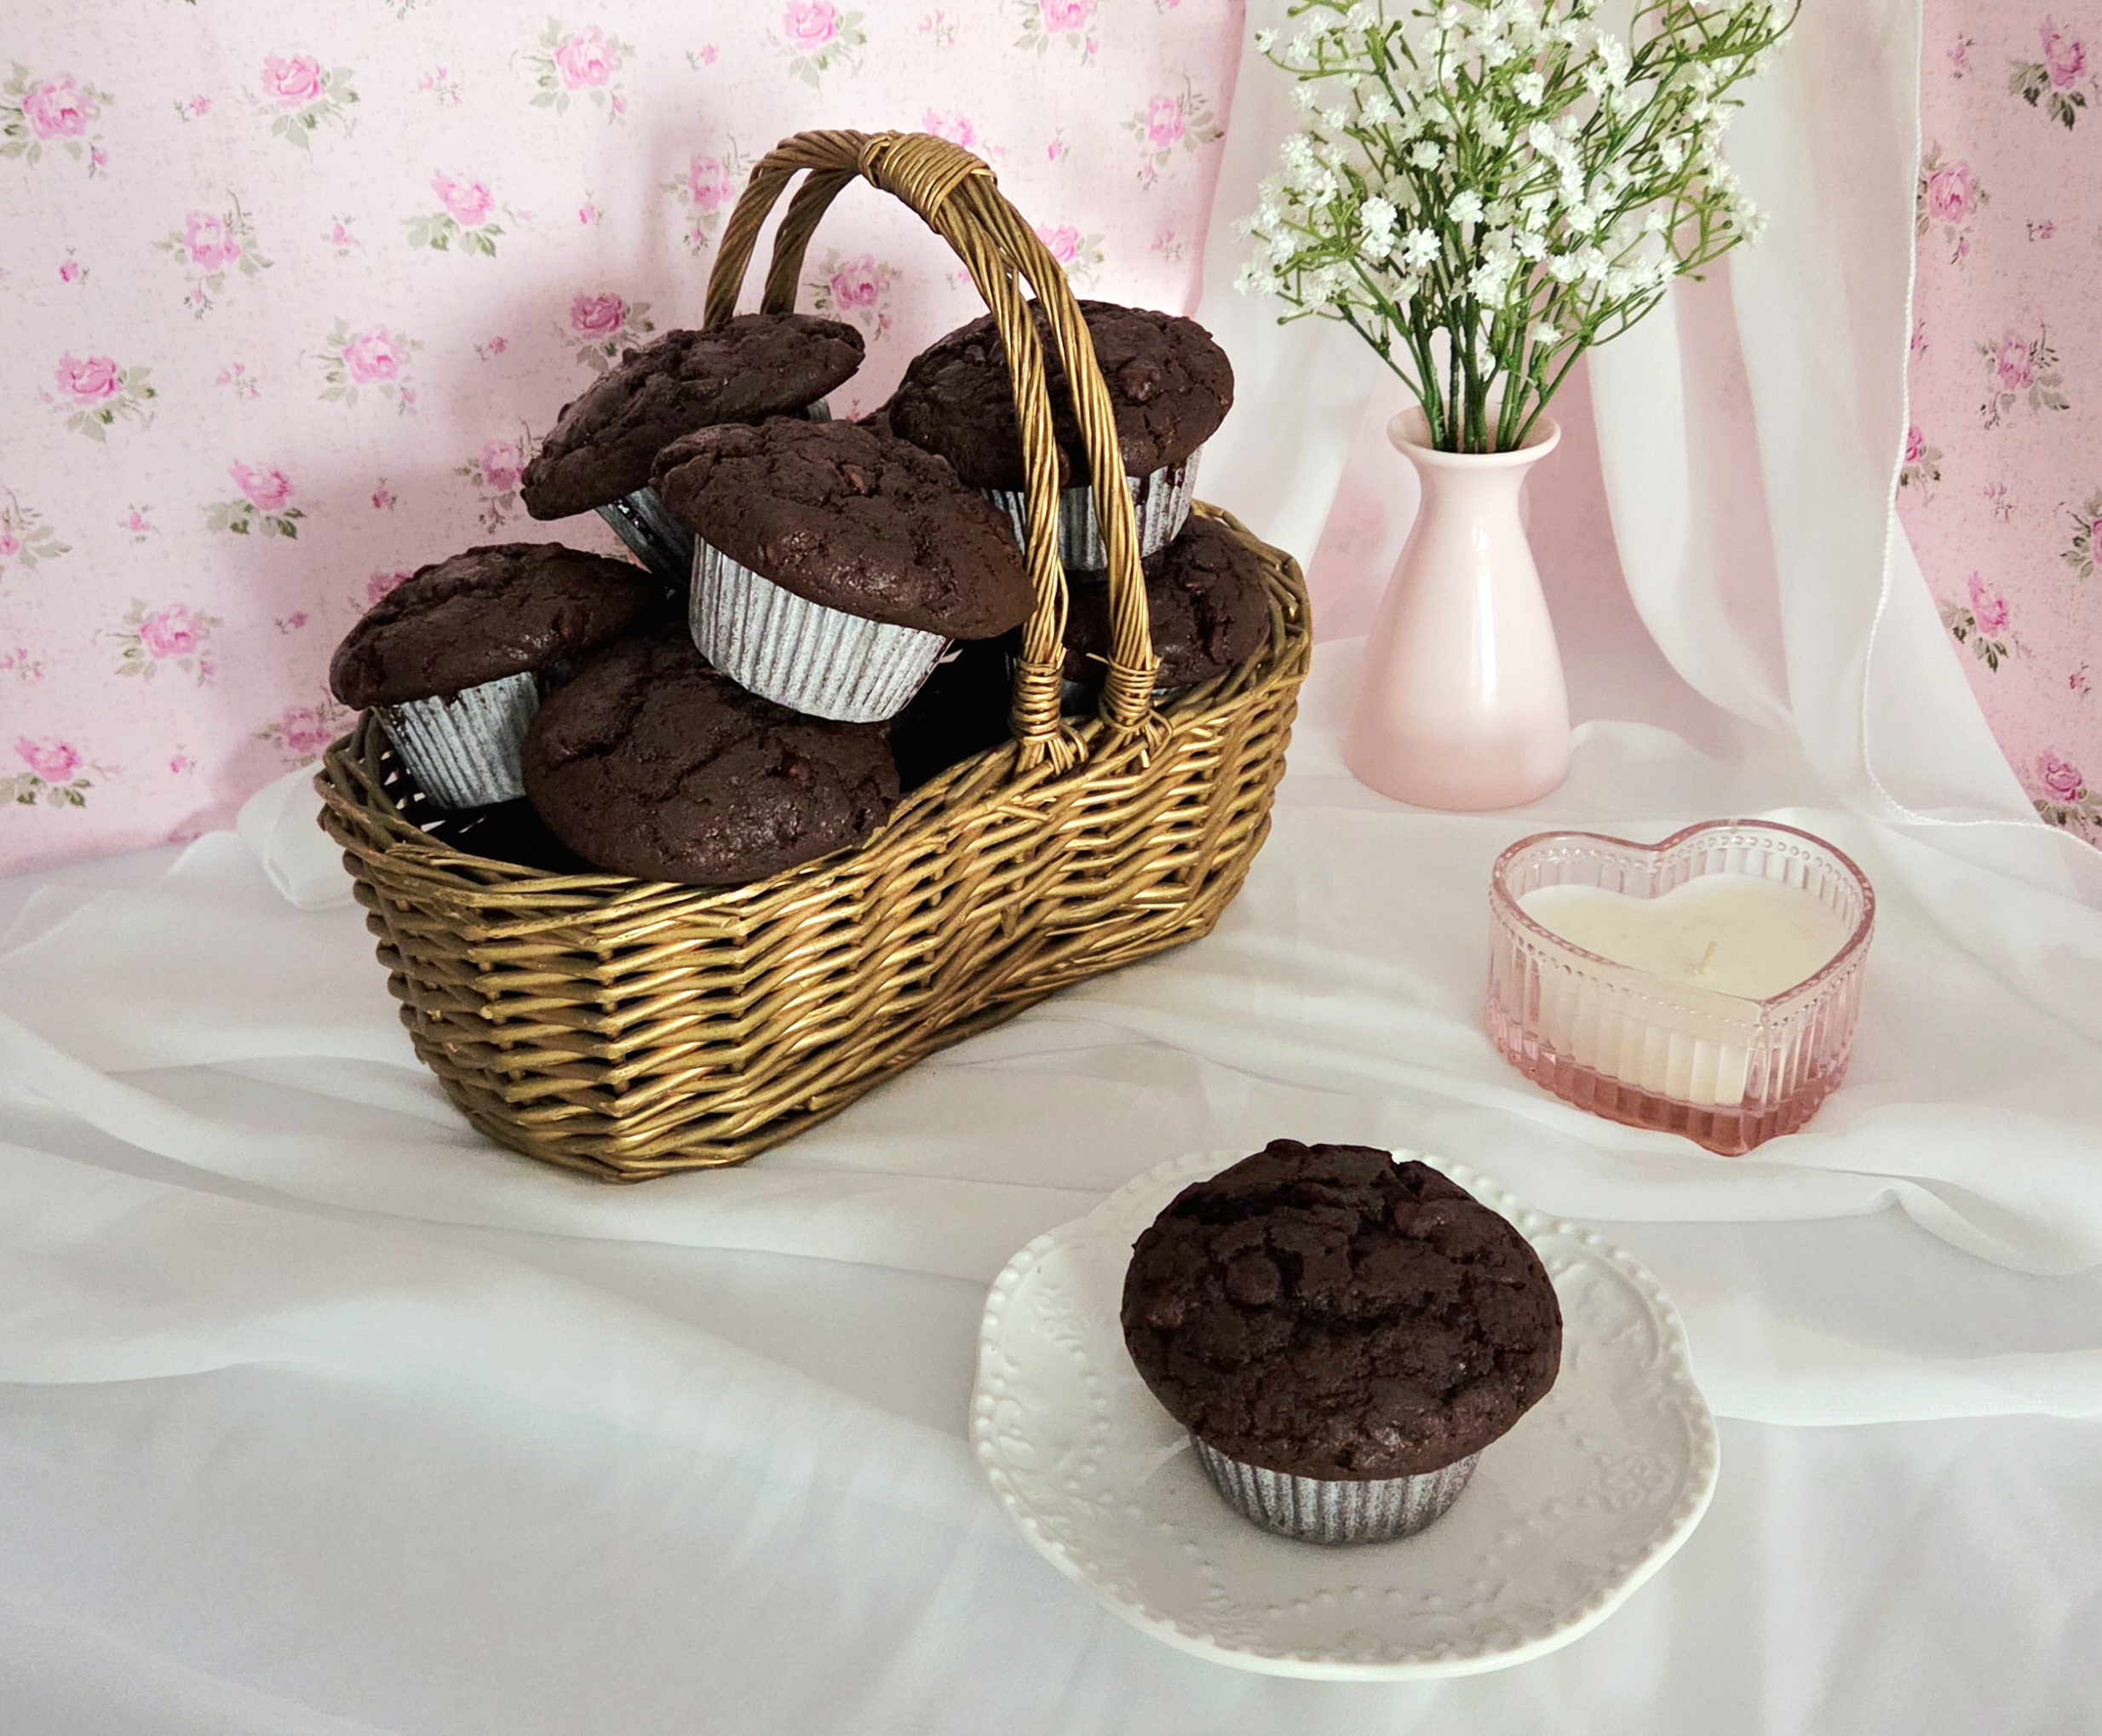

Decades before that Olympics post made them popular, I fell in love with the triple chocolate muffin as a kid. They came from BJs Wholesale, and I remember them being absolutely incredible. Rich, sweet, chocolaty, the perfect addition to any 7 year old’s dream diet. I haven’t seen them in years and had forgotten about them at some point, but the viral Olympics chocolate muffins brought those memories flooding back. My muffins were inspired by that fresh hit of nostalgia.
There were a few key factors I needed to make sure of when developing this recipe: taste, texture, and appearance. For starters, they needed to actually taste like chocolate. Too often, chocolate cake, bread, or muffin products fall bland. If something is advertised as chocolate, it better deliver on that promise. Second, they needed to be moist (I know, but there’s no other word that fits!). Cocoa powder is a moisture suck, which is why so many baked goods made with it end up fairly dry and crumbly. No one wants a dry muffin.
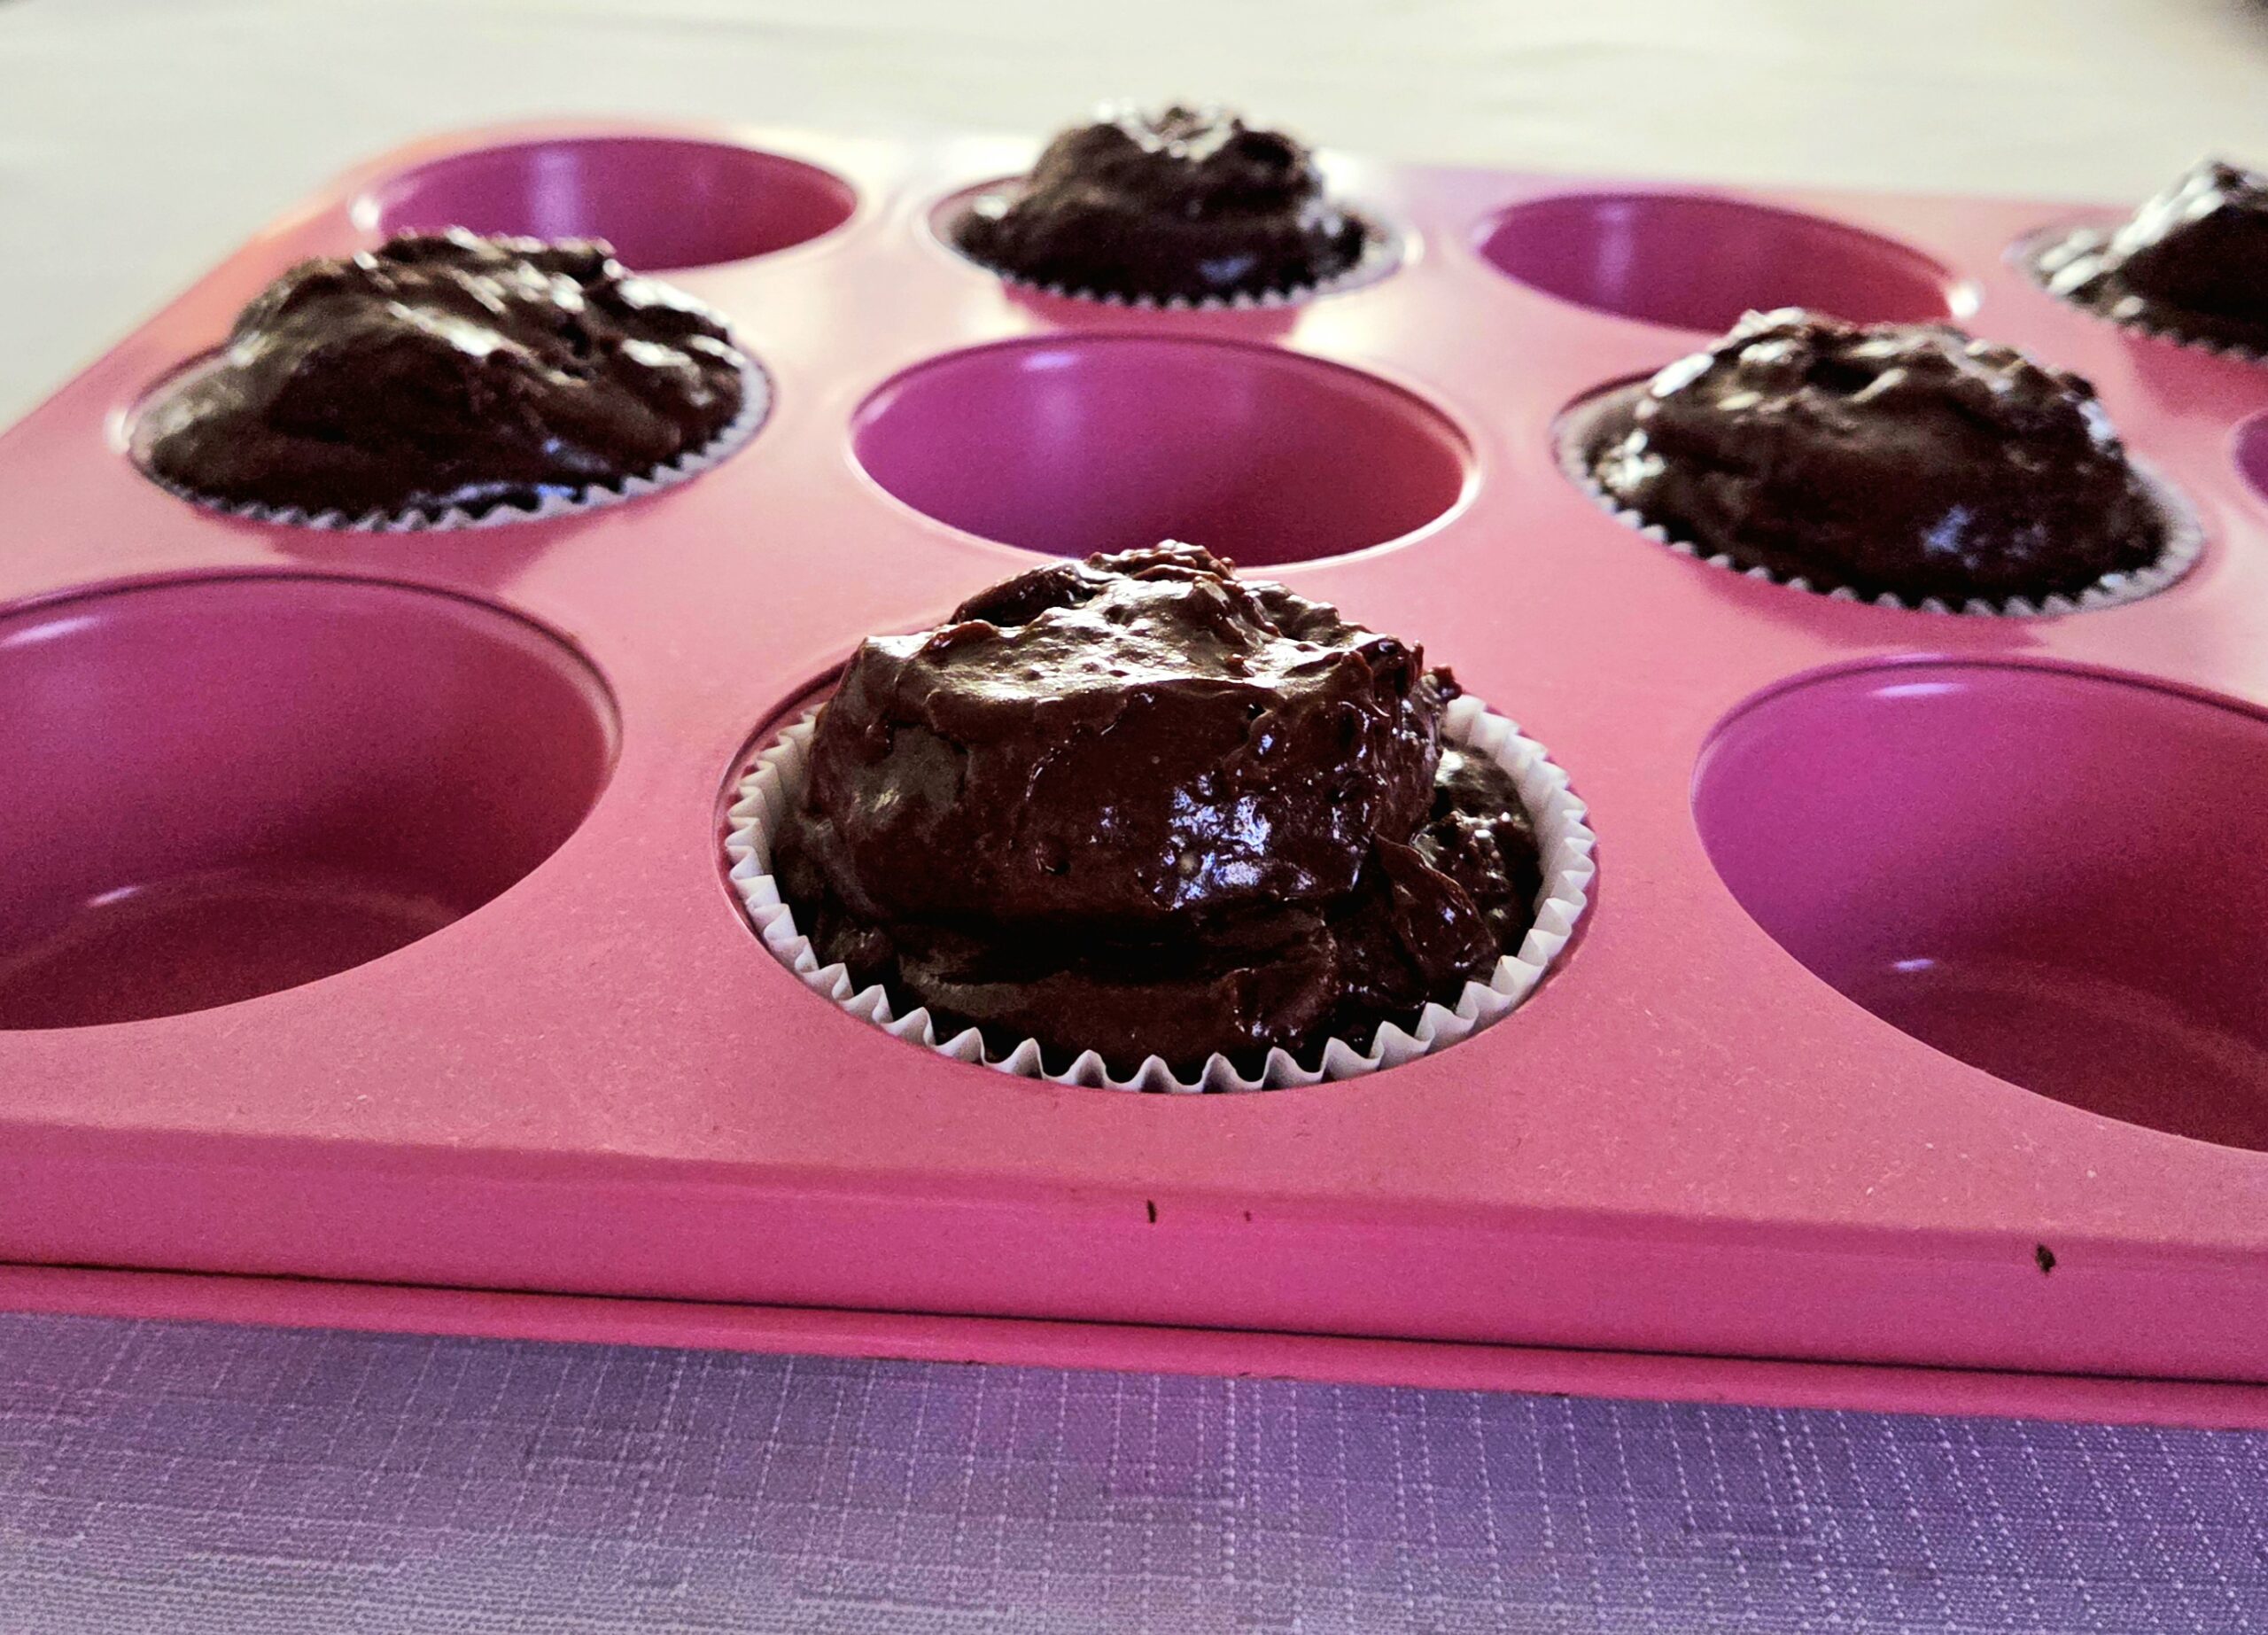
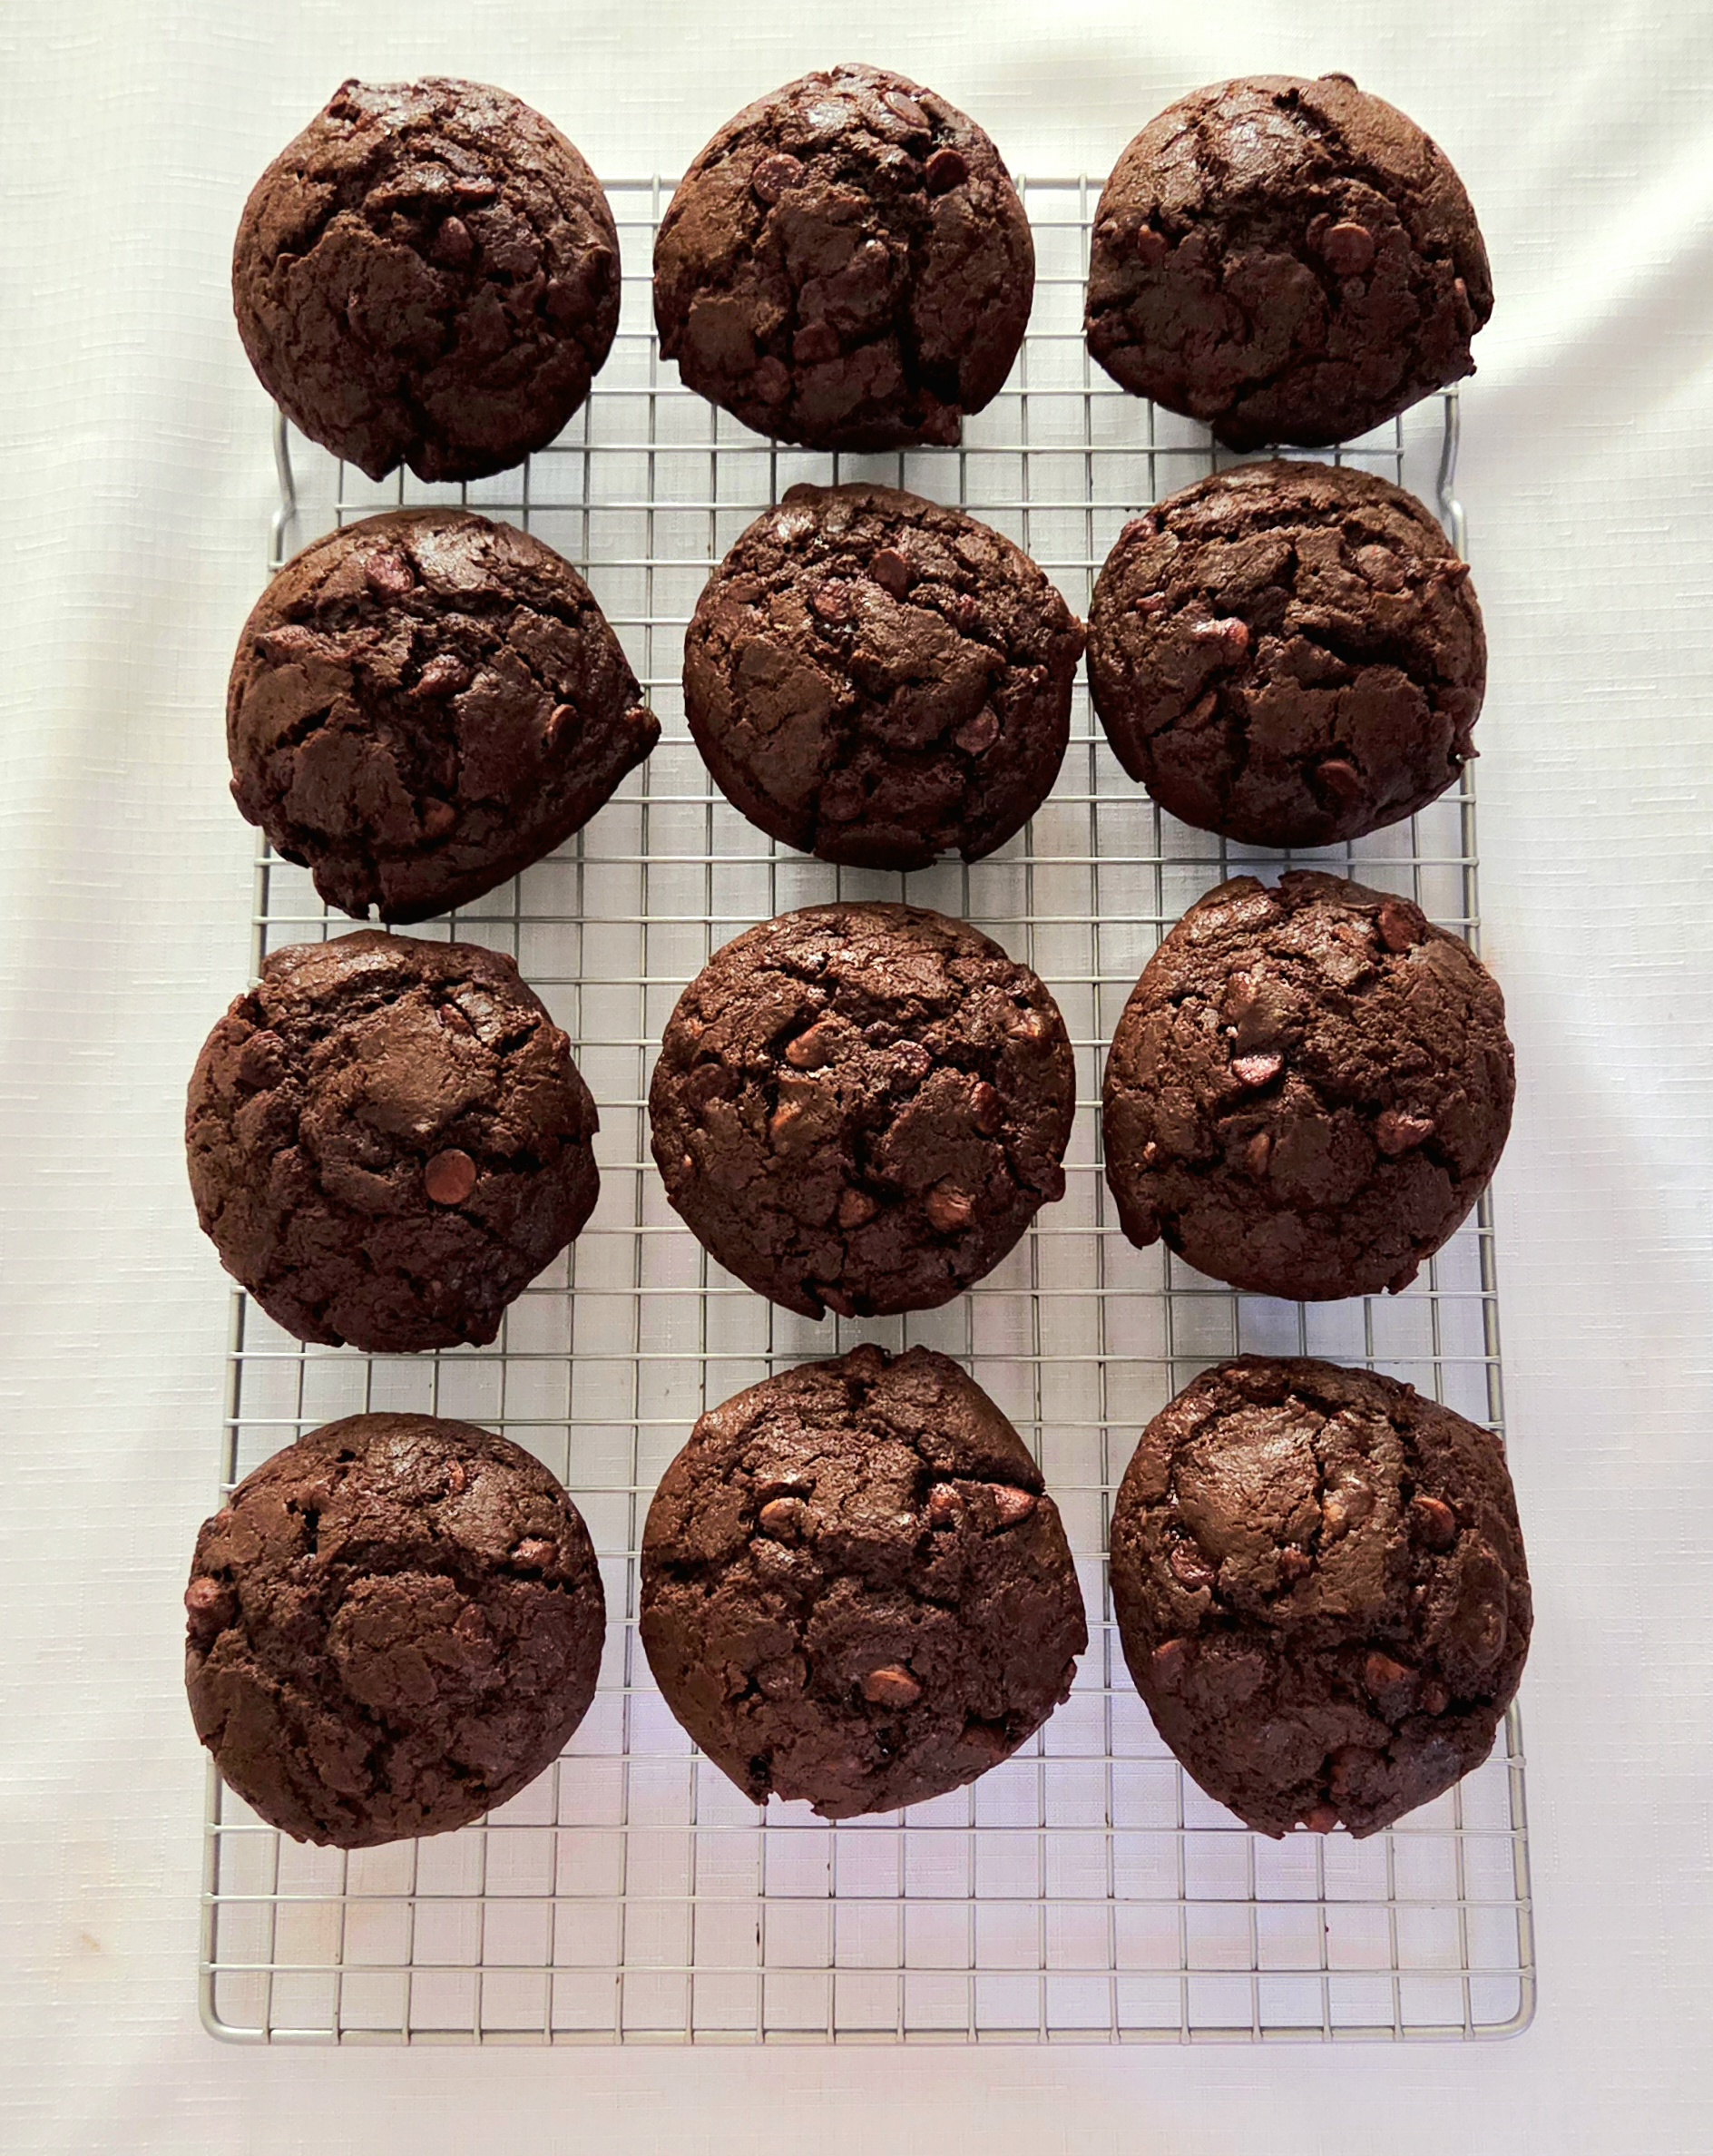
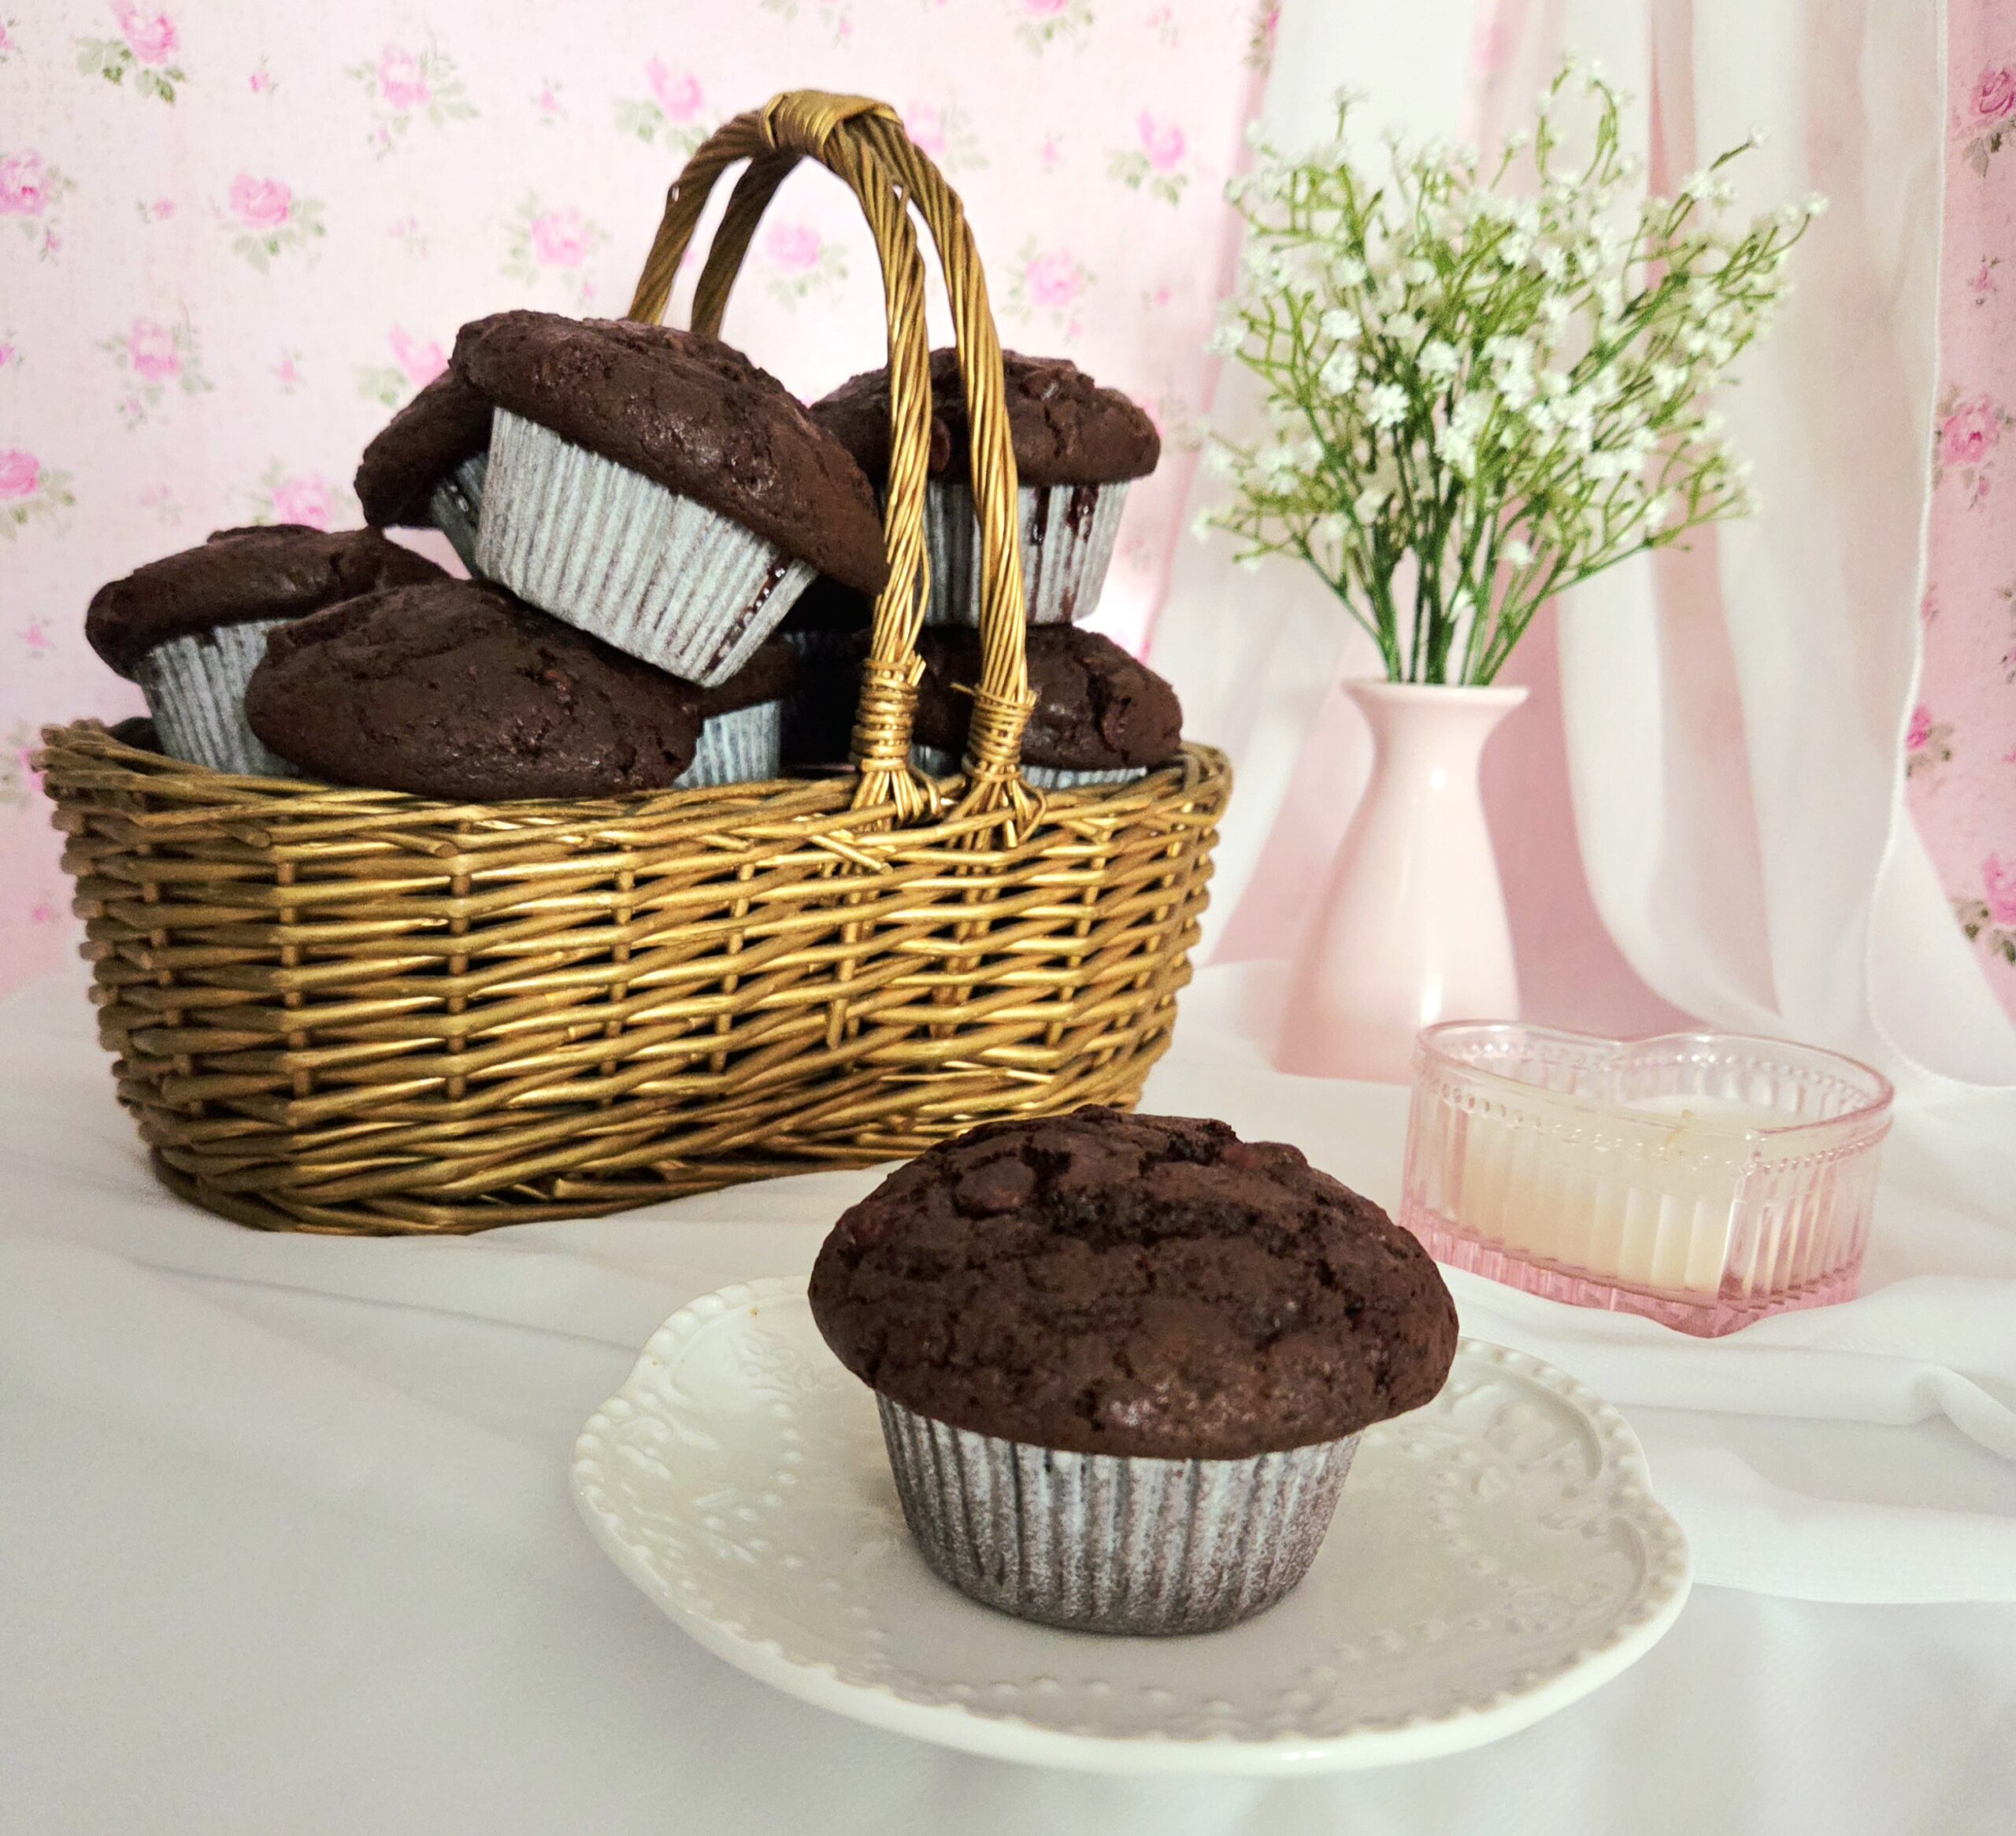
Lastly, my muffins needed to have that beautiful, over-sized top. The way to achieve that? Continuing to fill the pans until it felt like an obscene amount of batter. But it’s the only way to get that nice, big dome. After some trial and error, I’ve achieved all three points with flying colors! These muffins are a must bake for any chocolate or muffin lover.
FAQs and Science
Where does the triple chocolate title come from?
These are “triple chocolate” muffins because the chocolate comes from three different places: the cocoa powder, the chocolate milk, and the chocolate chips!
Why not bloom the cocoa powder in this recipe?
During recipe testing, I found that blooming the cocoa in this recipe dried out the muffins and honestly didn’t impact how flavorful they were by a significant margin. It wasn’t worth the effort! But don’t give up on the general habit of blooming your cocoa powder, it typically IS worth the effort. All I can assure you of is that on here, I will always instruct whether or not it’s the time and place to do so.
Half a cup of batter seems like a lot in each cup, are you sure that isn’t too much?
If you want those big, beautiful mushroom cap domes that you find in bakery muffins, you have to overfill the pan. If you’d like smaller muffins, feel free to use less batter! Just be sure to adjust the amount of time you bake them for, or they may burn.
Can I substitute the melted butter with oil?
Yes, but it’s not a 1:1 ratio, as butter has some water content rather than the 100% fat that oil is. You can use ¾ cup of a neutral flavored oil, like canola or vegetable oil. Do not use olive oil, you’ll taste it in the muffins and have a bad time.
Do I need to use pre-made chocolate milk?
Nope! I tested the recipe using chocolate milk that I mixed at home using whole milk and chocolate syrup. Fill the measuring cup up to the 1 ¼ cup line with whole milk, then pour in enough chocolate syrup to reach the 1 ½ line. Mix them together until your milk is officially chocolate, then continue on with the recipe as written.
Does it matter what kind of chocolate chips I use?
I recommend using either semisweet or dark chocolate chocolate chips! But if you’d rather use milk, white, or some combination of them all, feel free. You are the master of your muffins.
What You’ll Need
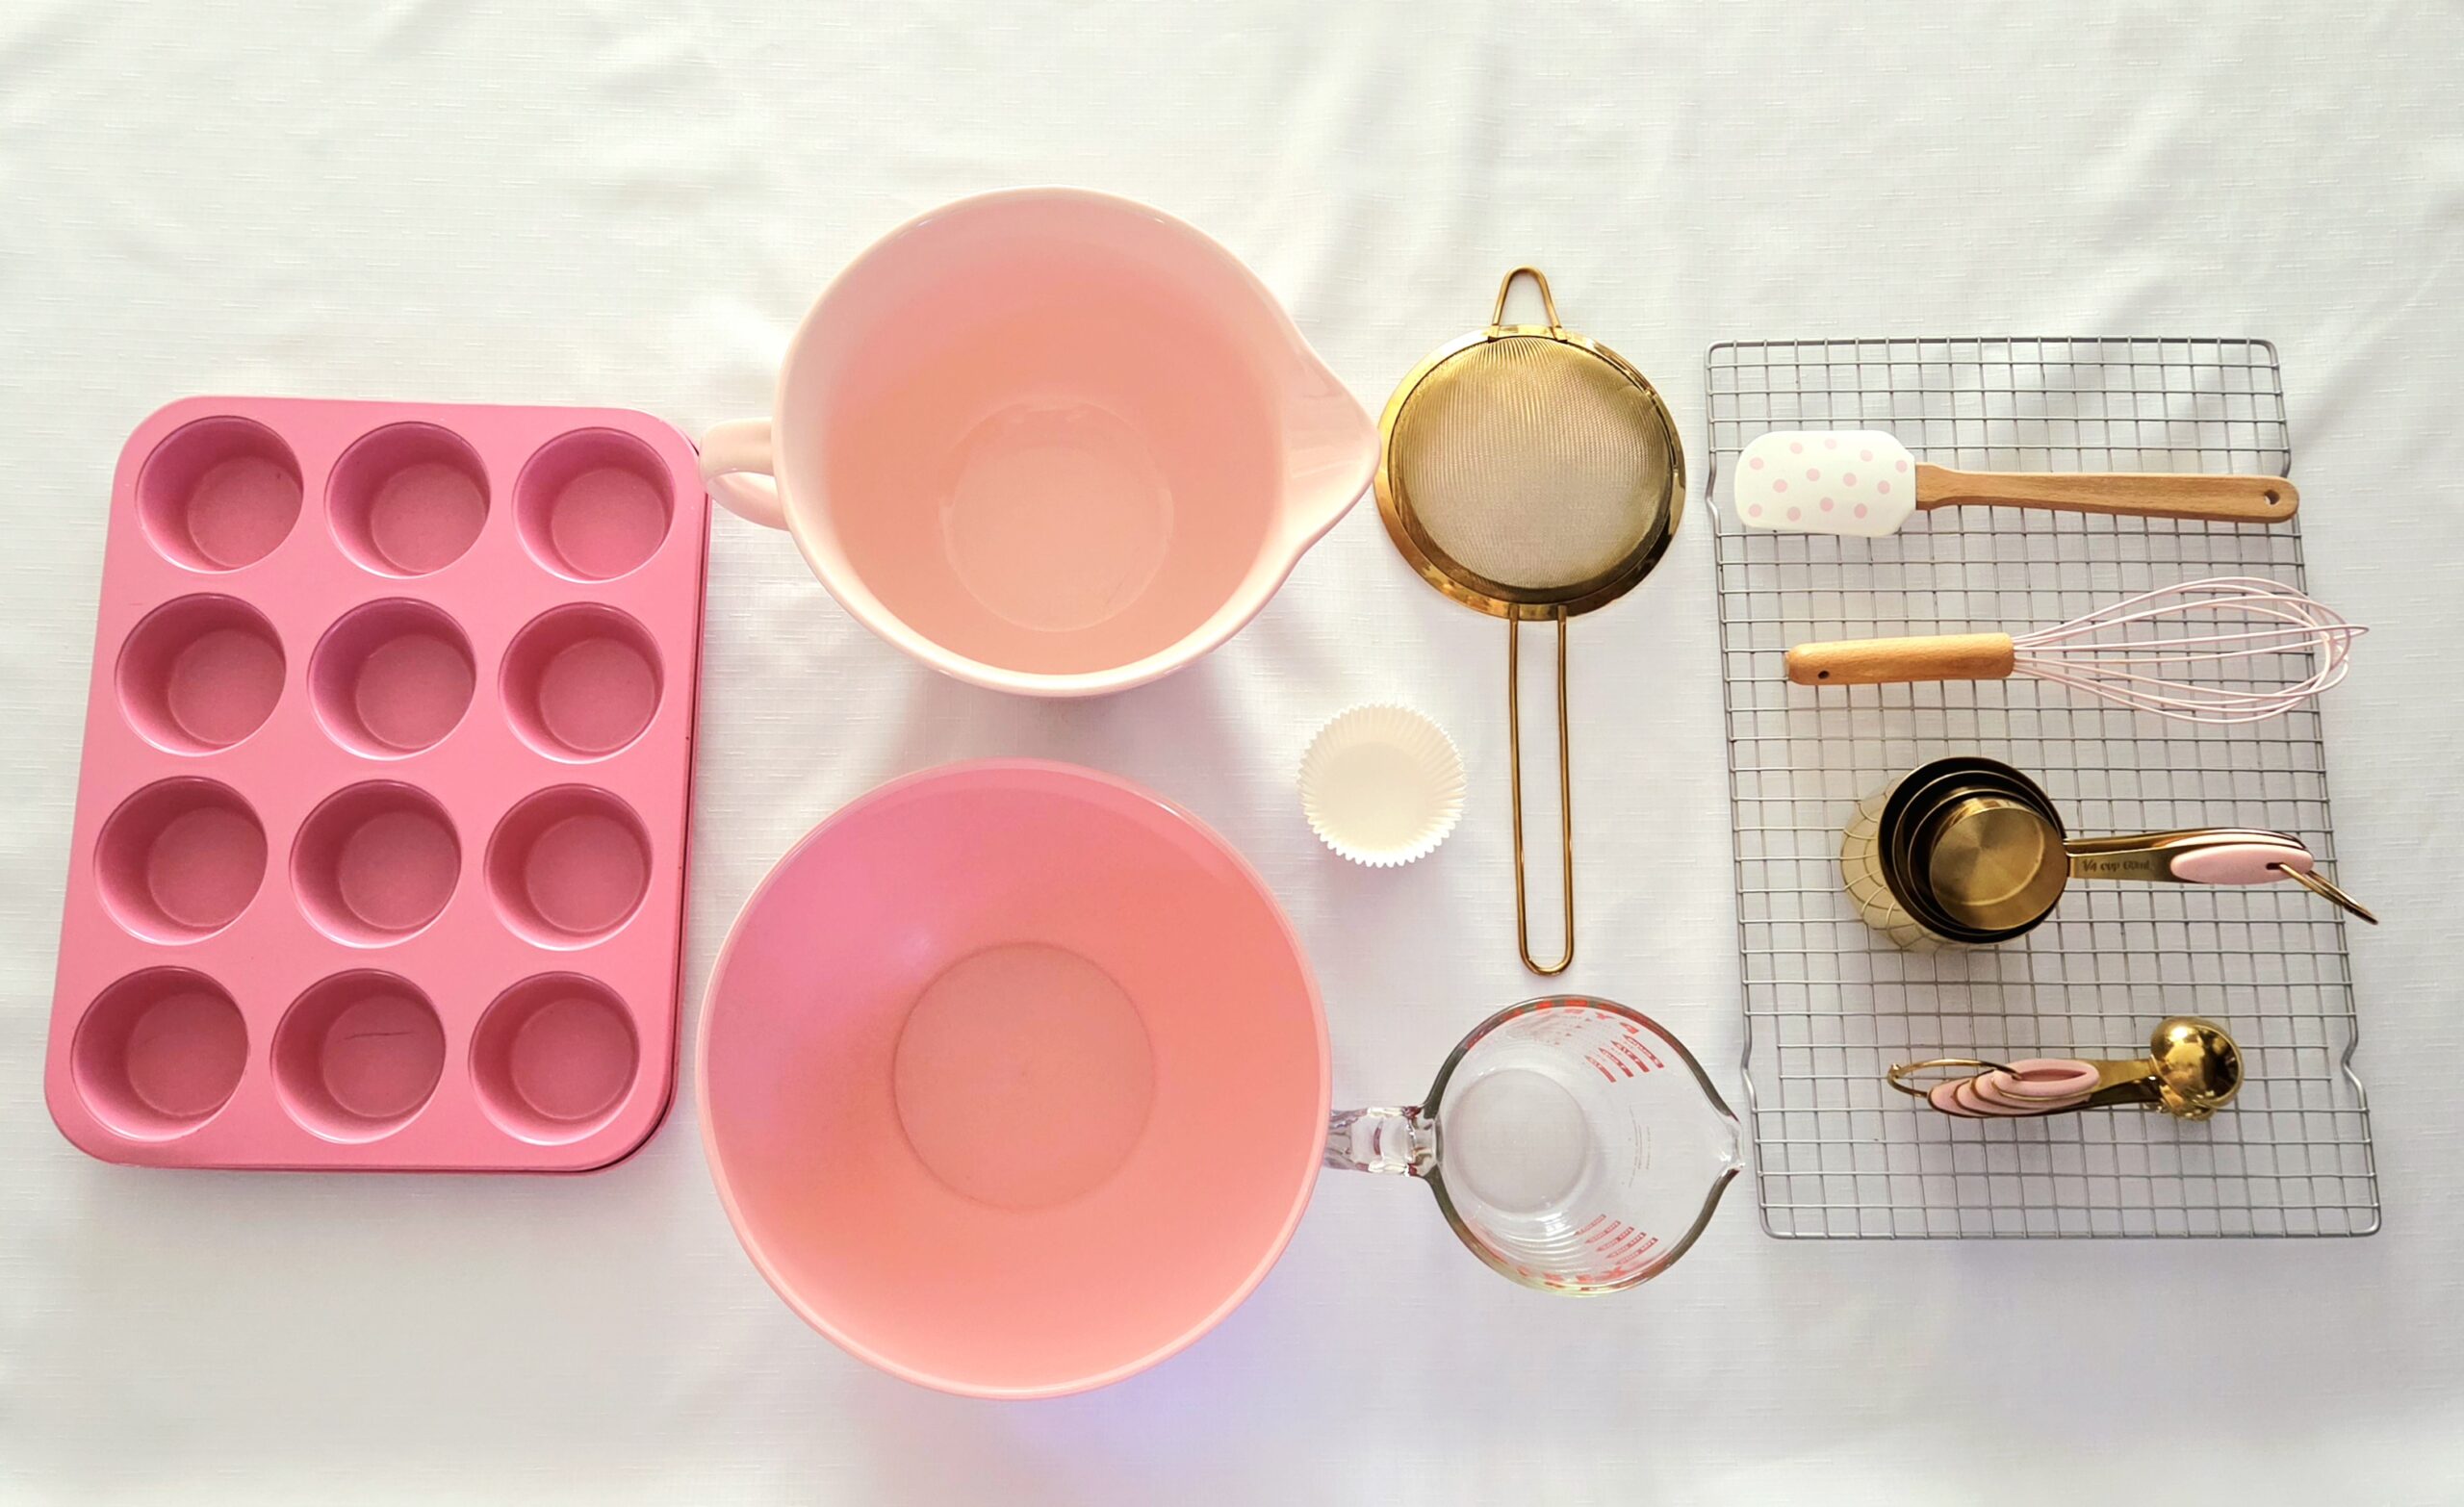
- 2 standard muffin pans
- 12 paper muffin liners
- Large mixing bowl
- Medium mixing bowl
- Dry measuring cups
- Liquid measuring cup
- Measuring spoons
- Whisk
- Sieve
- Rubber spatula
- Toothpick
- Cooling rack
The Process
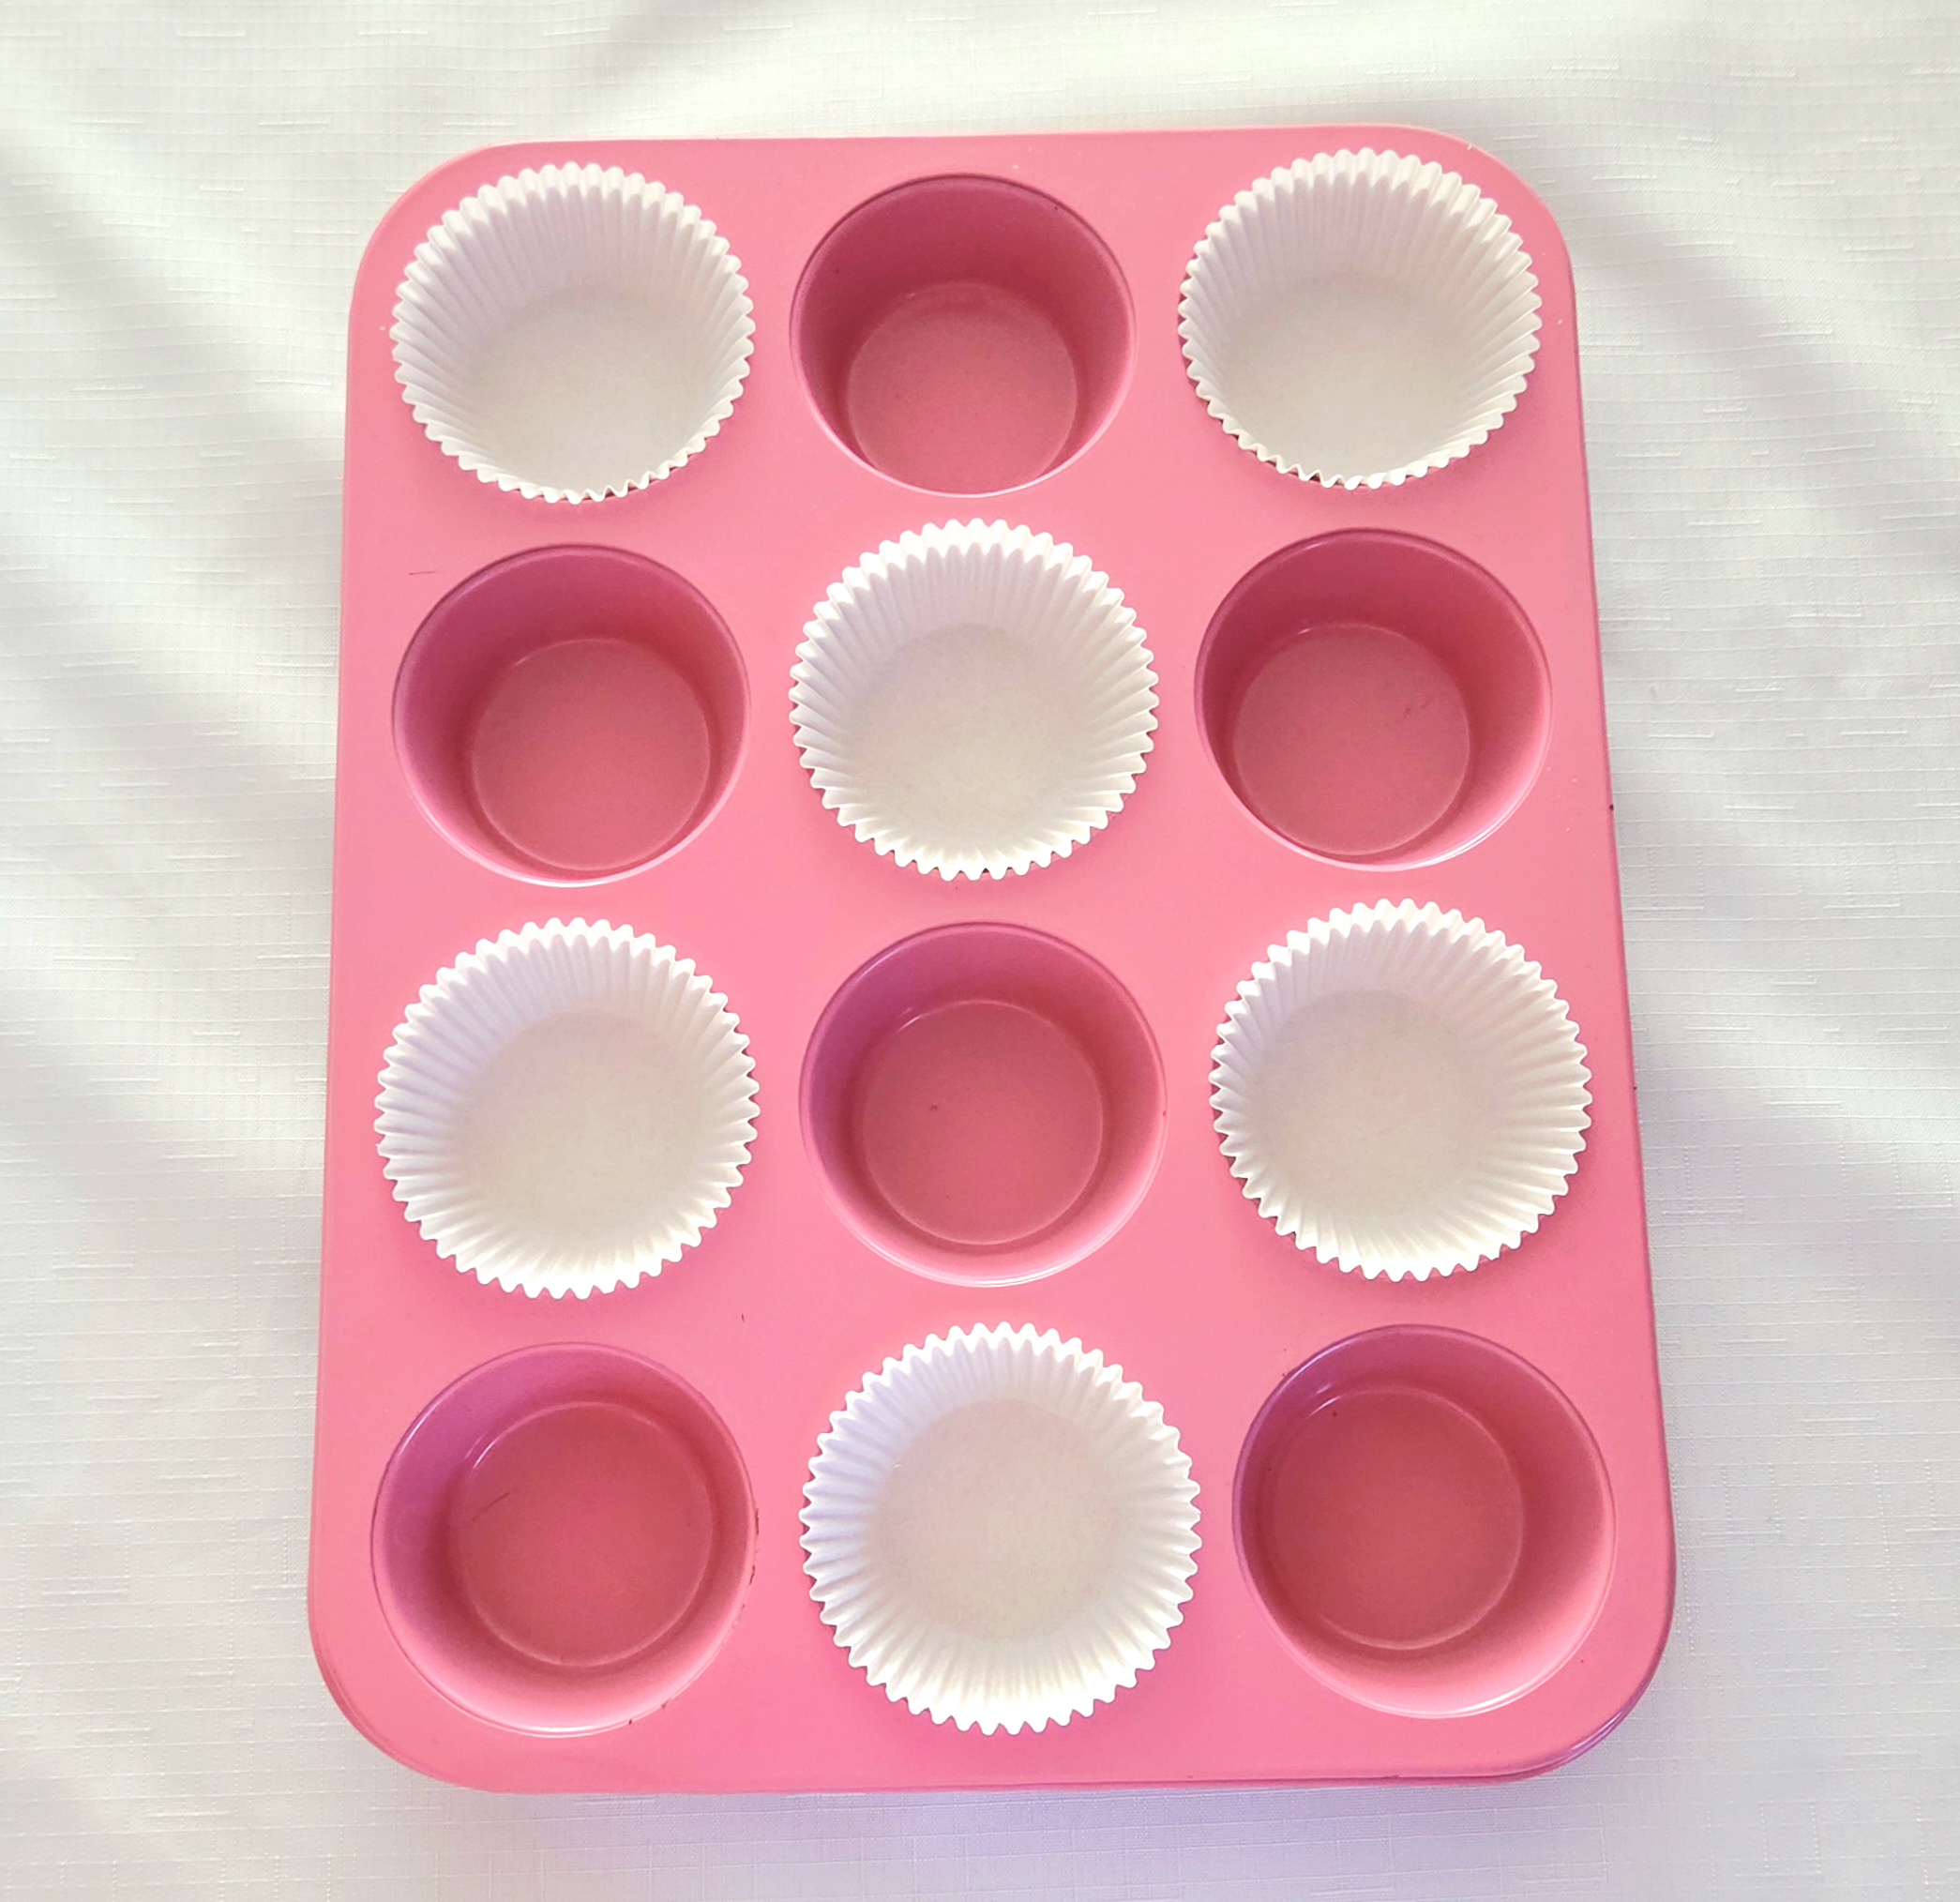
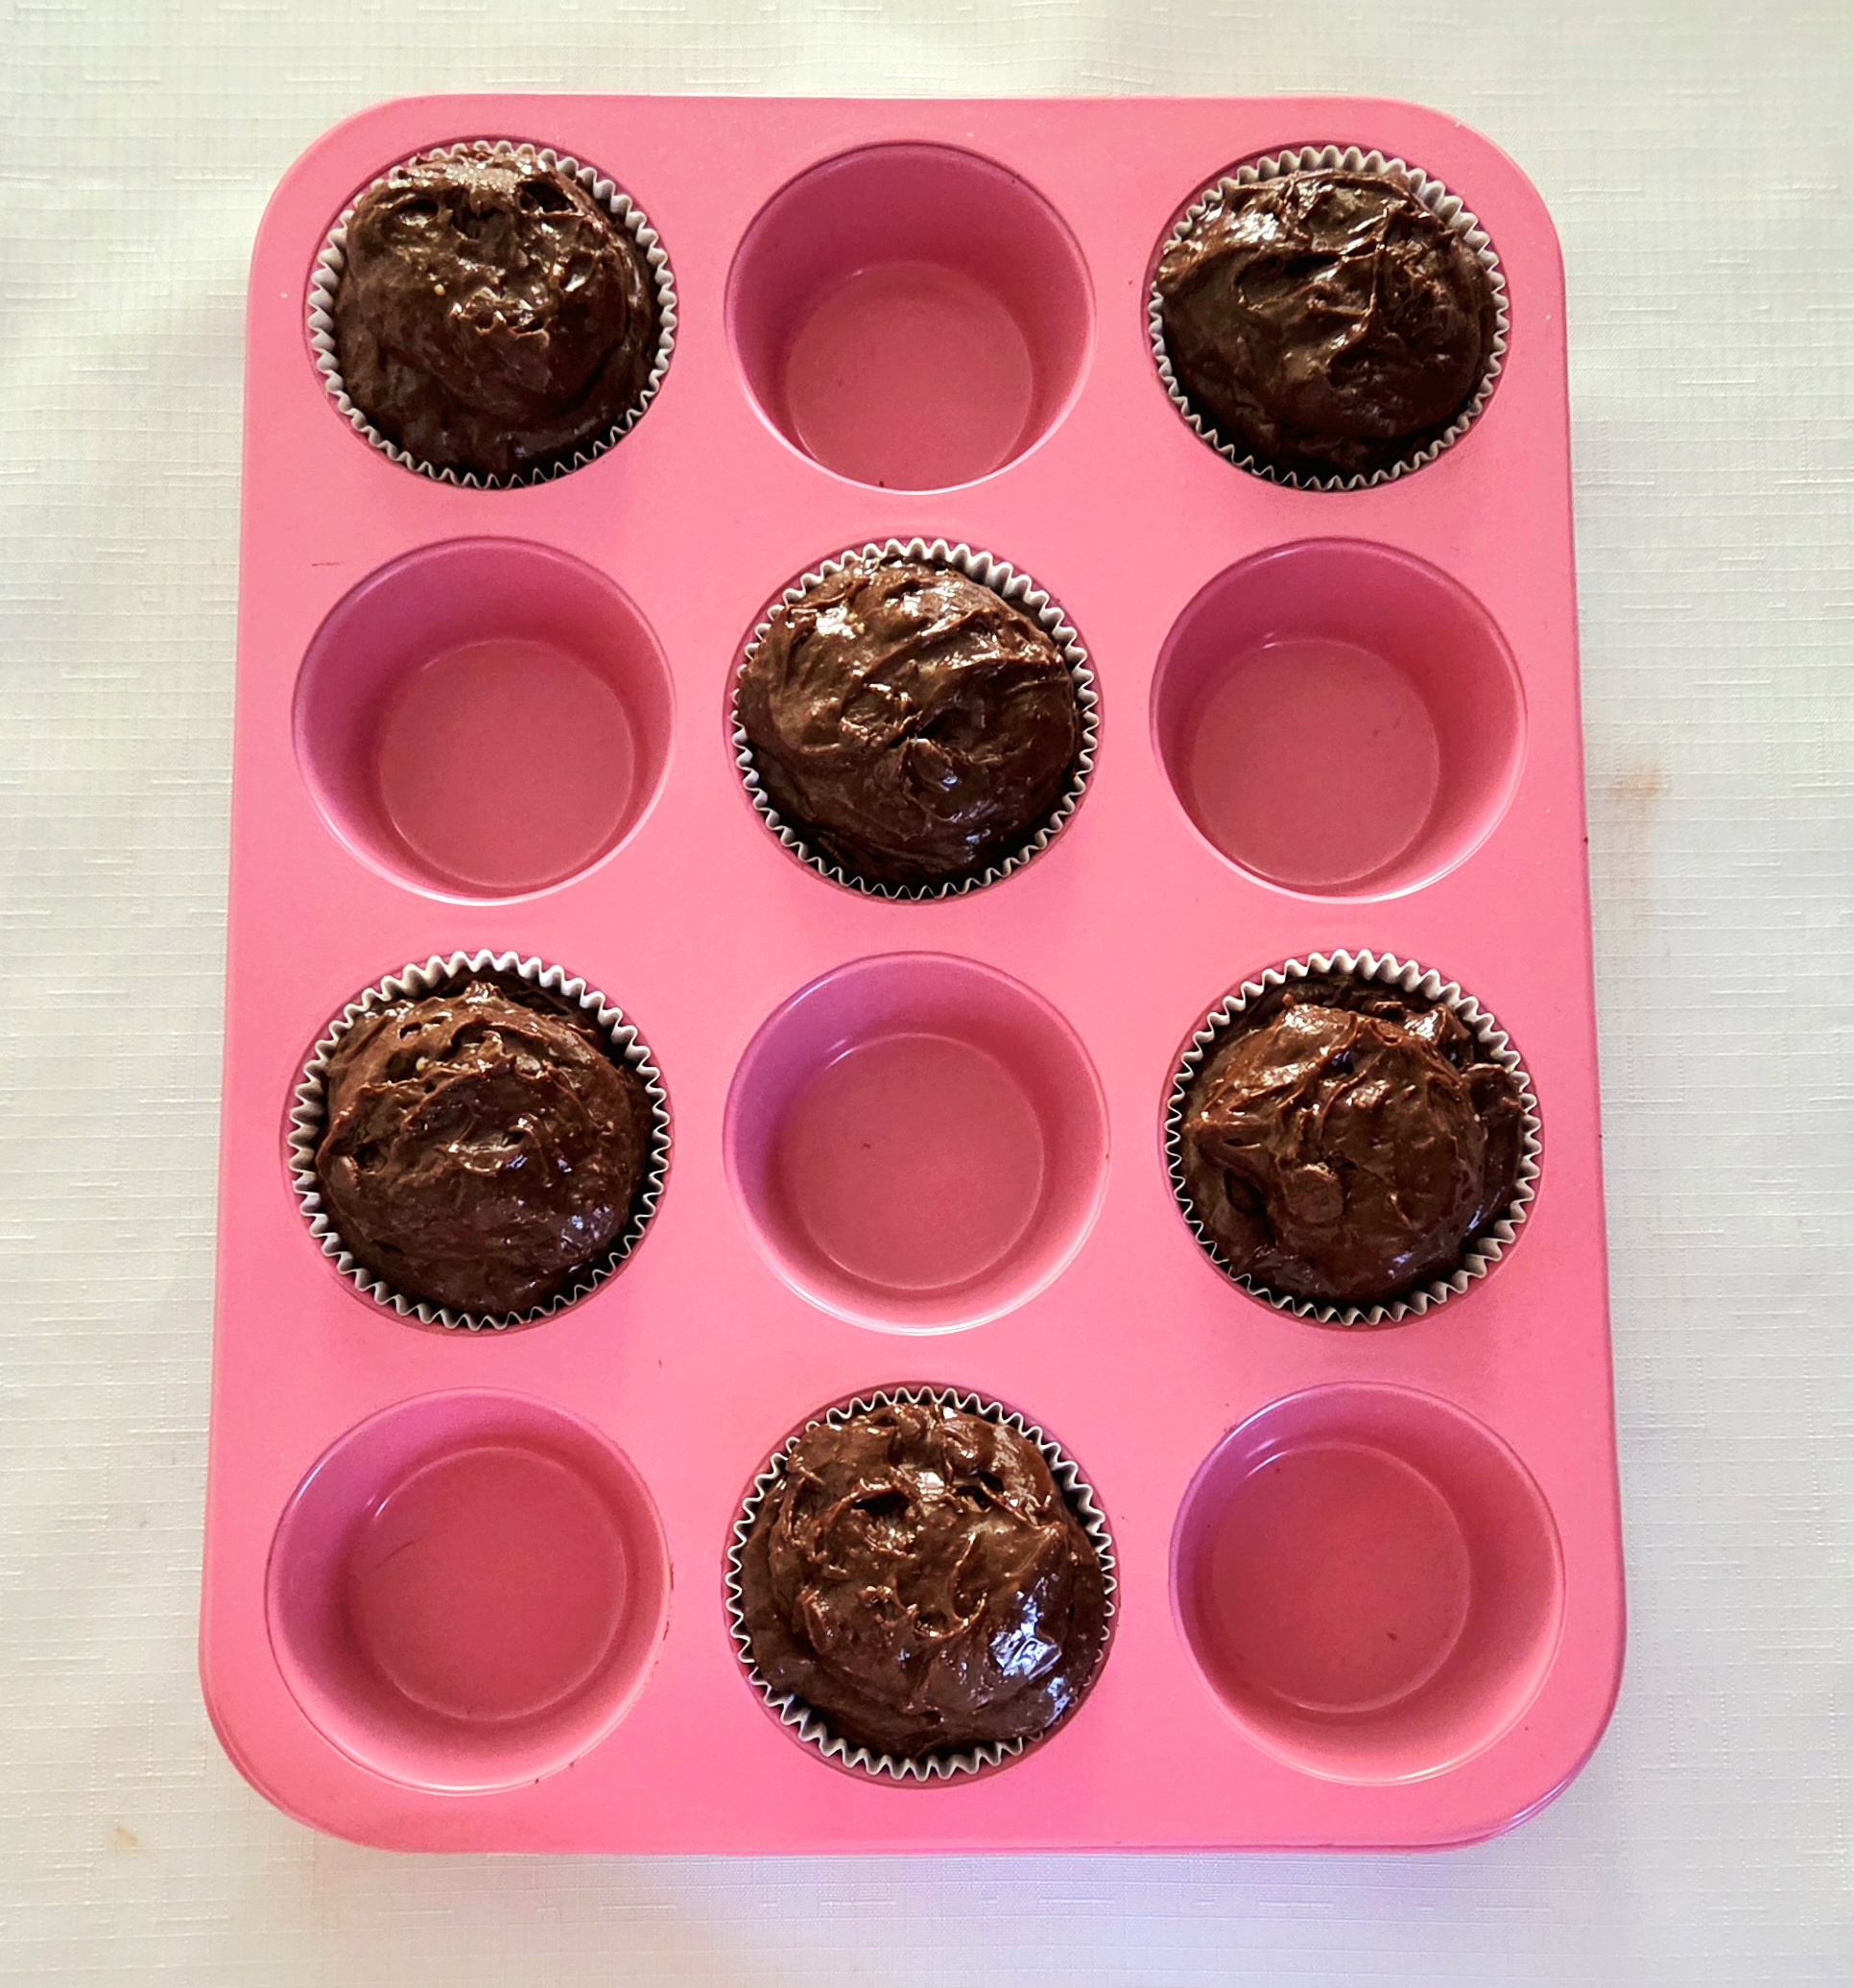
Begin by preparing the pans and oven. Preheat the oven to 350F, on the convection setting if possible. It wont ruin the muffins if it isn’t an option, but it does distribute the heat more evenly. Place 12 cupcake papers in every other slot of two muffin pans, so there are 6 papers in each. The muffins need the extra empty space in between each other in order to grow those beautiful, massive domes on top. Set them aside.
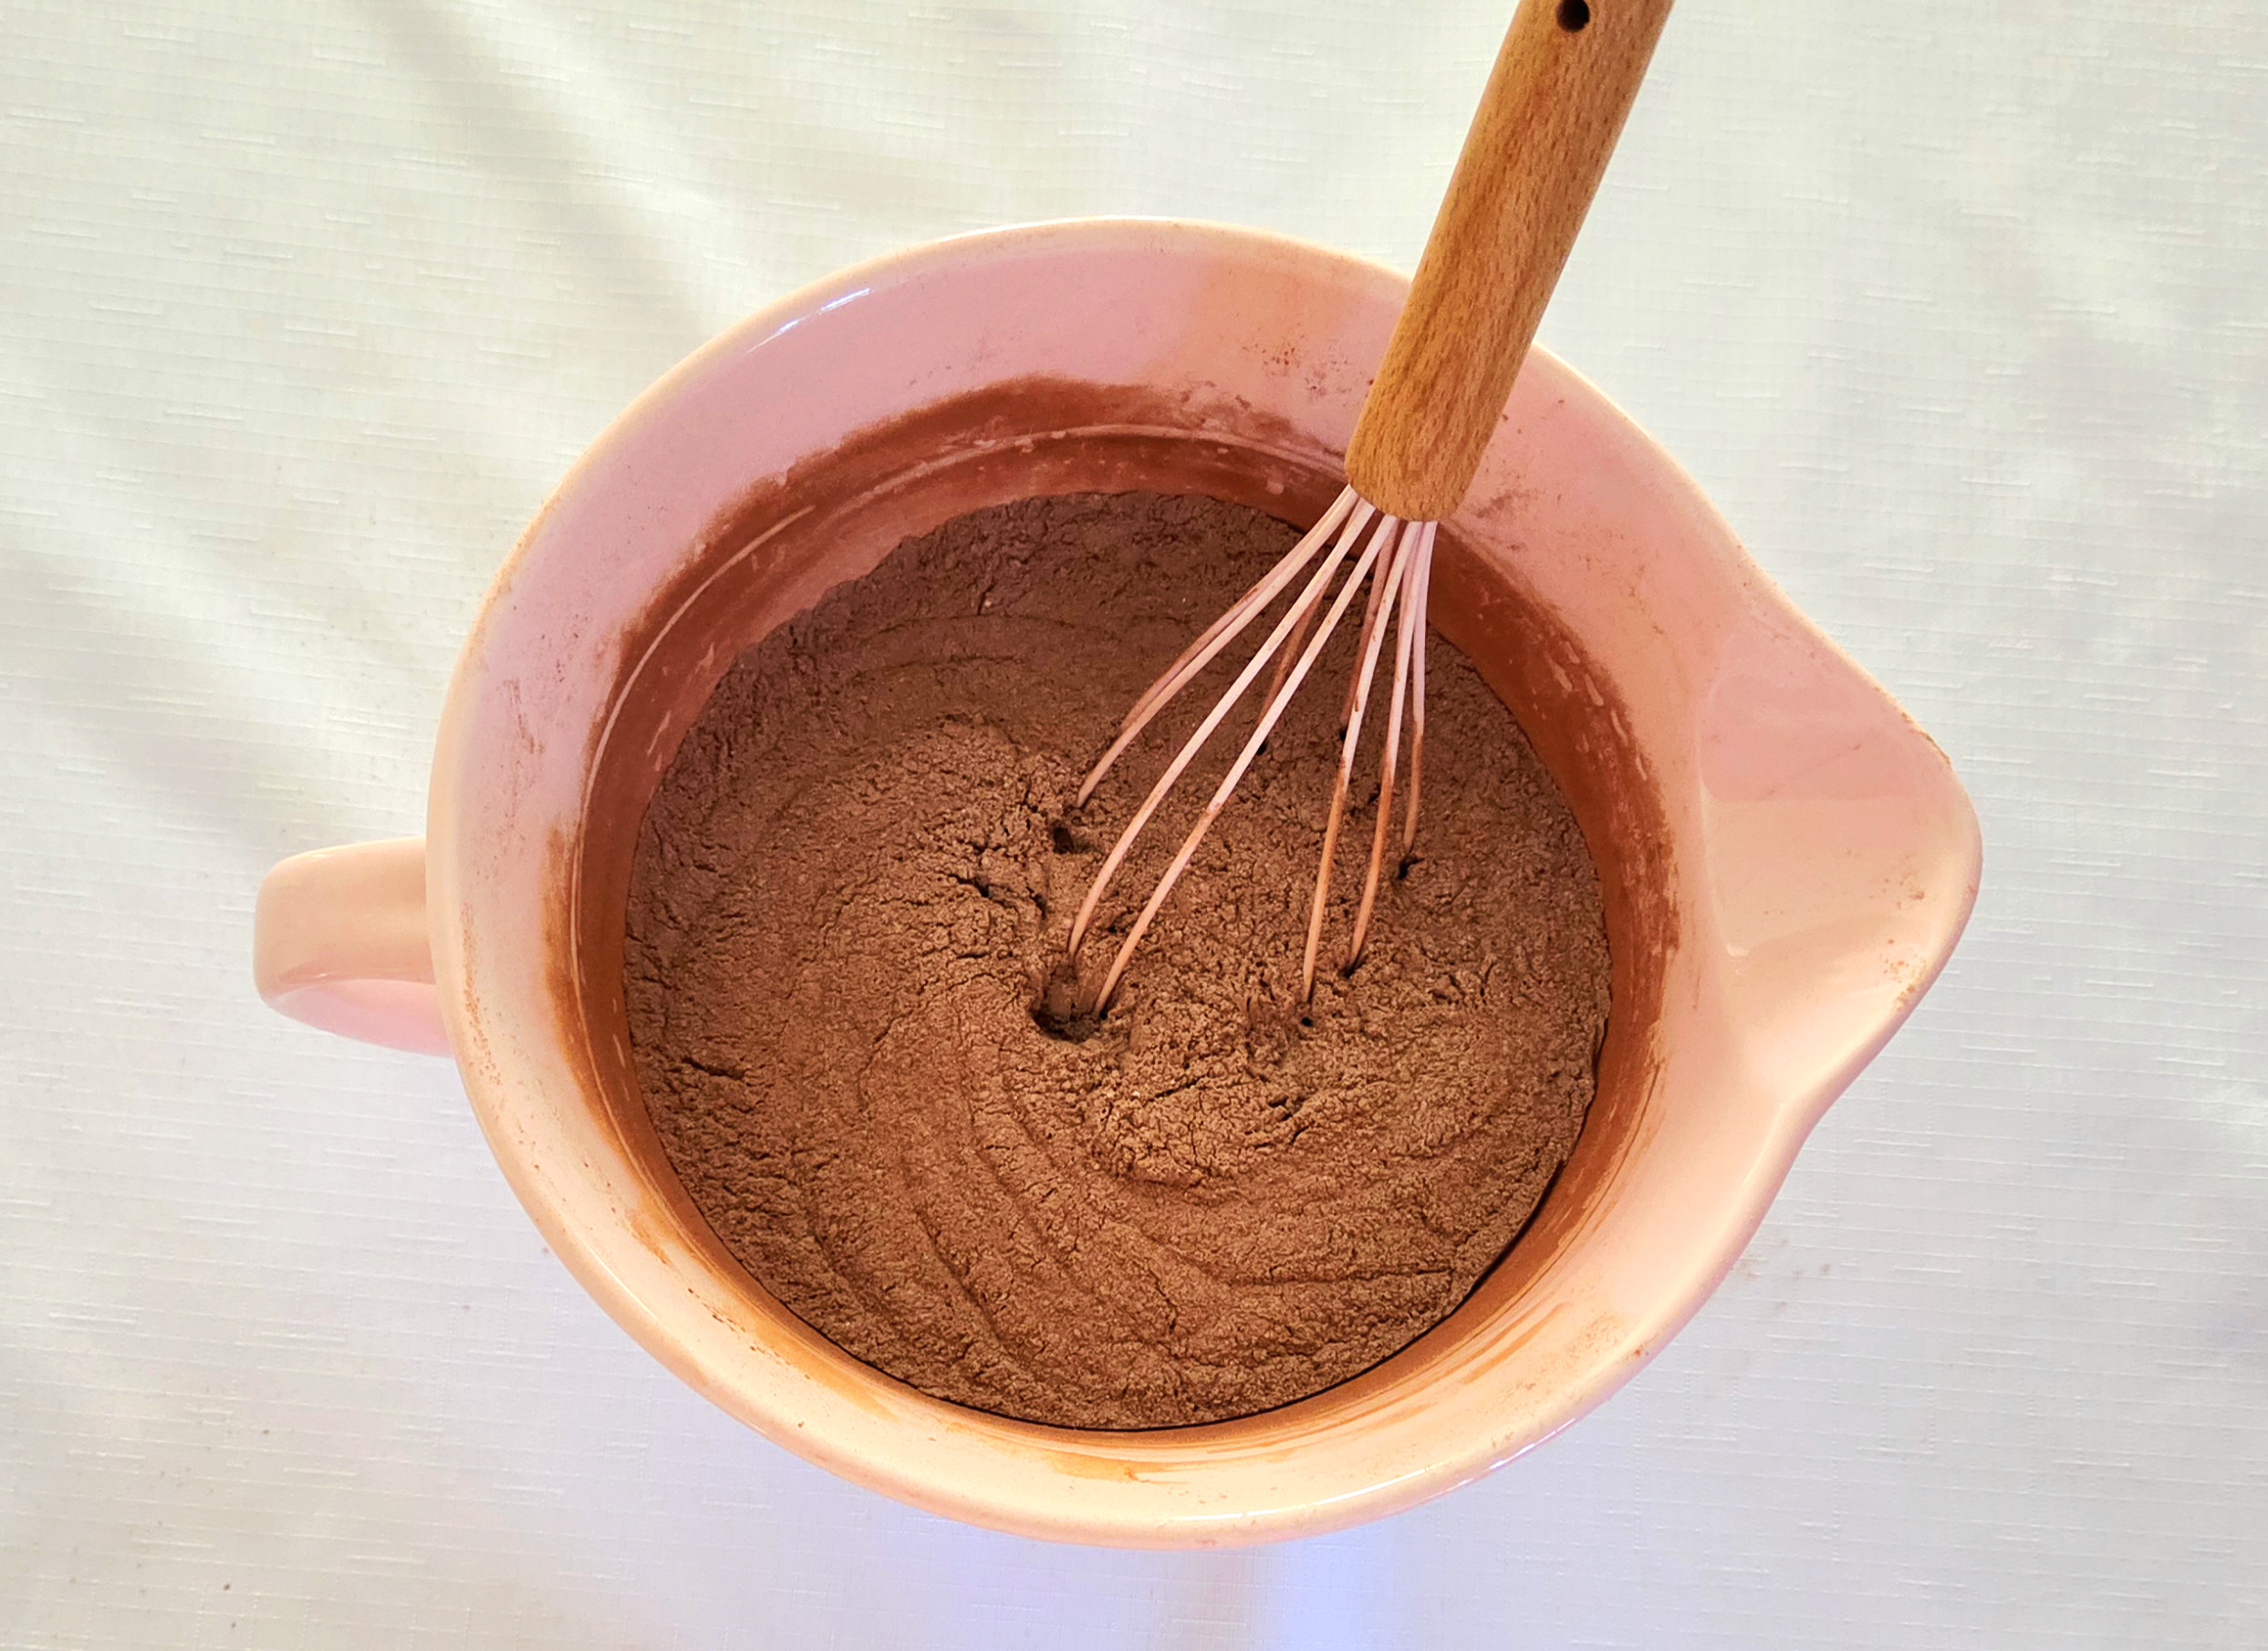
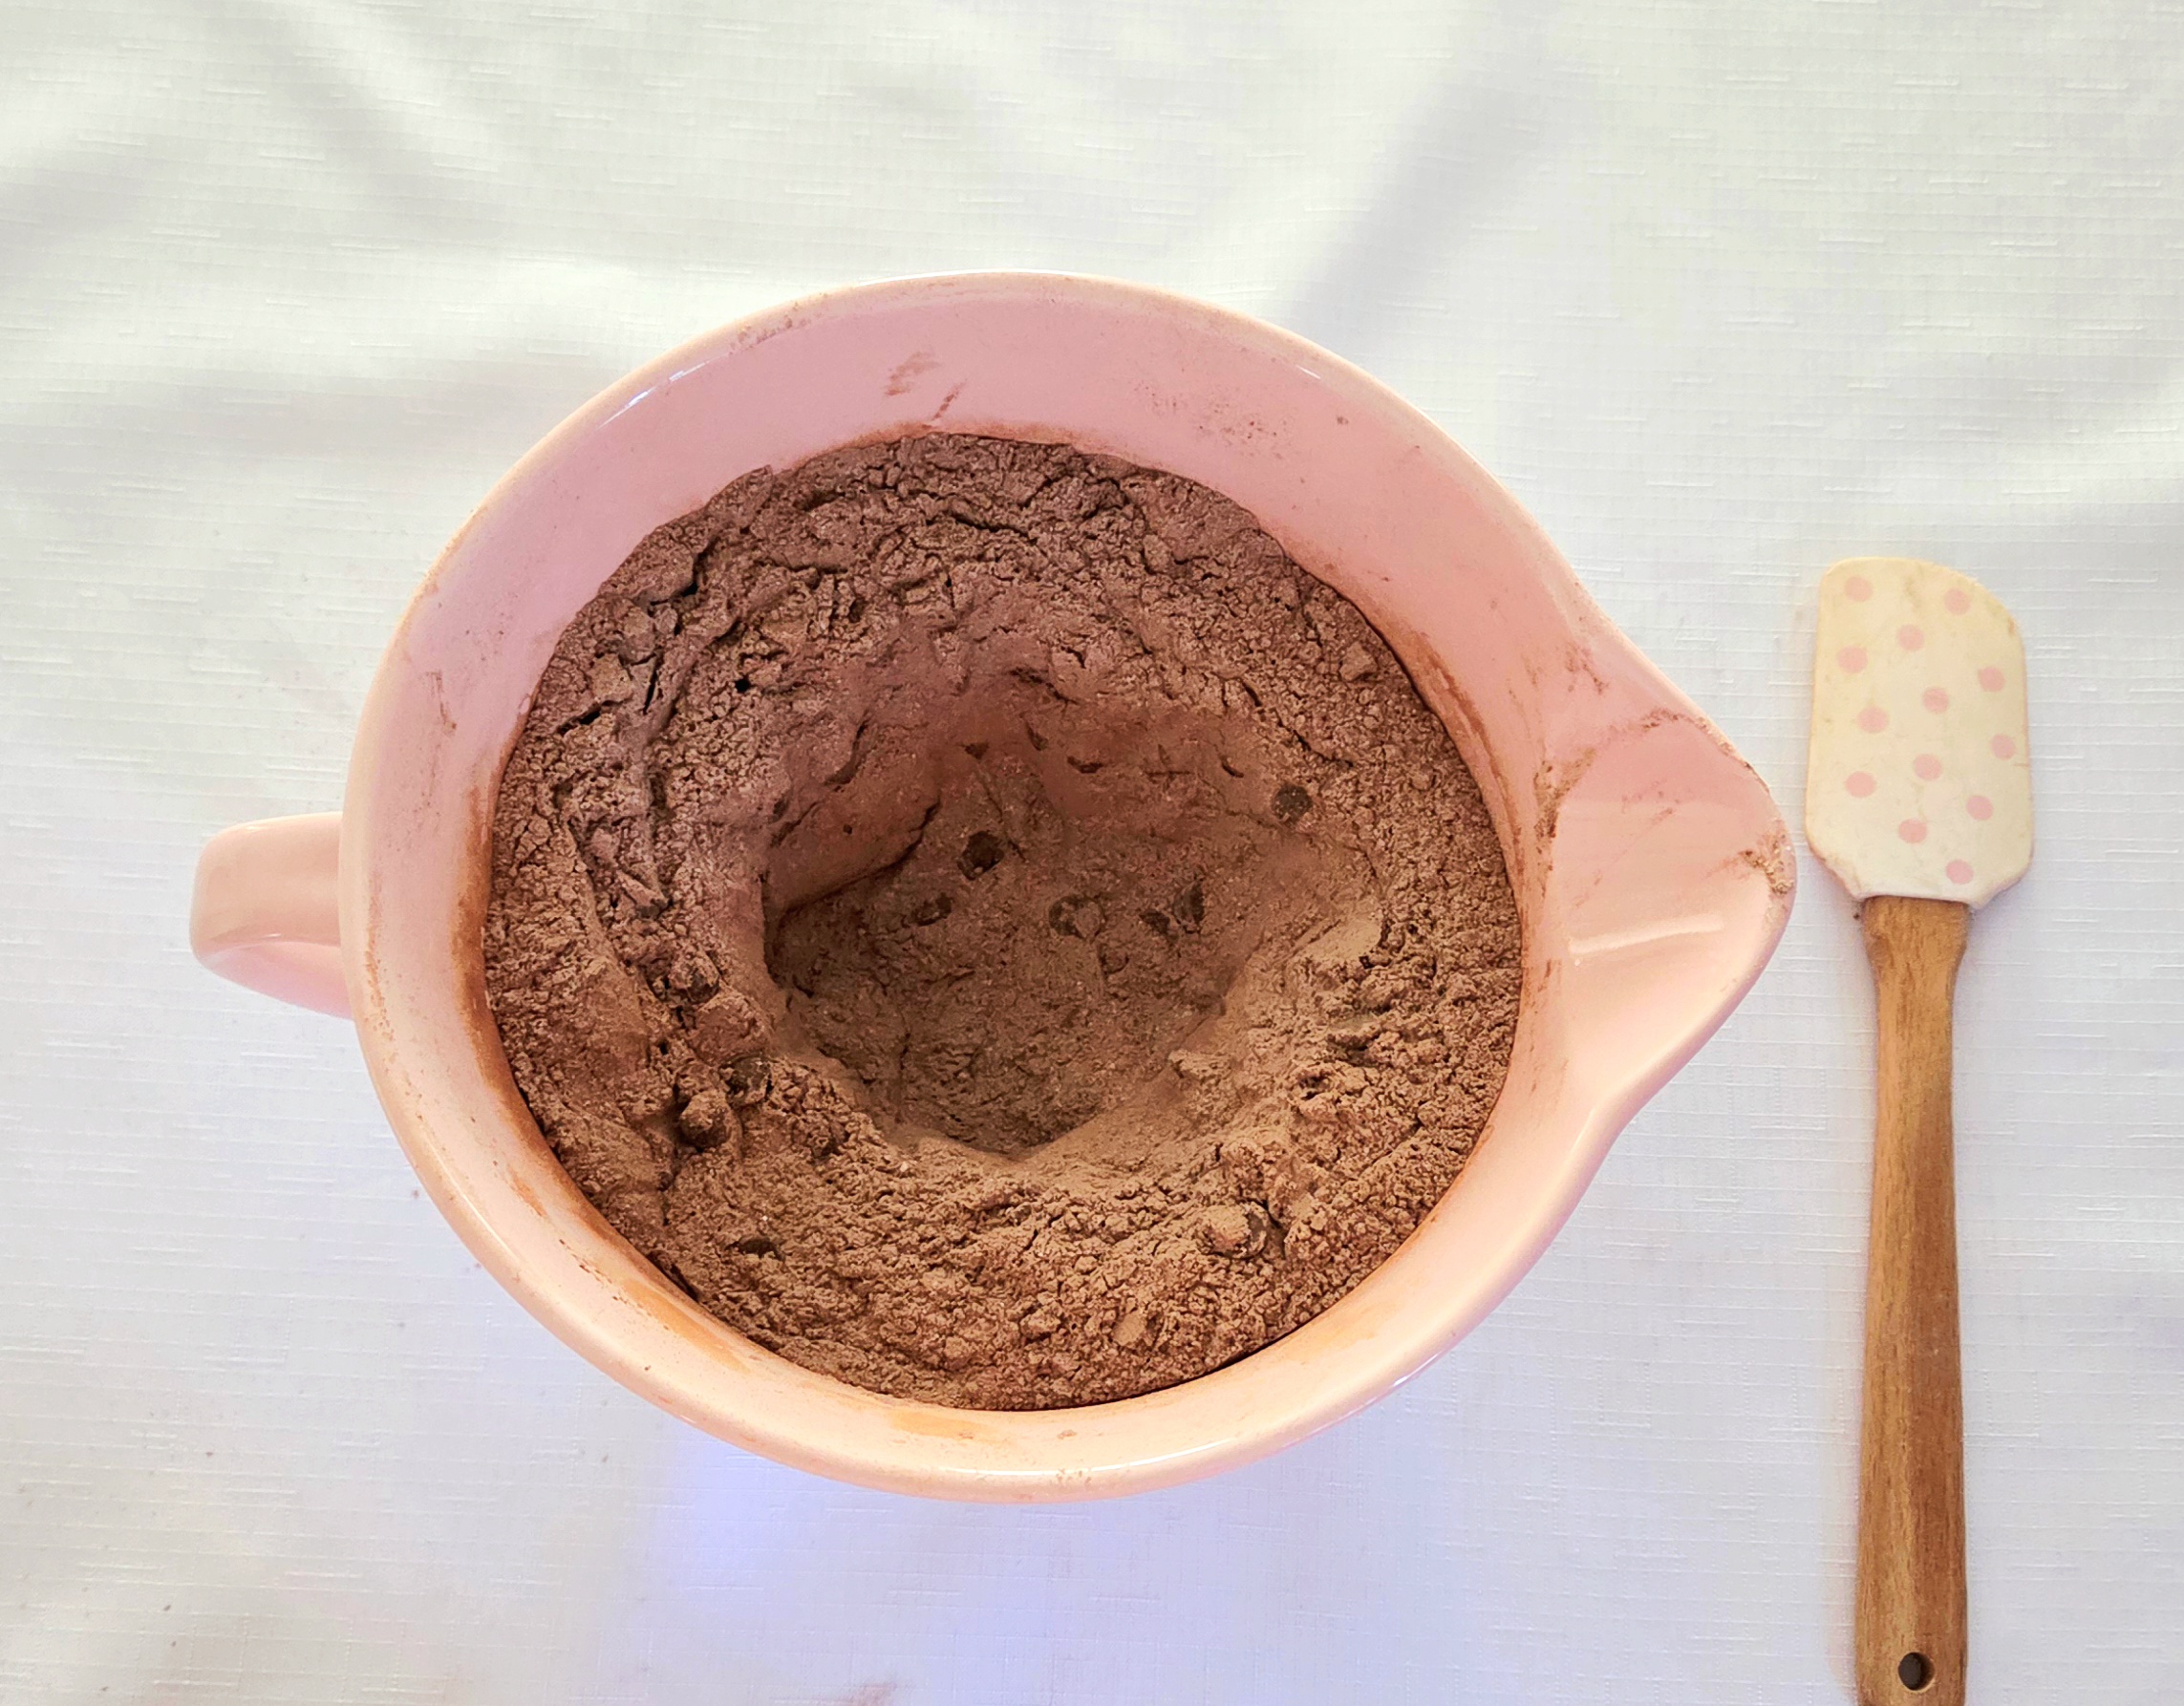
Prepare the dry ingredients. In a large mixing bowl, whisk together the flour, cocoa powder, sugar, baking powder, baking soda, salt, and chocolate chips. If your cocoa powder appears clumpy, take the extra 30 seconds to sift it into the bowl before whisking everything together to avoid big, dry clumps in the muffins. Make a well in the center of the dry goods and set this bowl aside.

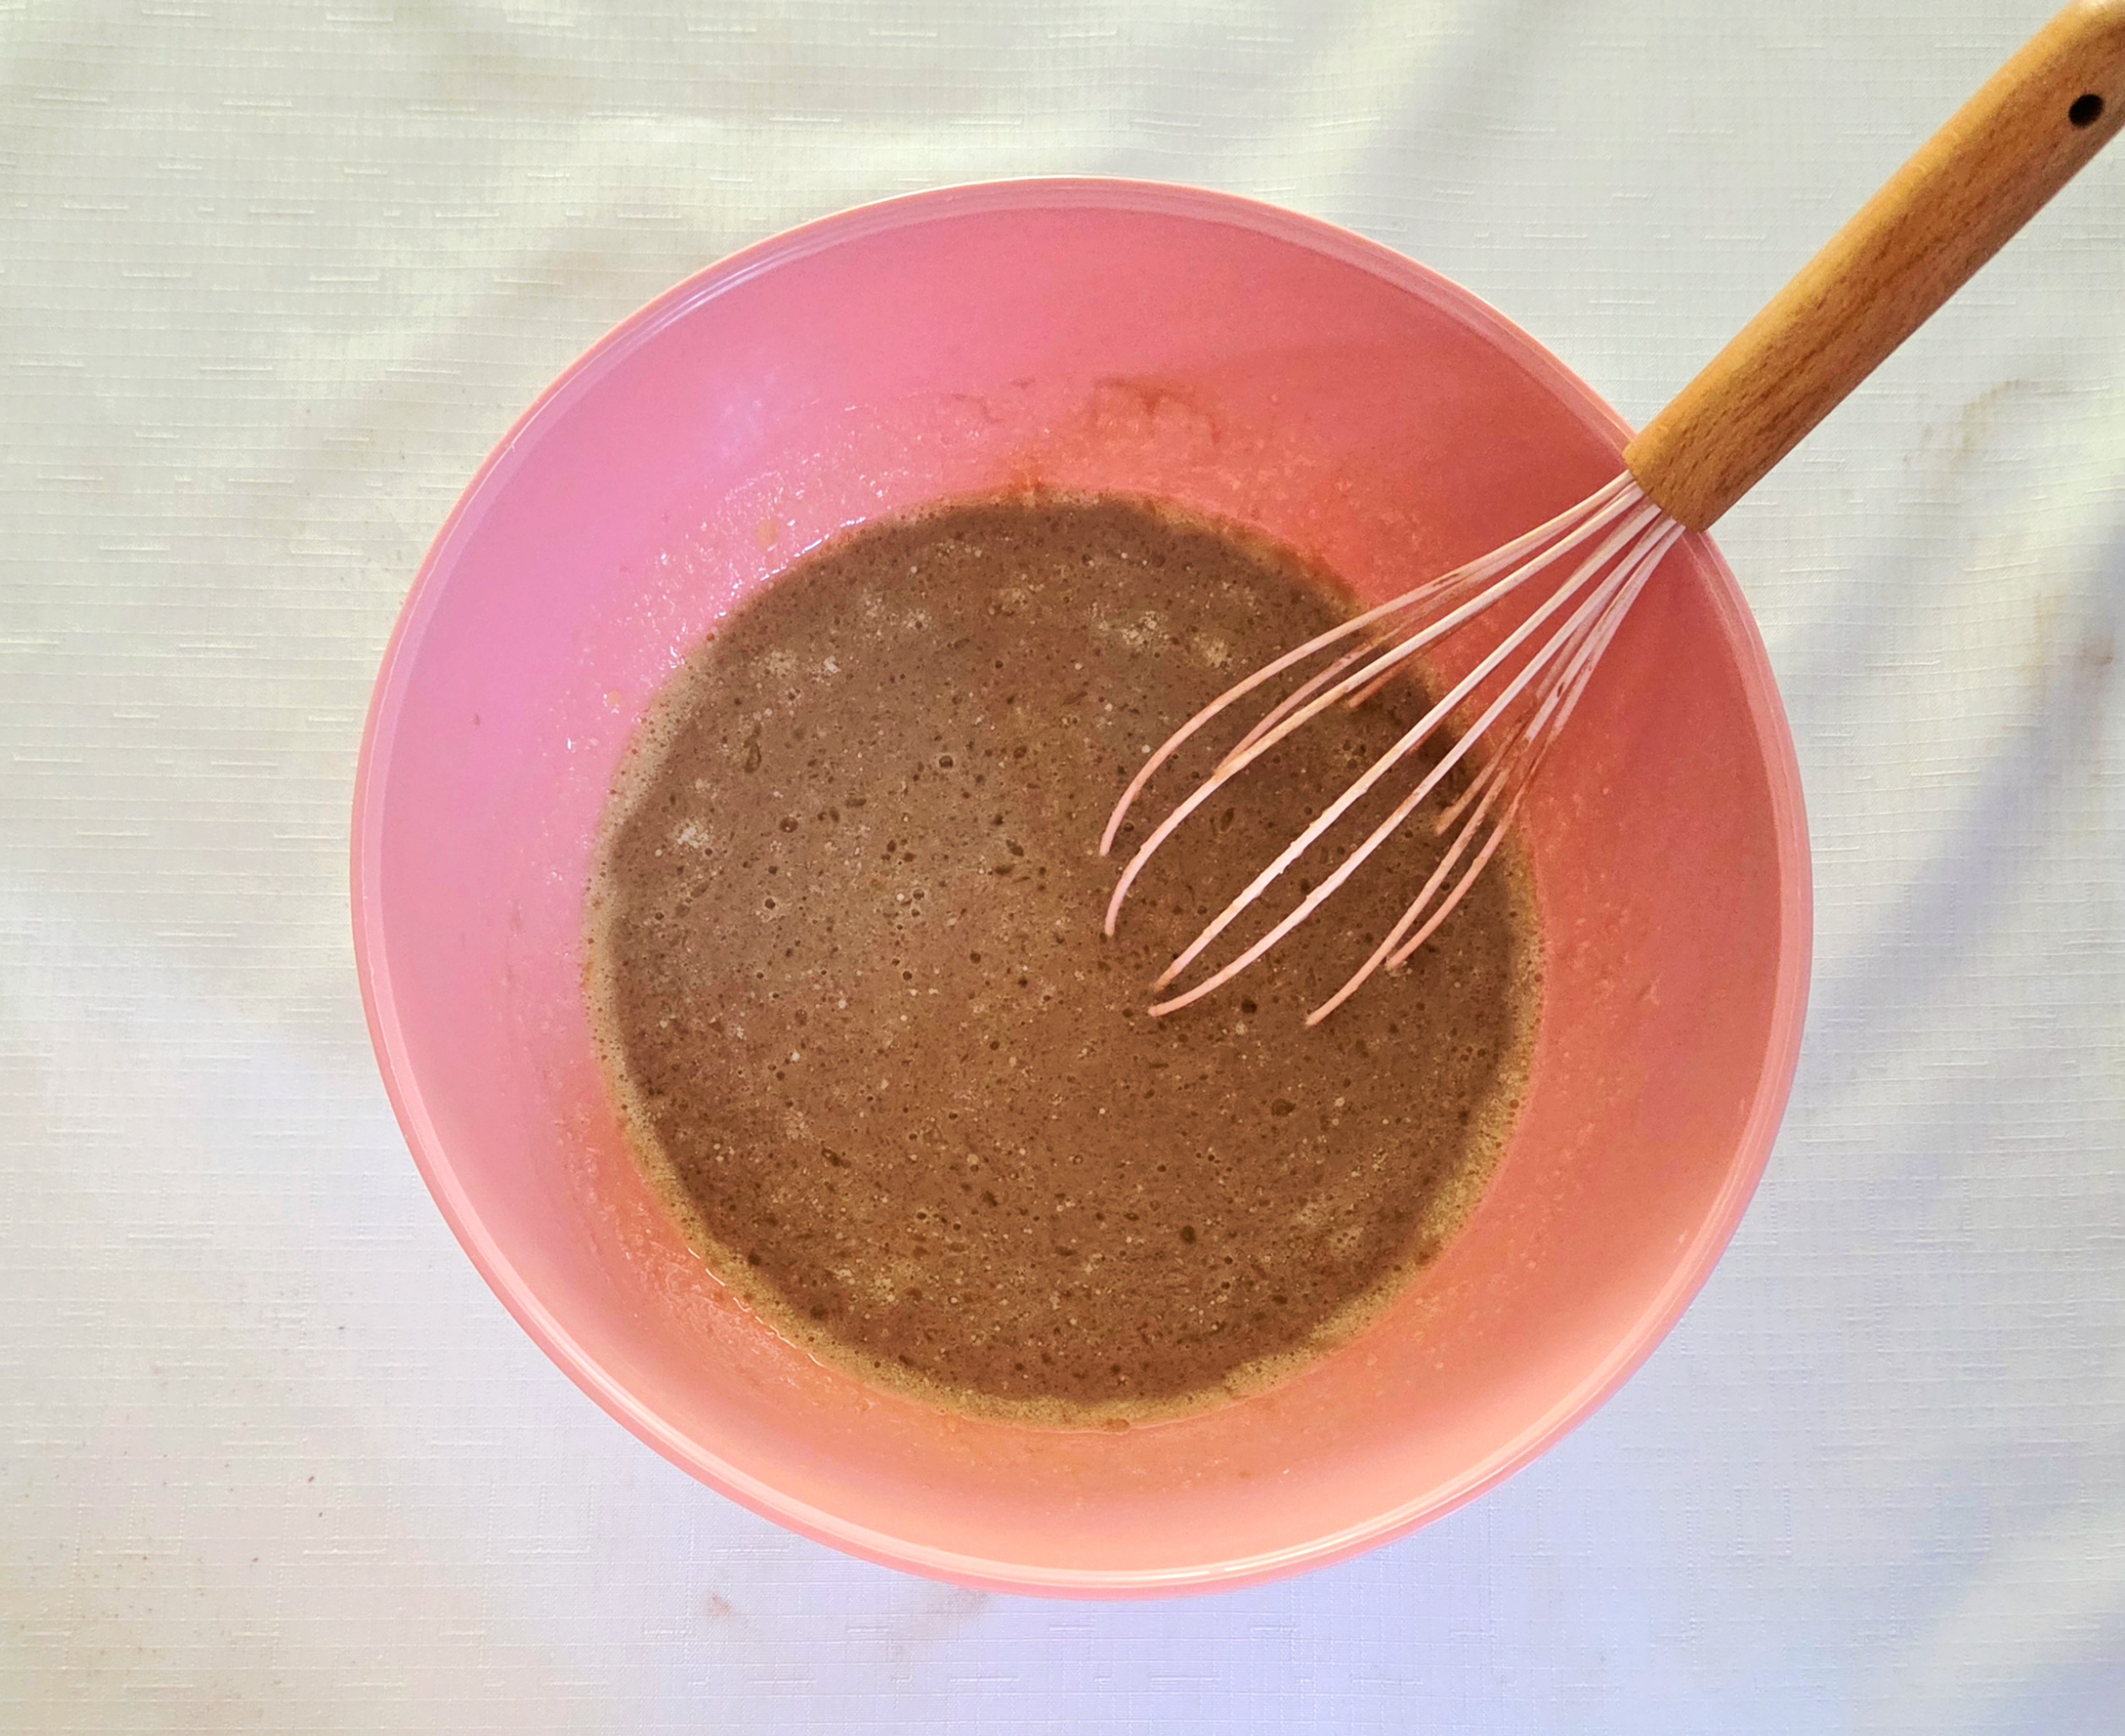
Onto the wet ingredients! In a medium mixing bowl, heat the butter until it’s just melted. You don’t want it to be too hot, or it will scramble the eggs. If your bowl isn’t microwave safe or doesn’t fit, you can either heat it in a small pan on the stove or in another microwave safe bowl and transfer it over. In this case, take care to use a rubber spatula to scrape as much of the butter as you can into the medium mixing bowl. Pour in the milk, eggs, and vanilla, and whisk them all together until the wet mixture is homogeneous.
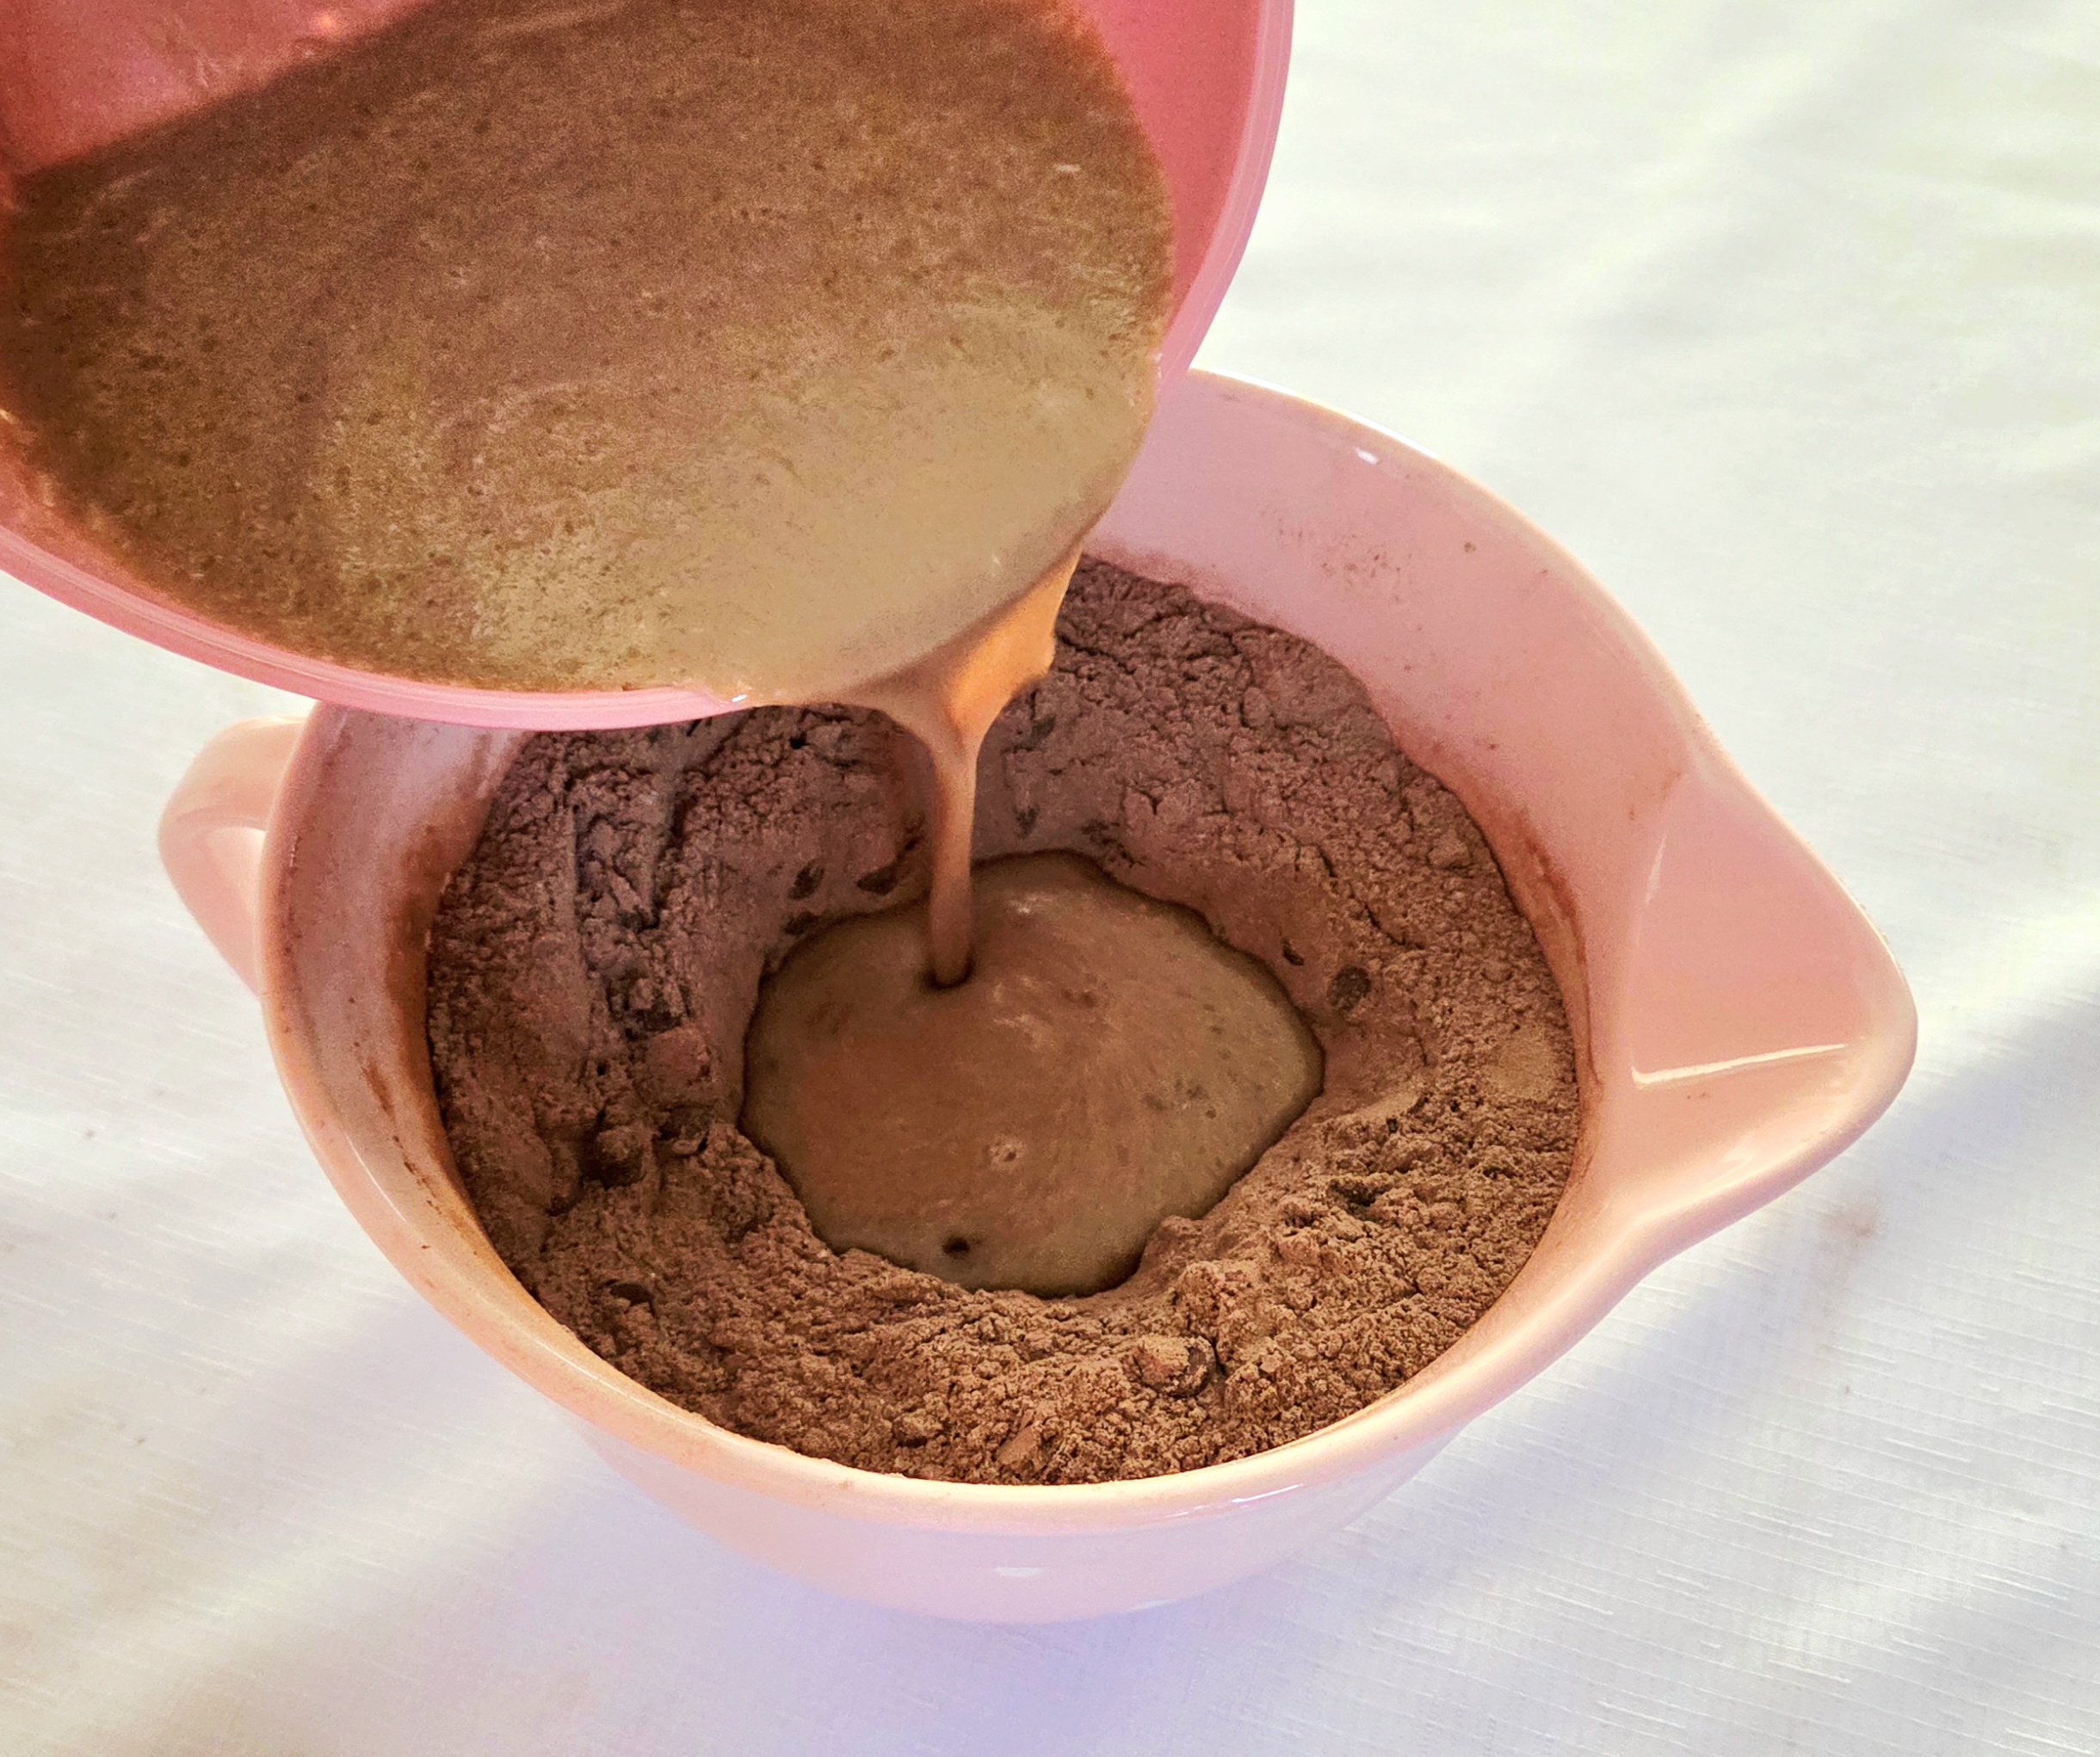
Pour the wet mix into the well previously made in the center of the dry goods. The well will help to make sure the liquid mix reaches the bottom of the dry goods, which will help prevent you from having a lingering streak of flour, never to be hydrated. Be sure to scrape in as much of the wet mixture off of the sides of the bowl as you can, using a rubber spatula.
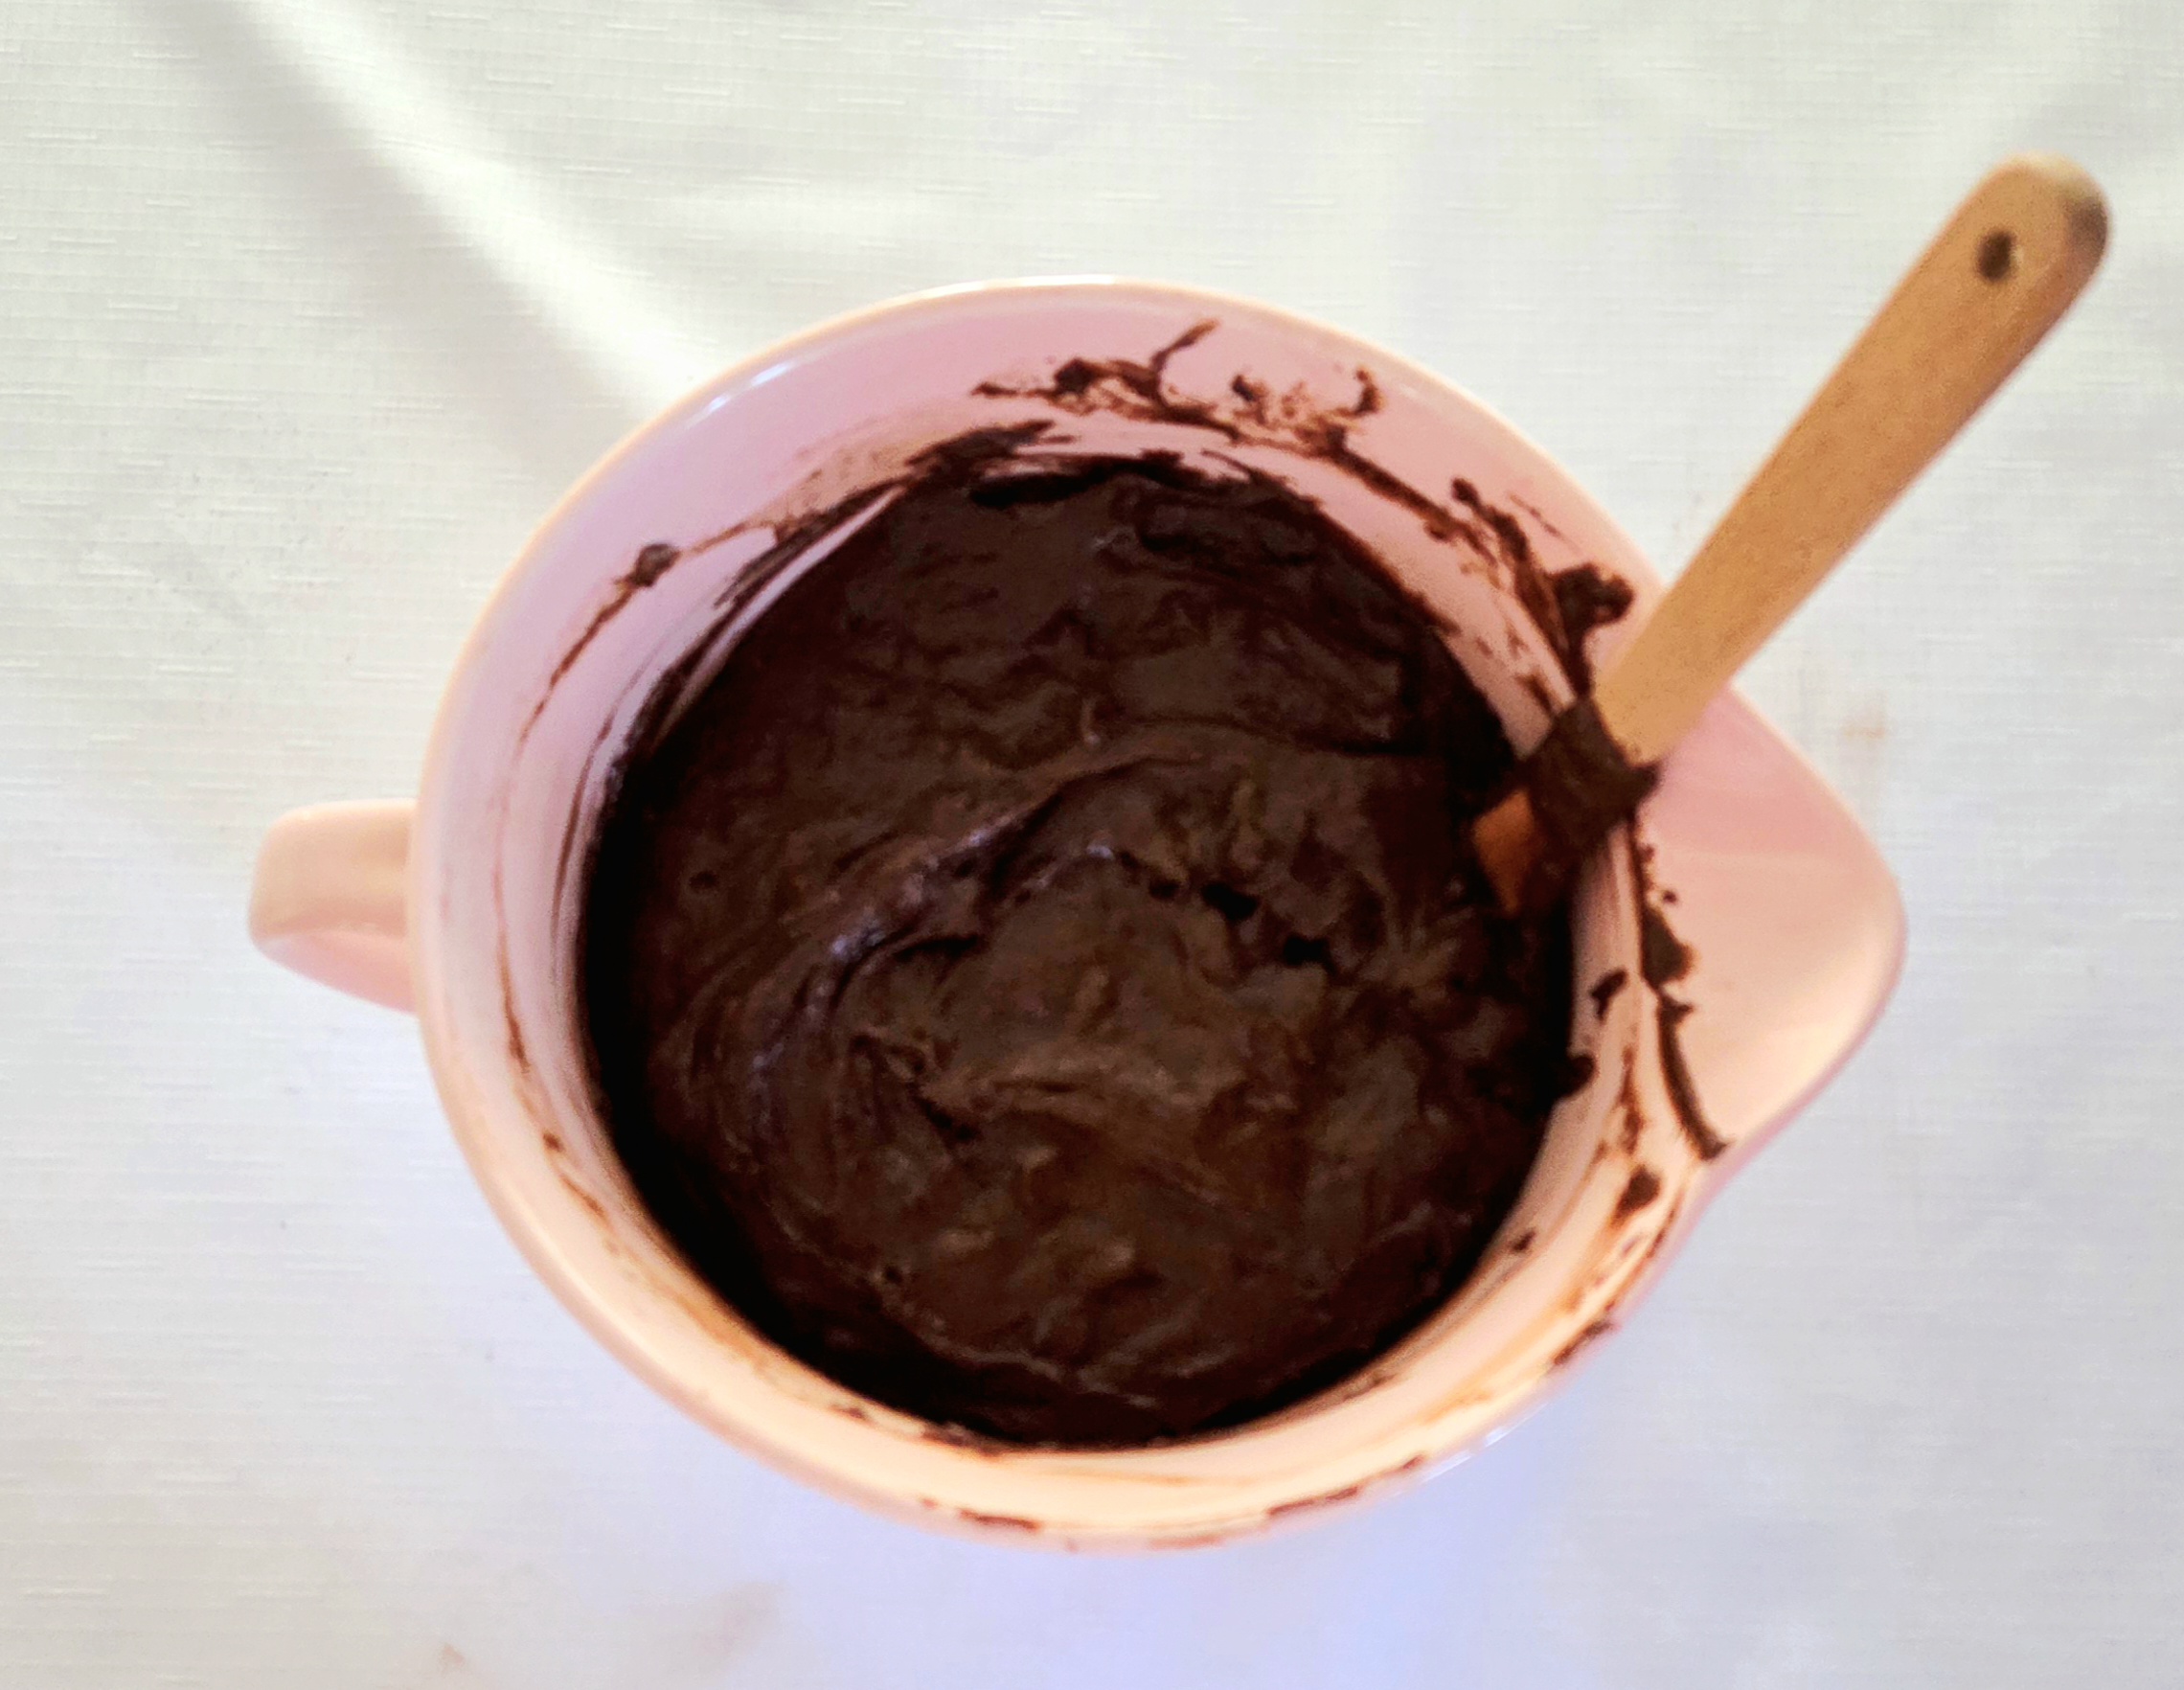
With that same rubber spatula, gently combine the wet and dry goods until they come together as one batter, with no streaks of the dry mix remaining. Once you’re positive all of the dry goods have been absorbed, put the spatula down. If you keep going, you risk the batter over-mixing, which will result in tough muffins. We only want nice, soft, moist muffins around here.
Scoop 8 Tablespoons or ½ cup of batter into each paper-lined cup in the muffin pans. This is going to feel like too much batter, ignore the voice telling you that. In order to get those giant bakery muffin tops, the pan has to be overfilled. Place one pan on the center rack of the oven and bake it for 30 minutes, flipping it around halfway through baking. Poke a toothpick into the center of the central-position muffin. If it comes out with just a few crumbs stuck to it, the muffins are done. Repeat with the second pan of muffins.
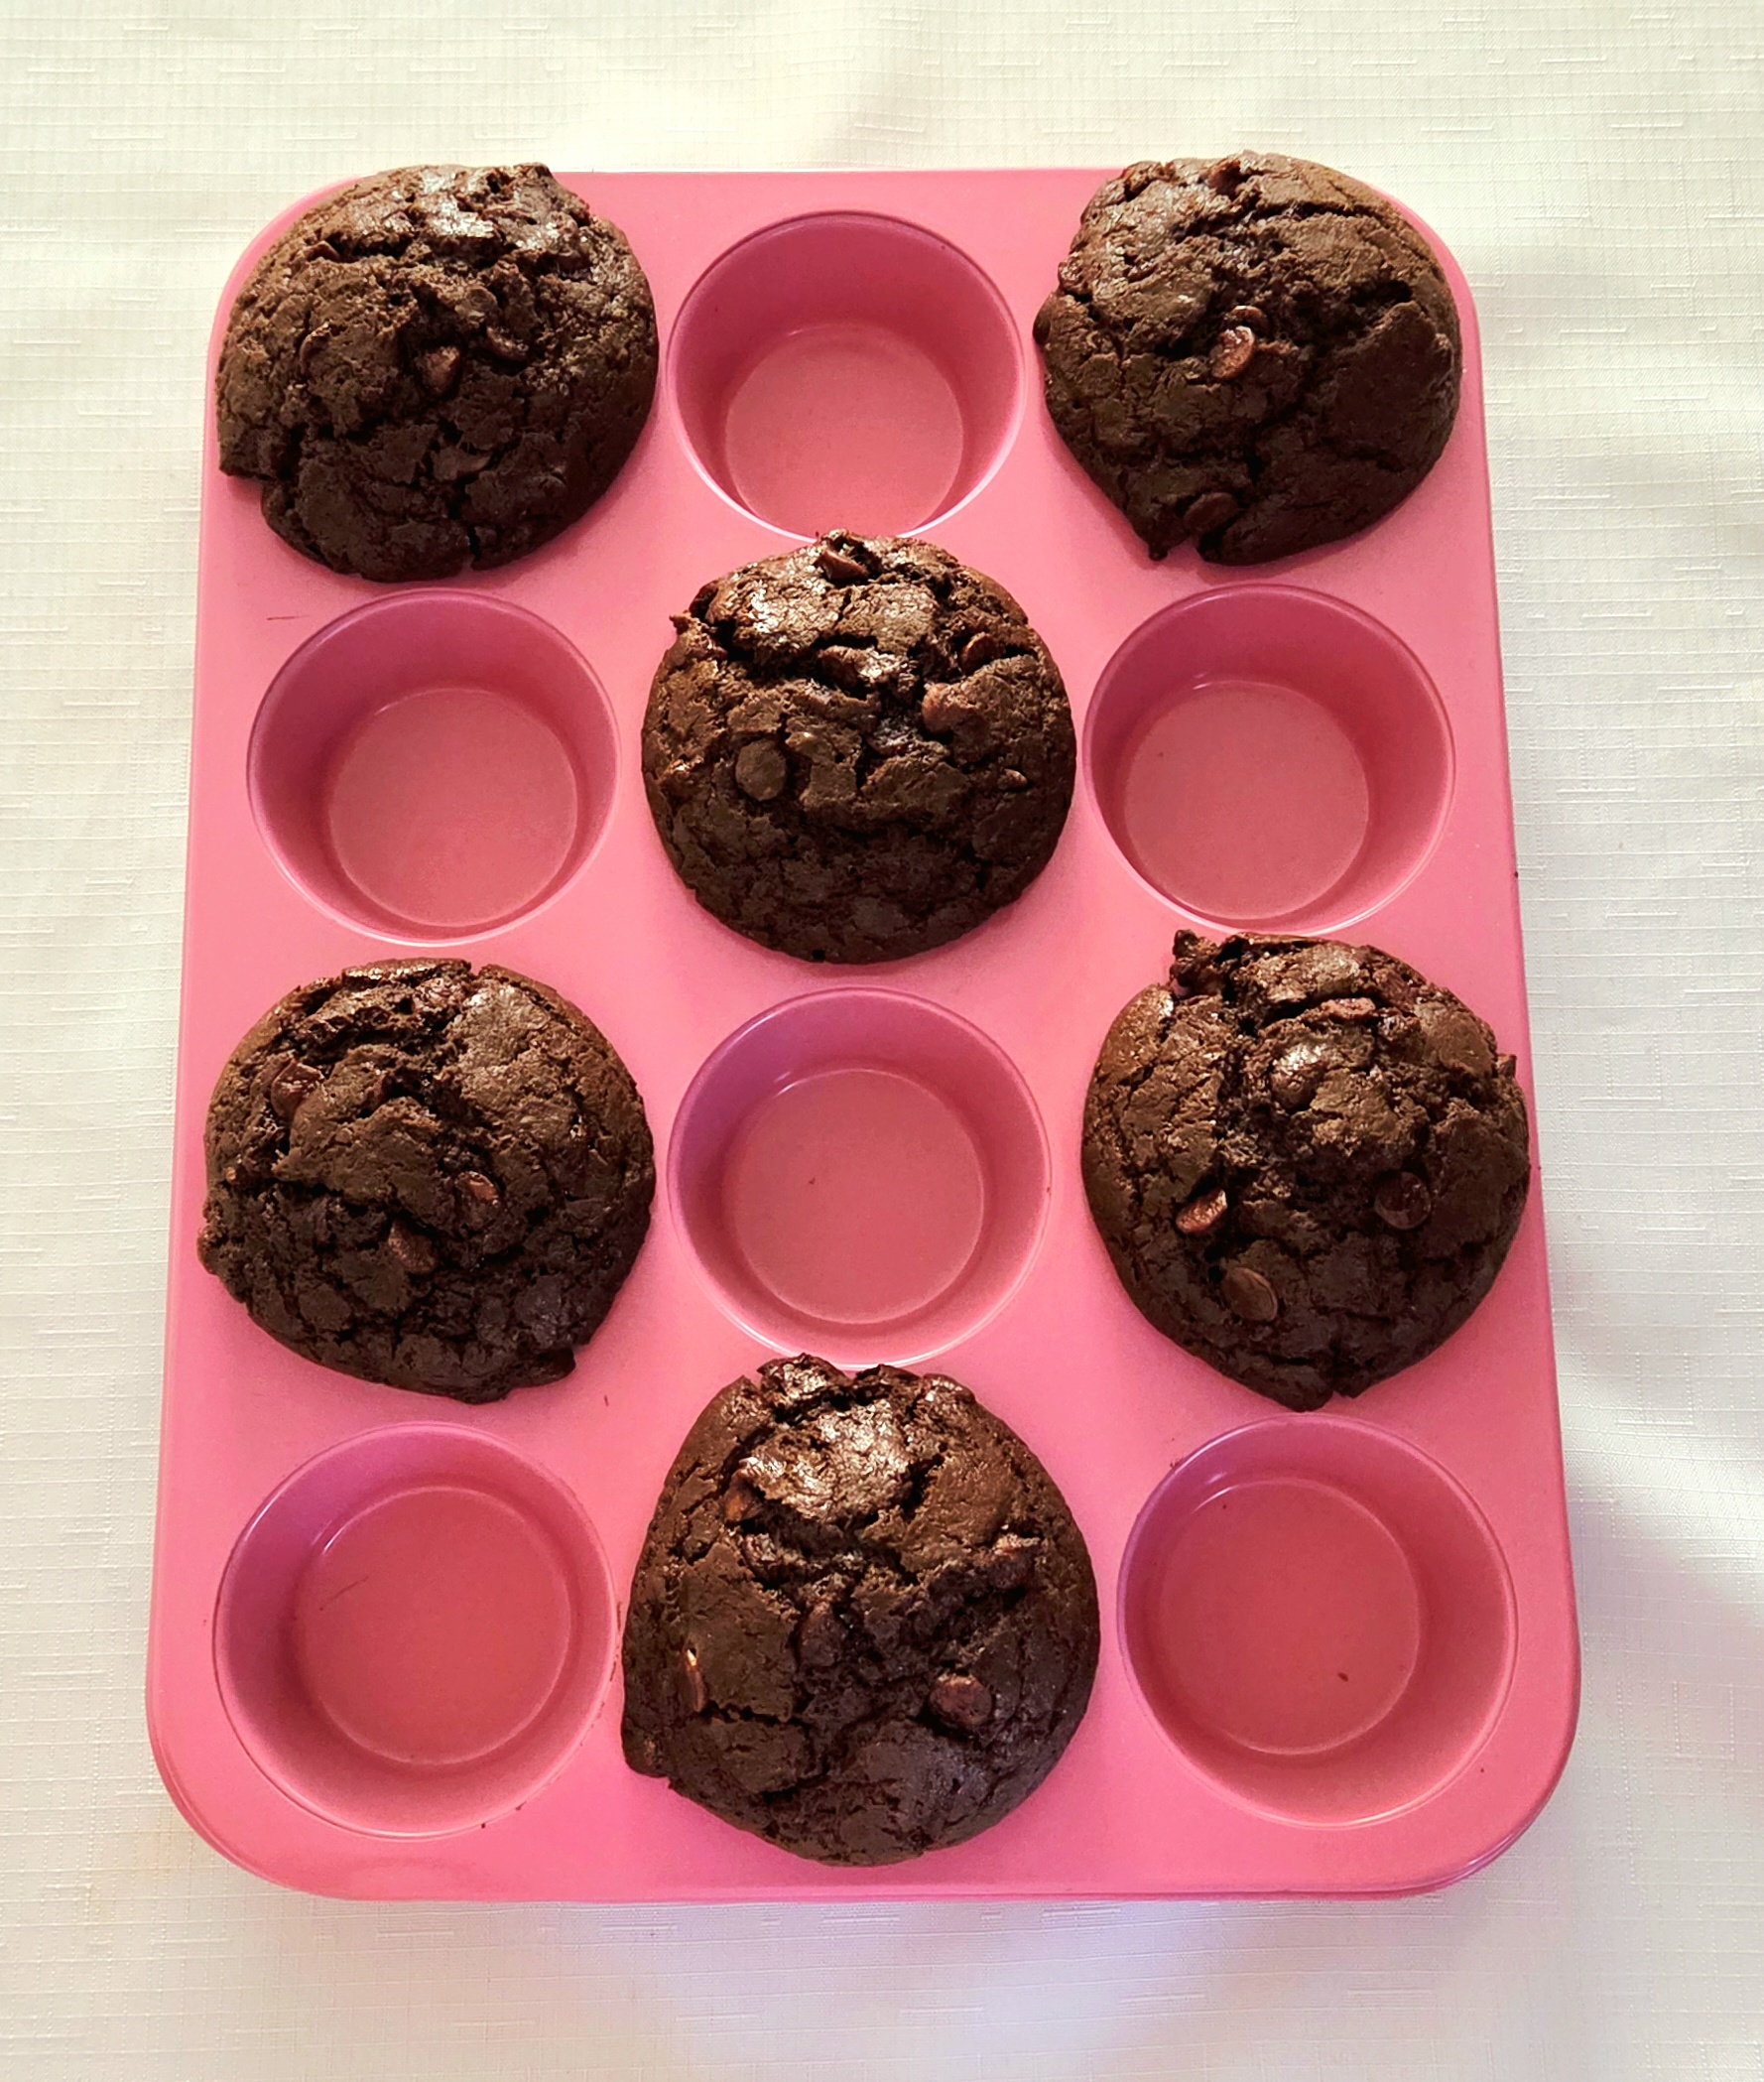
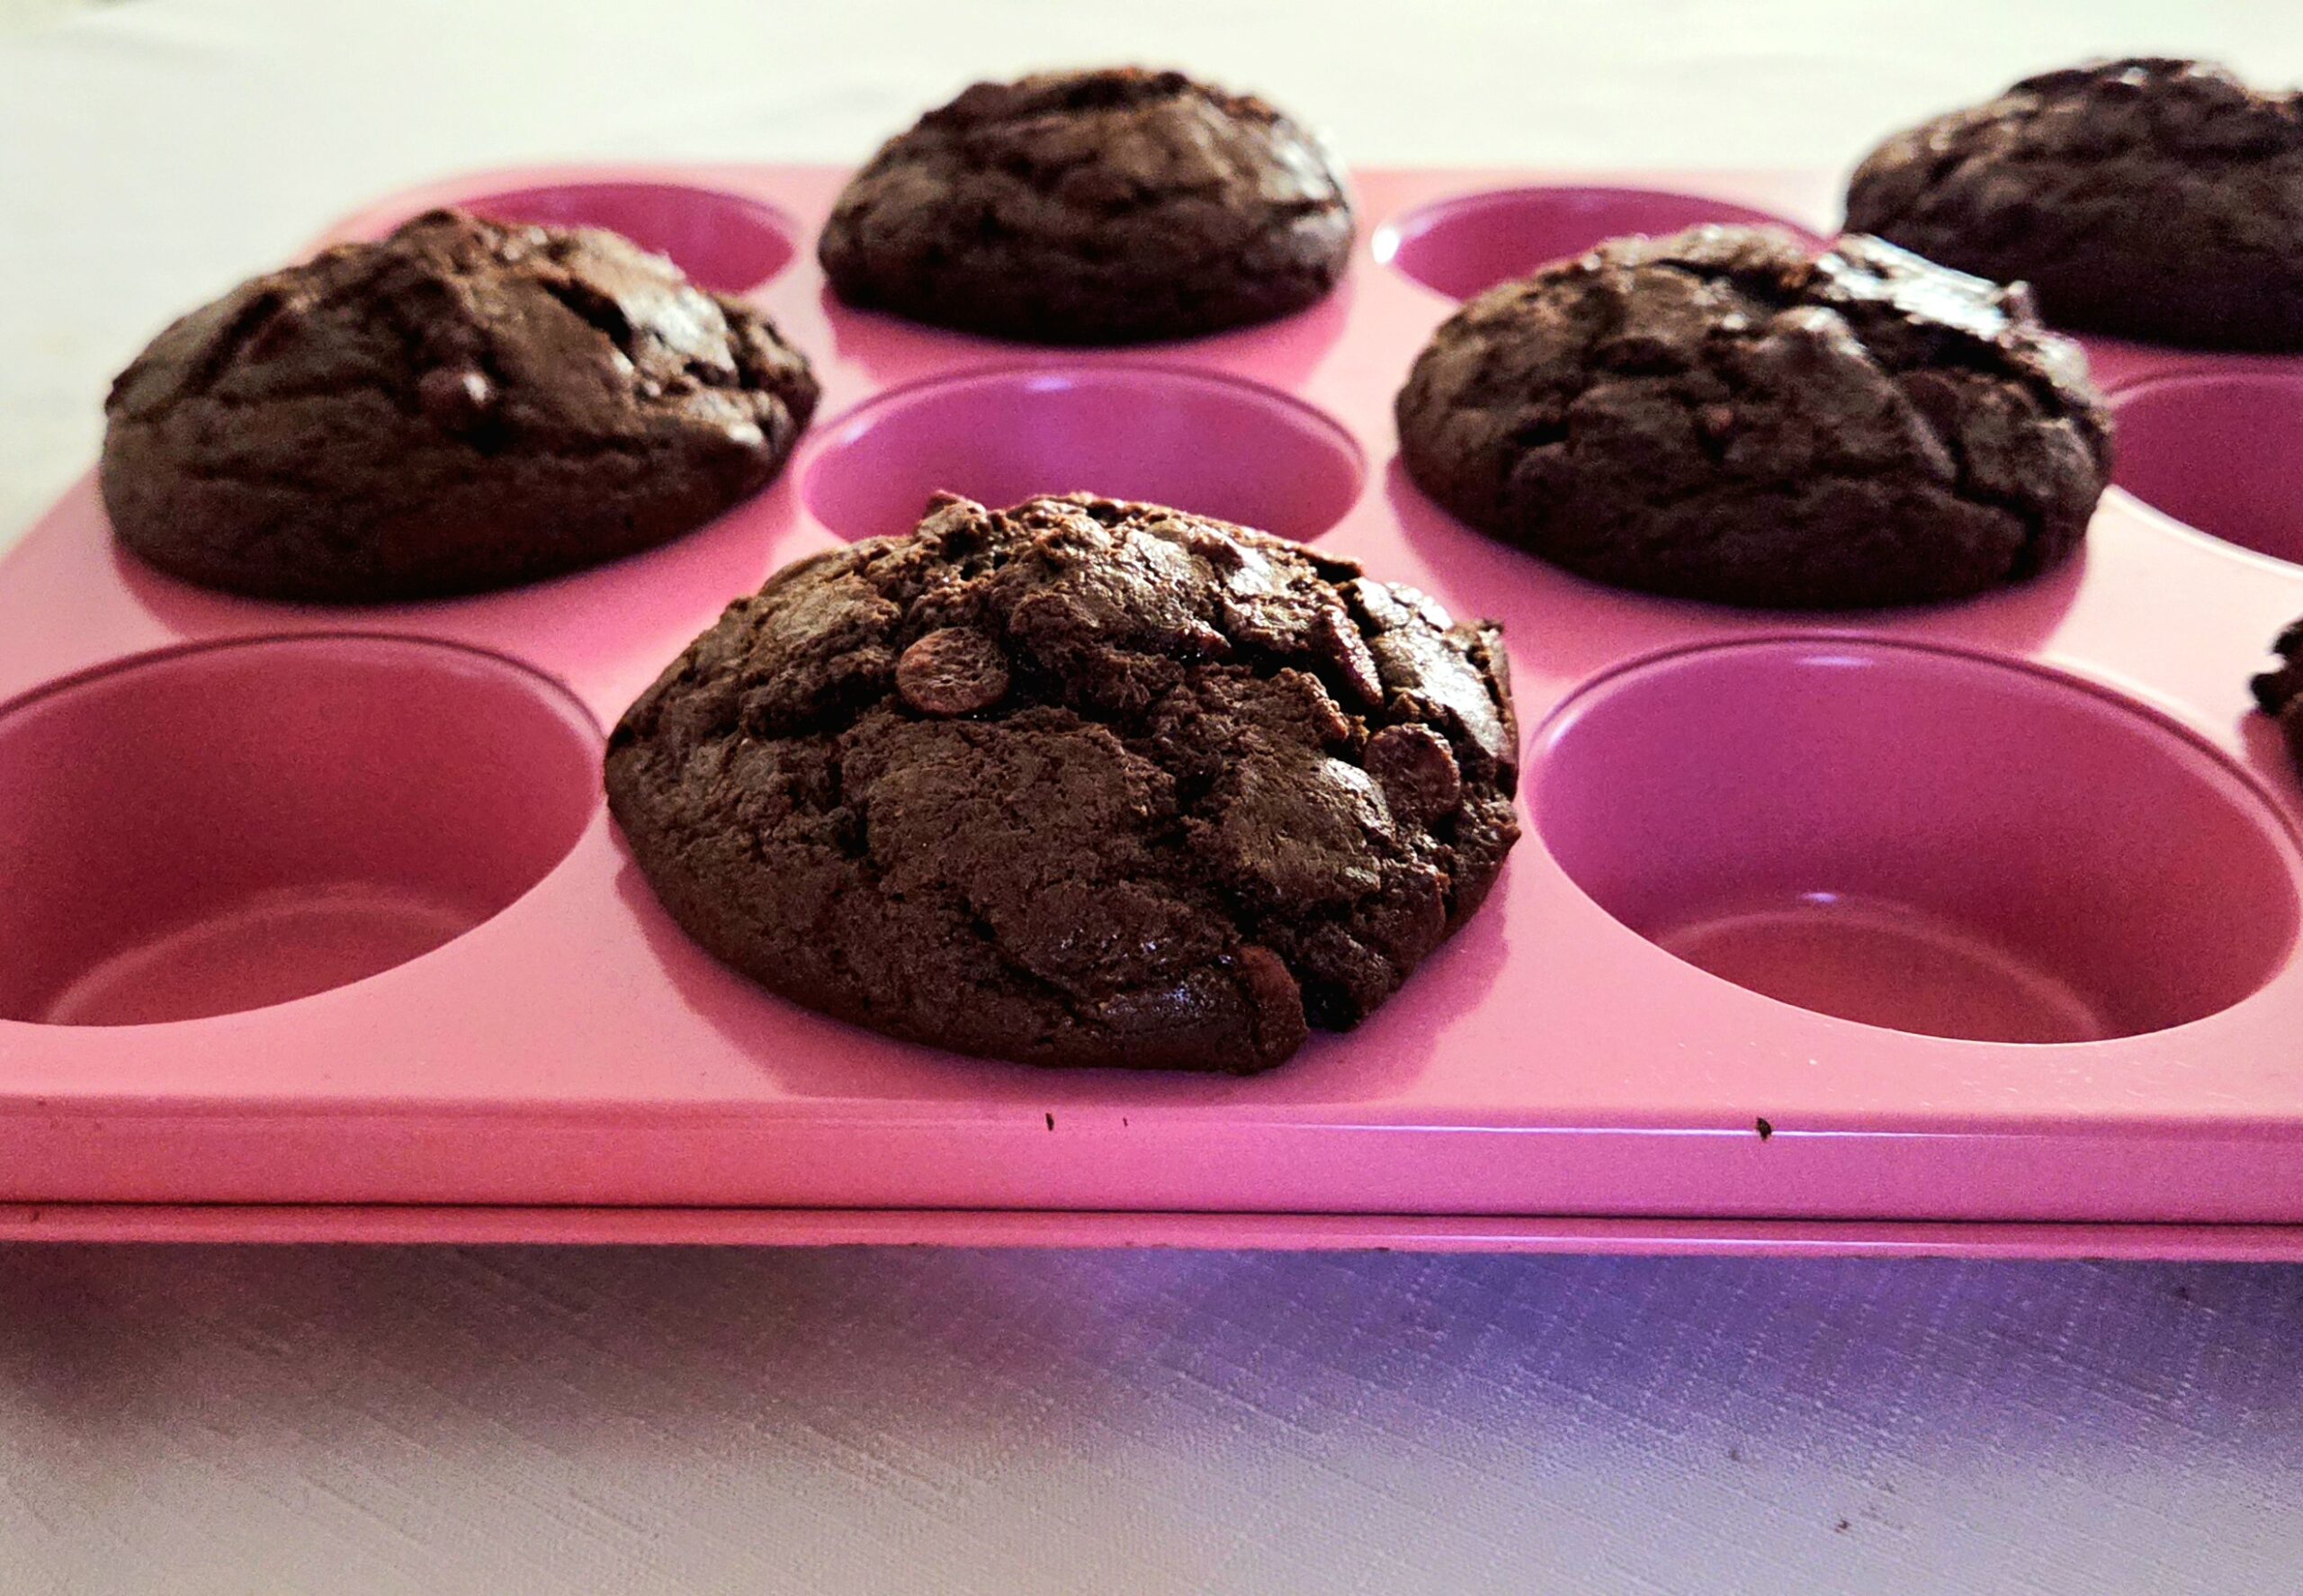
Allow the muffins to rest in the pan for 5 minutes, then transfer them out of the pan and onto a cooling rack. This extra few minutes in the pan will help with the structural integrity of the muffins. If you remove them immediately, you risk the tops sticking to the pan or separating from the bottoms. Once they’ve come down to room temperature, unwrap one and enjoy!
Store any leftover muffins in either an airtight container or gallon sized zip-top bag on the counter for up to 2 days. Alternatively, place them in a freezer safe bag and freeze the muffins for up to 3 months!


Triple Chocolate Muffins
Bake Time: 350F for 30 minutes
Servings: 12 muffins
Total Time: 1 hour 30 minutes
Prep Time: 30 Minutes
Ingredients:
- 2 ½ cups all-purpose flour
- ¾ cup cocoa powder
- 1 ½ cups granulated sugar
- 1 teaspoon baking powder
- ½ teaspoon baking soda
- 1 teaspoon salt
- 2 cups chocolate chips
- 16 Tablespoons unsalted butter
- 2 large eggs, room temperature
- 1 ½ cups chocolate milk
- 1 teaspoon vanilla extract
Directions:
- Preheat the oven to 350F, on the convection setting if possible, and prepare the pans. Place 12 cupcake papers in every other slot of two muffin pans, so there are 6 papers in each. Set them aside.
- In a large mixing bowl, whisk together the flour, cocoa powder, sugar, baking powder, baking soda, salt, and chocolate chips. Make a well in the center of the dry goods, as shown above, and set aside.
- In a medium mixing bowl, heat the butter until it’s just melted. Pour in the milk, eggs, and vanilla, and whisk them all together until the wet mixture is homogeneous.
- Pour the wet mix into the well previously made in the center of the dry goods. Be sure to scrape in as much of the wet mixture off of the sides of the bowl as you can, using a rubber spatula. With that same rubber spatula, gently combine the wet and dry goods until they come together as one batter, with no streaks of the dry mix remaining.
- Scoop 8 Tablespoons or ½ cup of batter into each paper-lined cup in the muffin pans. Place one pan on the center rack of the oven and bake it for 30 minutes, flipping it around halfway through baking. Poke a toothpick into the center of the central-position muffin. If it comes out with just a few crumbs stuck to it, the muffins are done. Repeat with the second pan of muffins.
- Allow the muffins to rest in the pan for 5 minutes, then transfer them out of the pan and onto a cooling rack. Once they’ve come down to room temperature, unwrap one and enjoy! Store any leftover muffins in either an airtight container or gallon sized zip-top bag on the counter. Alternatively, place them in a freezer safe bag and freeze the muffins for up to 3 months!
Tips
- For even more chocolate overload, throw in a mixture of milk, white, and dark chocolate chips!
- These muffins can be frozen! Place any leftover muffins into a freezer-safe gallon sized zip-top bag and freeze them for up to 3 months. Thaw them either on the counter starting the night before, or gently reheat them in the microwave.


0 Comments