
It’s fall. Pumpkins are abound, cozy sweaters once again a wardrobe staple, apples are being picked, there’s a delightful nip in the air, and my personal favorite: autumnal baking. Particularly using all of those apples everyone is picking. Apple muffins, apple cinnamon rolls, apple fritters, apple dumplings, there are endless possibilities here. And the foundational king of them all: apple pie. However, baking an entire pie from scratch can be intimidating, even to an experienced baker. If you’re not careful, the crust can come out hard and tough on the outside, along with the dreaded soggy bottom. Not exactly what I’d call delicious.
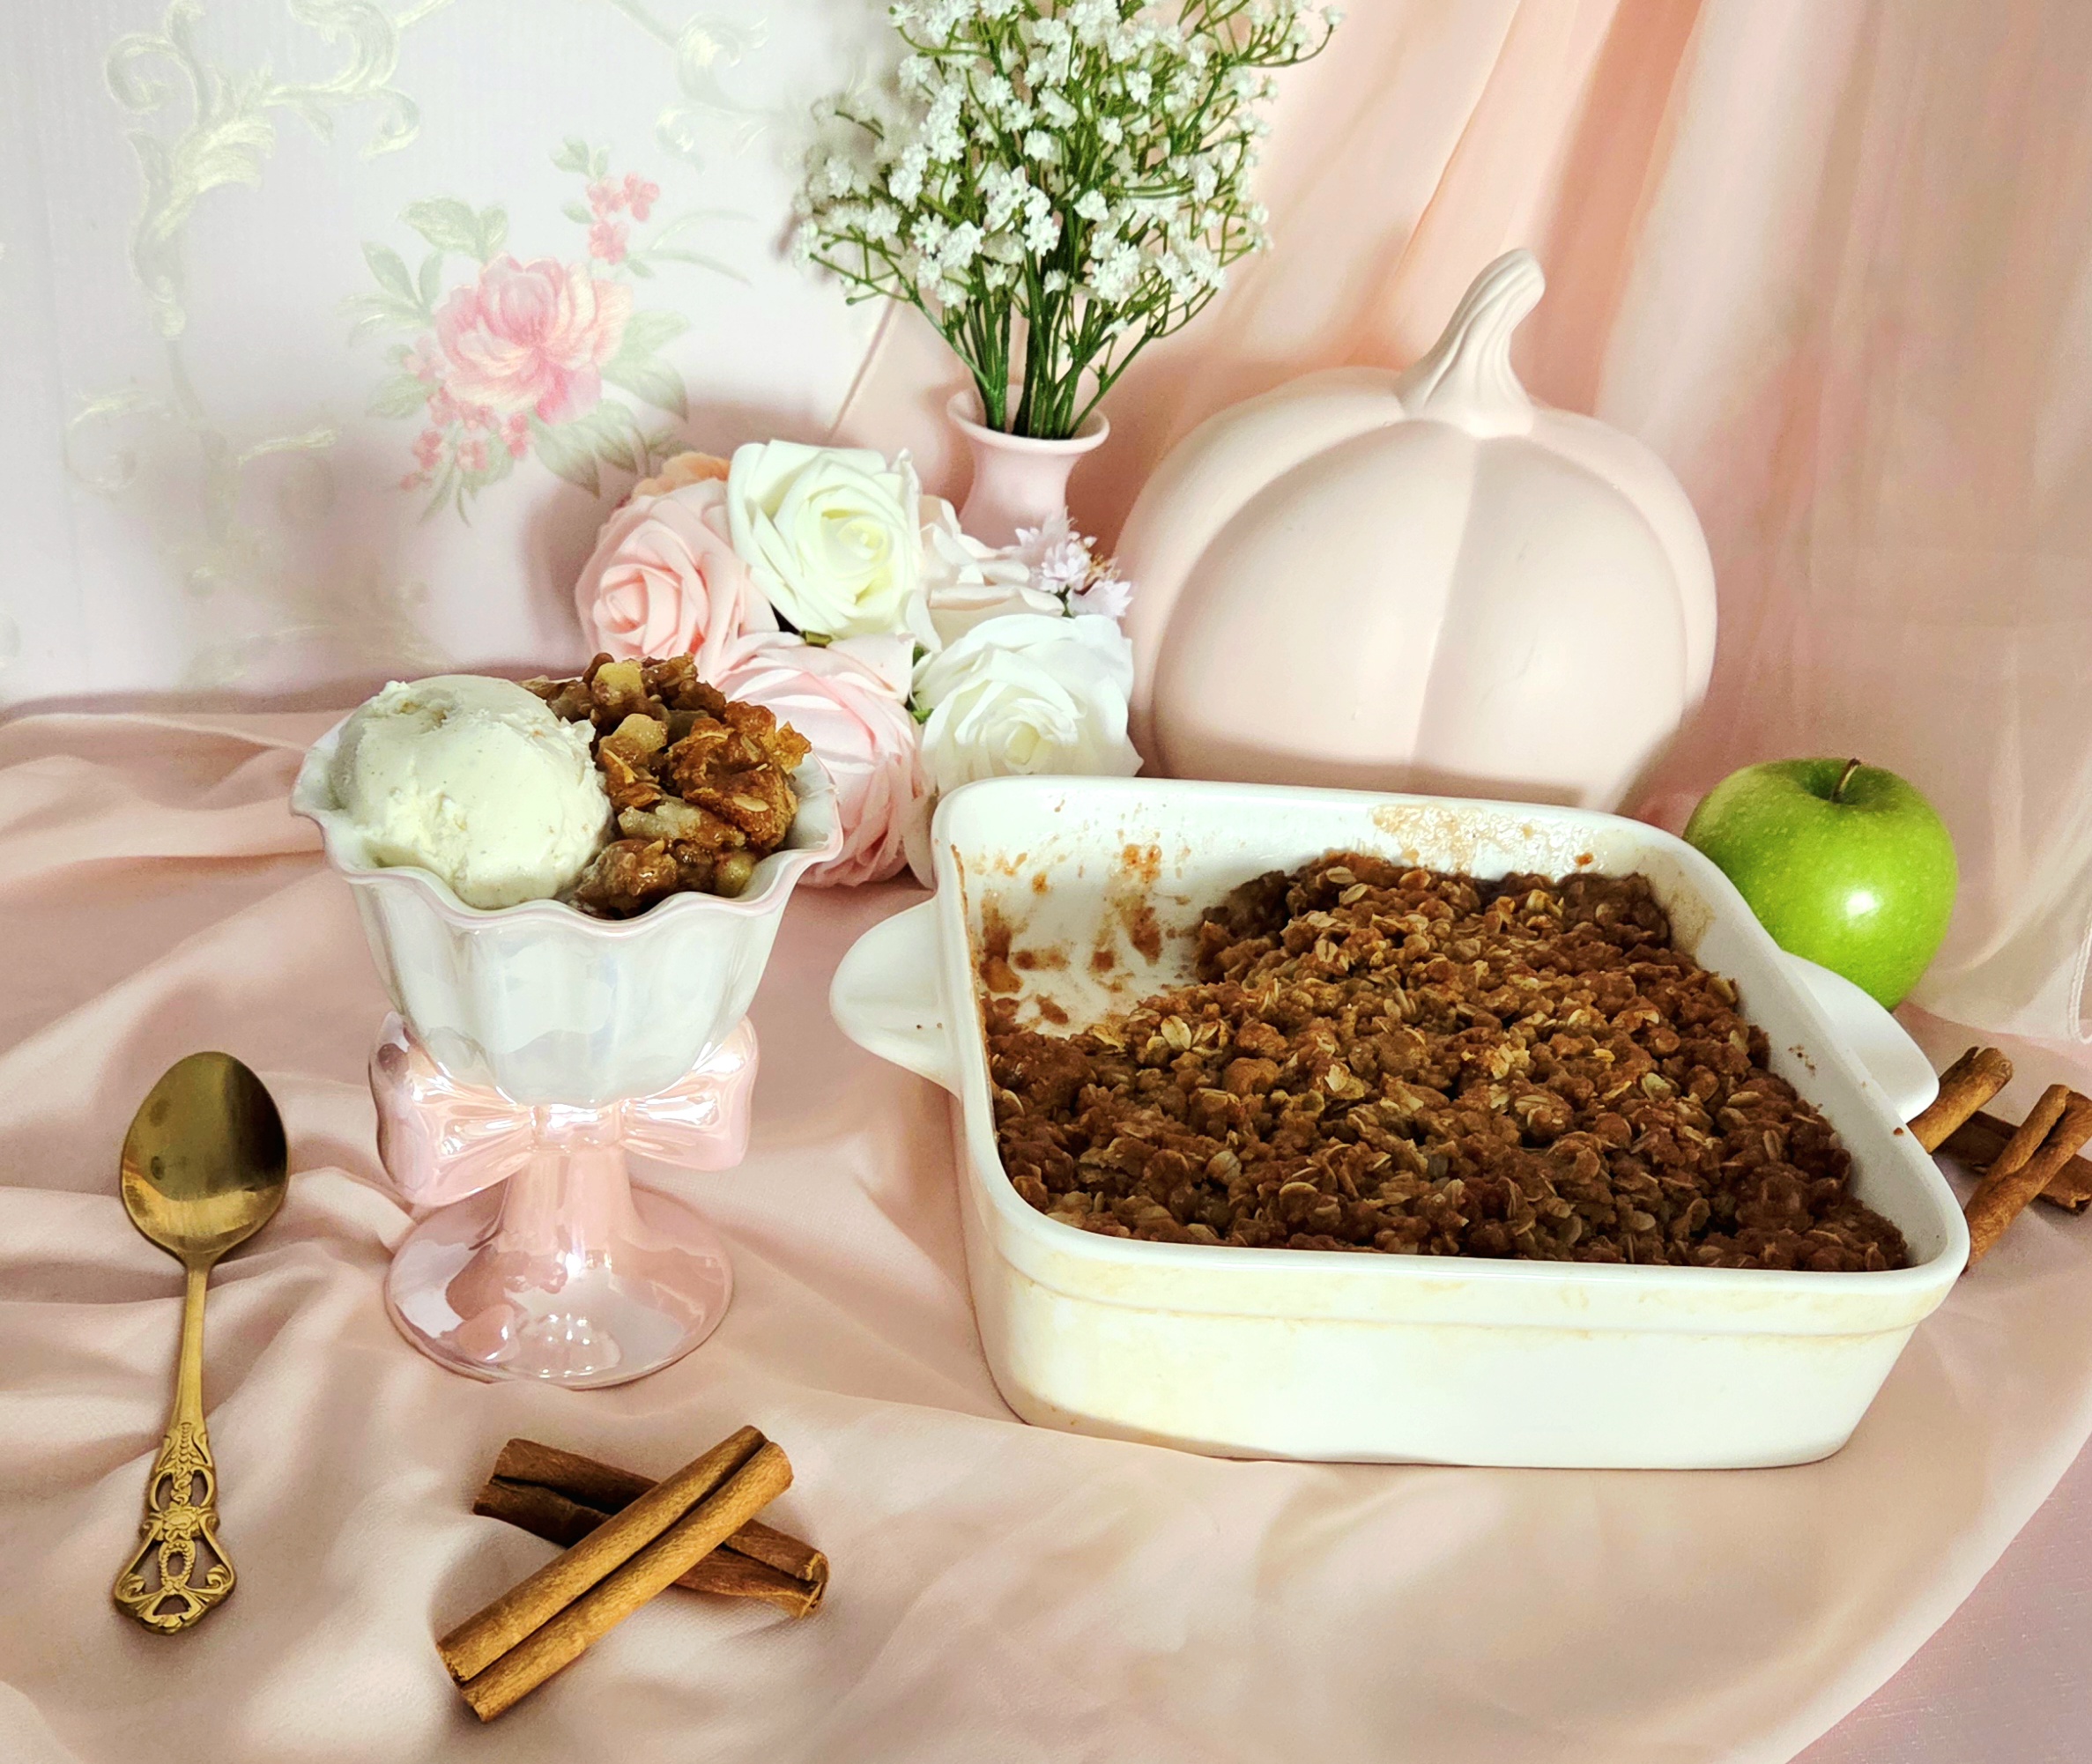
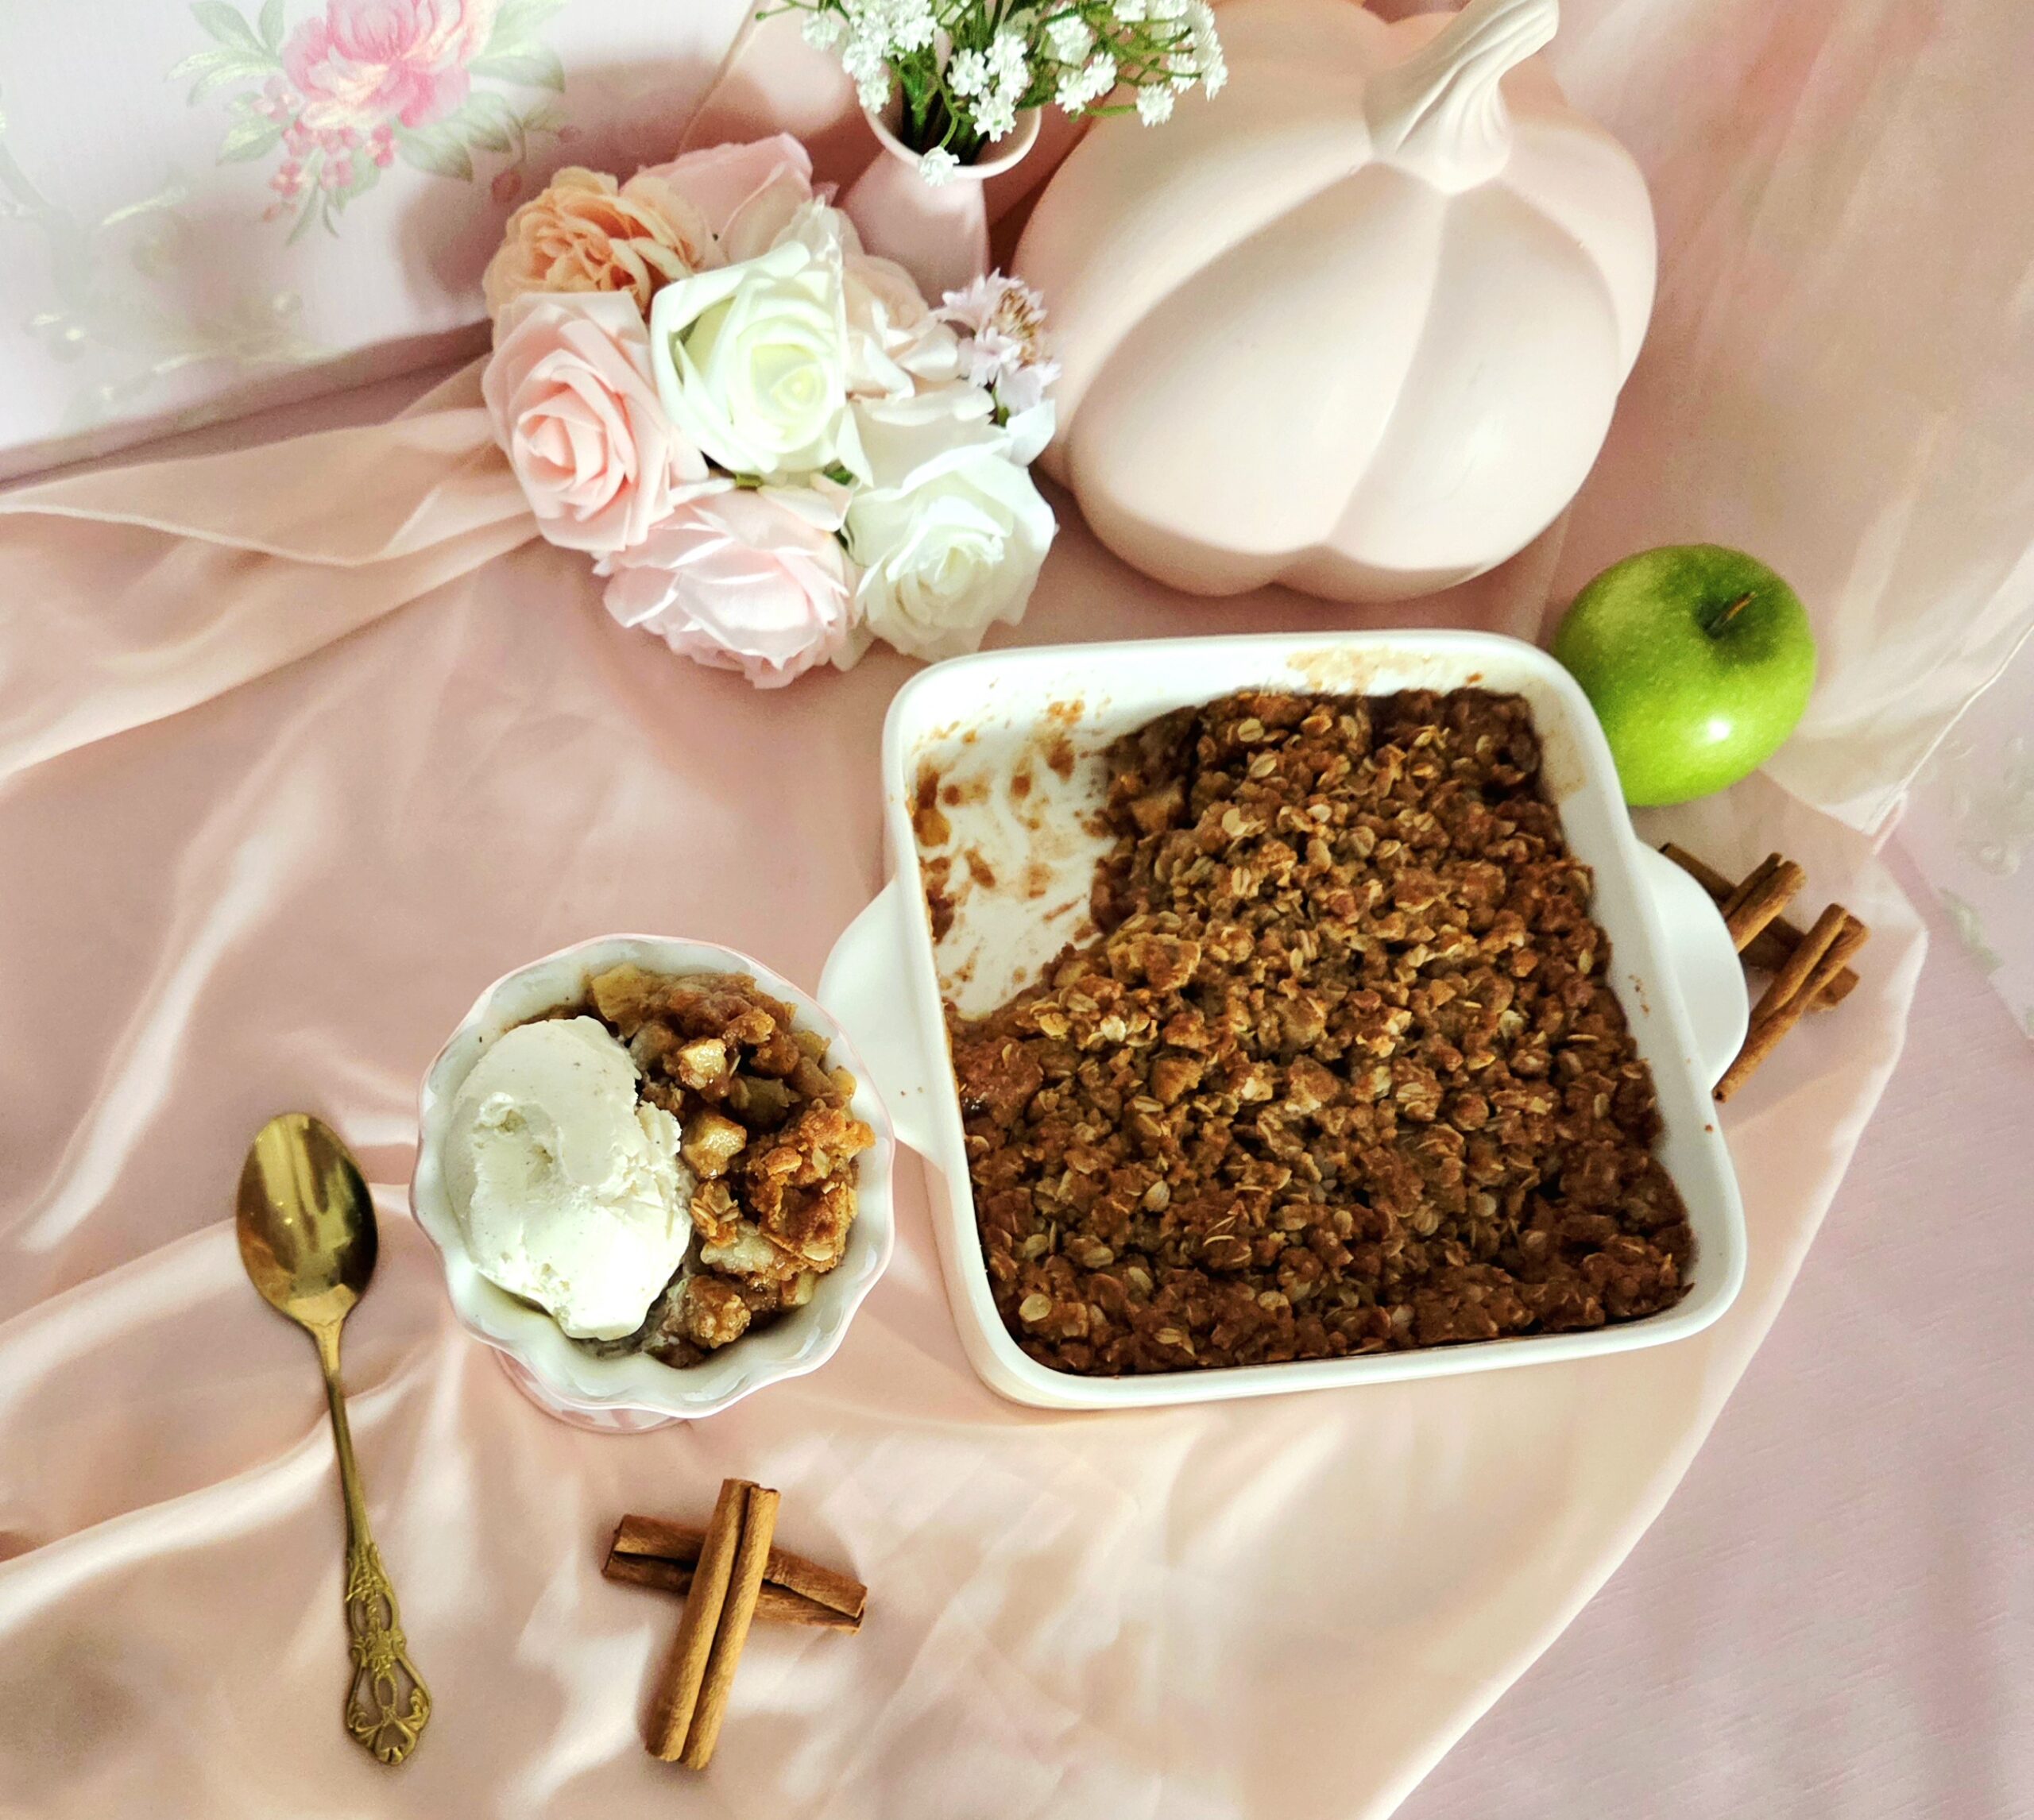
The solution? Our beginner-friendly savior, apple crisp. Warm, spiced apple filling, balanced by that crispy oat topping, what’s not to love? Not to not-so-humbly brag, but this recipe makes a particularly good apple crisp. I’ve made sure the apples in this filling still retain some of their bite, so it’s not just a mouthful of apple mush. Plus, there’s no skimping on the topping with this recipe! I’m here for a flavorful bite of everything, not a sprinkling of oats on top of baked apples. Why even go through the trouble of creating an apple crisp at that point, honestly? Throw on some cozy pjs, turn on a spooky movie, and serve it up, still warm, in a bowl with a big scoop of vanilla ice cream. The perfect fall evening awaits.
FAQs and Science
Do I have to peel the apples?
I very strongly recommend peeling your apples first. Baked apple peels are a fairly unappealing texture, so it’s worth the extra 5 minutes of effort.
Does it make a difference what kind of apples I use?
It should be a good kind for baking with (in other words, it holds some structural integrity and won’t disintegrate into mush), so nothing like a macintosh or red delicious. I prefer granny smith, since the tartness is a nice contrast to all of the sweetness, but you could also use something like honey crisp, pink lady, or braeburn.
Should I freshly grate the nutmeg?
Freshly grated produces a much better flavor than pre-grated nutmeg, but it won’t destroy the dish if pre-grated is what you’ve got to work with.
Could I just use a premade apple pie spice blend instead of measuring all the individual spices?
As a proponent of using what you’ve got when you can, if you’re more of a spice blend buyer than individual spices so you already have an apple pie spice blend in the house, by all means, go for it! Just make sure the amount you use is equal to the volume of the spices listed in the recipe added together, in this case 2 ½ teaspoons.
Can this be made ahead of time?
Yes, you can assemble this apple crisp in the dish you’ll be baking it in and store it in the fridge (unbaked) for up to 2 days ahead of time! Make sure the top is well sealed with foil or plastic wrap, then when you’re ready to bake, just continue on with the recipe as written.
What You’ll Need

- 8×8 baking dish
- Nonstick baking spray (or butter)
- Large mixing bowl
- Medium mixing bowl
- Small microwave-safe mixing bowl
- Dry measuring cups
- Measuring spoons
- Whisk
- Vegetable peeler
- Chef’s knife
- Cutting board
- Fork
- Rubber spatula
The Process
Apple crisp comes together very quickly, so don’t blink. Preheat the oven to 350F, on the convection setting if possible, and prepare the baking dish. Spray an 8×8 baking dish with a nonstick baking spray, or coat it lightly in butter, and set the dish aside.
Begin by throwing together the topping, so it will be ready to go as soon as your apple filling is complete! In a small microwavable bowl, heat the butter in the microwave until it’s just melted. Alternatively, if a microwave isn’t an option, you can always melt the butter in a pan on the stovetop instead. I’m just lazy, so if I can avoid cleaning an extra dish by hand, you can count on me to do so. Set the melted butter aside to cool.
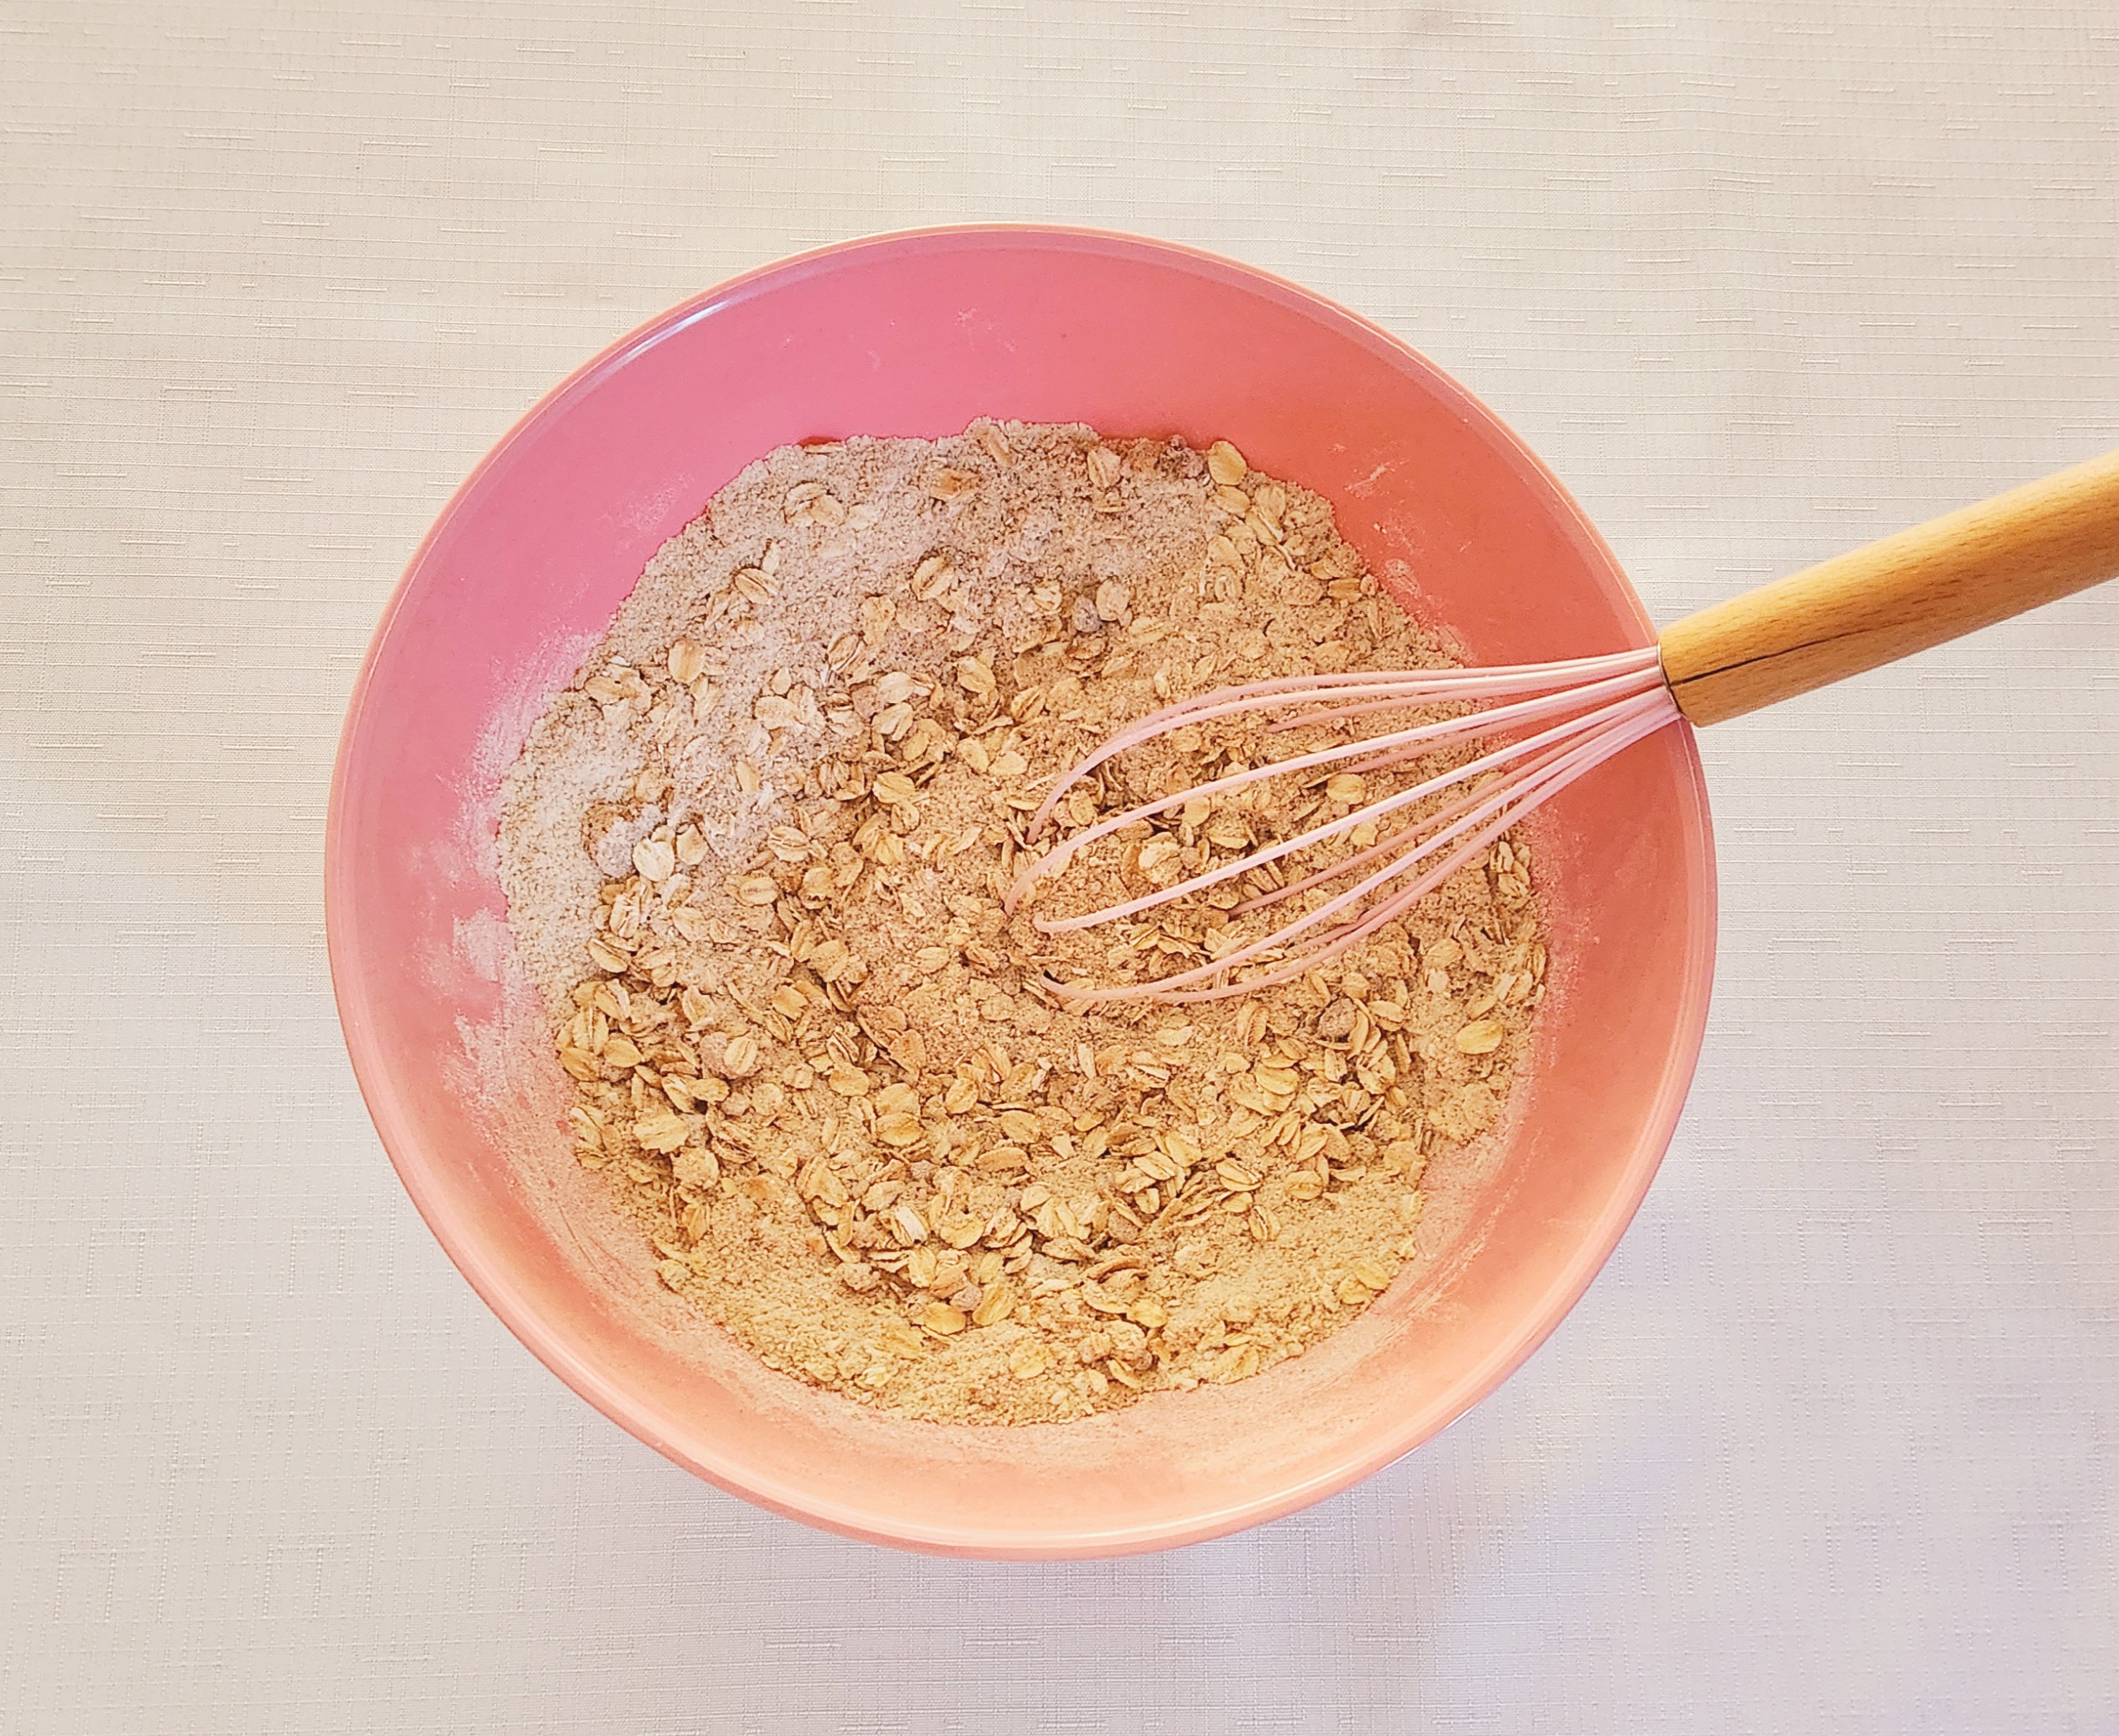
Now for the dry goods. In a medium mixing bowl, whisk together the flour, oats, brown sugar, cinnamon, and salt. If you’re a fan of nuts, you could also throw a handful of chopped pecans or walnuts in here at this point! I prefer my apple crisp without them, but you’re the captain of your dessert. Make a well in the center of the dry goods and pour in the butter.
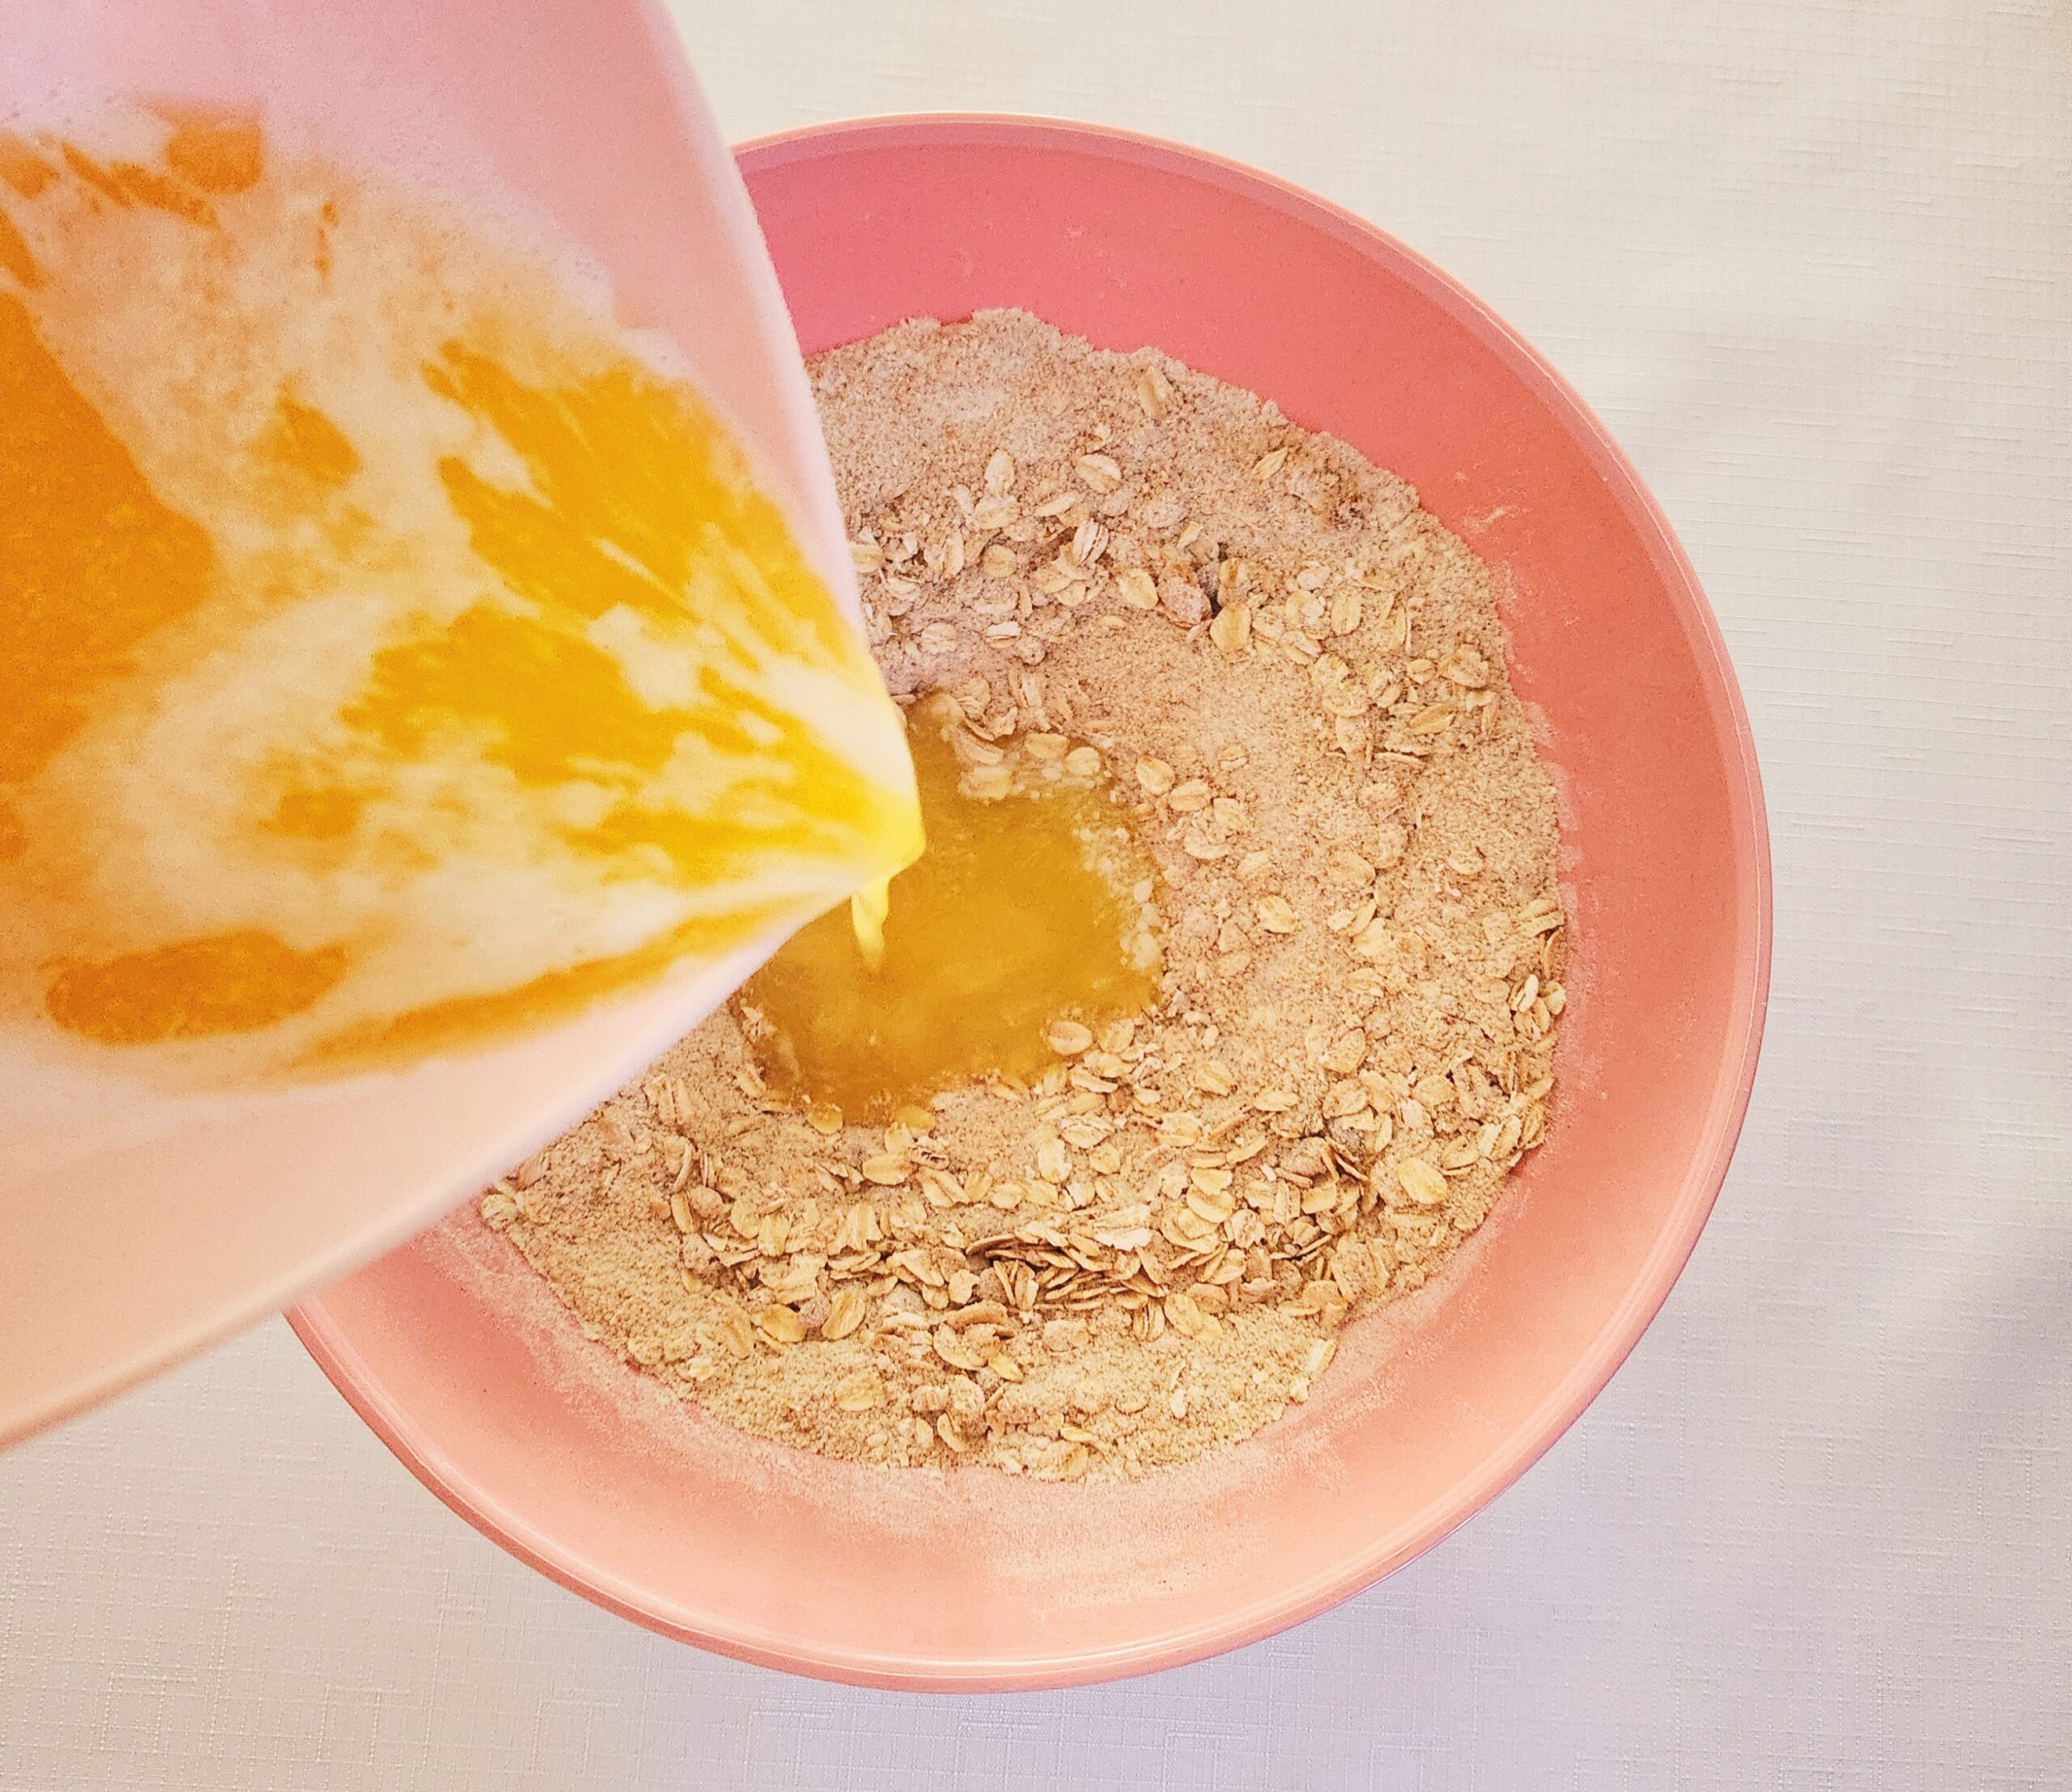
Using a fork, mix the topping together so large hunks form. Set the topping aside until it’s needed.

Time to prepare the filling. Begin by peeling the apples, and cutting them into a large dice. To do this, slice off large hunks of apple around the core, then slice each hunk into ½ inch strips.
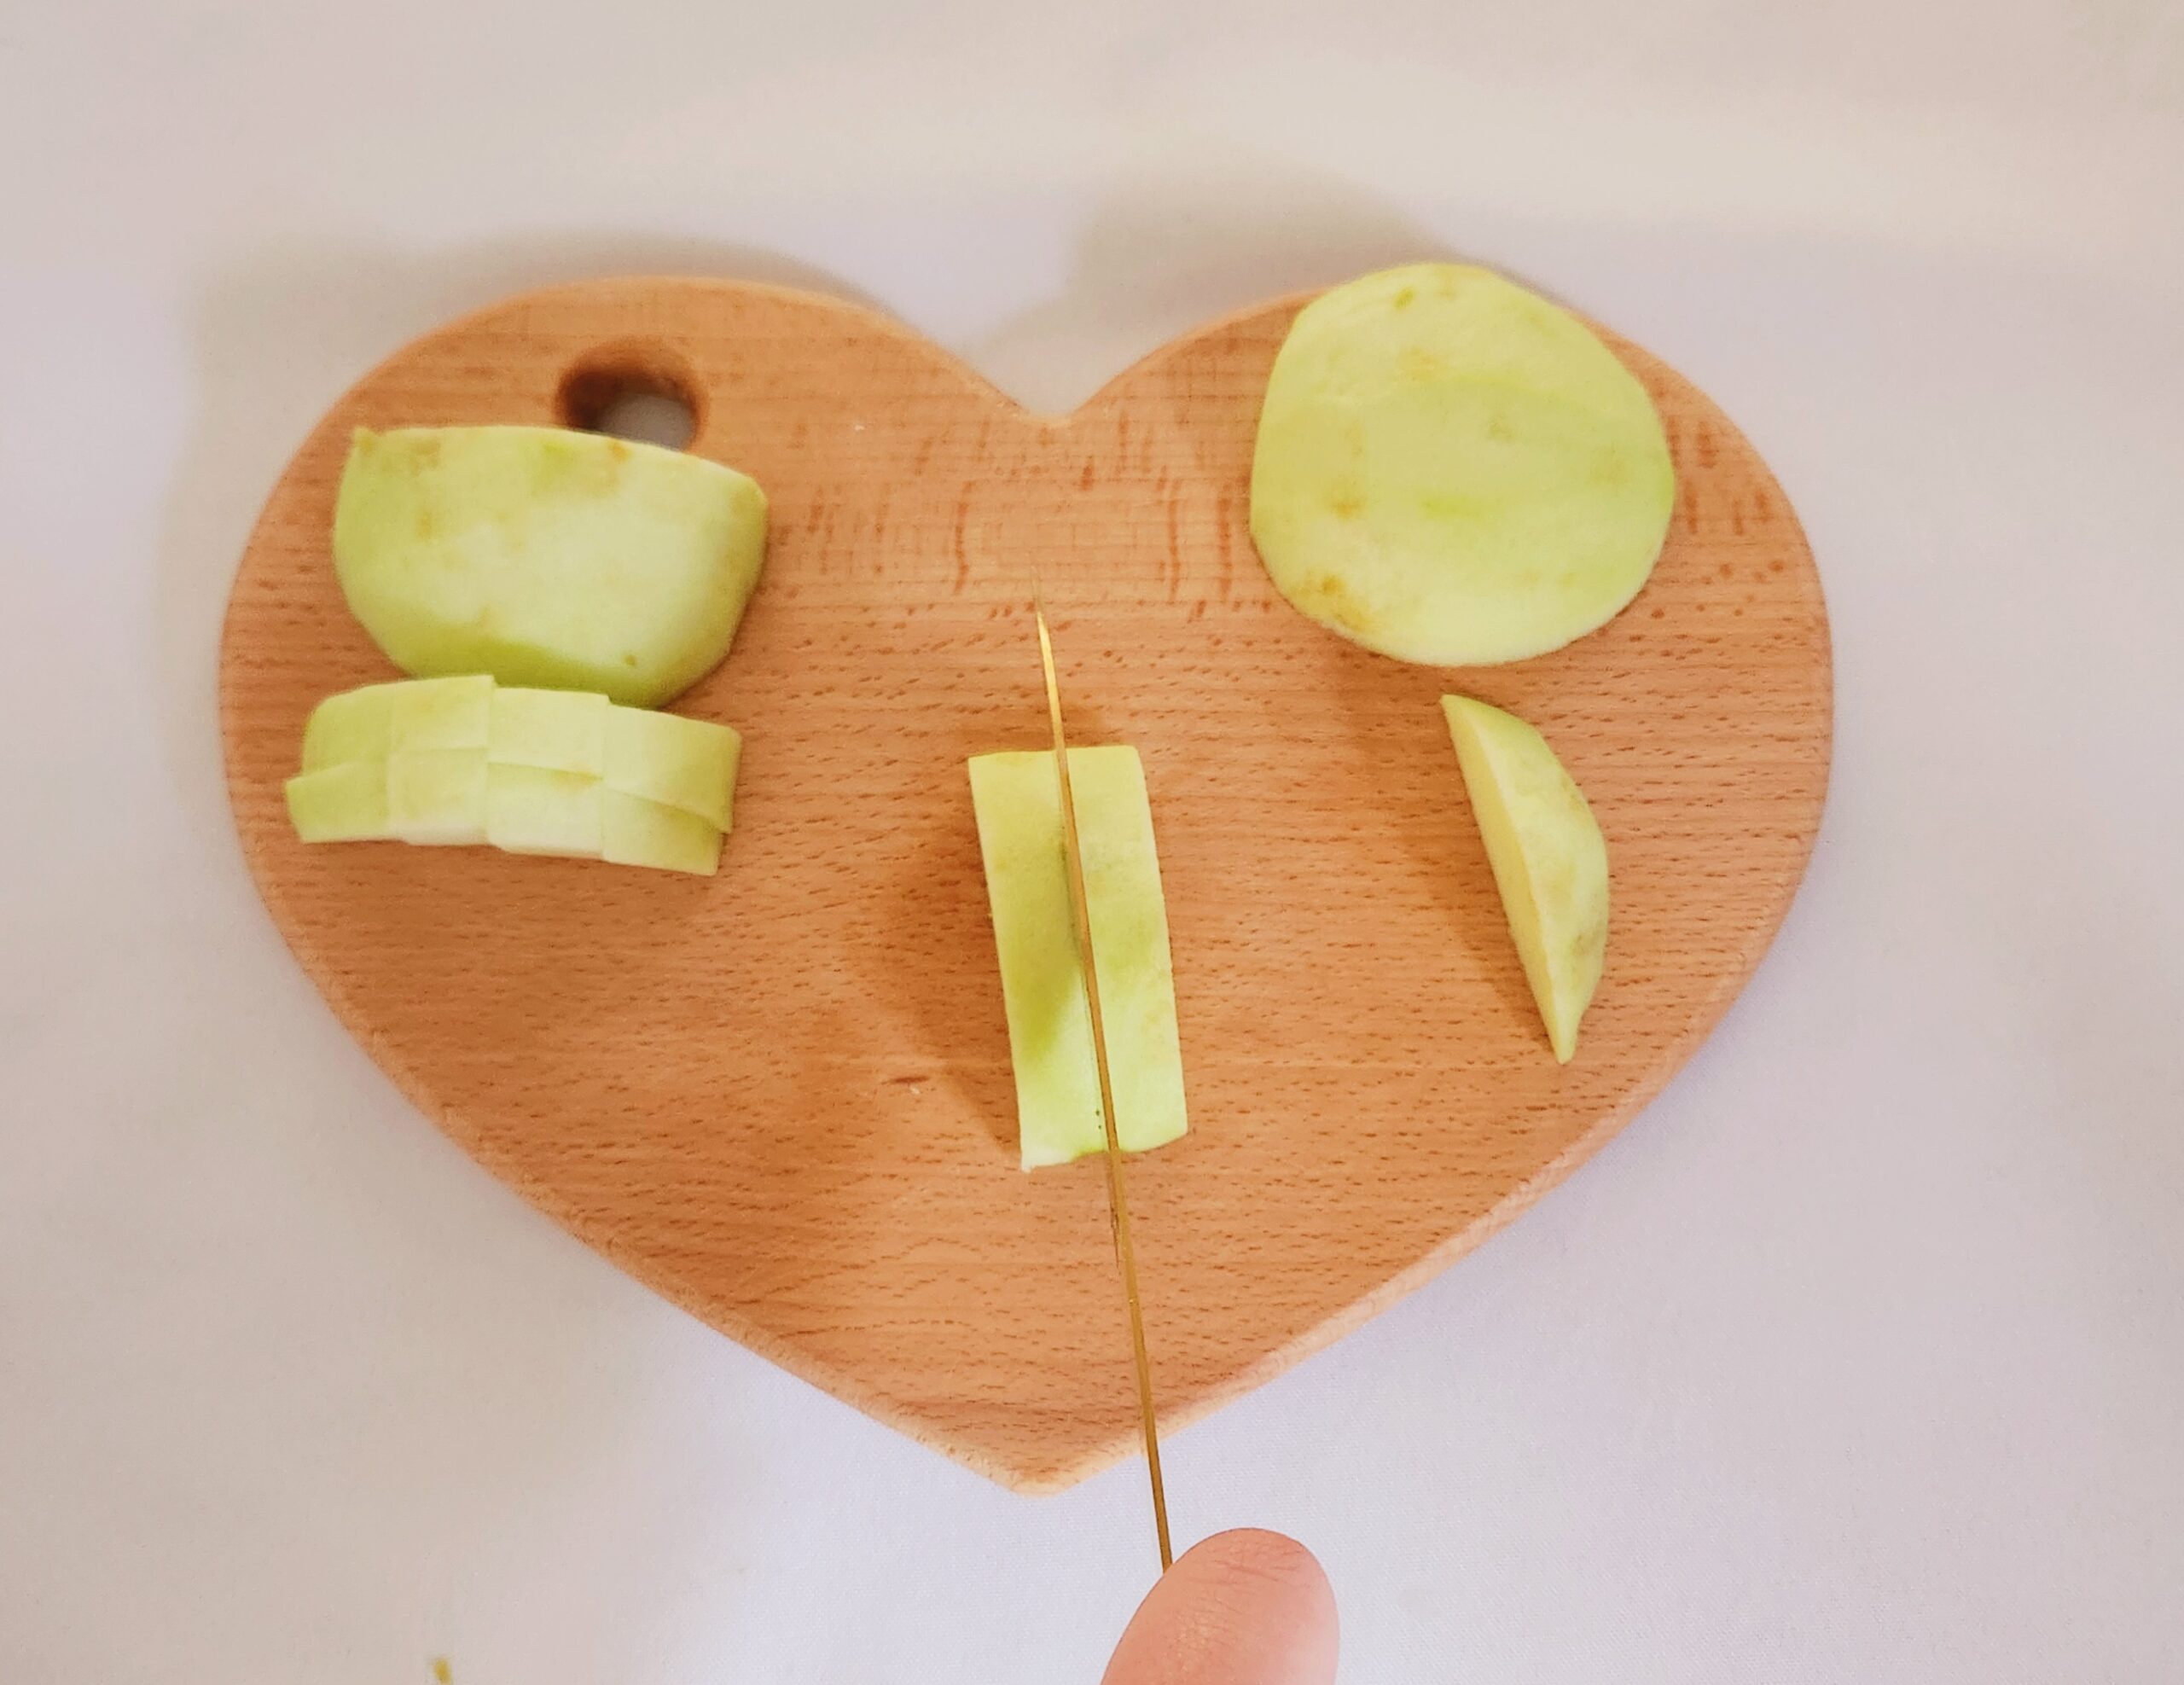
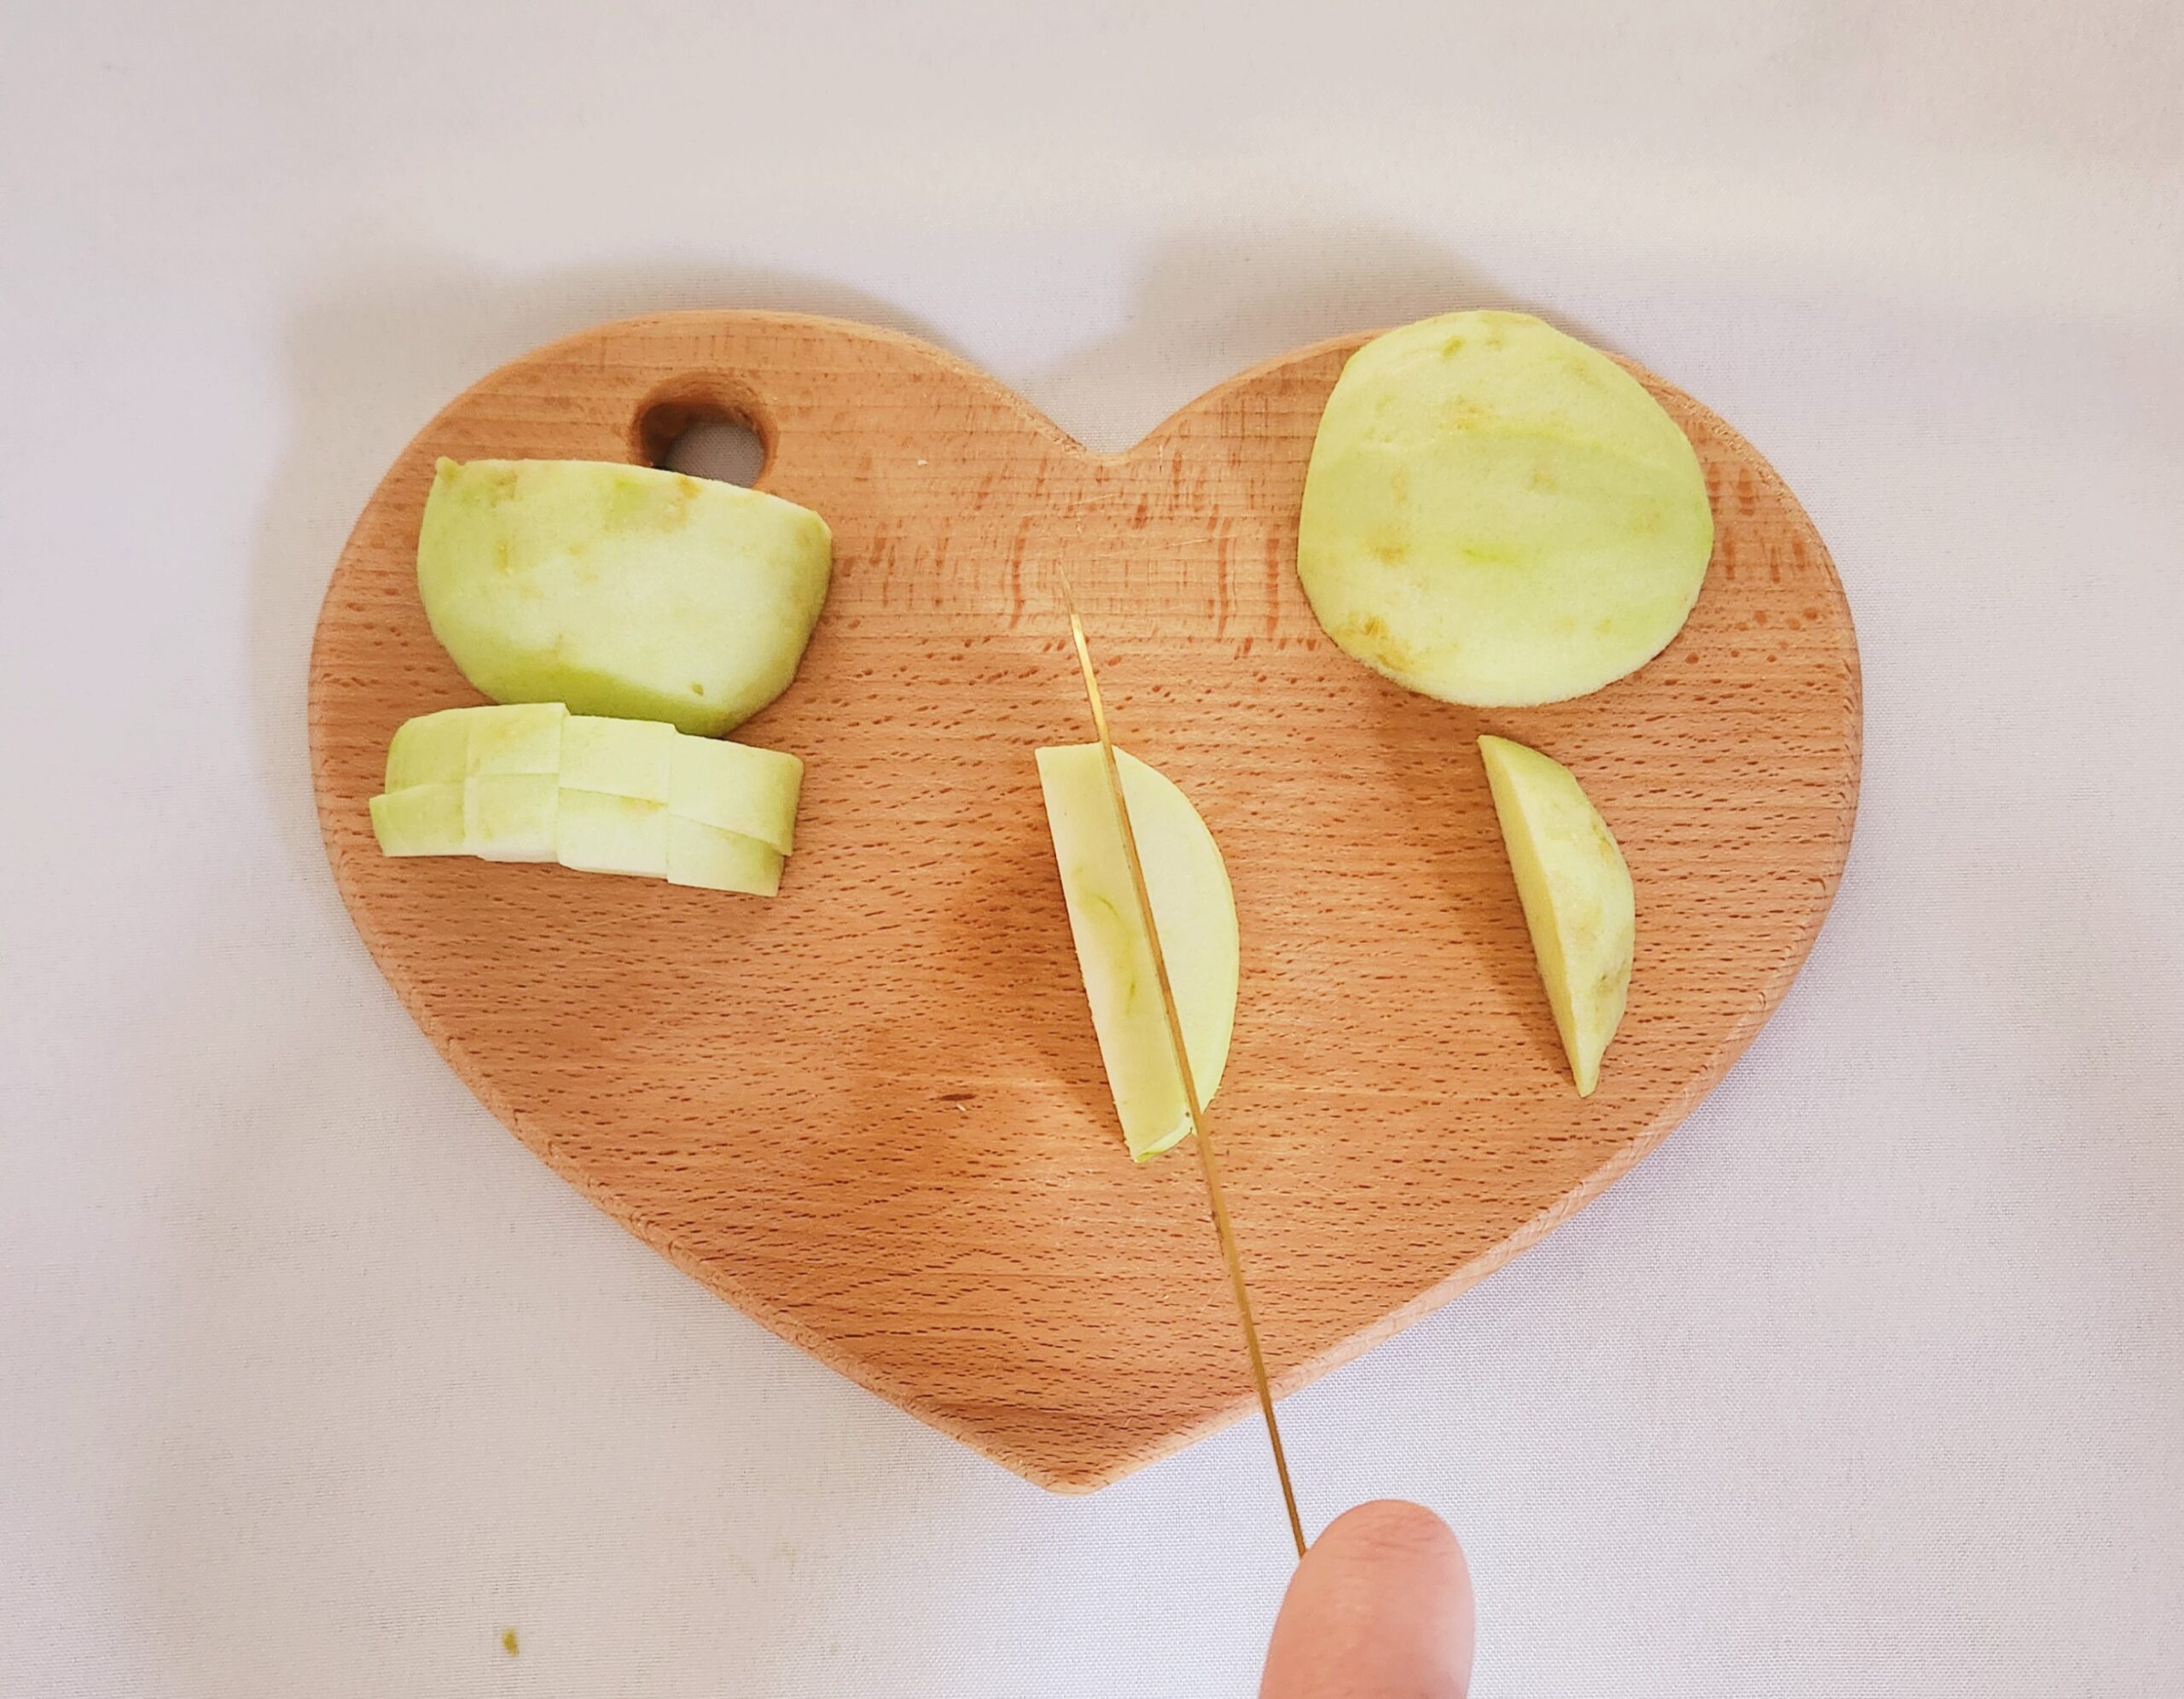
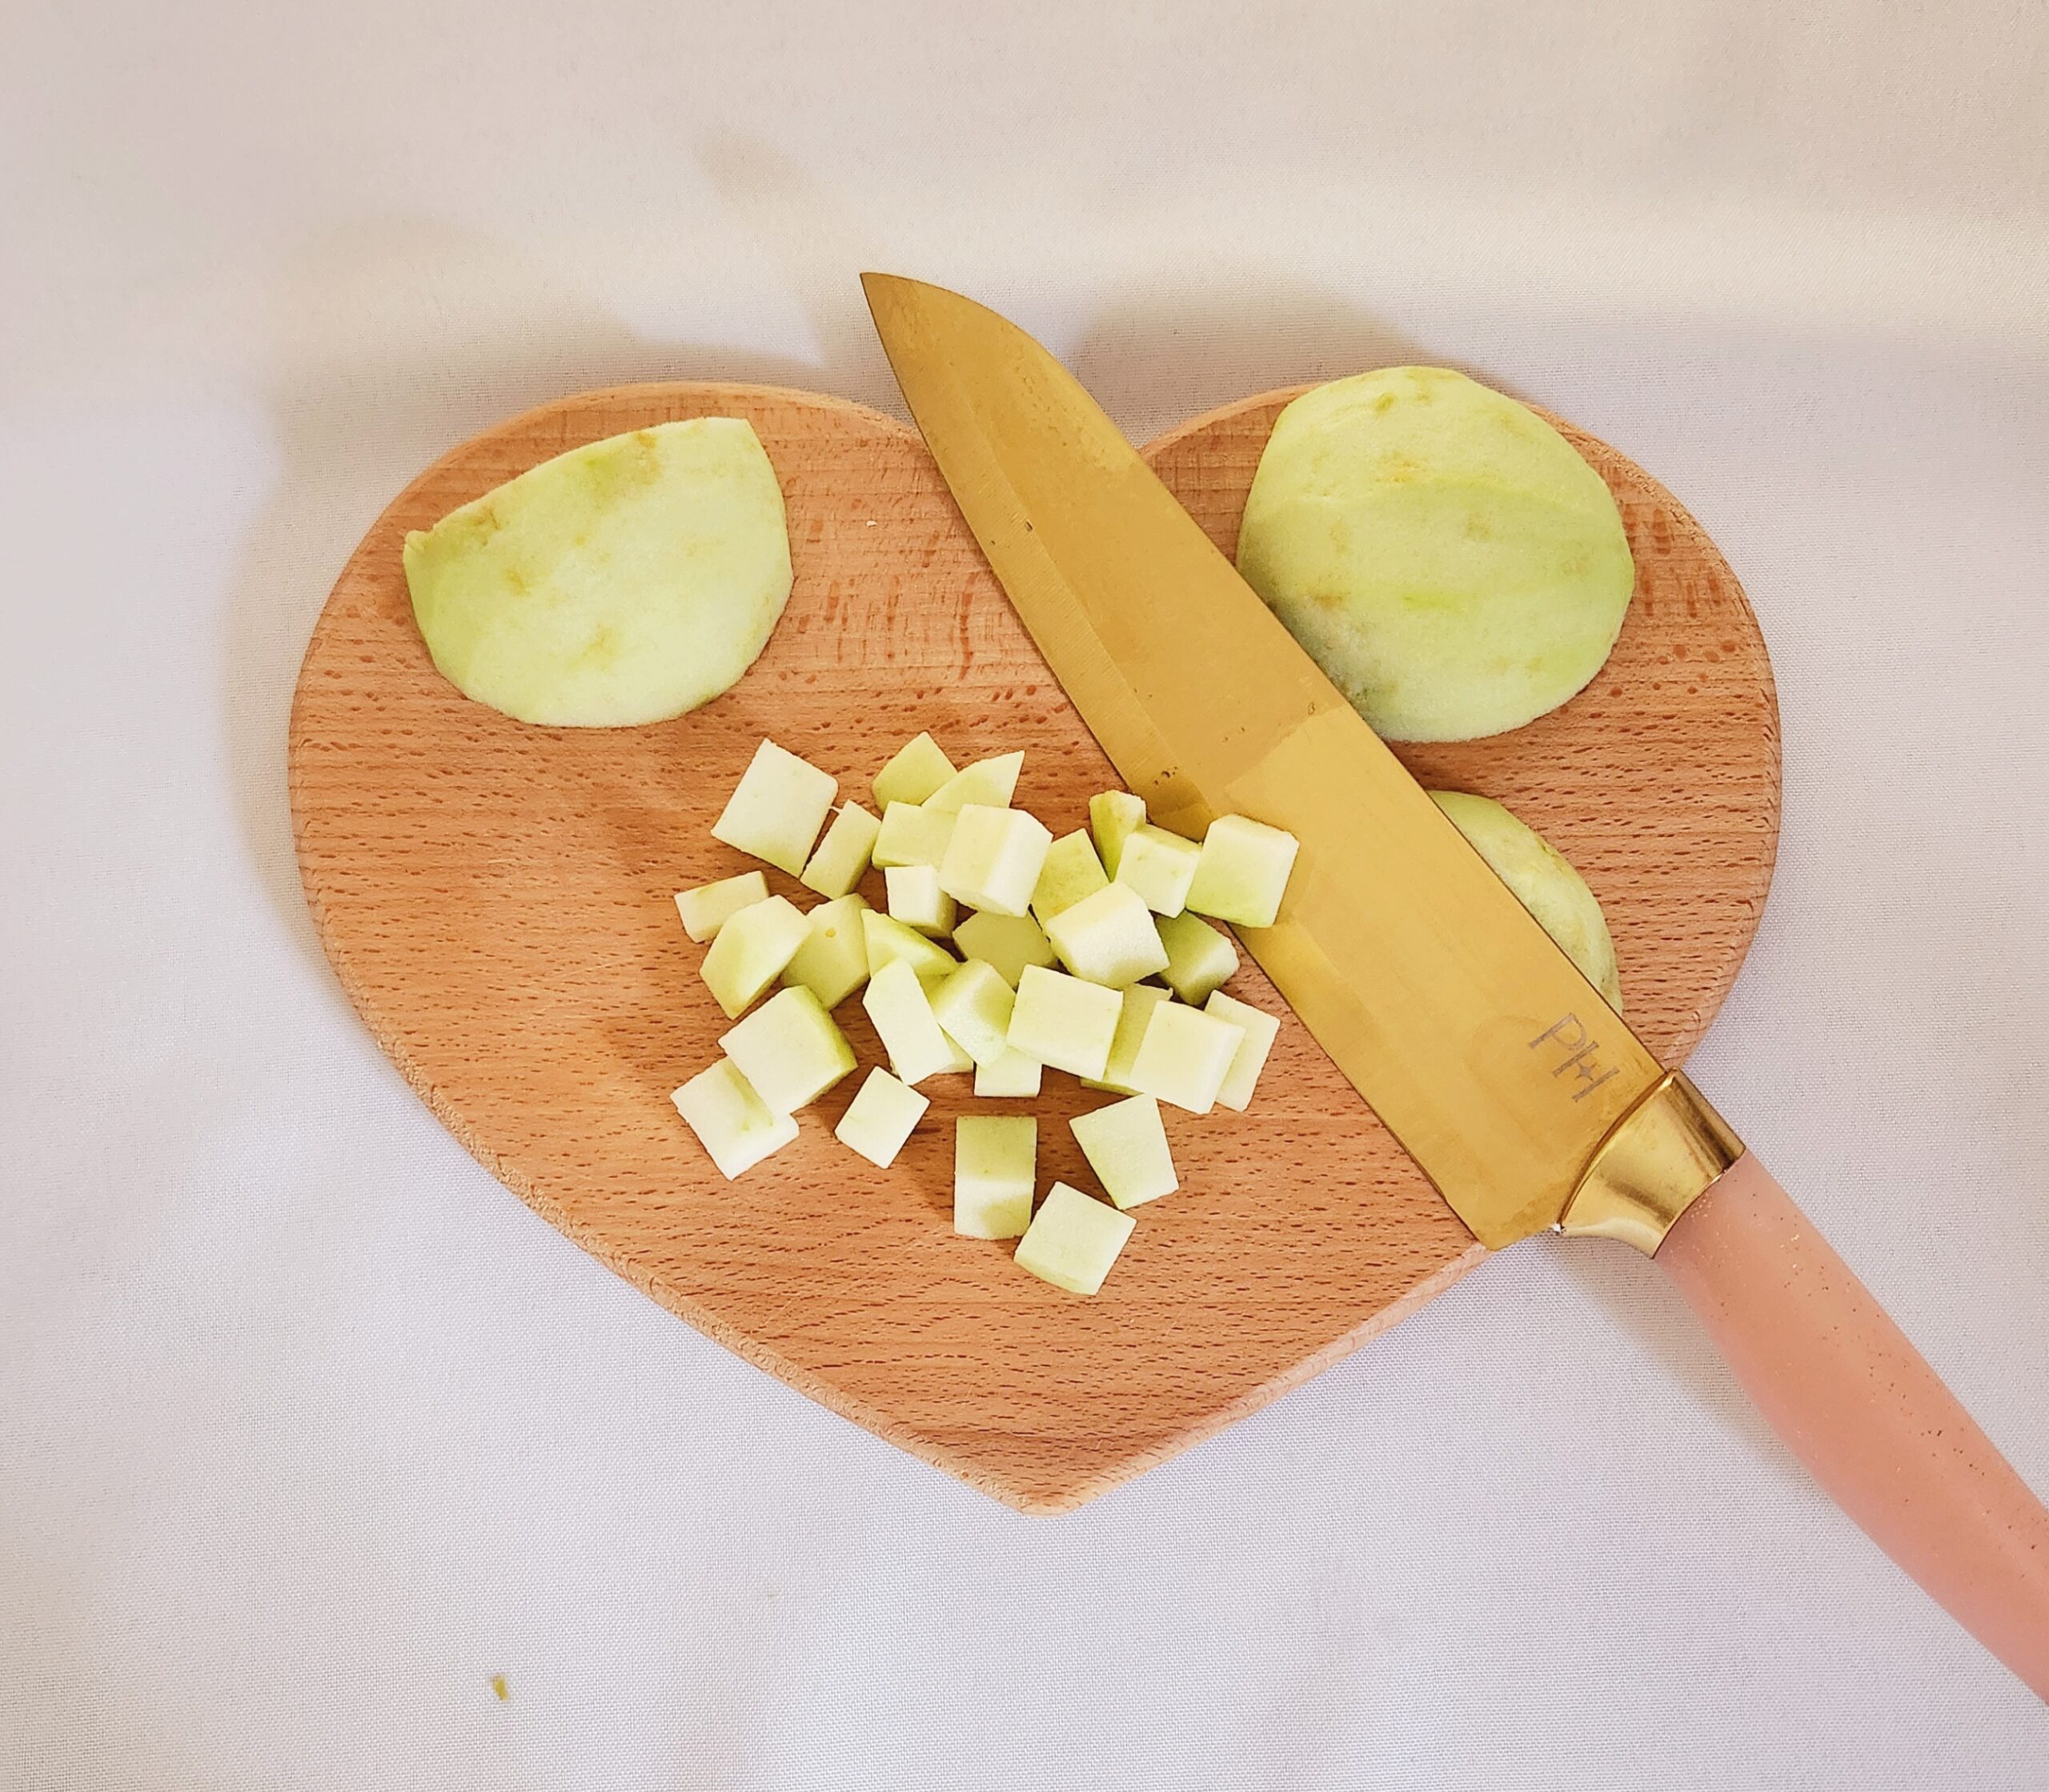
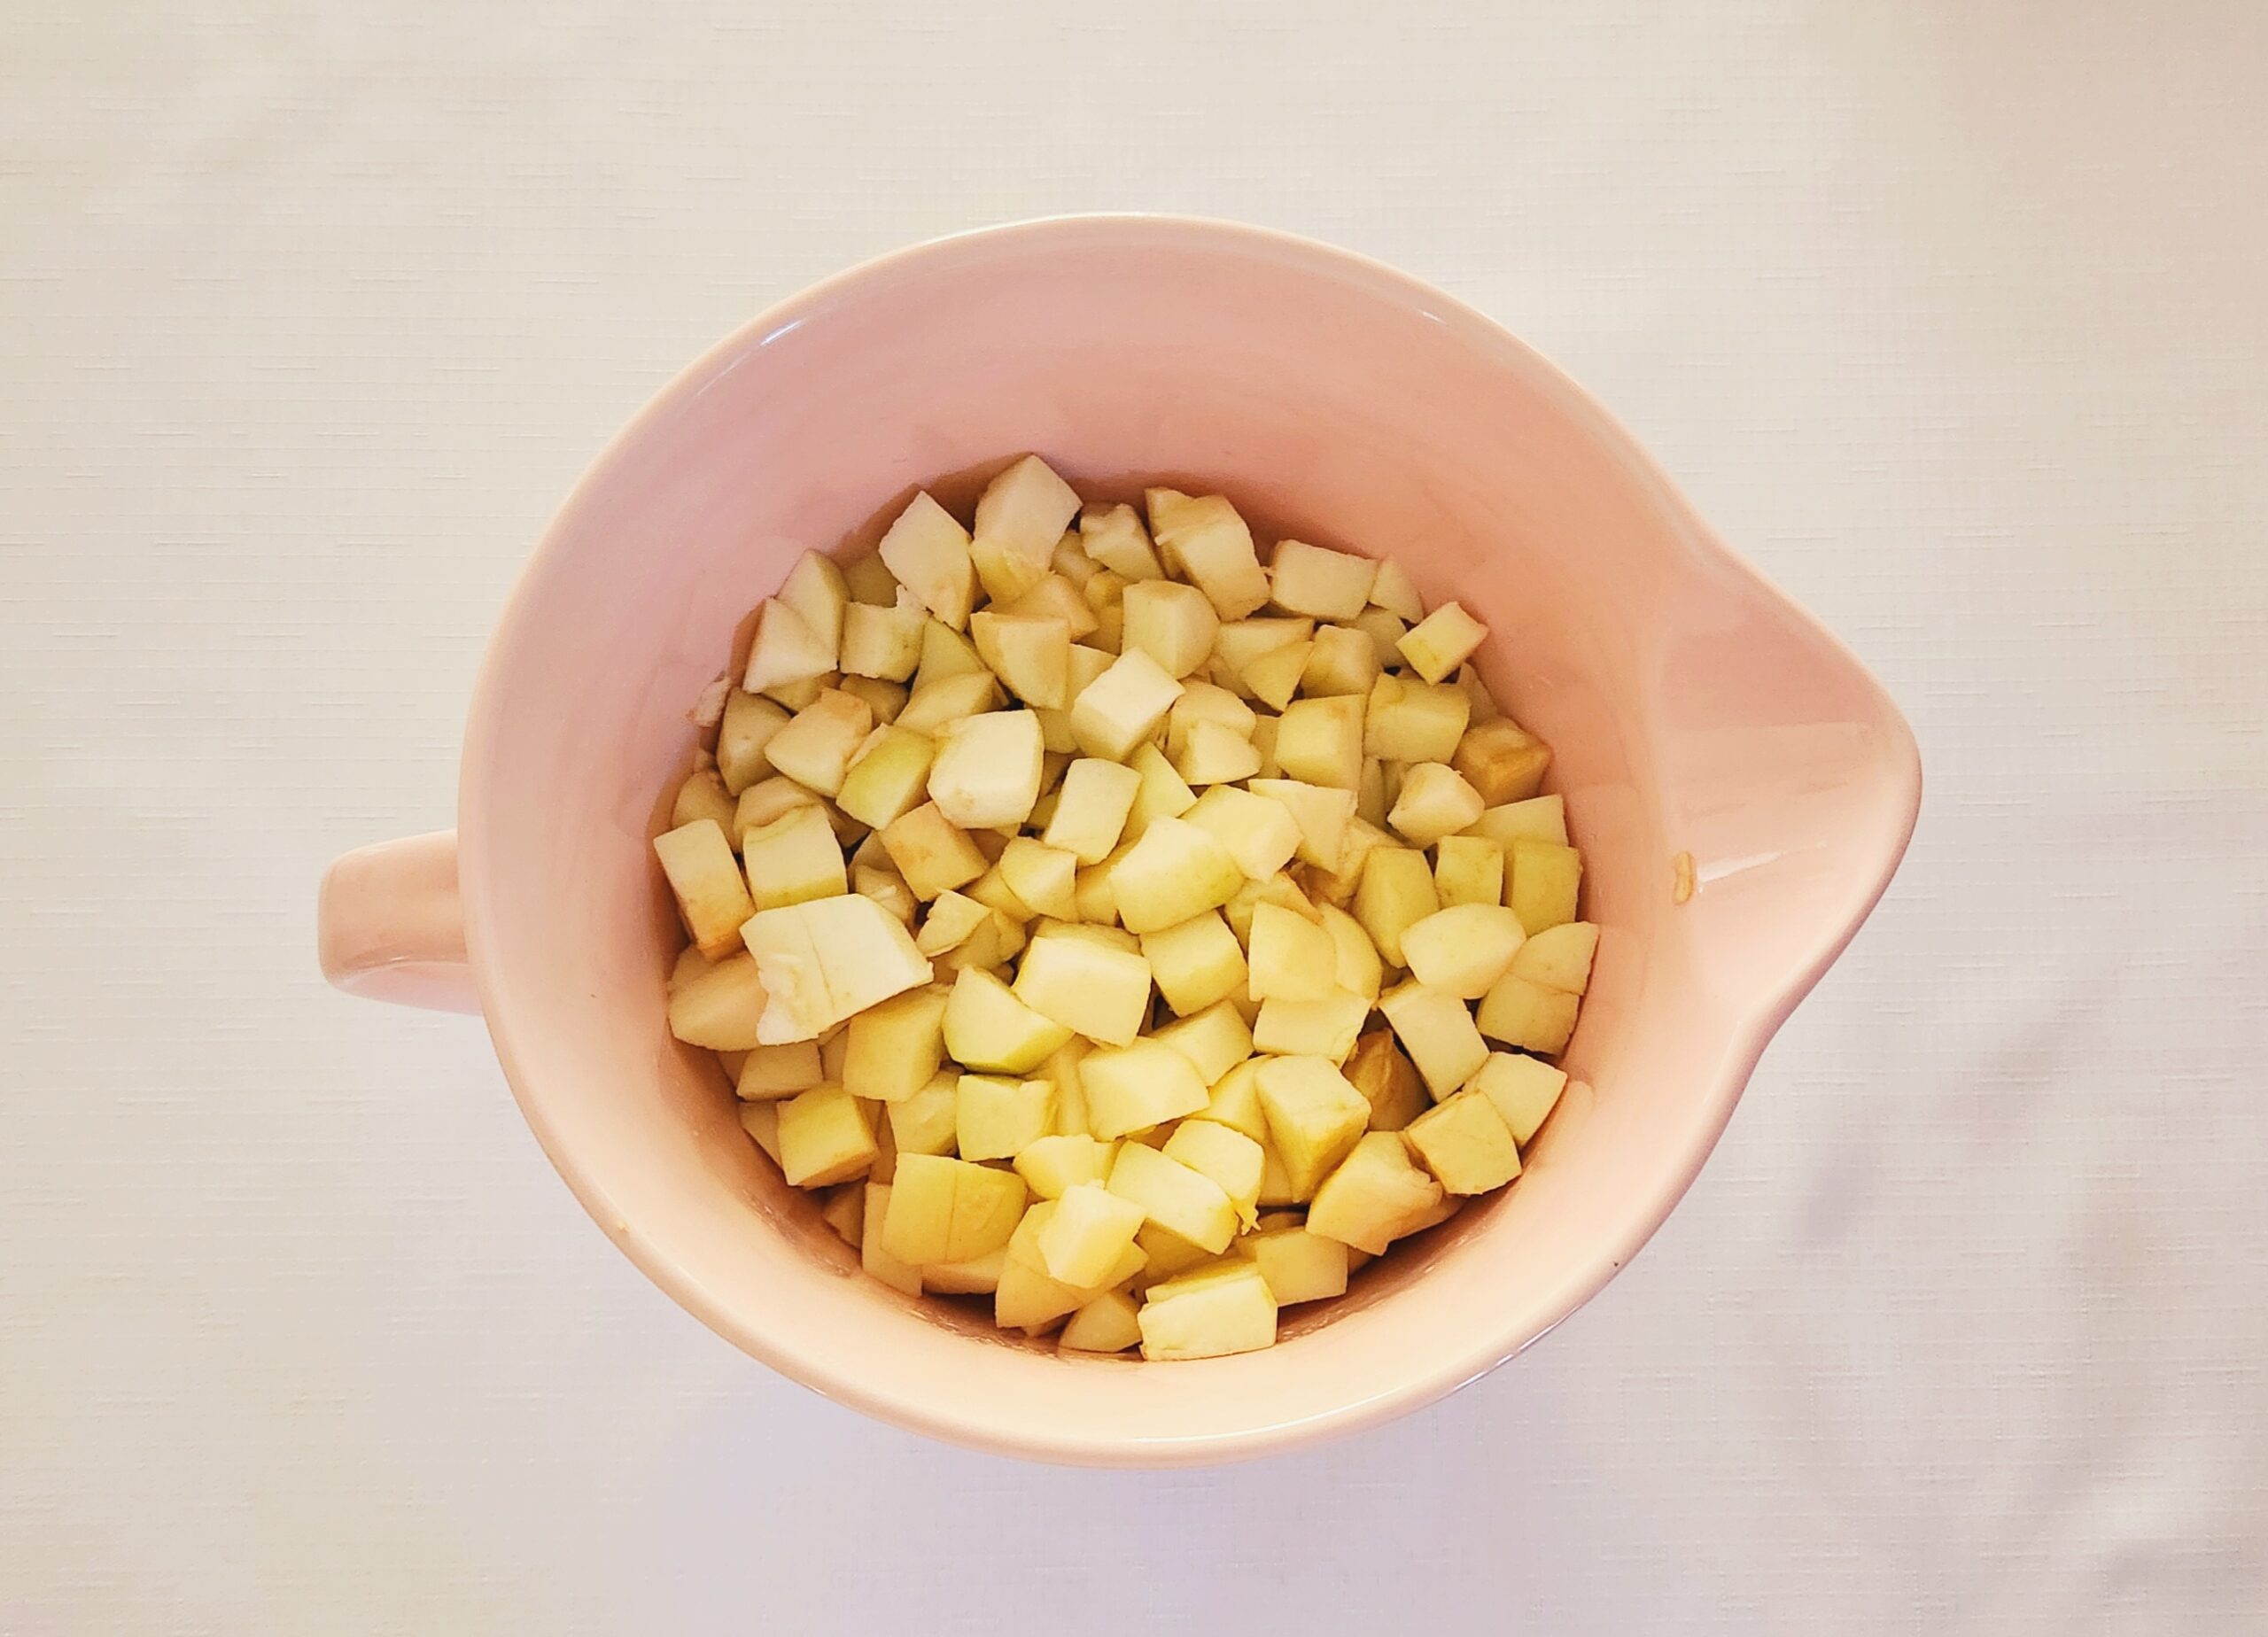
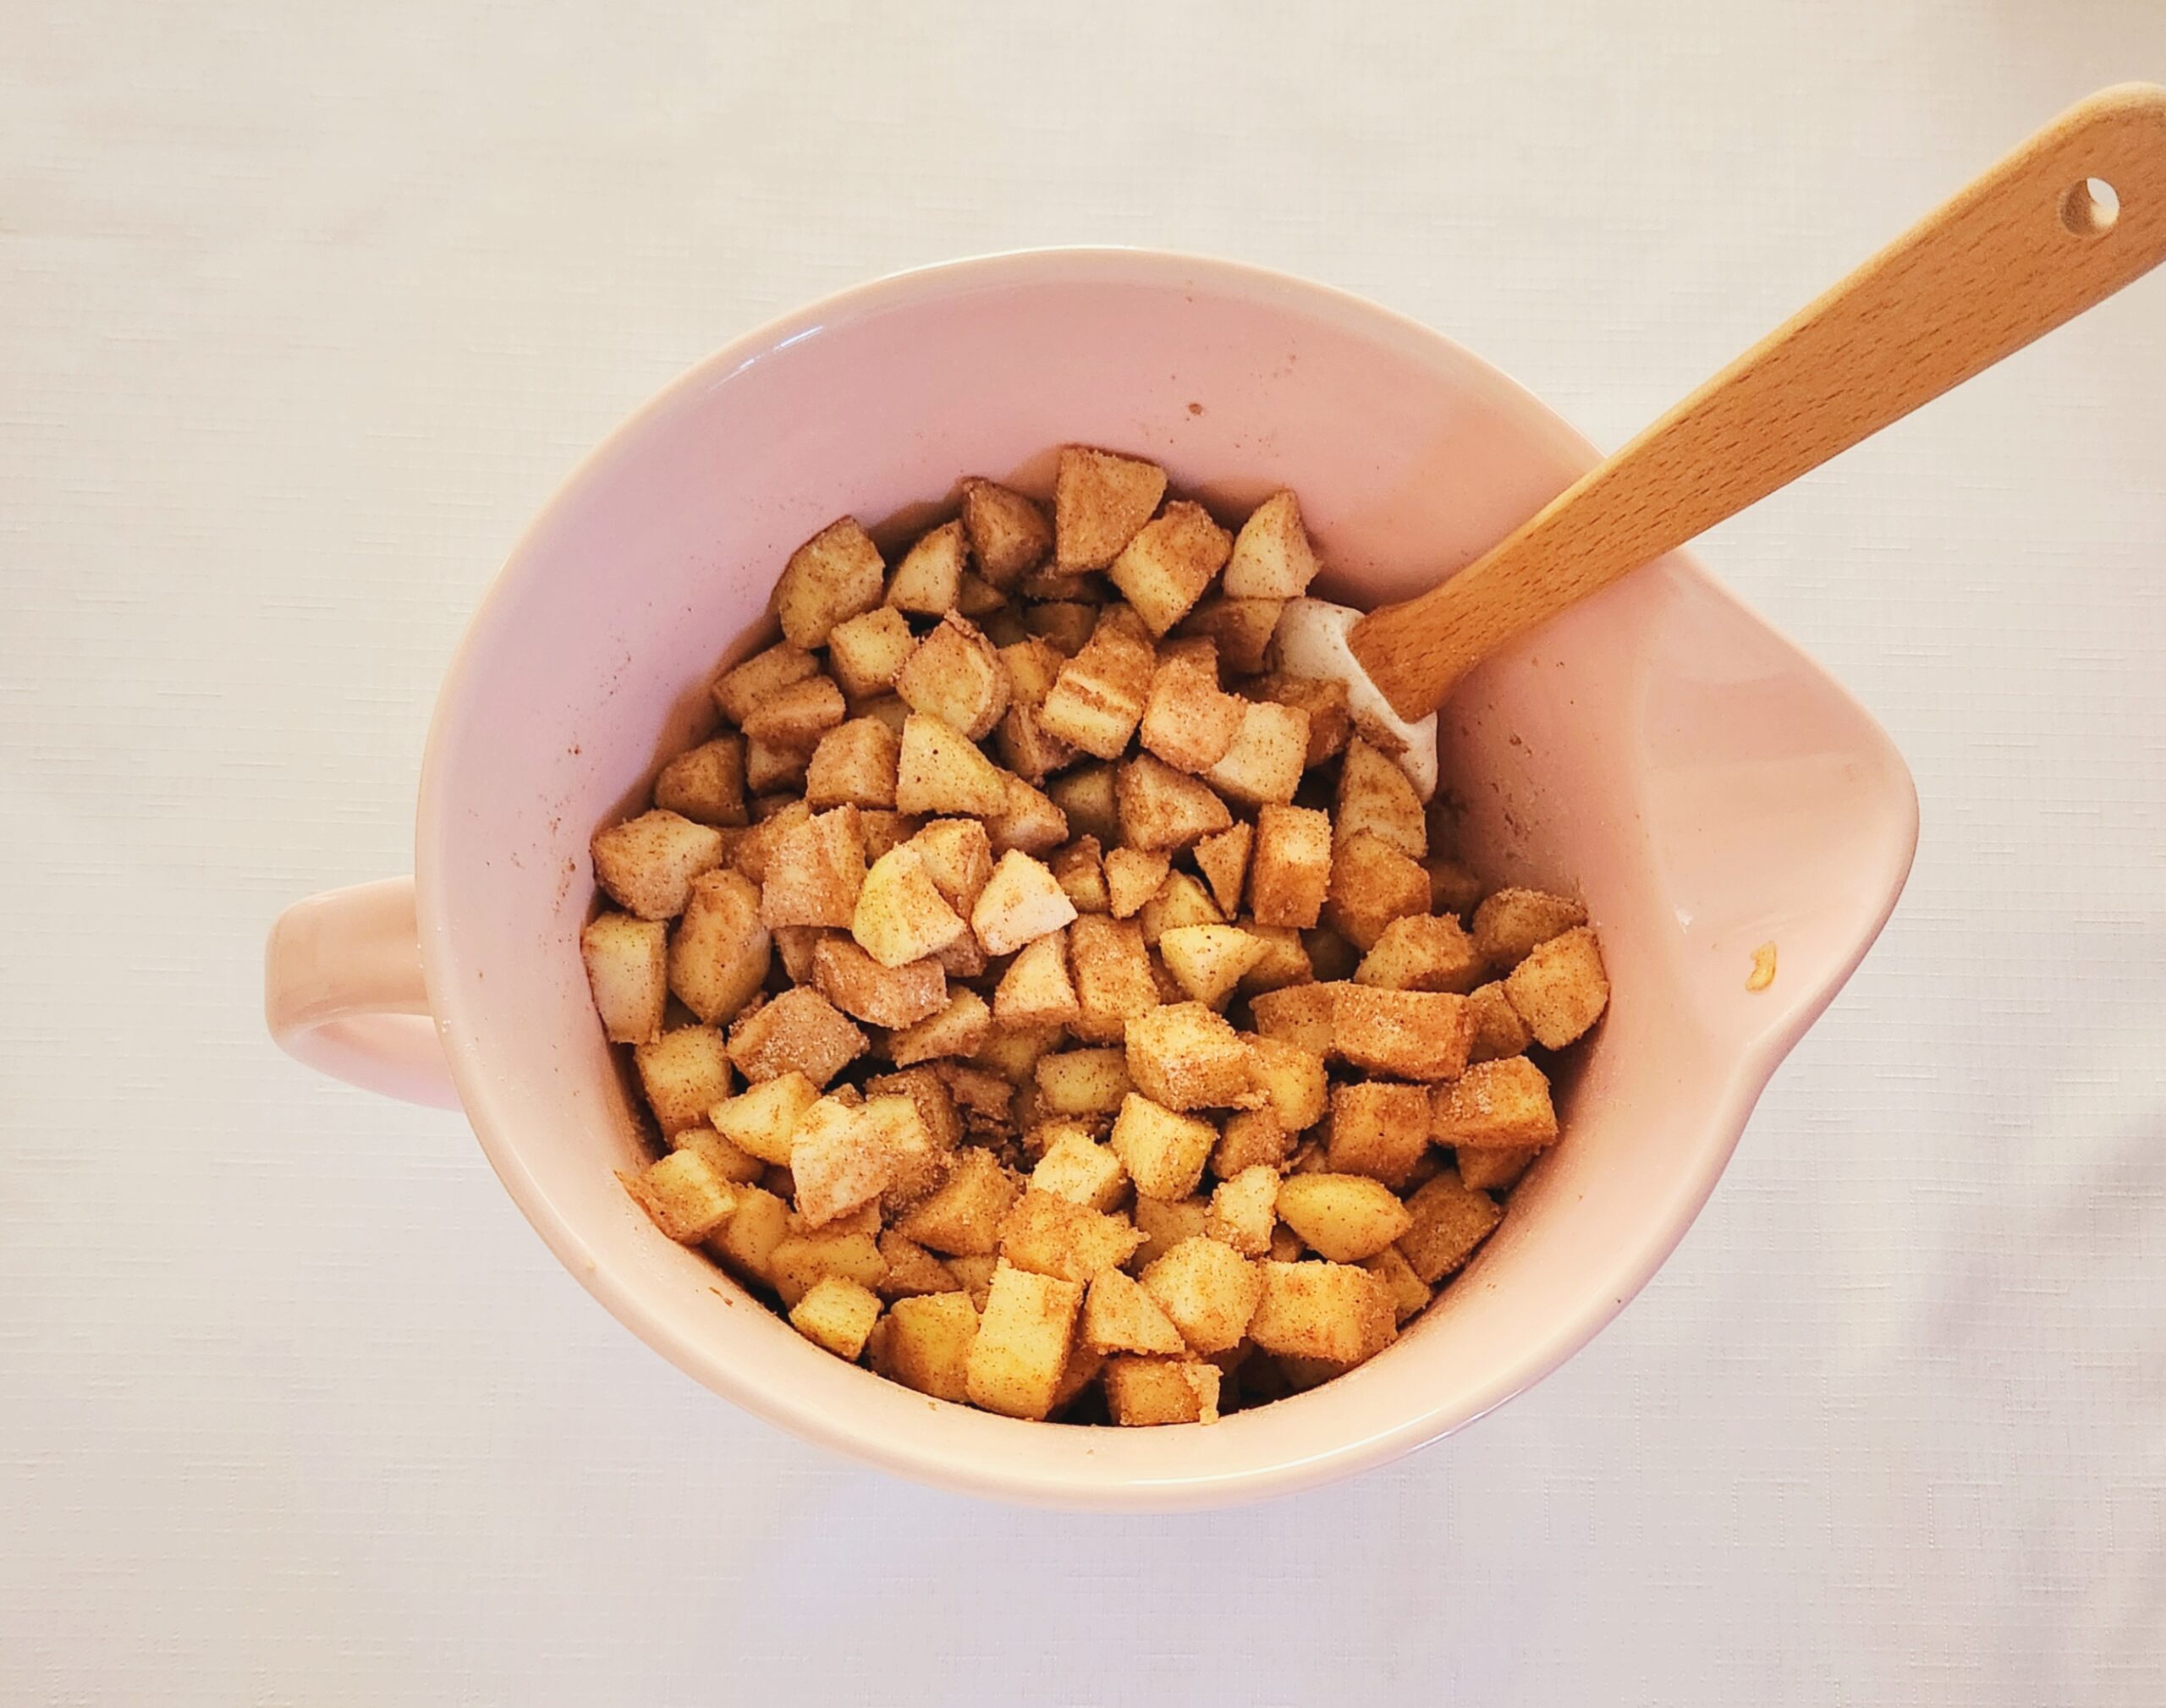
Cut each of these strips in half lengthwise, then cut them into ½ inch chunks. They don’t need to be perfect, just approximately the same size. Paul Hollywood isn’t coming out with a ruler, we’re just trying to get them to cook evenly! Place the apple pieces into a large mixing bowl, and set them aside.
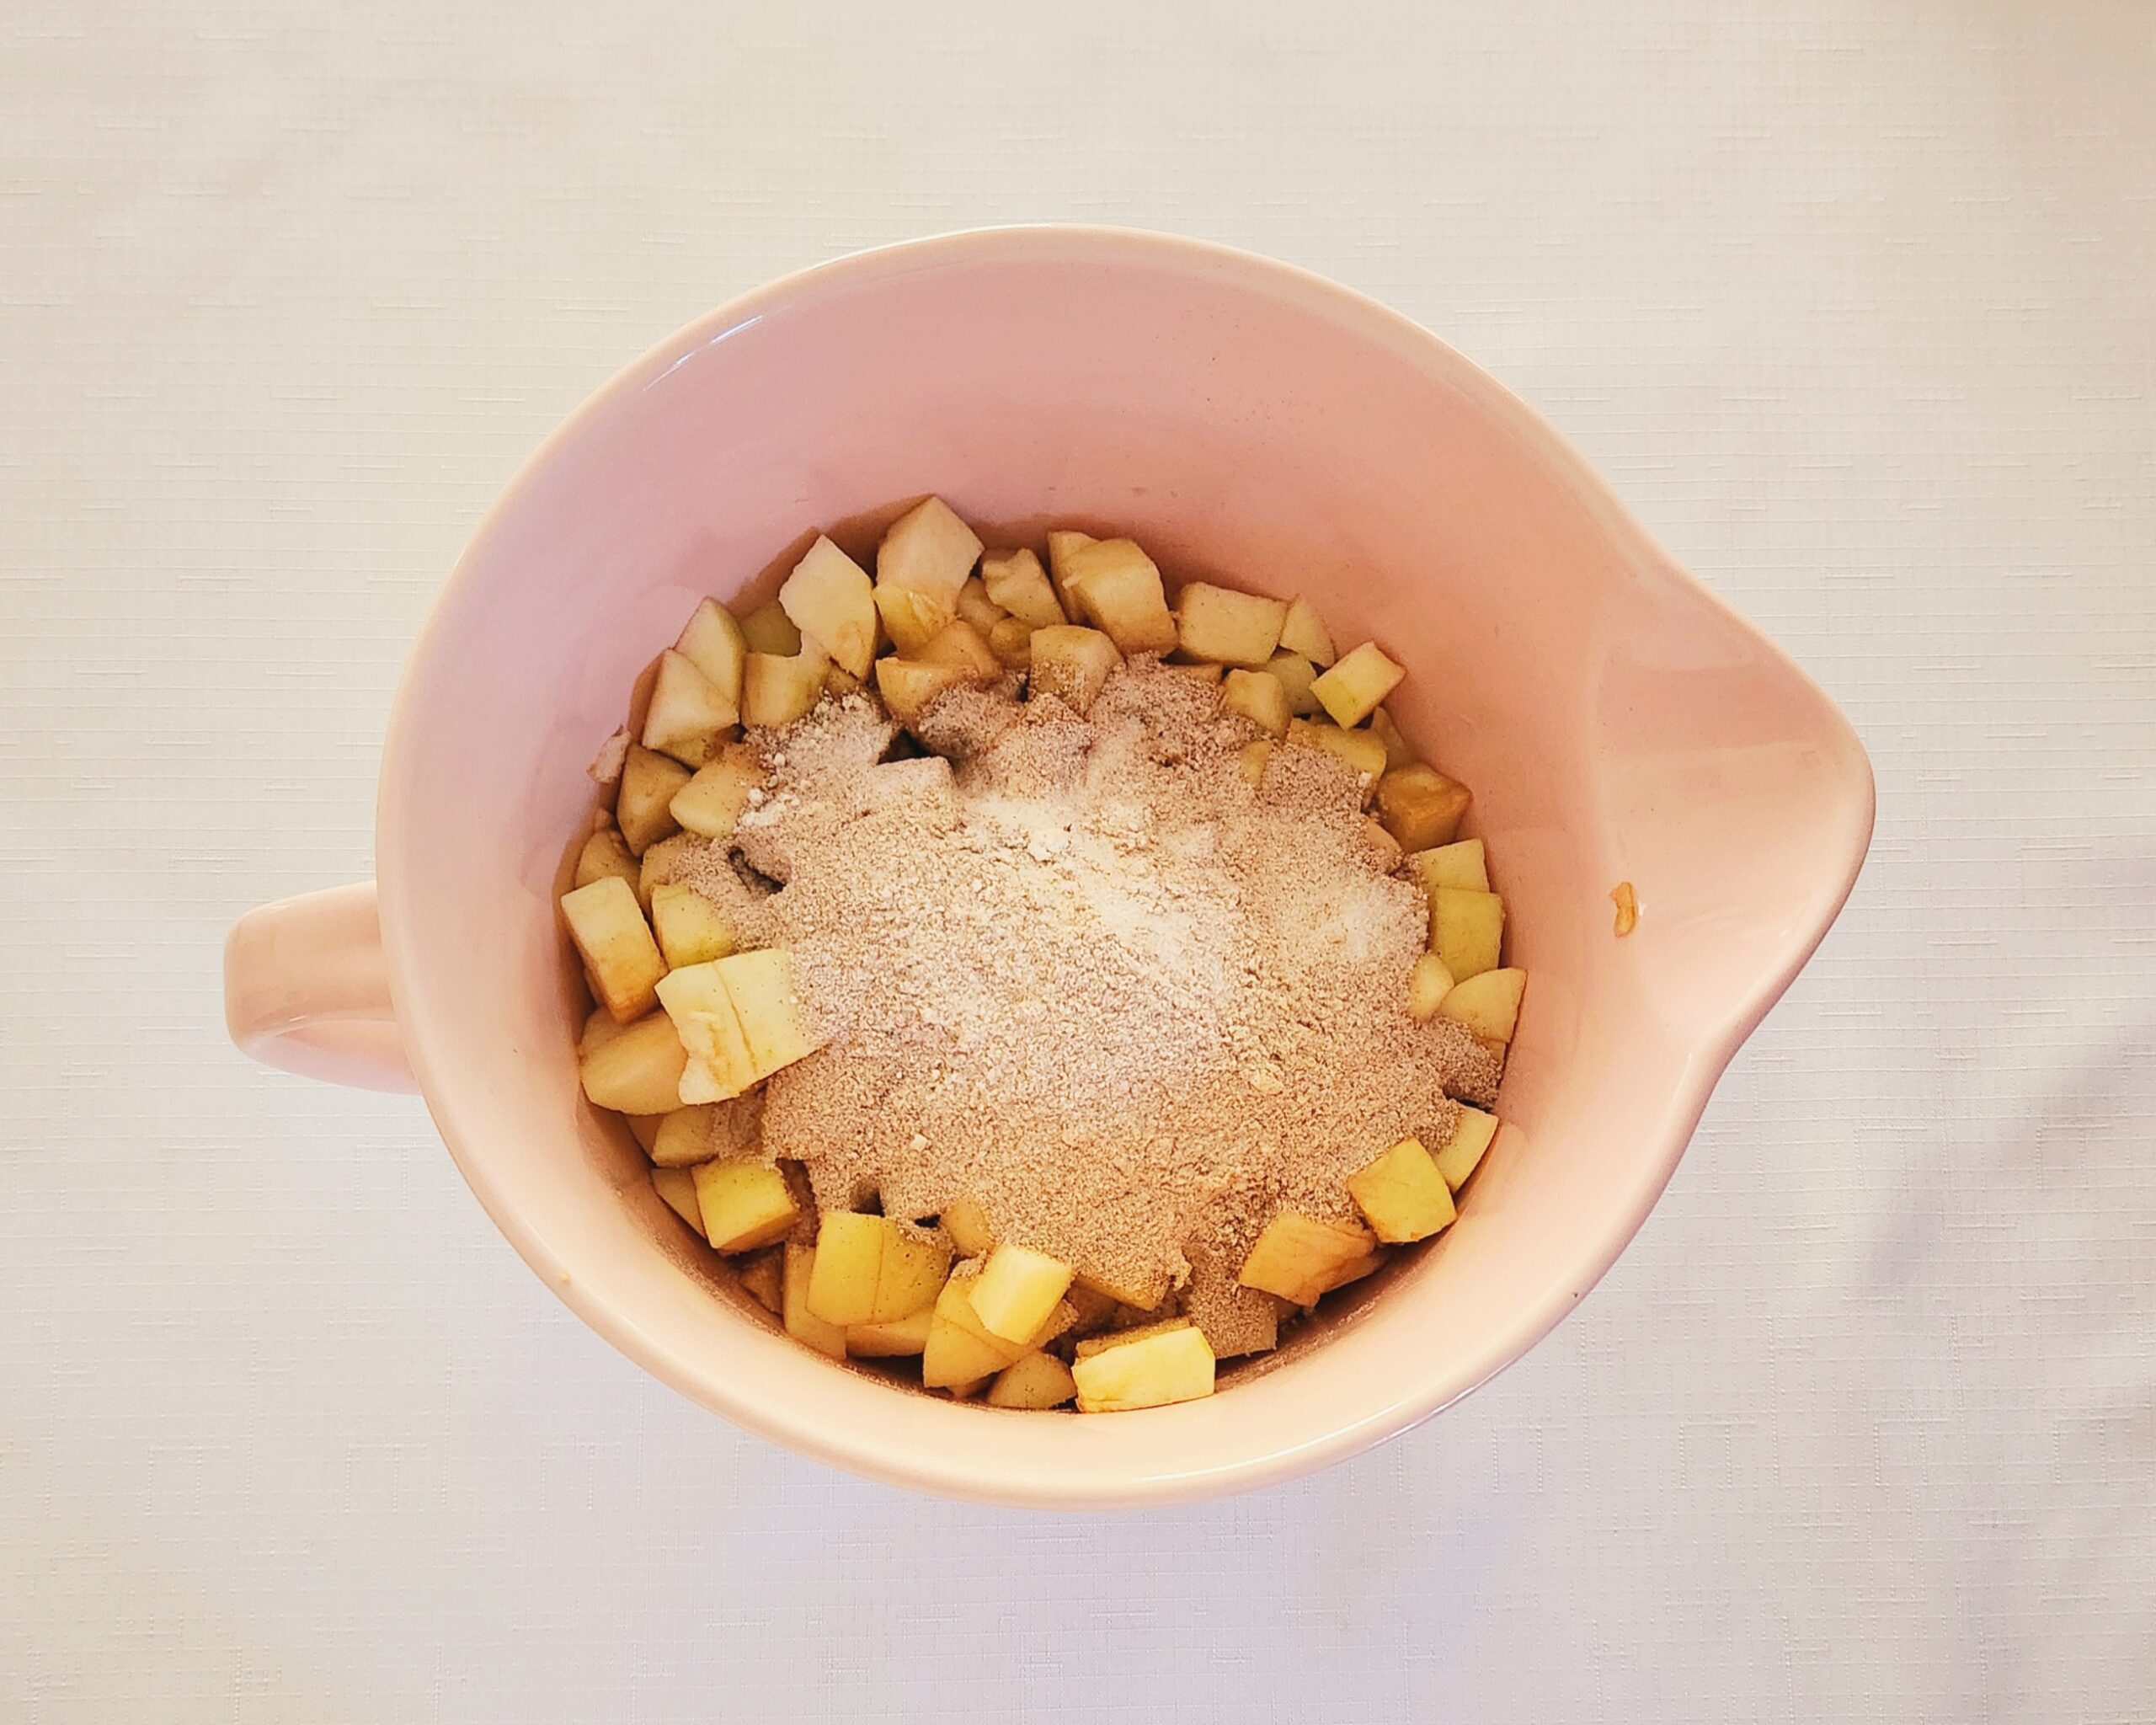
In a small mixing bowl, whisk together the sugar, flour, cinnamon, allspice, clove, nutmeg, and salt. Alternatively, if you don’t have all of these individual spices but you do have an apple pie spice blend already at home, you could substitute the cinnamon, allspice, clove, and nutmeg for 2.5 teaspoons of the blend.

Pour the dry goods over the apples and, using either a rubber spatula, large spoon, or just your hands, mix them together to completely coat the apples. Clean hands are my personal favorite tool when it comes to coating fruit in a spiced sugar blend, but there’s absolutely nothing wrong with preferring to use a tool so you don’t have to touch any of it.
Pour the filling into the prepared baking dish, making sure to scrape any juices at the bottom onto the apples. No use wasting the flavor from that juice if you can help it!
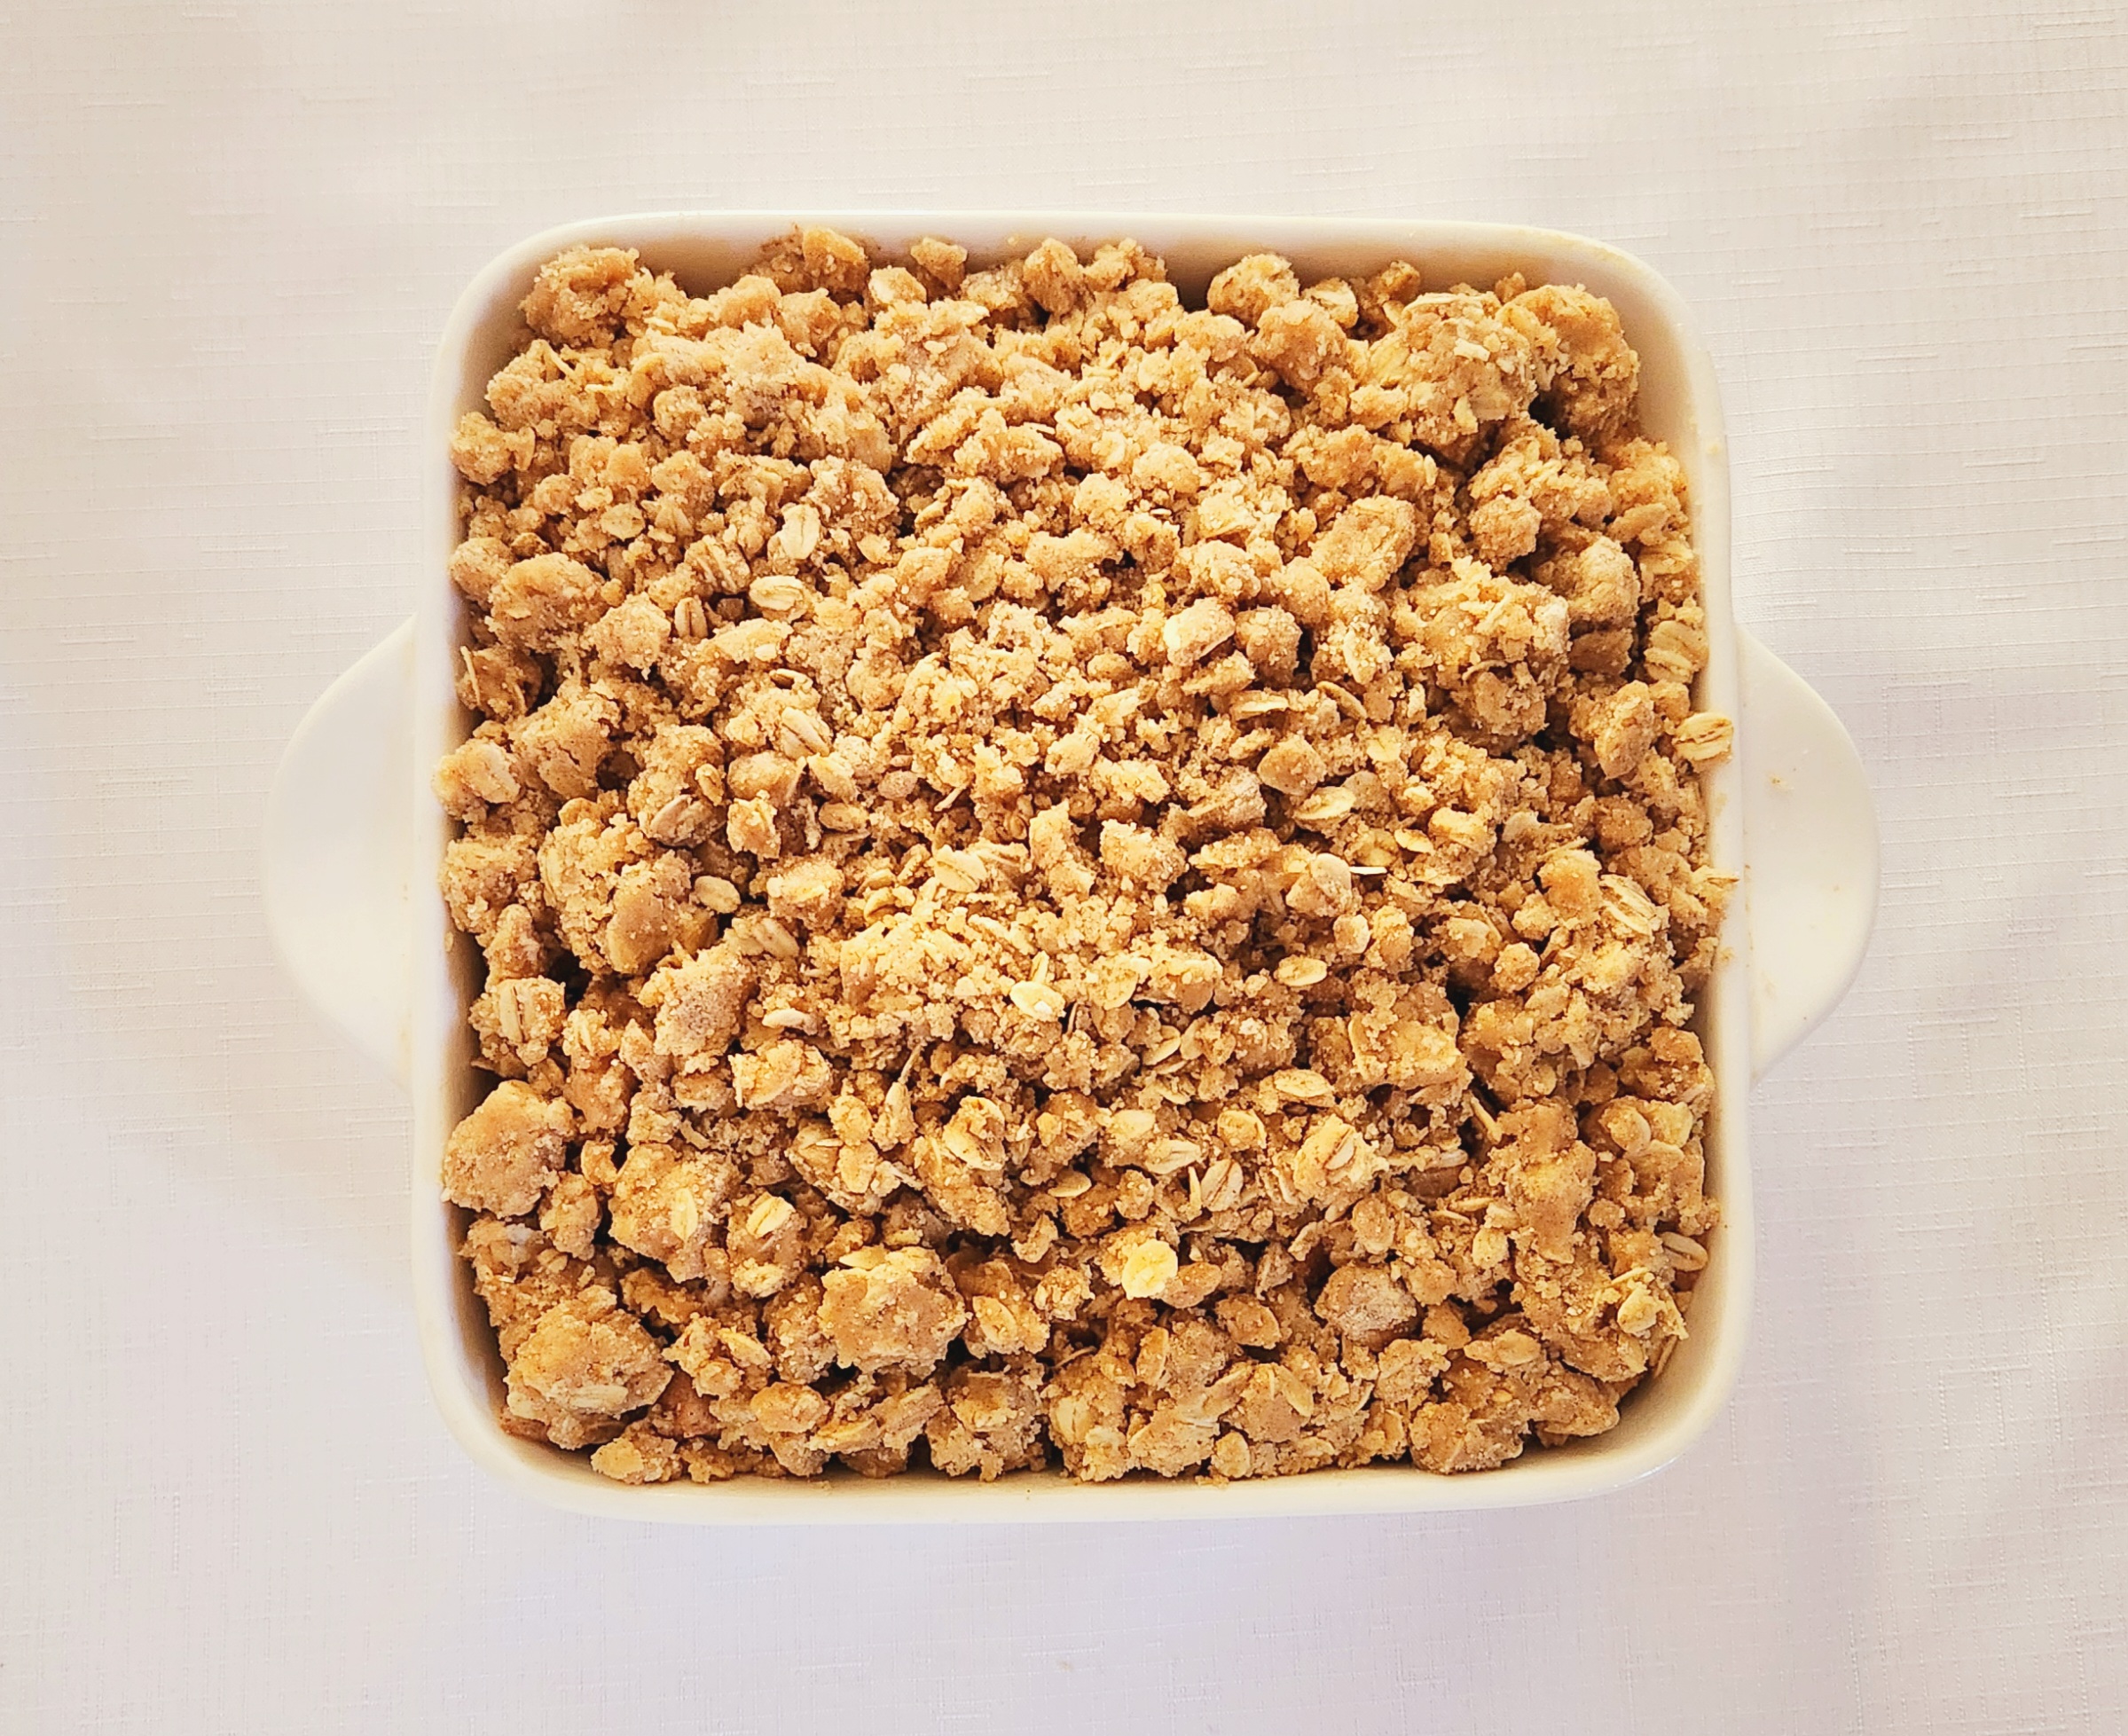
Cover the apples with all of the topping as evenly as you can make it. It may seem like too much topping, or to some of you crust lovers not enough, but trust the process. It’s the perfect ratio.
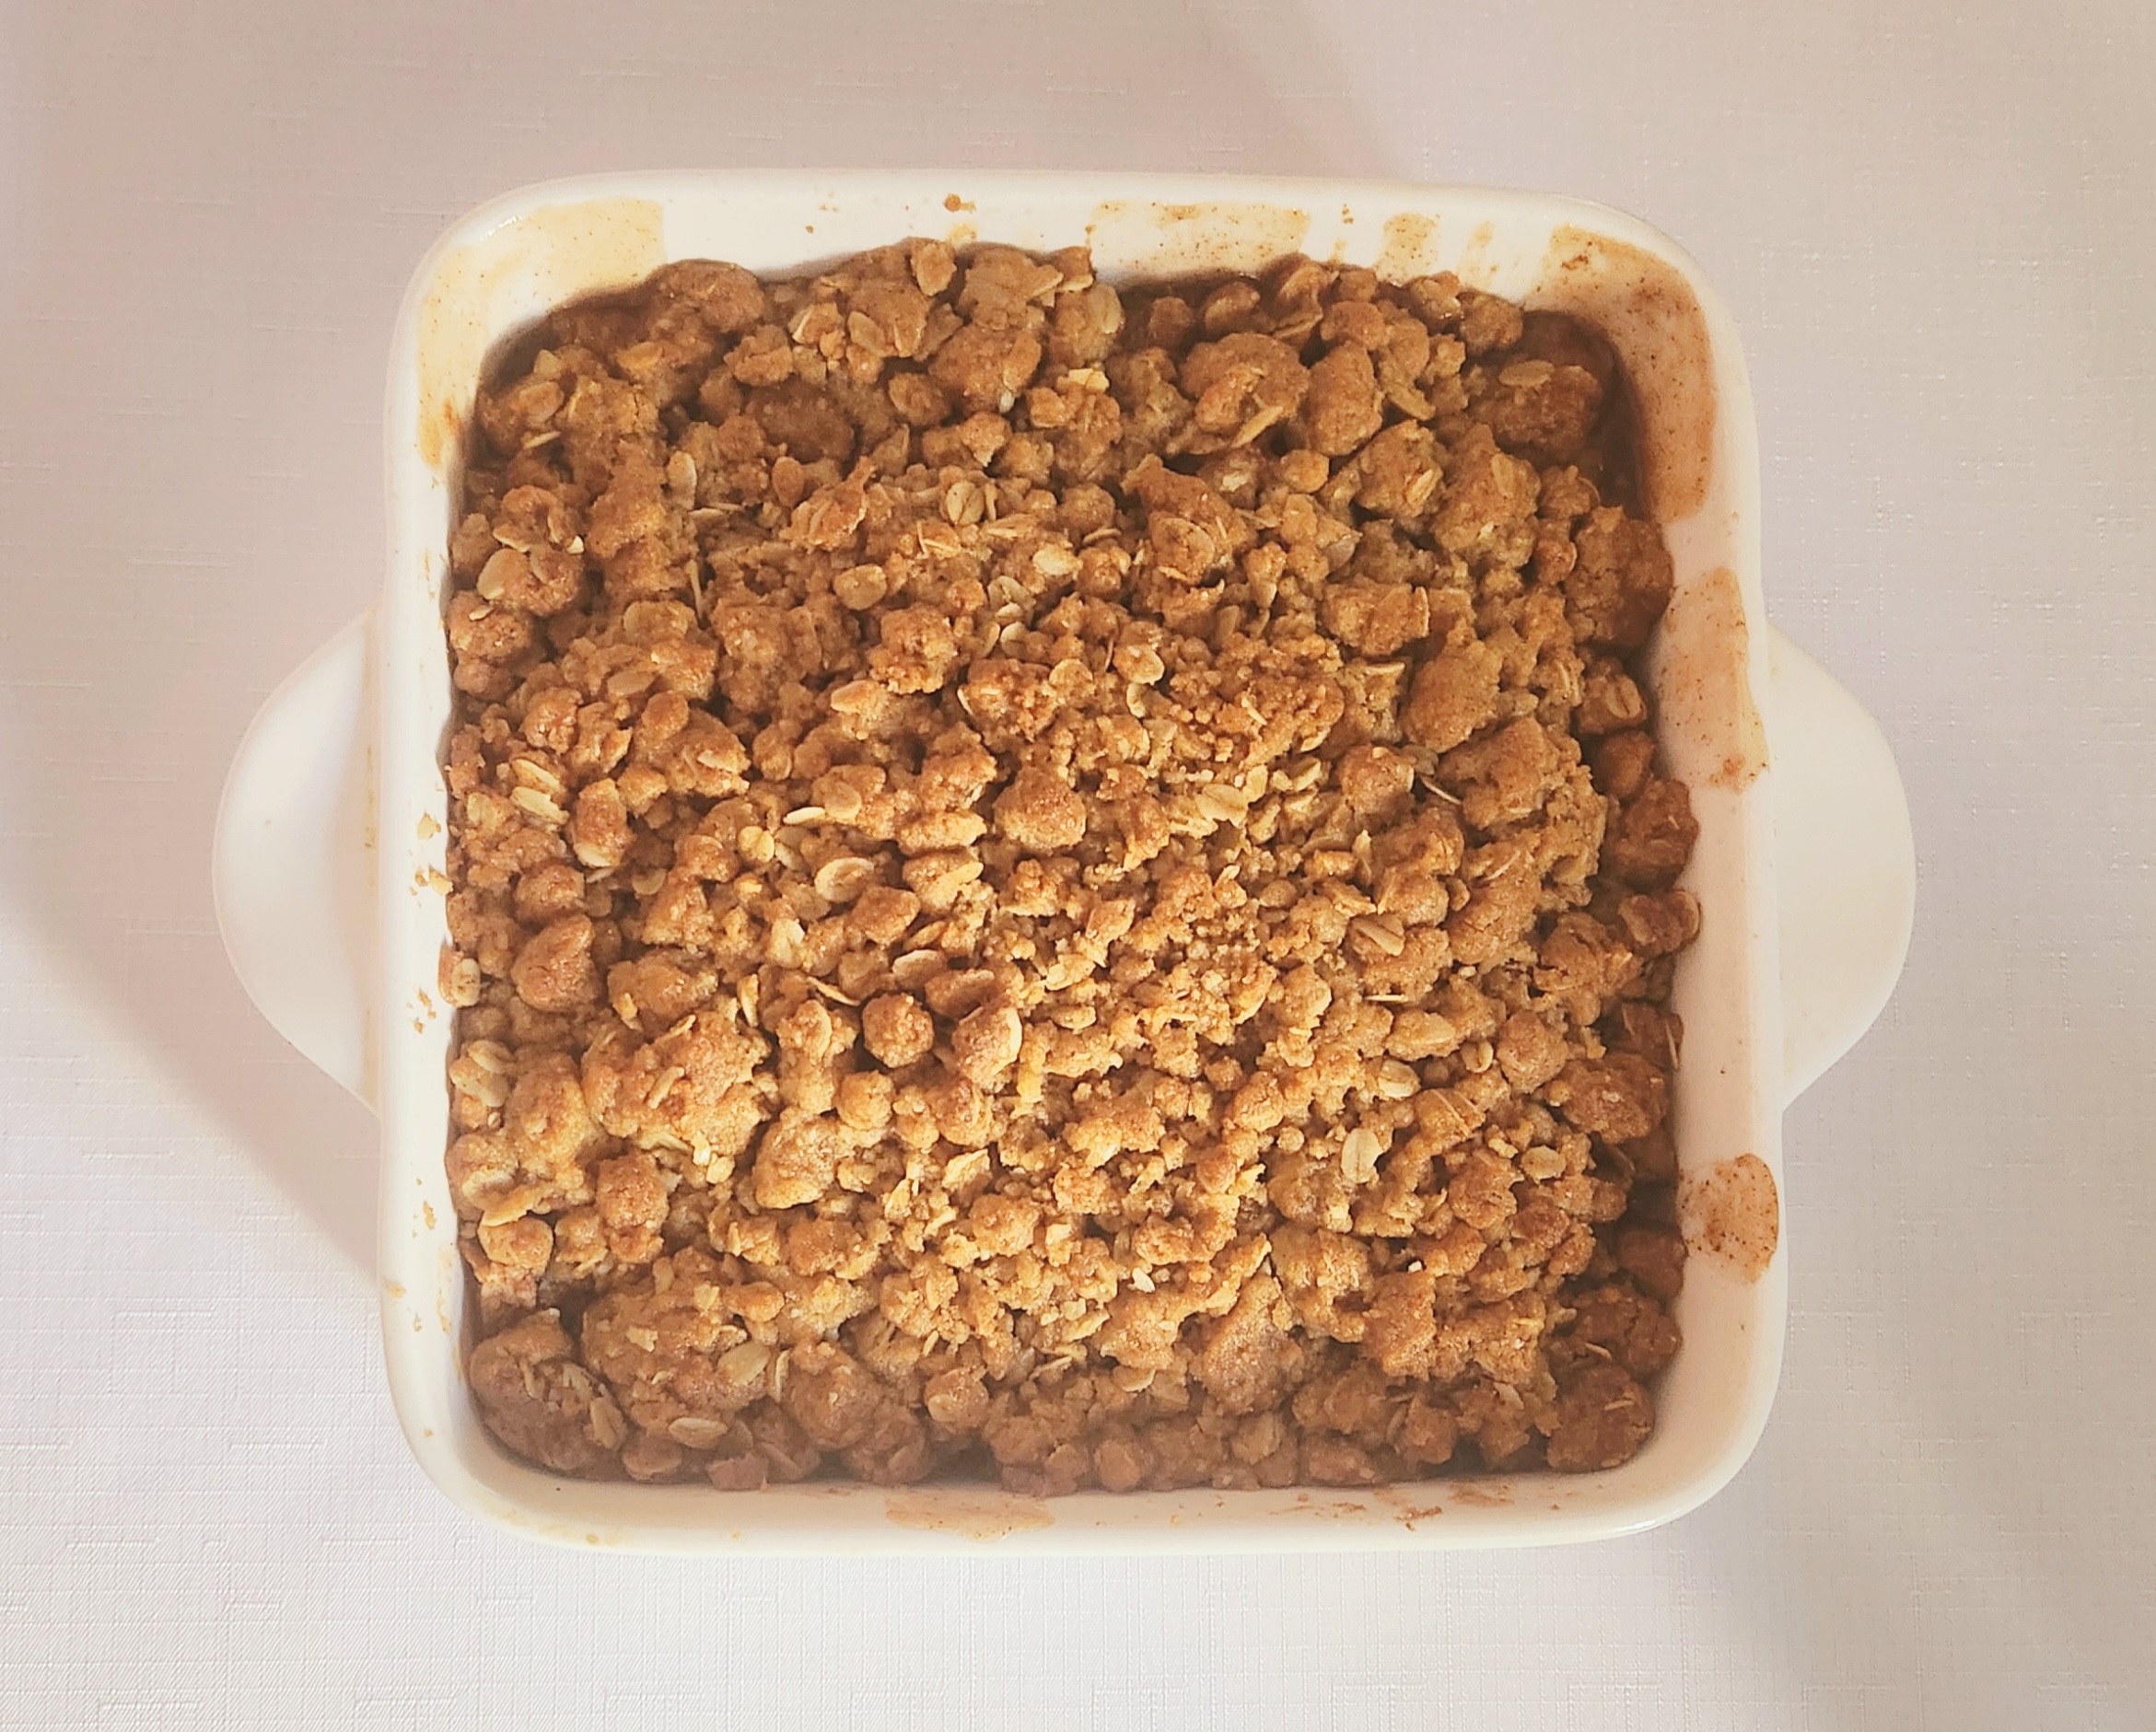
Place the dish in the oven and bake it for 40-45 minutes, or until the topping is golden brown, flipping halfway through. Allow the apple crisp to cool for at least 30 minutes before serving, to give the filling a chance to set correctly.
Store in an airtight container for up to 3 days, and enjoy!


Apple Crisp
Bake Time: 350F for 40-45 minutes
Servings: 9 Portions
Total Time: 1 hour 30 minutes
Prep Time: 45 Minutes
Ingredients
Topping:
- 1 cup all-purpose flour
- ¾ cup rolled oats
- 1 cup light brown sugar
- 1 teaspoon ground cinnamon
- ¾ teaspoon salt
- 12 Tablespoons unsalted butter
Filling:
- 3 cups baking apples, ~4-5 apples
- ½ cup granulated sugar
- ¼ cup all-purpose flour
- 2 teaspoons ground cinnamon
- ¼ teaspoon ground allspice
- ⅛ teaspoon ground clove
- ⅛ teaspoon ground nutmeg
- ½ teaspoon salt
Directions:
Topping:
- Preheat the oven to 350F, on the convection setting if possible, and prepare the baking dish. Spray an 8×8 baking dish with a nonstick baking spray, or coat it lightly in butter, and set the dish aside.
- In a small microwavable bowl, heat the butter in the microwave until it’s just melted. Set the butter aside to cool.
- In a medium mixing bowl, whisk together the flour, oats, brown sugar, cinnamon, and salt. Make a well in the center of the dry goods and pour in the butter. Using a fork, mix the topping together so large hunks form. Set the topping aside until it’s needed.
Filling:
- Begin by peeling the apples, and cutting them into a large dice. To do this, slice off large hunks of apple around the core, then slice each hunk into ½ inch strips, as shown in pictures above. Cut each of these strips in half lengthwise, then cut them into ½ inch chunks, as shown above. Place the apple pieces into a large mixing bowl, and set them aside.
- In a small mixing bowl, whisk together the sugar, flour, cinnamon, allspice, clove, nutmeg, and salt. Pour the dry goods over the apples and, using either a rubber spatula, large spoon, or just your hands, mix them together to completely coat the apples.
Assembly:
- Pour the filling into the prepared baking dish, making sure to scrape any juices at the bottom onto the apples.
- Cover the apples with all of the topping as evenly as you can make it. Place the dish in the oven and bake it for 40-45 minutes, or until the topping is golden brown, flipping halfway through.
- Allow the apple crisp to cool for at least 30 minutes before serving, to give the filling a chance to set correctly. Store in an airtight container for up to 3 days, and enjoy!
Tips
- Apple crisp can be prepared up to two days ahead of time! Follow the recipe as written up until step 2 of the assembly section, then rather than placing it in the oven, cover the top with plastic wrap so it’s airtight. When you’re ready to bake it, continue on with the recipe as written.
- Serve the apple crisp, still warm, with vanilla ice cream, or your favorite flavor!
0 Comments